 Tweet
Tweet
this car could not be more legit! props for top quality materials and excellent craftsmaship!
-
Ever need help slamming your car in Ithaca, NY
Hit Me Up!
-Dan -
Do the Lexan Windows by Plastics4Performance work with Electrical Powered Windows ?
The answer is yes, they do, and perfectly too
[ame="http://www.youtube.com/watch?v=wBaPl4HTsAs"]Plastics4Performance - Audi A4 B7 Lexan Window Kit - Electrical Powered Windows Test•2 - YouTube[/ame]
Audi RS4PRA | VW Golf MKV GT-Y | Audi A1 SportBackComment
-
Is there a disclaimer on scratching appearing from rolling them down and up?
If not, that is one tuff product.
Comment
-
No scratching on them windows from the electrical windows system, as said by manufacturer.
Audi RS4PRA | VW Golf MKV GT-Y | Audi A1 SportBackComment
-
Well, I have some updates for you
First of all, I made some orders today.
1. Ordered the remaining RS4 sideskirt for the right side from the stealership cause I got bored of searching over the net, and sellers bored to ship it over to me. Whatevah.
2. I ordered all the bumper-fender-sideskirt supports, all new from stealership
Now, what i have left for the end, are the rear inner arches, and I will order those new, if and only if, I make sure that it cant be done without them. I guess that is the case. But I need to be sure. Then I will order those as well asap.
So waiting for those to come, and when they do, I will get to installing almost everything that can be installed by me. Which is pretty much everything but the rear fenders.
A lot of work ahead of me, and I love it
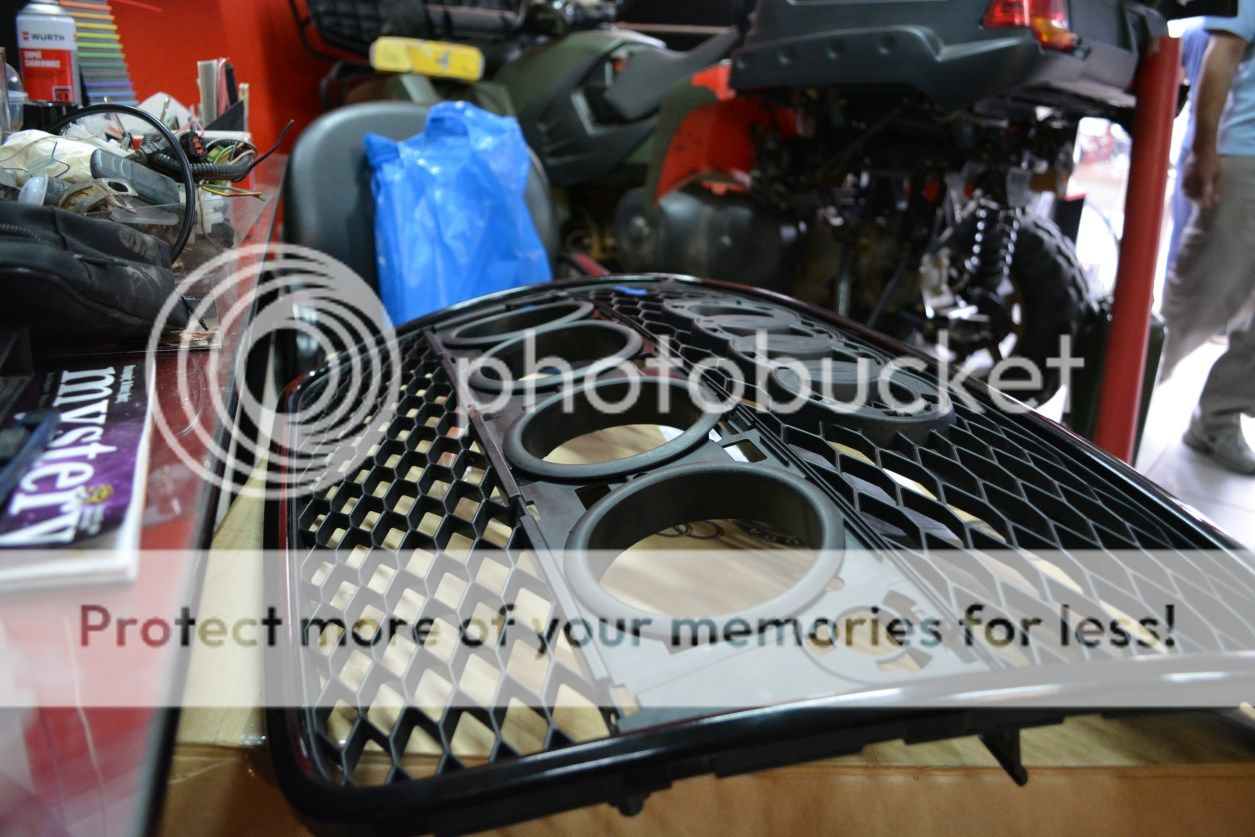
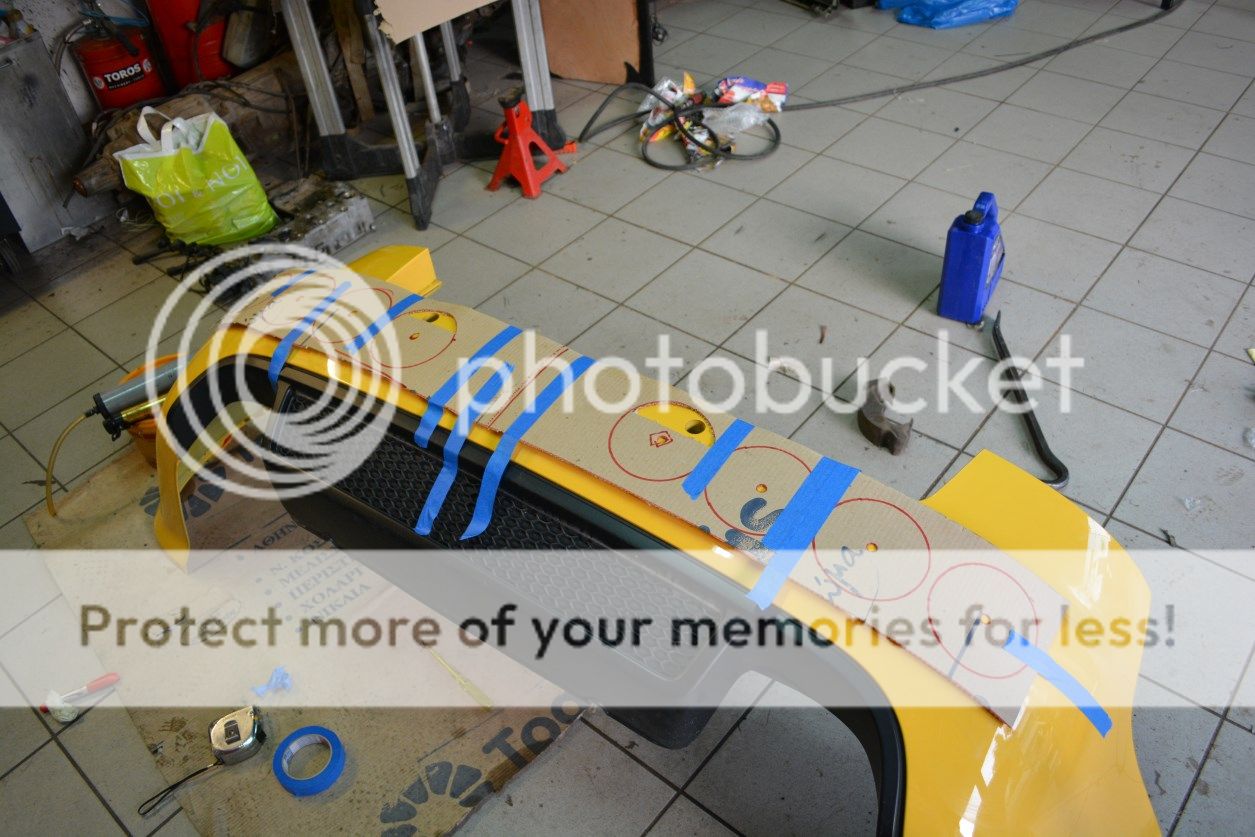
What is more, I managed to do some work on the RS4 grill.
Some sneak pics.
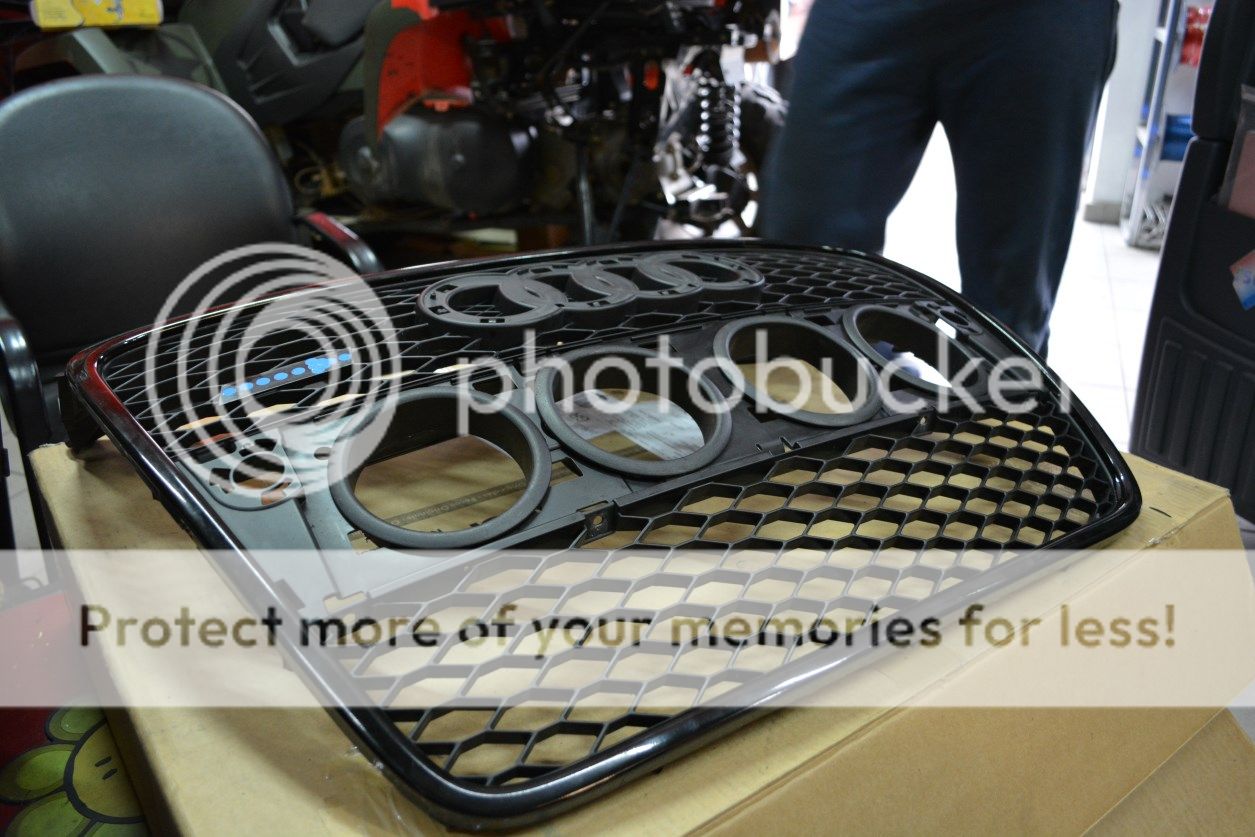
Stay tuned for more
Cheers
Mike
Audi RS4PRA | VW Golf MKV GT-Y | Audi A1 SportBackComment
-
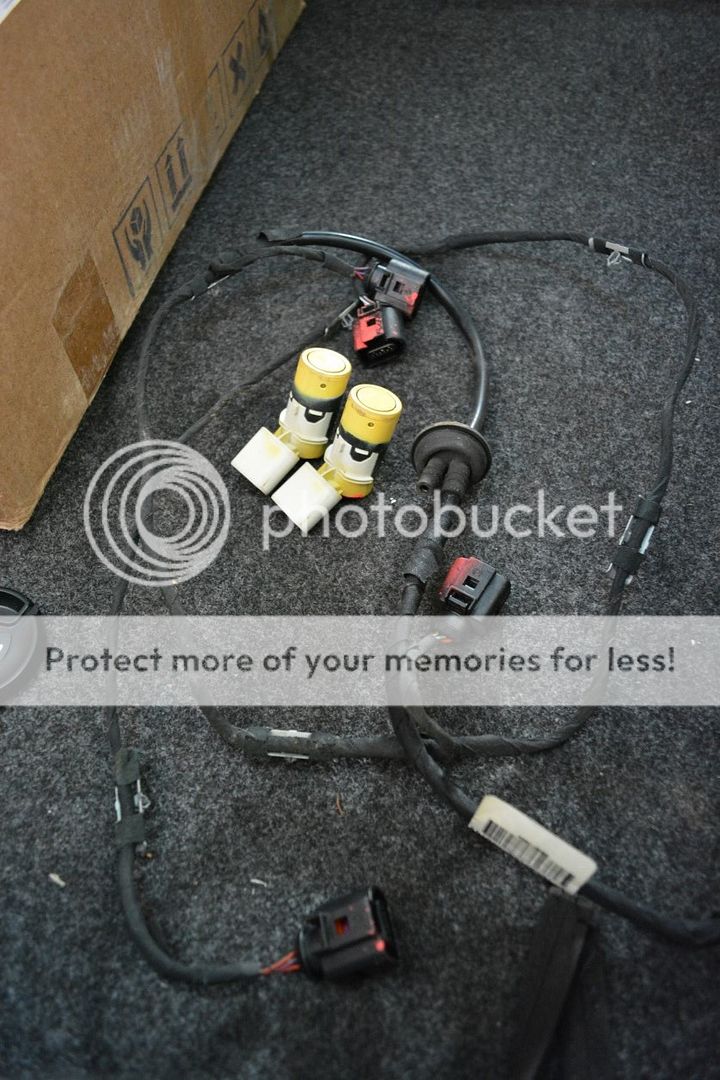
I found some time to play with the rear bumper and make it look like I wanted it to look, and make its weight, the weight I need it to have for my needs.
So, let's see
Removed all the OEM Parking wiring and sensors, these are also for sale if someone wants them
From this

To this

50:50 shot
Time to remove the real weight of the rear bumper
This big chunk, that weighs almost 5lbs

Then the game got more interesting . . .
Made a template

Measure twice, cut once
My hand was not shaking one bit - drilling was excellent even though I had the room for error due to the forthcoming paint session
Then, I took some of these

Now we are getting somewhere . . .

Ready


Lets throw it on the car to see how it looks for a quick snap

This is when I would smoke a cigarette if I was a smoker

Cheers for now. I have some more updates coming.
Stay tuned
Mike
Audi RS4PRA | VW Golf MKV GT-Y | Audi A1 SportBackComment
-
I may sound stupid, so pls forgive me, but why do you make holes in your rear bumper?Lucas

Former daily: 2002 CLK 500 AMG - (sold) . . . . . . . . .
Project: 1986 W124 260E rebuild - (3.0 swap) . . . . . . . . . Follow me on IG : @loekaazDaily: 2004 Pontiac GTO. . . . . . . . . Daily Econobox: 2009 Mini Clubman CooperOriginally posted by LCGComment
-
The holes in de rear bumper are to much for me, otherwise great car

Comment
-
I believe it's to help the air under the car flow better.Originally posted by loekaaz View Post
W I L D M A N 'S R O D S H O P

R.I.P P.WALKER 2013/11/30Comment
-
It is to reduce drag caused by the air getting trapped in front of the bumper.
Audi RS4PRA | VW Golf MKV GT-Y | Audi A1 SportBackComment
-
So I have another surprise that showed up today.
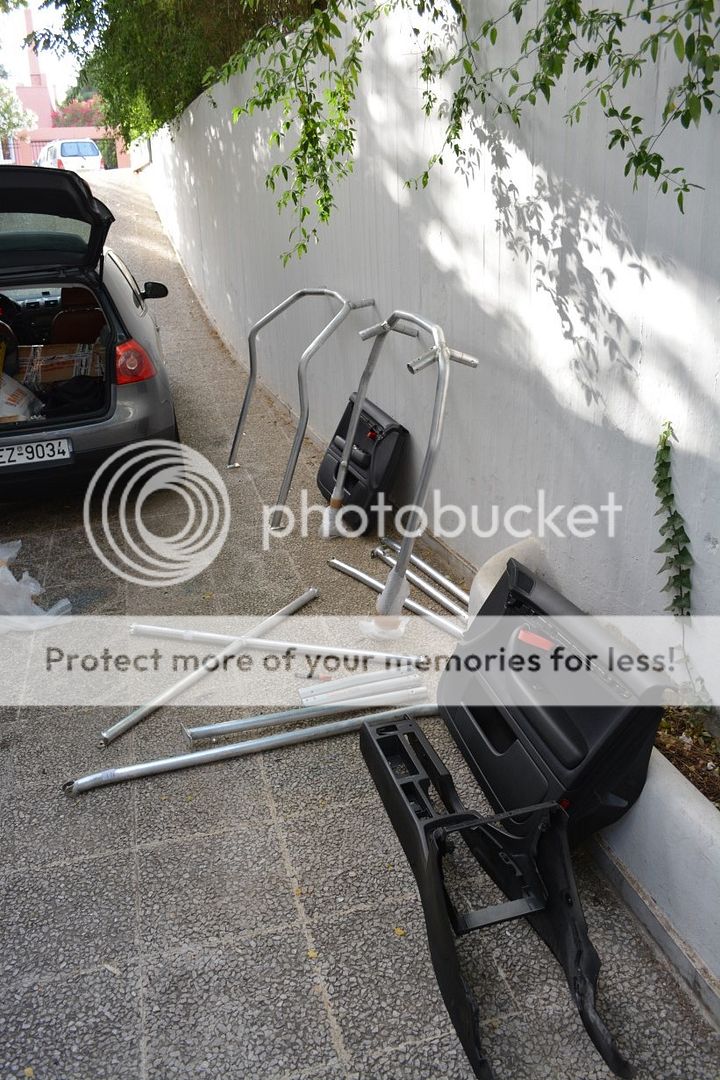
After a long time, more than two months I think, the cage has finally been made, and sent to me
Needless to say I was over the moon when they called me it had arrived.
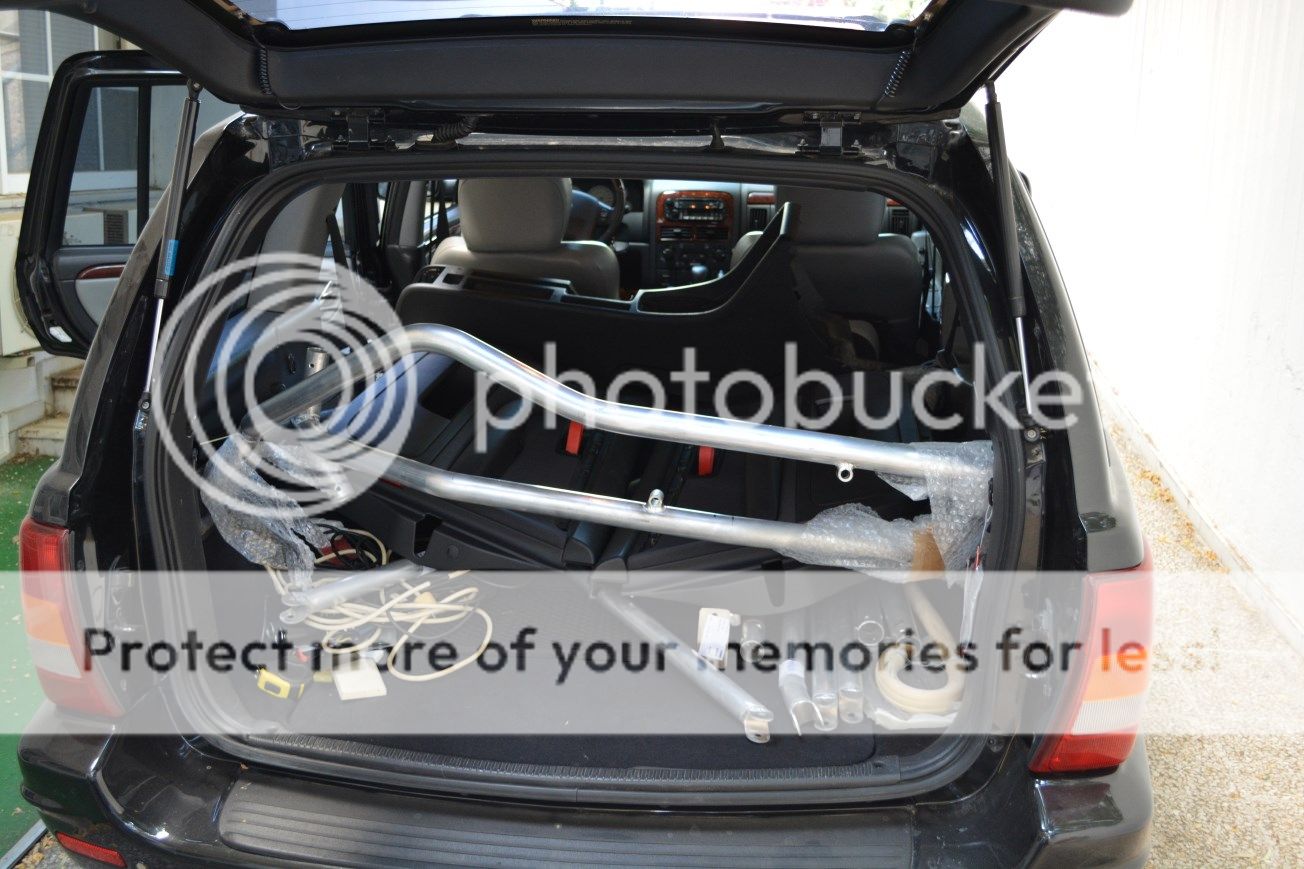
Sadly, it wouldnt fit inside the Golf, so I went there with a nice Grand Cherokee of a good friend, that's what friends are for

Tried really hard to not rip the box apart and take some pics of it first

This boxed later turned out to have the material/insulation I opted for it to have. But I will not use it at least for now. We shall see later.
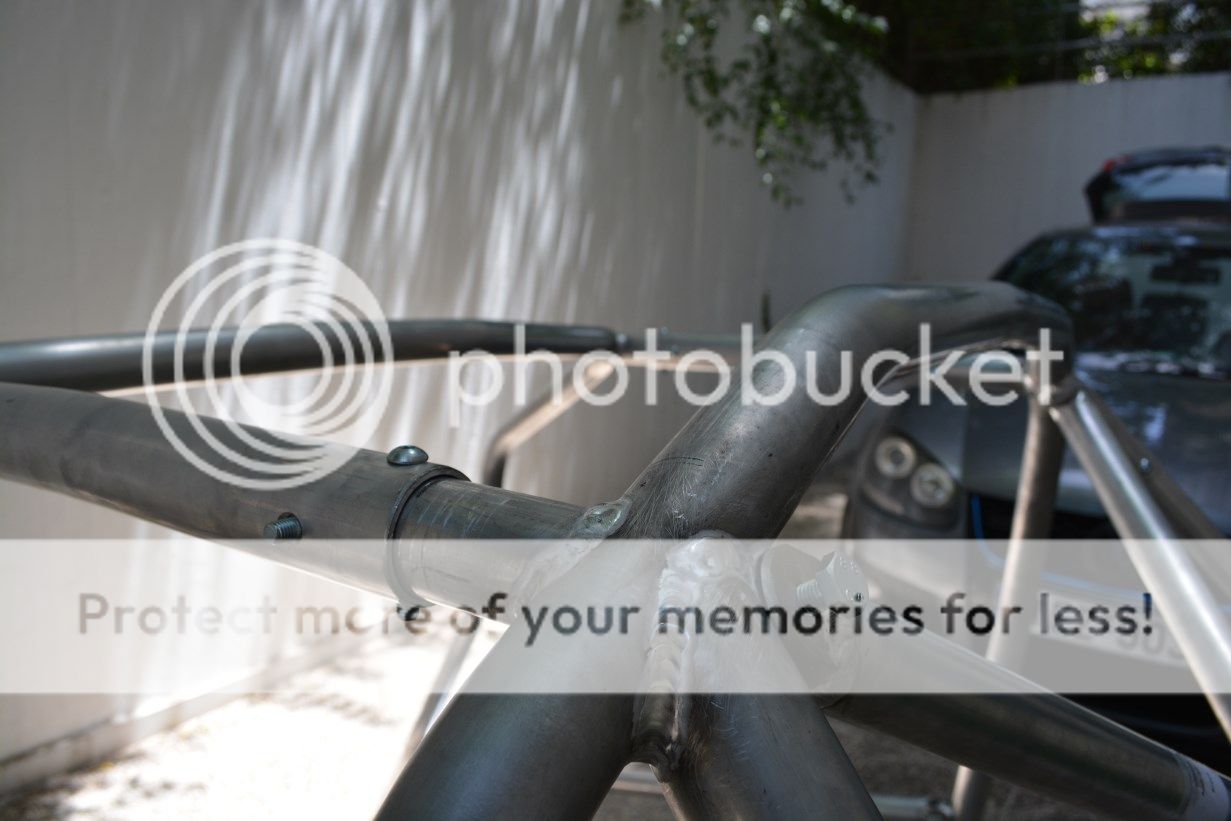
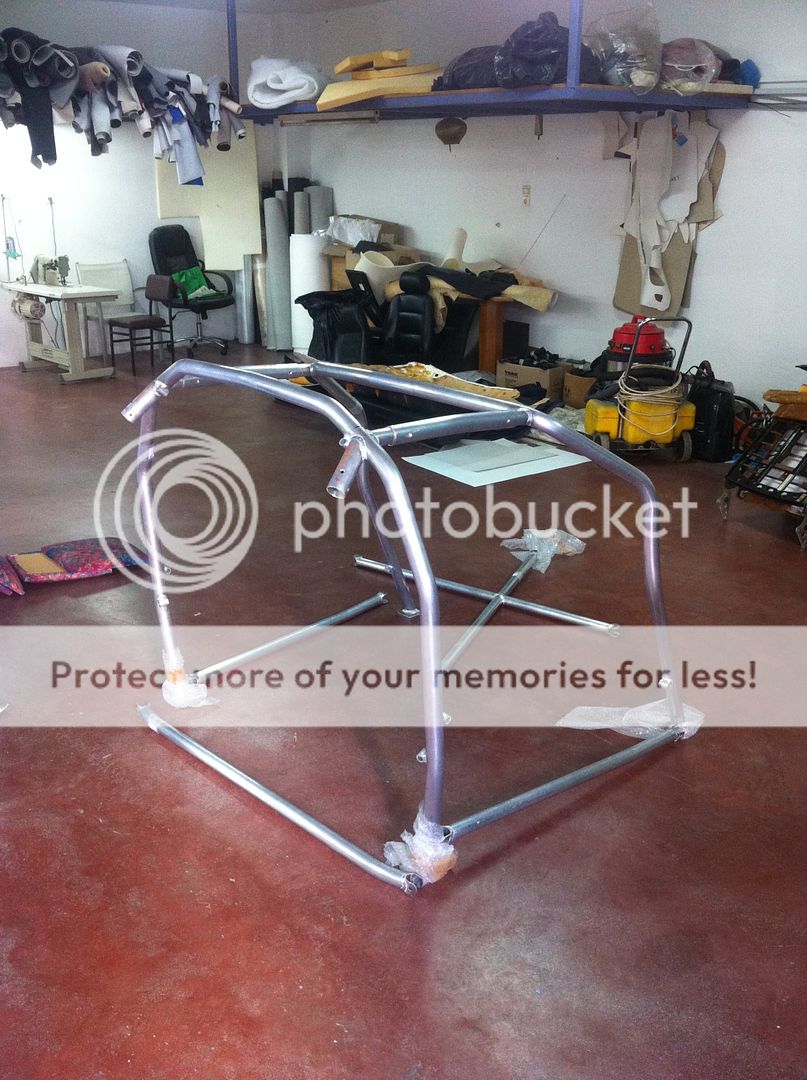
Lost no time and put everything together to see how it would look . . .


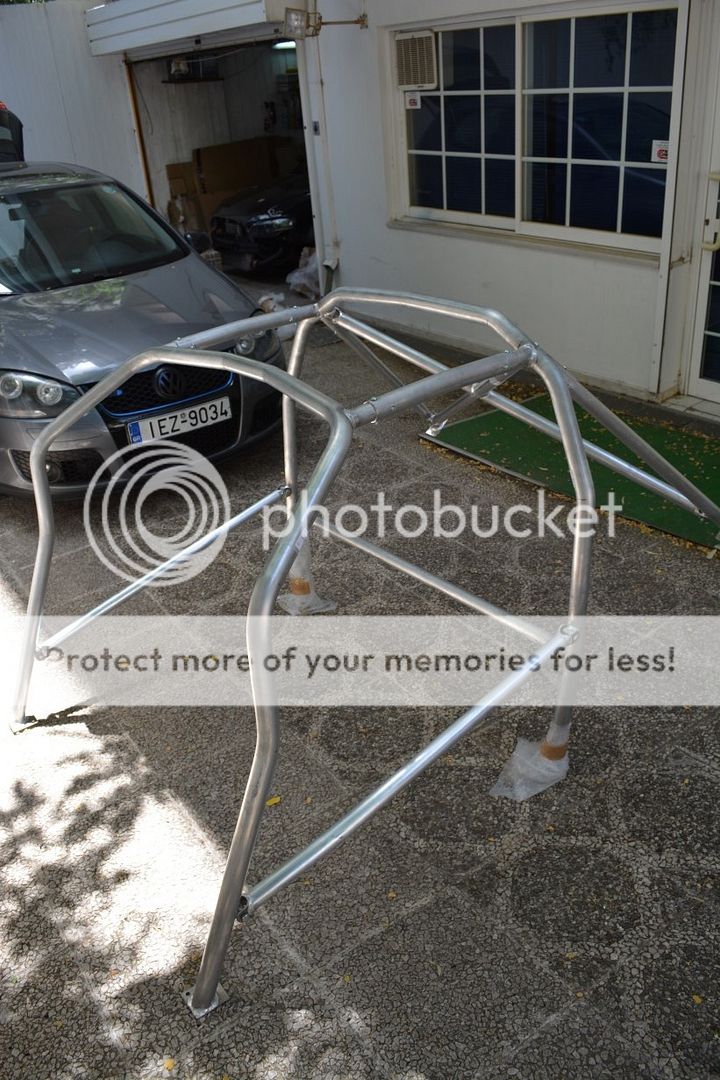

Some random shots


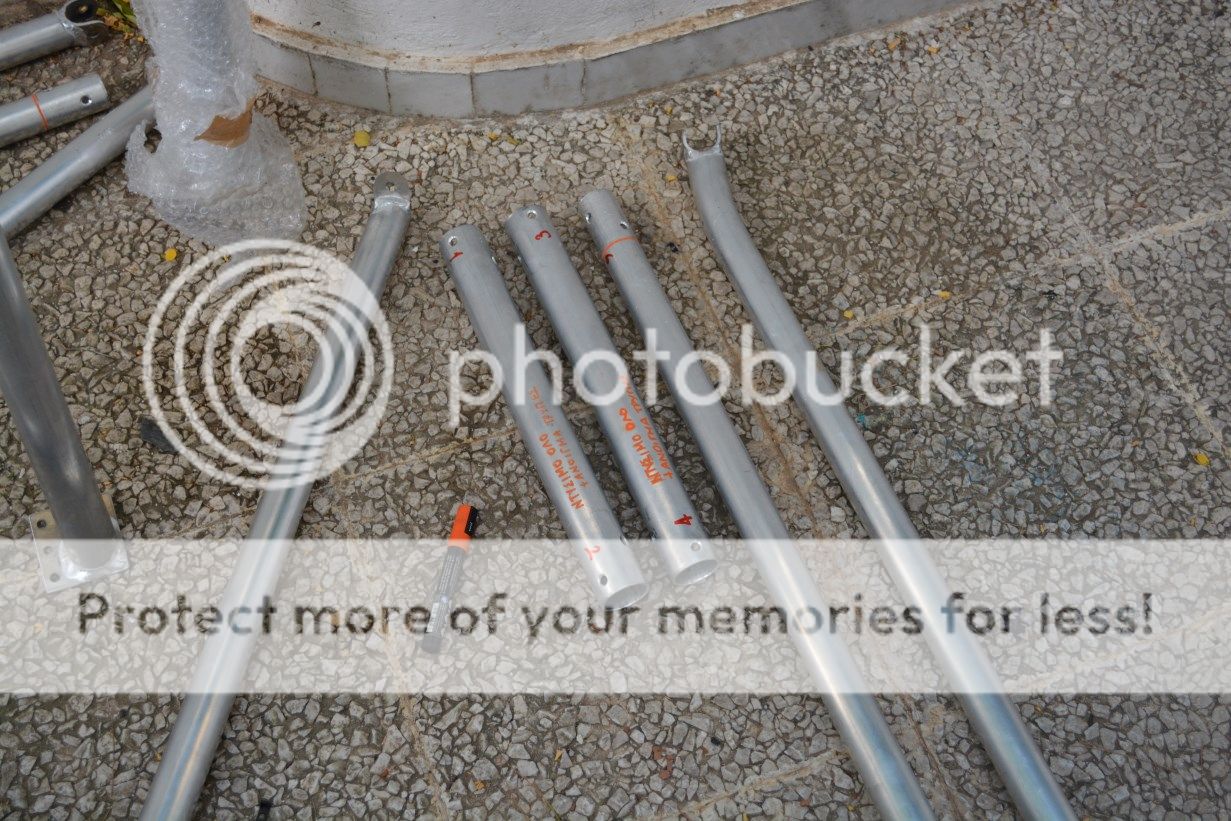
Raw aluminium just like I picked it, cause I have other plans


Then i turned everything to pieces again

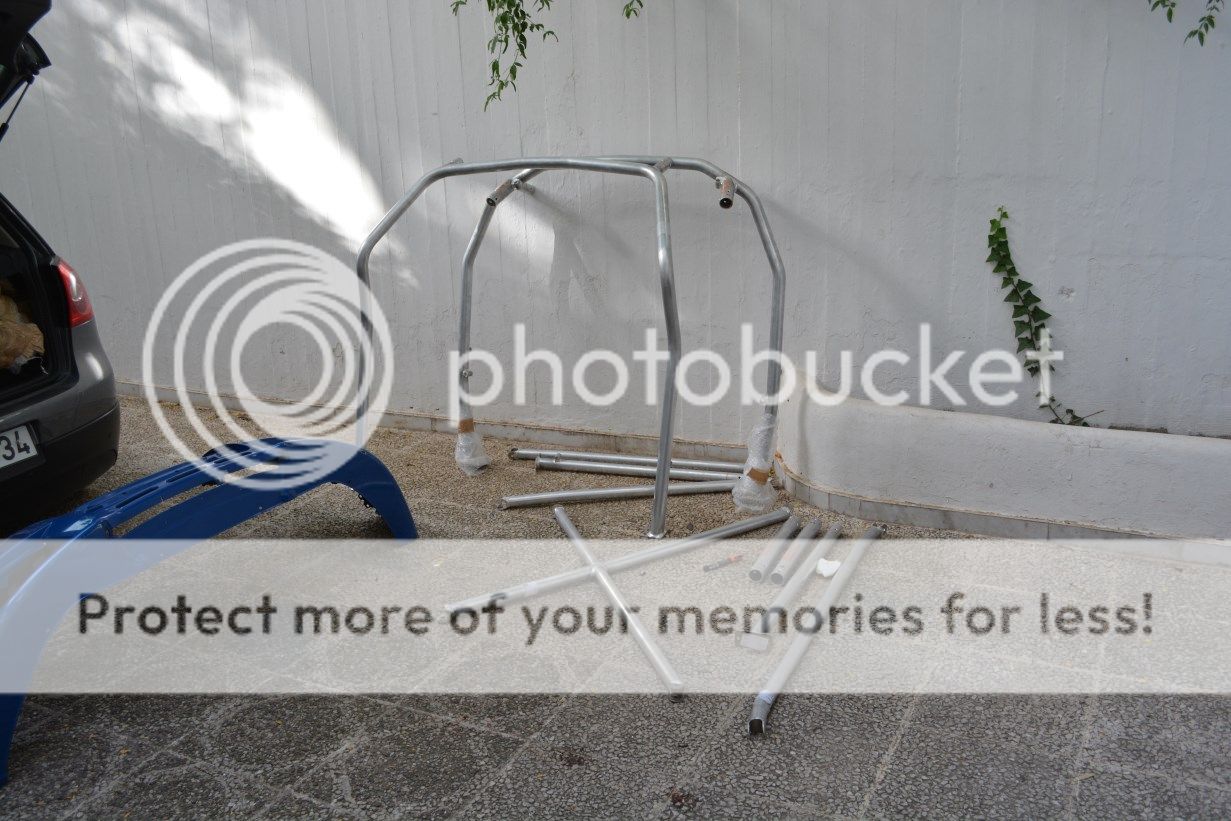
And took some notes . . .
So as to go to the trim shop that did my dashboard . . .
But then some more parts arrived there . . .
Hm . . . who knows why . . .
More to come
Audi RS4PRA | VW Golf MKV GT-Y | Audi A1 SportBackComment
-
So, I lost no time, and took the cage out for a ride. Not with the Audi however.
And these, as well

My other option for transportation was this, out of a Wrangler chassis


But maybe next time - LoL
Here it is in the shop
I also left these, for which I have some surprises - hehe

Now, I did some work on the front bumper, preparing it for the next week.
If all goes well, given the new things from stealership arrive in time, I will start the efforts of mounting everything in the front end.
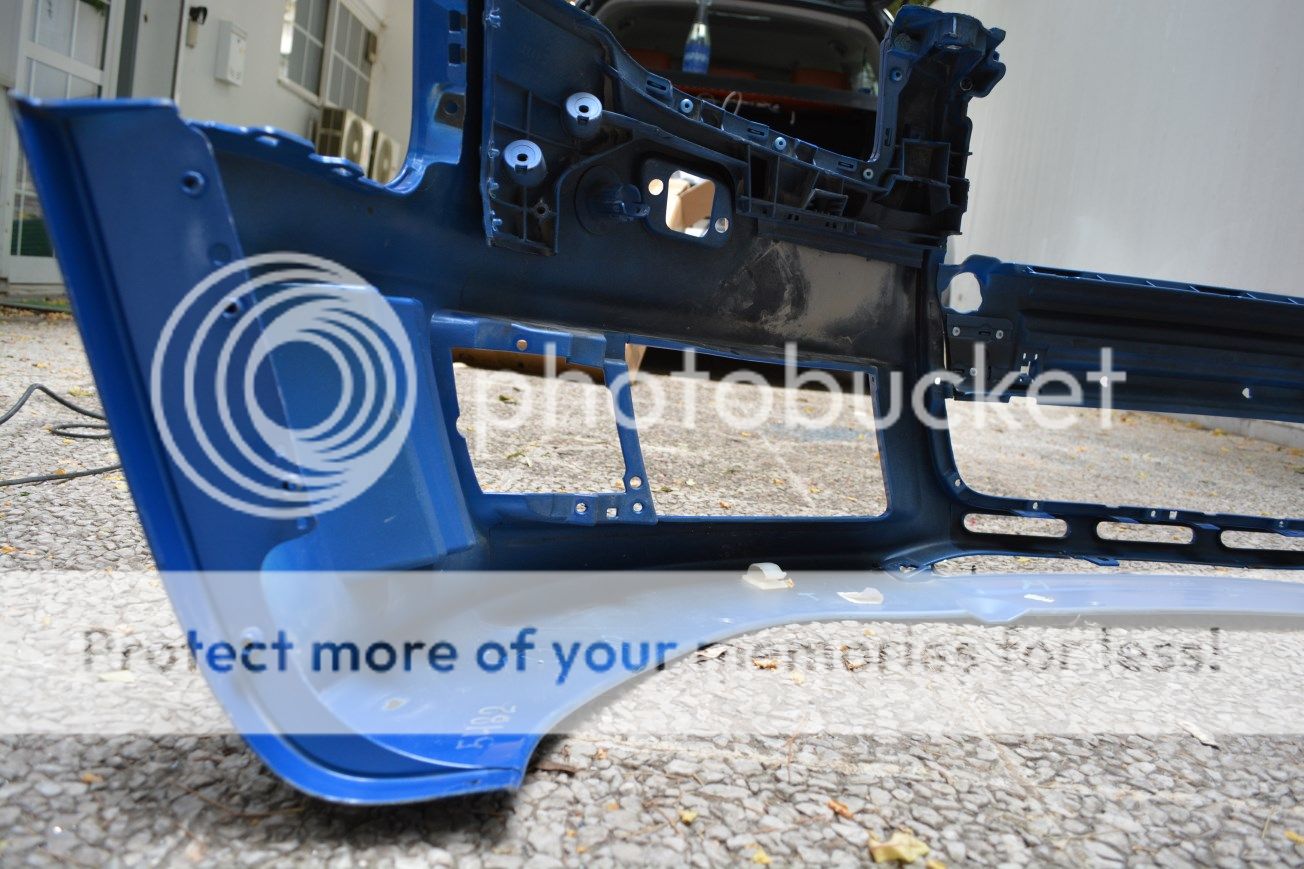
Here is what I did
The bumper I sourced, came with these two parts fitted - the ones in black, partially removed.

I was ready to order those again, but last minute, I luckily thought I already had them, so cancelled their order. What is more, I dont need them, so I would have two pairs for nothing. Here they are removed

Then, it was time to throw the grille onto the bumper for the first time to see how it will look

Can you spot which part will be cut off ?
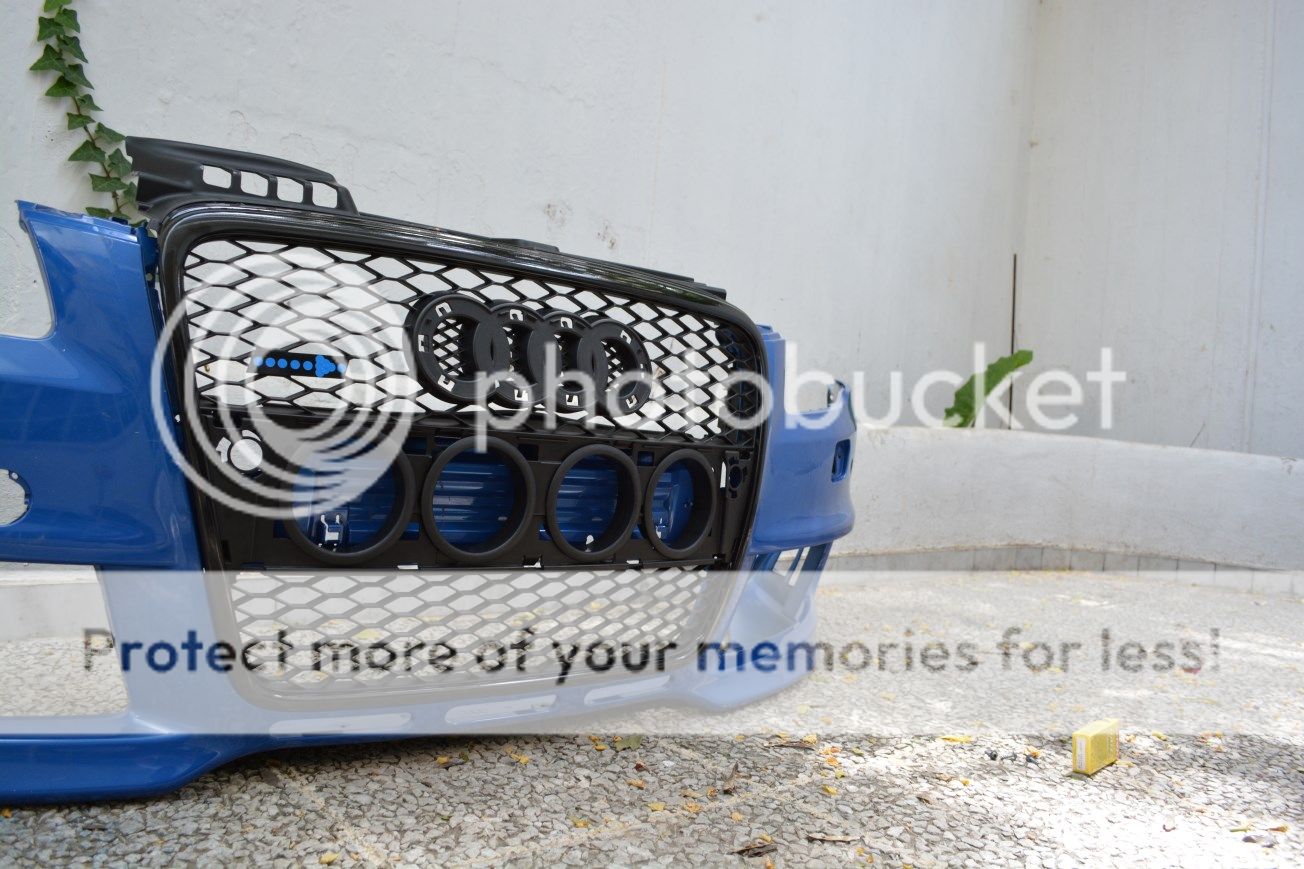
Easy I guess
Front view

Rear view
Bye bye
Again as I said in the past, a heatgun and a paper-knife, works wonders in plastic, and gives you the ability to cut perfectly, and have no trimming work to do afterwards
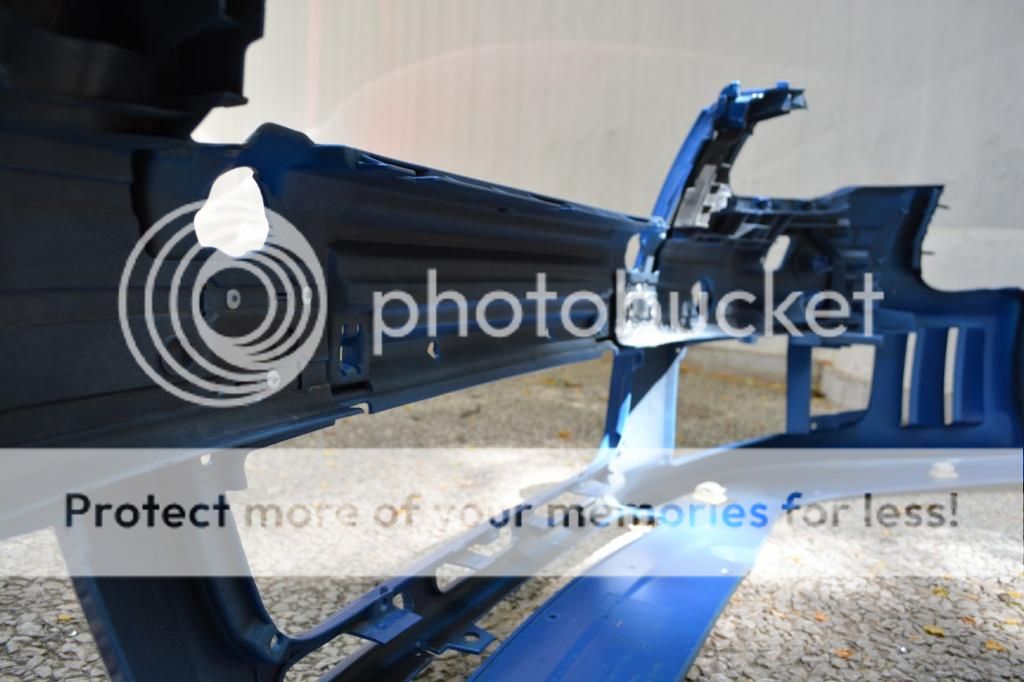
I then installed the fog light grilles so as to see if I could remove some more weight off the bumper

Seems like this part is not needed for me
Before

and after
this goes away

Same thing from the other side
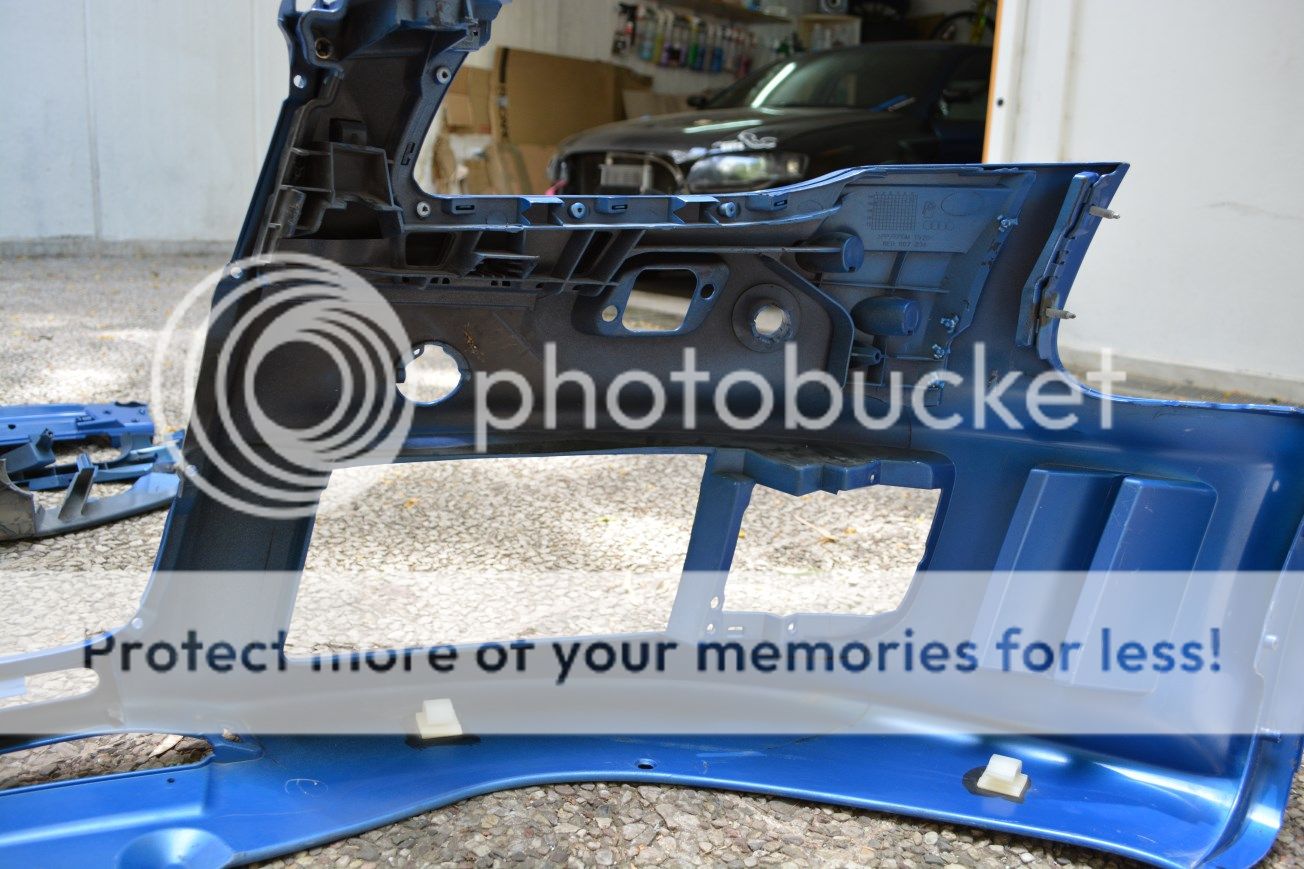
So these can go to the bin -well okay to my storage room, cause I dont like to throw away things

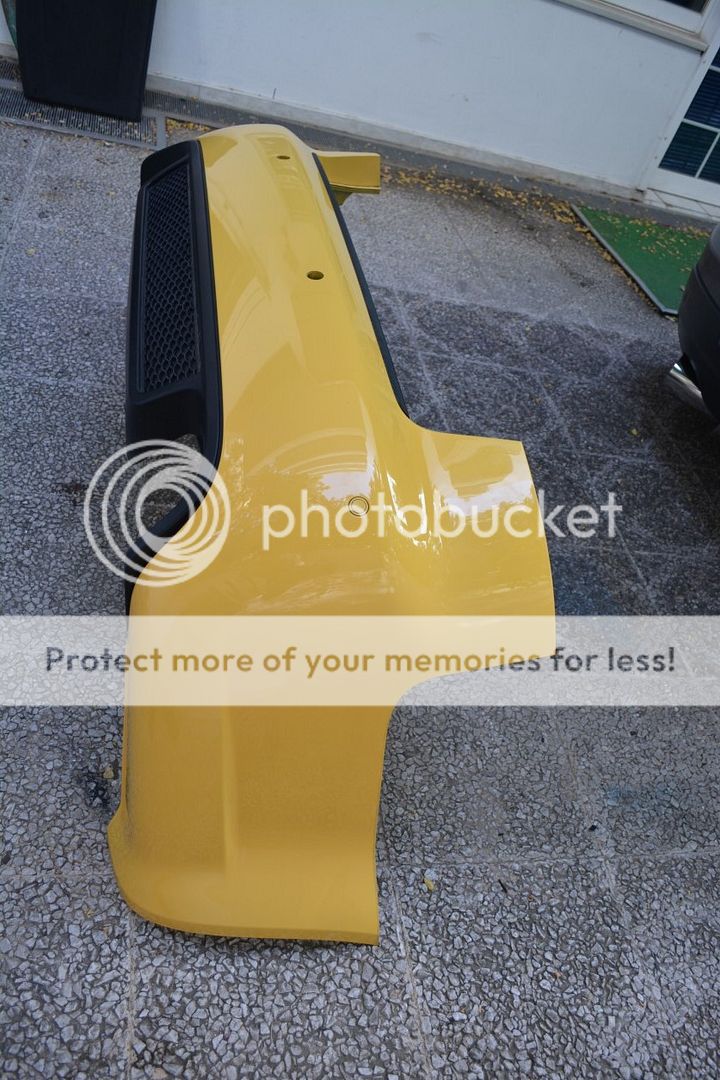
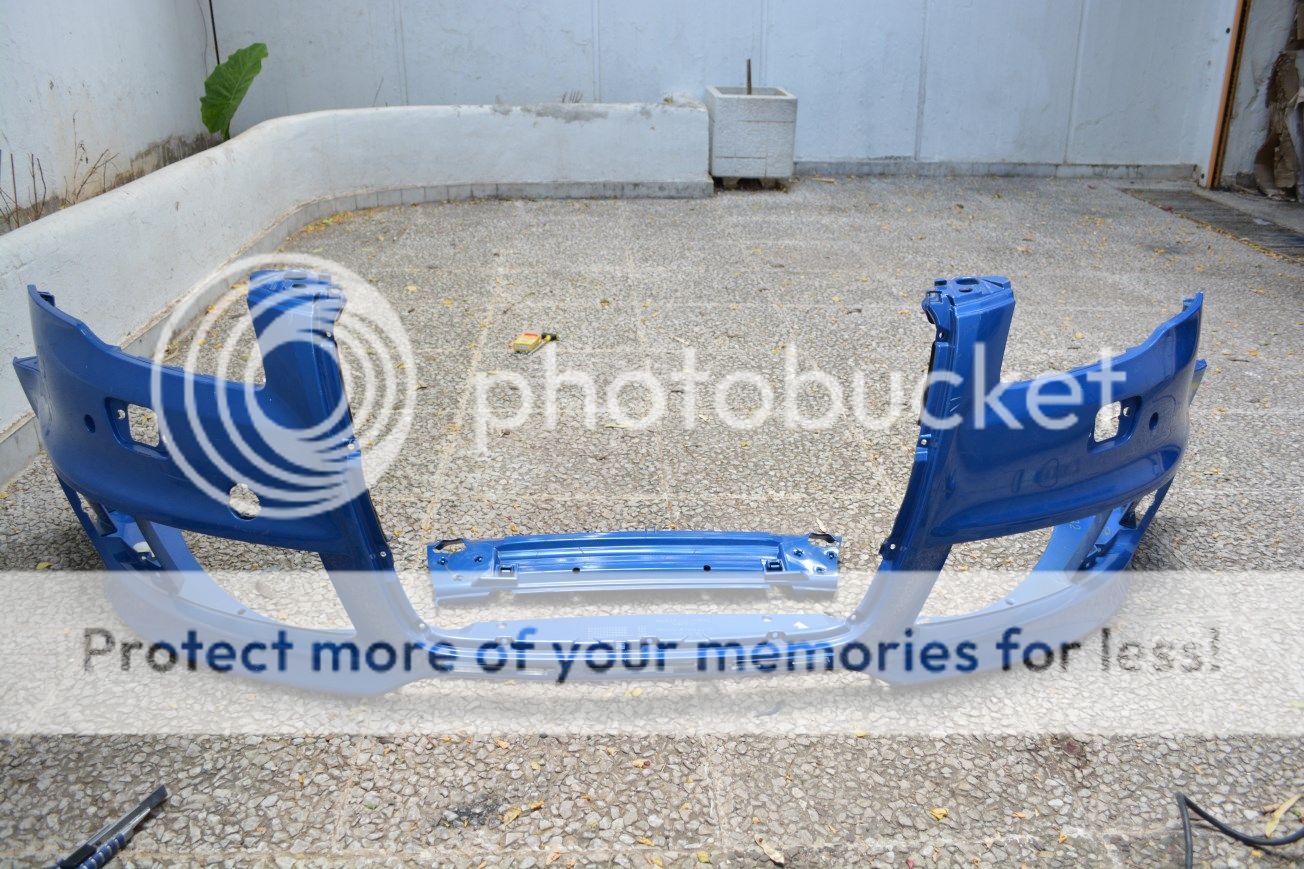
So bumper came out cleaner and lighter

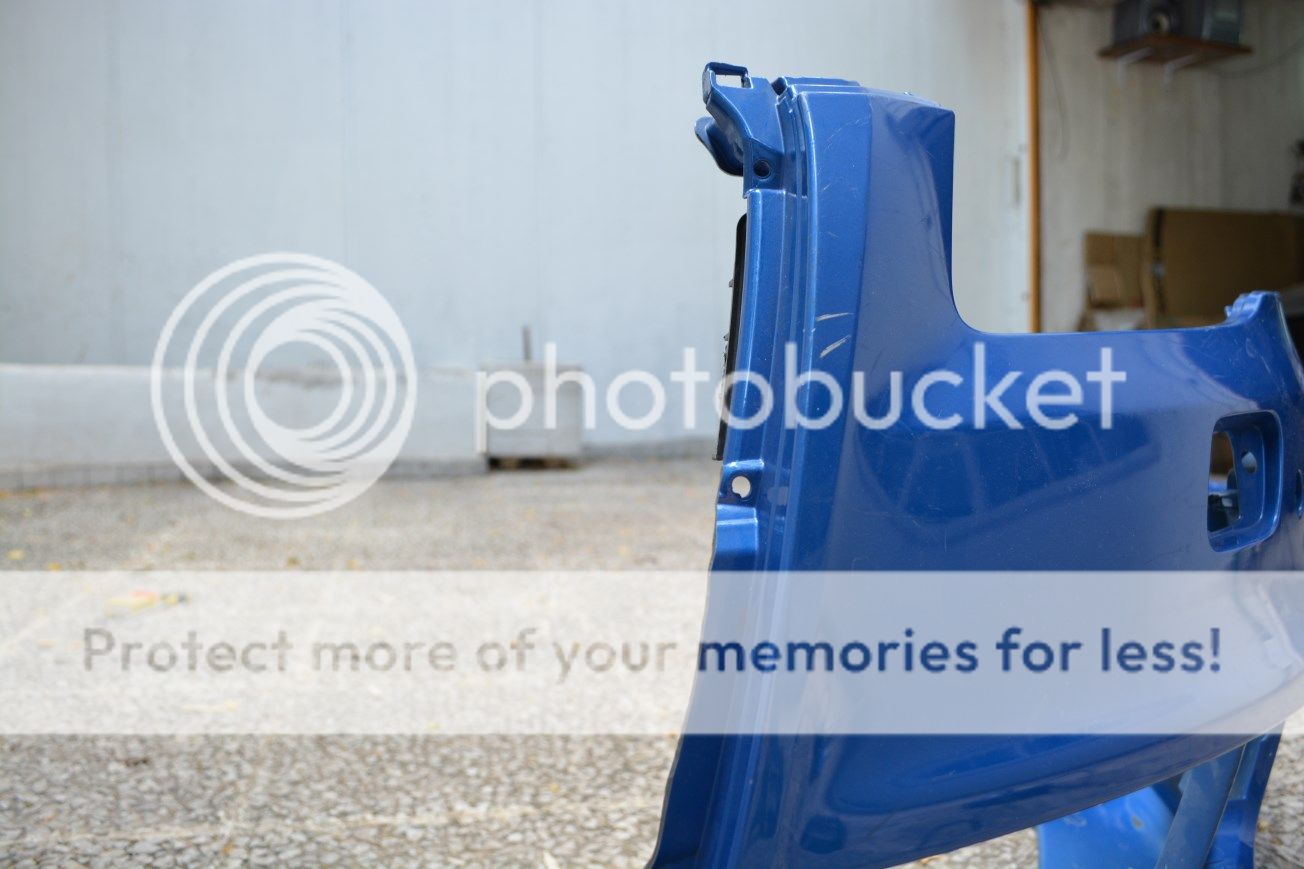
And threw it next to the car, just to see how it would look . . .

Cant wait to find time for more work
Cheers everyone
Mike
Audi RS4PRA | VW Golf MKV GT-Y | Audi A1 SportBackComment
-

Im absolutely loving this build. Amazing work "That's just a penis with headlights glued on."
Comment
-
Hehe, thanks a lot
Audi RS4PRA | VW Golf MKV GT-Y | Audi A1 SportBackComment


Comment