Announcement

Collapse
No announcement yet.

Audi A4 BAT - Quattro Project by Tom's Garage

Collapse
X
 
  • Filter
  • Time
  • Show
Clear All
new posts

  • mgpdoc
    replied
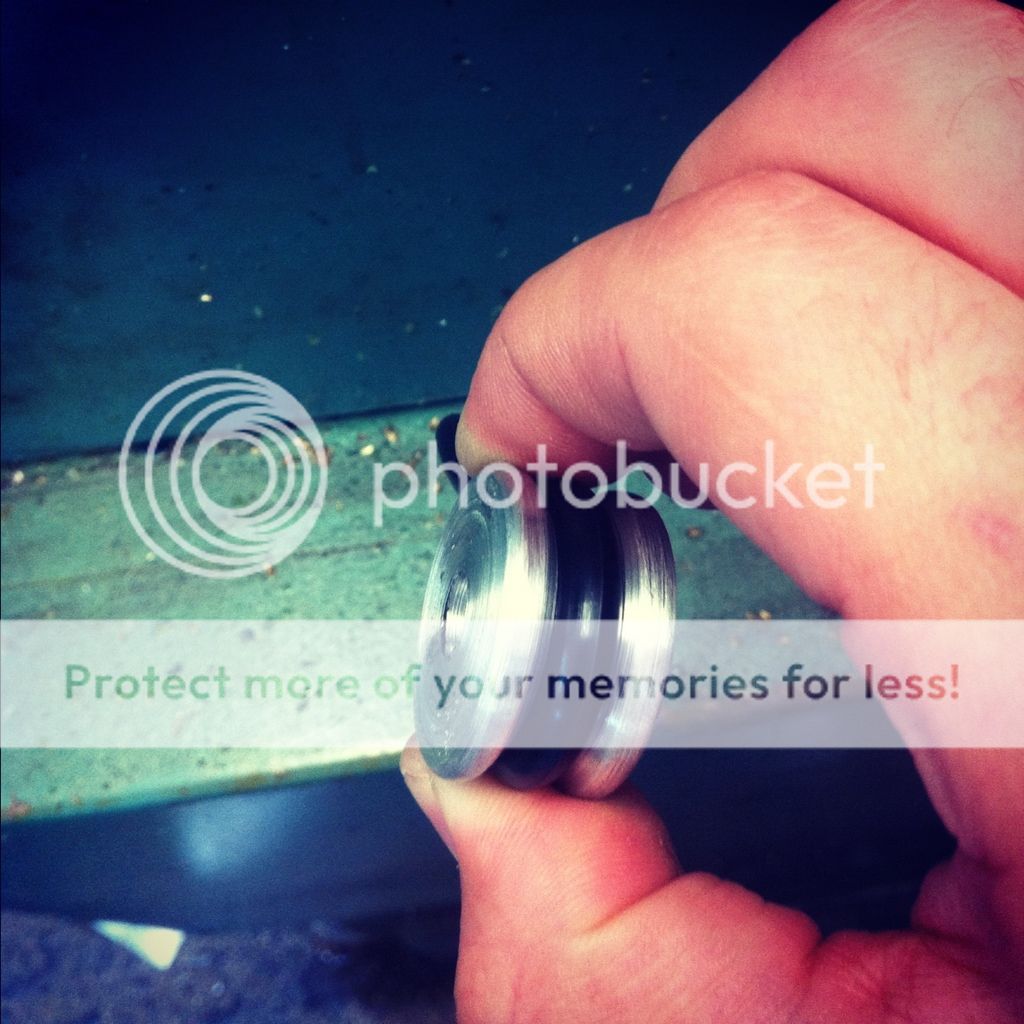
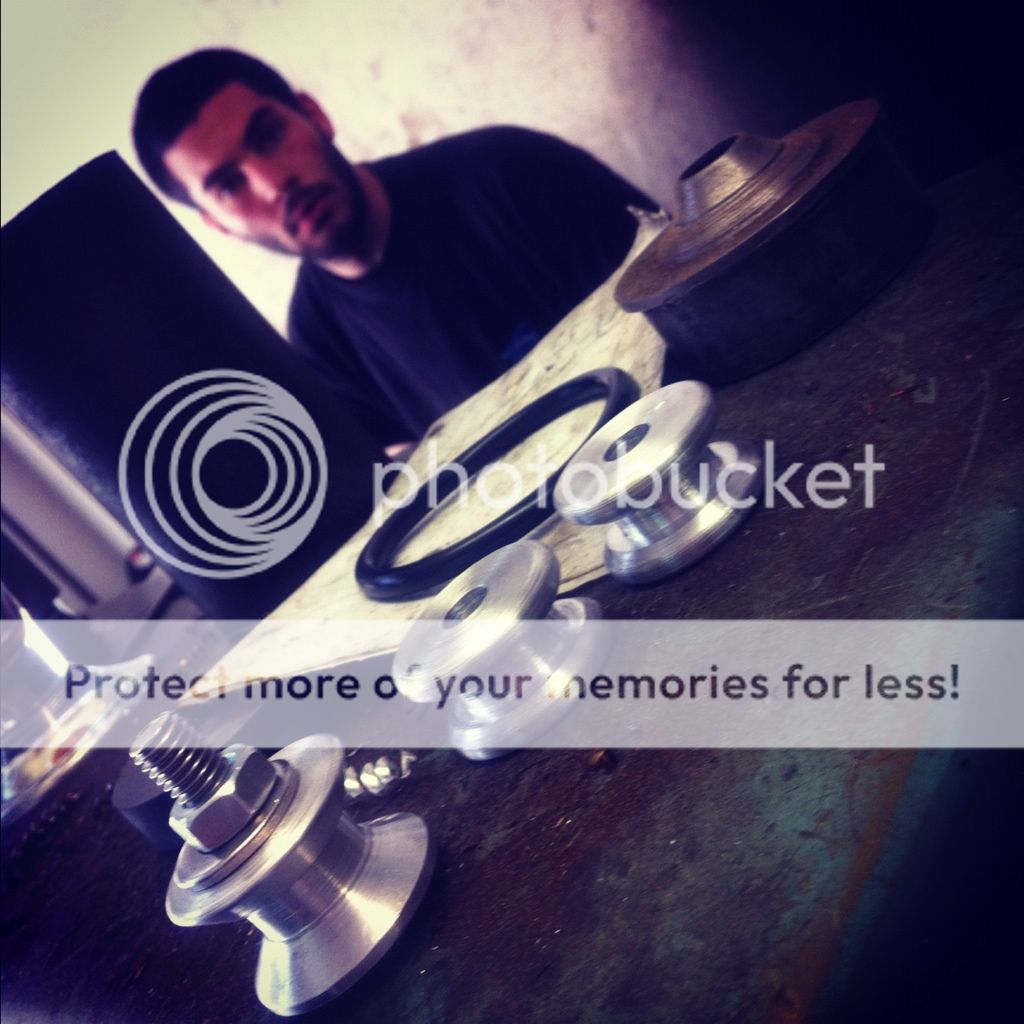
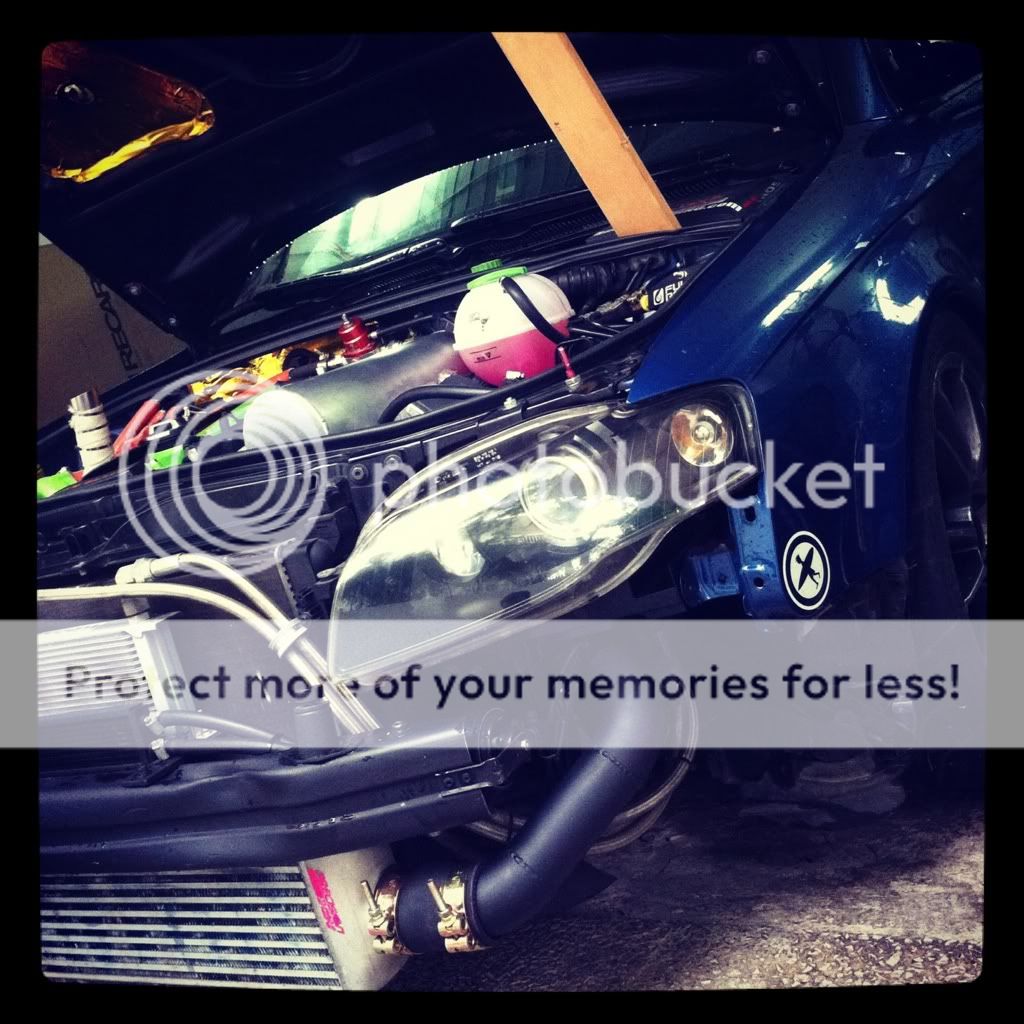
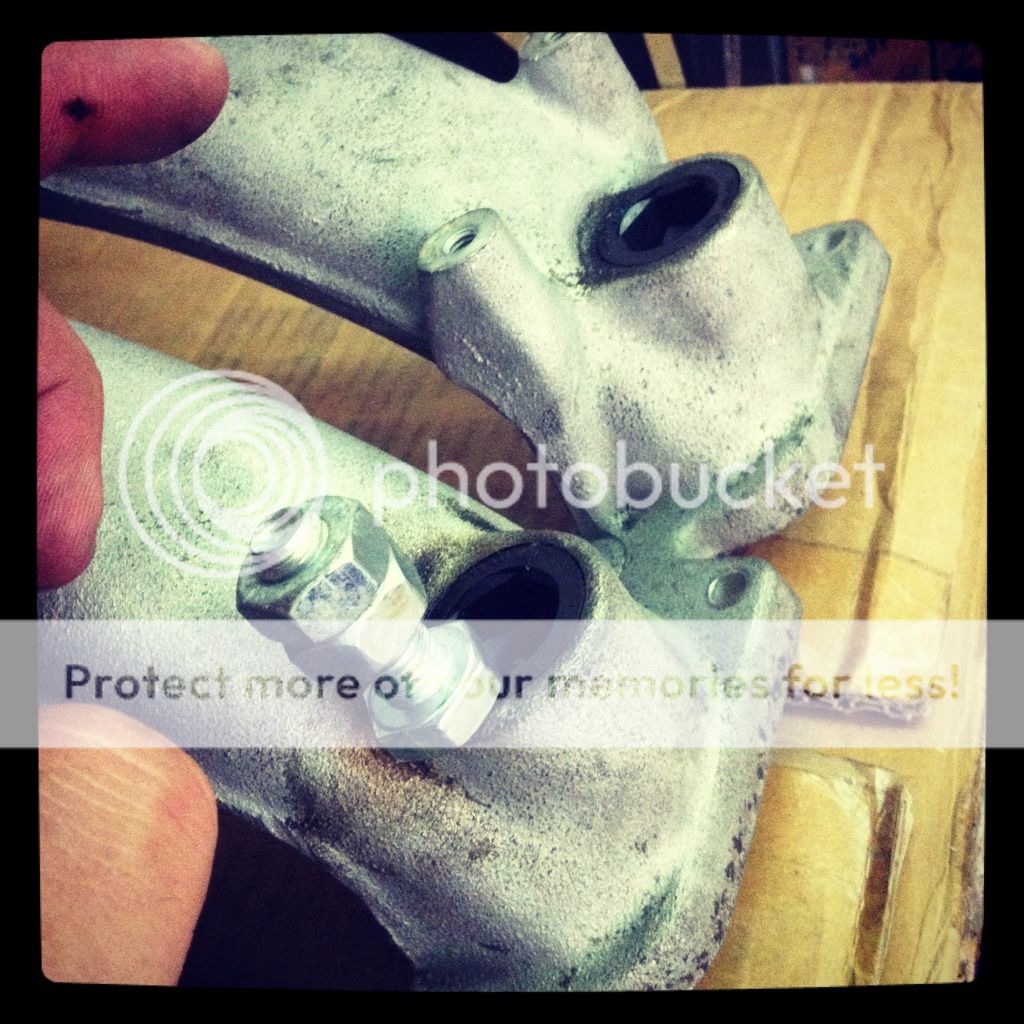
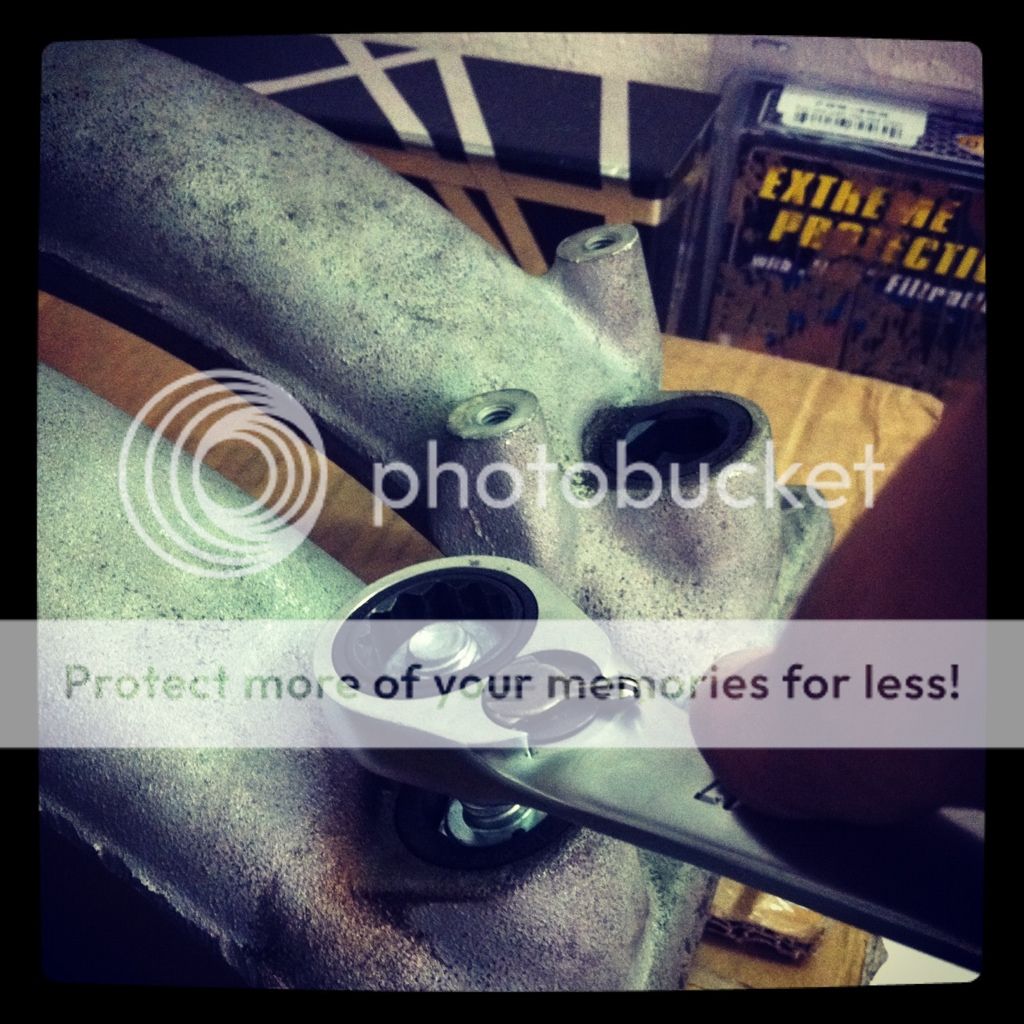
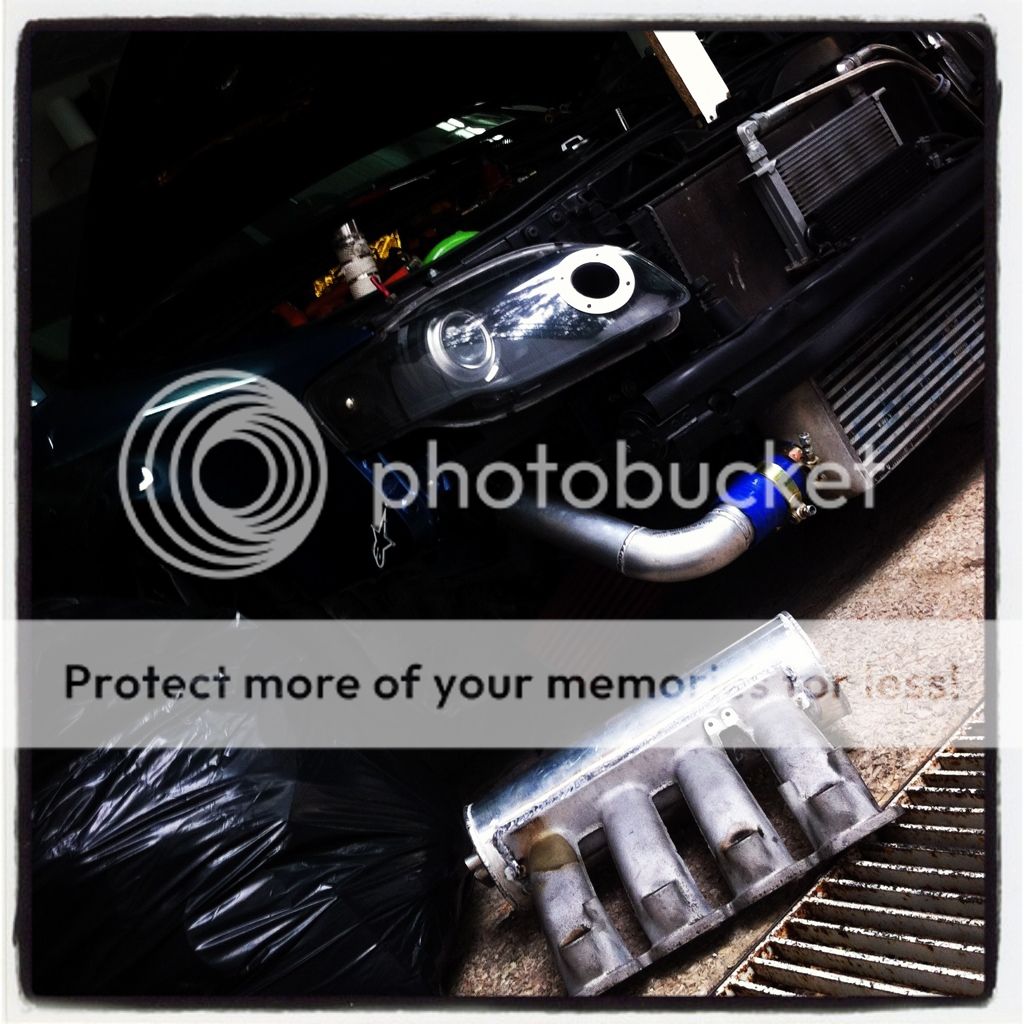
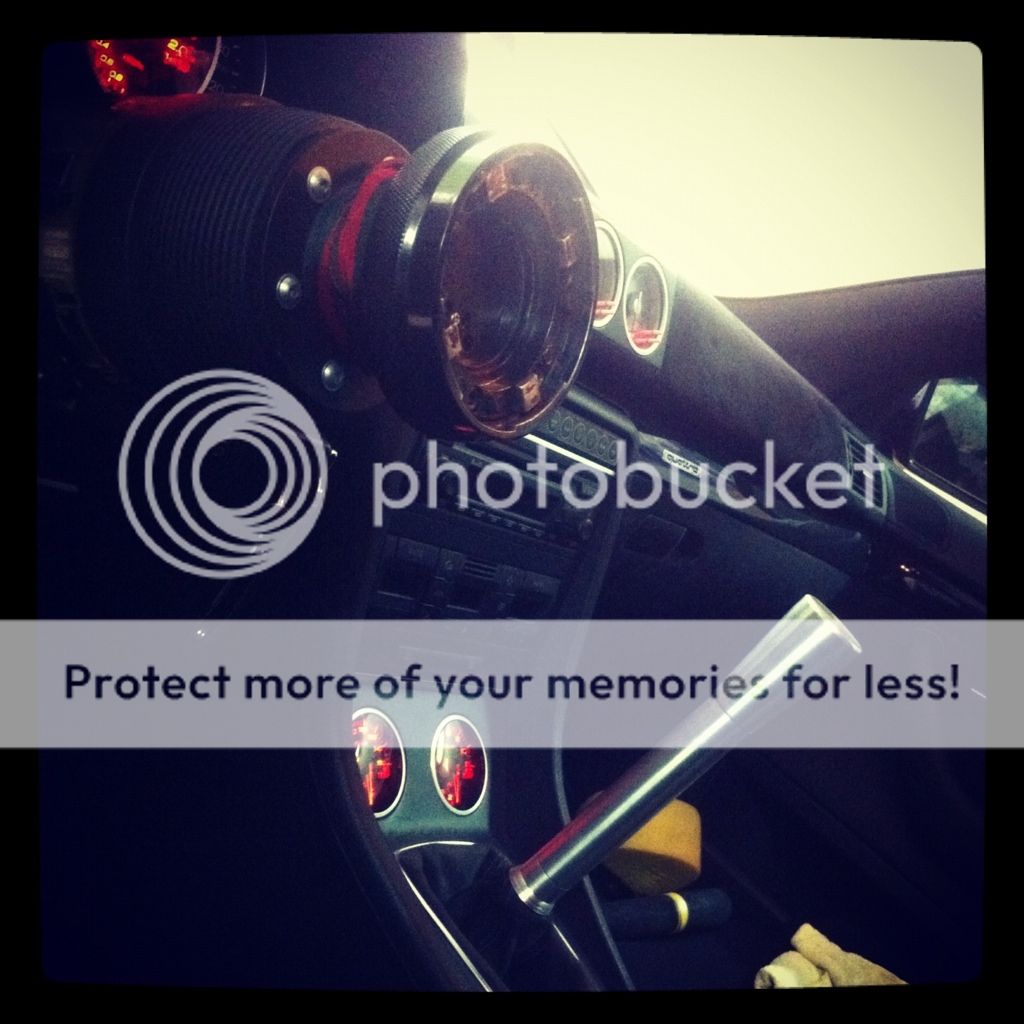
    And now for something that most people in here will love - a lot. Some detailing love for the car, once again.

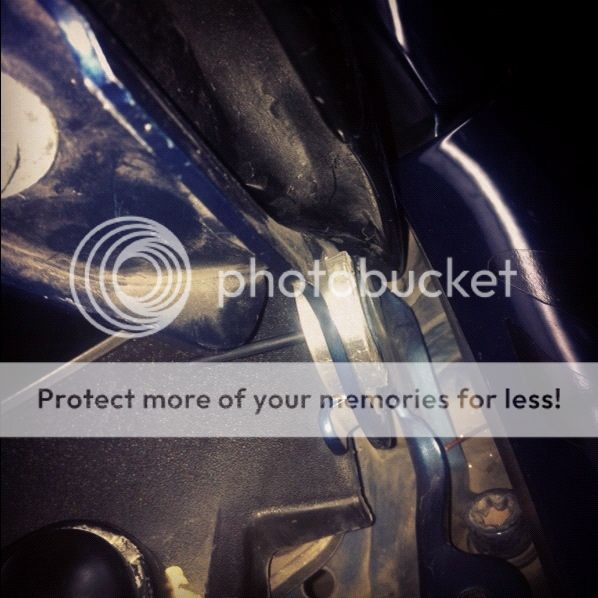
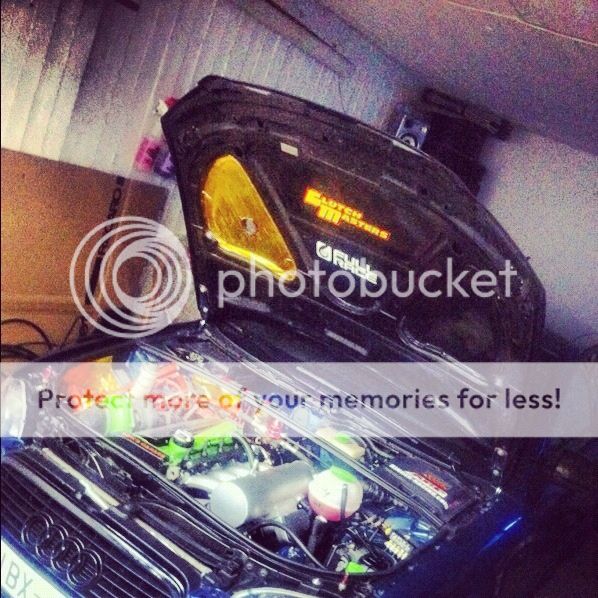
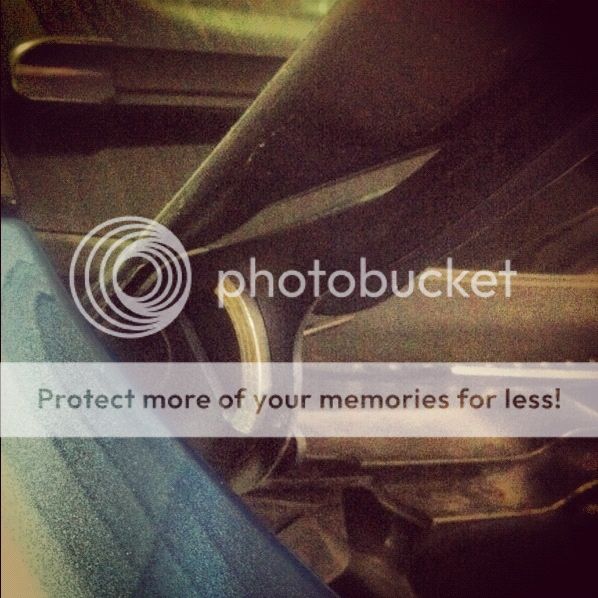
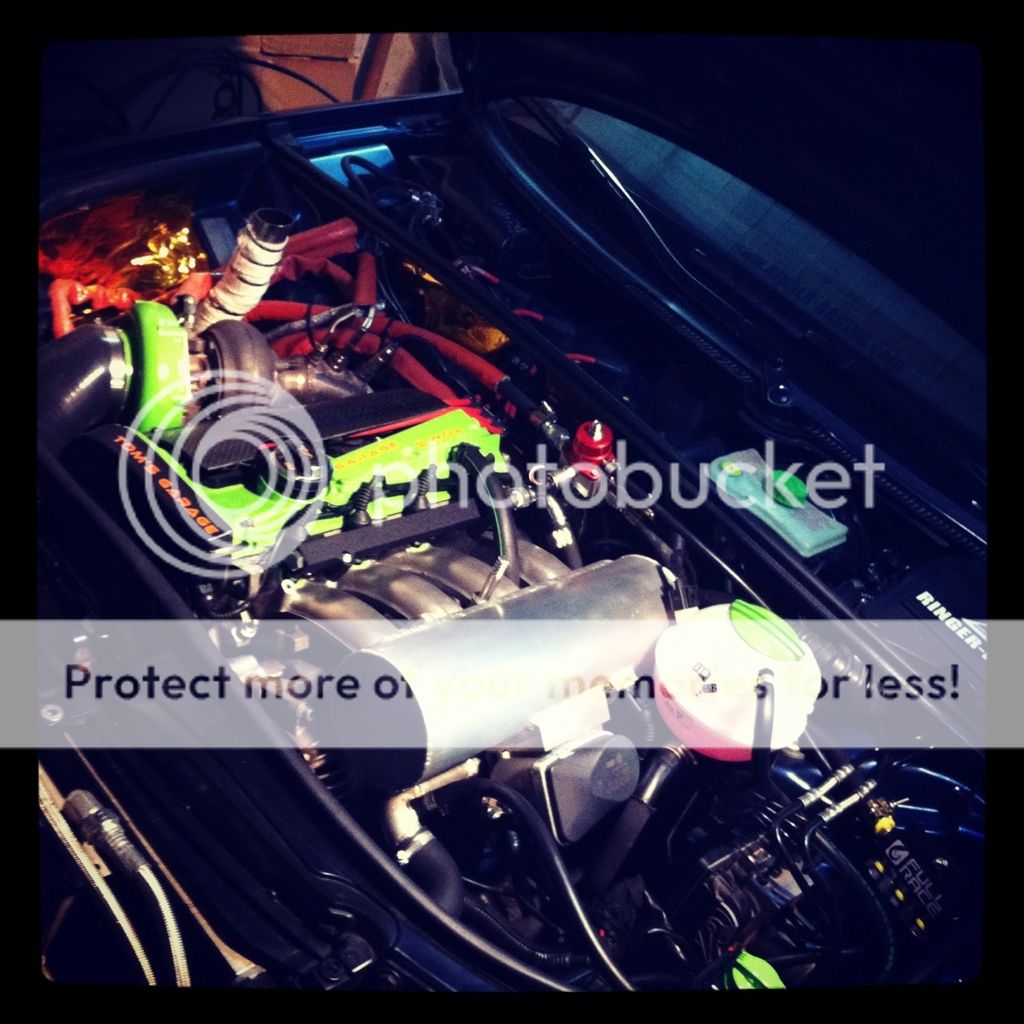
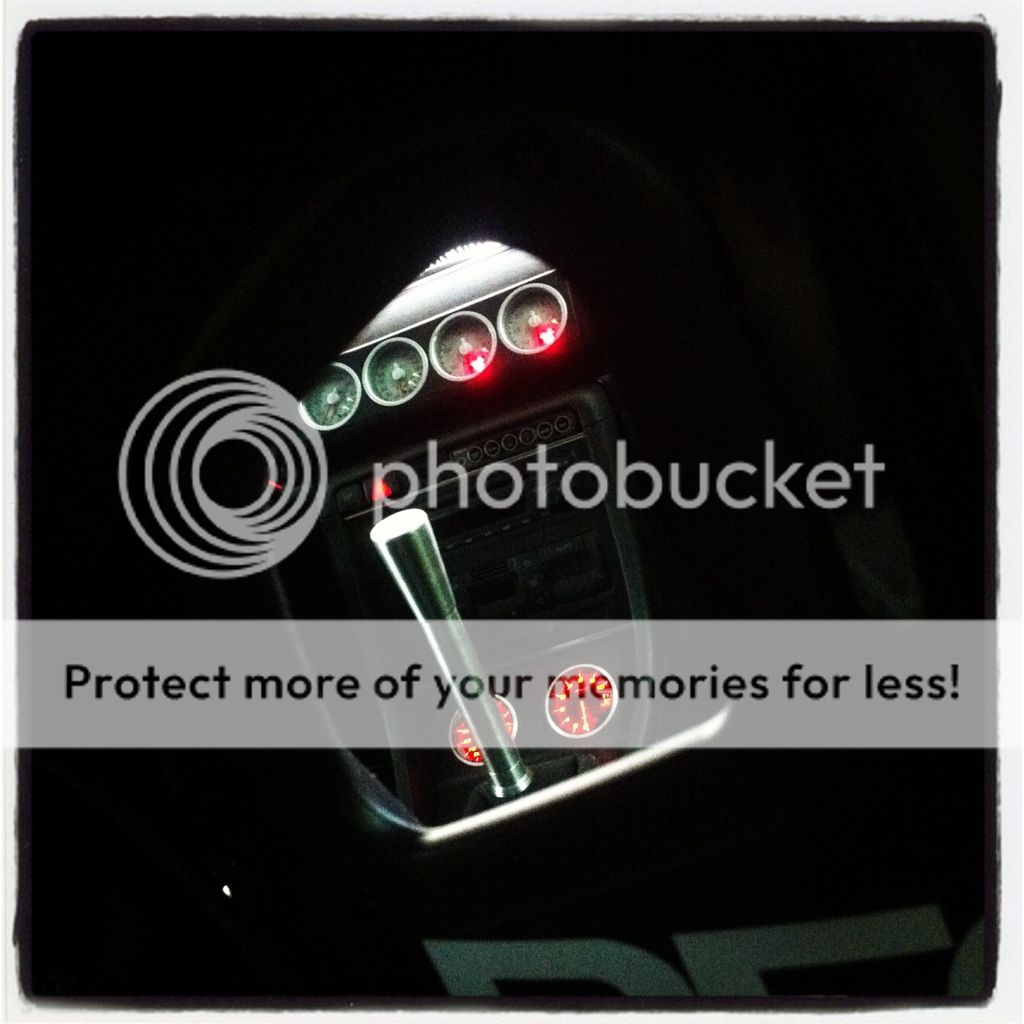
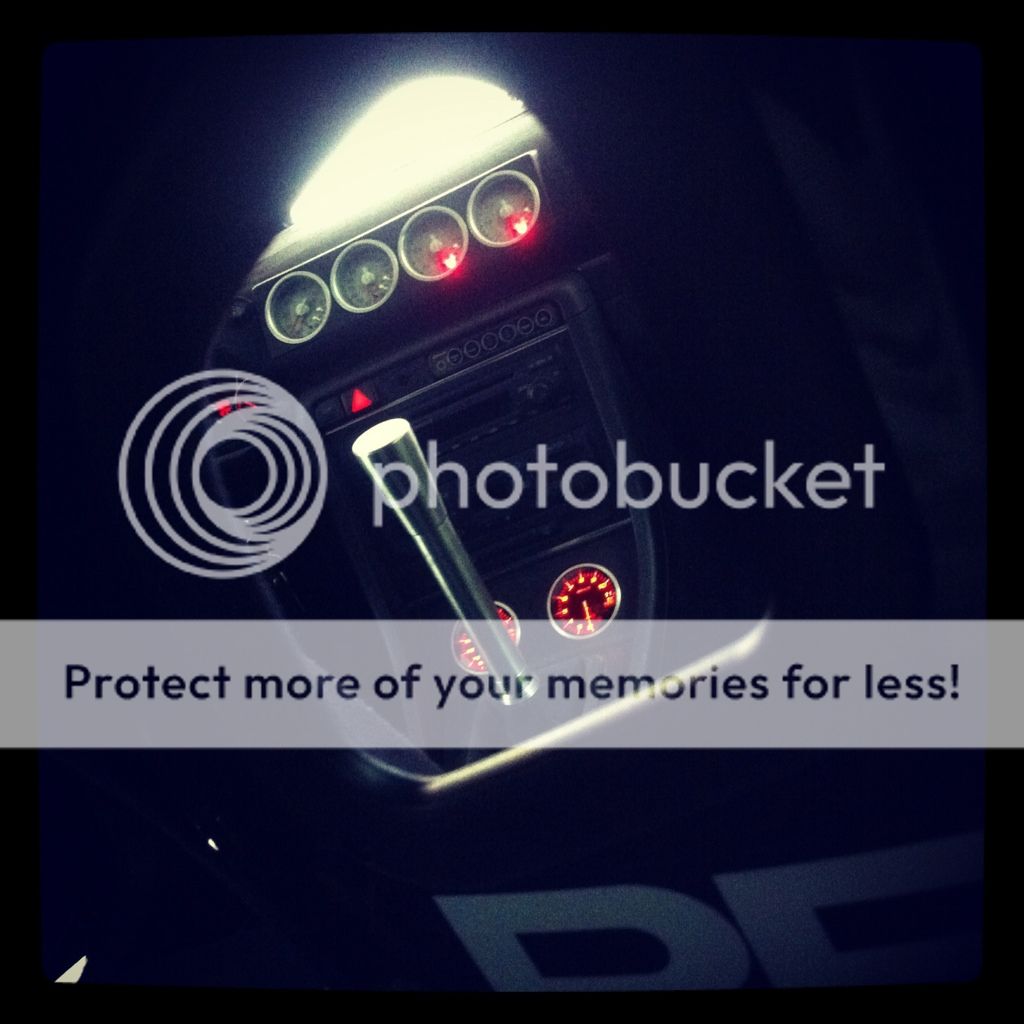
    Some teaser photos of a complete detailing session the lucky Audi had


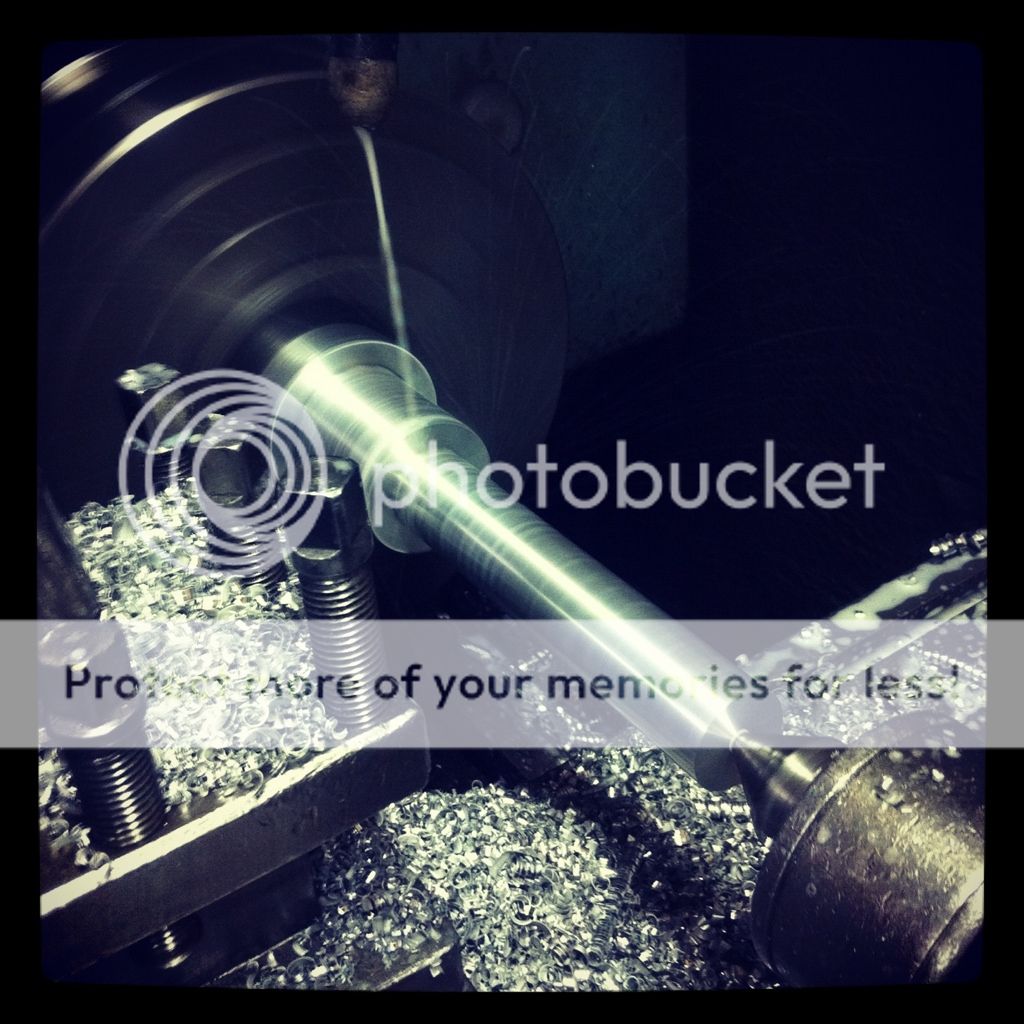
    And then out got the cameras . . .


    All the work was carried by DAZZLE Show Car Promotions Ltd. which is owned by two very close friends of mine. A special thanks to Andy Kyrgios.

    Full articles to follow - I hope Andy will make one sooner or later. Wont you now, Andy ::: : : :

    Cheers. :thumb::driver:

    Leave a comment:


  • mgpdoc
    replied
    Didnt manage to capture the proper ones, but here are some flames out of the hood- but for a good reason

    Hit HD Quality

    [ame="http://www.youtube.com/watch?v=vjP5Py82VbM"]Dump Tube_1 - YouTube[/ame]

    [ame="http://www.youtube.com/watch?v=HSIoDvNGr2k"]Dump_Tube 2 - YouTube[/ame]

    Leave a comment:


  • mgpdoc
    replied
    I hit him in the heart . . .


    LoL

    Removed some hardware . . .

    And the installed it . . .


    Cheers

    Leave a comment:


  • mgpdoc
    replied
    Got back from a long road run where we were testing files that Tom made.

    Various ones to both test the new Throttle body at various load numbers, and also make it work as it should with the huge plenum of the new intake manifold, which is like 4 times larger than the oem one.

    That is not so easy to do with just a lamda sensor to help you, but hey, Tom managed to do it.

    Many thanks of course, but mostly many props to him for that.

    Some pics of the hood after the pulls. It was polished and cleaned before, but look at what does the fire out of the dump tube do . . . . hehe . . . loving it


    Leave a comment:


  • mgpdoc
    replied
    Things have been happening quite fast these days . . .


    Aint no stopping now . . .


    Then tackled the installation of the quick-release bumper fasteners

    Some pics I took...

    Bumper off..


    And onto the installation...


    24 less bolts...less weight...next is the front end...

    Leave a comment:


  • mgpdoc
    replied
    So, back to the fabricating part I had left behind. Went to the shop with Thanos and made the quick-release bumper fasteners we had planned.


    Initial design - and final design next to each other


    O-rings I ordered to my specs


    Started making more


    And yet more, hahaha


    And then,gave them the look and finish we wanted


    After that, we set to making it accept the bolt we wanted, making it flush . .


    Like this . . .


    I think it will look awesome. Especially painted in black and with the bolt making the right contrast. Made for both front and rear bumper.

    If anyone wants some of those, let me know.

    Oh, and I ordered a set of these as well to test some more things on my car.


    The kit we made for me is ready to be fitted to my bumpers . . .


    And then I painted all of them in satin black, they came out great.

    Just some quick pics to show how it will fit . . .


    Now I needed to find some time to fit them properly.

    Cheers - plenty to come . . .

    Leave a comment:


  • mgpdoc
    replied
    So another small update on an issue I wanted to sort out for a long time since I had the CF hood.
    Something to keep it on. Yes I had a hing made, however it was pretty heavy for my needs.

    So with the friend of my friend Thanos once again, we fabricated something small, yet suitable to get the job done . . .


    Fits like this . . .


    Even one can keep the hood, since it is only 4-5kgs, but we made two, to be sure.

    And voila, hood seems to be magically kept open


    And a pic of the car. She is mad.

    Leave a comment:


  • mgpdoc
    replied
    So, it was time to installed the fabricated parts and for the pieces to come together . . .

    New custom water pipe, fitted below the Intake manifold . . .


    Pic of FULL-RACE vacuum station


    Car started at 01.00 am, hehe, and it was ready to go to the shop the next day for the IC to TB pipe.


    There it was, first thing in the morning,


    Pipe all ready, REALLY light compared to my previous, and shorter one . . .


    This had the same treatment as the other pipe - primed first with ETCH alu primer


    And then painted in flat black


    And this time, I had my Bov exactly where I wanted it to be . . .


    Installed . . .


    And the engine bay as it stands at the moment . . .


    Better than it has ever been in my opinion, in terms of compoments installed, looks, and unnecessary things removed.

    Cheers

    Leave a comment:


  • mgpdoc
    replied
    Did some more work on the car with Tom. . . .

    Painted the IM injectors caps / adapters


    And some more


    Problem with water pipe - and the solution on the left - but with lighter materials, again aluminium for the win


    A mock-up Tom made


    Almost ready to be welded


    Made a bracket for the Vacuum Station


    Ehhhhhmmmm..I guess Tom is thinking when will he stop doing **** on this car . . . .


    Then he had the idea of removing the unused bracket of the oem coolant tank .

    So I did, hehe


    Will be painting this


    Oh and this ESP/ABS unit bracket - useless and quite heavy (pain in the ass to remove though . . . ) - bye bye


    More testing . . .


    Fuel Rail on to check clearance


    Getting there . . .

    Leave a comment:


  • mgpdoc
    replied
    So I decided to go for a fabricated - raw aluminium look - so we started sanding - boy a pain in the ass . . . but it pays off eventually . . .

    Some teasers pics for now, as I have little time to upload pics at the moment


    Turbo to IC pipe - painted by me, I really like how it turned out , plus going all black hoses - no more blue ones


    More testing and prepping


    Coolant pipe is being modified a lot and propably painted as well. Not sure on colours yet, but propably Kawasaki green for the pipe.

    A pic of the hot side of the IC fitted


    More to come.

    Cheers

    Leave a comment:


  • mgpdoc
    replied
    I was patient to wait for the shop to make the welding to the IM.

    So here are some pics.


    Finished welding


    And removed the injector holes to paint them.

    Used this method


    Now, I havent yet decided what colour to go with and what finish. I was about to re-do the colour in Audi Lava-grey. However, I really like the fab-look, the welding and all, and I was thinking to polish this. Either in a shop, or by myself. Leaning towards the polish . . . What do you think ?

    Also here is a pic of the first IC pipe that is ready in Alu instead of SS - at last (less front end weight- lower temp)


    On another note - I bought this to charge my battery due to the car not working for some days now - and me -stupid - forgetting to disconnect it


    Then when I had some free time - and nothing to do on the car, I remembered this


    Then saw this


    And then I did it myself - even though in the B7 the difference is much of one to see , they are almost the same from factory


    They came out awesome , all-red in person, and I will try it on a B6 pretty soon as well to see how it will look.

    Also bought some new material . . .


    Cause you know me . . I always have some new ideas . . .


    That's it for now, going to the garage to see what I will do with the IM finish . . .

    Leave a comment:


  • mgpdoc
    replied
    Time to show you guys the final product look of this -


    Bolted the boot adapter


    And there we have it


    I really enjoyed this one, both the process, and the final result . . . really loved it

    Leave a comment:


  • mgpdoc
    replied
    Ok, so, I managed to find some time after work, and do some work with Thanos on the piece of metal I showed you . . .

    So started working on it . . .


    More . . .


    And then some more . . .


    Some more drilling and bolt pattern making - with the help of Fanta Orange Drink there, hehe


    Come on Thanos - do work - stop fooling around


    Then back on the machining process to work on the upper part of it . . .


    Pretty obvious by now how it will look now . . . Or isnt it . . .


    Awesome finish, just like I wanted it - simple - pure metal aluminium finish - art


    And then made something else - the thing that keeps the alcantara shift boot in place - I already had one in black - but wanted one in same finish . . . so . . .


    There you have them . . . .


    Finished products . . .


    Very soon on the car when I do something I need to the gear stick

    Thanks again Thanos for the great day , hehe

    Leave a comment:


  • mgpdoc
    replied
    Updates -

    Intake Manifold is sent for welding, since we dont have an aluminium welder - just yet.

    Pics of some parts that were collected in the past two days . . .


    Made some adjustments to the vacuum station with some block-offs


    Remember the first prototype of the dump tube protection ?

    Well it got a bit more love and work by Thanos


    Seems interesting doesnt it . . .

    Here's what did I use to make my pump a bit quiet, here are the pics I have


    And, I also received these


    YEAAAAAAAAAH

    Leave a comment:


  • mgpdoc
    replied
    Now you see, where this is going . . .

    Some more pics. . .


    More work done - mock-up - trying to see where it will sit - new coolant tank location - vacuum station, etc etc . . .

    Photos . .

    Decisions . . decisions . . .


    Hello AEB head . . .


    Bye Bye AEB Manifold . . . This one will go for sale I guess . . .


    Well AeroCatch hood pins , can have more uses than what you think . . . hoho . . .


    Took bumper off to remove the IC pipes which will be redone in Aluminum as well.


    Let's throw the IM on . . .


    It fits, and it clears the alternator as well.

    Work bigger or smaller is needed on several smallparts - ie coolant tank - vacuum station, tabs for them, new hoses, new pipes etc etc. We will also modify the coolant pipe that goes over the IM.

    Also this will be used at last - but with some different fittings to suit my setup


    I also modified the coolant tank a bit . . .

    Watch the tabs . Now you see 'em . . .


    Now you dont . . .


    And a photo I liked , work at the garage at midnight - Cheers !

    Leave a comment:

Working...
X