If this is your first visit, be sure to
check out the FAQ by clicking the
link above. You may have to register
before you can post: click the register link above to proceed. To start viewing messages,
select the forum that you want to visit from the selection below.
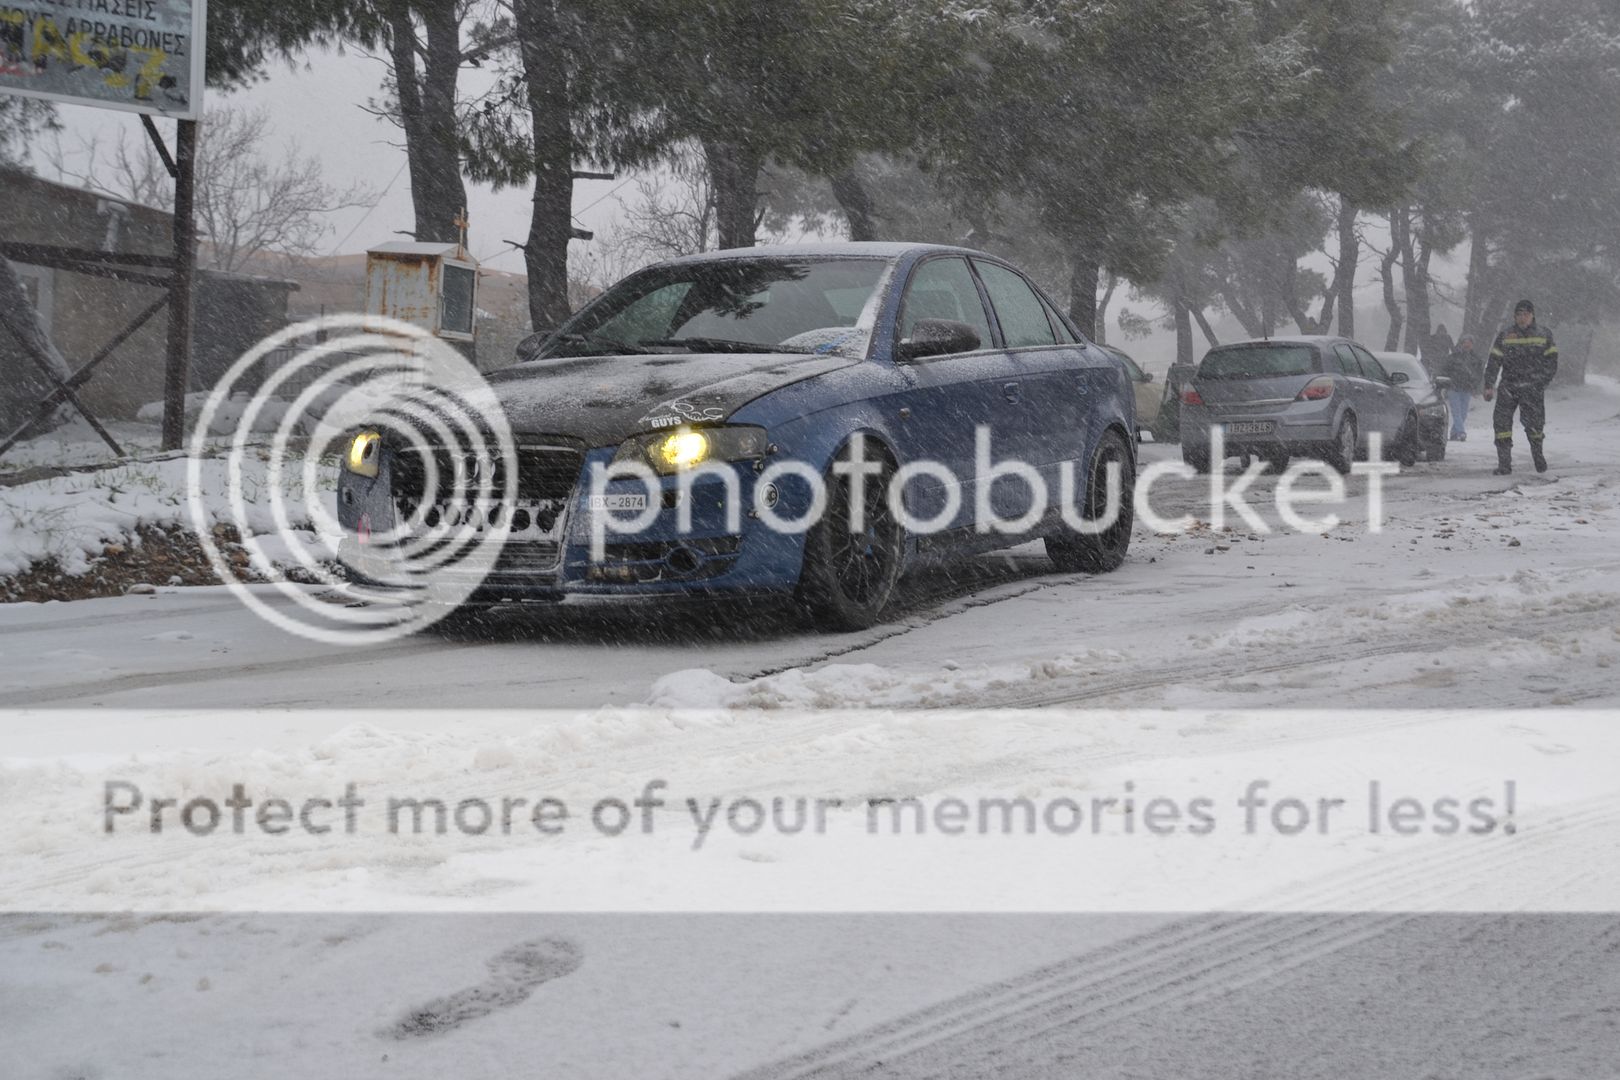
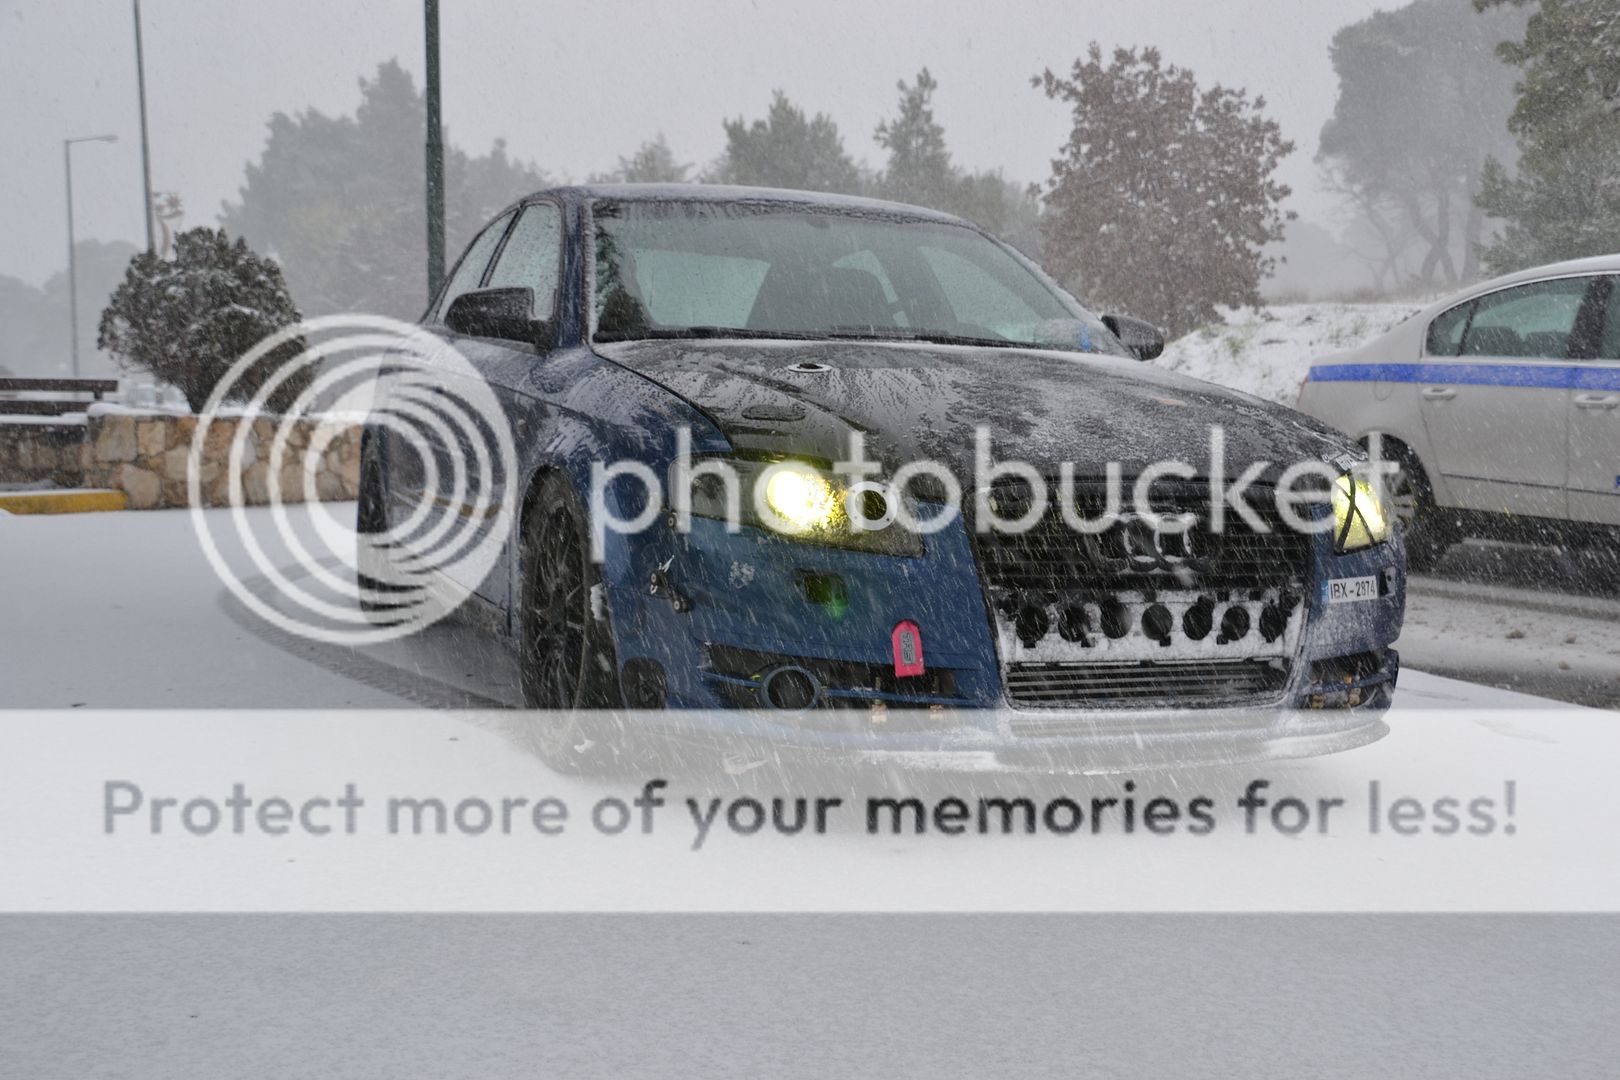
So some more pics from the snow-day. Despite the fact that the car was super clean, and polished, I decided to go out on the snow, like I always do. Despite my semi-slick tires, as well.
It soon got really bad
But I was there already, so I enjoyed it
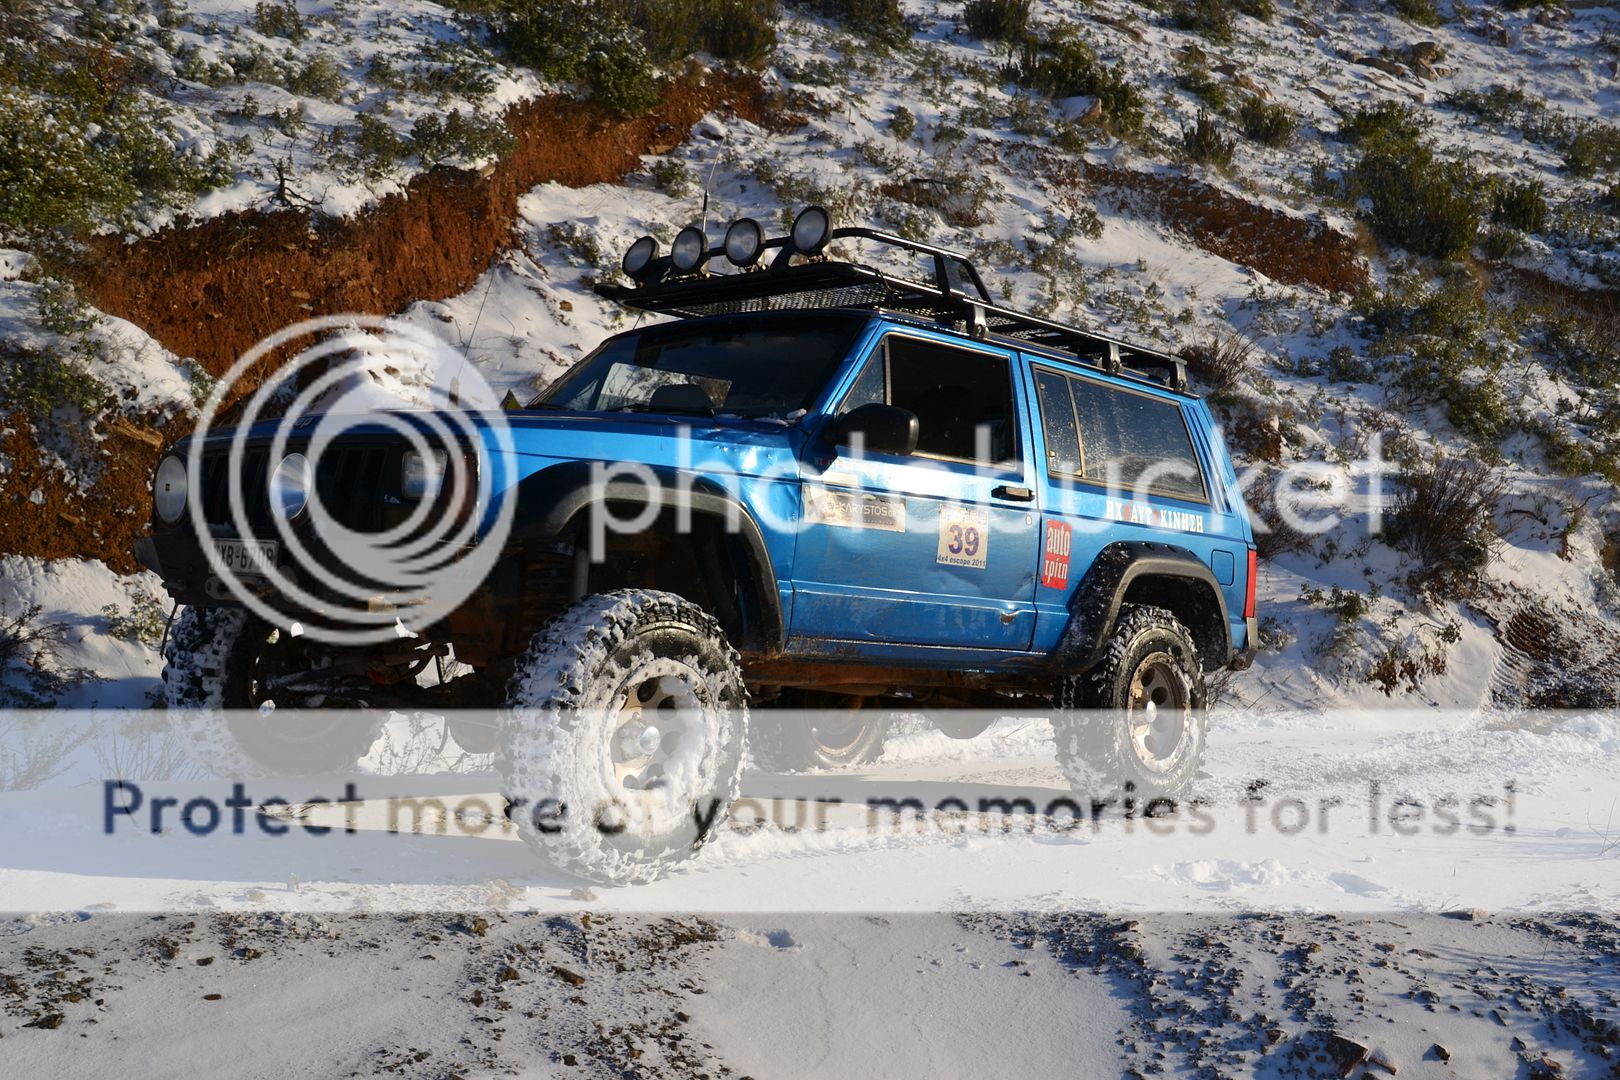
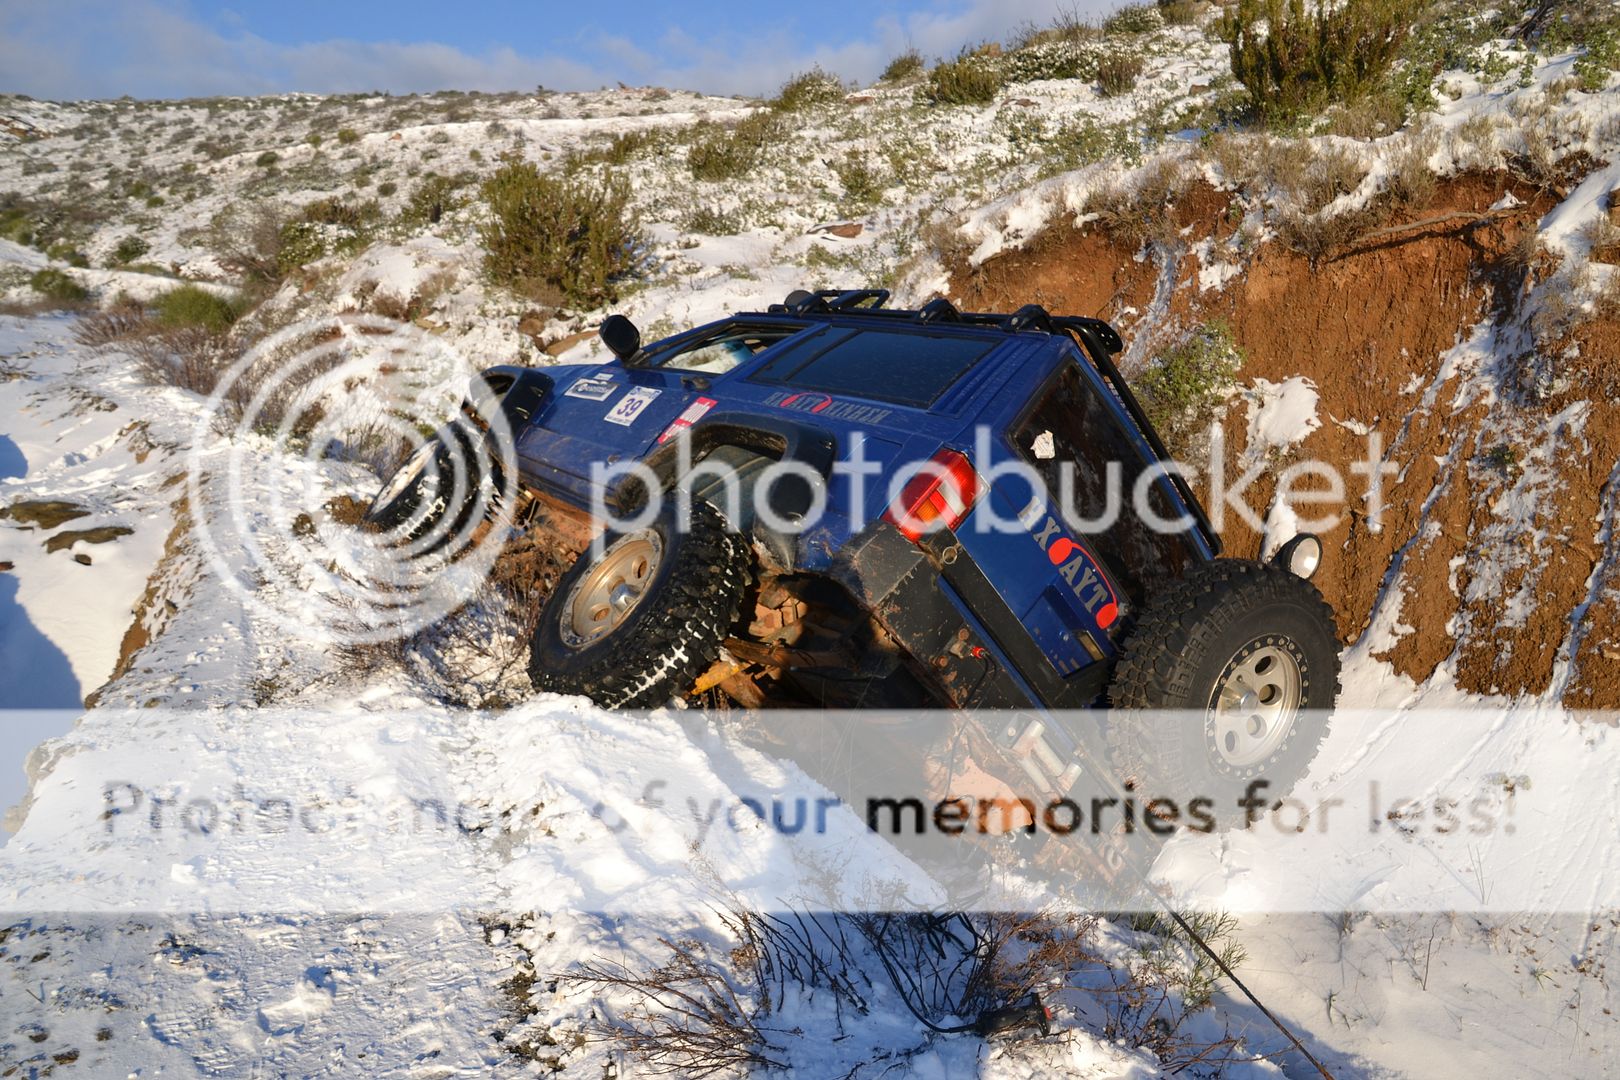
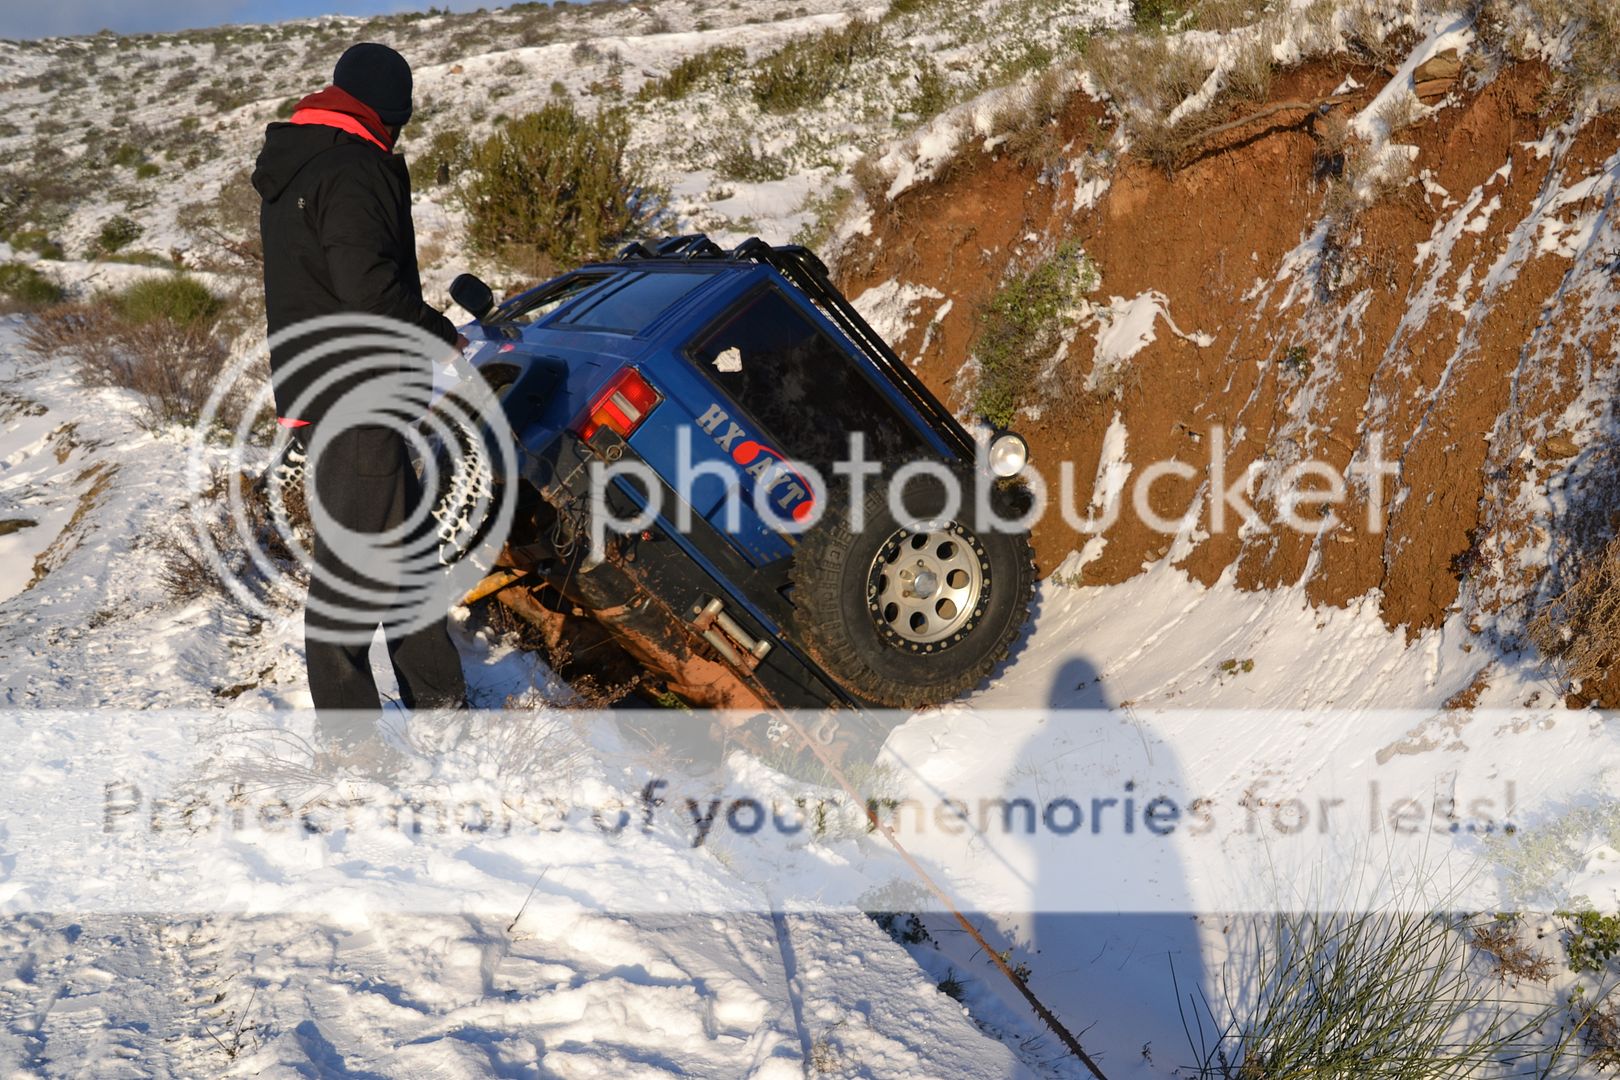
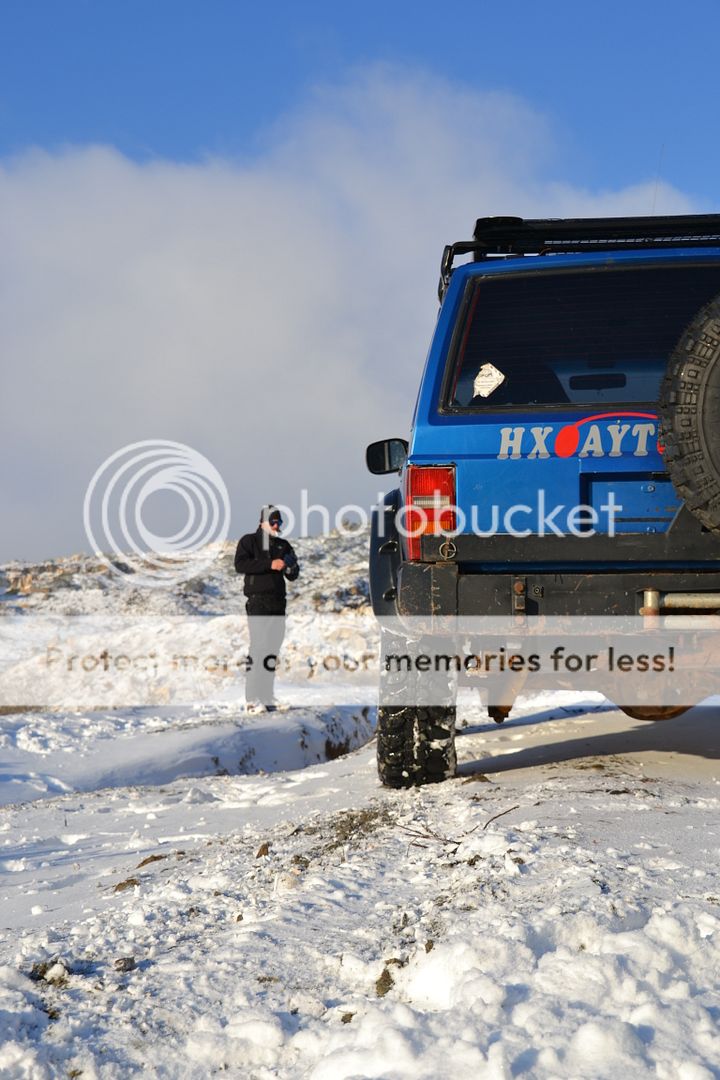
But then, we decided to go play with some proper tools on the mountain
We were some off-road vehicles there, Cherokees, Wranglers, G500 MB, Grand Cherokees and more.
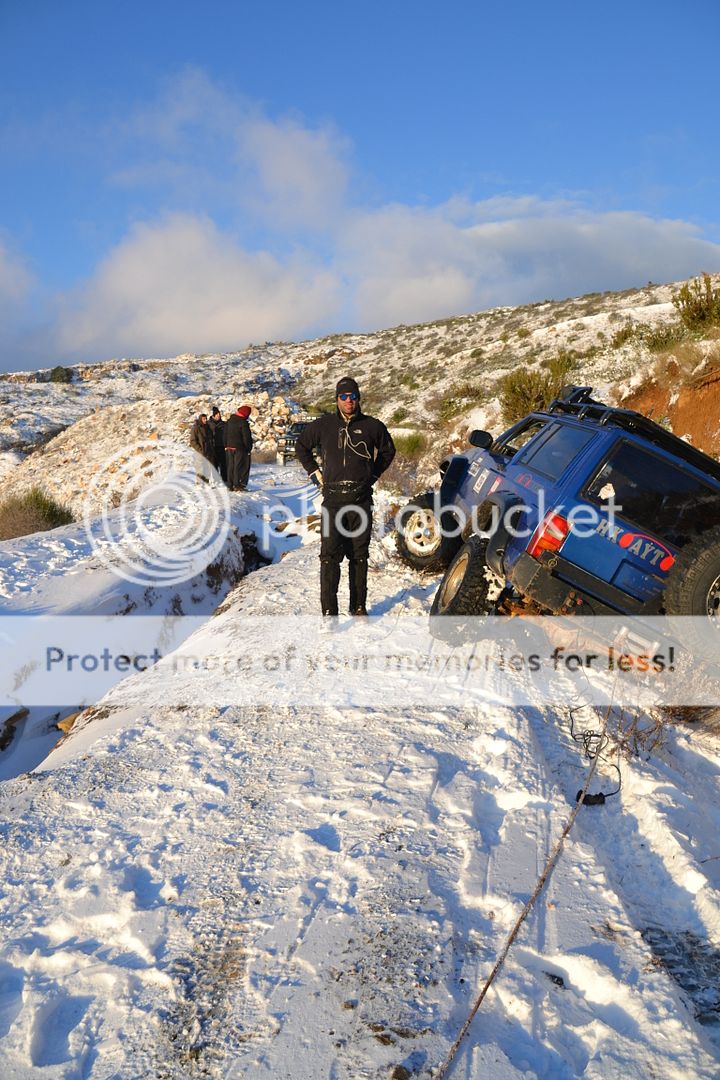
Also found two lost beauties while on the mountain
So, some days ago I had bought some red material. Well I bought so as to do a little project that I wanted for some time now, but was always either bored to take off what was needed, or didnt have time to do it. So . . .
Started from passenger's side, and took the door card off
Removed this part
And then also removed these
I guess you can tell where this is heading by now . . .
Testing my skills on making something like this
And then going bigger
Didnt use the thick one in the end, opted for the thinner one
Started test fitting
Everything seemed perfect
Putting the door card back together
And let's see how we did
Moving on to the driver's side
Removed
Bye bye - yet still usable
Marking where the cutting will take place
Almost done
Test fitting this colour as well - not bad
And driver's side ready too
All in all a very nice and subtle mod - an inspiration I had from the GT3 of course
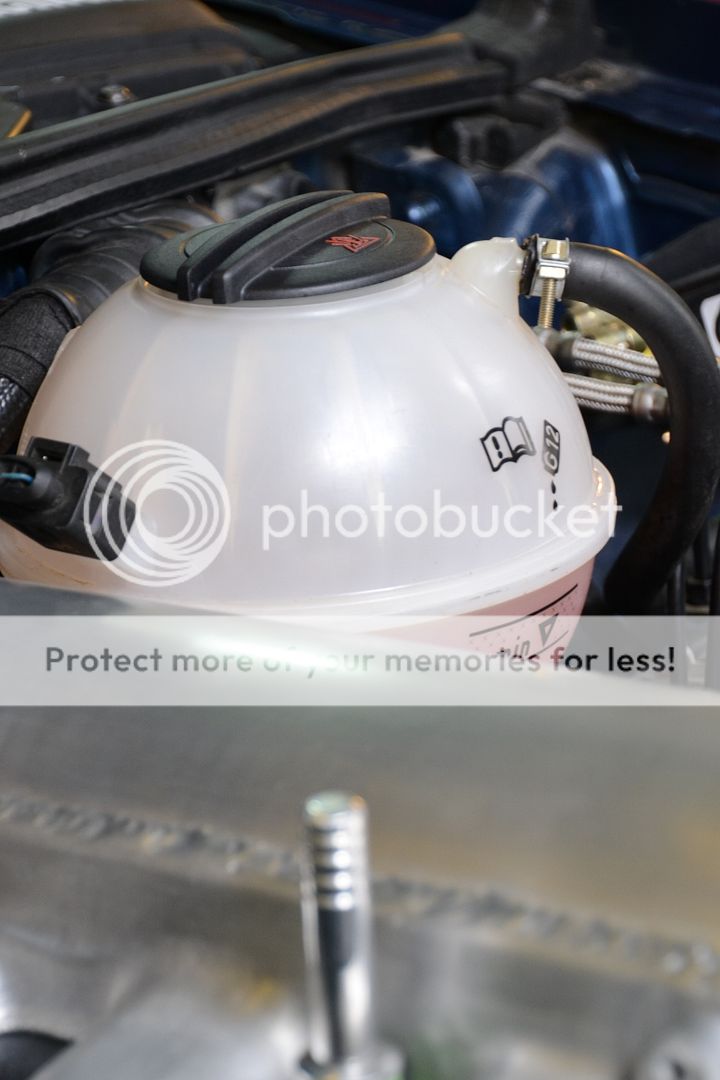
It was time for maintenance. After all I want to keep this engine at its best. Do you know the funny thing. We just realised that so much time after we had done the engine build, nothing was removed again since then.
So time for some new lifters, new oem chain tensioner, new chain, new belt, new IE mechanical tensioner conversion, new everything actually.
Valve cover off, and time to clean it, in order to do something I wanted for a while.
Hello my beloved cams
Take some rest off the car, in order to remove the lifters , LoL
Old lifters, Old Cam Chain Tensioner, Old Bolts, all those to be replaced
Prepping . . .
Welcome new lifters
While Tom was busy with the engine, I did something I was better at
Almost ready.
Since head was ready, we turned into installing the new IE things. Mechanical tensioner conversion.
Till that time, we had not removed the front end, we had changed belt again, without removing the front end, it was not a first time for this. So we test fitted it.
However . . .
Here you can see a difference
There is a difference due to the fact that the kit supplies you with a M10 stud, whereas the hole in the head is for a M8 one. We could just fit the new one on the M8 stud. However Tom decided to remove the front end, and make the M10 fit there as it should. Let's face it, vibrations are there, especially at 8500+ rpm so, it would be best with the M10.
So, more to come guys .
--------given I did some shopping today, updates are to come for sure - LoL
Ι wanted to refresh the way I had previously mounted my APEX-i valve
So I did -
With rubber between the valve and the chassis, cause otherwise vibration will come in the cabin from the valve working - it is funny, but annoying when you are about to boost - lol
Finally, I got to installing the battery. I wanted to place it lower this time, so I chose this spot to begin with
At this point, I used heavy duty velcro to keep it in place - even with this way, the battery wouldnt move at all under heavy braking, acceleration, cornering, anything. But ofcourse it would not stay that way.
Started fabricating the aluminum bracket I wanted to make
Starting to take shape
I opted for raw brushed look
Covered it with this black velcro to have no vibrations at all
Drilled the floor, and then used these rivets to directly fit them bolts M8 in them
Like so
Removed excess wire not needed
Used my favorite TESA product
Keeping it subtle
Making progress
And with the help of these
Ah, much better
Readings were higher than the big Bosch battery, and the car started easier than before - didnt expect that.
So bye bye old battery
and old bracket
which were in total 40lbs - so that is a total of 25lbs(11kg) off the car - not bad at all I might say.


Leave a comment: