Announcement

Collapse
No announcement yet.

Audi A4 BAT - Quattro Project by Tom's Garage

Collapse
X
 
  • Filter
  • Time
  • Show
Clear All
new posts

  • mgpdoc
    replied
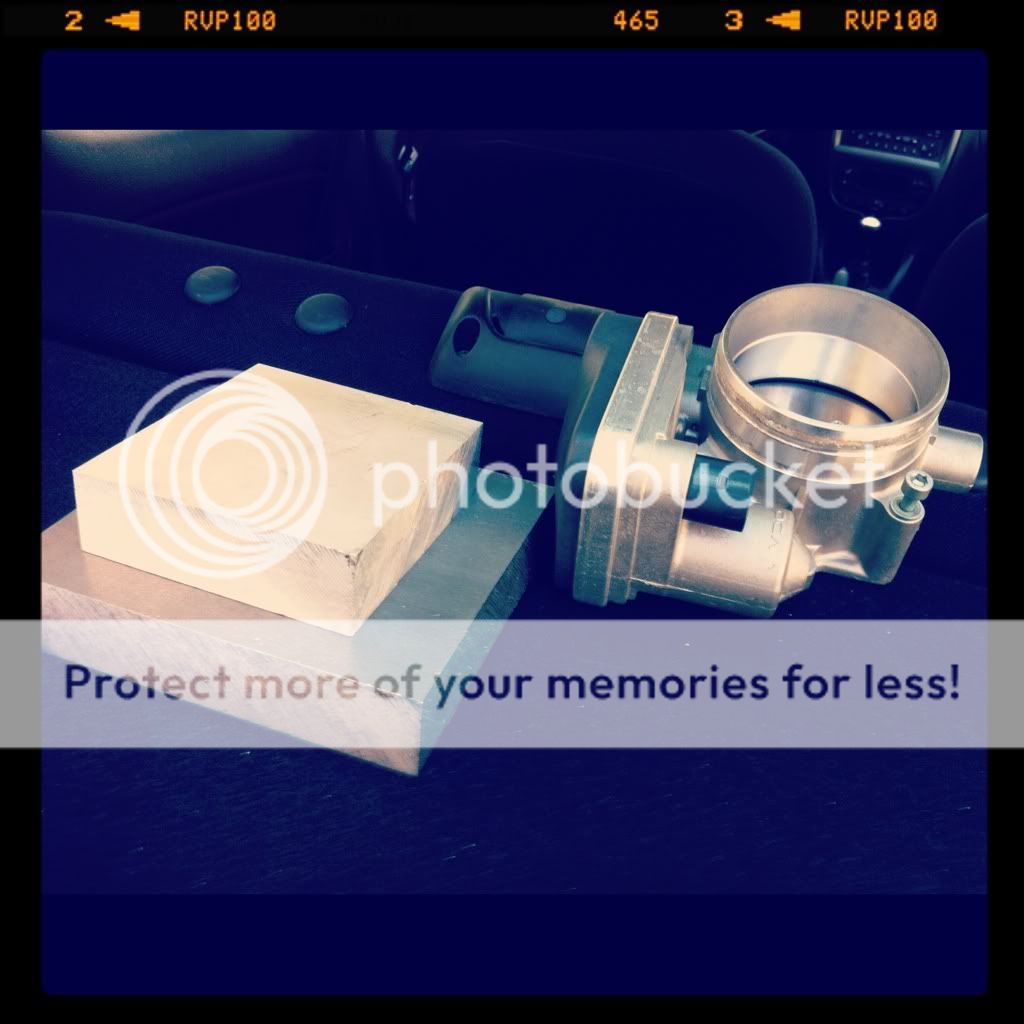
    So more work was done today on the manifold process . . .

    Pics to explain better . . .

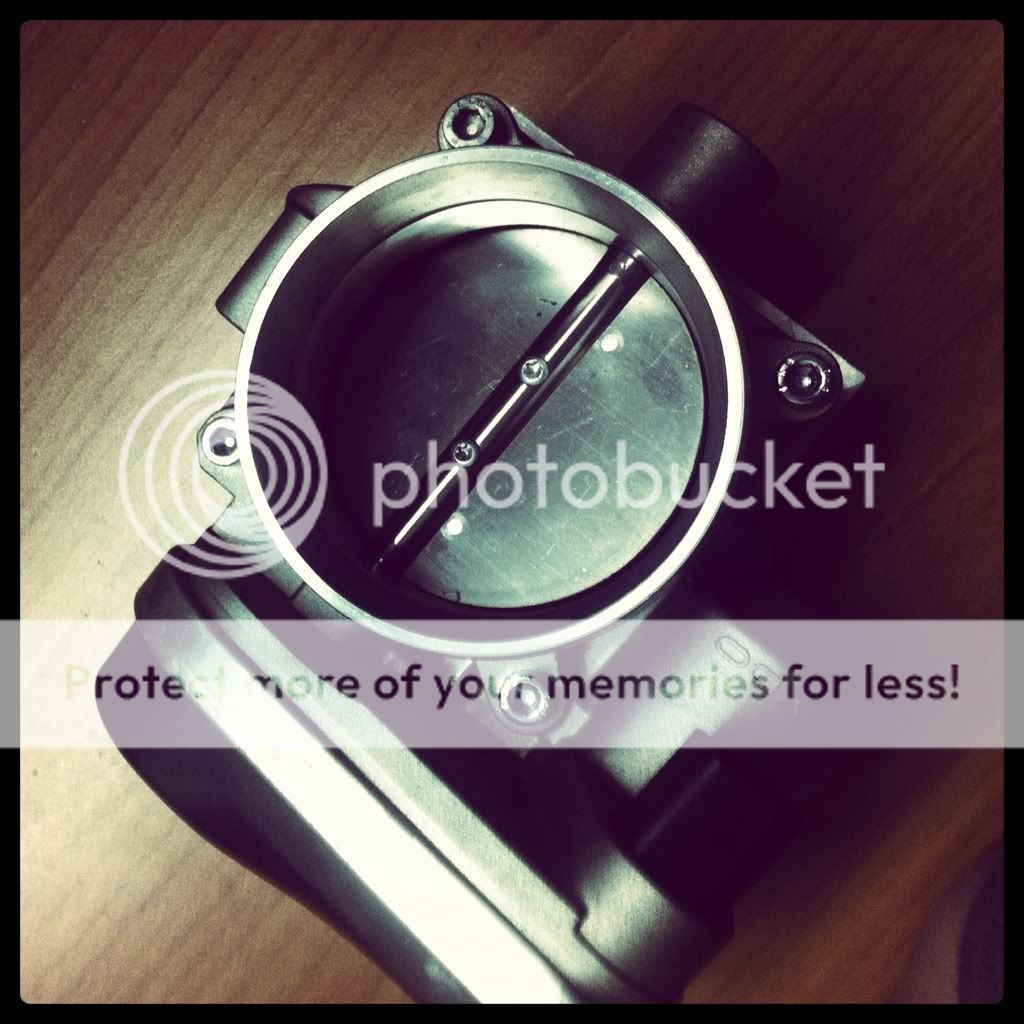
    We first made a ring on the TB flange , for the OEM .:R32 rubber gasket to sit in, as it does in oem manifold.


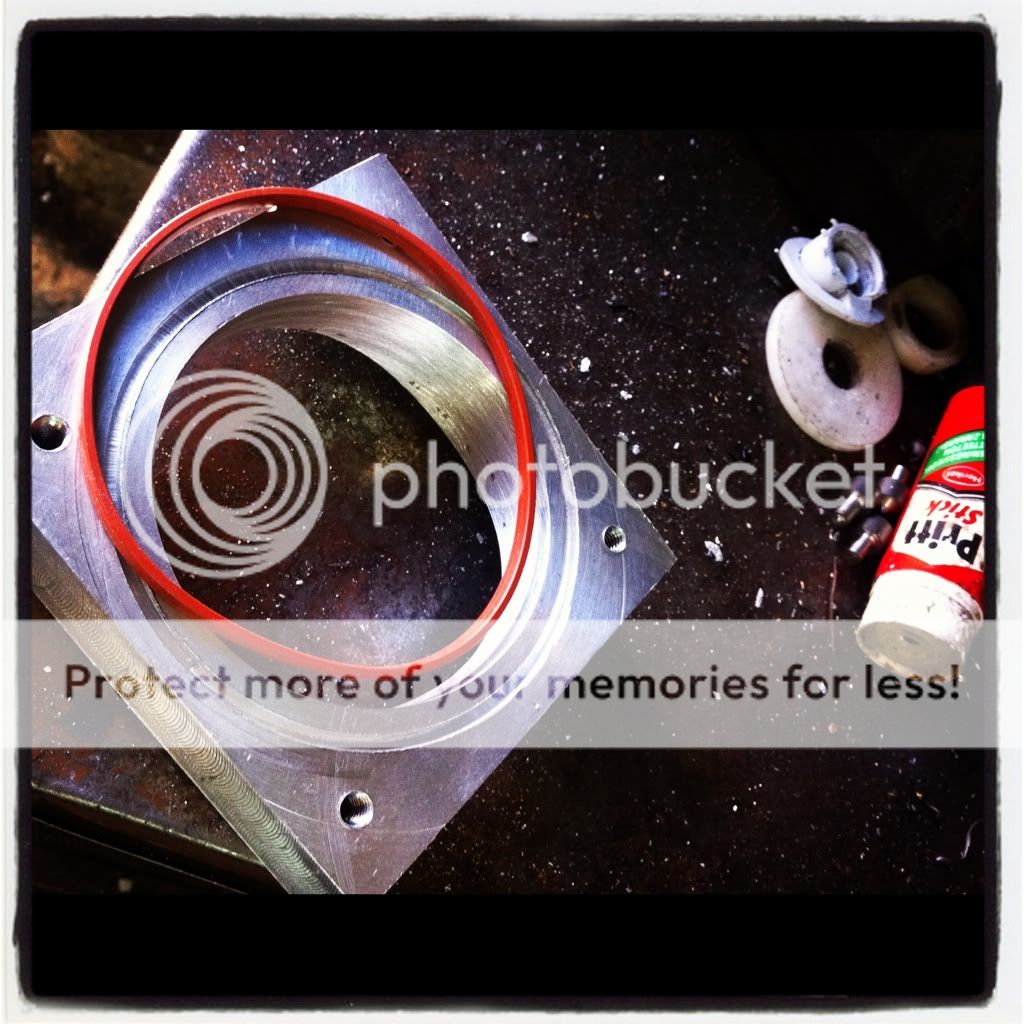
    I really loved how it was done - perfect finish and quality overall I think . . .


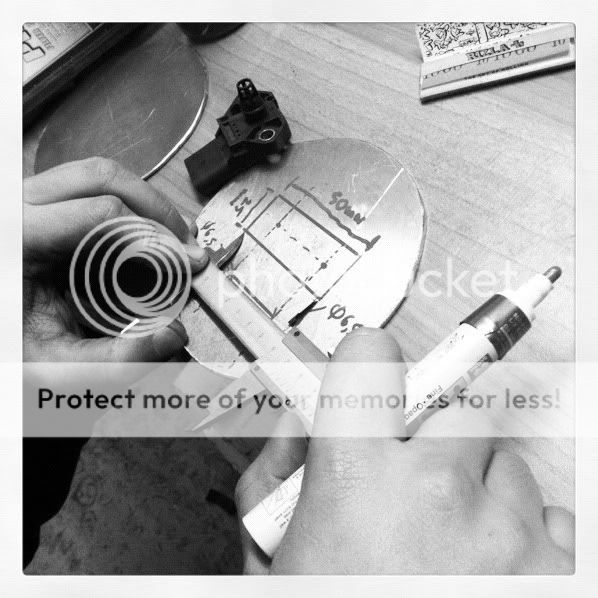
    Then, it was time for the plate for the IAT to sit in . . .


    And then, a new one for the map sensor - for when the IC pipes are replaced by aluminium ones along with the IM installation .


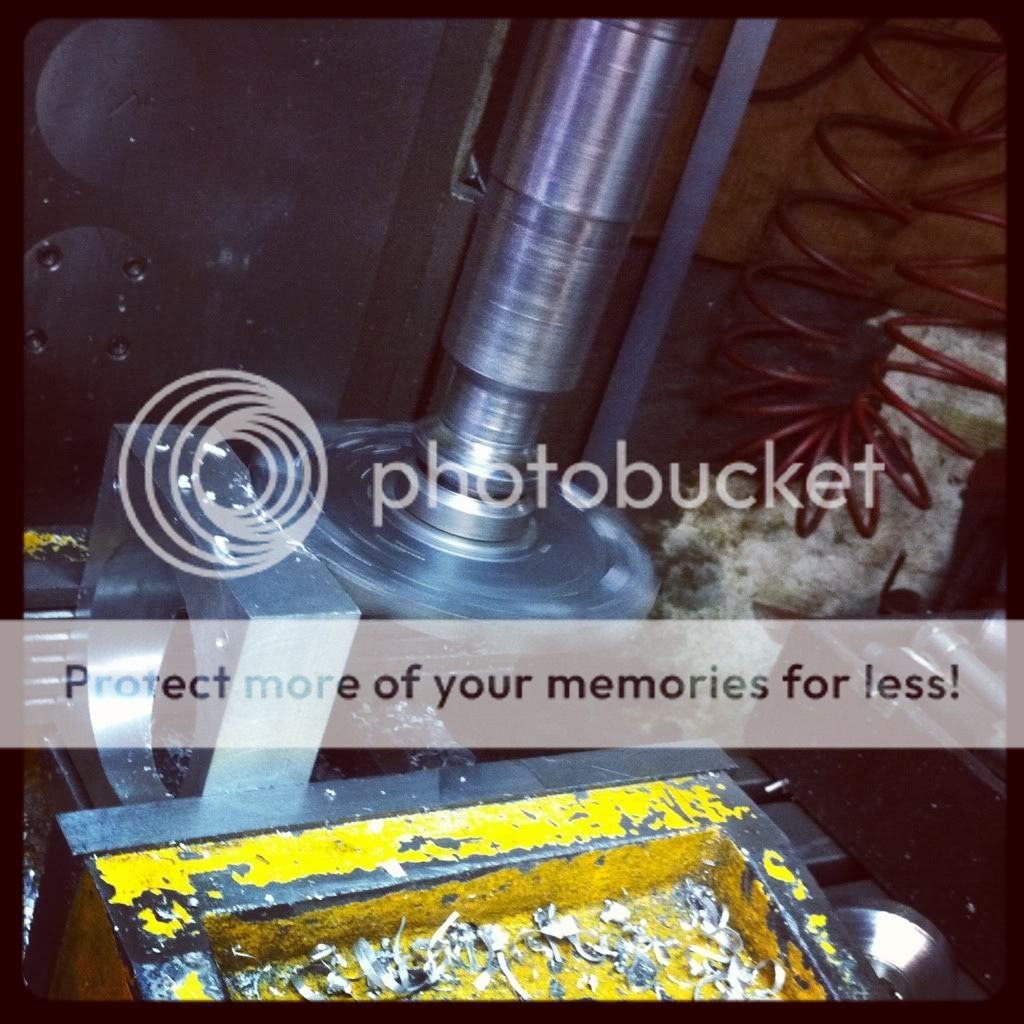
    And then - to call it a day - we drilled the hole for the throttle body.


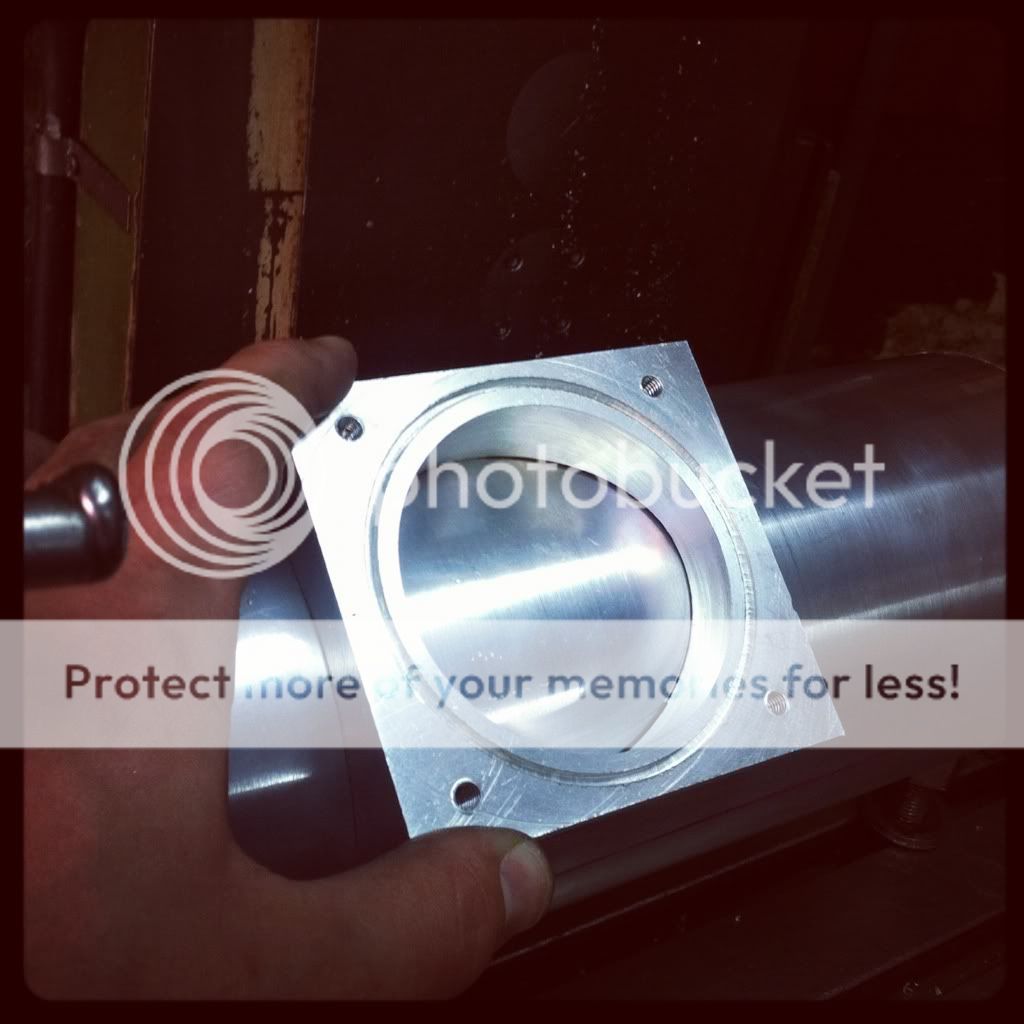
    Drill it first . . .


    And then . . .


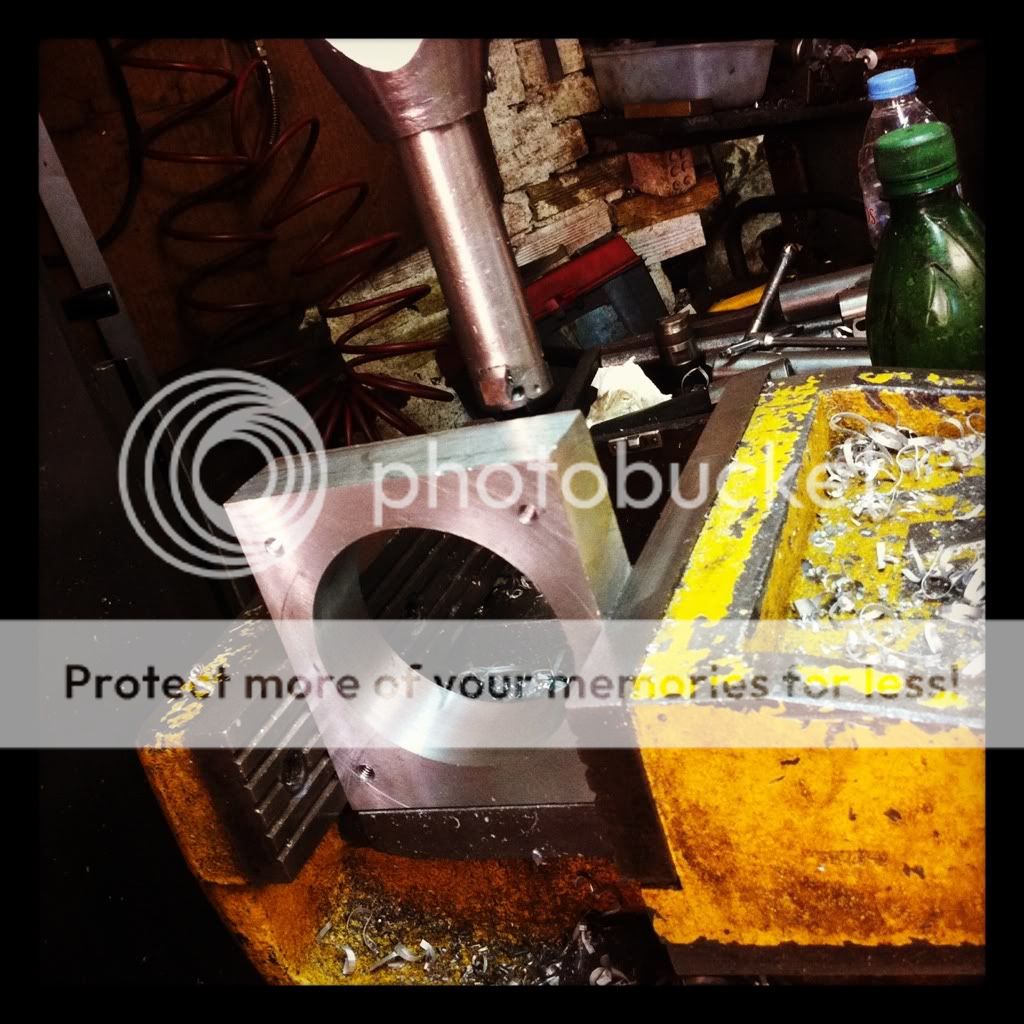
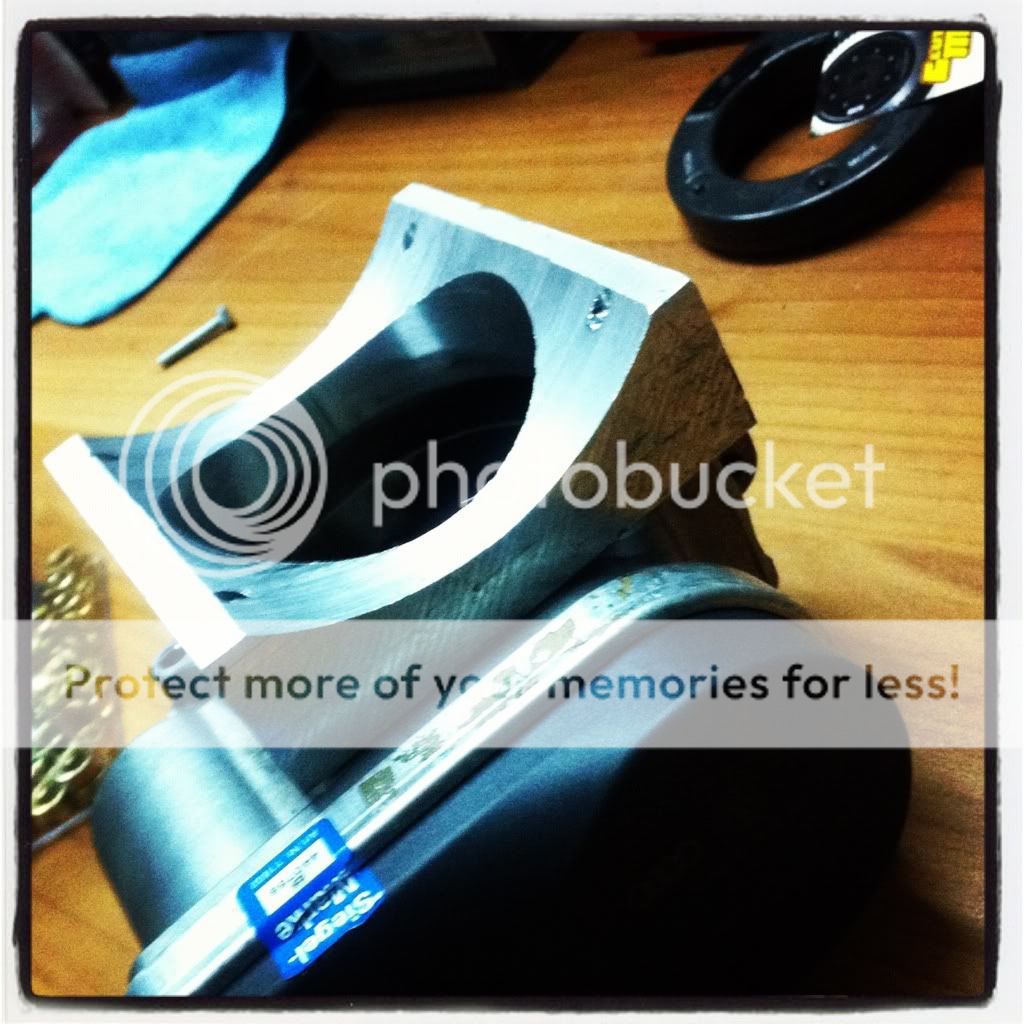
    Came out pretty . . . . perfect , thanks Thanos so it so easy to weld now . . .


    we did by the boring- method as shown in the video

    [ame="http://www.youtube.com/watch?v=VqW2Ypzmbt8"]Boring-Machining - YouTube[/ame]

    Leave a comment:


  • mgpdoc
    replied
    So, managed to get some time to work on the IM project, with Tom and Thanos that helped a lot this time as well.

    So I will let the pics do the talking . . .

    Bought some raw material . . .


    Remember the spare AEB IM I had bought some months ago - and told you it would be used for something . . . well time was now . .


    Ready to be sacrificed . . . . RIP AEB IM . . .


    Hehe . . .

    Then we started working on the adapter plate to combine the new plenum with the .:R32 Throttle body. It could be done otherwise with a lot of cutting and welding - but Tom wanted to make a shape that would require the least welding when time came . . .

    So . . . hole first . .


    Then bigger . . .


    More measurements . . .


    Then M6 holes done. . .


    Then the tricky part - Tom and Thanos figured out the way to do exactly what Tom wanted -


    Here is a video of the procedure . . .

    [ame="http://www.youtube.com/watch?v=zDu0mCfA9xA"]Throttle Body Plate - YouTube[/ame]

    Resulting in this (not yet finished)


    Bolted


    Checking -


    Yummy . . .


    Mock-up of next things to come . . .


    Ok Tom is sick of me taking pics . . .I can tell. . . .


    Leave a comment:


  • mgpdoc
    replied
    Mmmmm...I smell fabrication . . .


    So - work updates.

    I needed to make the numbers Tom had ordered - happen


    So with the help of my friend Thanos , who has two of the best workshops of this kind in Athens, we did it on our own, while the shop was open only for us, hehe

    I just love these places - pure art can take place in here . . .


    We first needed to make the wall of the future plenum thinner -


    And then make some end caps on both sides from the square plates, which we did . . .

    Hmmmmm....

    Random pic - nothing familiar in the placement of things . . .


    Leave a comment:


  • mgpdoc
    replied
    Now where was I . . . .

    Some first test-fits and mock-ups of the cap made for the wg pipe for when the car is parked in the rain . Rarely, but can happen.


    Not finished yet . . . even though it is functional.

    Oh, and some things ready to be shipped to me . . . and some more not shown . . .


    I like my fluids fresh . . .


    Leave a comment:


  • mgpdoc
    replied
    So, more updates.

    Today I thought it was time to tackle the task of installing the rear AeroCatch pins - and remove all OEM locking mechanisms.

    My heart hurt a bit when cutting material . . .


    Here is the material removed...


    Making tabs for the interior hinge parts


    Almost there -


    And done


    Pretty happy with the looks of it - functionality of it, plus the weight removal. I wonder if I can remove some weight from the arms that support it. We will see.

    Here is the pic of what was removed


    Leave a comment:


  • mgpdoc
    replied
    So , part of my doing work in the interior, is making it more subtle at the back and more legit.

    So I decided to remove the orange straps of the fuel cell and searched for something nicer.

    And then Tom found an AWESOME shop where I went...and voila . . .

    This shop has pretty much everything I needed and more . . .


    I had black in my mind - but then I saw the blue like my car's blue - and the green like the Kawasaki green . . . However I struggled to not go for green this time to go for the look I wanted inside . . .

    These were also on my mind . .


    So here is what I went with . . .


    And went from this . . .


    to this . . .


    Which I like even more

    We also started making a cap for my WG pipe for when it rains and the car is parked . . .


    LoL


    More to come -

    Leave a comment:


  • mgpdoc
    replied
    Sooooo....some pics of a small but nice fabrication that took place in Thano's shop.

    I will let the pics do the talking . . . and how we got from a piece of metal to the final rings I wanted for my external wastegate dump tube...


    Here are some ready ones , as shown before


    Here is one with holes for screws . . .


    Now . . . onto the installation time . .

    I couldnt decide what theme to go with... I thought satin black . . .


    Which was nice and subtle . . .

    But then we opted for the raw finished one , to match the headlight theme going on . .


    And the finished product - hope you guys like it as much as I do . . .


    I have a lot of plates to try - play - see more styles - haha

    Cheers, and a big thanks to Thanos for his help.

    Leave a comment:


  • mgpdoc
    replied
    Parts started arriving inside my garage - hehee....

    New AEB Chain Tensioner and New OEM Chain . . .


    And I heat wrapped my WG pipe. Meant to go titanium wrap - but I couldnt find one today , so this will do for now . . .


    Cheers , more to come . . .

    Leave a comment:


  • mgpdoc
    replied
    So some pics of the process - which was actually a lot of fun -

    Tom and Panos at the garage after we removed the hood


    Removed the dump tube - and started trying its new location


    Tom went on with the painful thing - yeah . . . I had to LoL


    Then we started trying it on to see how it was , and what it needed . . .


    Today I painted it matte black - and polished the upper part


    I thought of wrapping it in DEI exhaust wrap to make it look even better - no actual need - just thinking about it . . .


    Interior (fiberglass section) protection (no, it wont burn)


    On the car


    And as I left it today . . .


    In the week to come - I am thinking of putting a ring of aluminium like the one I have done on my headlight mod to make it look even nicer. We will see how this one turns out.

    Oh and on a side note - some new orders to come - some of them performance wise - some of them due to mileage of some things and taking precautions.

    1. OEM Cam Chain Tensioner (AEB)


    2. OEM Chain


    3. Upgraded ApiKoL Rear Diff Mount (Red)


    4. IE 06A Mechanical Belt Tensioner Kit


    5. IE Lifters Set for 1/8T

    Leave a comment:


  • mgpdoc
    replied
    I will leave you guys with this for tonight - something which I think you will like


    That day, I had some free time, and had some product testing in a friend's detailing store, Swell, in Athens.

    Mike @ Swell, thought of testing Britemax's products in Metal Polishing . So why not test them on my muffler . . .

    Some pics of the process . . .

    It was not bad to start with, I always take care of it . . .


    However , it can always get better . . .

    50/50


    Products used


    Finished product


    Money shot


    And I also thought I'd buy some stuff I needed. . . weird for me eh . . .


    A big thanks to Mike Tsaltas for his help.

    Here ,you can see a full write-up Mike did back then, on the job done, by him of course.


    Cheers everyone

    Leave a comment:


  • mgpdoc
    replied
    And another update since you guys seem to like it

    I had the car fine tuned a bit more . . . a bit tweaking here and there.

    What is more - there are some projects going on inside the car . . . they all go to weight reduction - but with style - they are ongoing projects , so wait for it...

    hehehe


    Gas Tank Door Latch Removed


    Fabrication Material - Aluminium Parts


    Replacing Oem Parts with Lighter ones


    50 / 50 shot


    (again we are a loooooooooong way from finished - just showing some progress . . . )

    Man Power Supplies


    And just because my oem gauge panel has simply no use anymore , and I need to be able to see my rpm when revving at almost 9k rpm, here is something else - Tom thought about . . .


    Now . . . . where could I find a BF Series Tachometer - that would suit my Defi link and match my gauges (it is discontinued...) . . .

    Lets hope I do, to get this project moving . . .

    Cheers everyone

    Leave a comment:


  • mgpdoc
    replied
    Some more photos


    Oh...and a pic of our secret project that began those days . . .


    More to come....

    Leave a comment:


  • mgpdoc
    replied
    We went with Tomas in a friends shop - borrowed his lift - and did the work all by ourselves.

    I loved the process even though it wasnt easy for first time. Tom did most of the work - and I helped him. We also did a bit of maintenance, changing gaskets, bolts etc etc while we were there.

    Some pics of the process - Anyone want a used clutch kit - hahahaha ?


    And the poor flywheel - dual mass


    Also changed this gasket -


    Installin the flywheel


    ARP bolts greased and torqued to spec


    Tom is nervous of me taking photos . . .


    porn . . .


    New Bolts here


    And in the Quattro shaft - and in the subframe . . . all torqued to spec.

    Leave a comment:


  • mgpdoc
    replied
    Some more random pics from my garage from the past garage days there . . .


    Also got these for the forthcoming clutch swap -


    And this awesome product to make all my wiring look like oem again - and even better


    And a teaser of what was next installed on the car . . .


    More pics and info, soοn to follow . .

    Cheers guys

    Leave a comment:


  • mgpdoc
    replied
    And some better pics . . . pics by Kostas Sant this time too


    Hope you like

    Leave a comment:

Working...
X