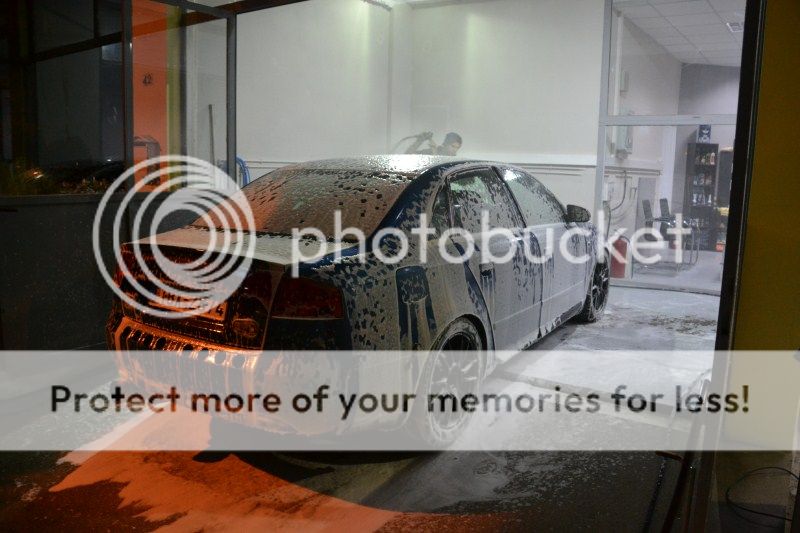
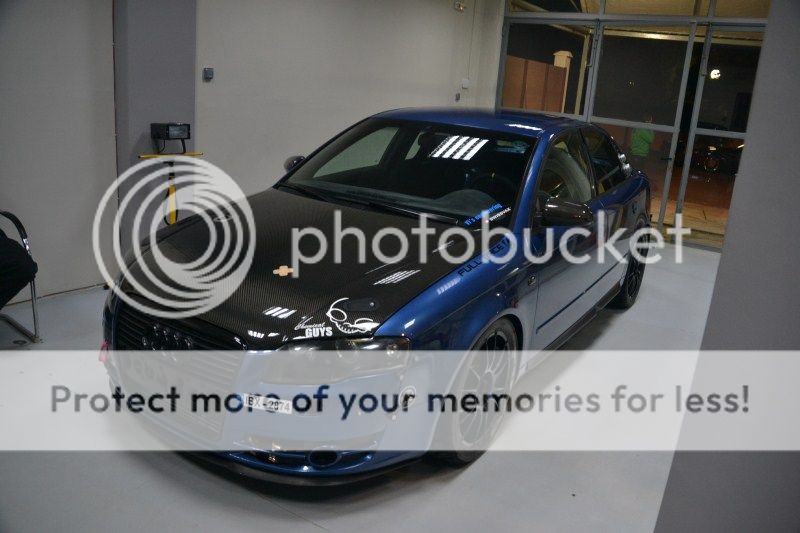
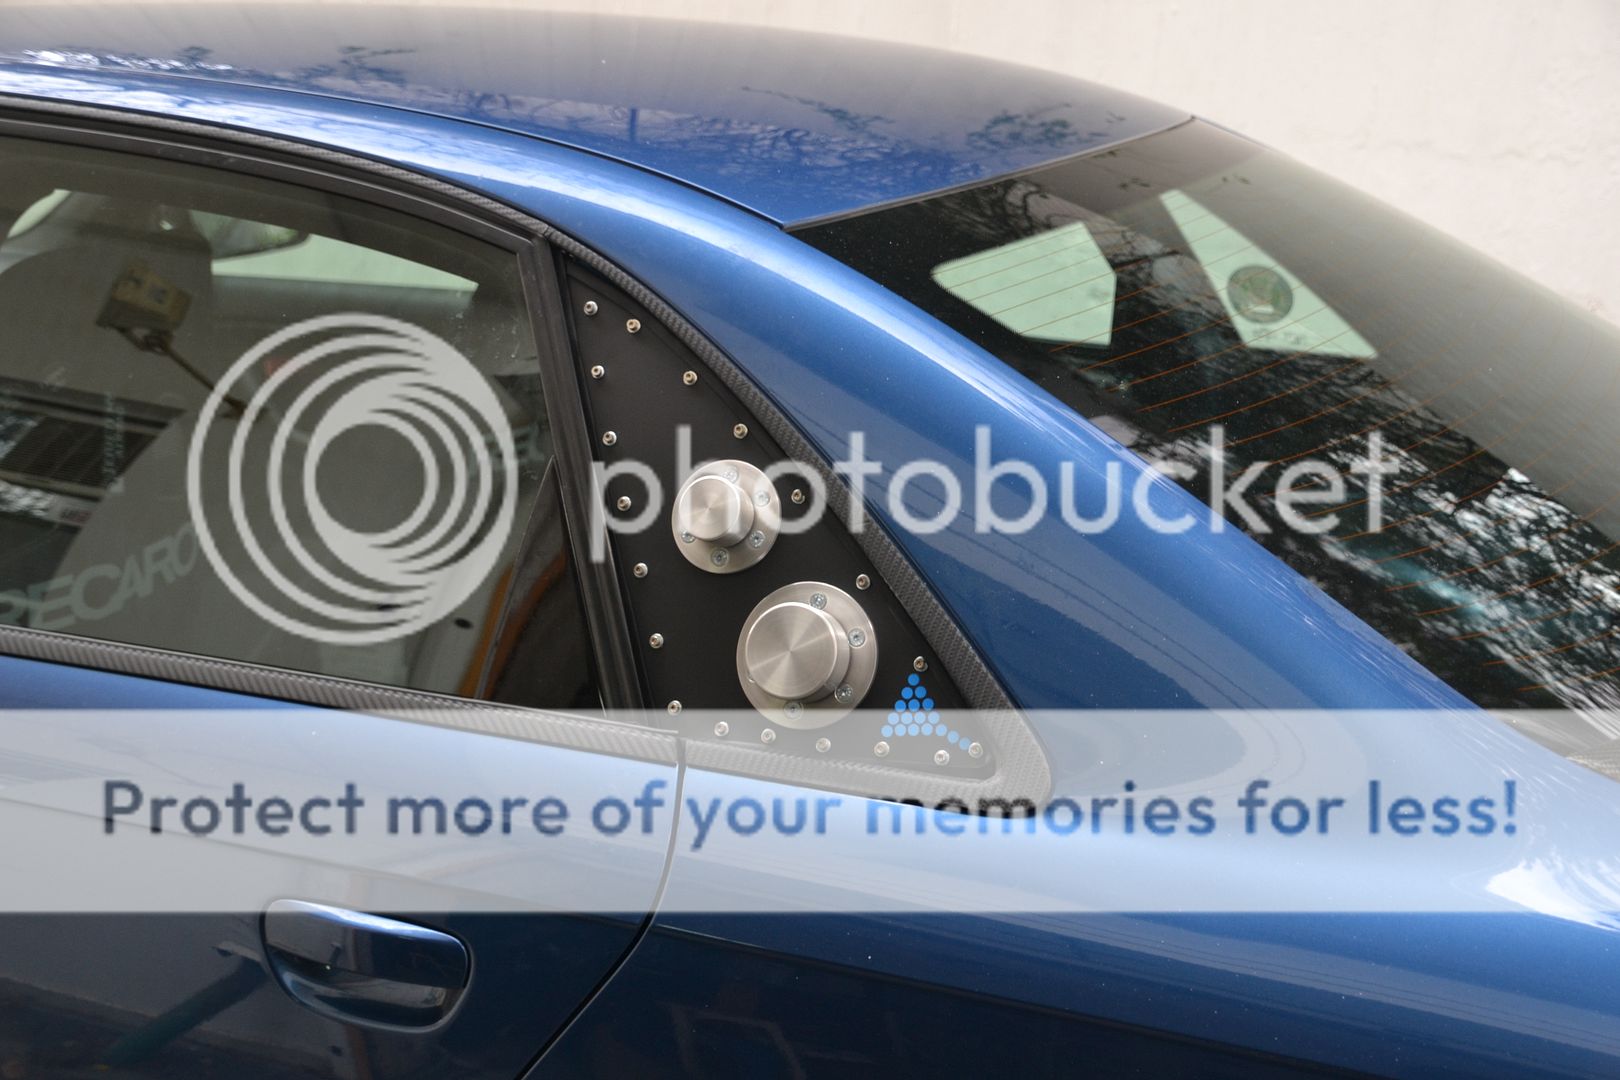
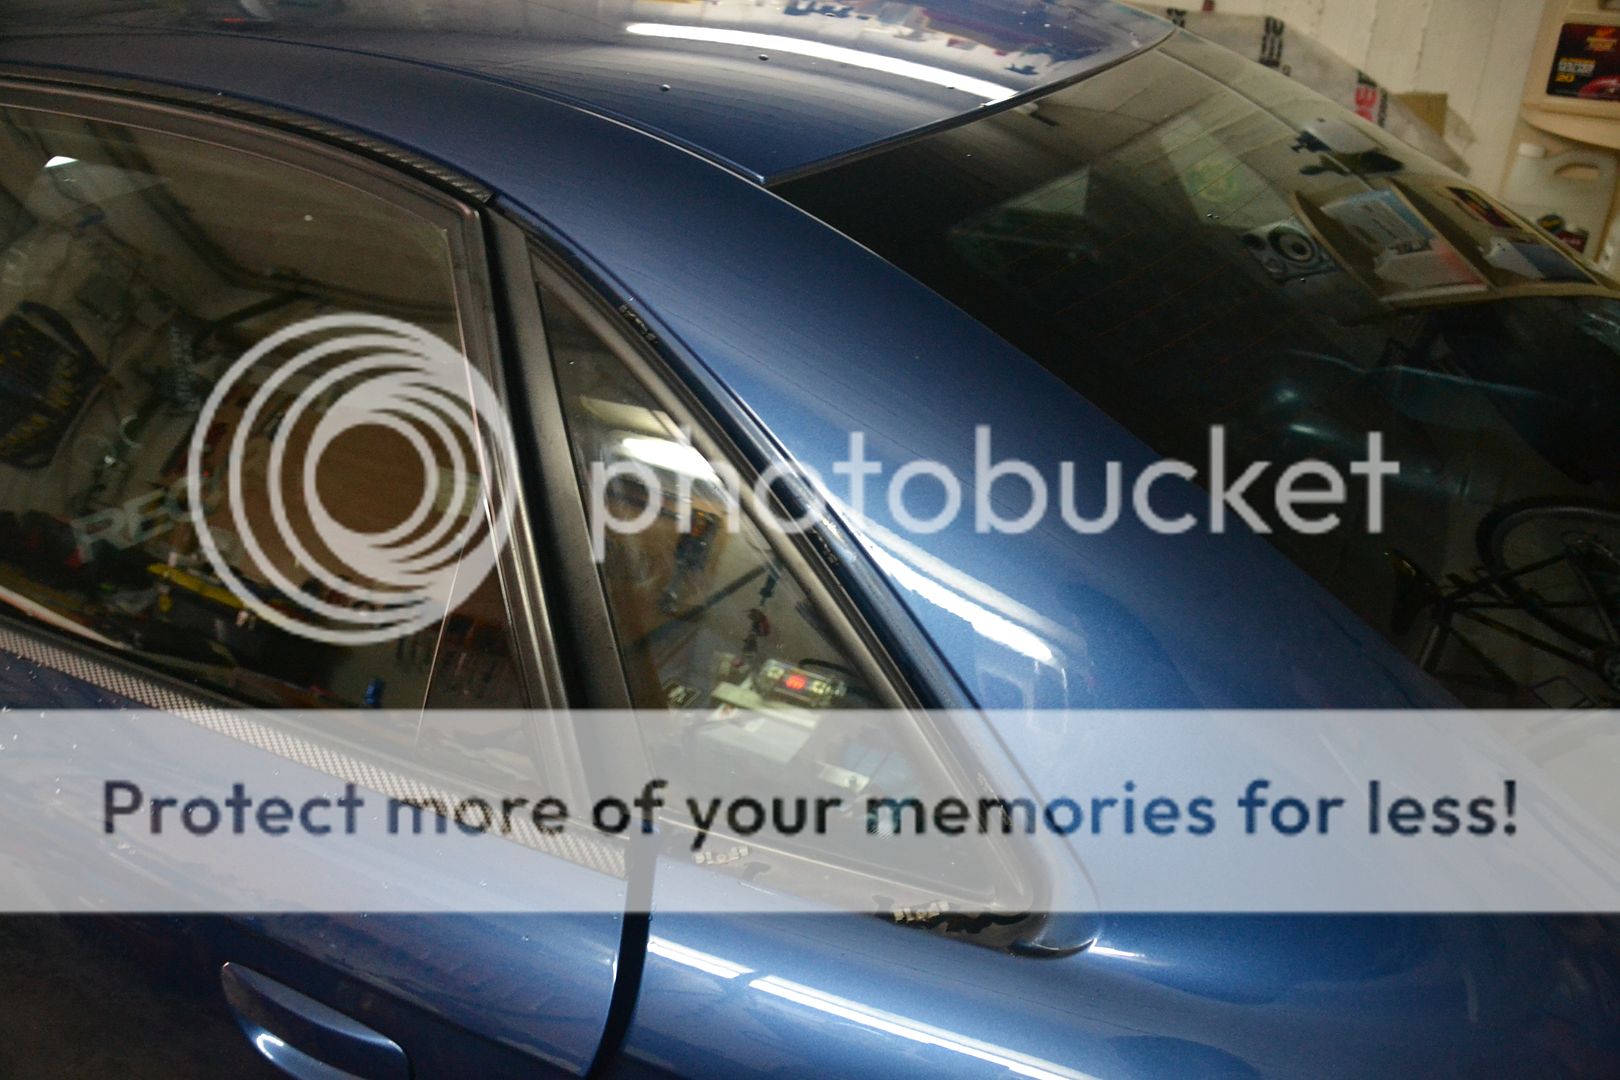
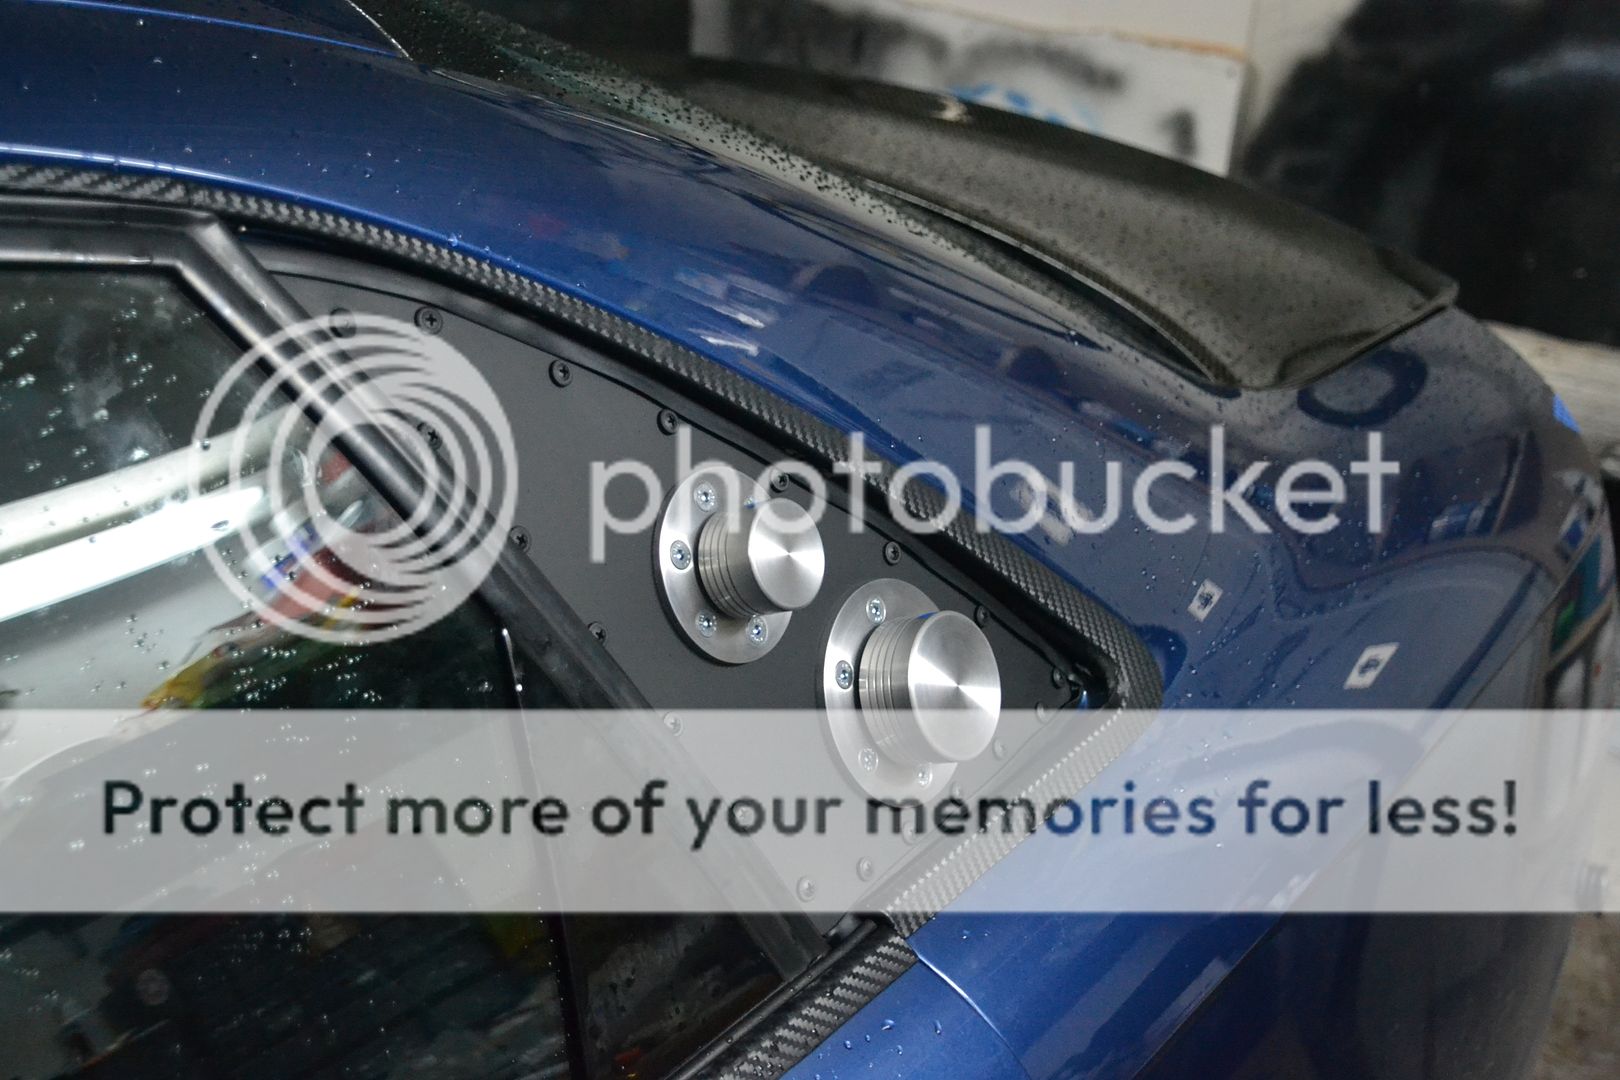
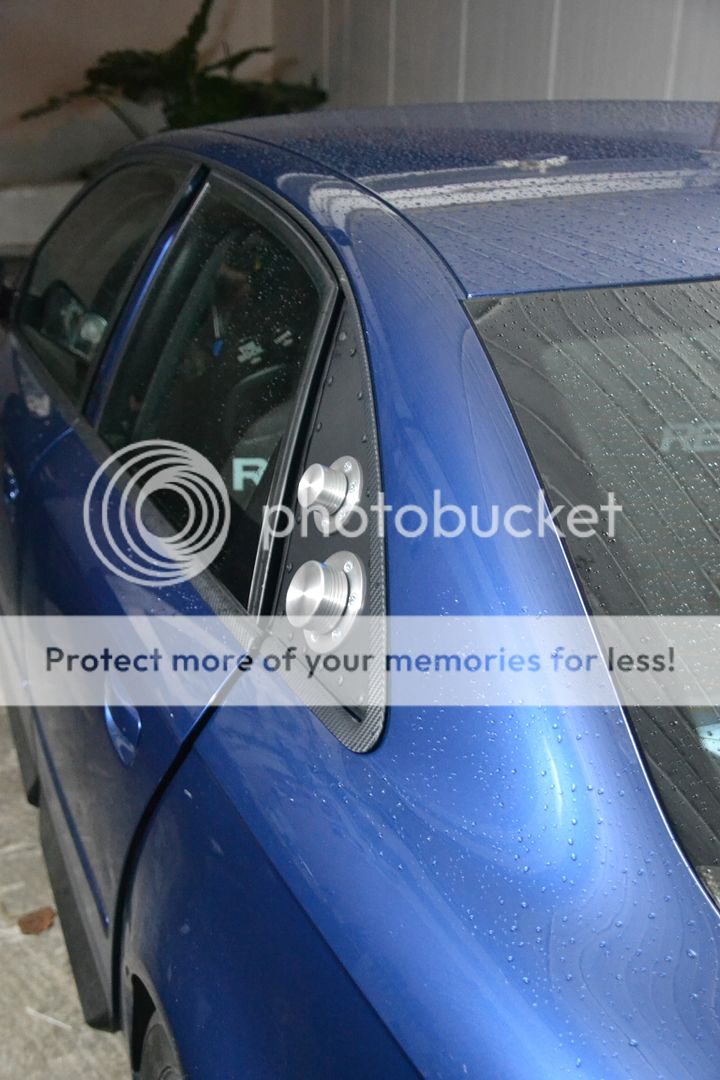
Gave the car a good wash after all the heavy rain these days in Athens

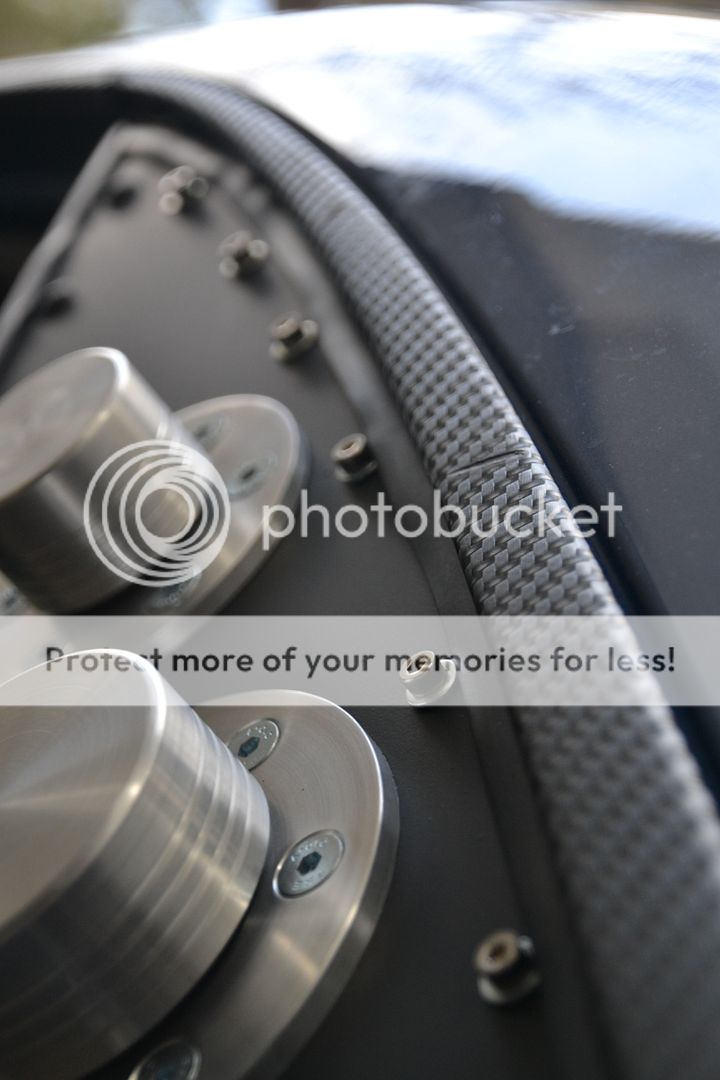
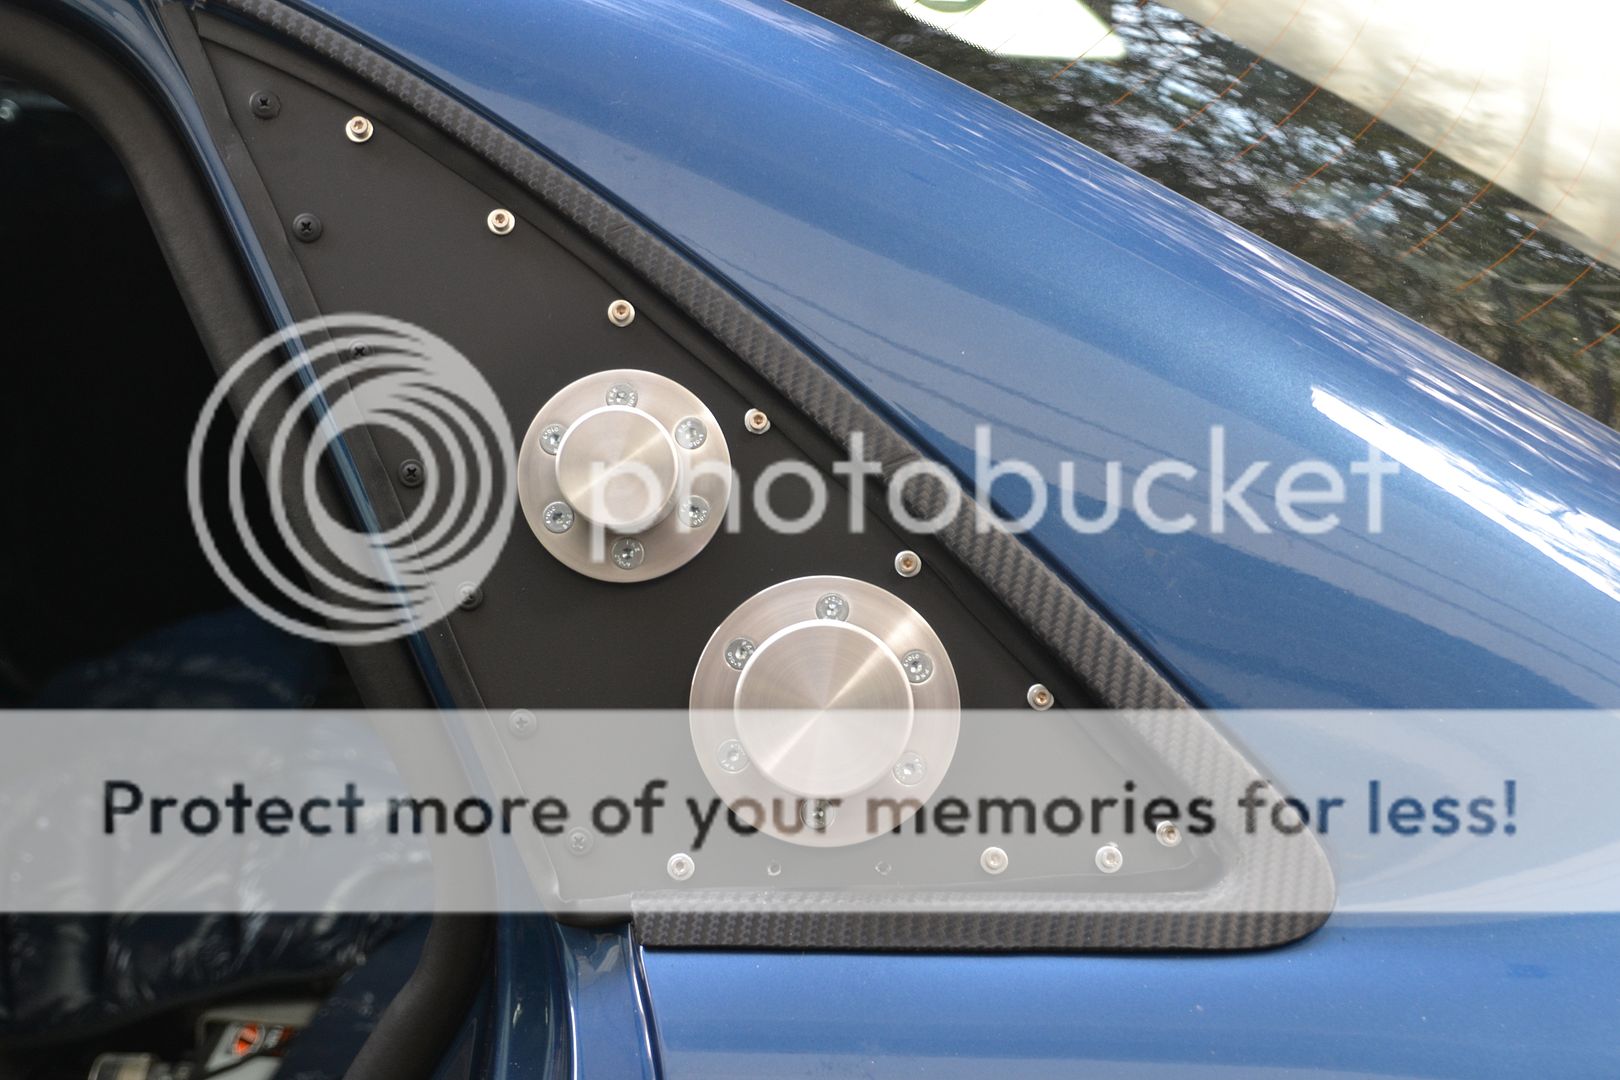
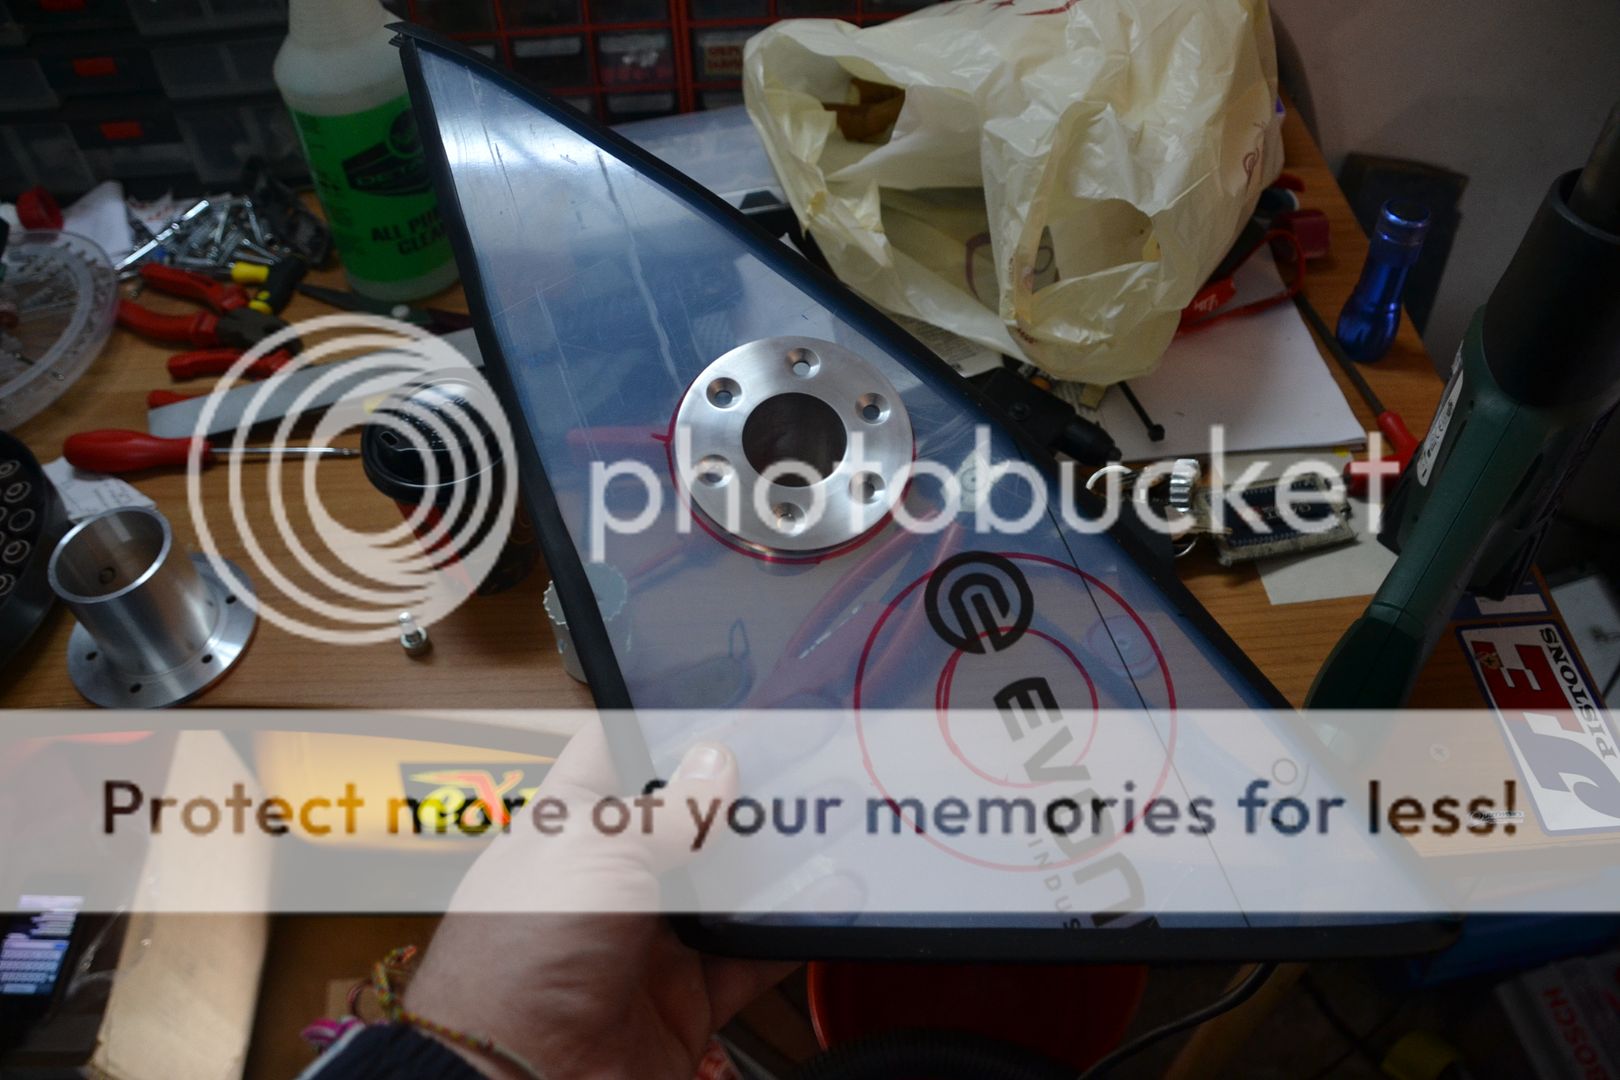
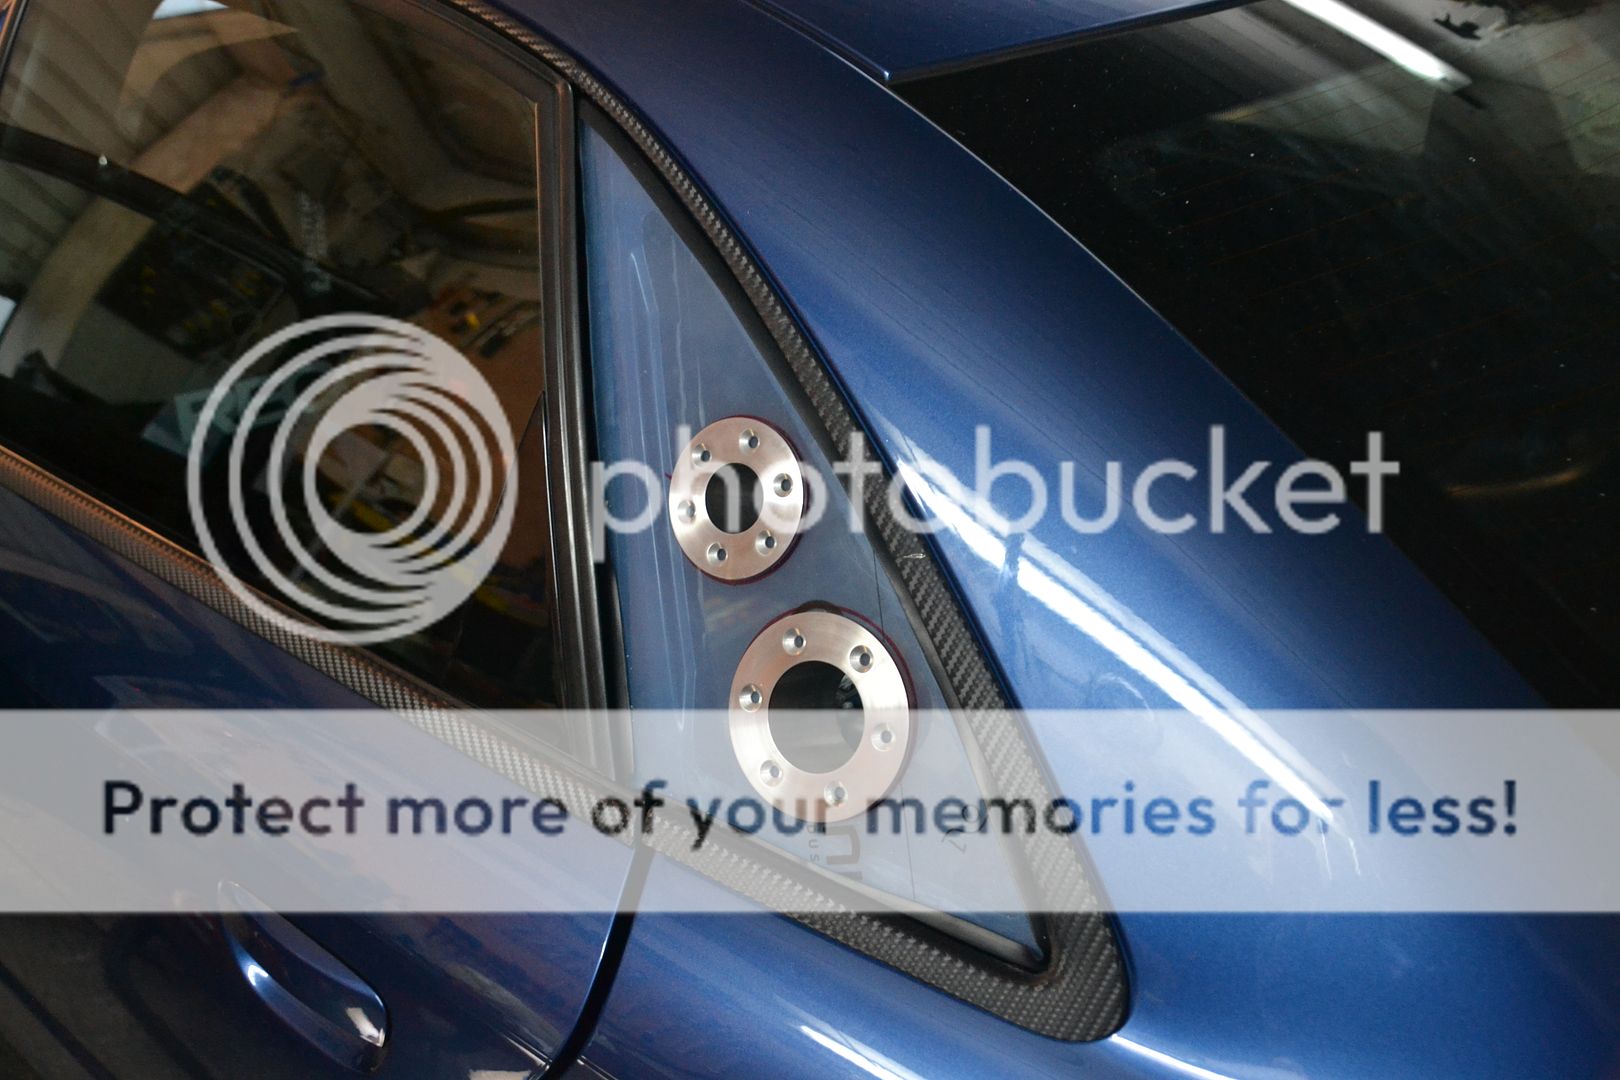
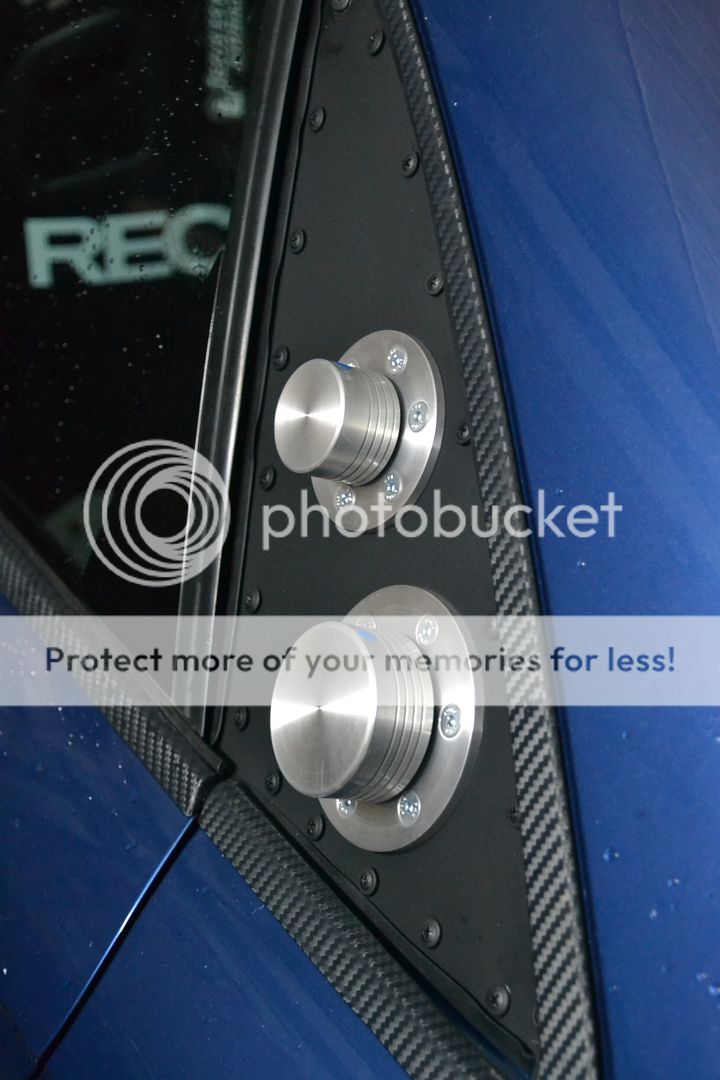
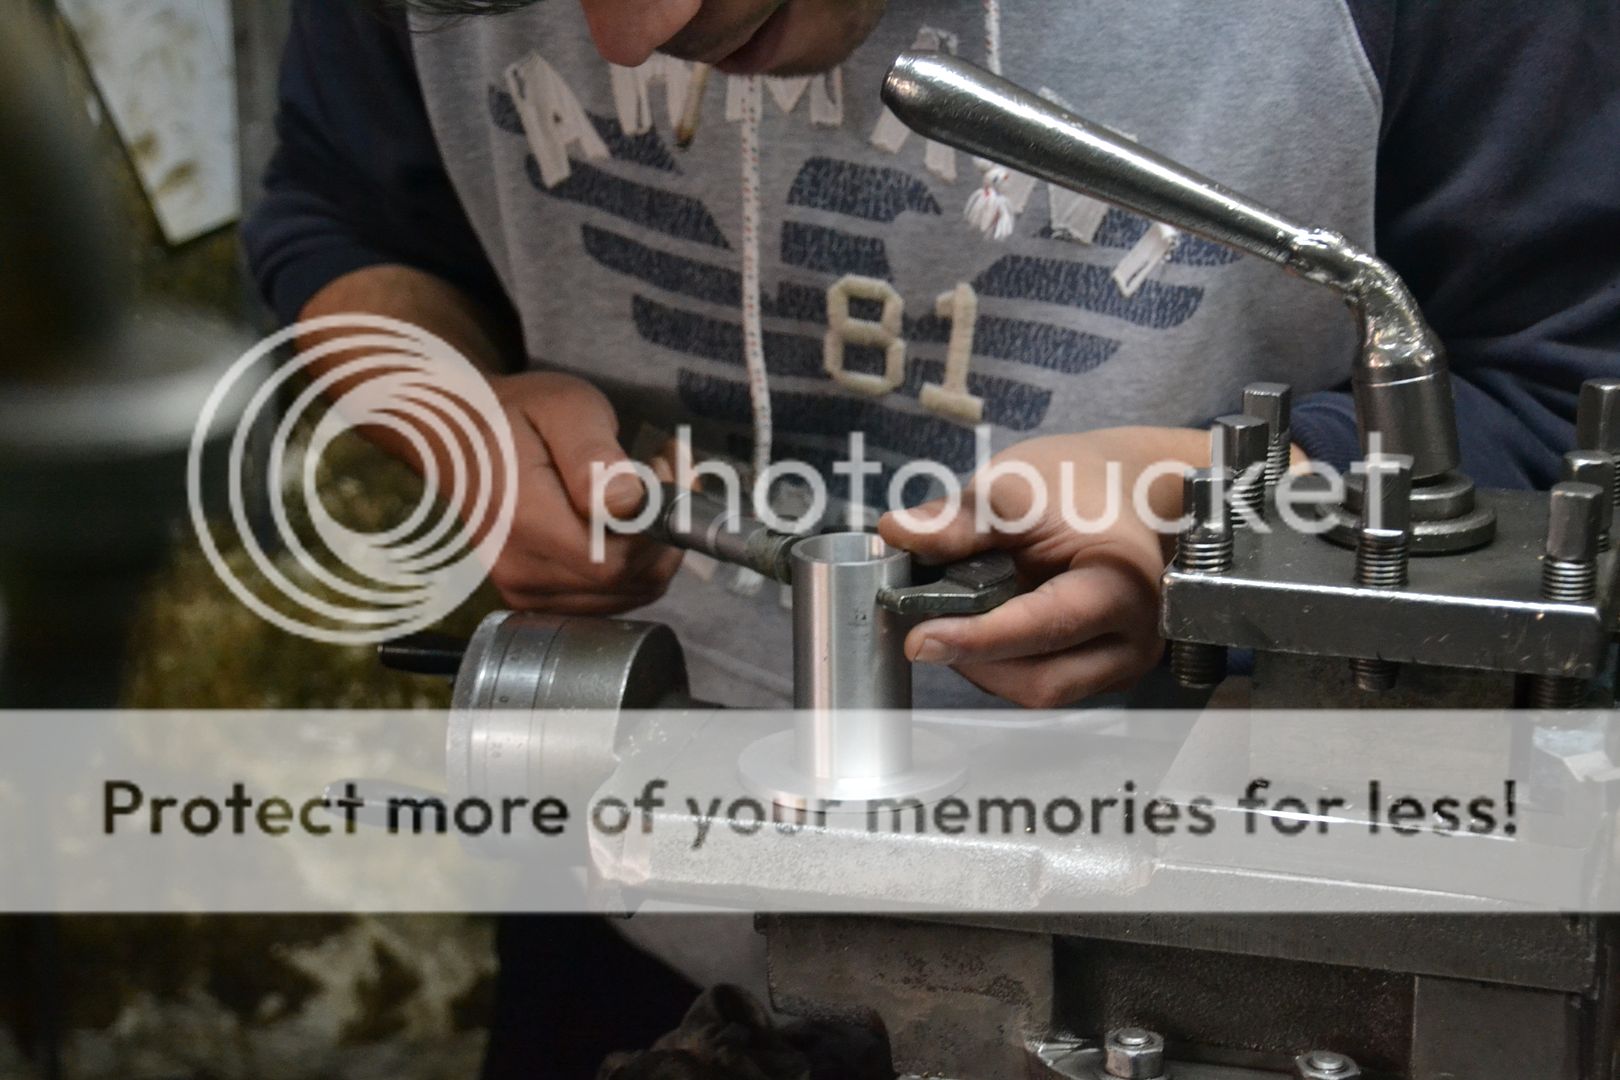
Next on the Fuel list is the fabrication of the Water/Meth Tank by Tom, and then after the installation of these on the Fuel Cell

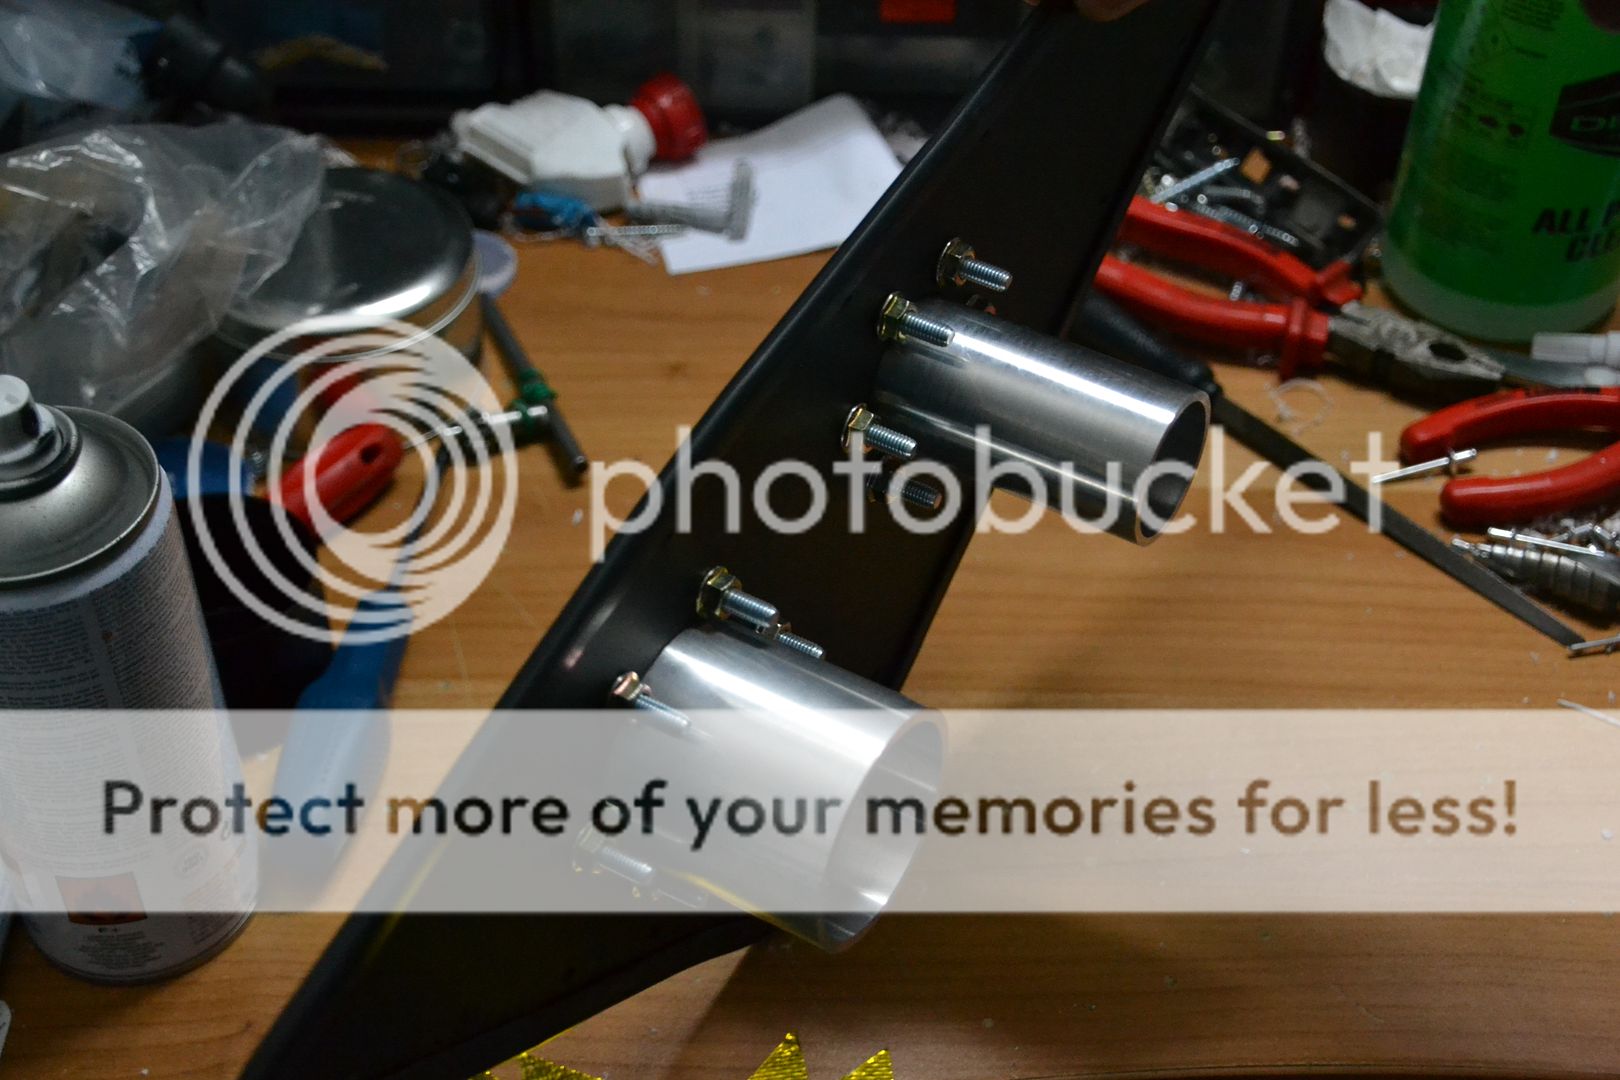
Welding them pipes from the filler necks to the tanks. Let's see, it will be interesting I think
Cheers
Next on the Fuel list is the fabrication of the Water/Meth Tank by Tom, and then after the installation of these on the Fuel Cell
Welding them pipes from the filler necks to the tanks. Let's see, it will be interesting I think
Cheers
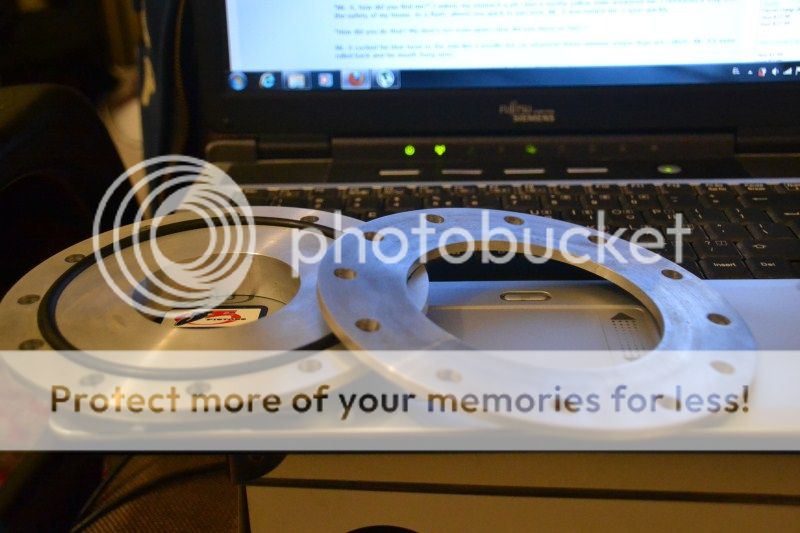
And
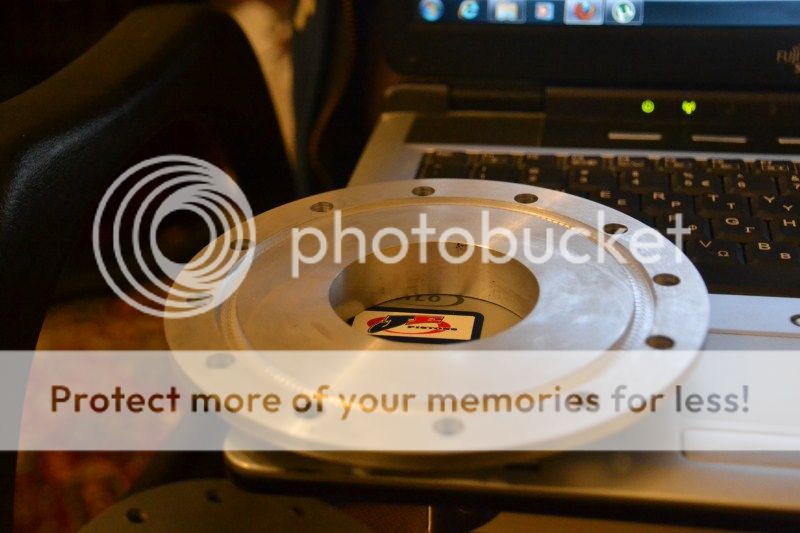
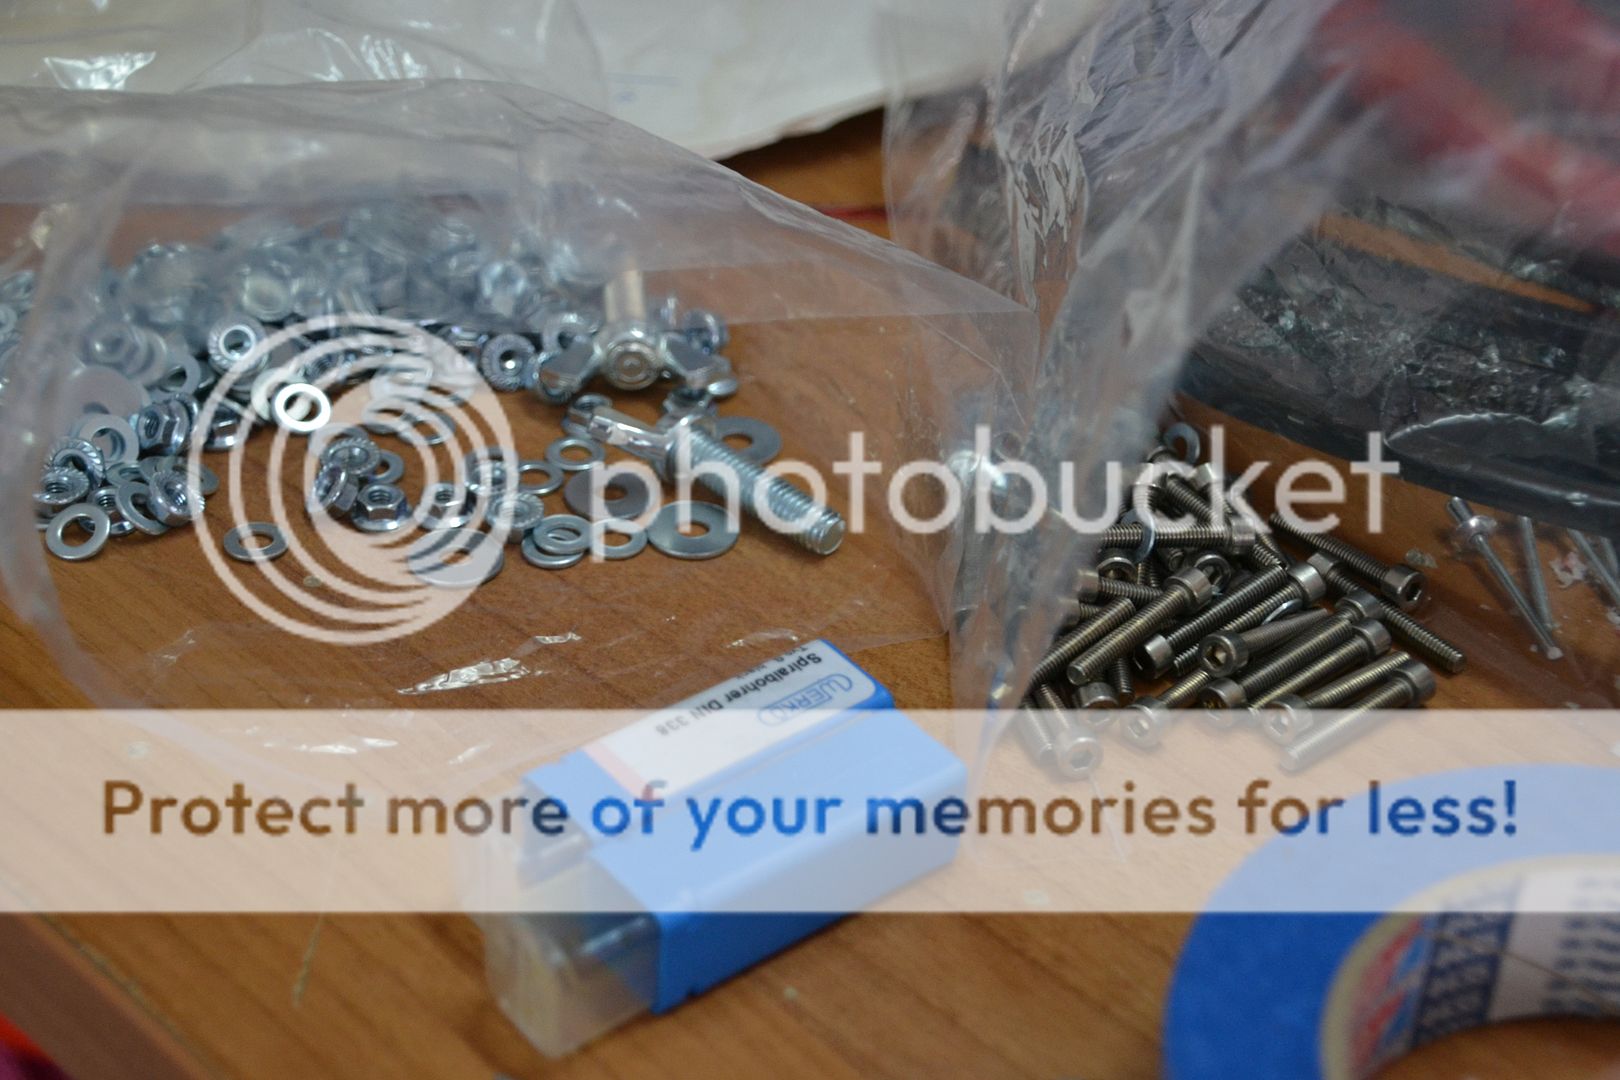
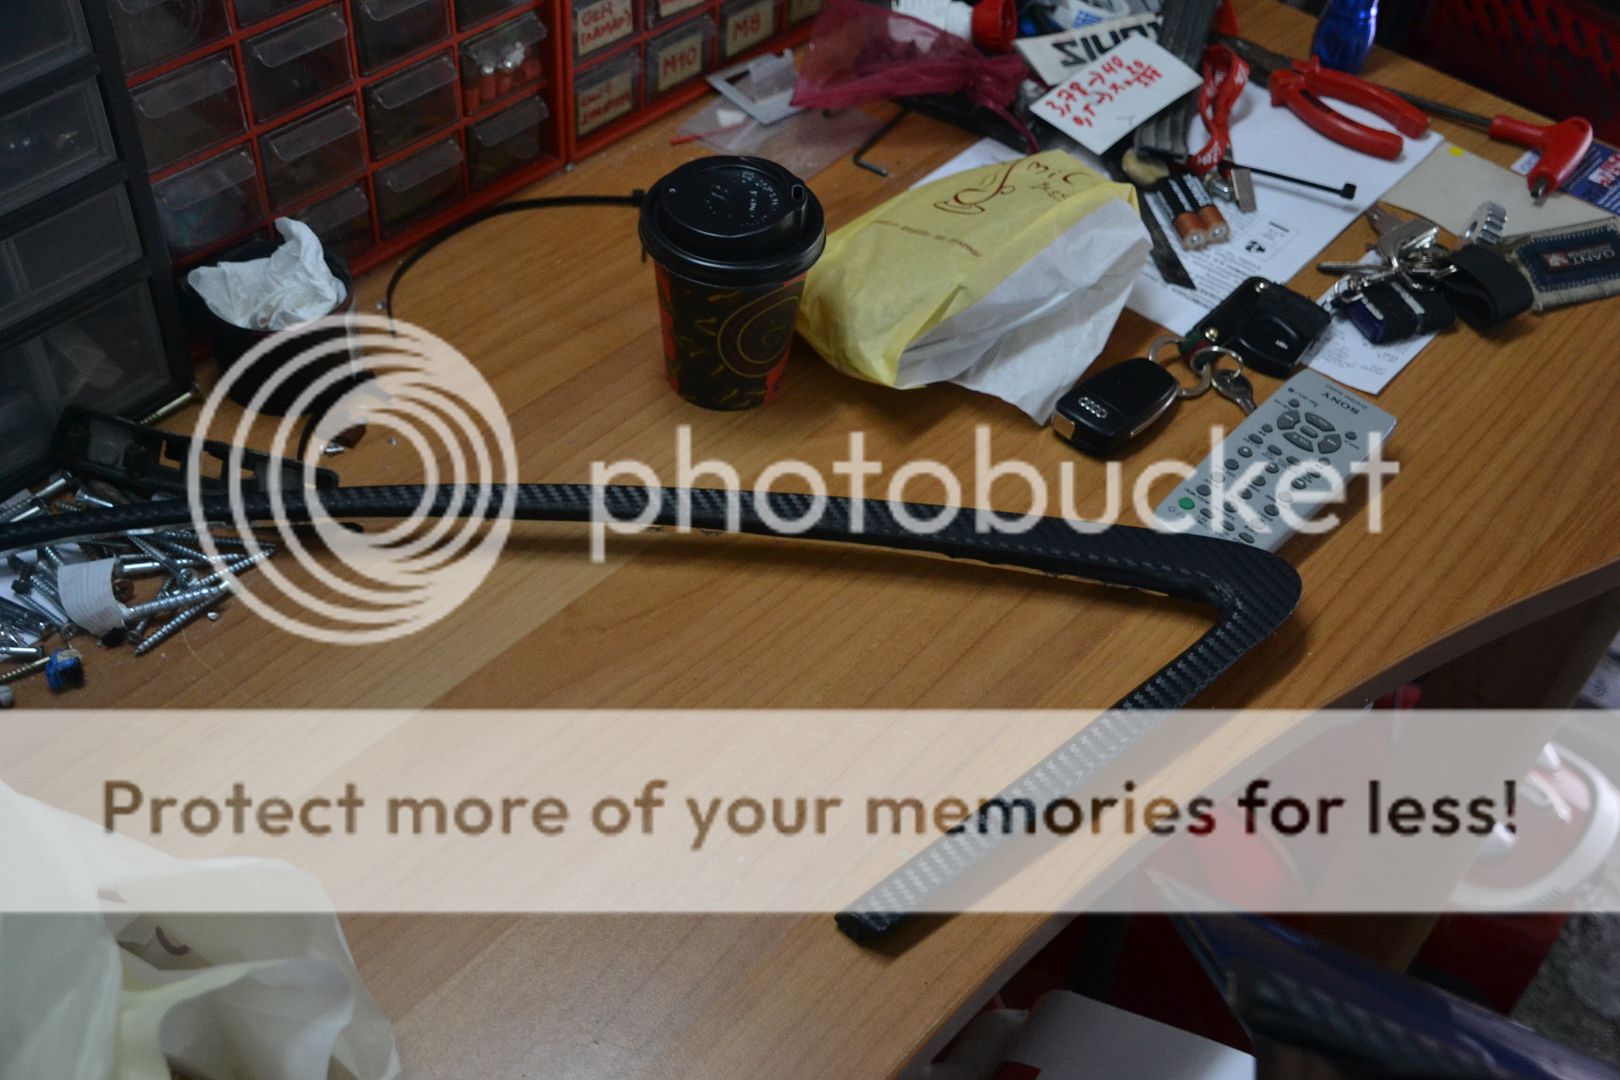
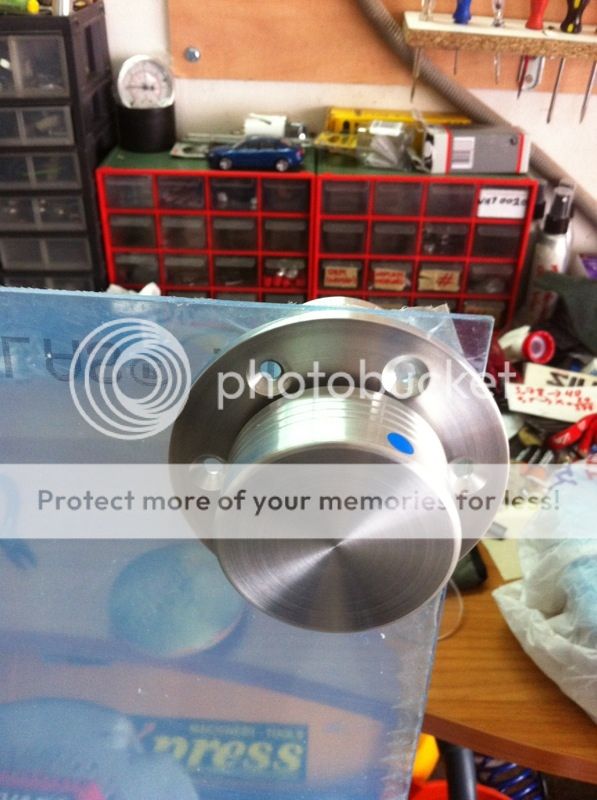
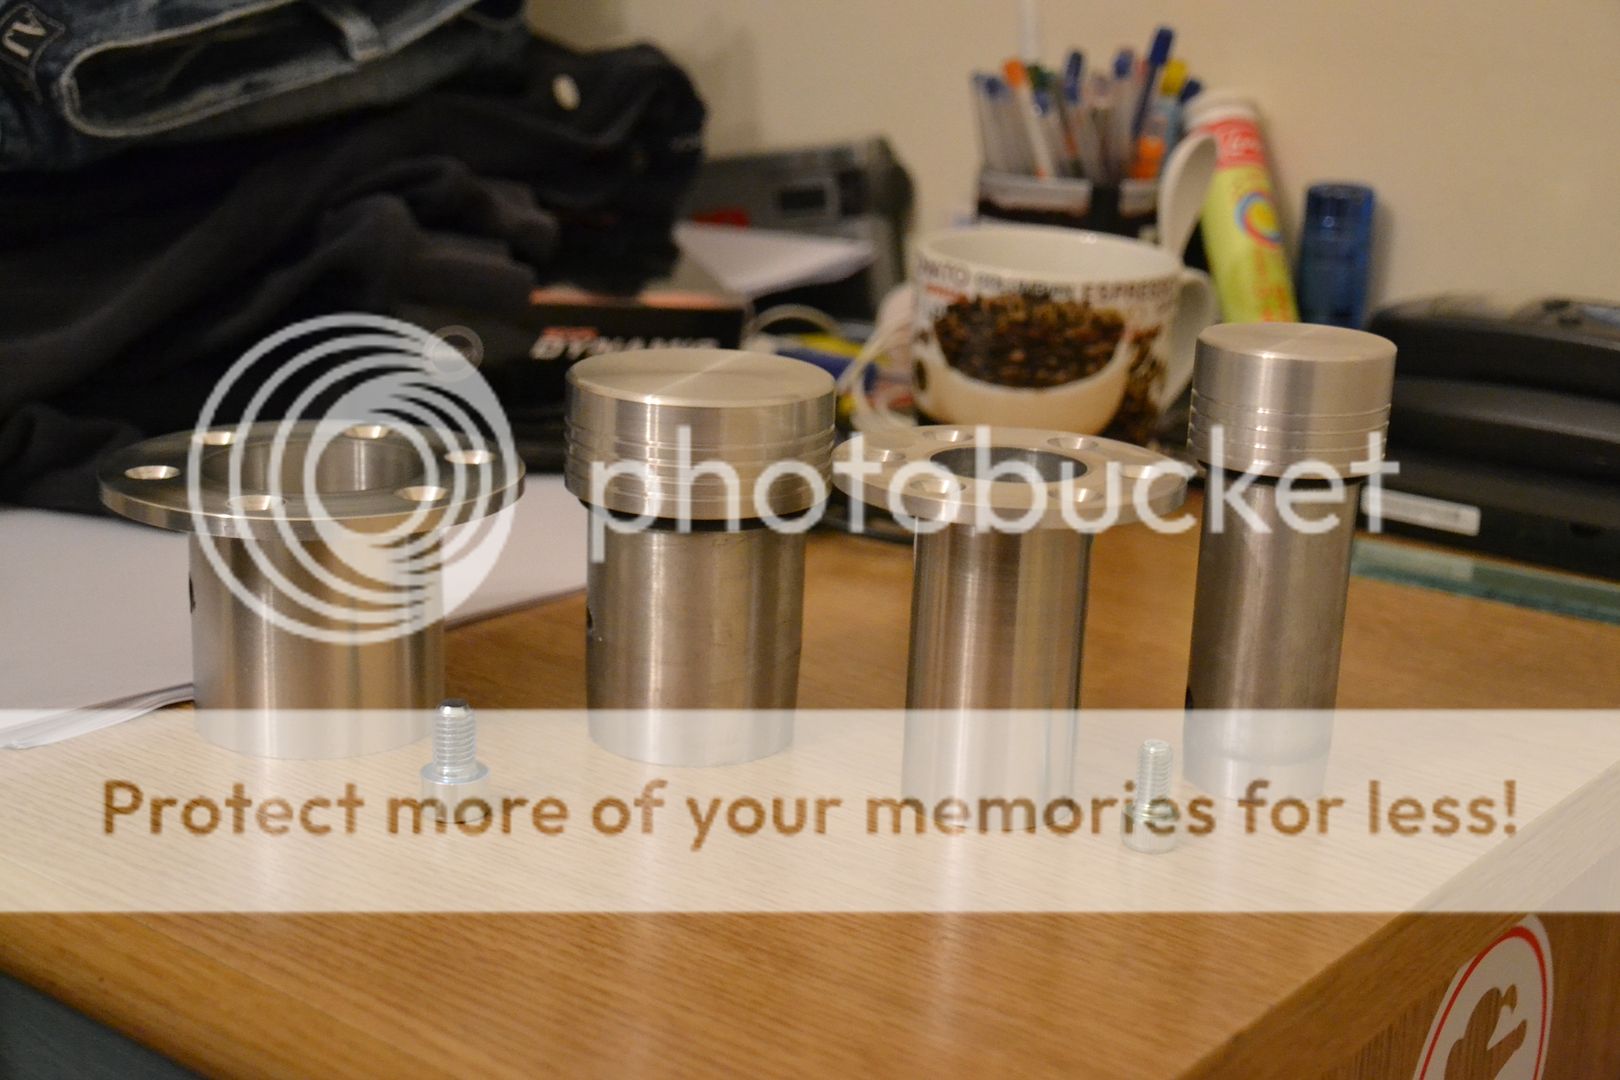
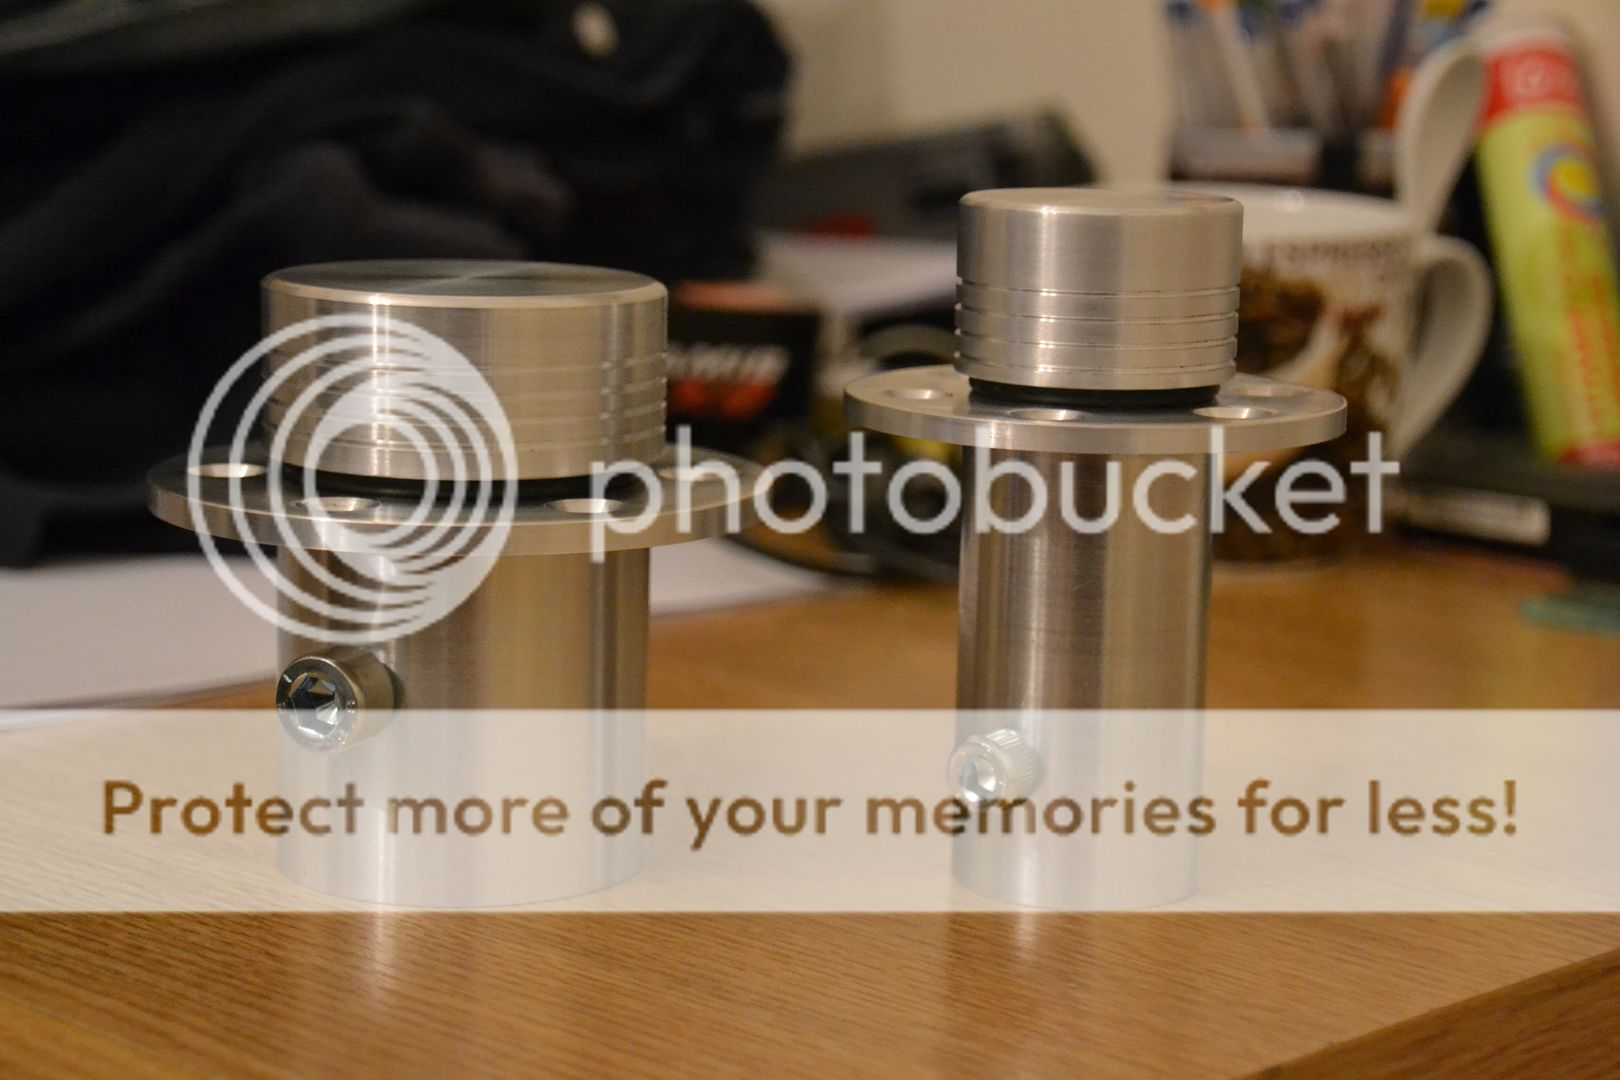
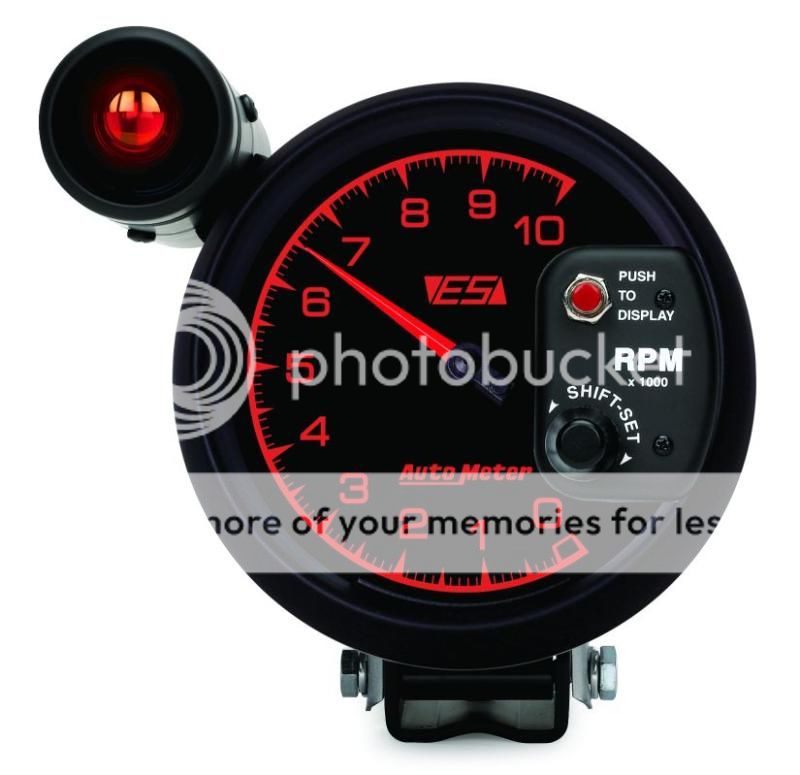
Ordered this . . .

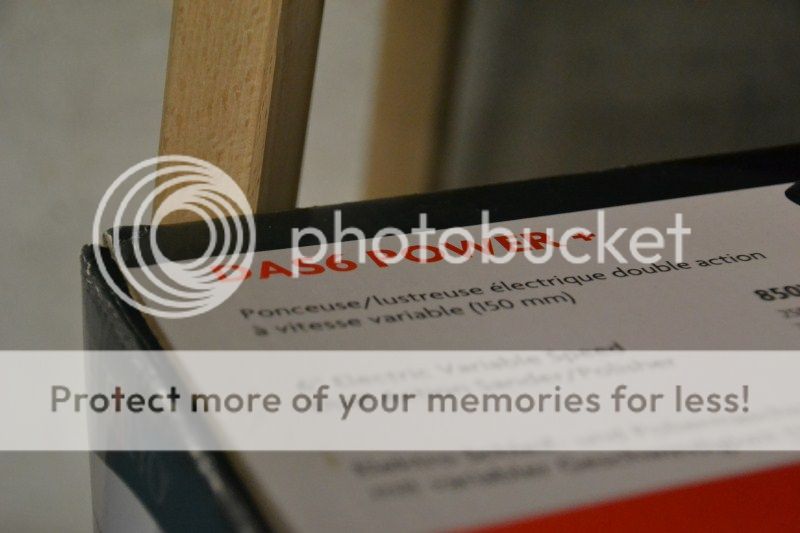
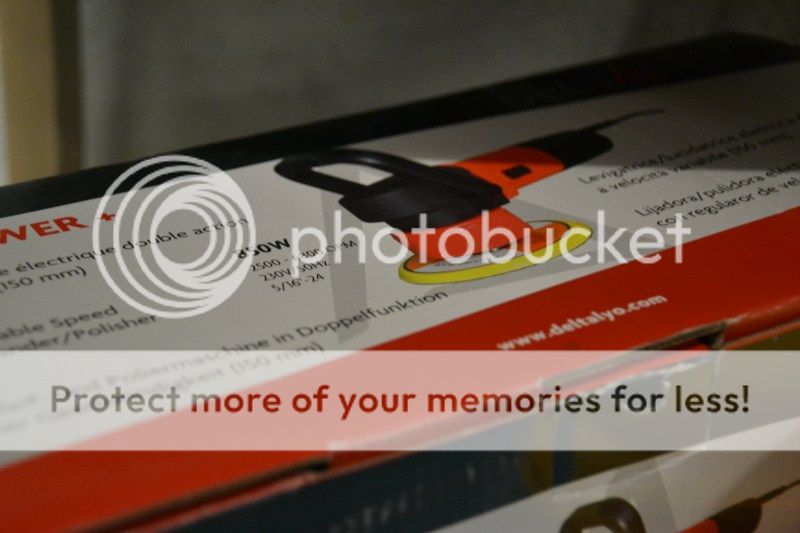
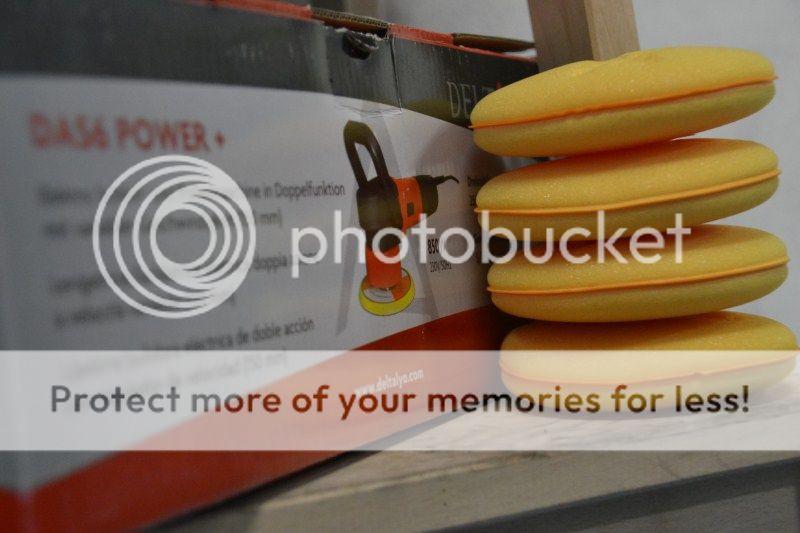
Along with this

Cant wait to get them.
Cheers

Along with this
Cant wait to get them.
Cheers


Leave a comment: