Announcement

Collapse
No announcement yet.

Project Crowdmower : Ford Chassis, Chevy Motor, and Nissan Transmission

Collapse
X
 
  • Filter
  • Time
  • Show
Clear All
new posts

  • laextreme5
    replied
    Spent a little time over the Christmas holiday tearing down the front of the car. really not happy with what i found. The rad support is FUCKED. Front end was in quite the impact. Ill be taking the car to work at some point and putting it on our frame machine to measure and out the rail to make sure everything is square. For now I'm just going to beat everything straight and weld it together for a little bit more rigidity than it currently has. Not going to spend a ton of time on it as ill be doing a tubular from end come turbo time.


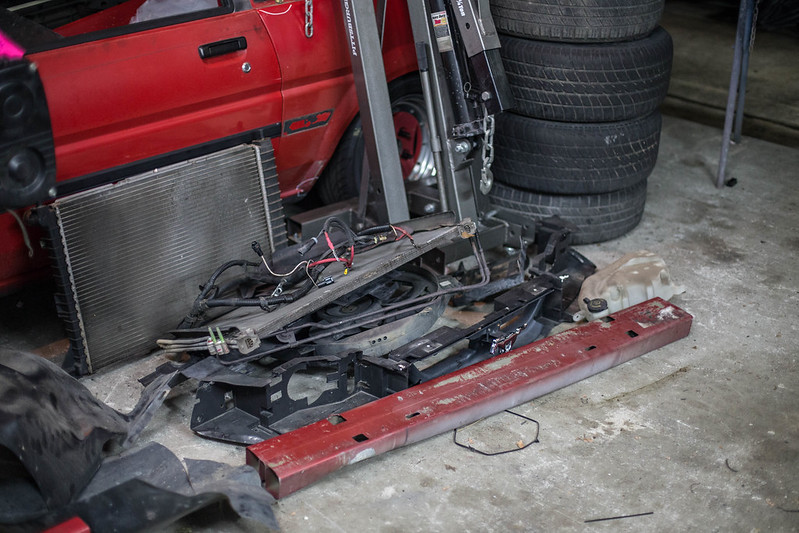
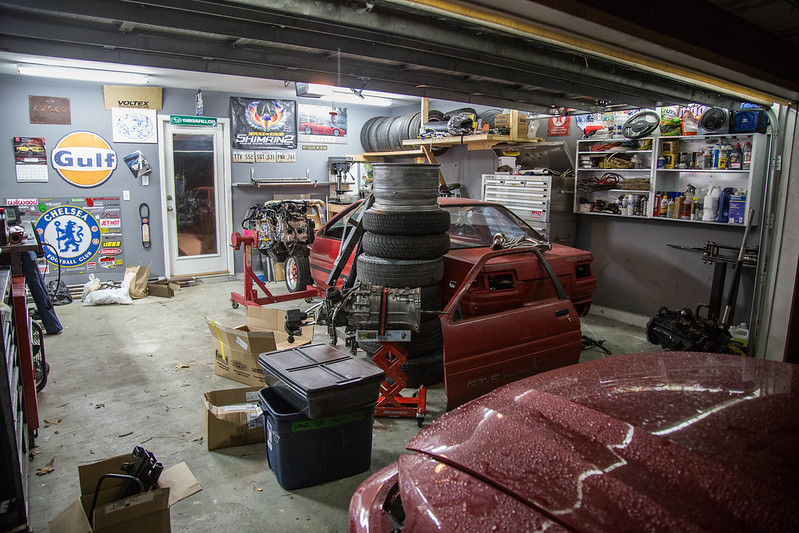
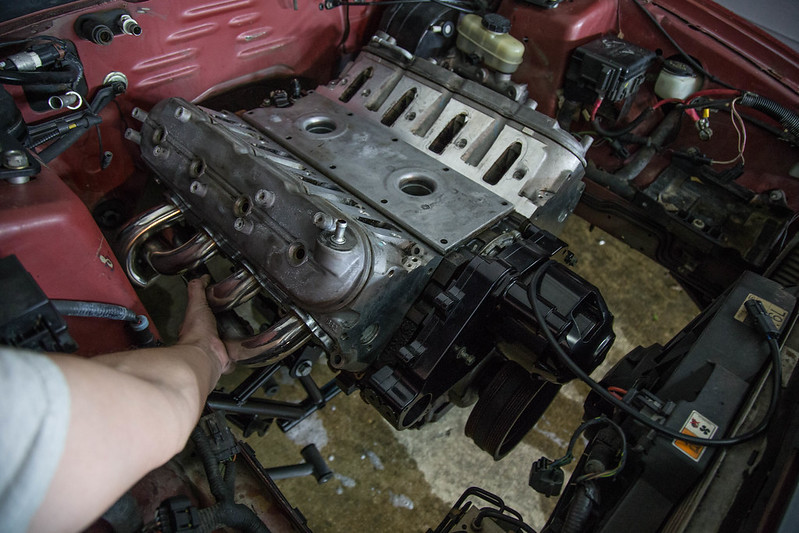
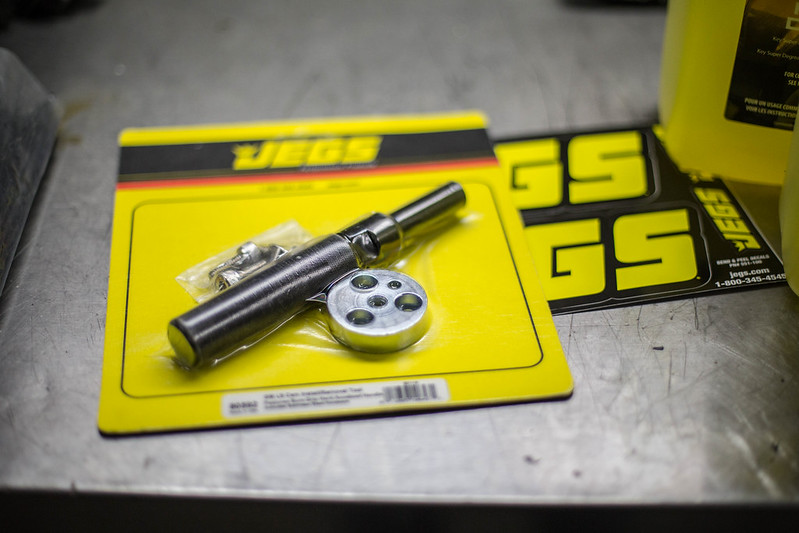
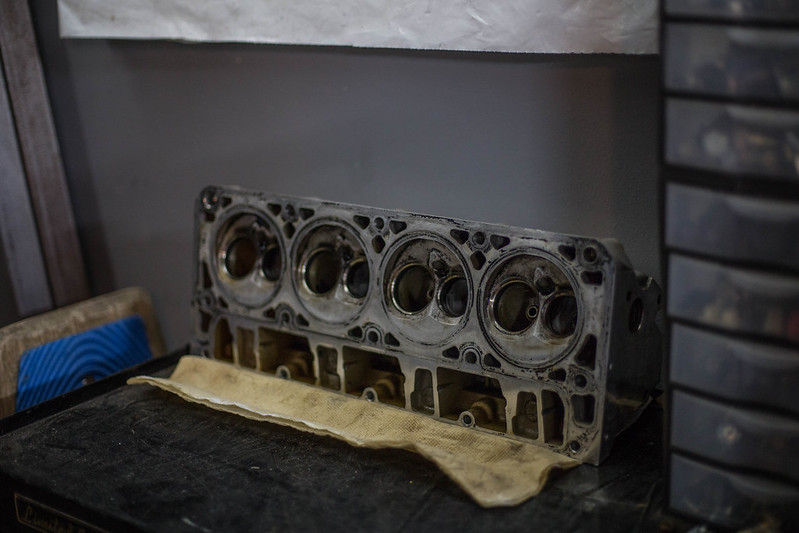
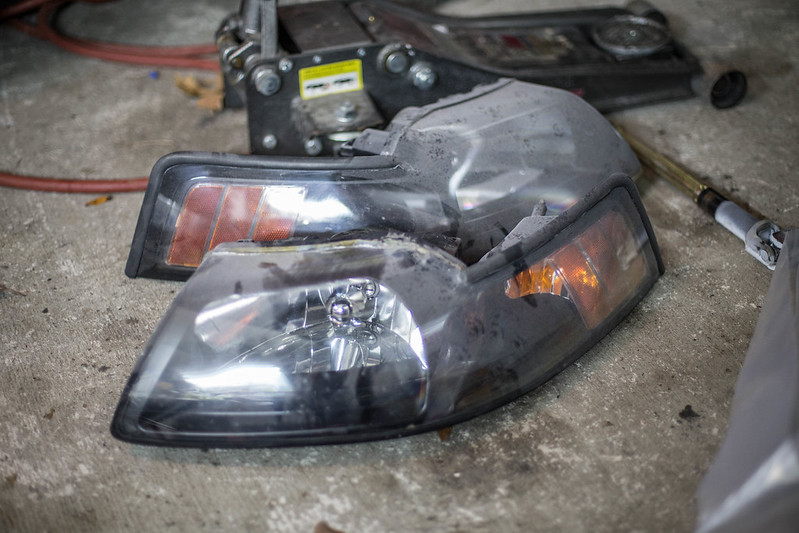
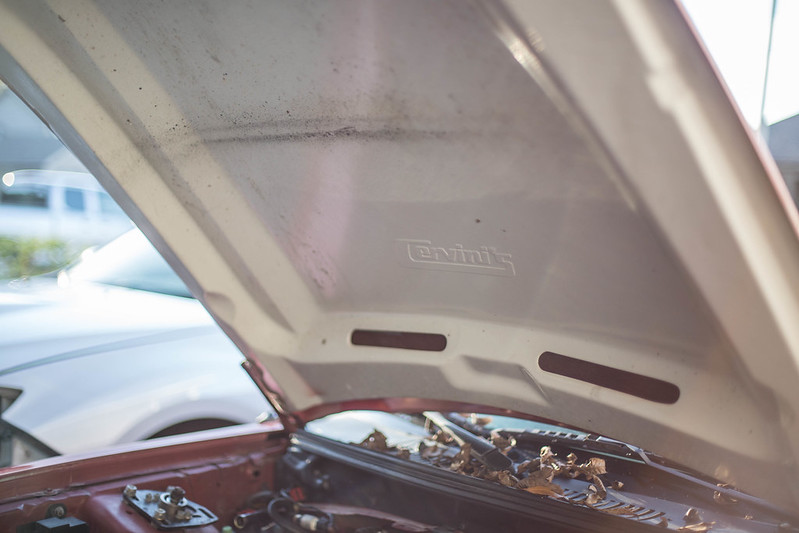
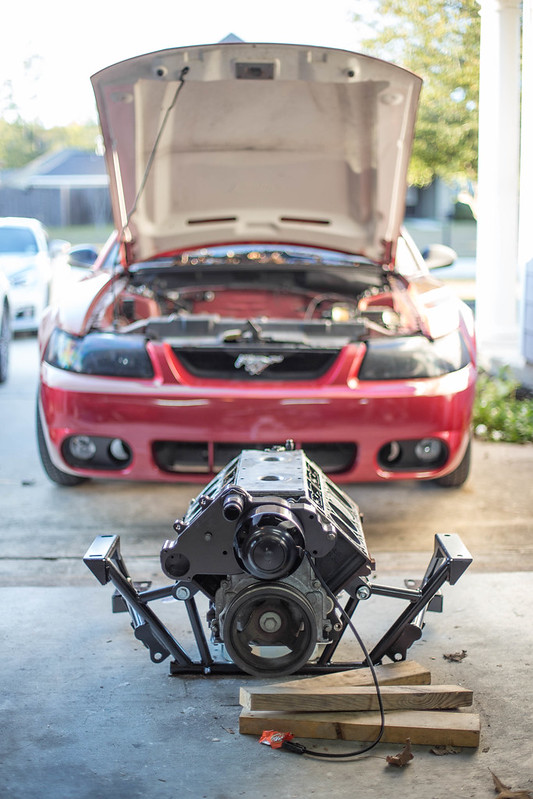
    untitled (1 of 11) by lawrx, on Flickr

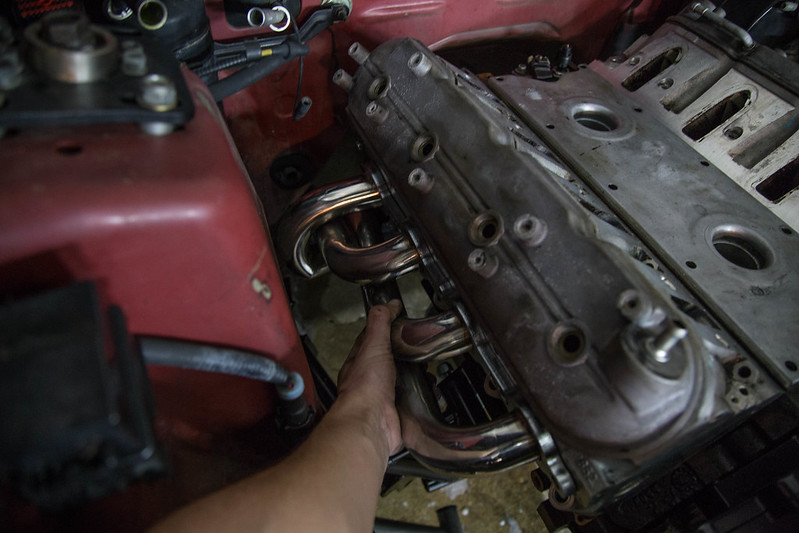
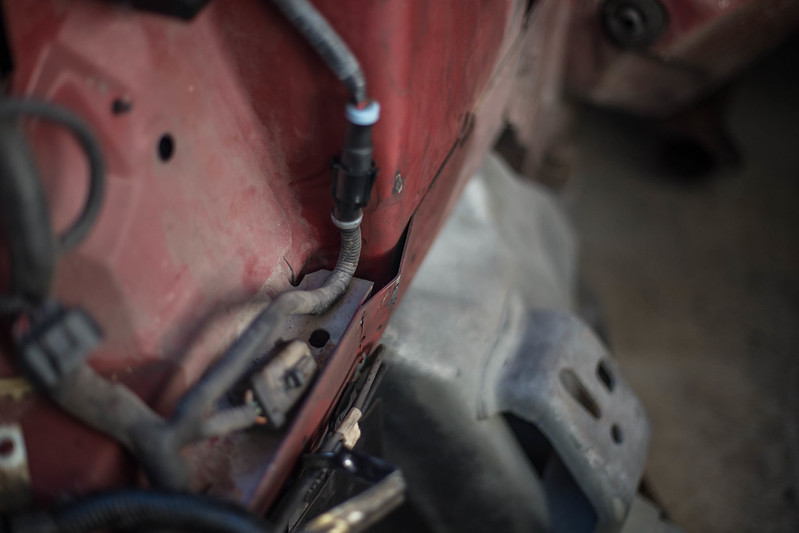
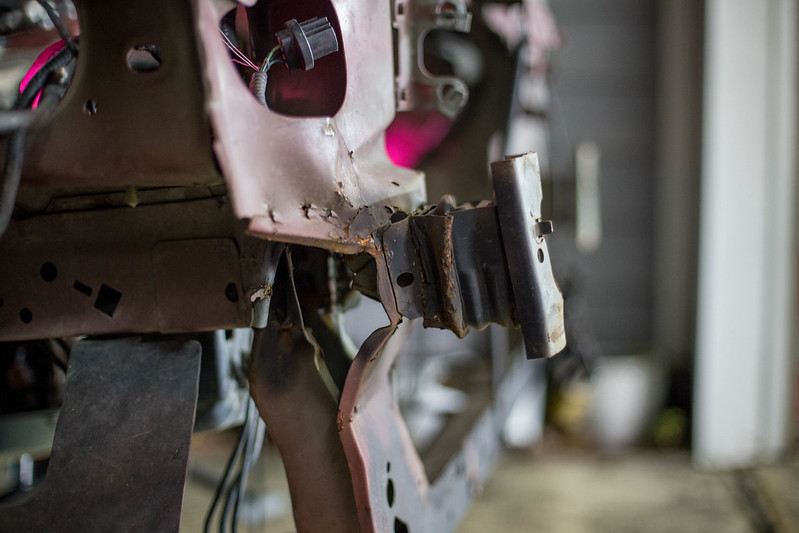
    untitled (2 of 11) by lawrx, on Flickr

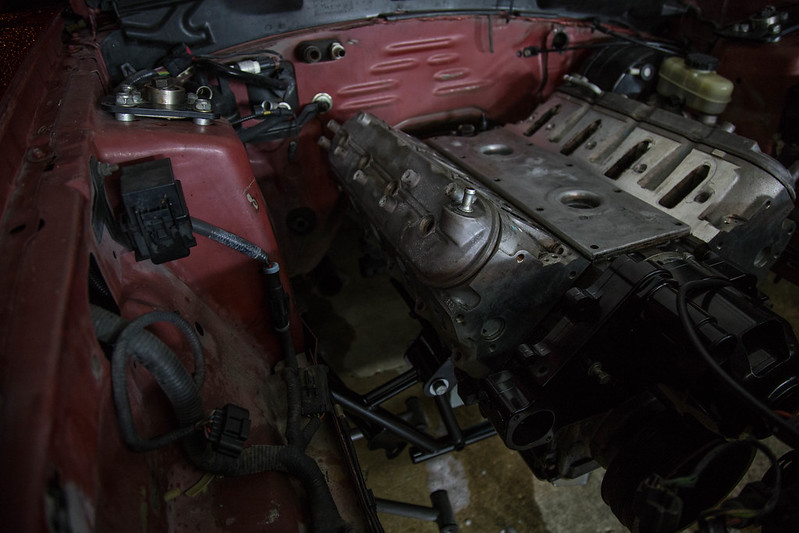
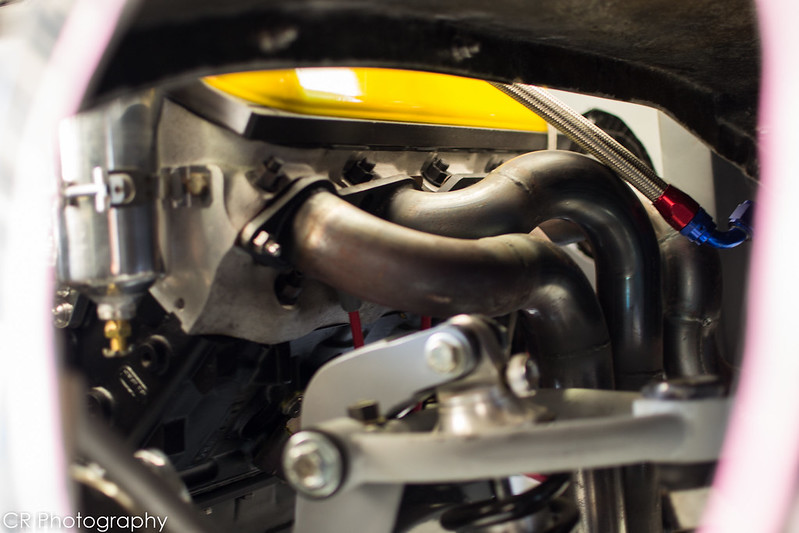
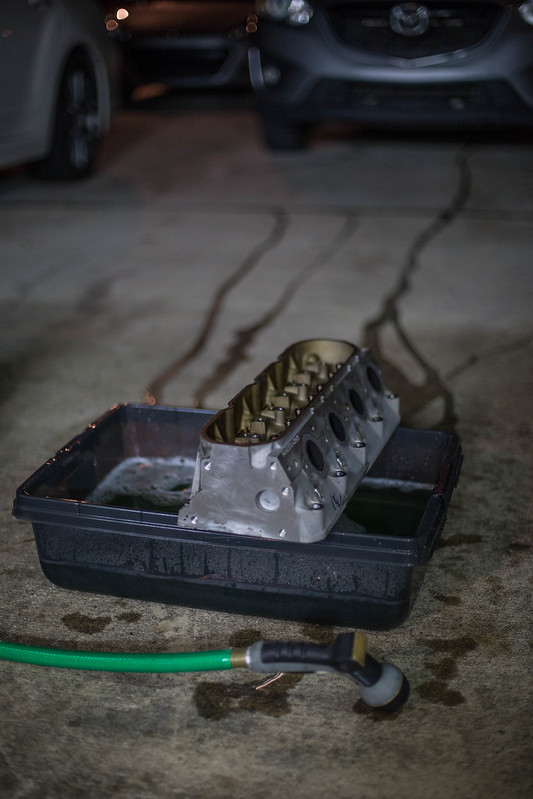
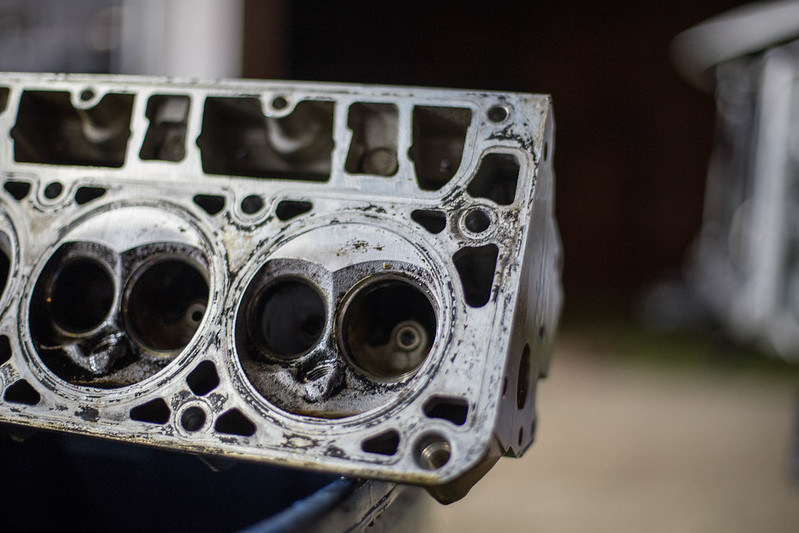
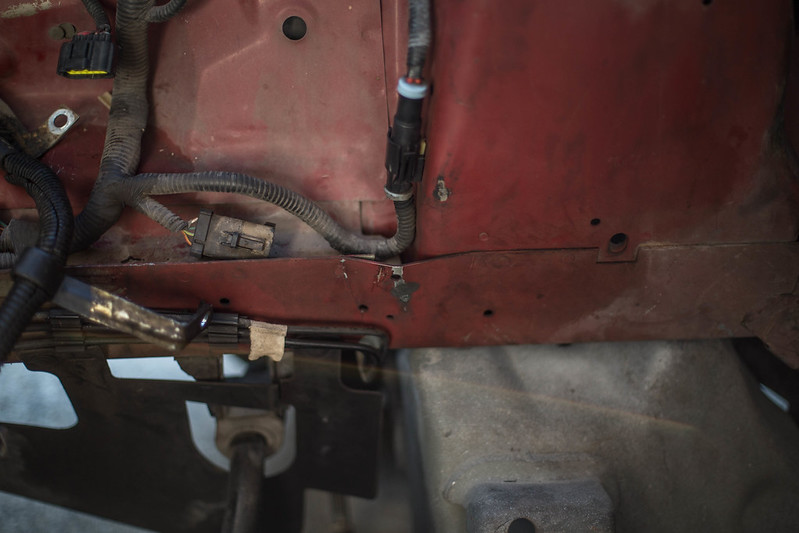
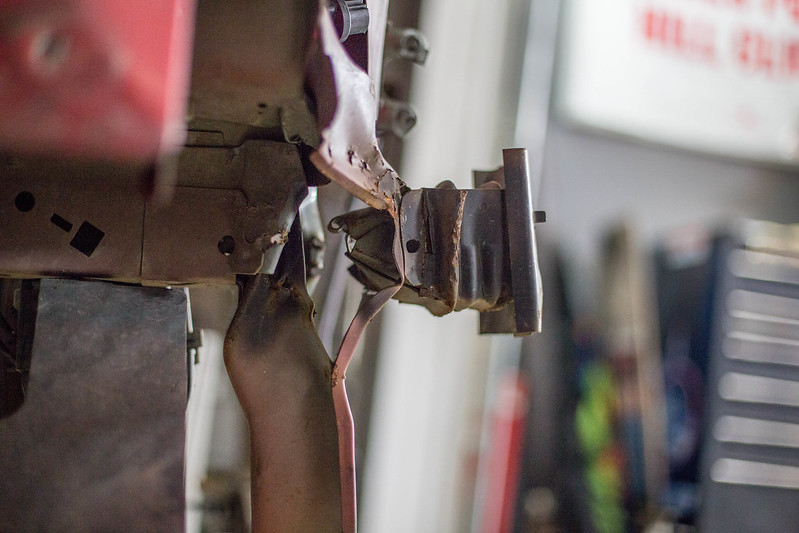
    untitled (3 of 11) by lawrx, on Flickr

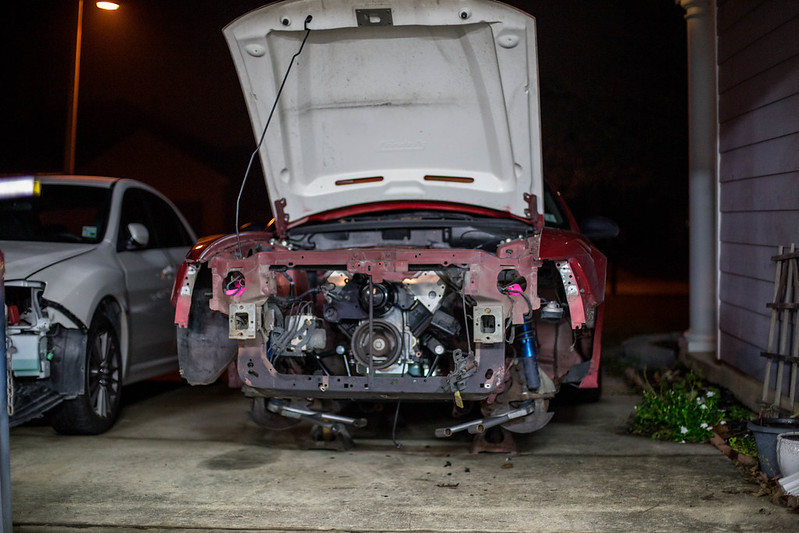
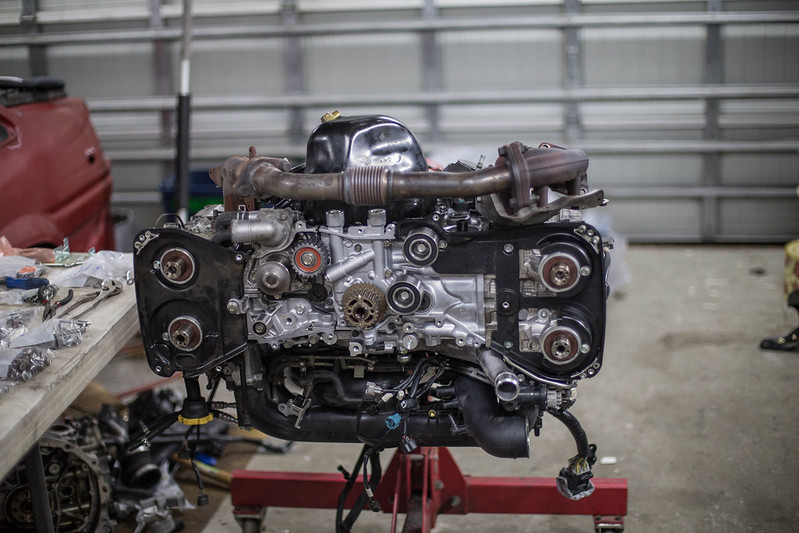
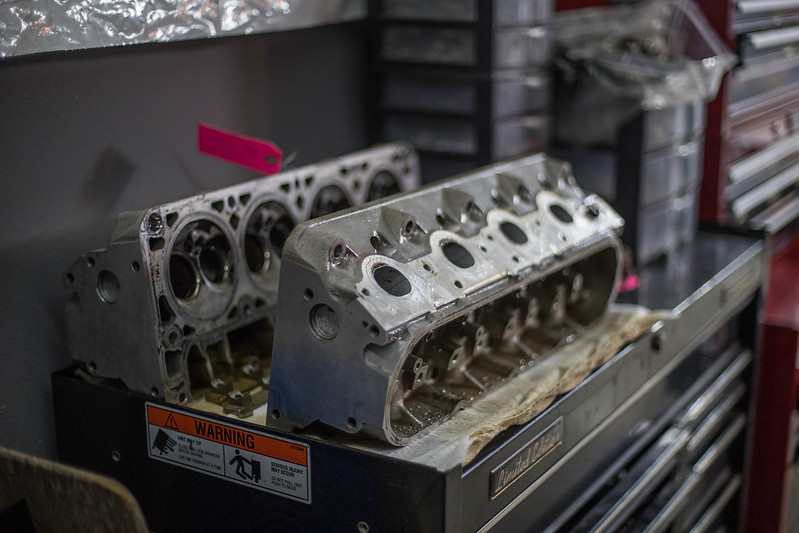
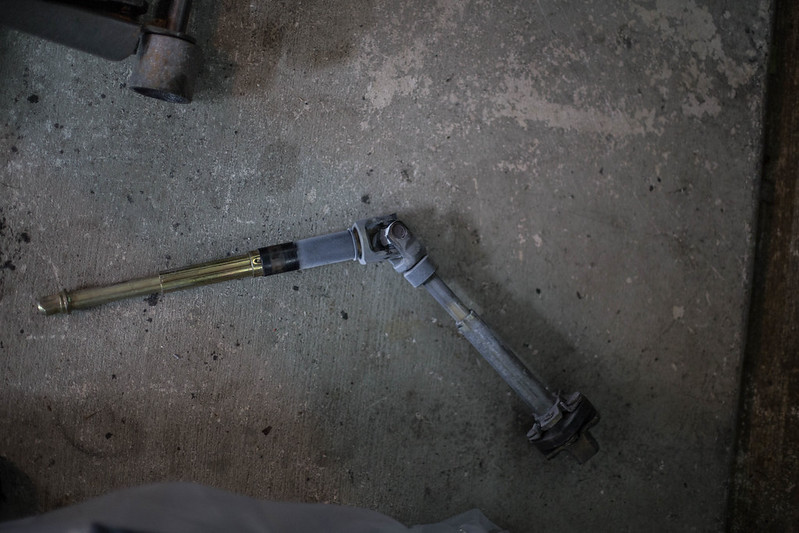
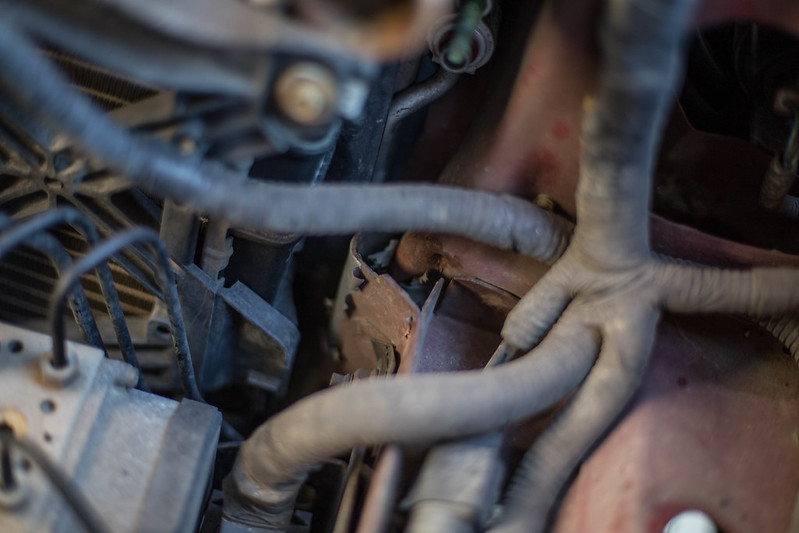
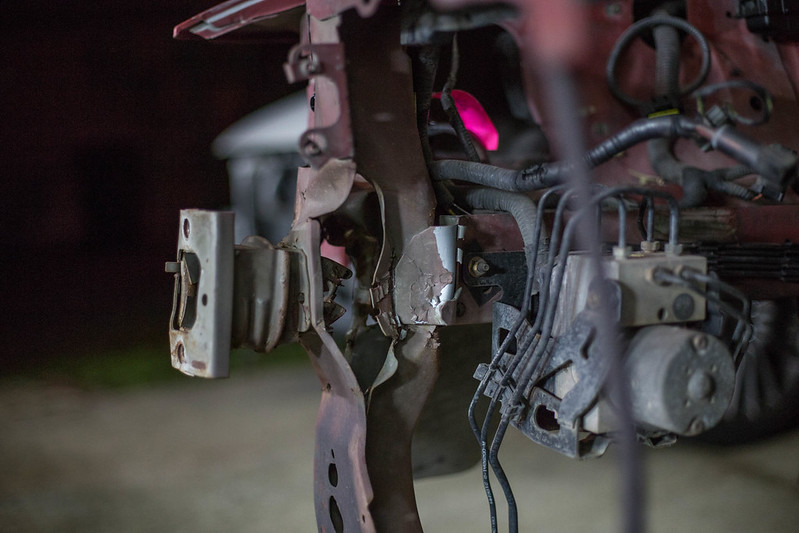
    untitled (4 of 11) by lawrx, on Flickr


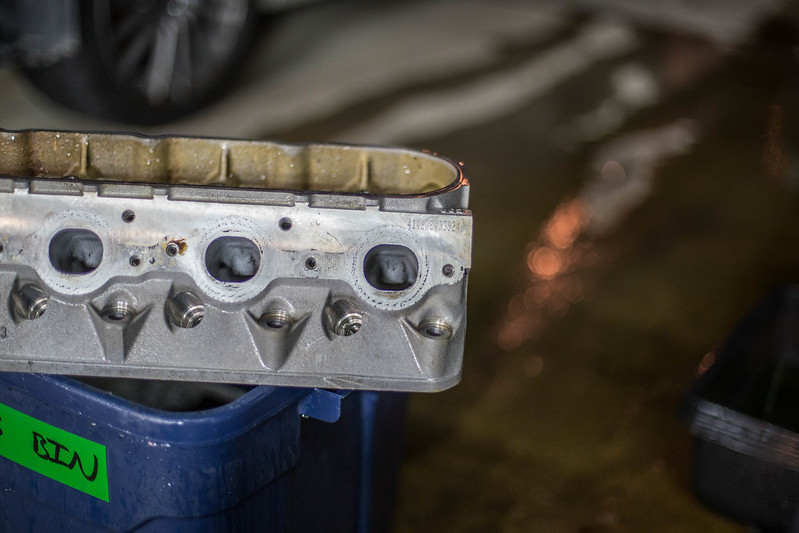
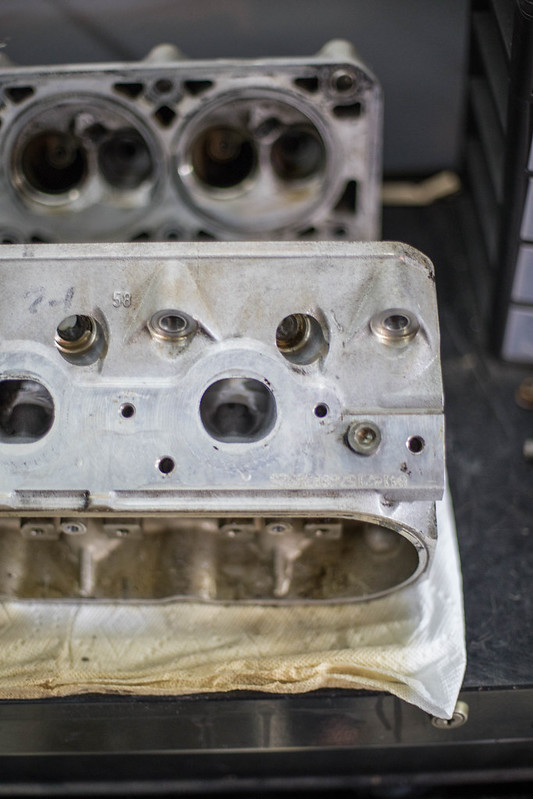
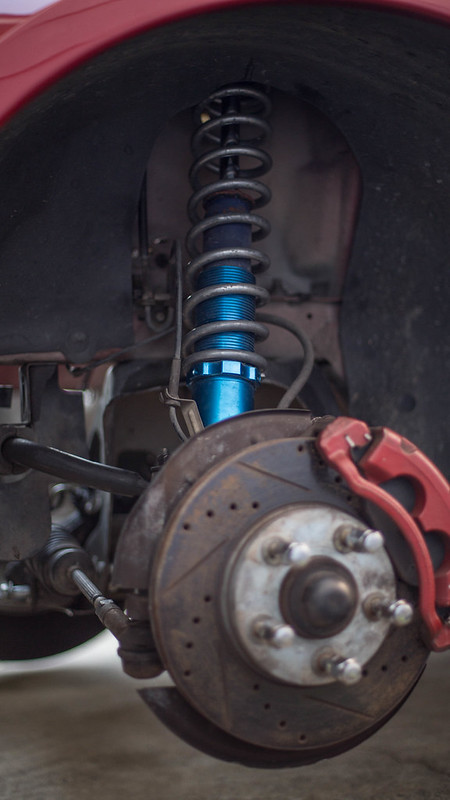
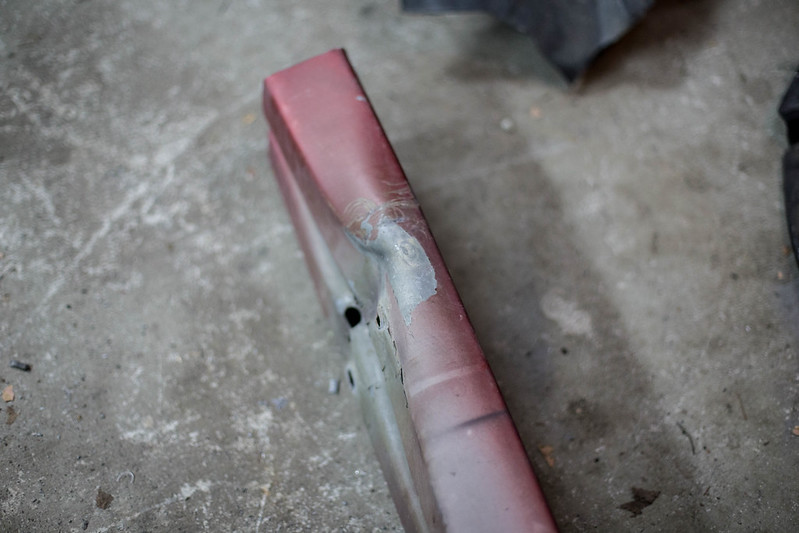
    untitled (6 of 11) by lawrx, on Flickr

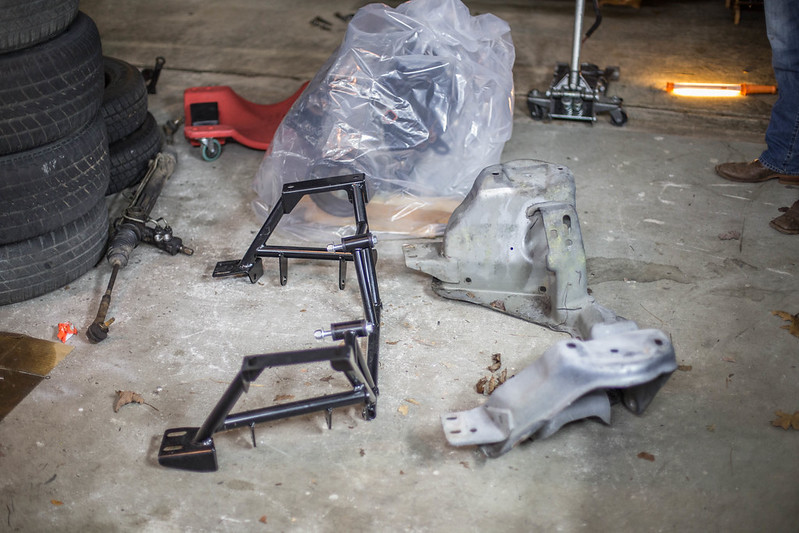
    After checking out the damage, i got to business dropping the car off jack stands. The UPR control arms still dont fit, so just took out the bushings and hand tightened the nuts on, good enough while it sits till i get new arms before it runs.

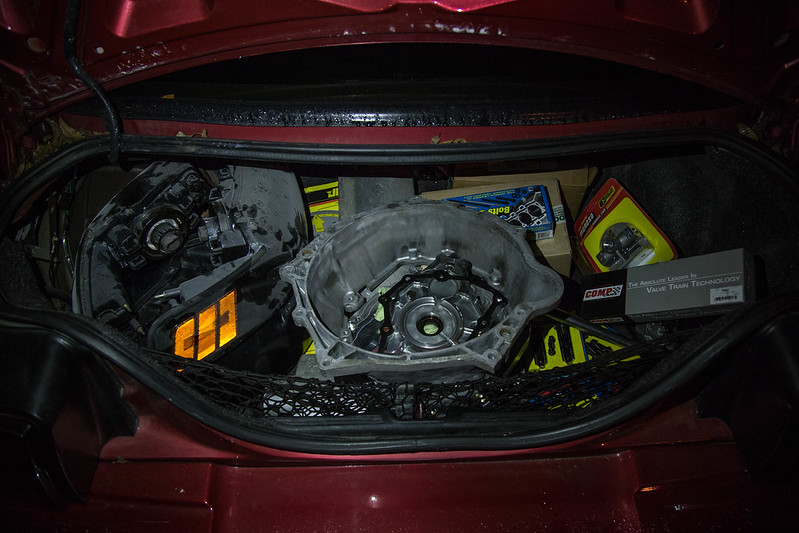
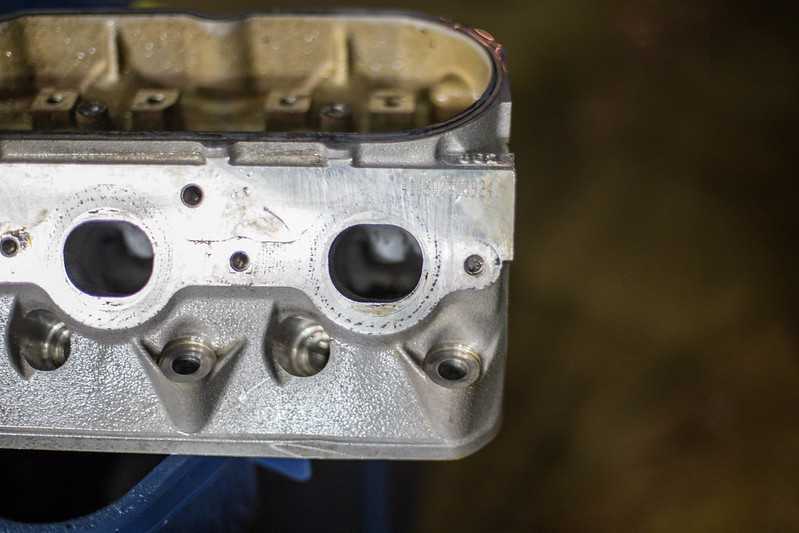
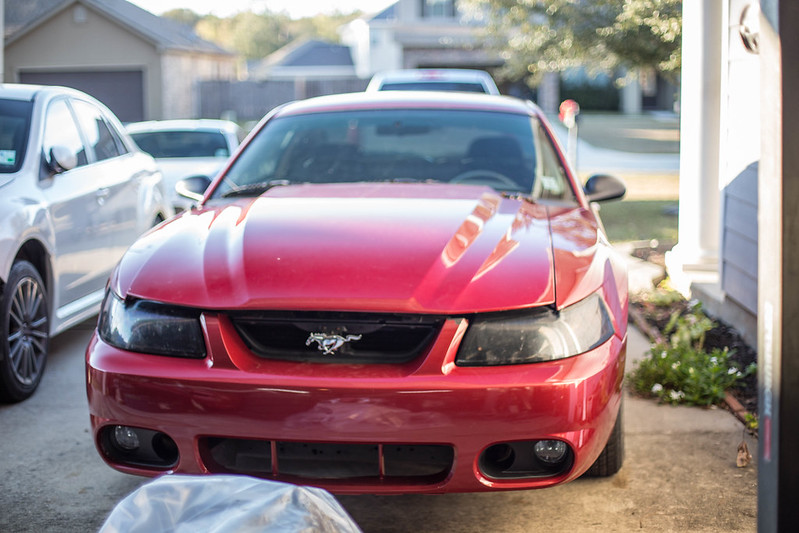
    untitled (5 of 11) by lawrx, on Flickr


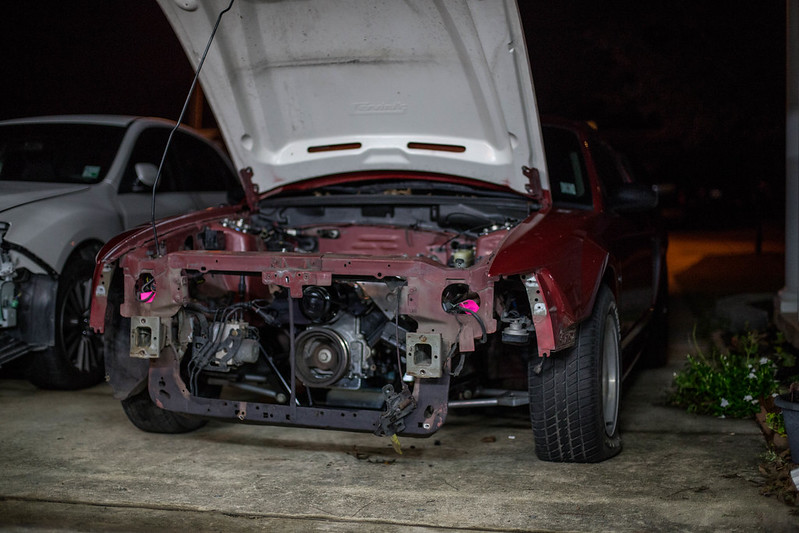
    untitled (7 of 11) by lawrx, on Flickr


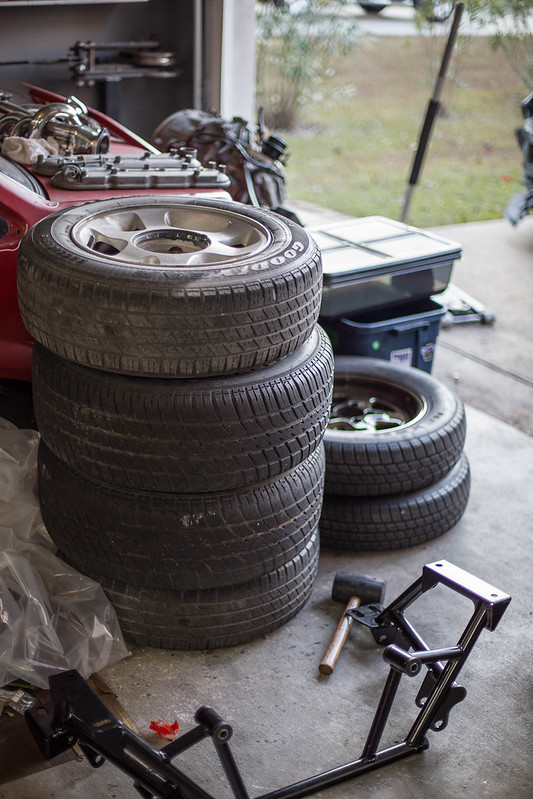
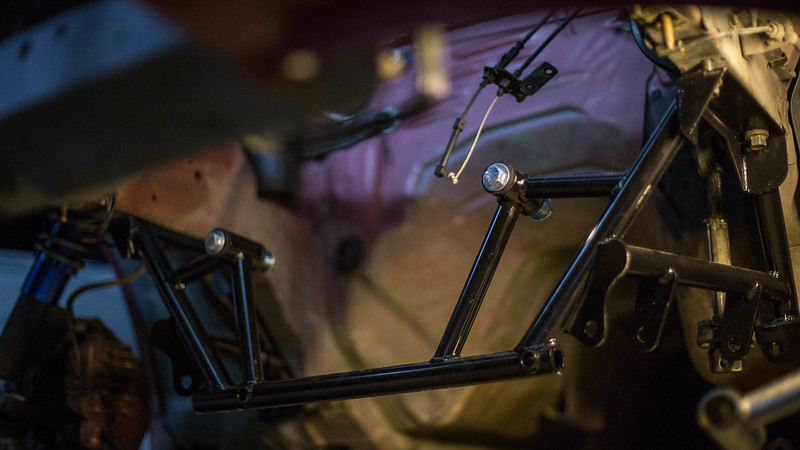
    Also since i had it on the ground i checked out the new subframe ground clearance. For now its good, once i have more weight in it we will see how it fares. Also, here is a 15x4 vs a 19x12... lol

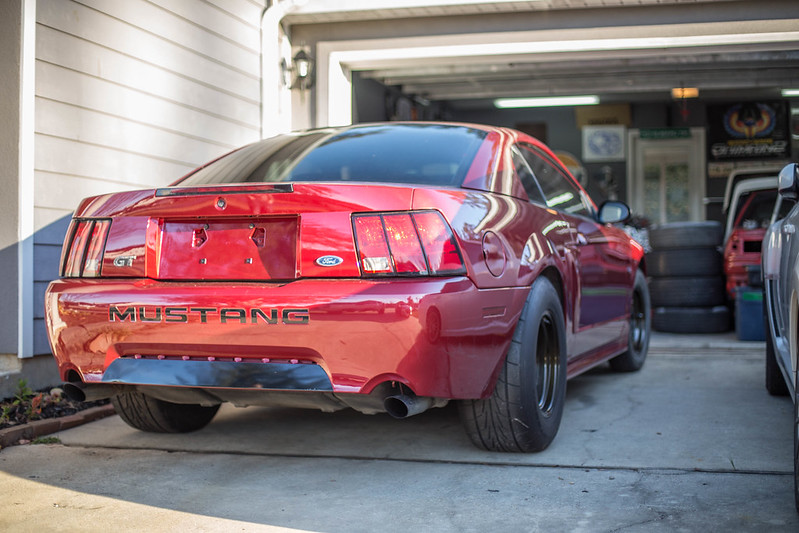
    untitled (8 of 11) by lawrx, on Flickr


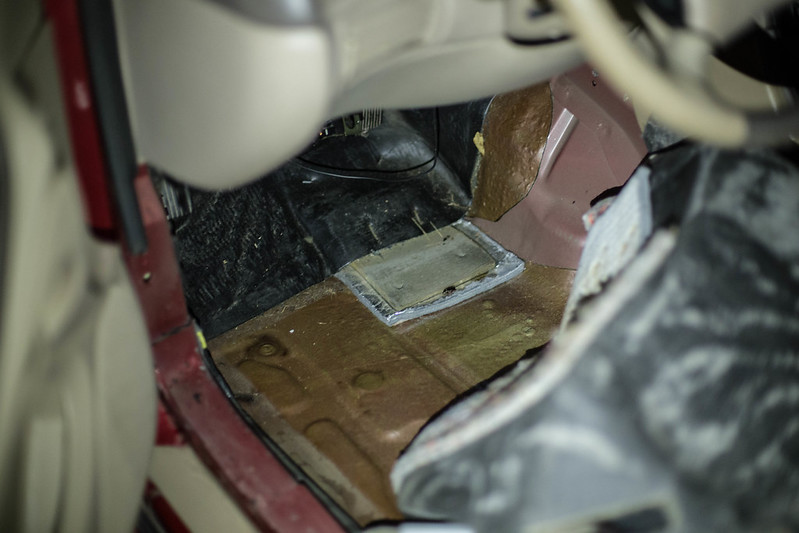
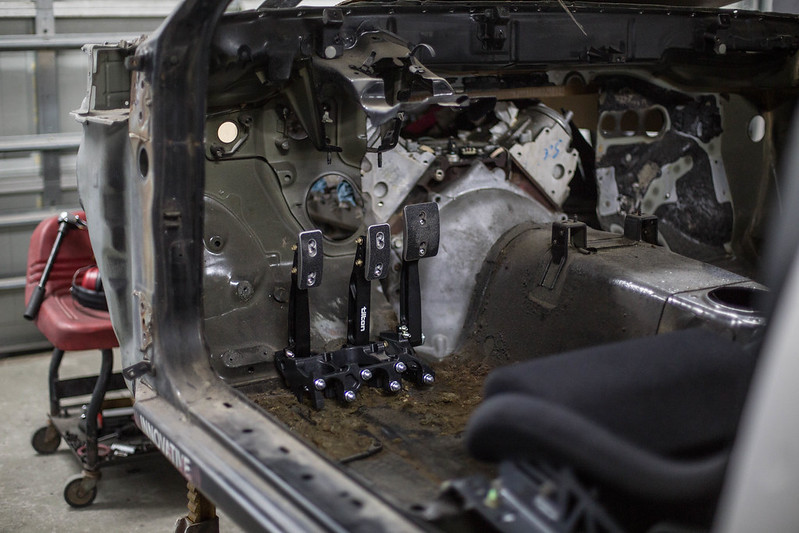
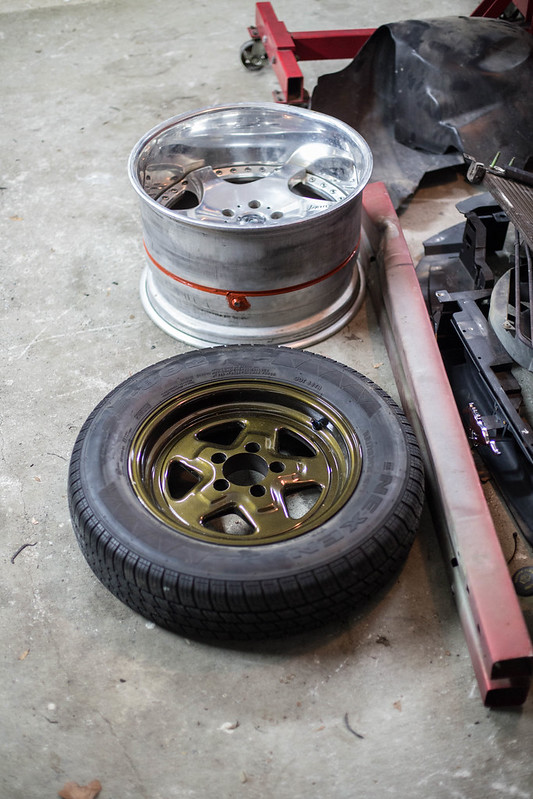
    untitled (9 of 11) by lawrx, on Flickr

    Also pulled the driver side carpet back to check the mouting area of where the titlton pedal box will be. Nice and flat, thats going to work out perfectly.


    untitled (10 of 11) by lawrx, on Flickr

    Leave a comment:


  • laextreme5
    replied
    Originally posted by leaferiksin View Post
    I spy with my little eye an 86
    Yup, a friends car im doing rust repair and then full paint job. Once i start on it shortly i will make its own build thread here.

    Leave a comment:


  • leaferiksin
    replied
    I spy with my little eye an 86

    Leave a comment:


  • laextreme5
    replied
    Not a whole lot has happened since the last update. Been busy with work and the holidays.

    Was trying to make the garage a useable space again. Last several months I've accumulated a lot of parts and such and haven't had time to kinda sort and organize somewhat.

    Basically what this meant was all the smaller mustang stuff got shoved in the trunk temporarily.
    untitled (1 of 6)-2 by lawrx, on Flickr

    untitled (2 of 6)-2 by lawrx, on Flickr


    Before putting the shittastic ebay headers into the trunk i decided to hold one up to check clearance on. Its not so great. The one 180* bend at the back is very close to the frame rail, and i feel it will get closer when i flip the motor mounts and get gets moved back and down 1''. Seriously considering just getting my dad to help me fab our own set of headers. Ive included a shot of my dads handiwork on headers. Best shot i had on my Flickr account.

    untitled (4 of 6)-2 by lawrx, on Flickr

    untitled (5 of 6)-2 by lawrx, on Flickr

    untitled (6 of 6)-2 by lawrx, on Flickr


    20140419-DSC_0885 by lawrx, on Flickr

    Leave a comment:


  • laextreme5
    replied
    Originally posted by 190Evan View Post
    Looks like it's meant to be in there! Good to see some progress on this. That water pump is huge and I don't know if you mentioned it already but is it oem or electric?
    Its a meizer electric. Flows 55gpm regardless of engine rpm. So perfect for drag racing and 1/2 mile. Superb cooling at idle and low rpm

    Leave a comment:


  • 190Evan
    replied
    Looks like it's meant to be in there! Good to see some progress on this. That water pump is huge and I don't know if you mentioned it already but is it oem or electric?

    Leave a comment:


  • laextreme5
    replied
    Thanks guys! and i will look into that shifter setup as well.

    Leave a comment:


  • d0wse
    replied
    God this thing is coming along beautifully.

    Leave a comment:


  • Teeson1111
    replied
    Subb'd. Was keeping an eye on the 240, sad to see it parted but as you said it got out of hand. This looks a little more straight forward. My drag racing buddies say the cheapest way to go fast is an LS in a Ford.

    Oh and +1 for the Serial Nine CD009 shifter. Beautiful piece that works great

    Leave a comment:


  • laextreme5
    replied
    So, big update coming in.

    This stupid fucking taking forever Sti motor is about ready to drop in, alleviating the engine stand so i can get some more progress on the motor. In the mean time i gave the heads a good cleaning. Still need to hit the intake ports some more as the were DURTYYY.

    untitled (1 of 31) by lawrx, on Flickr

    untitled (2 of 31) by lawrx, on Flickr


    untitled (3 of 31) by lawrx, on Flickr

    untitled (4 of 31) by lawrx, on Flickr

    untitled (5 of 31) by lawrx, on Flickr

    untitled (6 of 31) by lawrx, on Flickr

    untitled (7 of 31) by lawrx, on Flickr

    untitled (8 of 31) by lawrx, on Flickr

    untitled (9 of 31) by lawrx, on Flickr

    untitled (12 of 31) by lawrx, on Flickr

    untitled (13 of 31) by lawrx, on Flickr


    While at a buddies house the other day, i picked up a spare set of headlights, current ones are shit, and also picked up a "new" steering shaft. Current one in the car had its bushing burnt out due to the install of longtubes on the 4.6. So we welded the two shafts together so there wasn't any slop till he could swap a new one in (obviously i bought the car before he had a chance.) The steering shaft has some white overspray due to it being out of my friends white New Edge that he is 4.6 swapping (originally a v6 car). Its the car pictured a few updates back. Ill just throw some black spray paint on it to make it look new again.


    untitled (10 of 31) by lawrx, on Flickr

    untitled (11 of 31) by lawrx, on Flickr


    And last but not least, THE CAR IS FINALLY HOME.

    It was actually a pretty late notice hey come get the car before my landlord gets here kinda deal, so i made some time and as able to pick it up and get it home. It was quite the fiasco. Had to stop halfway at a friends to grab my hoist, 2 wheels, his front k member, and my load leveler. Then try the other half of the way to the car. Install the borrowed k member ( one that was in the car was needed for his new Ls swapped fox project) try to install k member, realize UPR lower control arms dont fit, pull bushings out of arms ends to make it atlas rollable to get it on the trailer. AND FINALLY GET IT HOME

    Upon getting it home i needed to get the K member out asap as Corey needed it back as its the one thats going in his car (4.6 swapped V6 car). He came over and well, the motor ended up in the car haha.

    We also found the same issue with the UPR lower control arms and the AJE k member. The control arms dont fit. Basically the spread of the arms doesn't quite match the spread of the subframe, and its the width of one of the bushings flanges off, maybe 1/4''. But given the angle they can't be forced in. so it looks like i am going to have to order new front lower control arms. Not a huge hinderance but still a pain that they ONLY work with the UPR subframe (which sucks btw, Blaine with the LS fox had tons and tons of fitment issues with that subframe, ended up buying a AJE and it fit perfect)


    untitled (14 of 31) by lawrx, on Flickr

    untitled (15 of 31) by lawrx, on Flickr

    untitled (16 of 31) by lawrx, on Flickr

    untitled (17 of 31) by lawrx, on Flickr


    Also, upon getting the car home i found a bit of frame damage. After working on the car before when Blaine owned it, a good friend, neither of us had seen it before. It must have been a fairly large hit, so ill def be putting it on our frame machine at work and getting it pulled out and measuring straight.


    untitled (18 of 31) by lawrx, on Flickr

    untitled (19 of 31) by lawrx, on Flickr

    untitled (20 of 31) by lawrx, on Flickr


    Once the car was in my driveway and on jack stands we proceeded with pulling out the borrowed stock subframe. The sway bar was the first to come out as one it made it easier to swing the lca/spindle assembly out of the way to drop the k member, and two, because seeing as this is a straight-line car its basically dead weight. Sidetone: that swayer actually weighed quite a few pounds.

    After muscling the stock k member out we easily and quickly got the new AJE tubular piece in place. It one provides a nice drop in weight off the nose of the car and two provides ample room for exhaust work and mounting options for the motor.

    untitled (21 of 31) by lawrx, on Flickr

    untitled (22 of 31) by lawrx, on Flickr

    untitled (23 of 31) by lawrx, on Flickr

    untitled (24 of 31) by lawrx, on Flickr

    untitled (25 of 31) by lawrx, on Flickr


    untitled (26 of 31) by lawrx, on Flickr

    untitled (27 of 31) by lawrx, on Flickr


    With the k member in place. And my friend Corey over as a helping hand, it was a no brainer to drop the short block right in as the first mockup. Had a few minor issues dropping it in. Found out the front end is extremely long and we had to pull the front bumper and absorber off to allow the hoist to go far enough forward to allow the motor to align with the subframe. Even then it was just barely enough length to get it in. Once the motor was in we slapped each bare head on with 2 bolts each and slapped the intake on top.

    My oh my does this intake look sweet on the motor. Although i really wish i had gone with the high rise vs the mid rise. I may still try to sell this one and get the high rise. Idk, maybe ill keep it.

    IF anyone is interested ill let it go for less than new. Shoot me a message if interested.

    Clearacne wise there is ample everywhere. I can flip and swap the mounts and move the motor down and back 1'' in each direction. Currently i have atlas 1'' from the intake to the hood.

    One clearance that surprised me was from the front of the motor to the stock cooling fans. Its much tighter than i was anticipating. Although it will get larger when i flip the mounts. I may even mod them a bit to get it to sit back just a little bit farther. That water pump is HUGE.

    untitled (28 of 31) by lawrx, on Flickr

    untitled (29 of 31) by lawrx, on Flickr


    untitled (30 of 31) by lawrx, on Flickr

    untitled (31 of 31) by lawrx, on Flickr

    Leave a comment:


  • 190Evan
    replied
    Originally posted by laextreme5 View Post
    Is this what you are referring to? if so i only see it for the t56, not a Nissan CD009 transl[/url]
    Huh weird I can't find it, I remember he told me he would include one in my swap when I was lining up to do it, I would shoot him an email and ask him about it he responds super quick and he's a really cool guy.

    Leave a comment:


  • laextreme5
    replied
    Originally posted by 190Evan View Post
    Collins supplies an internal slave kit with lines and everything that will hook up I'm sure. Take a look it might expedite your research!
    Is this what you are referring to? if so i only see it for the t56, not a Nissan CD009 trans


    Leave a comment:


  • 190Evan
    replied
    Collins supplies an internal slave kit with lines and everything that will hook up I'm sure. Take a look it might expedite your research!

    Leave a comment:


  • laextreme5
    replied
    So as some of you will remember from my 240 project, i had purchased a tilton floor mount pedal setup. Over the last few days ive been pondering about how to do my clutch and brake setup on the mustang. I need to change the steering column as we had to weld 2 sleeves together when my friend blaine owned it as it had some slack due to a burned up bushing from the long tubes blah blah. Will be easier to show when i have it how.

    I also will be pulling the dash as i will be doign a minor shave on the firewall, and want access to the back to properly seal the backside of the welds. Being that im going to be so in depth into the firewal and dash area, and i would have to purchase componets to convert to a hydraulic clutch line for the cd009 trans, its makes sense to utilize what iu already have, the Tilton pedal assembly. Ive decided to go manual brakes as well so it makes sense to use what i have given how far into tear down i will be in that area to begin with as well

    untitled (1 of 6)-2 by lawrx, on Flickr

    Leave a comment:


  • laextreme5
    replied
    Originally posted by 190Evan View Post
    I keep reading through this damn thread just to see high quality LS teardown pics haha
    Still lots more to go haha. Cam removal, lifters, timing cover, timing chain. think thats it for tear down.

    Leave a comment:

Working...
X