There will def be aftermarket heads in the future. Whether they will be on this block or another idk. Plan is to pick up another 4.8 to build on the side once turbo setup is on this motor on low boost. Then drop in built motor and turn her up.
This is the plan anyway, this motor could psin a bearing on startup or throw a rod out the side of the block on low boost and force my hand into another direction lol so we shall see.
-
ahhh okay so this motor will be seeing aftermarket heads in the future? If so, rad. Stoked to see this thing fully put together.Leave a comment:
-
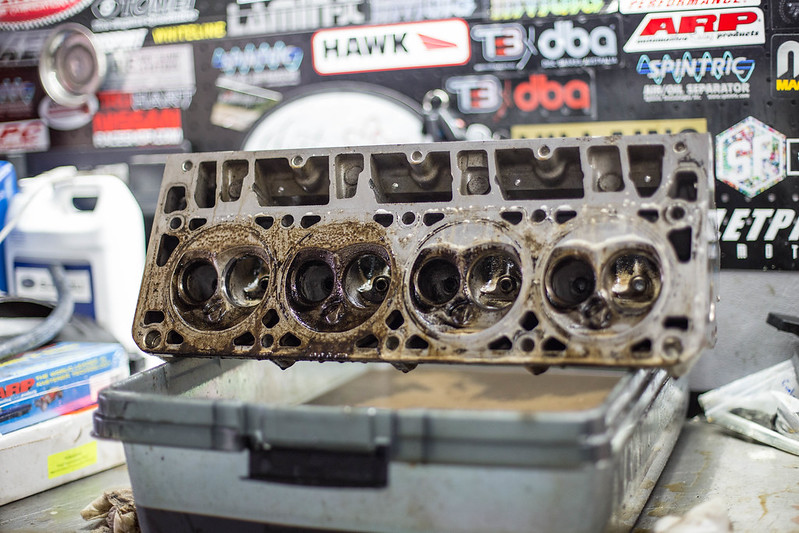
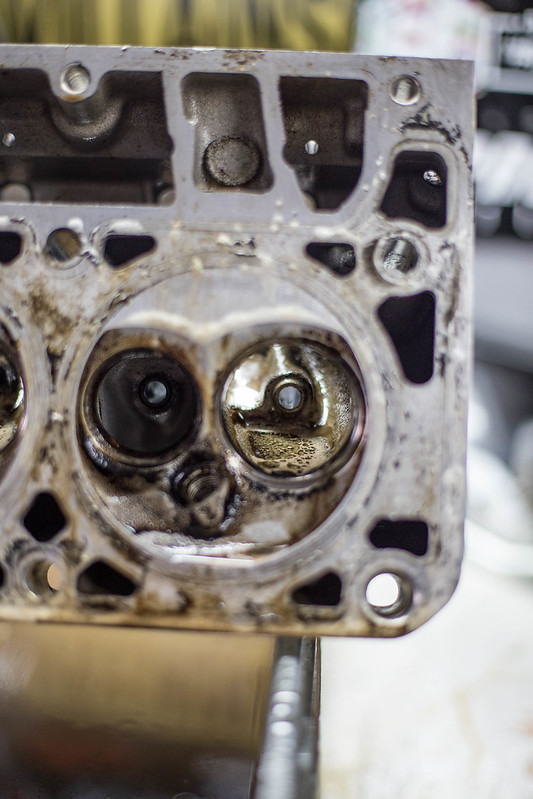
Yes the valve guides are replaceable. The stock ones are steel, where as the aftermarket ones are bronze. Yes you are seeing minor surface rust. And yes the heads are used, all 190k miles of it haha. I thought about changing them but i just dont want to invest that much into these heads. Majority of the valvetrain can be transferred to another set of heads.Originally posted by 190Evan View PostLeave a comment:
-
Porting looks like it's coming along well for your first time at it! I doubt there are many people on this forum who will bash you for incorrect porting anyways haha. LS head have removable valve guides yes? If so are you going to replace them? It's probably just the photo but it looks like there's trace rust and grime in there. I'm new to all of this I'm just trying to learn about what's going on. Also I'd split ball test those guides to see if they are hour-glassing since if I remember correctly they were used. Anyways thanks for the engine porn!Leave a comment:
-
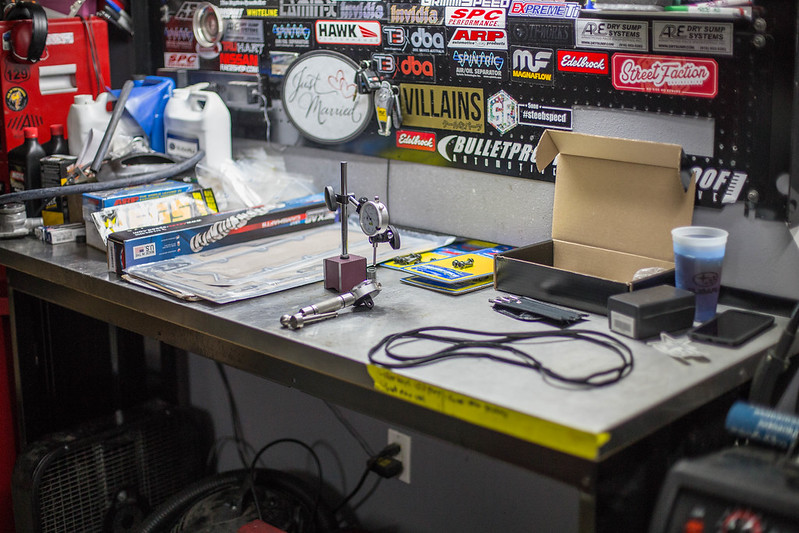
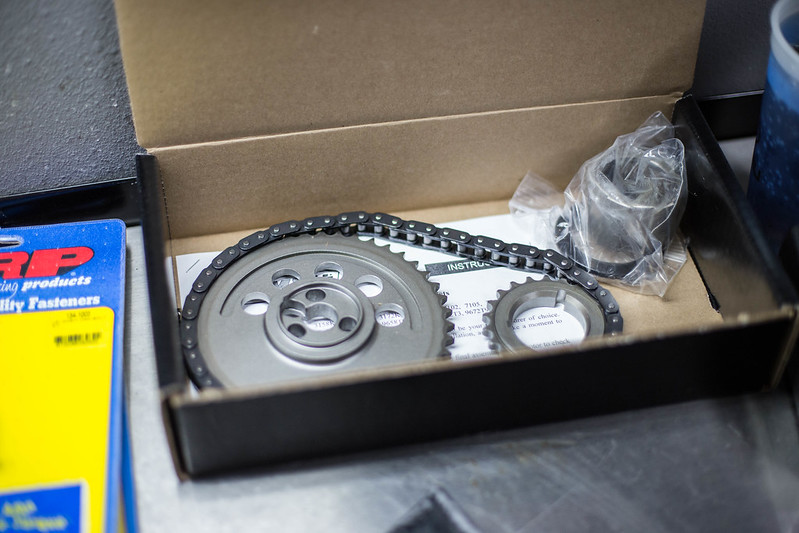
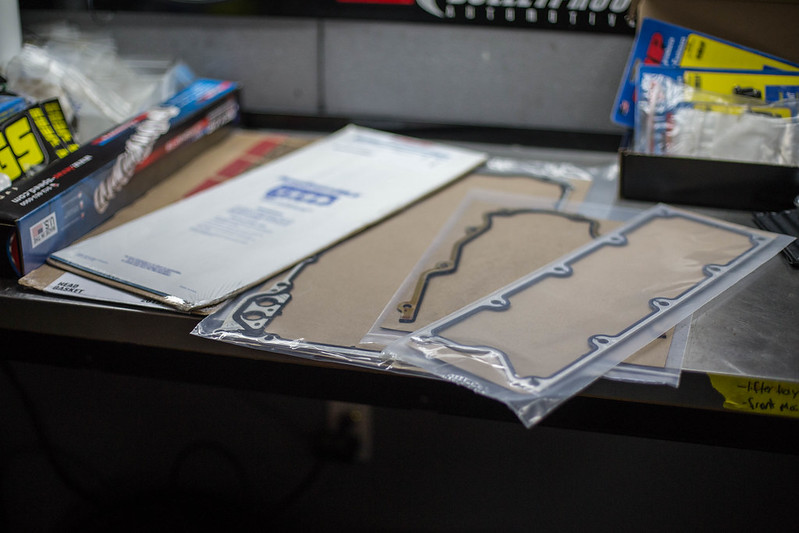
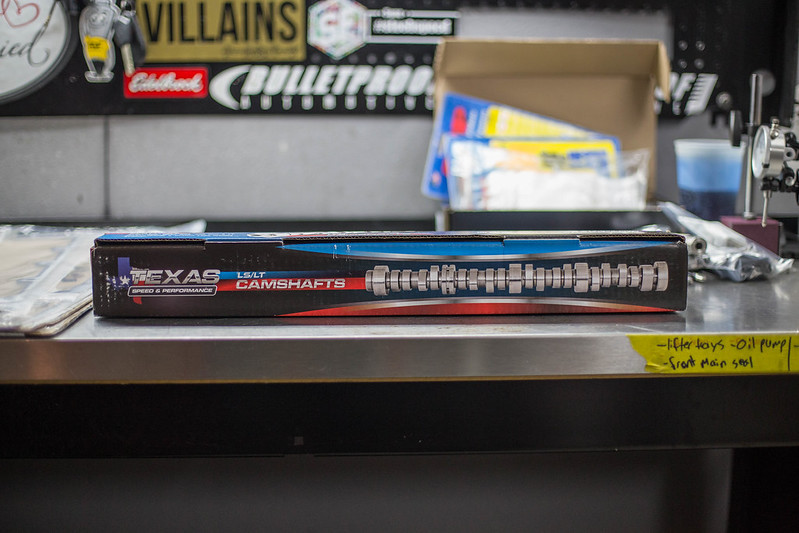
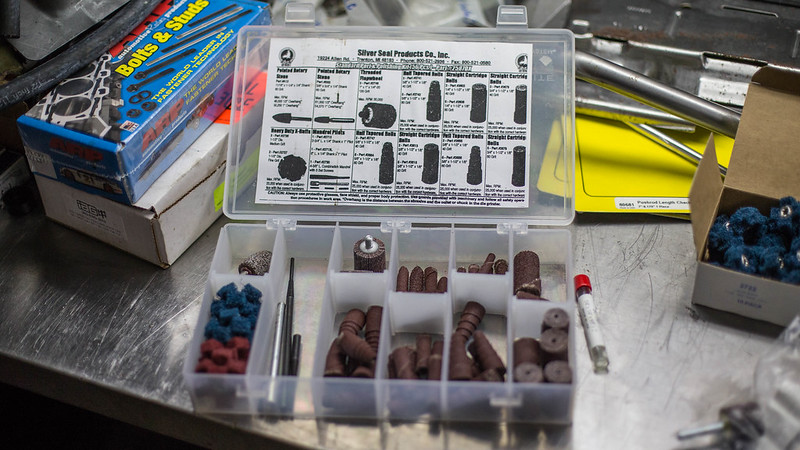
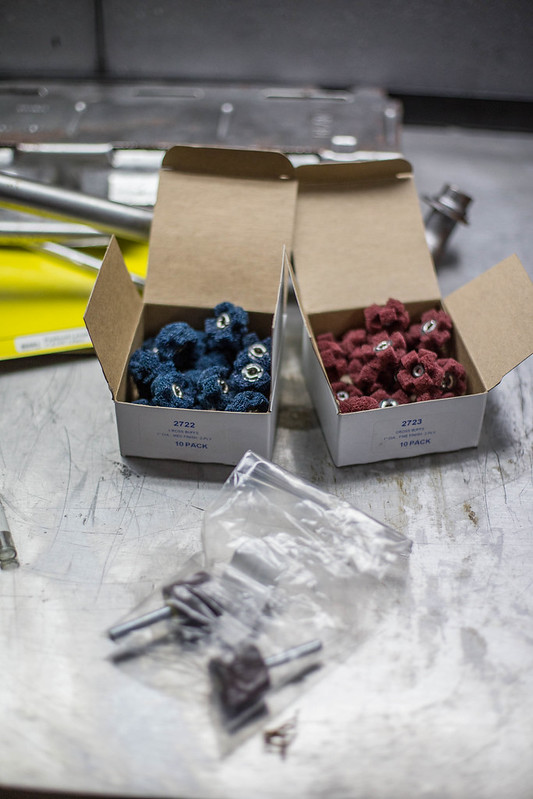
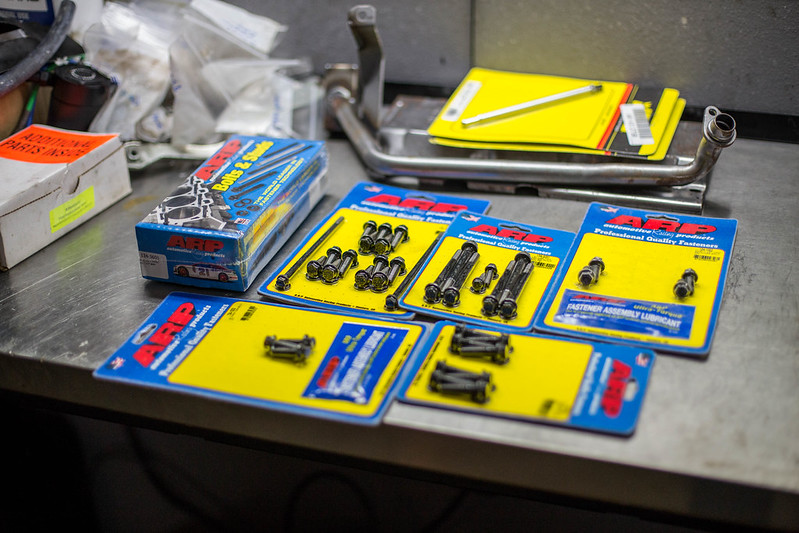
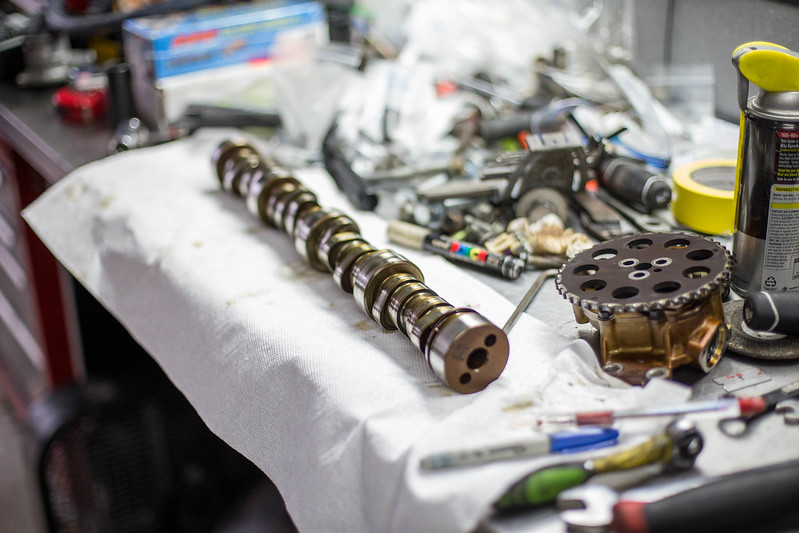
Had a few parts roll in this week. Some tools, the cam, gaskets, and some arp hardware. I also had a kit to start porting on the heads.
 IMG_7690 by lawrx, on Flickr
 IMG_7691 by lawrx, on Flickr
 IMG_7693 by lawrx, on Flickr
 IMG_7694 by lawrx, on Flickr
 IMG_7696 by lawrx, on Flickr
 IMG_7698 by lawrx, on Flickr
 IMG_7702 by lawrx, on Flickr
 IMG_7703 by lawrx, on Flickr
 IMG_7704 by lawrx, on Flickr
 IMG_7706 by lawrx, on Flickr
 IMG_7707 by lawrx, on Flickr
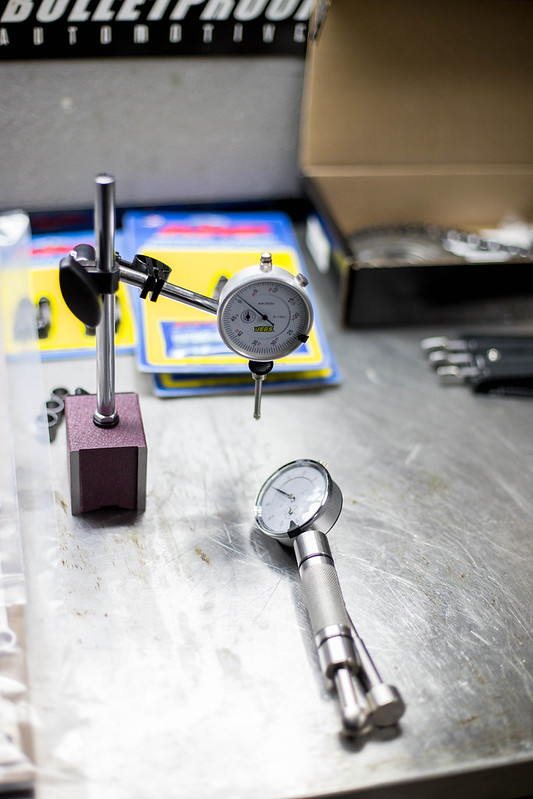
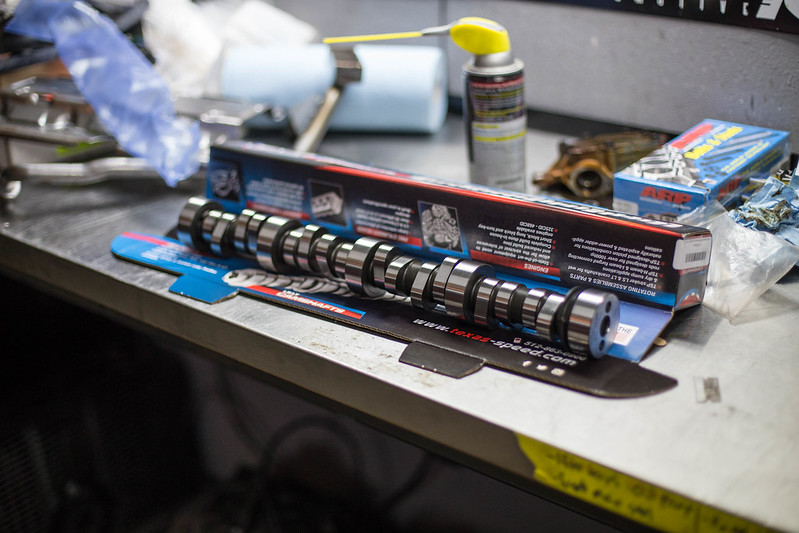
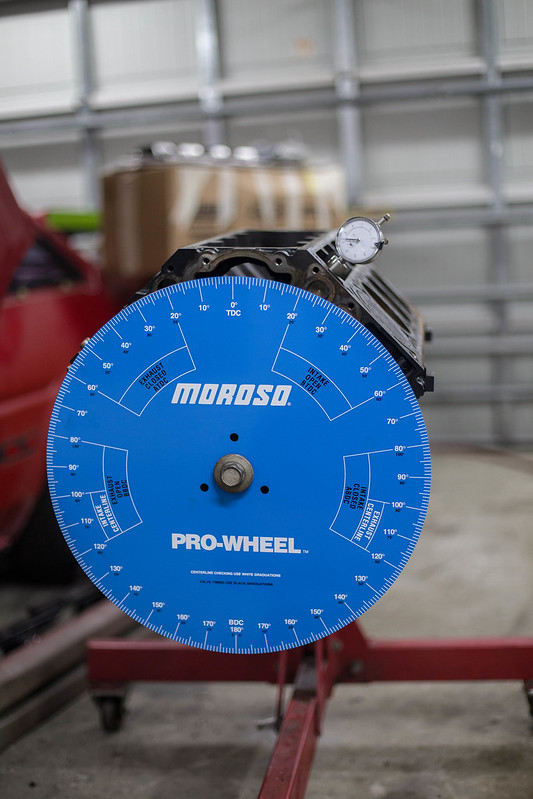
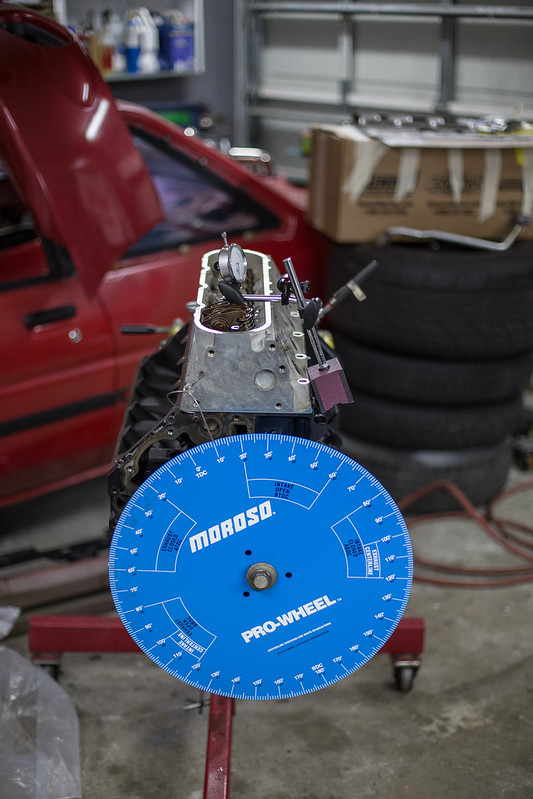
Once everything was unpacked and made sure everything was there, i started the install. Got the cam in, the timing chain, and cam degreed.
 IMG_7709 by lawrx, on Flickr
 IMG_7712 by lawrx, on Flickr
 IMG_7714 by lawrx, on Flickr
 IMG_7715 by lawrx, on Flickr
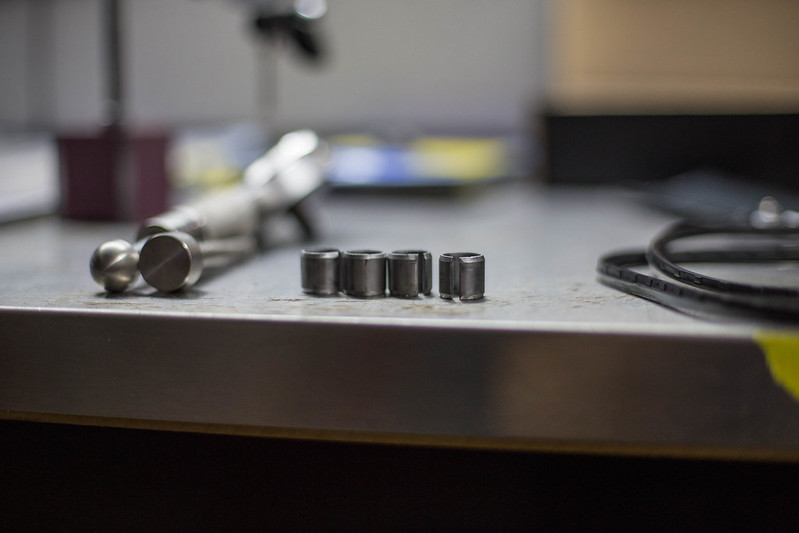
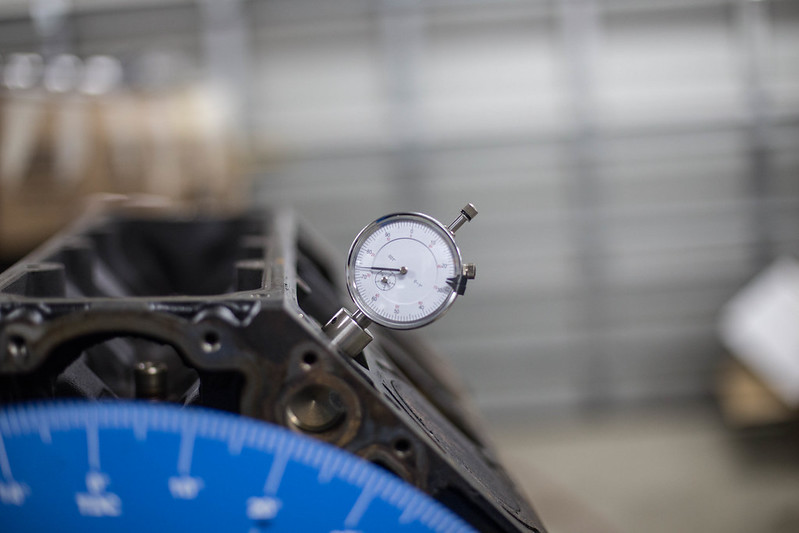
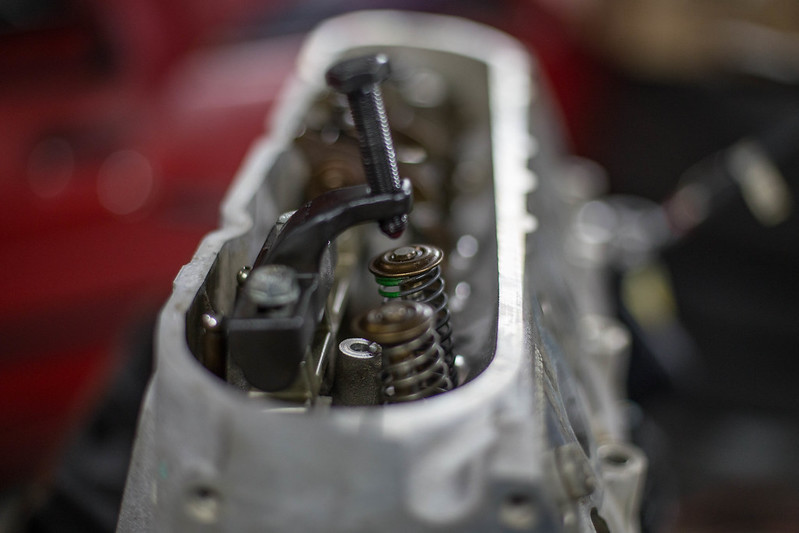
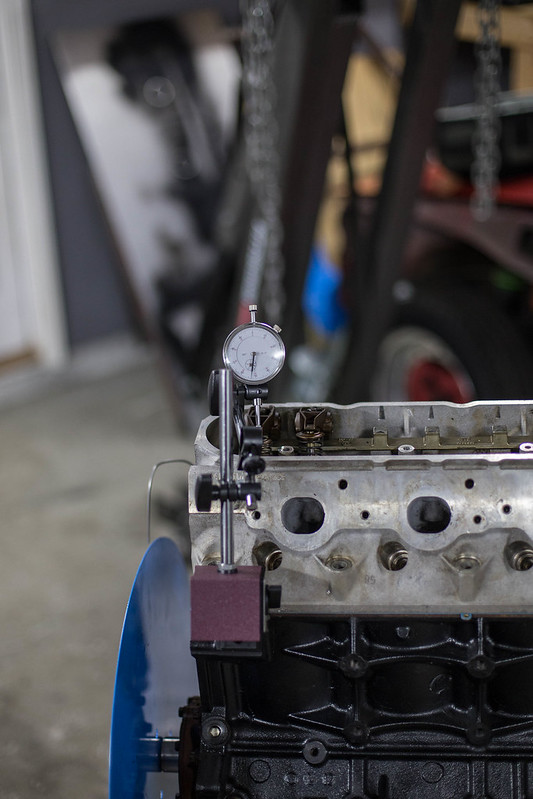
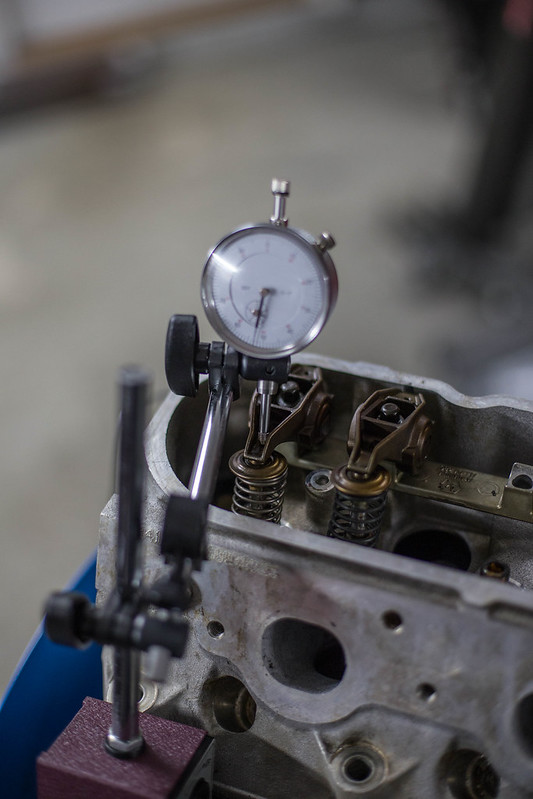
With the cam degreed, i had to check the piston to valve clearance. The intake valve is fine, but the exhaust valve is just too close. So ill have to fly cut the pistons a bit. nothing majors, a few hundreths, but enough that something needs to be done.
 IMG_7718 by lawrx, on Flickr
 IMG_7719 by lawrx, on Flickr
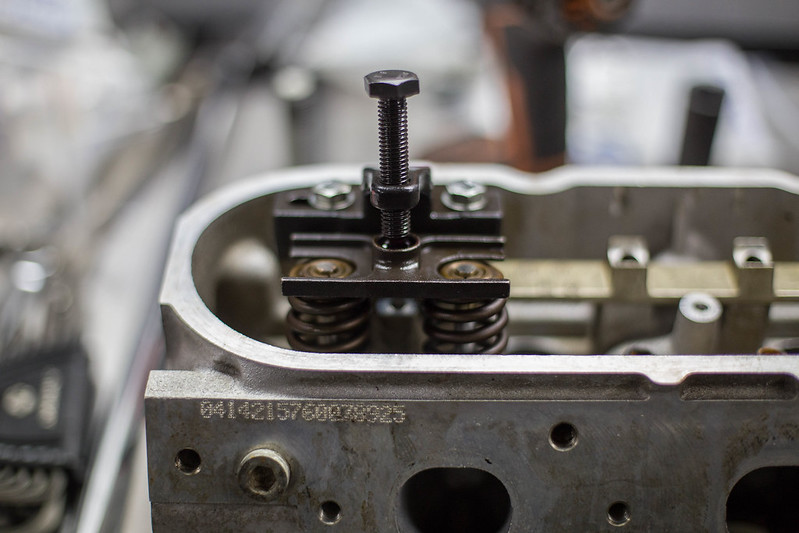
Just an FYI, WRX bov springs work great as check springs haha
 IMG_7721 by lawrx, on Flickr
 IMG_7722 by lawrx, on Flickr
 IMG_7723 by lawrx, on Flickr
 IMG_7724 by lawrx, on Flickr
 IMG_7725 by lawrx, on Flickr
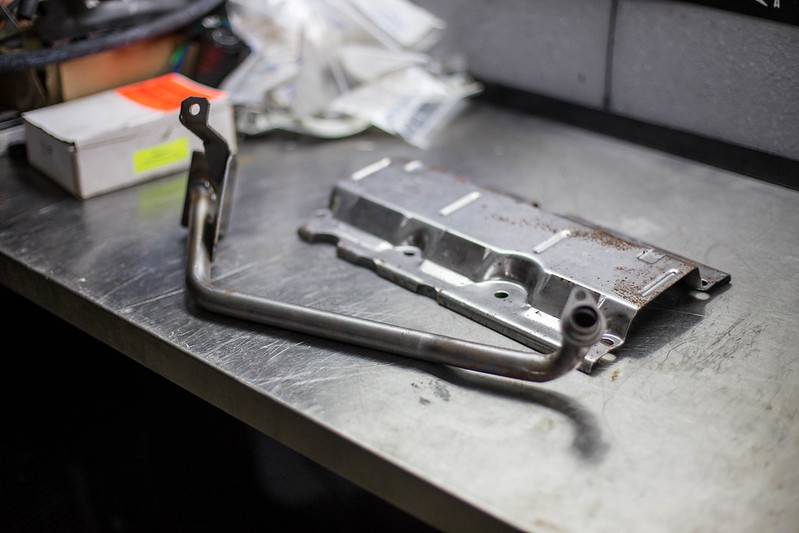
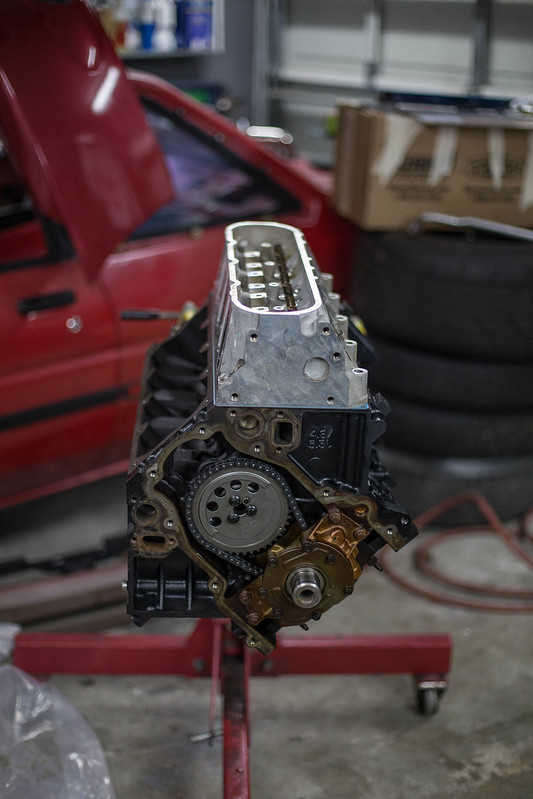
With the cam in, piston to valve clearance checked and everything set, i threw the timing cover and oil pan on.
 IMG_7726 by lawrx, on Flickr
 IMG_7727 by lawrx, on Flickr
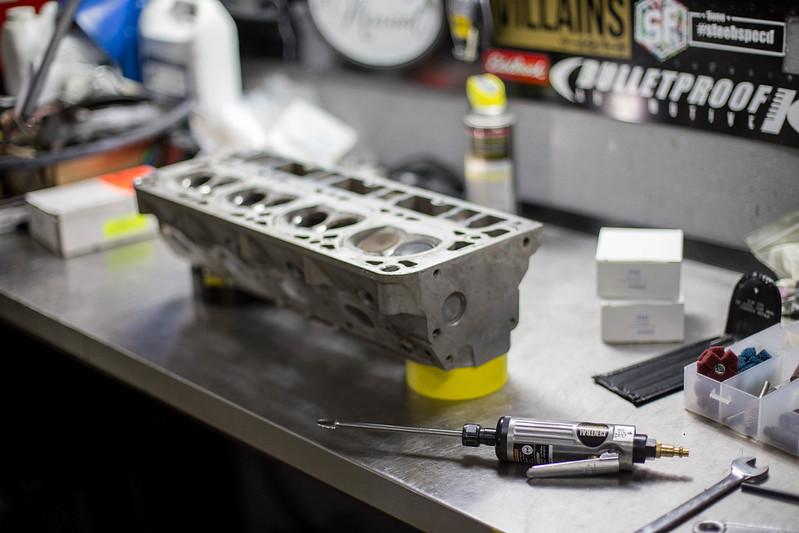
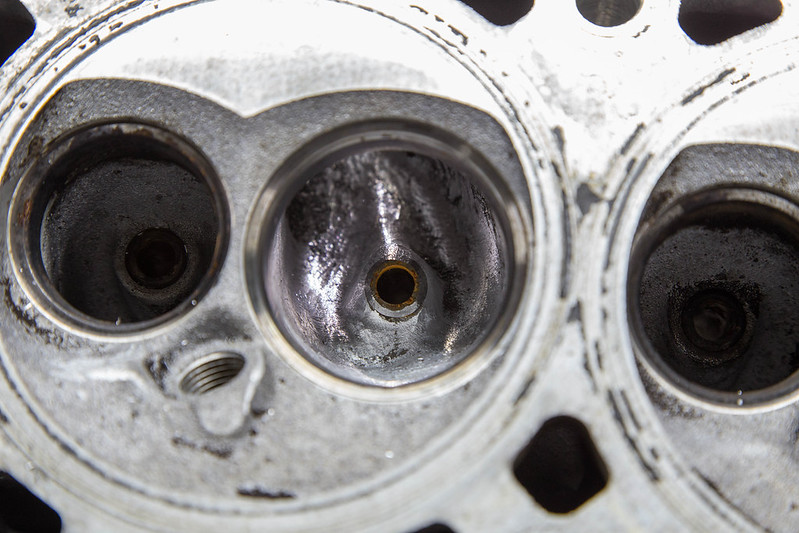
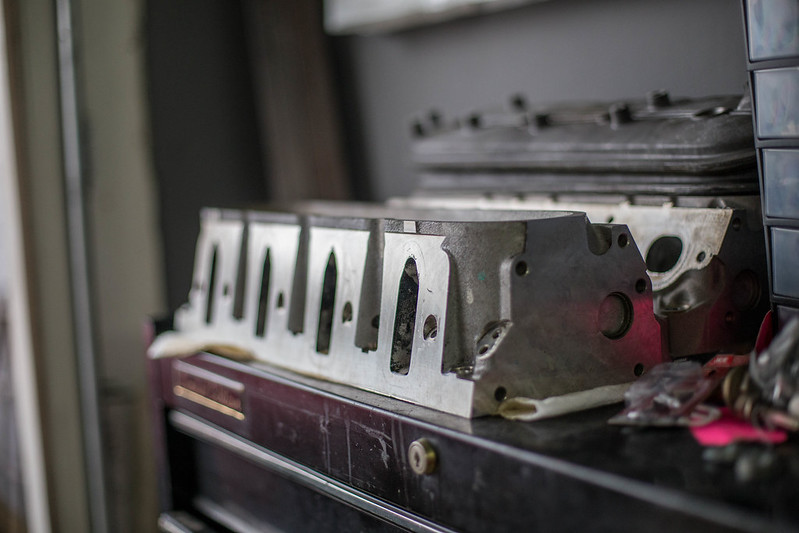
So this is my first time porting a set of heads, so go easy on me. Wasn't able to get much done at all, really just started roughing in the intake port. But so far I'm satisfied with the outcome. Def more practice and better results to come.
 IMG_7728 by lawrx, on Flickr
 IMG_7731 by lawrx, on Flickr
 IMG_7737 by lawrx, on Flickr
 IMG_7735 by lawrx, on Flickr
 IMG_7740 by lawrx, on Flickr
Leave a comment:
-
LS everything indeed. for a hot minute i considered it for my brz as well, but i think im set on a different motor for it.Originally posted by nsogiba View PostLeave a comment:
-
Oh I wish, though looking back I should have sprung for beefier internals like his. That guy is cool as can be though.Originally posted by laextreme5 View Post
Mine is a little more scaled down. Teksid block, forged crank, forged rods, ported heads, ported M112, twin 66s, T56. I do have some forward facing tubular headers working for me instead of the Hellion kit with stock manifolds like his though. You can see some shots in the build thread in my sig.Leave a comment:
-
Thats your car in the video? if so thats aweome. Ive always wanted to compound boost something in a similar fashion.Leave a comment:
-
Of all the swaps this has got to be one of the most unique I've seen. Plenty of 5.3/6.0 turbo/NA and TH400/T56 cars but this one is definitely different.
Personally I stayed with the much despised modular. You'd be surprised what you can do to twin turbo Lamborghinis though...
https://www.youtube.com/watch?v=X9lF8NI9_ukLeave a comment:
-
totally agree. its easily my favourite thing to photograph i think during a build, the engine work.Originally posted by 190Evan View Post
Goal is to run 11s with it NA, and then 9s by the end of the year once its turboed. With hopefully 8s in the future.
Im not a fan of shiny, chromed out engine bays. I like the darker, more purposeful sinister looking setups. And yes the dark red is staying albeit some updated paint on it sometime in the future.Sticking with dark wheels and dark headlights.Leave a comment:
-
ugh my favorite stuff to read through, engine work! This is rad and I agree on the black theme. As long as that thing runs a good 1/4 mile you won't need the shiny engine bay to impress people lmao. Also I really hope you're sticking with the dark red and black exterior theme of the car because imo it really makes the car look super aggressive. I cant stand the banana yellow new edges lol.Leave a comment:
-
Im loving these three day weekends, i actually have some time to get things done
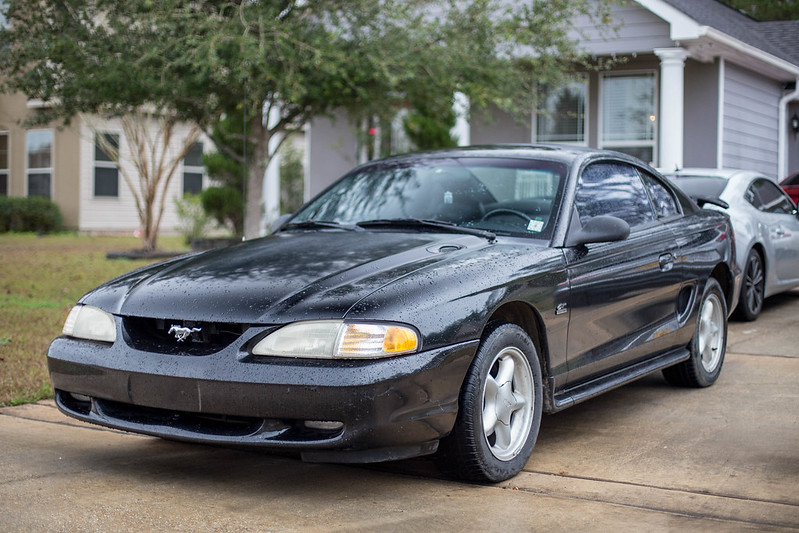
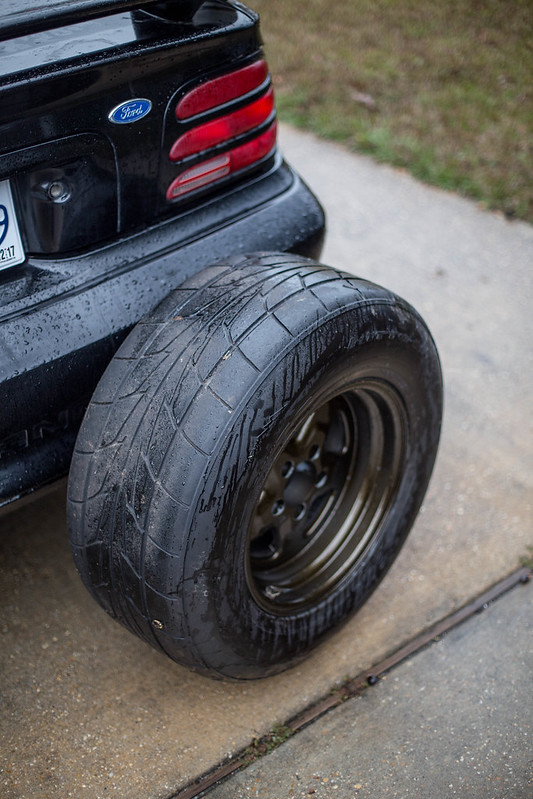
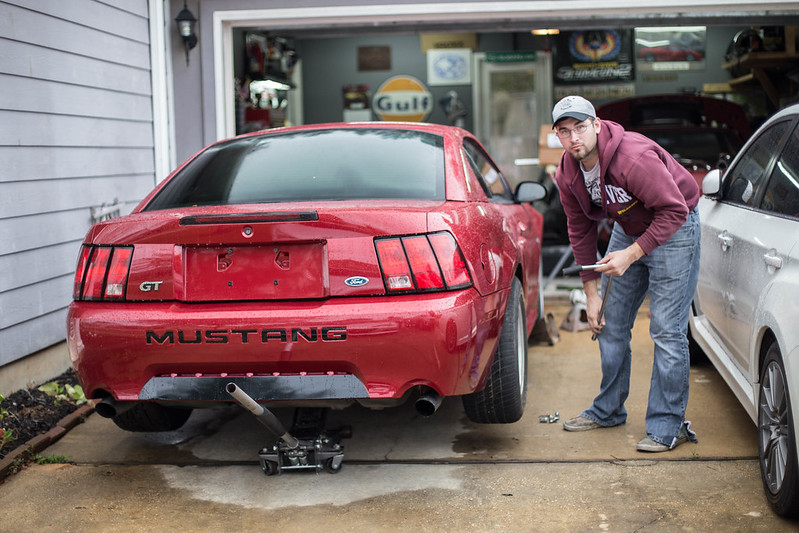
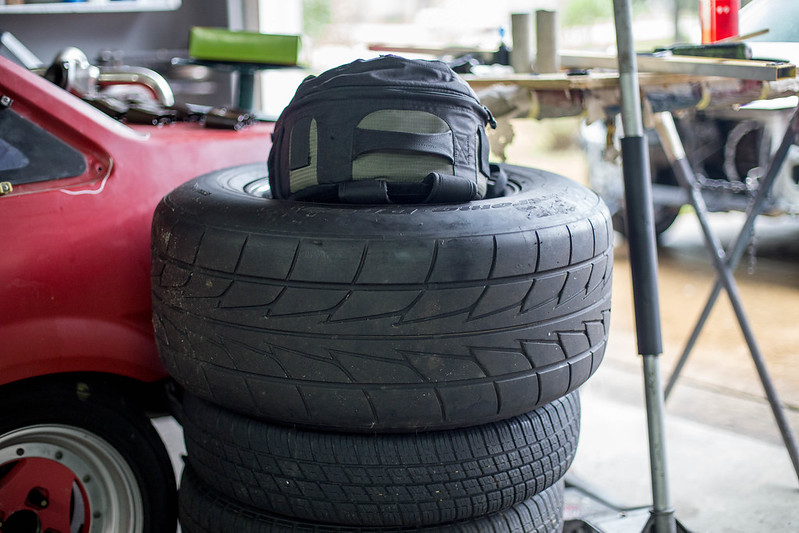
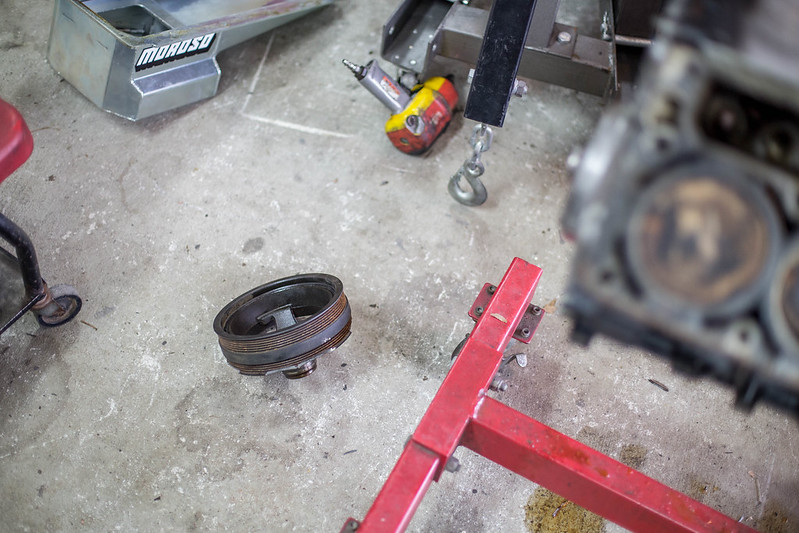
To start off this weekend i had a budy come by to hang for a bit and show off his latest project. He's also the owner of the fox thats getting turbo LS swapped as well thats popped up in here a few things. He is also the one i purchased my car from. He wanted to try the drag pack 275s and skinnies on the front to see how the fit while he was over. This was actually the first time id seen the tire off the car, looks much larger when not underneath the car lol
 untitled (1 of 30) by lawrx, on Flickr
 untitled (2 of 30) by lawrx, on Flickr
 untitled (3 of 30) by lawrx, on Flickr
 untitled (21 of 30) by lawrx, on Flickr
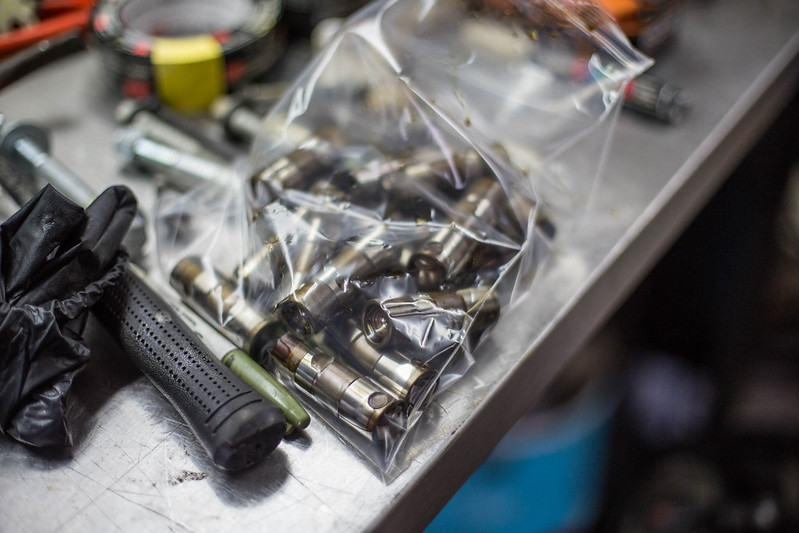
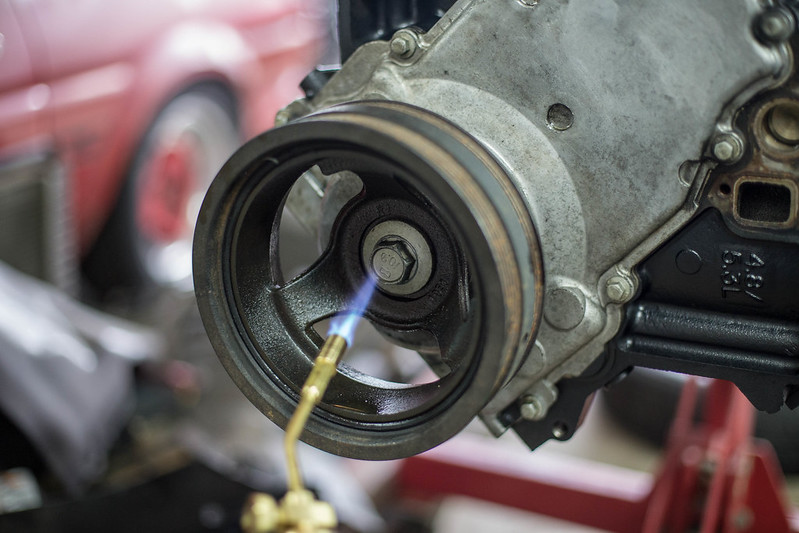
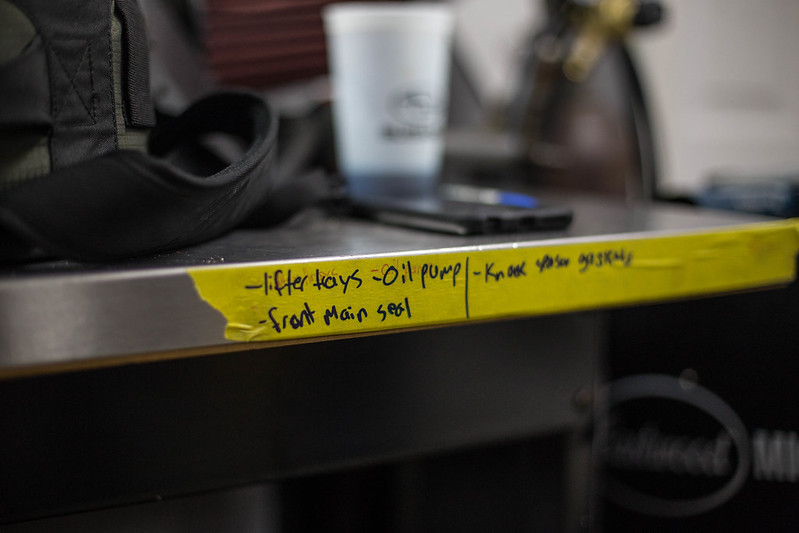
After the test fit we did a bit more teardown on the motor. Pulled the lifter trays, the lifters, and the stock trunk crank pulley. We ended up having to run to the parts store to get a handheld torch to heat the bolt up to get it off. Ive been meaning to get one say it finally gave me an excuse to go pick one up finally.
 untitled (4 of 30) by lawrx, on Flickr
 untitled (5 of 30) by lawrx, on Flickr
 untitled (6 of 30) by lawrx, on Flickr
 untitled (7 of 30) by lawrx, on Flickr
 untitled (9 of 30) by lawrx, on Flickr
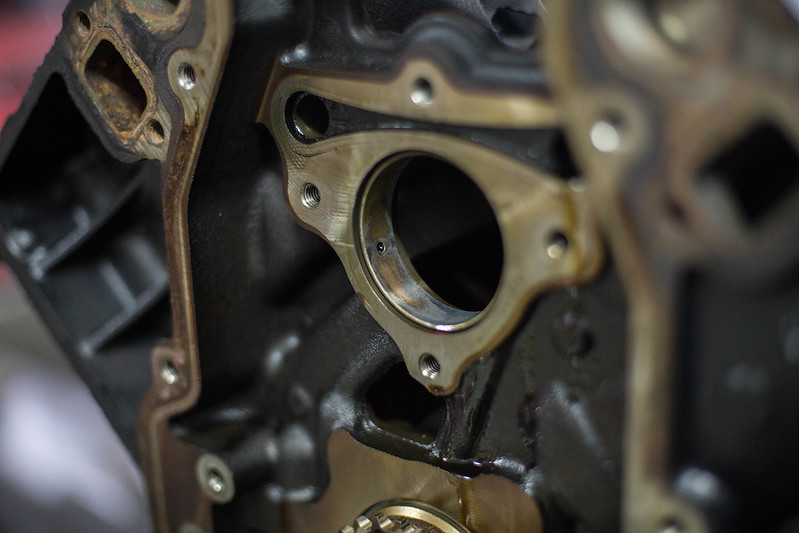
With the crank pulley finally off, i could get the timing cover off for access to the oil pump and the cam. the new cam, some gaskets and bolts and tools to degree the cam are currently on the way and should be here soon. I also now see the reason they say to change an LS cam in the dark lol bit of copper showing on the cam bearings, all in the same orientation on the bearings i can easily see. Did a bit of research and its very common, plenty of people have dropped in a new cam with zero issues. However, the next motor which will have forged internals and the like ill be changing out all the bearings and such given the extra stress it will be under.
 untitled (11 of 30) by lawrx, on Flickr
 untitled (12 of 30) by lawrx, on Flickr
 untitled (13 of 30) by lawrx, on Flickr
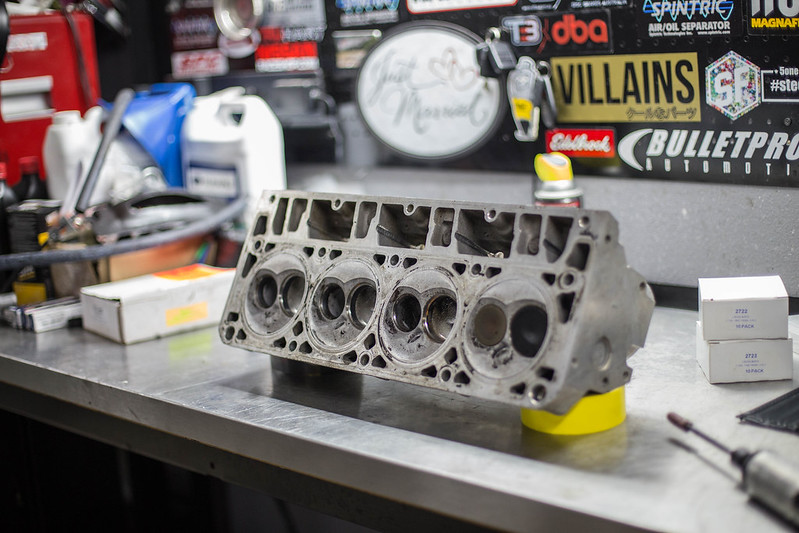
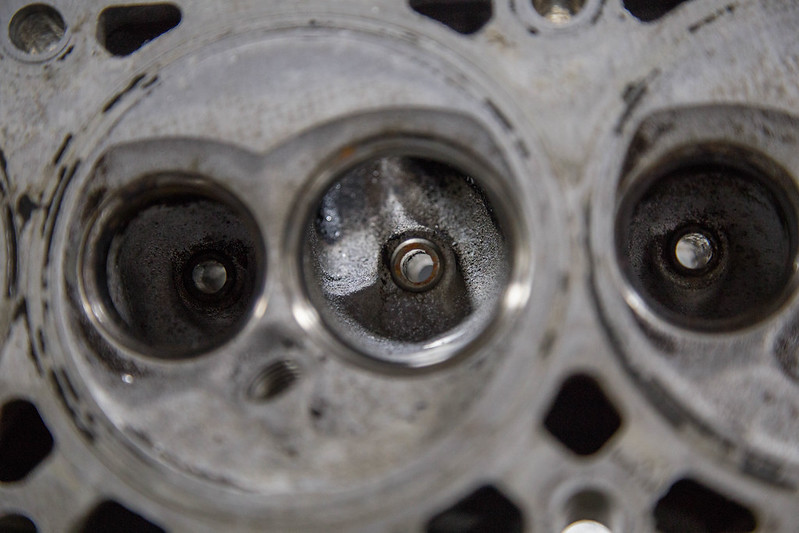
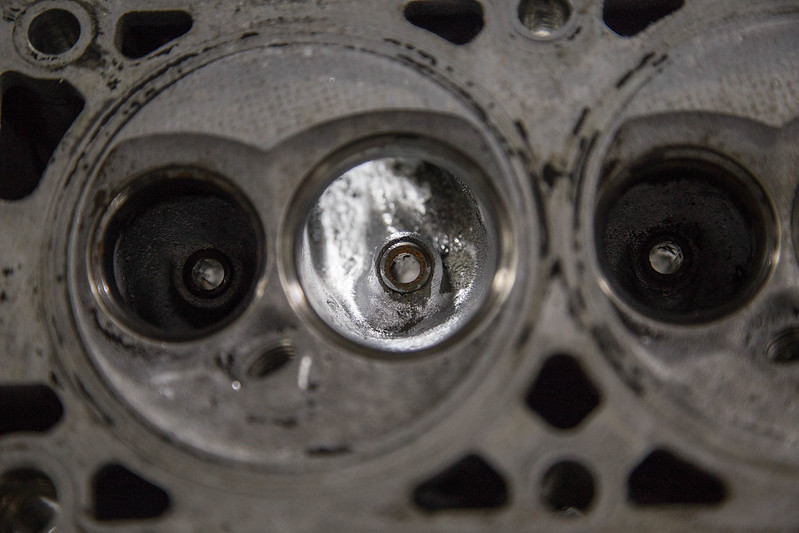
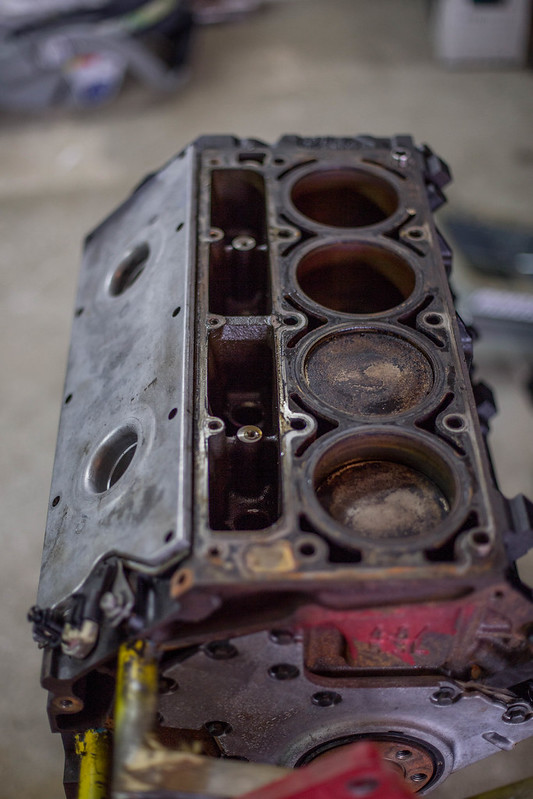
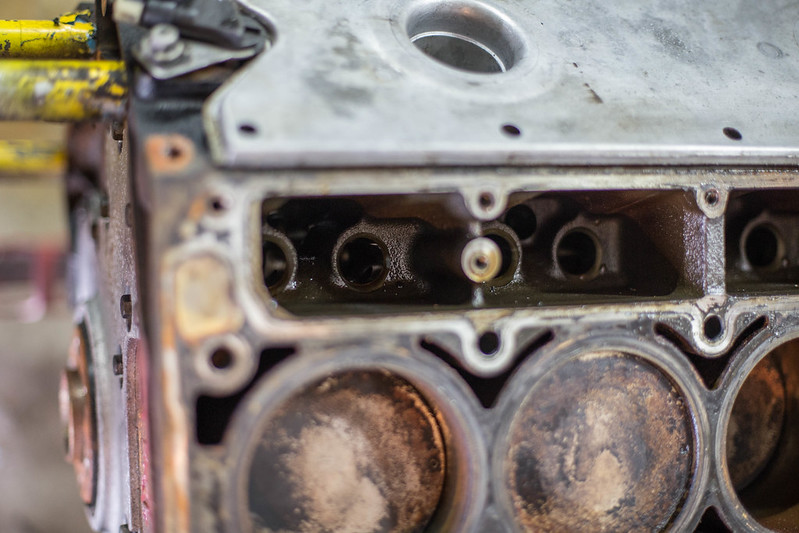
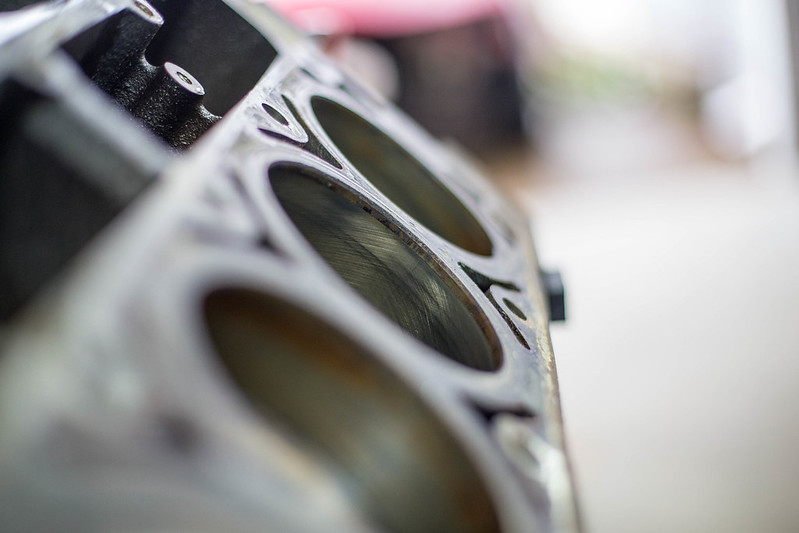
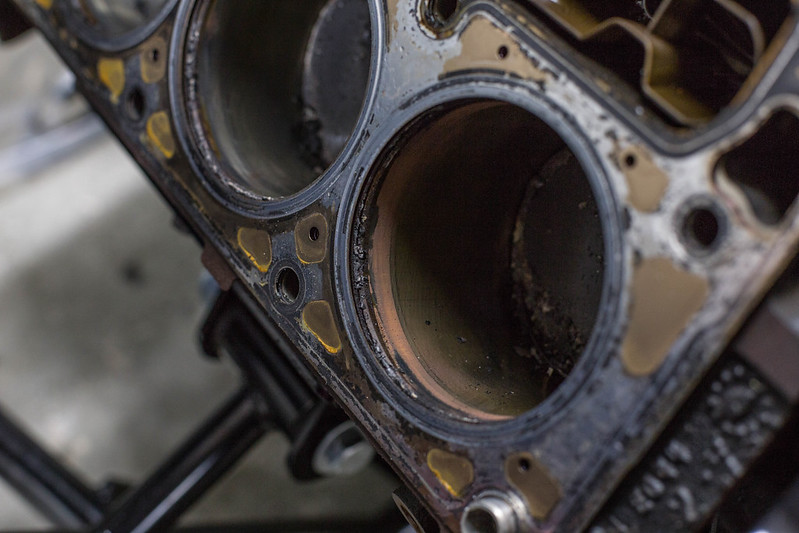
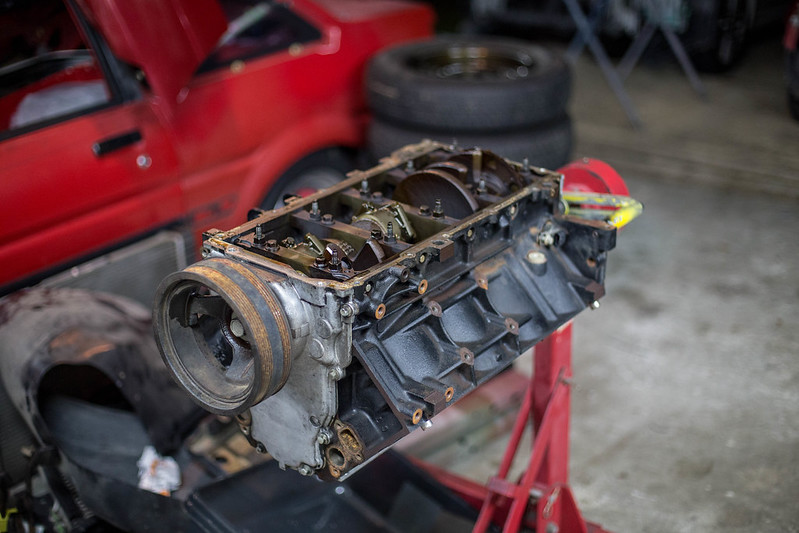
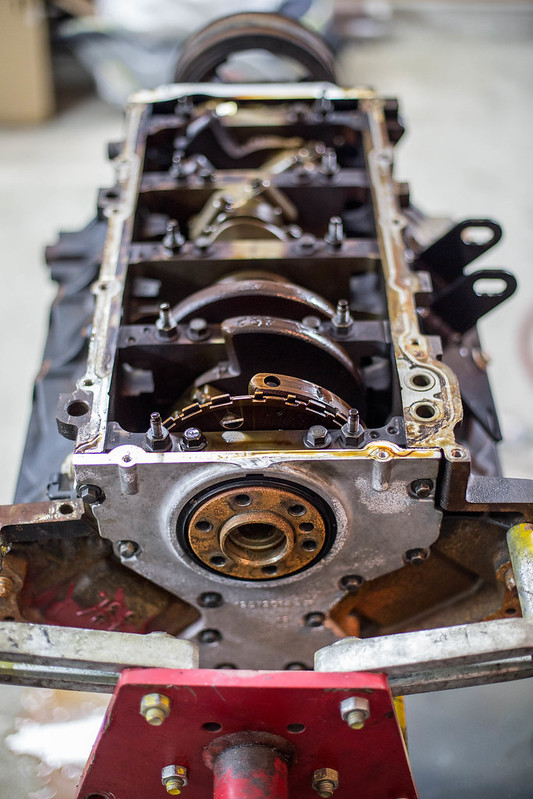
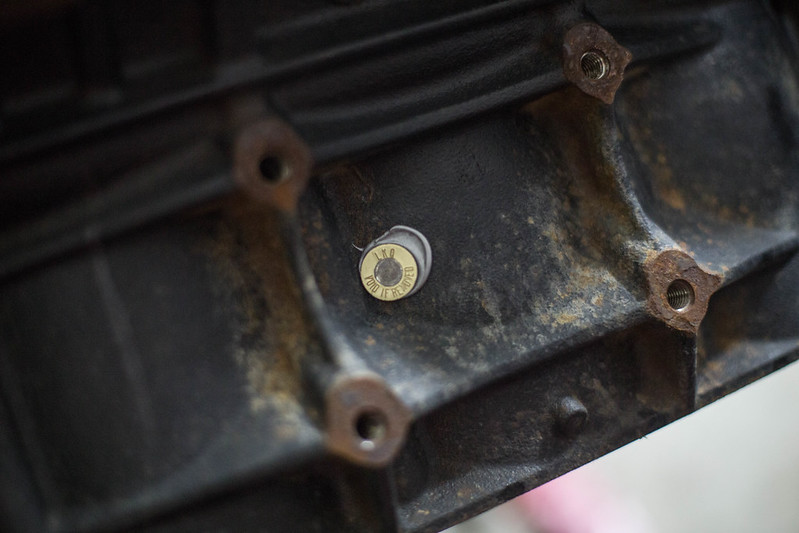
After getting those few parts removed i took a minute to take a rag with some d40 to wipe a bit of surface rust that had built up on the cylinder walls. Have to say, for this motor having 190k its in pretty damn good condition. Still were well looking factory cross hatches on the walls, very little sludges build up anywhere. there was some build up in the intake ports in the heads, but thats to be expected. After that, thats about it teardown wise on the short block. Once the new parts come in i can start the reassembly phase, which should be fun. Cant wait to see this thing all clean, painted and assembled.
 untitled (10 of 30) by lawrx, on Flickr
 untitled (6 of 7) by lawrx, on Flickr
 untitled (30 of 30) by lawrx, on Flickr
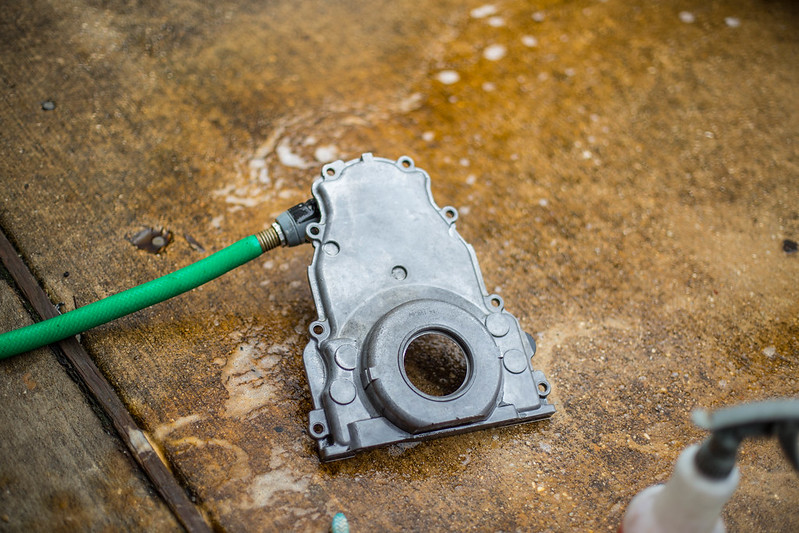
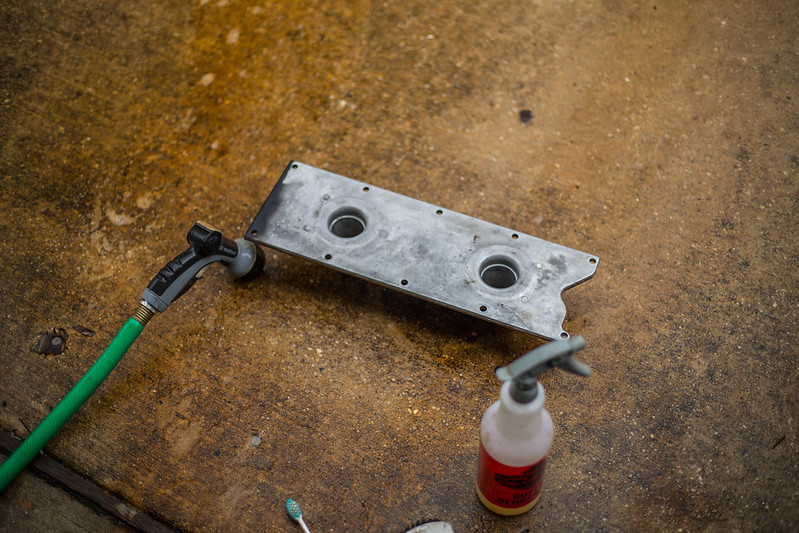
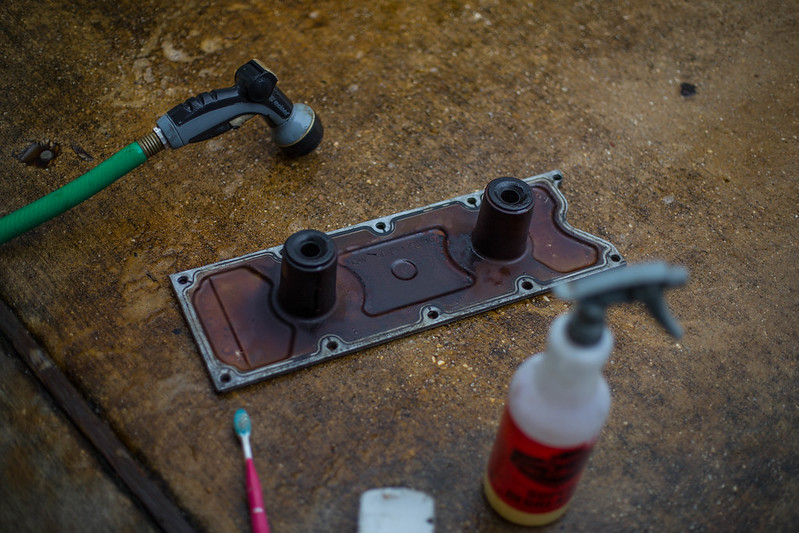
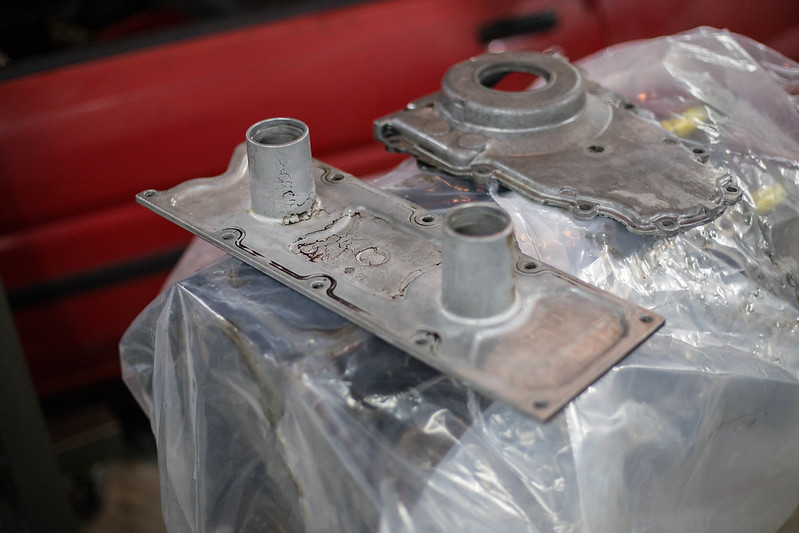
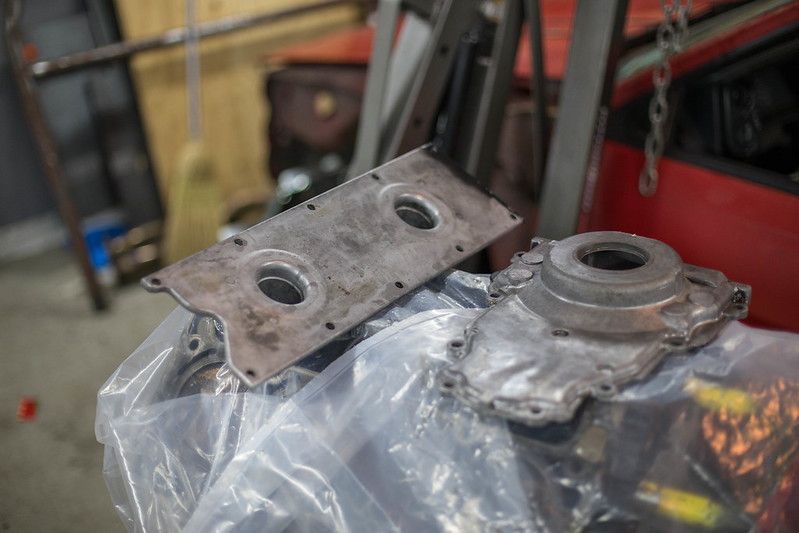
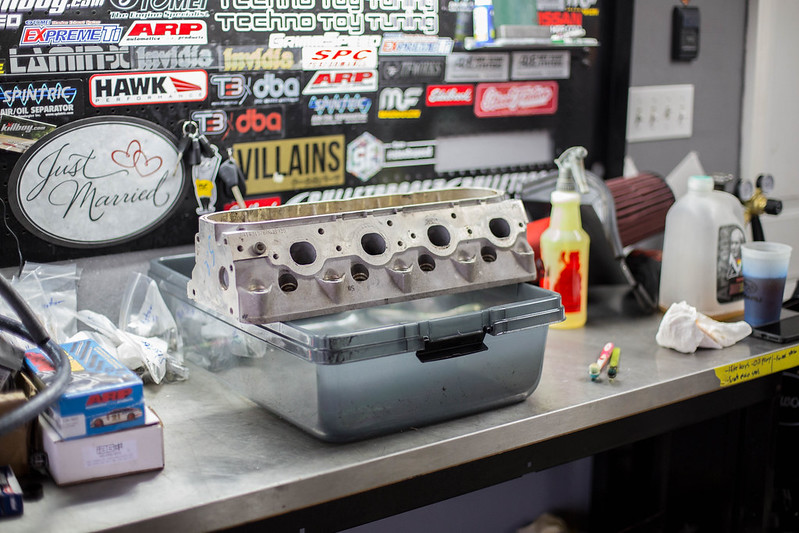
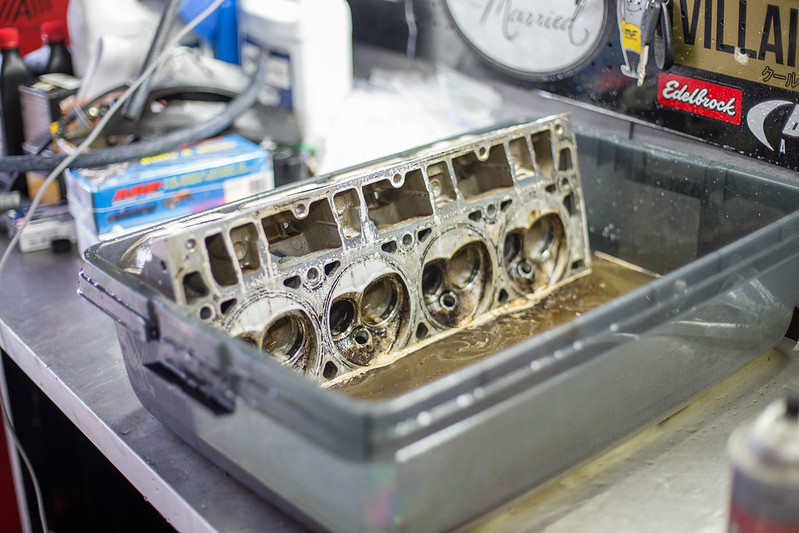
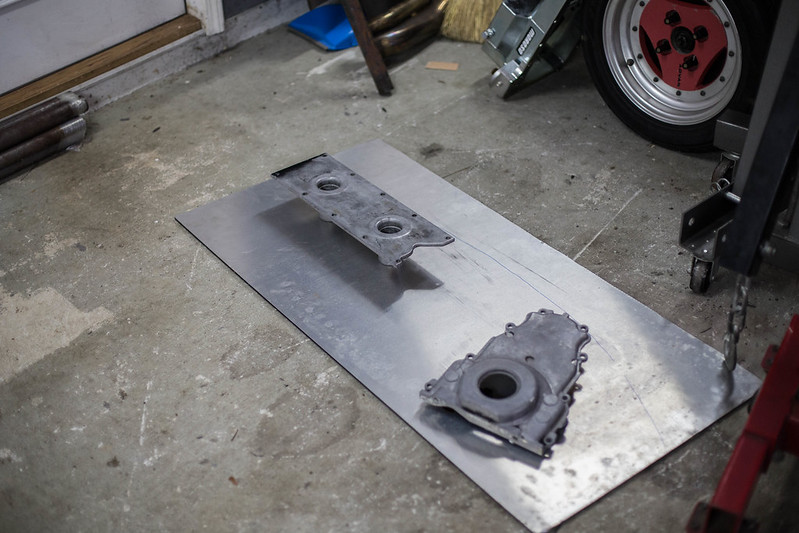
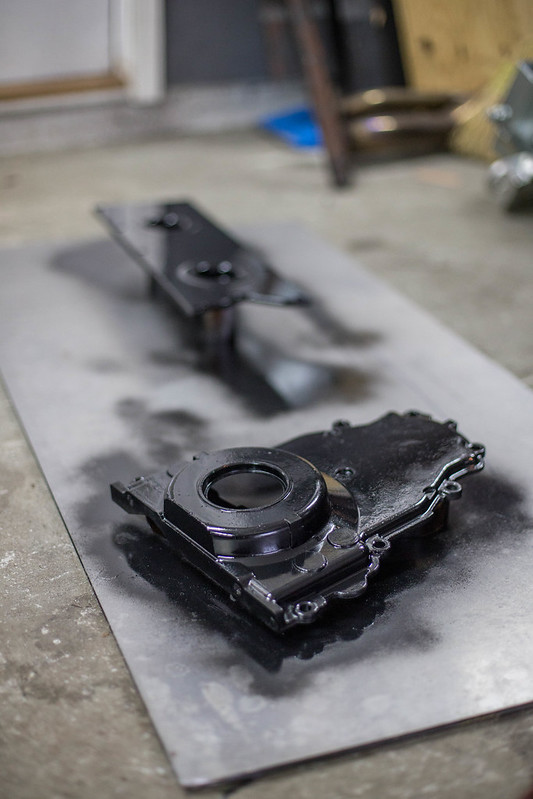
With the timing cover and the lifter valley cover off for good for a while, i gave them a good thorough cleaning, dont want any debris falling off aft handling them off the motor, and gave em a few coats of black to match the block. Going for a mostly blacked out theme on the motor. Think its going to look pretty sweet. Still not sure what I'm going to do with the cylinder heads, keep them as cast silver finish or shoot them black as well. guess i will mock up everything and come to that conclusion then. In the meantime i also started to clean them a but more. Im going to be doing a bit of cleaning up and port work on both the intake and exhaust ports so i wanted them as clean as possible so as they dont clog up my tools.
 untitled (14 of 30) by lawrx, on Flickr
 untitled (15 of 30) by lawrx, on Flickr
 untitled (16 of 30) by lawrx, on Flickr
 untitled (17 of 30) by lawrx, on Flickr
 untitled (18 of 30) by lawrx, on Flickr
 untitled (19 of 30) by lawrx, on Flickr
 untitled (20 of 30) by lawrx, on Flickr
 untitled (22 of 30) by lawrx, on Flickr
 untitled (23 of 30) by lawrx, on Flickr
 untitled (24 of 30) by lawrx, on Flickr
 untitled (25 of 30) by lawrx, on Flickr
 untitled (26 of 30) by lawrx, on Flickr
 untitled (27 of 30) by lawrx, on Flickr
 untitled (28 of 30) by lawrx, on Flickr
 untitled (29 of 30) by lawrx, on Flickr
Leave a comment:
-
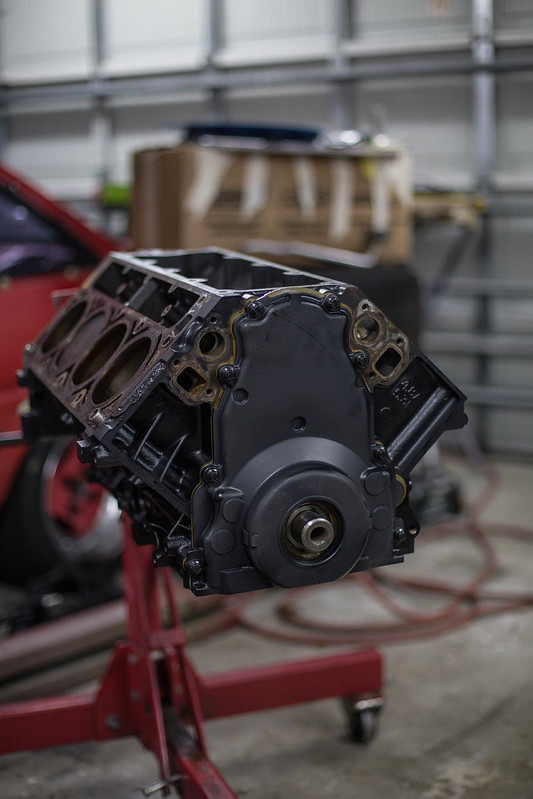
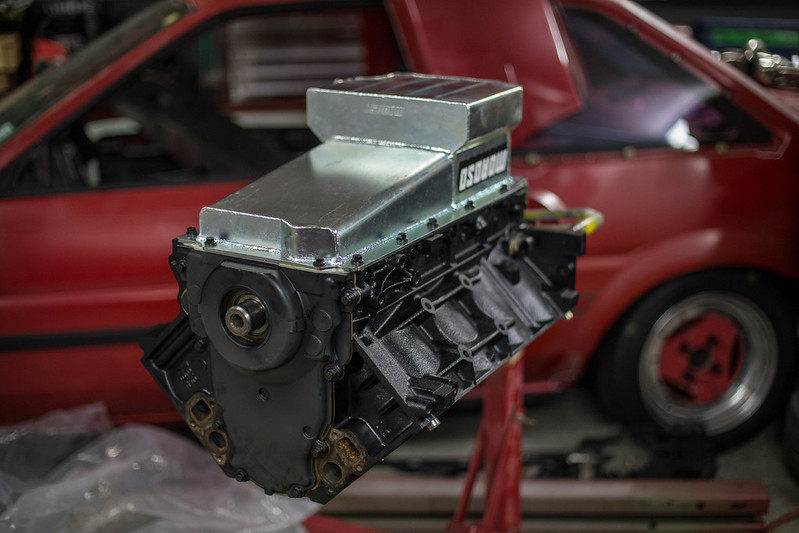
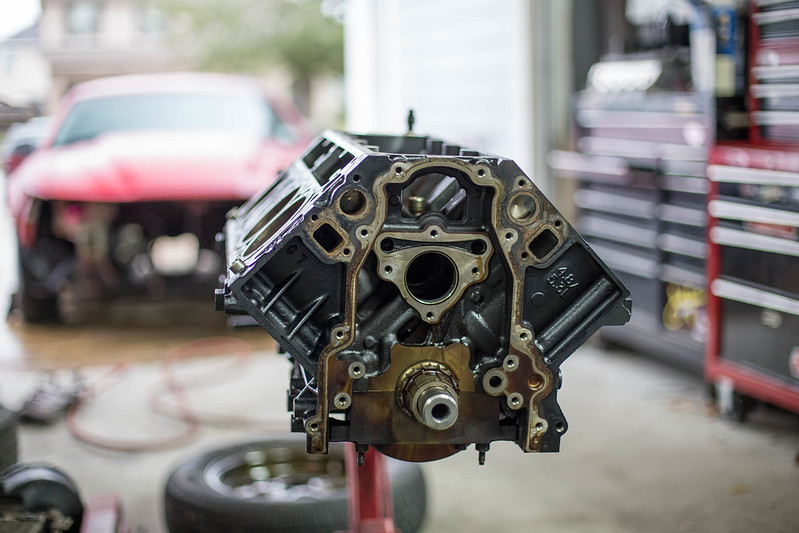
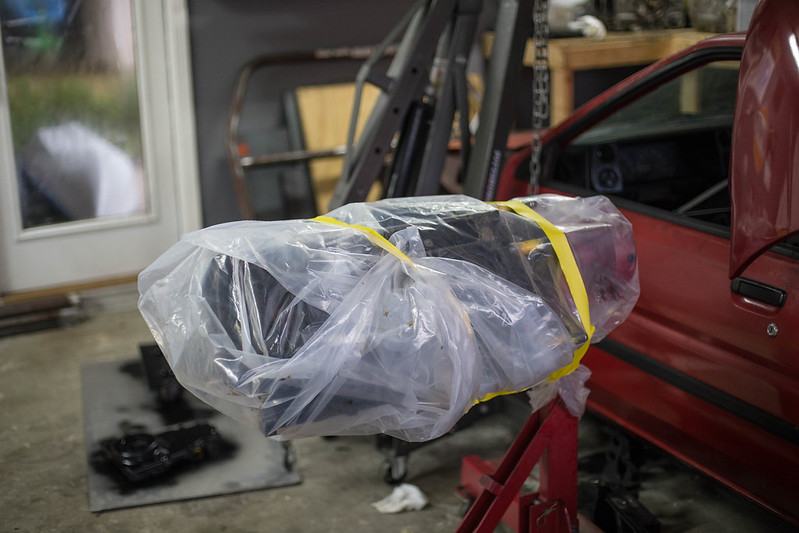
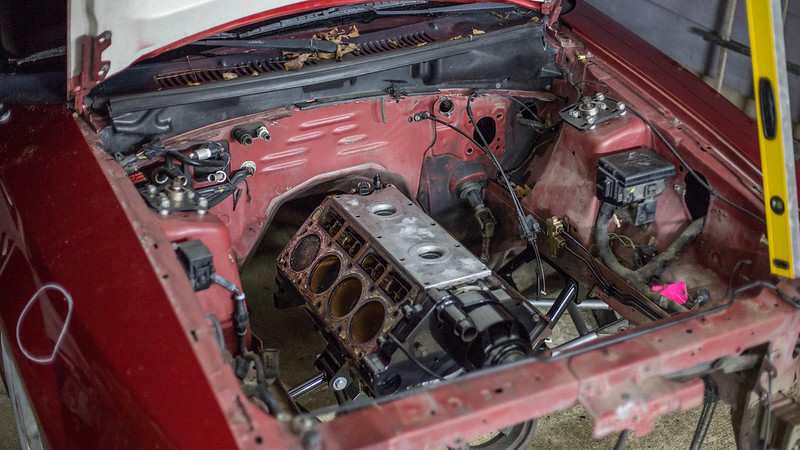
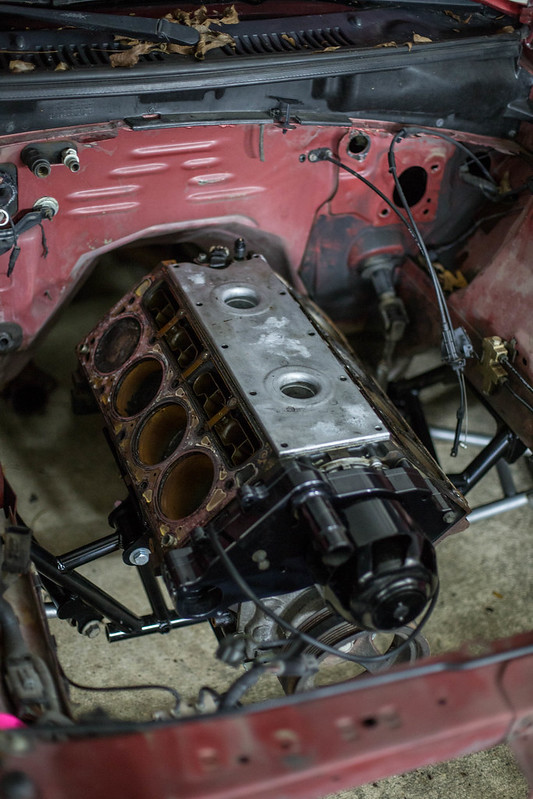
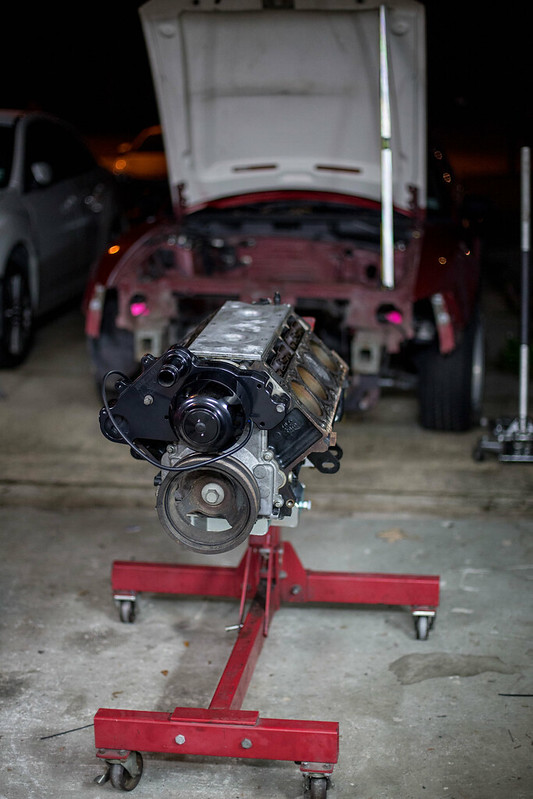
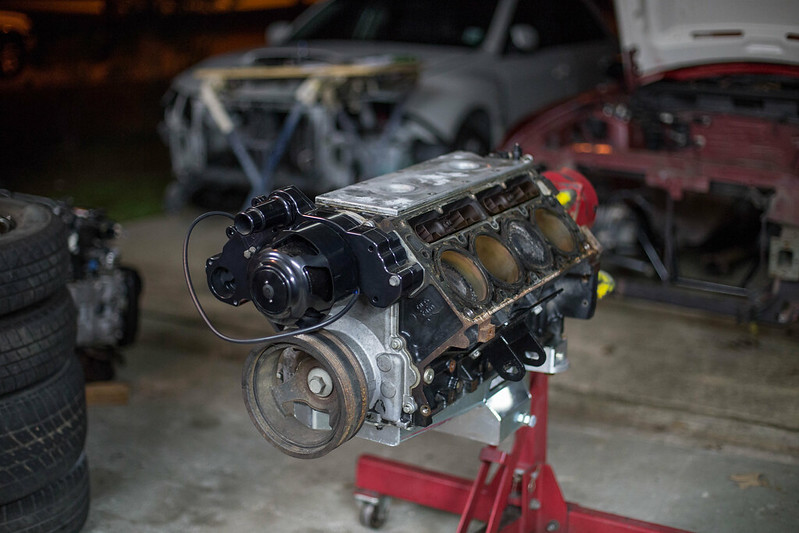
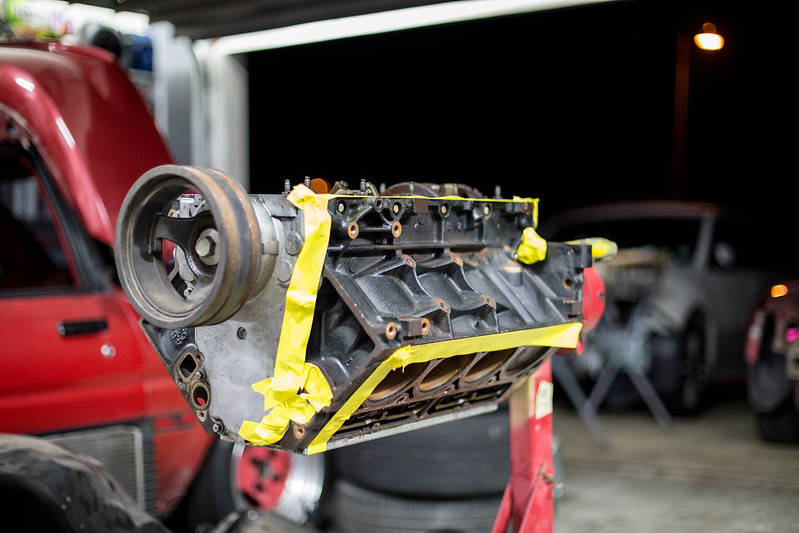
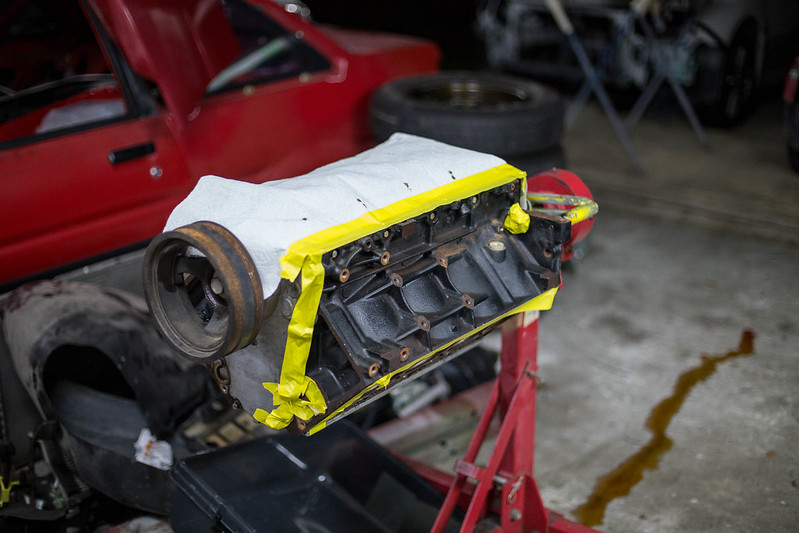
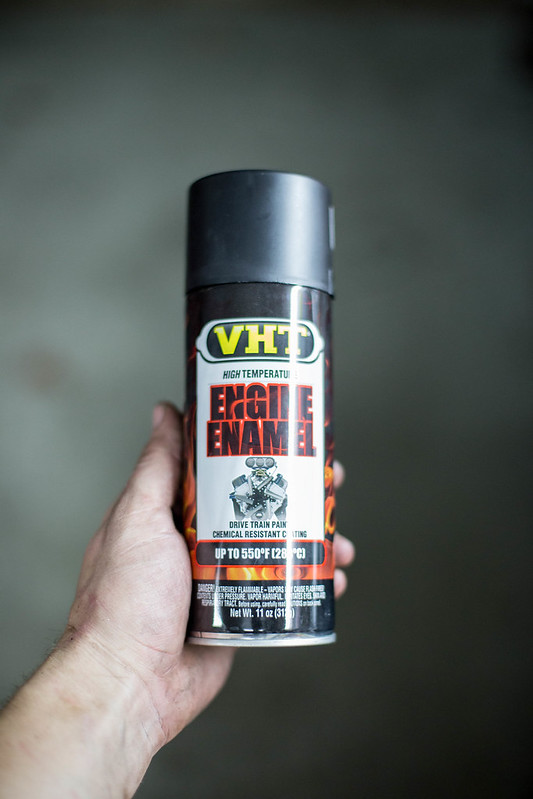
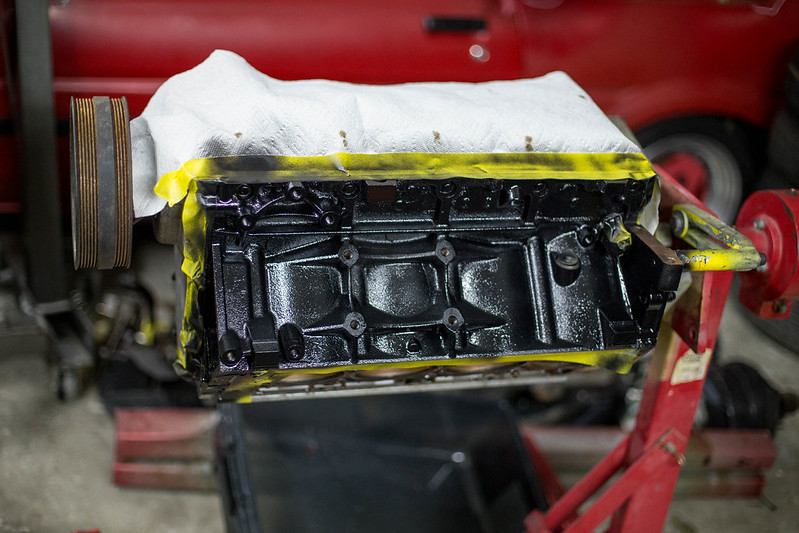
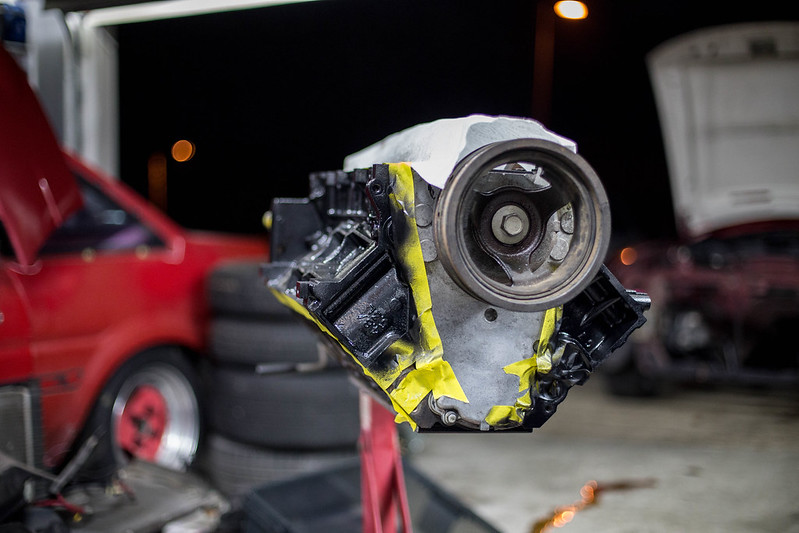
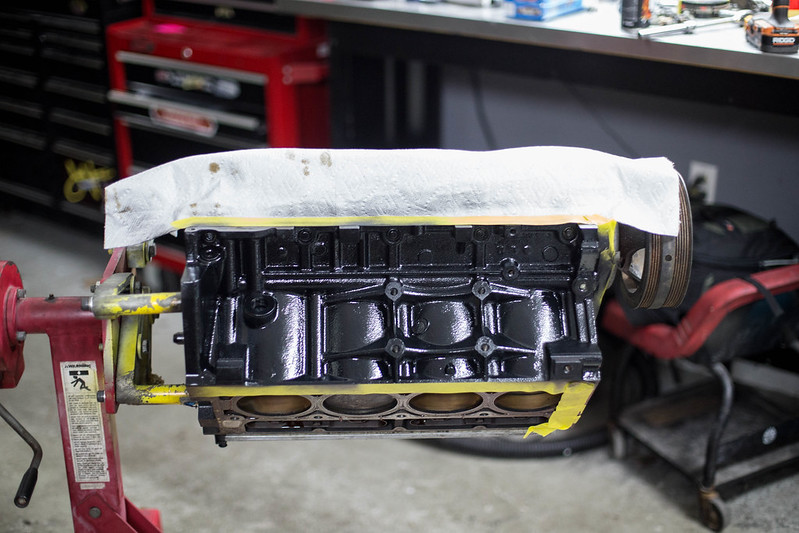
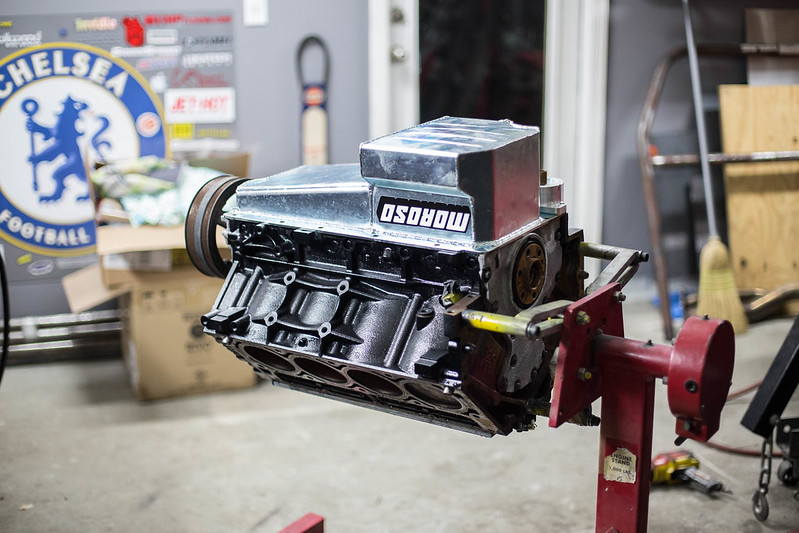
Pulled the motor out of the car today. STi motor is finally off the motor stand, so i could mount my motor on it and get to work on it. Tonight taped her up and painted the block semi gloss black. Did a half ass tape job over the front and rear main covers as they will be getting pulled off, cleaned and painted anyway.
 untitled (1 of 14) by lawrx, on Flickr
 untitled (2 of 14) by lawrx, on Flickr
 untitled (3 of 14) by lawrx, on Flickr
 untitled (4 of 14) by lawrx, on Flickr
 untitled (5 of 14) by lawrx, on Flickr
 untitled (6 of 14) by lawrx, on Flickr
 untitled (7 of 14) by lawrx, on Flickr
 untitled (8 of 14) by lawrx, on Flickr
 untitled (9 of 14) by lawrx, on Flickr
 untitled (10 of 14) by lawrx, on Flickr
 untitled (11 of 14) by lawrx, on Flickr
 untitled (12 of 14) by lawrx, on Flickr
 untitled (13 of 14) by lawrx, on Flickr
 untitled (14 of 14) by lawrx, on Flickr
Leave a comment:
Leave a comment: