
-
Making something a little old school today. (video content)
I bought this universal throttle cable kit, but I just did not like how the cable looked and there was just no real good way to run it the way I wanted.
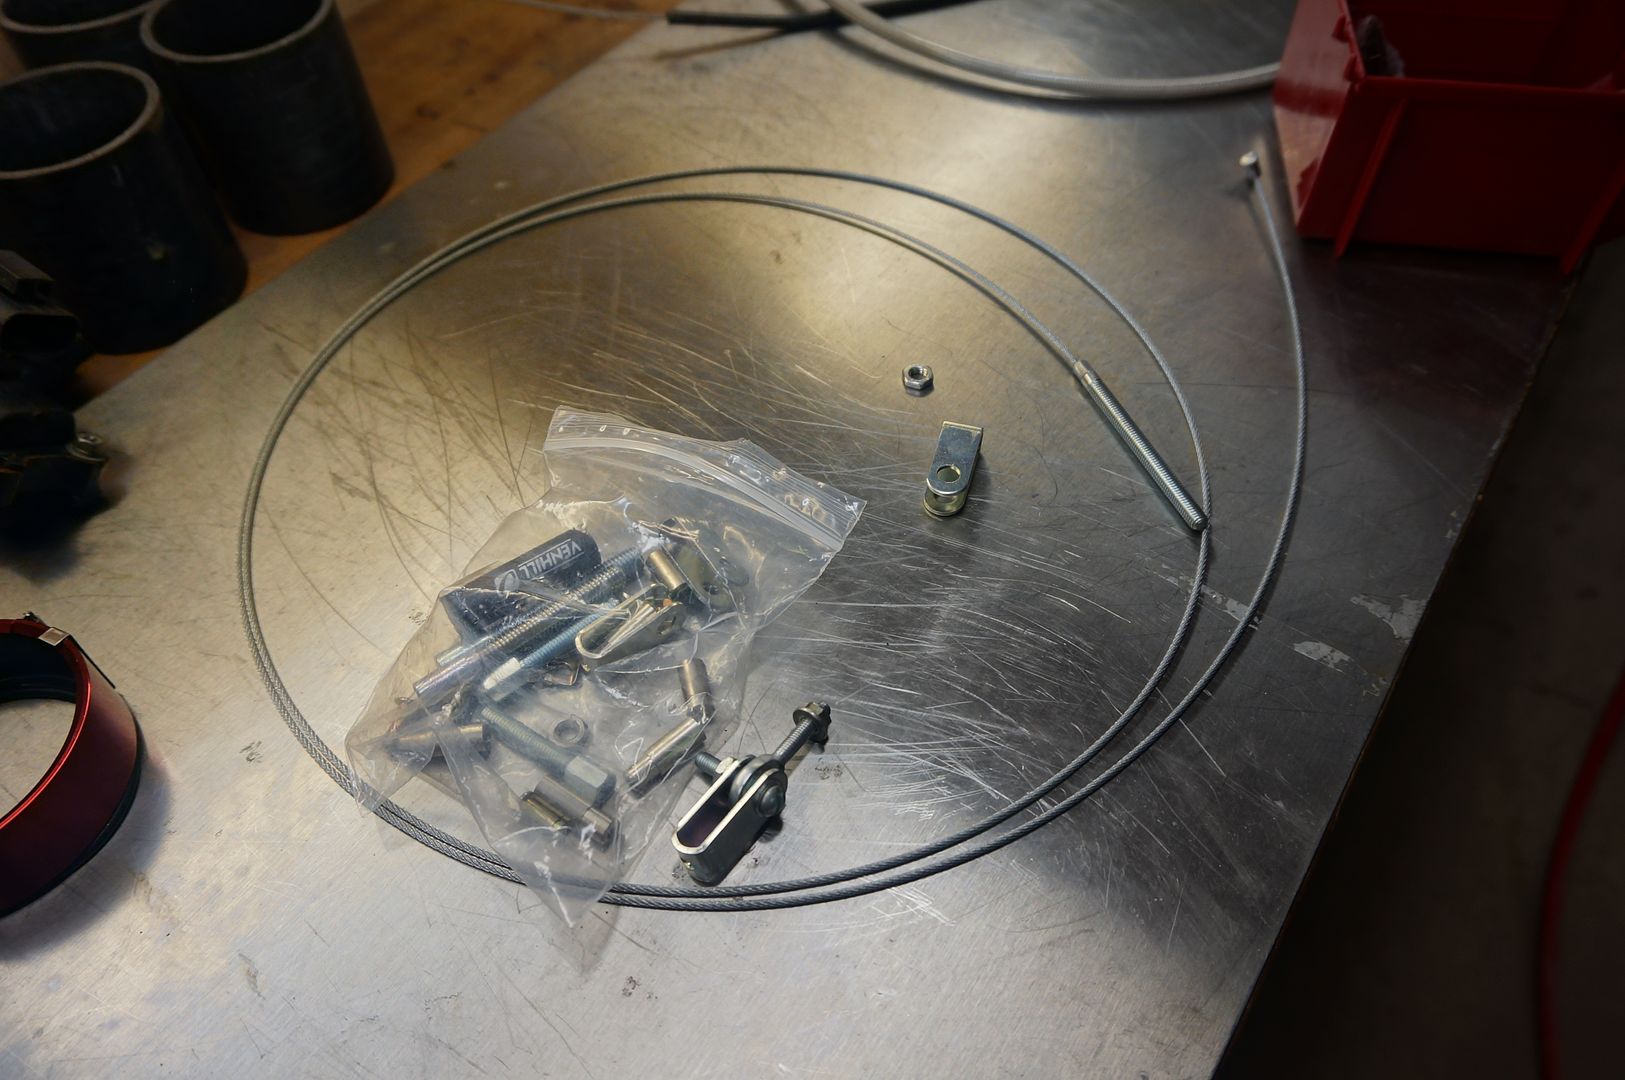
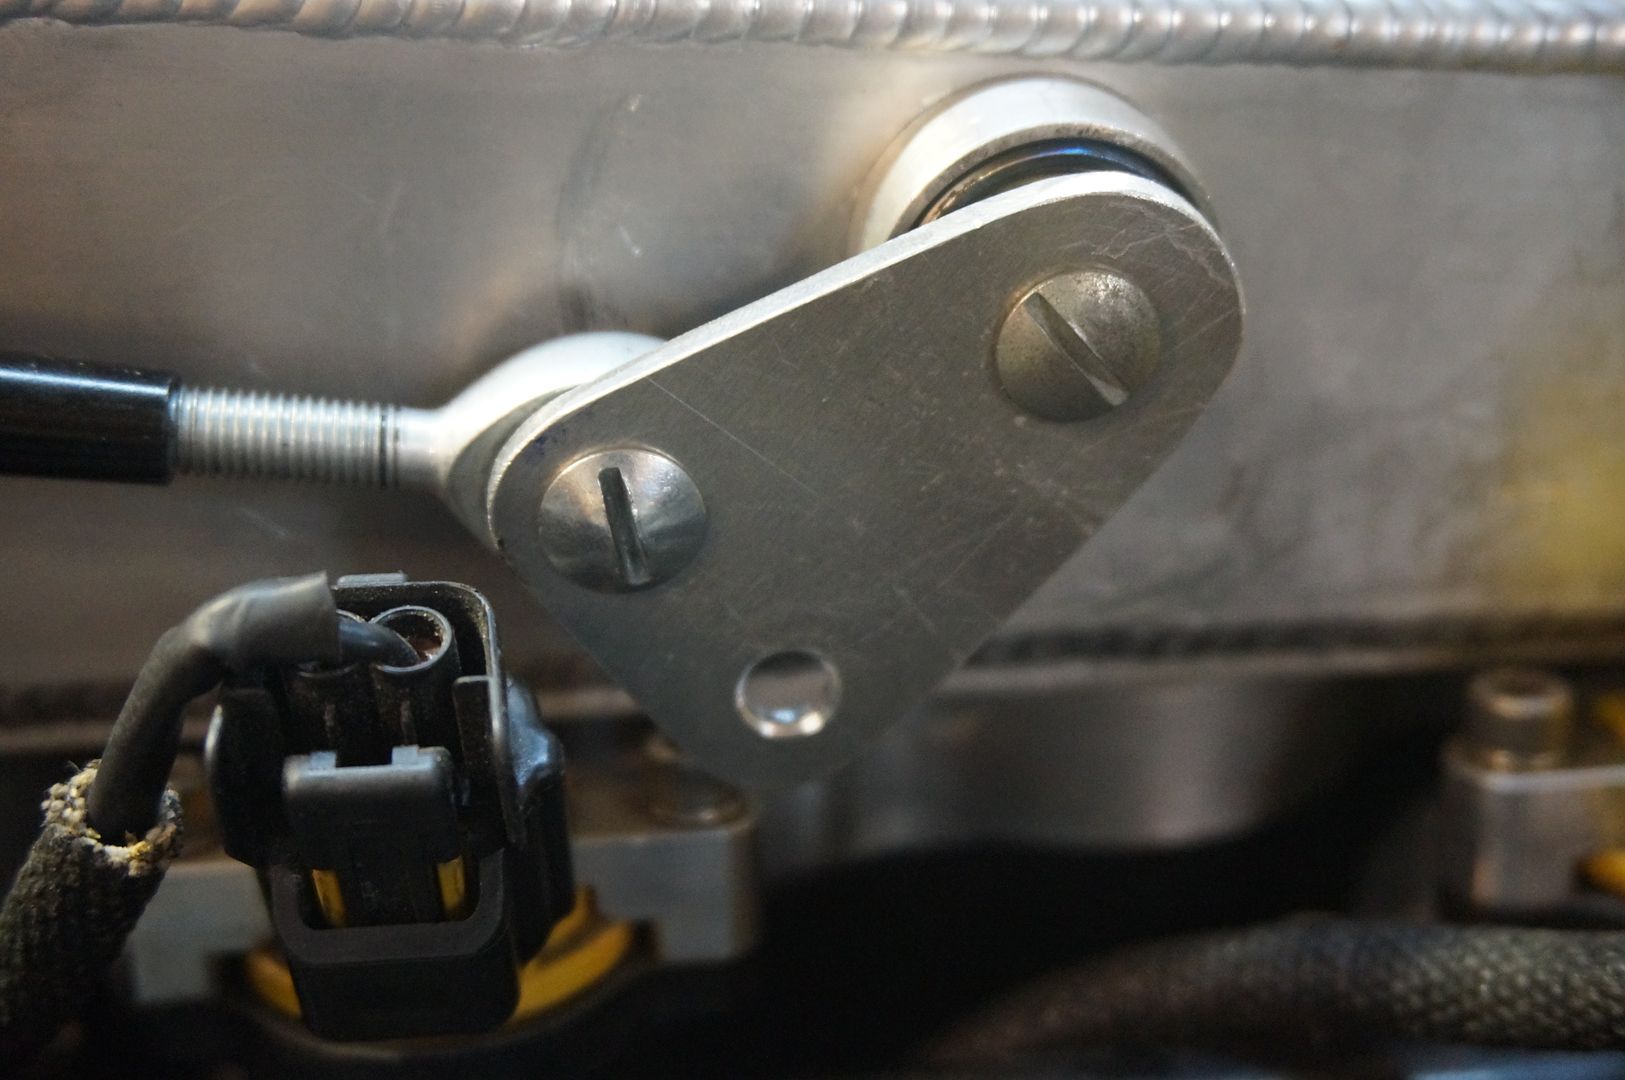
I am going to basically make an old school looking carburetor throttle linkage.
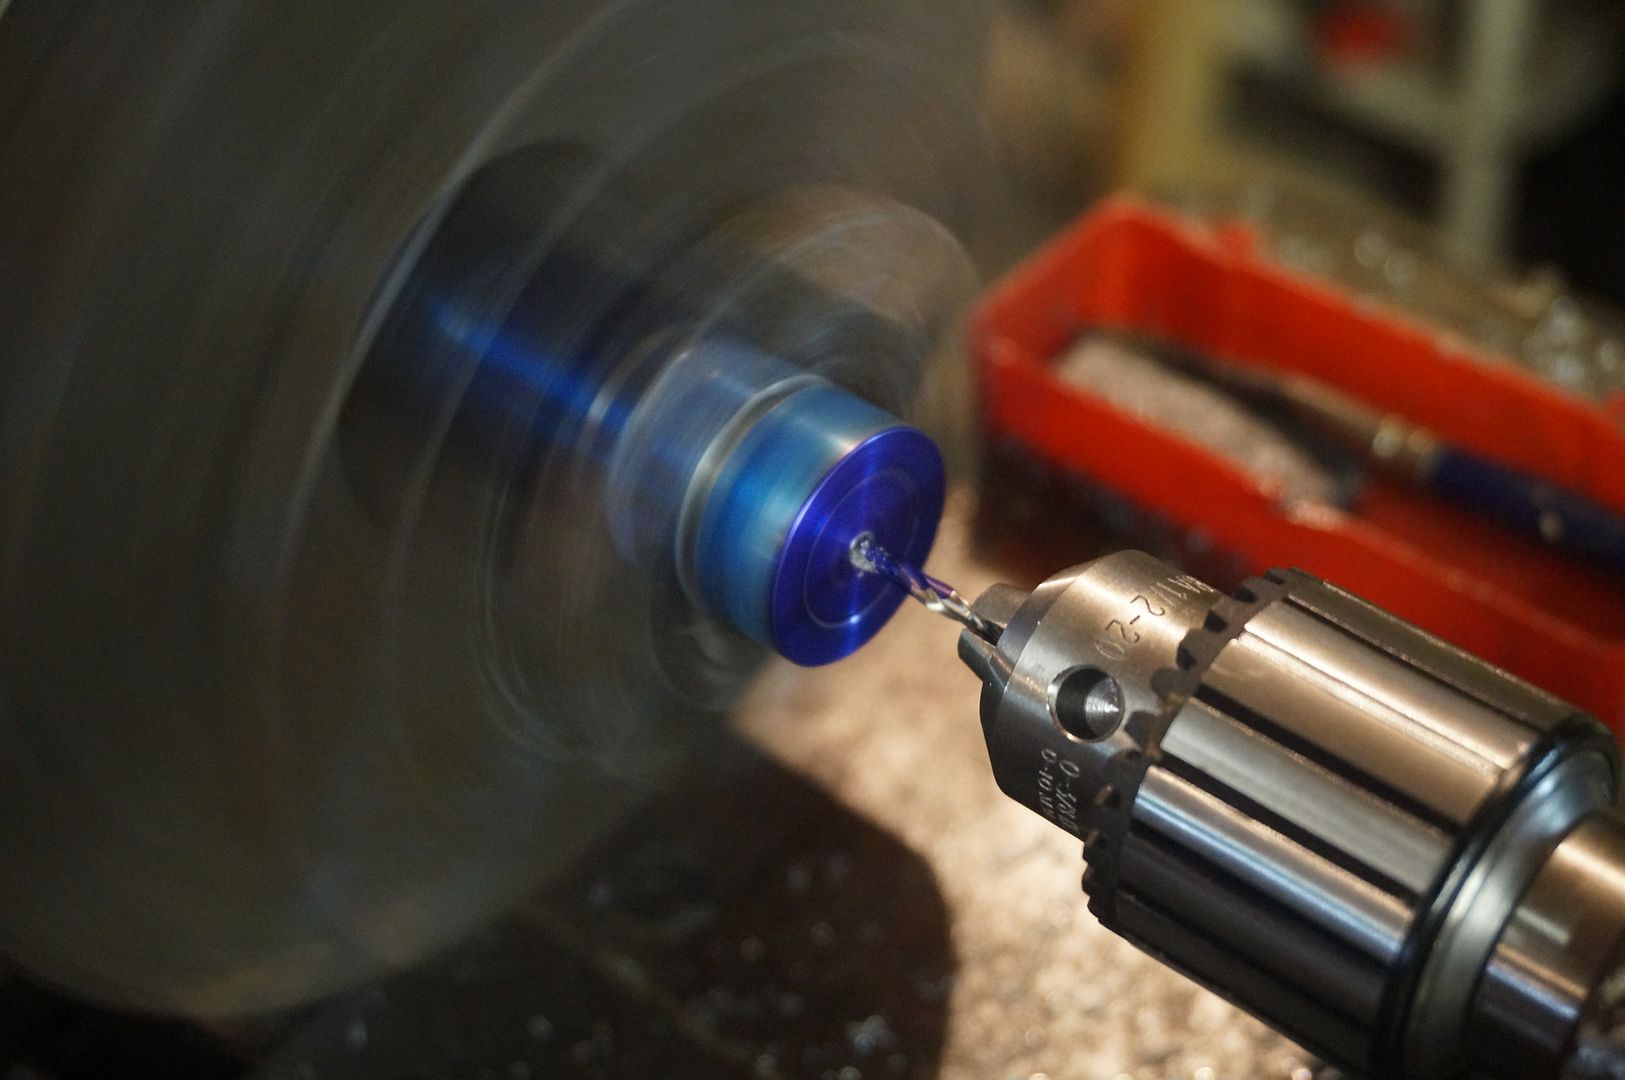
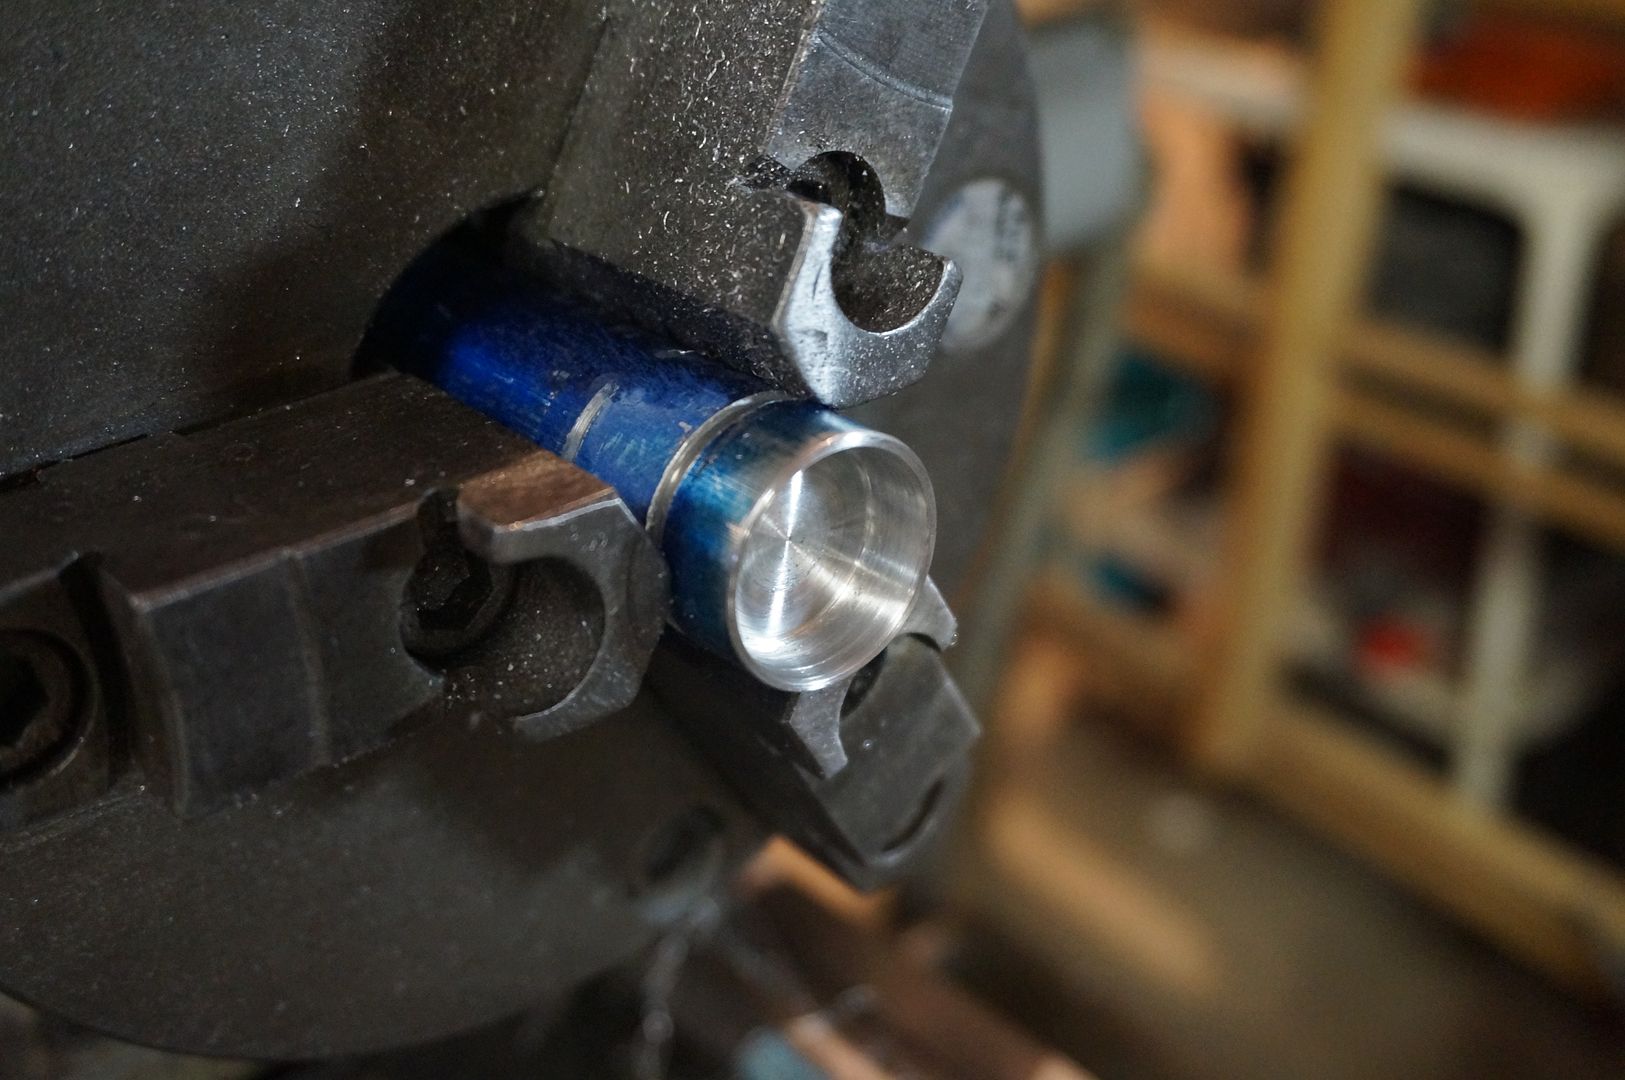
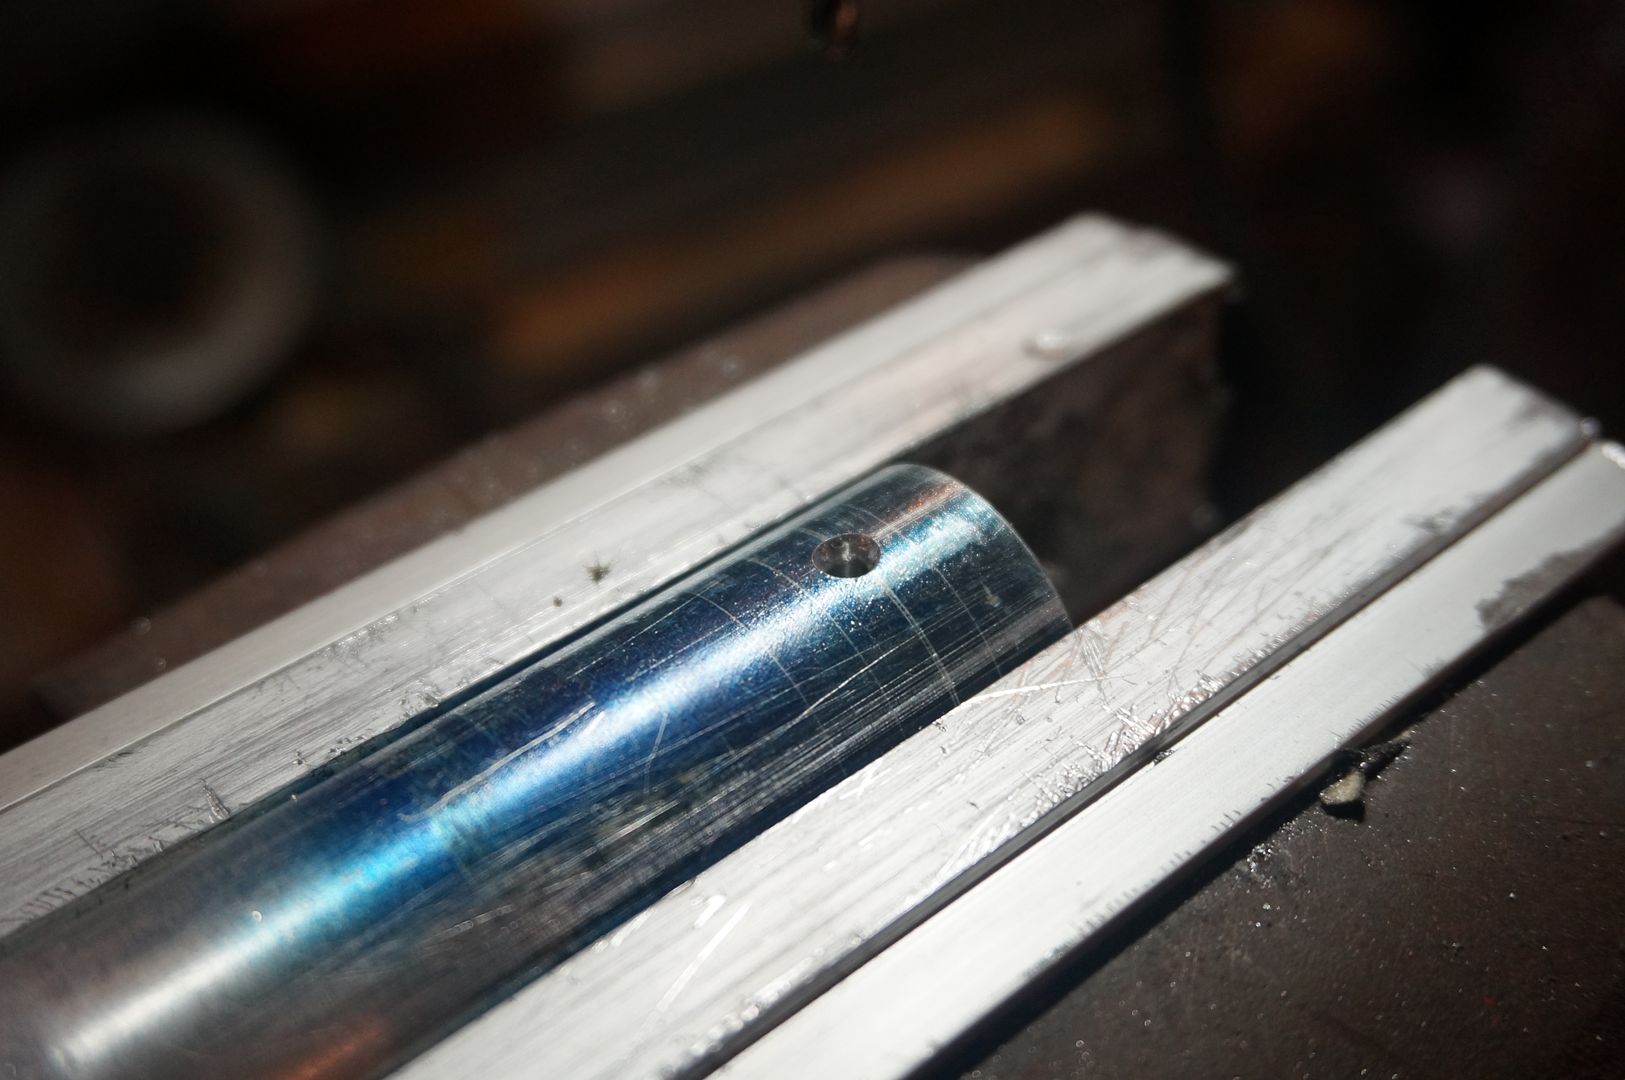
This is going to be the outer race that the bearing will press into.
Rough idea of where it will be mounted on the plenum.
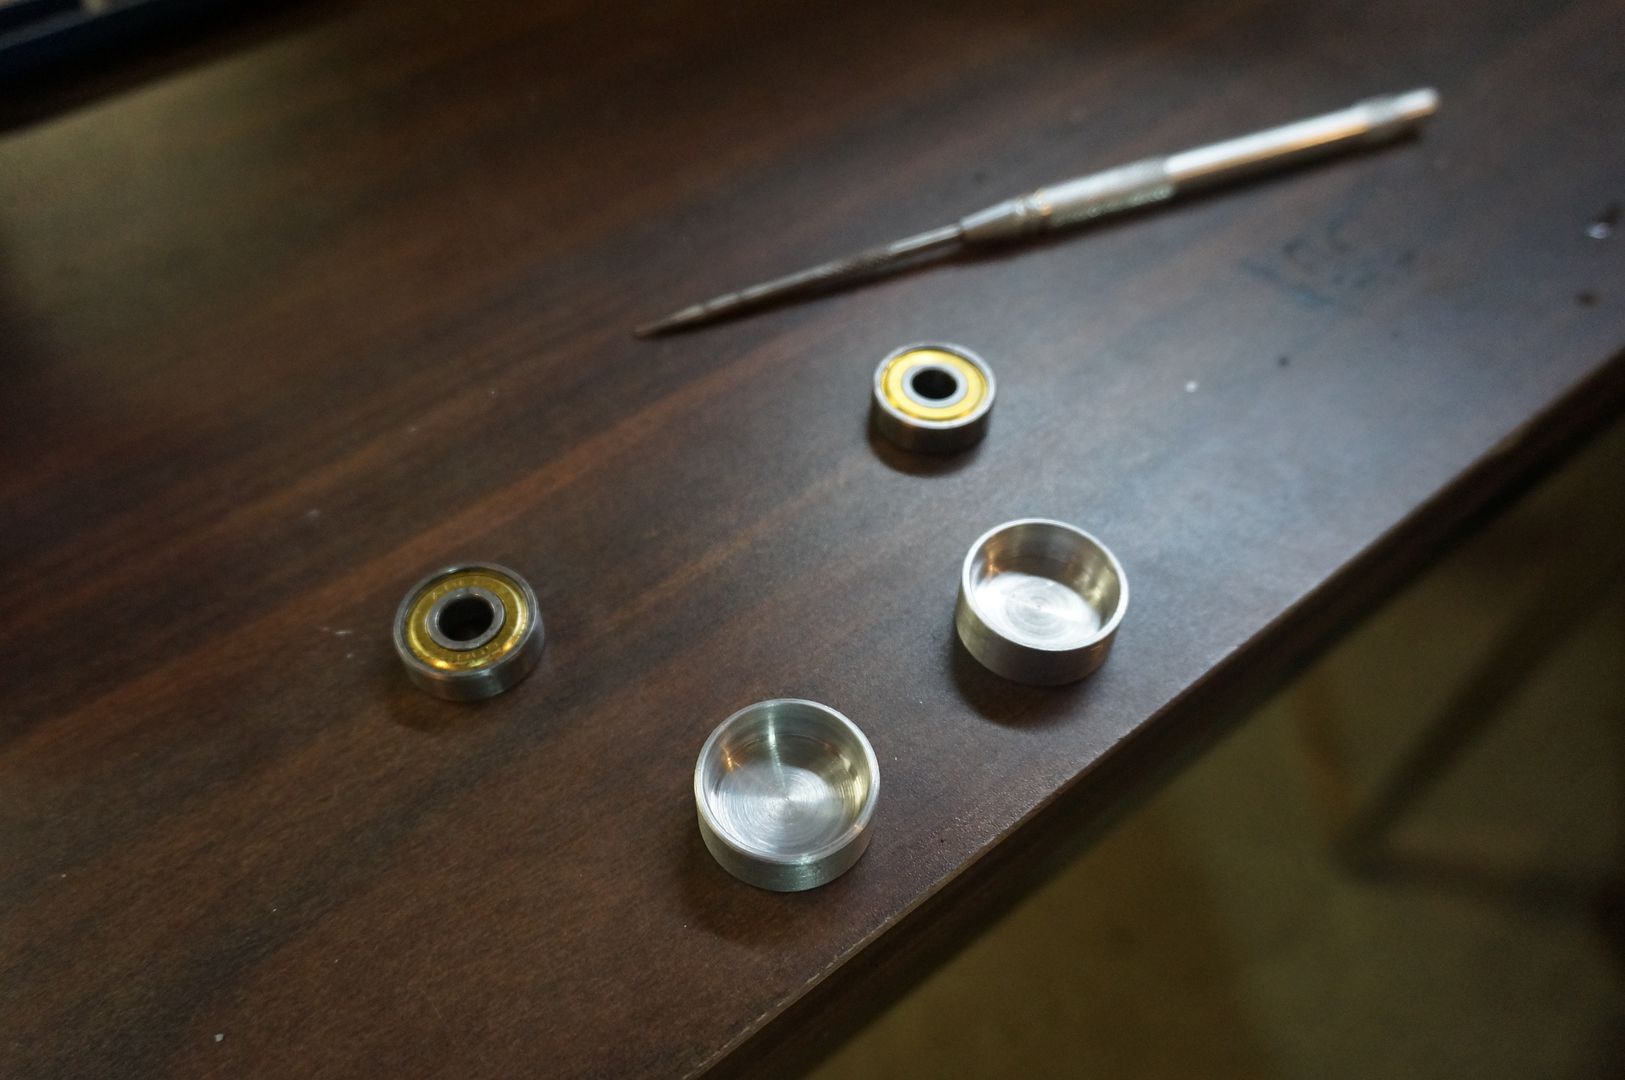
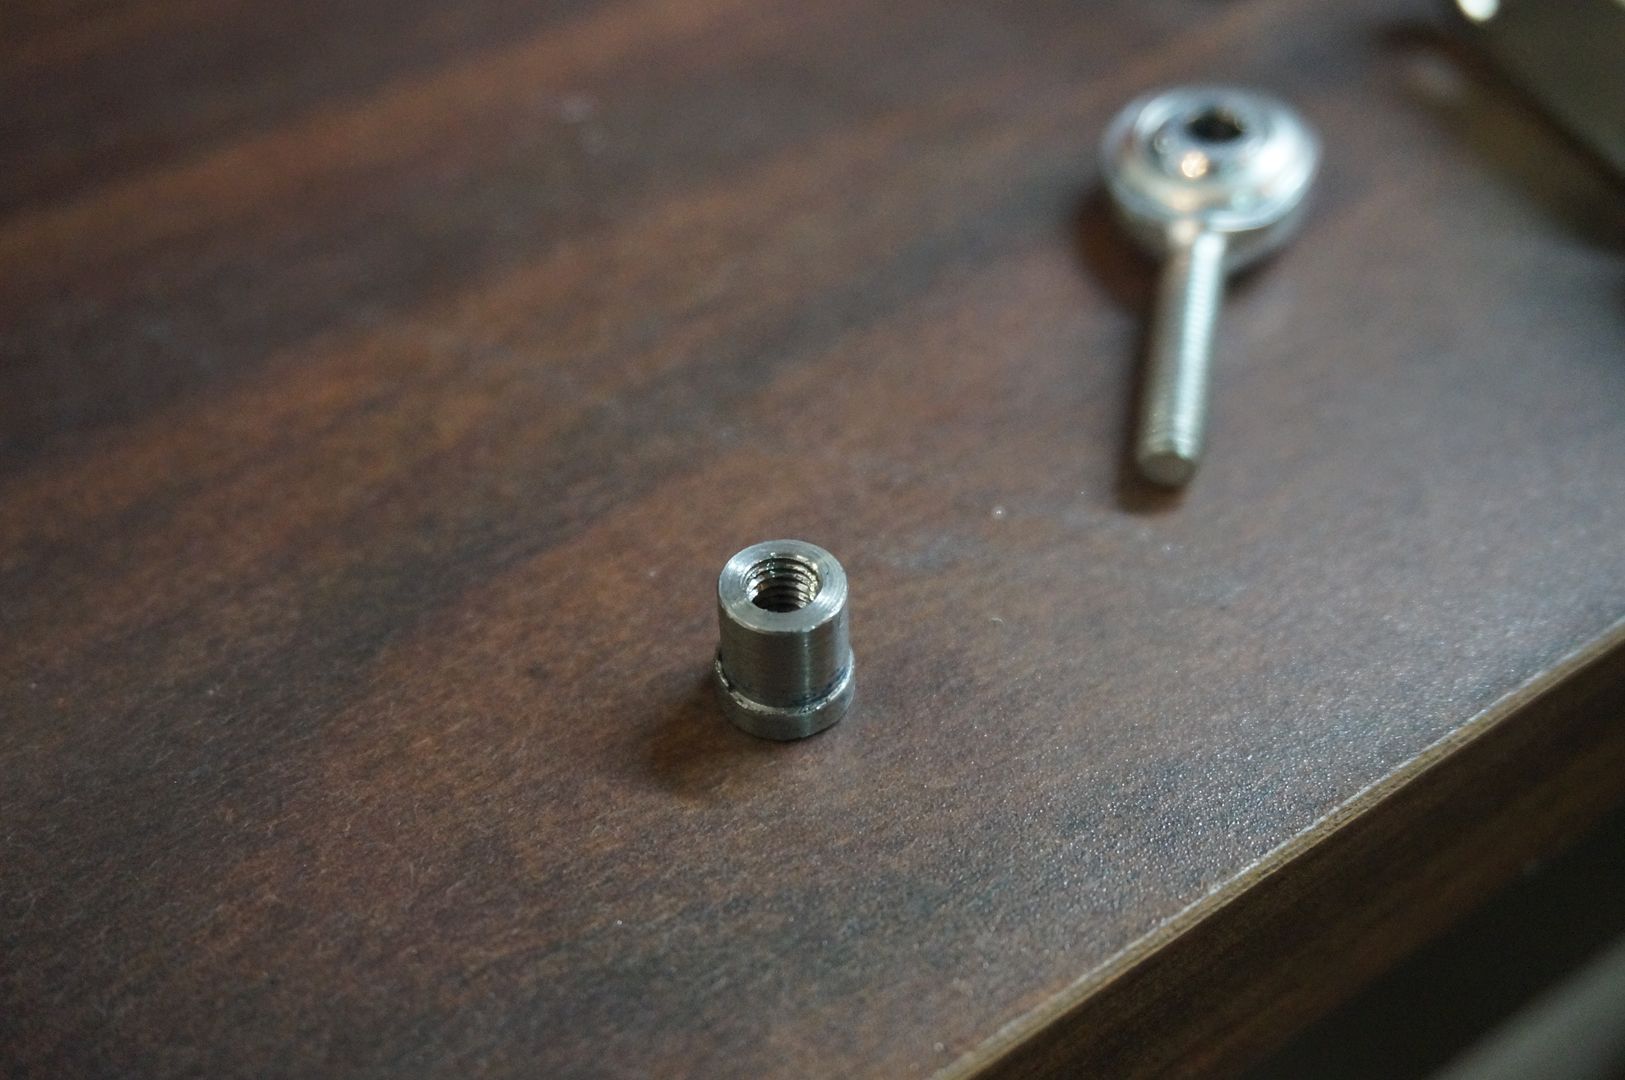
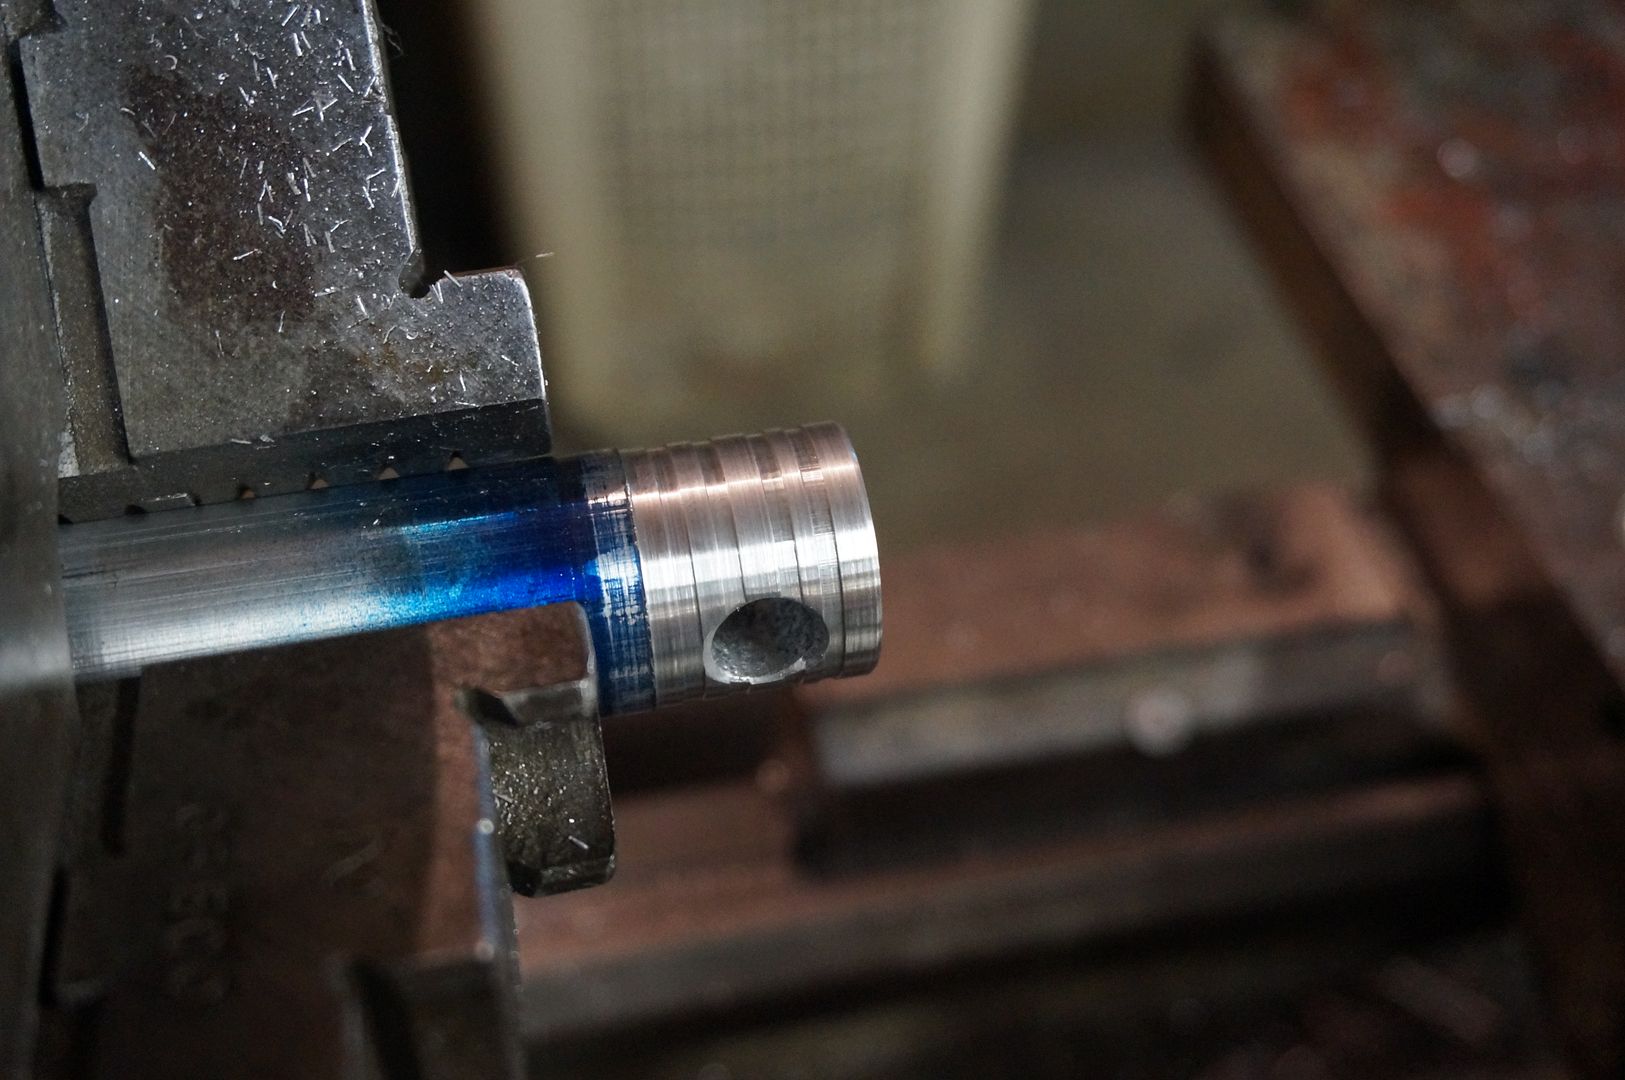
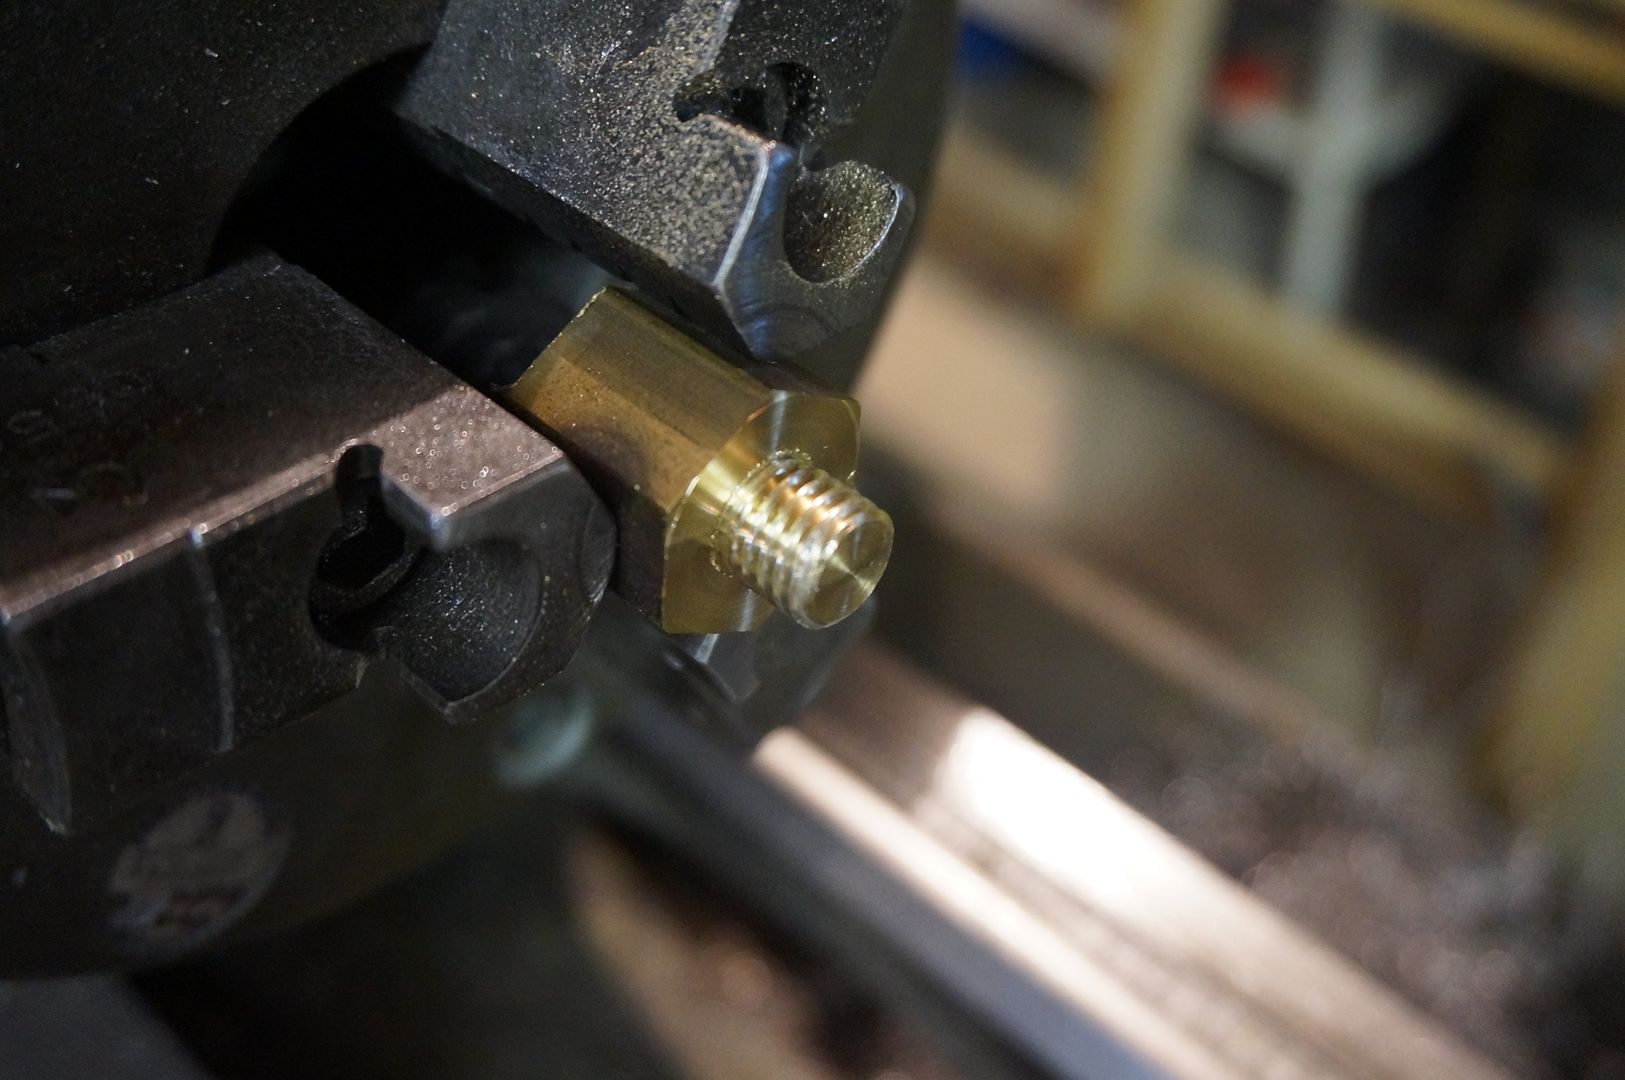
Thread to be pressed into bearing inner race.
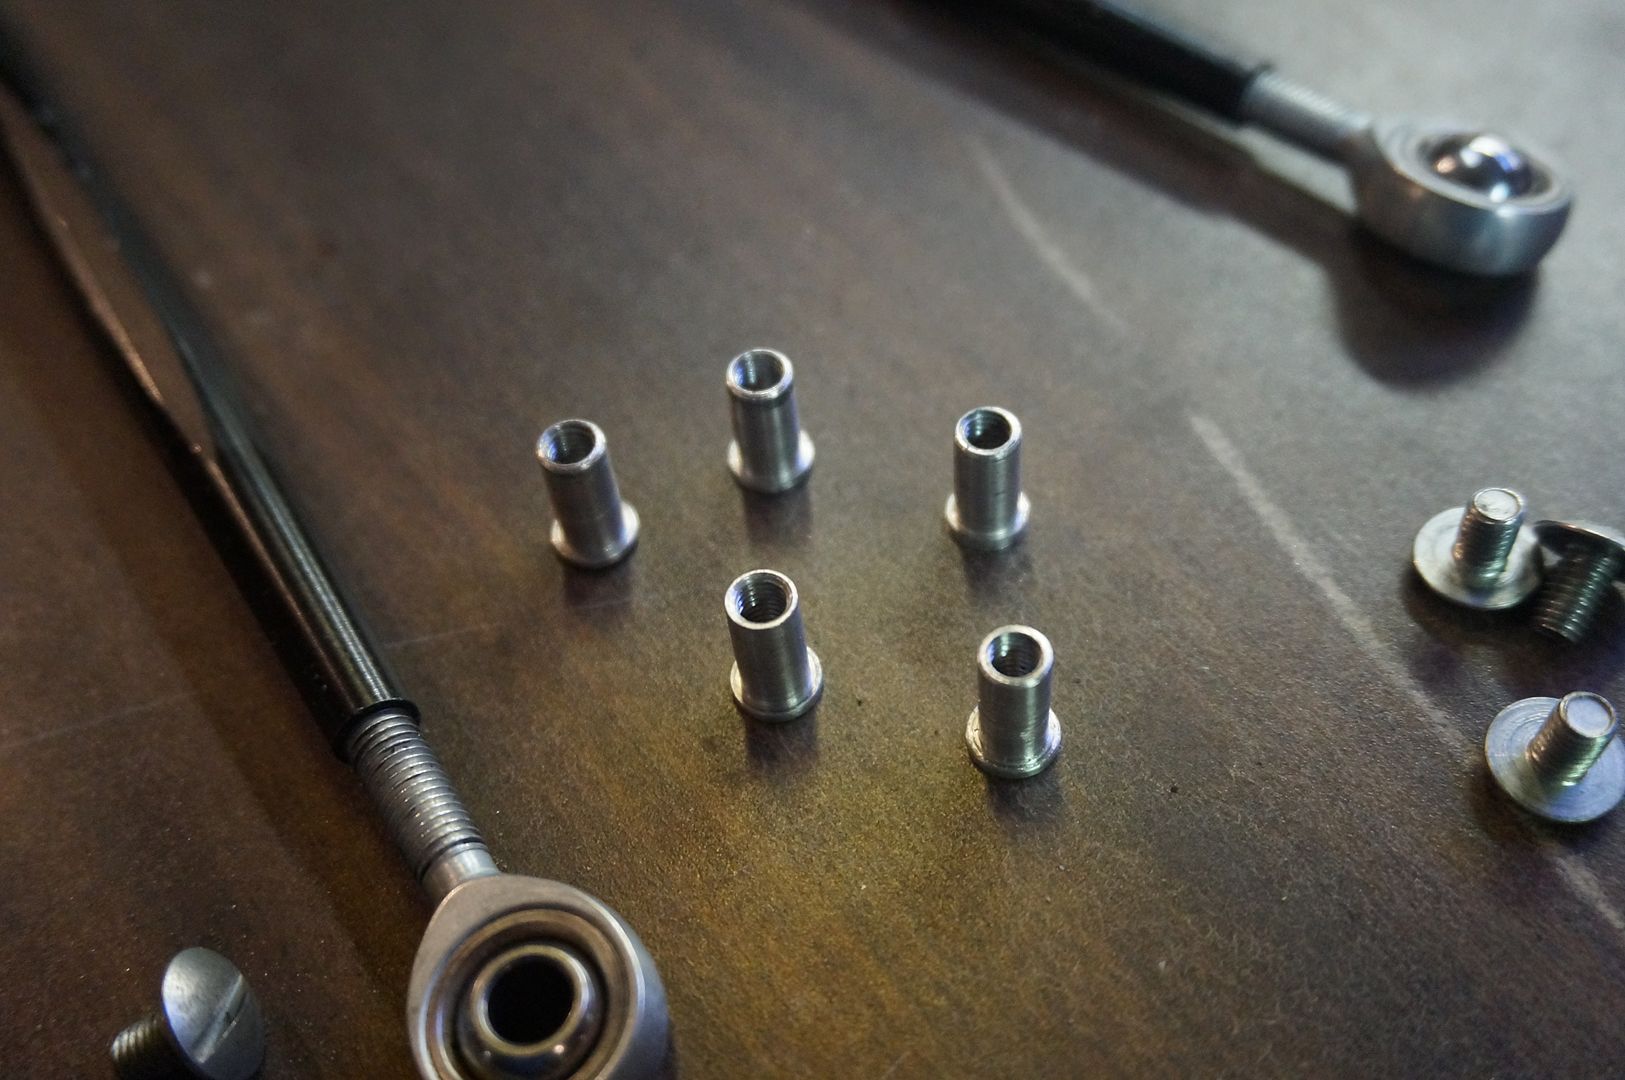
Here is the middle link cut out and finished along with the hiem that will be used.
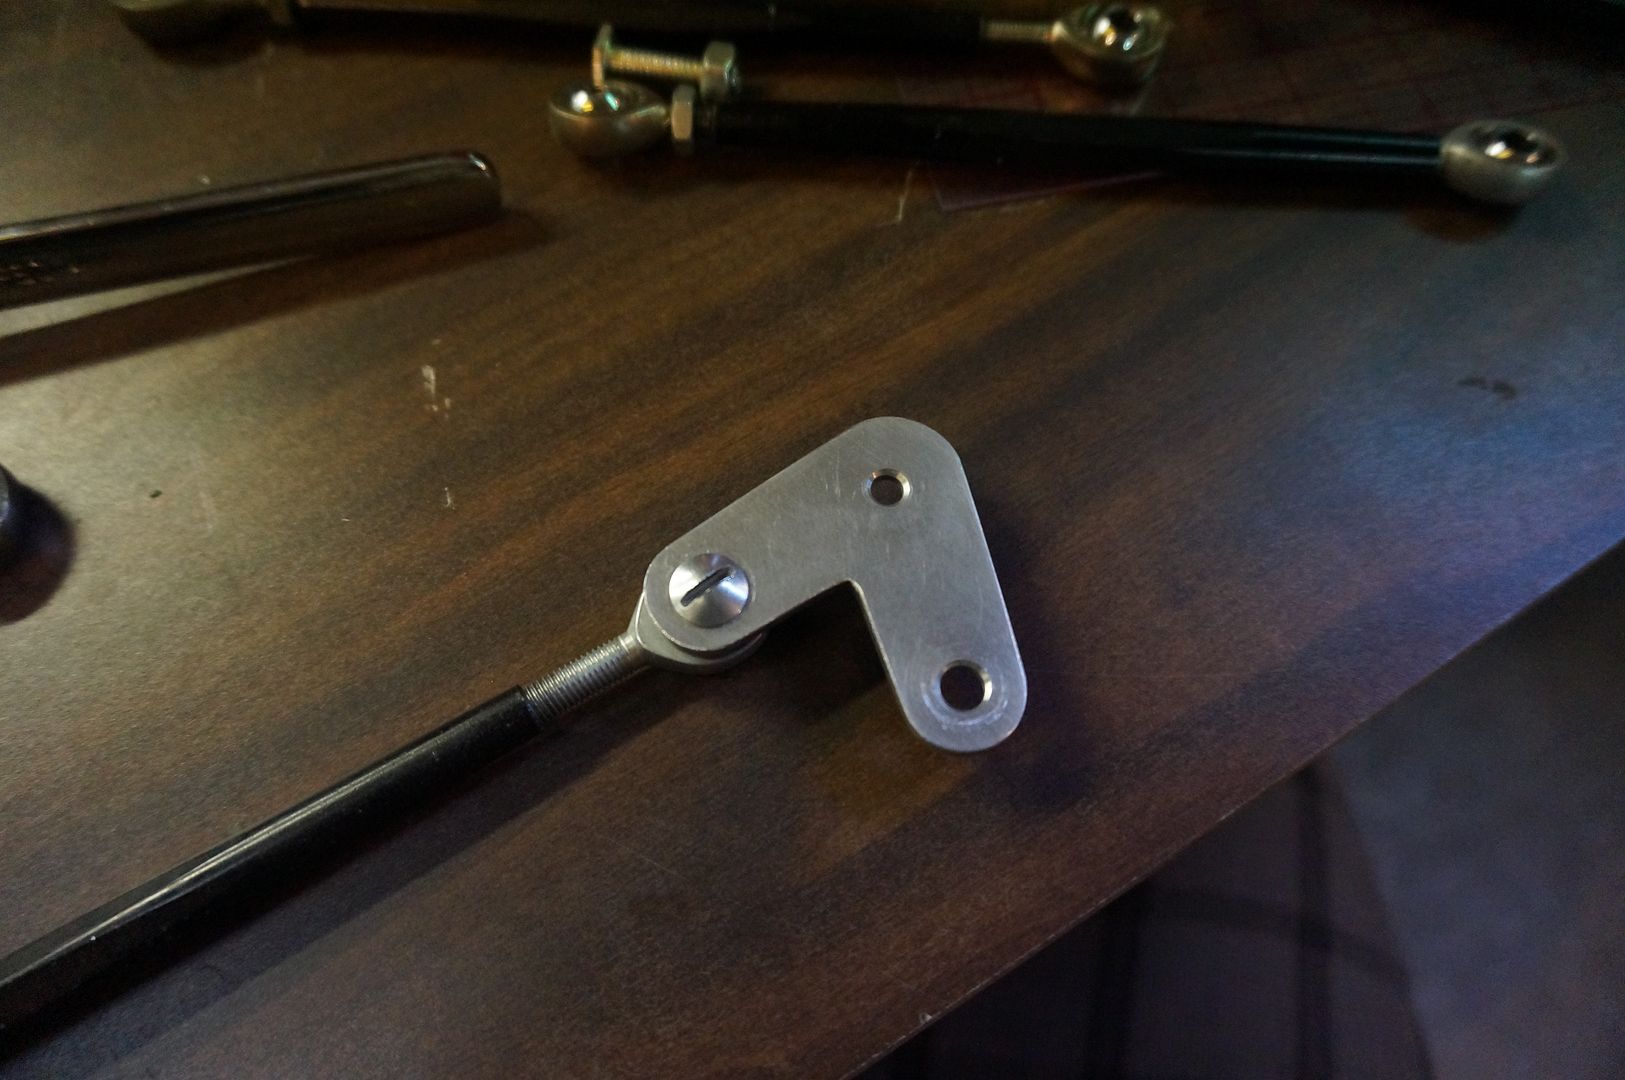
I will be giving the hiem's an inside thread for proper function and to aid in ease of removal, less parts ect...
5 in total
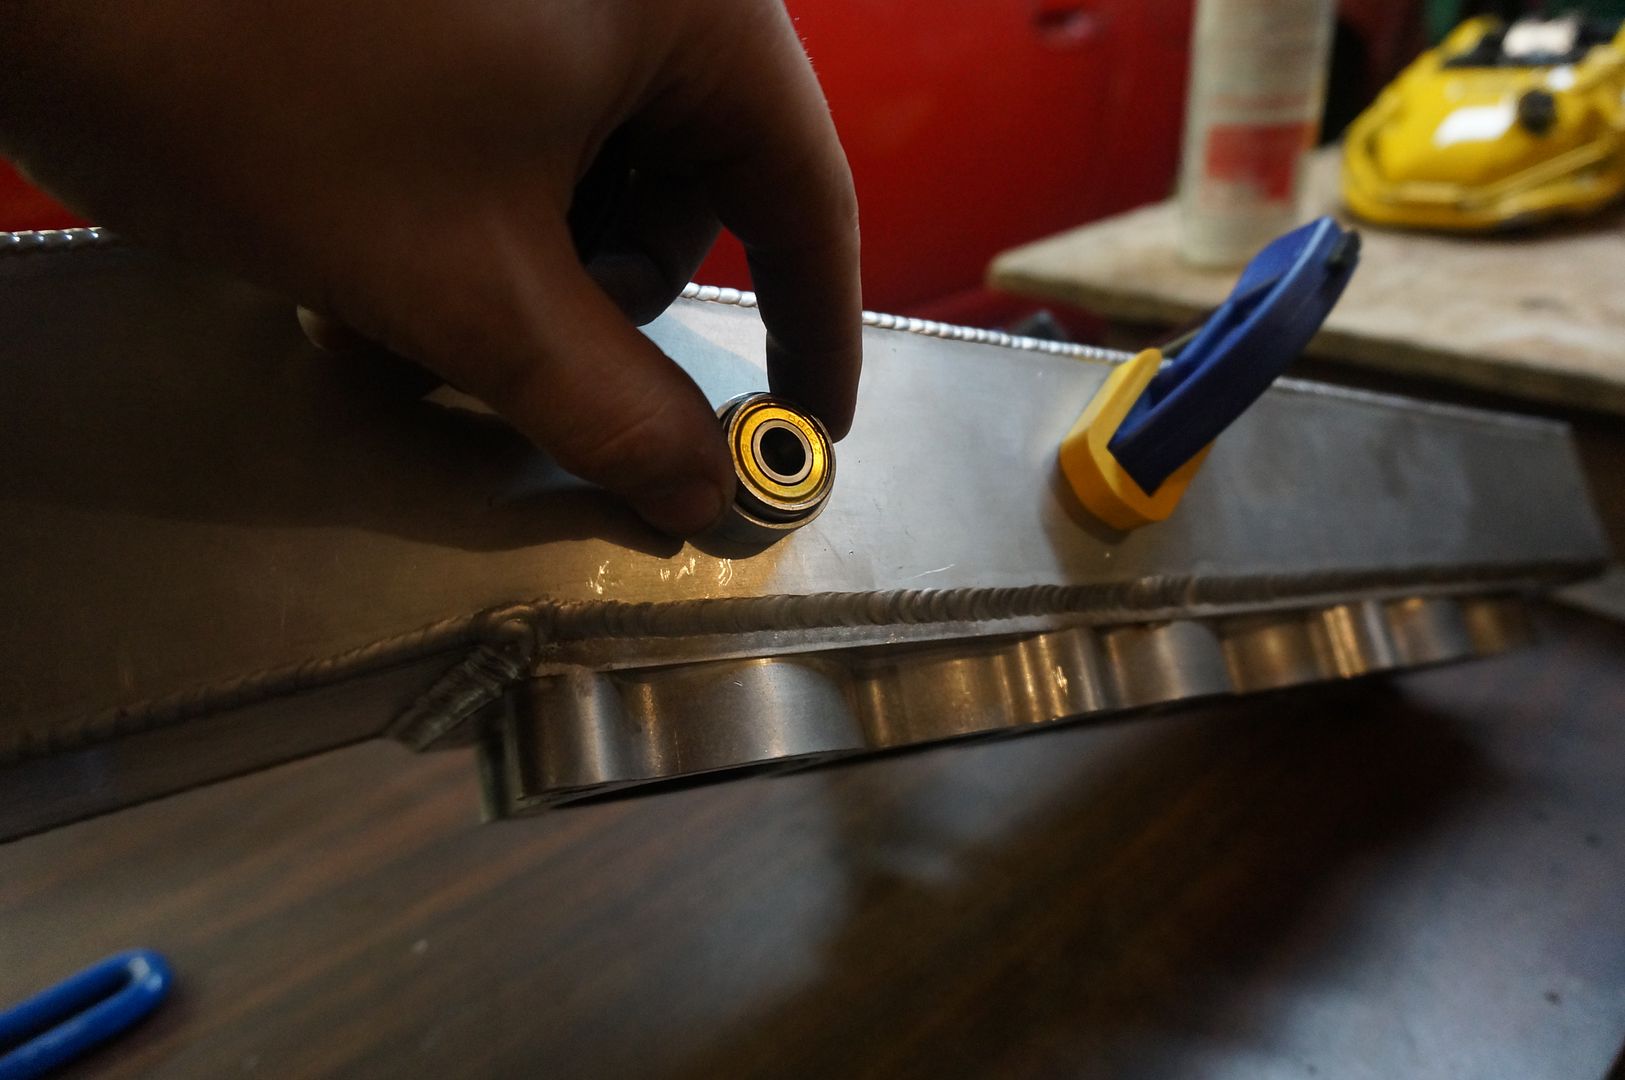
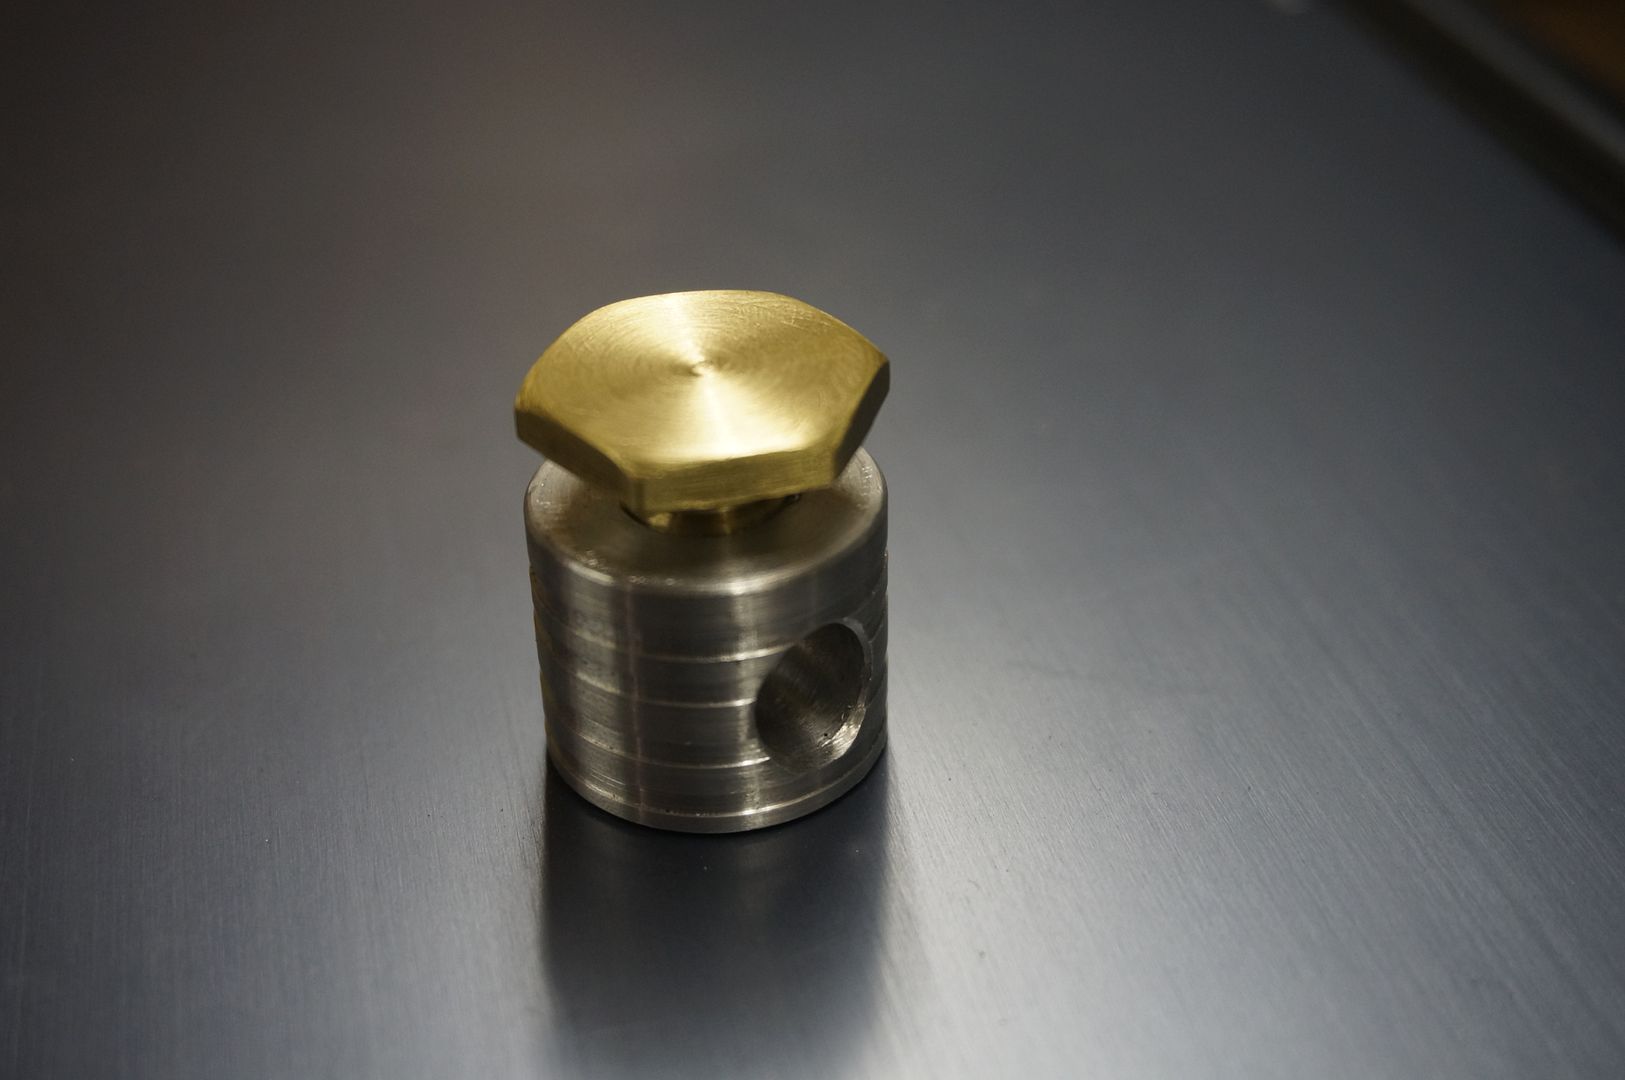
Snug press and there ya go.
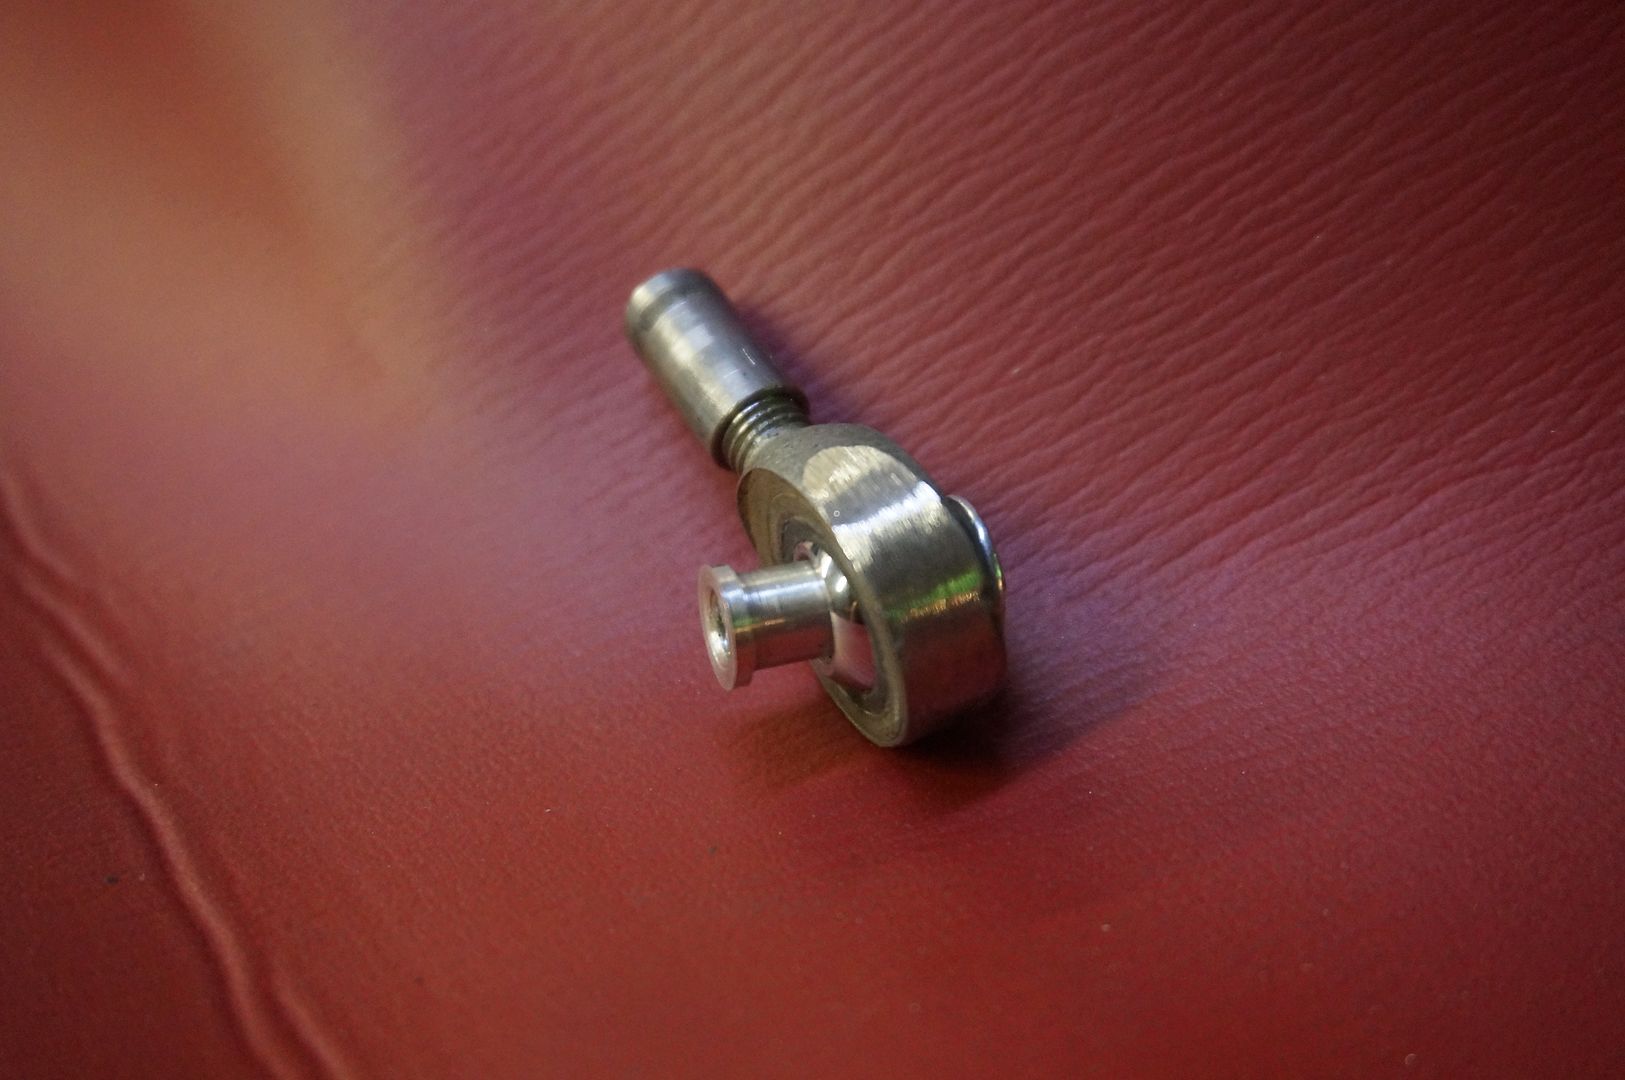
This is the throttle body butterfly link.
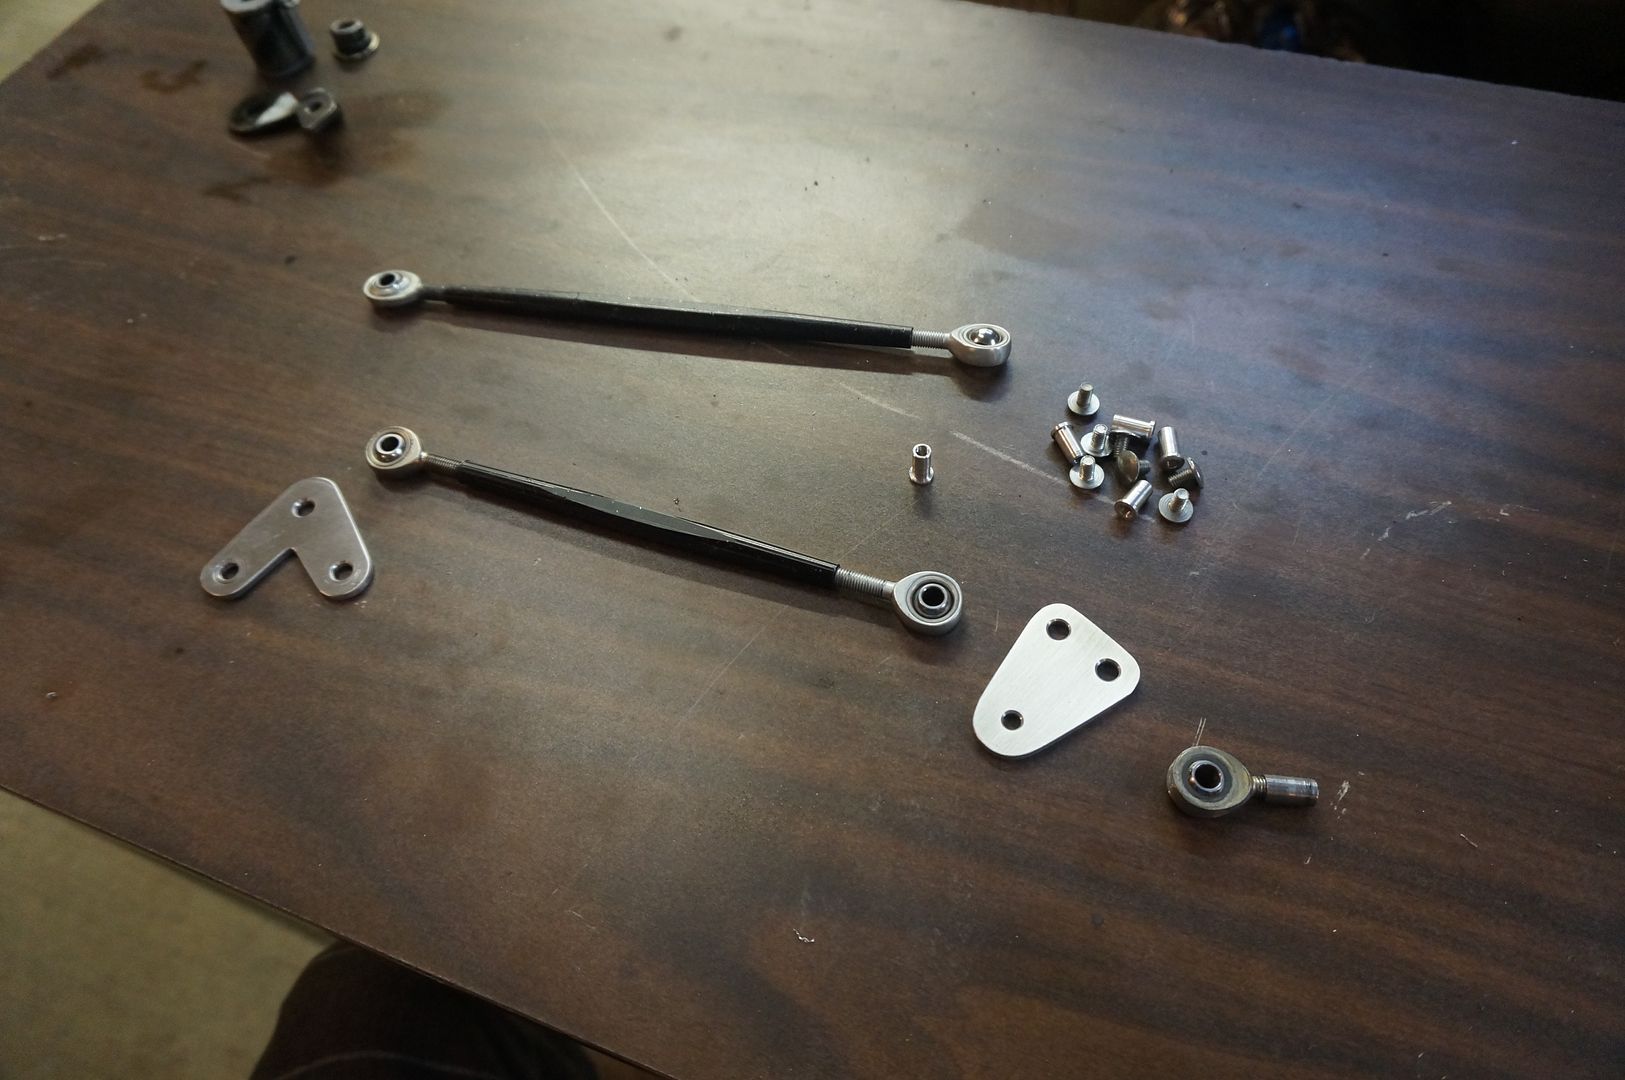
Fasteners and all three links finished with the the adjustable hiem's.
Since I will be using the universal cable kit for the transition through the firewall I will be in need of a way to securely hold the cable.
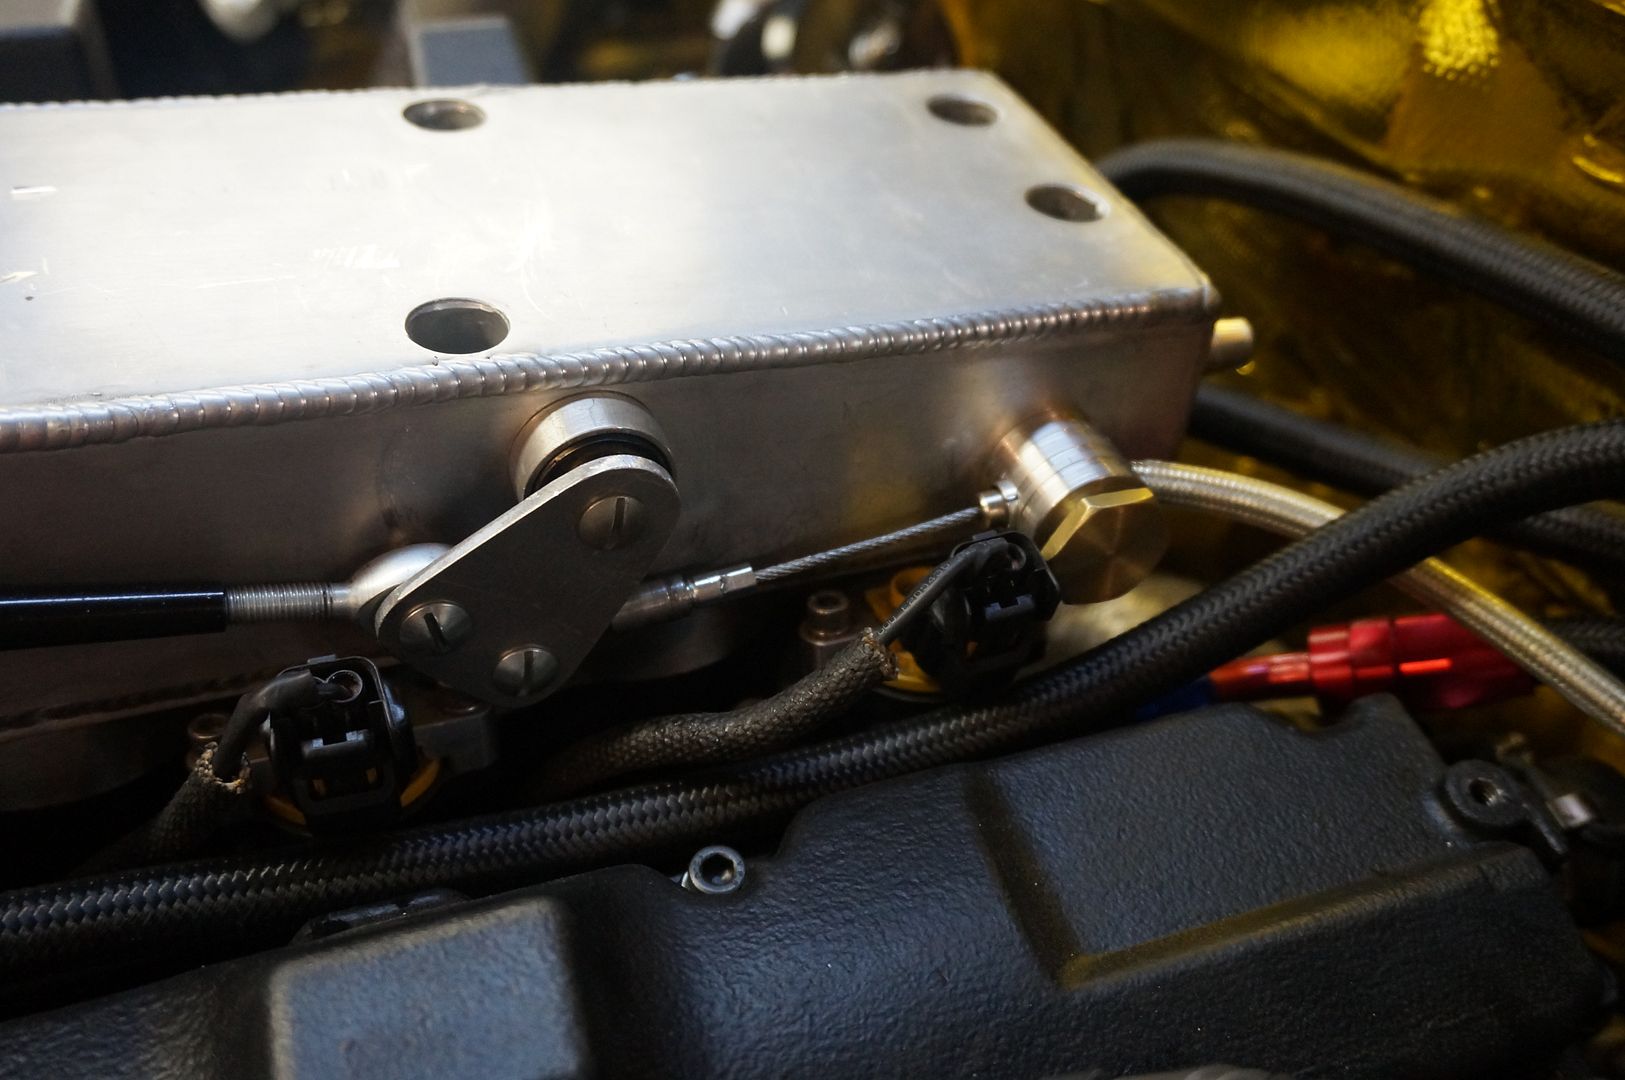
Aluminum lug that will be the main structure to keep the cable in place.
Had some brass bar lying around and thought why not use this for the cable clamp.
Looking real fancy for a clamp at least.
Mounted to the rear of the plenum.

The sleeve to spread out the clamp force on the cable.
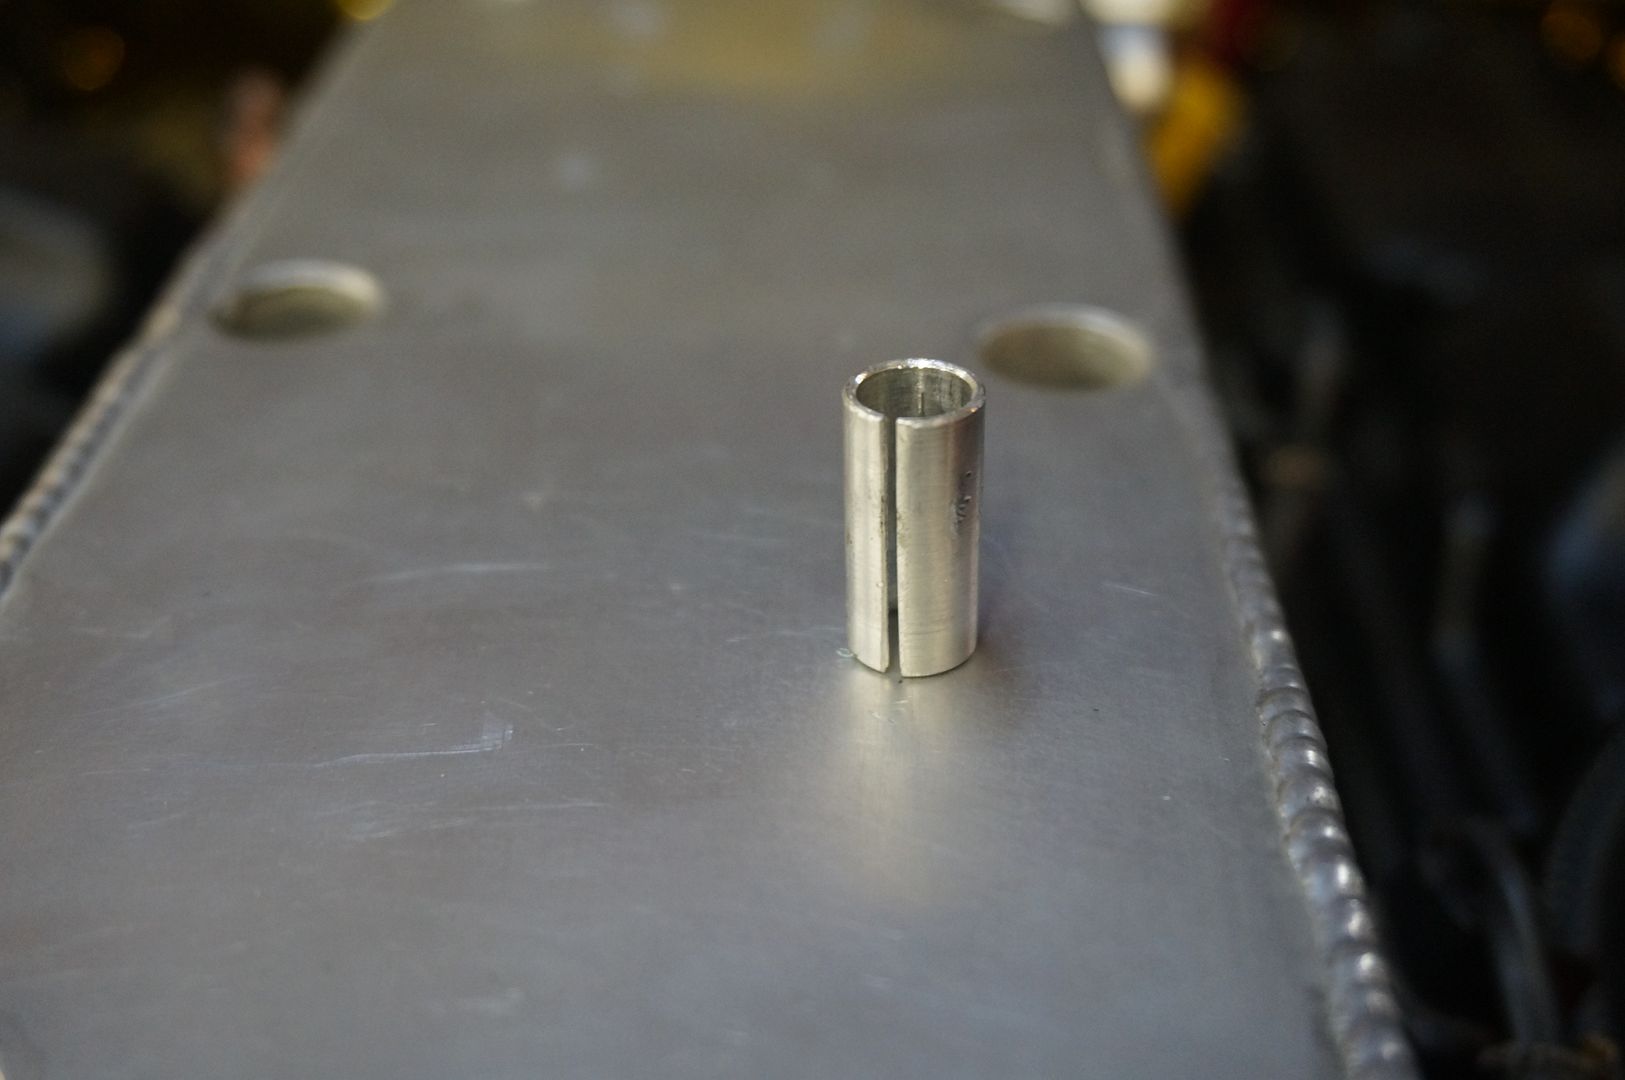
Slides in real nice
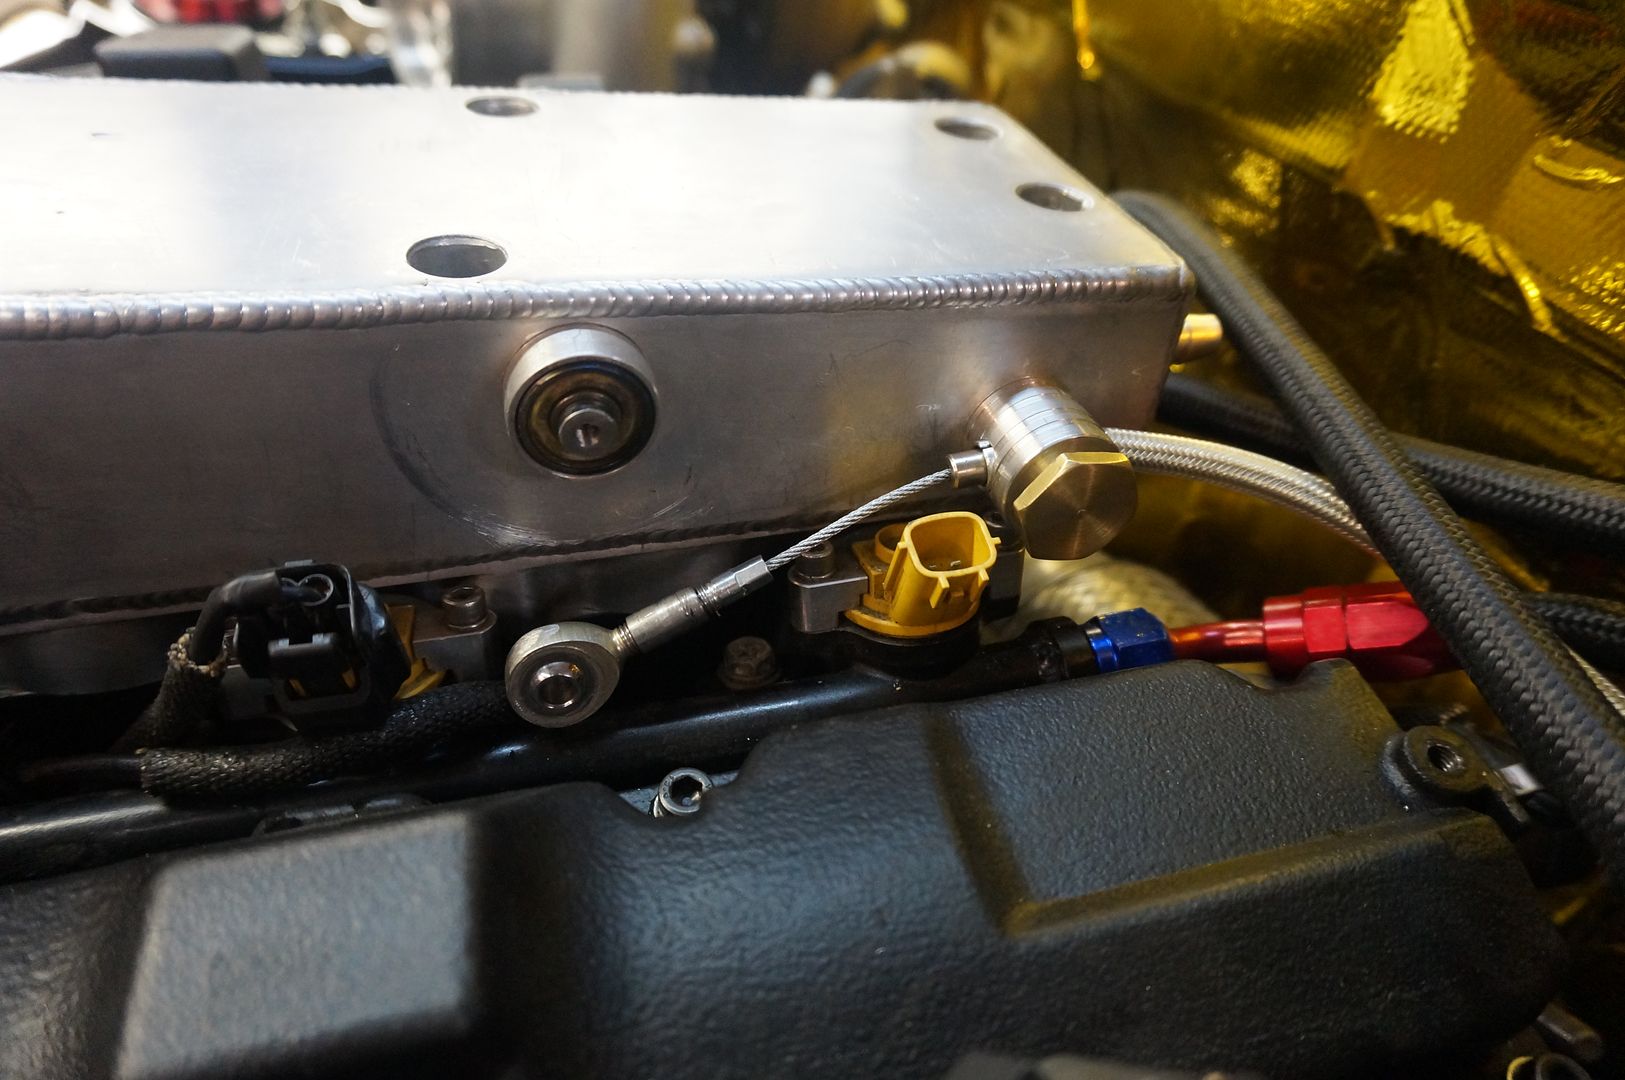
Simply hand tighten the bolt and you have a ridiculously solid holding mount. (side note, the rub marks on the plenum are from the fasteners that I had used before I made the threaded hiem inserts.)
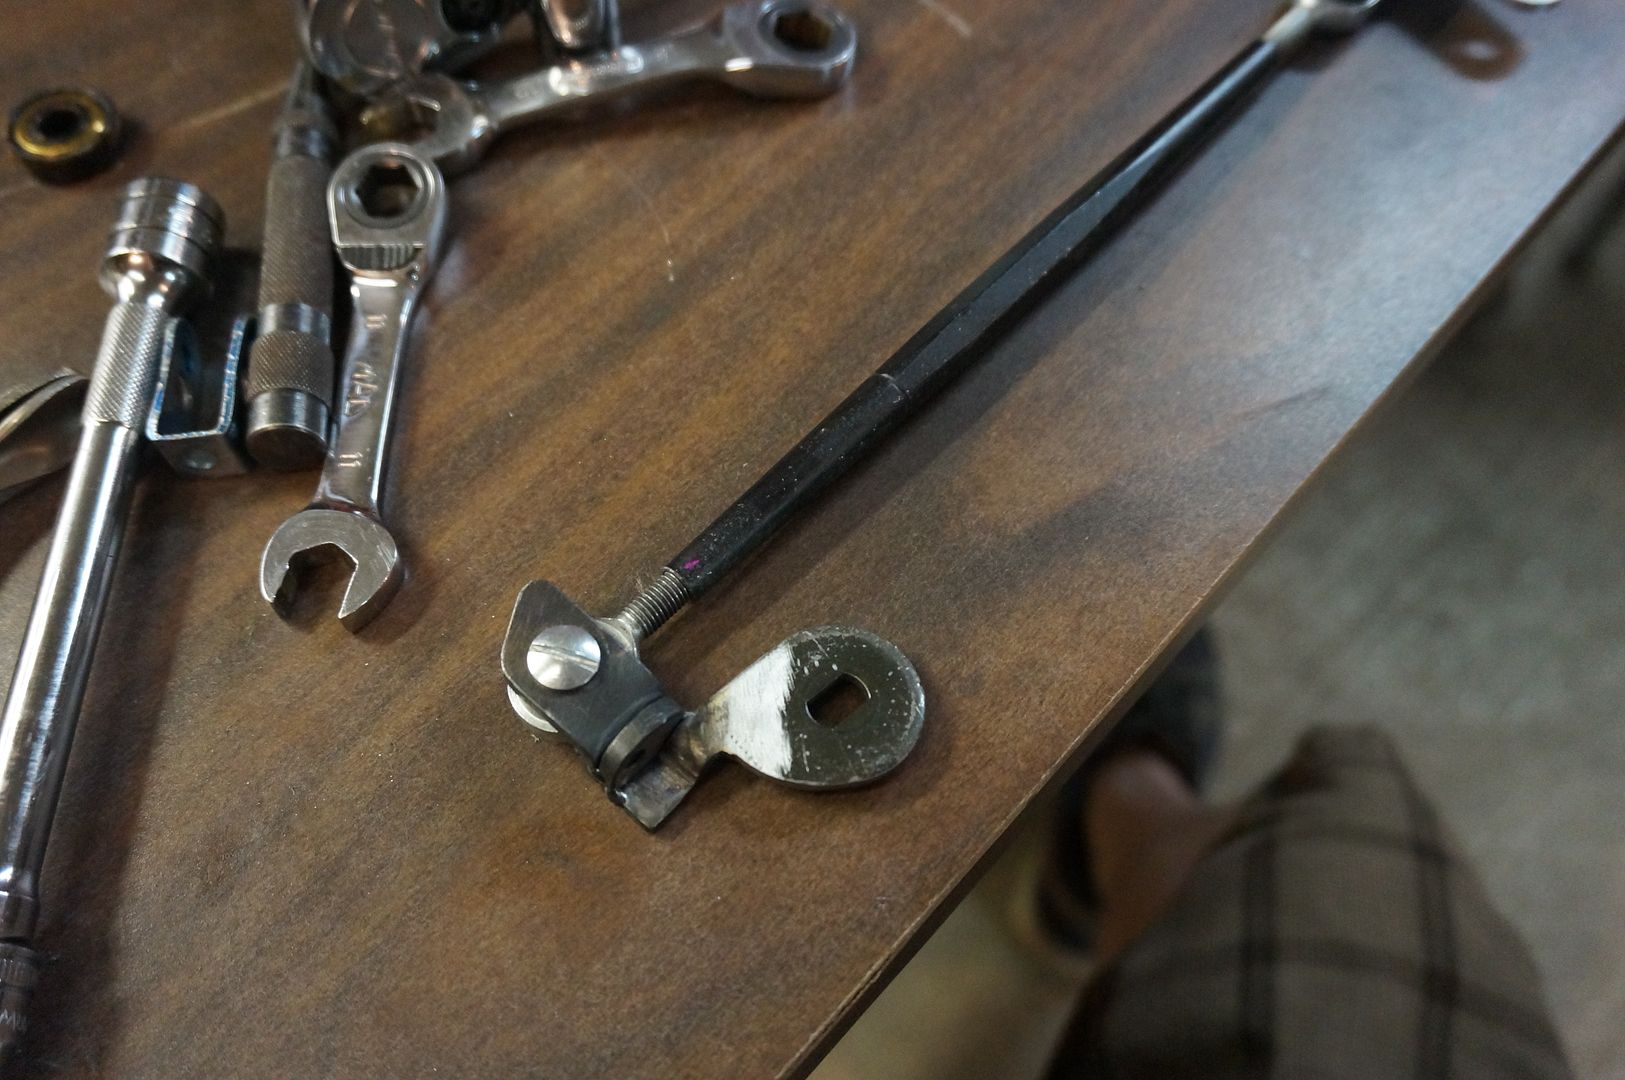
Rear link
All together now
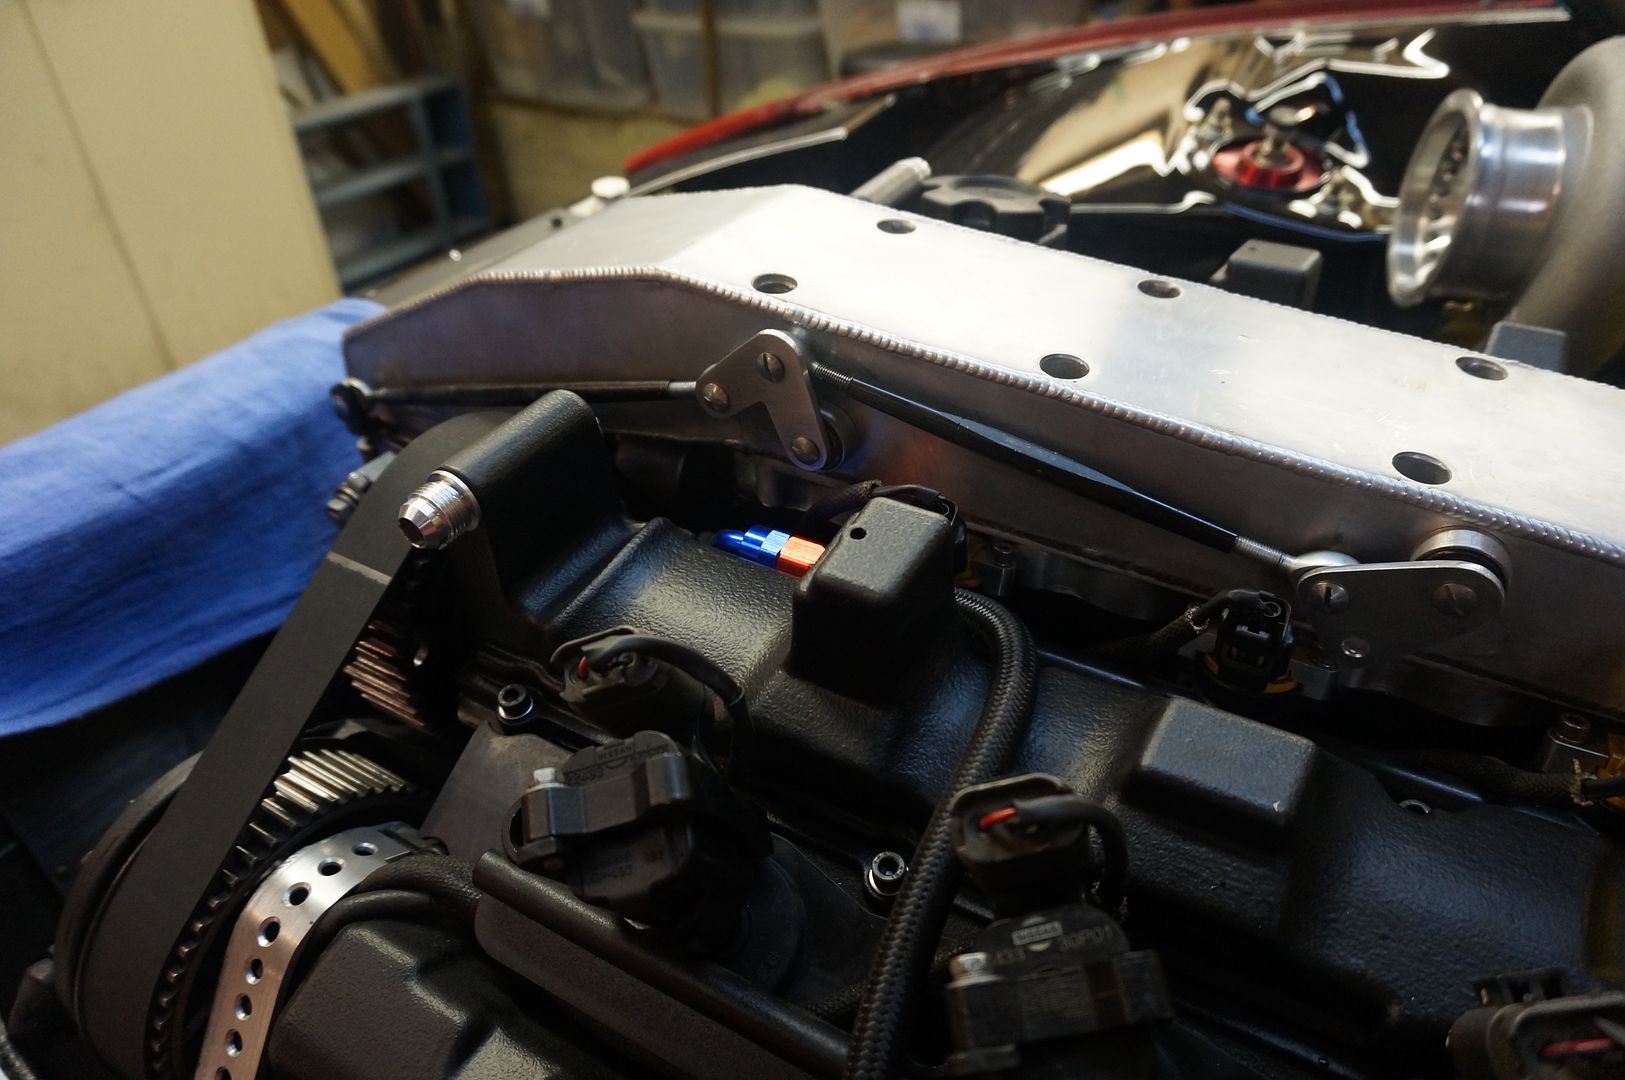

Cool? and yes I could of just made the universal kit work but what would be the fun in that.
Here is the link to the video.
http://youtu.be/7i3cTfA8qyELast edited by EasySpeed*Inc; 07-09-2014, 07:46 PM.Leave a comment:
-
This would not be a turbo build without a blow off valve.
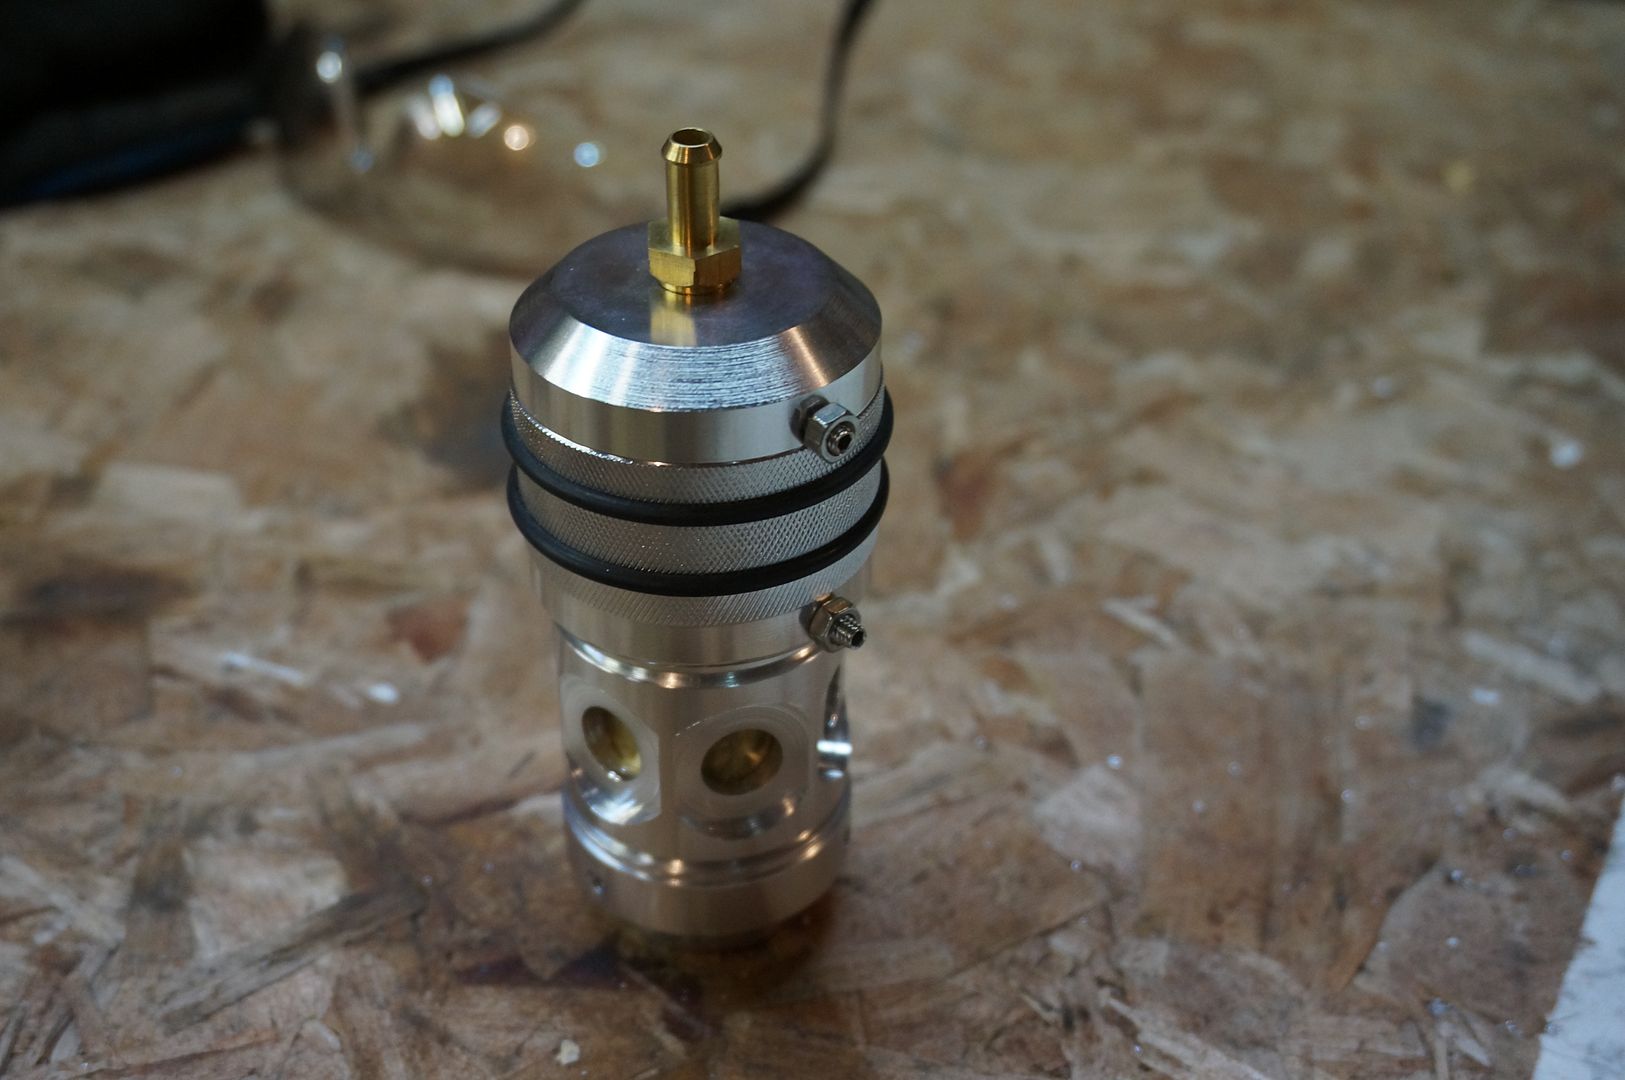
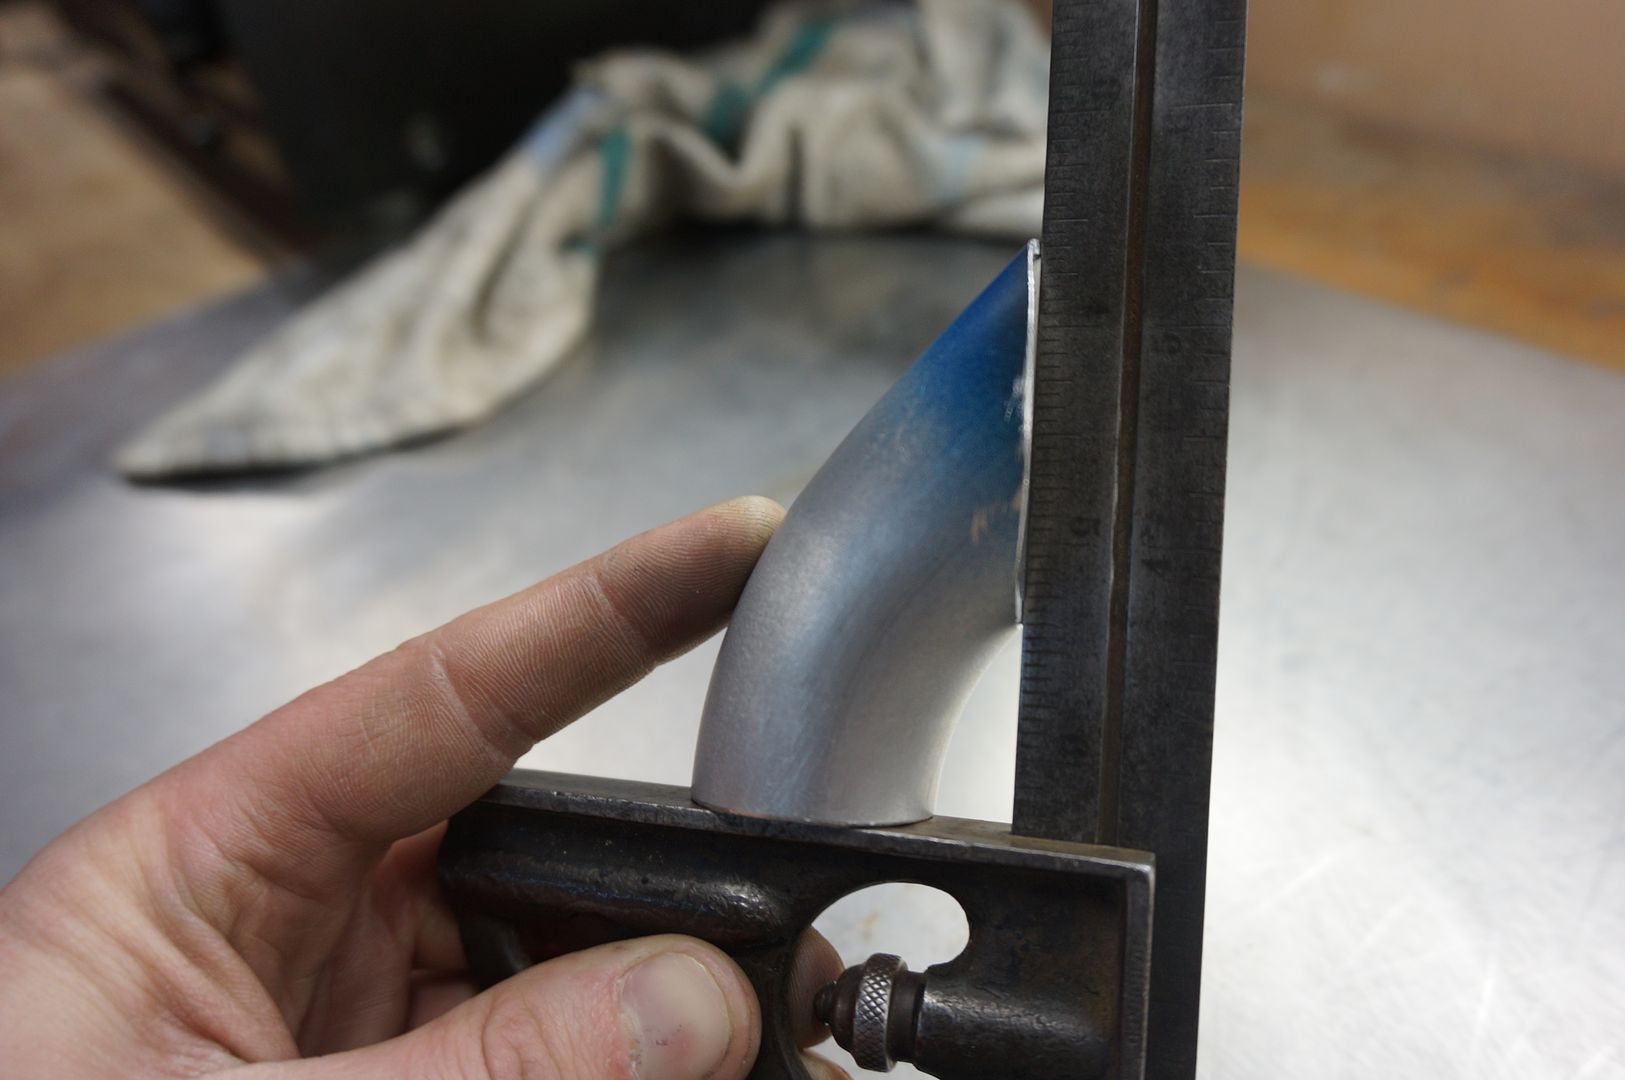
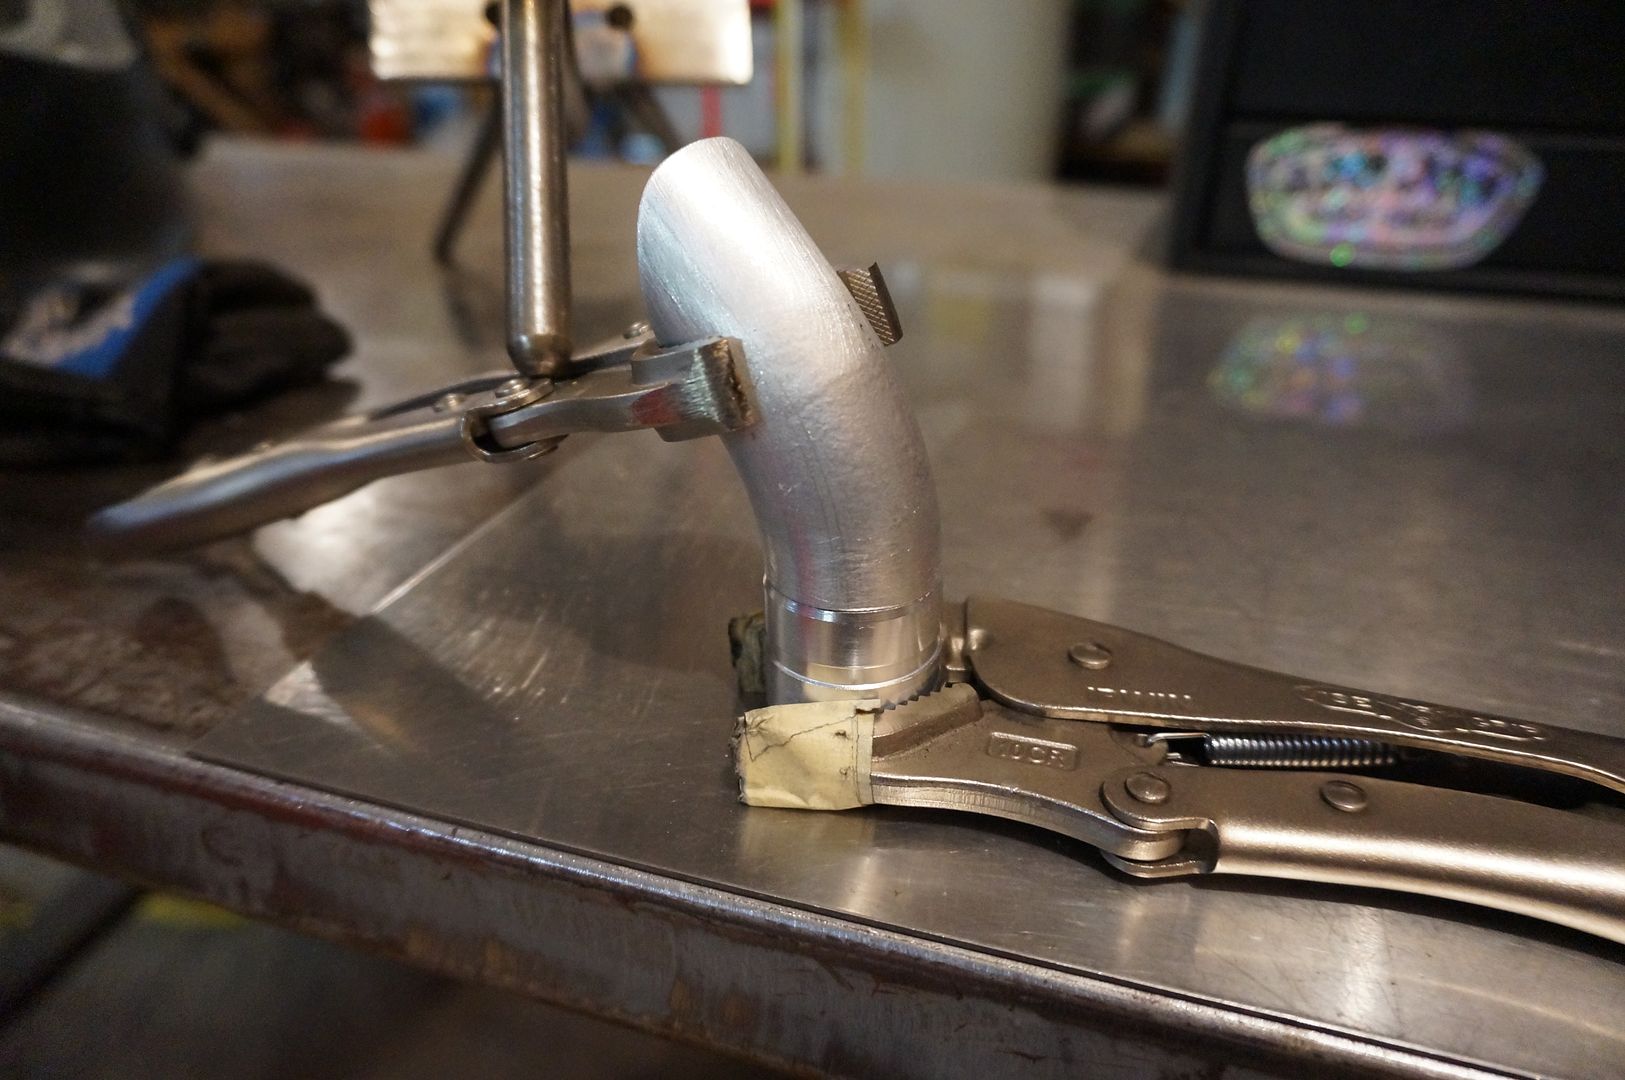
I will be mounting this at an angle, so I need to use a 45 degree bend that will create a smooth transition.
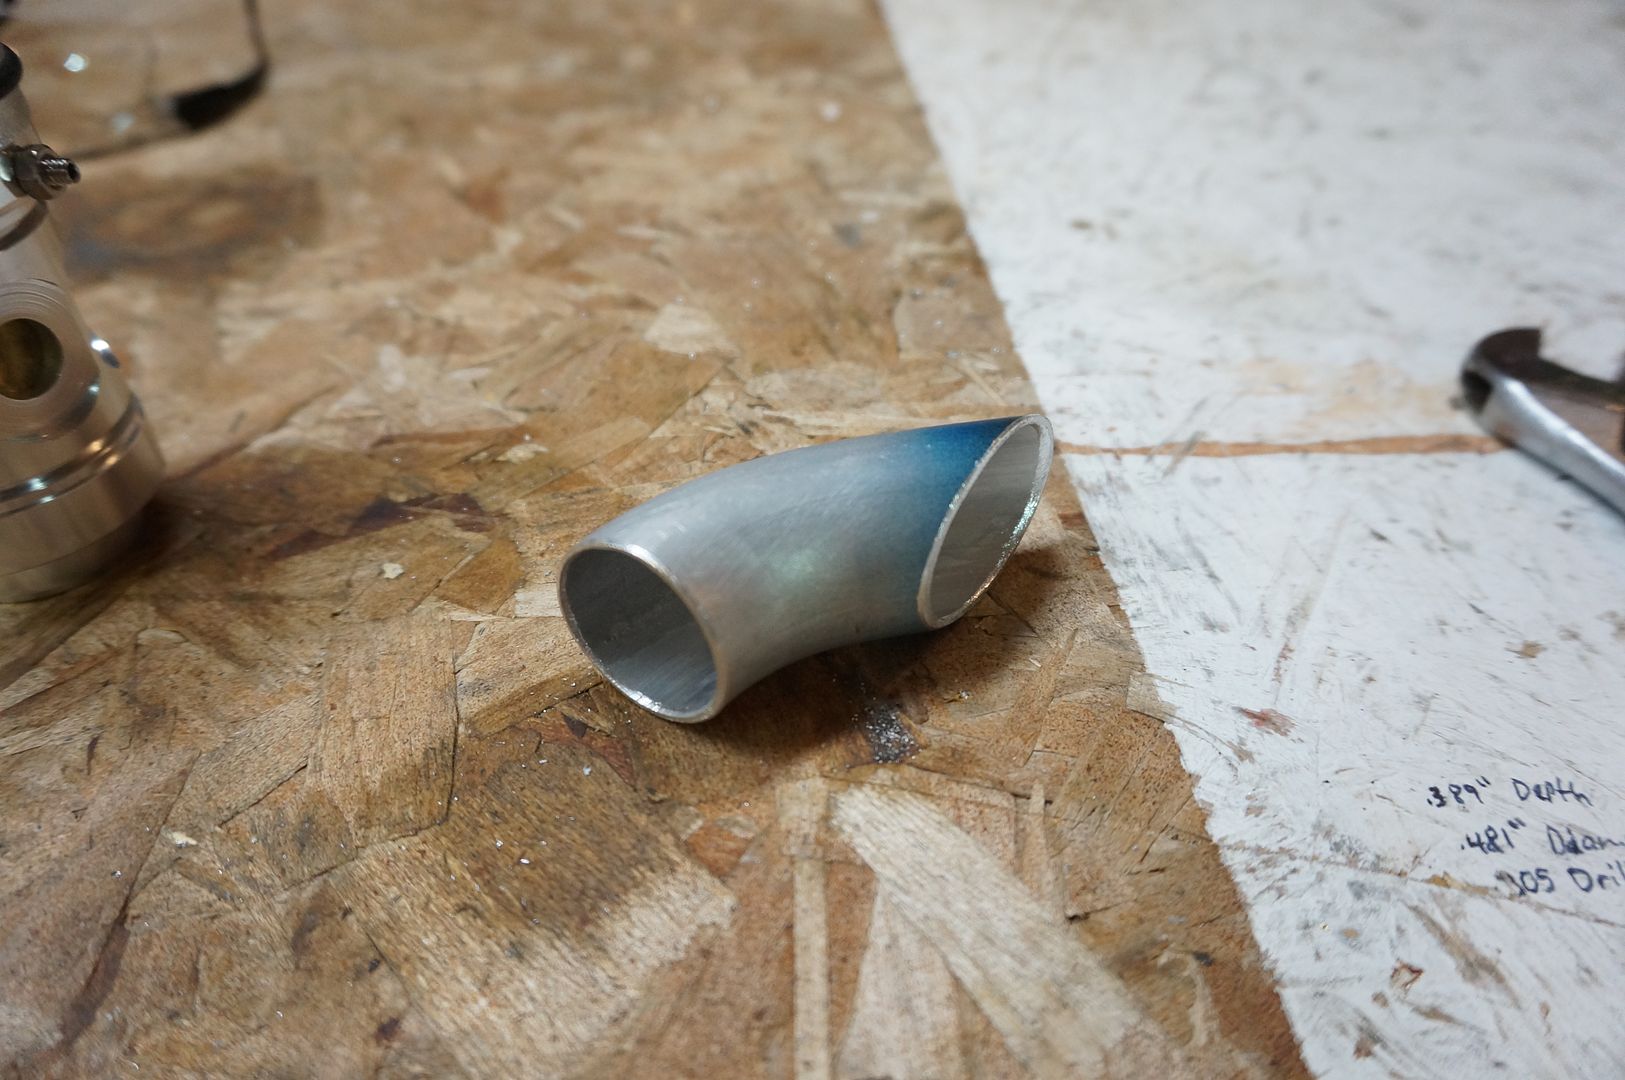
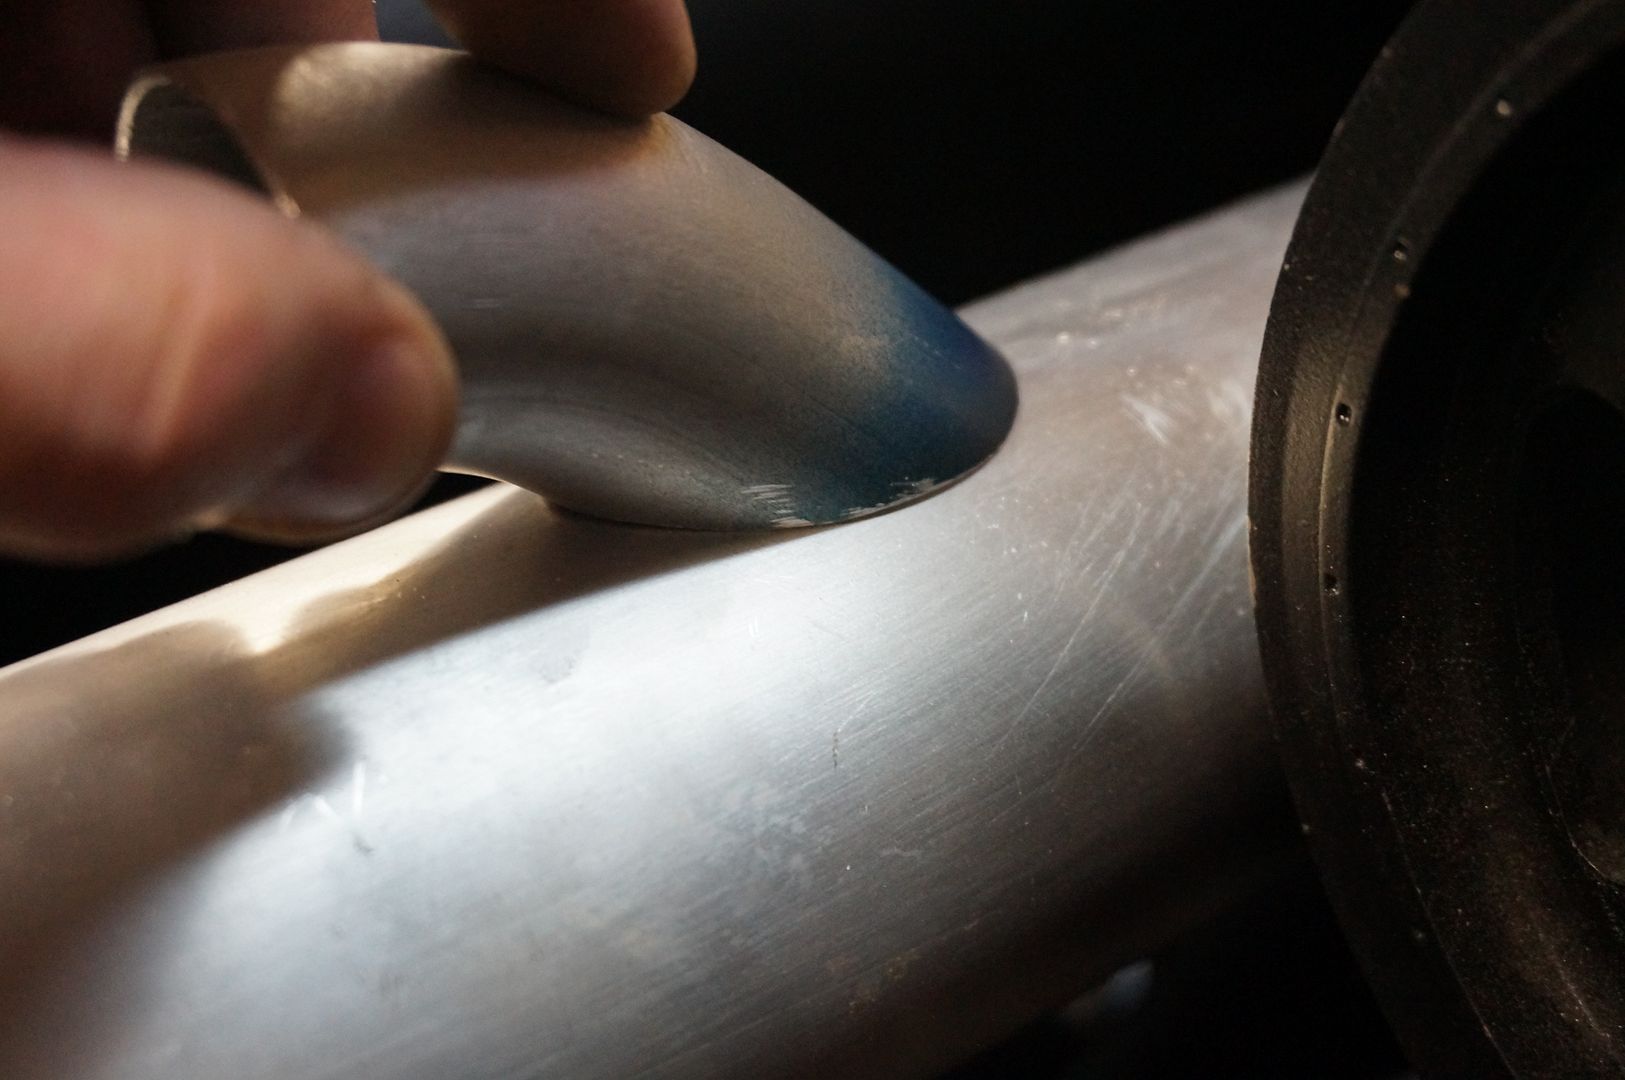
Fish mouthing the bend for a proper fit onto the charge tubing.
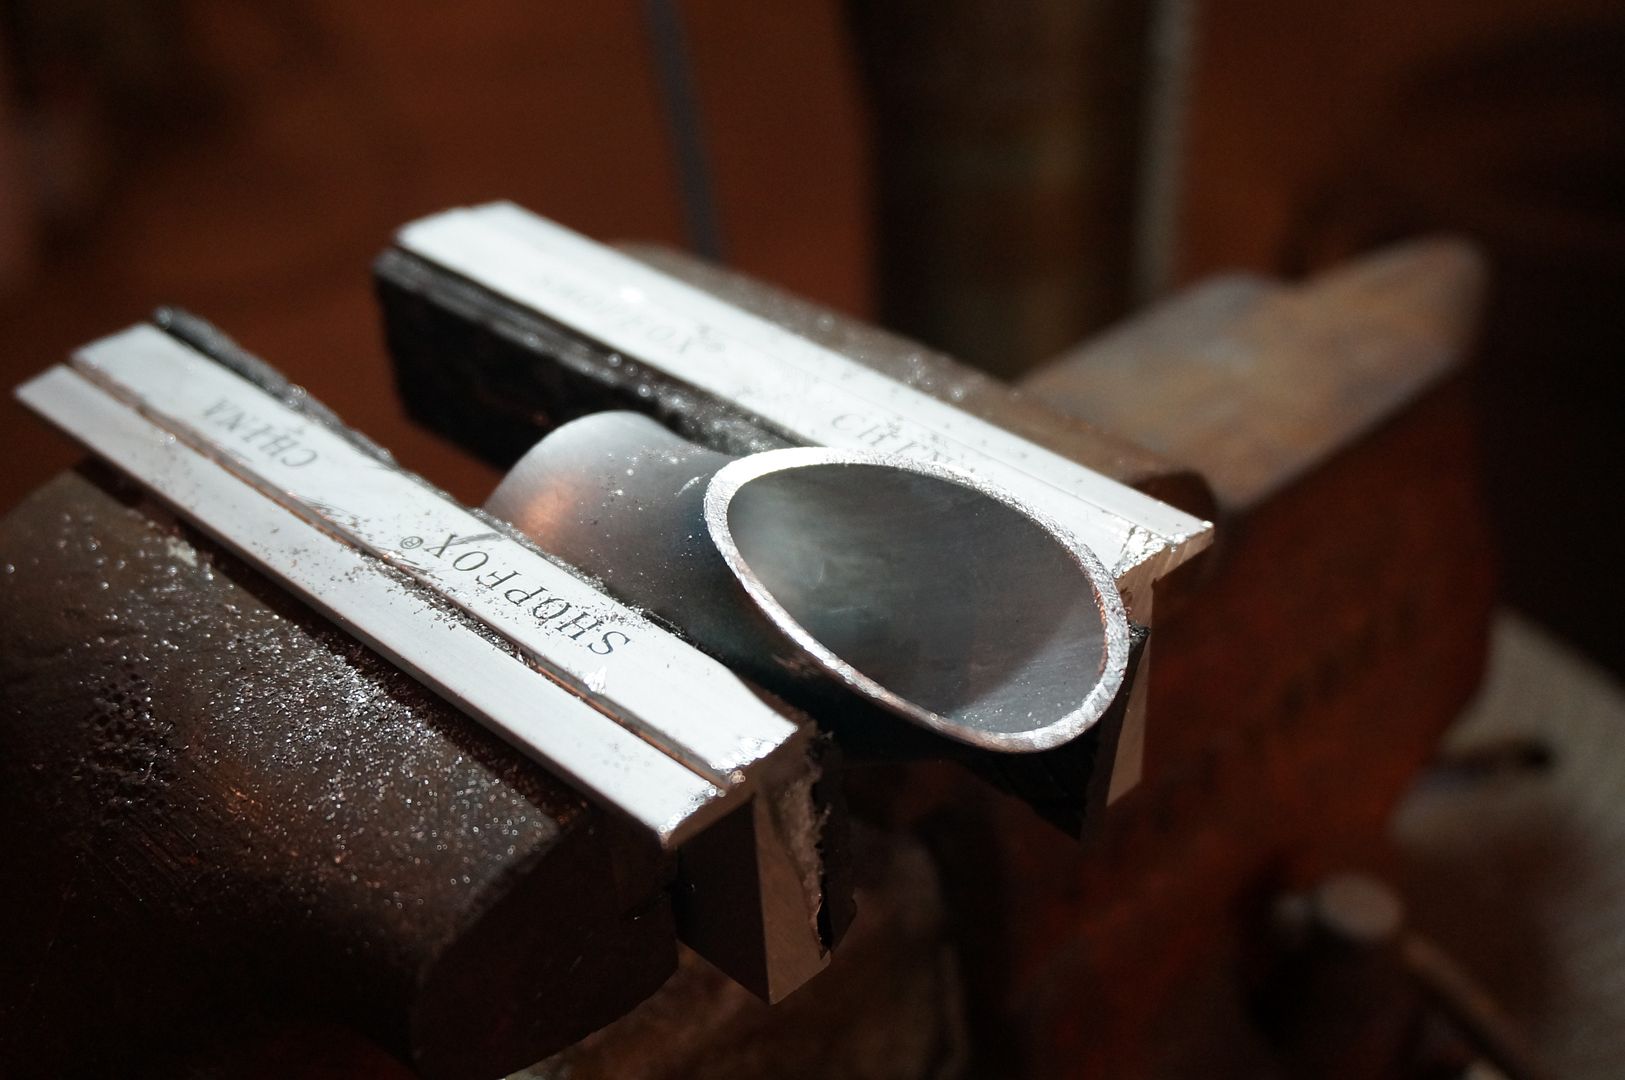
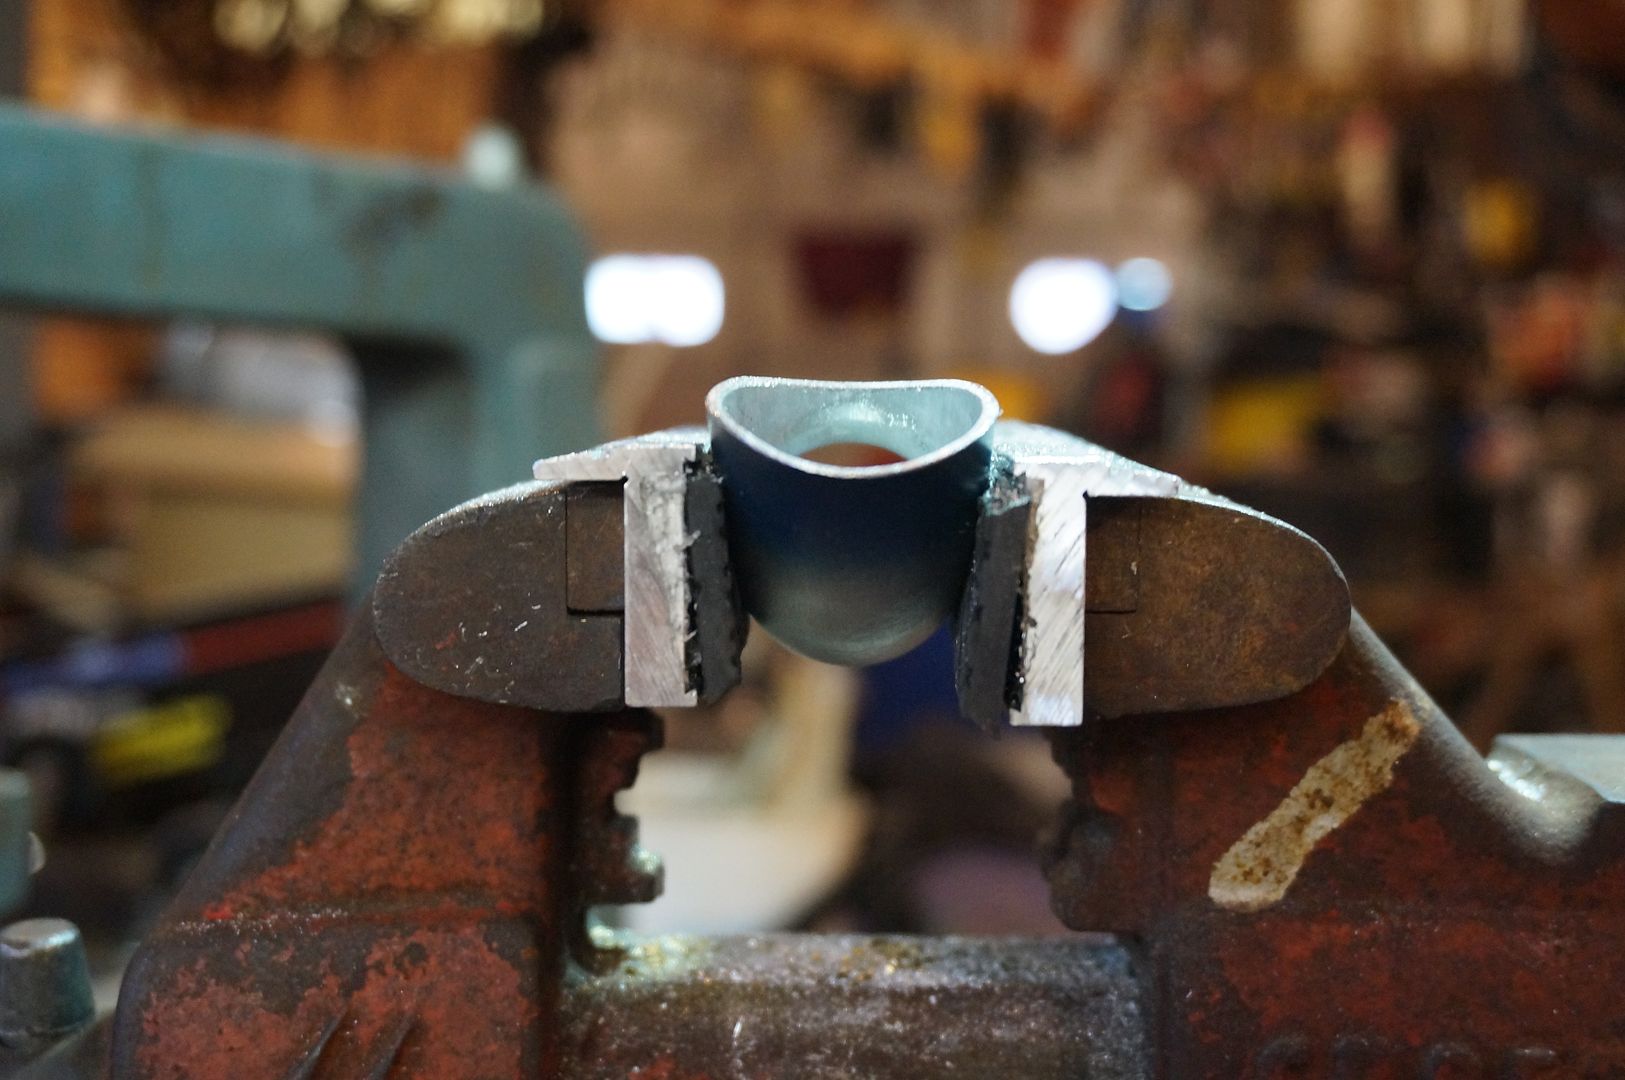
Water tight!
90 degree.
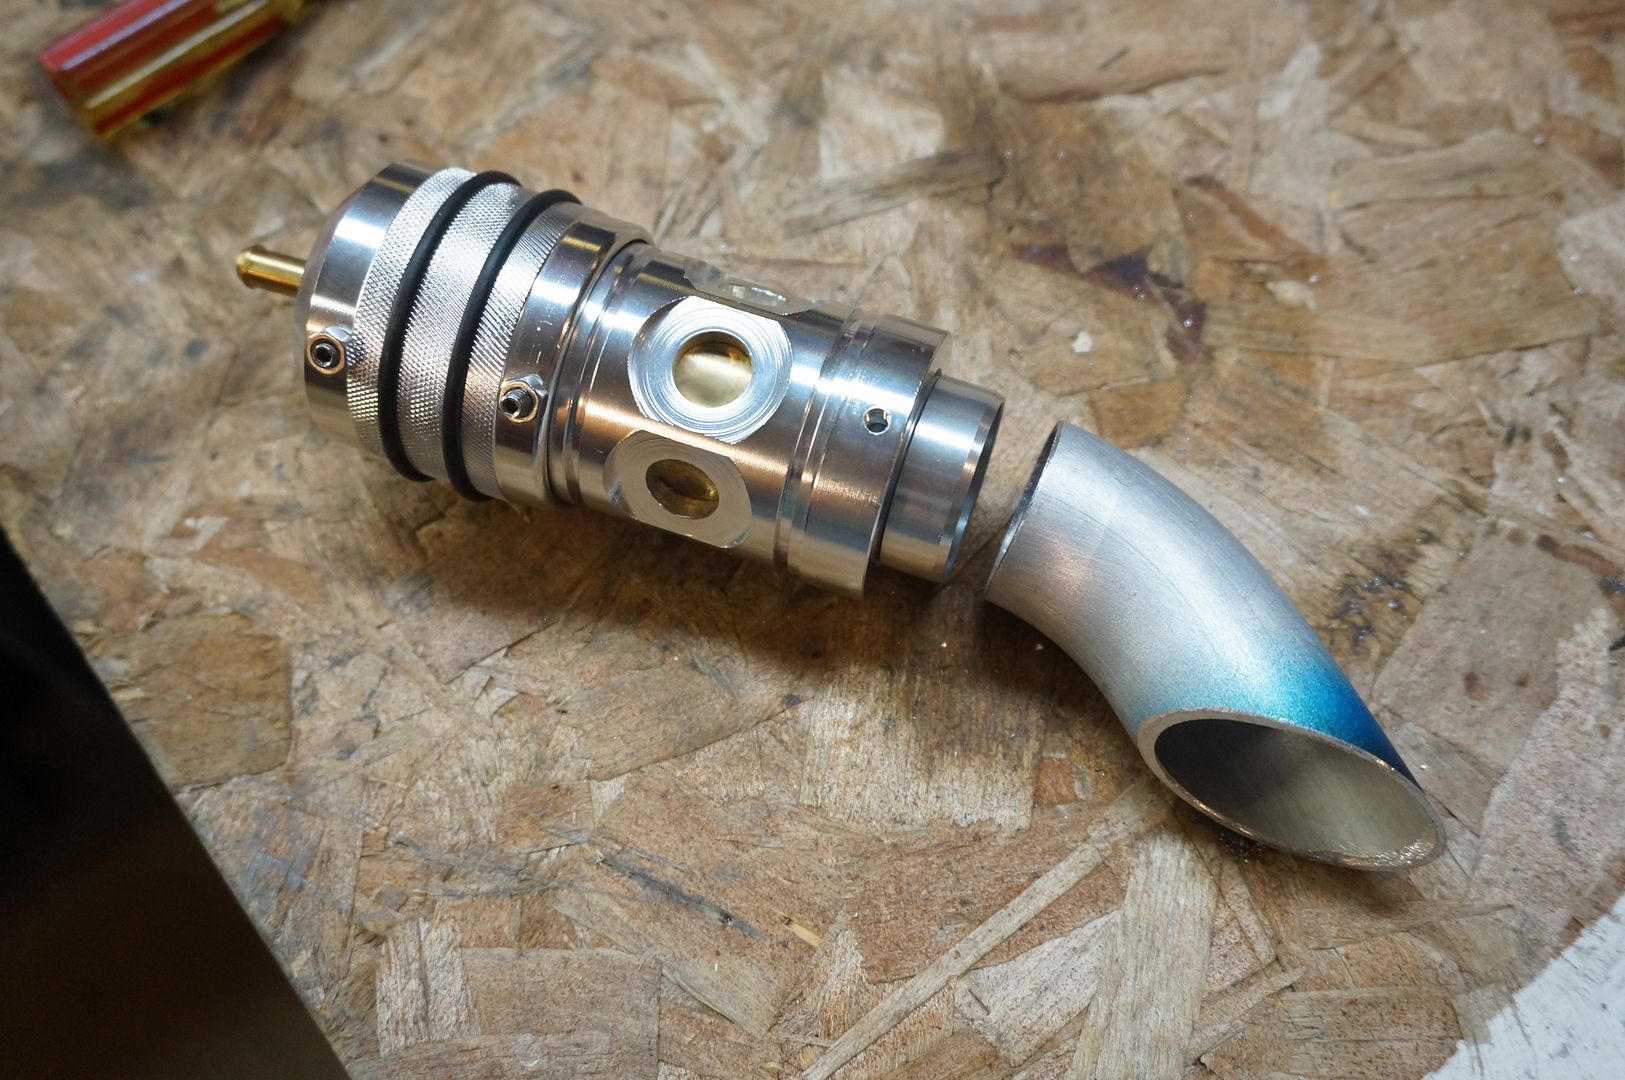
Welding the BOV flange onto the 45.
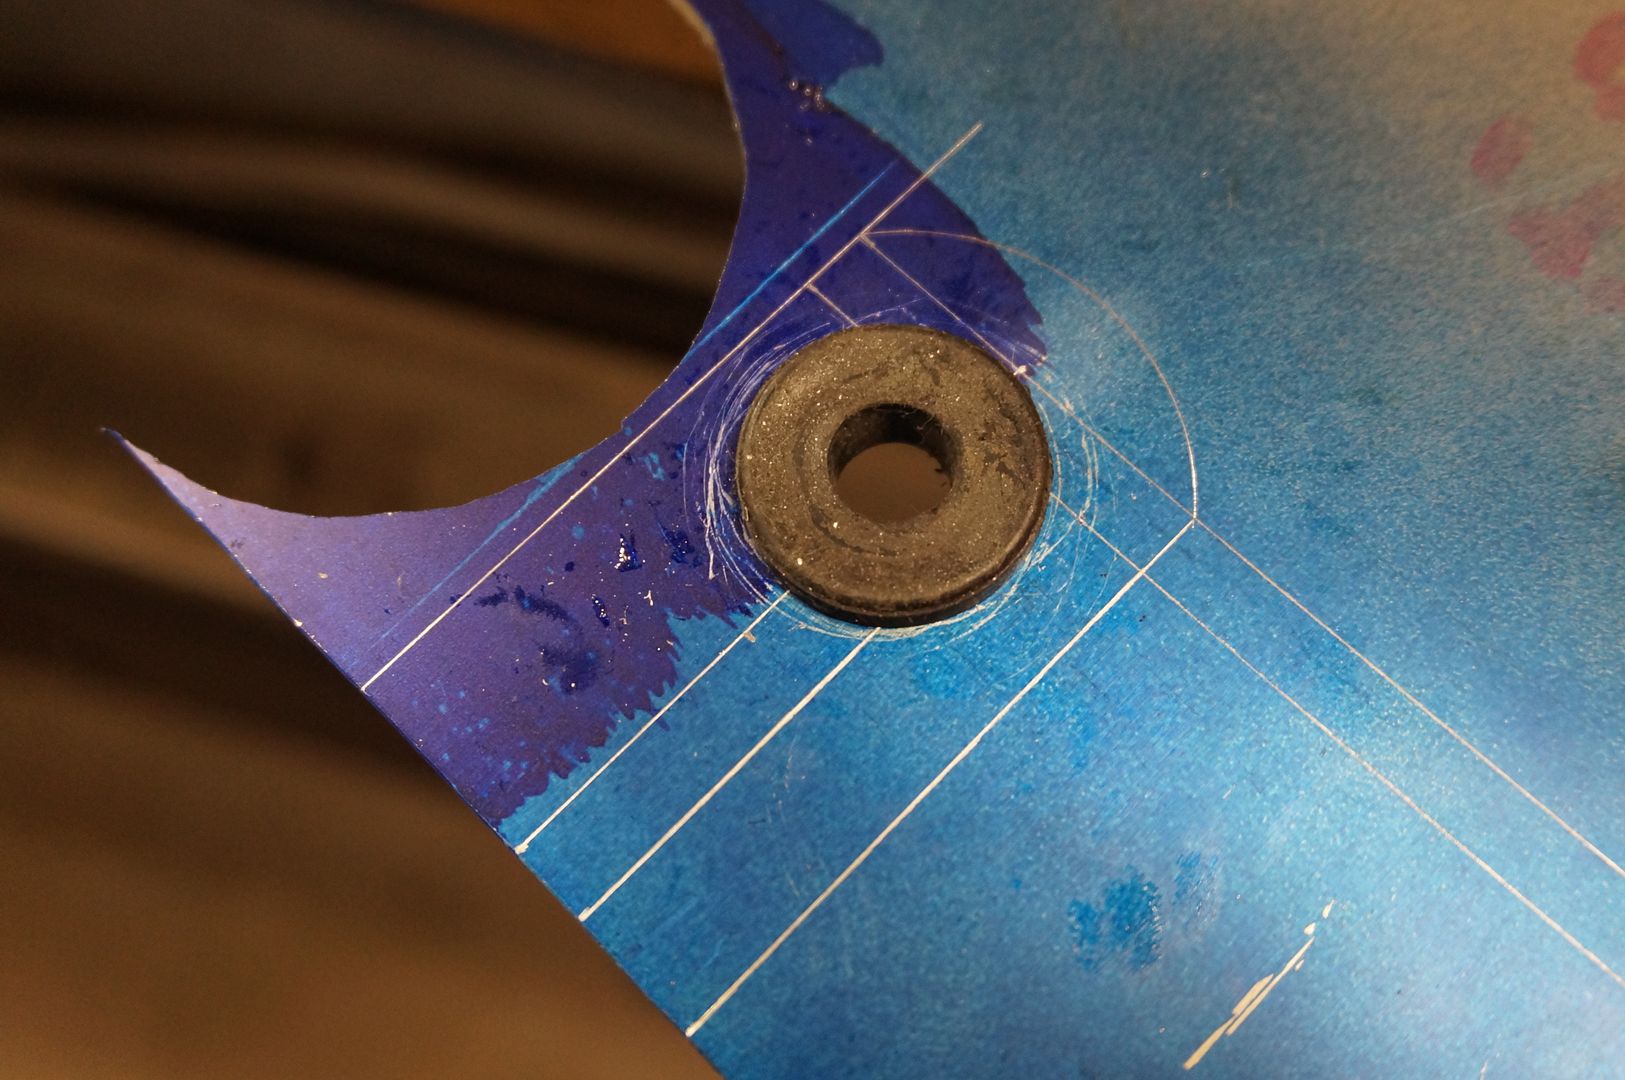
A little dye and scribe to mark out the hole.
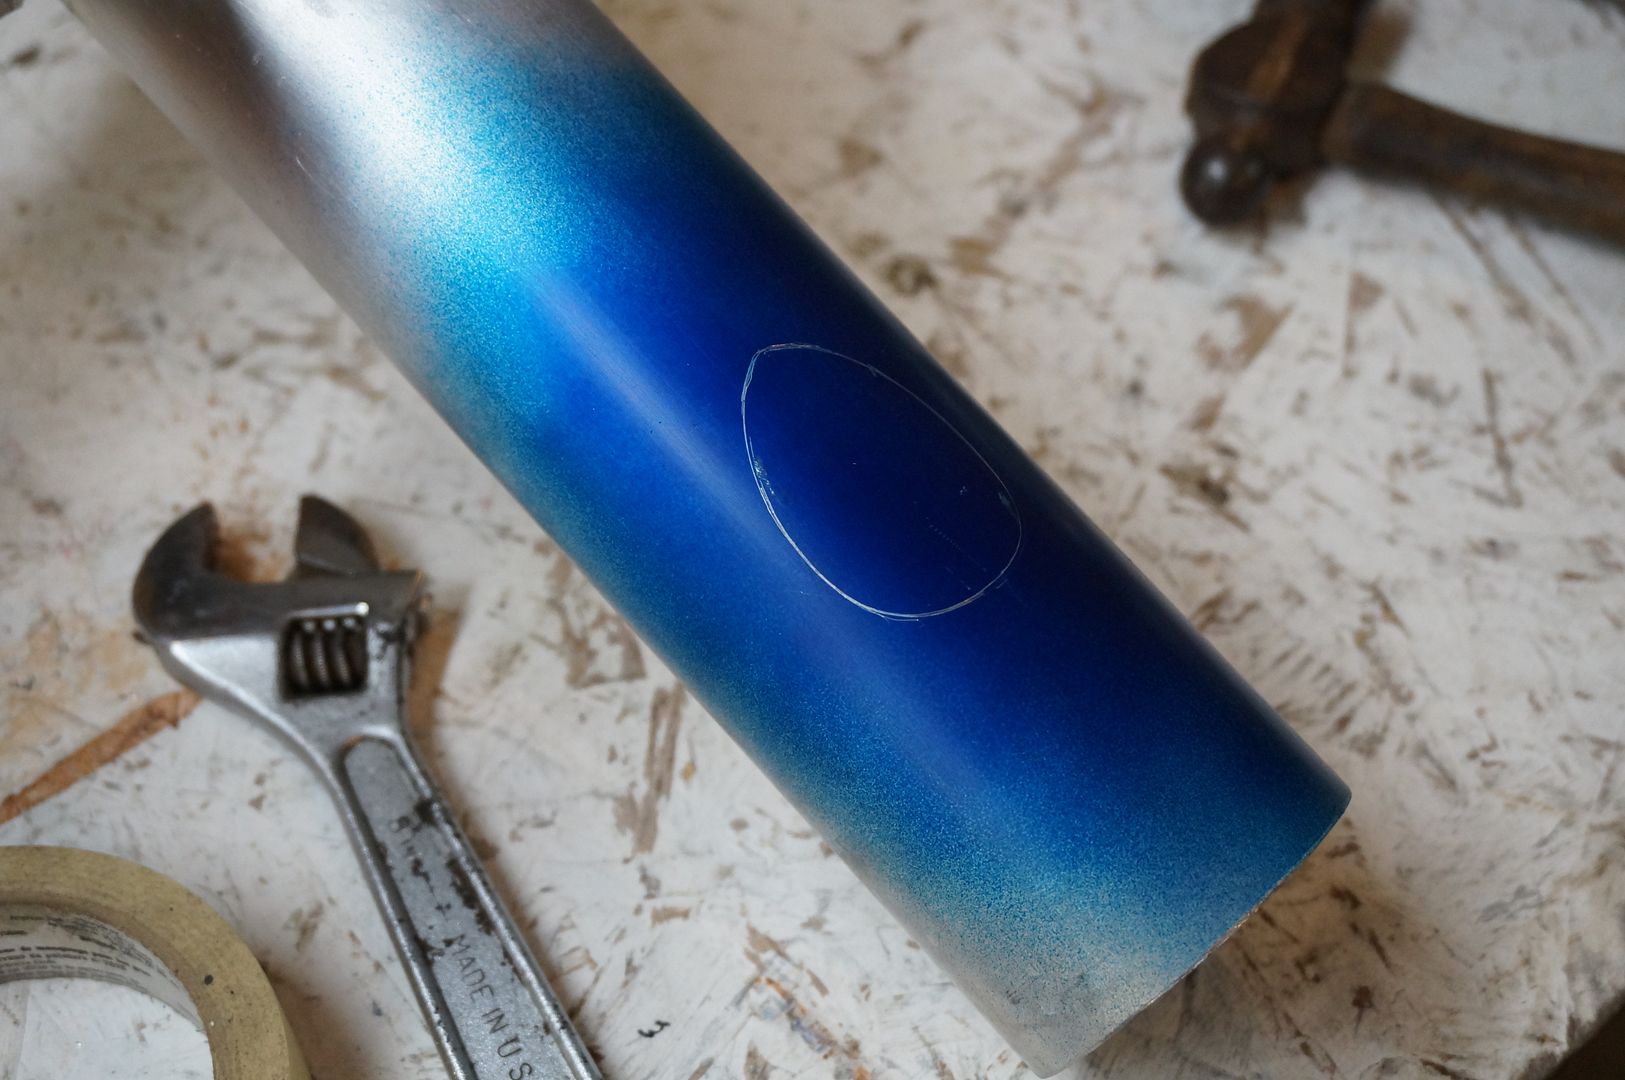
Yep that's a hole.
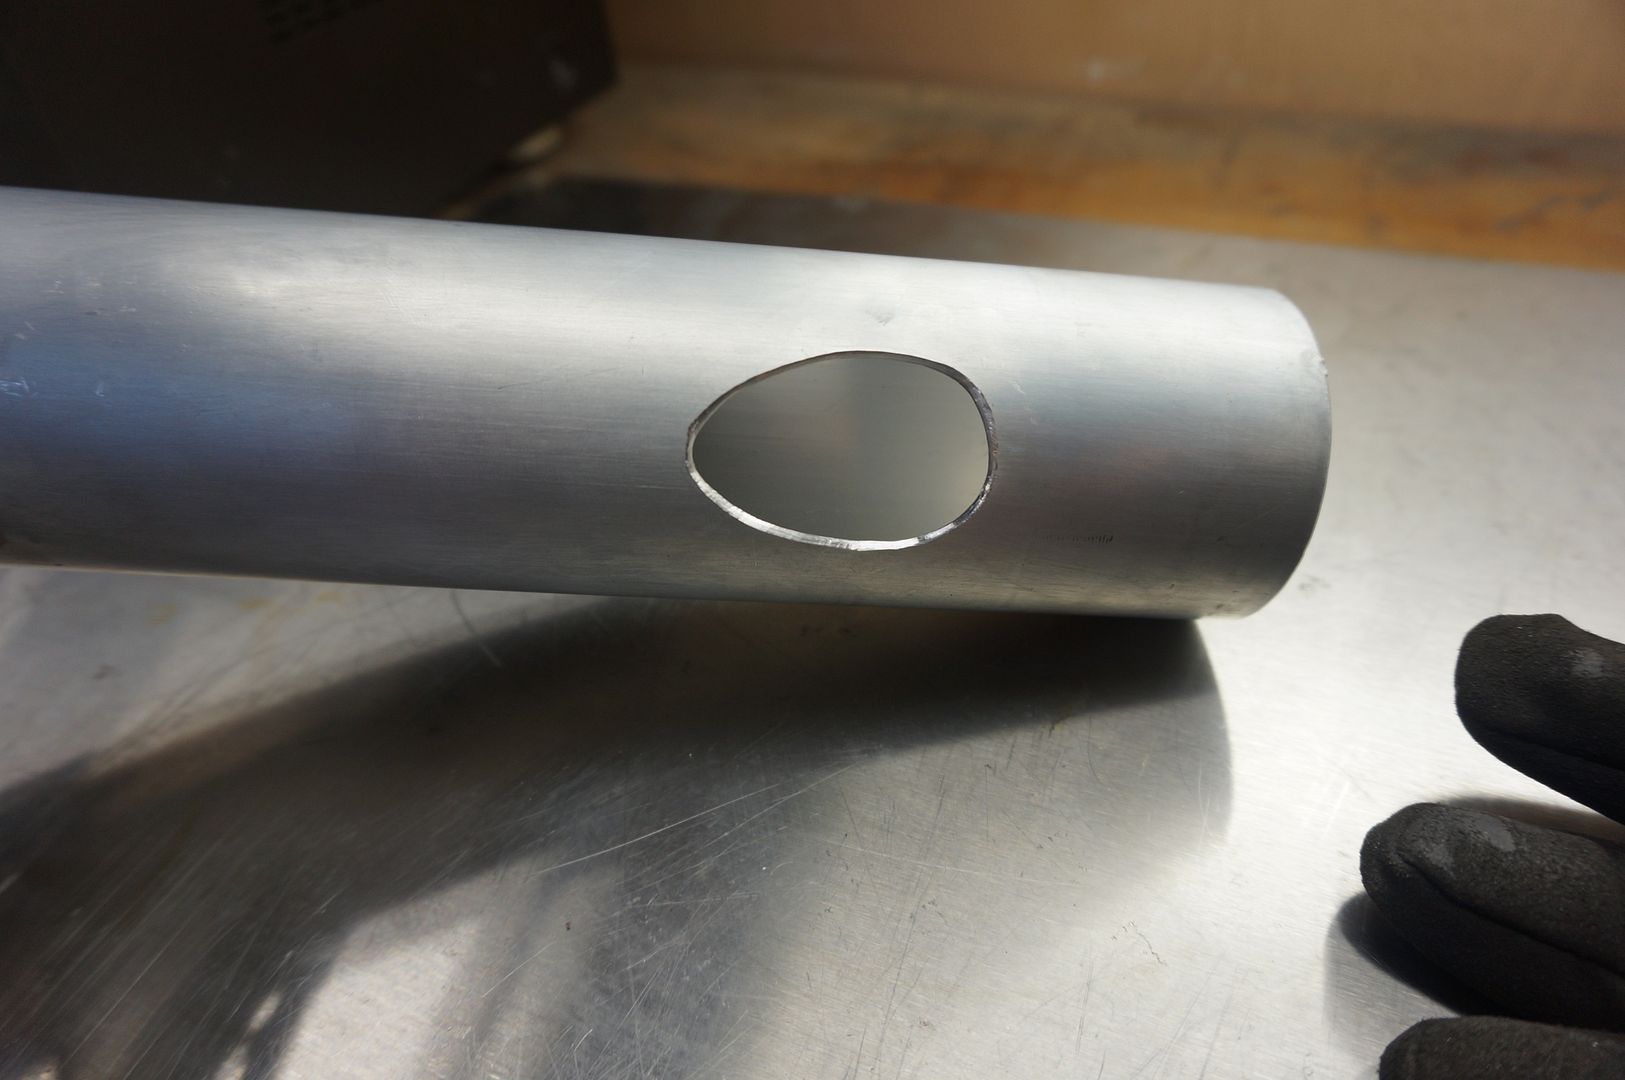
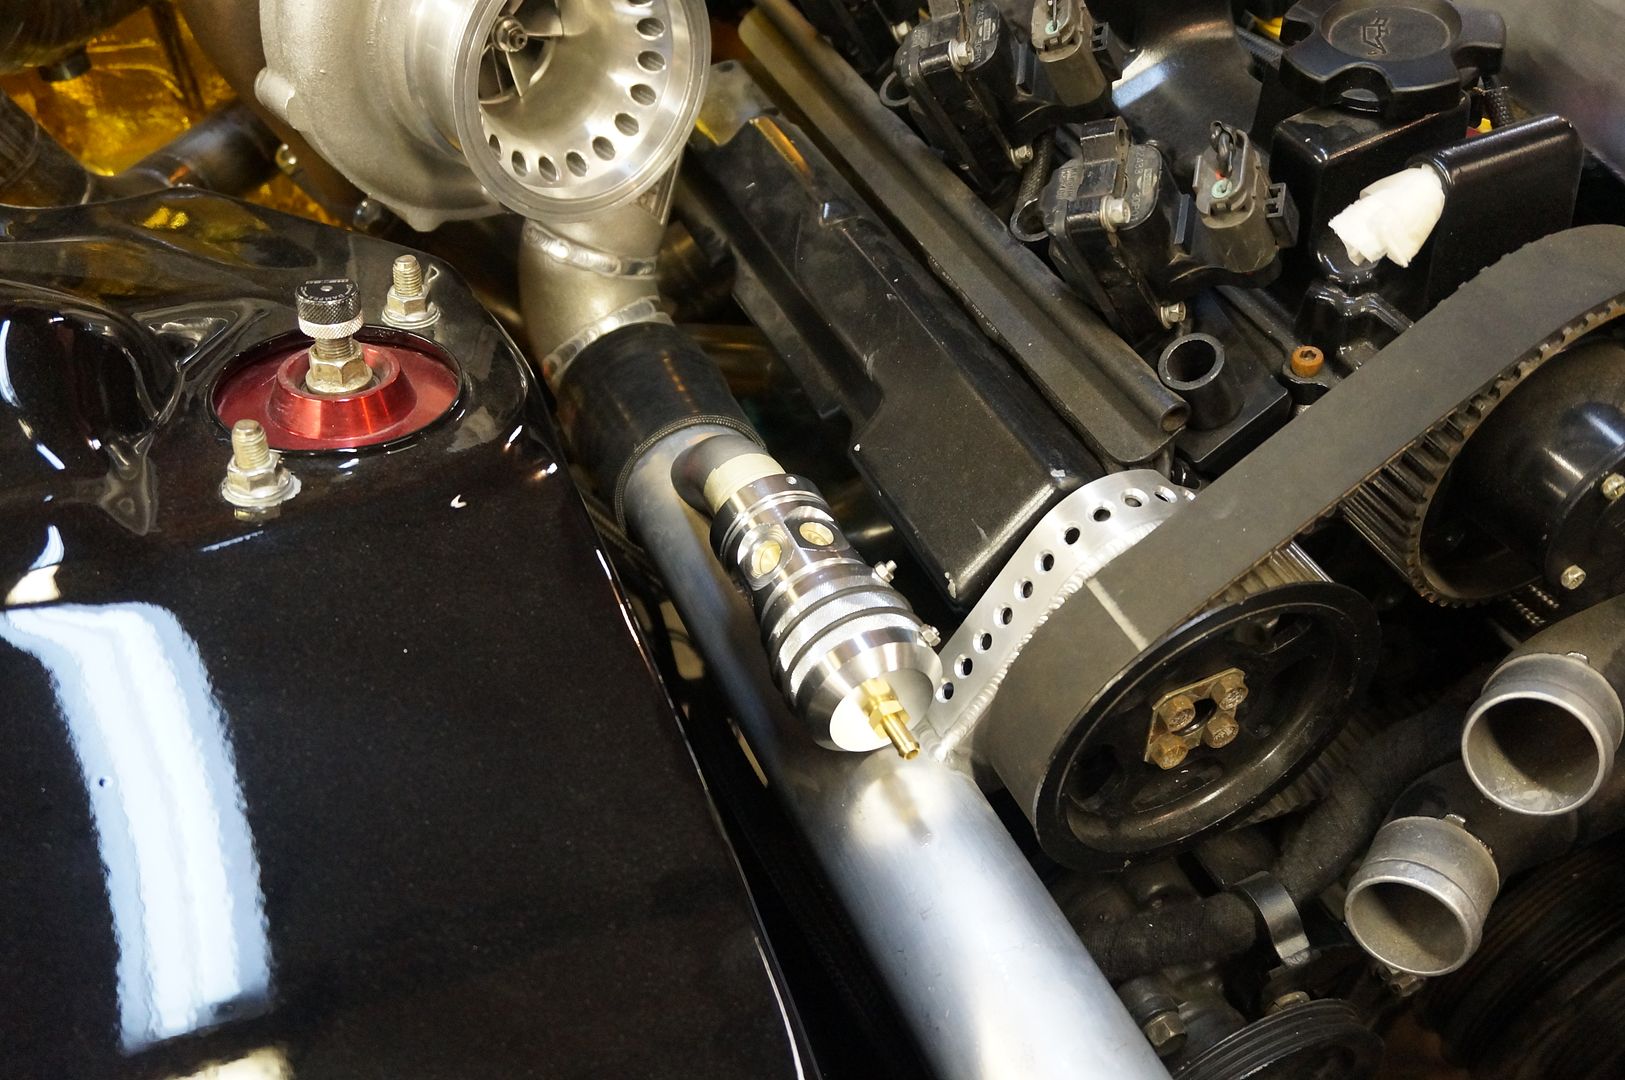
Test fit.


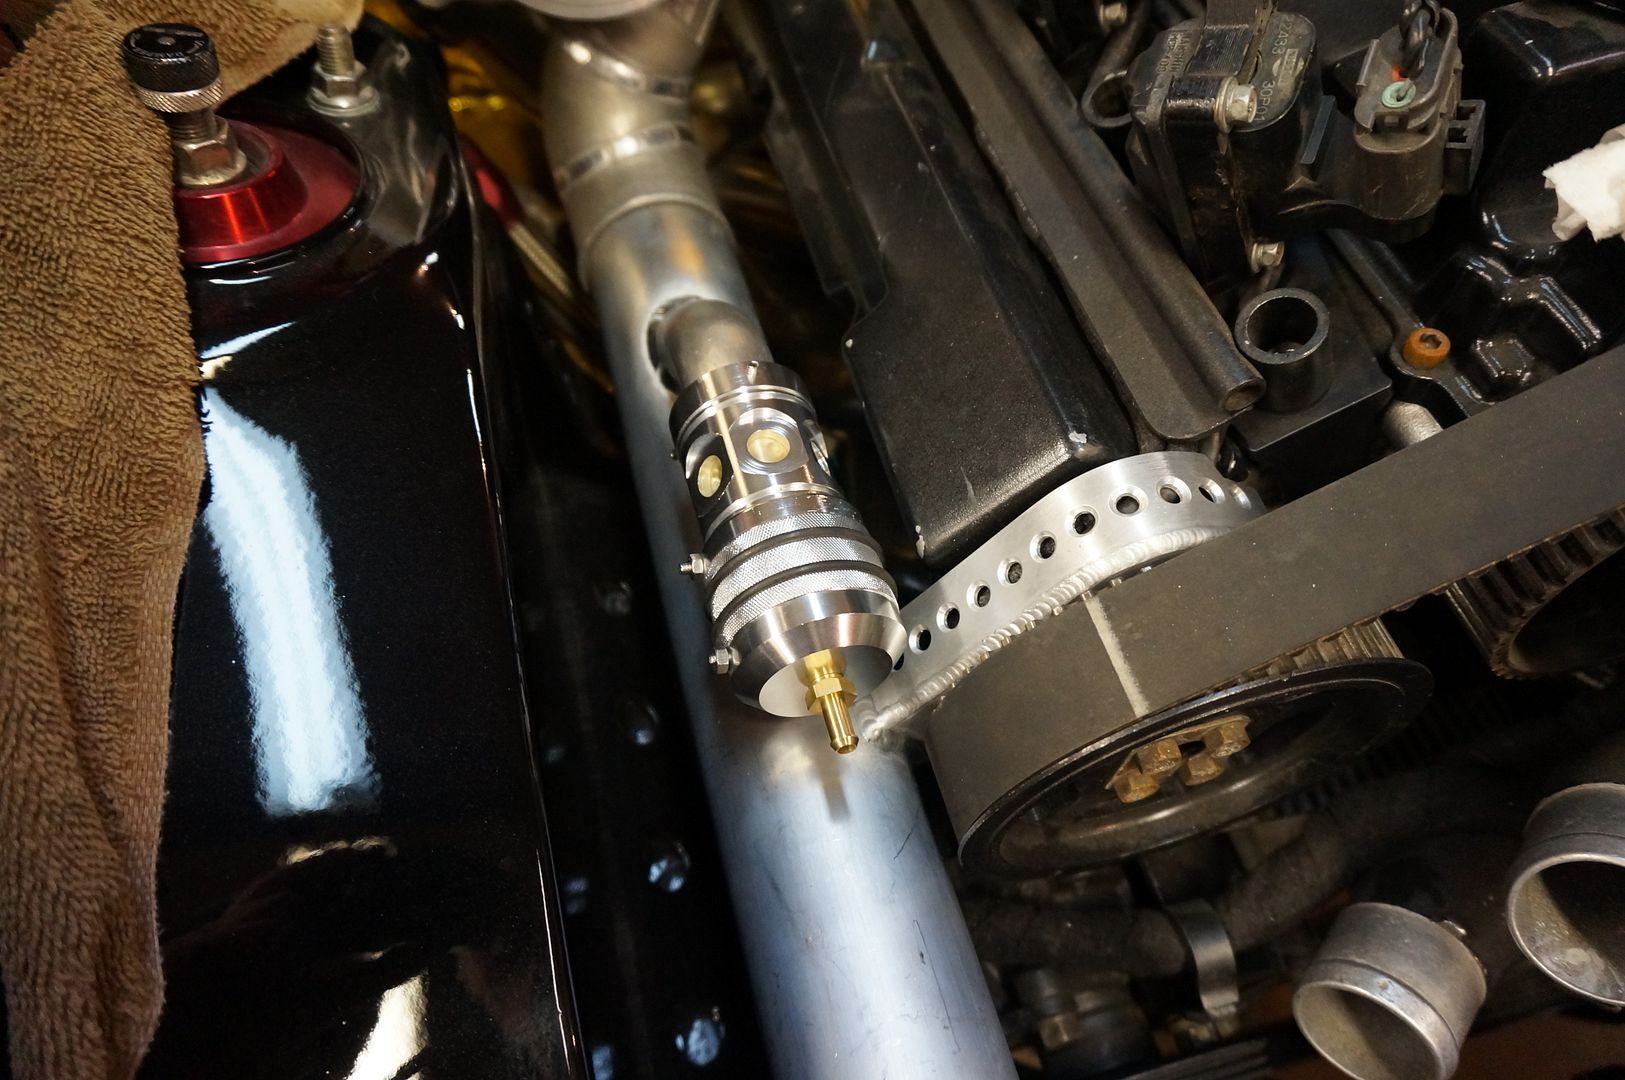
Now I know there is a raging argument of where you should put your BOV and both arguments seem valid that is why I decided to add another one.
Leave a comment:
-
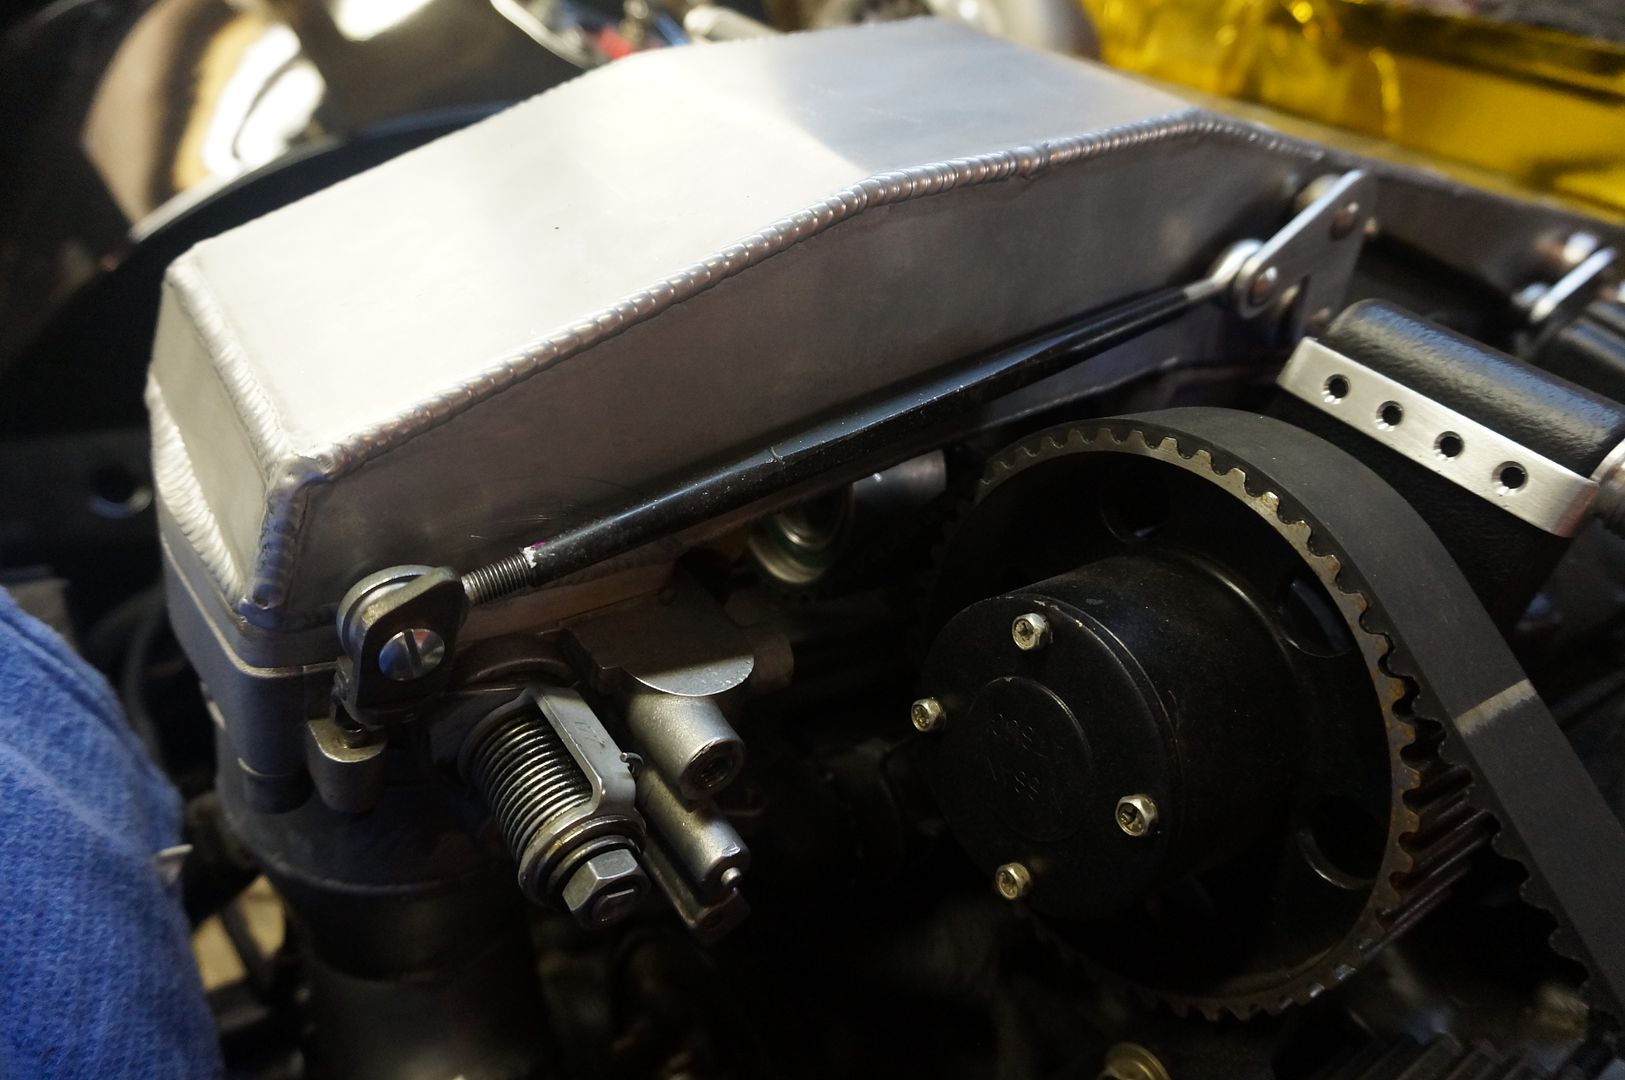
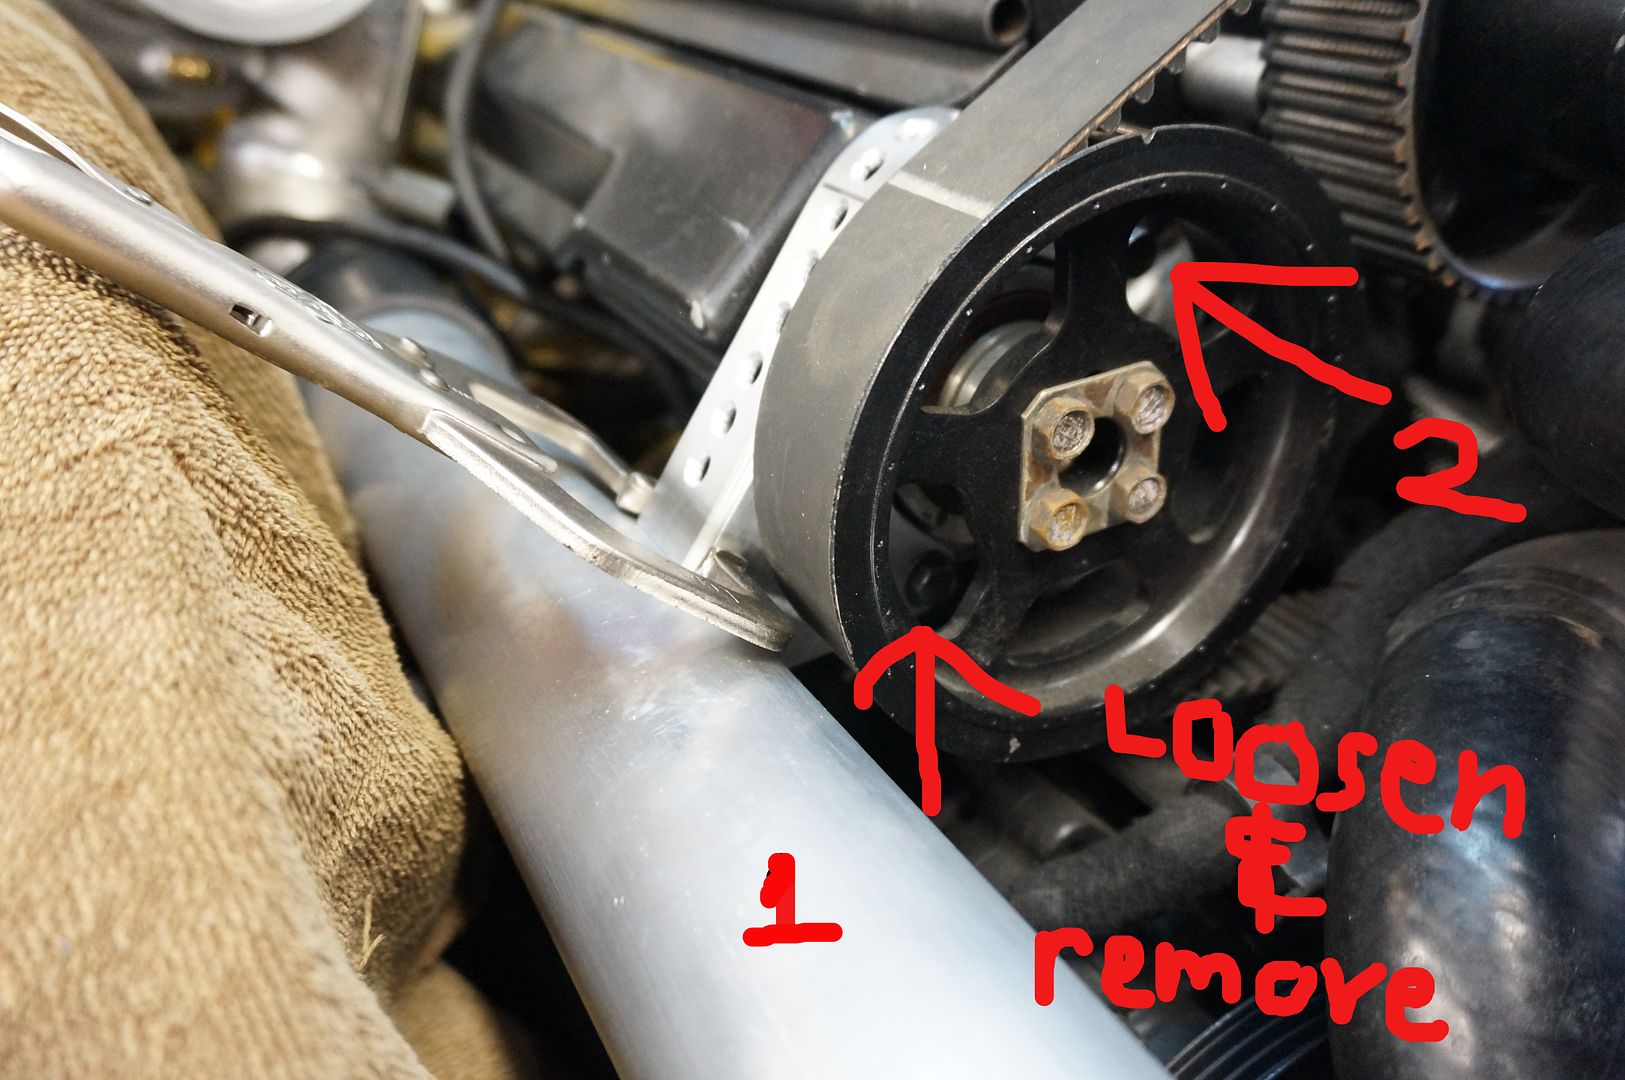
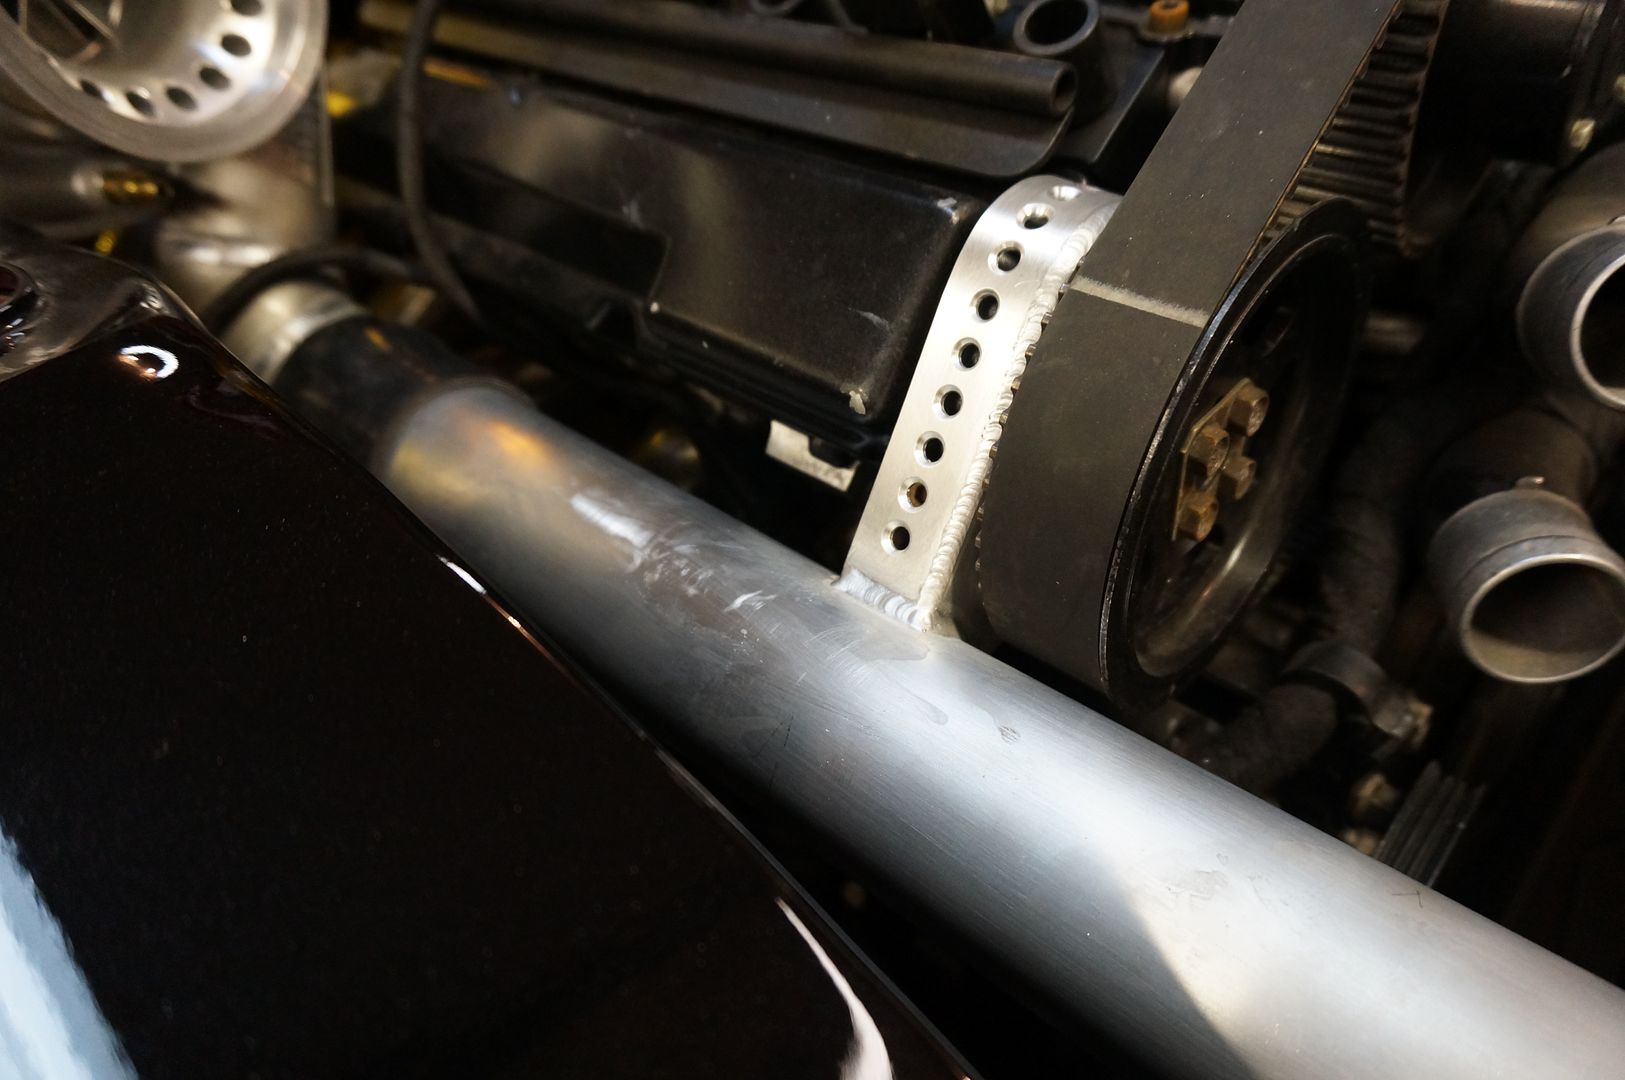
The mounts are slotted (sorry no pics forgot to add them) regardless they are not blocked by the cam gear at all there are 5 huge holes in the cam gear making it very accessible, takes all of maybe 2 min to loosen the two bolts and it lifts right out, trust me I have the ease of removal in the back of my mind at all times.Originally posted by TeckniX View Post
 Last edited by EasySpeed*Inc; 06-08-2014, 08:46 PM.
Leave a comment:
-
Really enjoy the fab work going on here, but this I don't get:
You made it so that the pipe can no longer be removed without unbolting 2 bolts that are behind a cam-gear? Doesn't seem to help for any maintenance...Leave a comment:
-
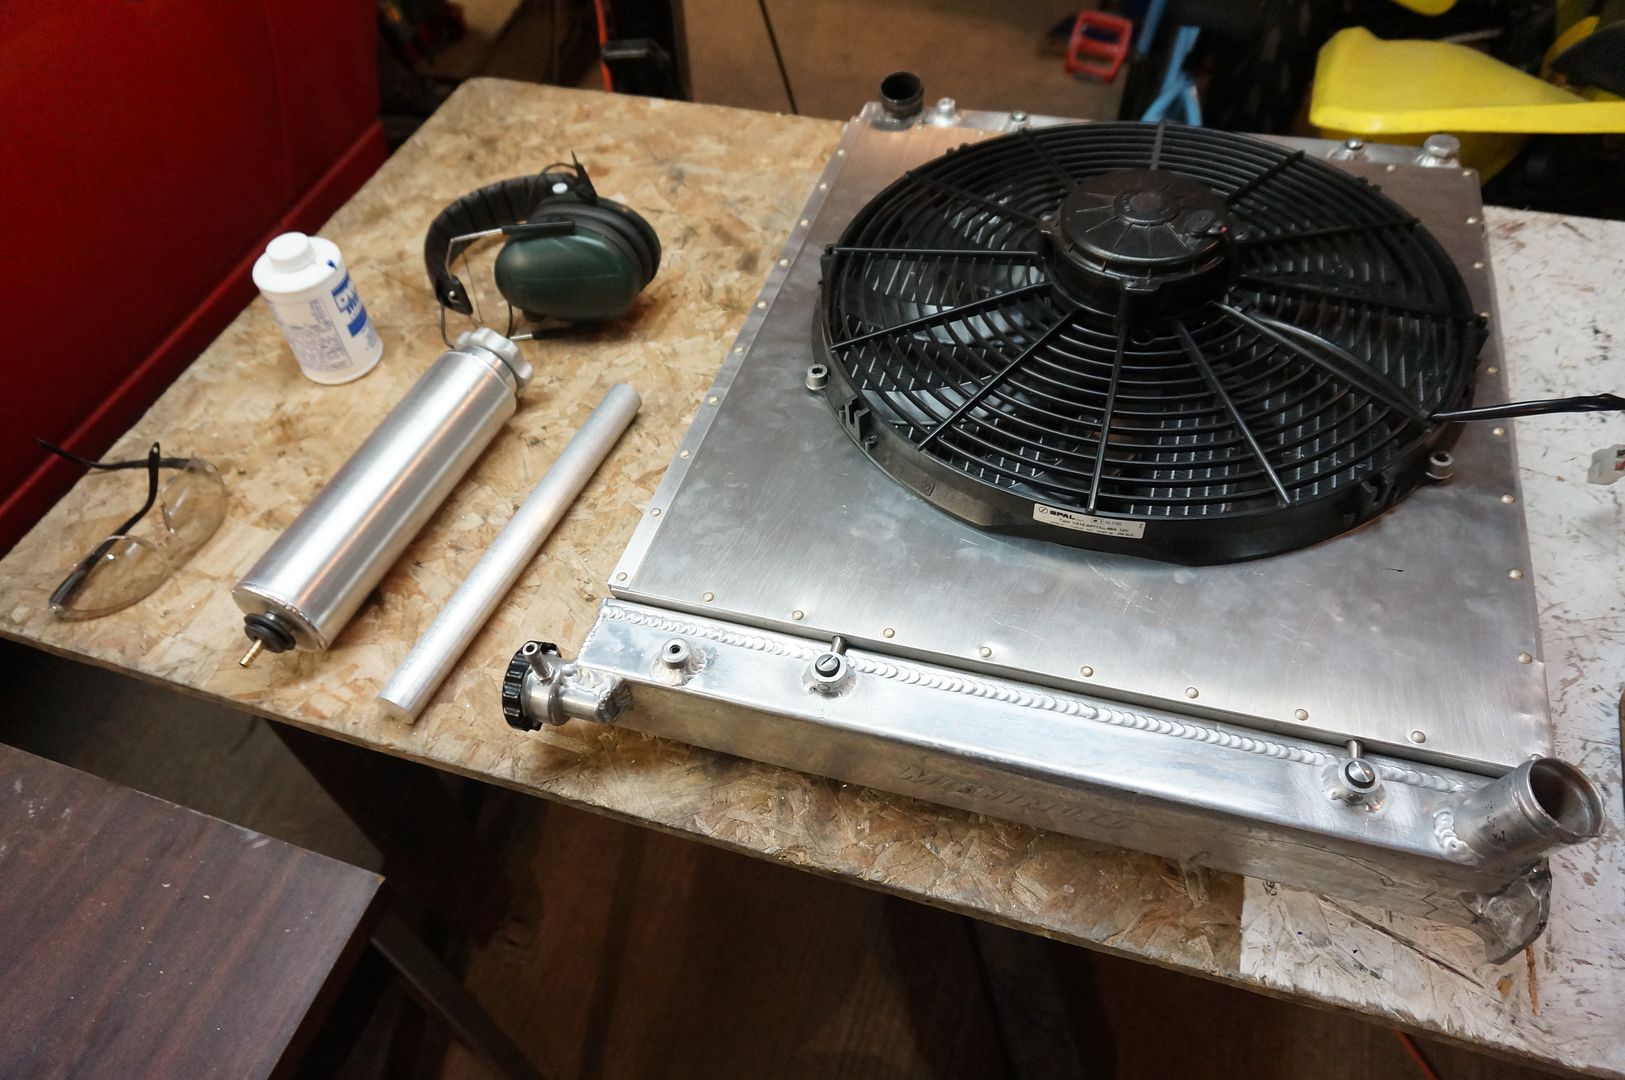
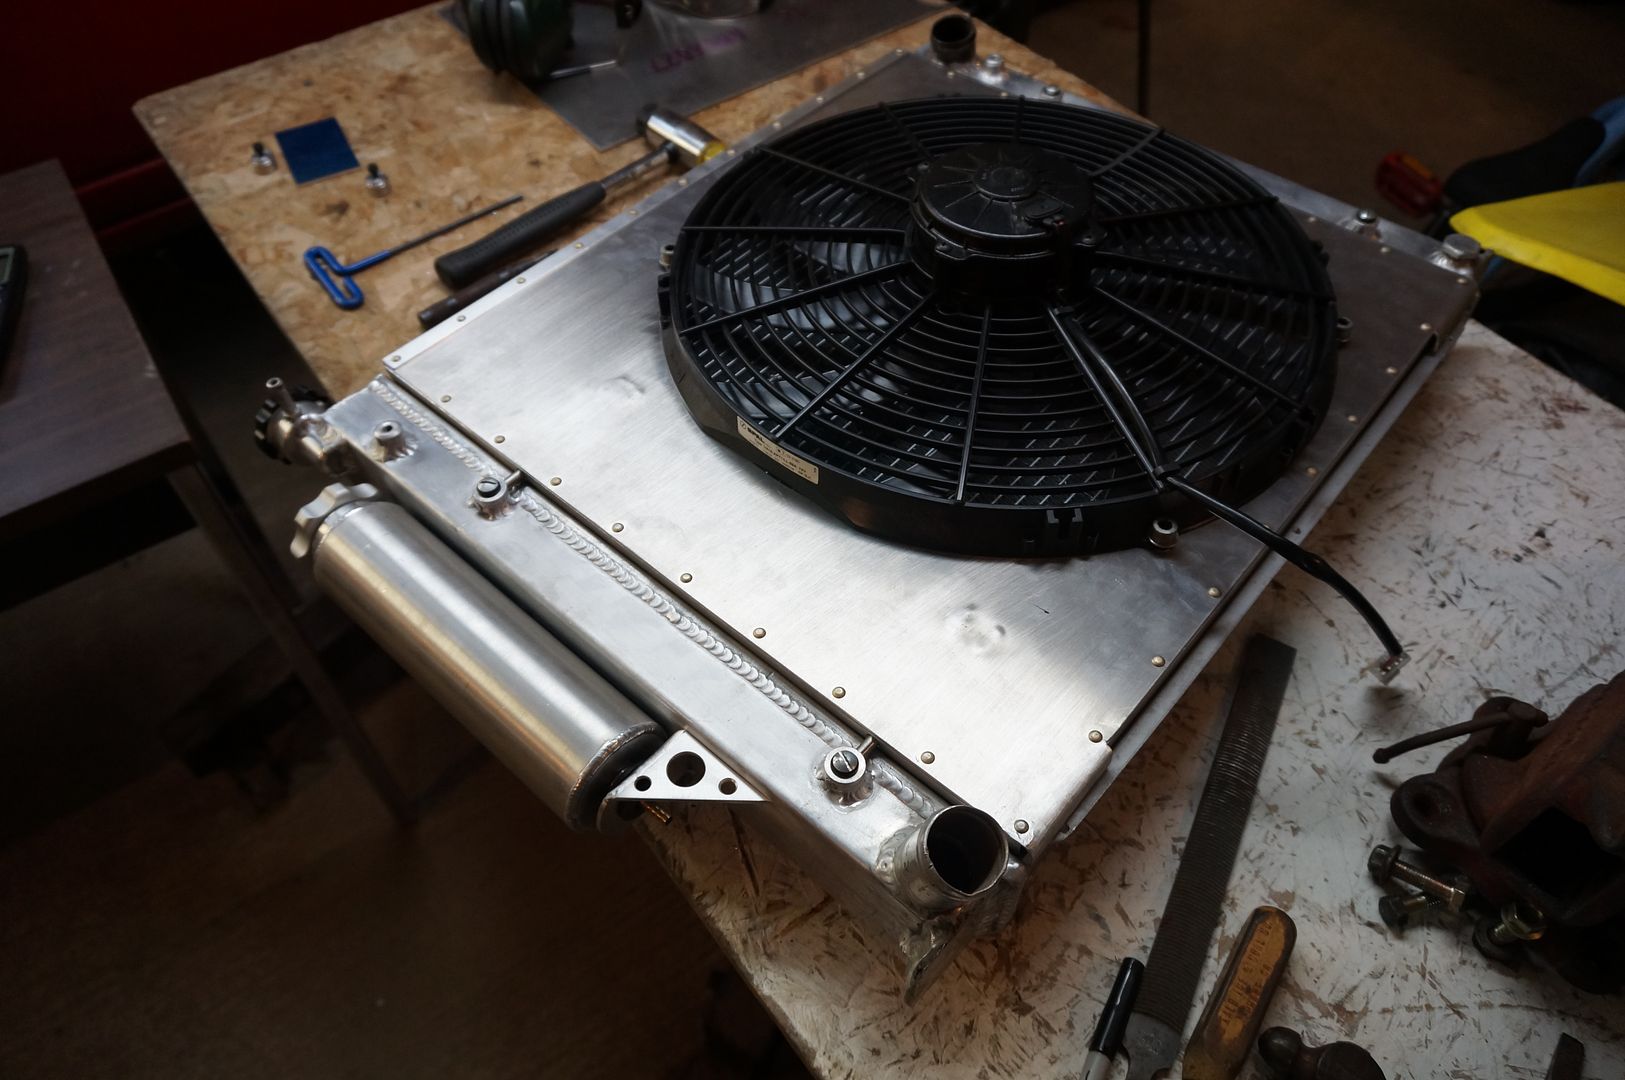
The radiator shroud came out well enough so I couldn't just use a lame plastic overflow tank.. I decided to make one, imagine that.
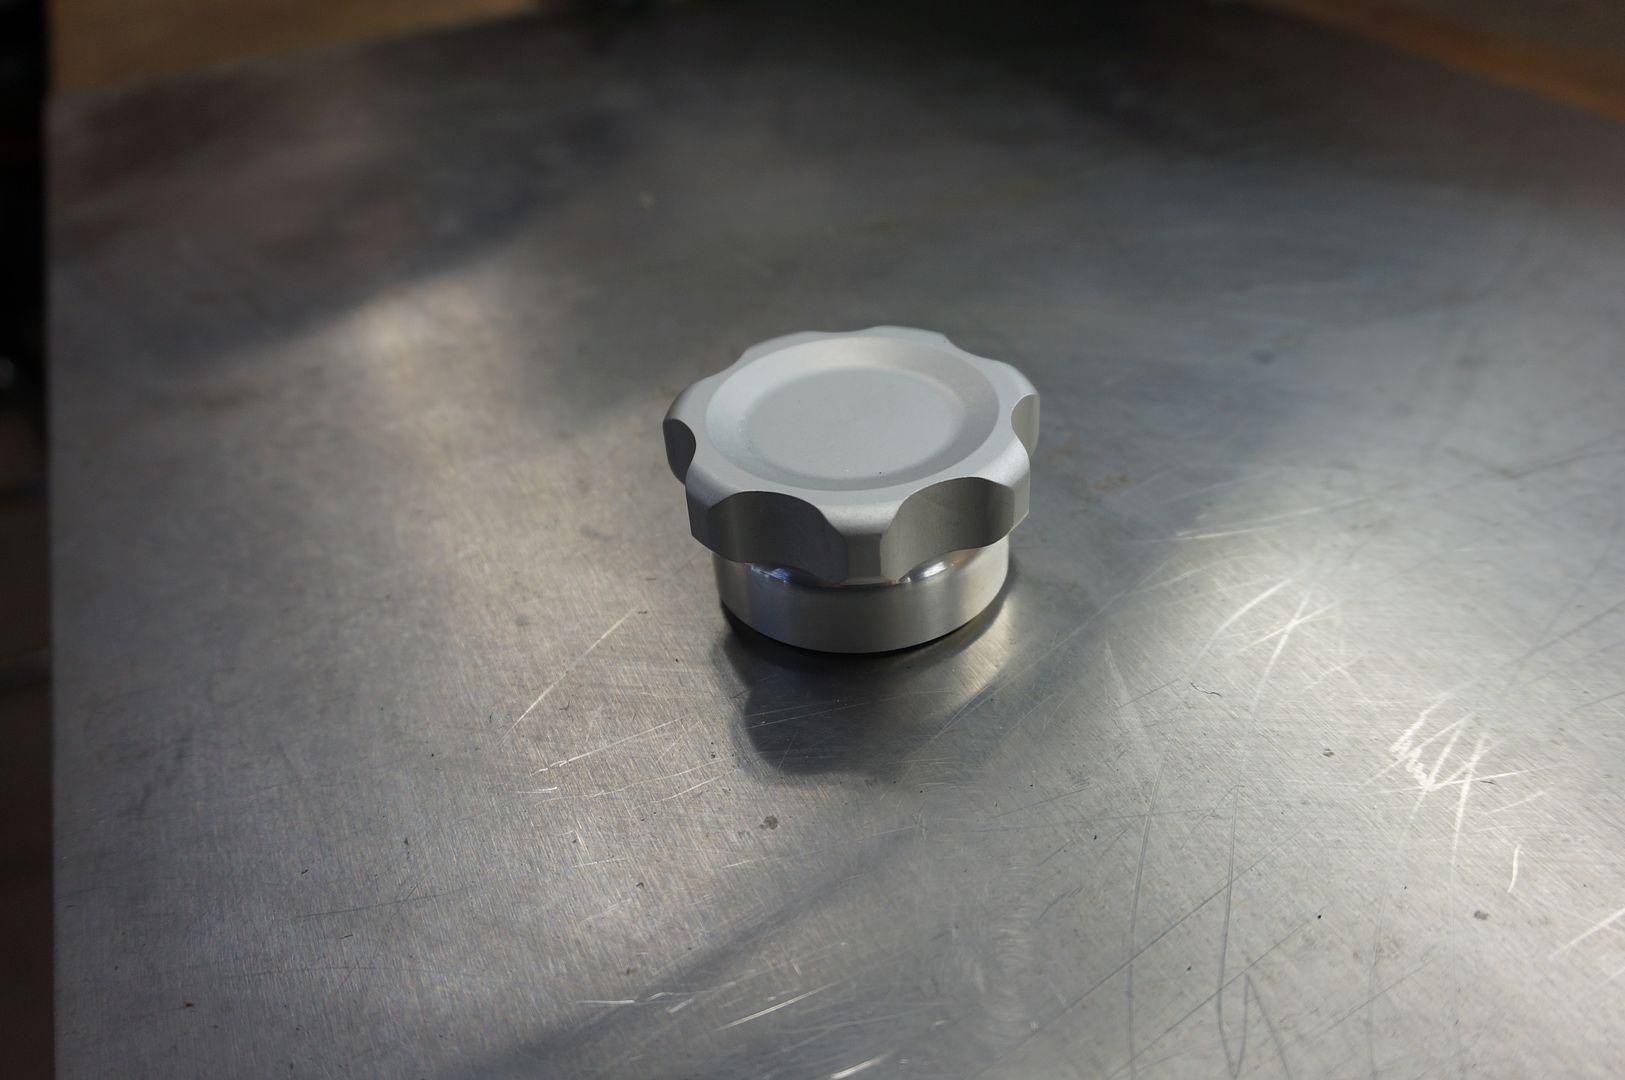
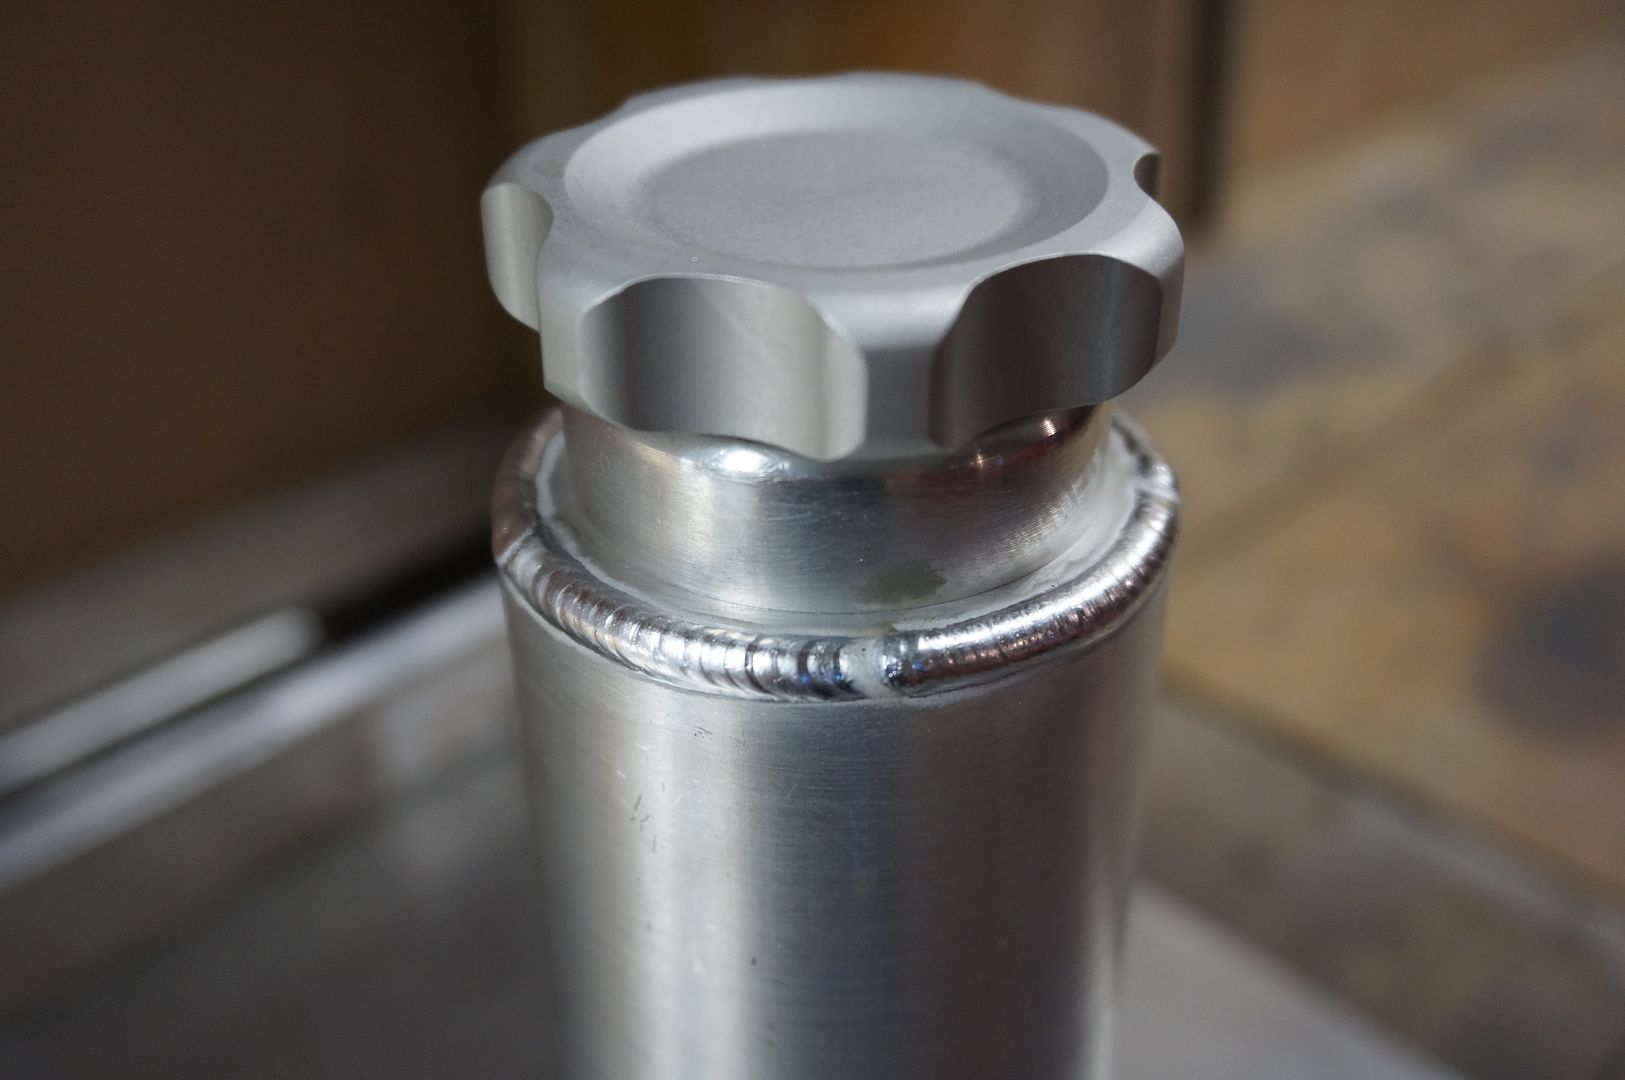
The cap however, I did buy. I don't have a mill yet otherwise I would of made this as well.
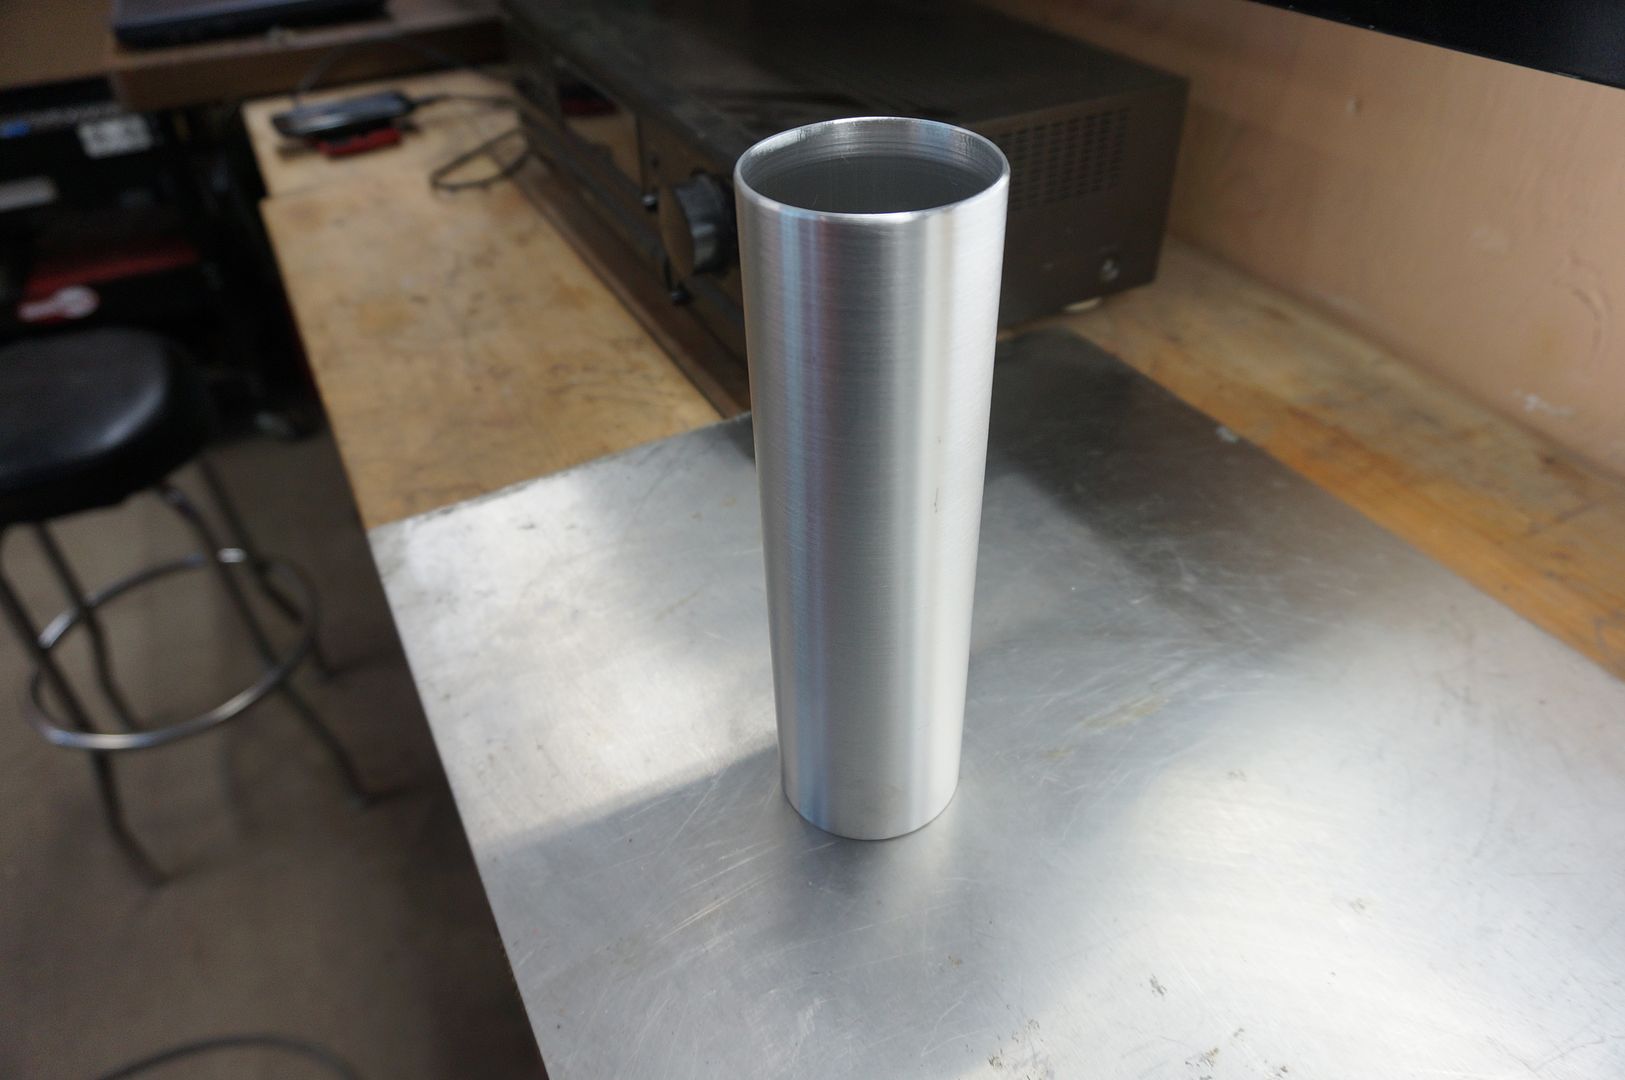
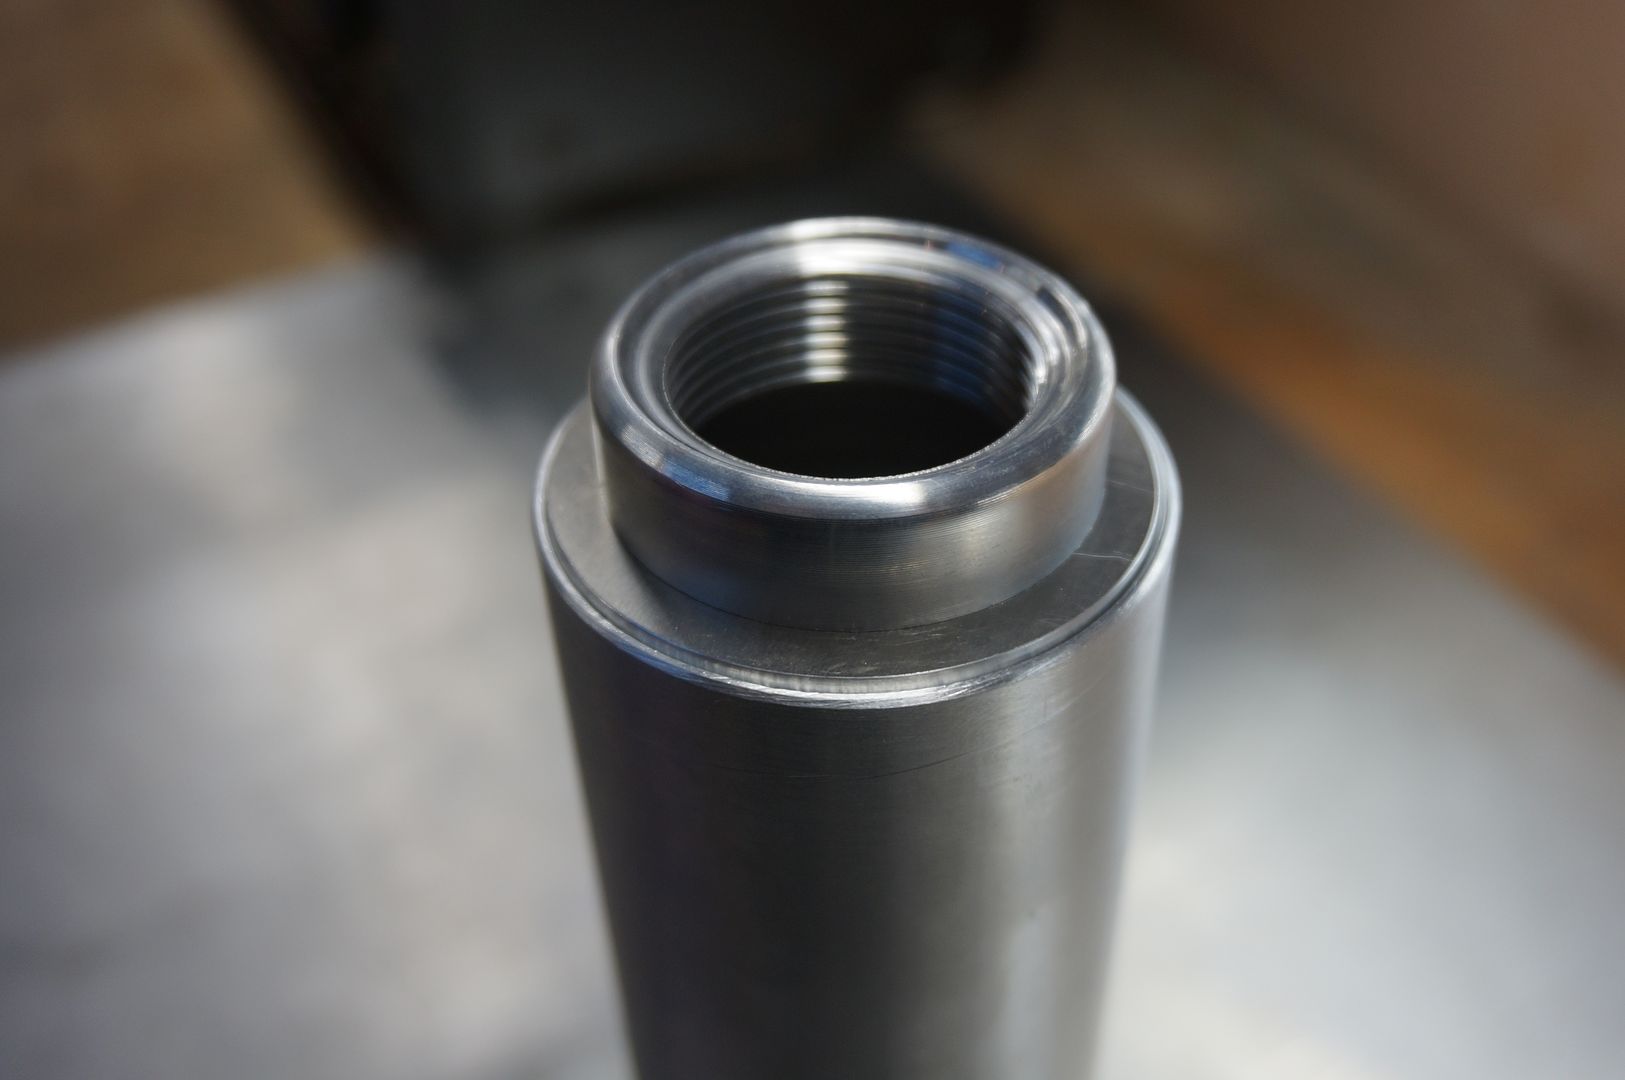
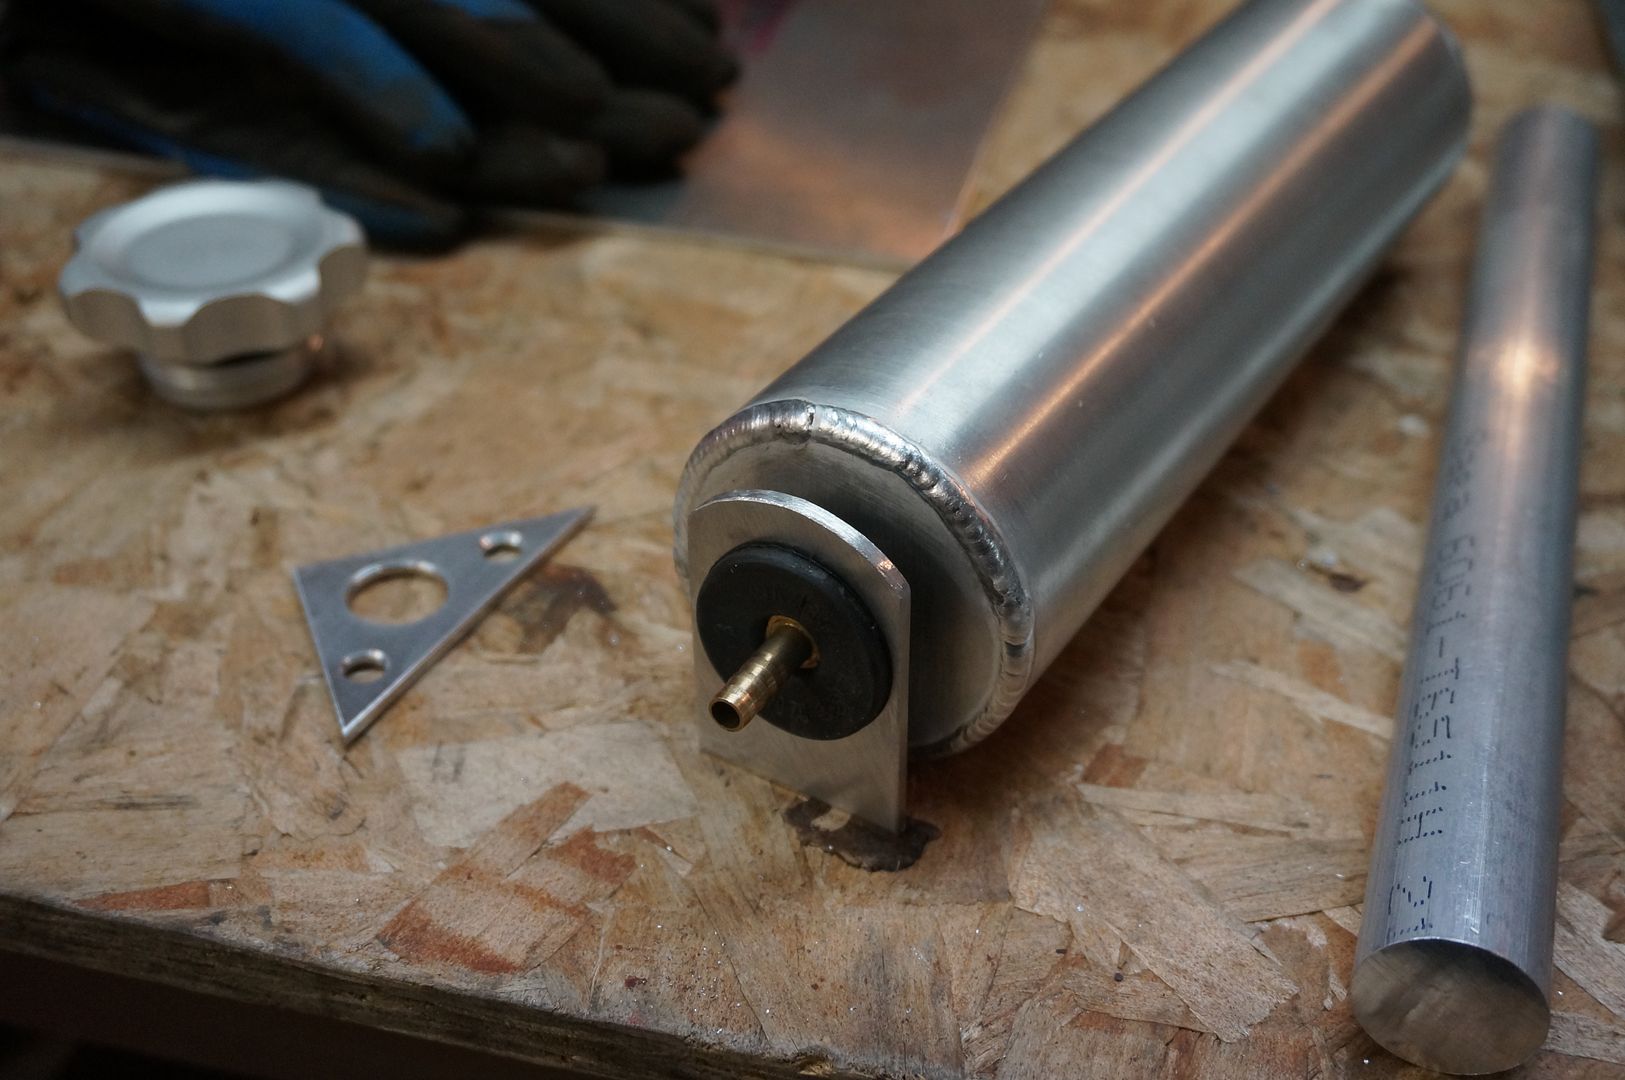
The body is a 2.5" aluminum tube.
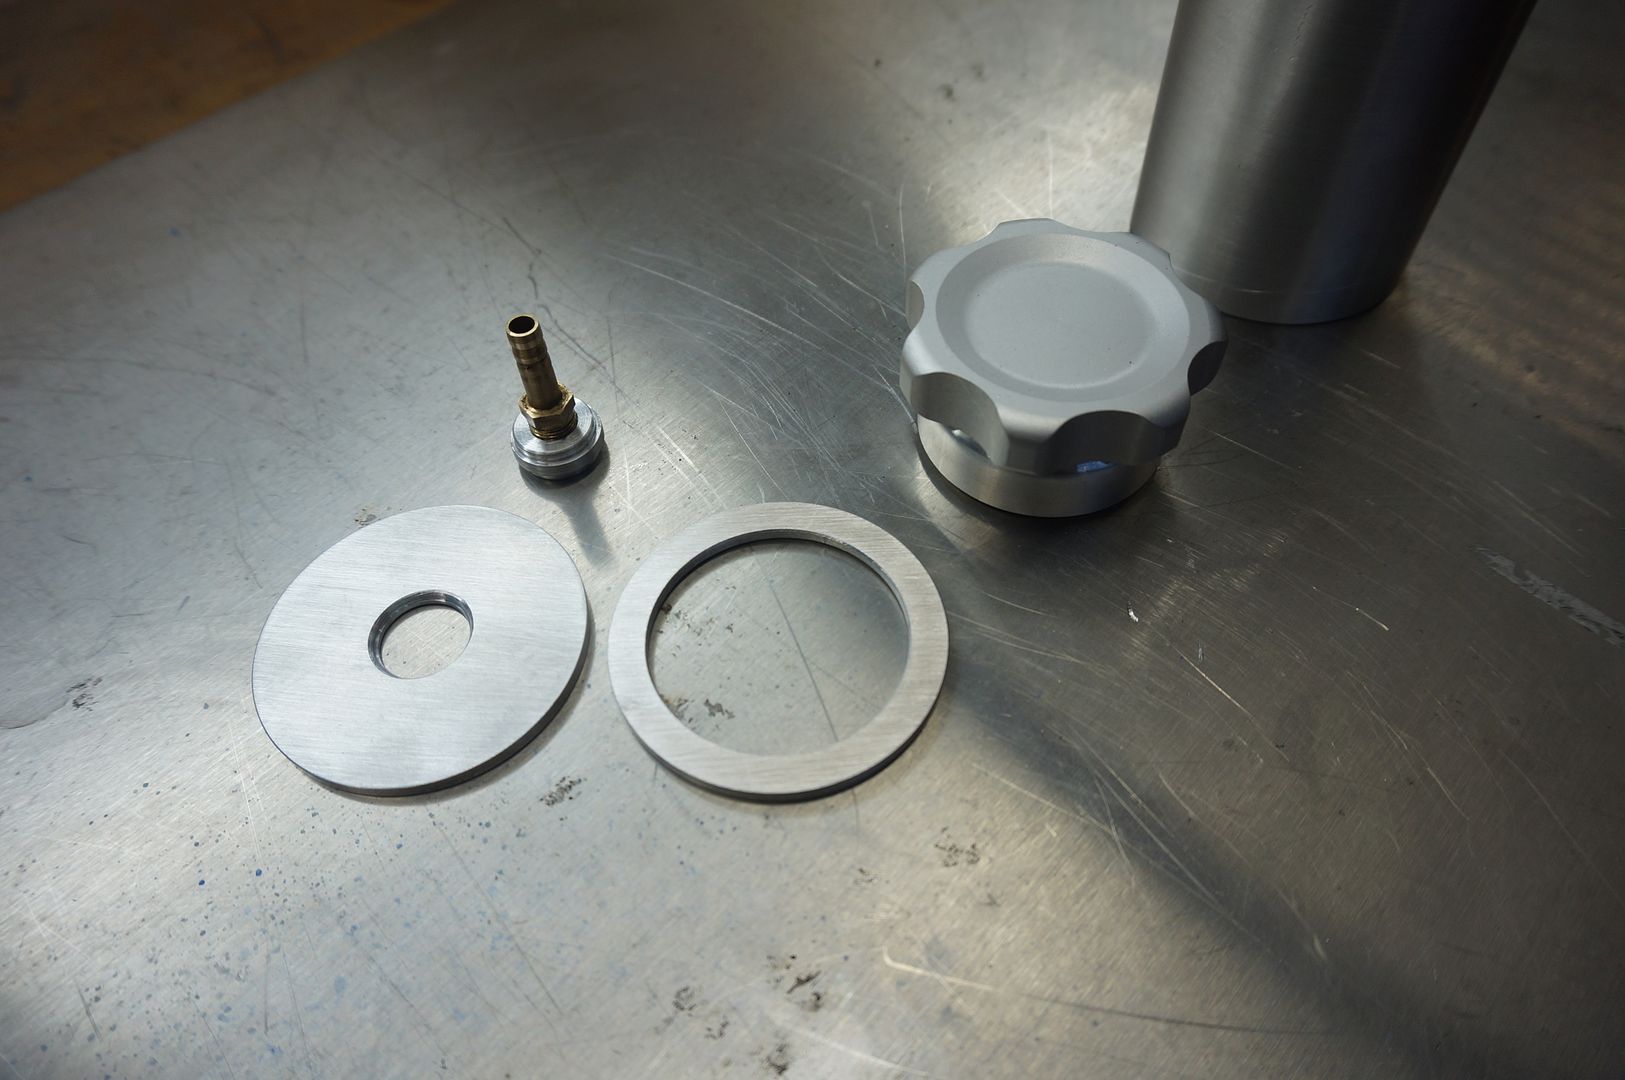
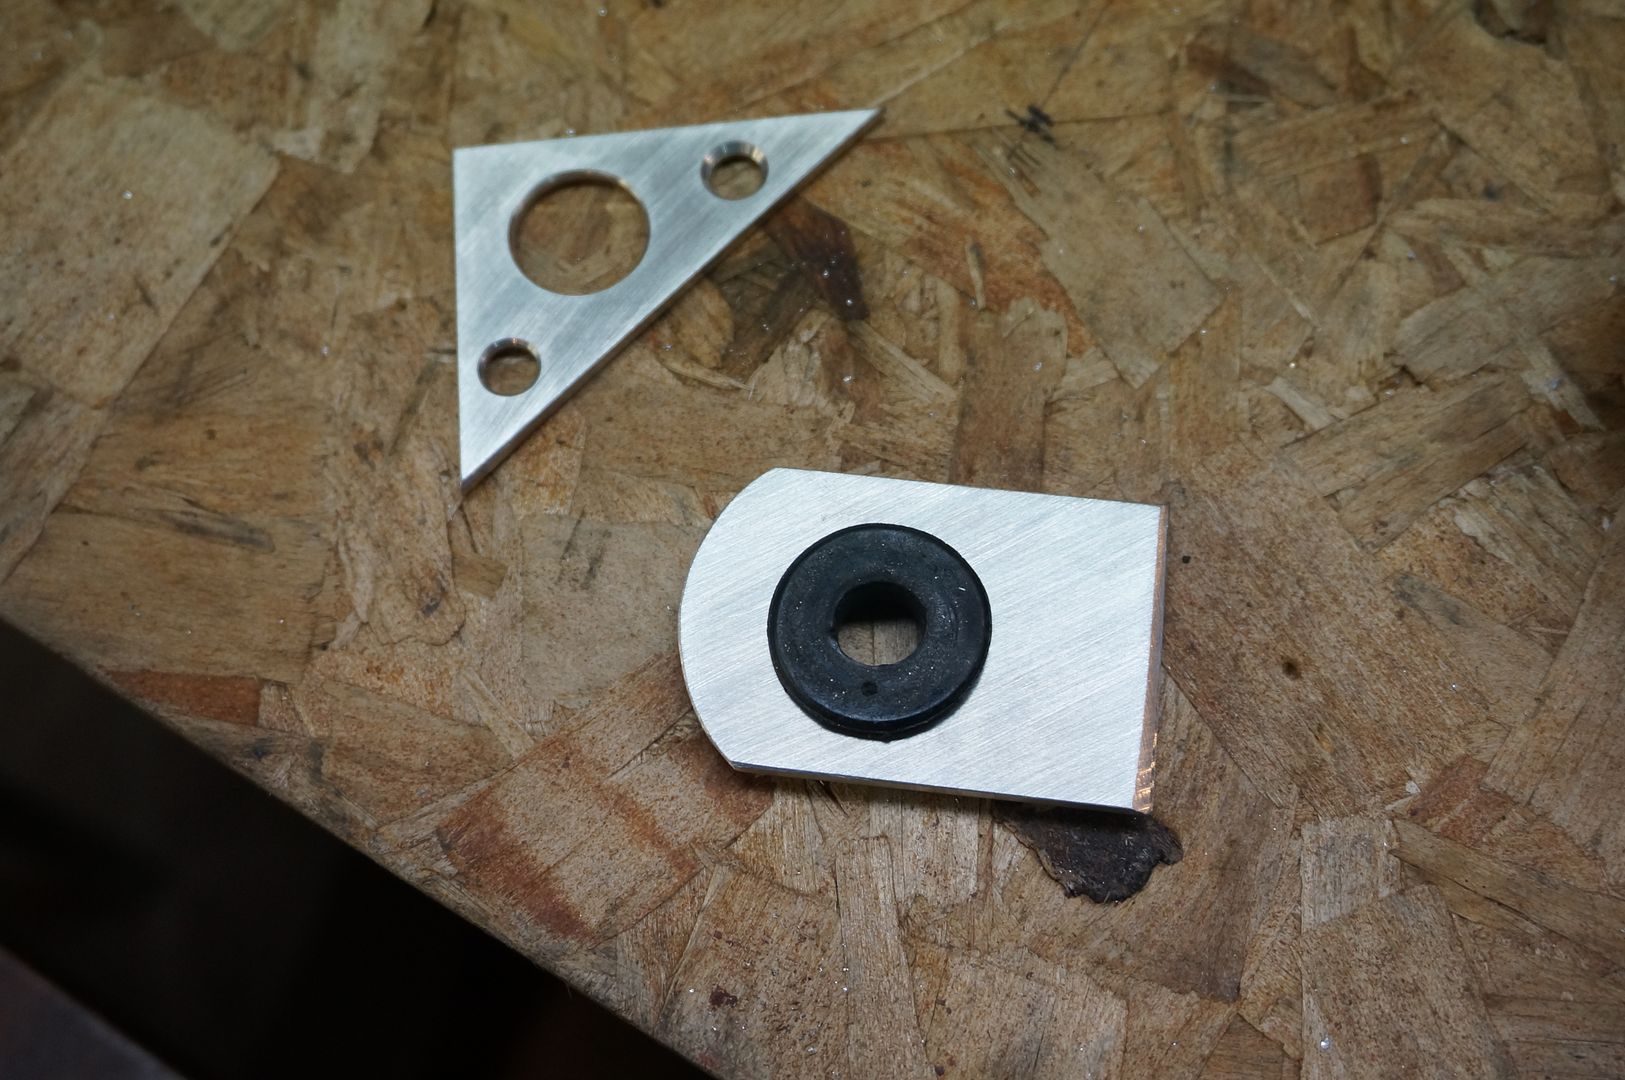
I am not making boobs I promise, this is the top and bottom caps for the tank.
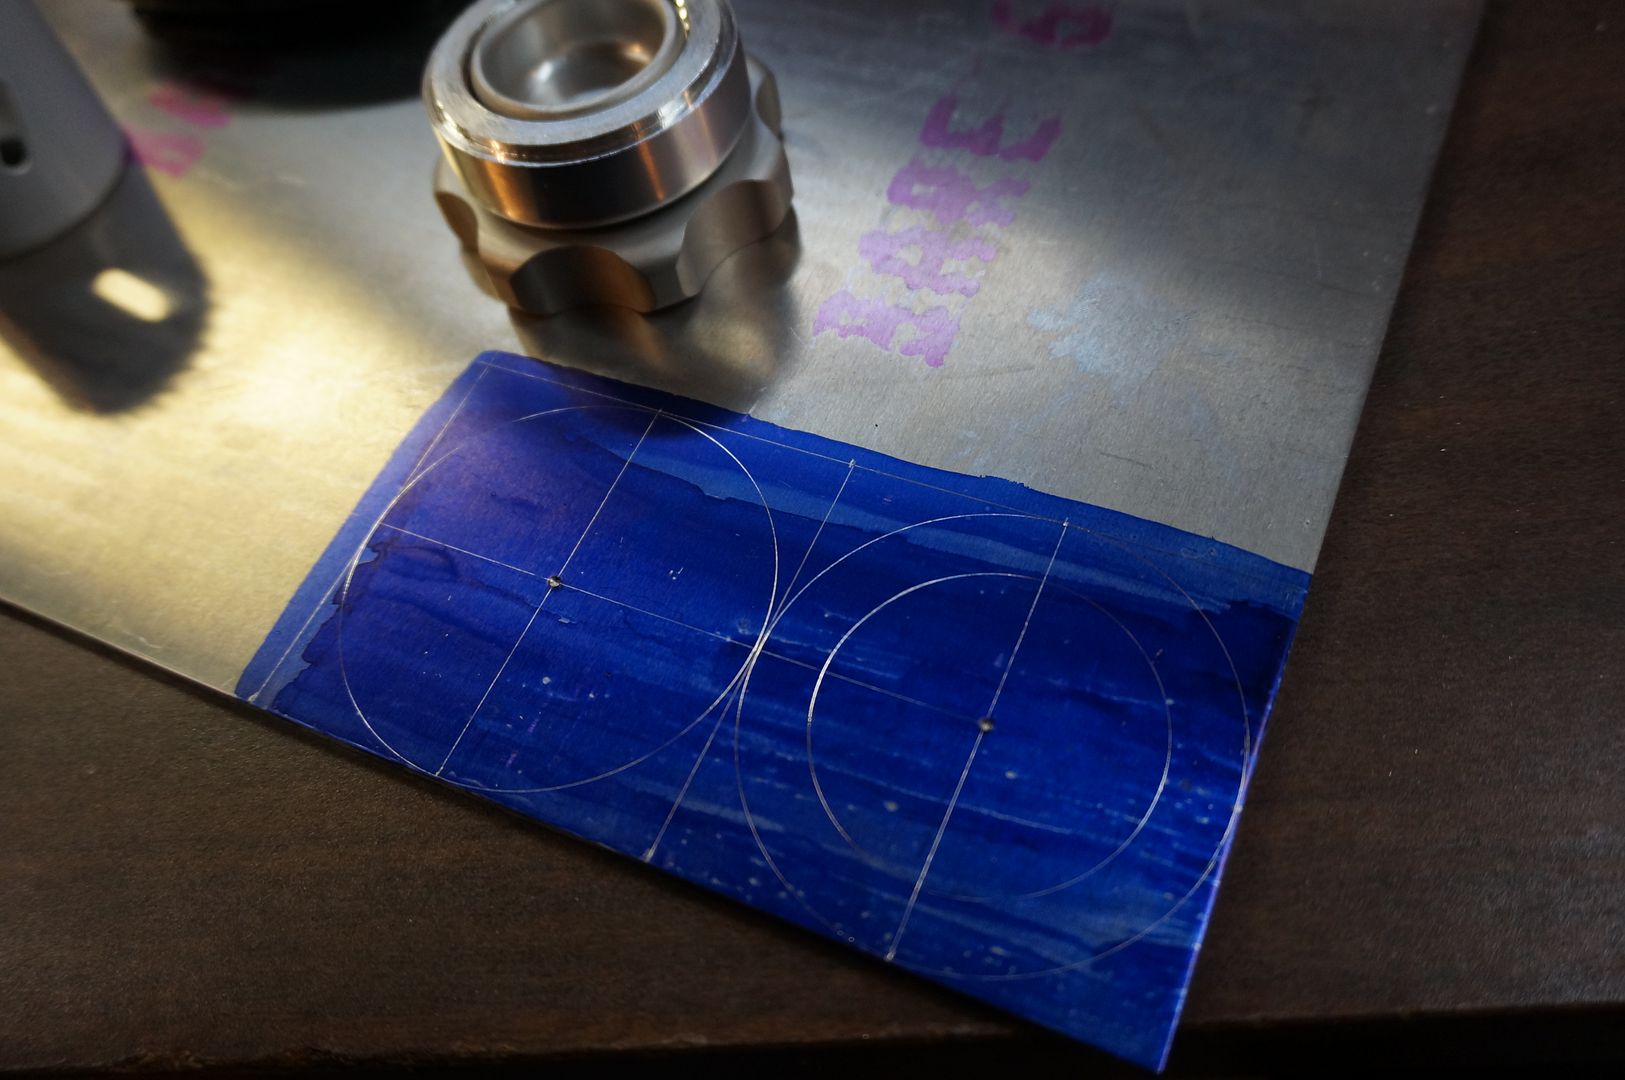
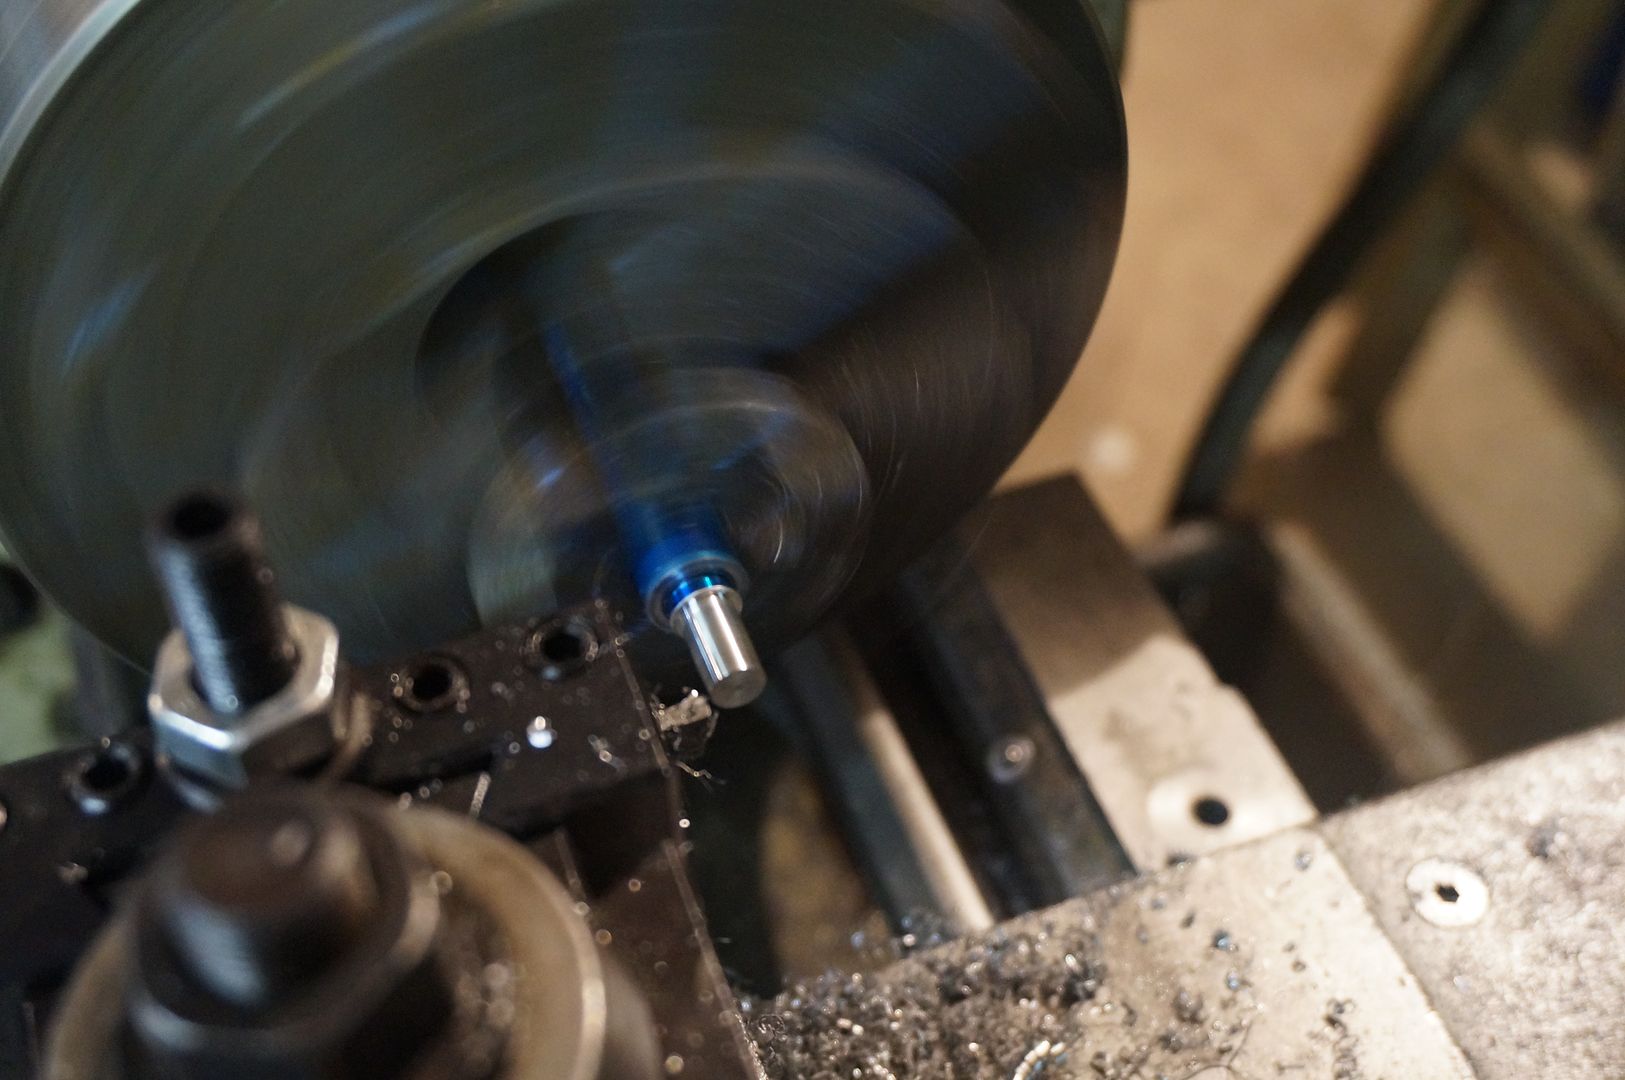
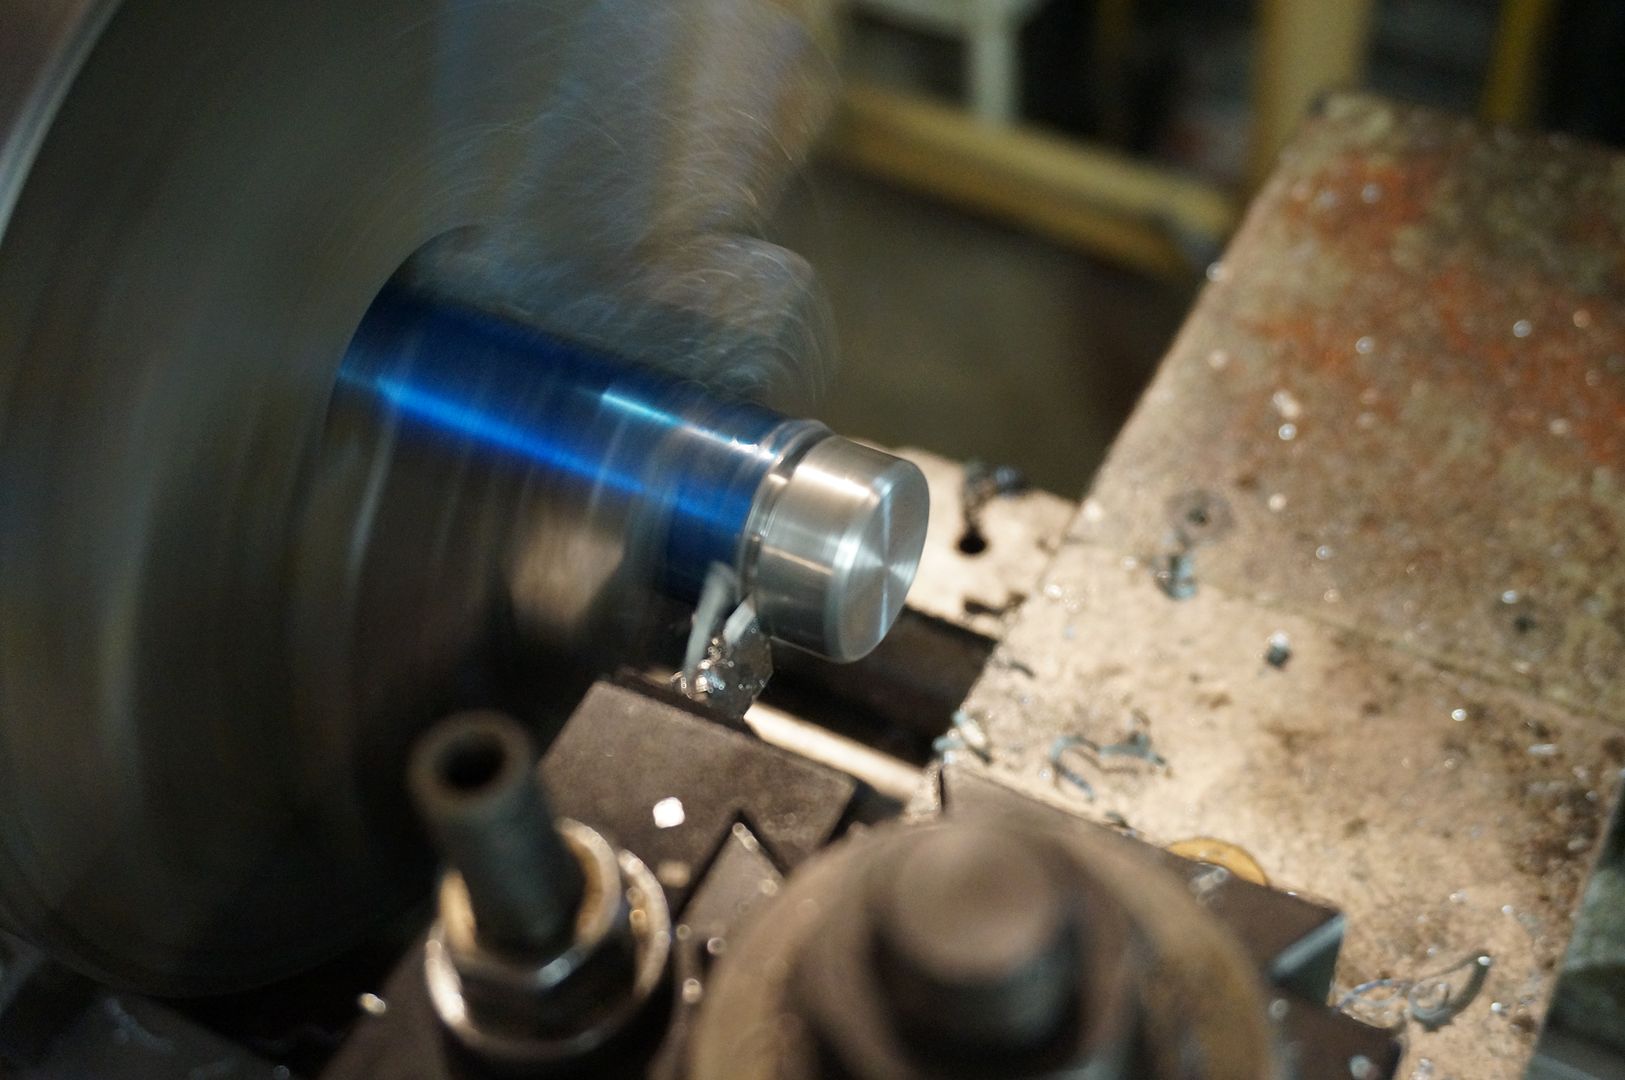
I try to hand cut everything a little to big so I can either hand file it to the correct size or for example chuck it into the lathe and machine it to the correct diameter.
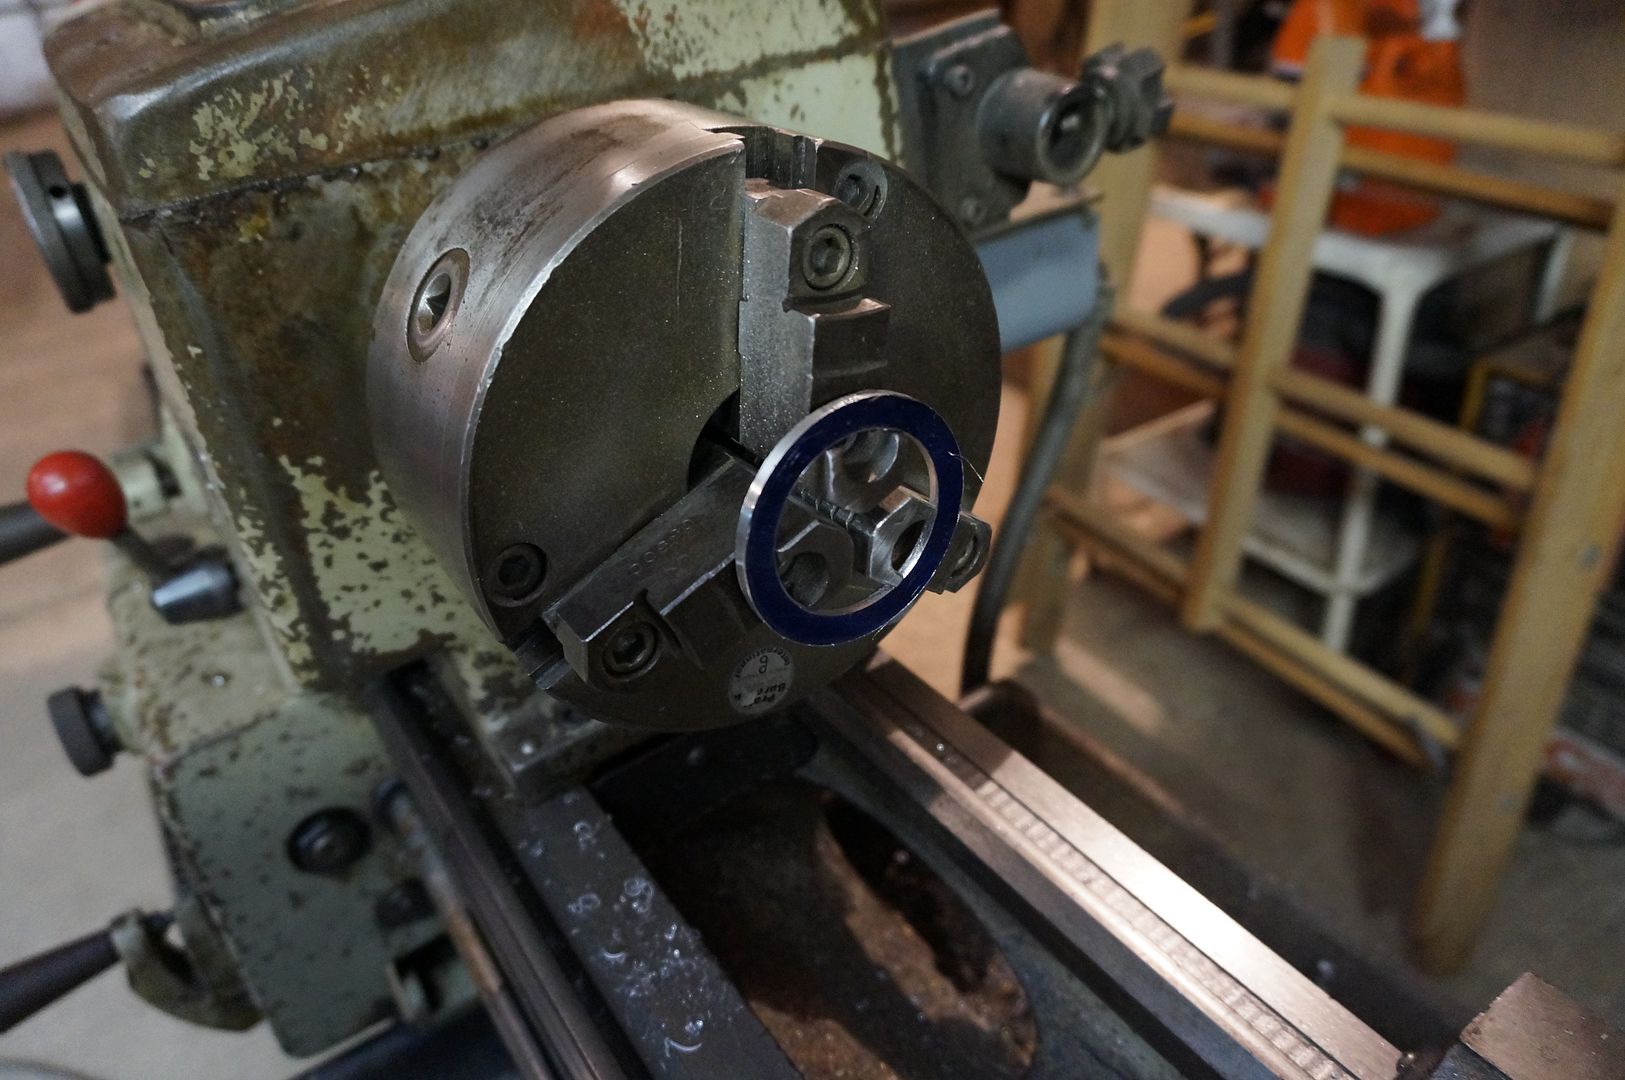
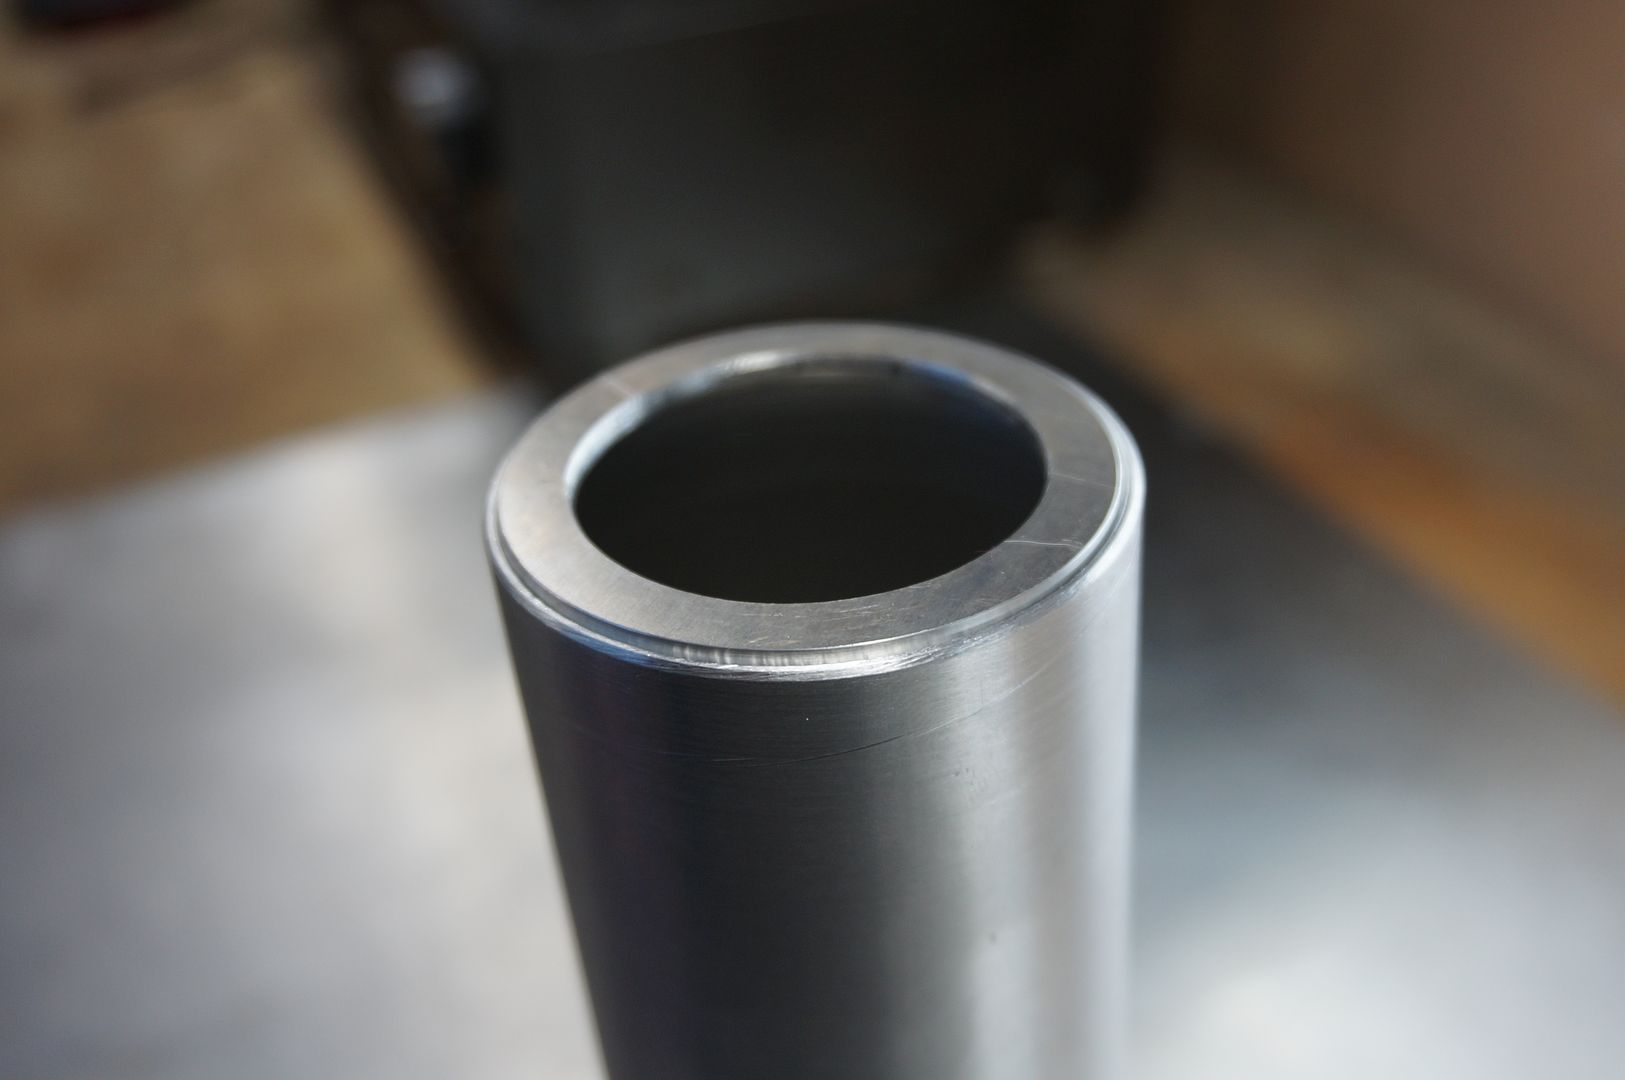
There it is, fits snug so I don't have to try and hold it together when I final tack it together.
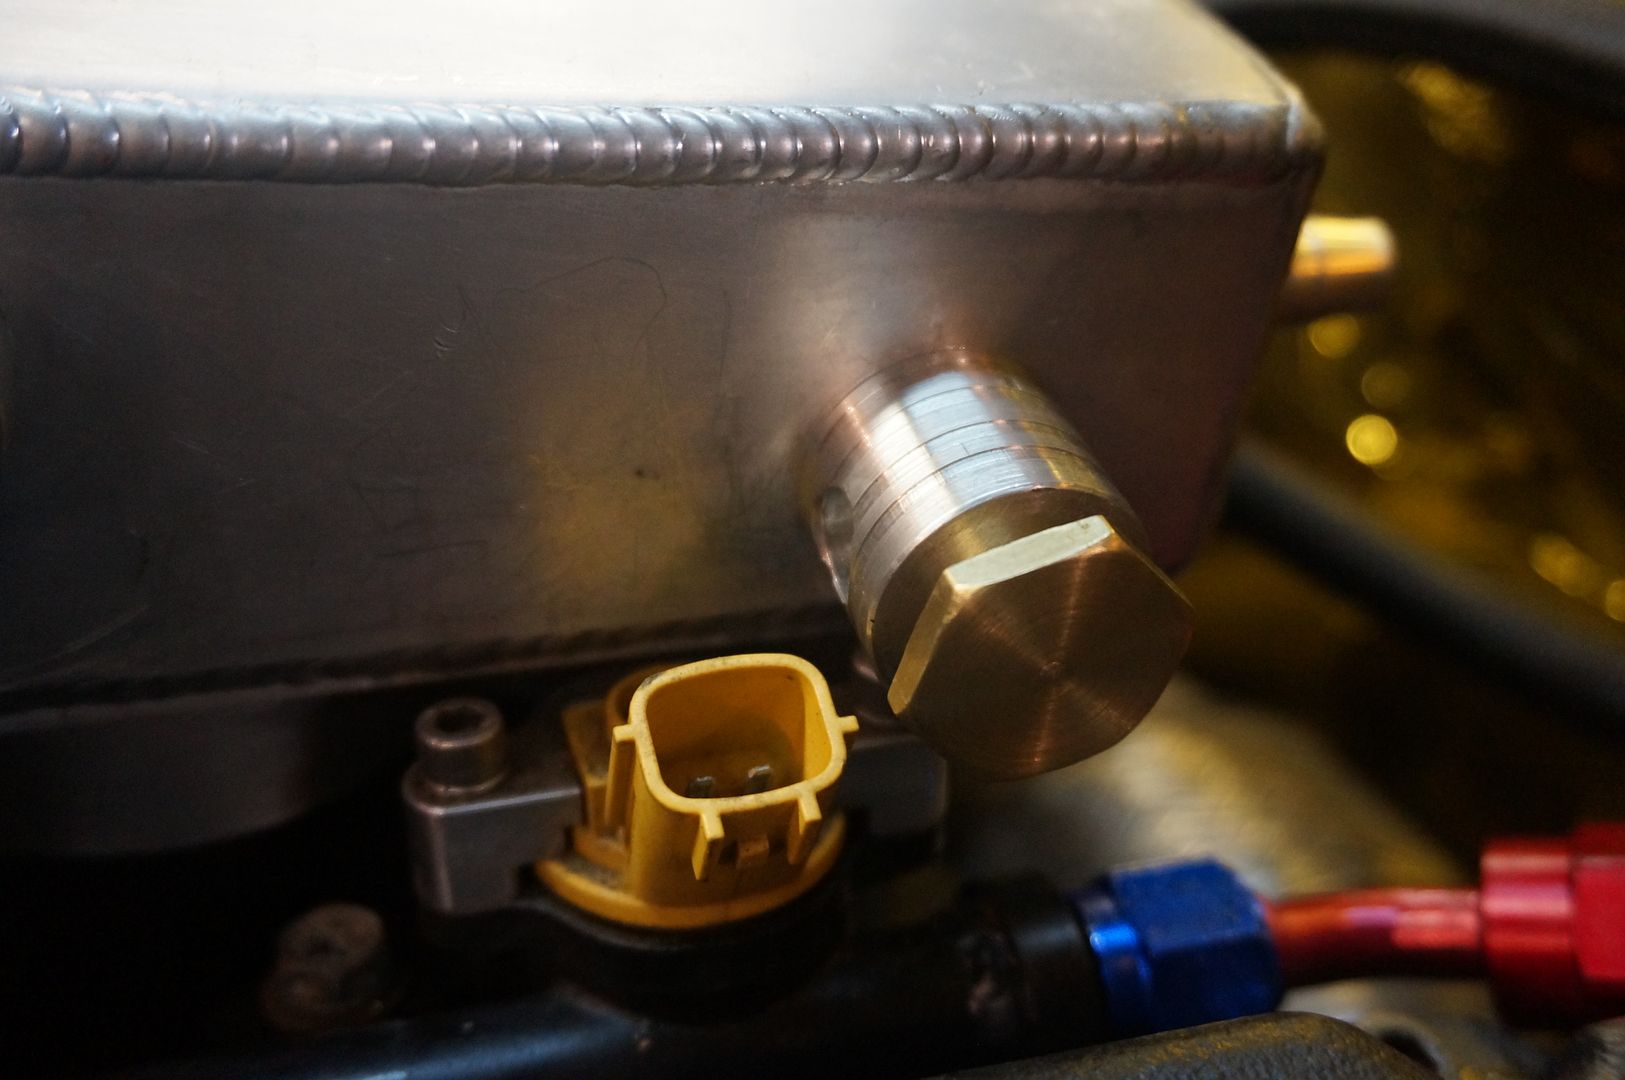
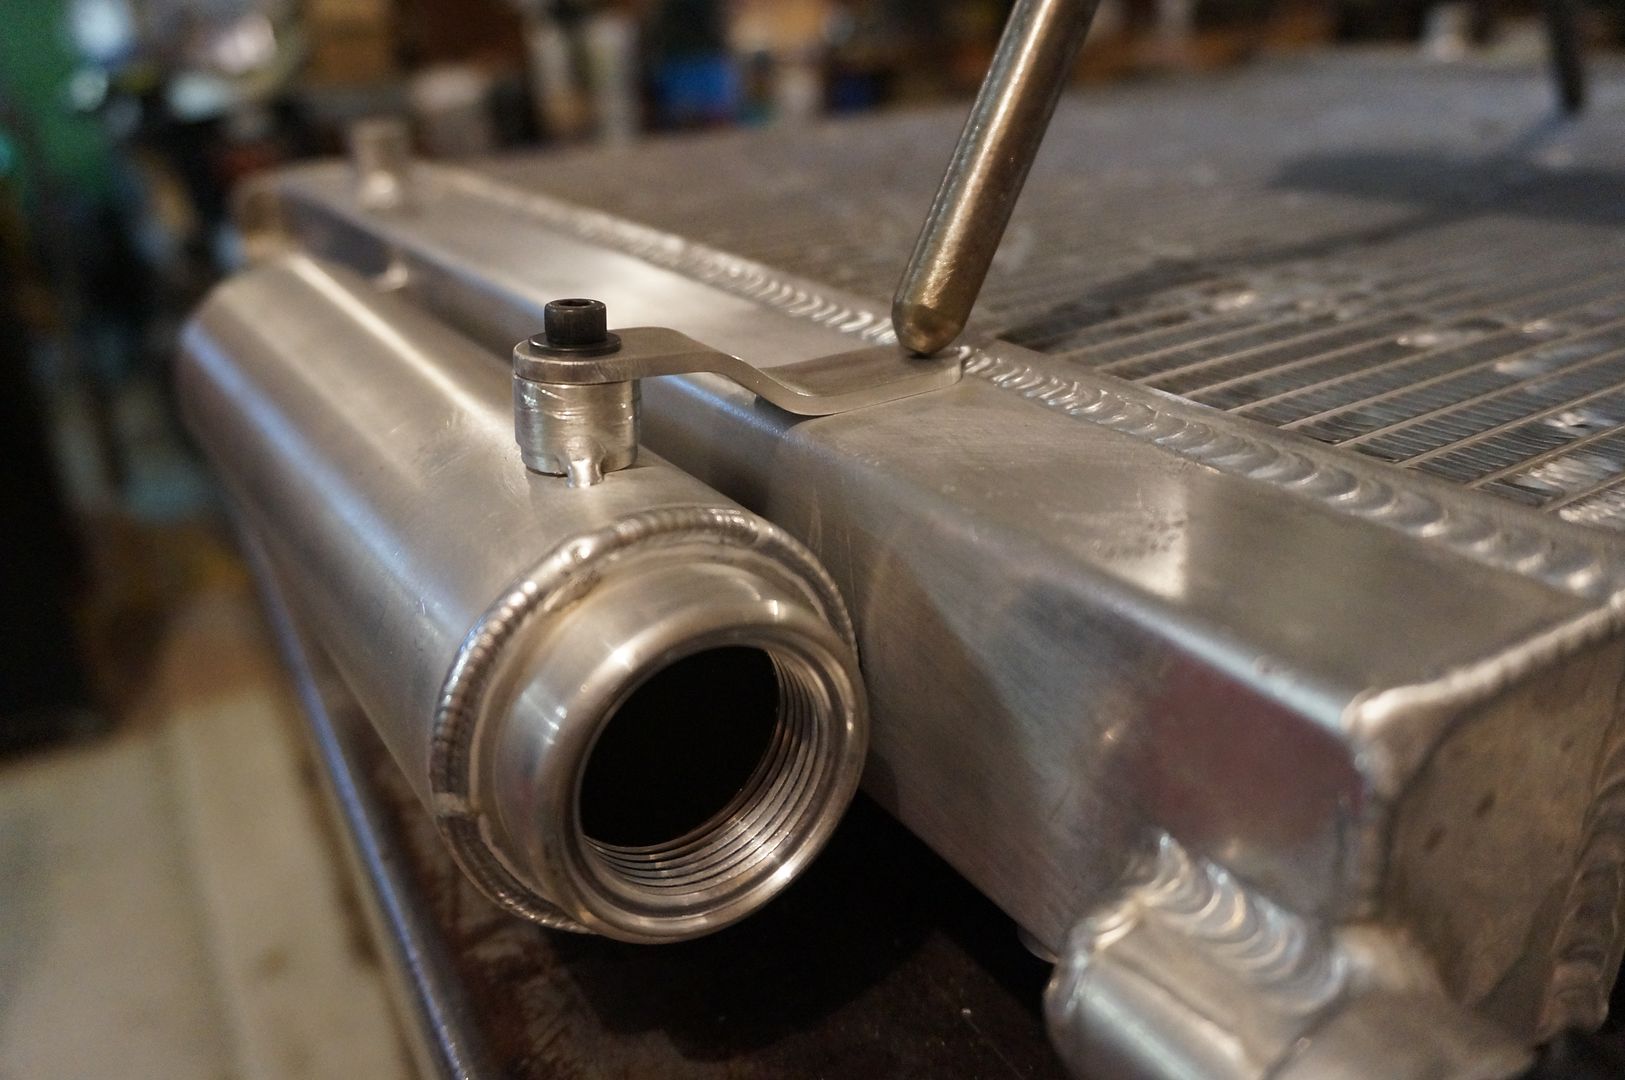
Here is the glorious weld on bung hole! I always think of Beavis and Butthead when I say or think bung hole, the struggles of being born in the 90's.
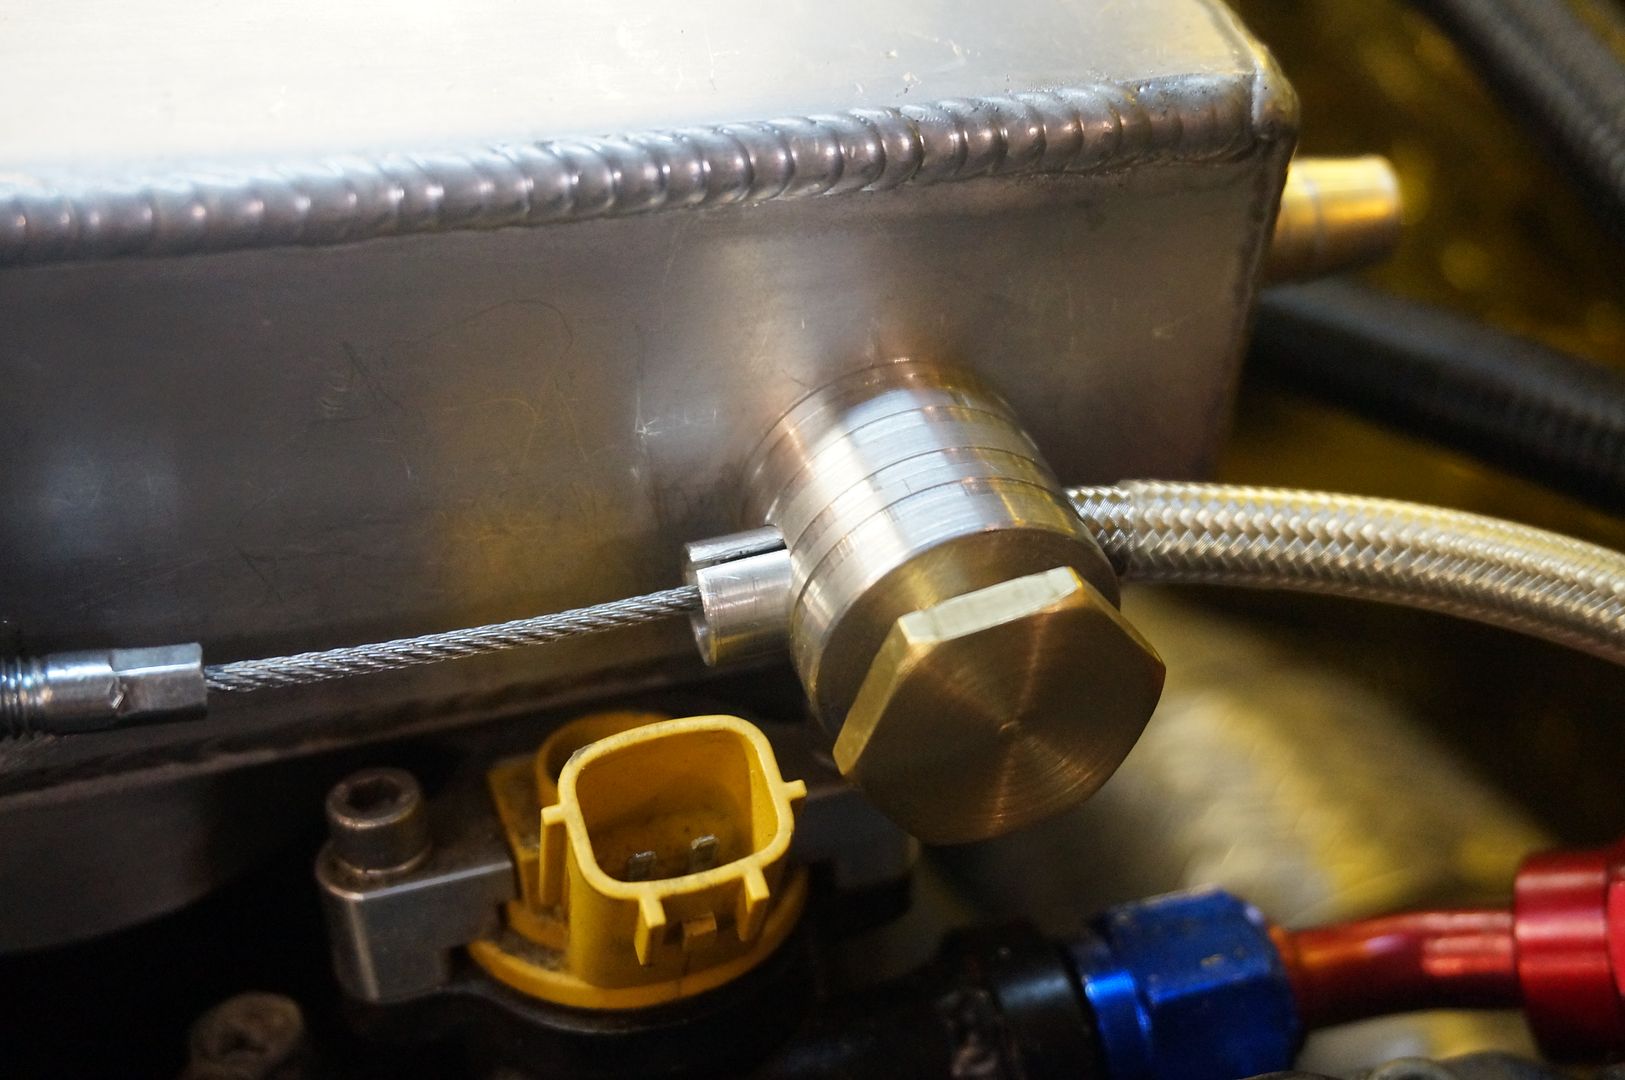
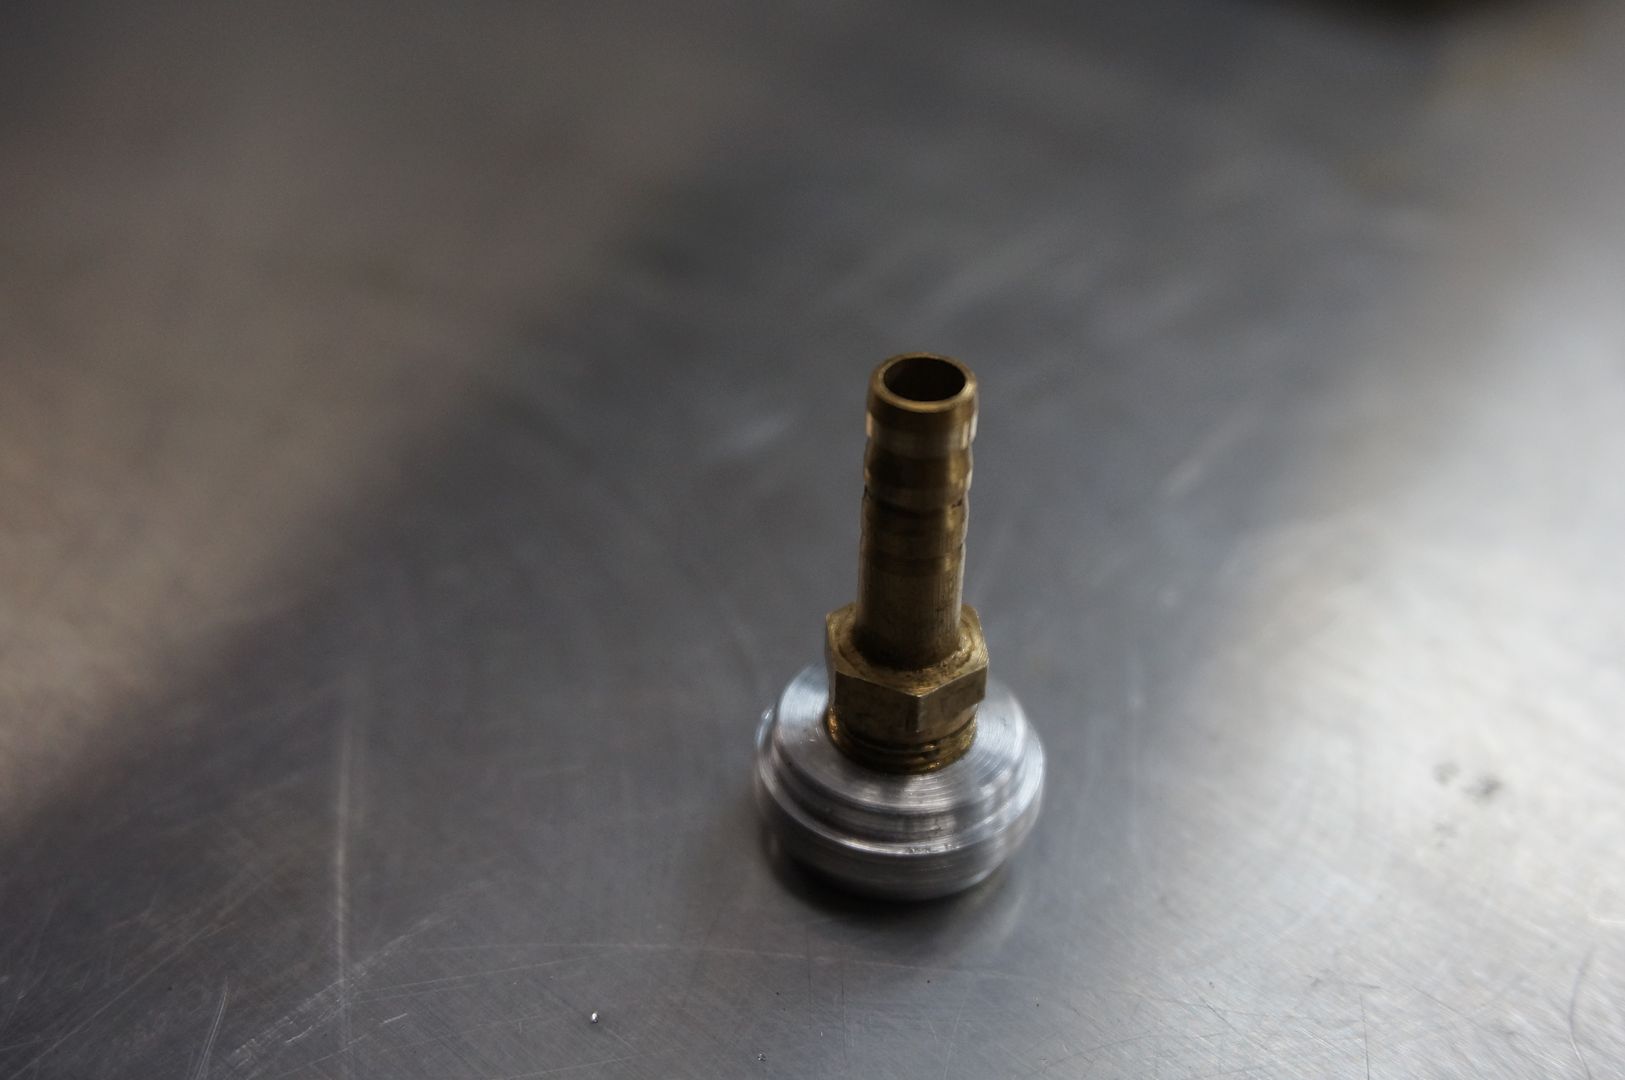
This is the nipple. Again not a boob reference it's just a humble reservoir nipple, this will transfer the coolant from the radiator into the reservoir.
Here is the spread before assembly.
Weld on the inside because it is so clean looking.
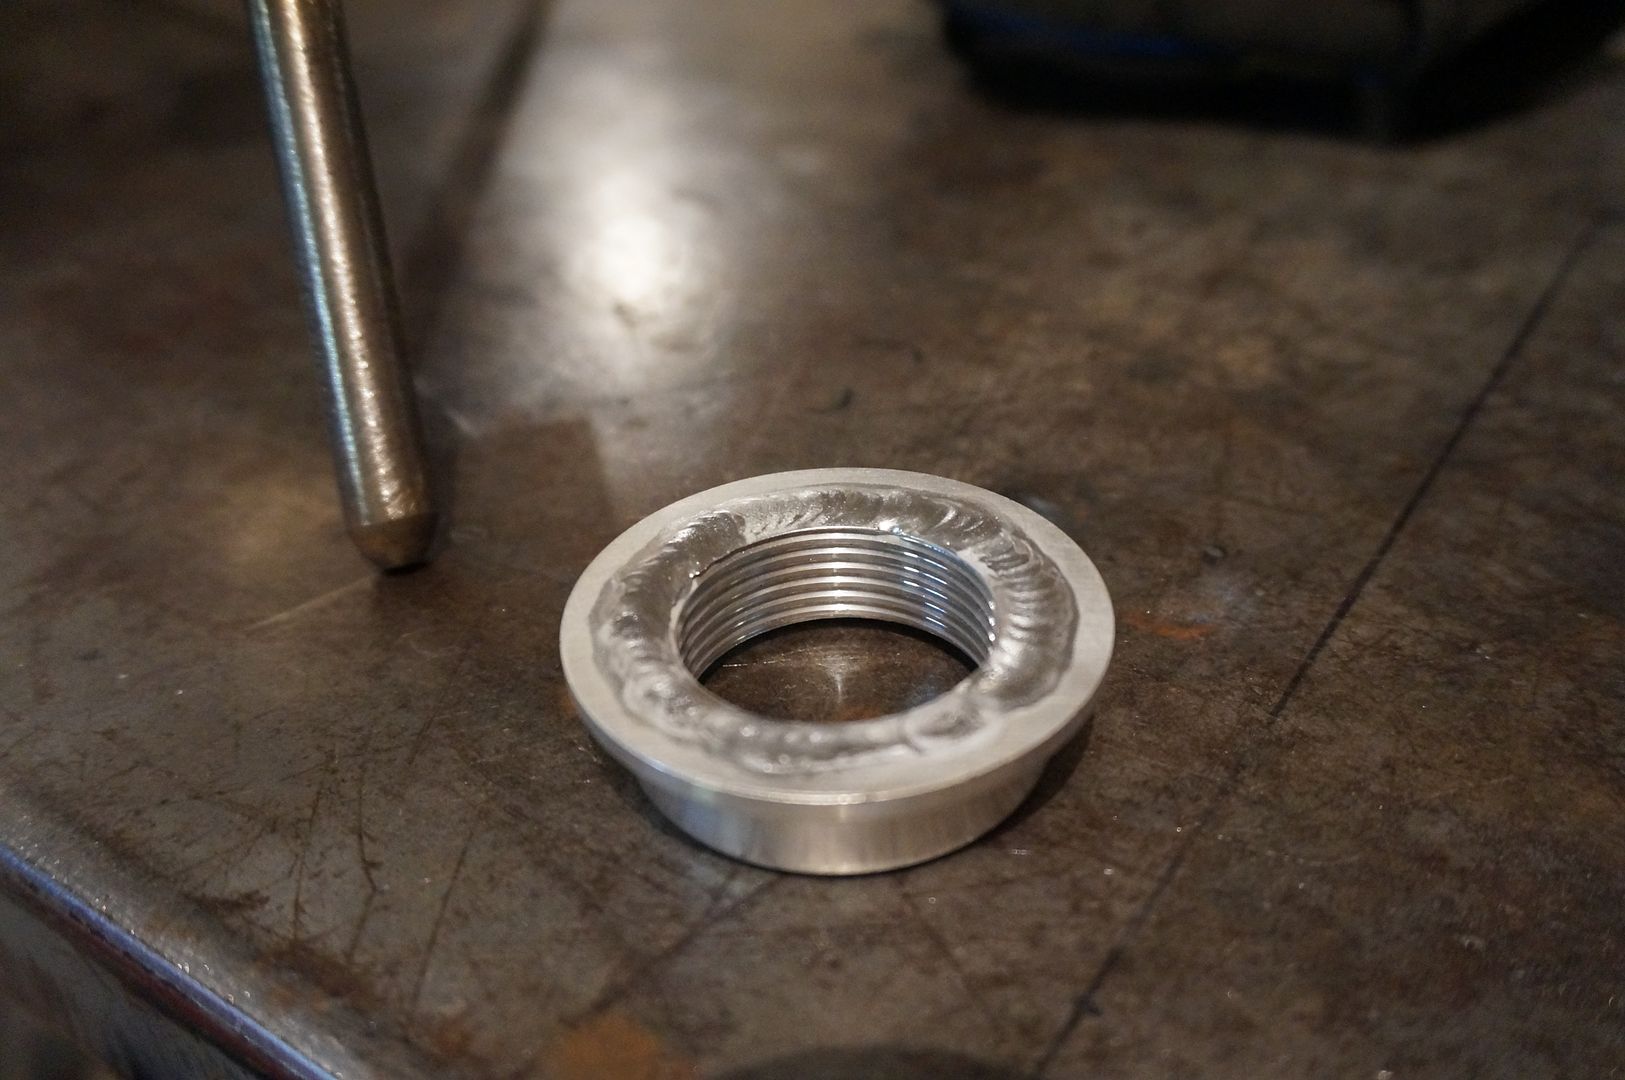
The bottom receives the same internal welding treatment.
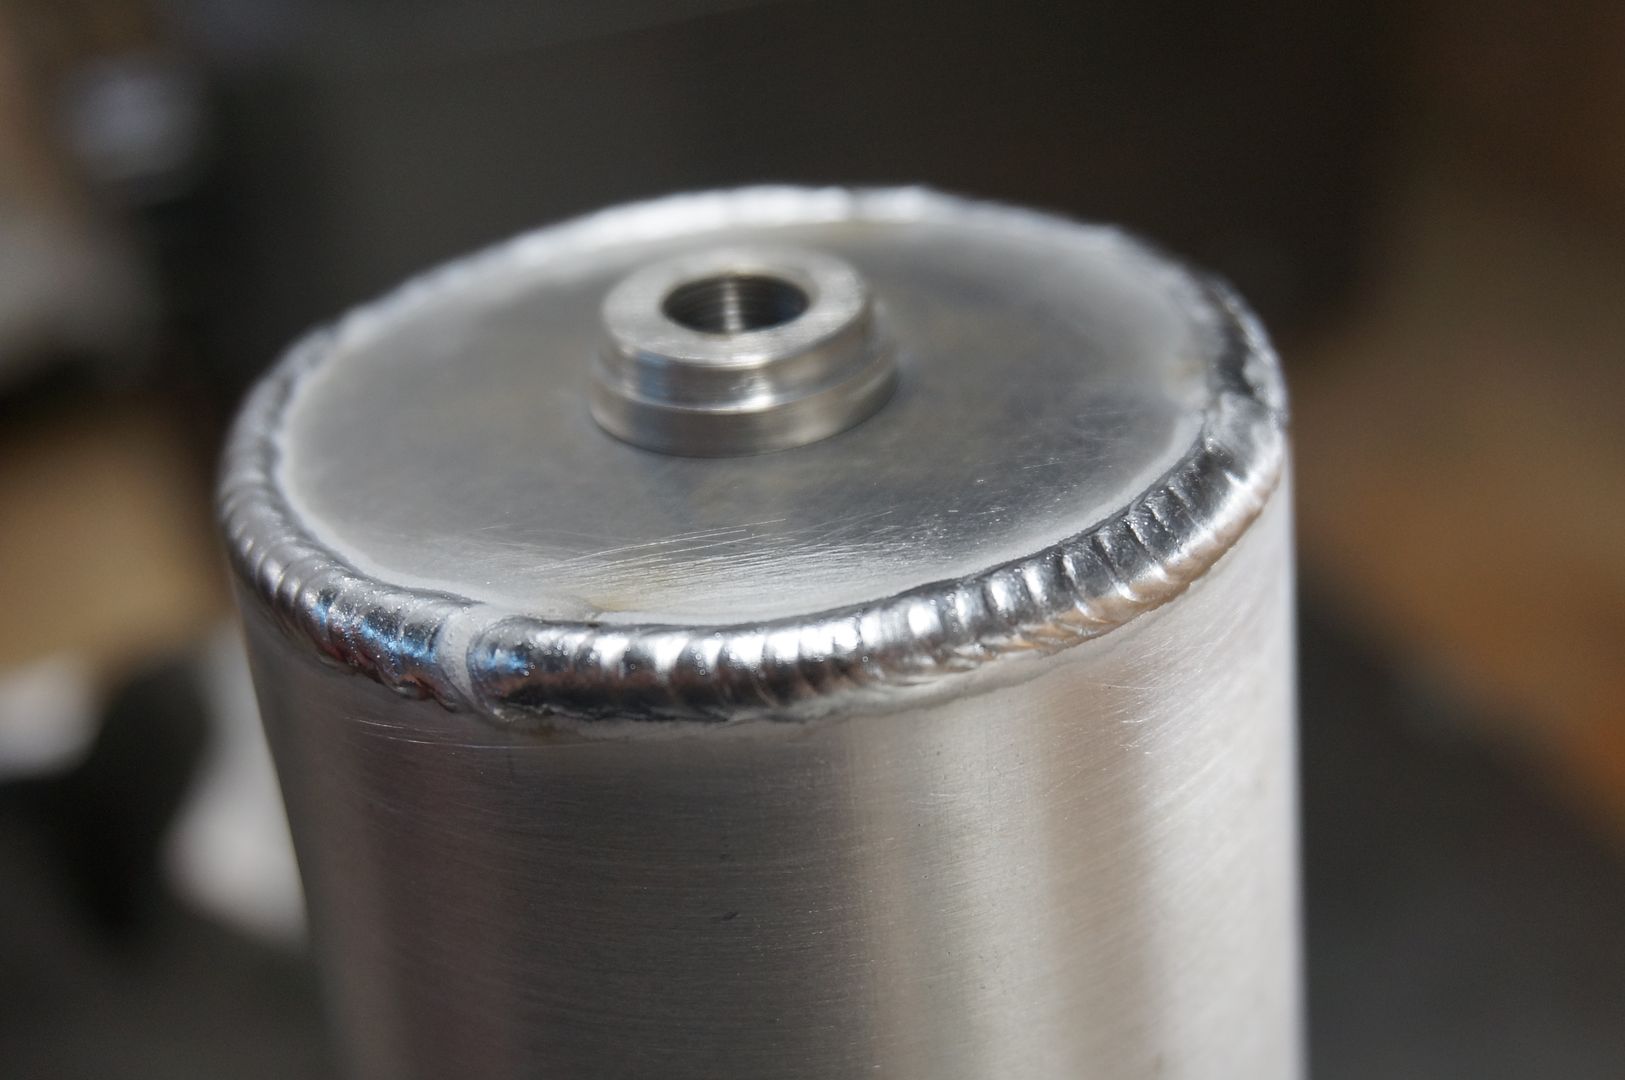
Top and bottom both welded, sorry for the oxidation here and there, I do not have a rotator as of yet so I have to make do with the old tried and true hand method.
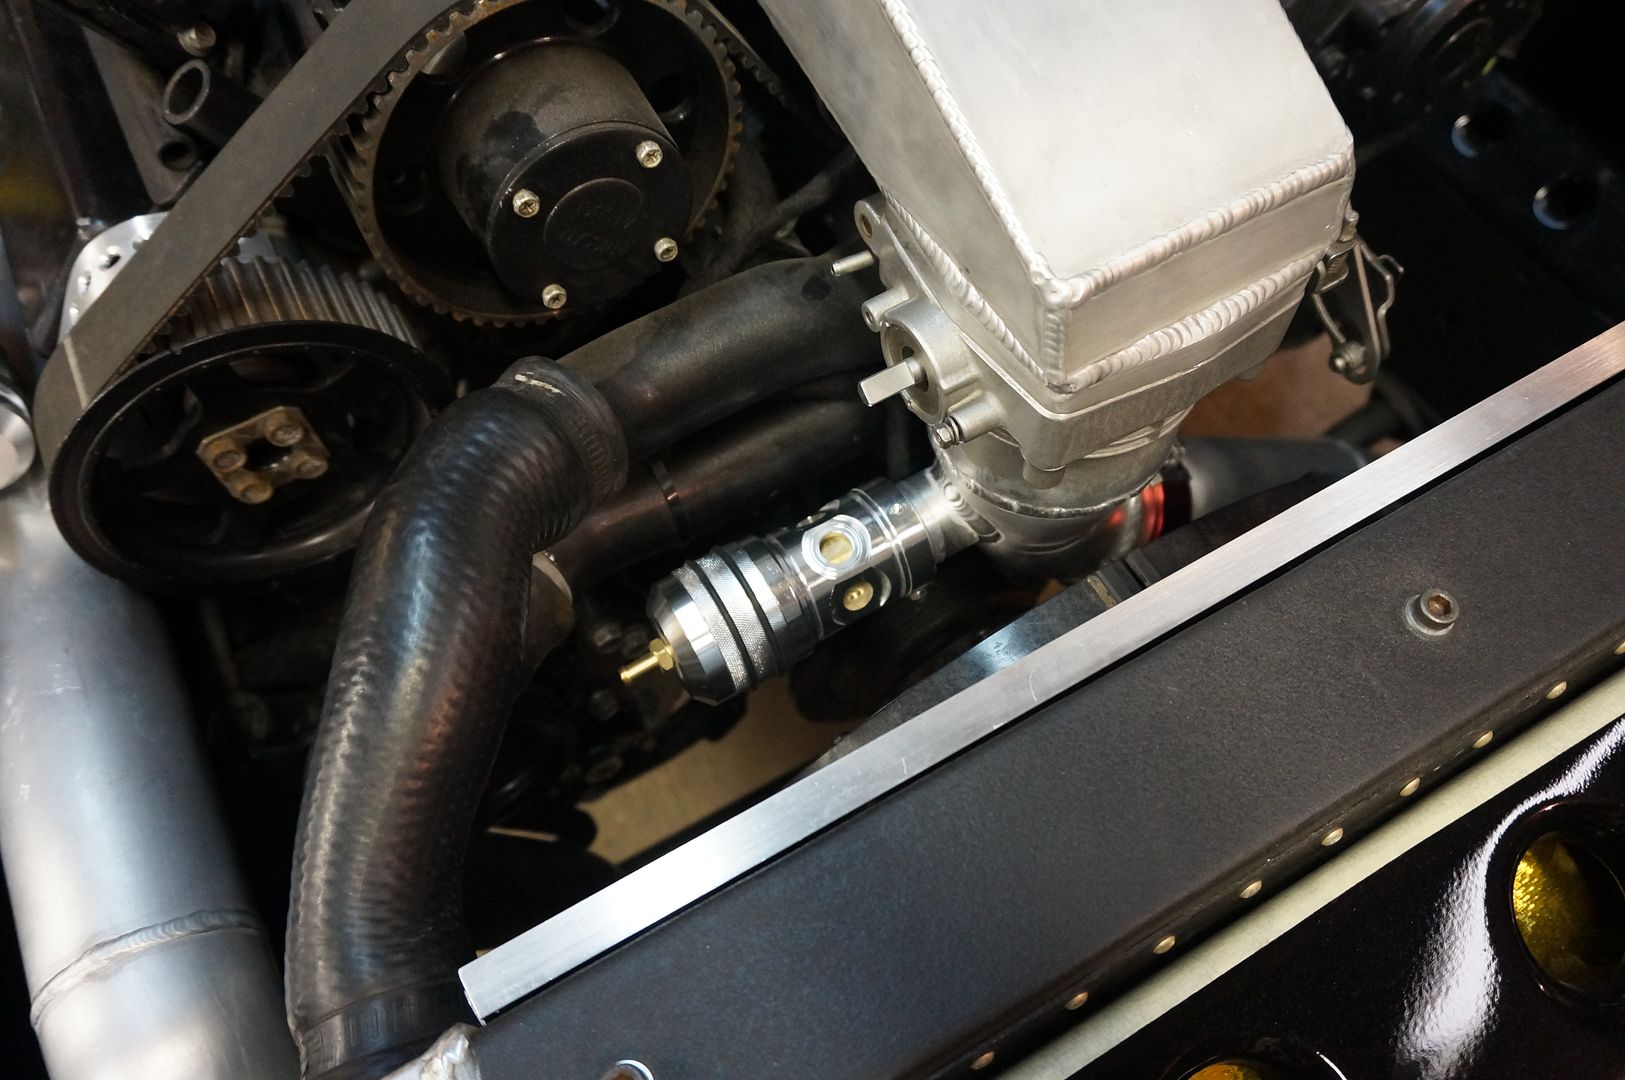
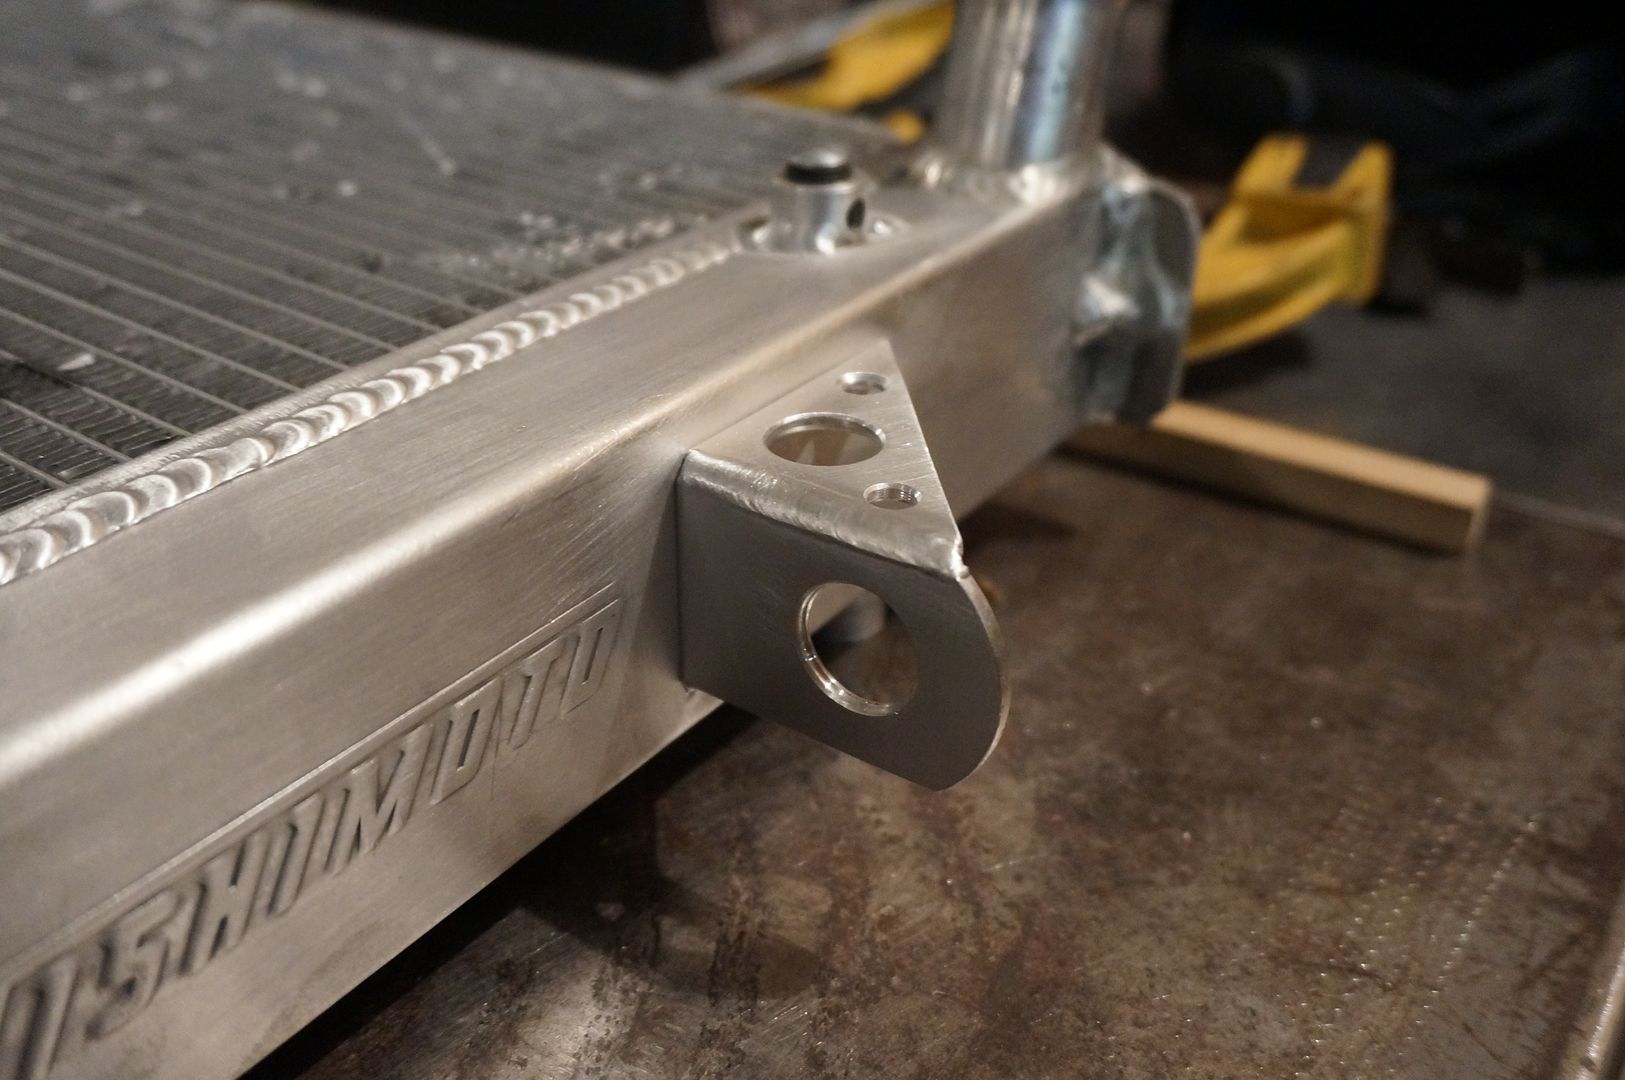
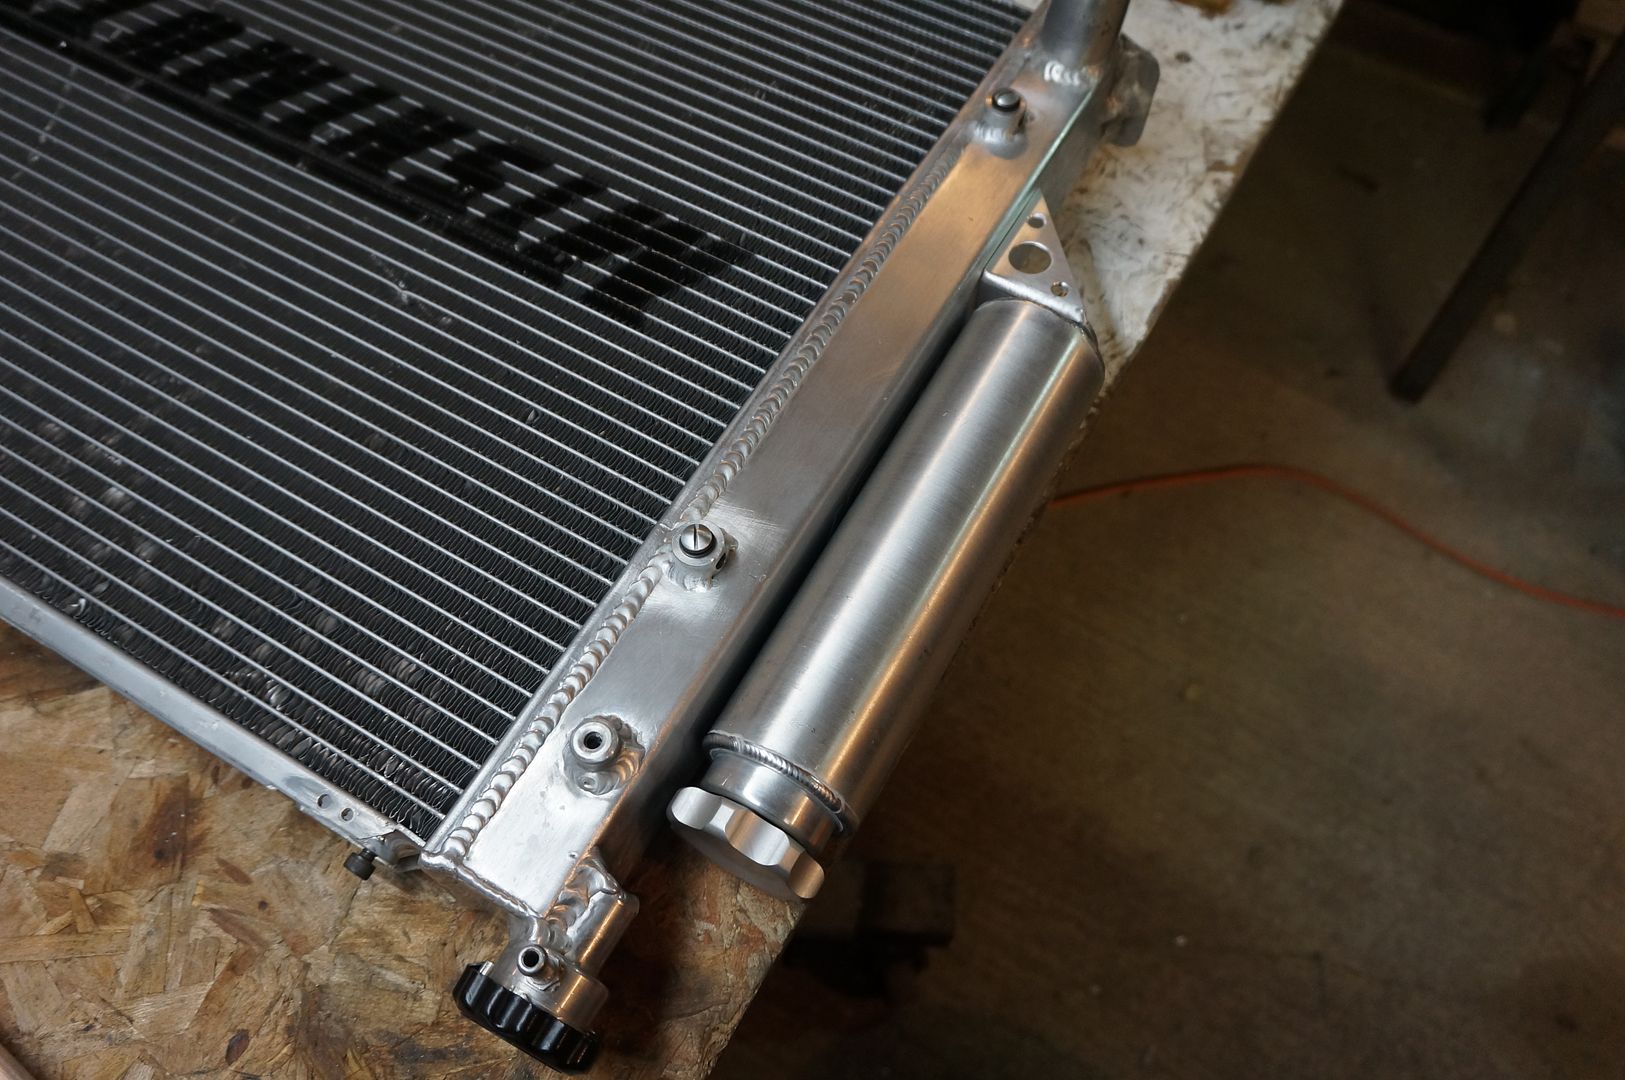
Reservoir will be mounted onto the radiator for a single compact easy to remove package.
Lower mount
Cut out! and the accompanied gusset with the ever so popular speed hole treatment.
Very simple in its operation, but the nipple bung serves both as a threaded bung and a way to mount the reservoir in a semi isolated fashion.

One more mount to go.
I call this the upper tongue depressor brace.
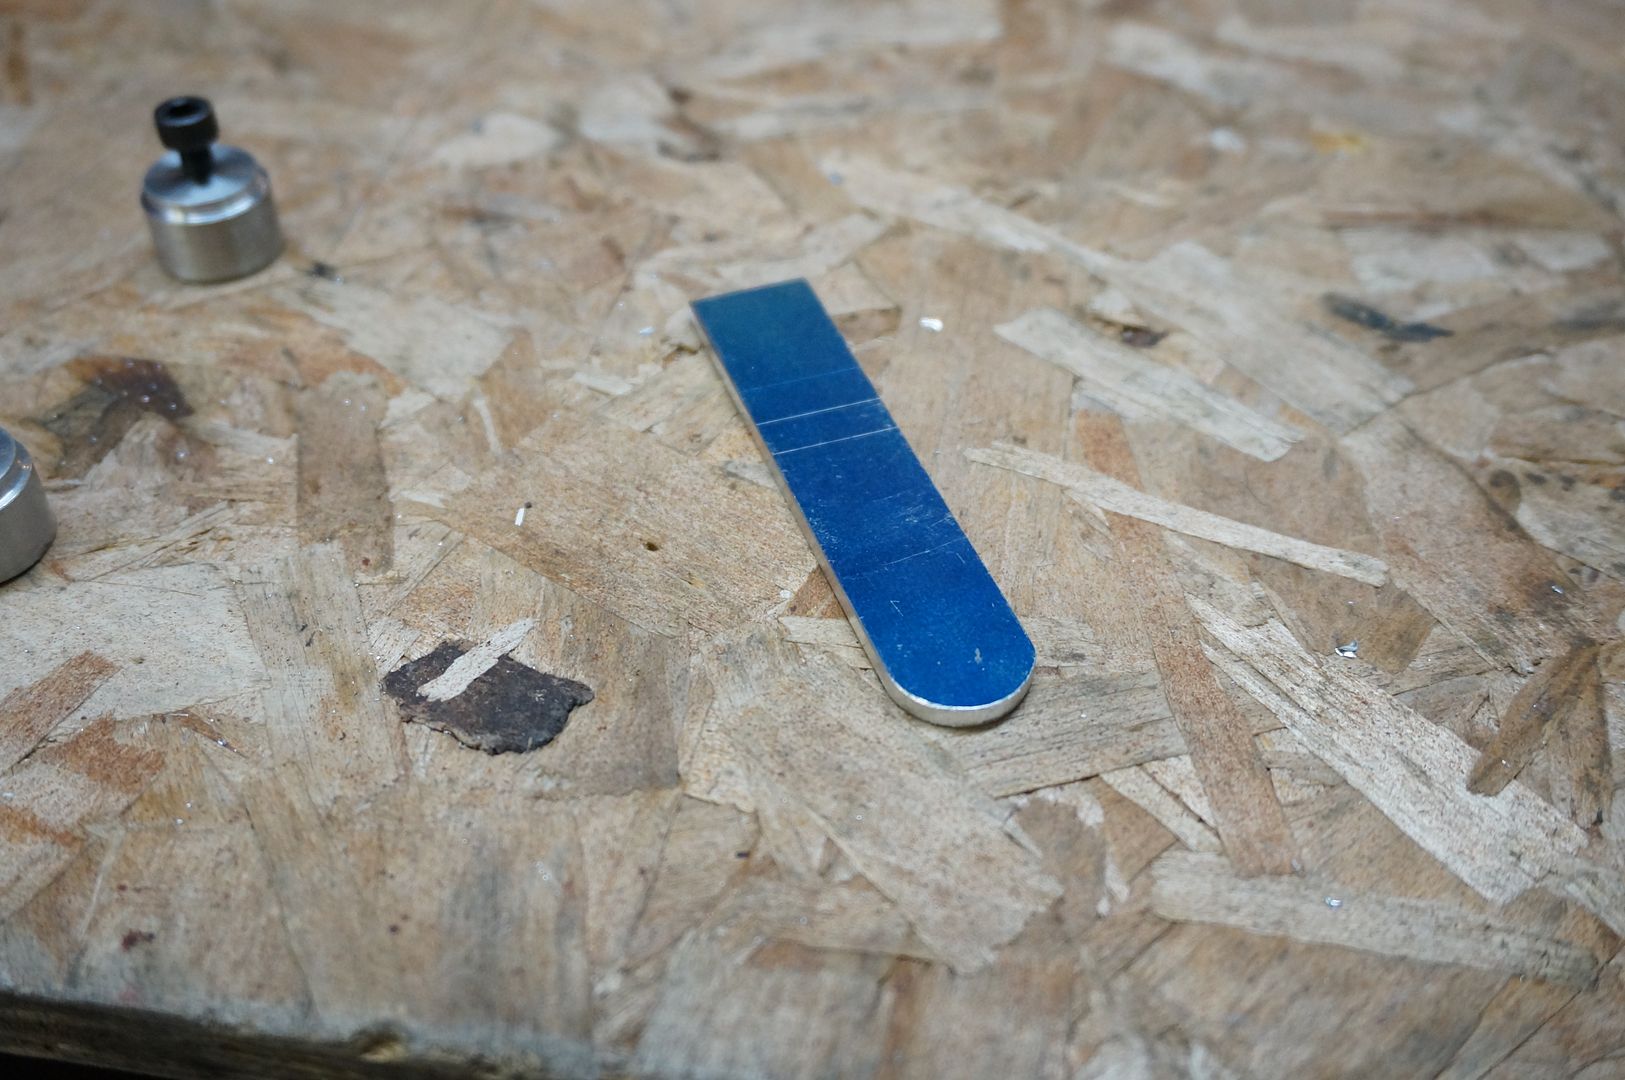
Fits real nice and is hidden away!
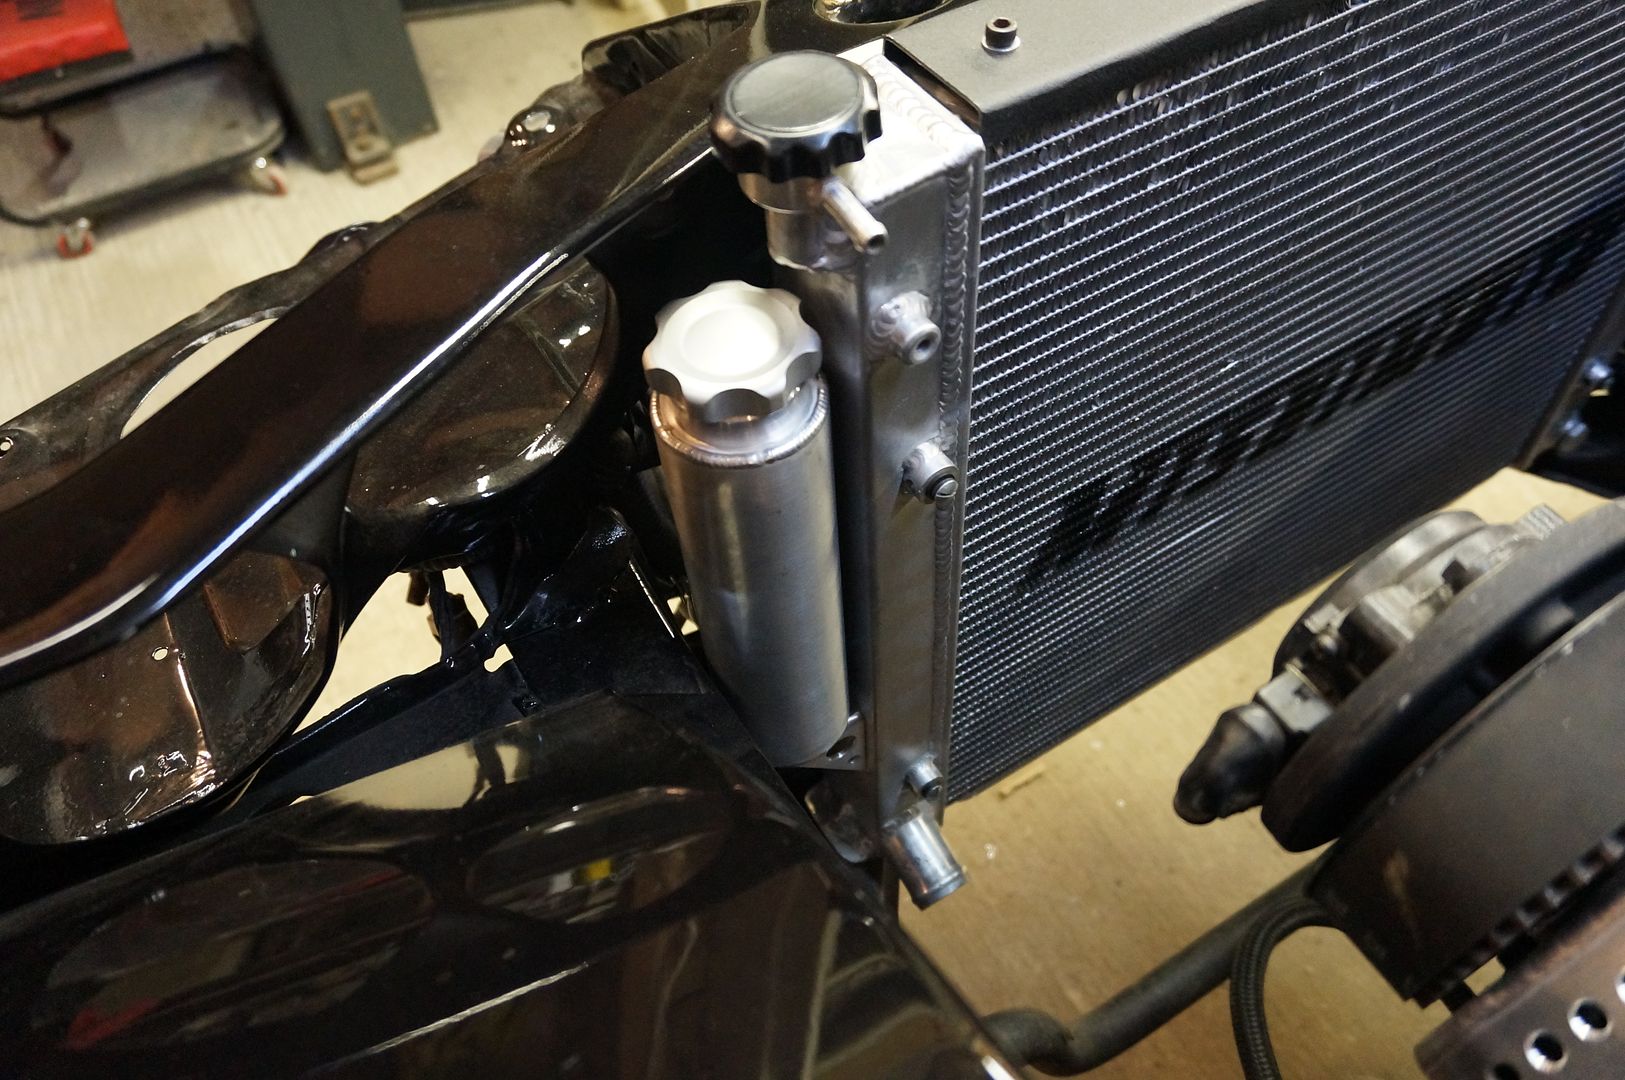
There ya go finished product.
Leave a comment:
-
By the way if you don't have a rear brake kit yet. Get your hands on some SRT8 calipers they go for cheap and there is a bracket out for them already. I am running the SRT8 challenger brakes up front with a 370z rotor and they are great.
Leave a comment:
-
Love it love it love it. wish I had the time and the skills for the fab work. Some day some day but for right now I'll get along with my remove and replace skills lol...Leave a comment:
-
I love how you added lightening holes and counter sunk them just because awesome.Leave a comment:
-
Fantastic fab work, love that you're showing all the details and tools being used.Leave a comment:


Leave a comment: