Fucking.
Rad.
-
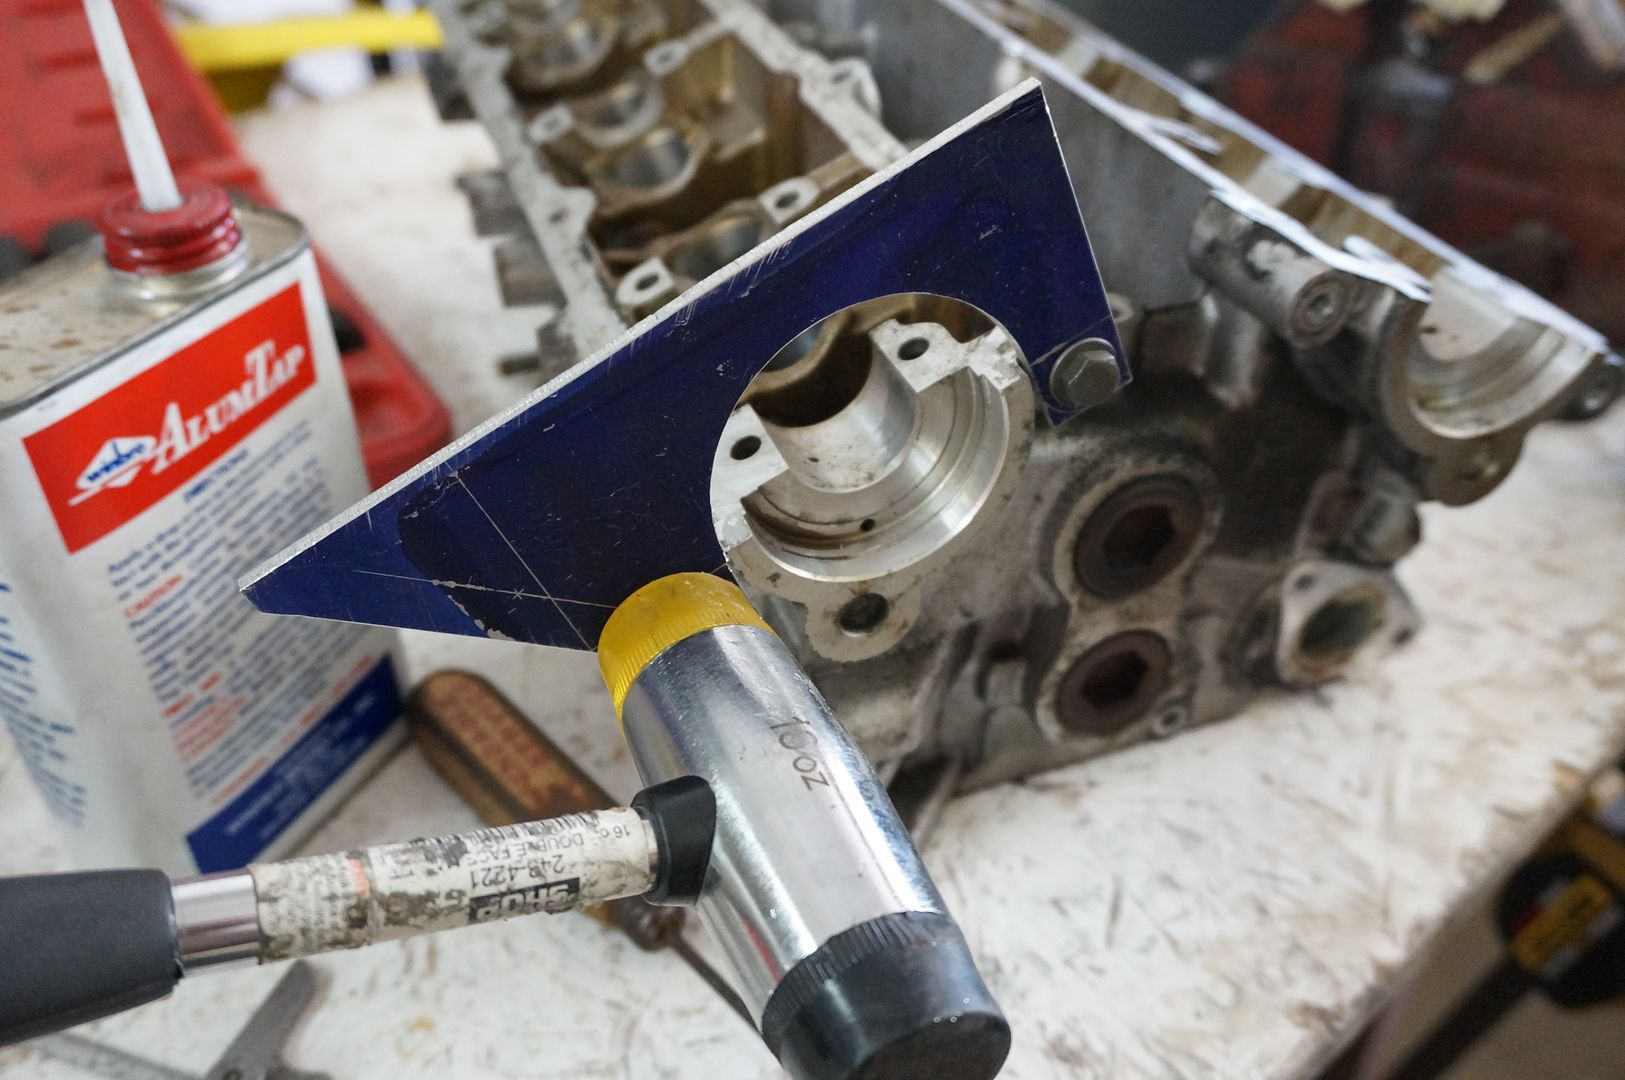
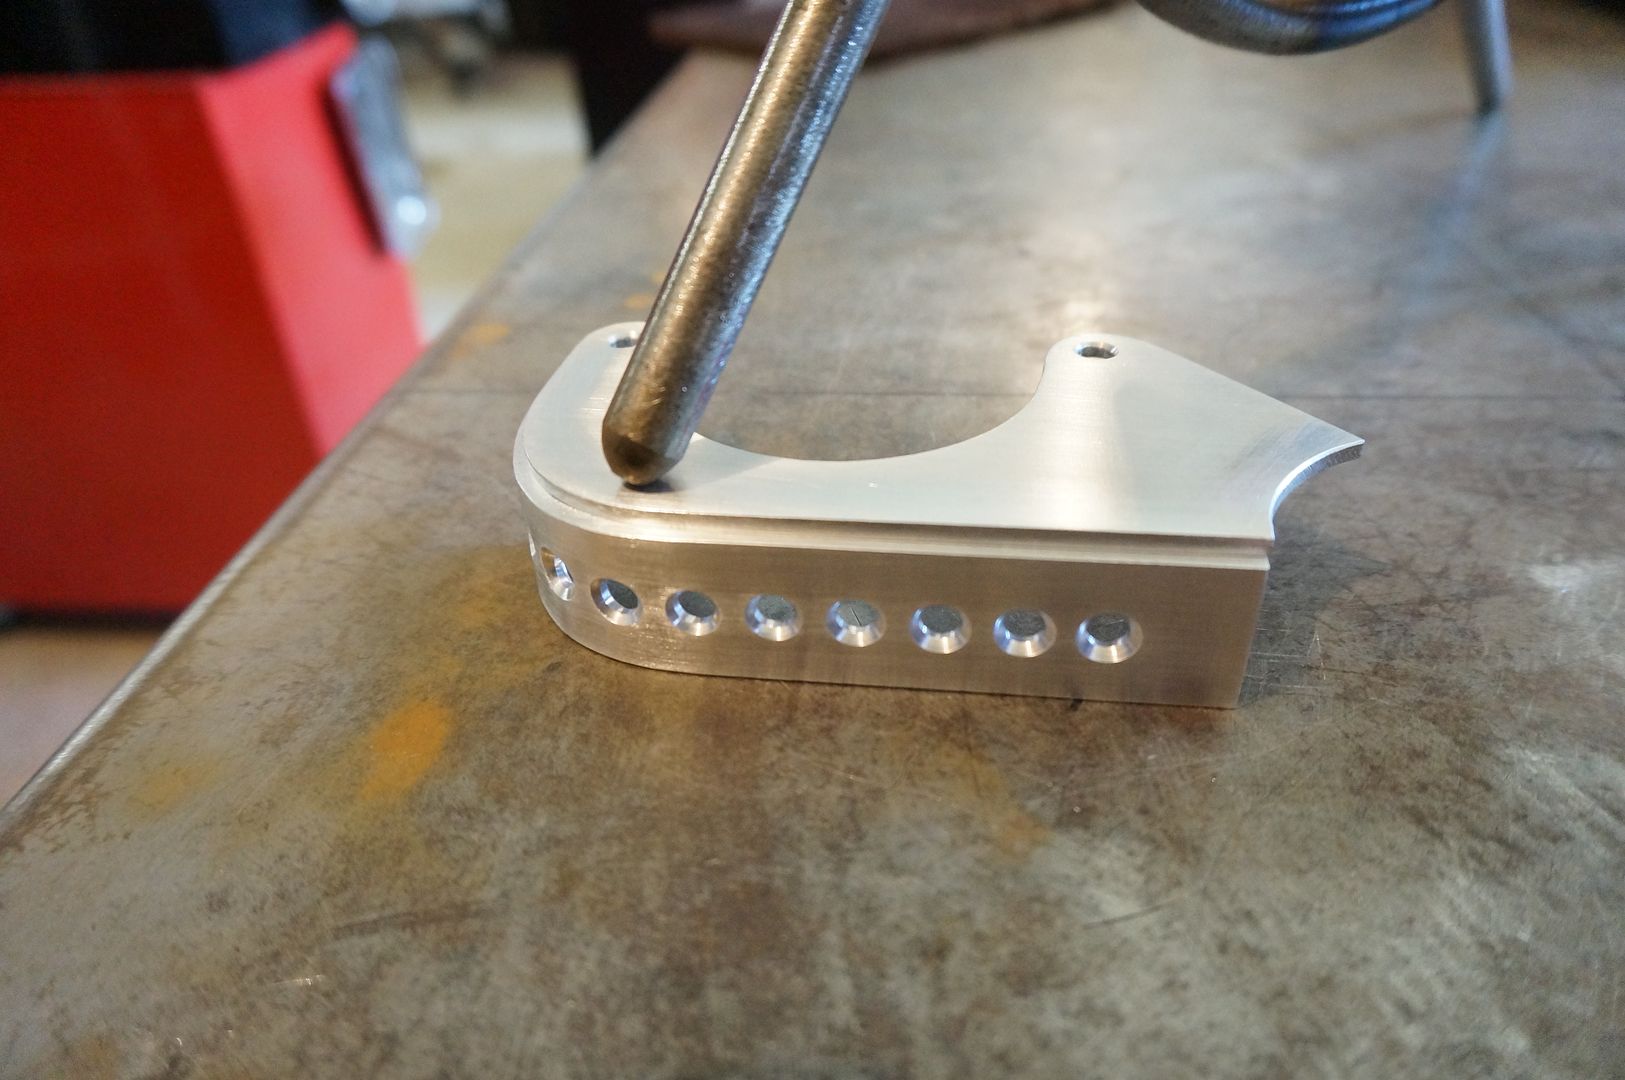
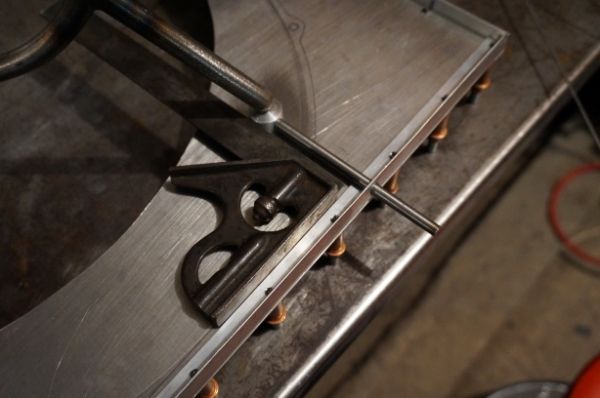
Now comes the bracing
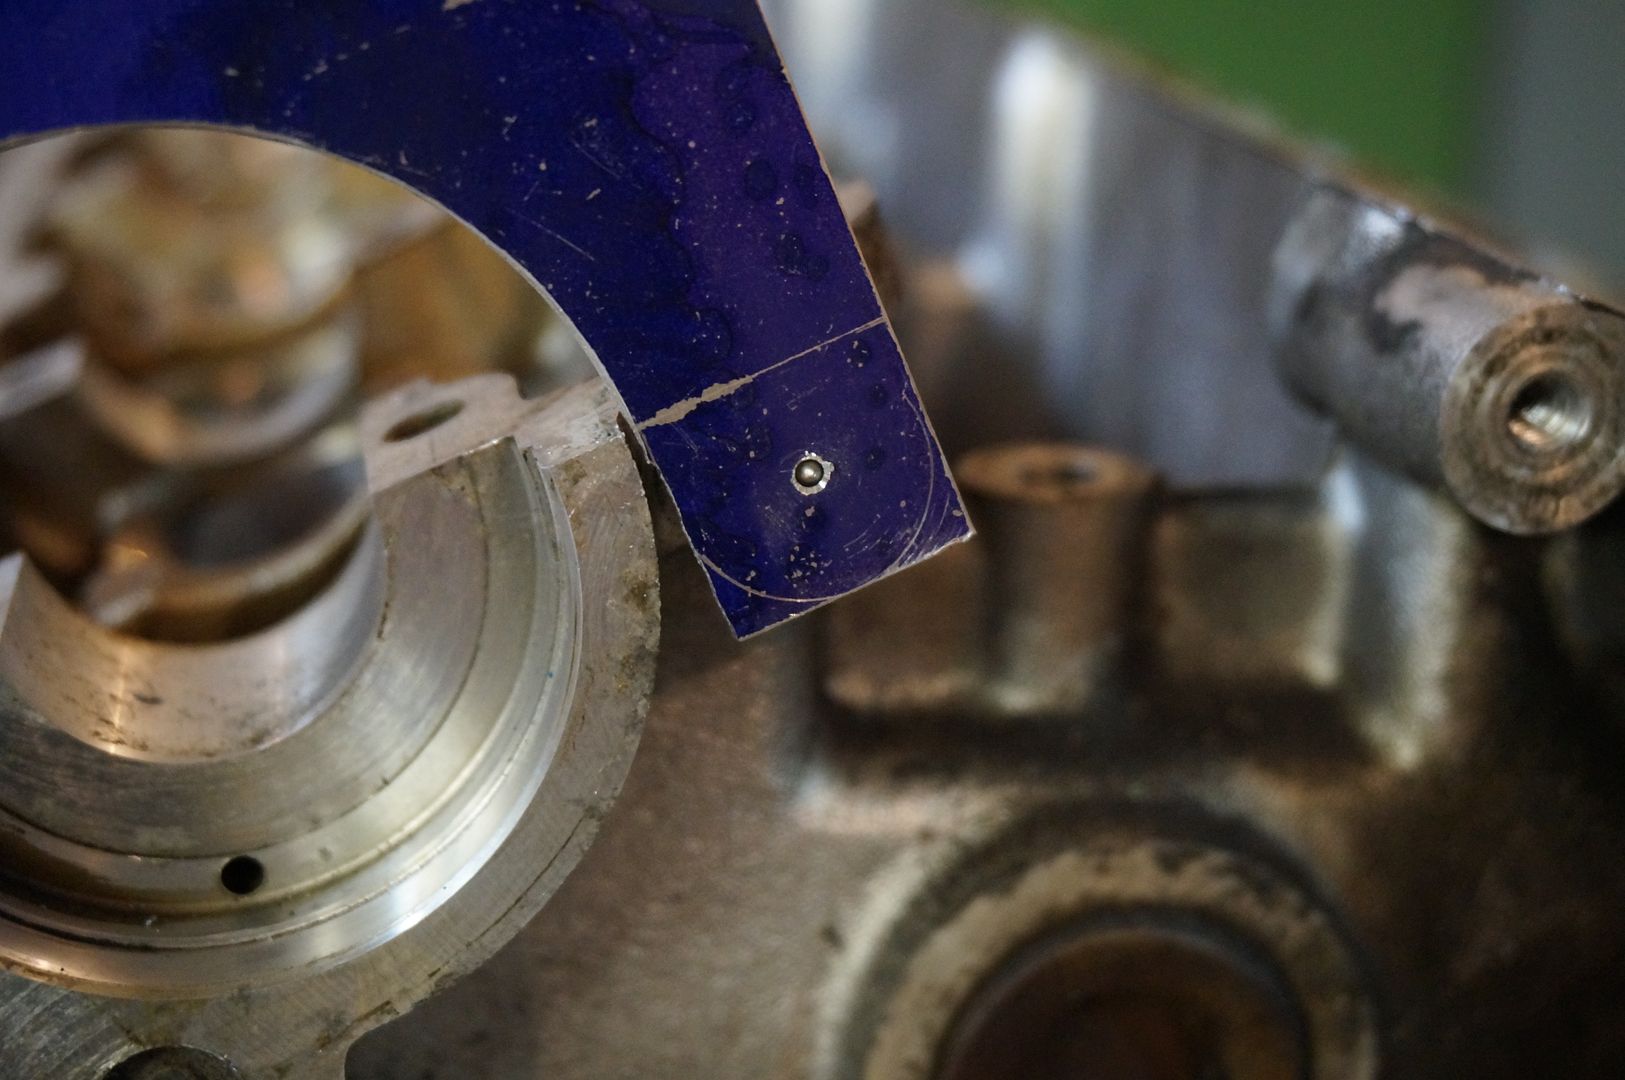
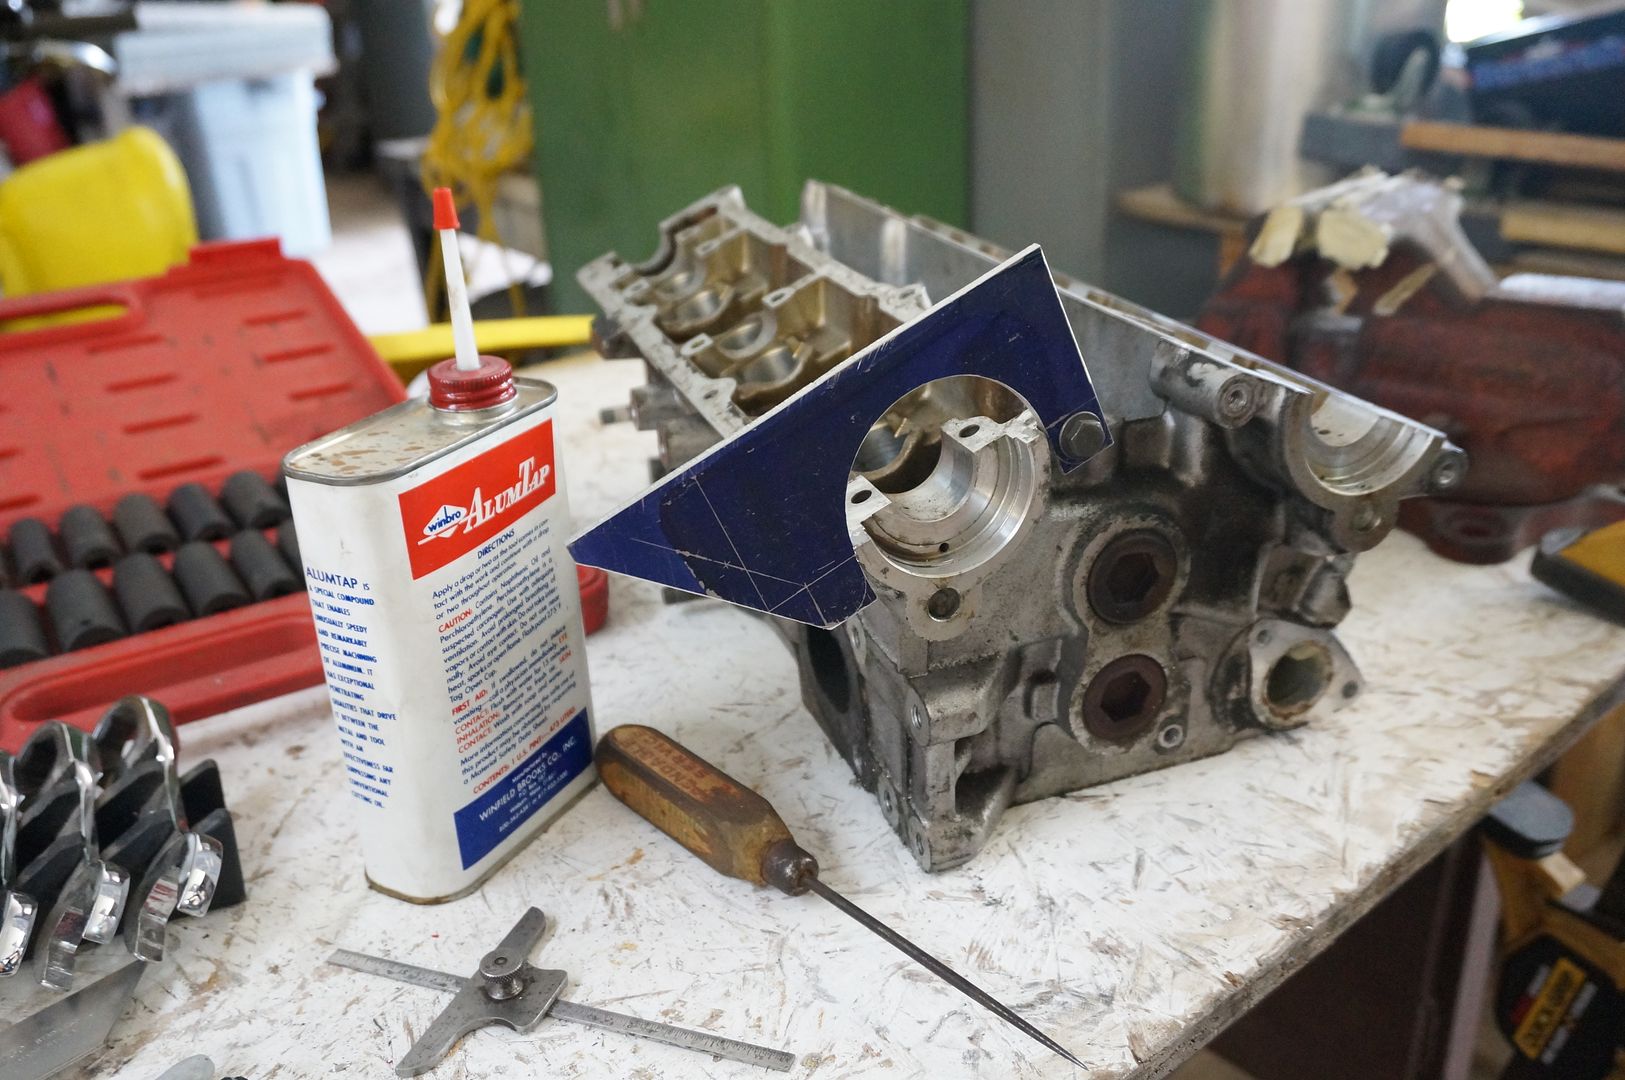
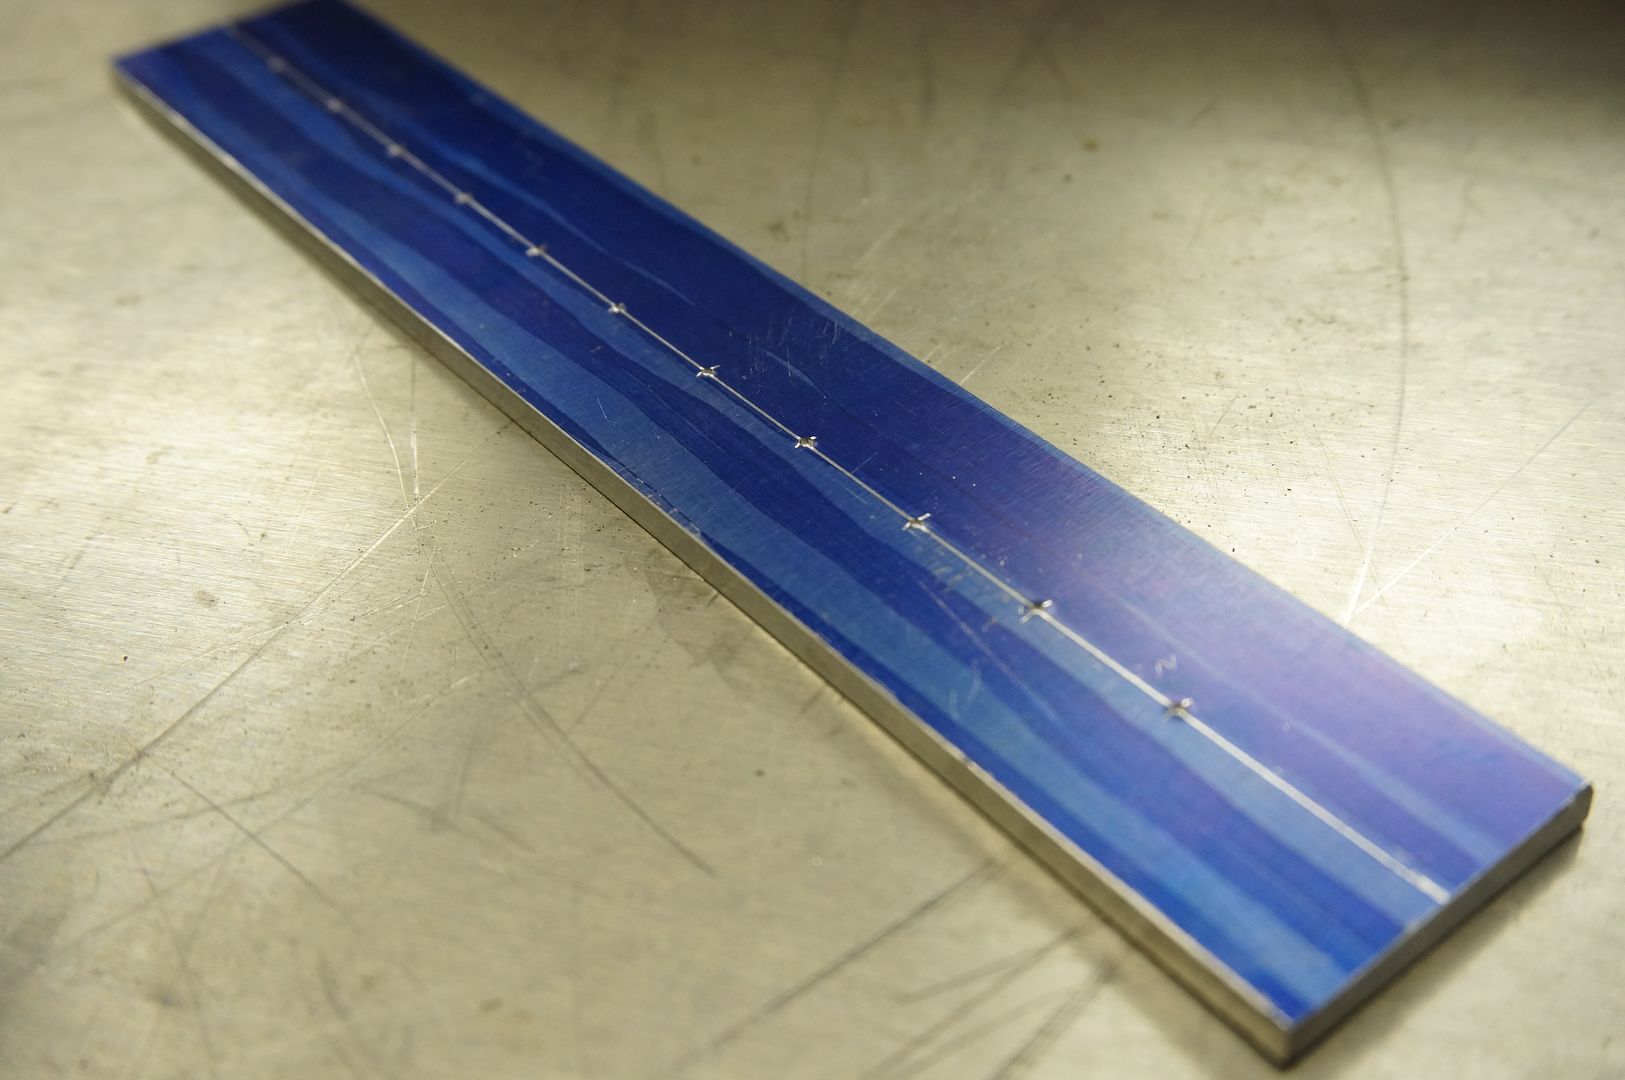
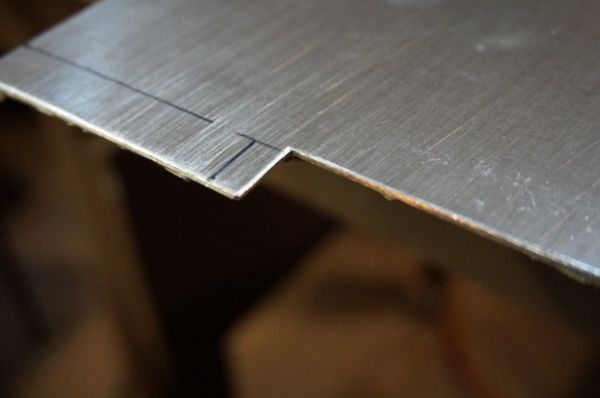
Dykem blueprint for lay out makes precise work very possible, I needed the spray can version the brush on type isn't meant for large areas like this.
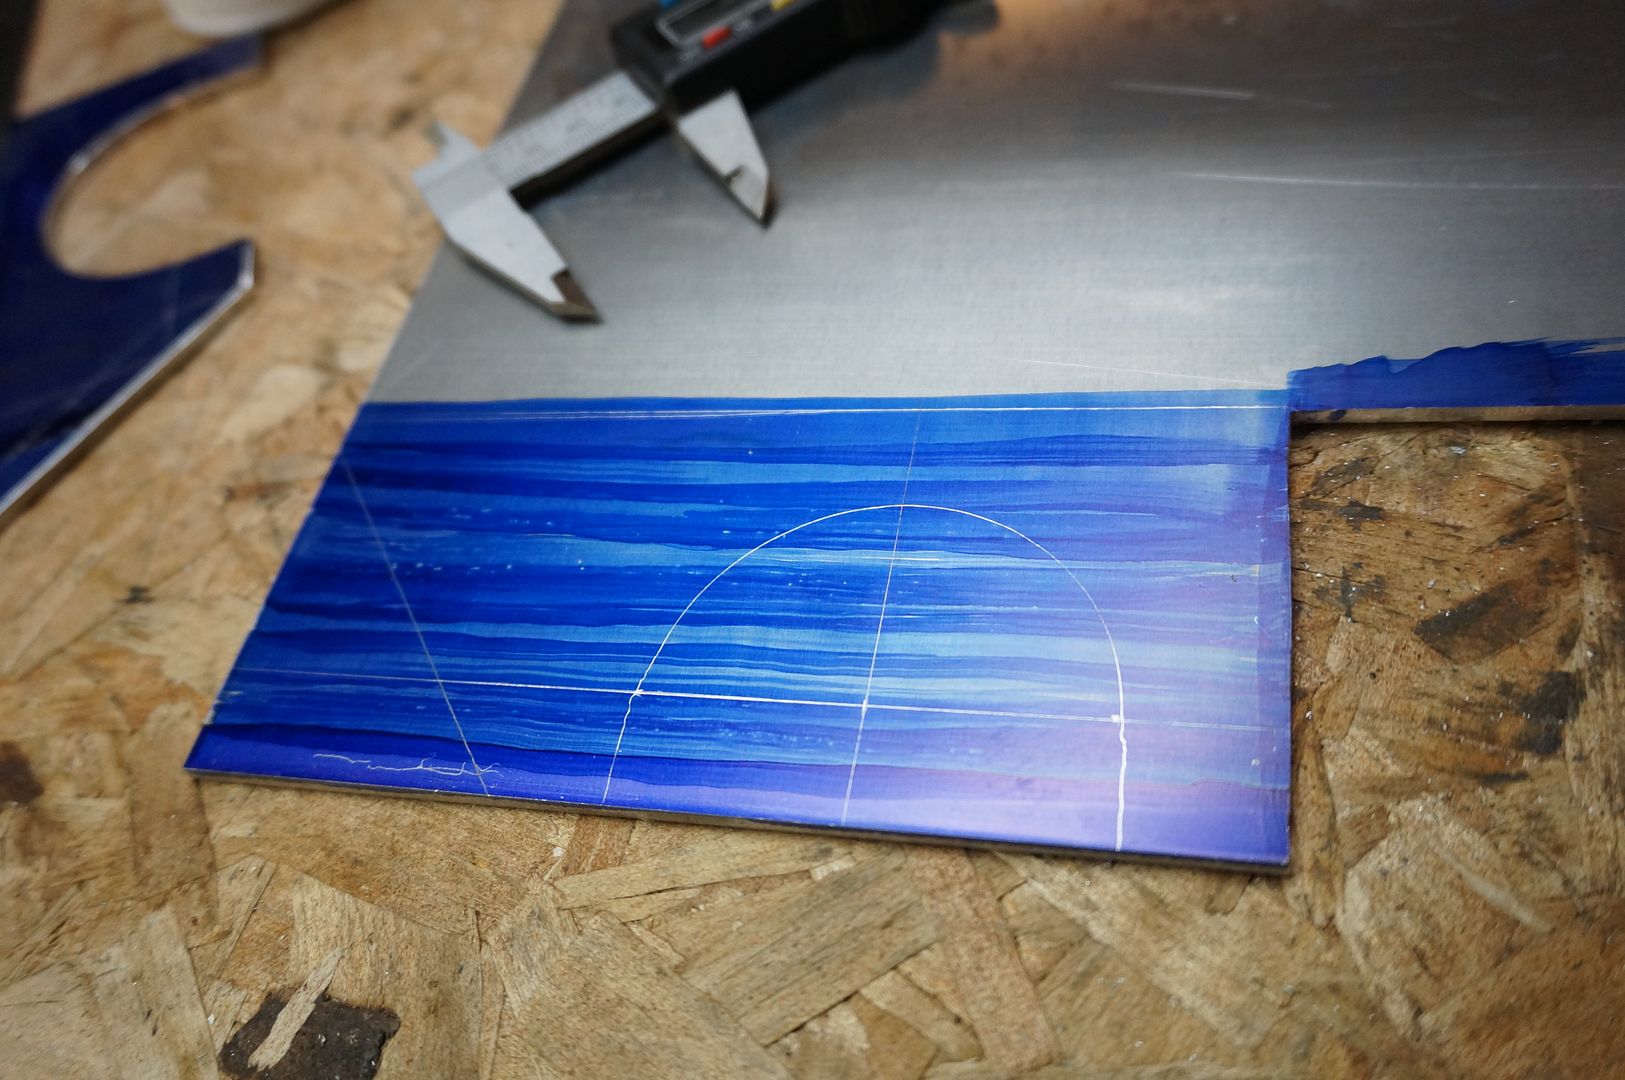
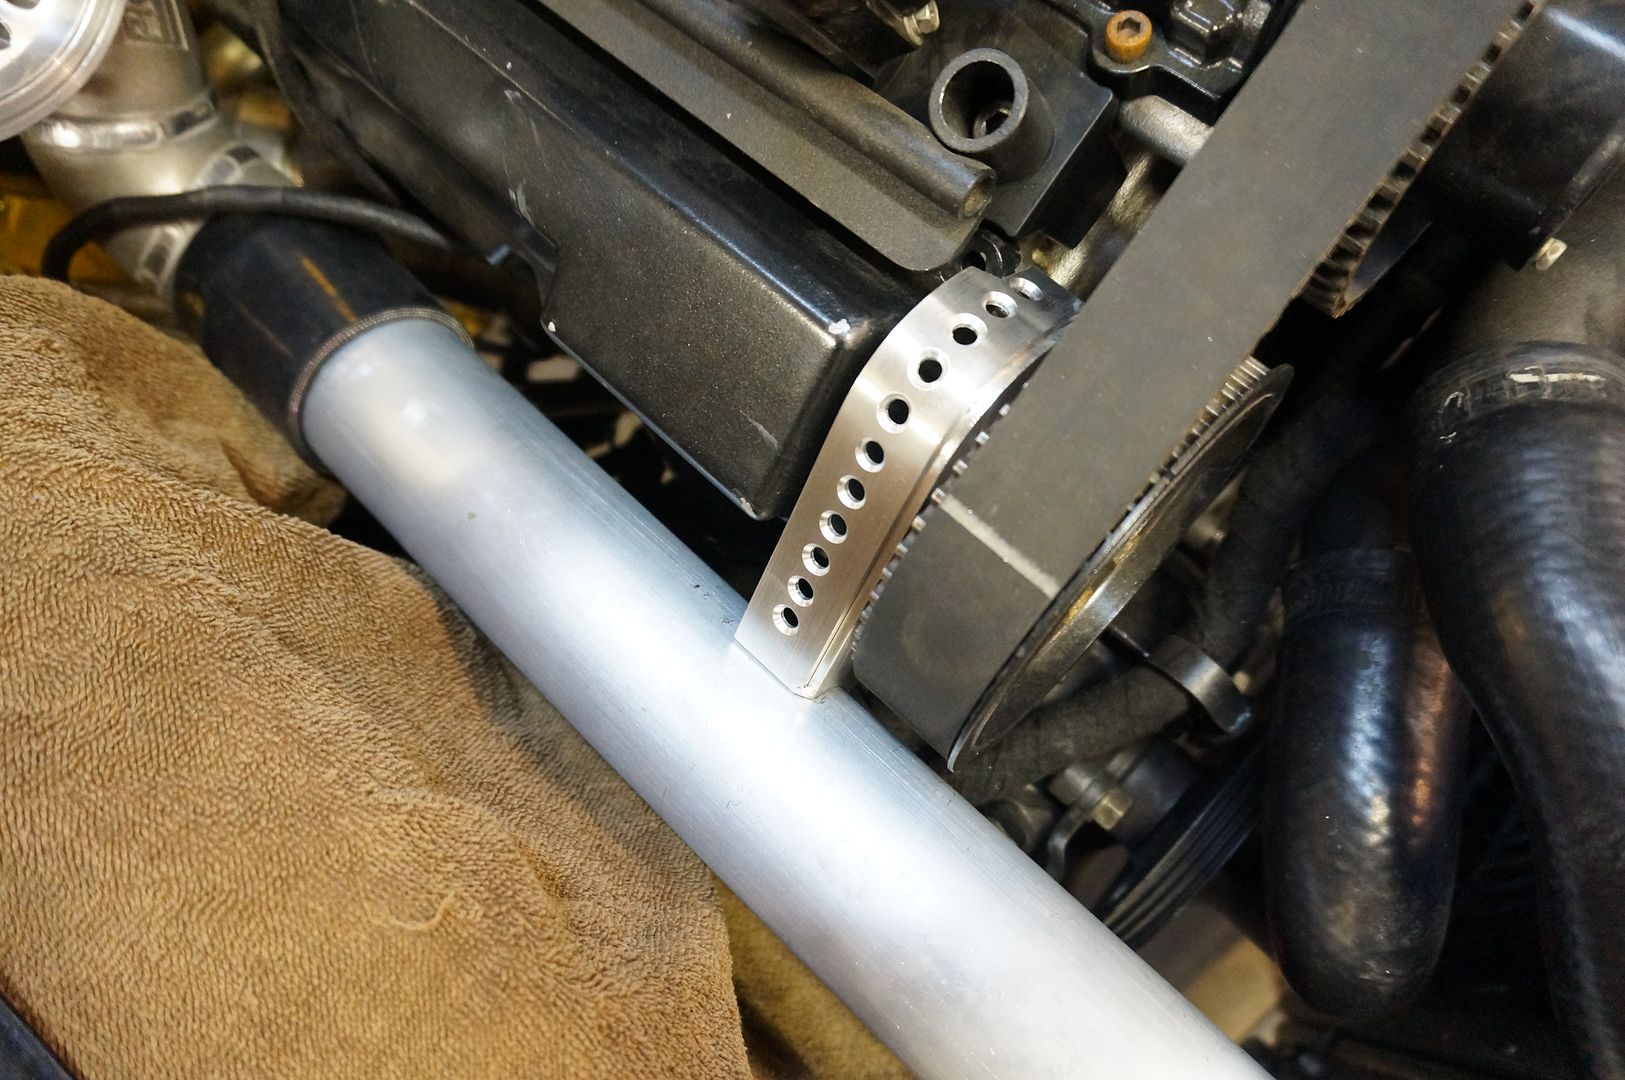
Using a spare head from my N/A motor
Mounting this behind the exhaust cam to where the original cam cover bolted to, added benefit is the coil wires will be covered and protected, its multipurpose.

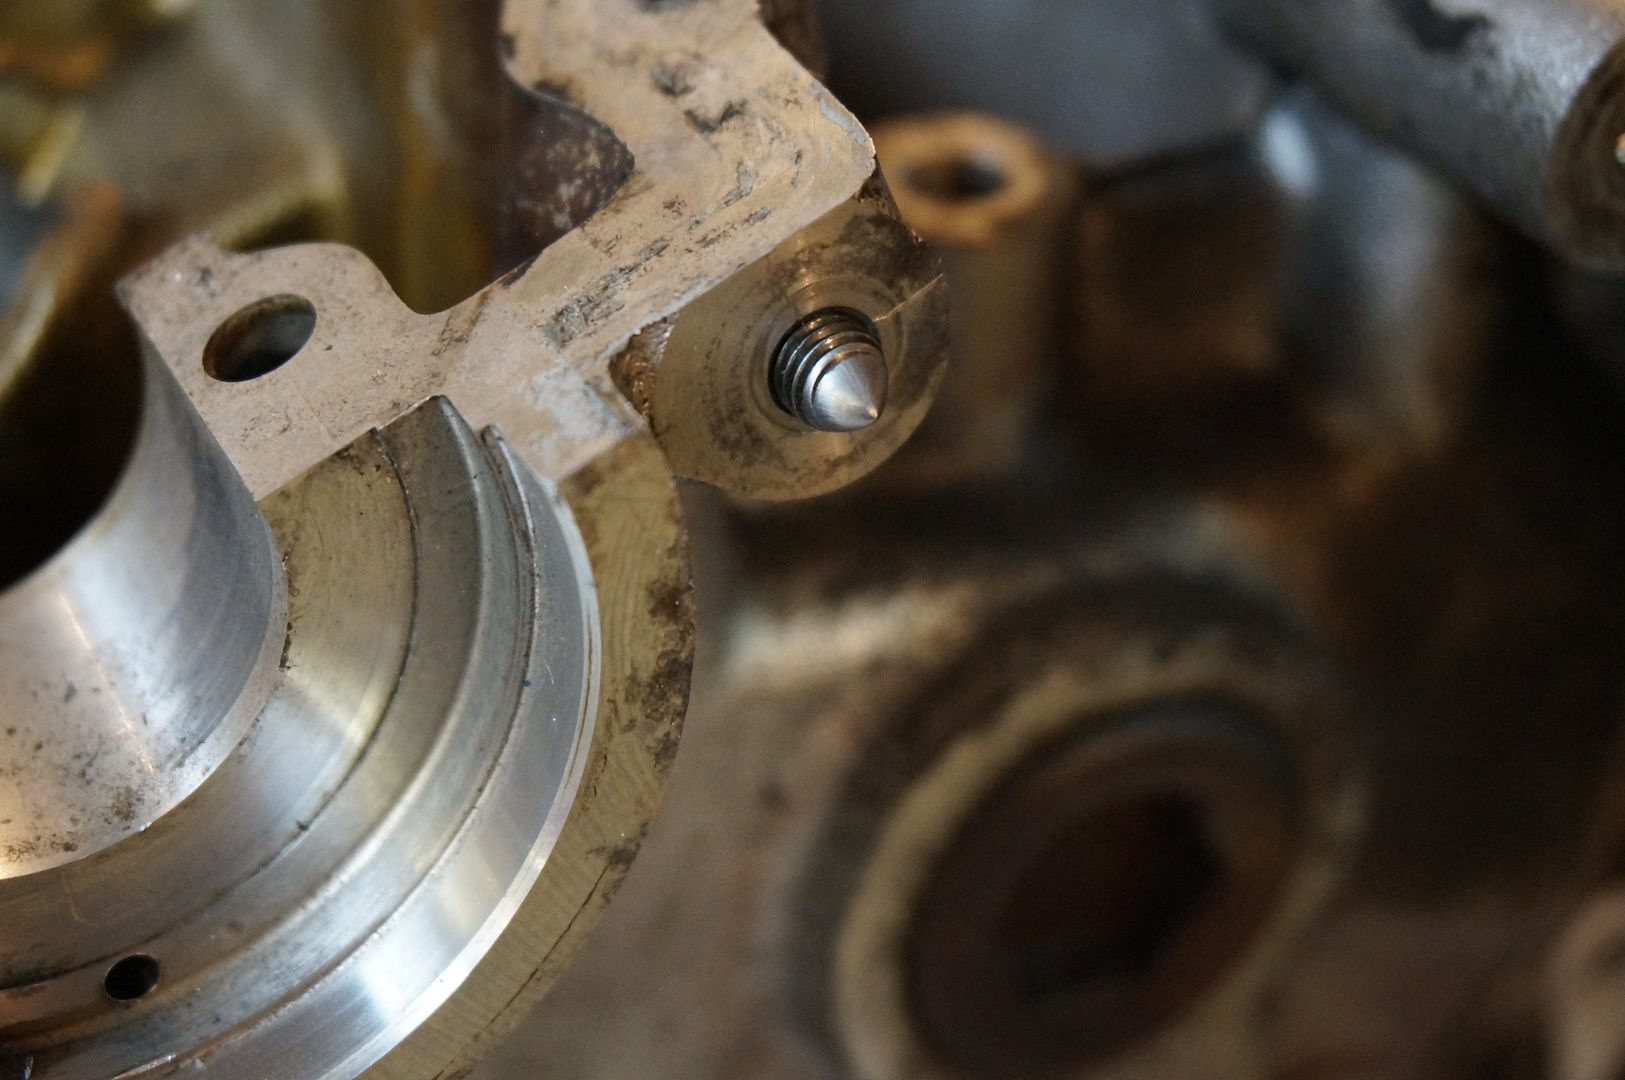
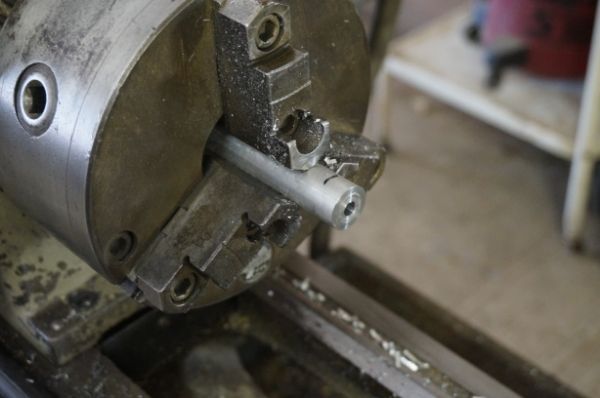
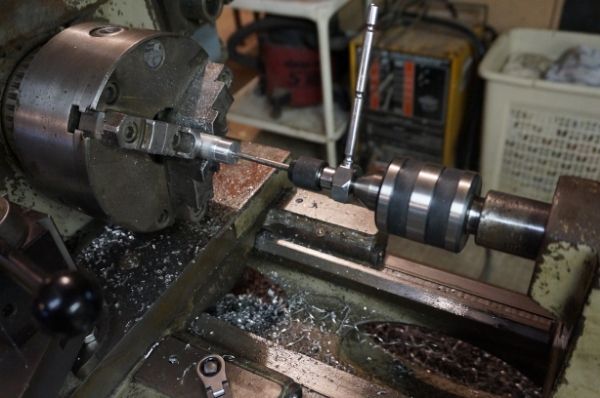
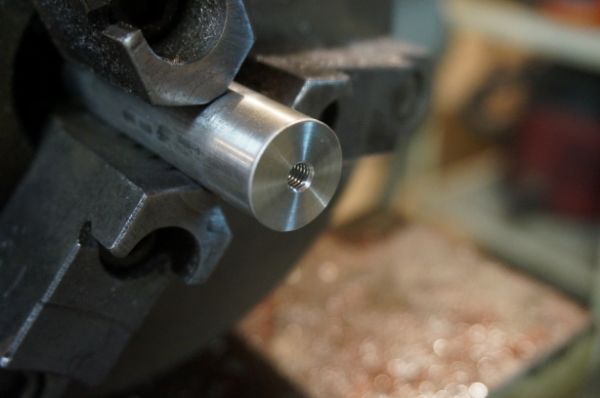
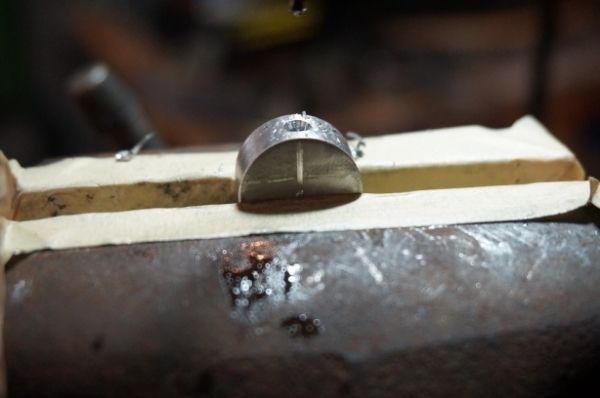
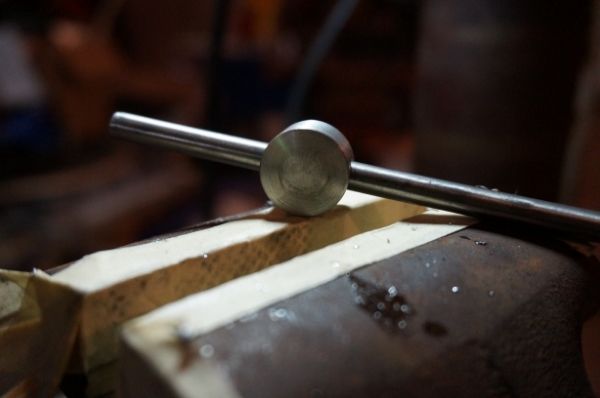
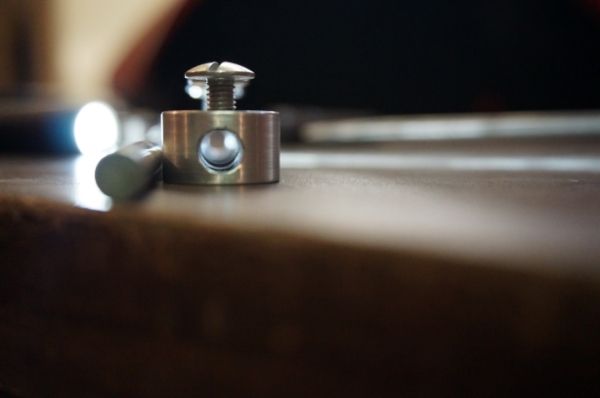
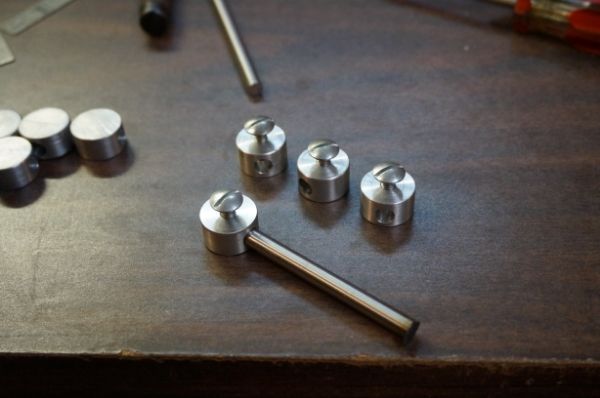
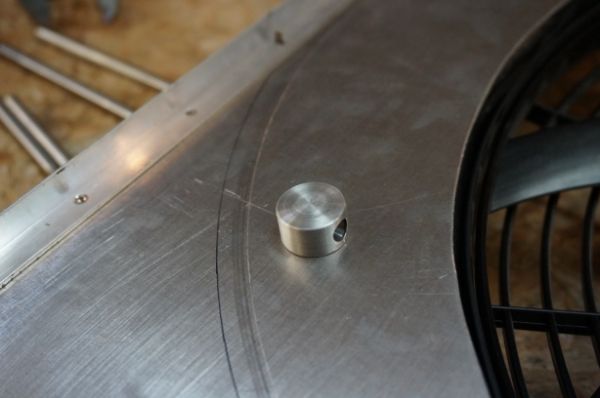
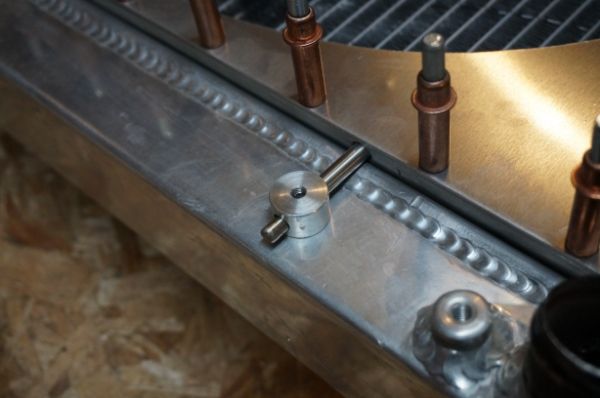
I like making these little bullet nose bolts for when you need to center punch a piece but have no reference point for the layout
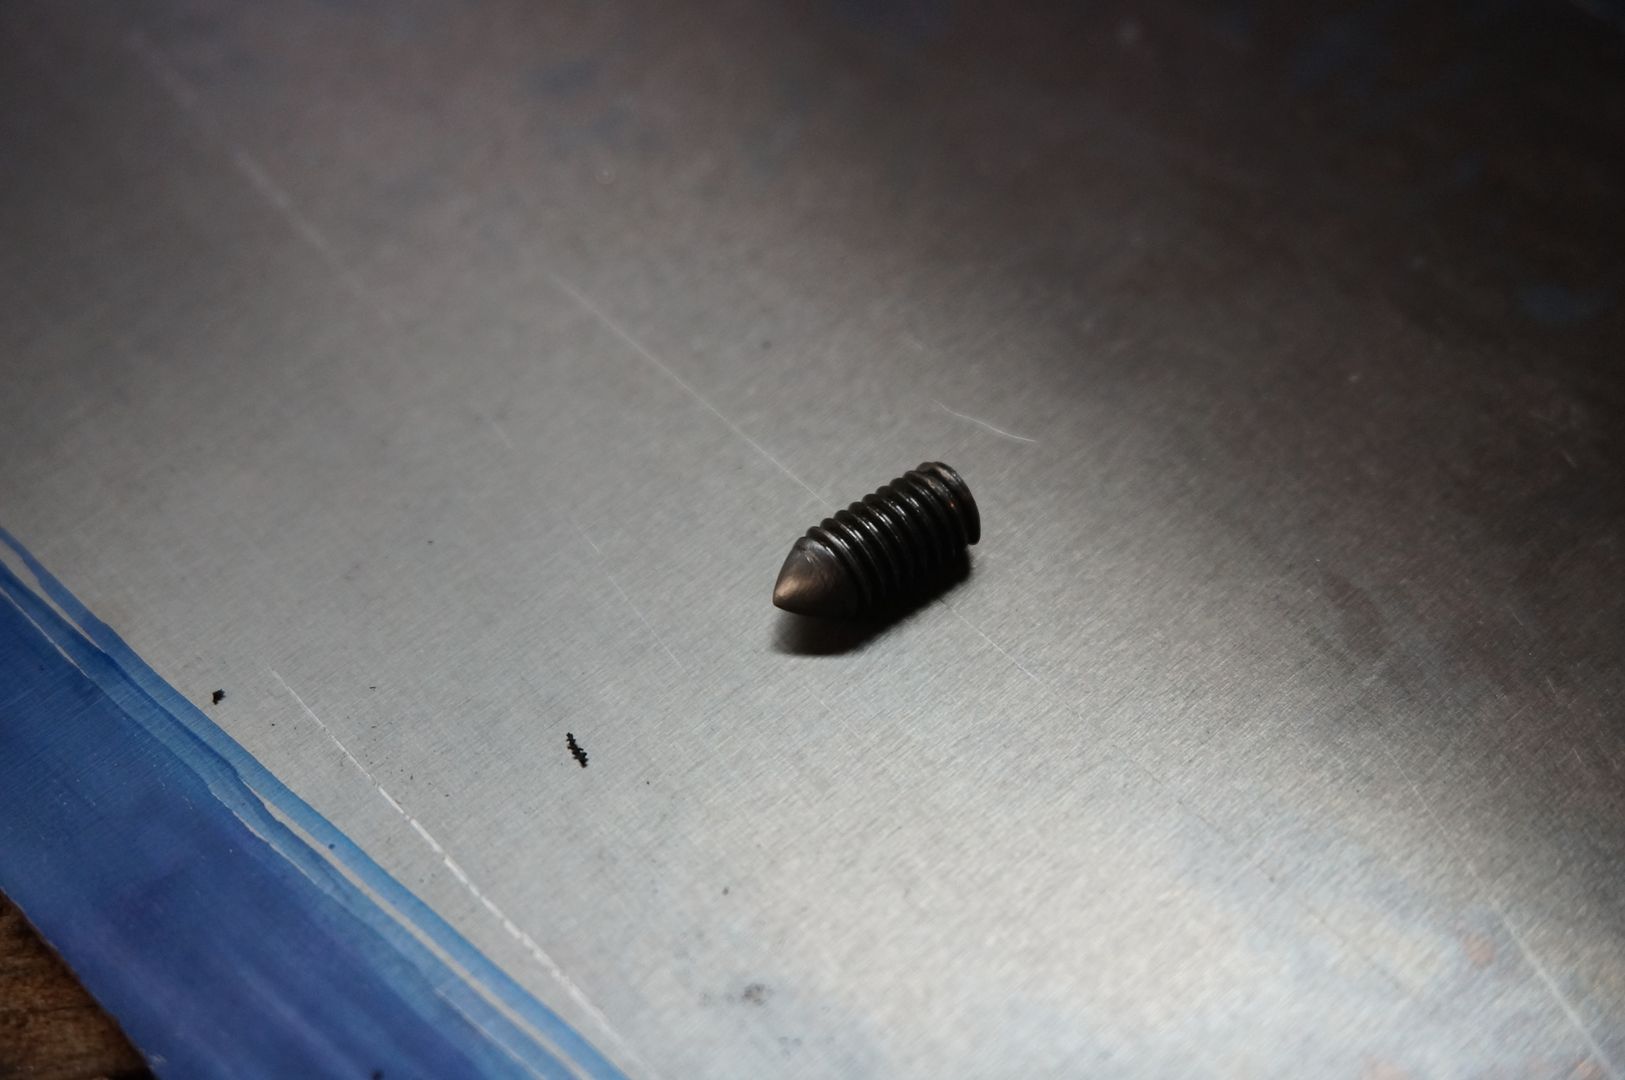
Now all you do is set your piece over the nose of the bolt where you want the hole to be and just tap it with your dead blow

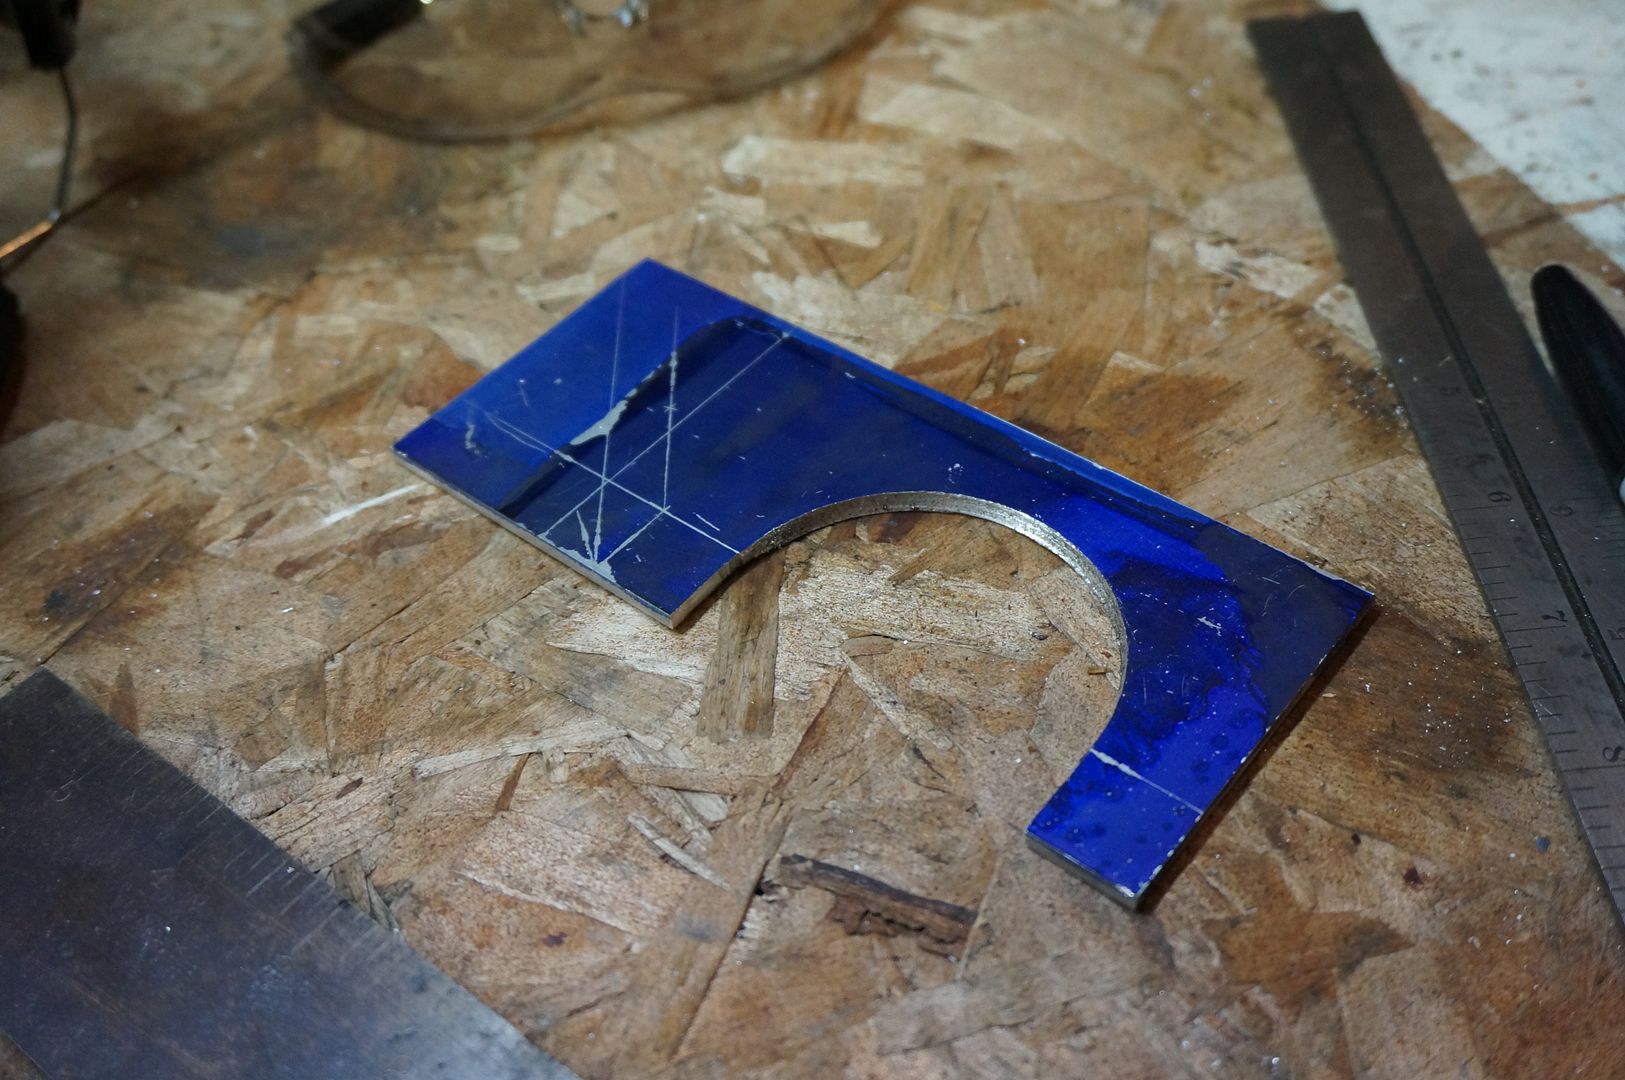
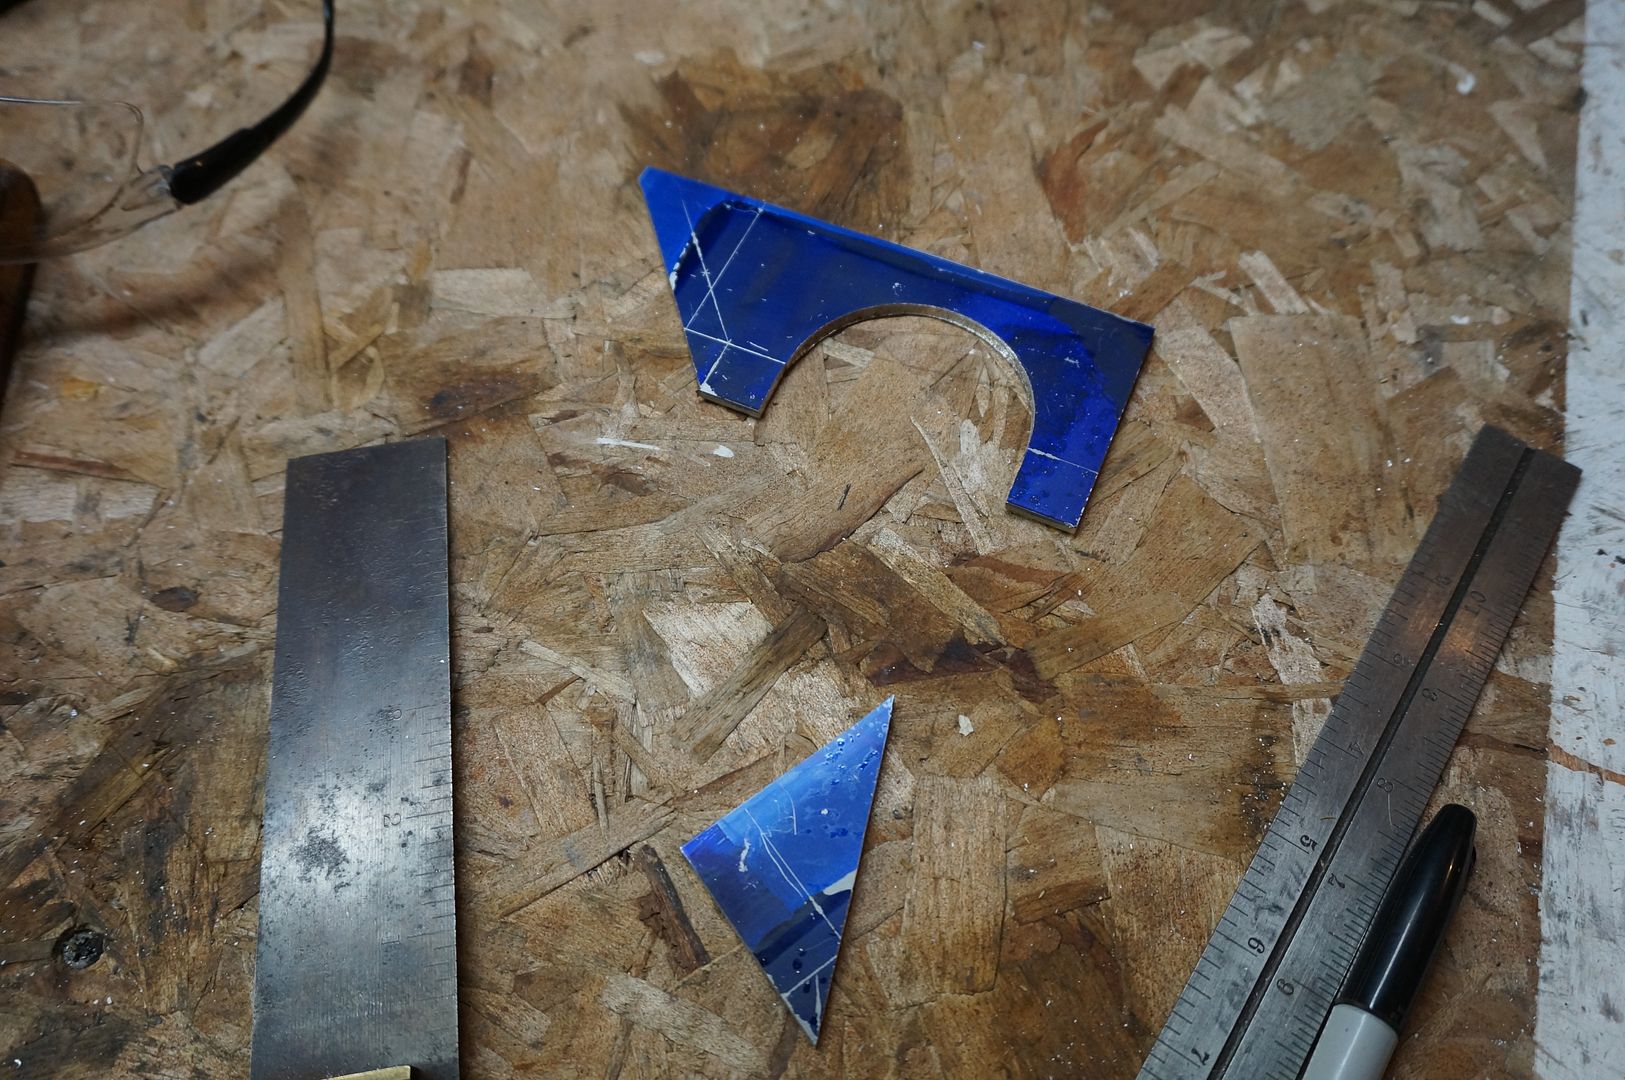
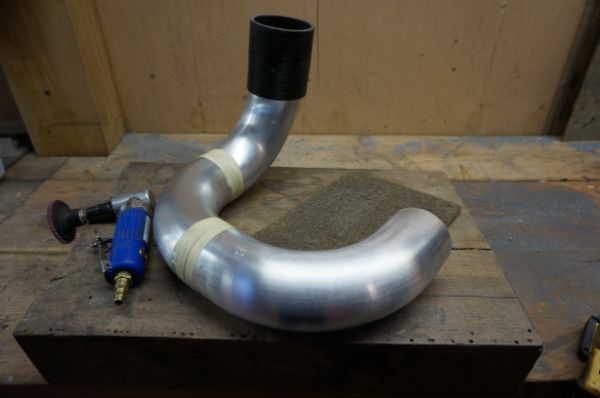
Starting to finesse the final shape
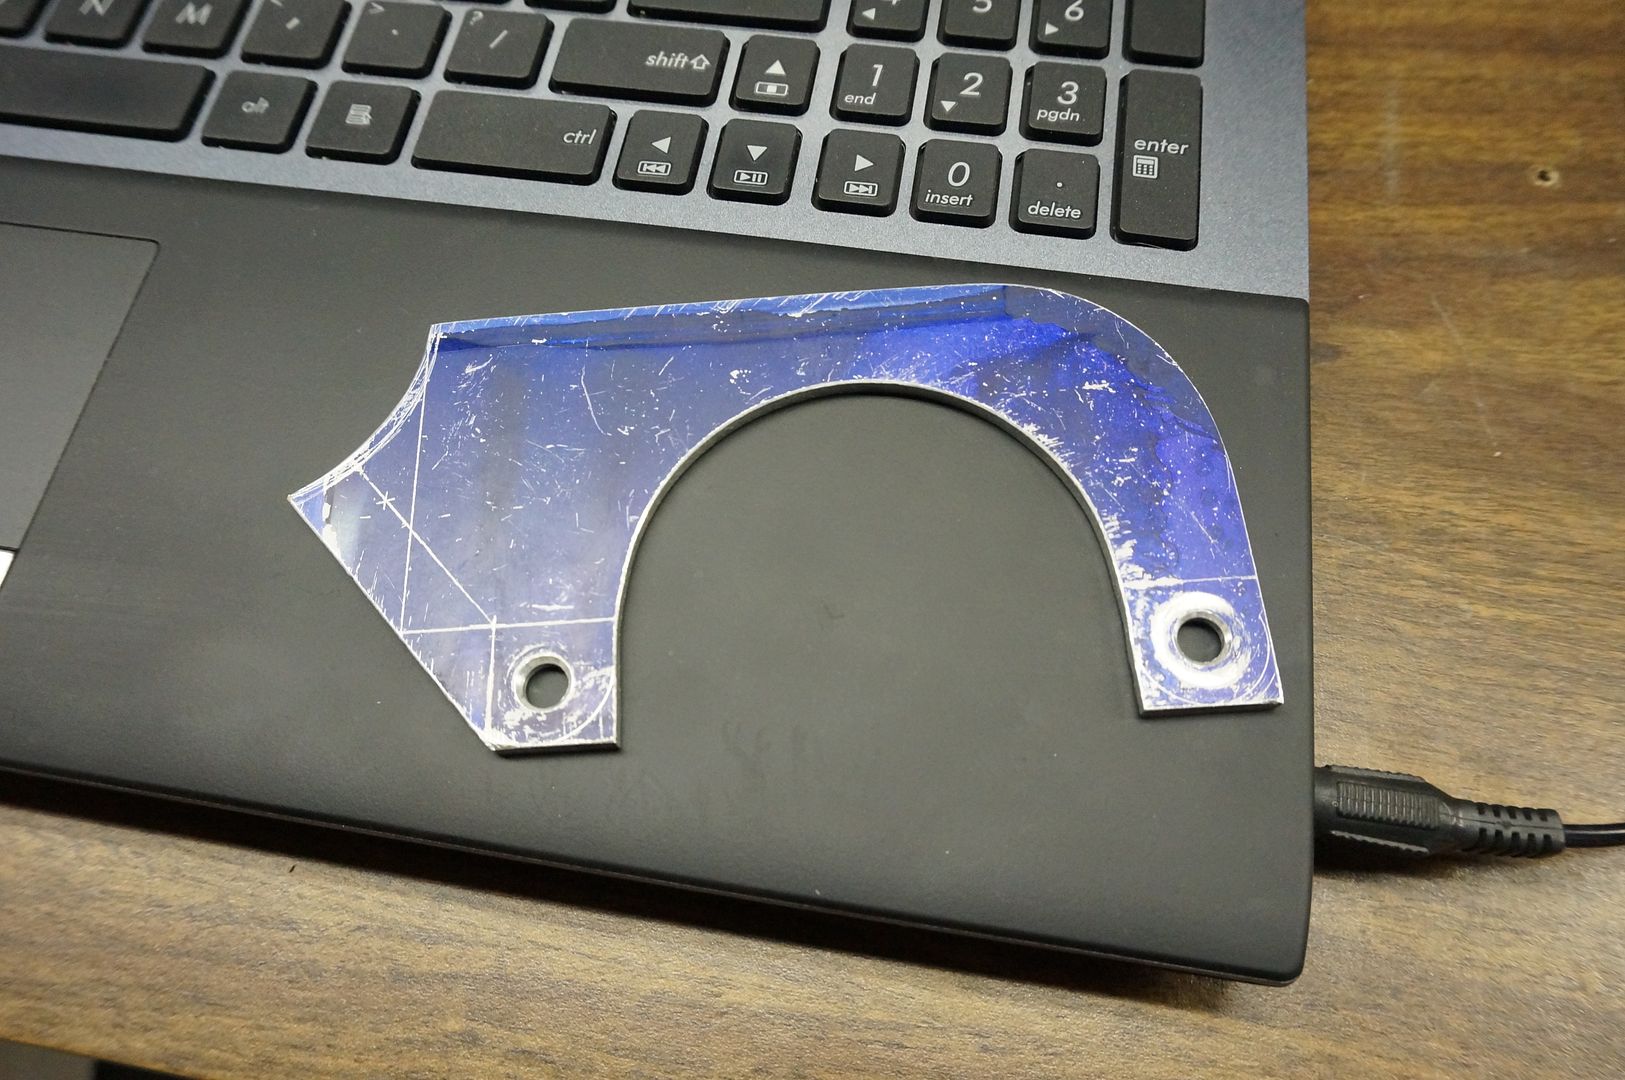
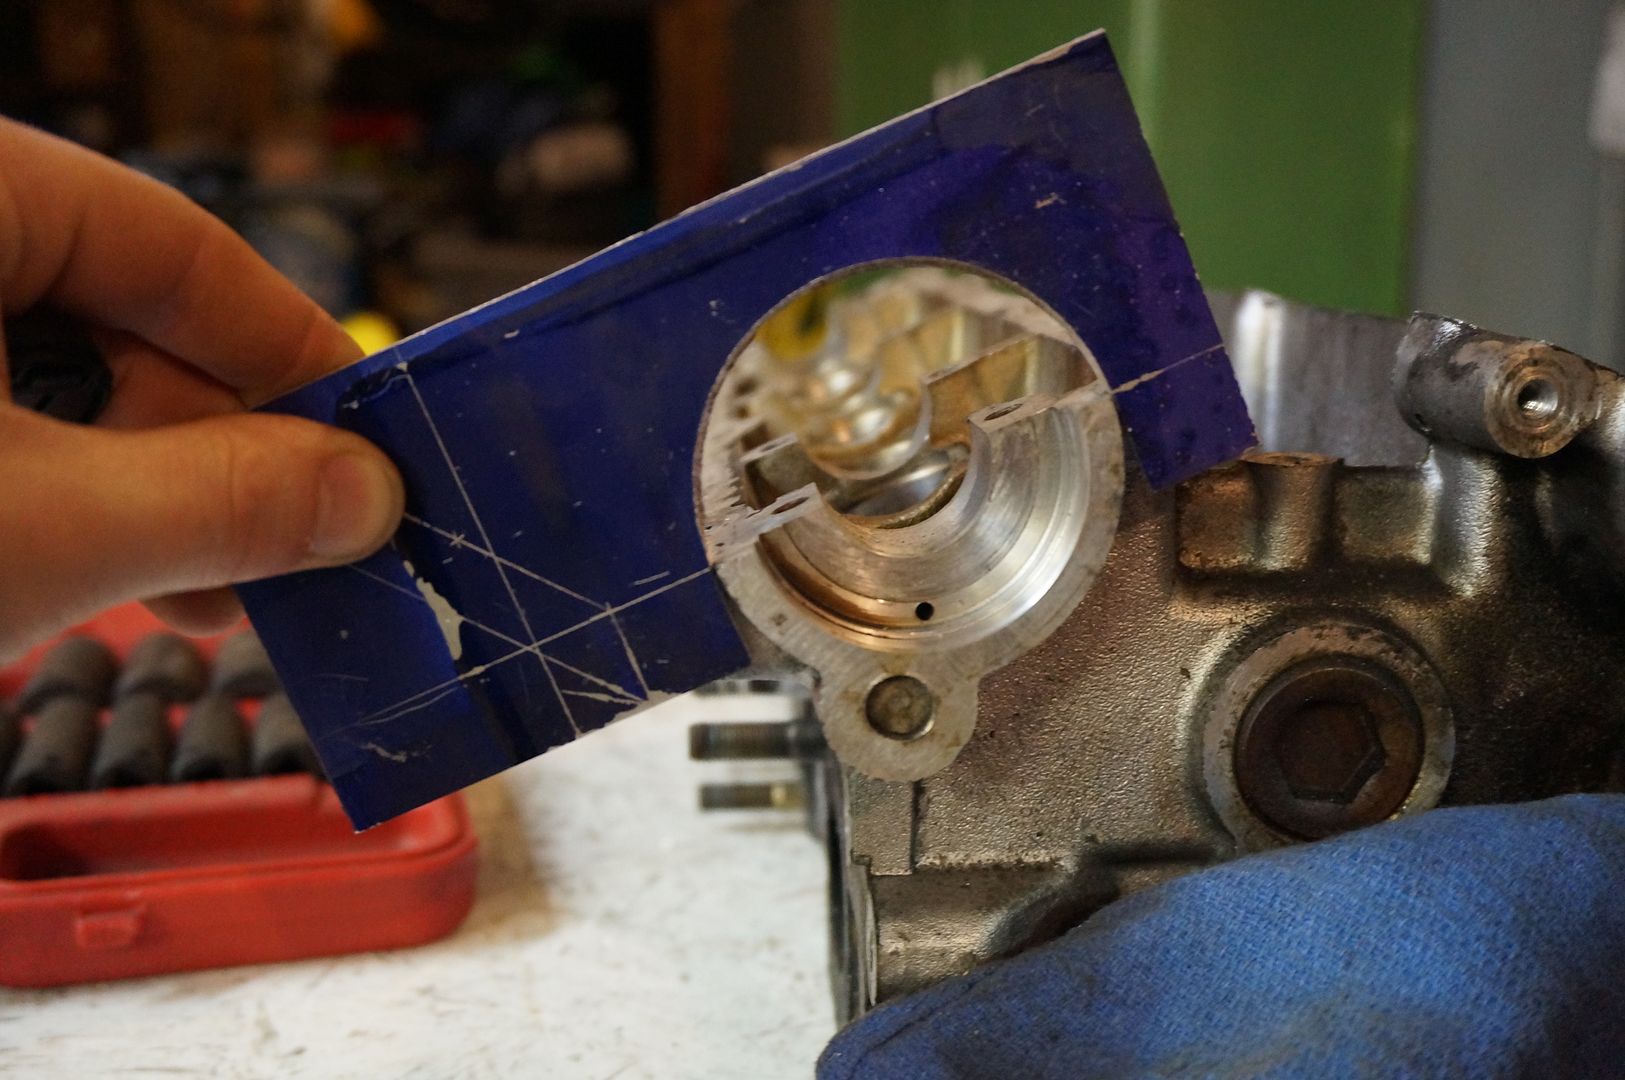
Dat fitment
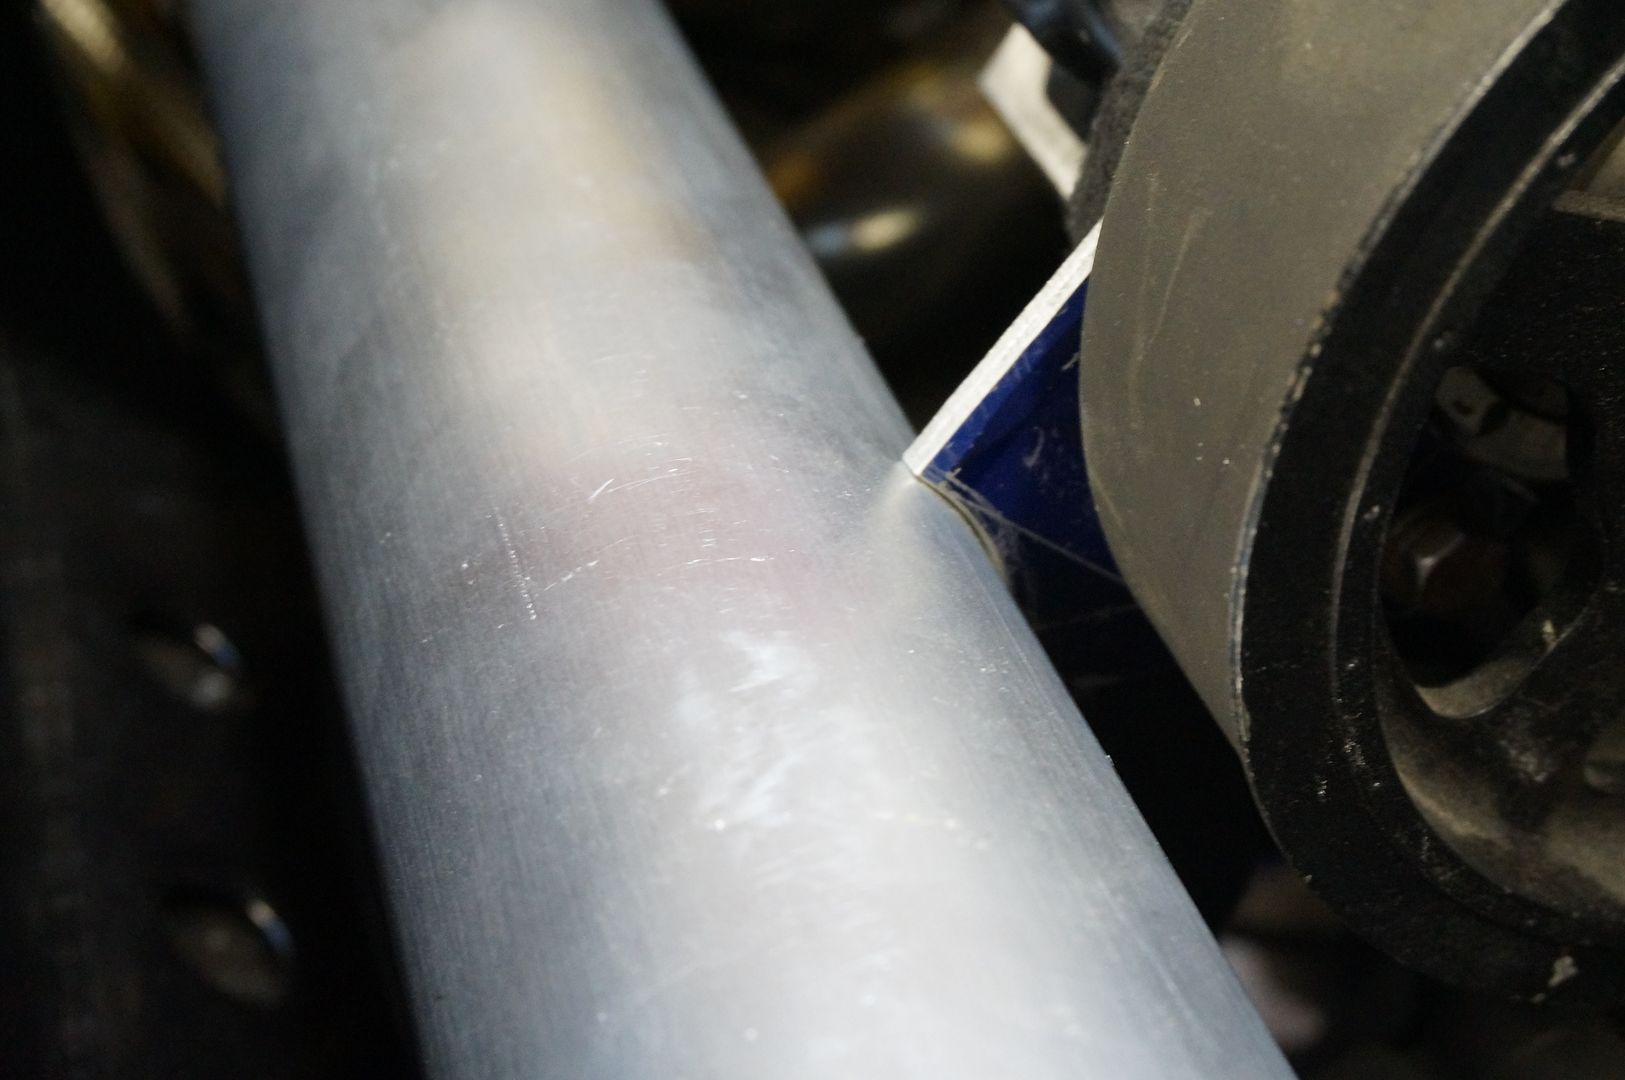
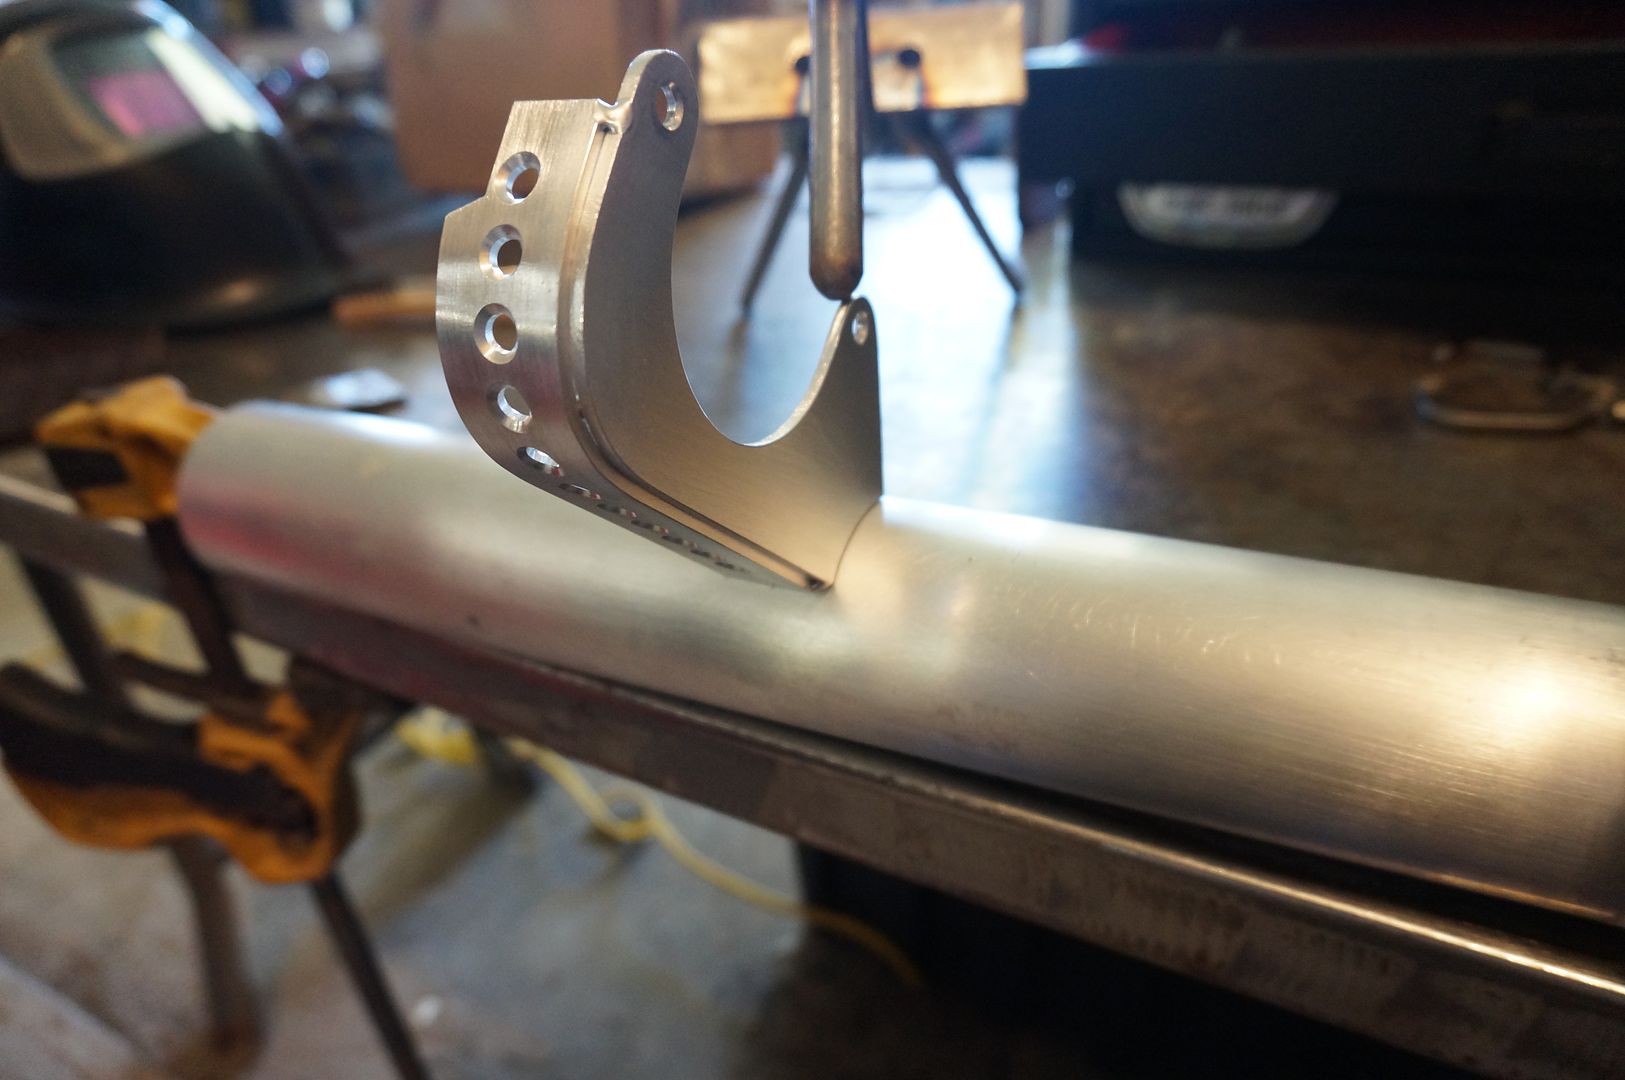
Some scuff pad
Now to triangulate
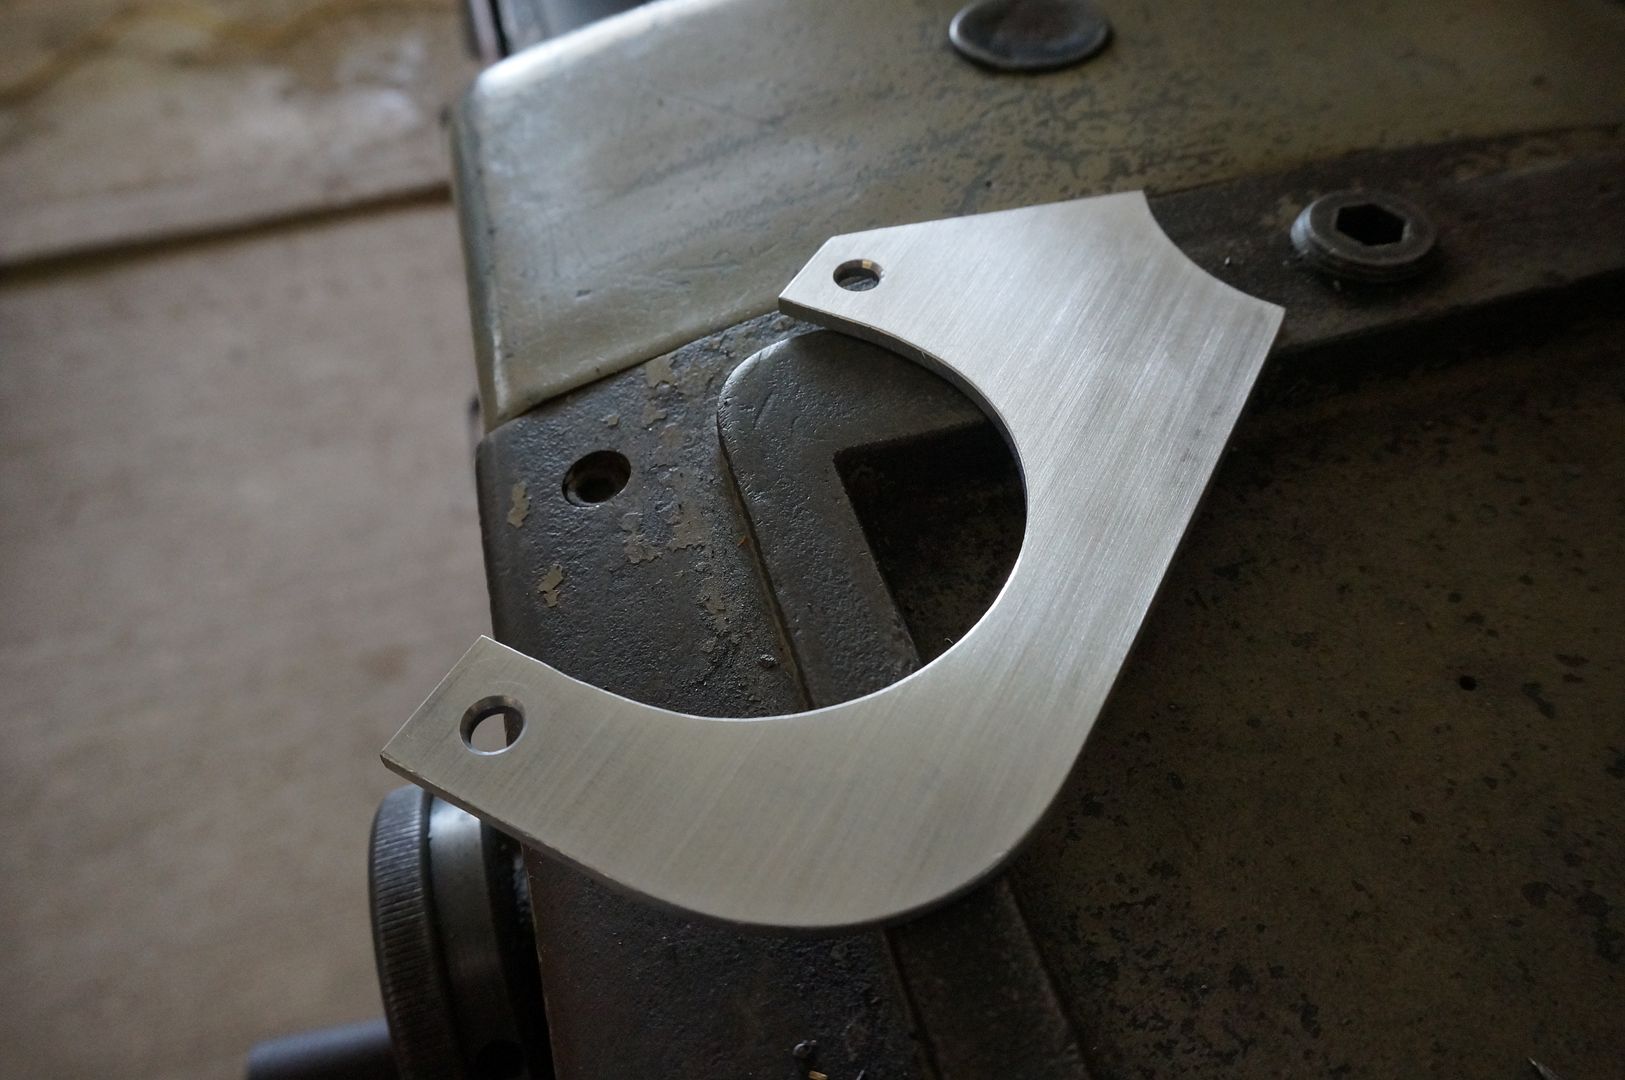
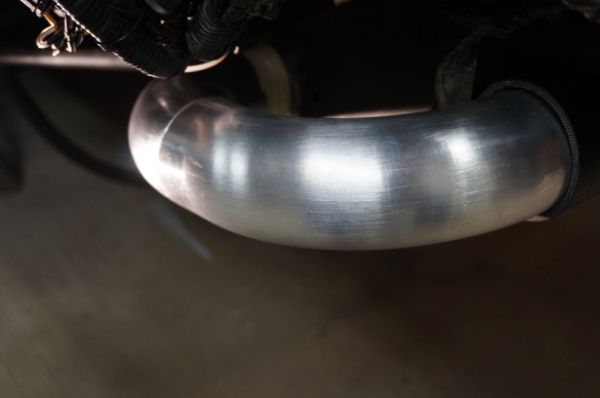
Fits so nice
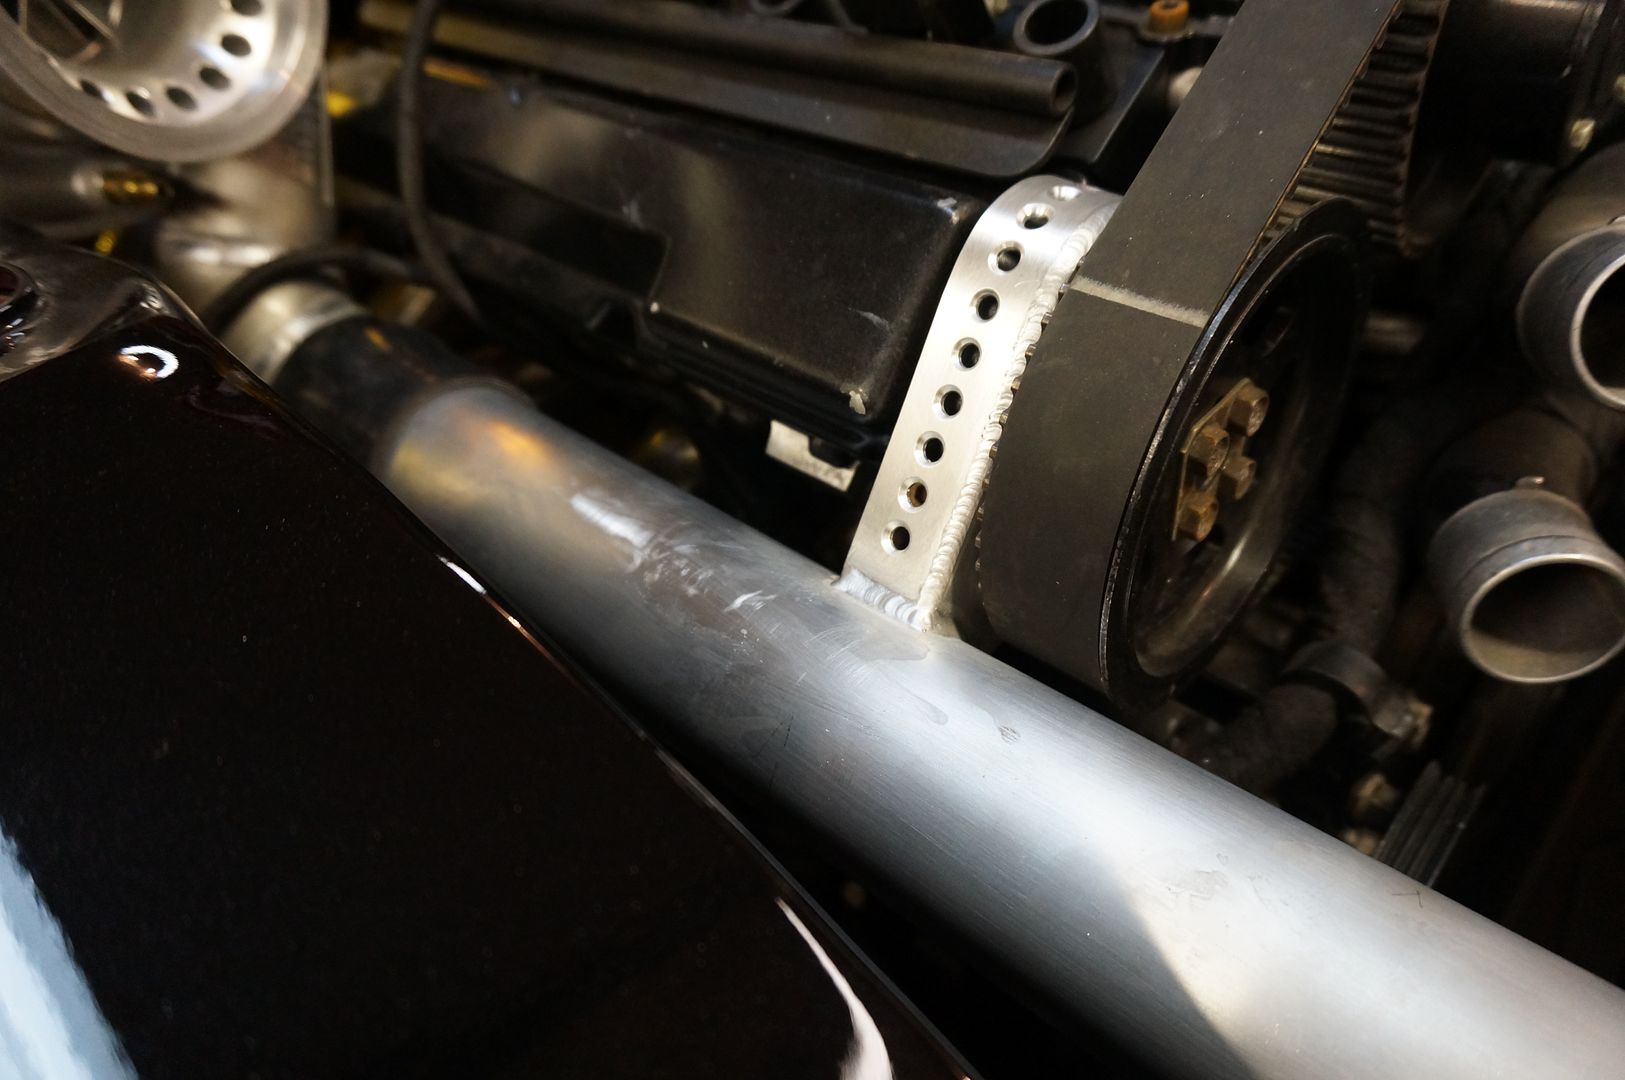
Weld it up
Done and done
Leave a comment:
-
i need to be missing something here
this car is beautiful. the fab work is amazing. the time, effort and attention to detail put into this goes far beyond most show cars i see.
this is not a missile. awesome build and stuff but lets not throw that word around. makes everyone look silly.Leave a comment:
-
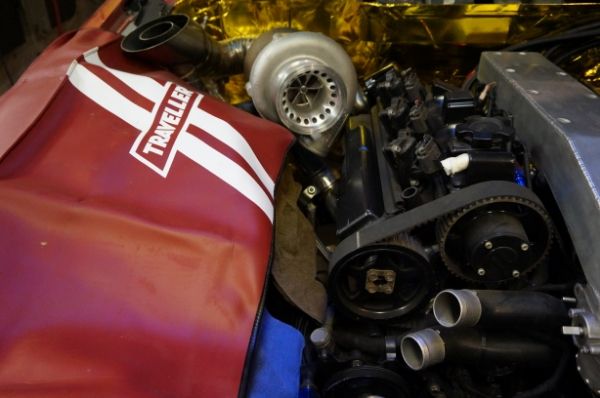
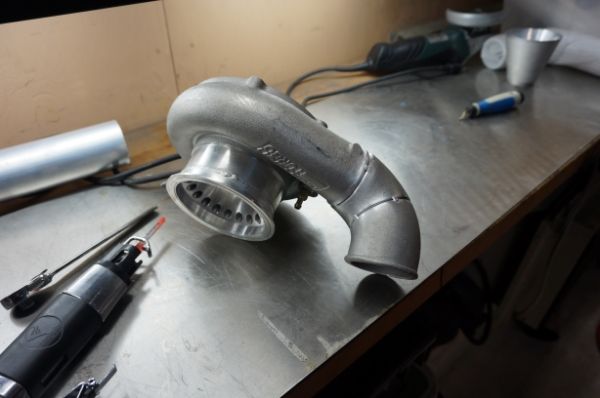
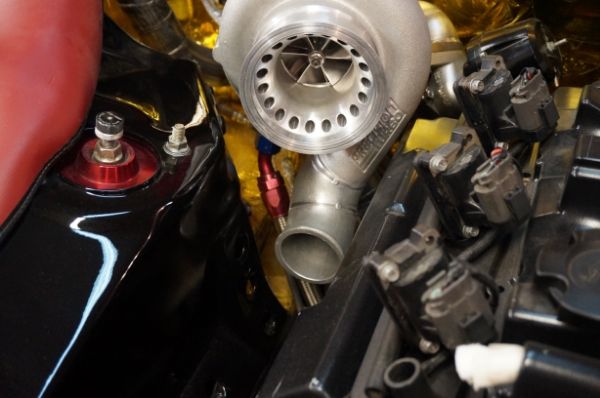
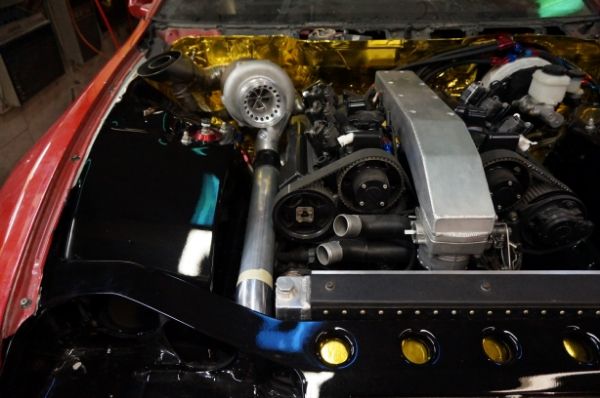
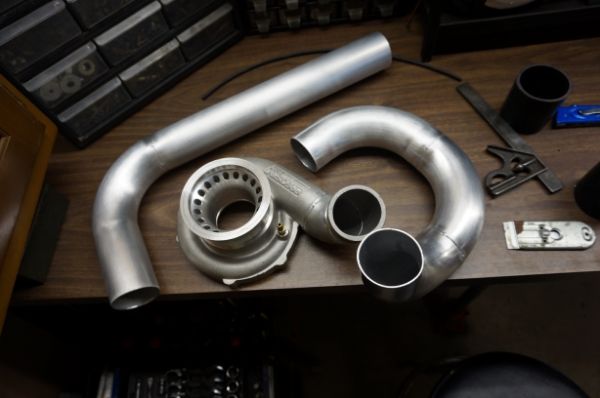
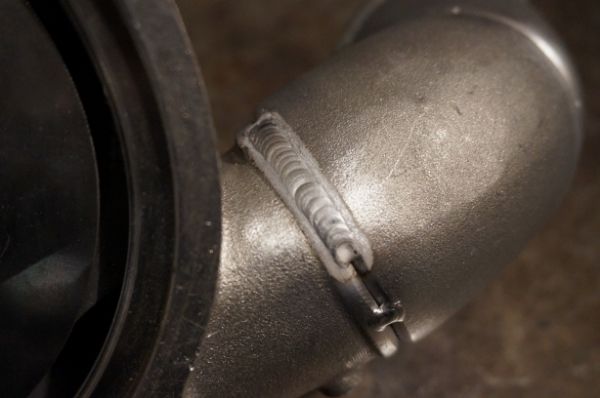
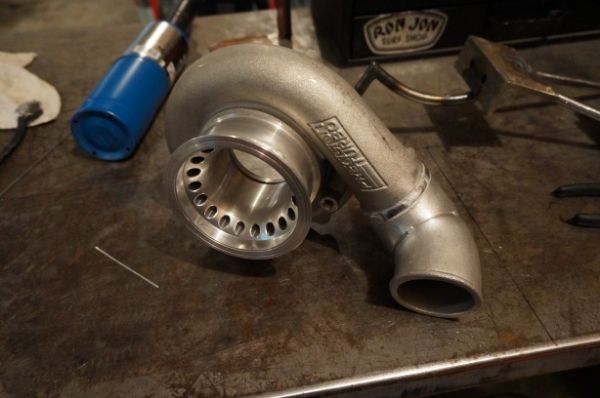
It's charge piping time
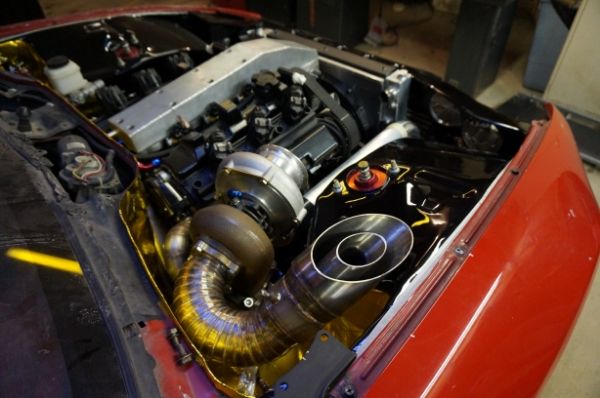
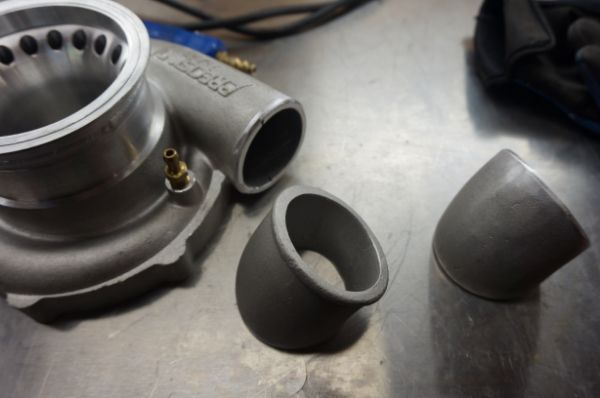
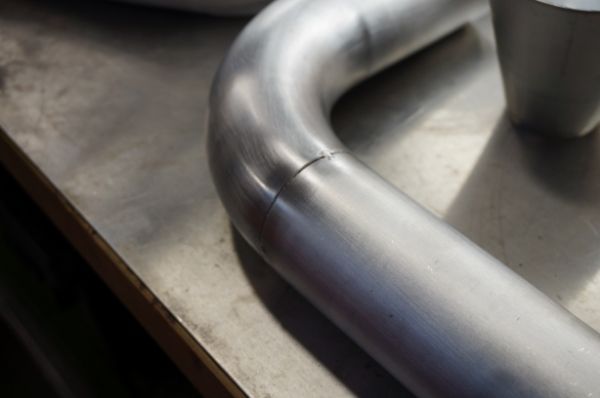
Modified the snout of the turbo and added a tight 90


Tacked
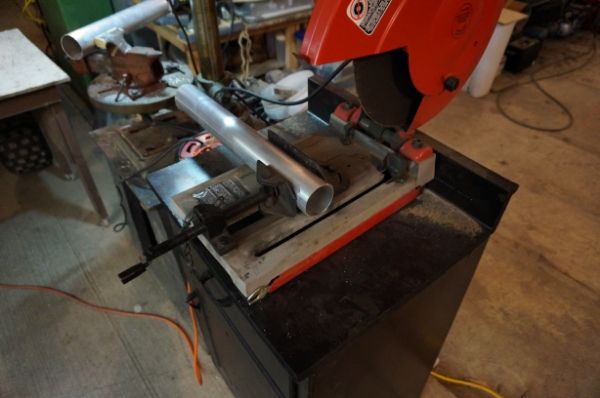
Tube connecting cold side to intercooler
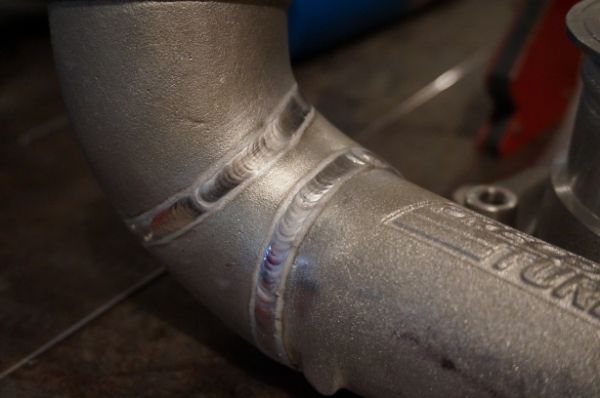
All tacked and ready to be welded
Preheating this snail
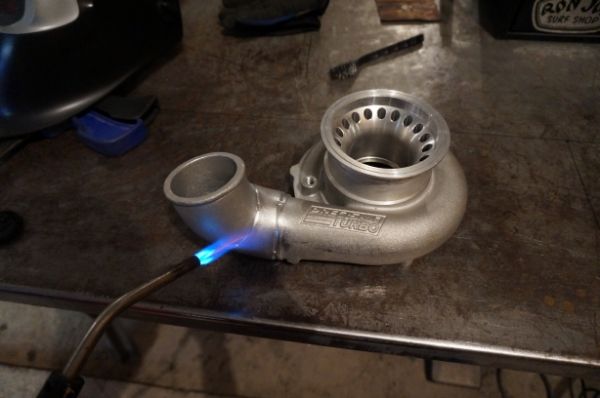
It's meh worthy
Leave a comment:
-
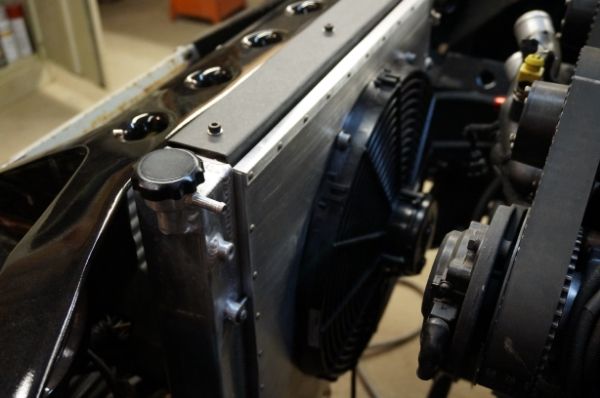
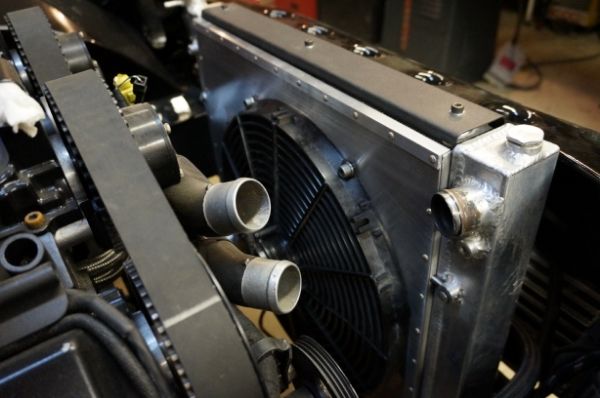
Wow.. Talk about attention to detail!!! Shroud looks great man!! Love the car too
Leave a comment:
-
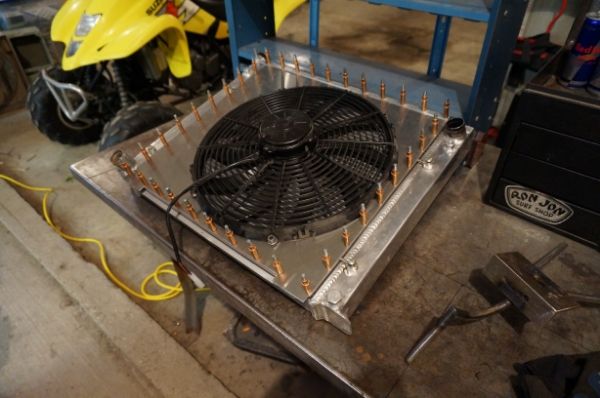
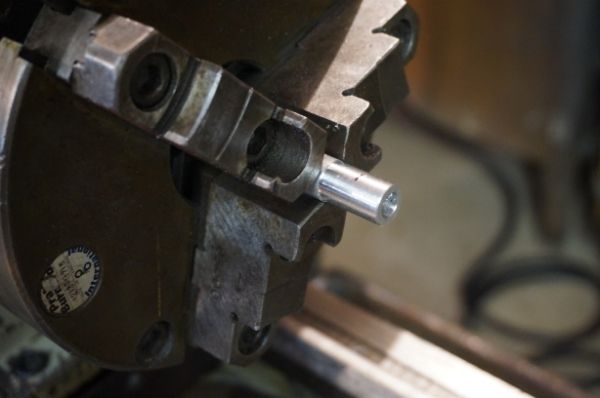
More lathe! Cutting threaded lugs for the mounts that will attach the shroud to the radiator.
Tap that shit
Drilling all the way through the side
1/4 stainless bar
Here they are all lined up and look pretty close, not bad for just a drill press
All 4 lugs for the shroud and all 4 lugs for the radiator cut and ready to be welded on
Fan shroud lug
These will be welded on the inside of the shroud
And the lug for the radiator
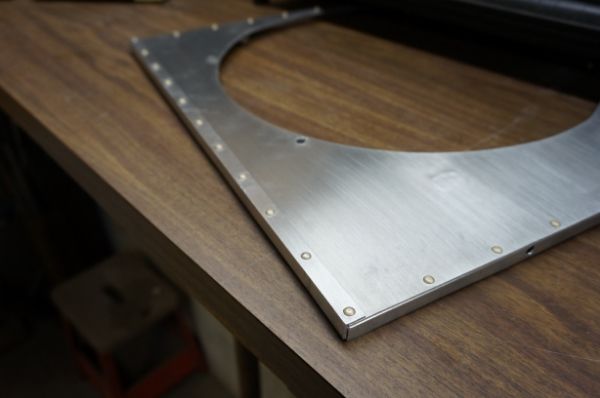
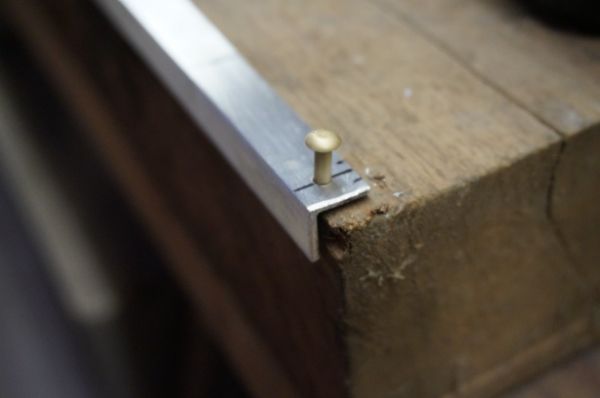
Time for rivets
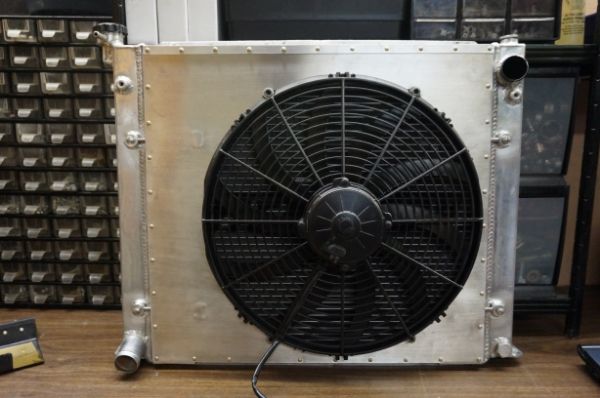
That is about it for the shroudLeave a comment:
-
I will be keeping the exterior paint OG, if I do decide to paint her there will be a color change. Thanks for the props and interest!Originally posted by acidlips242 View PostLast edited by EasySpeed*Inc; 05-08-2014, 08:08 PM.Leave a comment:
-
Awesome car, beautiful work. Will you be painting the entire car that same color or is it going to remain just a feature of the bay?Leave a comment:
-
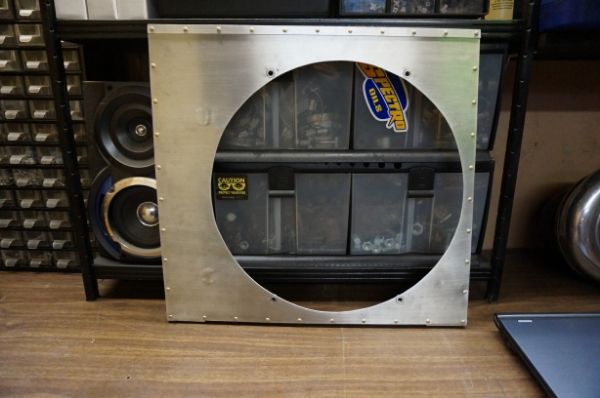
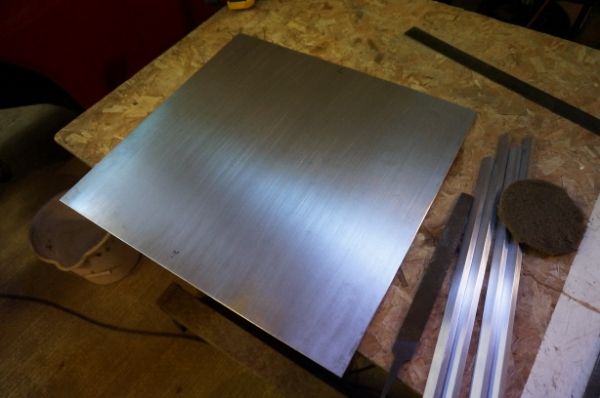
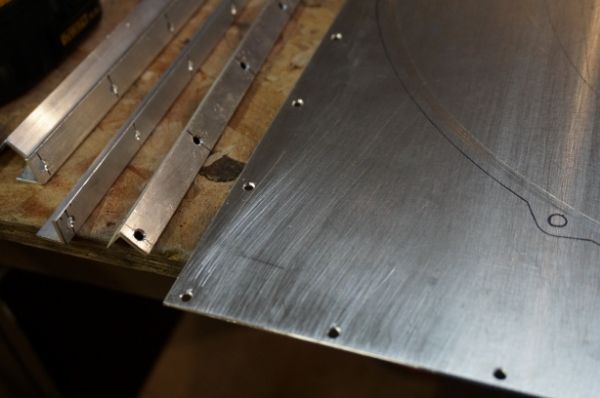
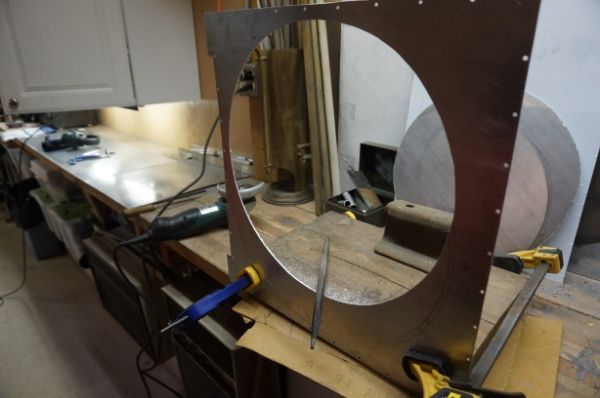
Its time to build a radiator shroud, Lets check it out
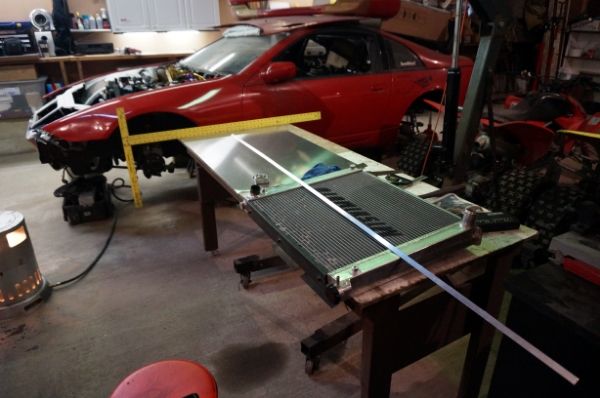
.065 aluminum sheet coupled with .065 aluminum angle
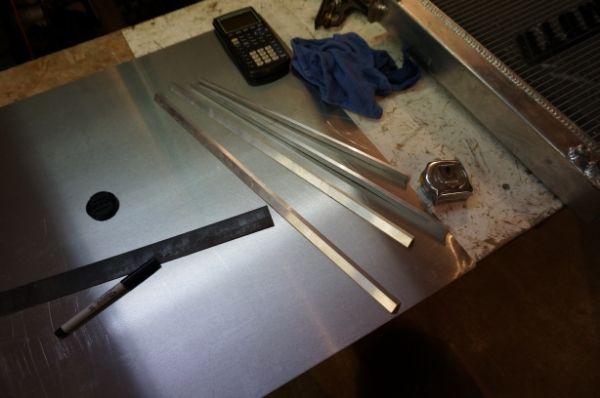
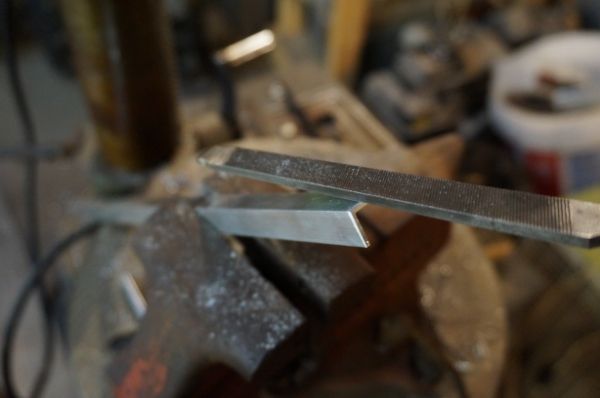
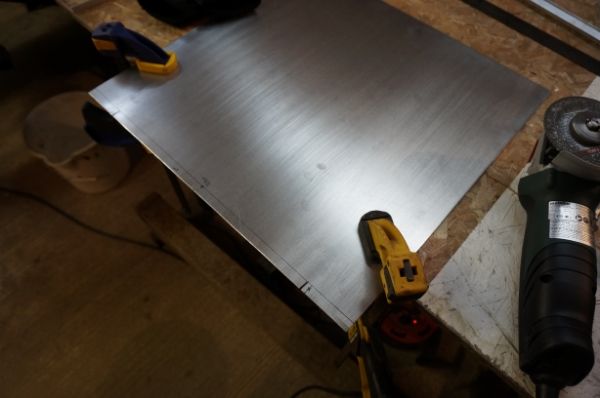
All edges will get the full attention to detail
love my cheap ass electric shears, best $15 ever spent
I scuff pad everything

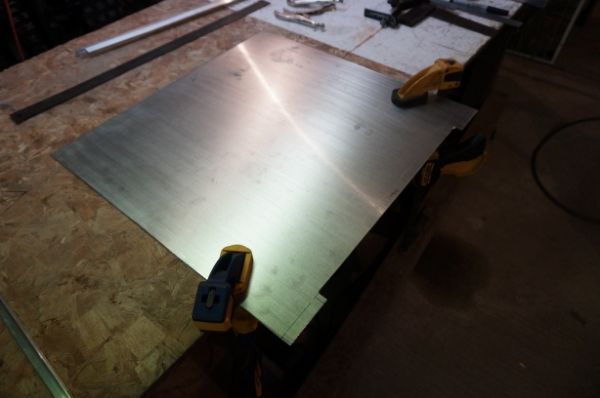
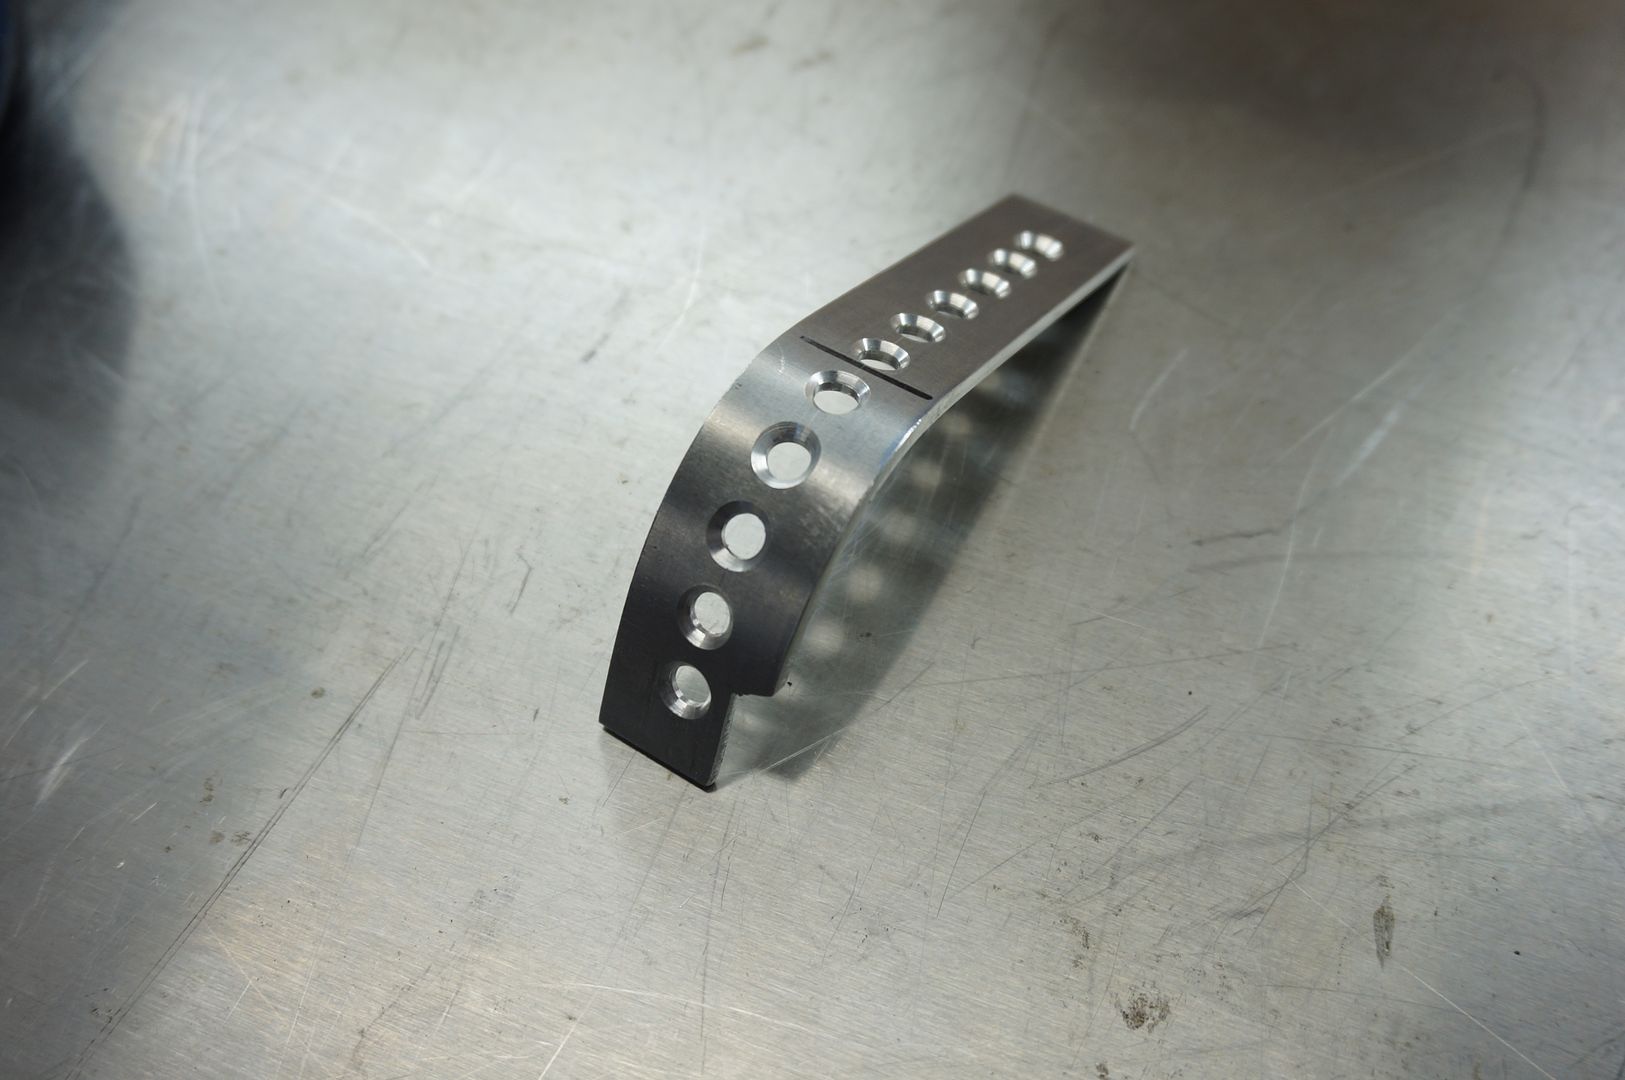
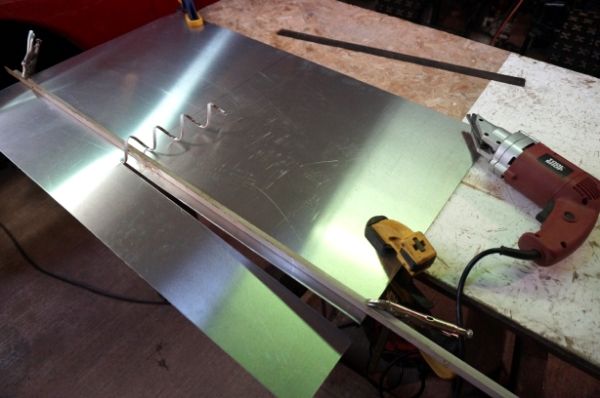
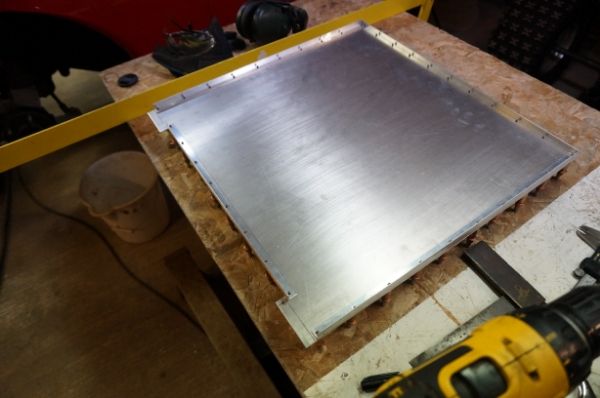
Framed

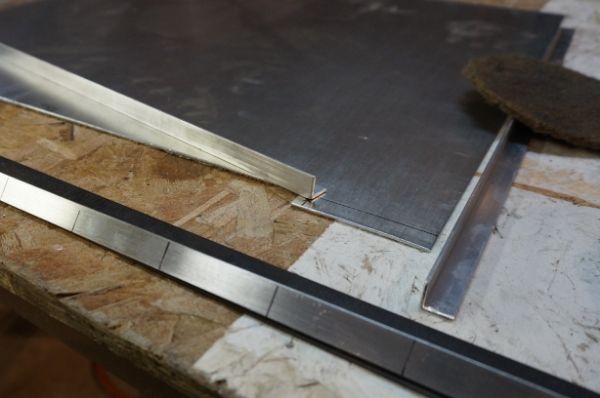
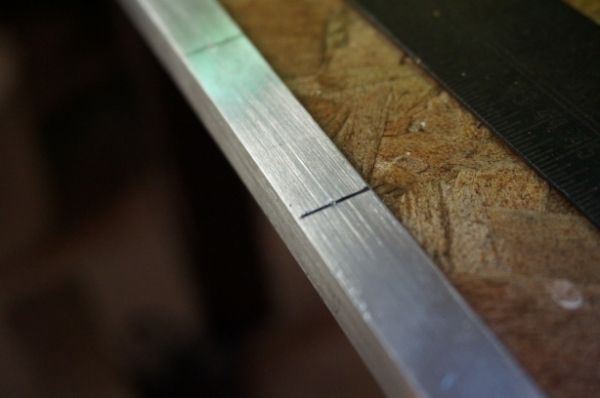
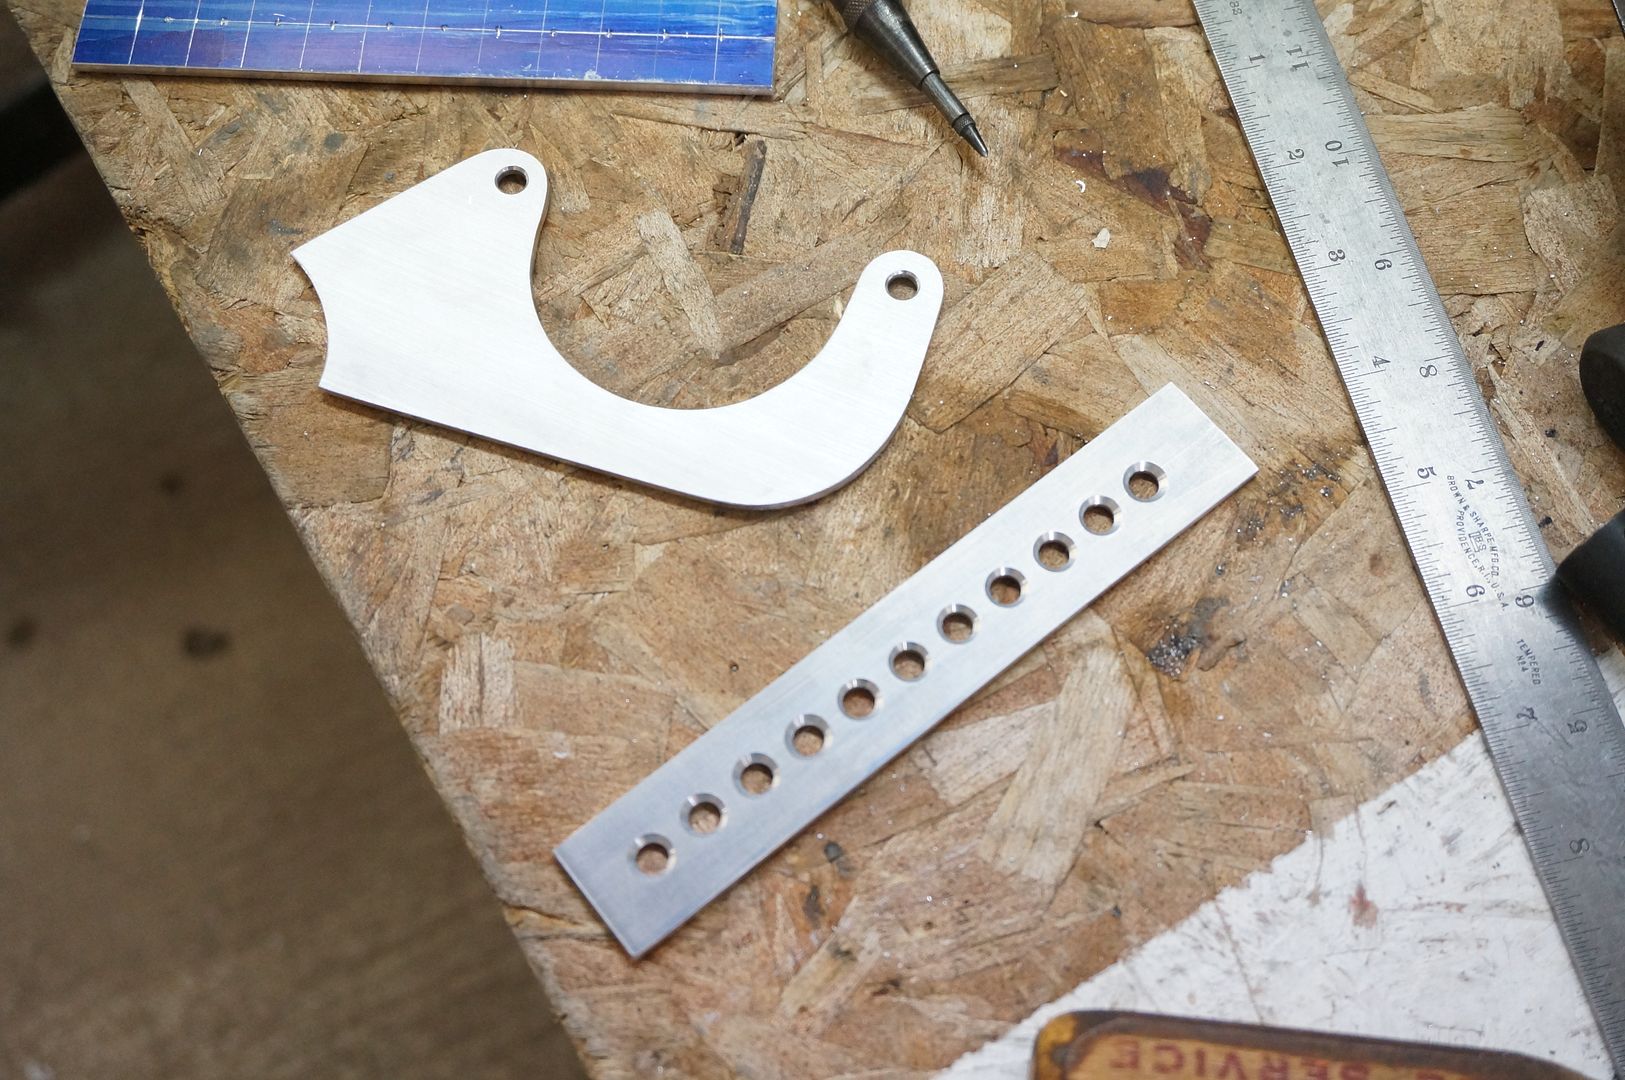
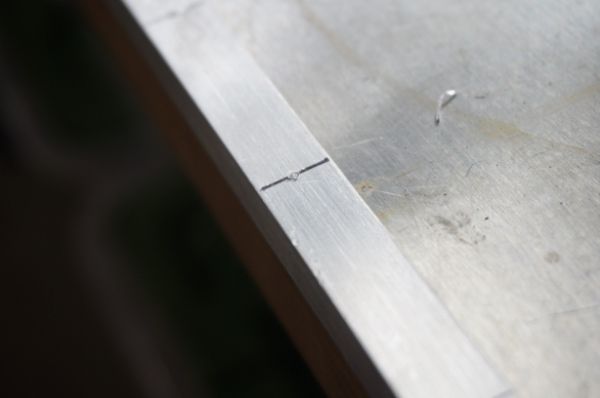
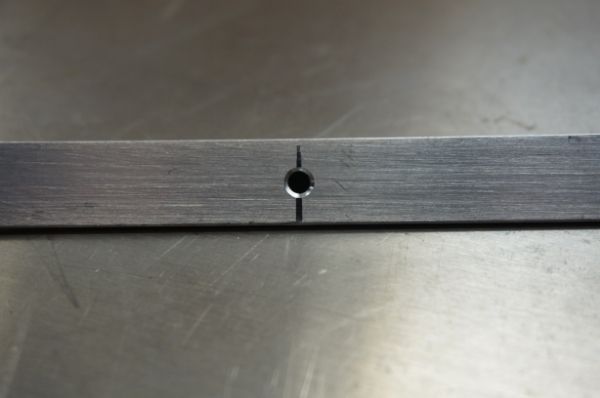
Center then center punched
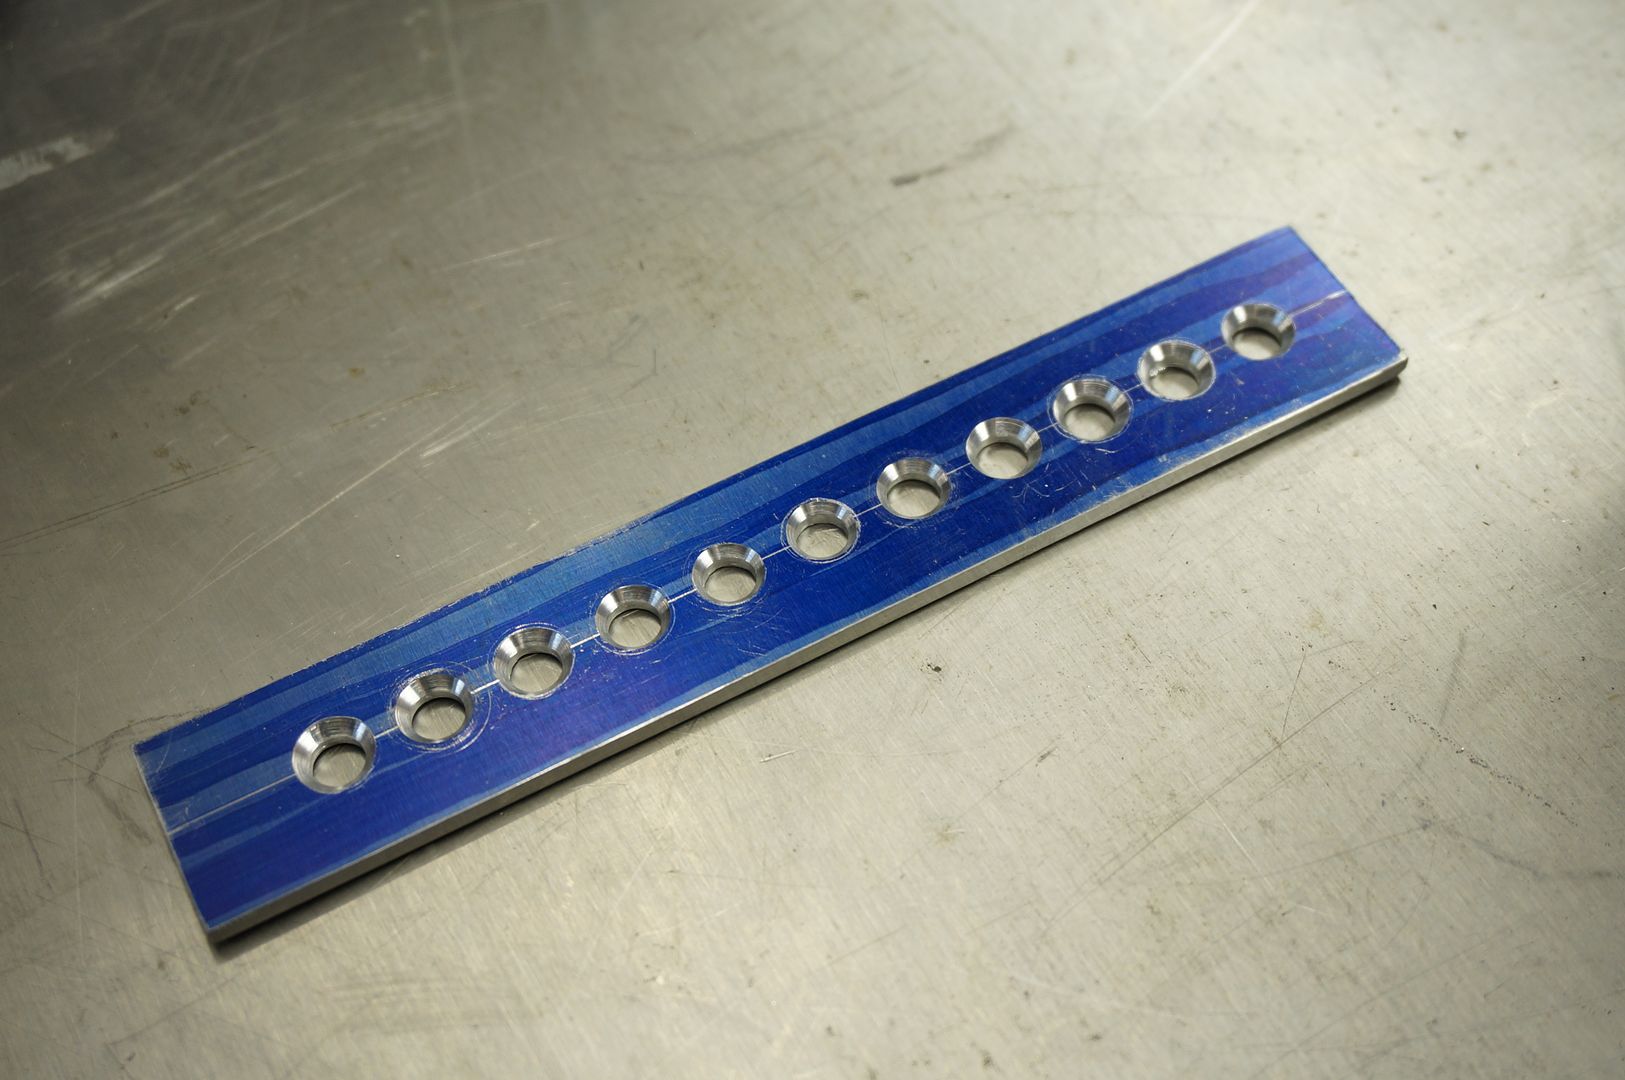
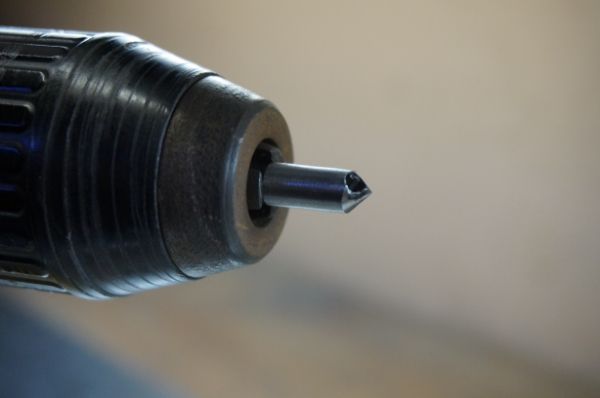
Center drill bits work wonders on thin shit like this
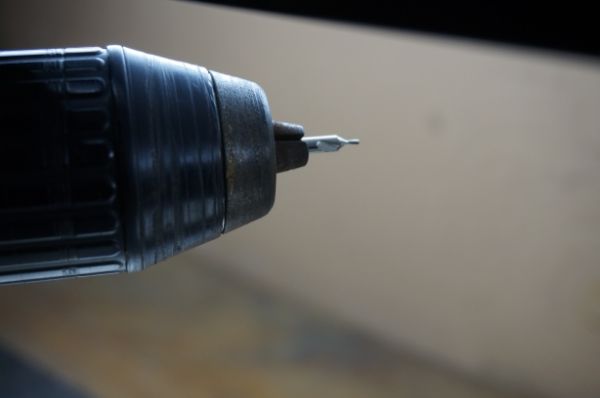
Now drill
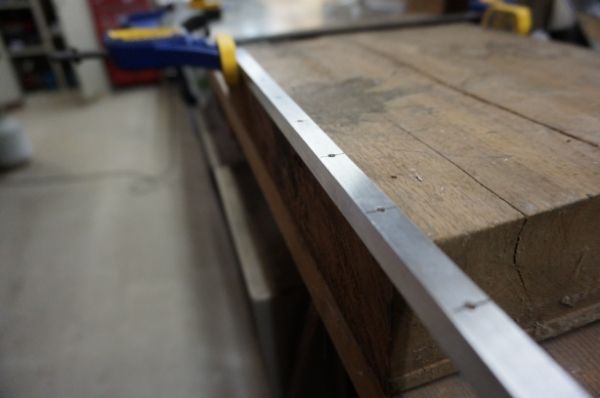
Yes it will all be riveted, because rivets are badass
This is my favorite deburring style bit
Look at how damn nice that looks
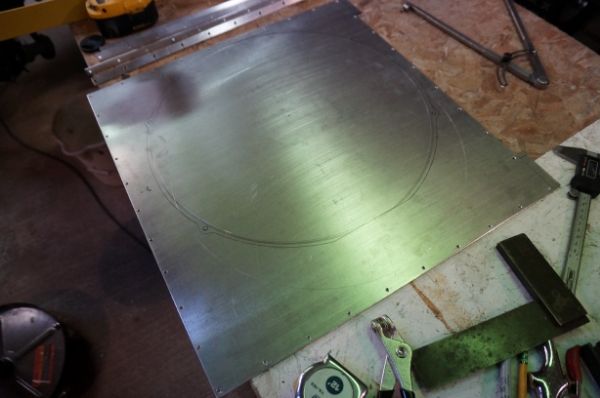
More drilling
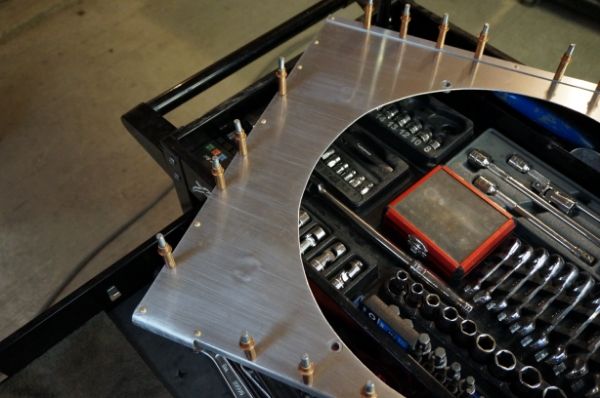
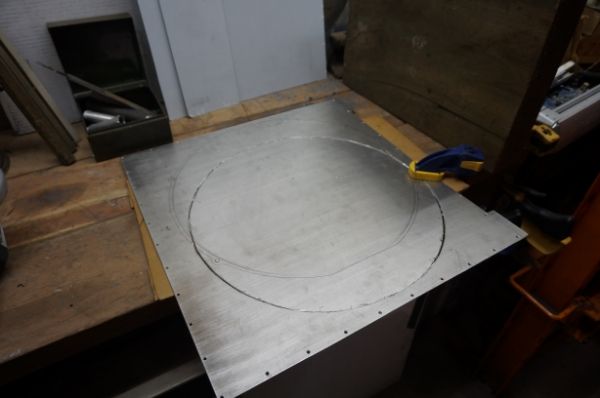
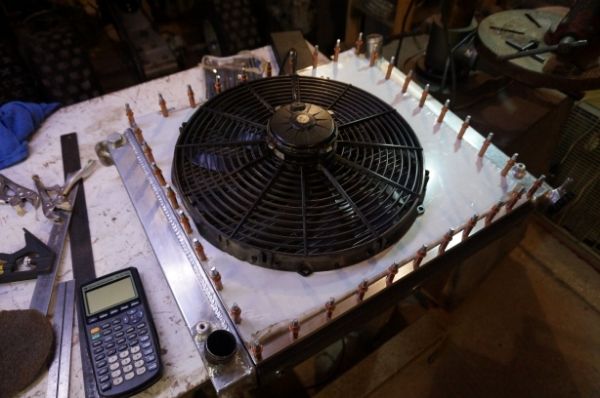
Mocked up for a visual
Electric fan has been marked and ready to be cut out

Machining threaded inserts for the electric fan to bolt to
Left the white protective film on to protect the outside
There will be more much moreLeave a comment:


Leave a comment: