
Announcement
Collapse
No announcement yet.
Just another 1303s
Collapse
X
-
 I was following this project from Guatemala.
Hope everything is Ok with you.
Leave a comment:
-
Sucks to hear dude, looks like you were fairly getting on with it.
Hope all is good.
Leave a comment:
-
So, I got the body on and everything and then my life went a bit downhill.
Unfortunately Gretl went to scrap due to personal reasons. Life must go on.
Leave a comment:
-
Went out into the garage tonight and got stuck into the pan a bit more.
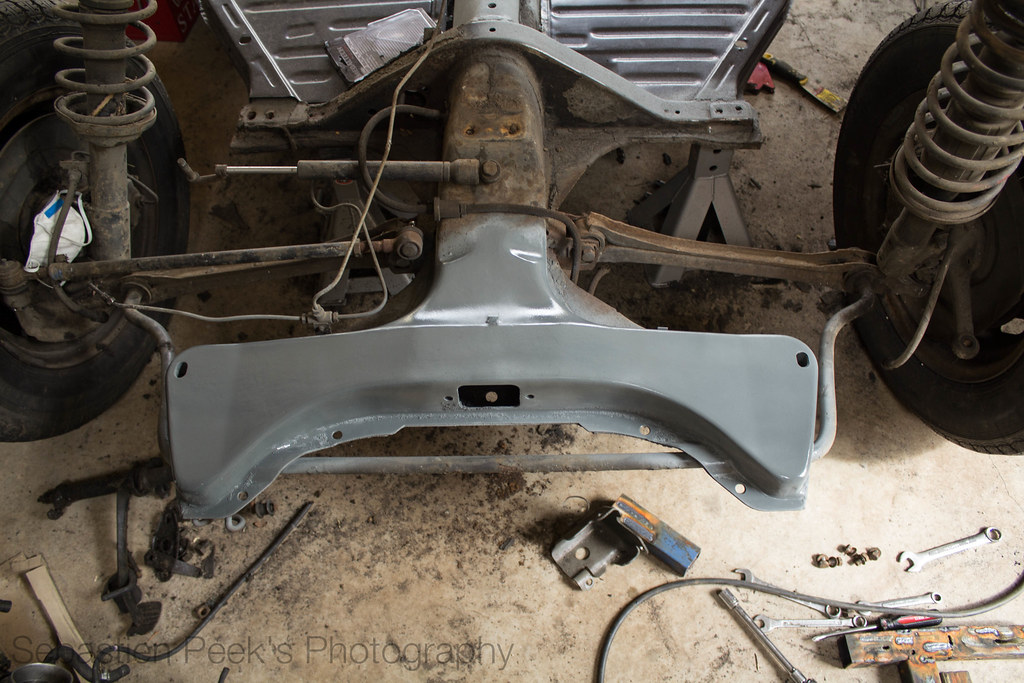
I finally got all the front suspension disconnected. I removed it all in one piece, so at some point I'll need to disconnect the sway bar, then separate the spindle from everything else as that is all that I'm going to be reusing.

IMG_0681 by sebastienpeek, on Flickr
Got camber?

IMG_0683 by sebastienpeek, on Flickr
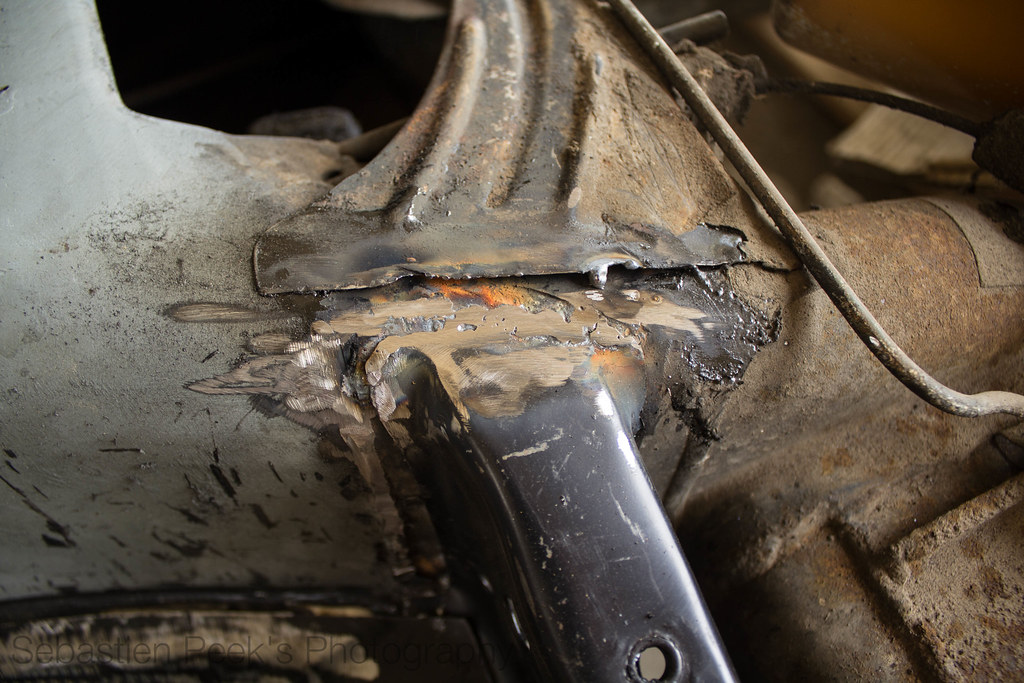
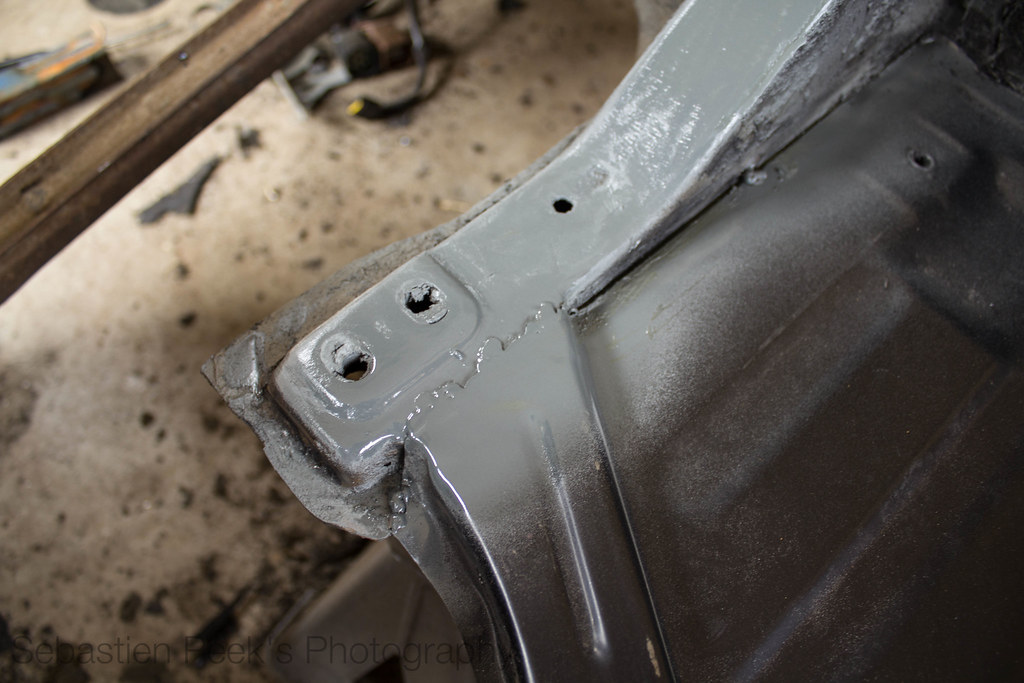
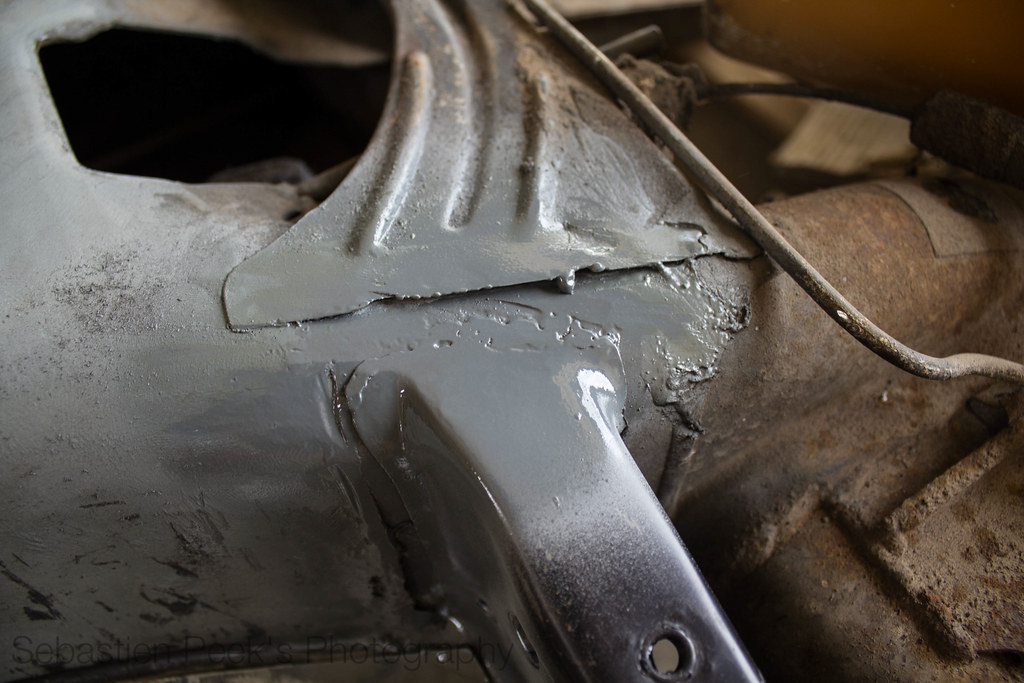
It seems Gretl was in a very big front left quarter hit. Where the LHS control arm connects to the chassis, it seems to have had a dodgy repair at some point.
RHS, which is factory from what I can tell.

IMG_0684 by sebastienpeek, on Flickr
LHS, which has been welded in funky and bent up a bit.
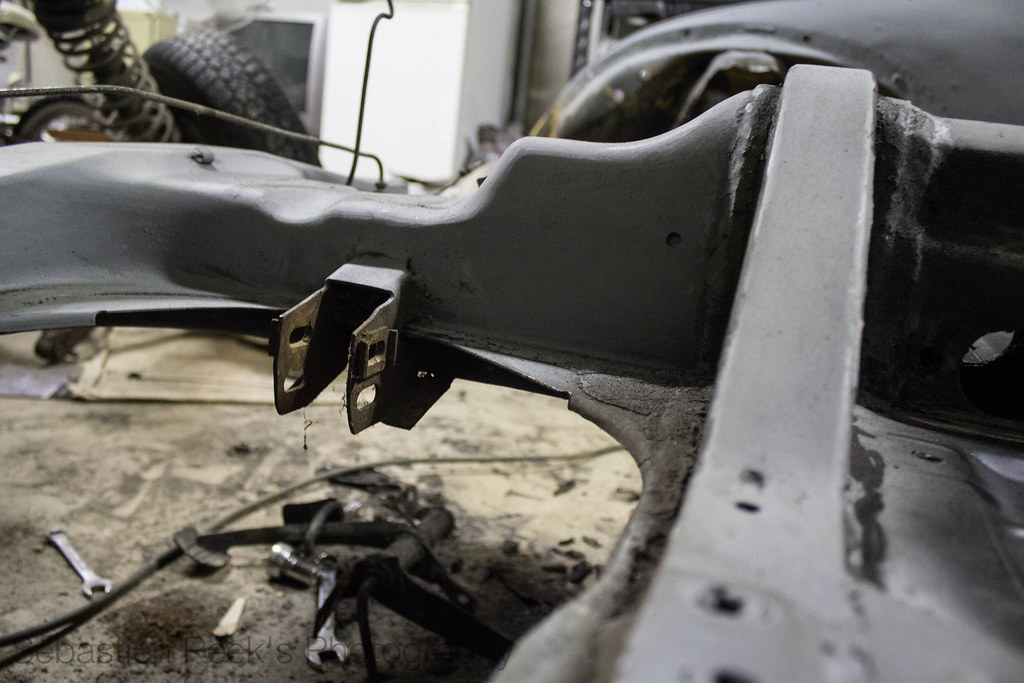
IMG_0686 by sebastienpeek, on Flickr
Here is a shot from top down.

IMG_0689 by sebastienpeek, on Flickr
Anyway, what started as me just removing the front suspension soon turned into me cutting out the rest of the previous pan, and cleaning up the tunnel, to then tacking in the new pan half.
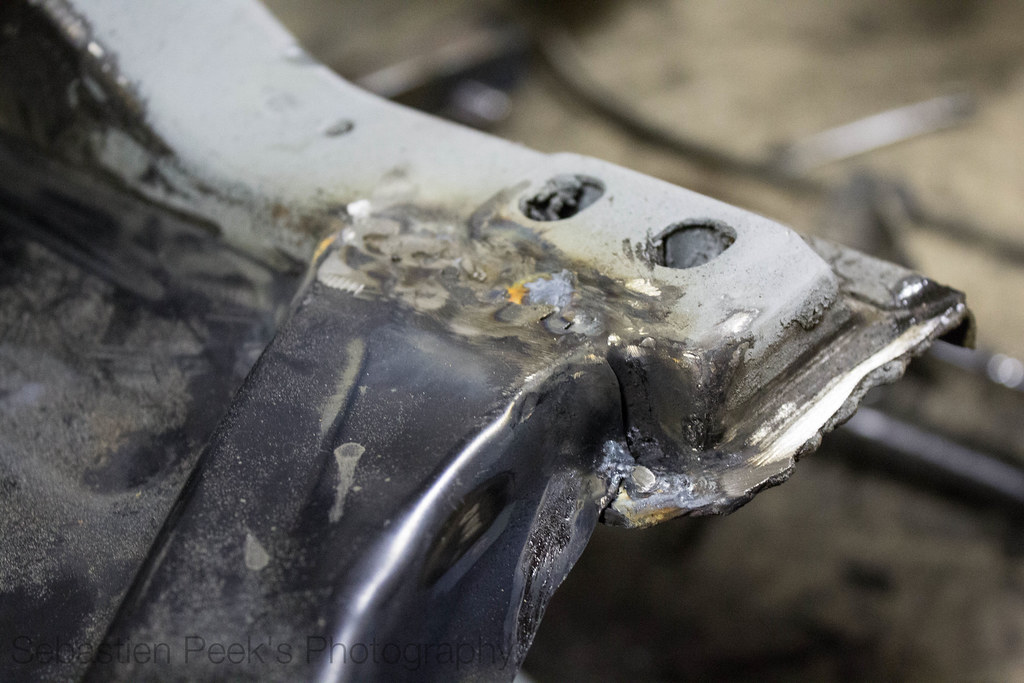
IMG_0690 by sebastienpeek, on Flickr
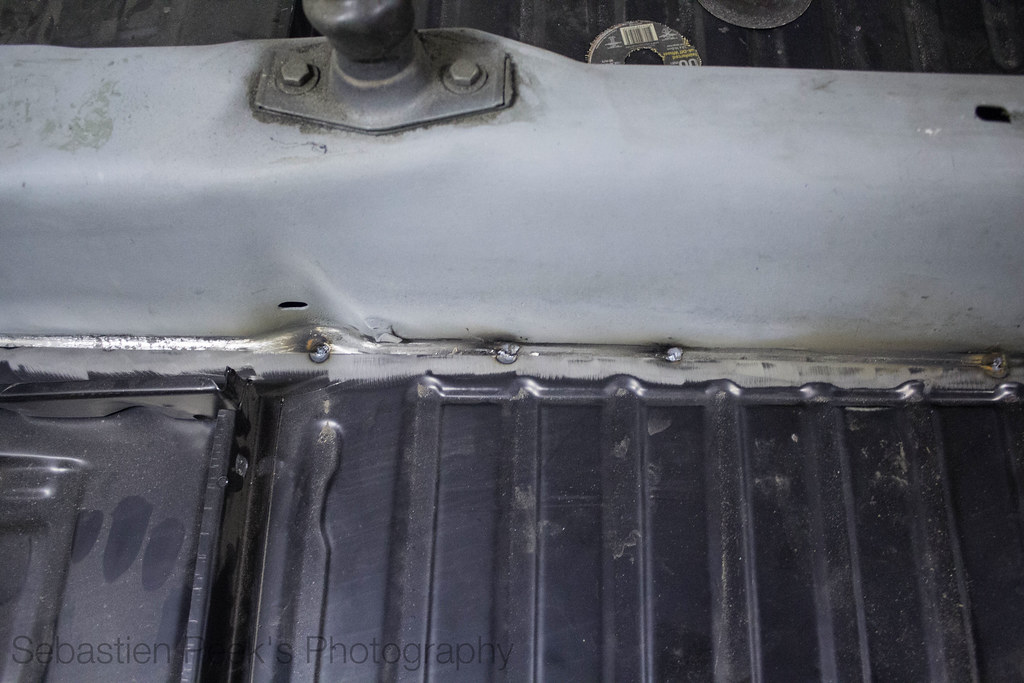
IMG_0691 by sebastienpeek, on Flickr

IMG_0692 by sebastienpeek, on Flickr

IMG_0695 by sebastienpeek, on
Flickr
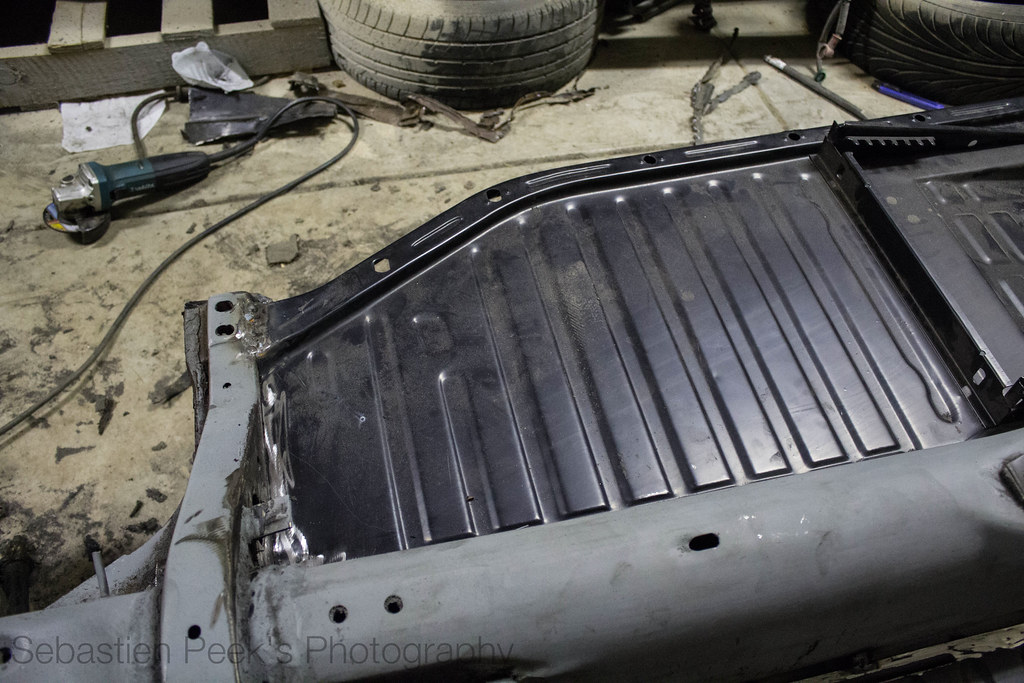
IMG_0687 by sebastienpeek, on Flickr
The welds along the front and rear aren't the best, but they're strong and I haven't blown any holes through the very thin metal that makes up the replacement half.
Next week I'll be cleaning up the garage a bit as it has become very messy. I'm tempted to also put the shell onto the pan half, clean up the other side of the garage and build some more shelving while it's clear.

IMG_0697 by sebastienpeek, on Flickr
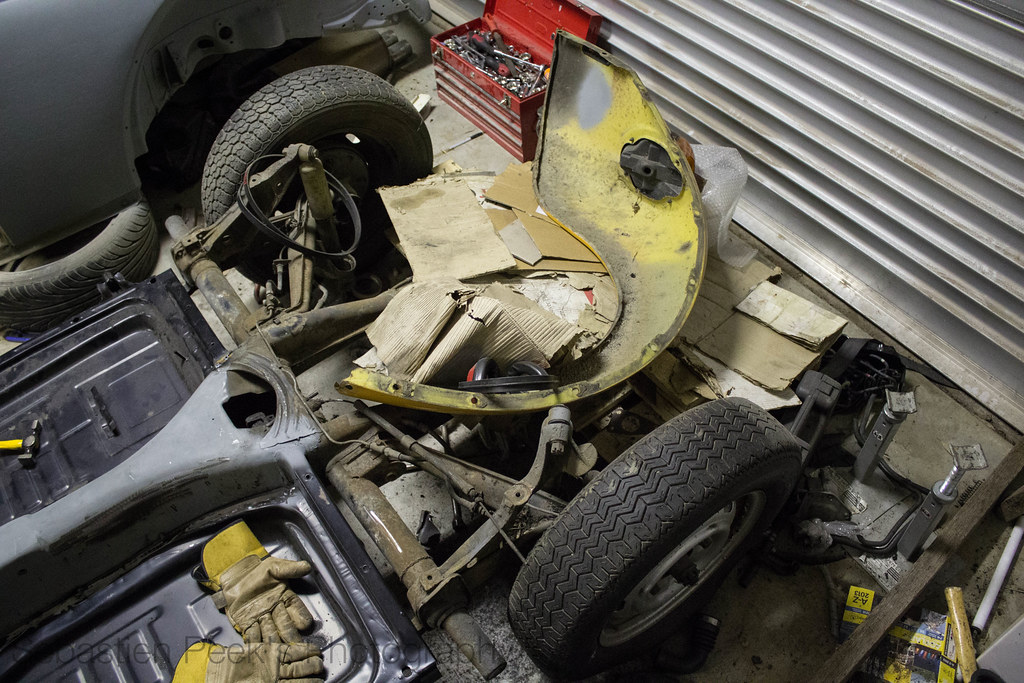
IMG_0696 by sebastienpeek, on Flickr
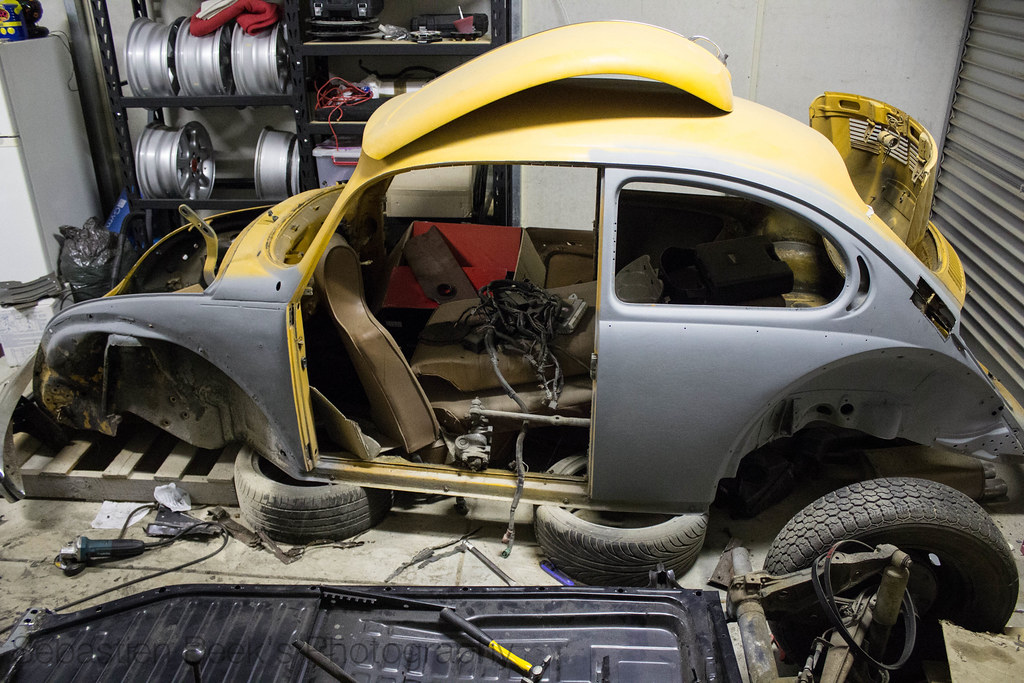
IMG_0698 by sebastienpeek, on Flickr
Until next time.
Leave a comment:
-
The New 2014 Mercedes-Benz CLA 45 AMG
The New 2014 Mercedes-Benz CLA 45 AMG: Ultimately, the very first formal pictures with the 2014 Mercedes-Benz CLA 45 AMG possess appeared on the Internet. The automobile is predicted to make its public introduction at the New York Automobile Show therefore more information about this should adhere to later this week. Right now, the automobile made an appearance on screen wearing a carved AMG body kit having a set of metal wheels right after in the same theme.
More reviews on Cars Route.
Leave a comment:
-
Spent some time out on Gretl this morning/afternoon. Went out this morning to get some filler road and a cold chisel to get the rest of the old pan halves off the tunnel.
Cleaned up the foam of death in the body some more.
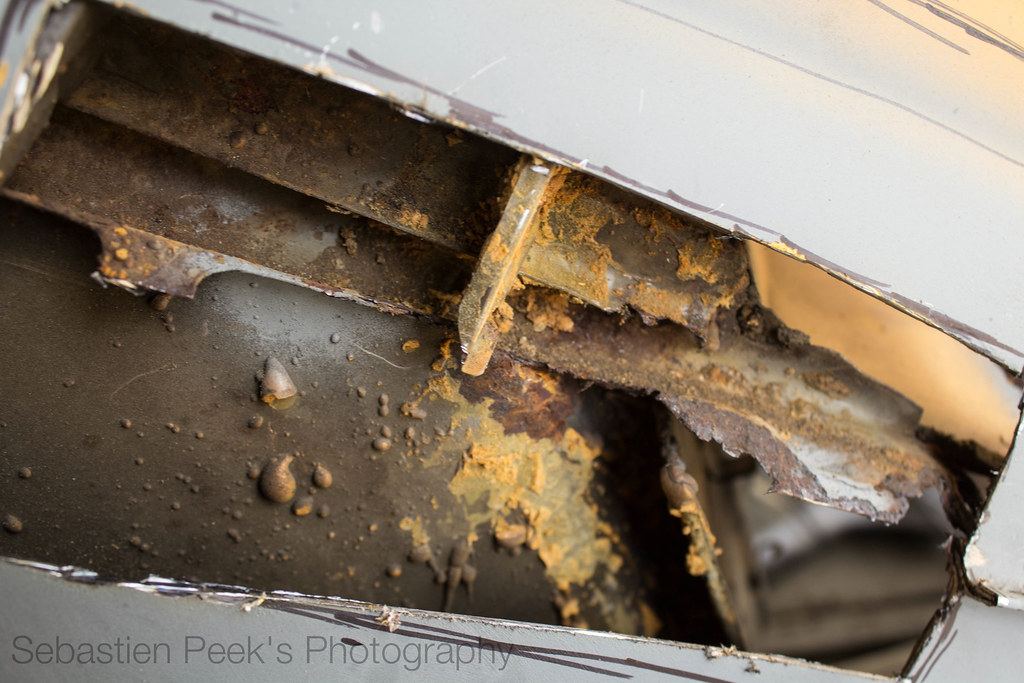
IMG_0669 by sebastienpeek, on Flickr
Then got on to some welding. Decided I'd get the passenger pan tacked in and run some welds to strengthen it all up. One at the front and one at the rear.
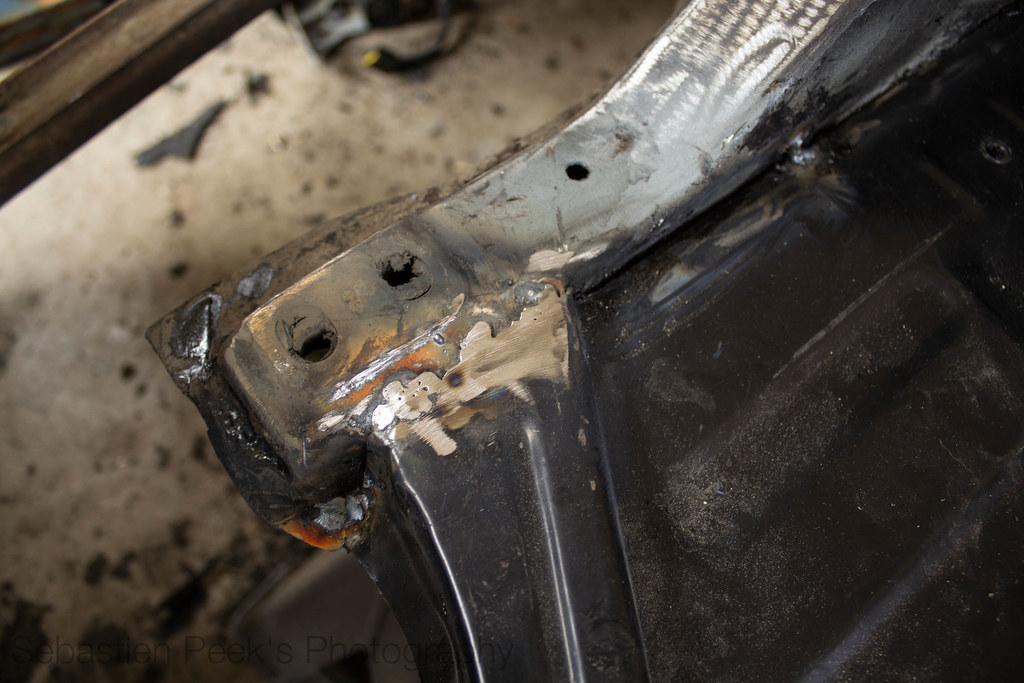
IMG_0671 by sebastienpeek, on Flickr
IMG_0672 by sebastienpeek, on Flickr
Then coated them with some galv. Still need to weld them in properly, maybe tomorrow or during the week some time.
IMG_0673 by sebastienpeek, on Flickr
IMG_0674 by sebastienpeek, on Flickr
Then I figured I'd start cleaning up the front framehorn. Removed the bulkhead thingy, and got it all back to bare metal. The majority of it anyway. Then coated in galv.
IMG_0675 by sebastienpeek, on Flickr

IMG_0678 by sebastienpeek, on Flickr
After I took those photos I was not happy with my progress for the day so spent some more time cleaning up the front framehorn. I didn't get any photos, but the next step is to remove all the brake lines and the front suspension entirely. Then I can clean up the whole lot, including where the control arms bolt on.
Might start ordering front suspension setup to get it rolling properly.
Leave a comment:
-
So, I spent a bit cleaning up the tunnel. Now the majority of the previous pan is gone, need a chisel to get the rest of it.
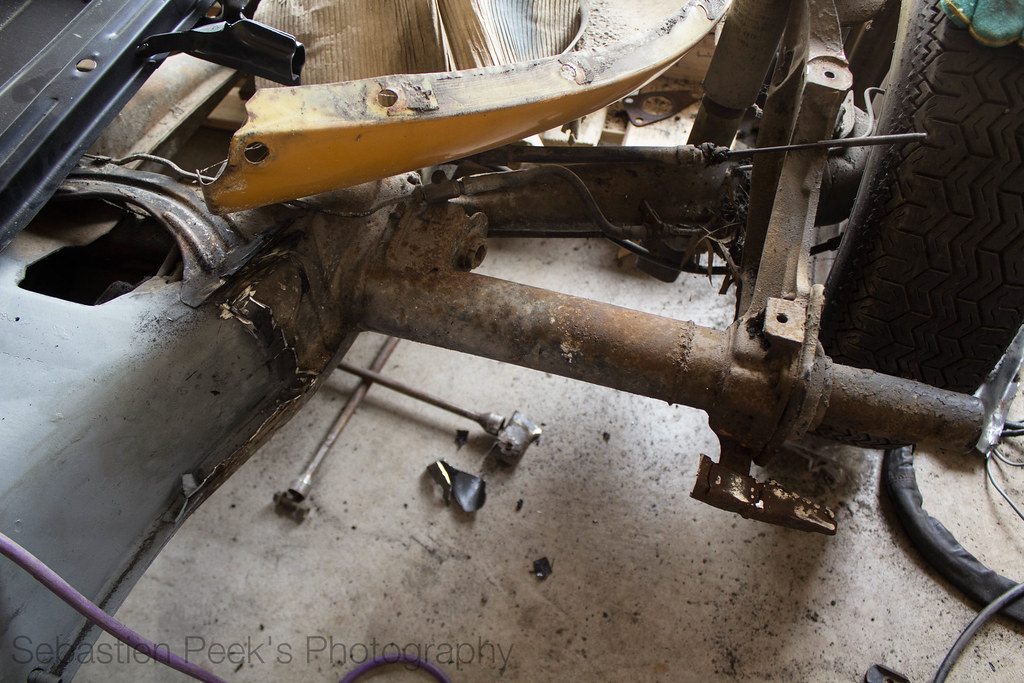
IMG_0668 by sebastienpeek, on Flickr
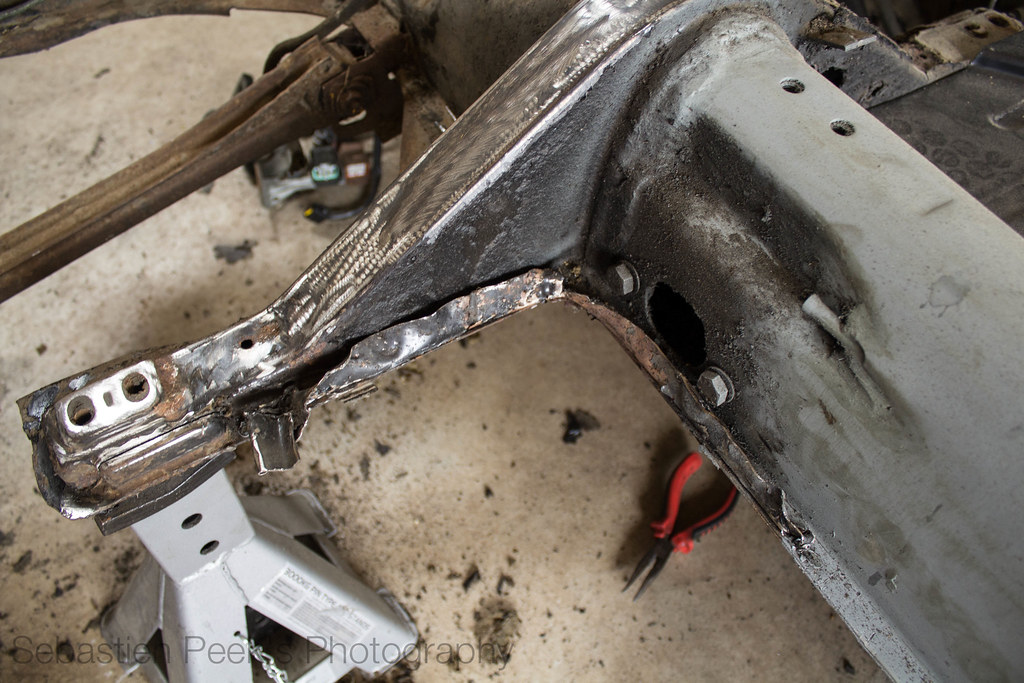
IMG_0666 by sebastienpeek, on Flickr
Then today I moved on to the body. Finally grew some balls and cut out the rust in the C pillar, to find more rust.

IMG_0659 by sebastienpeek, on Flickr
Replacement panel compared to cut out panel. Measure twice, cut once.
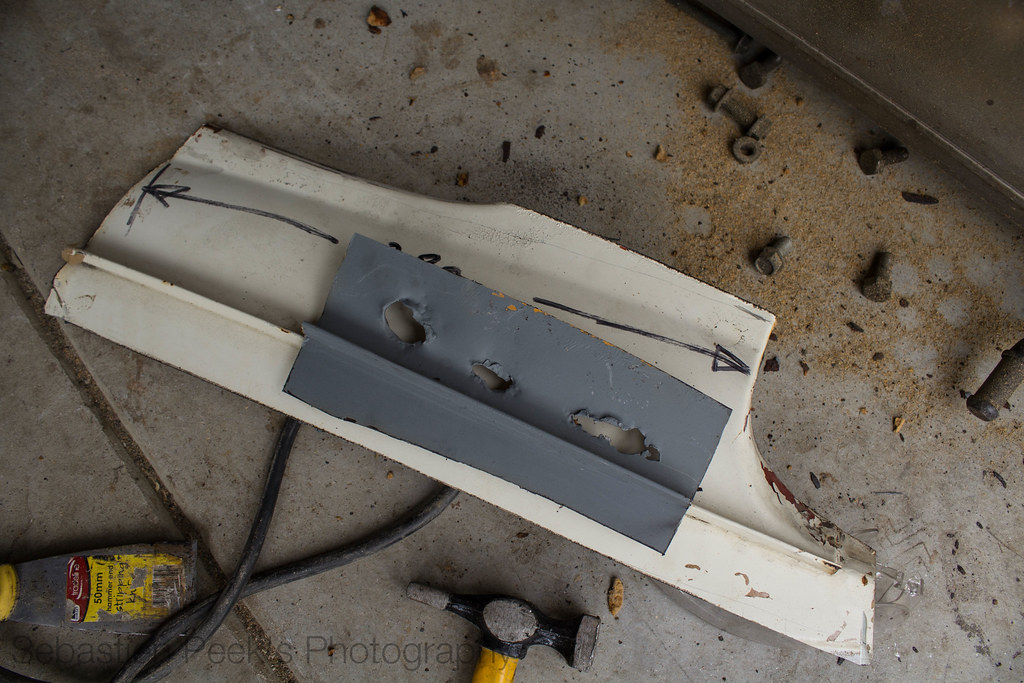
IMG_0660 by sebastienpeek, on Flickr
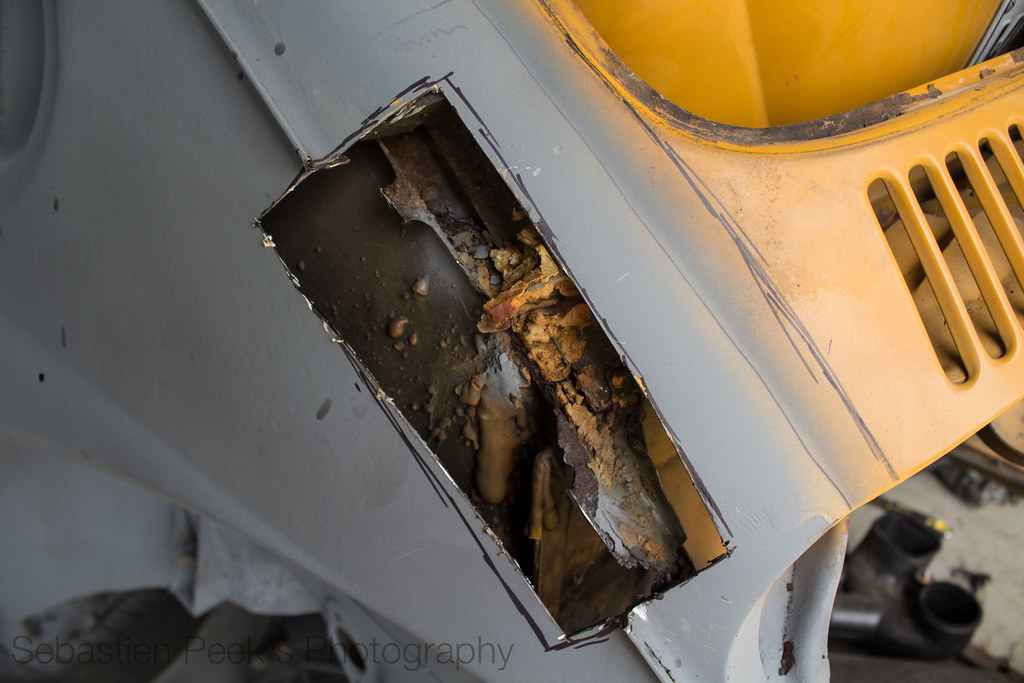
IMG_0655 by sebastienpeek, on Flickr
Now I can get rid of the foam of death a bit more with this nice little access hole I have made.
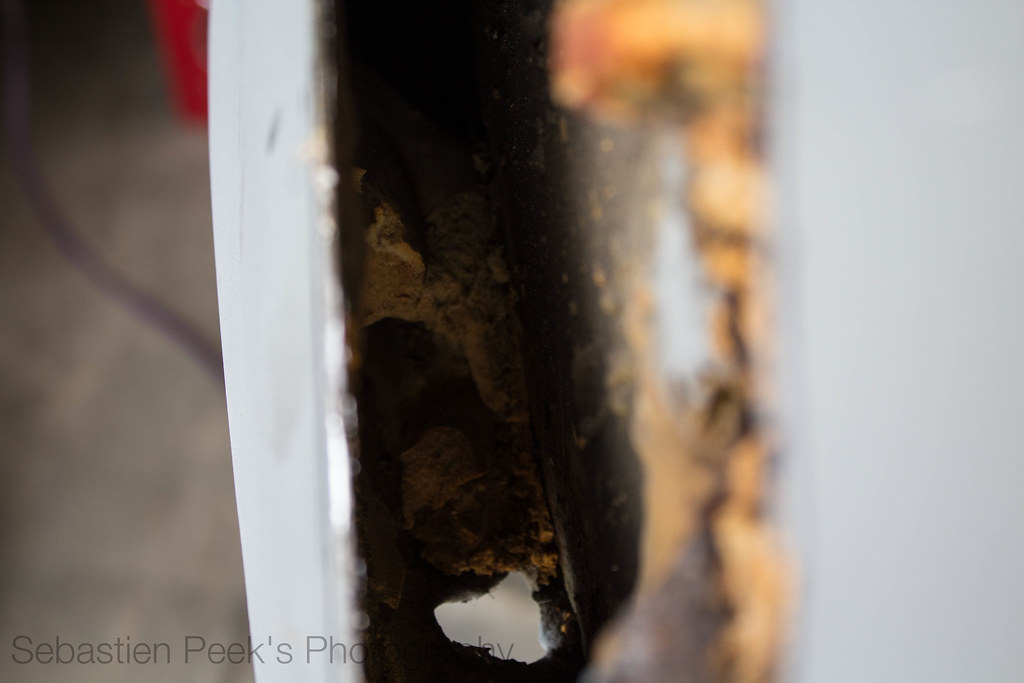
IMG_0658 by sebastienpeek, on Flickr
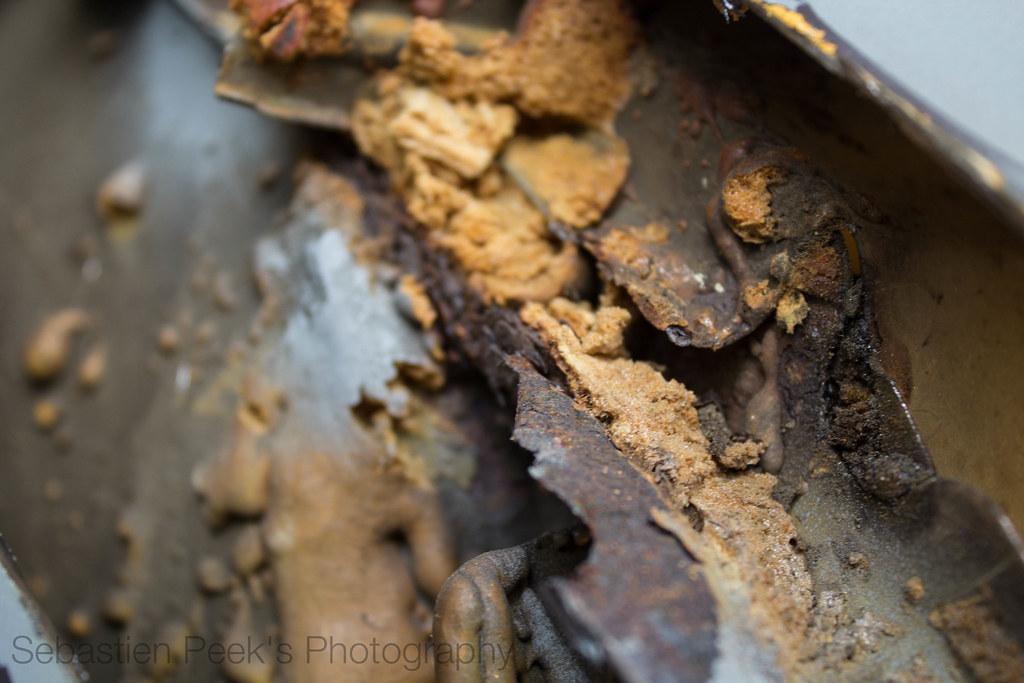
IMG_0656 by sebastienpeek, on Flickr
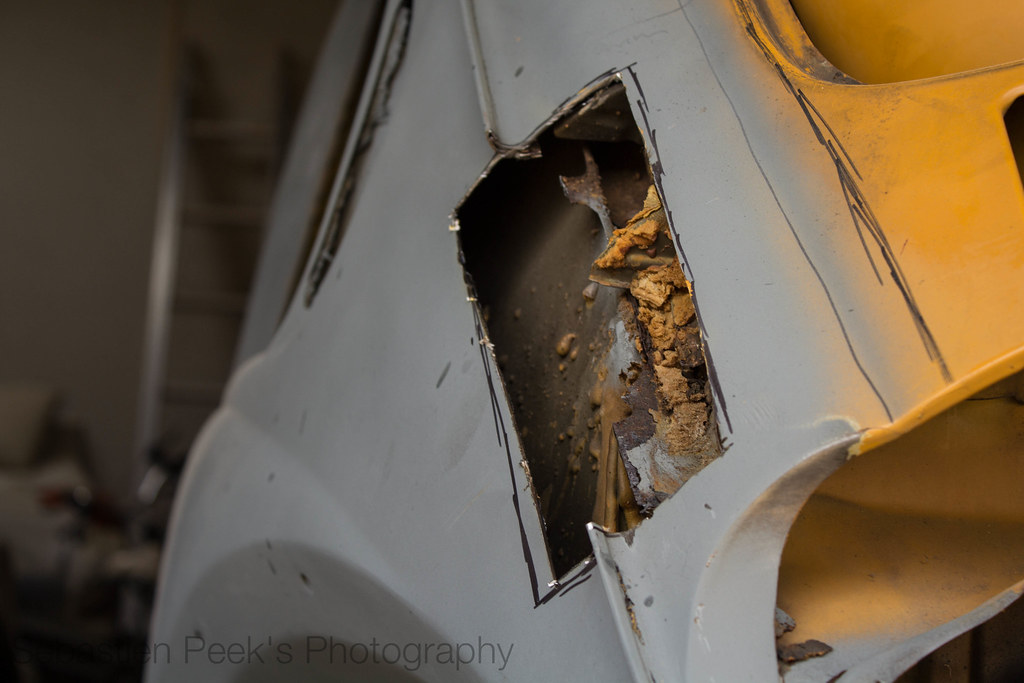
IMG_0665 by sebastienpeek, on Flickr
Still need to pick up some filler rod and some sheet metal. Then I can repair all this rust in the rear of Gretl and move on to the front.
Leave a comment:
-
Got out into the garage tonight after work and spent some time laying some practice TIG welds on some cut offs.
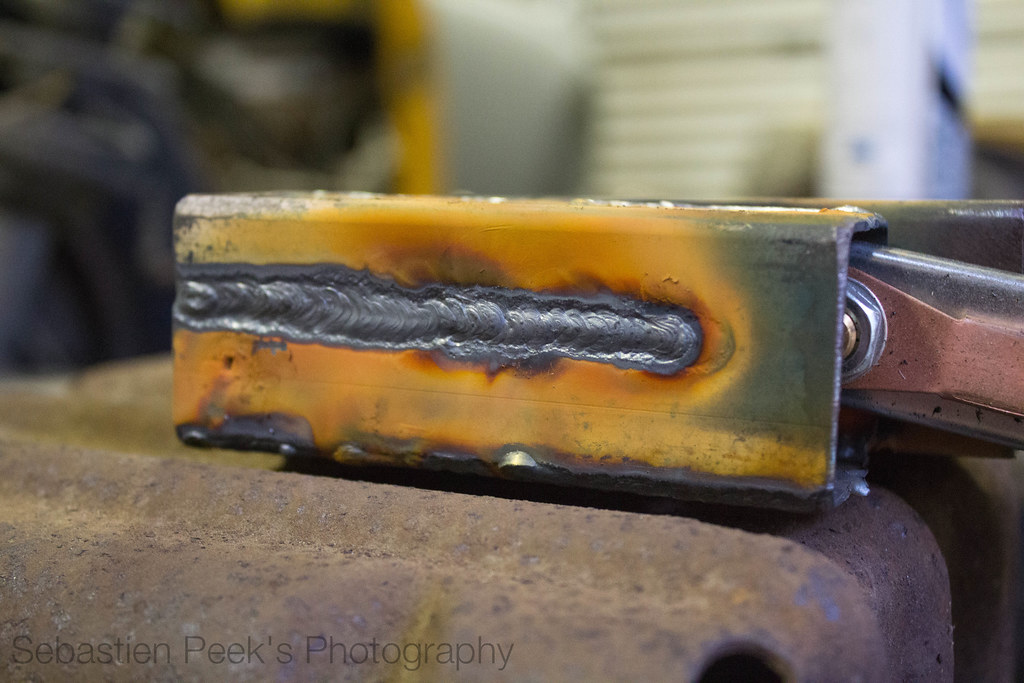
IMG_0635 by sebastienpeek, on Flickr
Pretty happy with how I went all things considered.
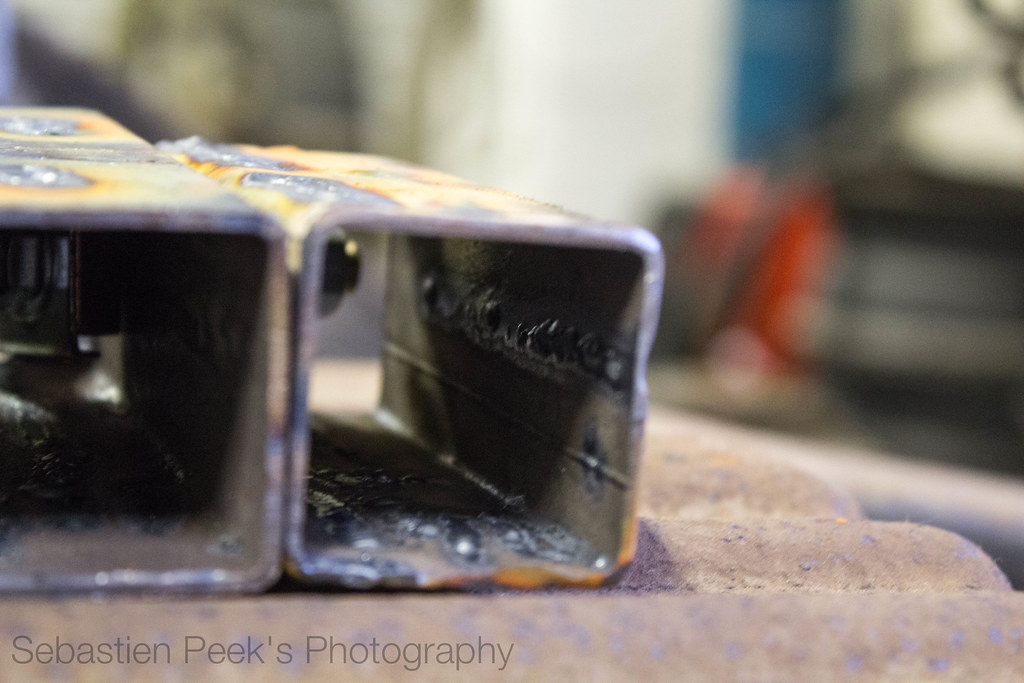
IMG_0637 by sebastienpeek, on Flickr
Got good penetration and yeah, was fun to finally lay some welds with my welder. Could be better but getting the hang of it now.
Need to get some filler rod and some sheet metal, then it is all systems go.
Going to try and pick some up tomorrow night after work but we will see what happens.
Picking up parts for the Subaru tomorrow night too.
Leave a comment:
-
Can TIG weld now. Is happy. Now to finish Gretl.
Does need sleep though. But tomorrow will work on her hopefully.
Will hopefully get some more cutting discs, tungstens and then keep welding.
Need to purchase some clamps etc too. Until then.
Leave a comment:
-
So, my pan halves rocked up today so I was over the moon. I spent a couple of hours outside so that was great. Was cleaning up the tunnel a bit more and then I got a little carried away on the body.
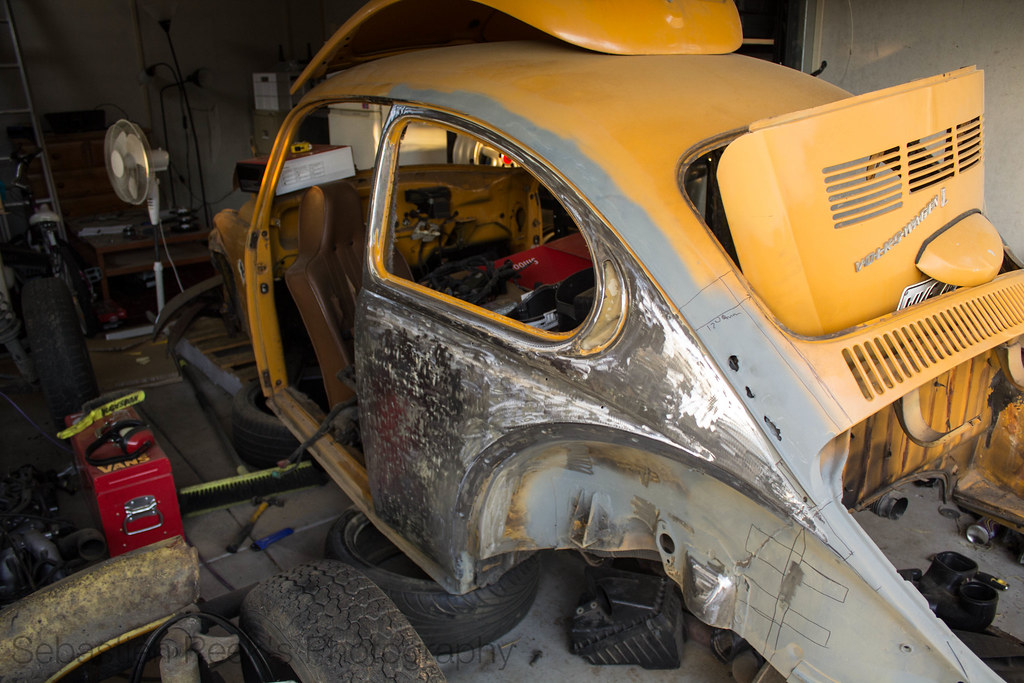
IMG_0623 by sebastienpeek, on Flickr
So I got it back to bare metal while hunting for rust. Didn't find any thankfully and then sealed it all with galv.
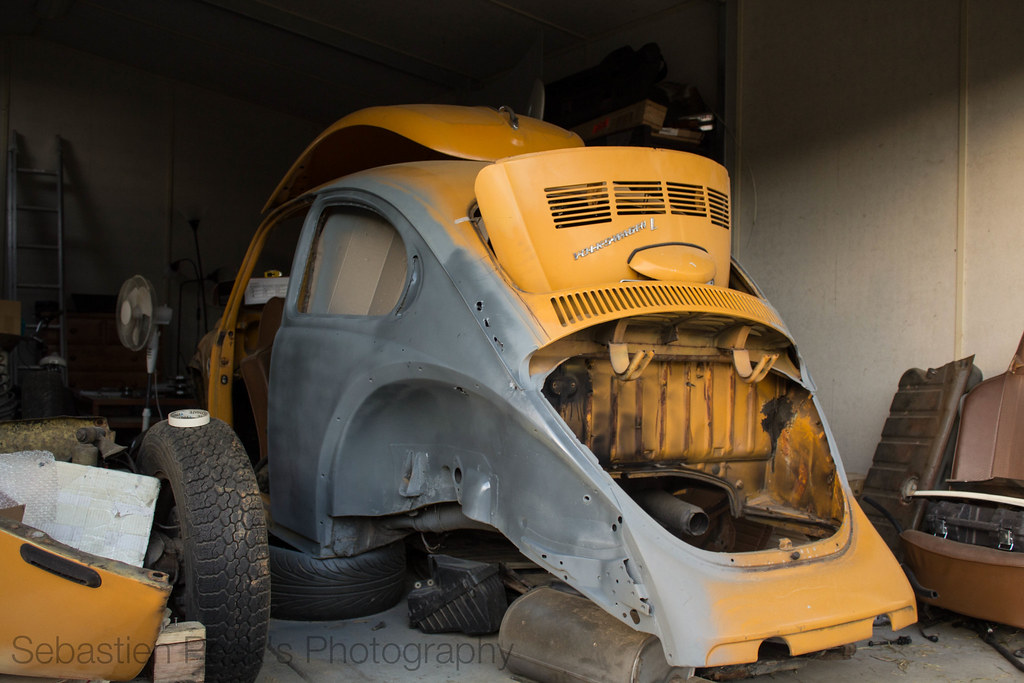
IMG_0627 by sebastienpeek, on Flickr
And here are the pan halves.
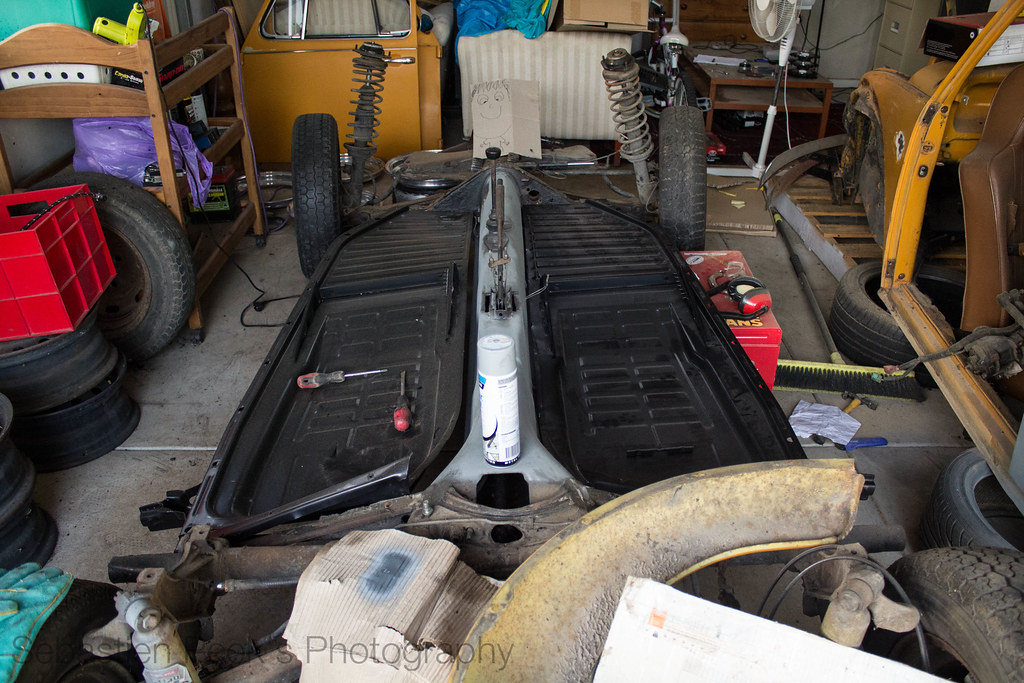
IMG_0629 by sebastienpeek, on Flickr
So excited. Going to keep the standard seat rails but just adapt the ones on the bottom of the current seats I have to use them with some Bride's I reckon.
Might spend some time this week rubbing back the rear guards so I can see how much I need to widen them. Also sorted out my brake setup for the moment, purchasing the setup I had on Zelda back. Exciting times ahead.
Leave a comment:
-
Thanks Anth!Originally posted by anth View PostGreat work Seb, keep it up, really enjoying watching you work on this. Personally I'd go for a MIG for the type of work you want to do, and as an added bonus they're easy to learn for noobs like us. I haven't really seen anyone do body work with a TIG, and for the pans and other stuff like that a MIG will be much easier and do the same job.
I could easily go and grab a MIG and start welding, which is what I want to do. But then I found out someone I know has a TIG and swears by it. So going to head around to his next Saturday and then start learning!
Aha cheers man!Originally posted by Leftouch View PostThis, this, this! Sooo good.
I wish they made wider sheet metal fenders, you can only get glass.
http://chircoestore.com/rear-fenders...ider-pair.html
I'll be making my own widened fenders out of metal. It isn't difficult and is a very common thing done on drag bugs.
Leave a comment:

Leave a comment: