If you are going to remove the body off the pan, and fix all the rust etc, why not get the body sand blasted or acid dipped? Will show you EVERYTHING that needs to be fixed, and give you a proper solid base to work with. If you go the sand blasting route, pick a reputable blaster, I have a few connections through my cars and work too if you need, if too much time is spent on the wrong part of the panels, you will stretch and warp the panel.
I have some parts that might suit this :P
Announcement
Collapse
No announcement yet.
Just another 1303s
Collapse
X
-
All good man, Zelda was very different but the same if you know what I mean.
Still waiting to hear back about replacement panels unfortunately. Hopefully can find something soon. Need to sort out a few cosmetics and then once the rust is all fixed, comes the modifying to what I want.
Definitely a long way ahead.
Leave a comment:
-
My bad man, I thought it was Zelda...Originally posted by SebastienPeek View PostAh, I thought you meant actual Zelda, not the same model
Nonetheless, very cool bug!
Leave a comment:
-
Sure do have a lot of work cut out, but once I get cutting it should become a lot easier.
Think the thought of cutting is a daunting task. But once I start getting replacement panels and what not, it'll become a lot easier to cut as I know I will be replacing it soon.
Hopefully I can get the panels soon. Until then, might work on the Subaru for a bit.
Leave a comment:
-
Looks like you've got your work cut out for you. My first car, and current DD, was/is a 74 Super Beetle. Thankfully not in quite as bad a shape as yours. Looking forward to seeing what you do with it.
Leave a comment:
-
Ah, I thought you meant actual Zelda, not the same model
Nonetheless, very cool bug!
Leave a comment:
-
Originally posted by SebastienPeek View PostI definitely didn't, how long ago? That's ducking cool though.
Leave a comment:
-
Been a bit quiet again on here, but have been working on Gretl each night and today when I can anyway.
I got a wire wheel to get everything back to bare metal where there were rust holes. I cleaned up all the surrounding areas too to make sure there was no other rust around etc. Then got everything in weldable galv.
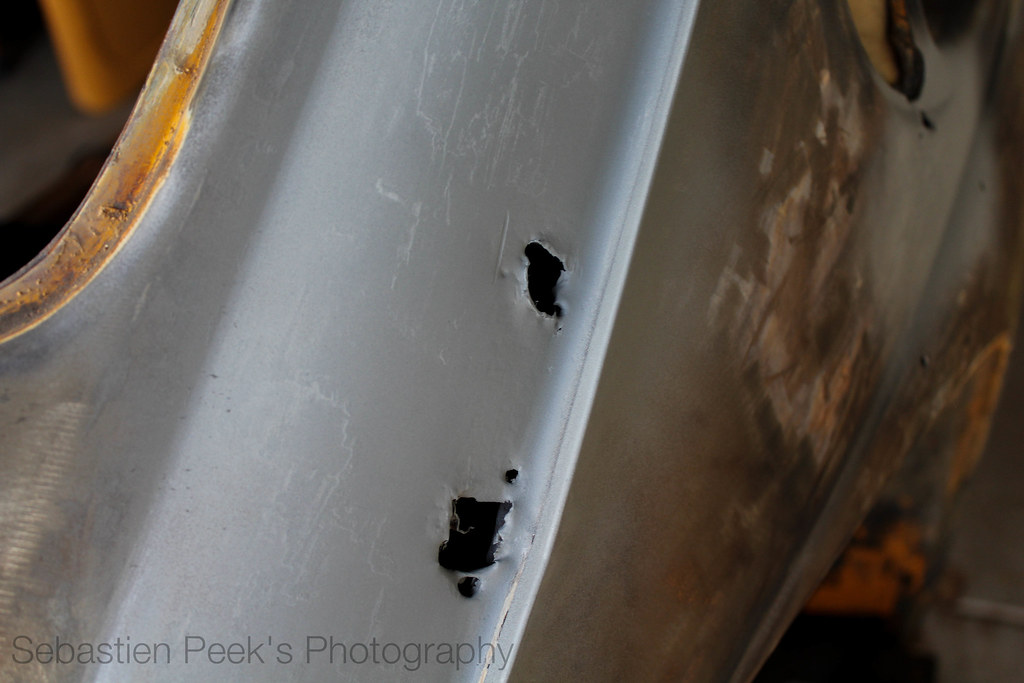
IMG_0166 by sebastienpeek, on Flickr
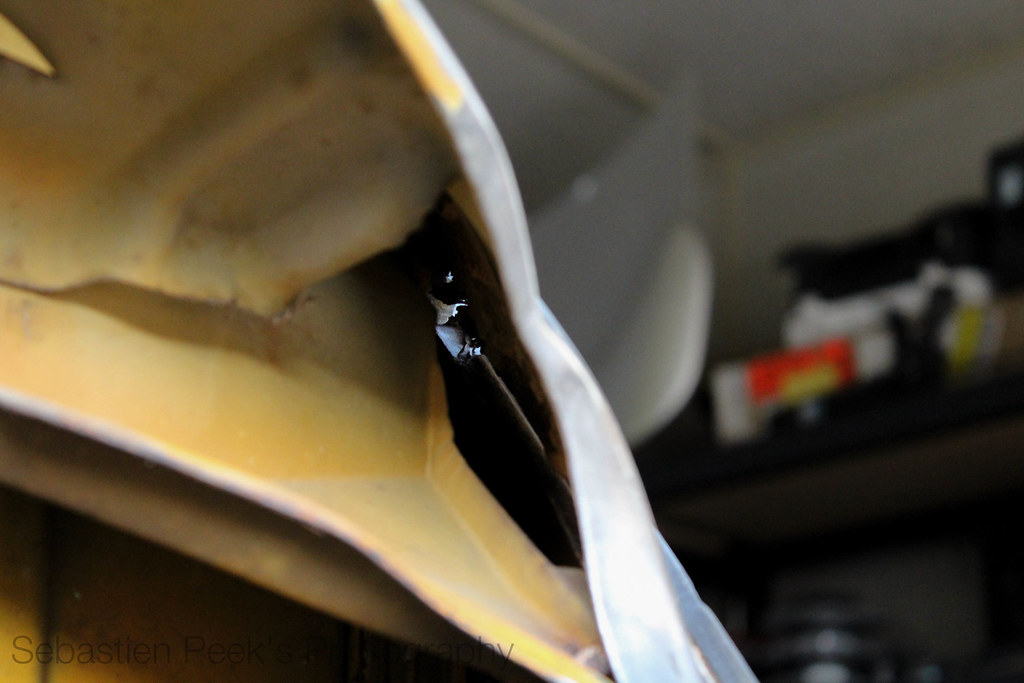
IMG_0176 by sebastienpeek, on Flickr
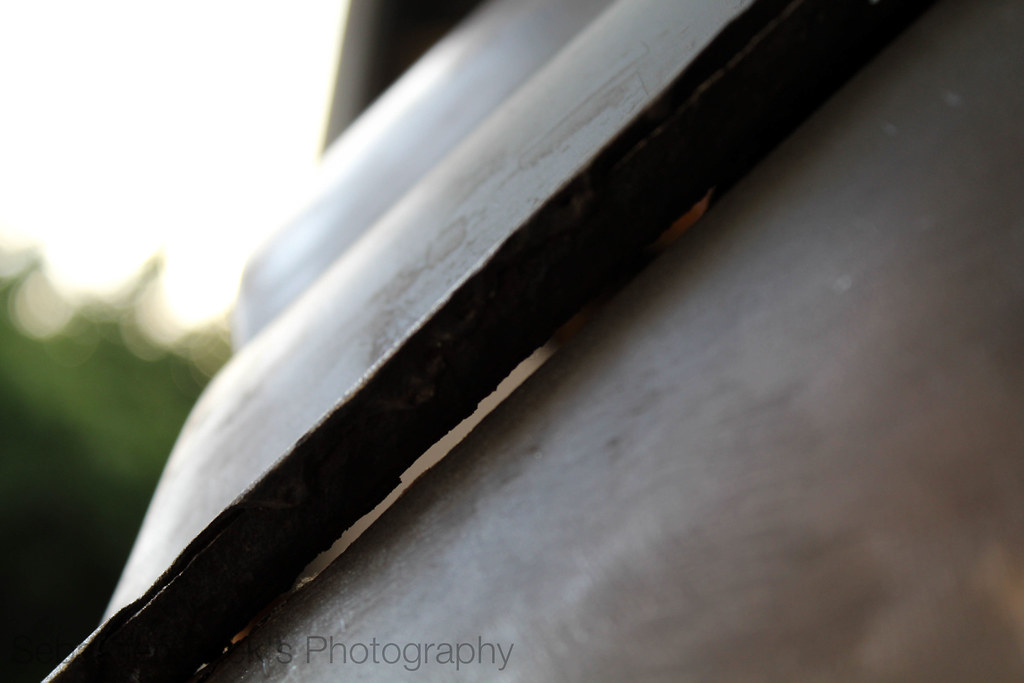
IMG_0198 by sebastienpeek, on Flickr
I found this on the right hand side as well, two small holes.
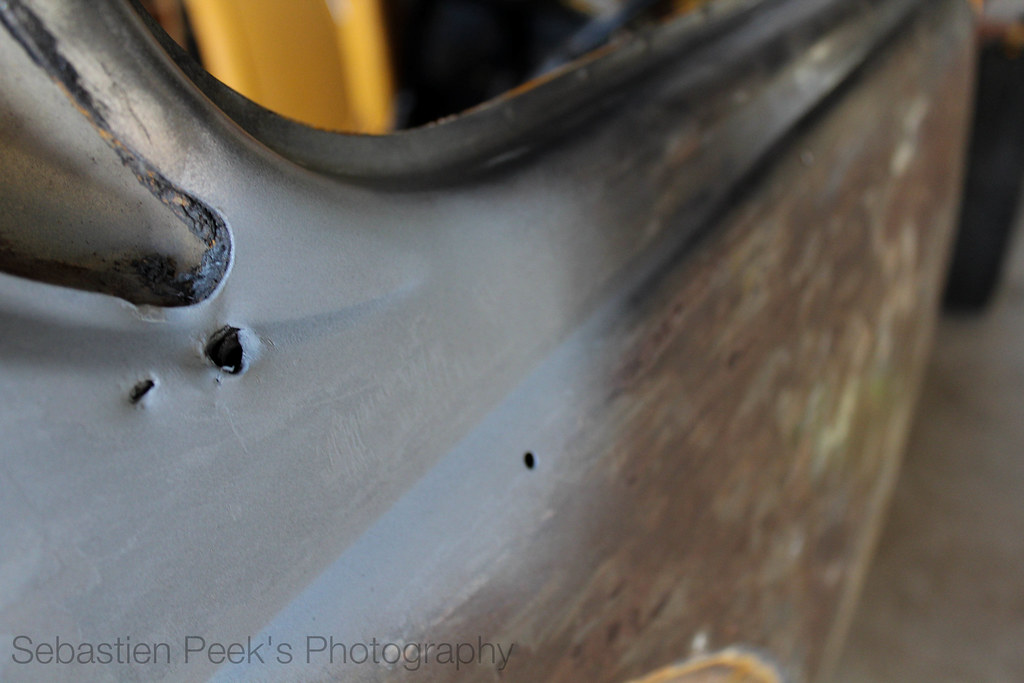
IMG_0168 by sebastienpeek, on Flickr
The left C pillar is a bit worse for wear too.
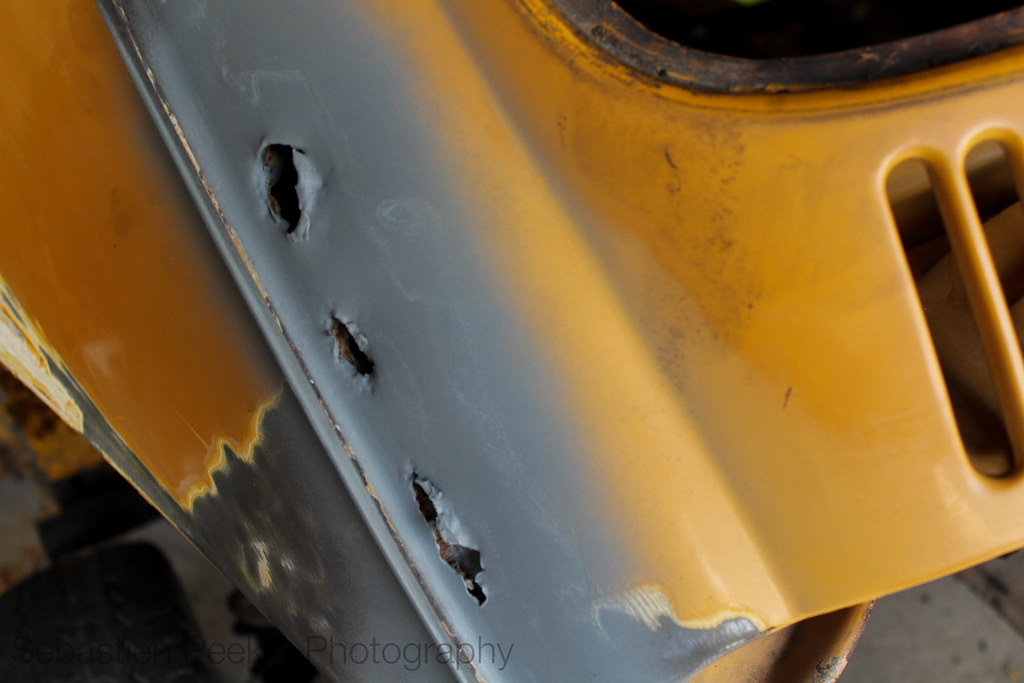
IMG_0169 by sebastienpeek, on Flickr
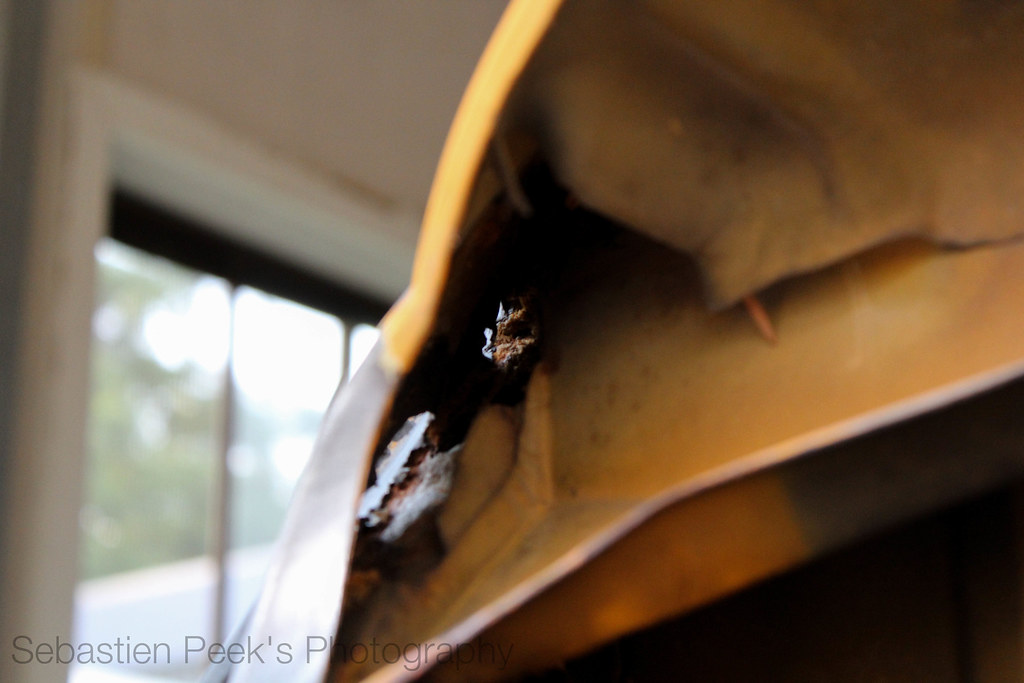
IMG_0175 by sebastienpeek, on Flickr
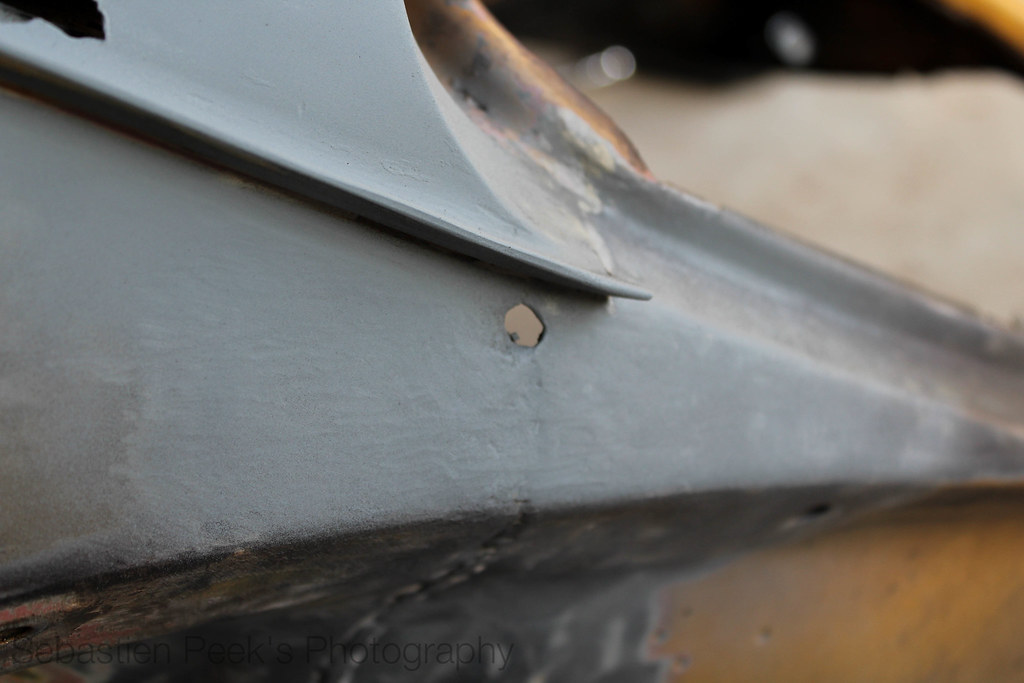
IMG_0171 by sebastienpeek, on Flickr
I got the majority of the death foam out, but will be able to get the rest out once I get replacement panels for the C pillars and the current ones cut out.
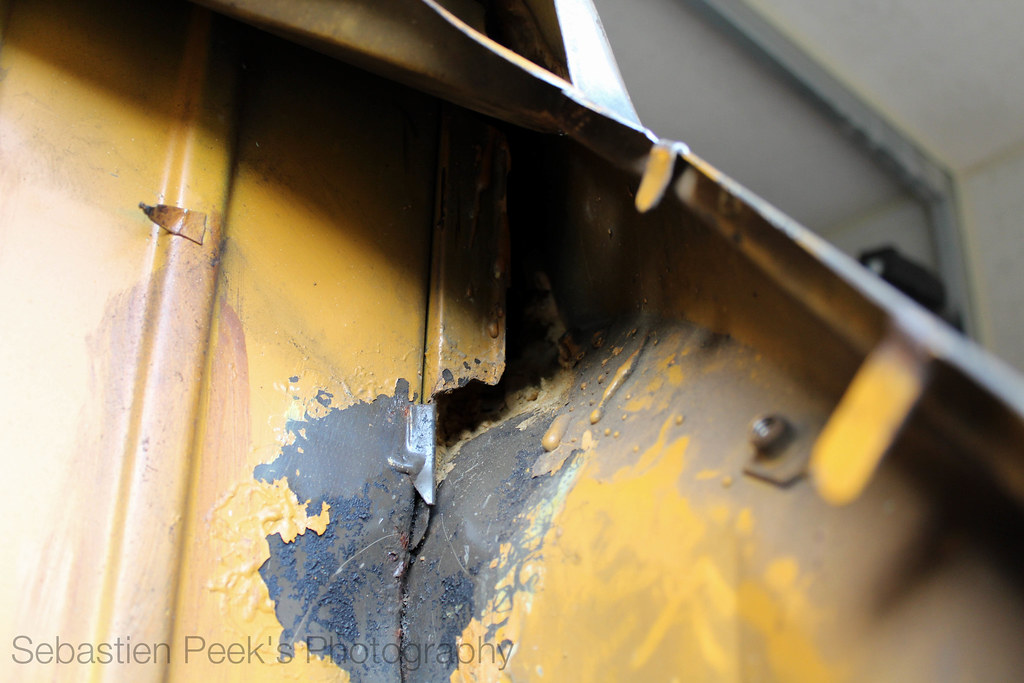
IMG_0177 by sebastienpeek, on Flickr
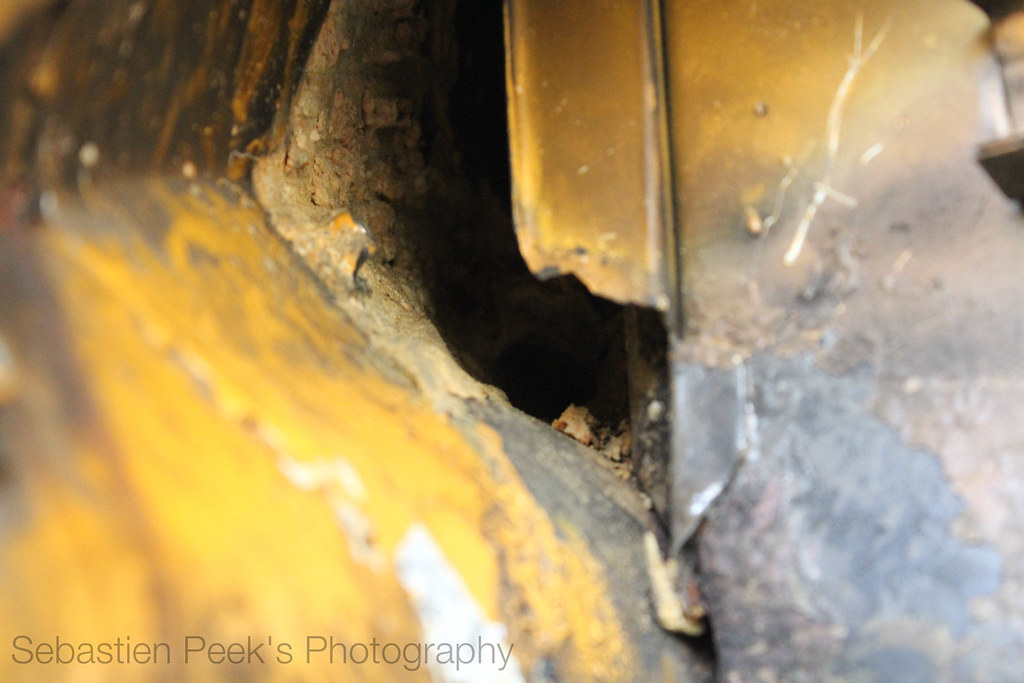
IMG_0178 by sebastienpeek, on Flickr
So, it looks like this rear section has had a previous fix. I found an immense amount of bog around this weld. But it is all back to bare metal and ready to have the weld ground down properly instead of just bogged over.
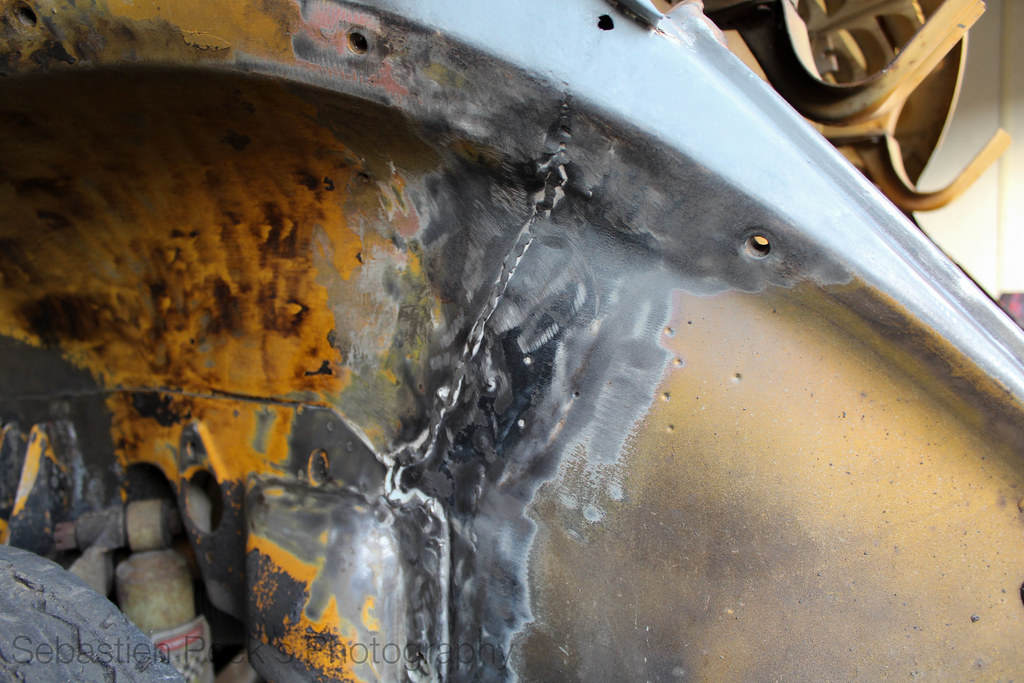
IMG_0180 by sebastienpeek, on Flickr
Speaking of bog, I found a lot in the front drivers side quarter as well. First up I finally removed the fuel tank and took a look in the air box. A fair bit of rust but easy enough to fix.
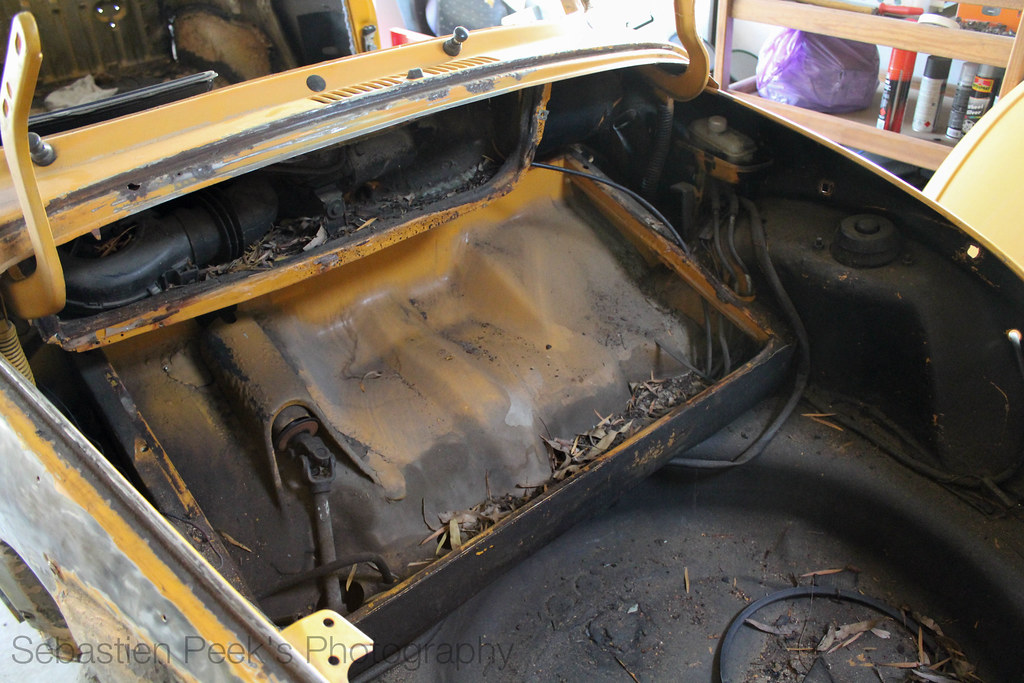
IMG_0183 by sebastienpeek, on Flickr
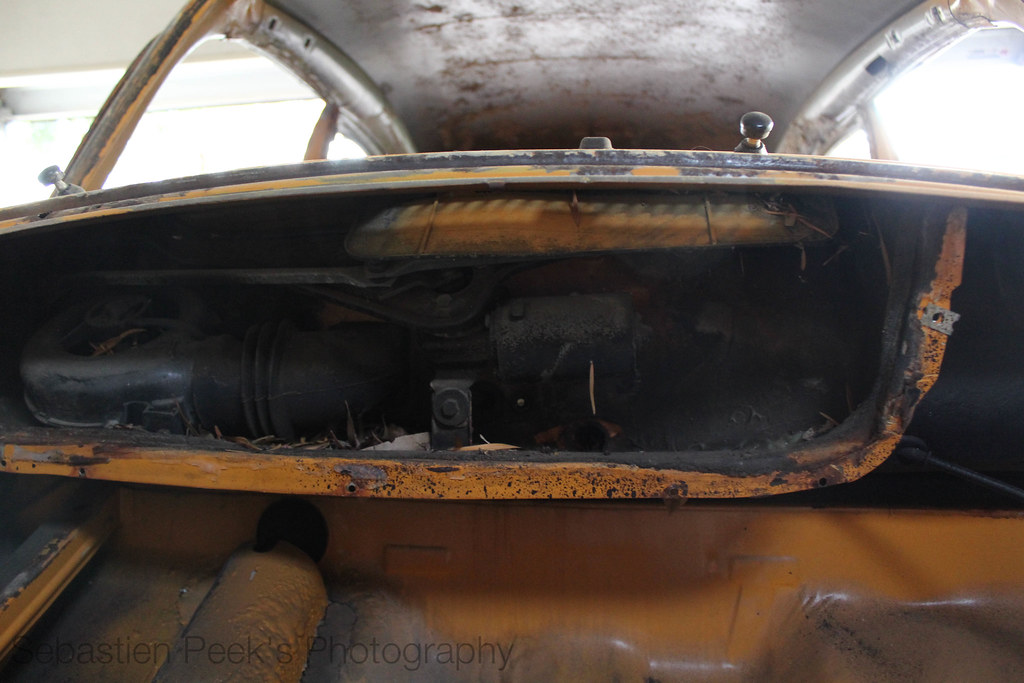
IMG_0184 by sebastienpeek, on Flickr
Anyway, back to the front drivers side quarter. All the bare metal area was bogged.
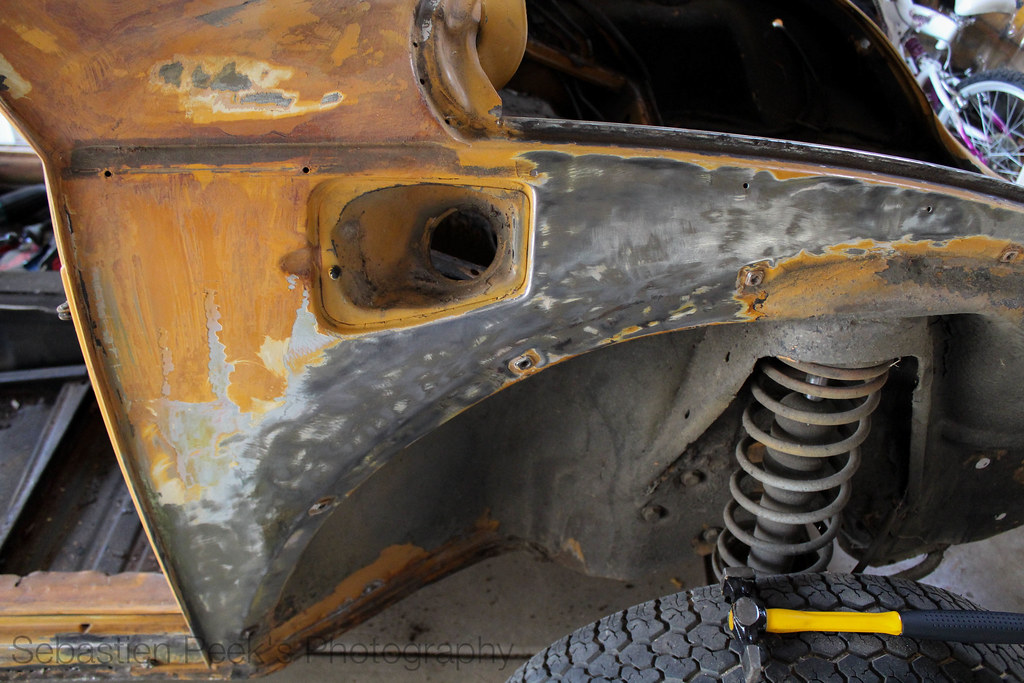
IMG_0185 by sebastienpeek, on Flickr
The panel was pretty wavy, but I hammered it out a bit and got it a bit better. I also found this little bit of pitting in the same area too.
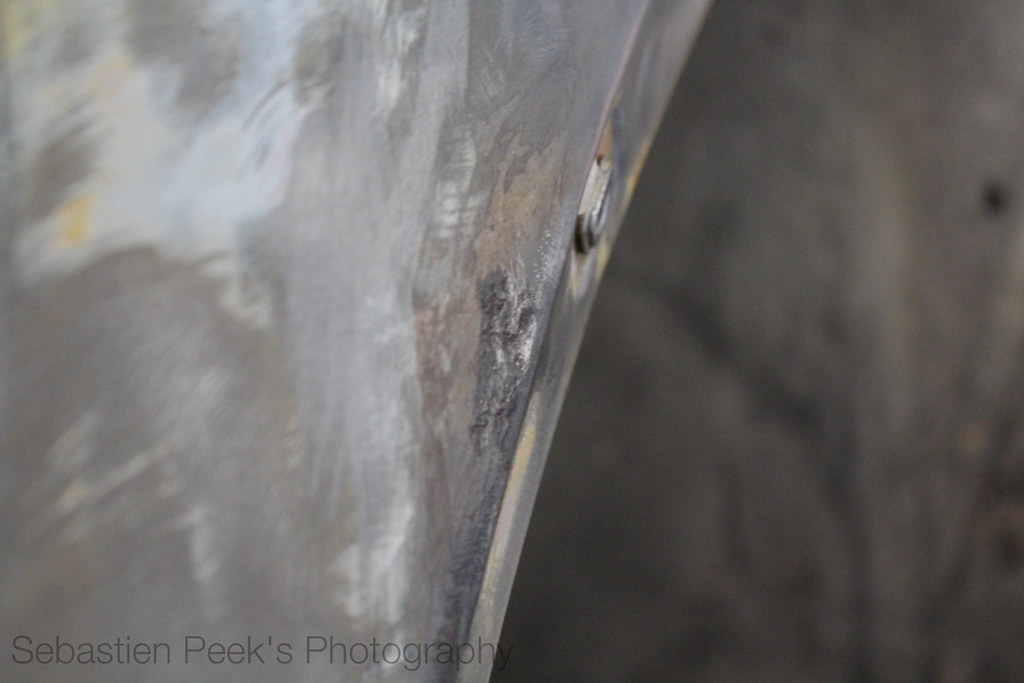
IMG_0189 by sebastienpeek, on Flickr
Anyway, back to the rear. The rust in the rear right hand side pillar, thanks to the death foam, also spread inside the vehicle too. Cleaned it up a bit, no surrounding rust thankfully.
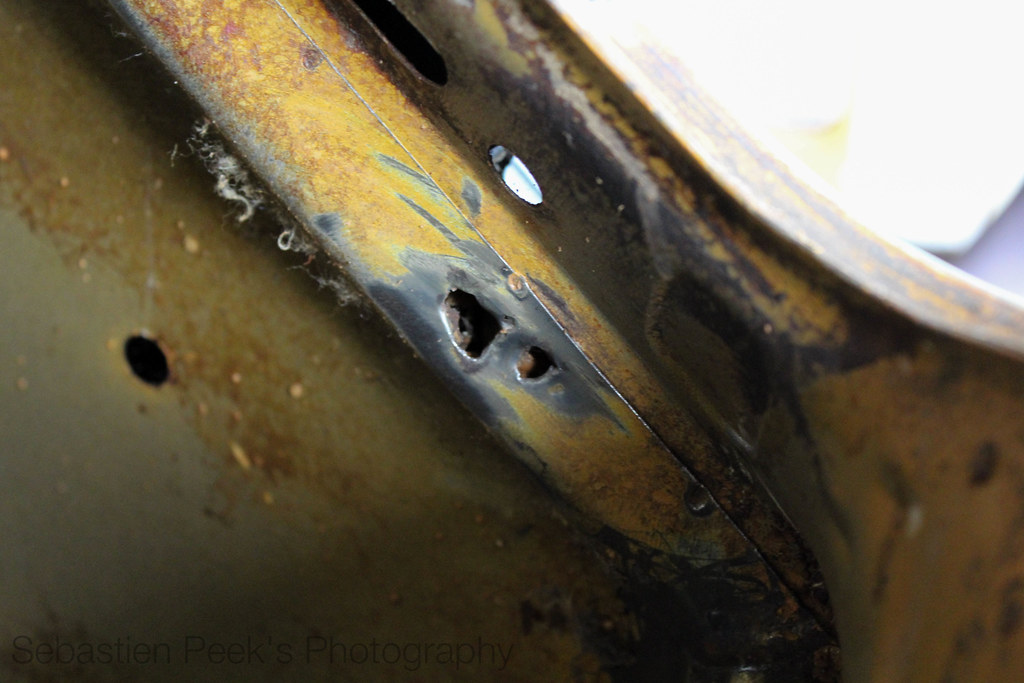
IMG_0174 by sebastienpeek, on Flickr
I went inside and cleaned up the luggage area. Got rid of all the seam sealer.
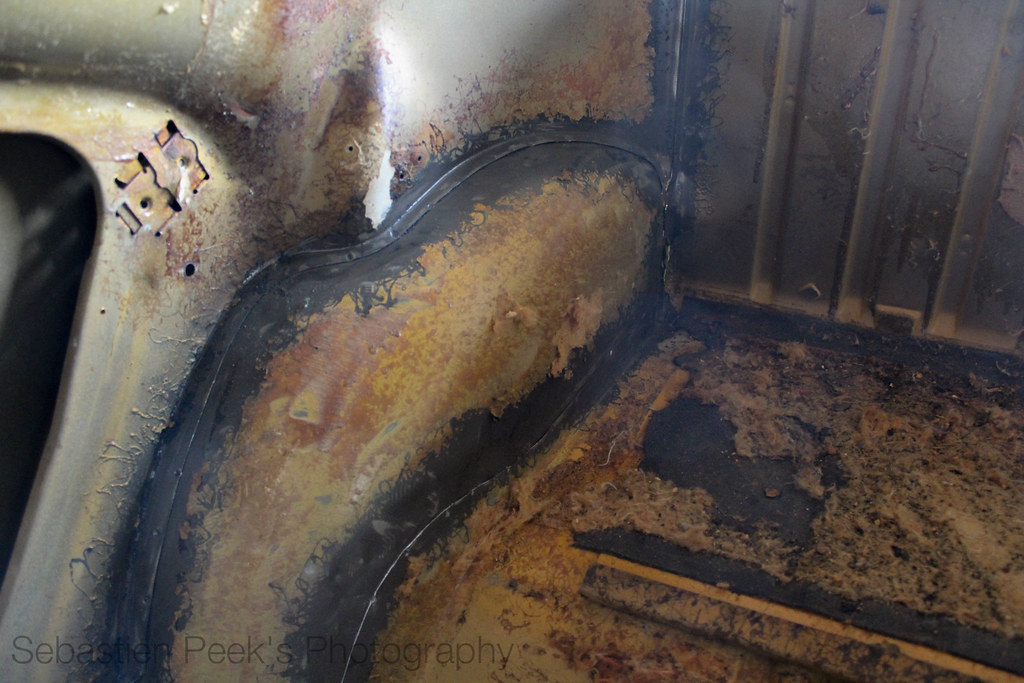
IMG_0182 by sebastienpeek, on Flickr
On the other side though, I found after I cleaned up the seam sealer that some of the panels had actually come away from where they were spot welded. Easy enough to fix up.
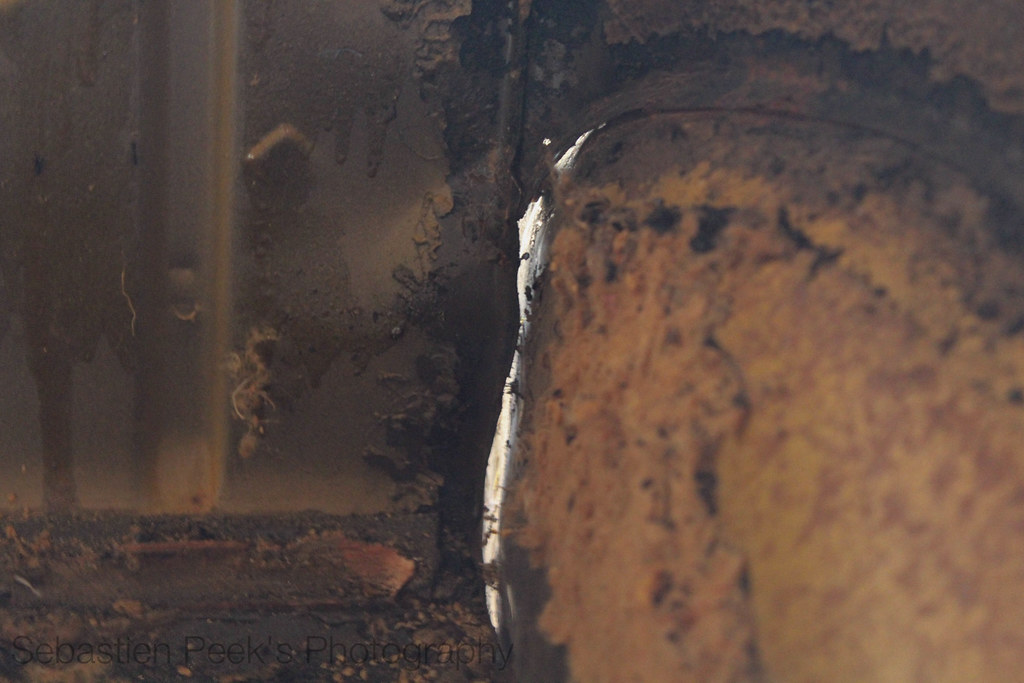
IMG_0172 by sebastienpeek, on Flickr
Oh, I also found these holes in the heater channel on the drivers side too. Just going to replace the majority of the heater channel as it'll mean the whole thing is new metal.
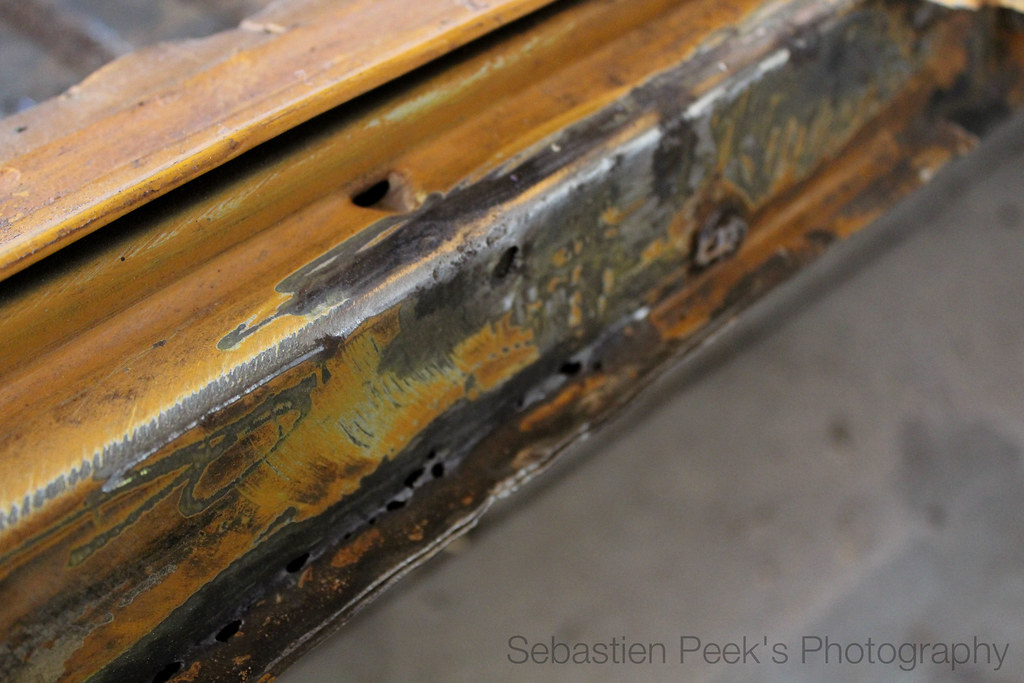
IMG_0193 by sebastienpeek, on Flickr
This also needs to be replaced. Gutters are great, except in some bits, and those bits are pretty damn bad.
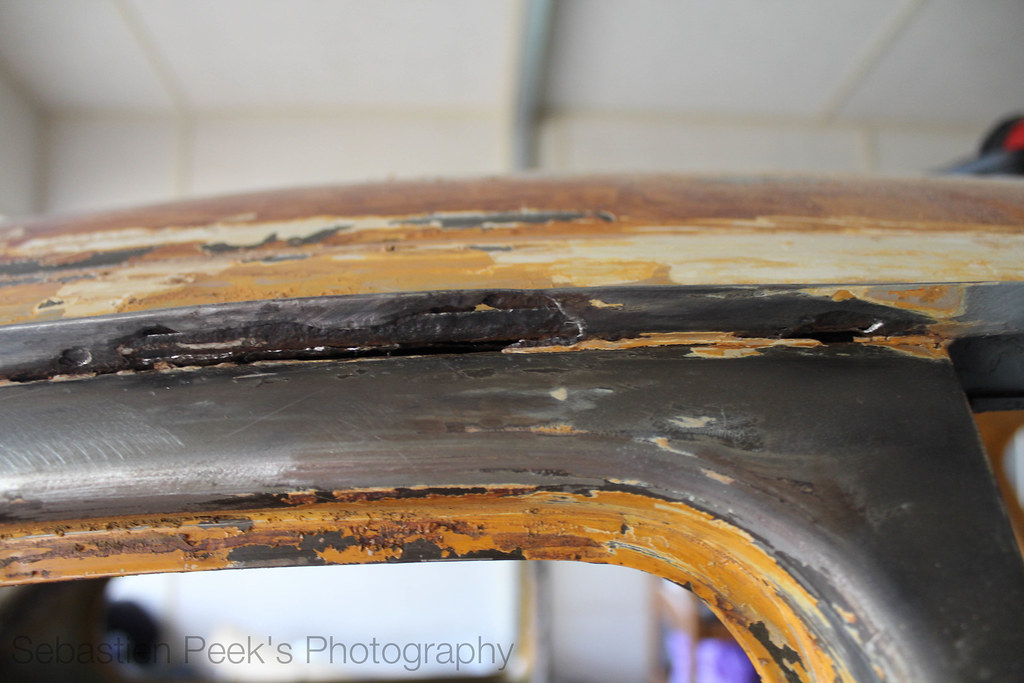
IMG_0194 by sebastienpeek, on Flickr
I'll leave you with a shot of each side. As you can see, the galv is used around the rust areas, the rest is still in bare metal unfortunately.
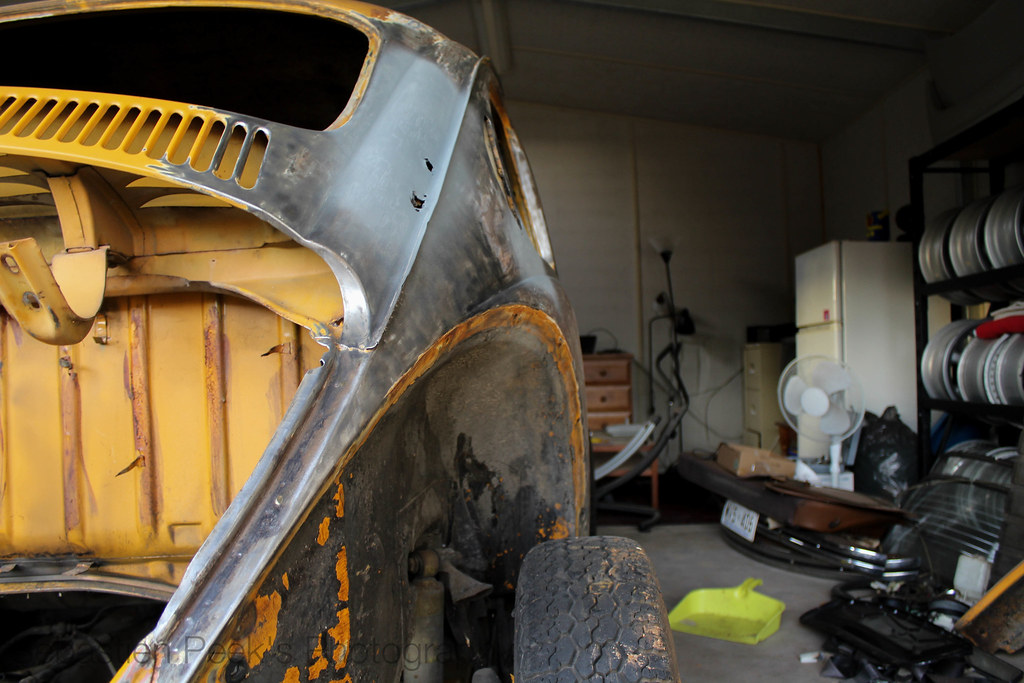
IMG_0199 by sebastienpeek, on Flickr
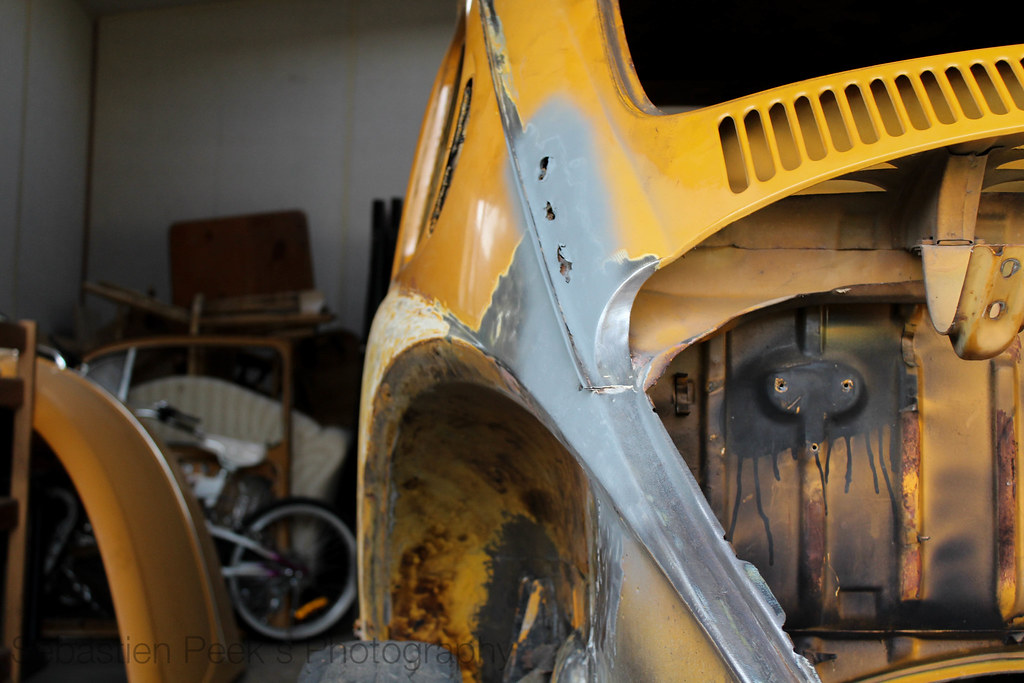
IMG_0200 by sebastienpeek, on Flickr
So now I just need to get replacement panels and a TIG welder. Then I can start on the rust repair. Until then, I shall leave Gretl in the garage.
Leave a comment:
-
I definitely didn't, how long ago? That's ducking cool though.Originally posted by floatingdino View PostDid you see Zelda go up on the S|W Facebook?
Lots of dedication. I'm not giving up on Gretl. I figure I gave up on Zelda too quickly, the least I can do is fix Gretl in memory of her.Originally posted by dartology View PostGood to see the project has begun. Lots of dedication right there tackling that sort of rust. I've got a Mk1 with that kind of rust (not as bad in the roof however). I might have missed you saying this - are you going to have a go at the welding yourself?
And yes, will be tackling the welding myself
Not a replacement, Zelda can never be replaced. Don't think a first car could ever be replacedOriginally posted by P78 View Postyeay, i'm glad zelda gets a replacement
Leave a comment:
-
Good to see the project has begun. Lots of dedication right there tackling that sort of rust. I've got a Mk1 with that kind of rust (not as bad in the roof however). I might have missed you saying this - are you going to have a go at the welding yourself?
Leave a comment:
-
I purchased a power file and took to cleaning up all the rust areas
Leave a comment:
-
So, over the past two nights I have been working a little bit on Gretl.
I purchased a power file and took to cleaning up all the rust areas, just getting it all back to bare metal to inspect it a bit more. I mainly focused on the rear rust in the C pillars and the front bonnet seal area.
The front bonnet seal area has a bit of pitting and a few holes, nothing too bad thankfully.
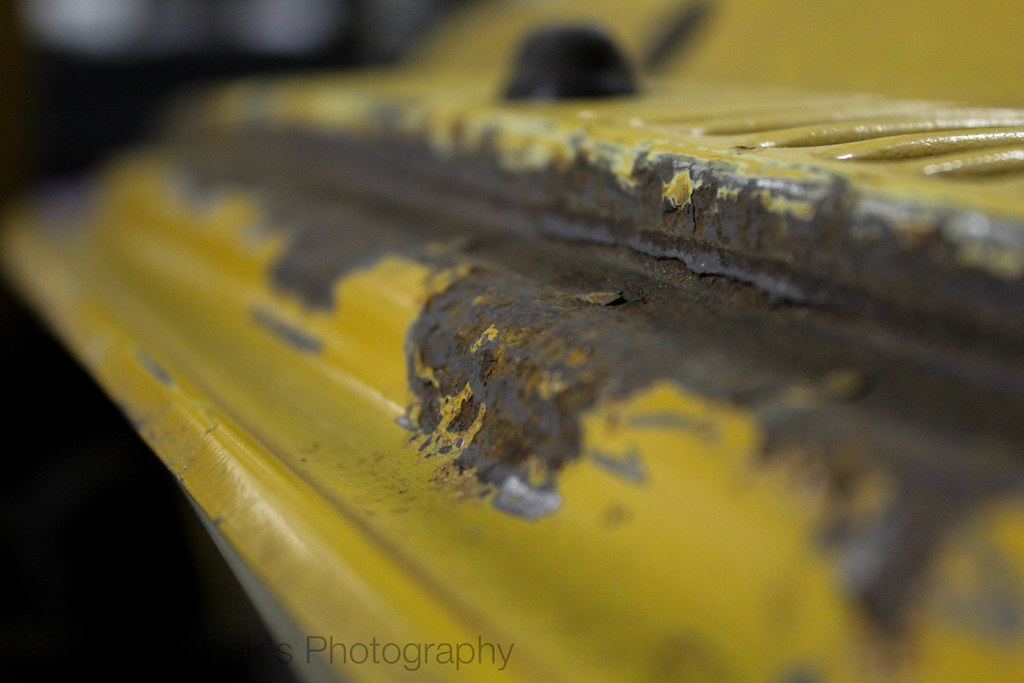
IMG_0159 by sebastienpeek, on Flickr
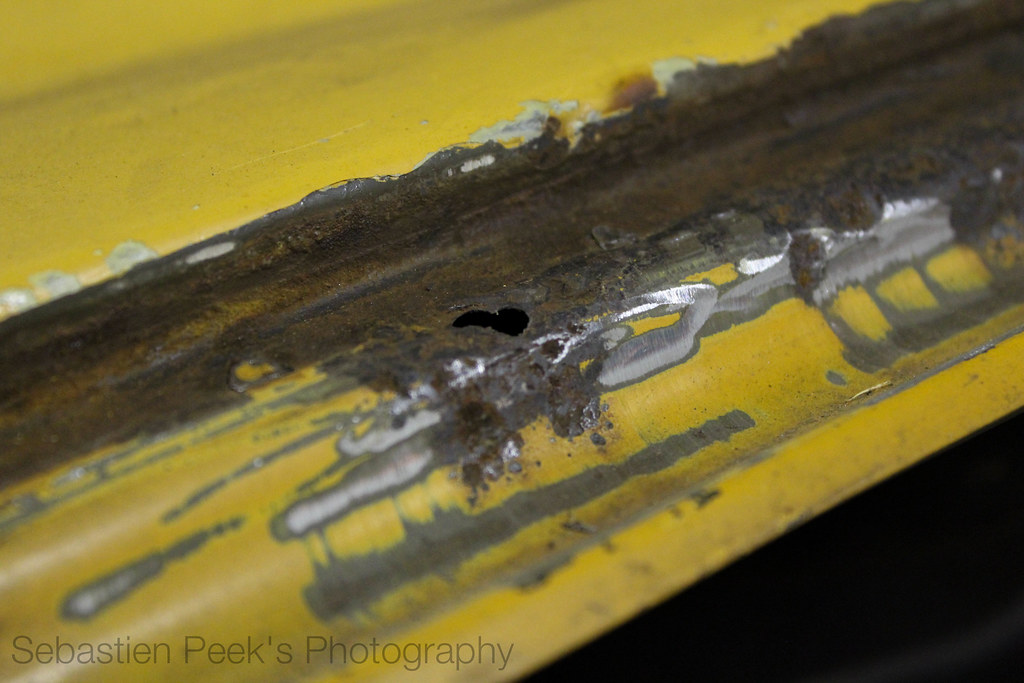
IMG_0160 by sebastienpeek, on Flickr

IMG_0161 by sebastienpeek, on Flickr
The rear, well, I'll let the pictures do the talking.
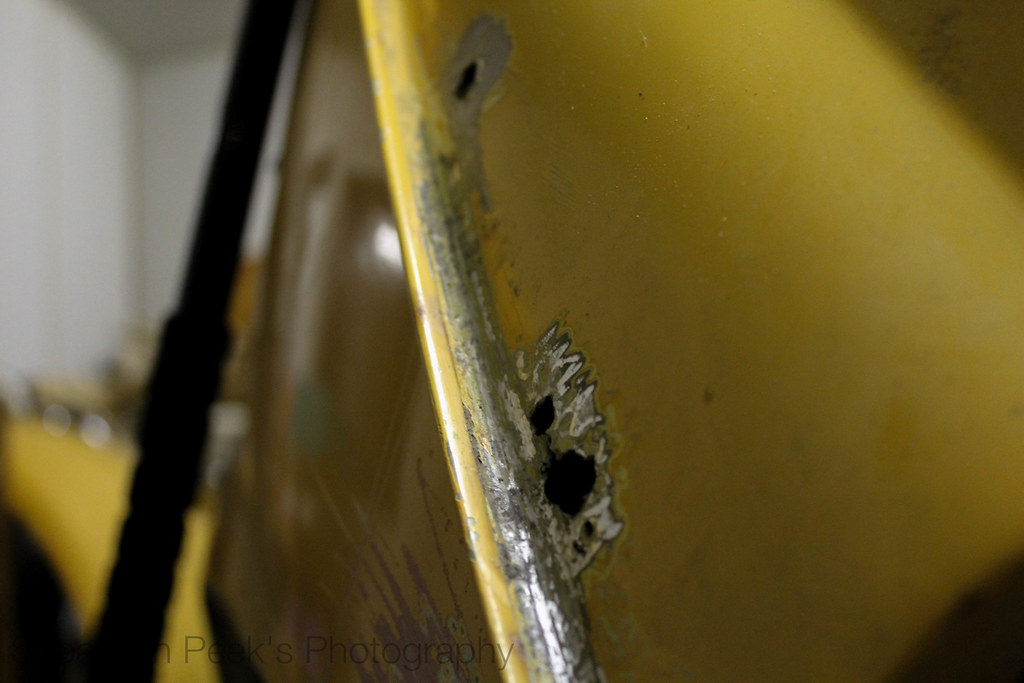
IMG_0156 by sebastienpeek, on Flickr
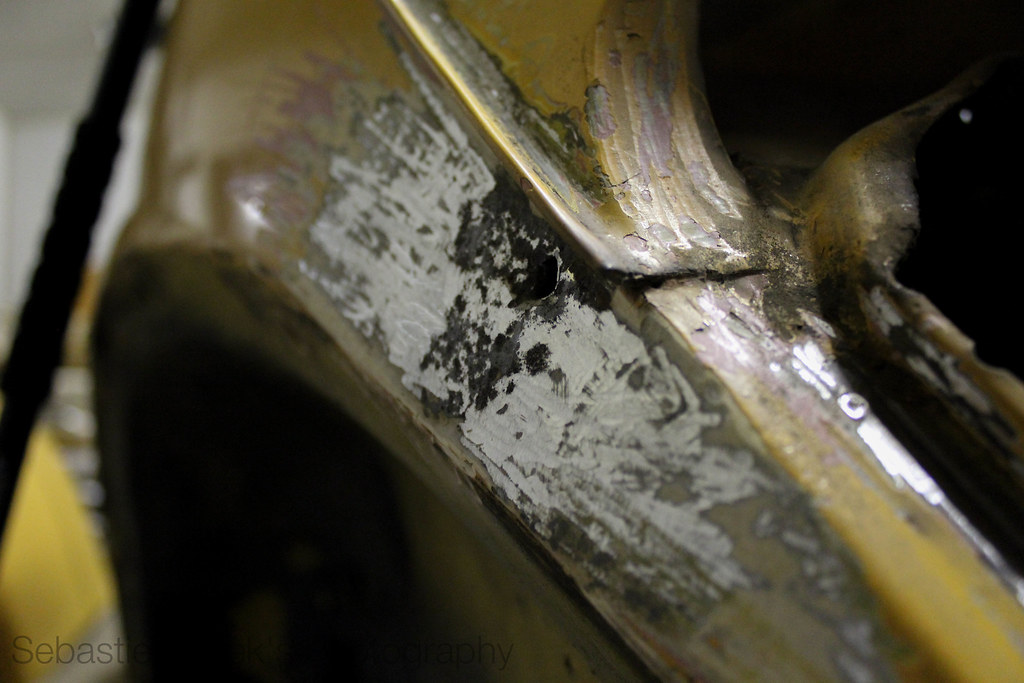
IMG_0157 by sebastienpeek, on Flickr
I then got busy with some paint stripper around the other side as I wanted to see how far the cancer had spread. I was definitely not disappointed once again.
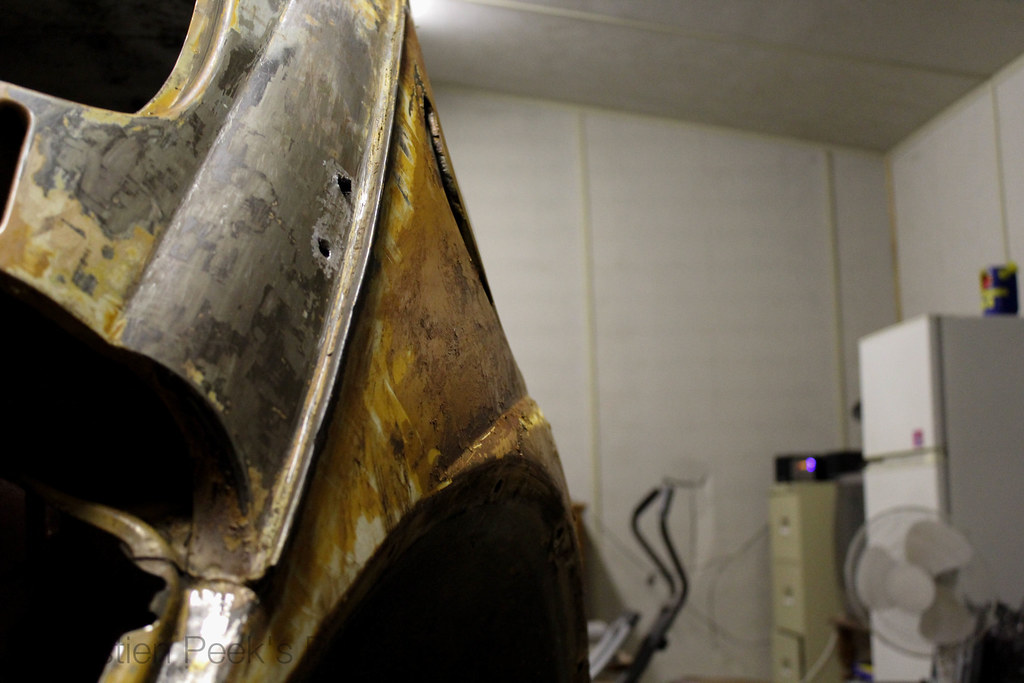
IMG_0149 by sebastienpeek, on Flickr
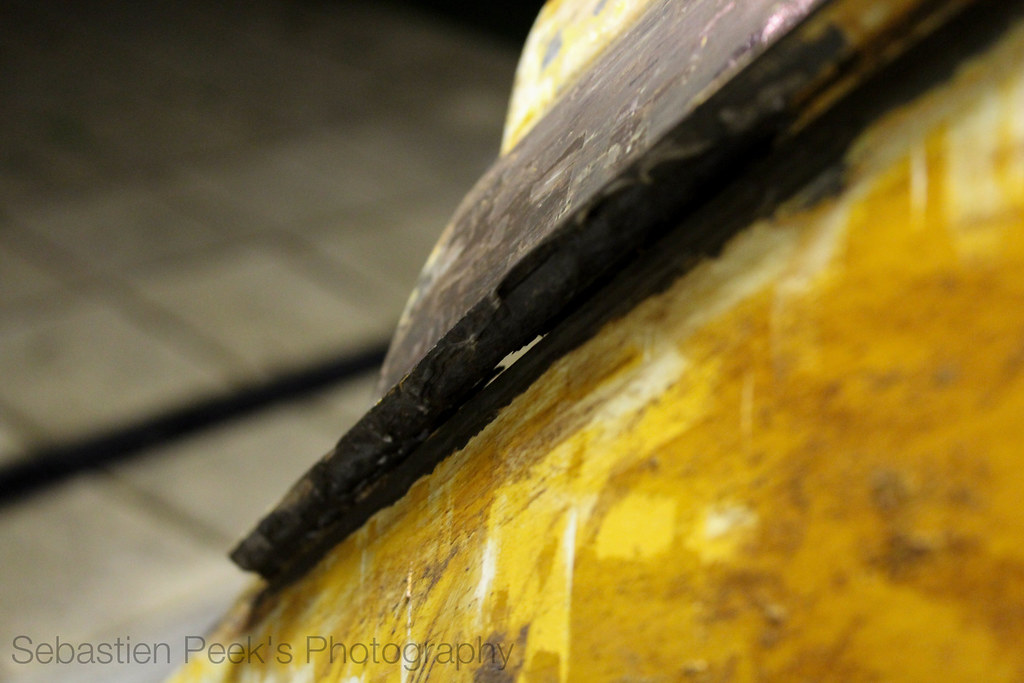
IMG_0153 by sebastienpeek, on Flickr
I should definitely not be able to do this.
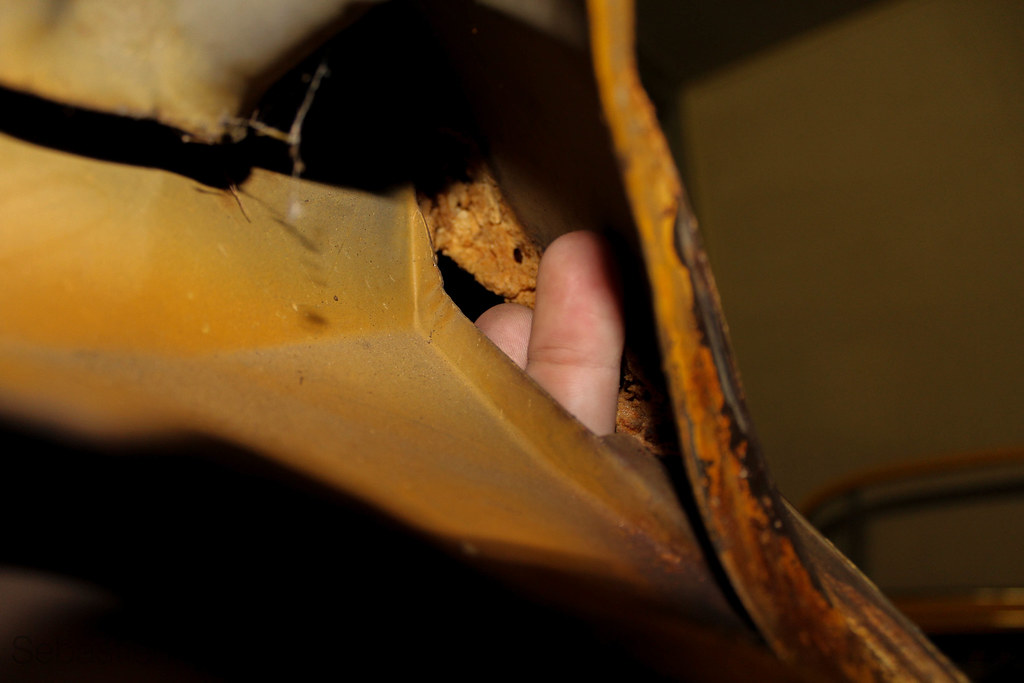
IMG_0165 by sebastienpeek, on Flickr
So, there is a lot of rust due to the infamous foam of death that Volkswagen, once again, stupidly put there for sound deadening. Idiots.
Anyway, Roman chimed in on an Instagram photo of mine and told me to get a wire wheel. So gonna get one tomorrow night, along with some more power file bands.
Leave a comment:
-
First off, in the words of Tranz, getout spam.
Anyway. Had another awesome night spent on Gretl after a very stressful day at work.
I finally got the passenger front fender and running board off. I was putting it off for some reason. But once I got cracking into Gretl tonight, I didn't want to stop.
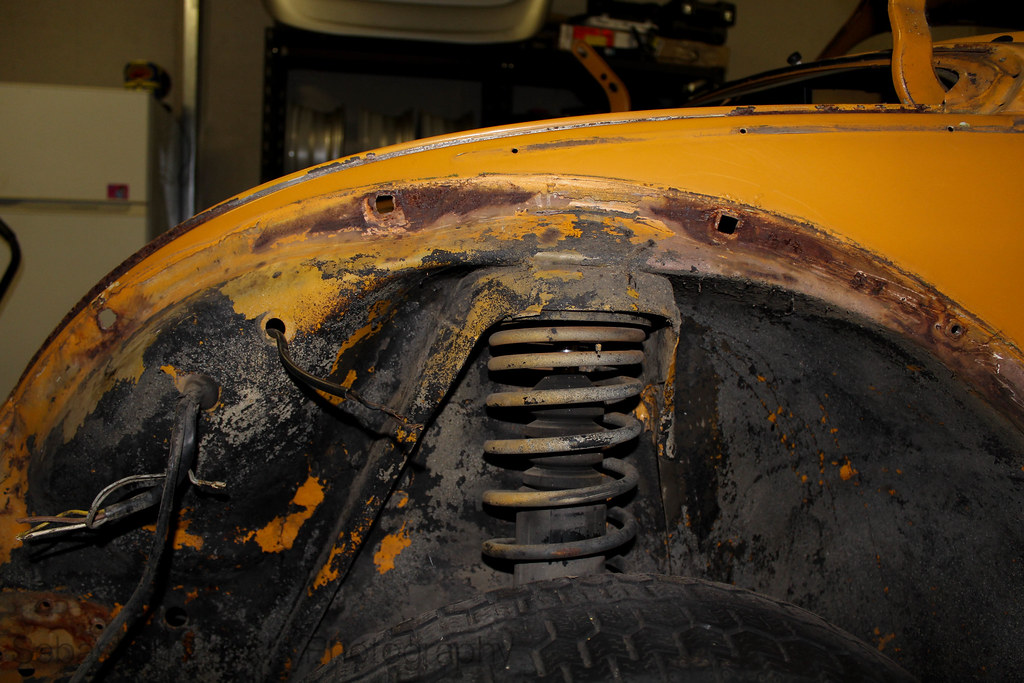
IMG_0138 by sebastienpeek, on Flickr
Unfortunately, if you look closely, you can see that where the bolts that hold the front fender to the body, the thread bit that is usually tacked to the body have fallen off. There was also a rust hole just right of the A pillar in the passenger wheel well.
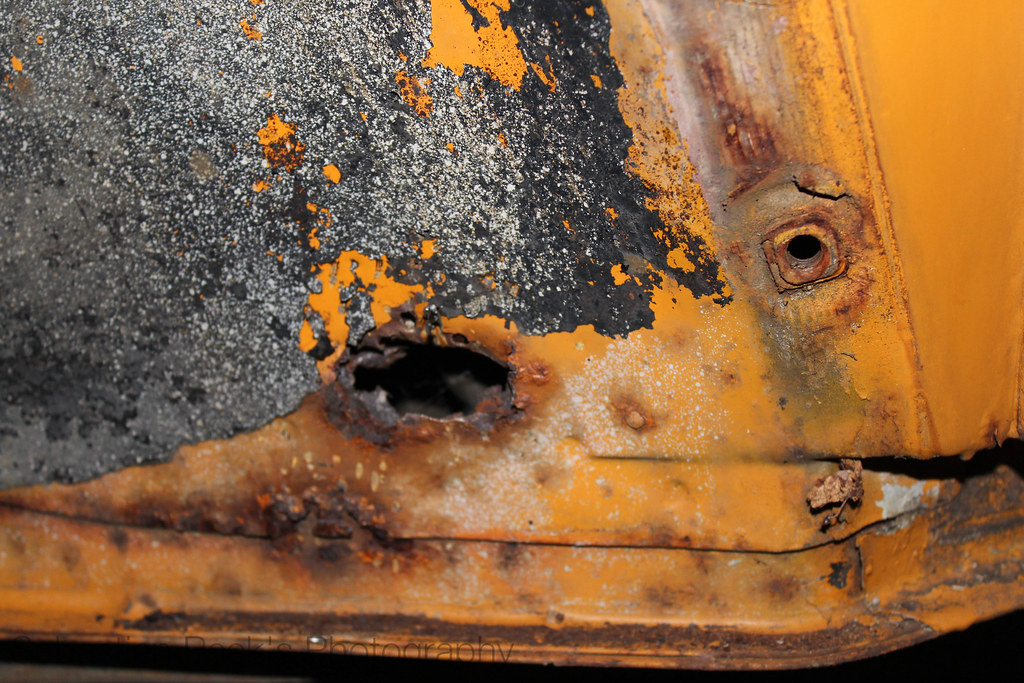
IMG_0139 by sebastienpeek, on Flickr
I figured there was no reason to beat around the bush. It was time to rip up the interior carpet and floor mats and see what the damage to the pan was. I was definitely not disappointed.
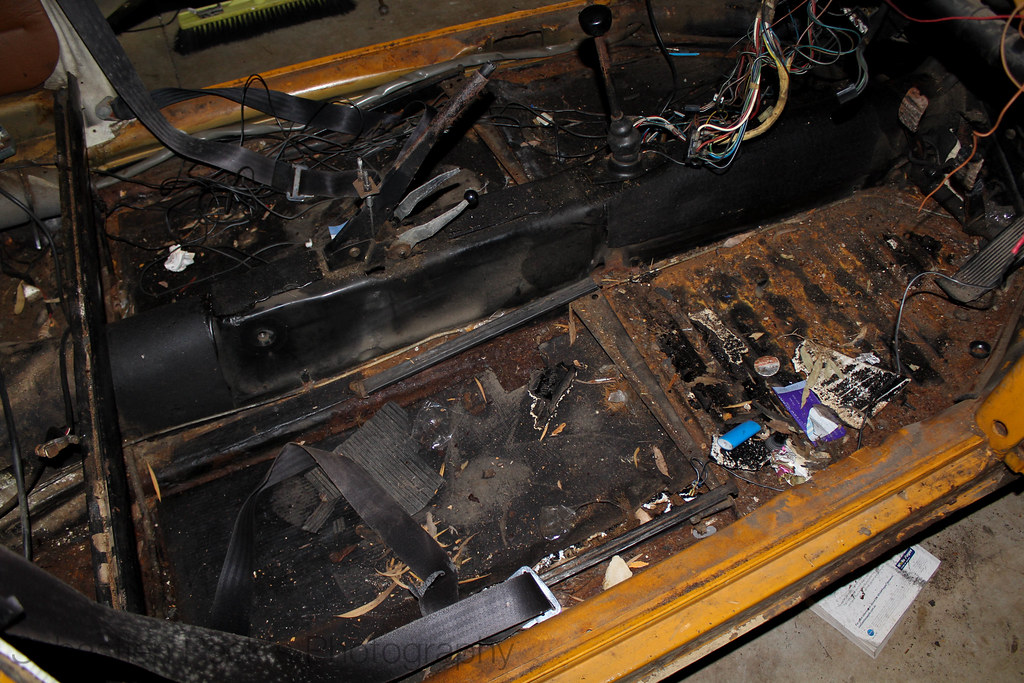
IMG_0136 by sebastienpeek, on Flickr
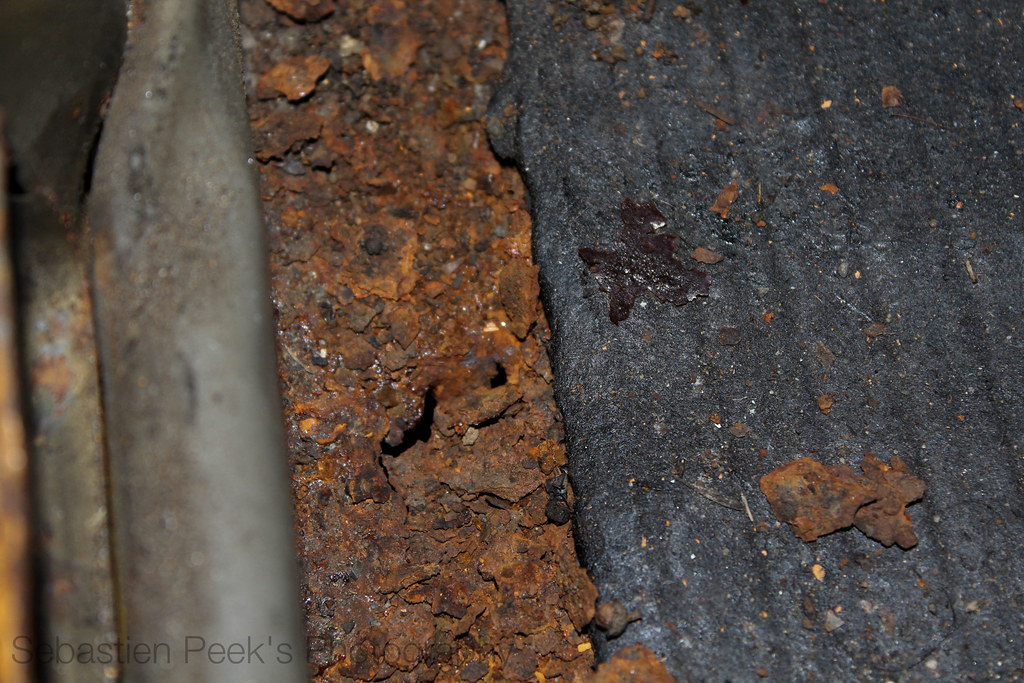
IMG_0124 by sebastienpeek, on Flickr
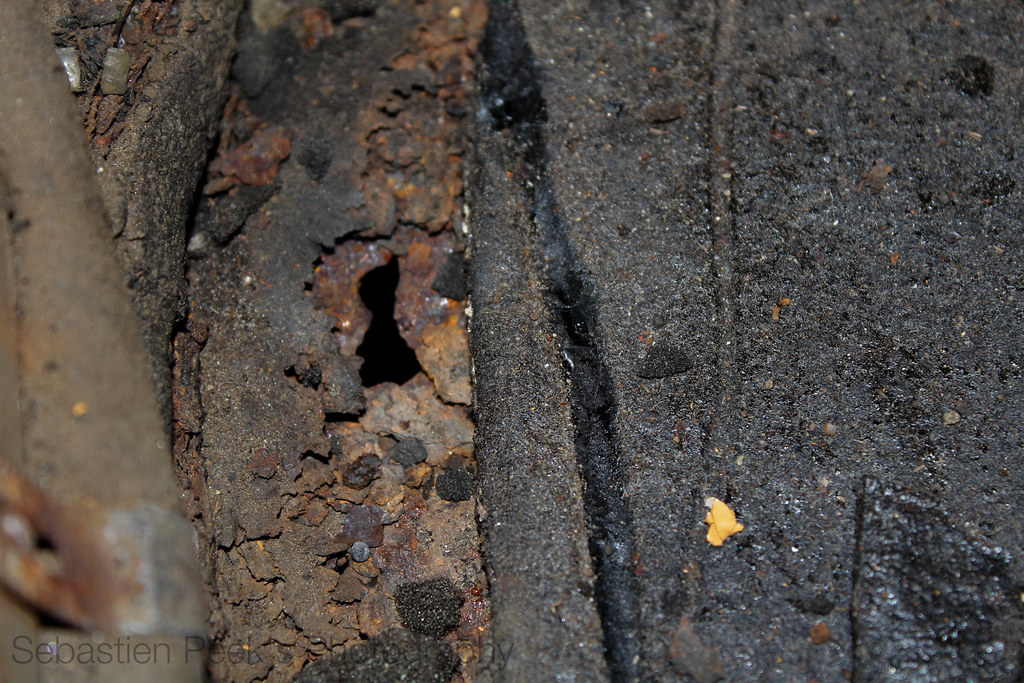
IMG_0125 by sebastienpeek, on Flickr
I will be replacing both pan halves anyway so that is not a problem. I took a quick look at the tunnel and all seems to be very solid there. Thankfully!
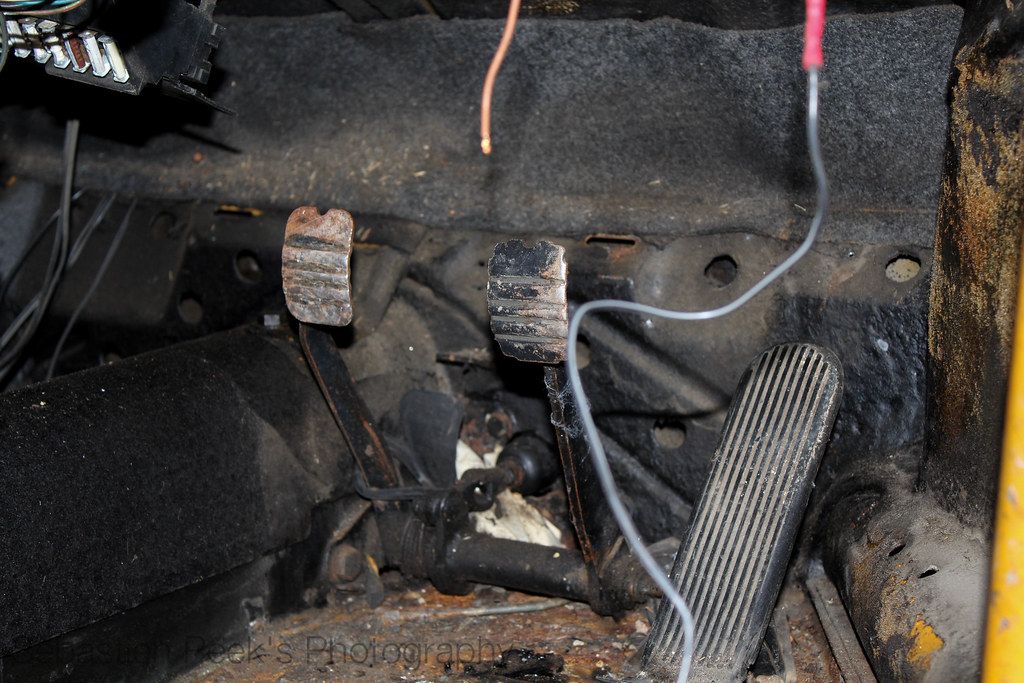
IMG_0135 by sebastienpeek, on Flickr
I **** removing pedal assemblies. But in the photo you can see that the panel behind the pedal assembly has no rust issues.
Then came the fun task of removing the padded dash. I'd never actually removed one myself before, so after removing the speedo, a bit of wiring being disconnected, the bonnet lever cable disconnected and the fan knobs removed, she was good to be lifted out.
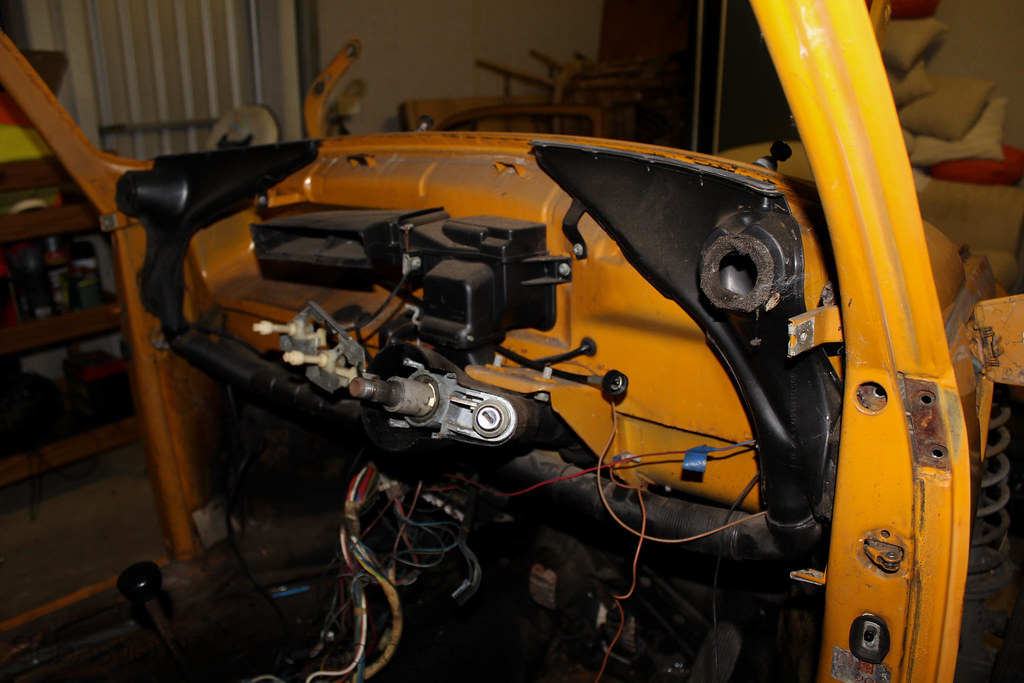
IMG_0131 by sebastienpeek, on Flickr

IMG_0126 by sebastienpeek, on Flickr
Before I forgot that I had taken the bonnet lever cable out I quickly removed the front bonnet so as to prevent it from getting jammed closed.
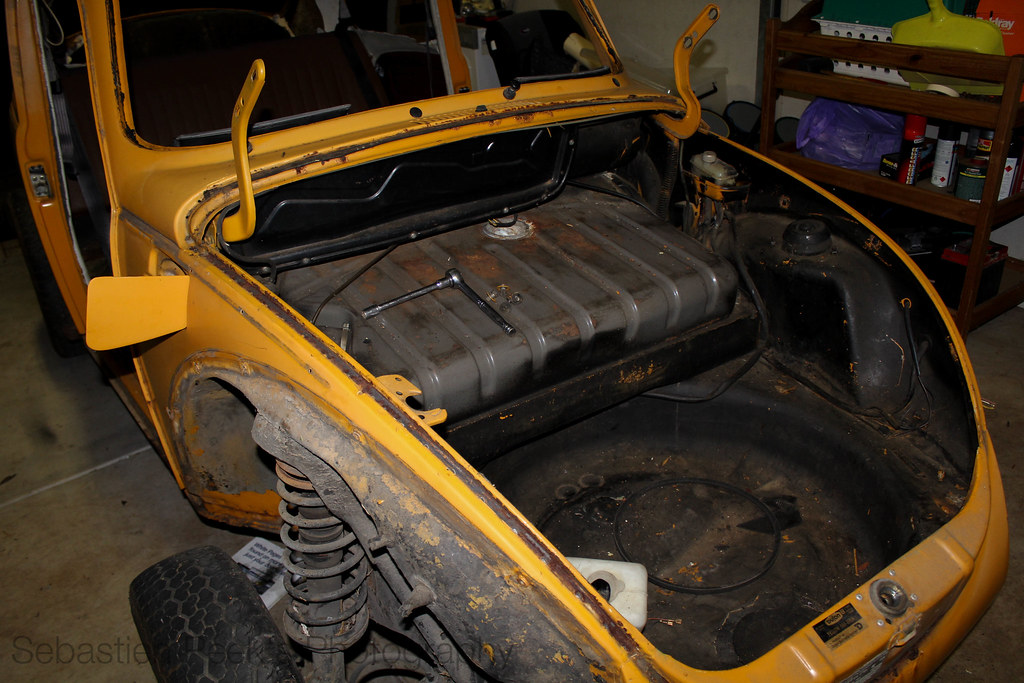
IMG_0137 by sebastienpeek, on Flickr
I got a bit side tracked and removed the top seal thingy.
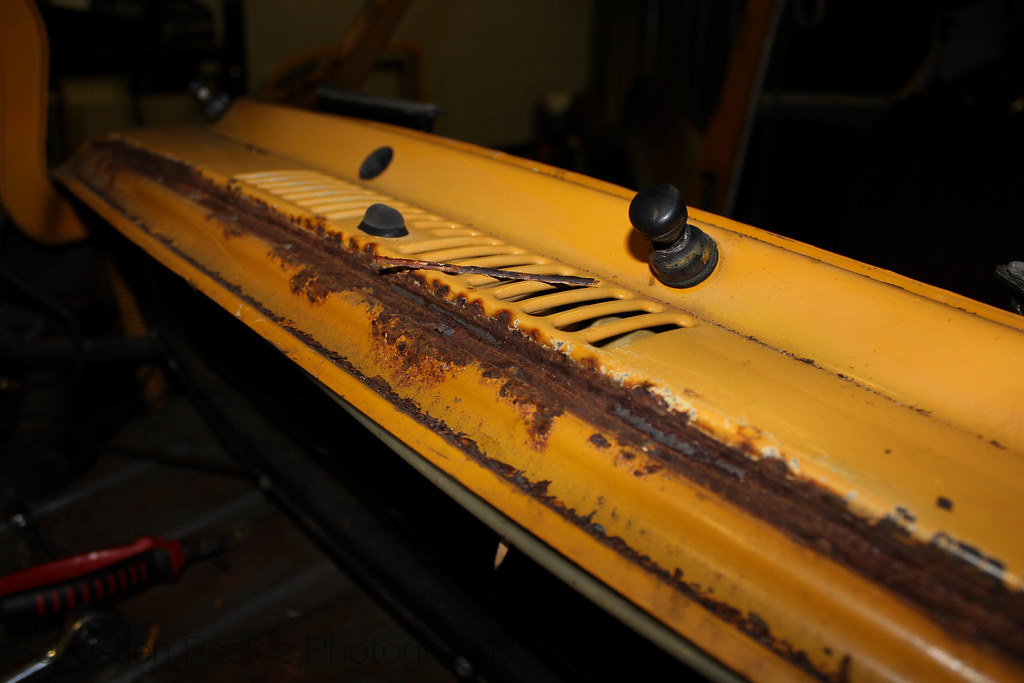
IMG_0143 by sebastienpeek, on Flickr
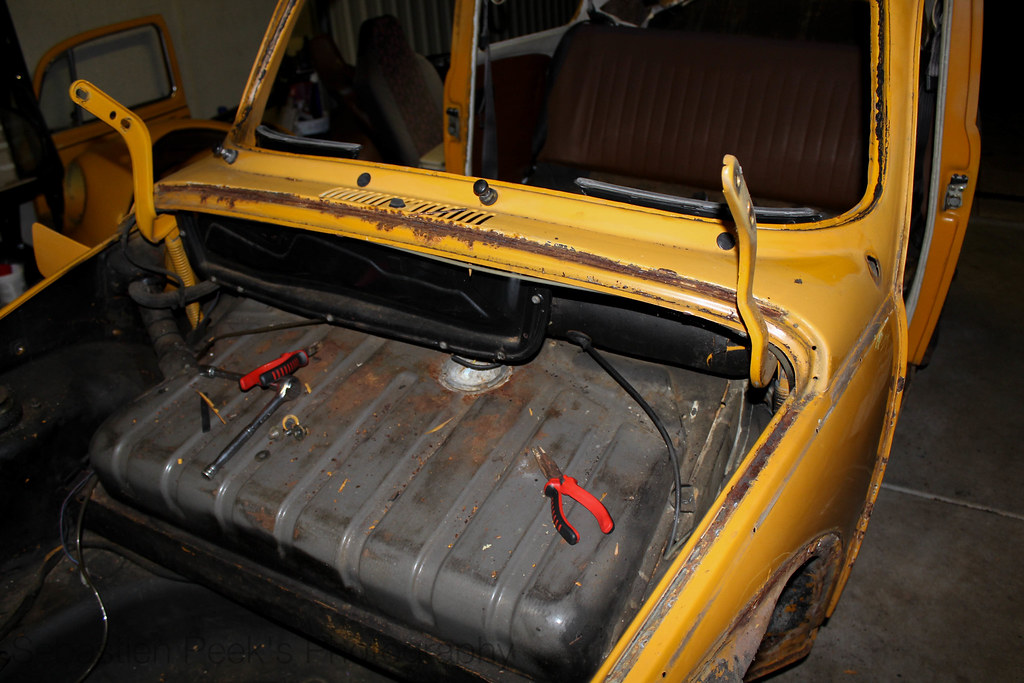
IMG_0144 by sebastienpeek, on Flickr
Then I was on a bit of a rust hunting mood. I went around the car and anywhere that looked like it had rust, I started digging. Much to my dismay I found a lot of rust in the door jams. And by a lot, I mean a lot.
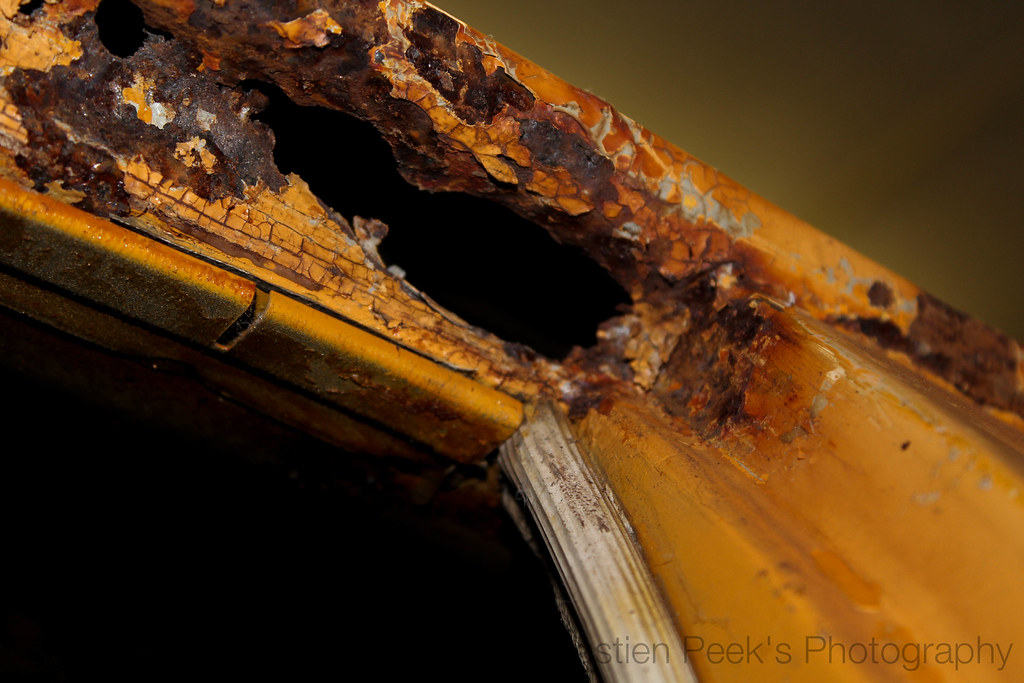
IMG_0128 by sebastienpeek, on Flickr
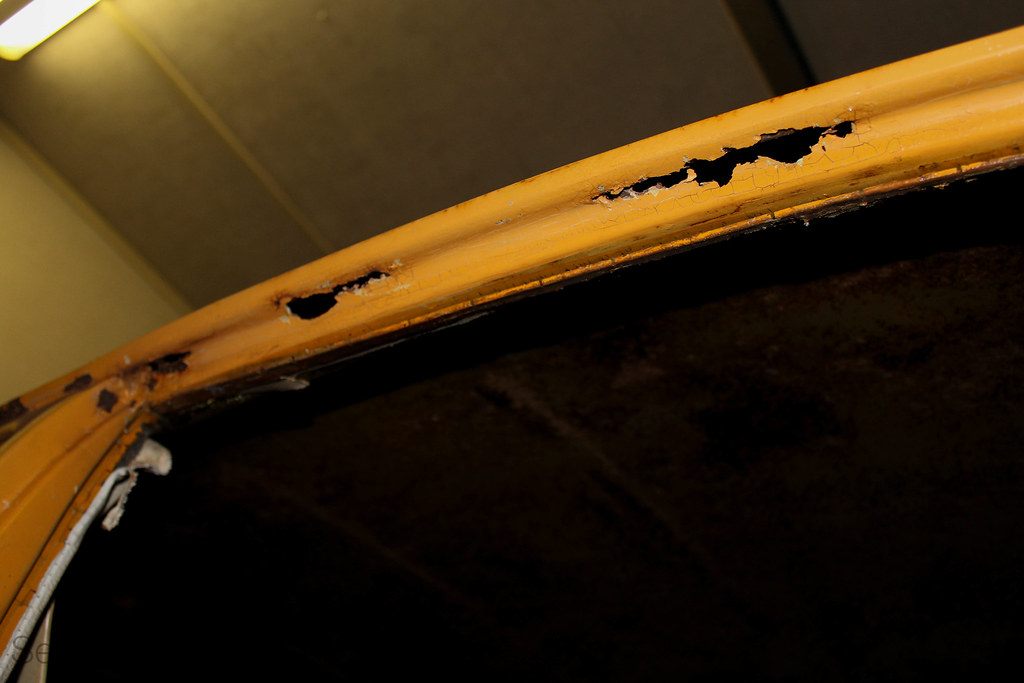
IMG_0130 by sebastienpeek, on Flickr
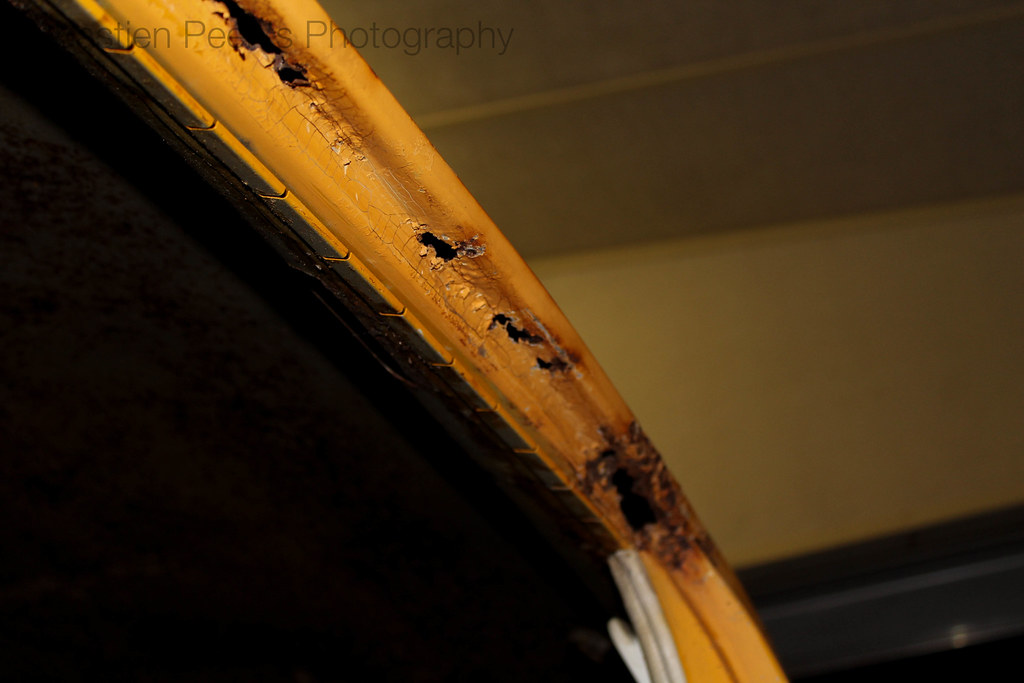
IMG_0129 by sebastienpeek, on Flickr
At this point I fell a little sick in my stomach. Then I realised that this is why I bought Gretl. To build her. To fix her. To bring her back to life. I have already planned a way to get to the rust and make sure it is completely fixed. It means cutting a bit of the roof skin away and then cutting out the cancerous spots. Fixing up the cancer and then re-welding the roof skin back in. Definitely not for the faint hearted.
I got the whole front interior out at the moment bar the defrosting fan mechanism, wiring loom and pedal assembly.
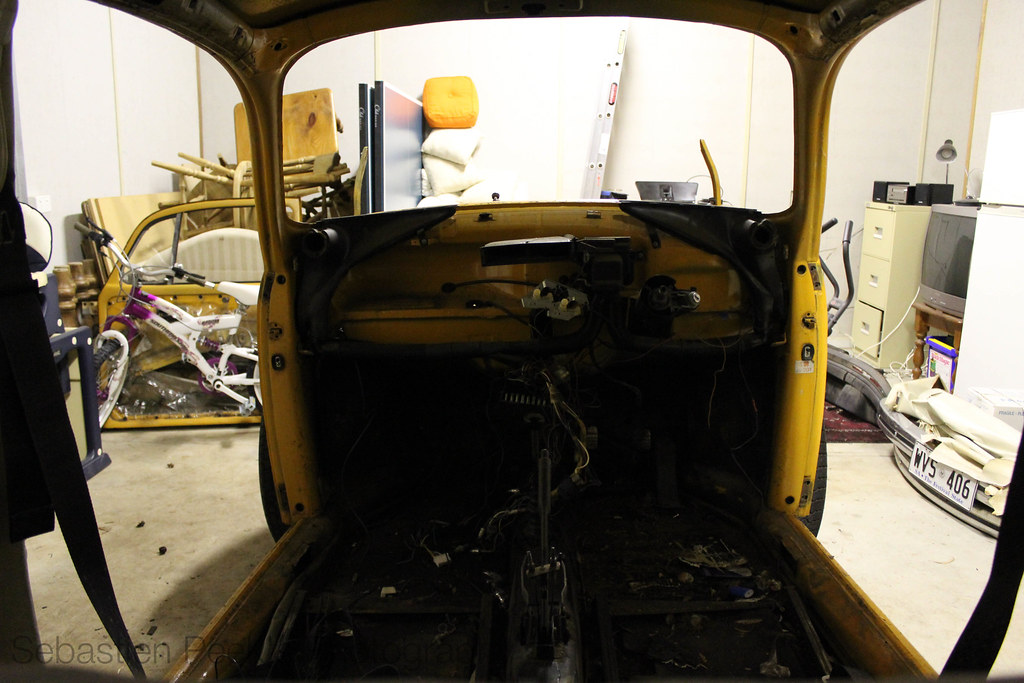
IMG_0120 by sebastienpeek, on Flickr
Now off to sleep to get some decent sleep before getting back into it after work tomorrow.
Leave a comment:


Leave a comment: