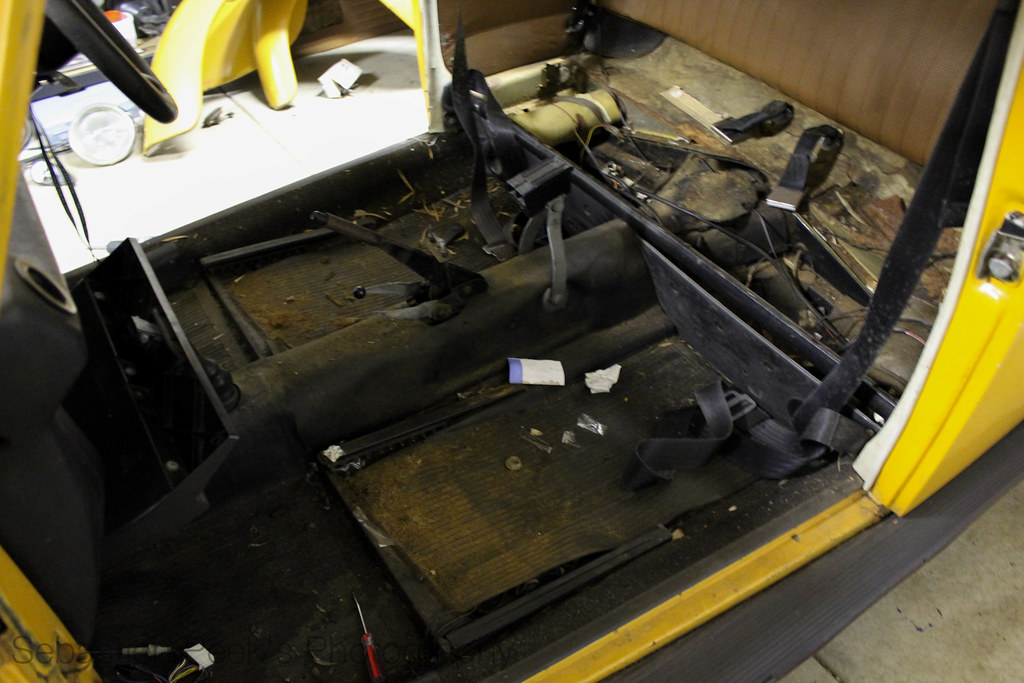
IMG_0109 by sebastienpeek, on Flickr
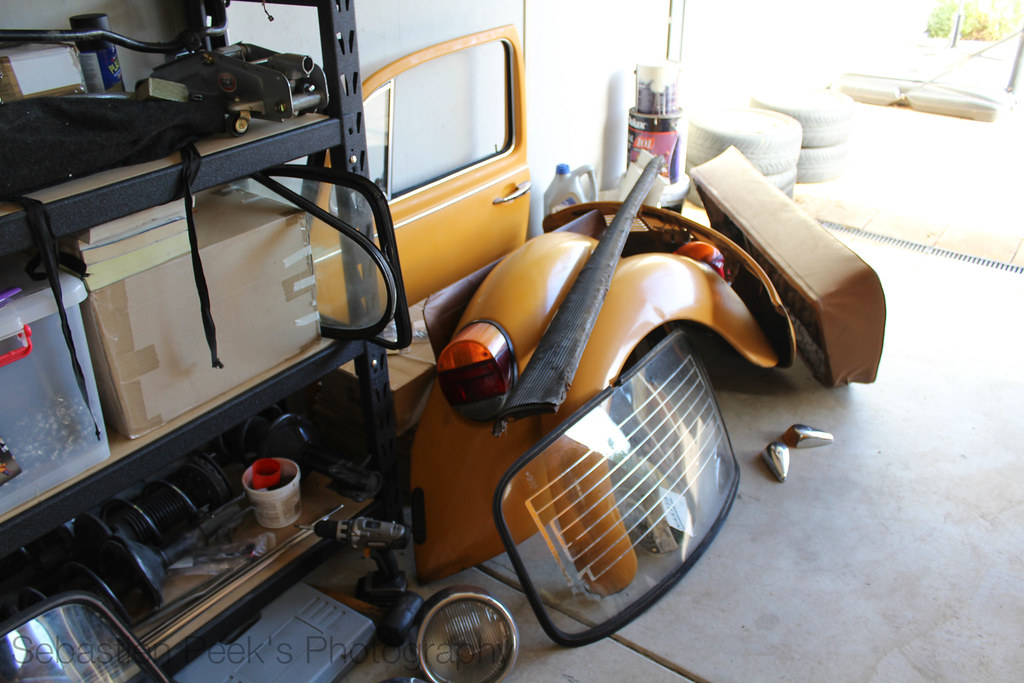
Got the front fenders off and checked out the front strut setup.
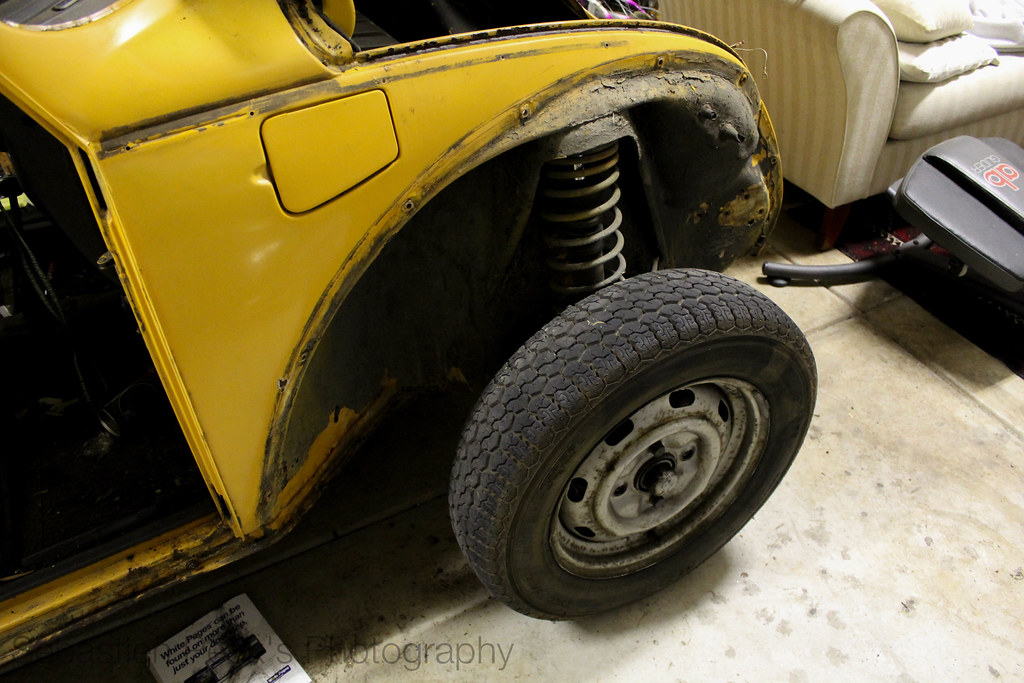
IMG_0110 by sebastienpeek, on Flickr
Being a 1974 model it is a two bolt strut setup which makes it perfect to make some custom coilovers for the front.
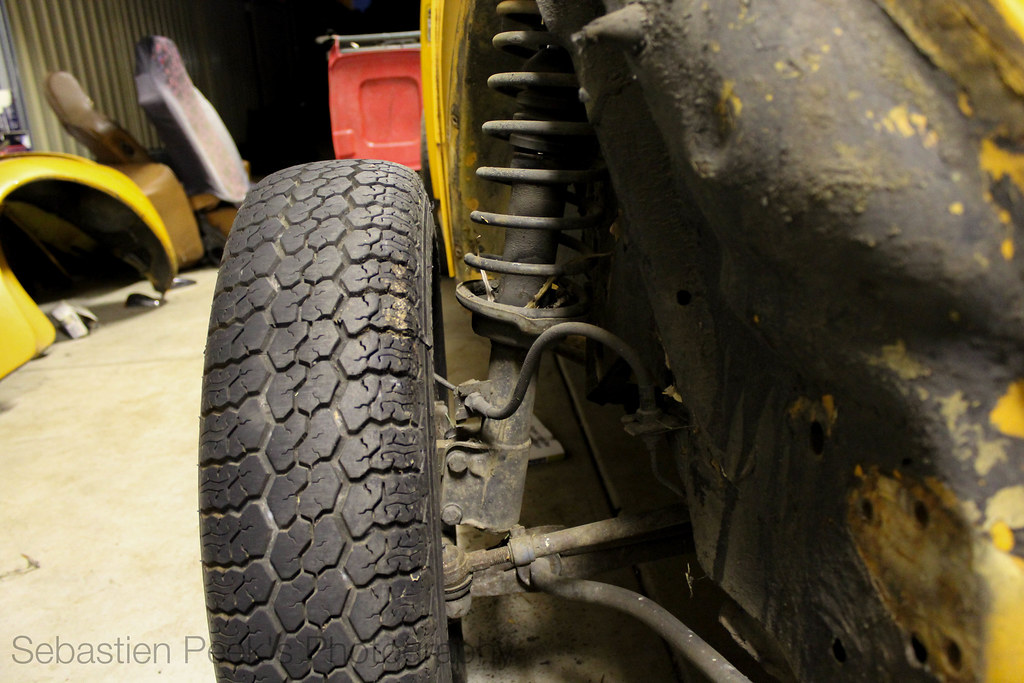
IMG_0111 by sebastienpeek, on Flickr
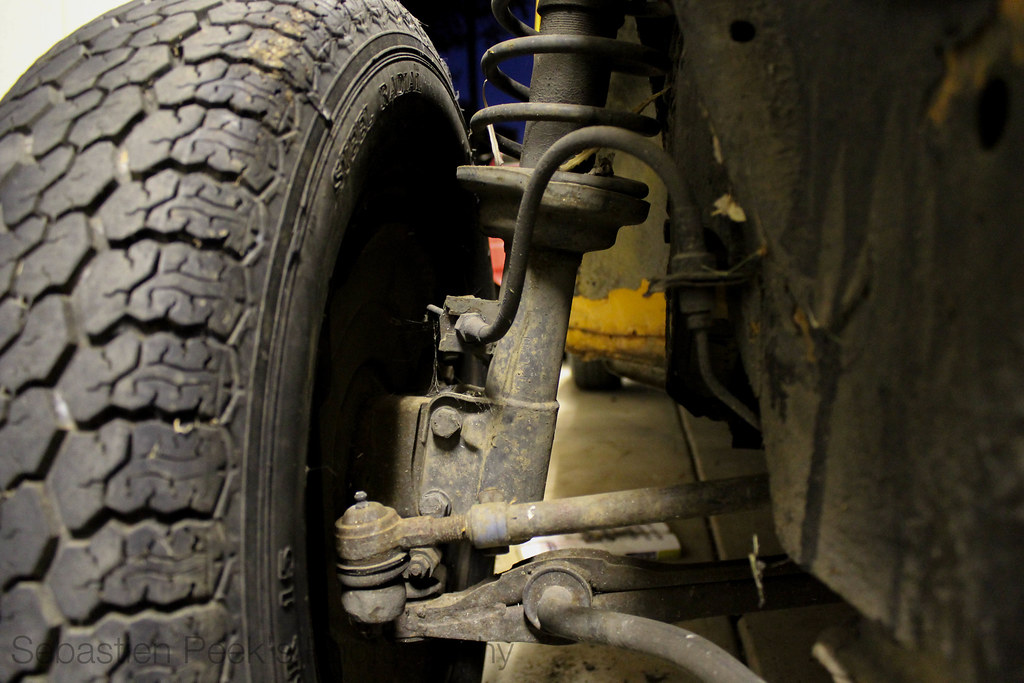
IMG_0112 by sebastienpeek, on Flickr
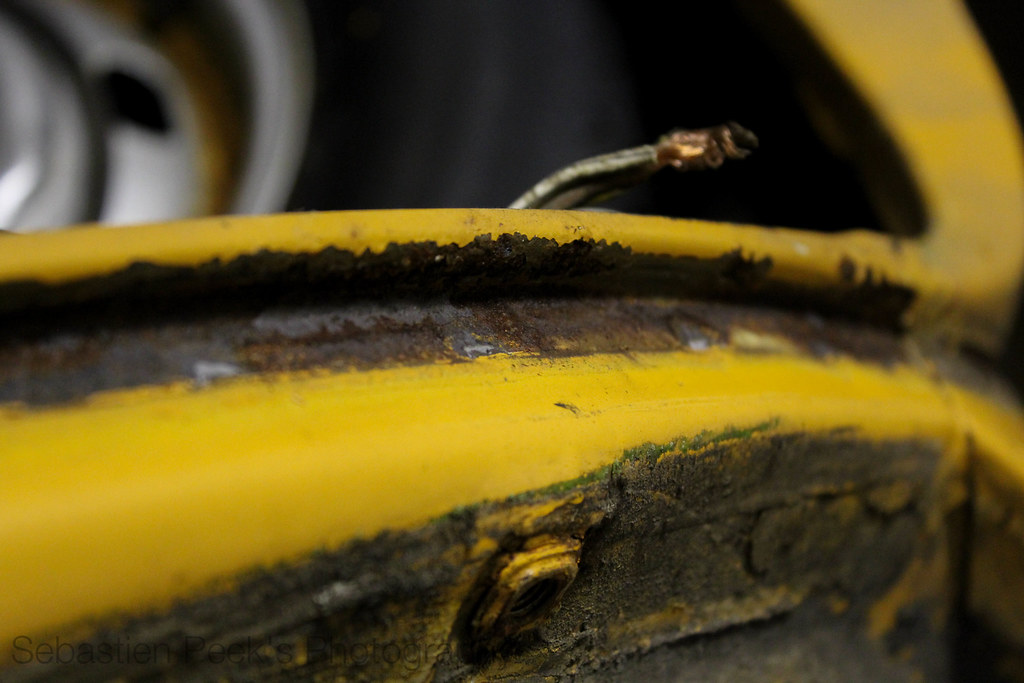
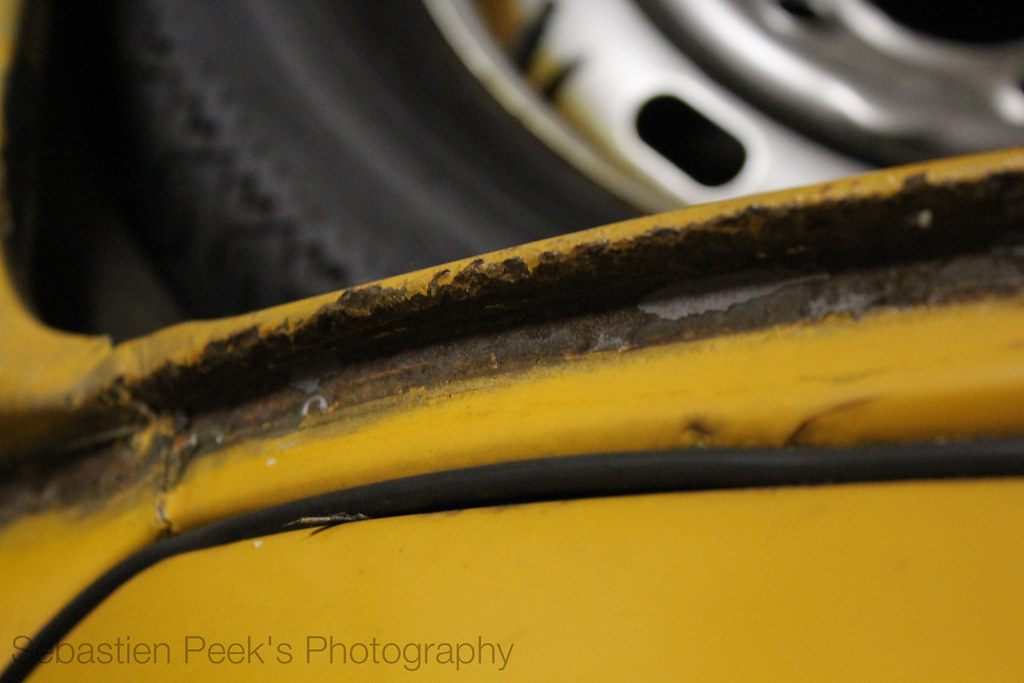
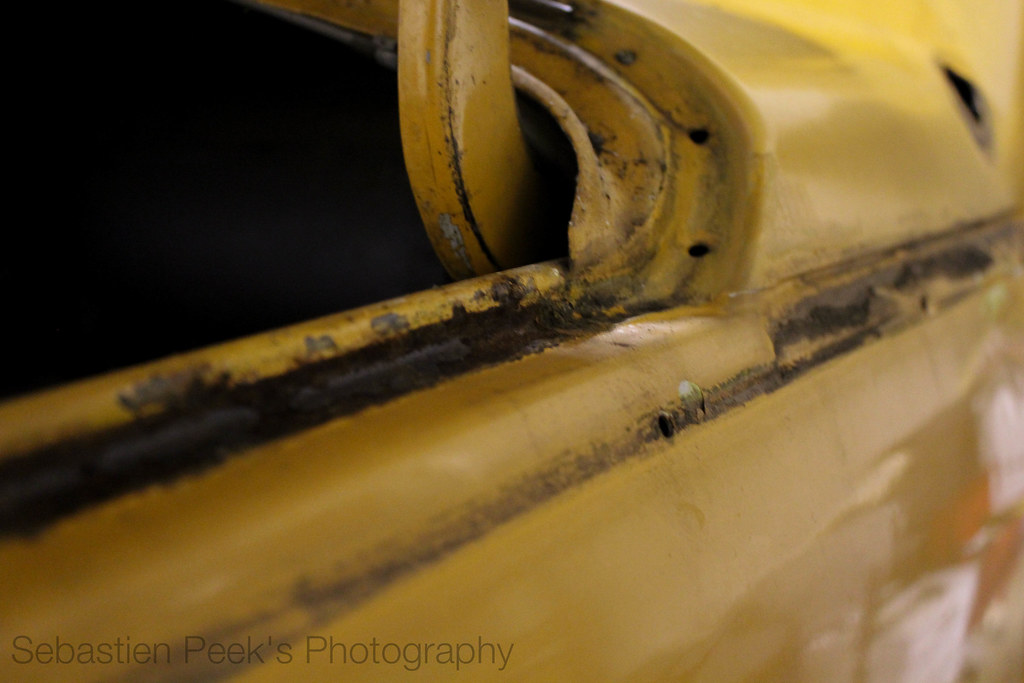
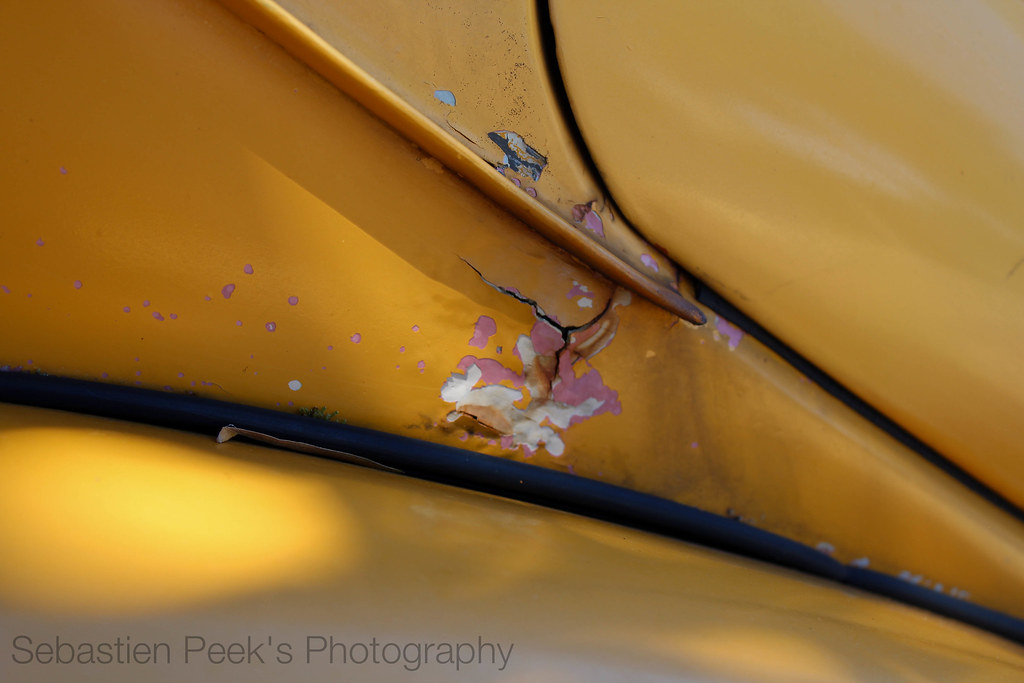
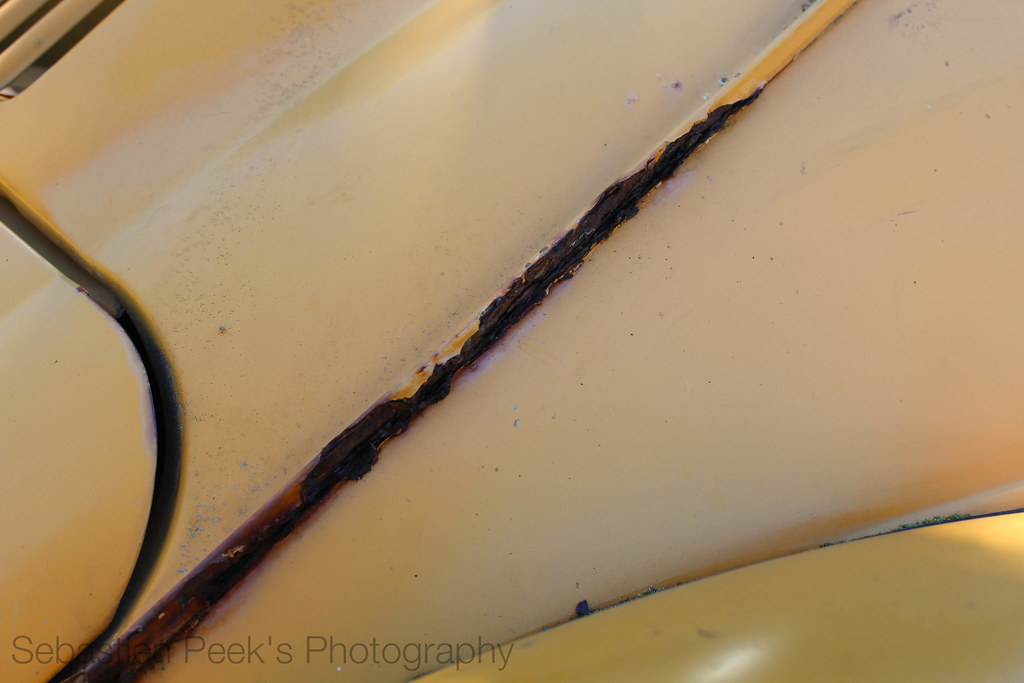
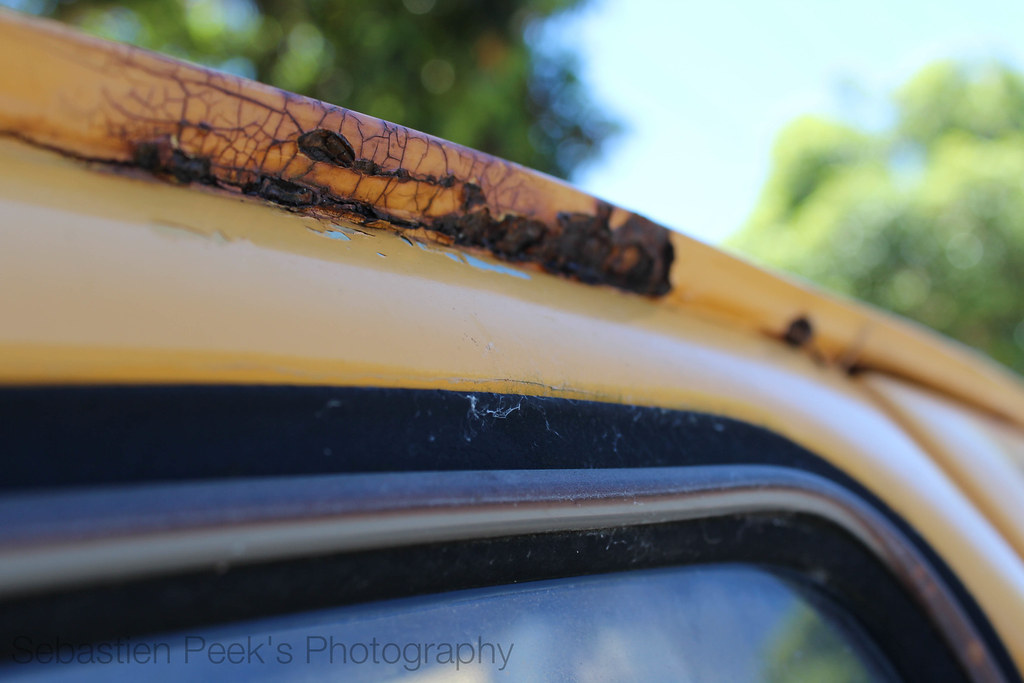
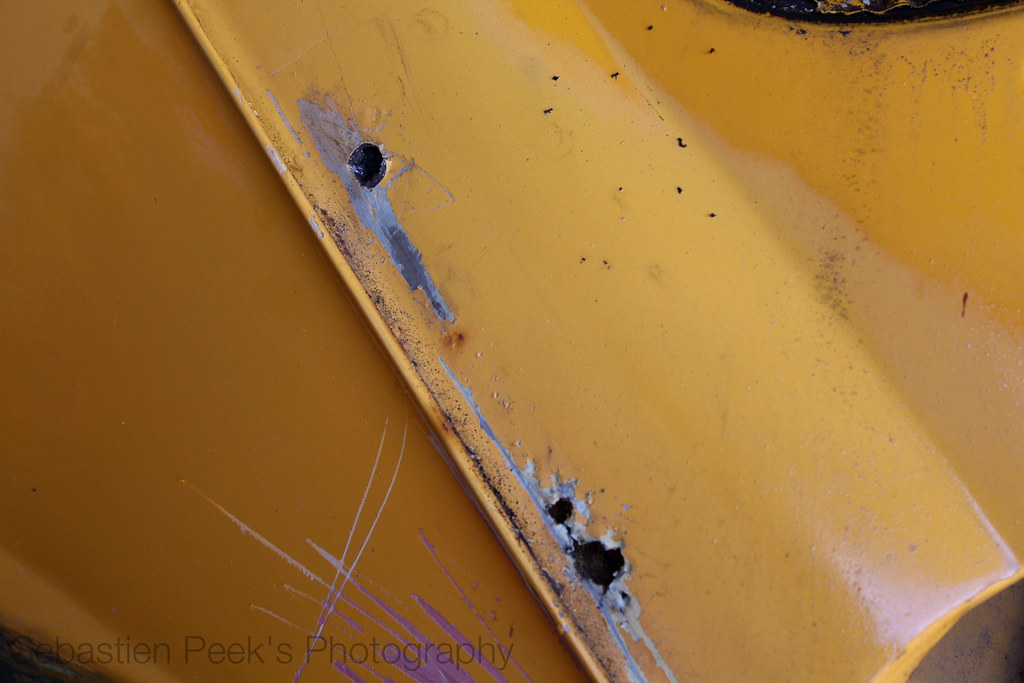
Went around and removed all the seals from the car. Under the front bonnet is usually the worst. I then removed what seats the seal around the bonnet bit and found a bit of surface rust. Nothing I can't deal with.
IMG_0113 by sebastienpeek, on Flickr
IMG_0114 by sebastienpeek, on Flickr
IMG_0115 by sebastienpeek, on Flickr
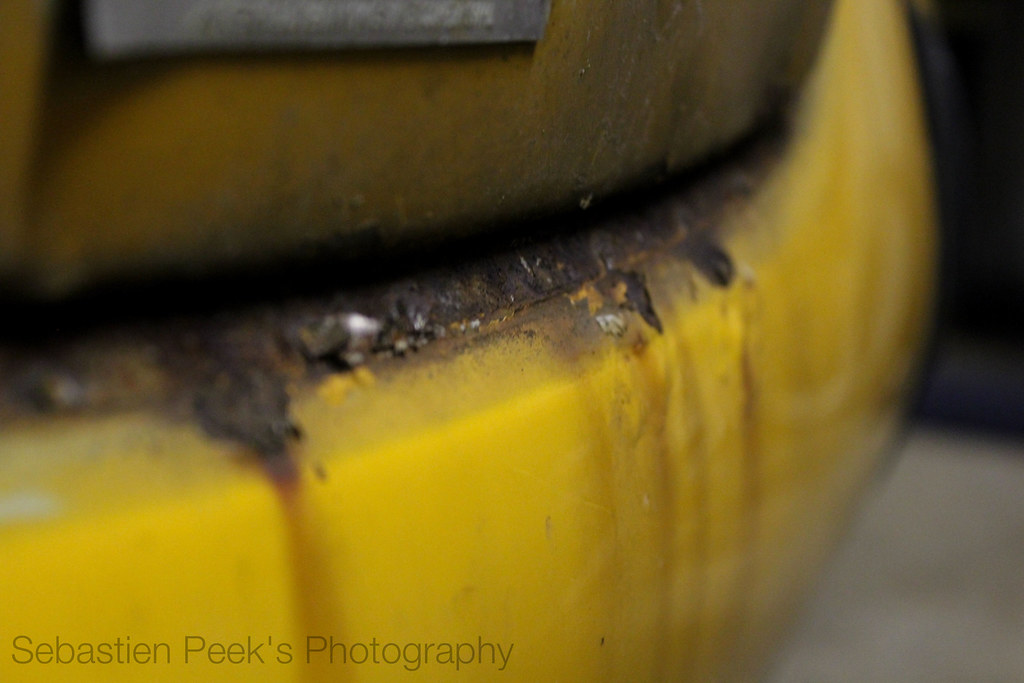
There is some rust around the front valance too. Luckily I already have a brand new front valance that I was going to use on Zelda. A few spot welds drilled out and she should be good to be replaced.
IMG_0117 by sebastienpeek, on Flickr
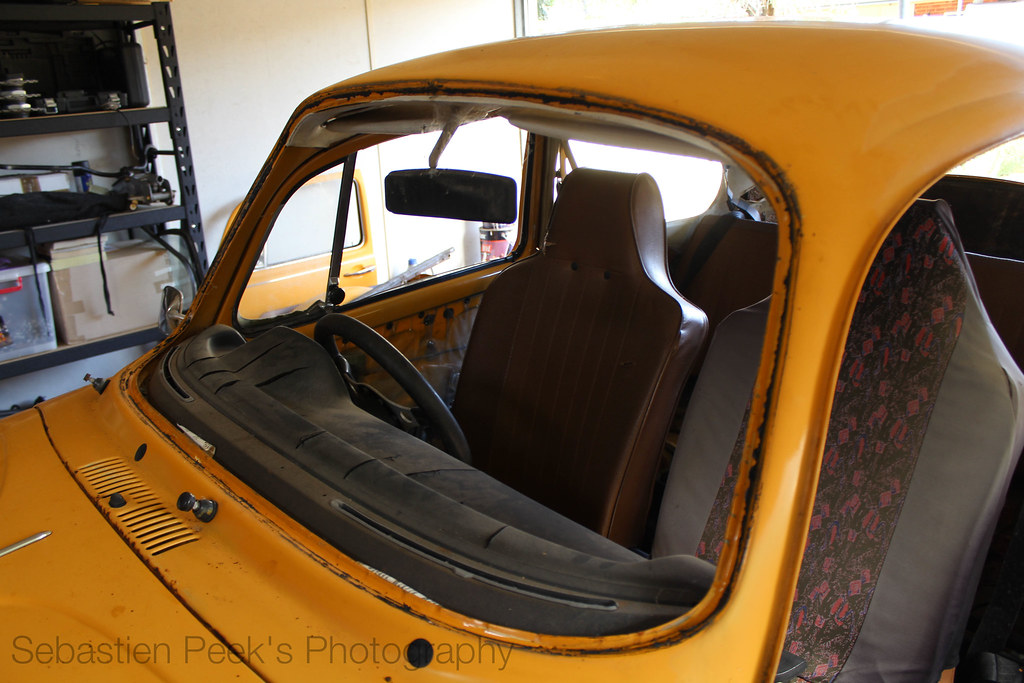
Now the biggest difference between a 1303 and a normal bug is the curved windscreen and the strut front end setup. It's what makes them more aerodynamic and unique in my eyes. The one thing that most people **** though, is the dreaded padded dash.
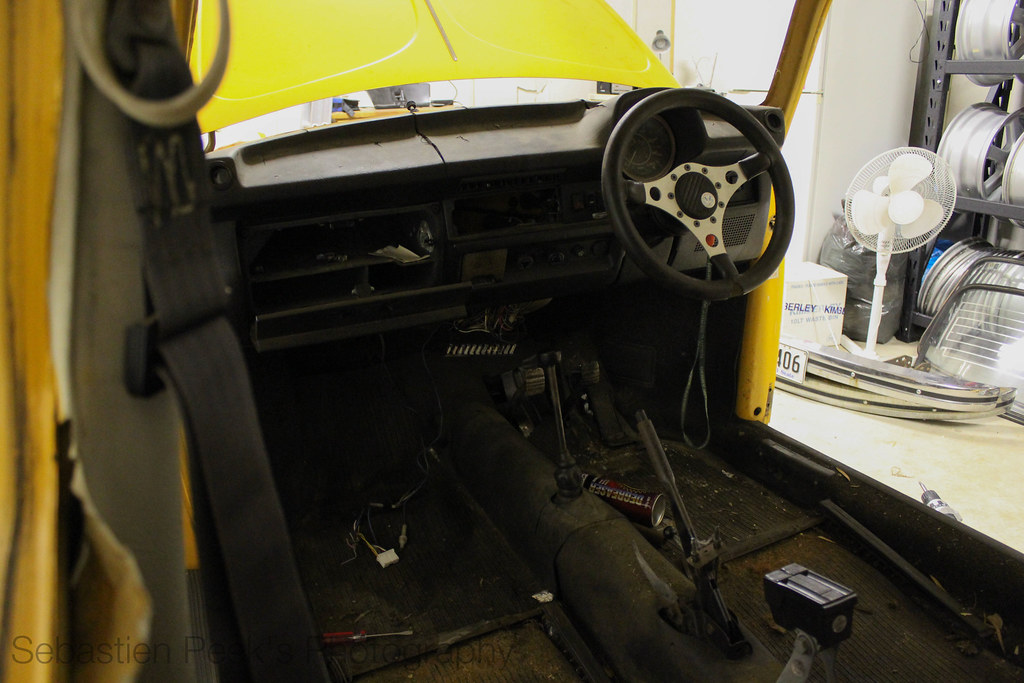
IMG_0116 by sebastienpeek, on Flickr
I finally was able to get the drivers side door off. It was bugging me so much in regards to getting it off as the bottom bolts that hold it in were so tight. It came to me in the shower to use a breaker bar.
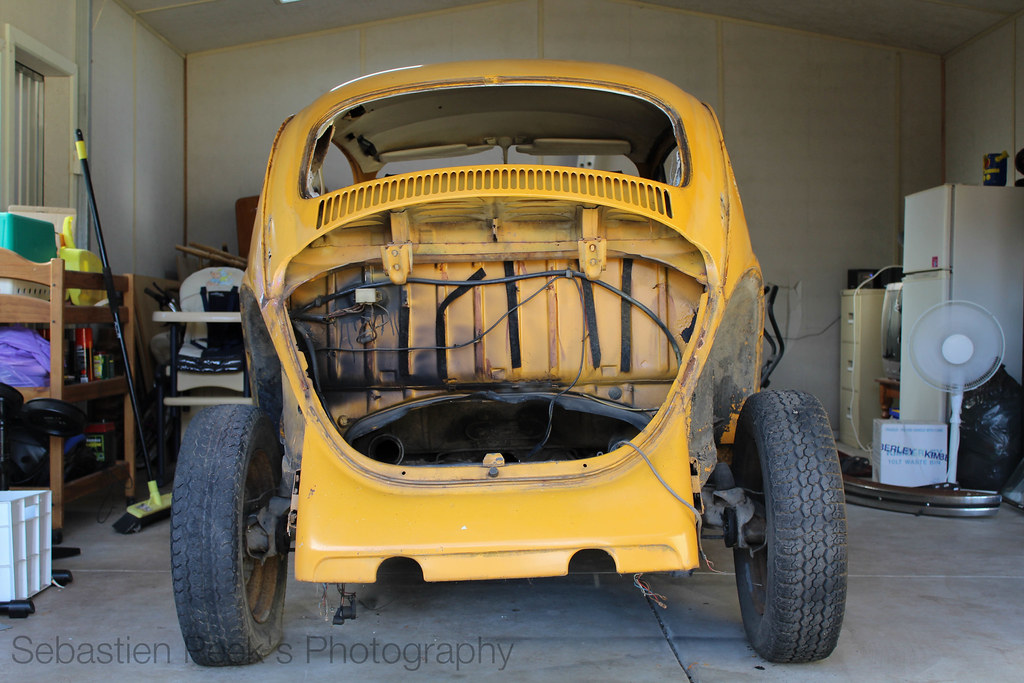
Anyway, I cleaned up under the bonnet as well and removed all the pieces of interior that cover up the fuel tank and spare wheel. It all went in the bin, it's quite tidy under there but I will take a better look once the fuel tank is out and the spare wheel is also removed.

IMG_0118 by sebastienpeek, on Flickr
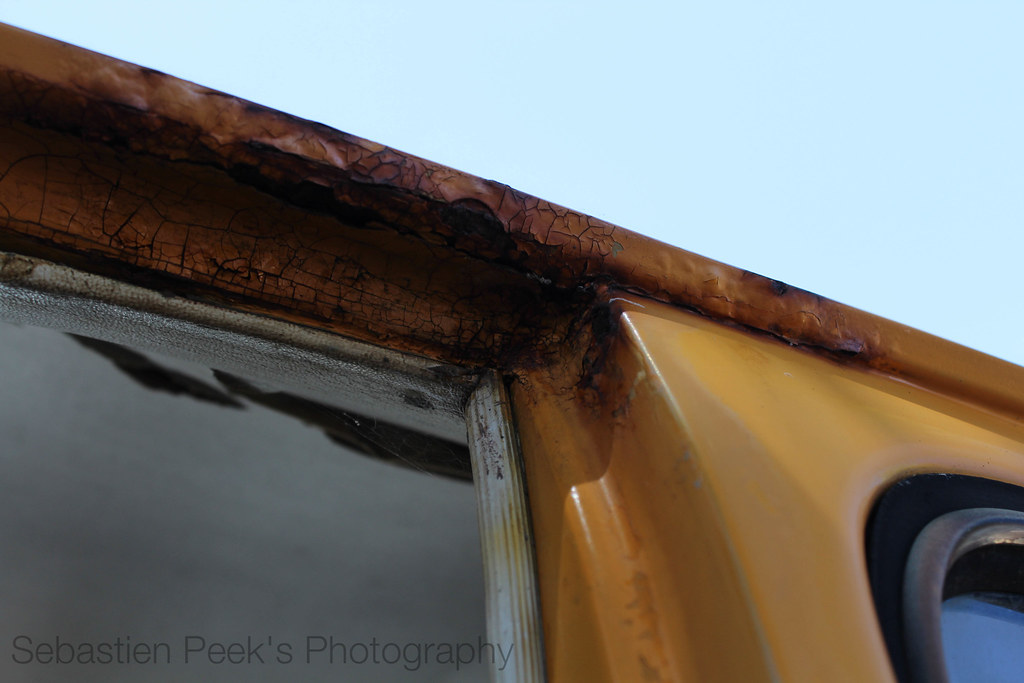
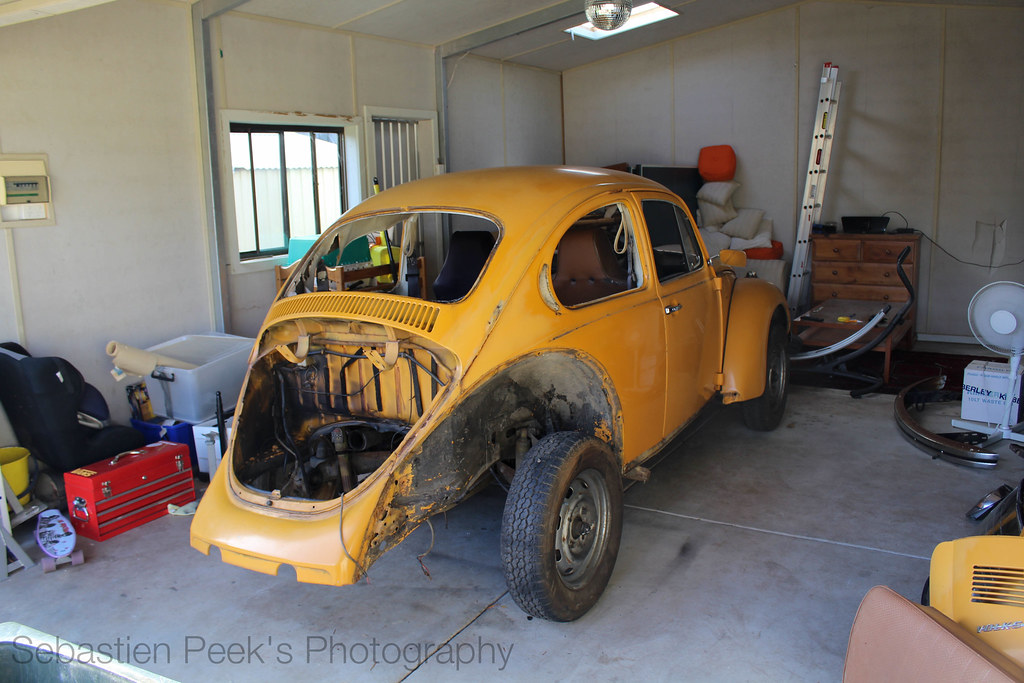
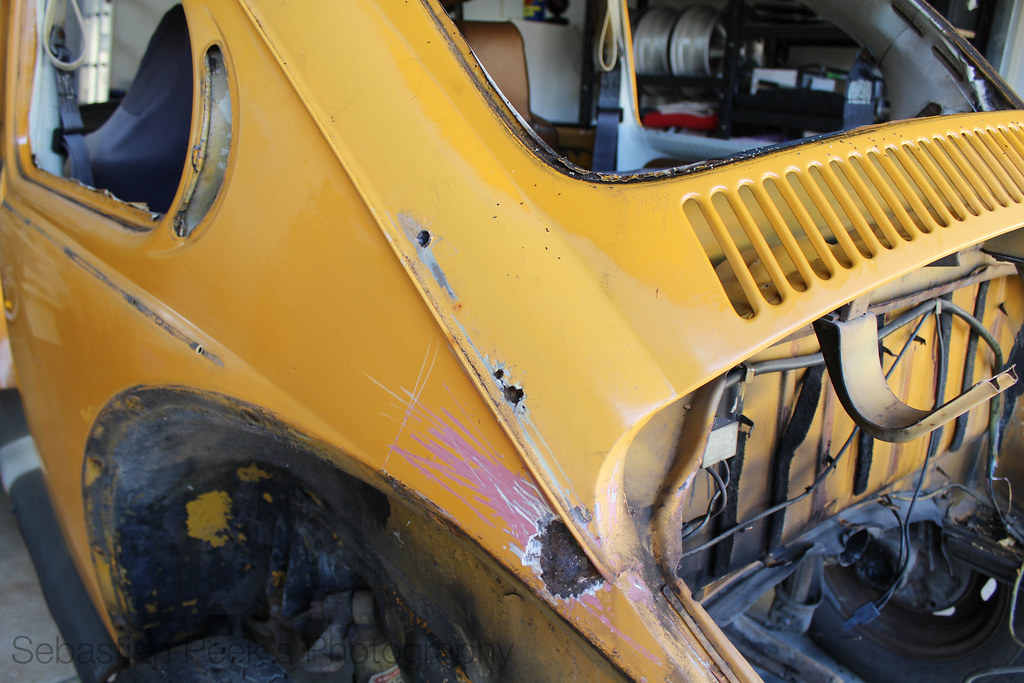
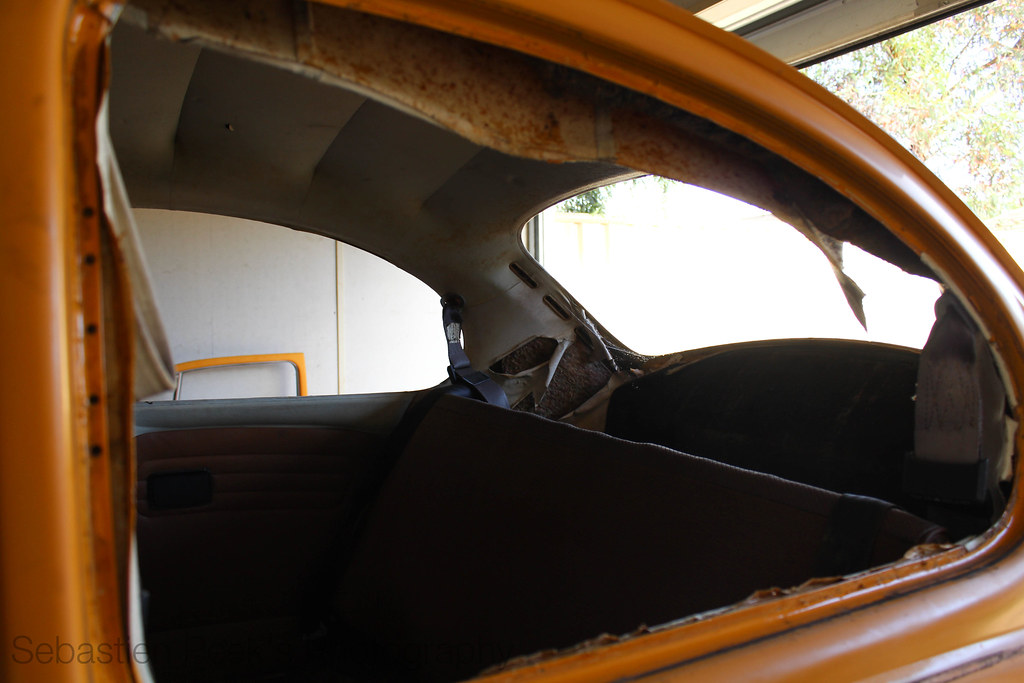
I'm quite happy with the overall shape of Gretl. The roof is in perfect condition and there is no rust in the A pillars anywhere. There is a tiny amount in the B pillars as well as the C pillars, but it is all workable.
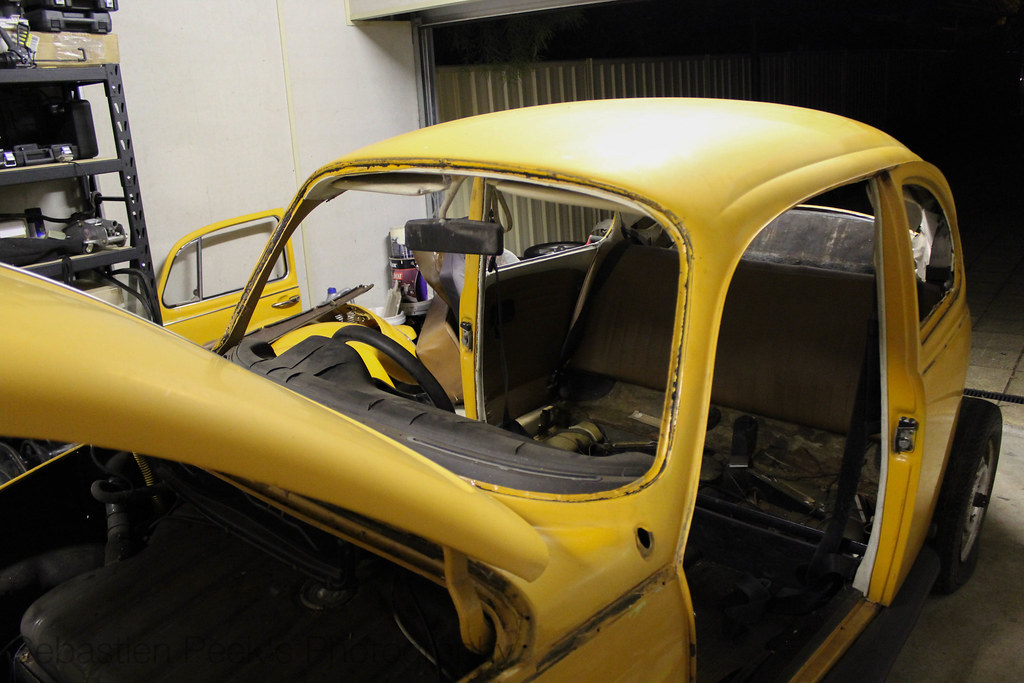
IMG_0119 by sebastienpeek, on Flickr
Hopefully tomorrow night I will get the rest of the interior out.


 :
:



Leave a comment: