Announcement
Collapse
No announcement yet.
Just another 1303s
Collapse
X
-
Bit of progress yesterday.
Thanks to Neni I should be able to get the engine all up and running. He has the missing parts for the twin turbo setup, thankfully.
I also removed the a/c condenser last night, have to get rid of the unnecessary parts of the engine, every little bit counts.
Now I have to practice welding and get the pan halves organised.
Leave a comment:
-
Had a quick look for that photo, found it, not the Gretl.
I got a lift home from dinner after dropping the van off. Straight away I was out in the garage to tear down the engine. I only wanted to remove the entire wiring loom, but I got a bit carried away.
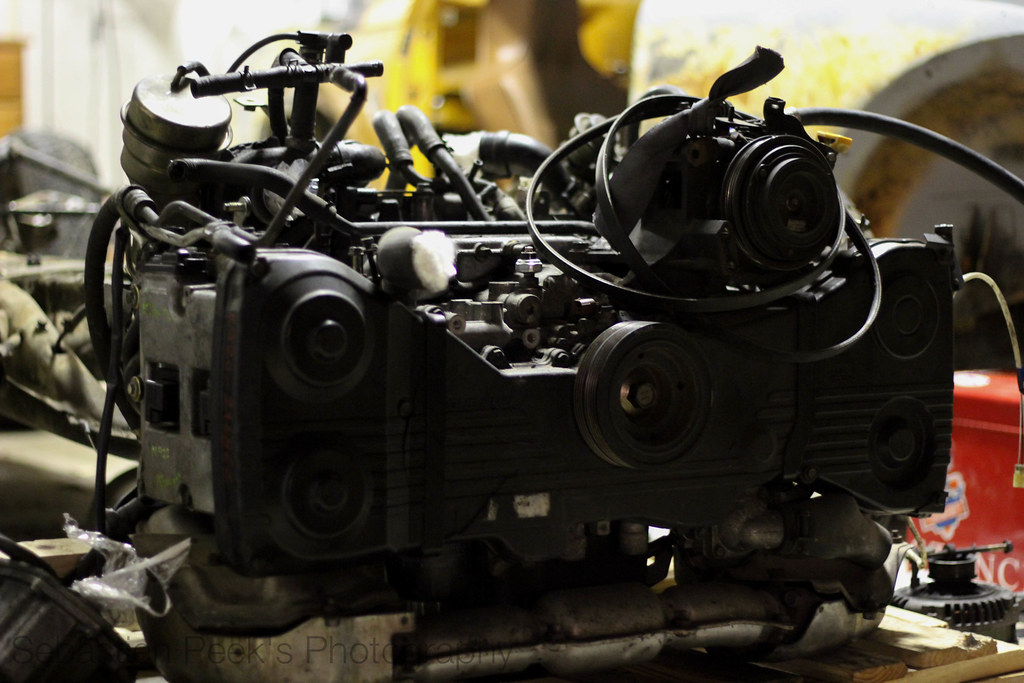
IMG_0279 by sebastienpeek, on Flickr
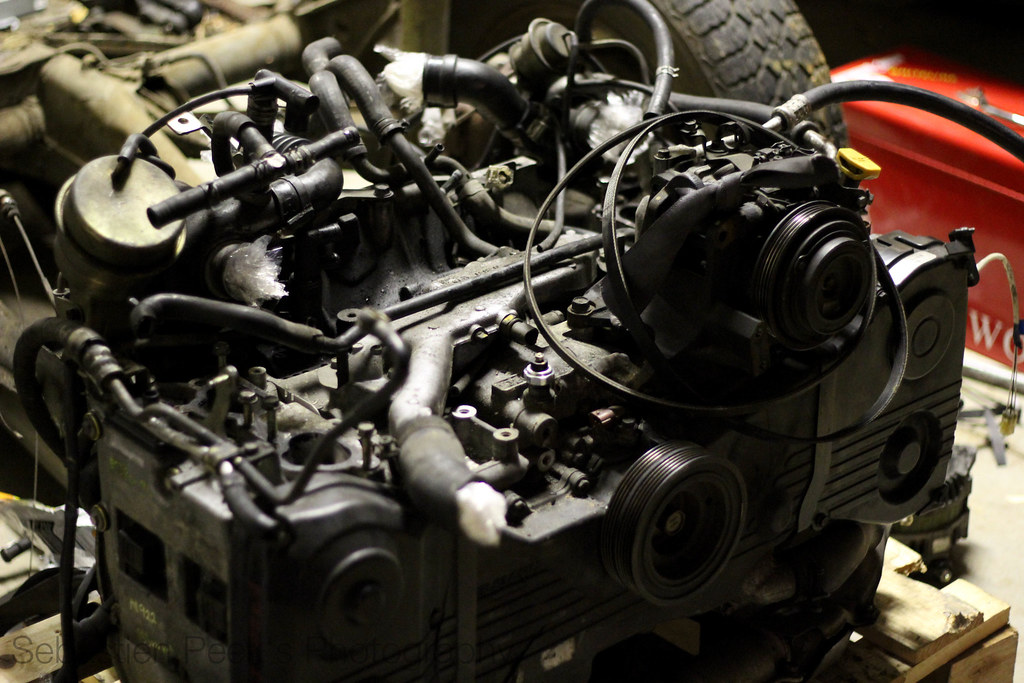
IMG_0280 by sebastienpeek, on Flickr
Alternator came off quite easily. Then I couldn't get the wiring loom out from underneath the intake manifold, so off came that. It was stuck between the intake manifold and the fuel hard lines.
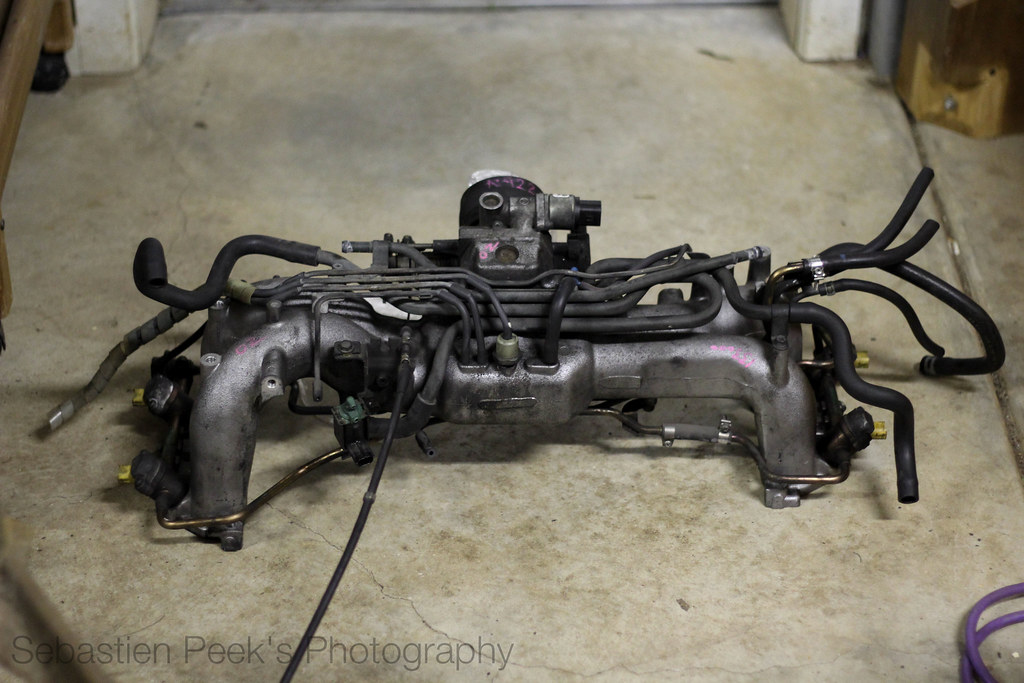
IMG_0282 by sebastienpeek, on Flickr
Now, I have no idea what the fuck this is. It connects to both the turbos and almost looks like some sort of breather setup. More research is necessary into the twin turbo setup, but keep thinking about converting it to single turbo and a single turbo conversion into a bug is very common.
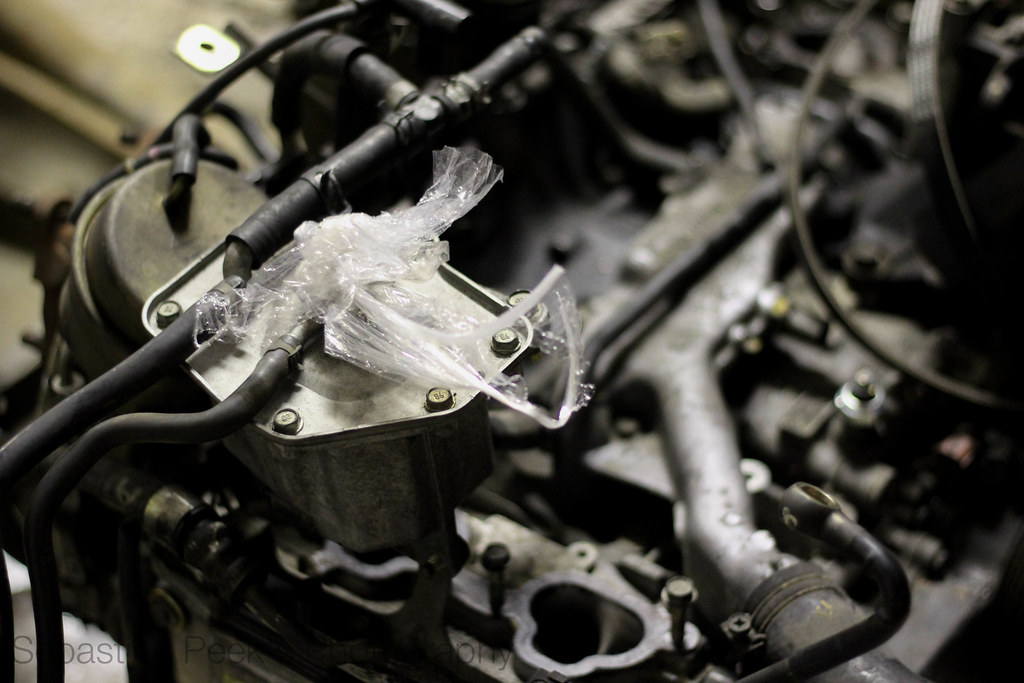
IMG_0287 by sebastienpeek, on Flickr
And it is definitely an EJ20.
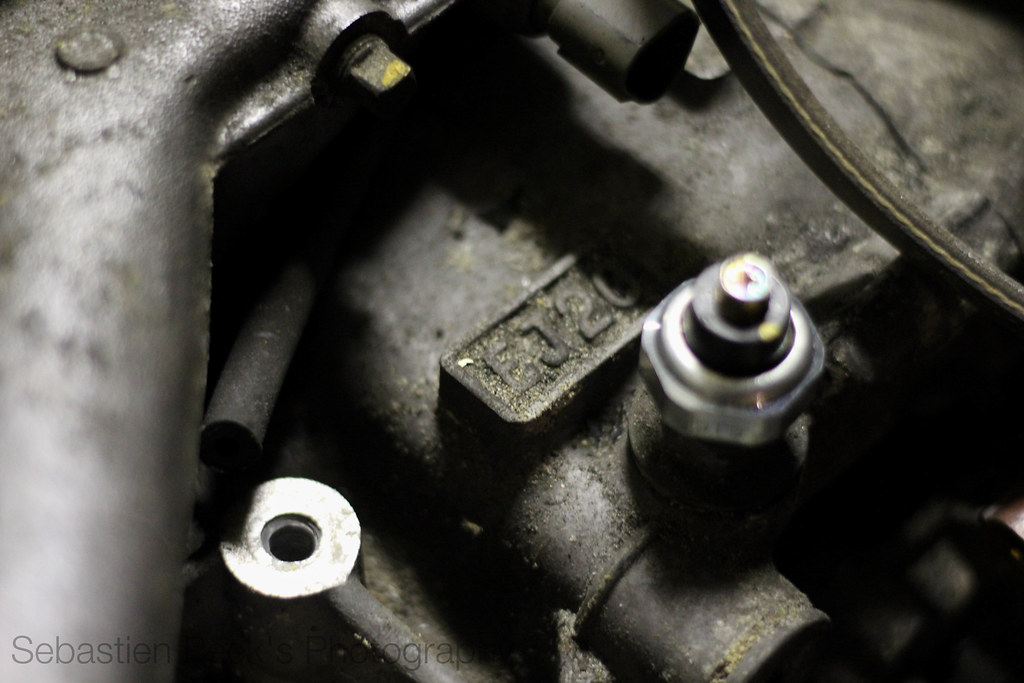
IMG_0283 by sebastienpeek, on Flickr
Like I said, more research into this engine is necessary. I don't want to dismantle the twin turbo setup just yet, I have a few other things that are worth looking over first and foremost.
Such as the coil pack setup, the engine has a coil pack per spark plug, instead of one coil pack and leads coming off of it. Not sure if I should upgrade a few things while the engine is getting teared down or if I should keep the engine standard until I get it running properly.
Leave a comment:
-
Holy shit. Need to find original photo without the number plate whited out. Would be crazy if it was.
Leave a comment:
-
Happy you went the EJ20 route to be totally honest. Can't wait to see the progression.Originally posted by SebastienPeek View PostI found the EJ20 by accident, it was cheap and included enough to get me started!
I'll be running what I was originally doing in Zelda, very glad I kept a lot of the stuff I was going to use on Zelda.
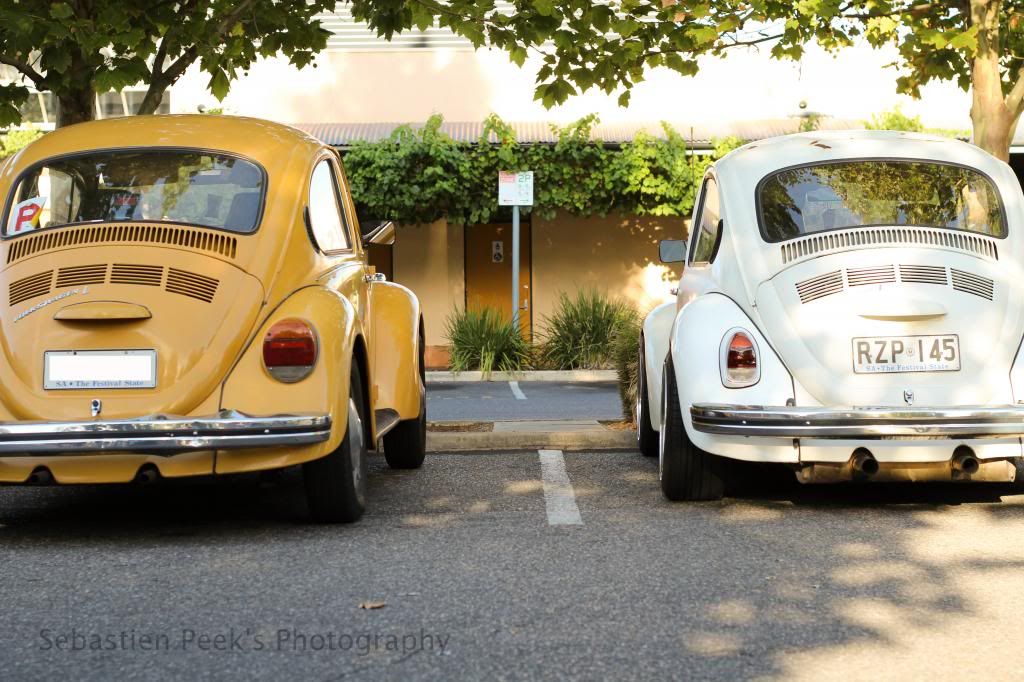
This wouldn't be Gretl next to Zelda would it ?
Leave a comment:
-
I found the EJ20 by accident, it was cheap and included enough to get me started!Originally posted by GJA003 View Post

Congrats Seb. Can't wait to see once its more progressed. Decided what cluster your going to run yet ? I remember back to Zelda you were in between finishing that dash ?
I'll be running what I was originally doing in Zelda, very glad I kept a lot of the stuff I was going to use on Zelda.
Leave a comment:
-
Originally posted by Water Boy View PostTo hell with Subaru power in VW'sOriginally posted by SebastienPeek View PostAfter careful thought Woody, I will be going Type 1 power plant you will be happy to know.

Congrats Seb. Can't wait to see once its more progressed. Decided what cluster your going to run yet ? I remember back to Zelda you were in between finishing that dash ?
Leave a comment:
-
This morning I ventured off to pick up the engine from the shipping depot.
This evening, I got it out of a van I borrowed into the garage.
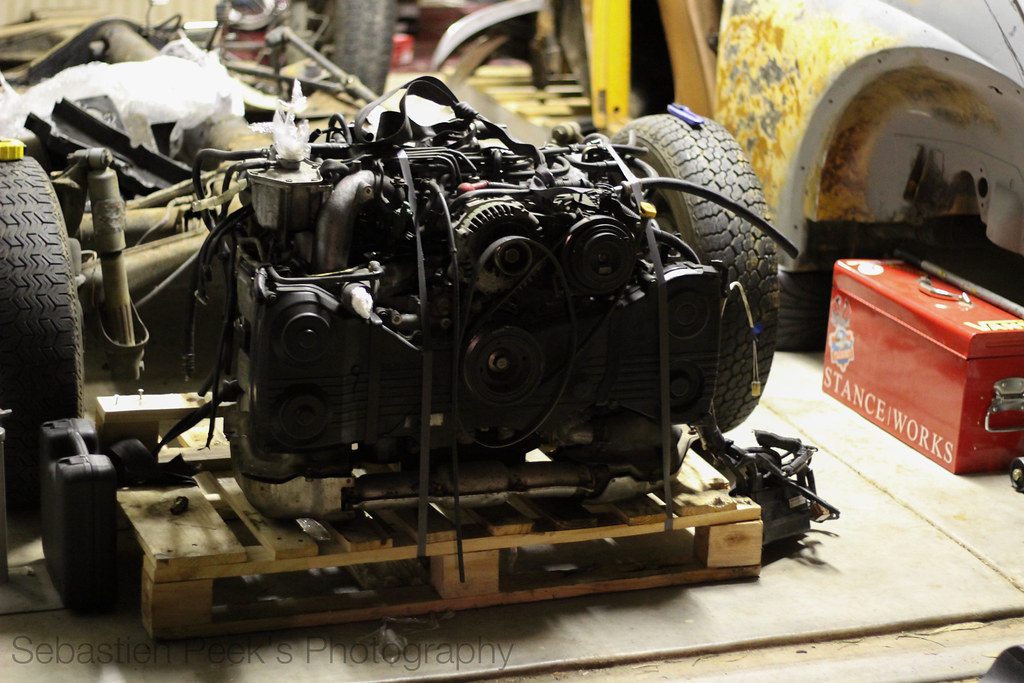
IMG_0270 by sebastienpeek, on Flickr
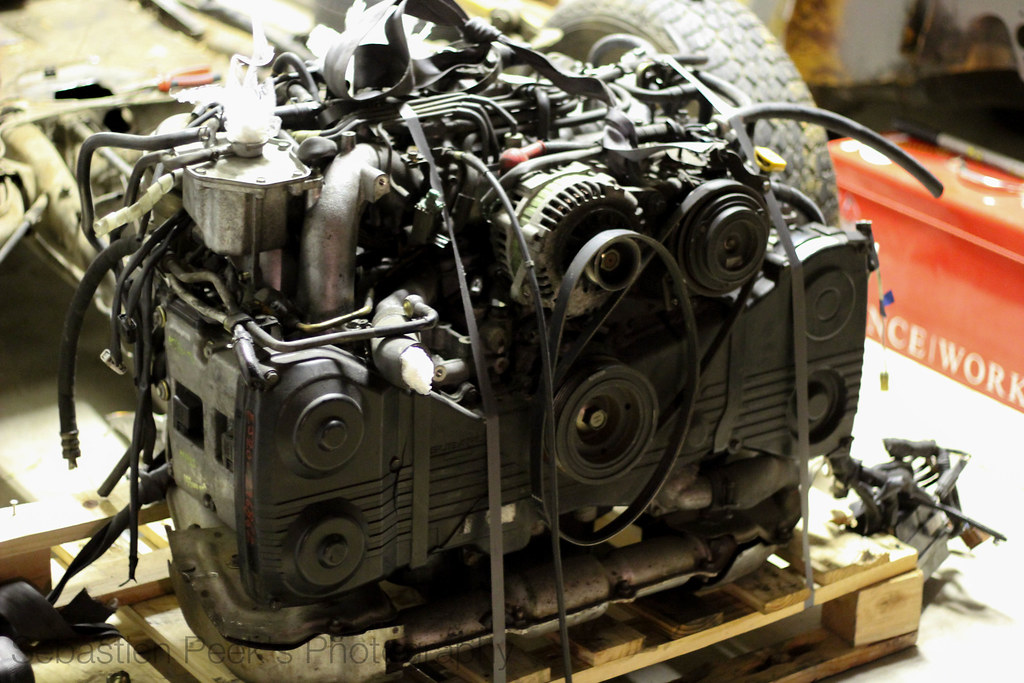
IMG_0271 by sebastienpeek, on Flickr
It isn't very Volkswagen looking. It's actually an EJ20.
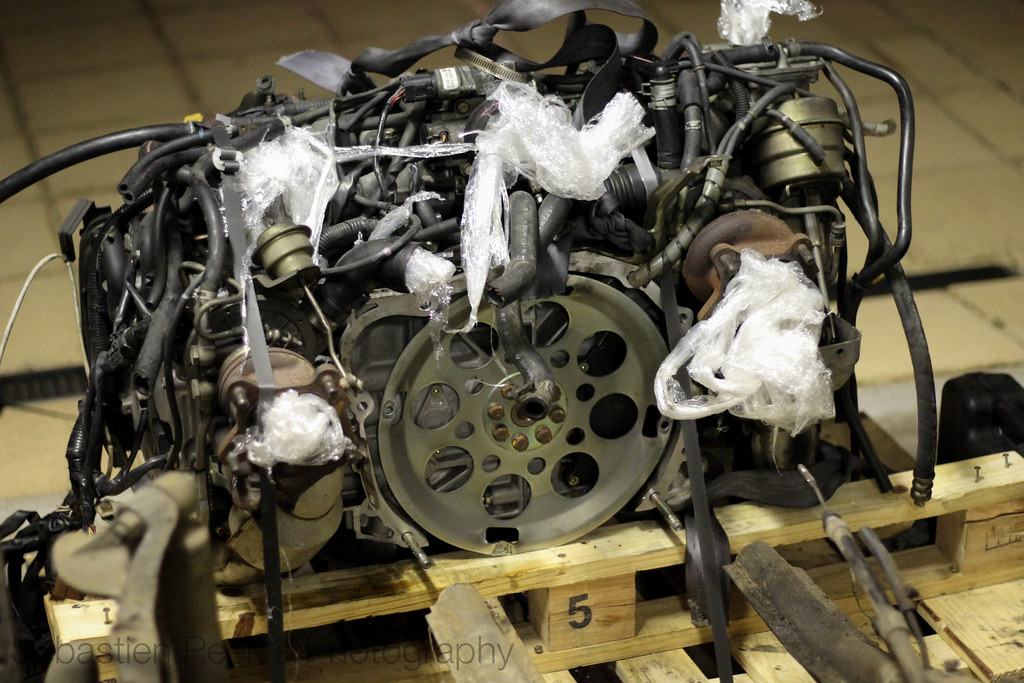
IMG_0275 by sebastienpeek, on Flickr
A twin turbo EJ20 to be exact. With 133,000km's on the clock, with the wiring loom (including fuse box), and an ECU, I definitely got a very good deal on this engine.
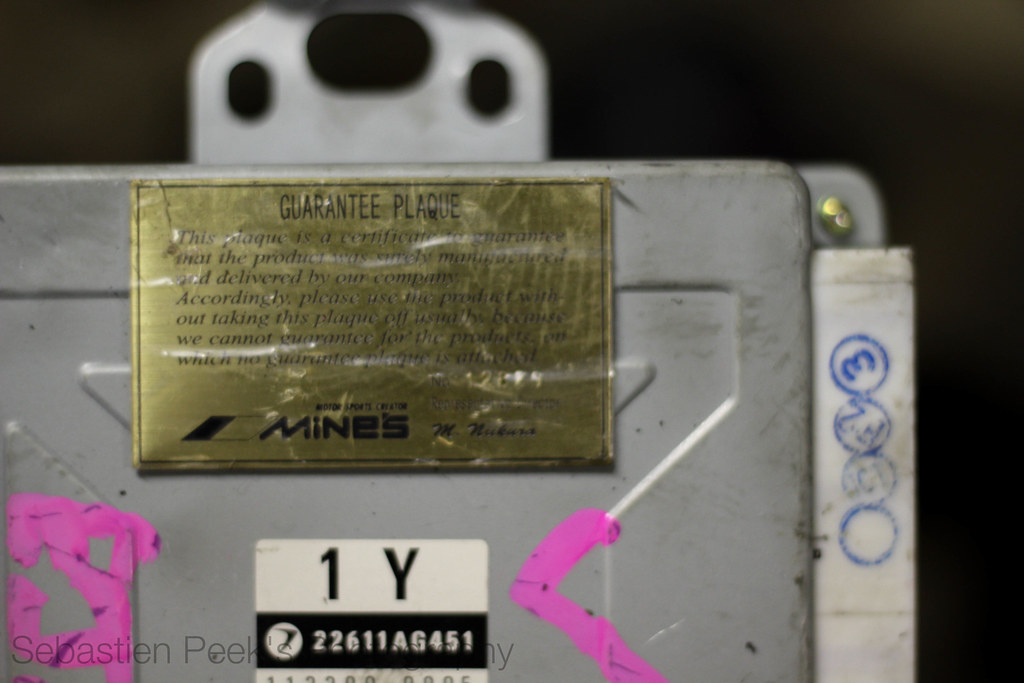
IMG_0276 by sebastienpeek, on Flickr
Especially when the ECU is a MINE'S ECU.
Now to tear down the engine and rebuild it with the basics that are needed for the conversion into a bug. Let the fun begin.
Leave a comment:
-
So with the help of Sam and another mate I was able to get the shell off of the pan finally.
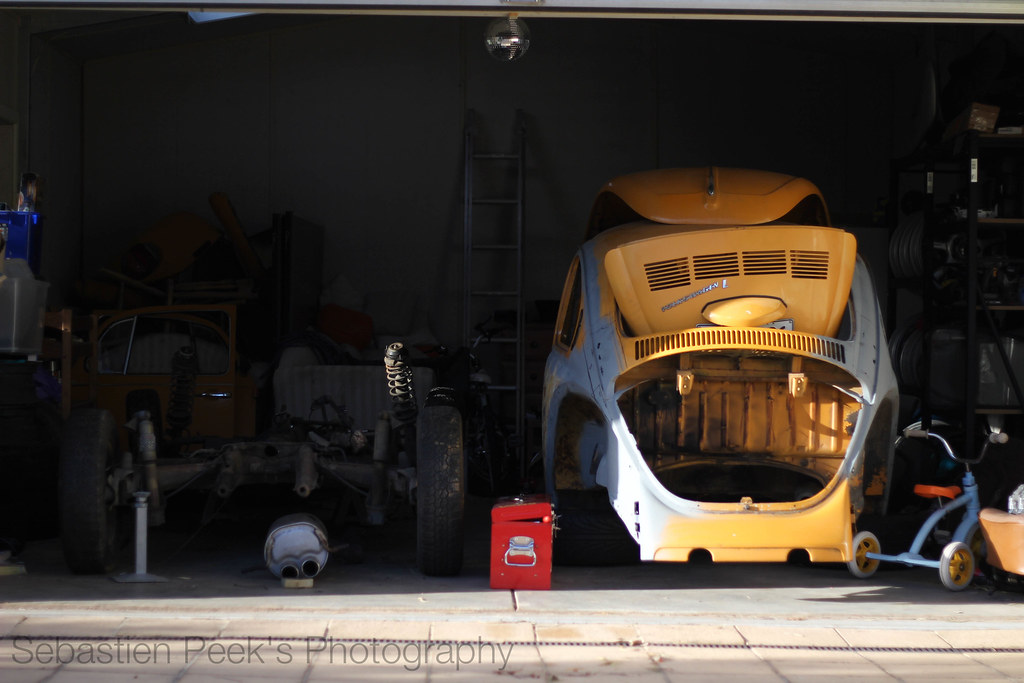
IMG_0260 by sebastienpeek, on Flickr
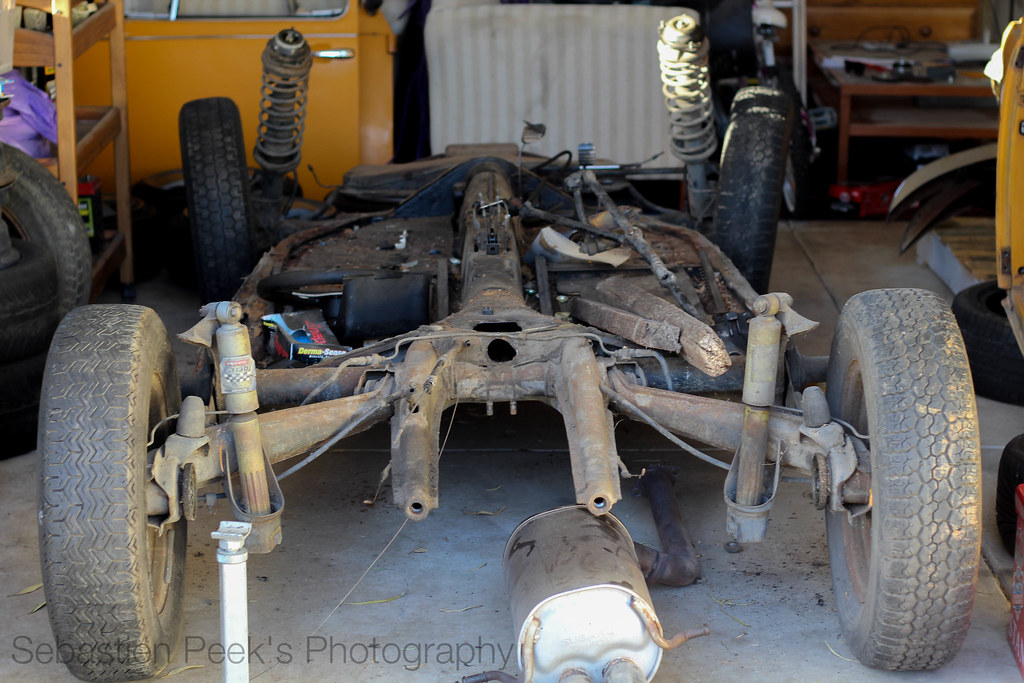
IMG_0264 by sebastienpeek, on Flickr
Such a massive milestone in any bug build is the separation of shell from pan. I think so anyway. It took a bit of effort to get the steering box out, but with a lot of persuasion and swearing, we finally got it off.
I found some more rust around the edges of the pan, but that is all to be removed shortly and replaced with new pan halves.
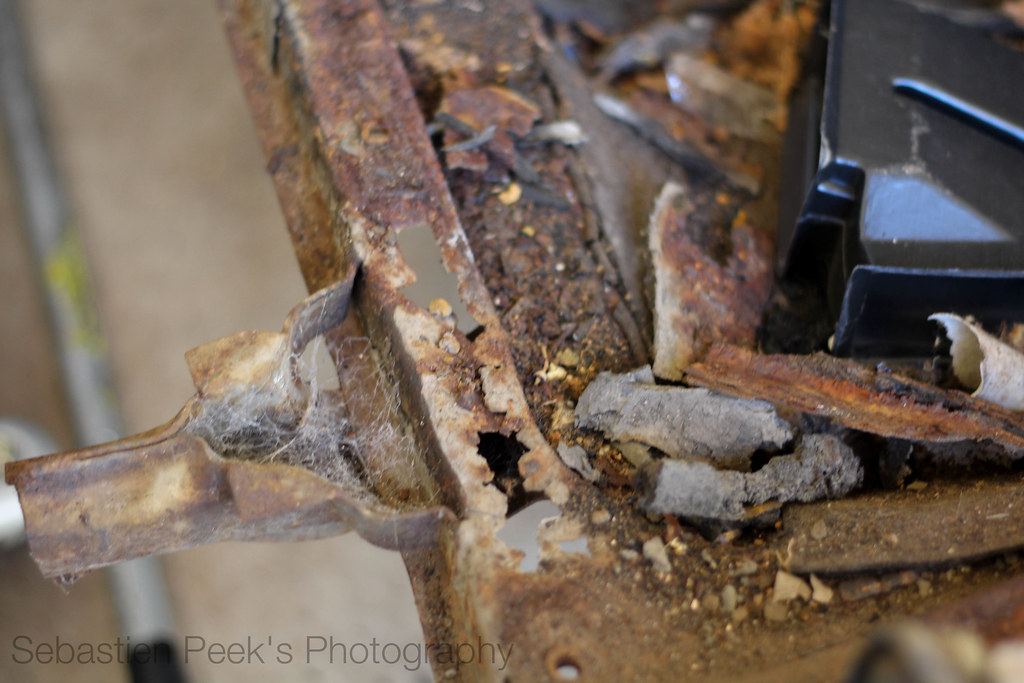
IMG_0266 by sebastienpeek, on Flickr
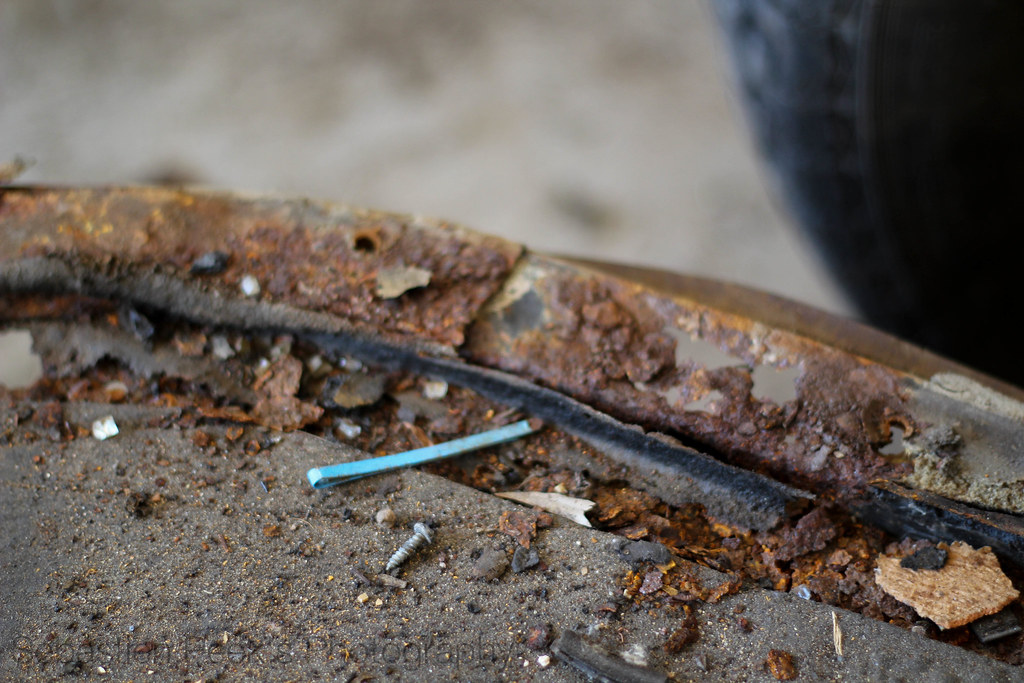
IMG_0267 by sebastienpeek, on Flickr
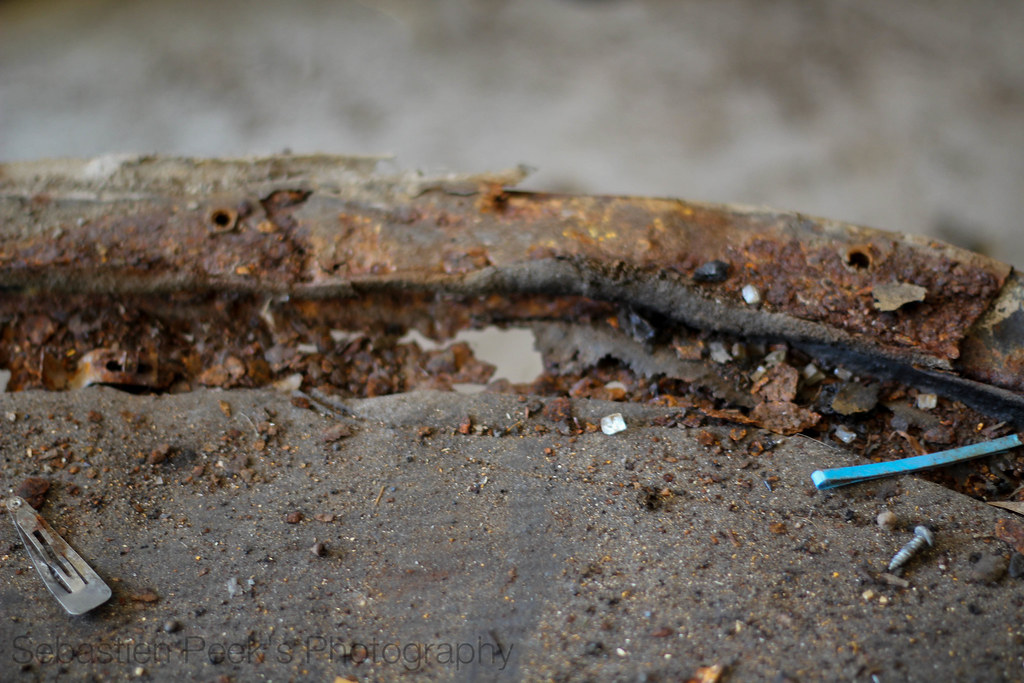
IMG_0268 by sebastienpeek, on Flickr
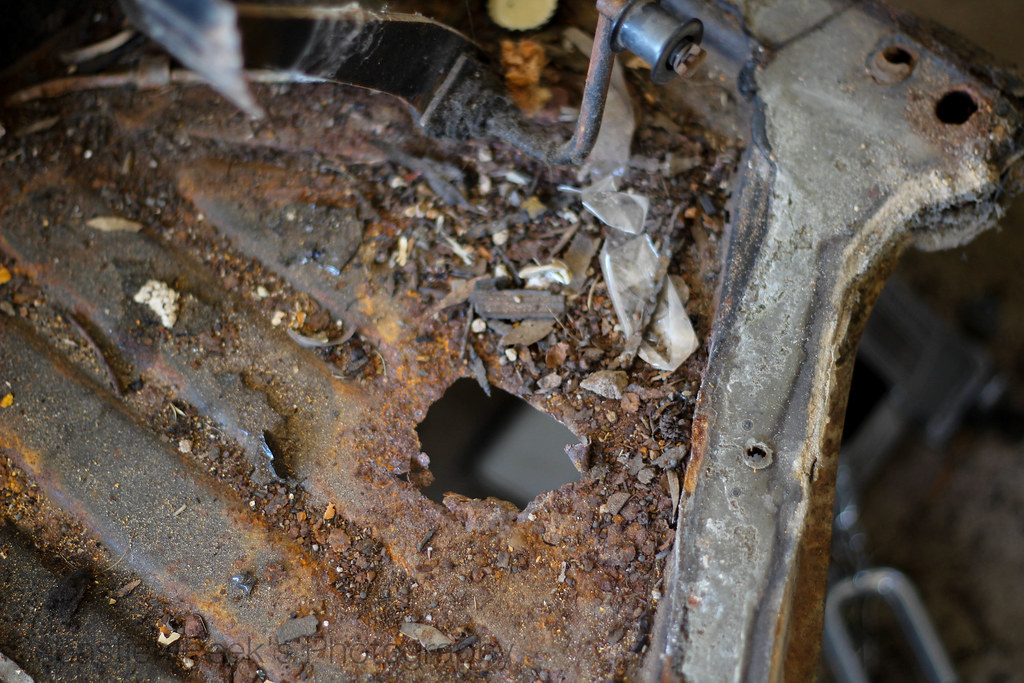
IMG_0269 by sebastienpeek, on Flickr
Oh, and if you don't know, I bought an engine for Gretl. Just have to pick it up from the depot when it arrives.
Leave a comment:
-
So, I spent the majority of yesterday moving stuff around in the garage for the S|W Australia boys visit. This also meant getting more space to work on Gretl.

IMG_0224 by sebastienpeek, on Flickr
I moved her more over to the left, sorted out where the welder is going to stay, and now I just need to get a couple more shelves and sell off the interior.
Leave a comment:
-
Had a very productive night on Gretl tonight.
But before I begin, I'll get you up to speed with what I have done over the last few days since updating.
I got to draw on Gretl. Marking out and measuring where I need to cut for the replacement panels (if I can get replacement panels).
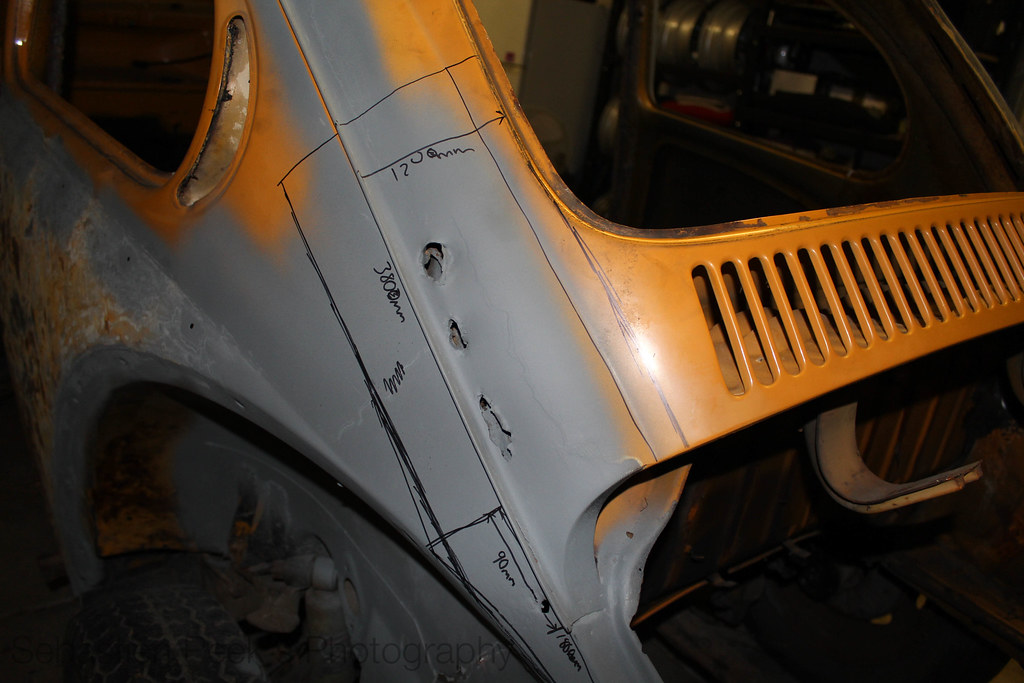
IMG_0205 by sebastienpeek, on Flickr
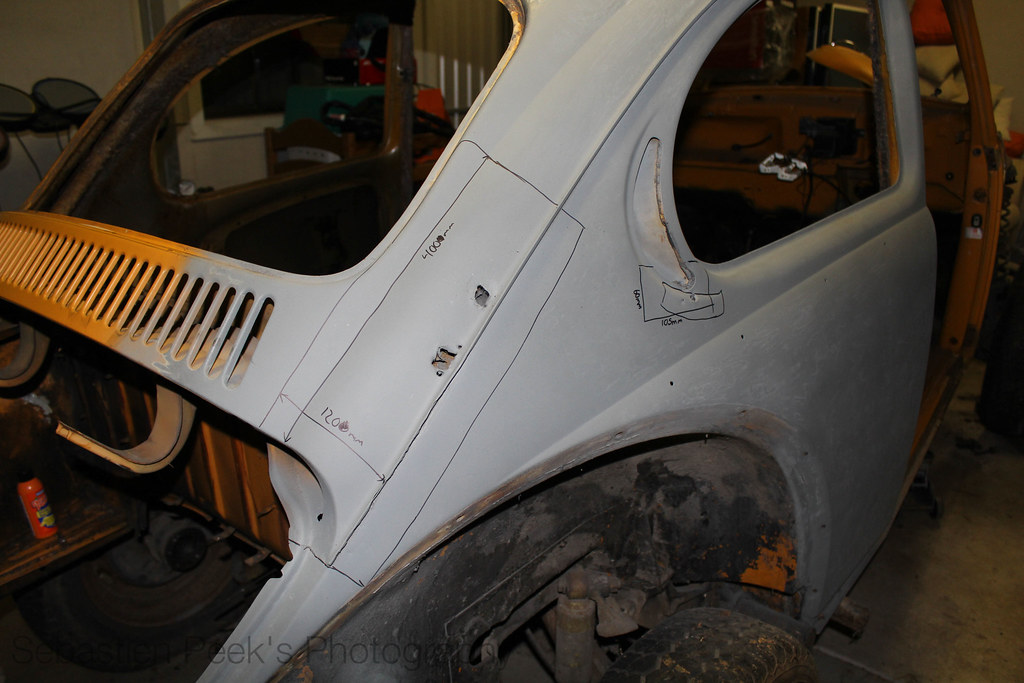
IMG_0206 by sebastienpeek, on Flickr
Found another rust hole, LHS rear arch. Moar rust.

IMG_0211 by sebastienpeek, on Flickr
Goes all the way through. Not worried about this one bit as I am tubbing the rear anyway.
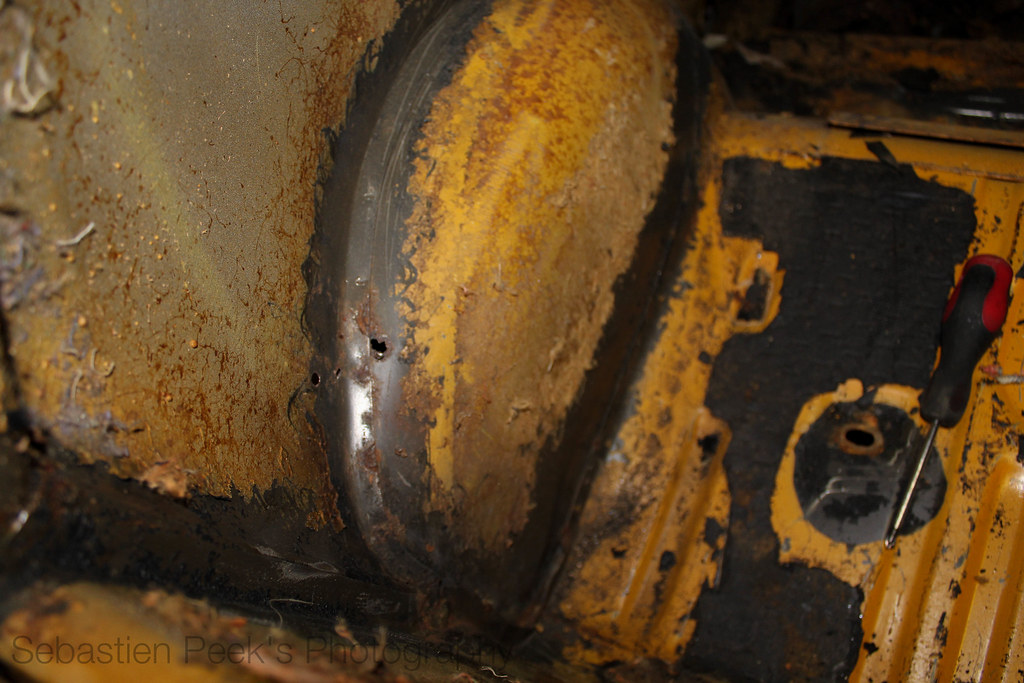
IMG_0212 by sebastienpeek, on Flickr
The luggage tray is quite clean now after spending last night cleaning it up with the girlfriend.
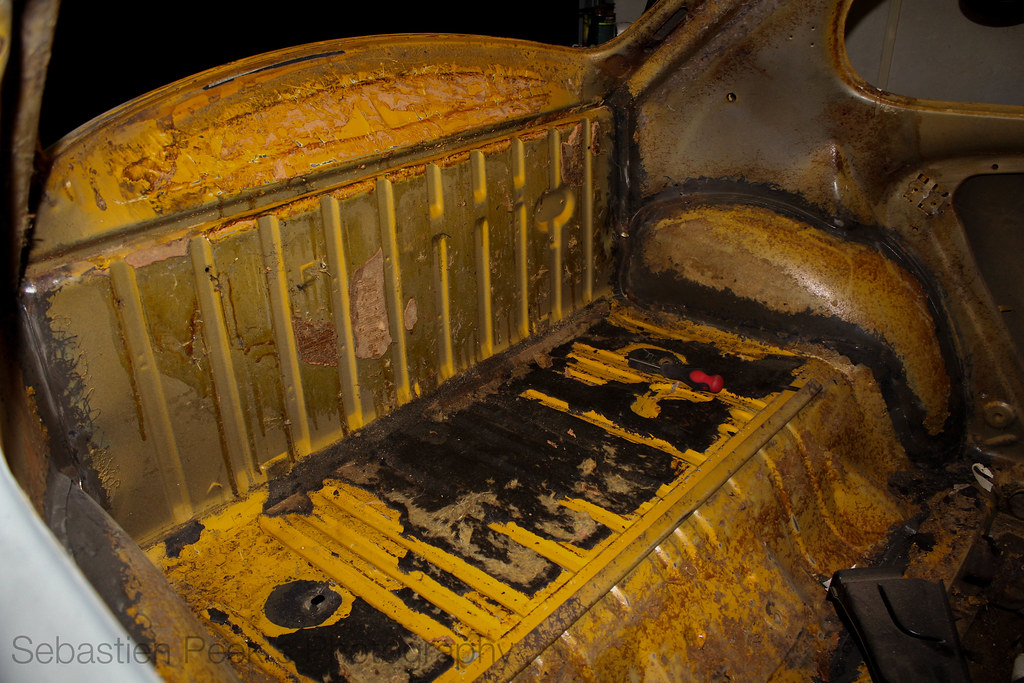
IMG_0217 by sebastienpeek, on Flickr
Love it when she comes out and helps, really make me happy that we can share working on Gretl together. Albeit she hates me spending time on here updating.
Anyway, back to what I got up to tonight. I went around the whole pan and unbolted the shell from the pan completely. This included strut tops, steering column out, steering rack unbolted, and the rear towers unbolted.
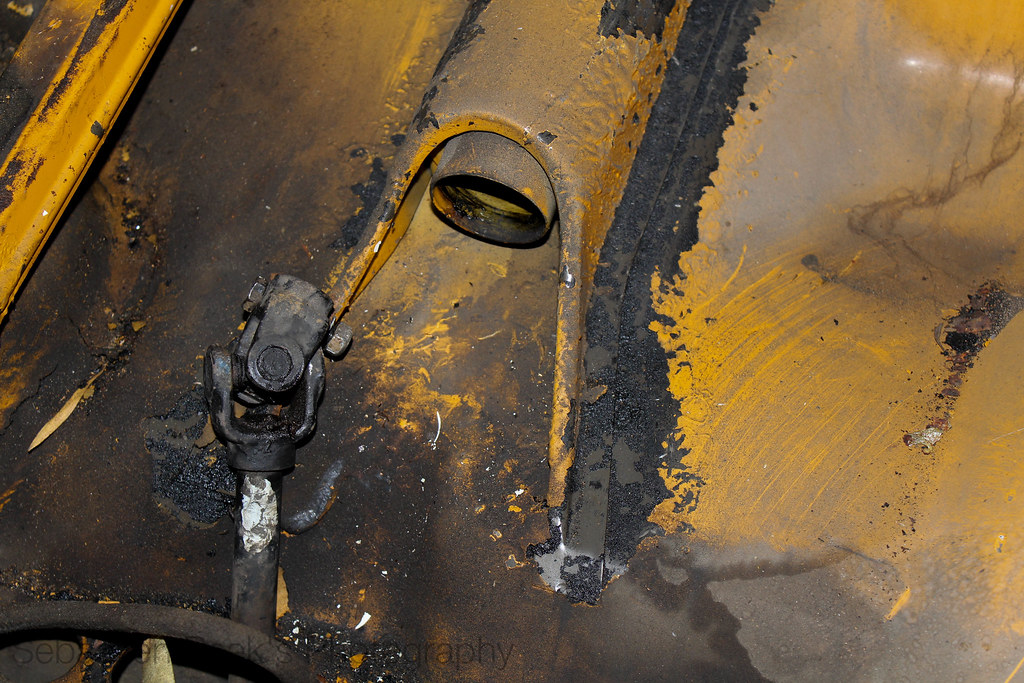
IMG_0202 by sebastienpeek, on Flickr
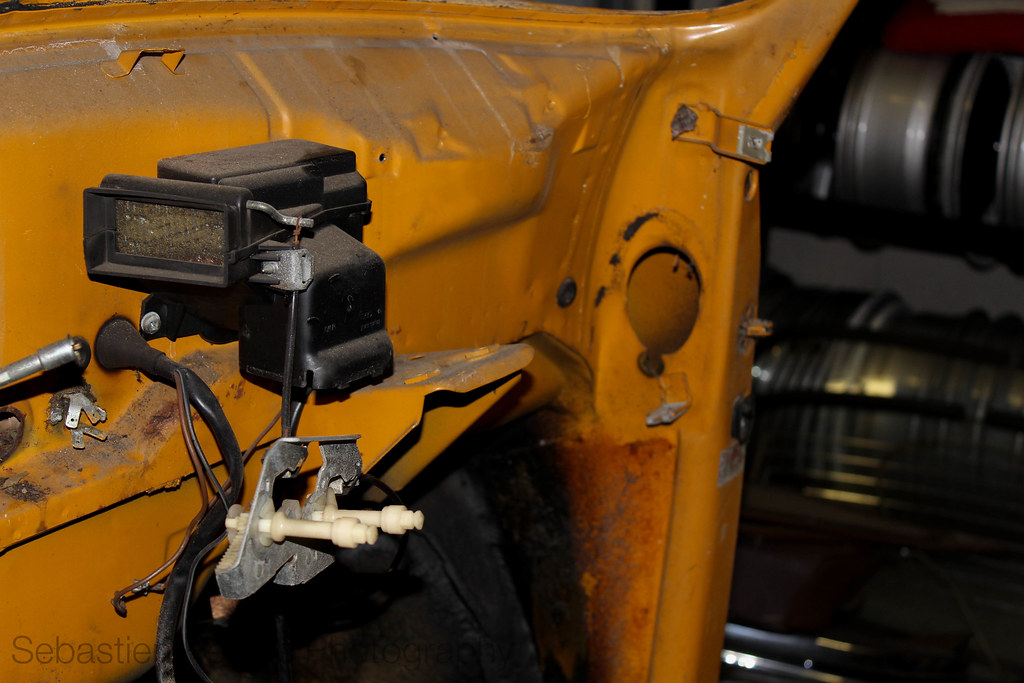
IMG_0203 by sebastienpeek, on Flickr

IMG_0207 by sebastienpeek, on Flickr
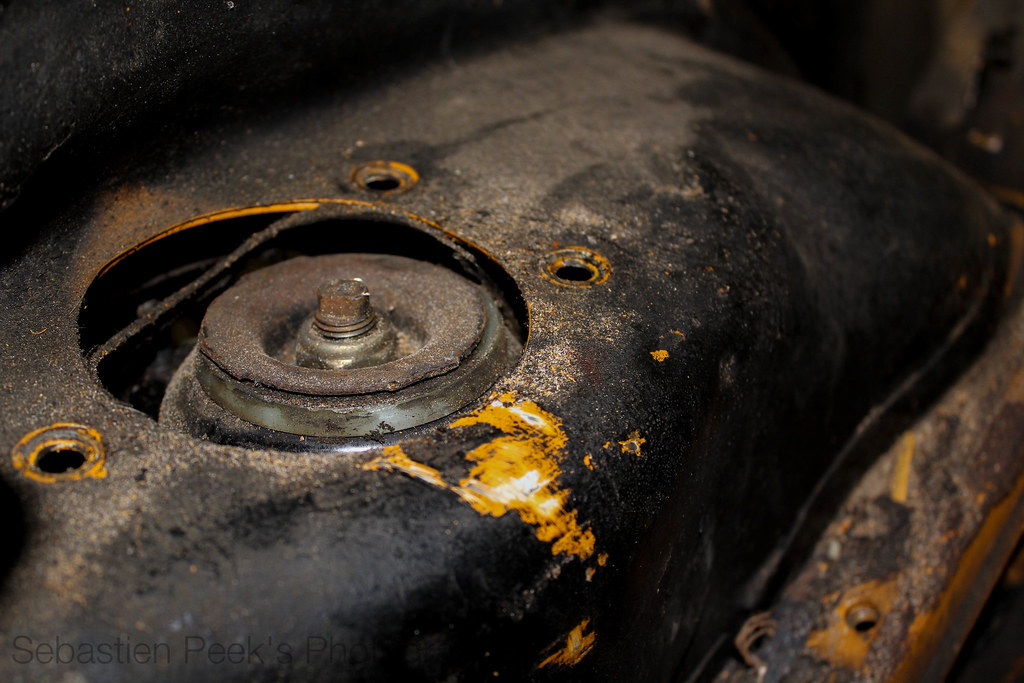
IMG_0208 by sebastienpeek, on Flickr
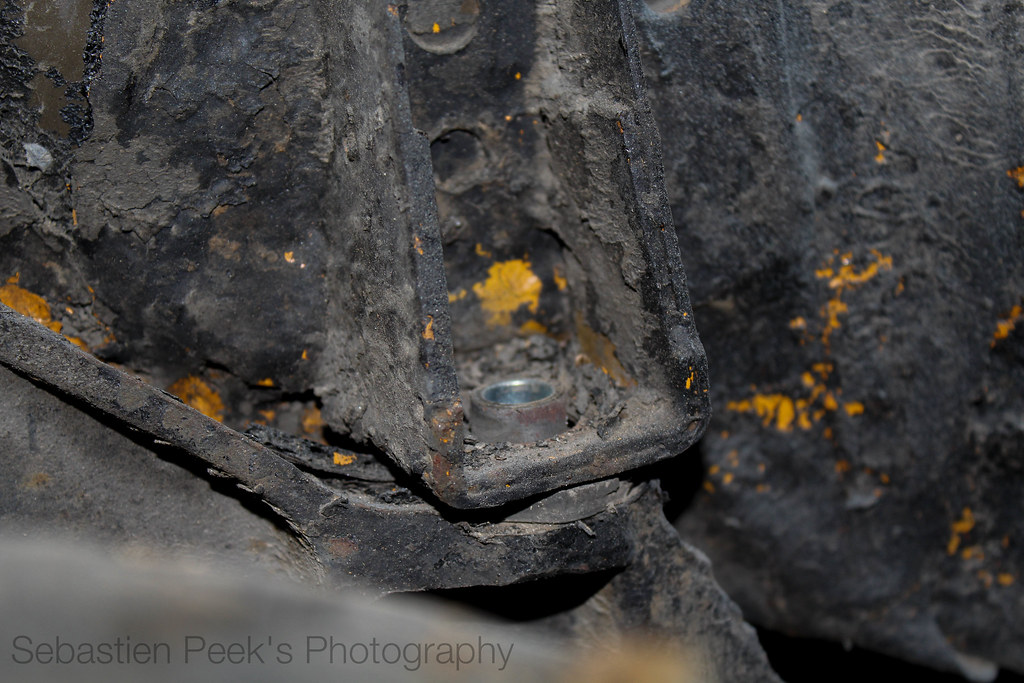
IMG_0209 by sebastienpeek, on Flickr
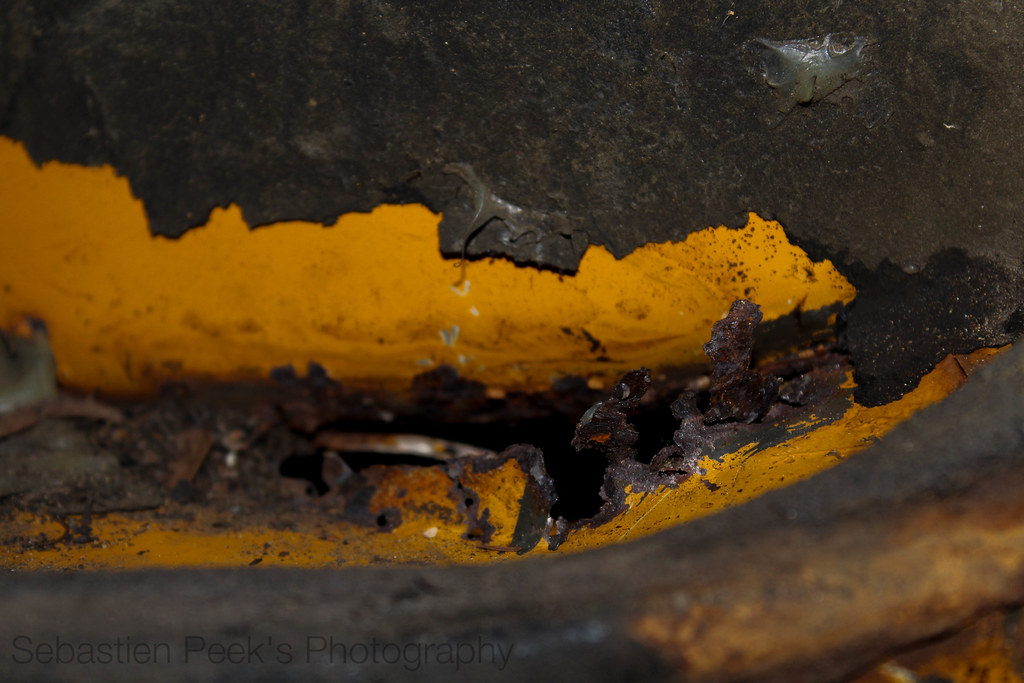
Found some more rust, this time in the air box. Common area for 1303's to rust. Will replace with my own incarnation of the air box, something that won't rust any time soon.
IMG_0219 by sebastienpeek, on Flickr
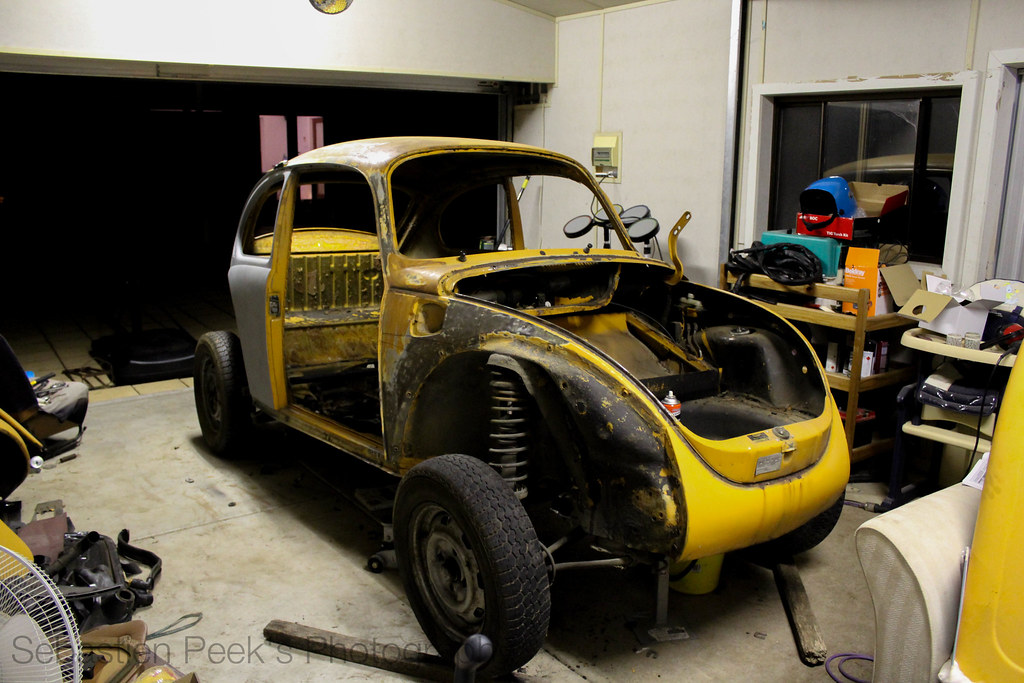
So this is how I left her tonight.
IMG_0215 by sebastienpeek, on Flickr
Like I said, everything is unbolted and the shell is ready to be lifted off. The front is up on axle stands and there is also an axle stand under the frame head to stop it from stress fracturing.
Now I just need to figure out when I can take the shell off of the pan. Might need to go and buy some more shelves tomorrow night after finishing off my Christmas shopping and take a few things to Cash Converters for some extra monies.
Leave a comment:
-
Sand blasted, Bead Blasted... either way, you will learn more about the car and its history through that than just working on small patches. Acid Dipping would be the best way to do it, but the blasting is an easier option. Stripping it naked, and having it etch primed will give you a clear view of everything, any panel damage etc, and a really good slate to fix the rust...Originally posted by SebastienPeek View PostNot going the sandblast route, taking it back to bare metal slowly and only focusing on the areas that I need too. I would much prefer to spend the time getting to know Gretl then having someone else just do it.
That and a lot of people have recommended not getting it sand blasted, but getting it bead blasted is a more appropriate thing to do. Either way, not going down that road, not yet anyway.
What were people reason's for not going sandblasting, I know the bead blasting is gentler, but what else? I sandblast stuff for a living, always interested to hear people's opinions on that stuff...
Leave a comment:
-
Not going the sandblast route, taking it back to bare metal slowly and only focusing on the areas that I need too. I would much prefer to spend the time getting to know Gretl then having someone else just do it.Originally posted by Doctor View PostIf you are going to remove the body off the pan, and fix all the rust etc, why not get the body sand blasted or acid dipped? Will show you EVERYTHING that needs to be fixed, and give you a proper solid base to work with. If you go the sand blasting route, pick a reputable blaster, I have a few connections through my cars and work too if you need, if too much time is spent on the wrong part of the panels, you will stretch and warp the panel.
I have some parts that might suit this :P
That and a lot of people have recommended not getting it sand blasted, but getting it bead blasted is a more appropriate thing to do. Either way, not going down that road, not yet anyway.
She sure is. Thanks though, I'm hopefully receiving replacement panels for the rear end in the next week or so, that should mean I can get cutting and welding very soon indeed.Originally posted by IamParadox View PostWow, Gretl is one cancerous fat bitch. Looks like you're on the right track though! In for more!
Leave a comment:
-
Wow, Gretl is one cancerous fat bitch. Looks like you're on the right track though! In for more!
Leave a comment:


Leave a comment: