

Looks nice and shiny! I'm jealous of how clean it is haha
Is that aired all the way out?
-
So today was disappointing. After working hard for 2 months to get the car done, I had it ready last week (less the rear shocks and height sensors) so I test drove it with no major issues except a couple of small leaks. Today I was planning to go to a big local show, as soon as I left home with 3 passengers the left back wheel started losing air. The controller started flashing meaning the air compessor couldn't turn because of some fault. I stopped, my dad went home and brought a compressor to pump the air up so I could drive it back. Put it in the garage, couldn't take it to a show. Oh well such is life, I have some major flaw in how I routed the rear air lines
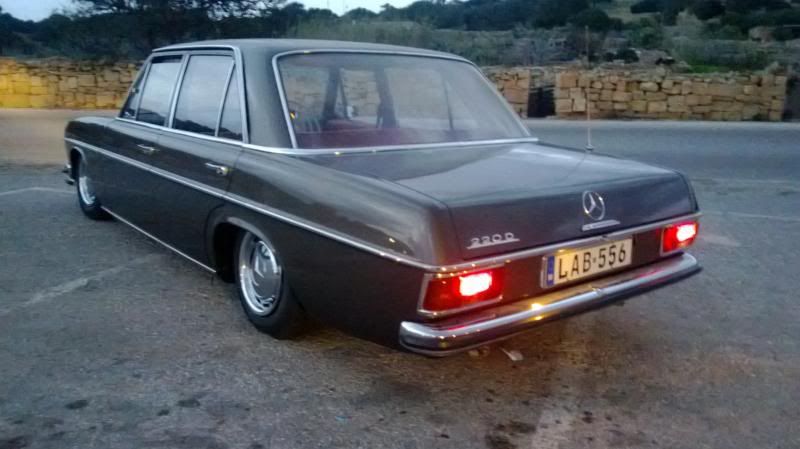
Here are some crappy phone pics I took while trying the car this week. Next I'll see whats wrong and finish the shock mounts etc



Leave a comment:
-
I'll leave this here.
I tested the system, fixed a couple of leaks etc, next week I'll fit the wheel sensors

Leave a comment:
-
When you think you're done....I had to make some spacers for the rack as the air lines need more clearance to bend. I just welded a plate on a piece of square section steel.

Here's the carpet and the air line from the front poking through

Leave a comment:
-
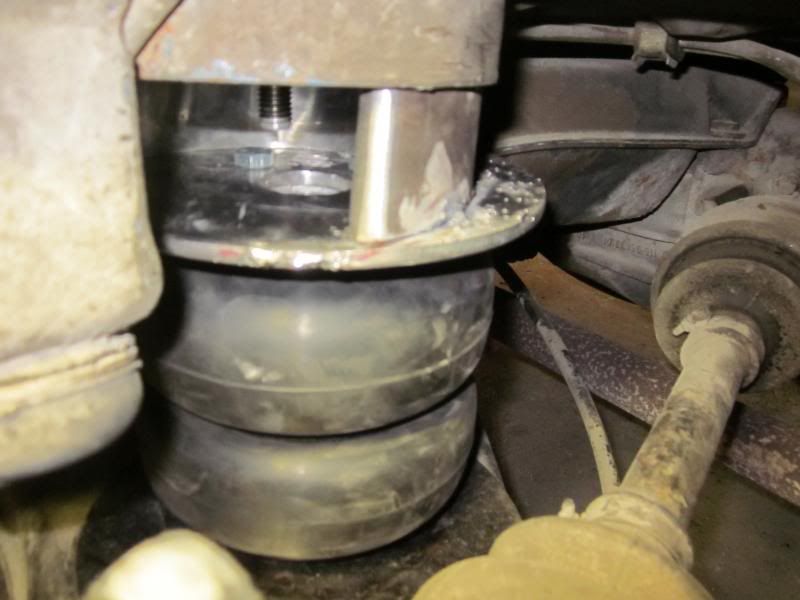
I'm happy with yesterday's progress, I almost finished the rear mounts left and right for both the base and tops of the bags. I just need to grind the welds and paint them satin black before the final assembly. After that I can run the air hoses and figure out what shocks I can use for the back
The bottom mount (upside down)
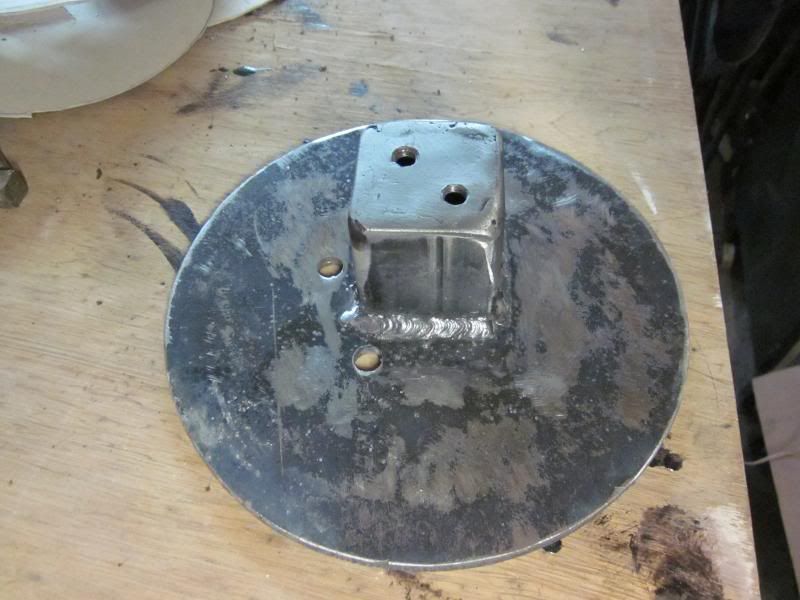
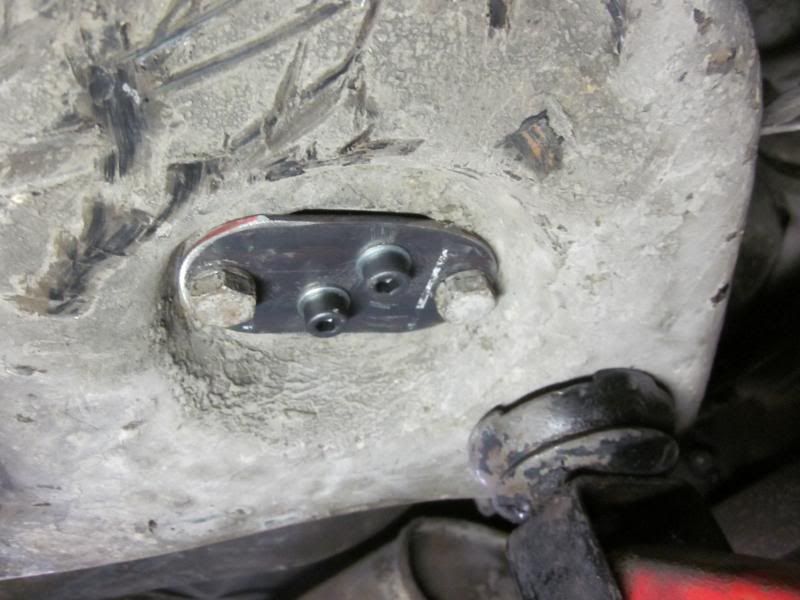
Which mates to this bracket, it uses the stock shock bolts
Tacking the top mount
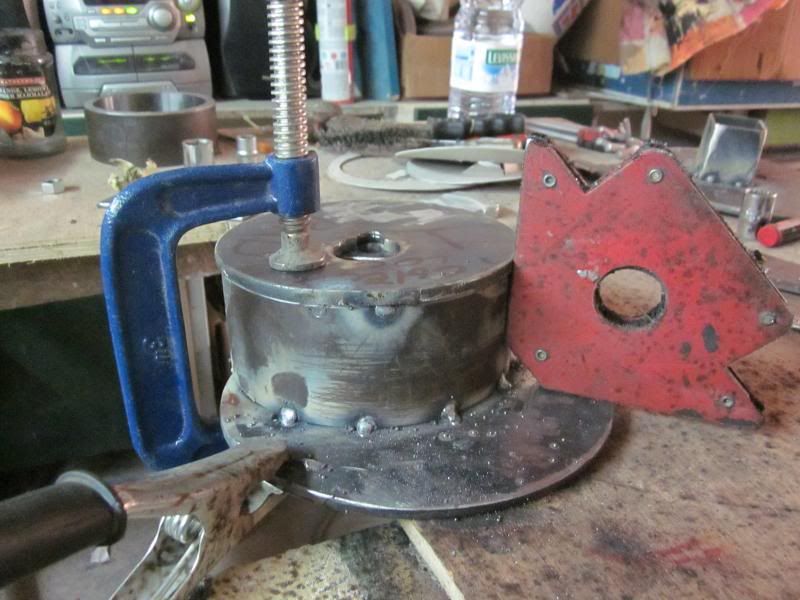
The sides are open to reach the air fitting and bolt the airbags
Leave a comment:
-
Cheers, love your volvo....I copied the front set up from Niscort on this forum but I figured out how to make the rears removable myself I still need to add shocks to the back, as the airbag takes the shock through coil location.
The best part of the trunk install is yet to come
Leave a comment:
-
Good work and creativity on the air setup! I still need to sort out my trunk setup as well. Its all bolted to a piece of mdf right now.Leave a comment:
-
Thanks for the comments, I took a picture of the front assembled. I brush painted, would have rather stripped it down and sprayed the assembly, but time is tight. It will end up covered in dust anyways.
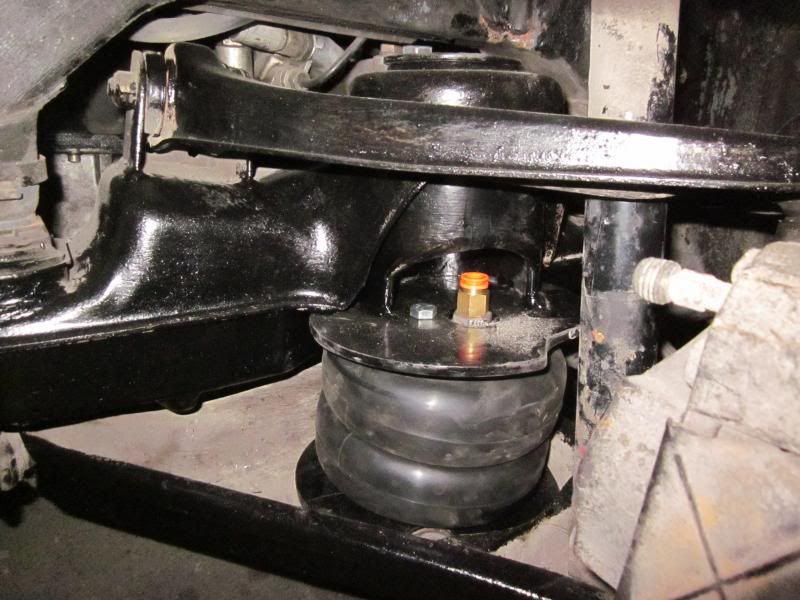
Moving on to the rear mounts, I'm trying to keep everything removable so I didn't want to weld the bottom plate to the arm. I made a square to fit in the hole for the shock, this will be bolted from underneath the arm by using the bolts that held the shock in place. I still need to mark and drill the 2 holes on the square mount.
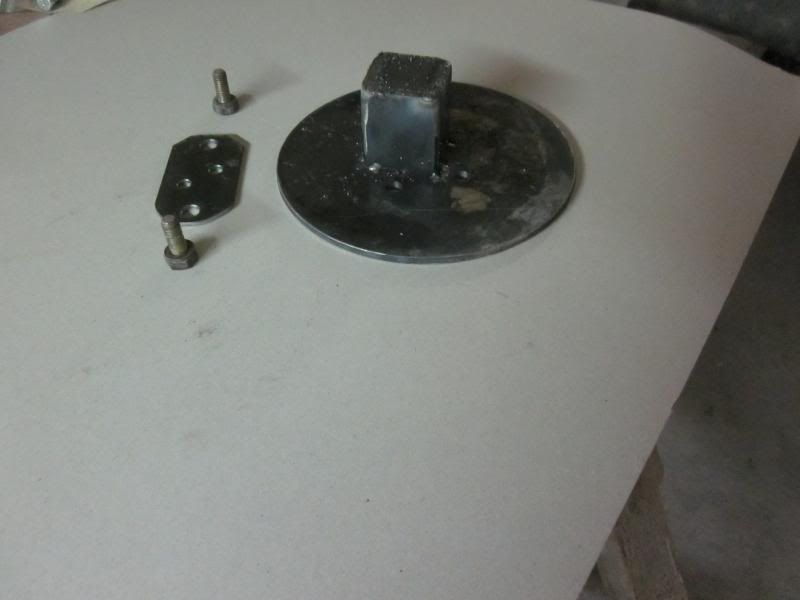
I made a cardboard template to copy the right side and the postion of the square.
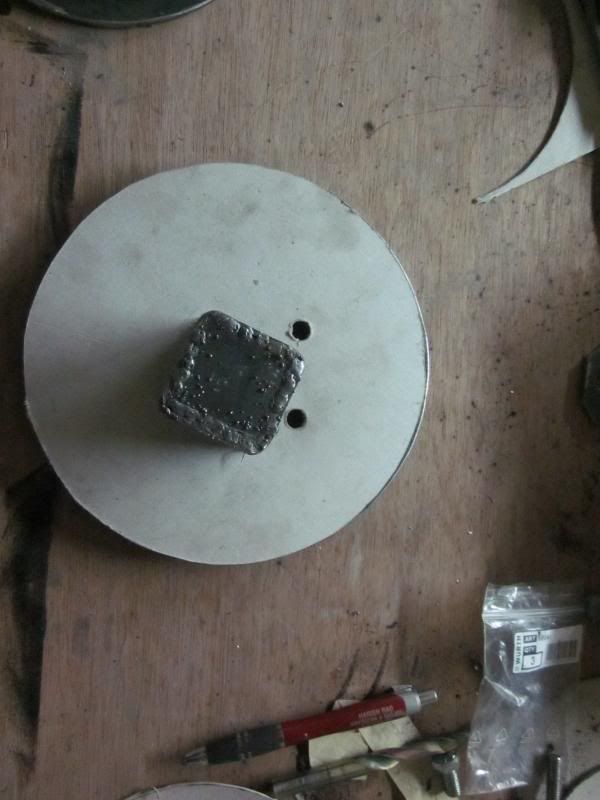
I welded the first square in full as I was happy with the postion. Not the nicest welds on the internet, but they'll do. I'm using a flux core MIG welder that splatters like crazy. I miss my old CO2 Mig
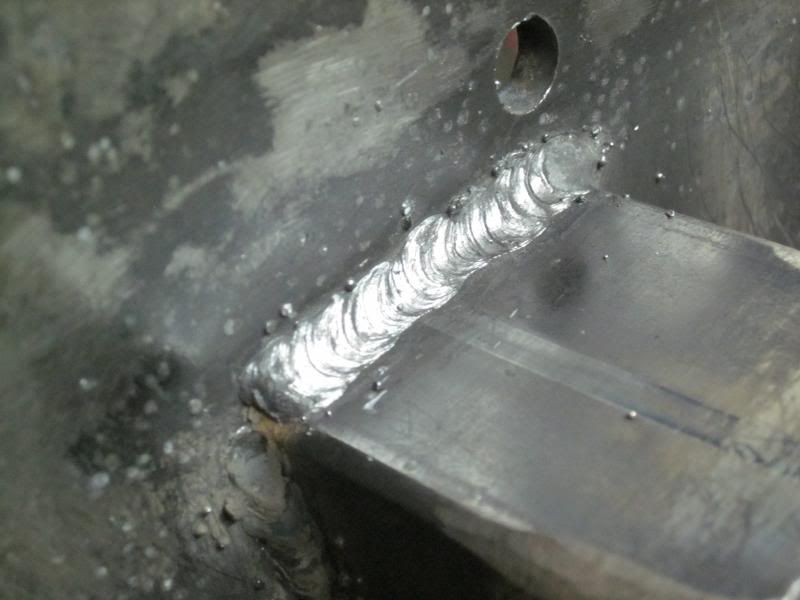 Last edited by A4crn; 11-22-2013, 03:09 PM.
Leave a comment:
-
Front mounts are fully welded and ground. I've painted them satin black and installed in place with the bags. Today started working on the rear mounts....pics soon. My plan is to finish the suspension for a show on the 8th December but it seems like there's still a ton of work left to do :S
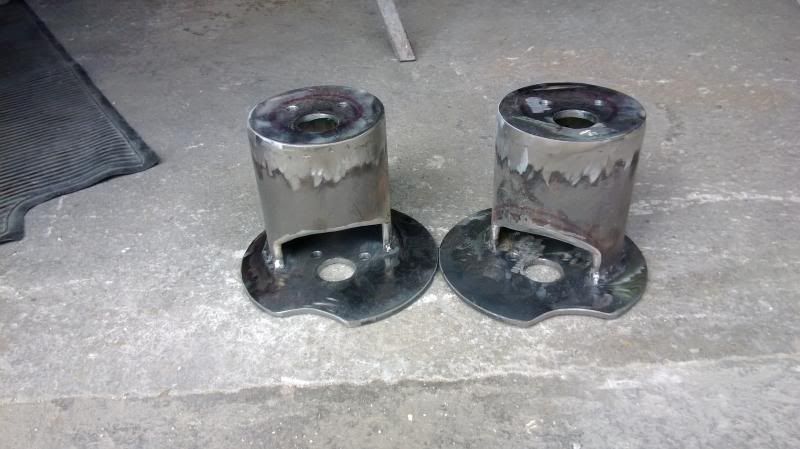
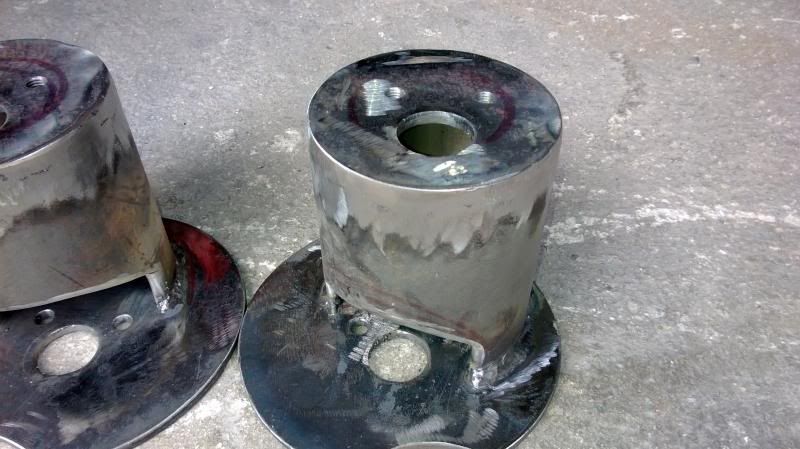
Leave a comment:
-
damn, it was a lot of work to get here, but at least the stock shocks work....I plated the hole on the side after this pic was taken. Just need to grind the welds and paint then mounts, then its on to the back
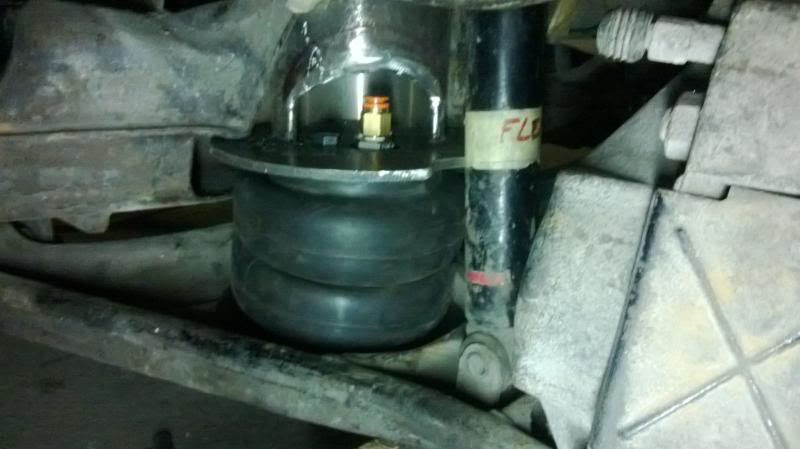
Leave a comment:


Leave a comment: