-
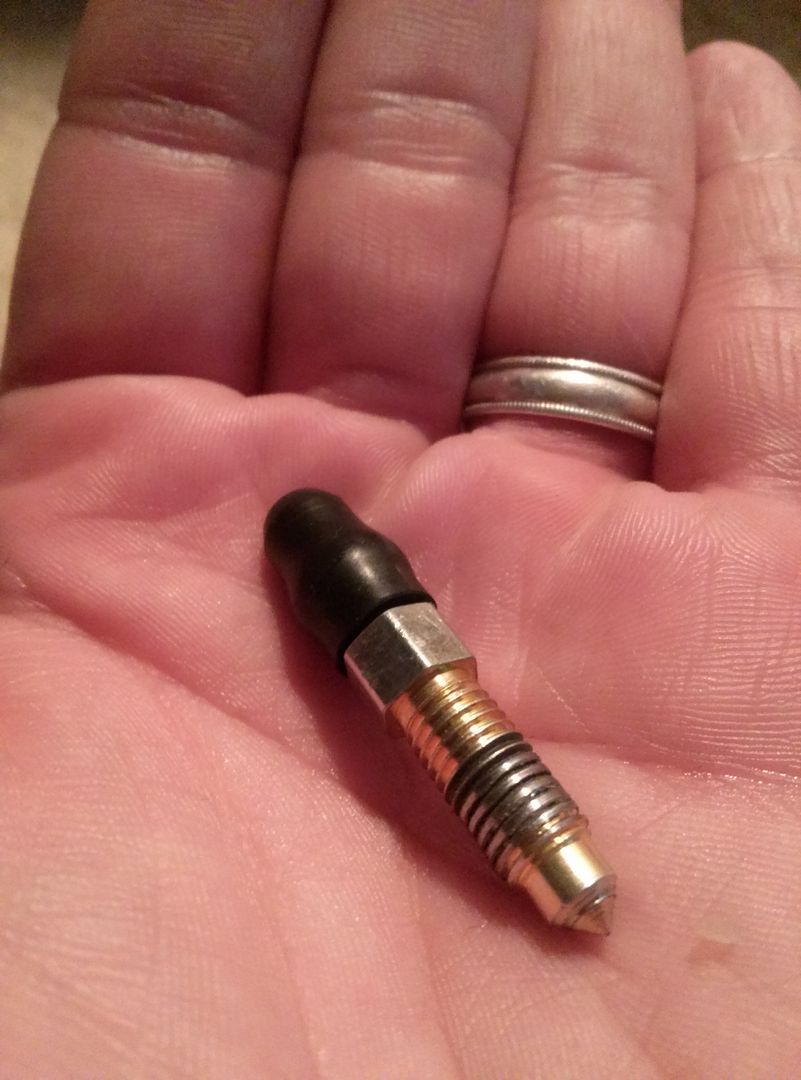
I started off yesterday by installing my new tensioner with the new plug and washer.
Old vs New

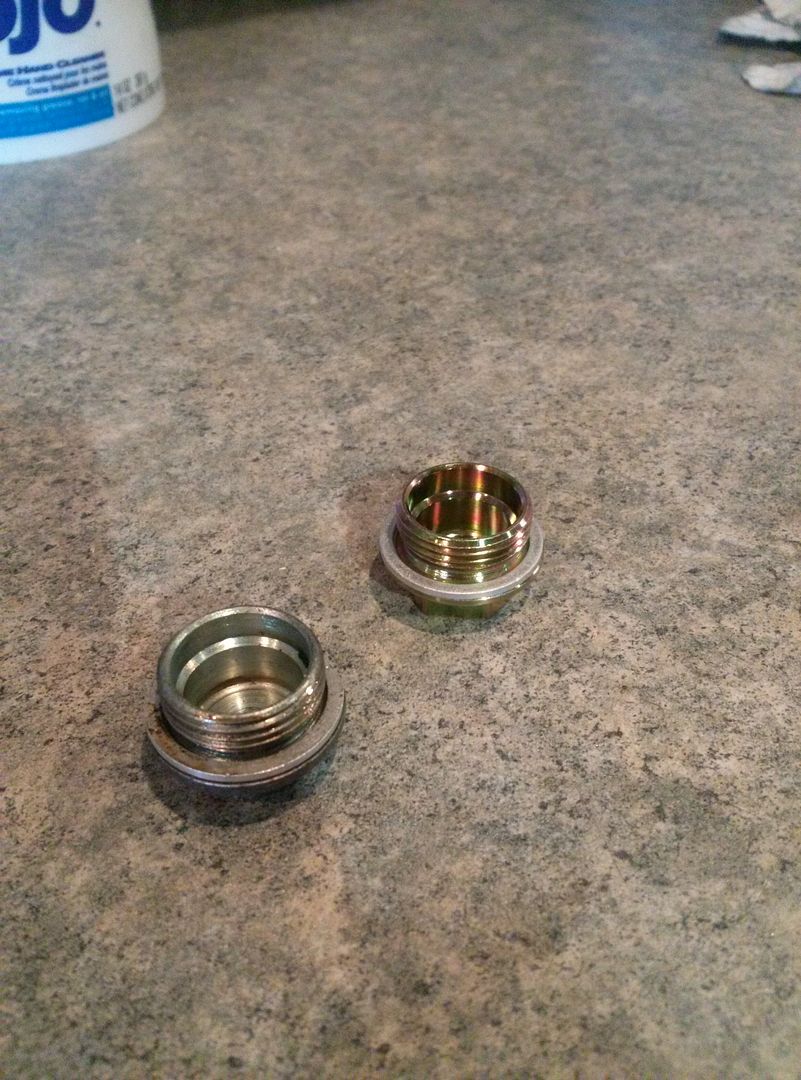
Tensioner

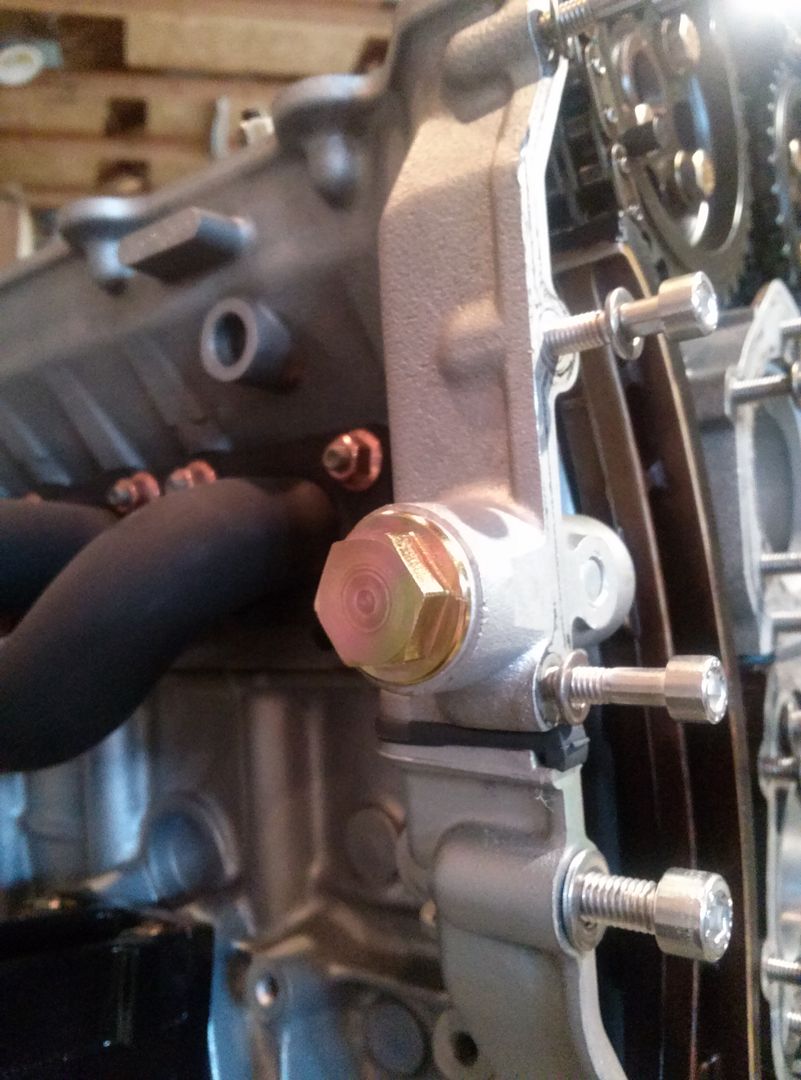
Installed and torqued
When I put it in it was short. The manual said to press the chain guide into it and release it. It only listed that for the m42 tensioner and not the m44 tensioner. I think I managed to get the m42 tensioner since I can see the snap ring when the tensioner is realeased. It isn't a big deal, but I swear I ordered the m44 tensioner.
After I released the tensioner, I torqued the cam sprockets down and also torqued the upper chain guide.
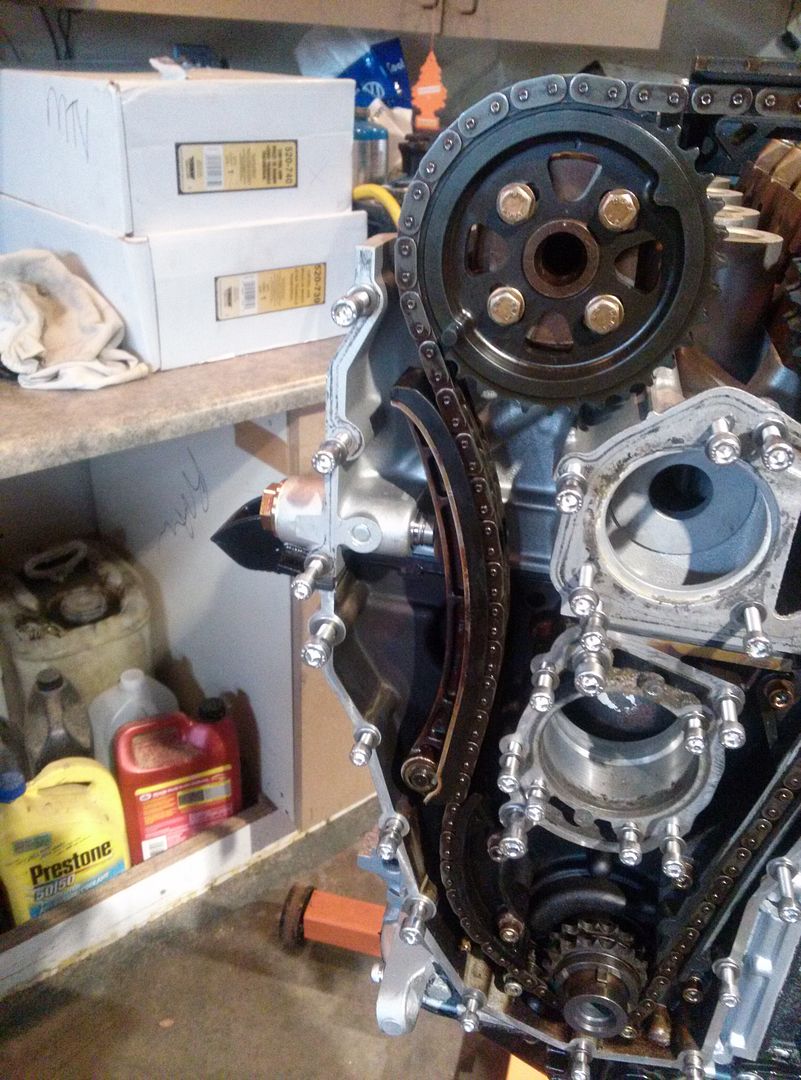
After that I cleaned the gasket surfaces and installed the lower timing cover hand tight.
Bolts out and surface cleaned

Gasket on

Cover on hand tight

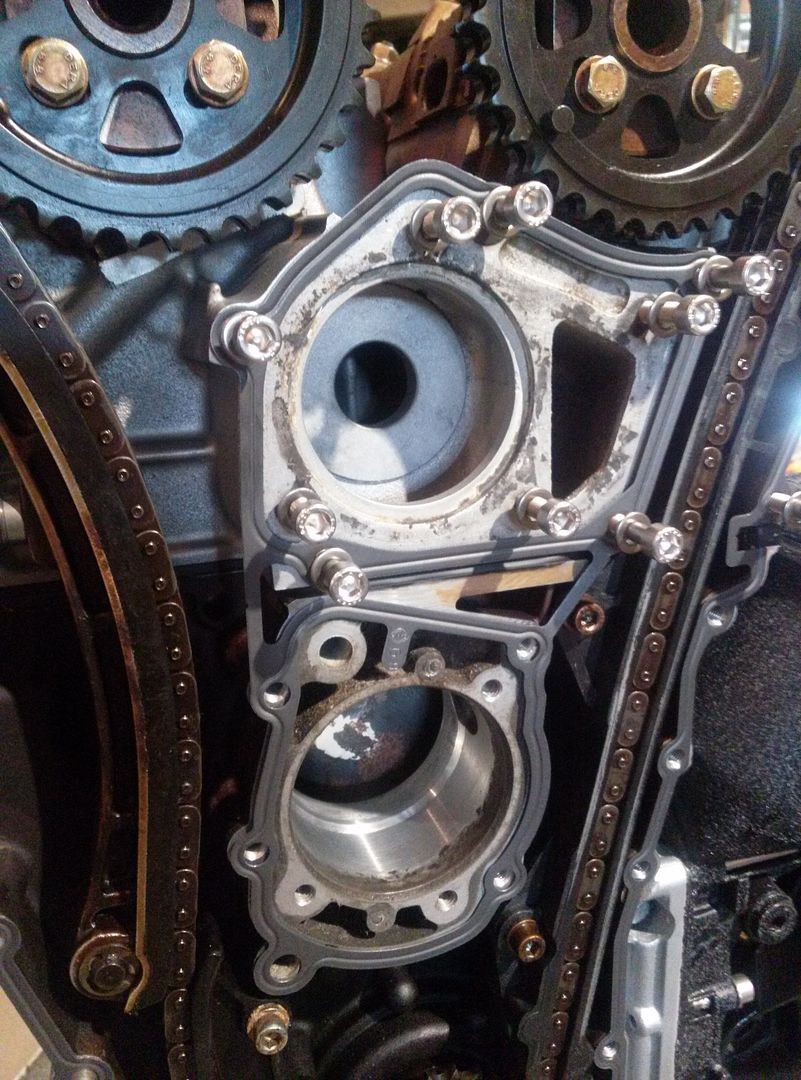
At this point I was going to torque it all down hardware but thought I should check the timing first. The cam and cam sprocket marks line up perfect but I was still unsure of if I had the engine at TDC when I put the chain on.
I put the cam bolt in and turned it with a ratchet and it seemed to stop after a quarter turn. I couldn't tell if the bolt was just tightening, the springs got super stiff at that point, or if the piston was hitting a valve. Instead of cranking on it I just backed off and am having a buddy come check it out next weekend just to check it over for me=)
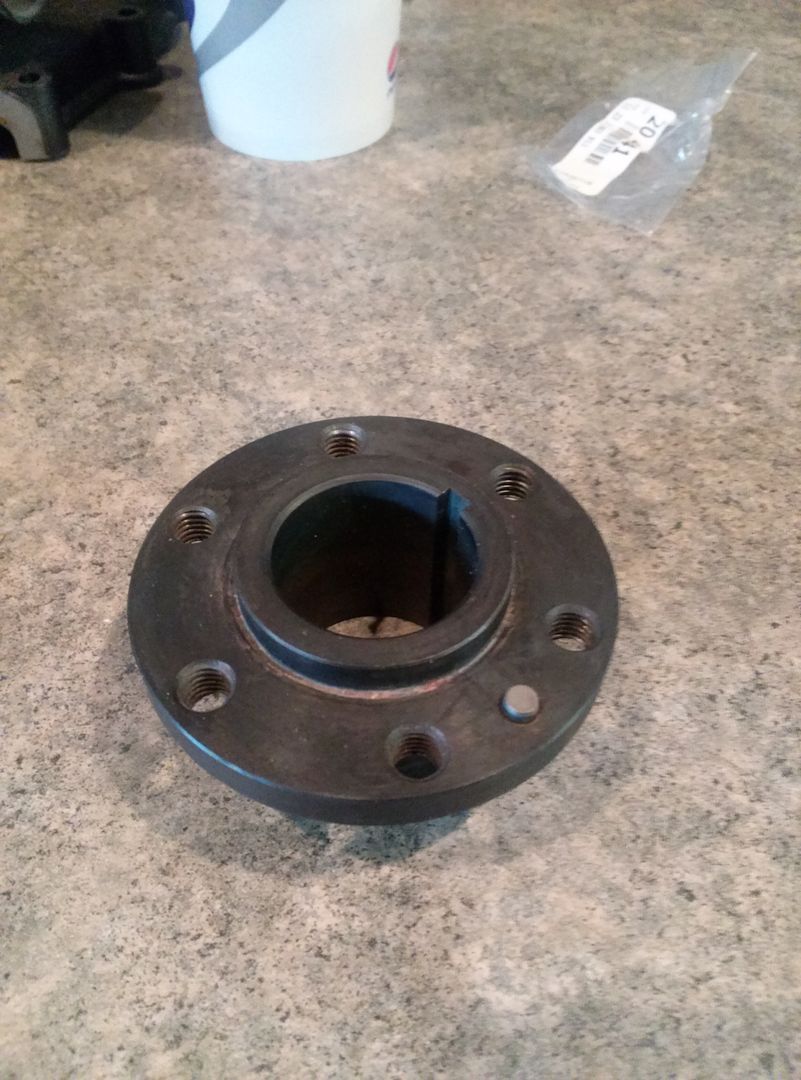
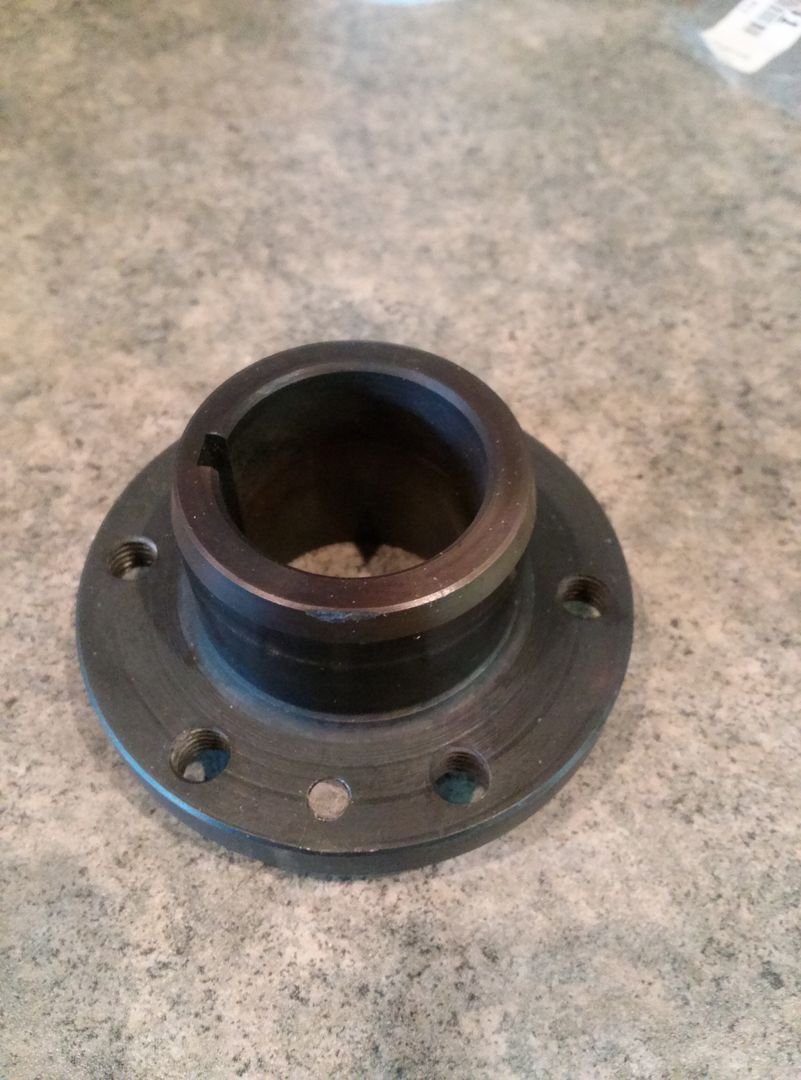
I figured while I was working on that, I could get the crank pulley flange all cleaned up and ready to go on.
When the crank bolt initially came out I had my friend get it out with an impact, but he KO'd the dowel pin for the crank pulley. I ordered a new one for a few cents and pounded it in yesterday.
Old vs New

Installed
At that point I went to attach the crank pulley but bent the mounting surface by trying to draw it on using the 6 bolts. It didn't want to go on nice since the fresh paint didn't allow much clearance. I am going to be sanding that ID out at work and getting it painted back up and installed before the week is over. I am glad I noticed when I did that it wasn't drawing on straight.
At this point I was as far as I could get with the engine so I started on the template for the false floor.
Initial shape from tracing the carpet and side cubbies and oversizing it a bit

After a bit of trimming I got close to what I need. There are some spots where I cut it too small and I need to tape on pieces to make the template correct. Otherwise it should be pretty good. I did figure out that I will need to make the false floor in two halves because it does not want to fit through the hatch as one piece. I will still wrap it in carpet as one piece though.

My buddy Kyle woke up a little late, but made up for it by getting a lot of the seams left on the strut towers welded up. Next time he comes out he will be smoothing them all out. He did start welding on the firewall but it was short lived.
He was welding it and I turned and said we should peel the carpet back to keep it from burning. I opened the passenger side door and the car was filled with smoke. I looked under the glovebox and didn't see anything initially. After a few more seconds I could see some embers coming through the carpet and at that exact moment, my buddy Jory threw my water bottle to me and said "Douse it!". I squirted the bottle and out it went. I got the glovebox out with the quickness to make sure nothing was by the wiring. It ended up stopping right under the carpet. The foam carpet insulation helped slow the fire down which is great. I am happy I said something when I did and I have to get a new carpet anyways=)
Next weekend the engine timing should be all sorted out so that I can get the engine together further. I might even start making the false floor with MDF.
I also found a new daily that I will hopefully be rolling in soon=)Leave a comment:
-
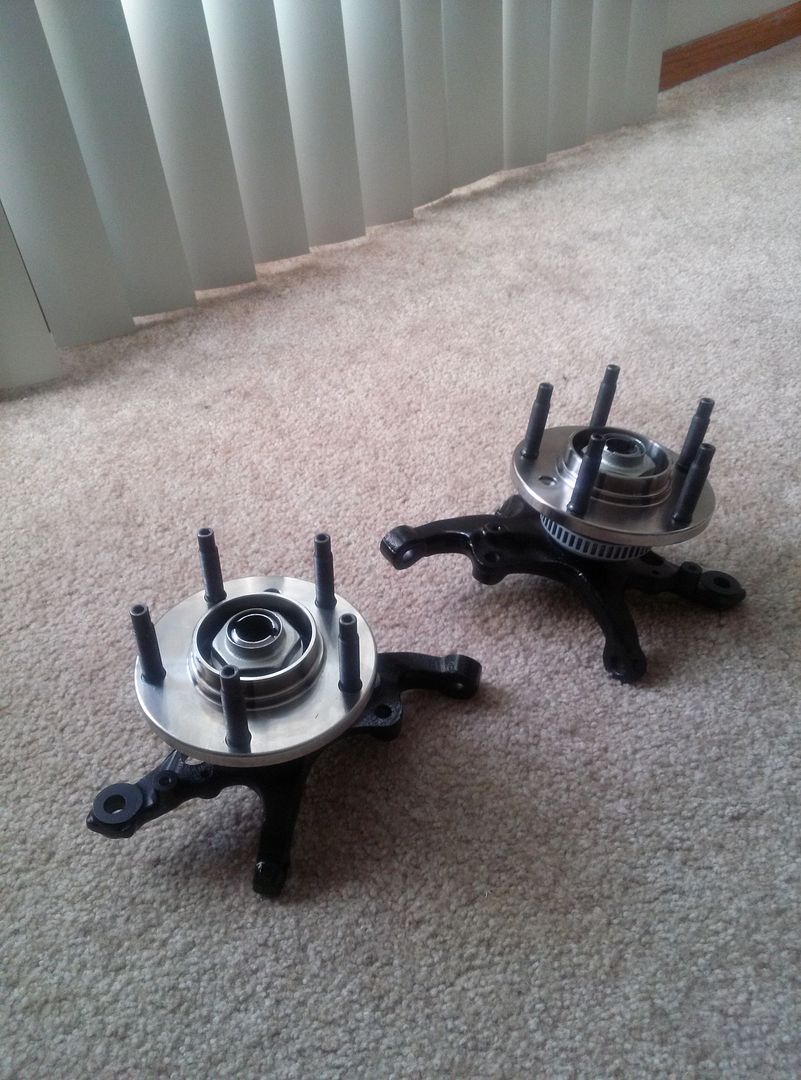
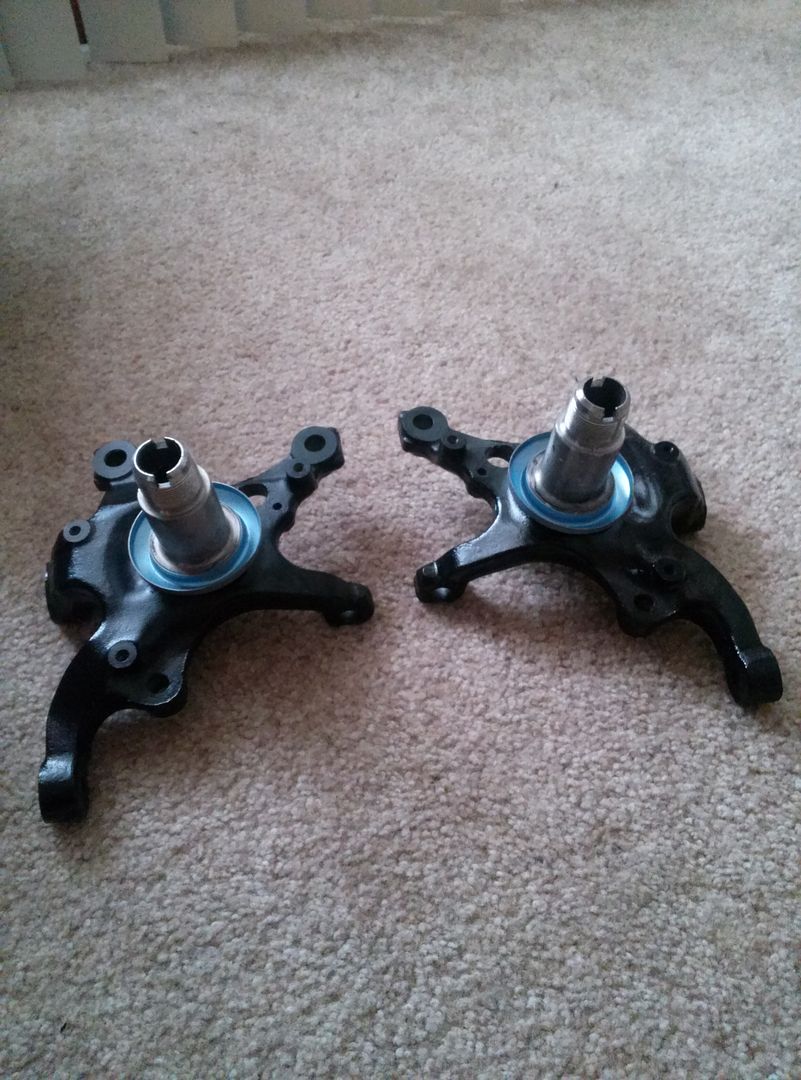
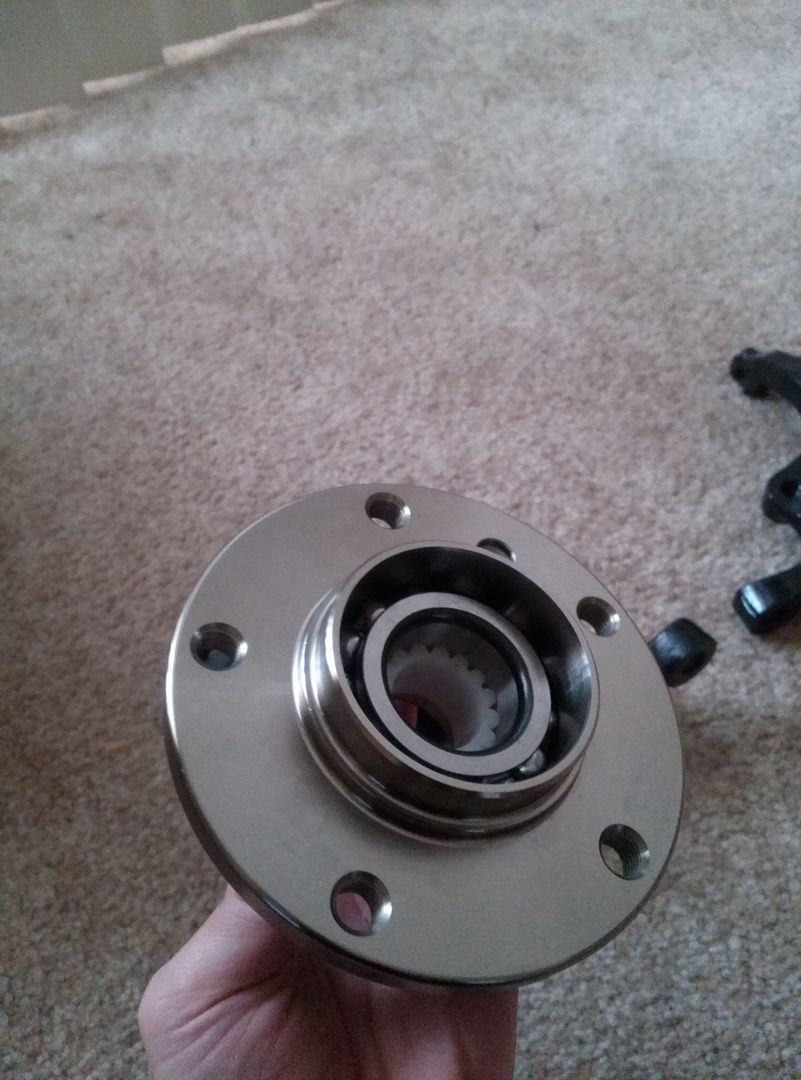
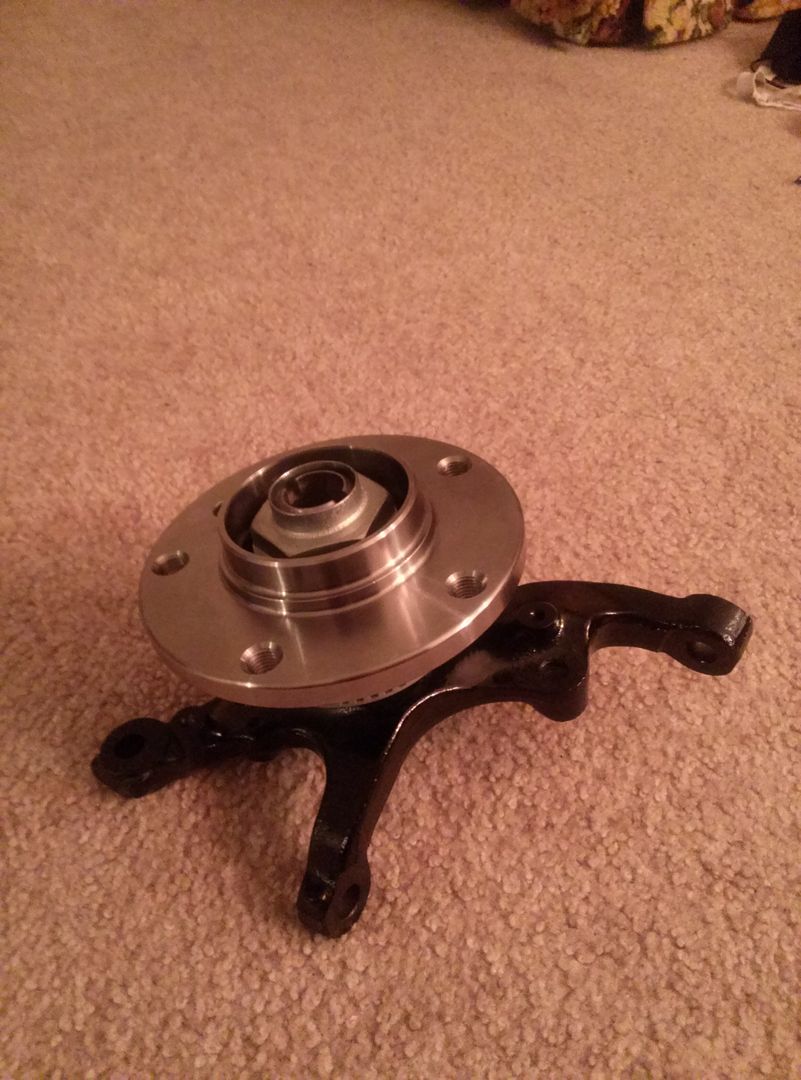
I got my other hub sat down, as well as my Motorsport Hardware studs and Adams Rotors (with ECS's stainless hold down bolts)
Hubs on

Studs in
Rotors on

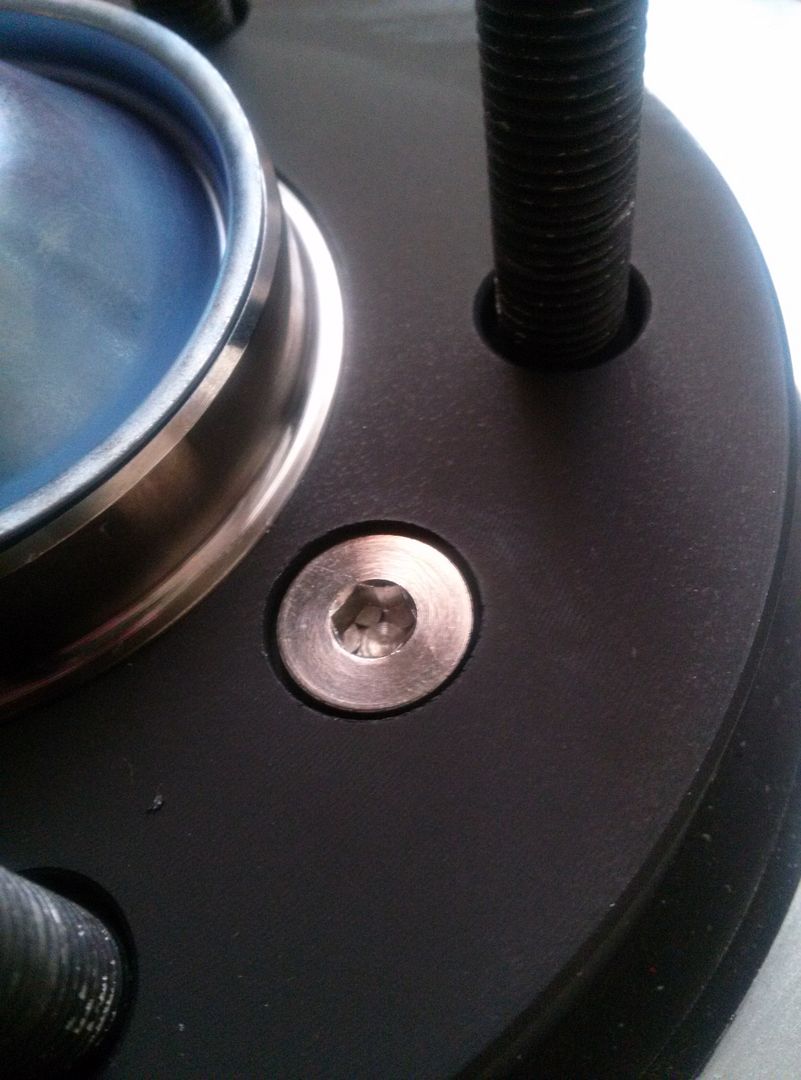
The dust cap is just sitting on there to get an idea on how they will look.
I do have an issue though. When I hand tighten the hub nuts as far as I can with the socket, they spin very very tight. I looked into it and it seems SKF didn't relief the back side of the bearing to accodomate the OEM inner dust cap. It seems the SKF unit I have is sealed itself, so I might just need to dremel out my new inner dust covers or somehow bend them enough to not make contact. This guy had the same issue last year: http://forums.bimmerforums.com/forum...umber-matching
Good thing the front wheels aren't in a rush to go back on=)Leave a comment:
-
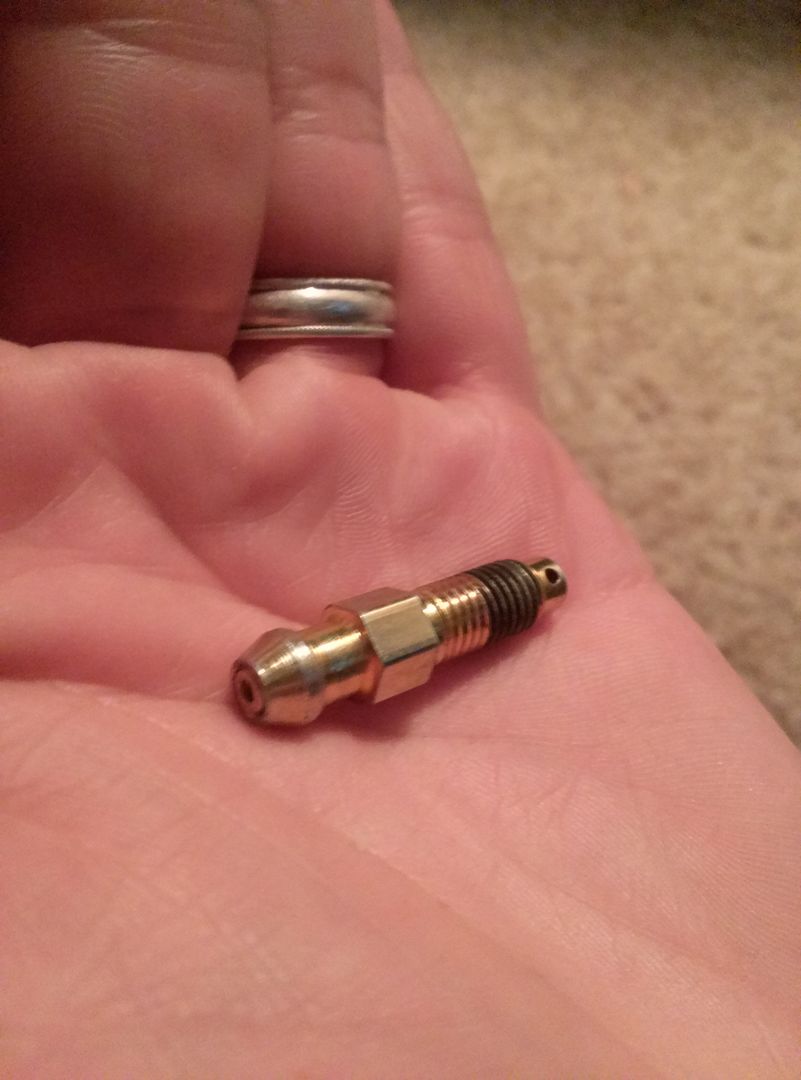
ECS is sending me a replacement bleeder free of charge. That right there is why I always order through them=) Great customer service.
On a side note, I picked everything up from the shop at lunch. I should be getting the stubborn hub down on the knuckle tonight, as well as bolting the calipers and rotors on to get an idea of how it will all come together.Leave a comment:
-
My ECS order arrived yesterday. I started right away on assembling my hubs and installing my speed bleeders.
(the lighting was terrible for all of these phone pictures so I apologize in advance)
Here is where I started, bare freshly powdercoated knuckles.

I then took these rear dust covers

and fitted them to the knuckles.
After that I opened up these guys

and tapped them on with a mallet
Well, I only got one fully down. Reason is that I am an idiot and was tapping on the outer races/hubs instead of waiting to grab my socket and tapping them on from the inner race. From the multiple people I have asked, there shouldn't be any damage to the bearings since I wasn't bashing on them like Bam Bam with a wooden club. The use of a rubber mallet also saved me. I am waiting to do the other one until tonight when I will have my socket=)
After all of that I installed my speed bleeders.
I don't have any installed pictures because the sun went down and the lights in my living room are terrible.
I did however only install 3 successfully. The fourth one I threaded in by hand like the previous 3. However, after slowly threading it in with a wrench, it felt like it wasn't going any further or tightening. I backed it out to see this:
I am not quite sure how the threads stripped without applying any more torque than a simple turn of the wrench. I sent ECS an email about it, but I will probably just need to order a new one. I also made sure to take a cotton swab and get the stripped threads out of the bleeder hole so that they don't go into the bore=)
Never a dull moment I guess. More updates tomorrow I am hoping.Leave a comment:
-
-
Awesome work man! Are you gonna have it back together in time for Automotion?Leave a comment:
-
Not much was done this weekend. I spent Saturday trying to fix my daily with my buddy John. We assumed it was the passenger side axle, due to axle grease being spun around by the inner cv. After replacing it nothing has changed. The issue has to be something diff or trans related and since the car got hit by the semi, it isn't worth fixing. Hopefully we are either missing something easy, or something pops up for sale at a reasonable price instead of all of the over inflated crap currently.
Anyways, onto the car that matters. Subframe got finished Friday=)

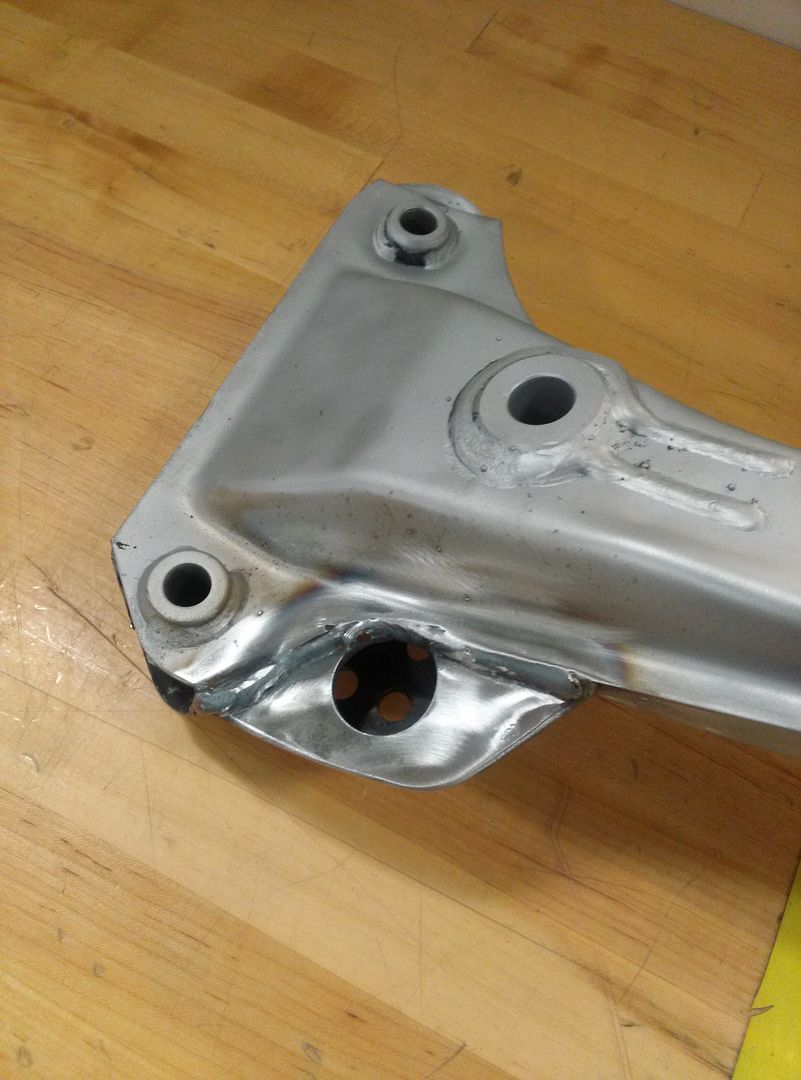

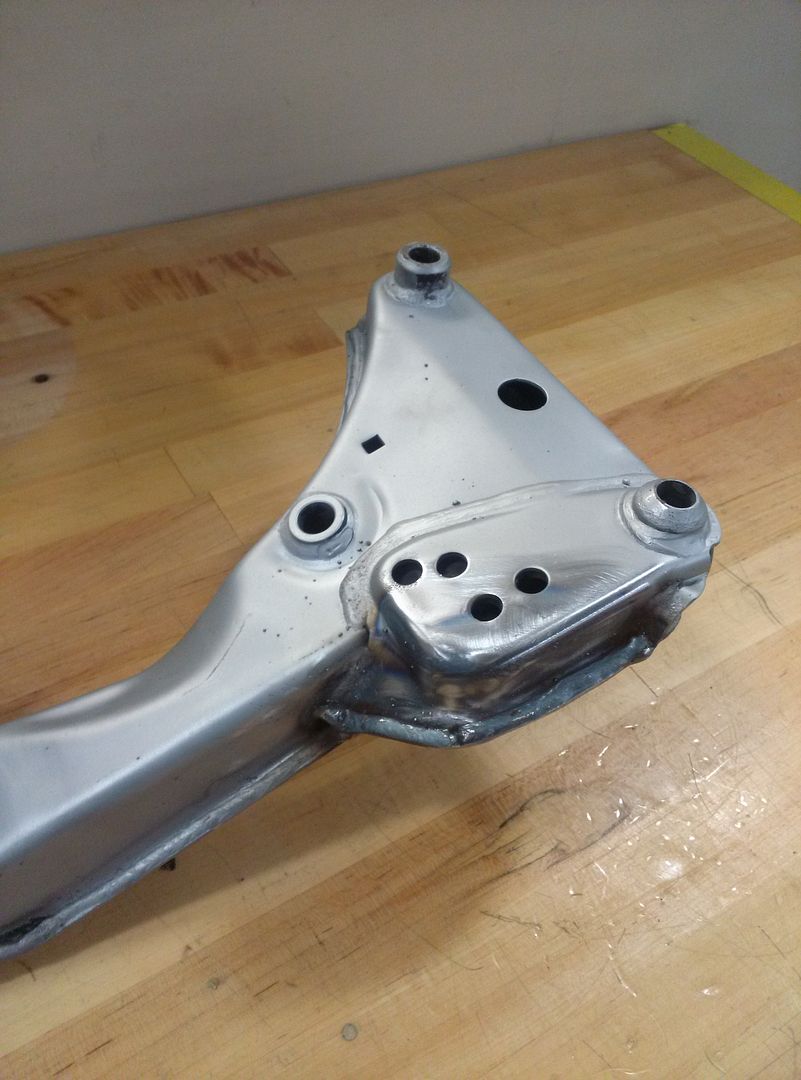
Then primered
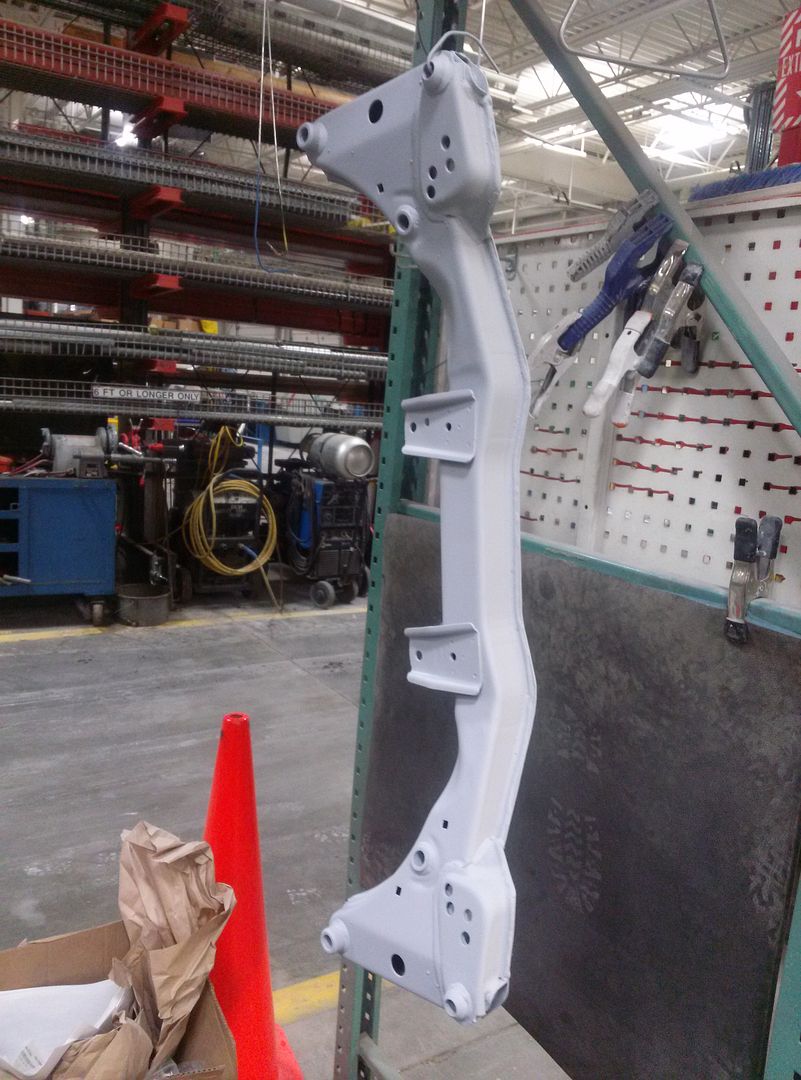
And then painted


My ECS Tuning order shipped out Friday as well and should be here today or tomorrow. Once that comes I can assemble my front hubs, attach my caliper carriers, and get my calipers finished with their new bleeders.
I was looking through my phone pictures Saturday morning and happened across this one. Eventually the car will be finished...

Leave a comment:
-
Here is how far the welder got yesterday. Should be done today or Monday=)


My CA Tuned front brake lines and clutch line came and they look great. I forgot to upload a picture to my photobucket though=/
I assembled my calipers last night. All of them except for one went together great. There is one that I cannot get the piston past the o-ring and it is frustrating the hell out of me. I will be trying at it more today.
Carrier bushings in

Inner seal in

All three that are done

Here is how far the other front goes in

I tried doing it all sorts of ways and then finally managed to get it stuck. I will hopefully figure it out but I know for sure the o-ring is the issue.
Side note: one of the axles gave out on my daily as I pulled into work today so I am both unsure of how I am getting home, how I am getting to the shop tomorrow, and what I am going to do for a daily in general.Leave a comment:
-
Placed my ECS order yesterday for front hubs and related parts, as well as all new hardware for the entire front suspension and steering.
Progress so far on the front subframe.


Picking up the reinforcement kit at break time and then possibly having it welded in sometime today or tomorrow=)Leave a comment:


Leave a comment: