 Tweet
Tweet
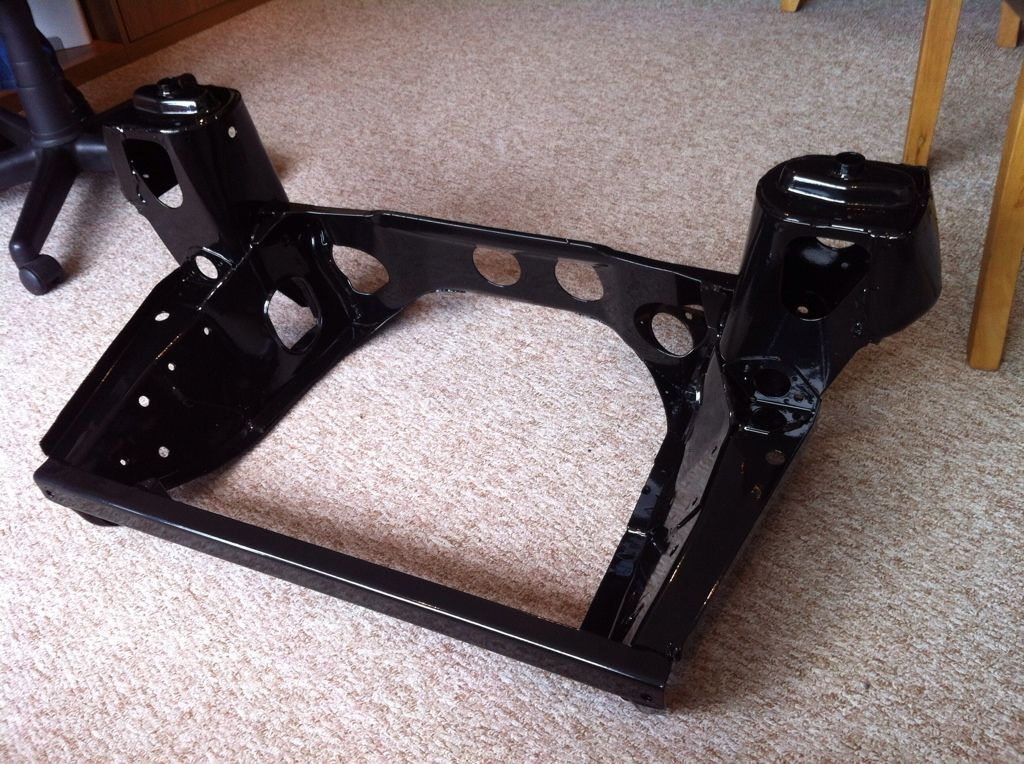
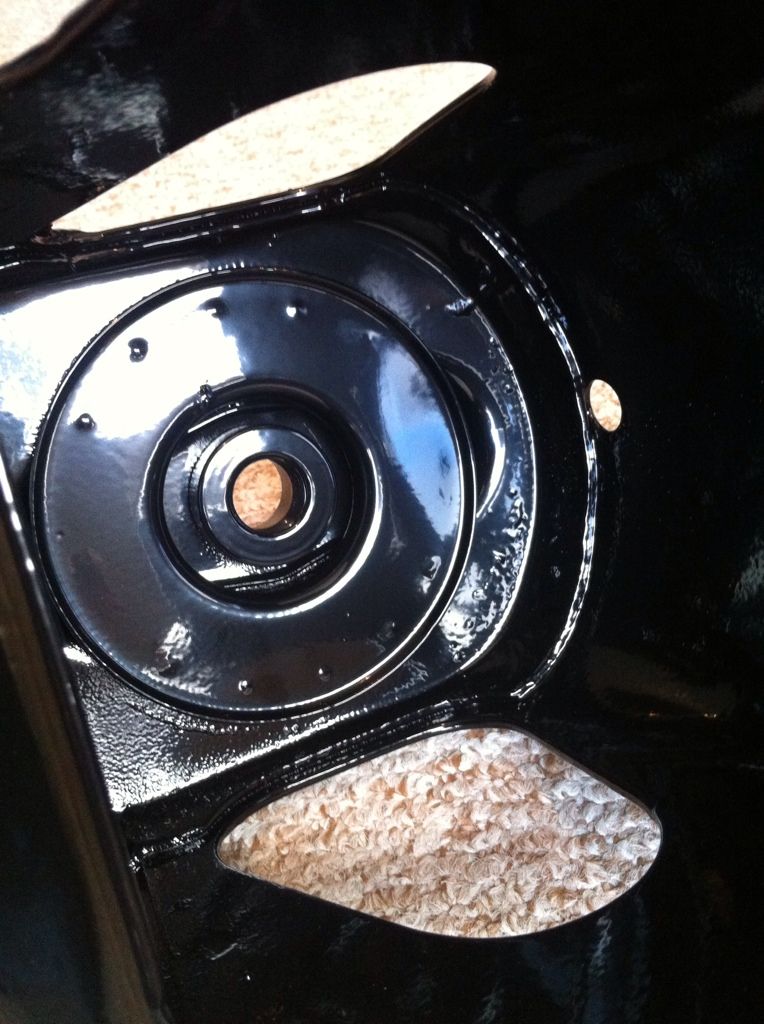
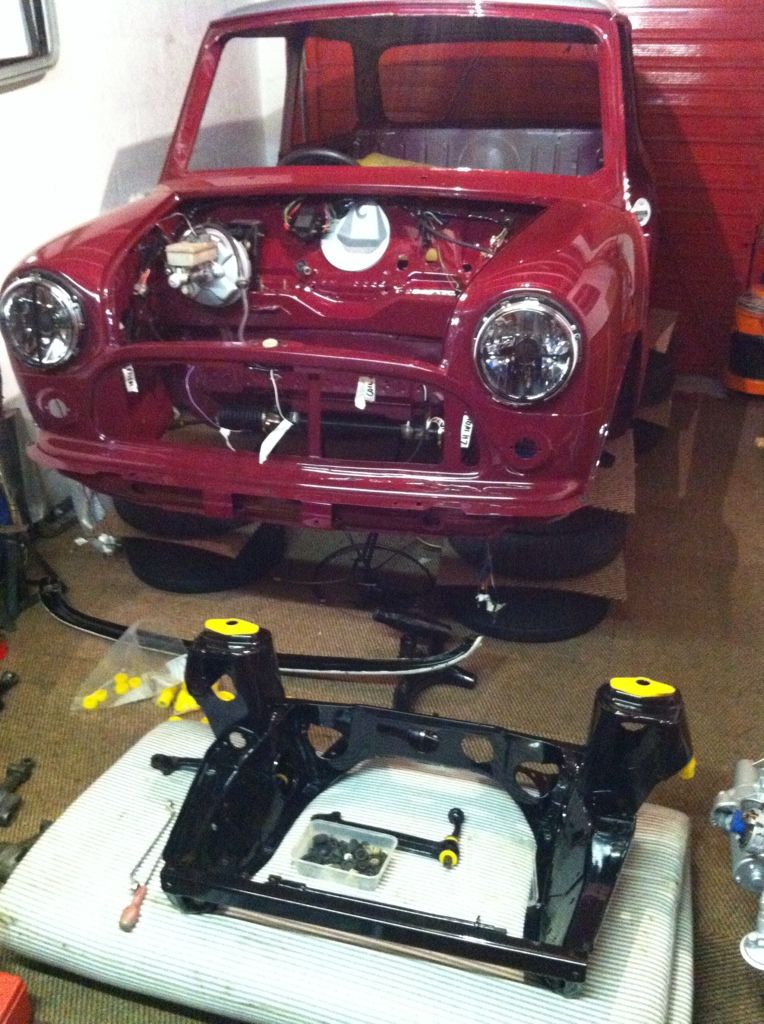
Killer color!
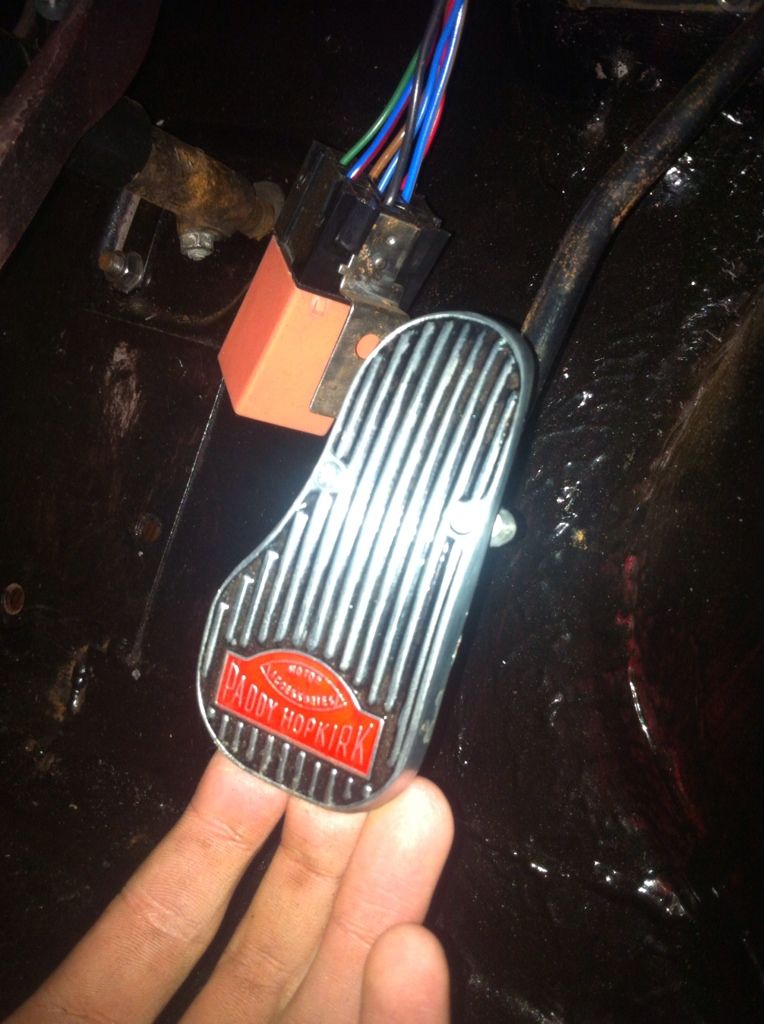
Haven't seen grip tape on pedals before.
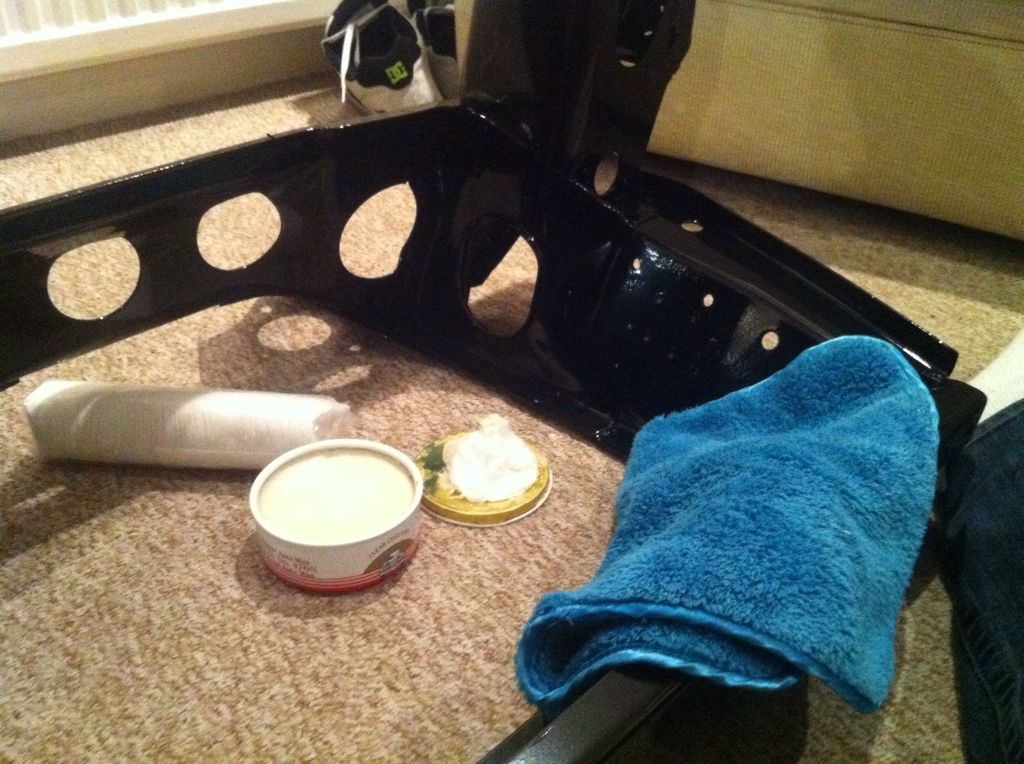
Can't wait to see it finished!
Haven't seen grip tape on pedals before.
Can't wait to see it finished!


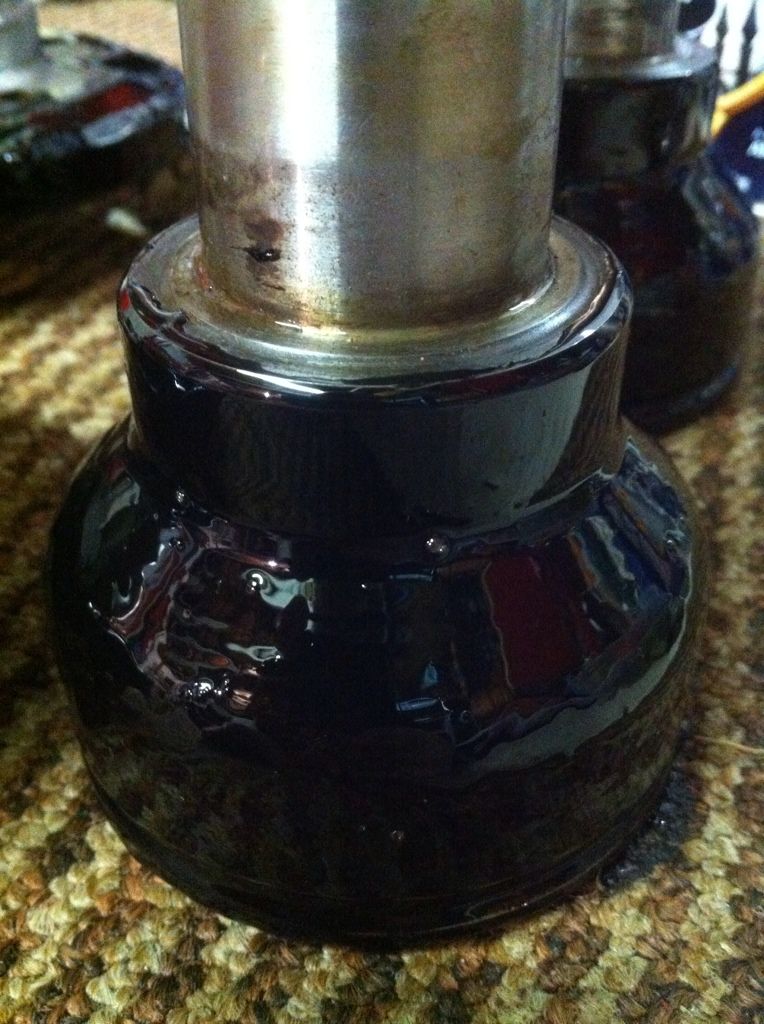


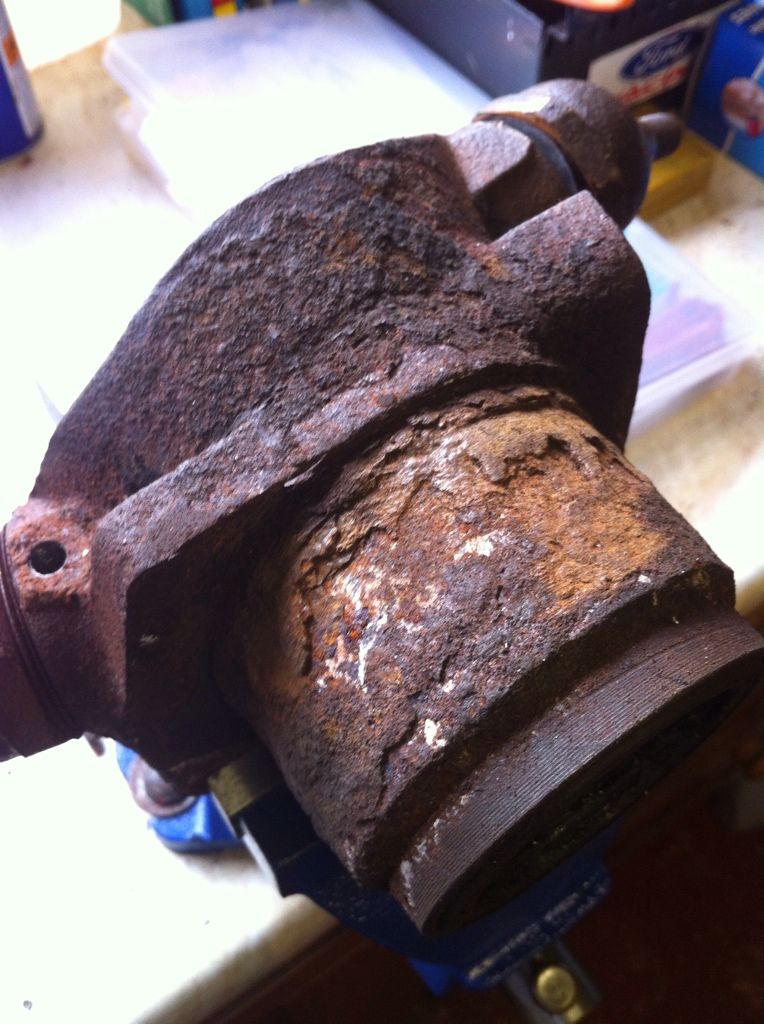
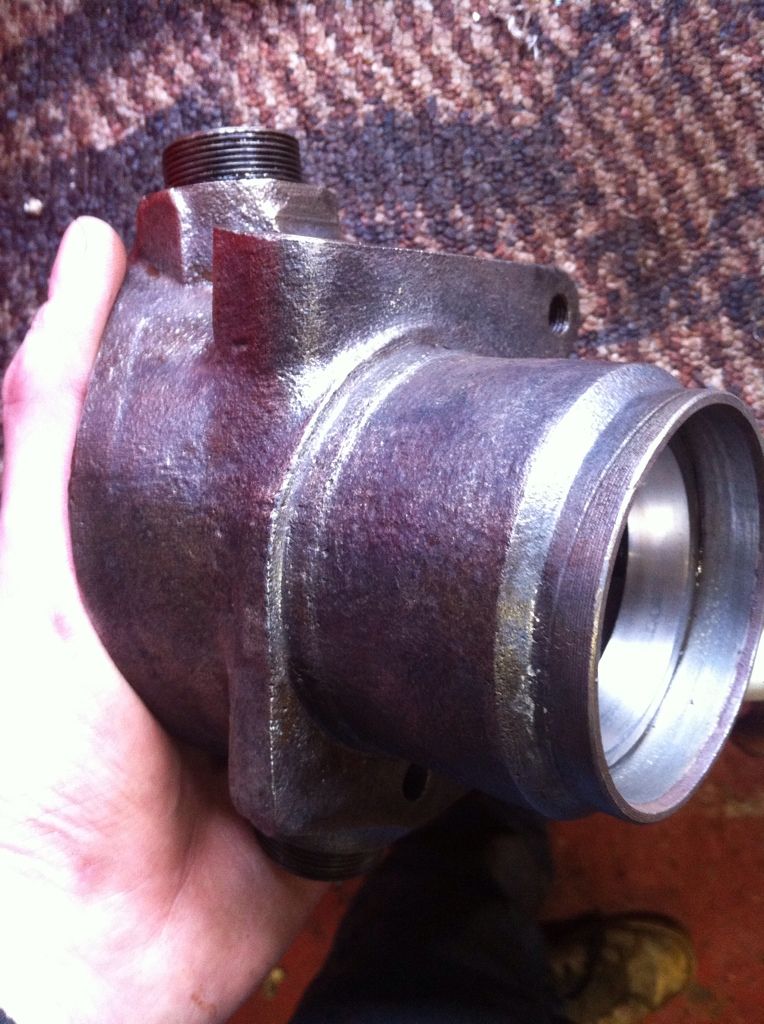
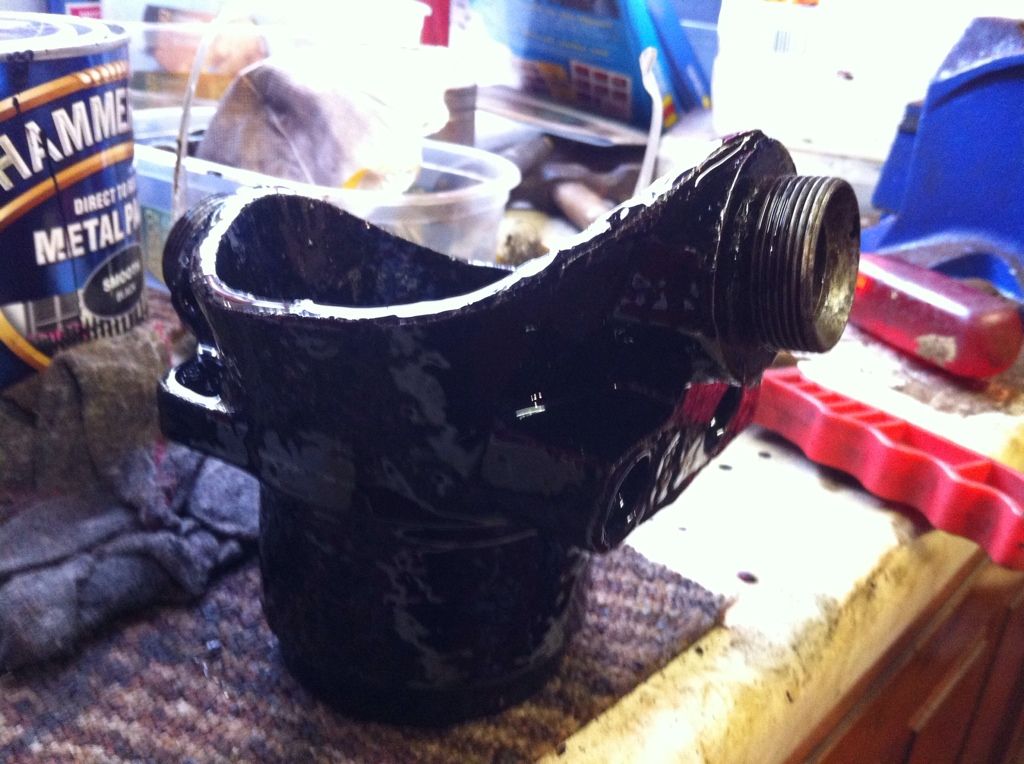

 Some of it is still soft, the hardened stuff is going to be a paint to remove. I find it great though, certainly better than kurust

Comment