Love this, mini owner myself, have had mine for around 10 years now. sadly its barly been on the road. had the birght idea to turbo it, and its been problem after problem. lvoe what you did to the boot. nice touch. quick question, i would love and internal boot release. can you give me some pointer of what parts you used, or if you had a diy that would be even better.
cheers
-
Nice to find you here
Been following this build on and off on Facebook for a while now. Keep it up!!Leave a comment:
-
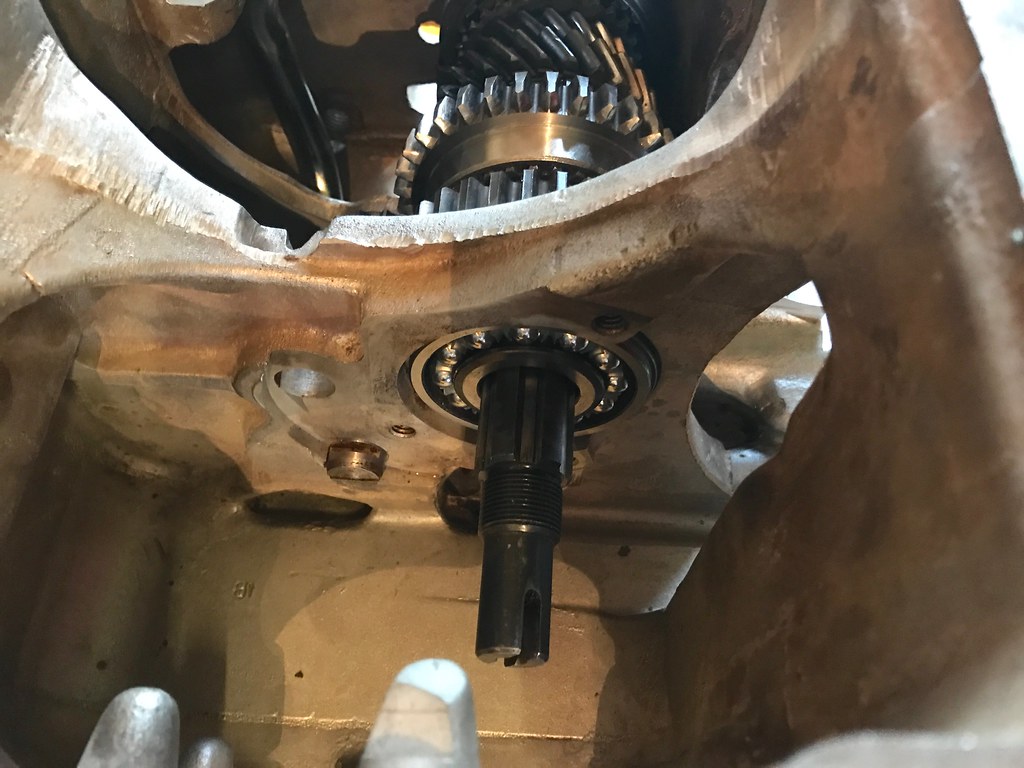
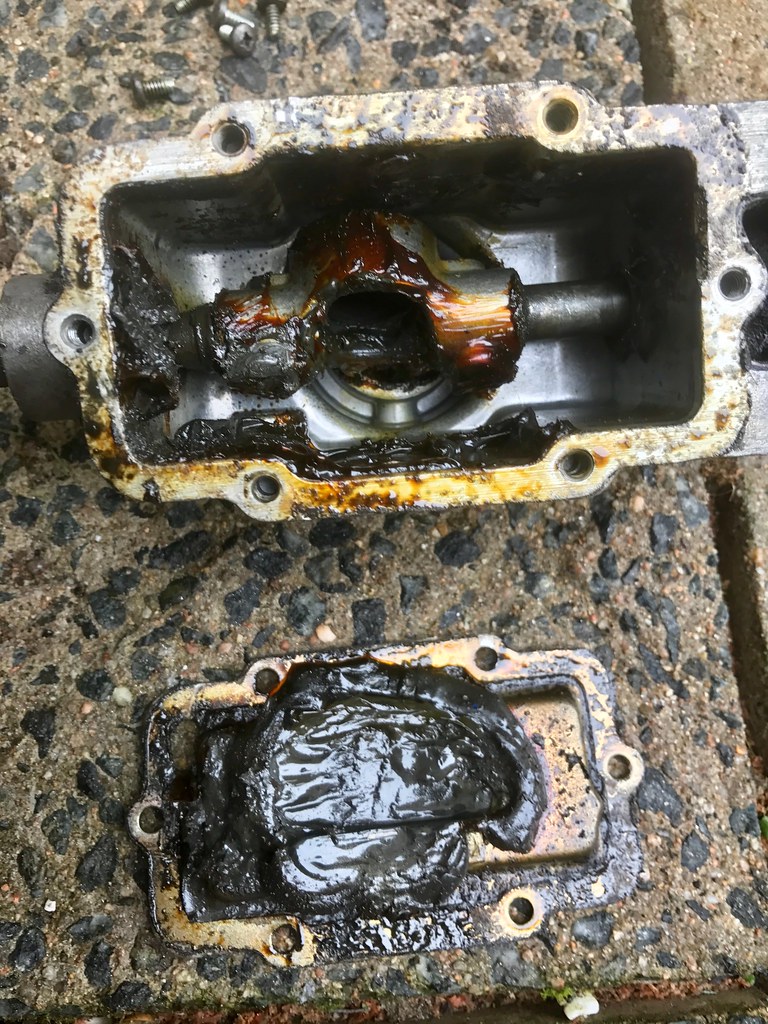
Today saw the start of the gearbox rebuild. If I did a step by step on this we would be here all week but it's 60% of the way there. Spent most of the day cleaning up the piece parts that have sat in oil since I disassembled the box. Brake cleaner in the parts washer worked a treat. New main, needle and roller bearings throughout as you would expect. Never want to take this box apart again!
So here's a couple photos as I left it in the garage tonight. Used some spare gearbox oil left over from my Integra days as a build lubricant. Thinner than 20W50 that will eventually be in this so will get washed out of the parts in time anyway.
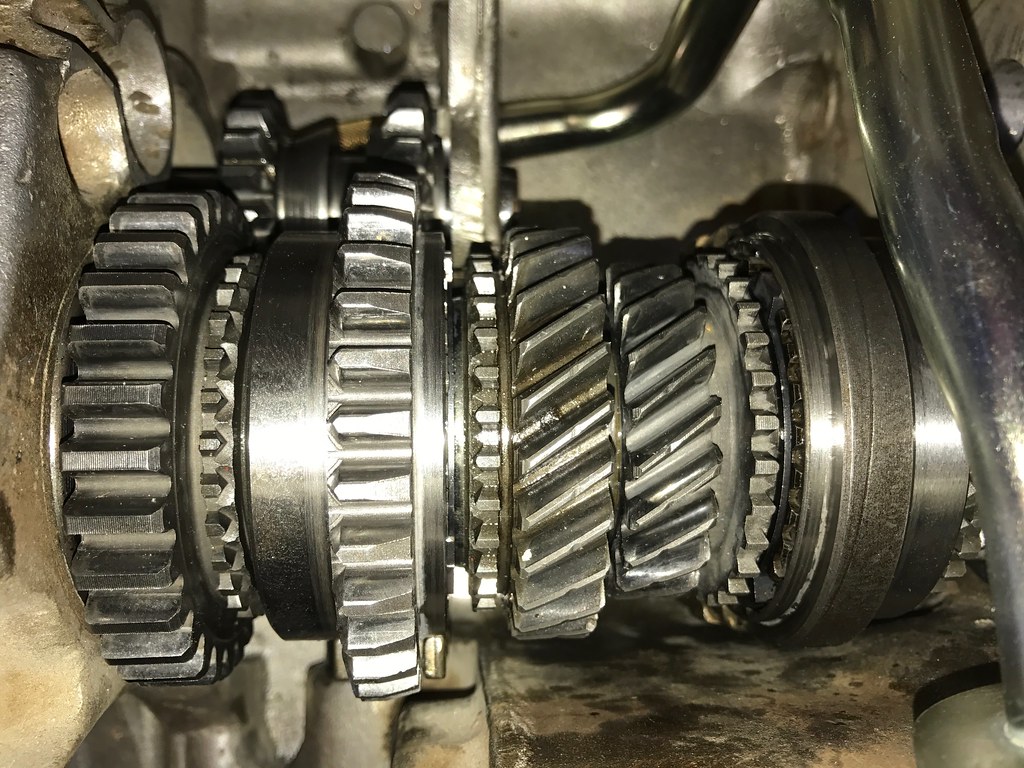
And in the box with just the lay shaft assembly to go in. I should note that the central oil pickup hasn't been bolted in until the layshaft is in. Should see a reduction in oil starvation in right hand turns like the standard oil pickup suffers from.
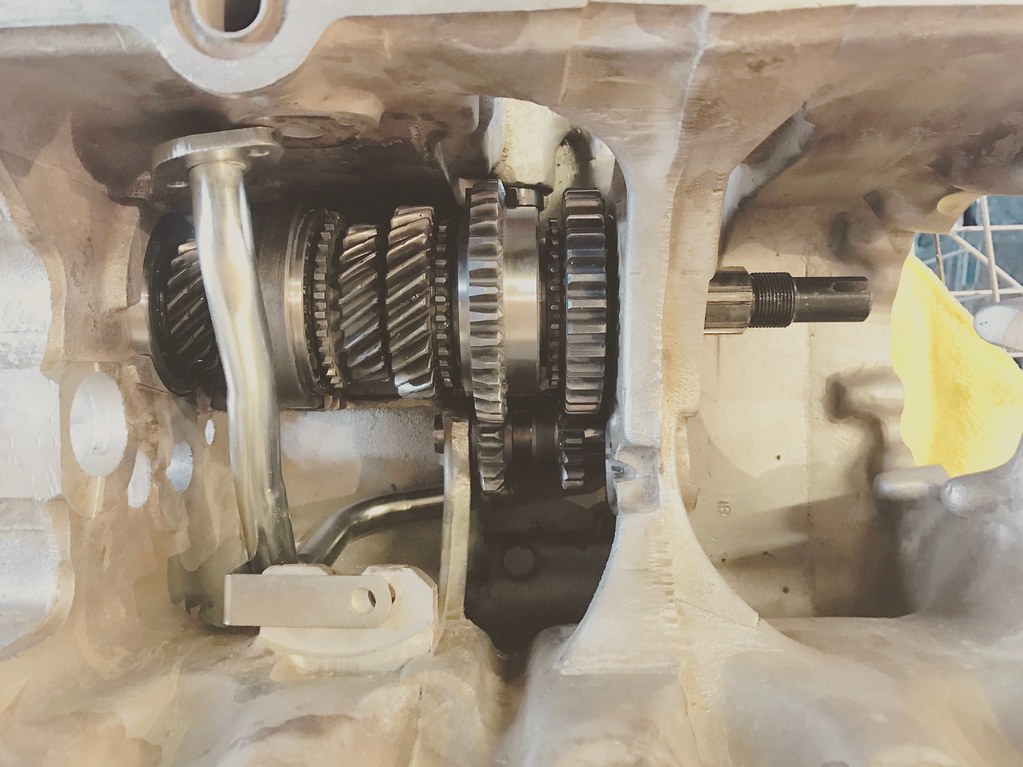
Got as far as fitting the new main bearings at either end of the main shaft.
Need circlip pliers to permanently locate the main bearing at the other end of the main shaft, so if I get that first thing tomorrow it should be possible to get it all rebuilt by end of the day.
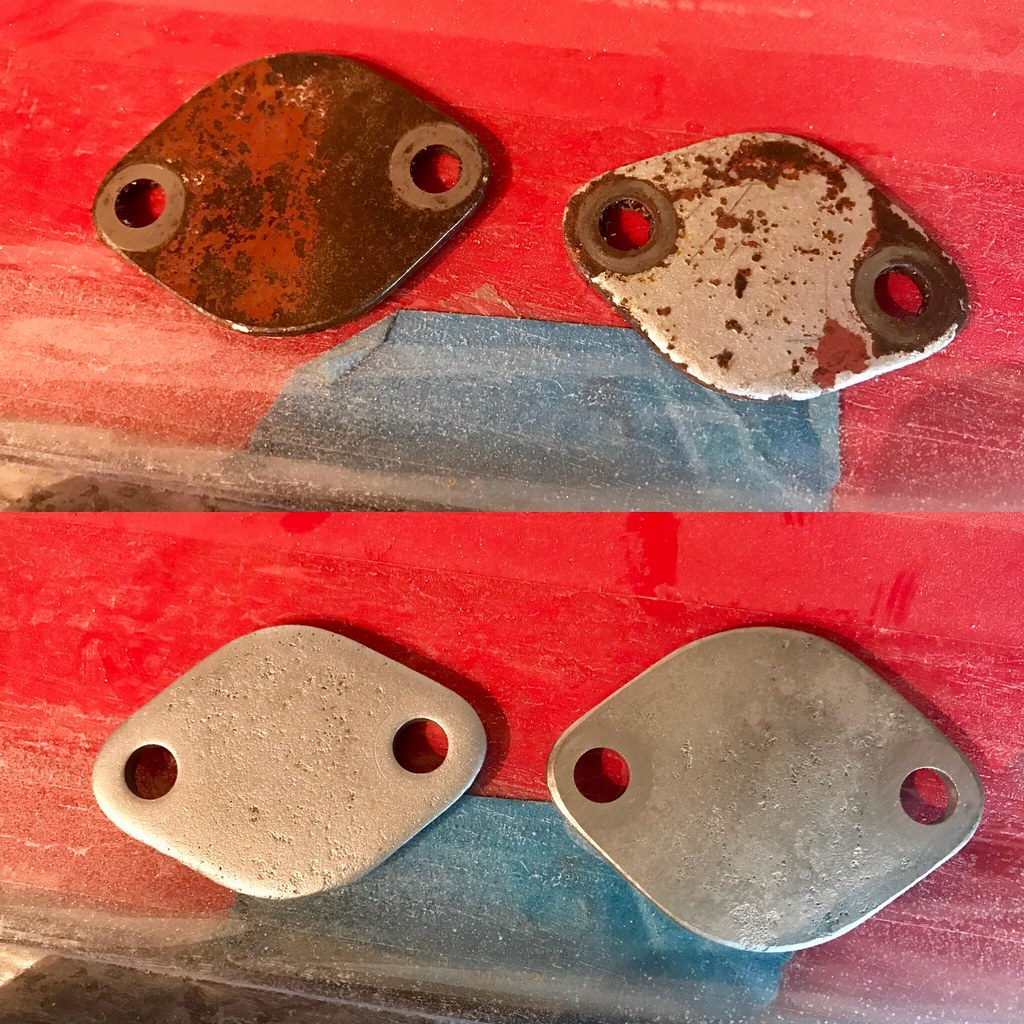
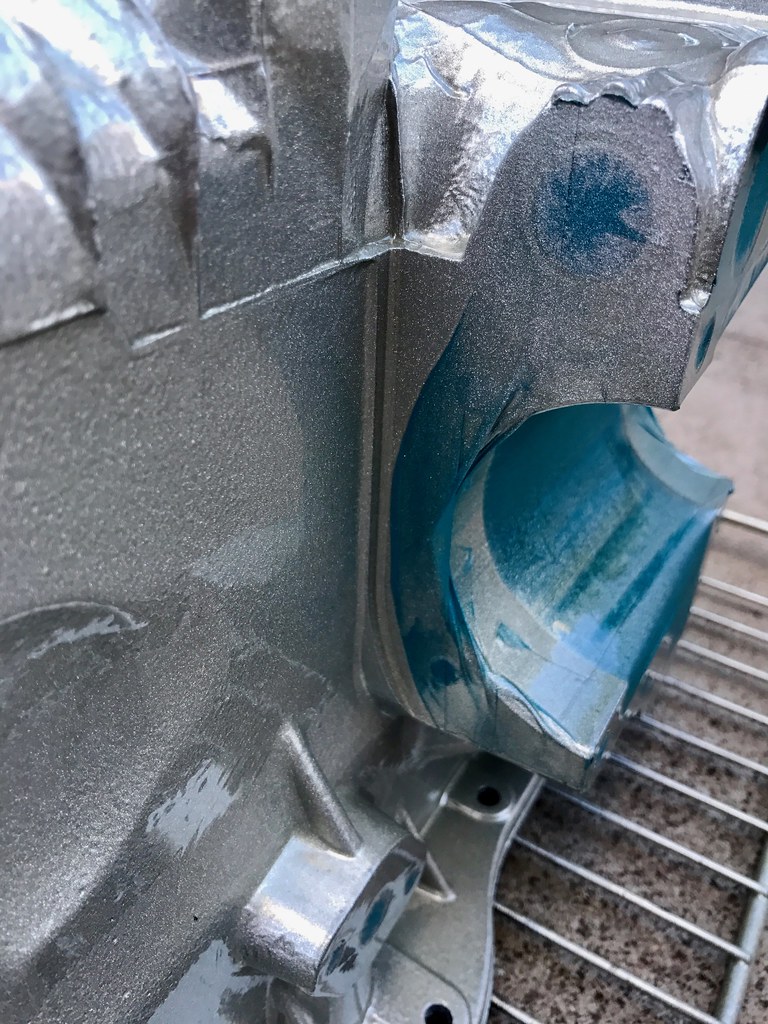
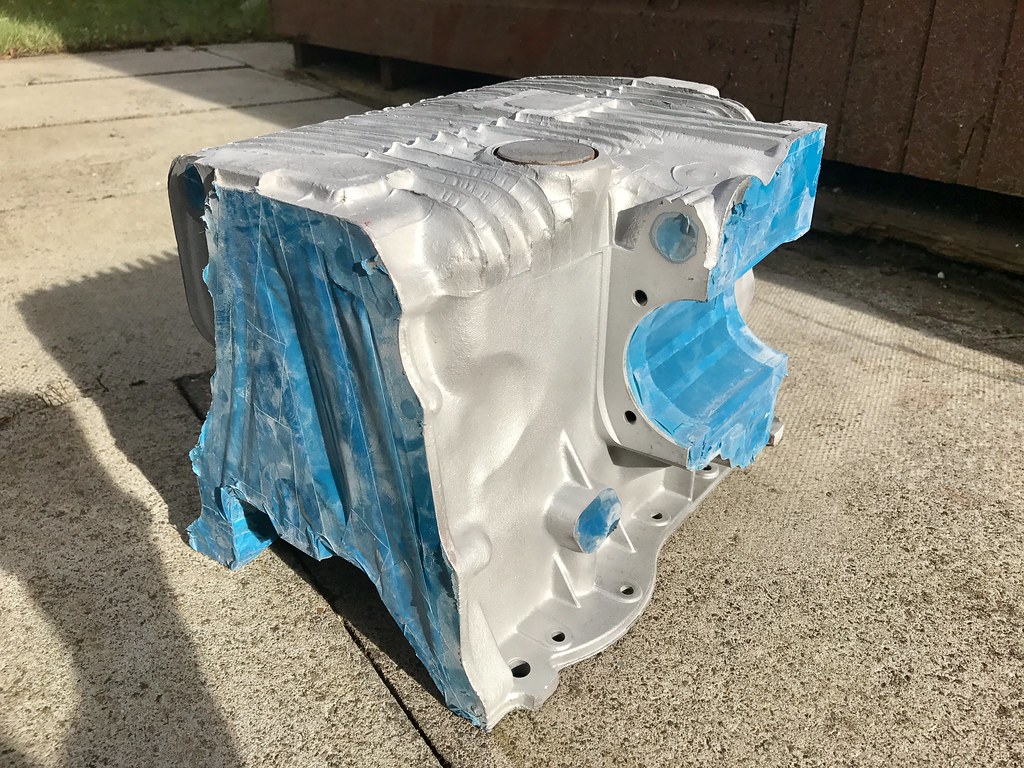
As I need the gearbox covers and plates done, I got stuck into them today.
These are a couple of blanking plates after media blasting. Can clearly see why I'm getting rid of the hammerite and going to powder coat instead. These weren't even in the line of fire for stone chips etc. Hammerite = ****e.
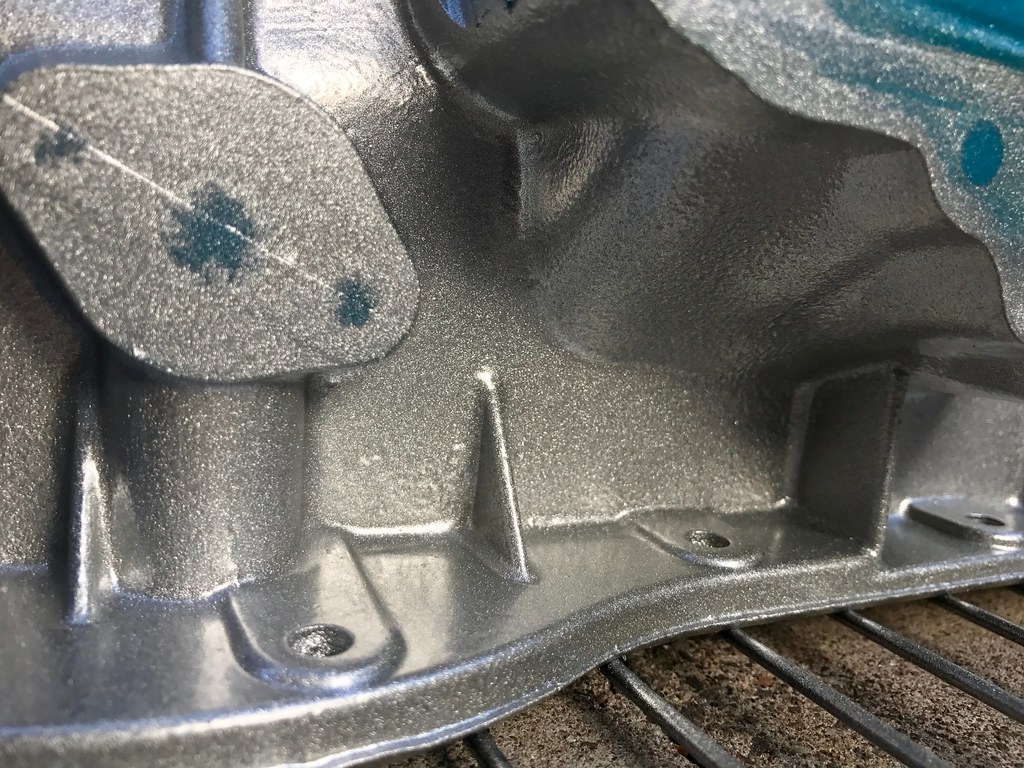
Speedo drive housing, diff cover, blanking plates, thermostat cover and spacer plate and finally the oil filter housing all blasted and then powdered up ready for curing.
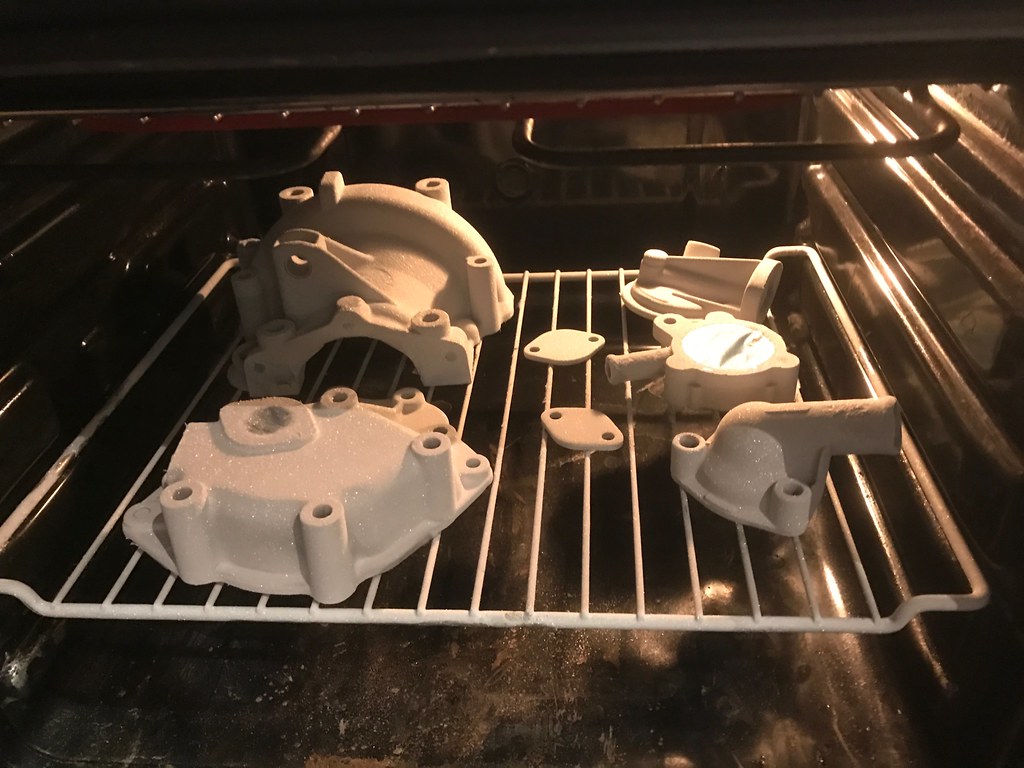
Not the best photo as it looks like they are pretty rough but in reality they are smooth and uniformly coated. Clear coats to go on tomorrow which will add a nice level of sheen. Ultimately these are going to be replaced with anodised billet versions when funds allow, so I'm not overly fussed by them but still want them to match the rest of the silver parts in the engine bay.
In order to fully test the gearbox once it is built up, i need a gear linkage. So whilst I was waiting for the above to cure, I took my spare linkage (from an old scrapper I broke with Greigzy years ago) and started to dismantle it to get it into powder as well. As you can see, its a bit minging and covered in oil from a previous leak.
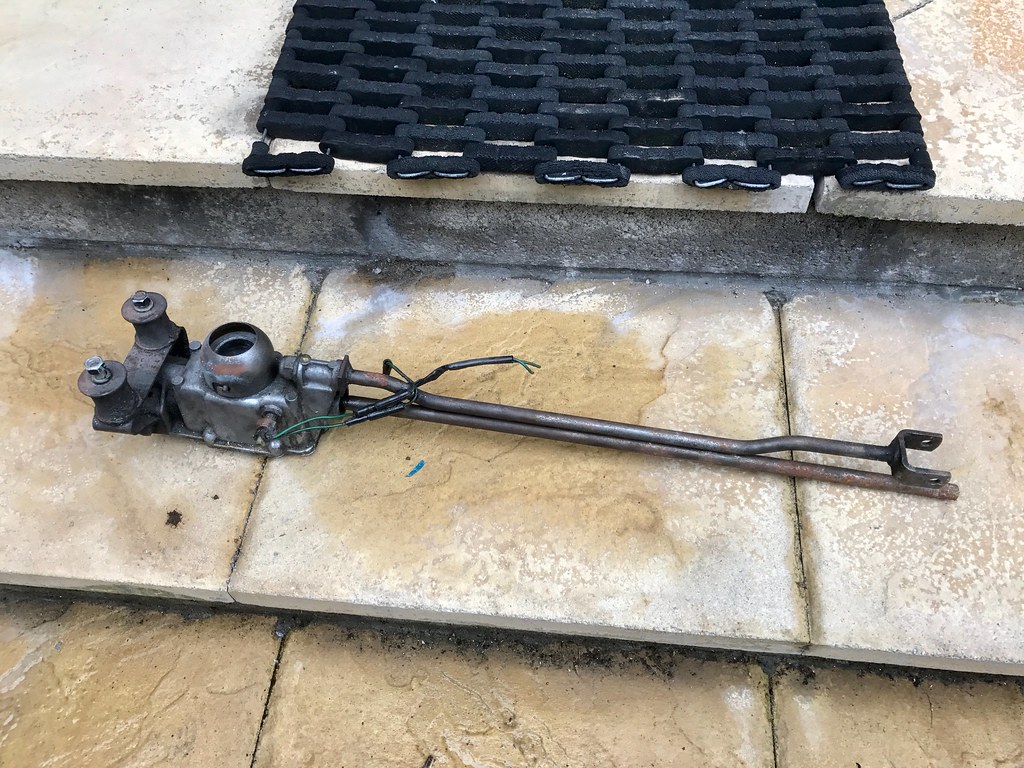
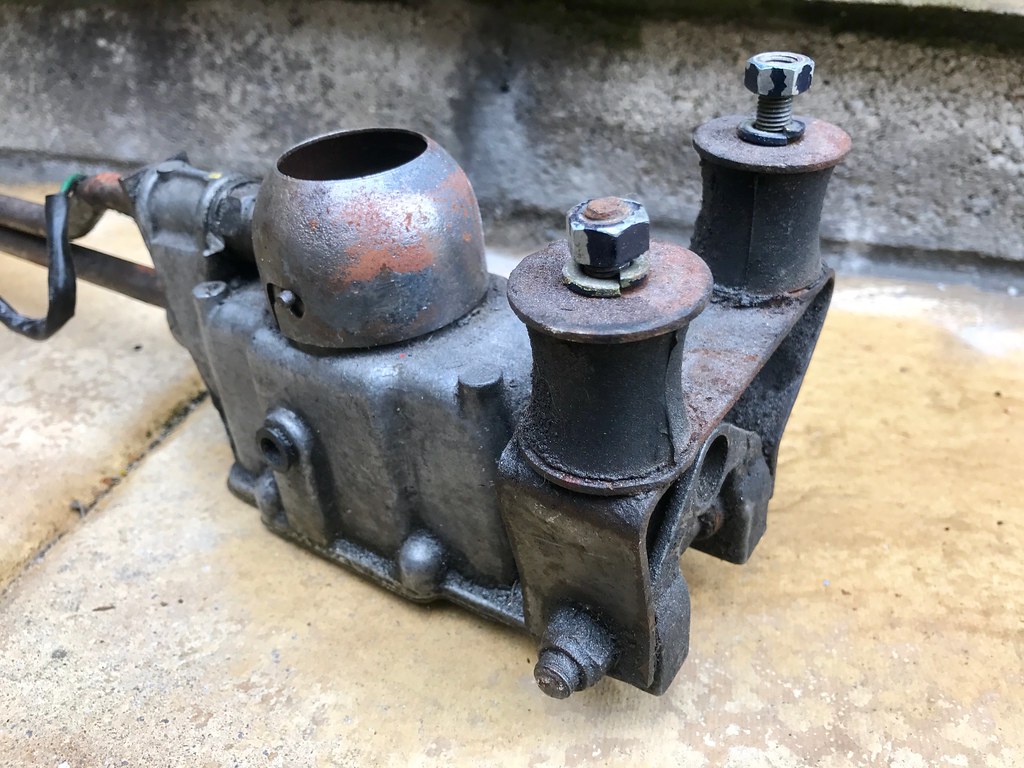
Surprisingly enough, the internals weren't in bad condition and will just need a clean up and regrets going forwards. Just need to fire the two roll pins so i can get the shafts separated from the selector and get them coated black and the housing silver.
Ran out of high temp masking tape today so that puts a stop to powder coating until i can get some more. *Still satisfying to eat away at the long list of jobs I have for the car. Hopefully get to spend a bit of money on it in time as well as I've managed to get a job again after being unemployed for the last three months.Leave a comment:
-
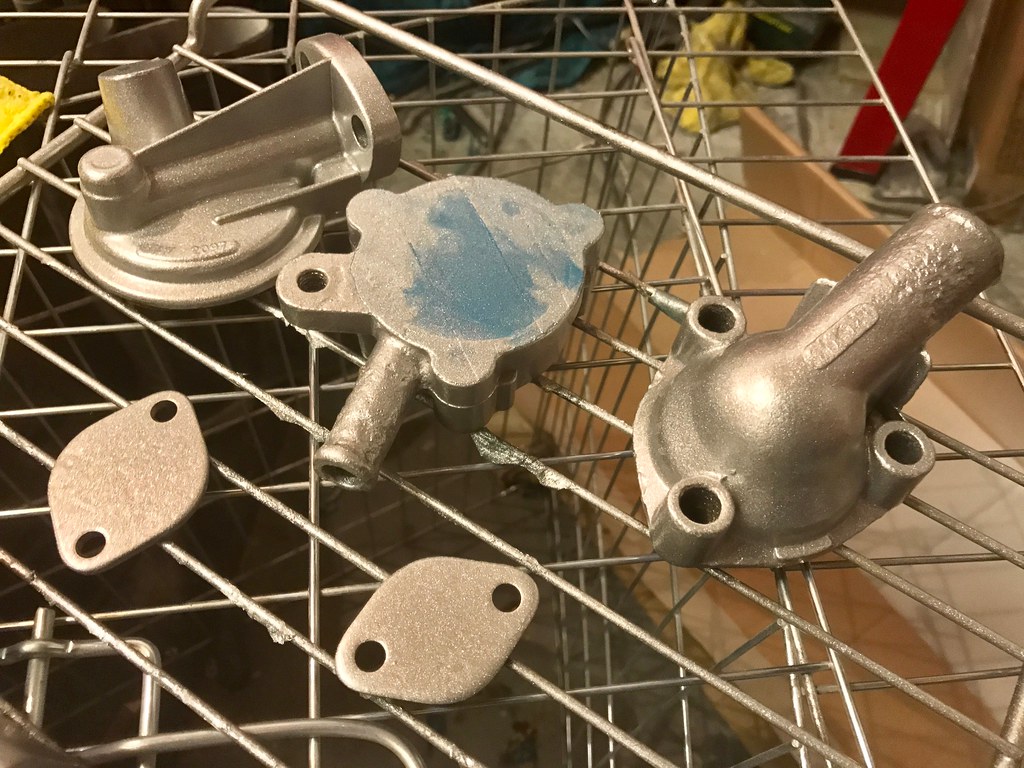
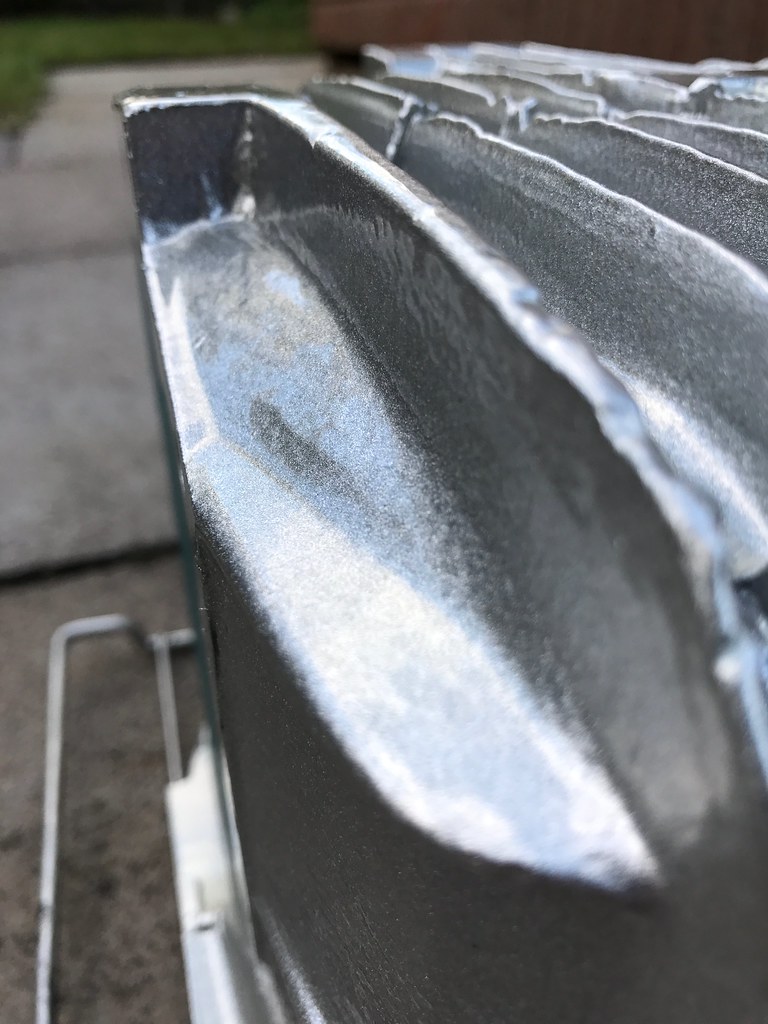
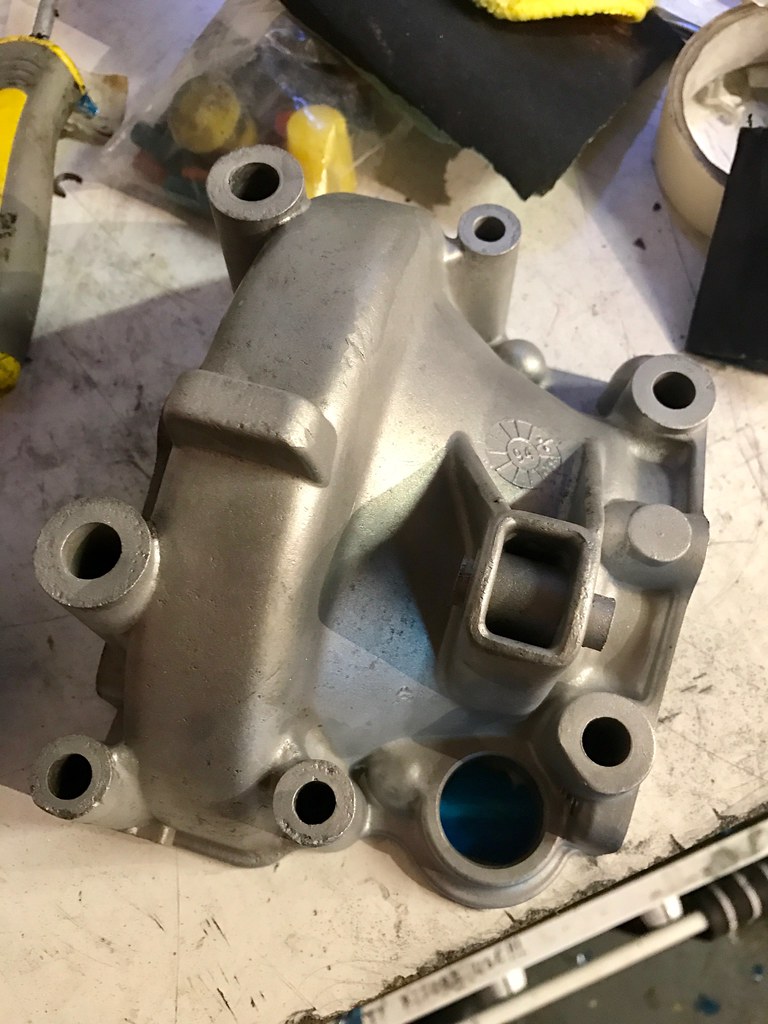
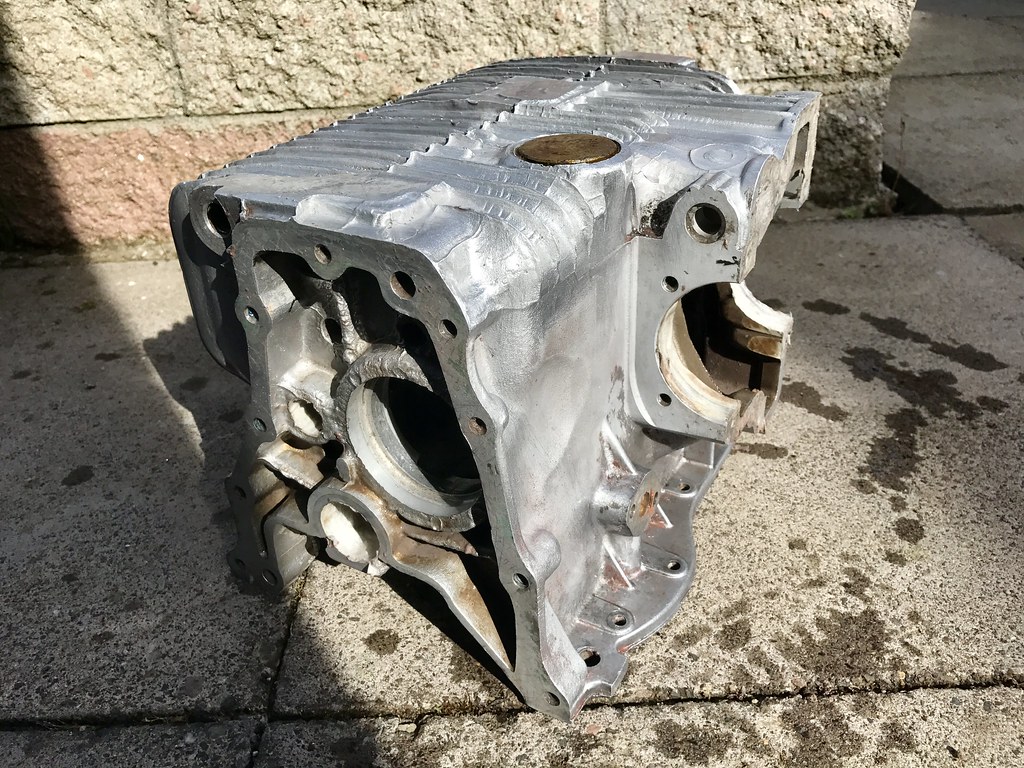
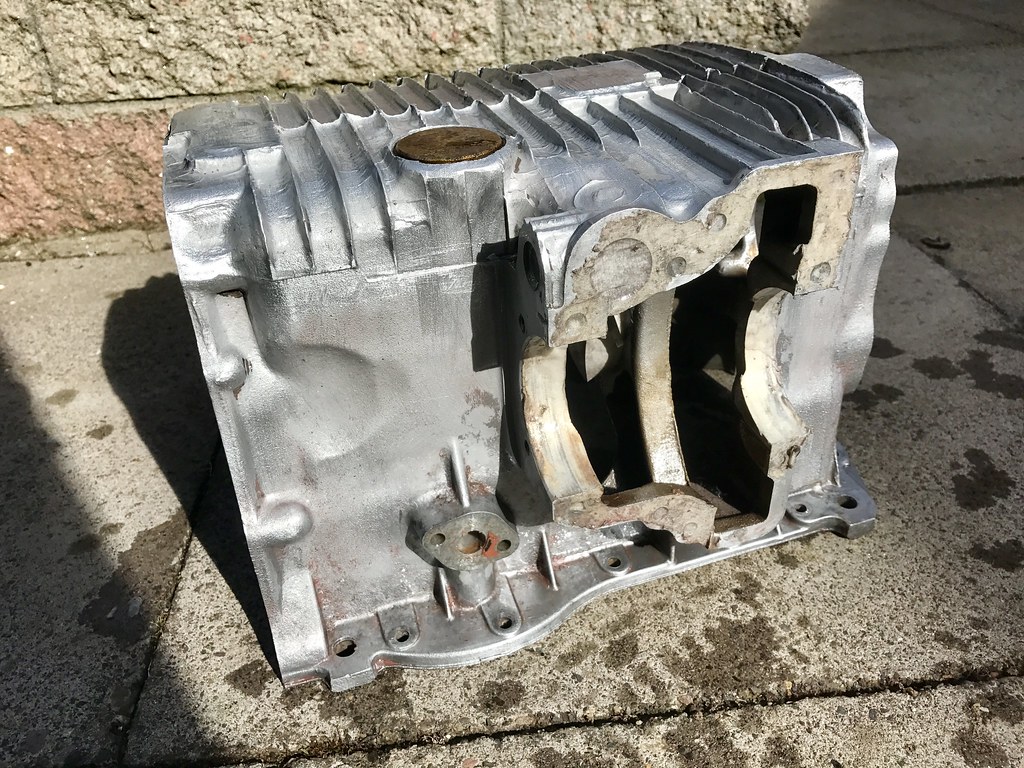
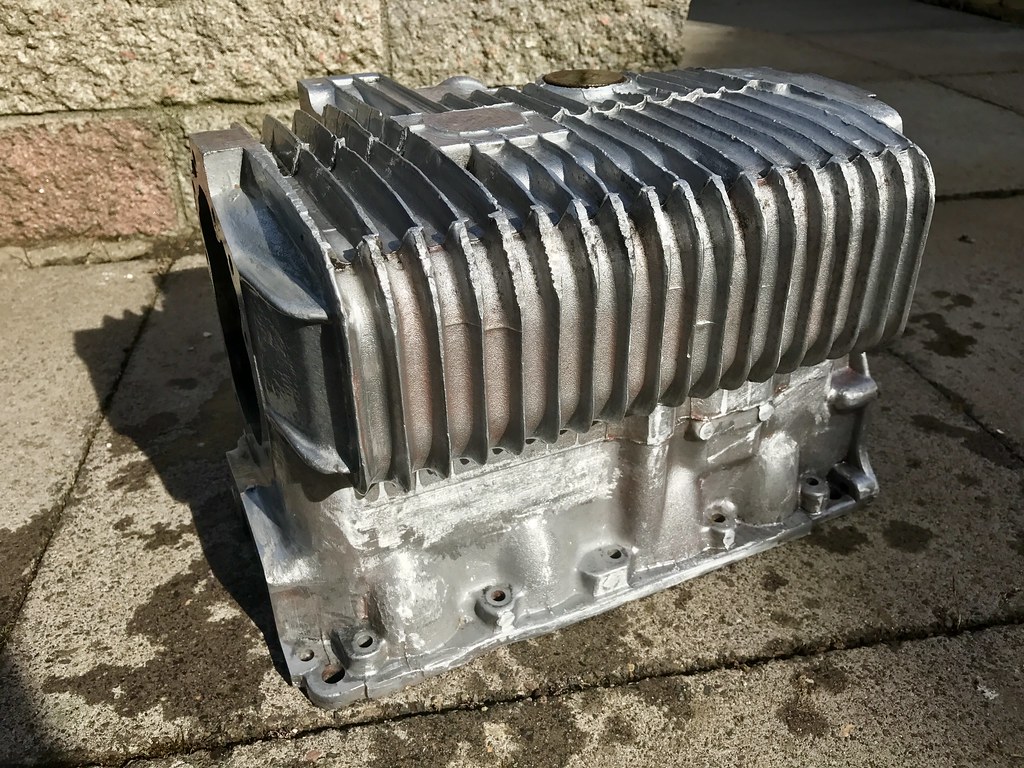
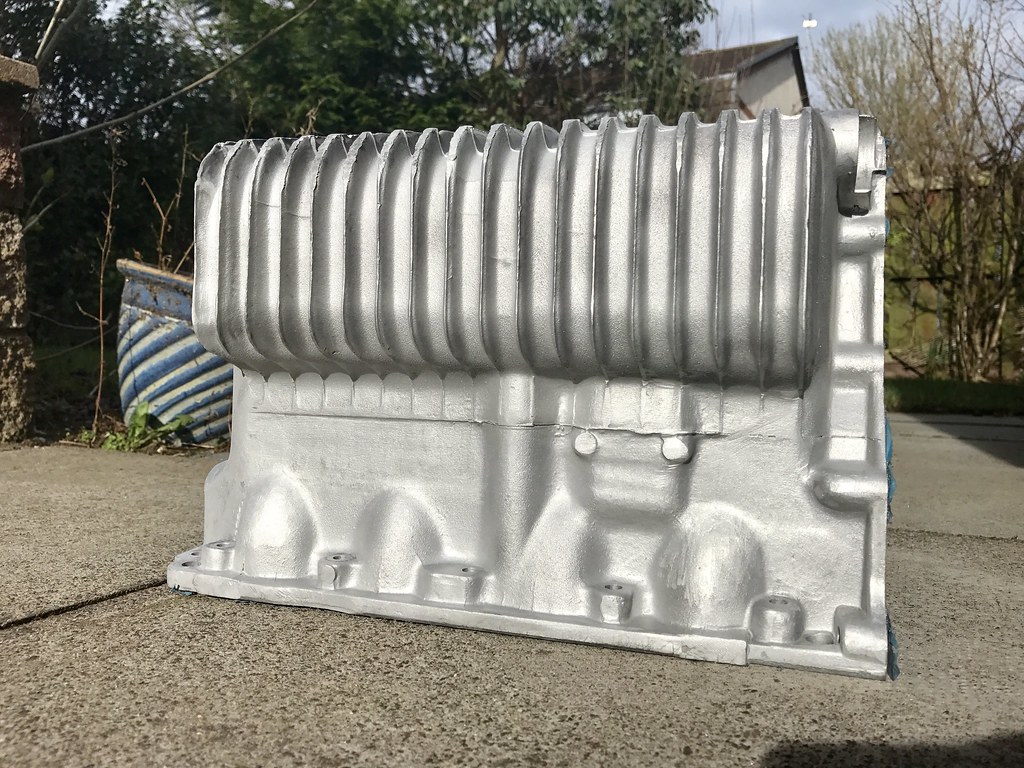
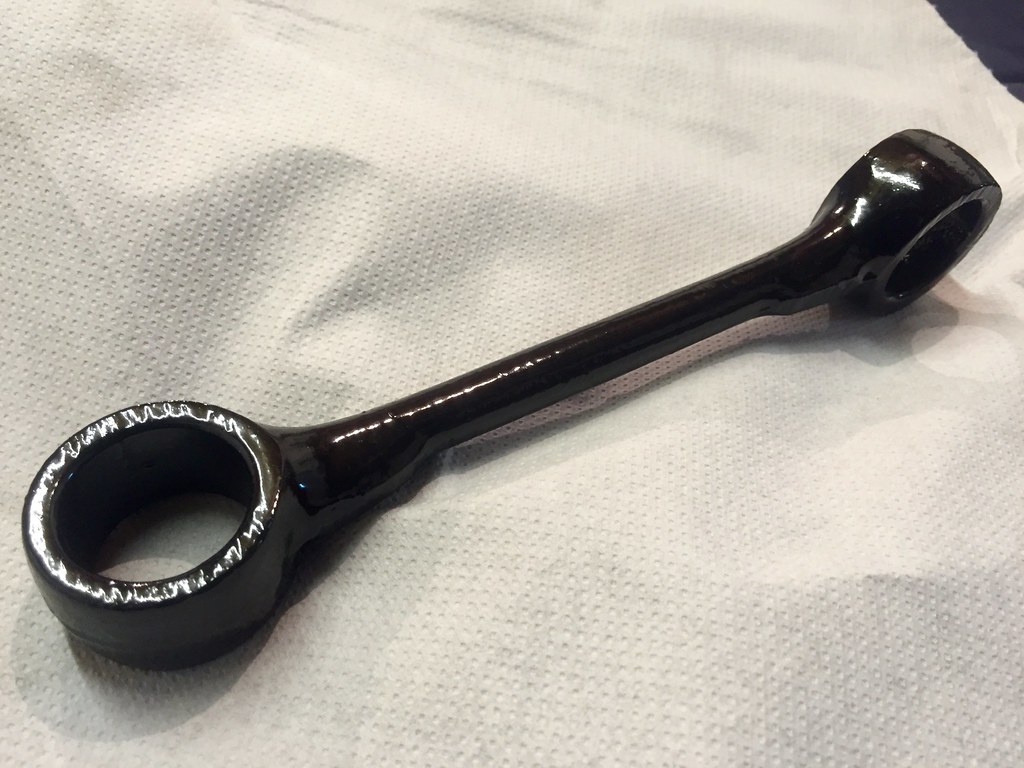
That's the casing finished and started on the bolt ons for it.
Quick wipe down to get rid of any grease from handling it and then a quick bake to dry it out again.
Silver powder on.
And cured
Left to cool off for an hour then applied the clear in two coats. Goes on as white powder and turns clear as it bakes.

Which left me with this glossy finish. Pretty good reflections for being such a rough casting!
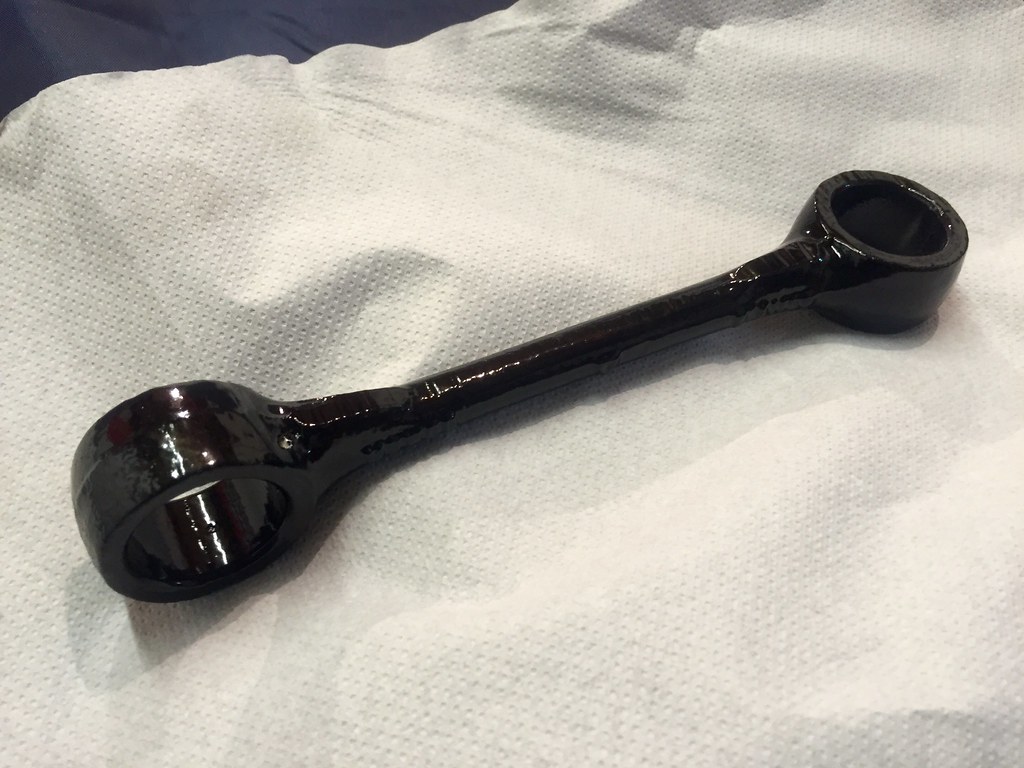
Also did the bolt on covers for the speedo drive and diff. Smoothed off the lettering and manufacturing roundel from the speedo housing for a cleaner look.
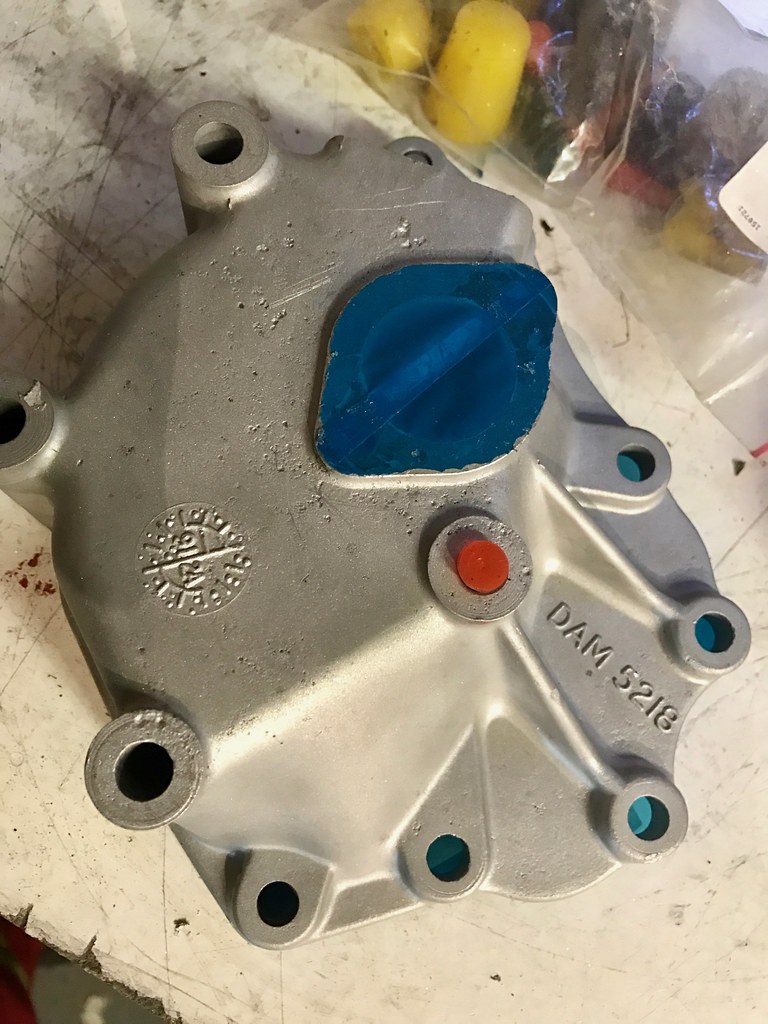
Then masked up the diff housing
Then on with the silver.
In my haste to get them done whilst the gearbox casing cooled before its extra coats, I forgot to out gas them and the powder bubbled up like **** with all the gas and oil that came out of the Alloy. So they will be stripped and then redone over the weekend. Thankfully don't need them until the box is in final assembly so no real rush for them.Leave a comment:
-
Holy *******, it's*an actual update!
Having spent two months of my unemployment catching up with college work and doing **** to the house, I've run out of things to occupy me, so I've started back on this again since there's stuff I can do without having to spend any money.
First up is to get the gearbox casings ready in order to rebuild the gearbox. When the car was restored I painted the housings in hammerite and due to its shitness, it started to bubble in no time. I took a wire brush to this last year but the primer was pretty stubborn and off the shelf paint stripper did ******* all to it.
Bought some epic paint stripper and let it get to work...and swiftly disposed of the brush that it melted in the process!
Brushed it all off and rinsed it looked not too shabby.
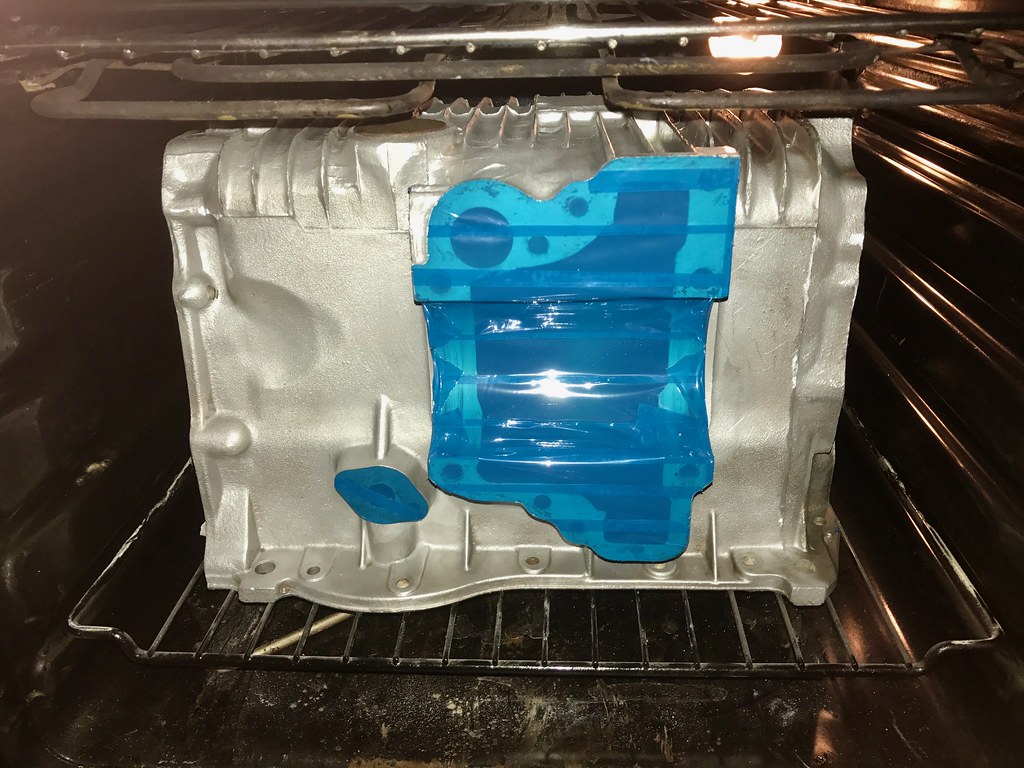
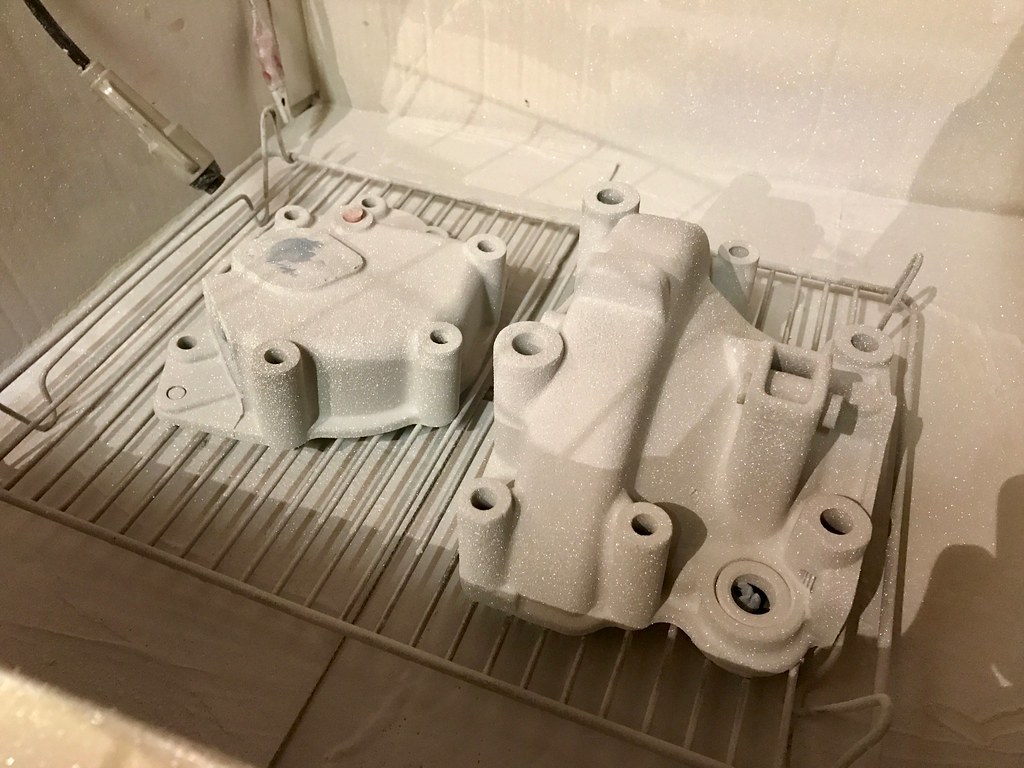
In order to get the final remnants off and to prep for powdercoat I masked off the interior and blasted it in the cabinet. Came out bonny!
bought some silver and 'glass Clear' powdercoat from the USA to go onto this but that will happen tomorrow as it's currently in the oven to outgas for an hour or so.
Not a major update I grant you but it's satisfying getting into it again with an aim of getting it roadworthy for the first time in years. It has fairly cheered me up/distracted me from sitting about doing ******* all all day.Leave a comment:
-
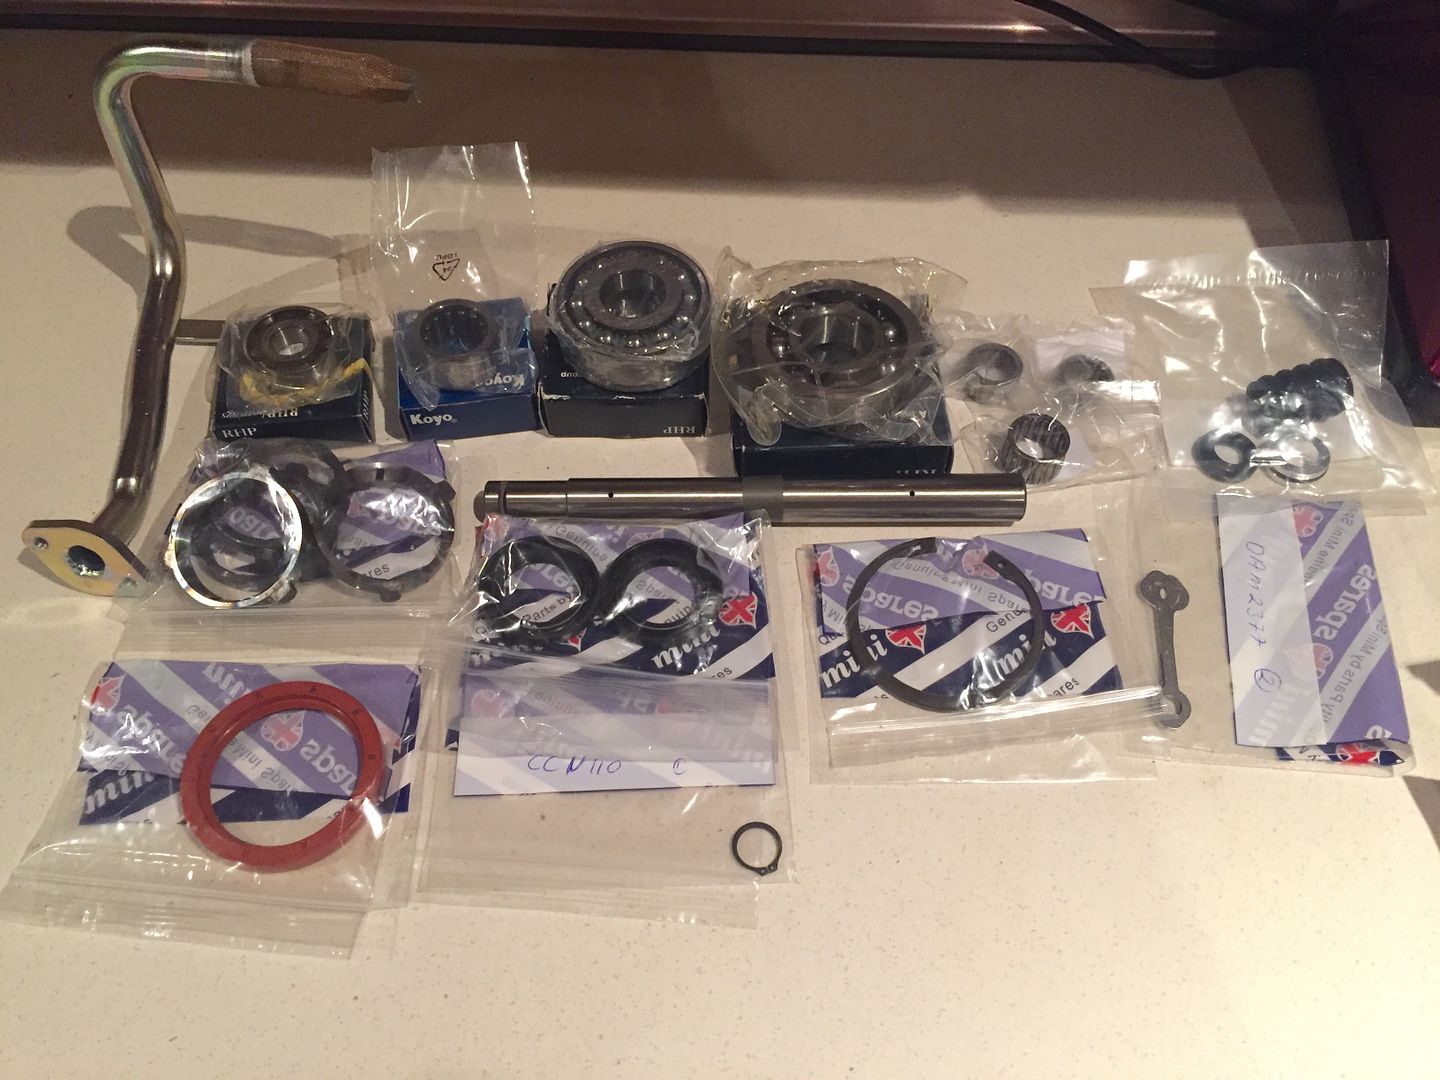
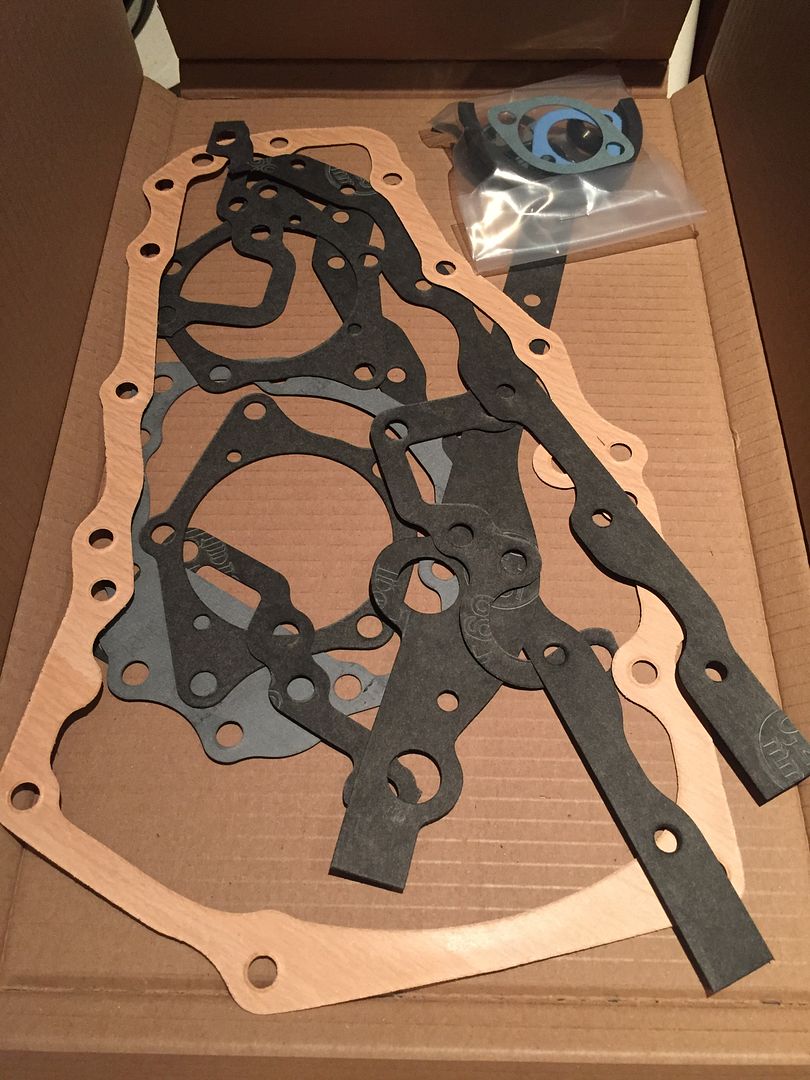
Bits! Gearbox rebuild kit (with couple extra bits that aren't included in the kit) and full gearbox gasket/seal kit. Should get me going with a box build then! Bearings are all from original manufacturers so should last forever now. Main extras are the centre oil pickup tube to reduce risk of oil starvation, rod change seal leak kit (never worked before but you never know, they might have improved it...) and went for the kit with the competition layshaft to future proof the box.
Im aware the kit doesn't come with EVERY bearing in the box but if during the build i see anything needing replaced that isn't supplied, I will order them up as necessary. One thing Im not a fan of is the half seal for between the box and crank. This should have a metal reinforcement strip to help it maintain its shape but its missing so must be a nonagon seal. Will add it to the list of things to buy....
Not in a rush to get anything done for a set date, so it will get done when it gets done. Need to smooth the casing and powder coat it first anyway
Leave a comment:
-
No activity on this due to the standard lack of funds...
However I was fortunate to get some MiniSpares vouchers for Christmas, so I've ordered a gearbox rebuild kit so I can get cracking with that sometime. Was going to top up my order with suspension cones and a few other bits and pieces but with my job officially at risk of redundancy I don't want to spend a penny more than I need to at the moment
Leave a comment:
-
This was going to be an update but Photobucket says no!
Coming soon...!Leave a comment:
-
Got stuck into powder coating some stuff for this over the weekend.
*
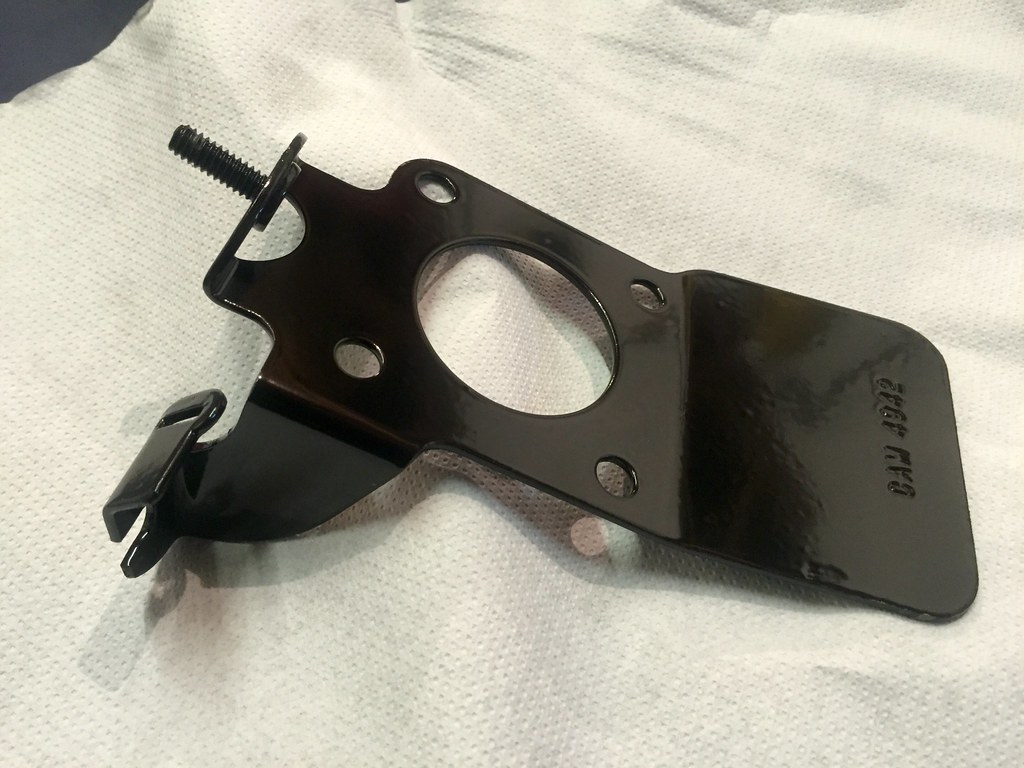
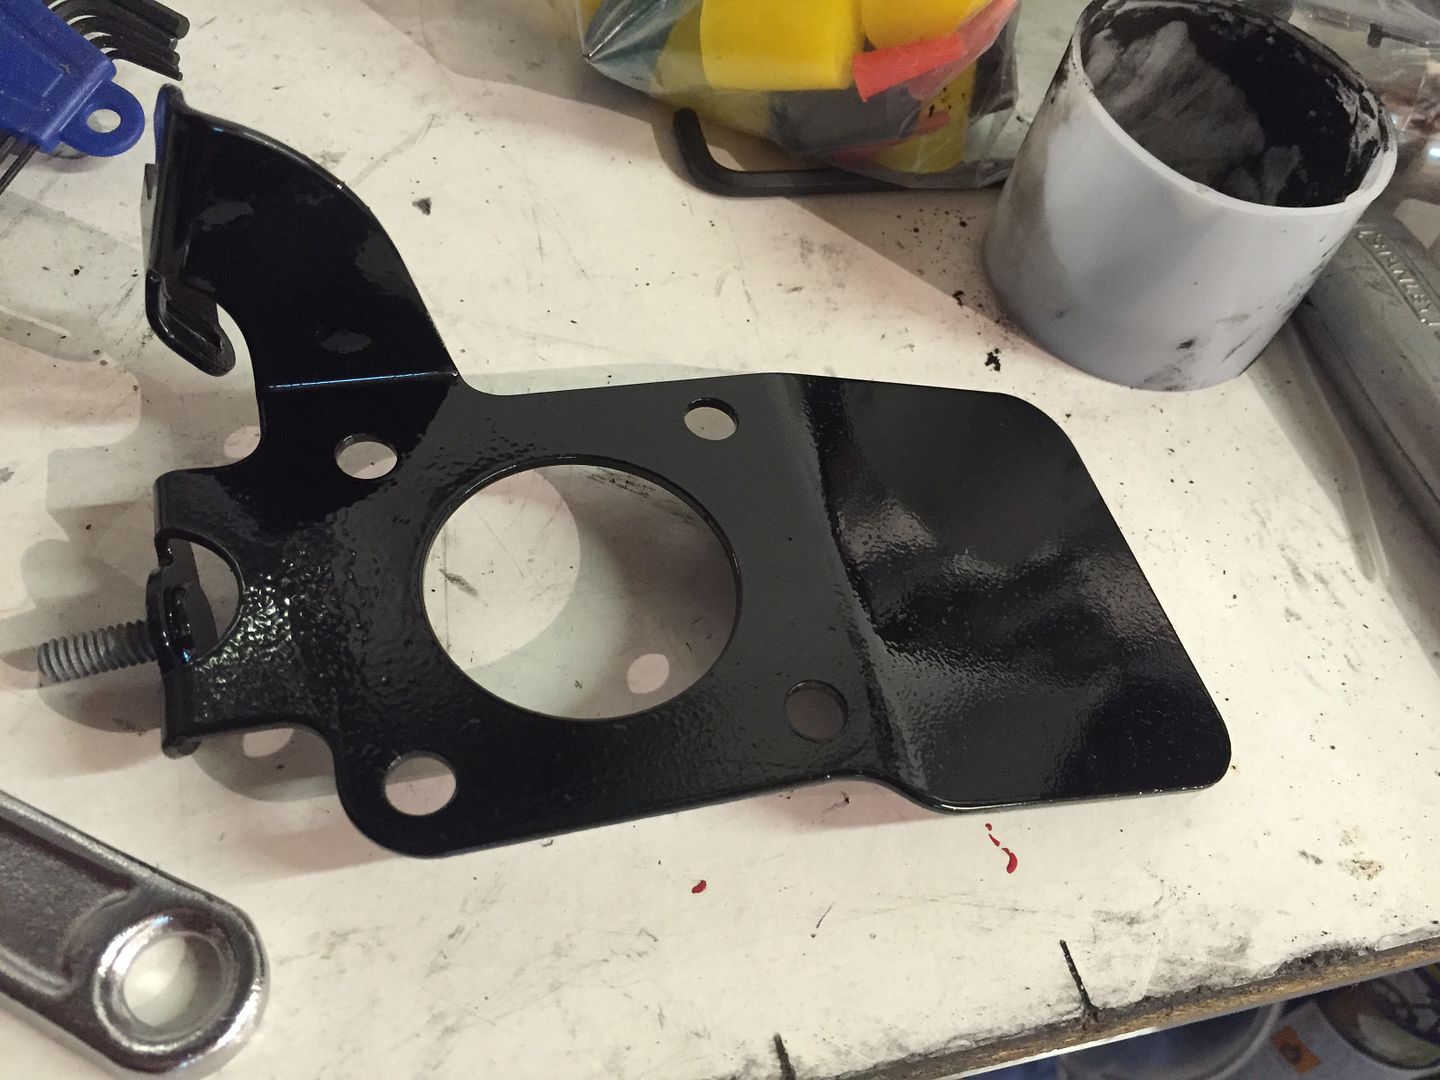
Started by redoing the carb bracket. *Using the oven makes a huge difference to the final finish. *Much smoother and more uniform.
*
Everything outgassing.
*
*
Carb bracket
*
*
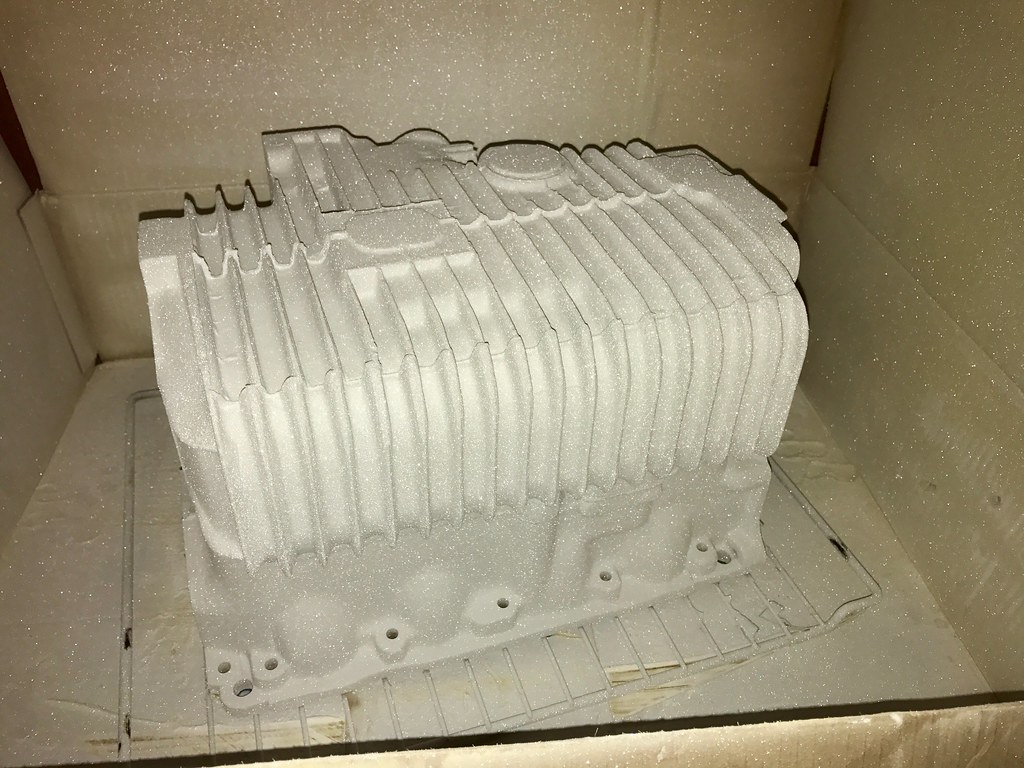
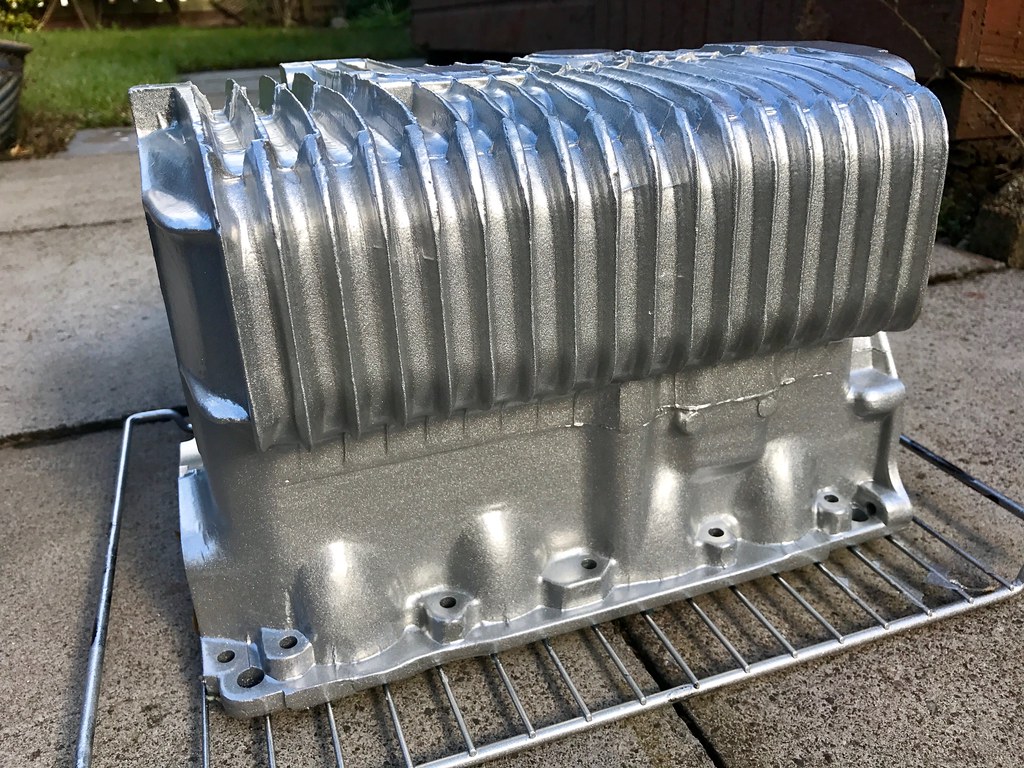
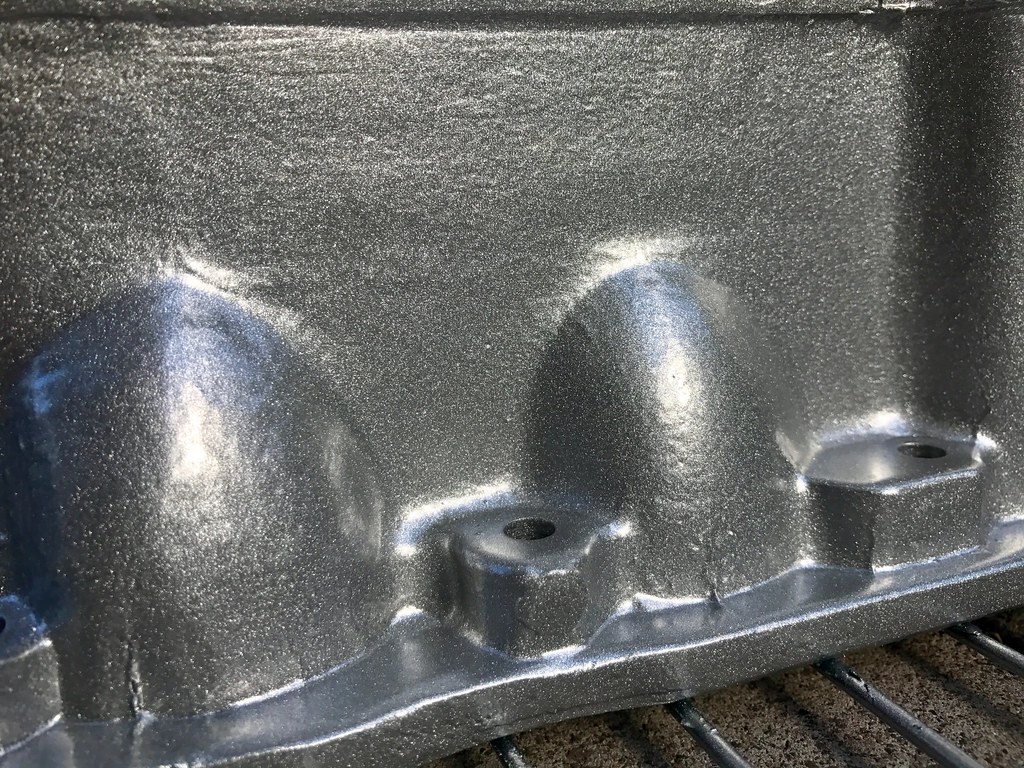
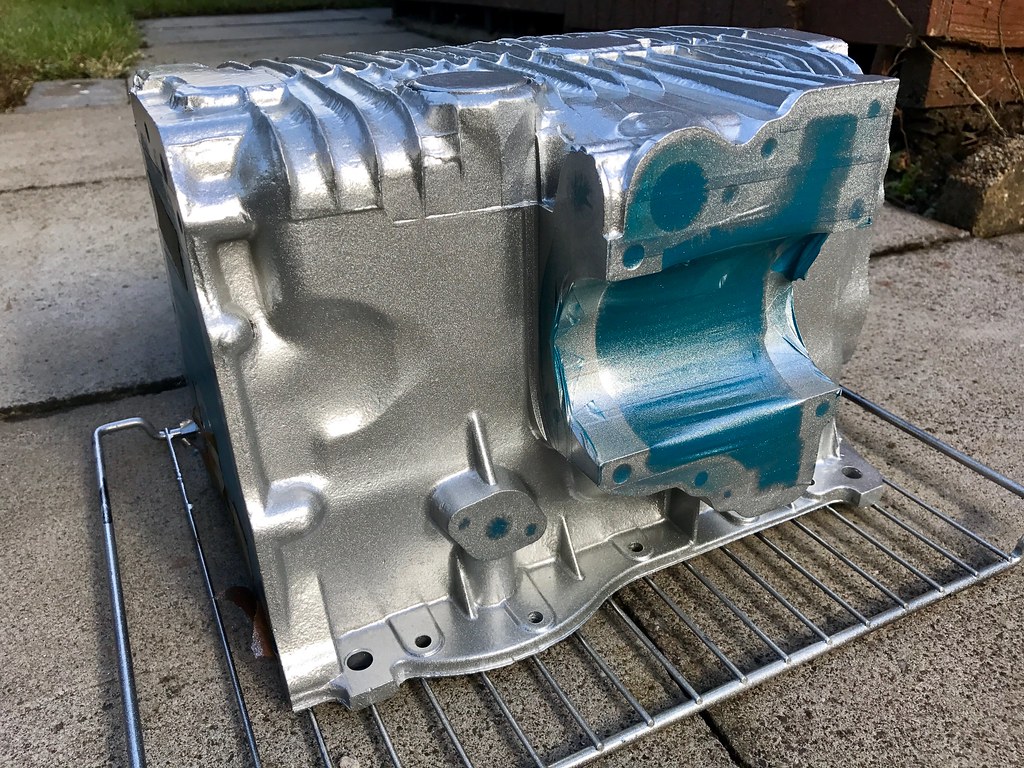
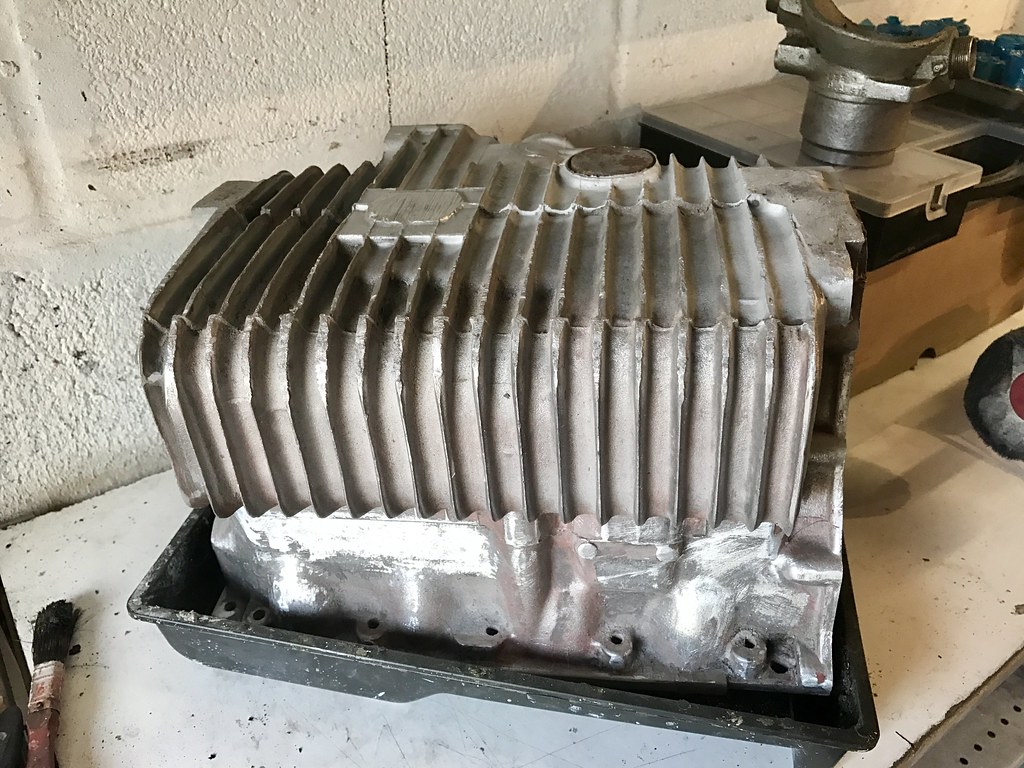
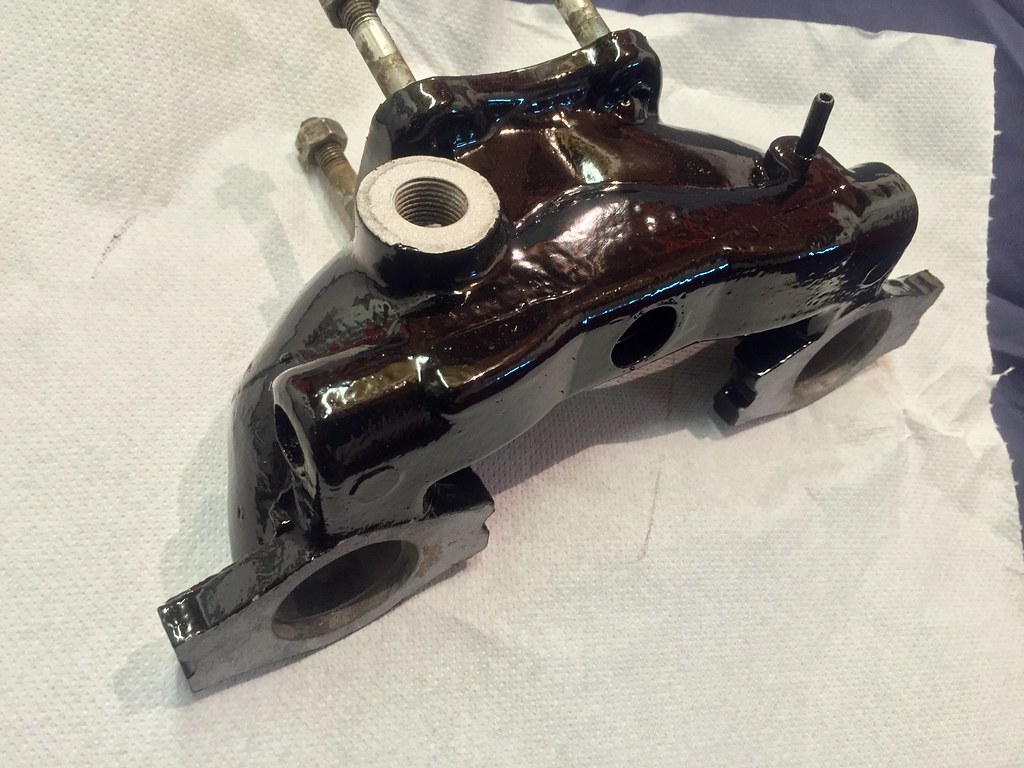
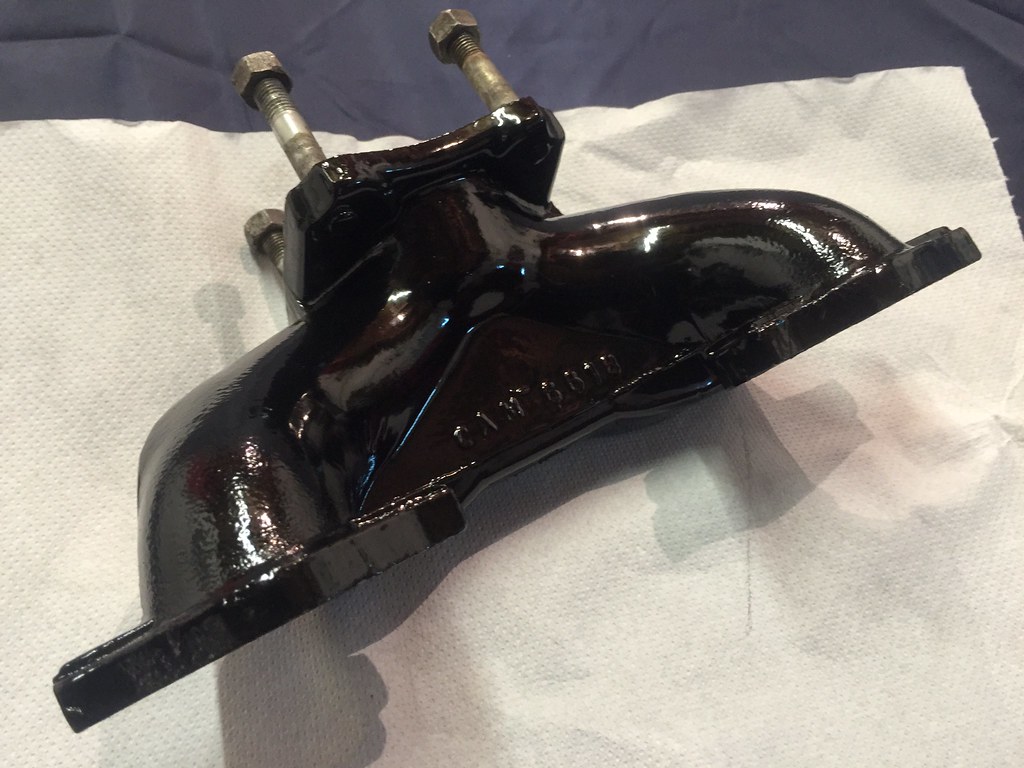
Its only as smooth as the part underneath. *Should really have smoothed this inlet manifold out a bit but still looks smart and you don't see it in its final position.
*
*
*
Engine steady
*
*
*
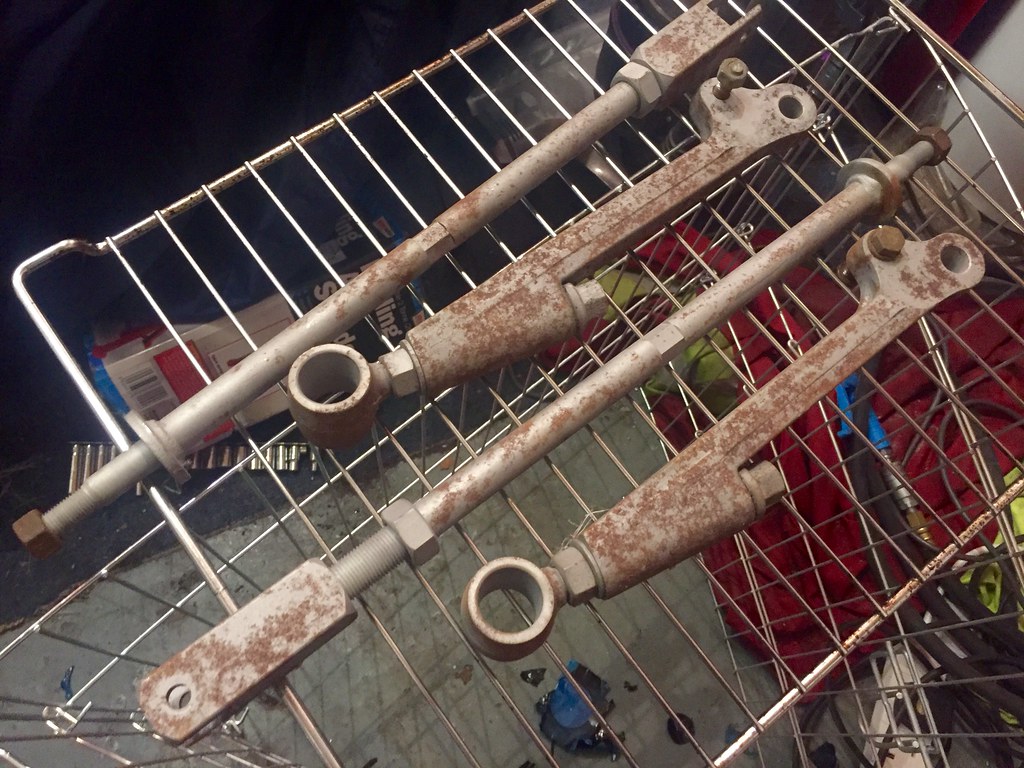
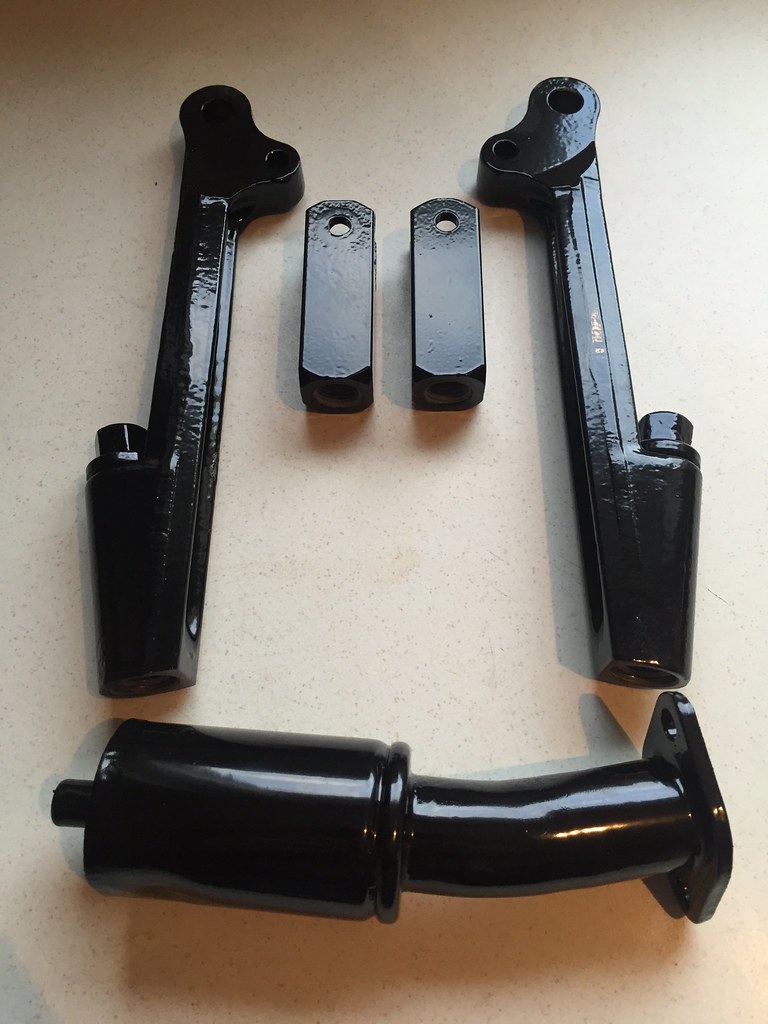
Blasted the adjustable lower arms/tie bars ages ago so they rusted up again. *
*
*
Blasted clean again
*

*
Outgassed and masked. Heres a shot of the detail on one of the arms.
*
*
and some after shots*
*
*
Really happy with the final finish on everything. *Nice and uniform throughout. *
*
*
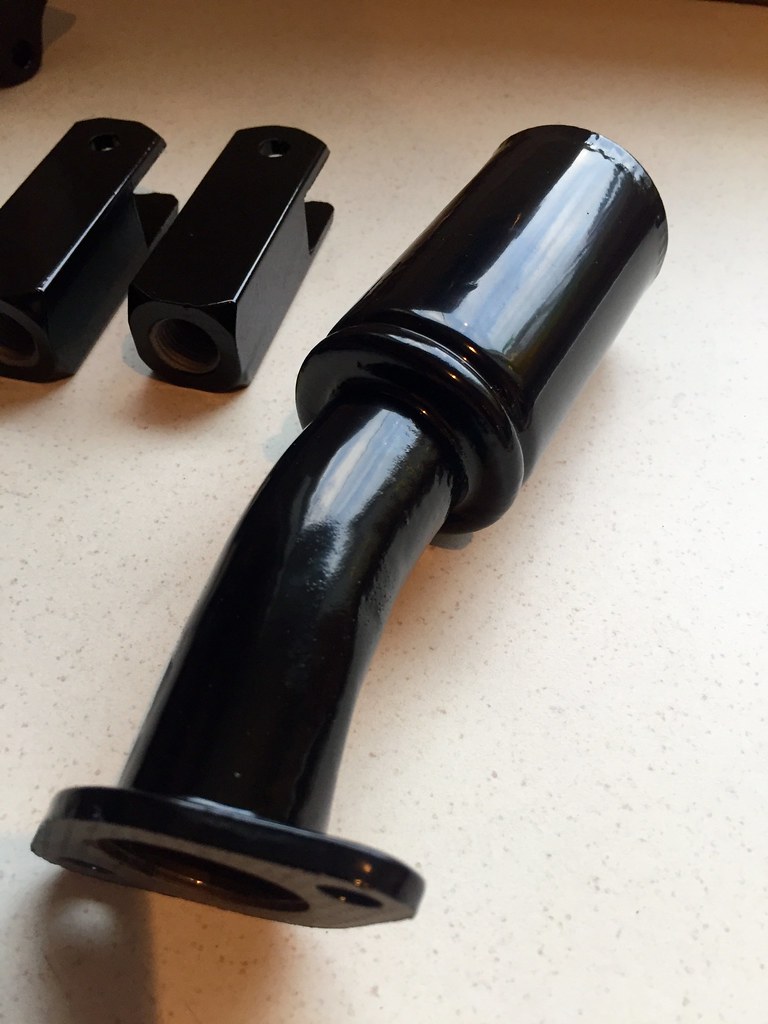
As I say, the final finish depends on the metal underneath, hence this smooth faced engine breather came out pretty good!
*
*
Wheels should arrive either tomorrow or tuesday. *Cant wait to see them in the metalLeave a comment:
-
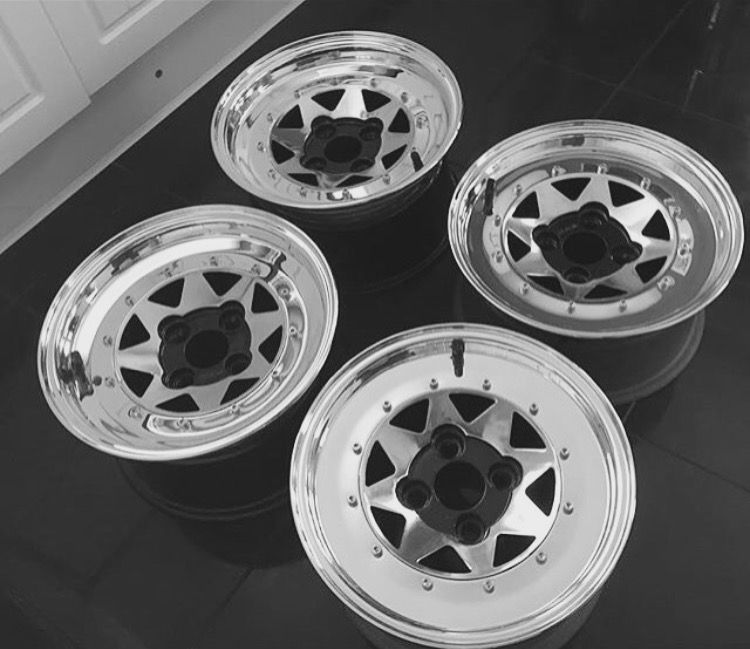
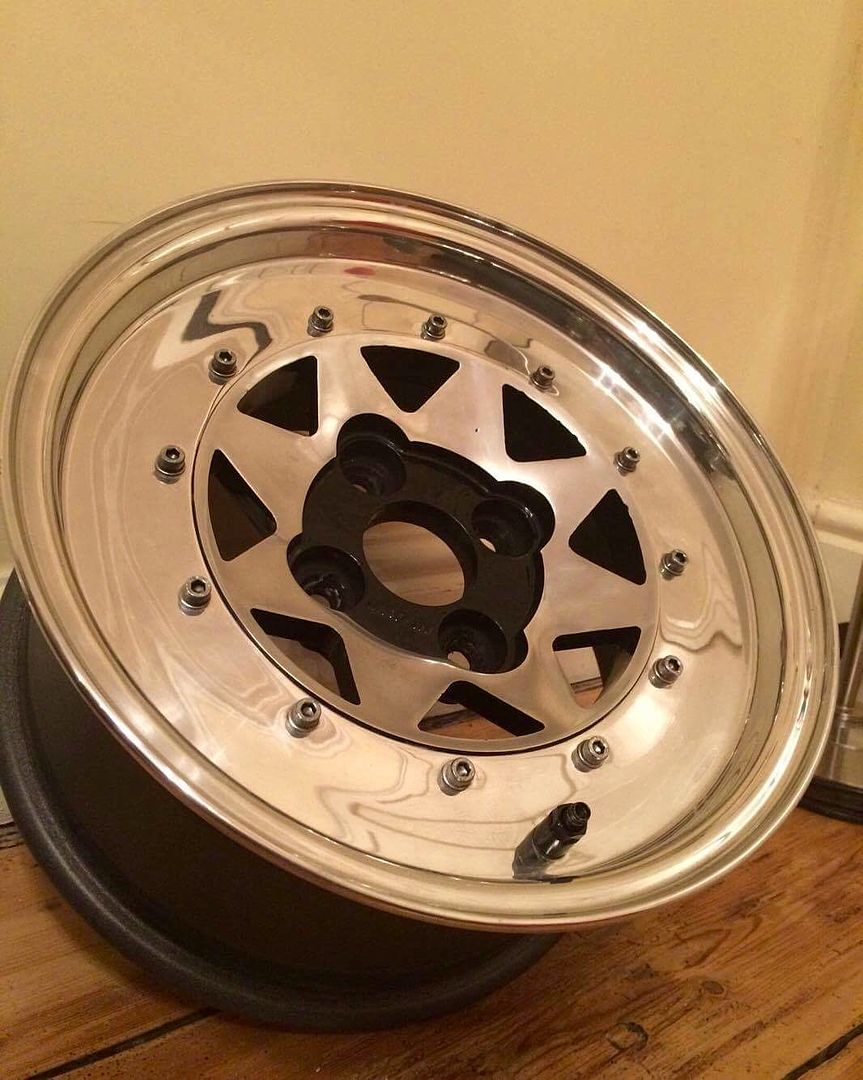
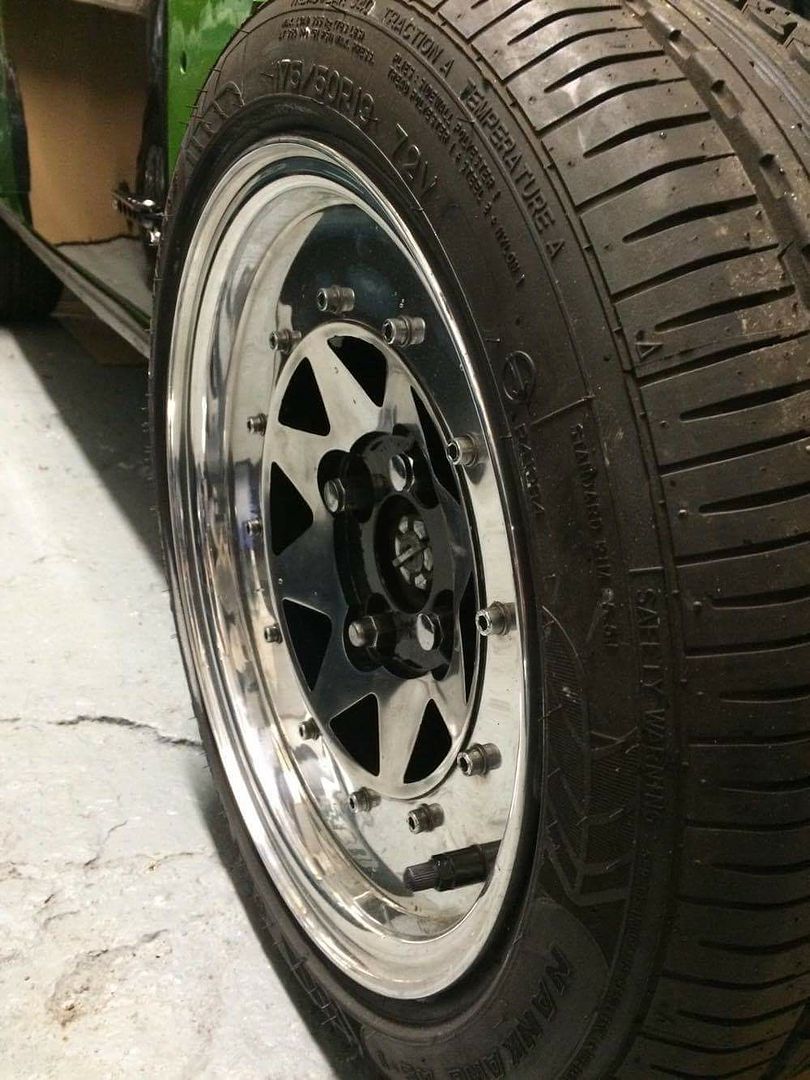
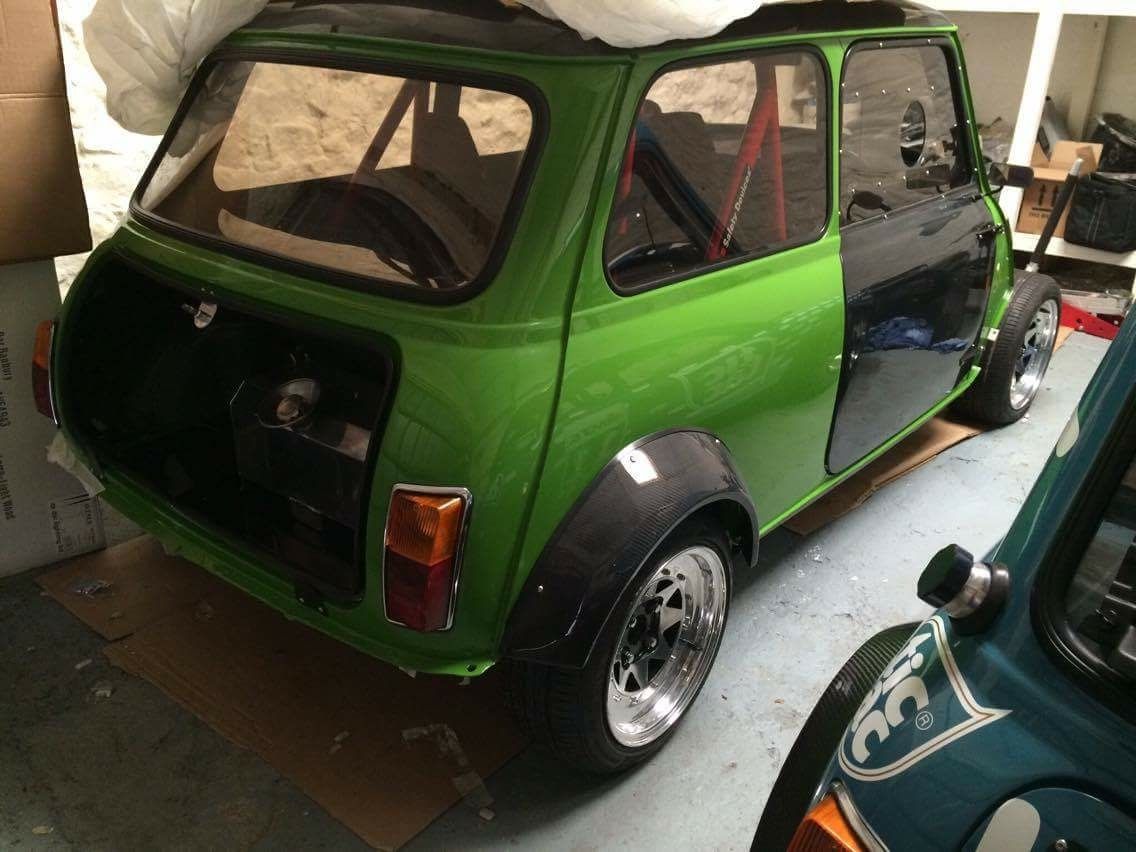
Well due to a spur of the moment purchase at a fair price, I now own these....
7&8x13 Mad-Ins in Mini fitment. Freshly refurbished by Mike the Polisher with new tyres hardware throughout. Wanted splits for ages but didn't want to go down the usual route of fitting Force Racings like most seem to do. Should arrive next week but will be hidden away for a while. *Not convinced I like the black centre details so I may blast and coat them silver to match the bonnet stripes/roof but we shall see
*
*
*
Fitted to previous owners car...
*
Leave a comment:
-
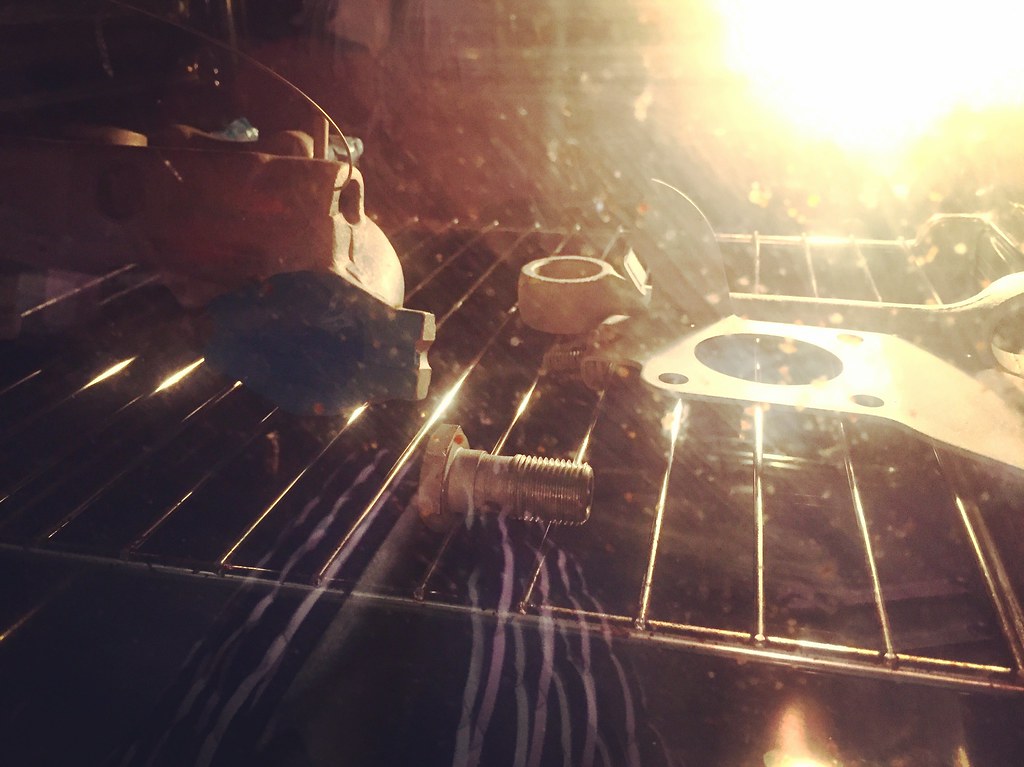
Well there has been no update since the last post other than disconnecting everything from the engine bay and removing the ancillaries. *Delay was due to waiting for birthday monies which meant I could buy myself a powdercoating kit. *It arrived the other day and had a quick bash at it. *Quick lessons learned are I need to use more powder to even out the finish and get the oven installed so it gets cured more evenly and for longer (used a heat gun on this as a test as I I'm impatient and couldn't wait to use the kit :lol
*
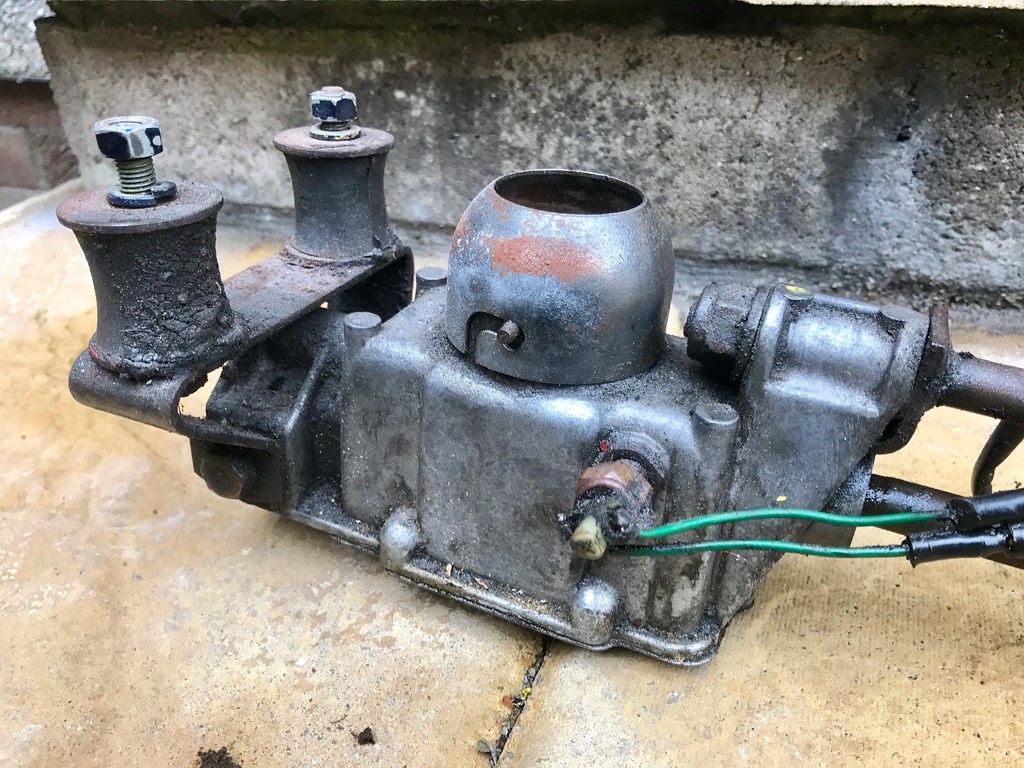
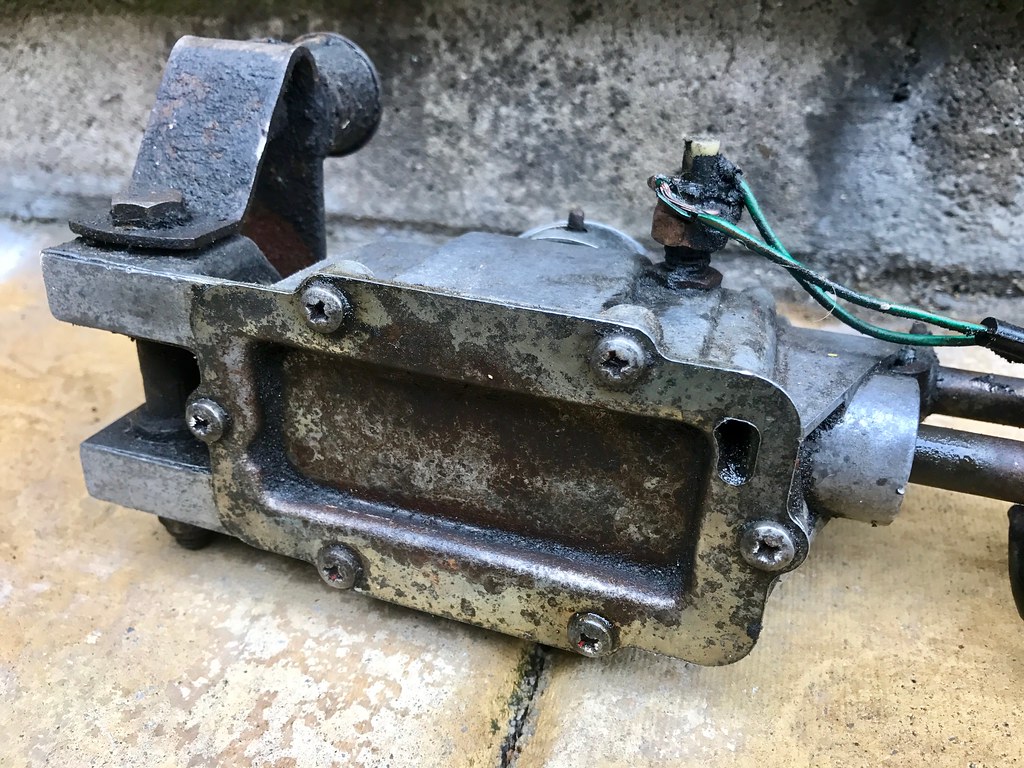
Test part is this carburetor heat shield with integrated throttle cable bracket. *Sandwiches between the intake manifold and the carb. *
*
*
Super simple to use though and with it going from rusty part, to cooled coated part ready to fit in under an hour, its a massive time saver over paint. *Currently stripping the coating off now so I can redo when the oven is installed.Leave a comment:
-
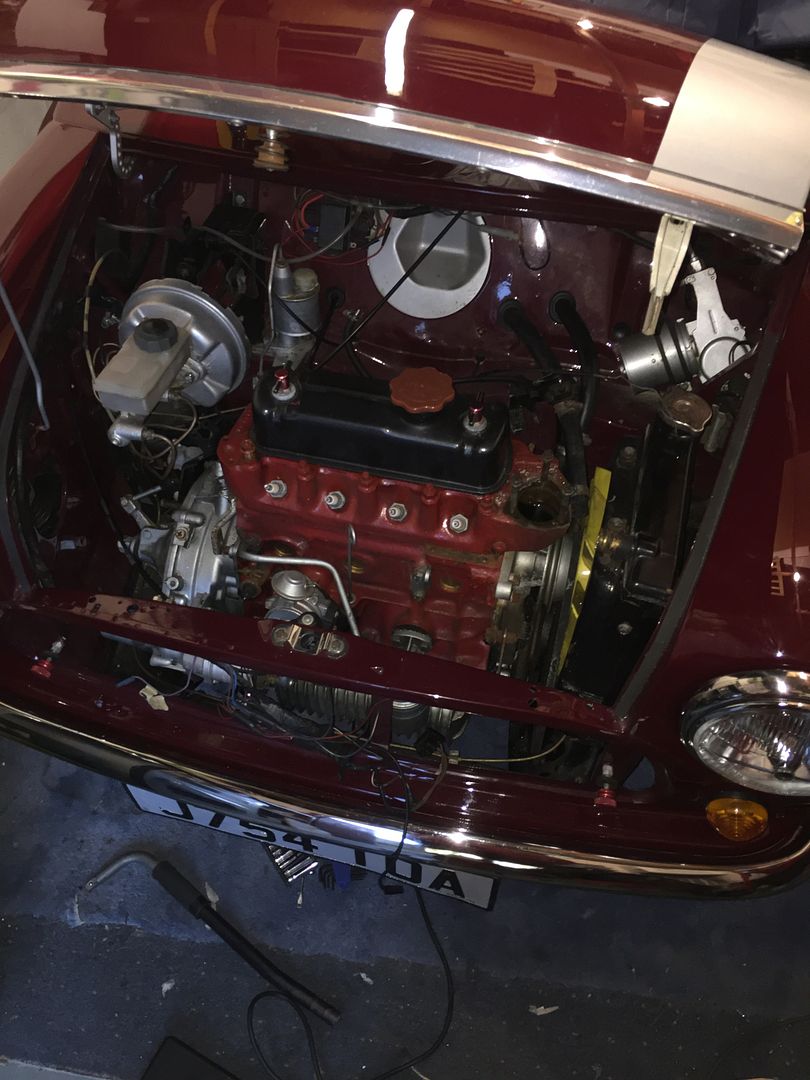
Got some time to get stuck into this last night again. *Still smoothing casting marks from the gearbox casing but as that is boring to do I started to strip the bay ready to remove the engine.
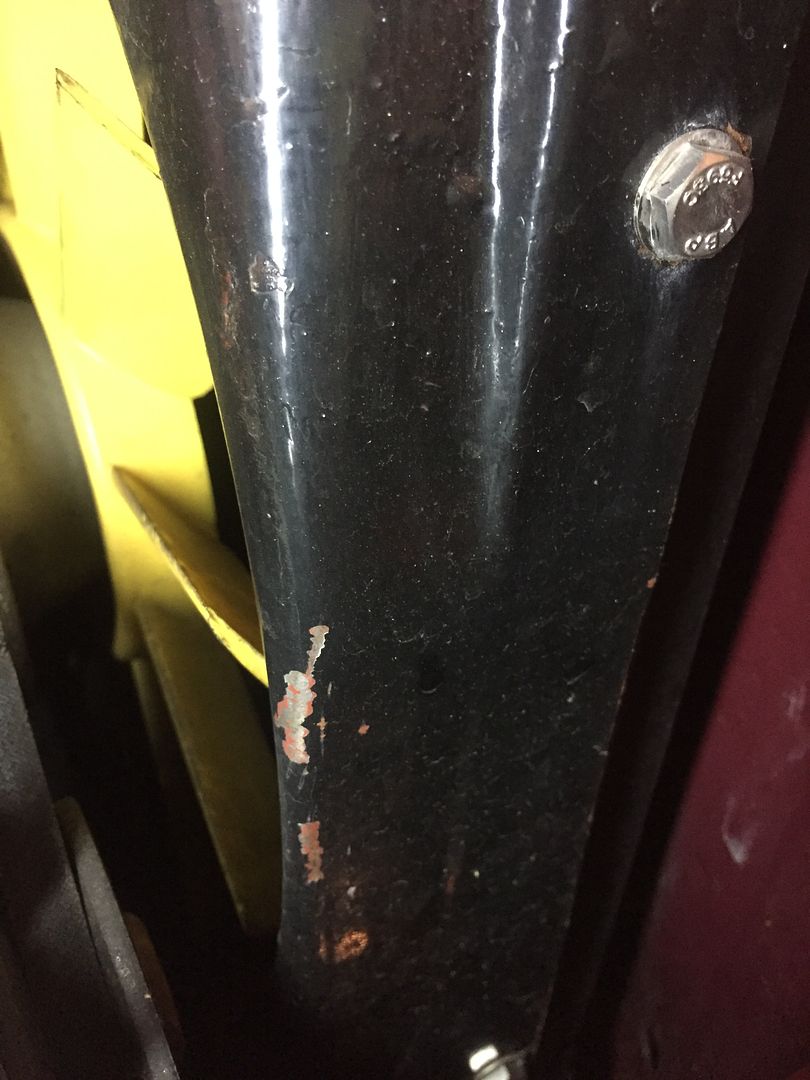
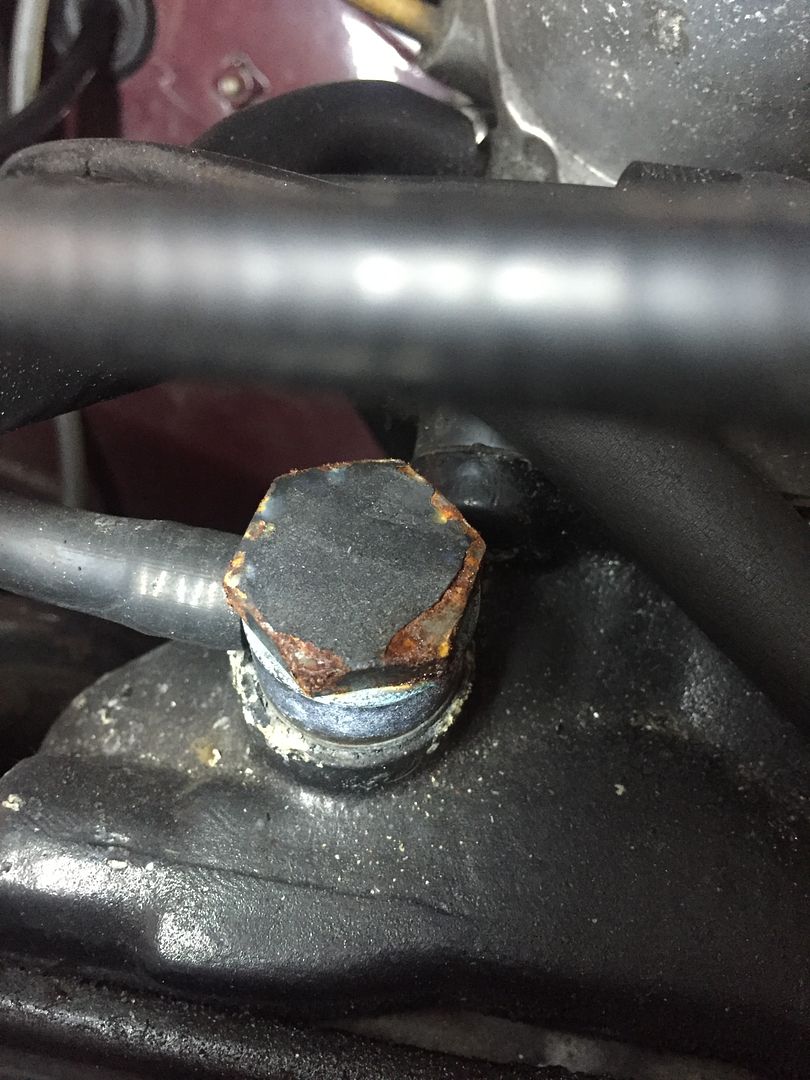
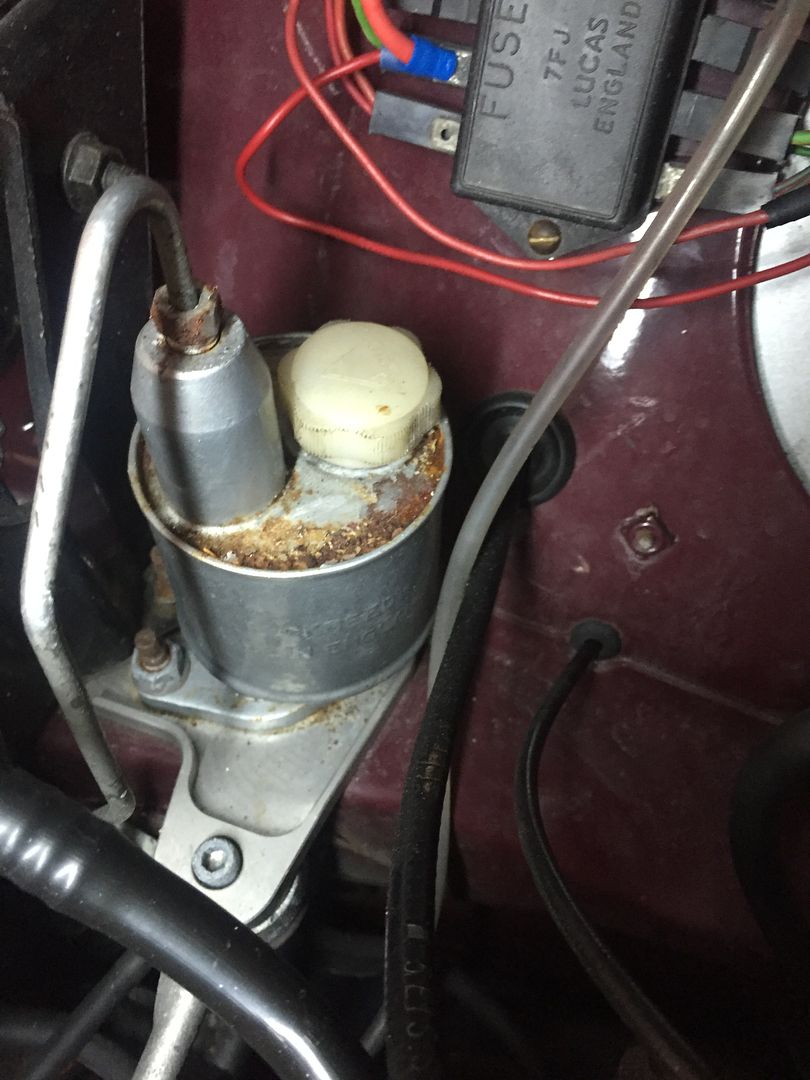
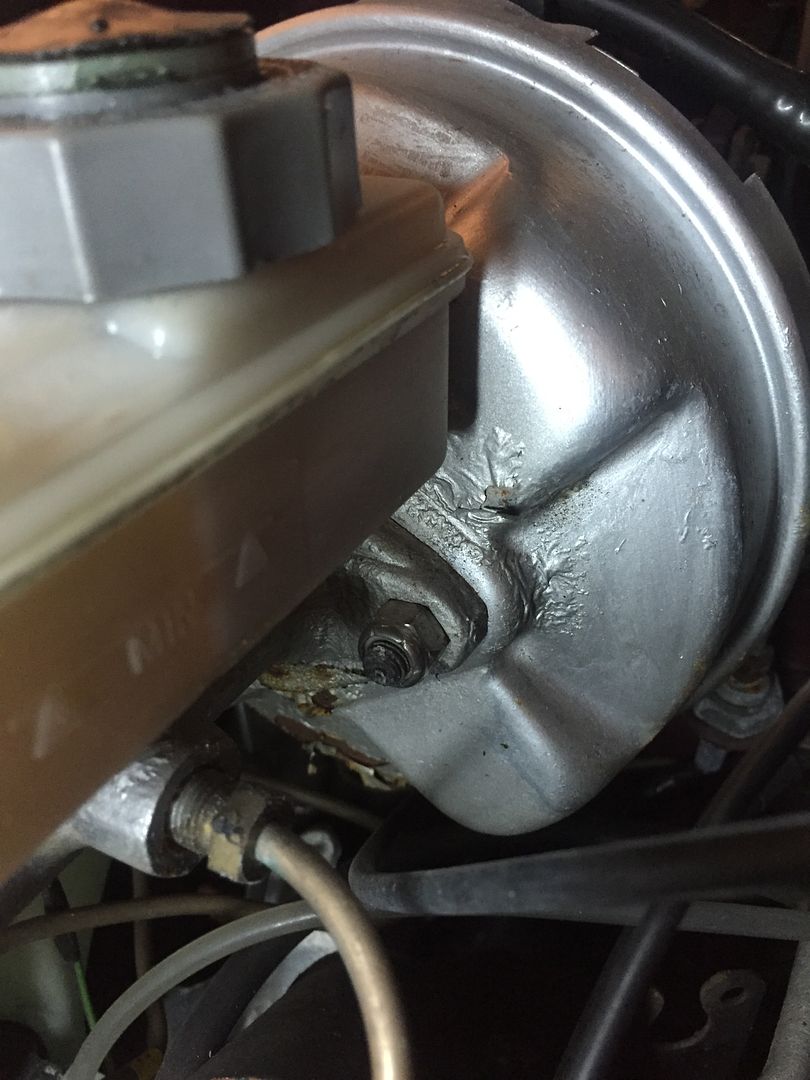
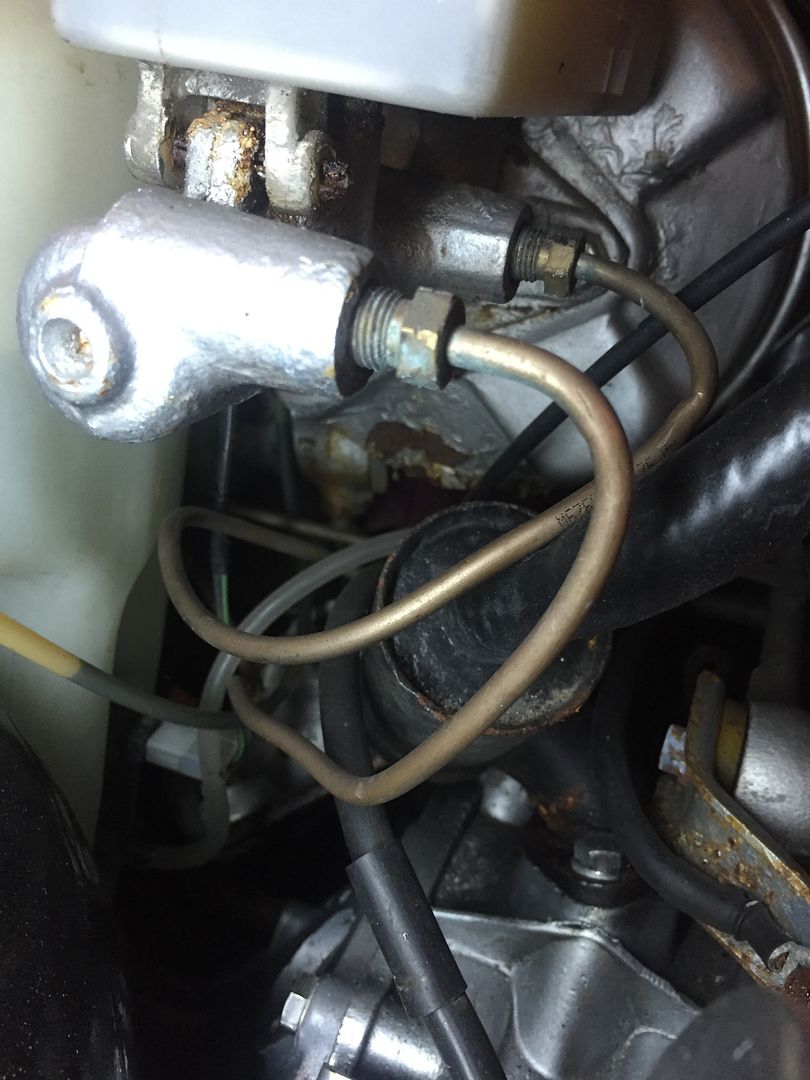
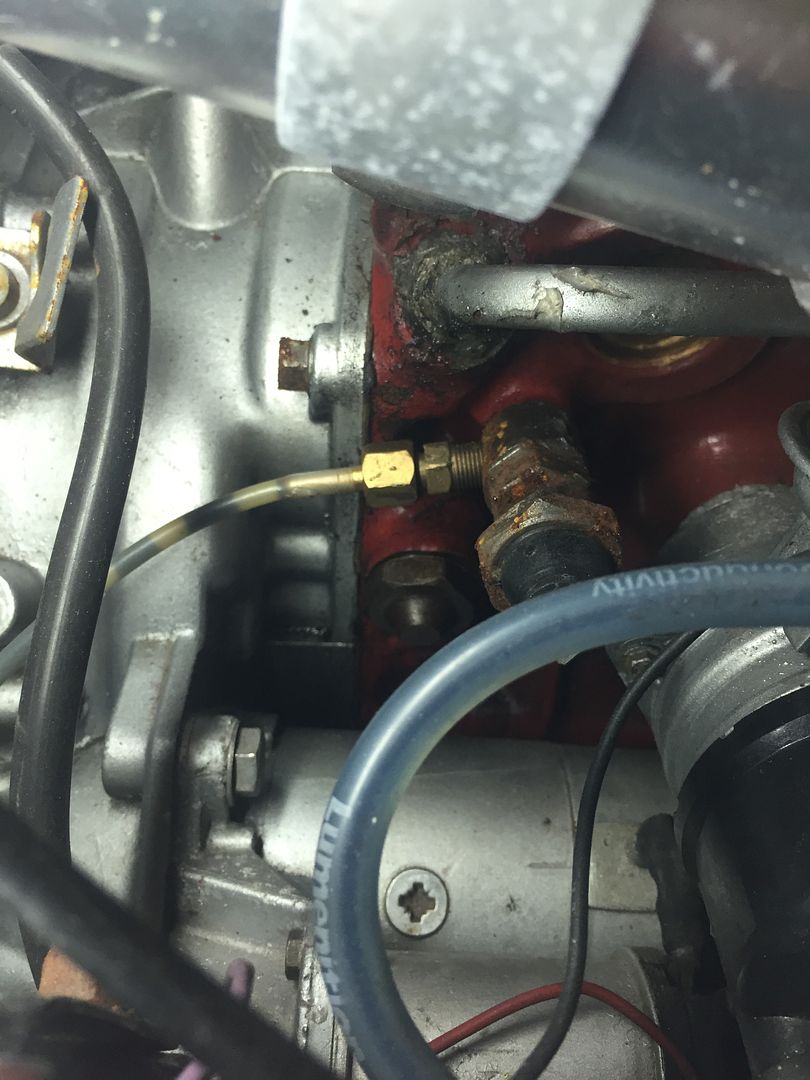
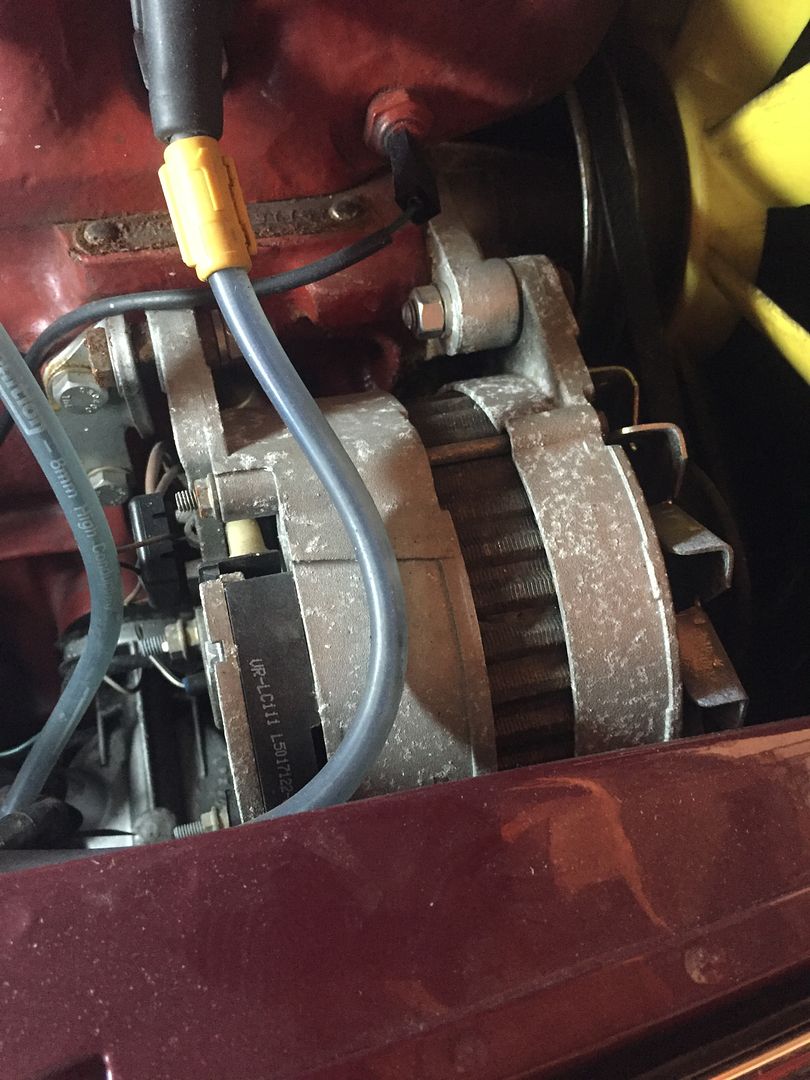
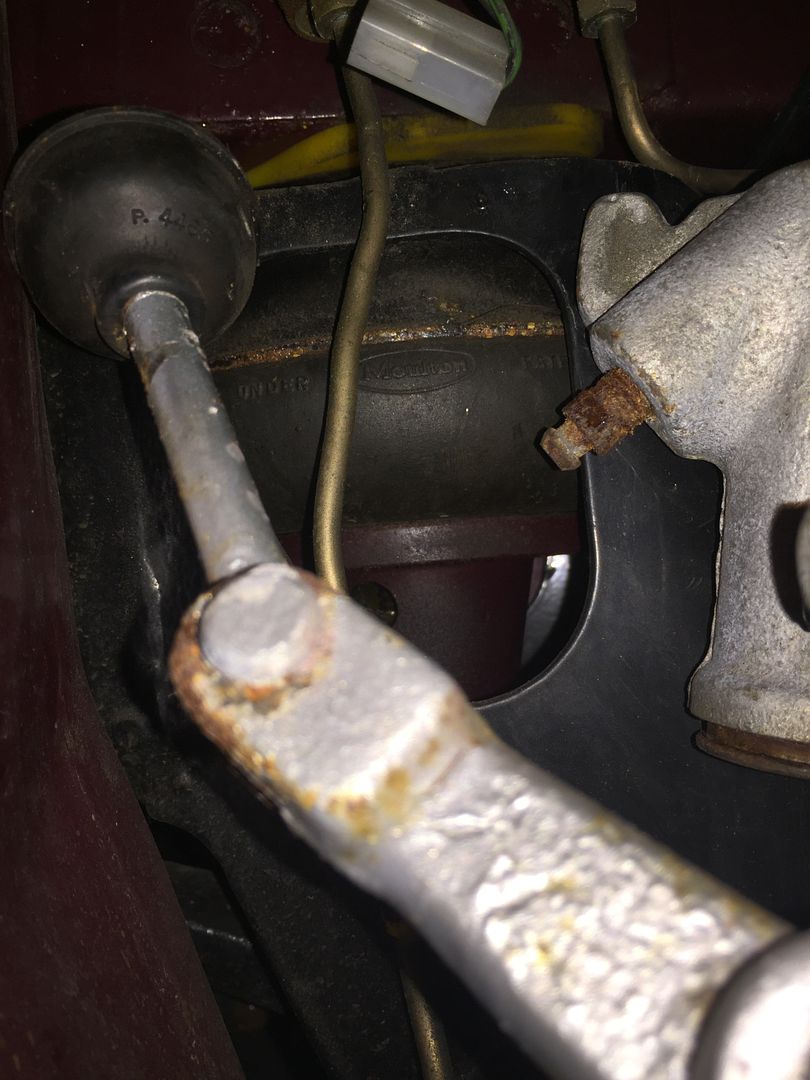
Heres the current state of the enginebay.....what I would call a complete mess.
[img=http://i71.photobucket.com/albums/i126/iia03forbesa/1CB17C64-6040-4808-9676-55EEFE0A4829_zpsmclrvpmd.jpg[/img]
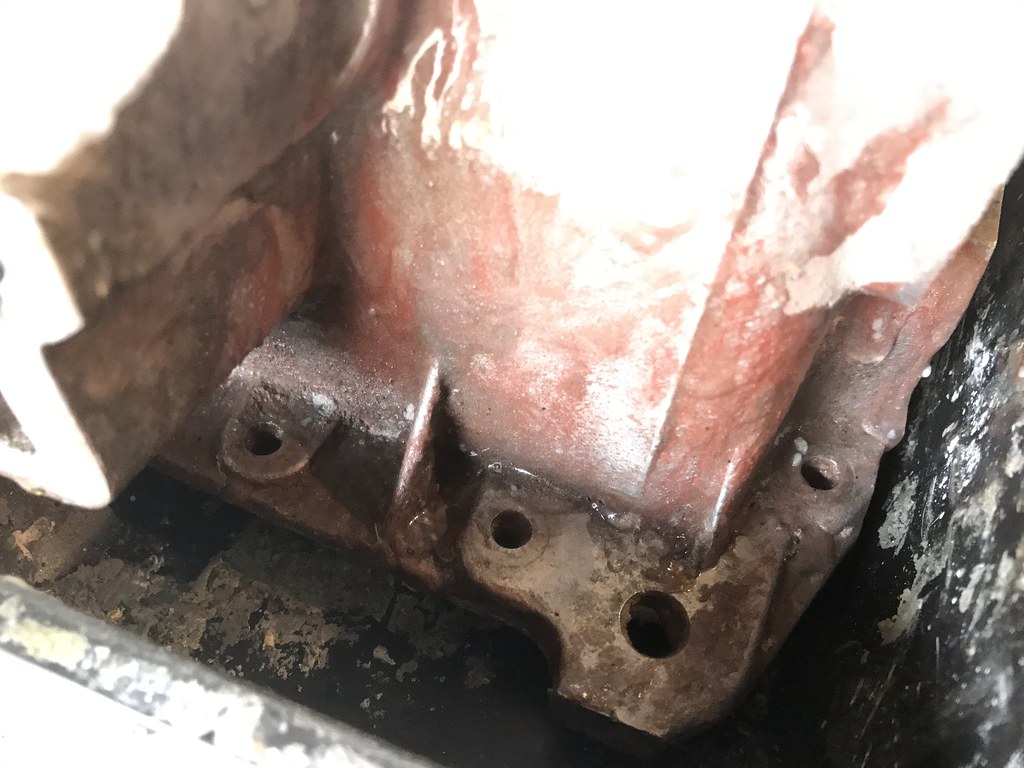
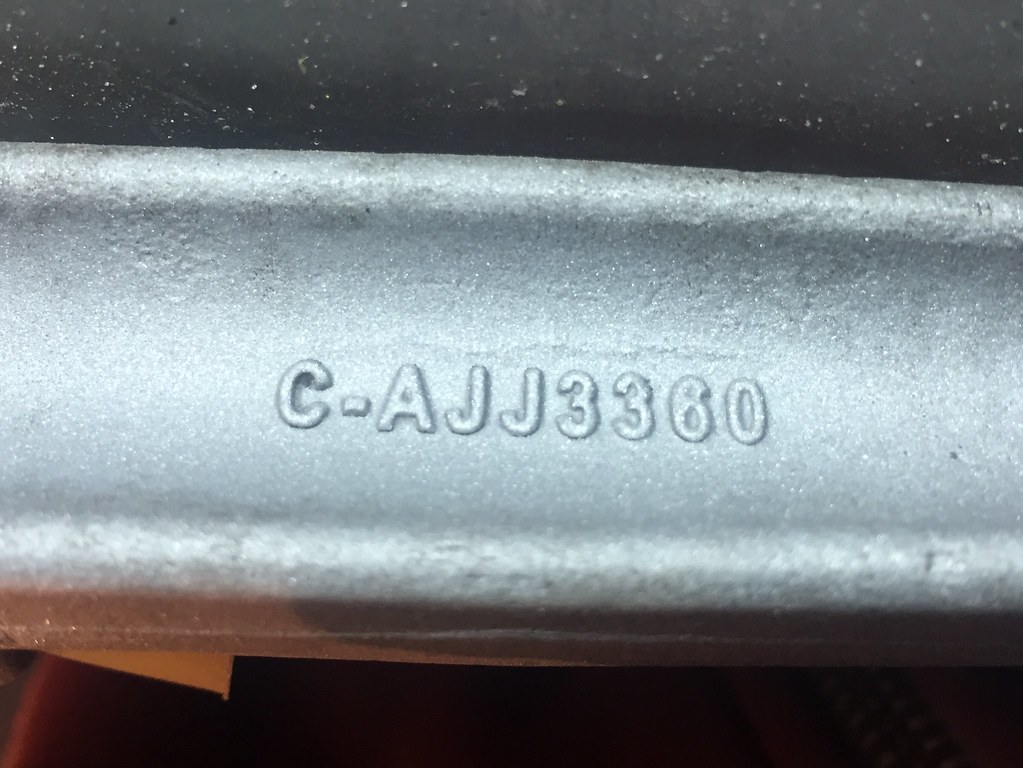
Also diagnosed my shit ride quality issue. *Suspension cones have collapsed. Set of new ones are only �160 which isnt bad as they have lasted 7yrs.
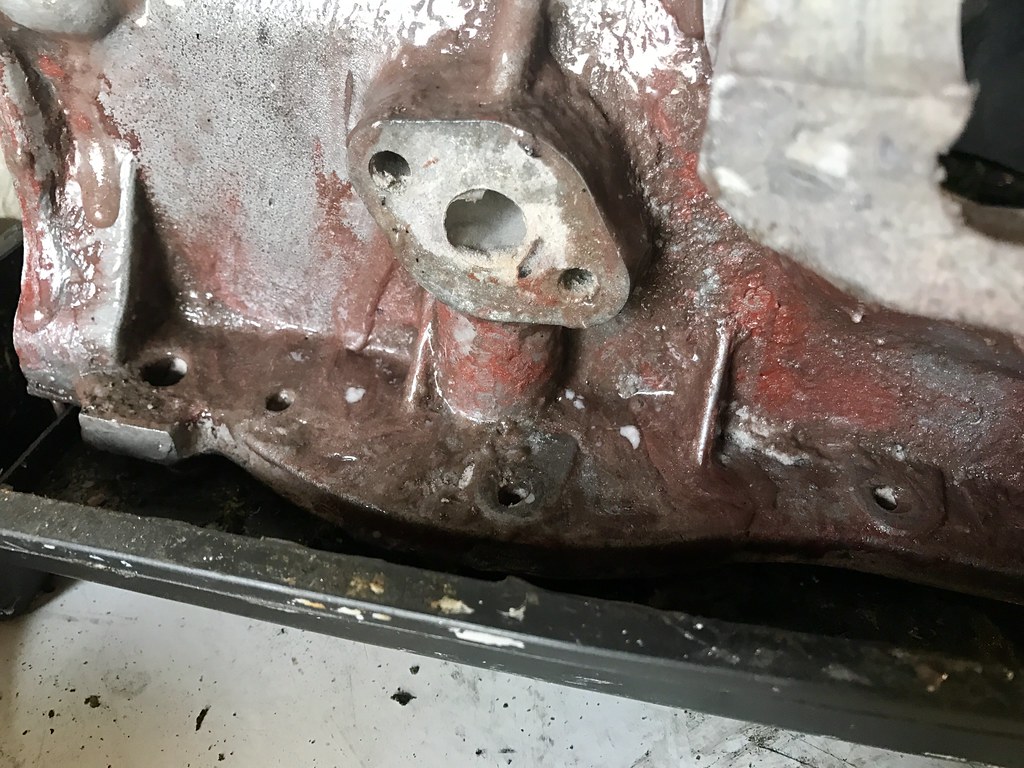
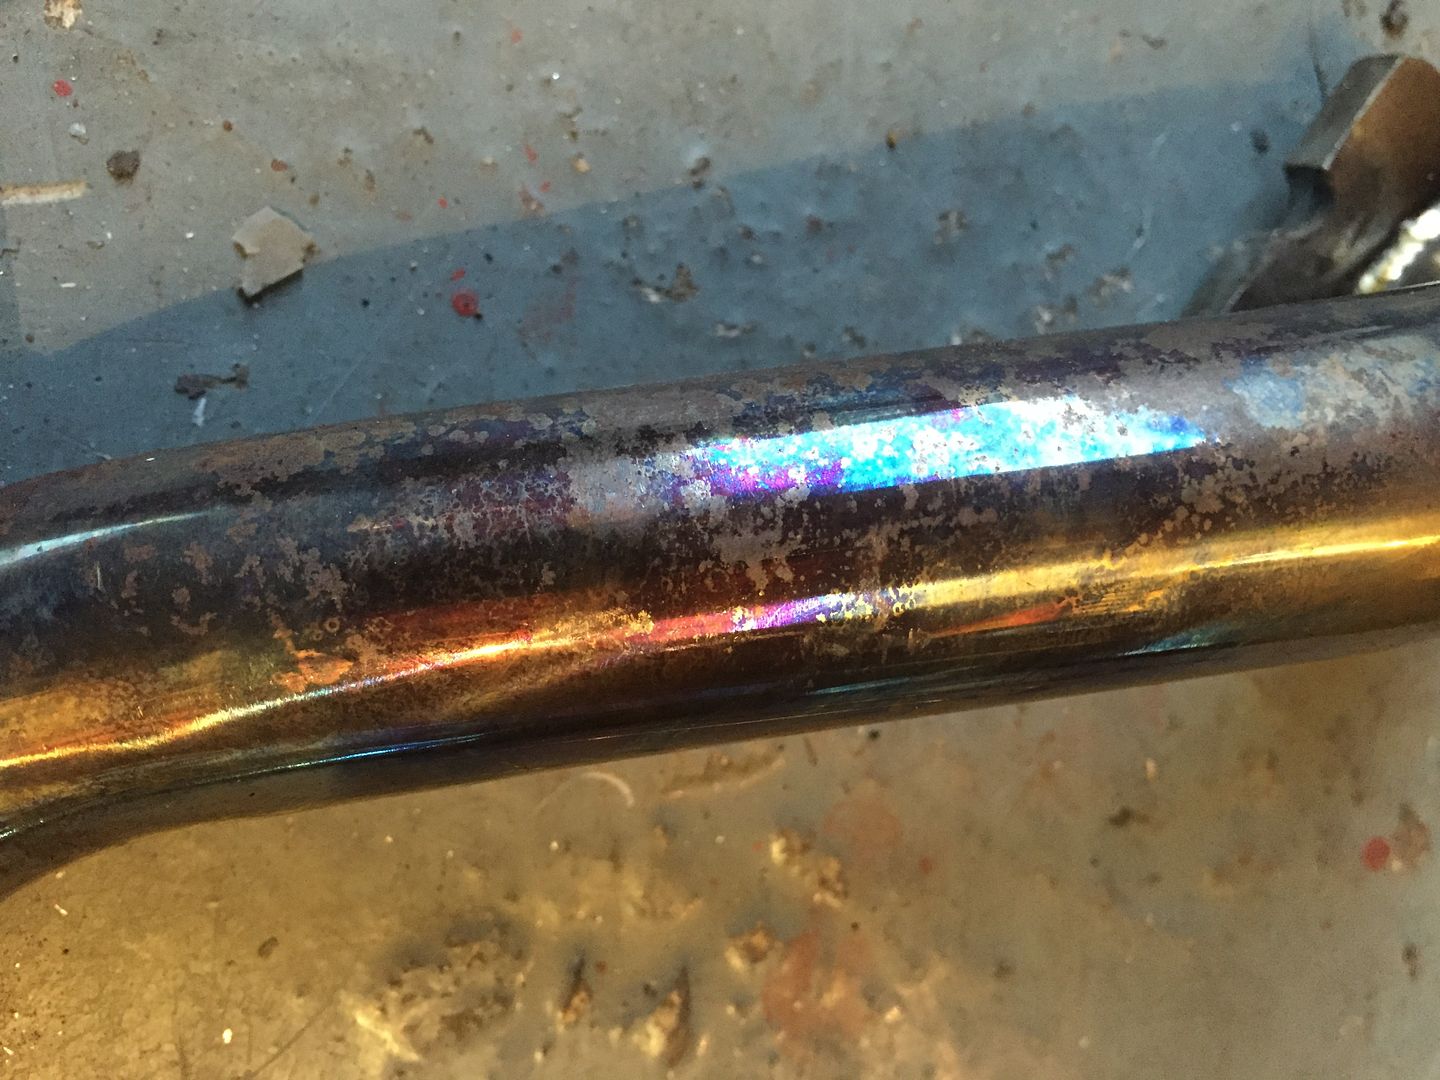
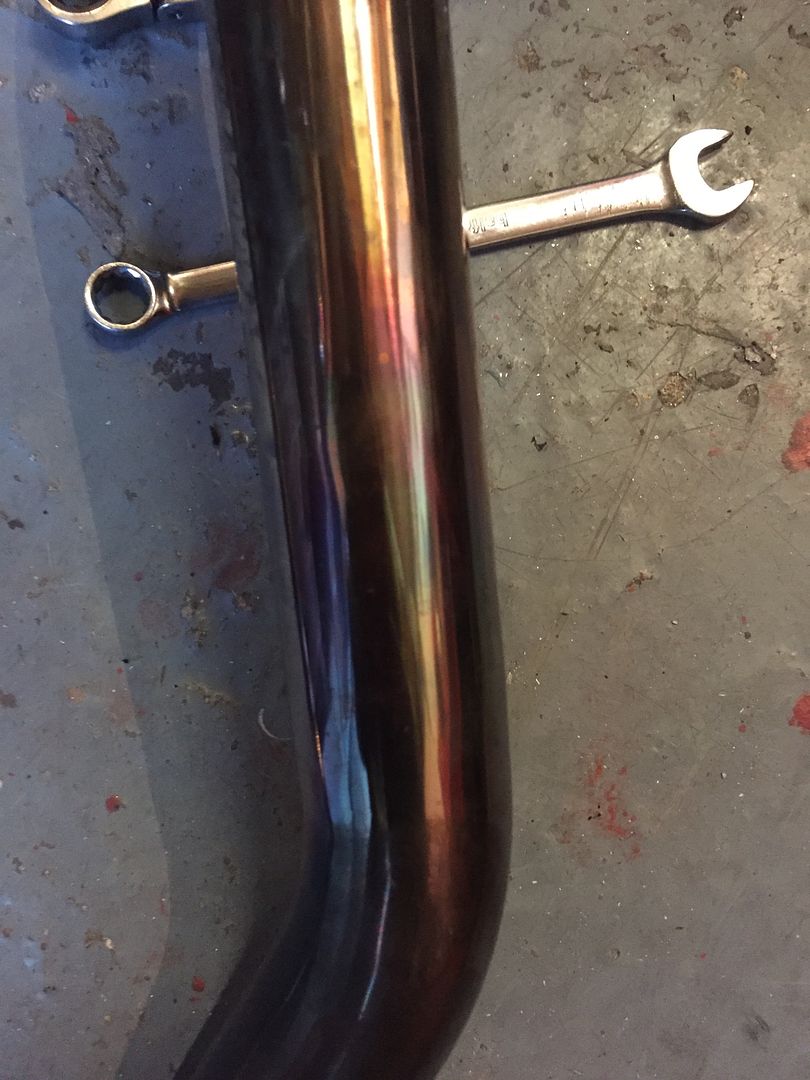
Obviously had to take the exhaust manifold off and its turned a lovely shade of rainbow with the heat. *Polishes up bonny too.
All that remains is to drop the fluids, disconnect the driveshafts and its ready to rip out. That will mean I can get the other casings from the flywheel/clutch side, along with lots of other bits, powdercoated at the same time.
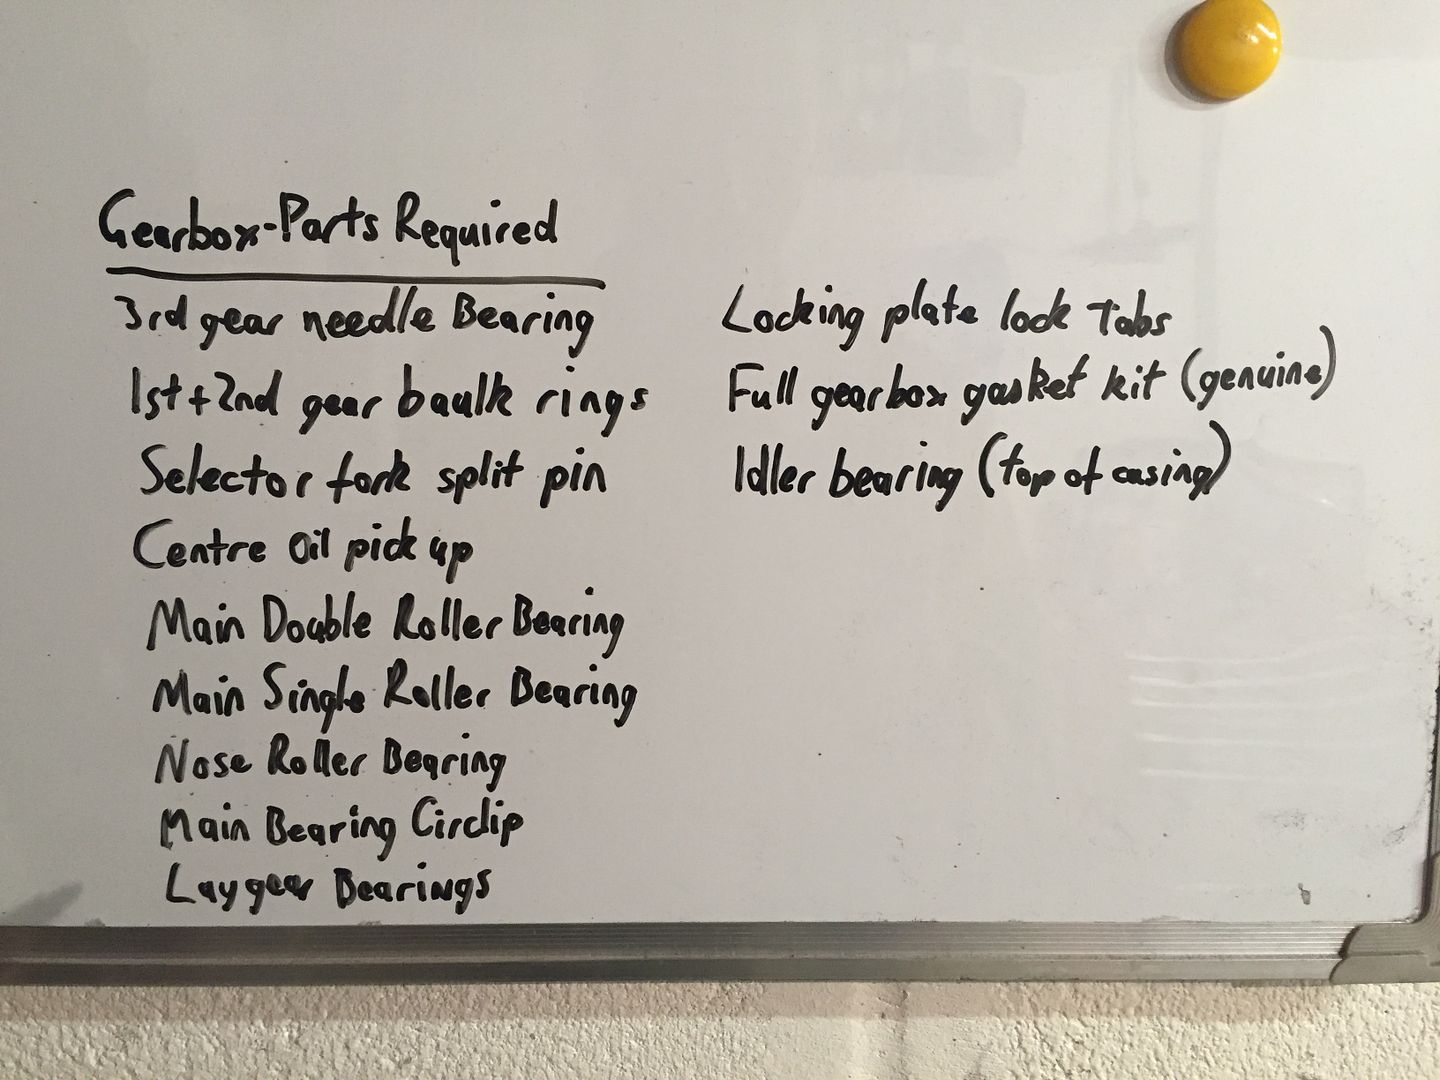
Got a list of gearbox parts I need so will try and get them ordered after payday.
*
Feels great to be working on the actual car again. Lots of ideas developing as I go so should be good fun
Leave a comment:
-
My overpriced and totally pointless titanium bolts arrived after a short delay due to broken tooling. They are ace.
[imghttp://i71.photobucket.com/albums/i126/iia03forbesa/5EB5DC5A-14C2-4FEF-B756-78A1F02BBF9E_zpsrf8vtgck.jpg[/img]
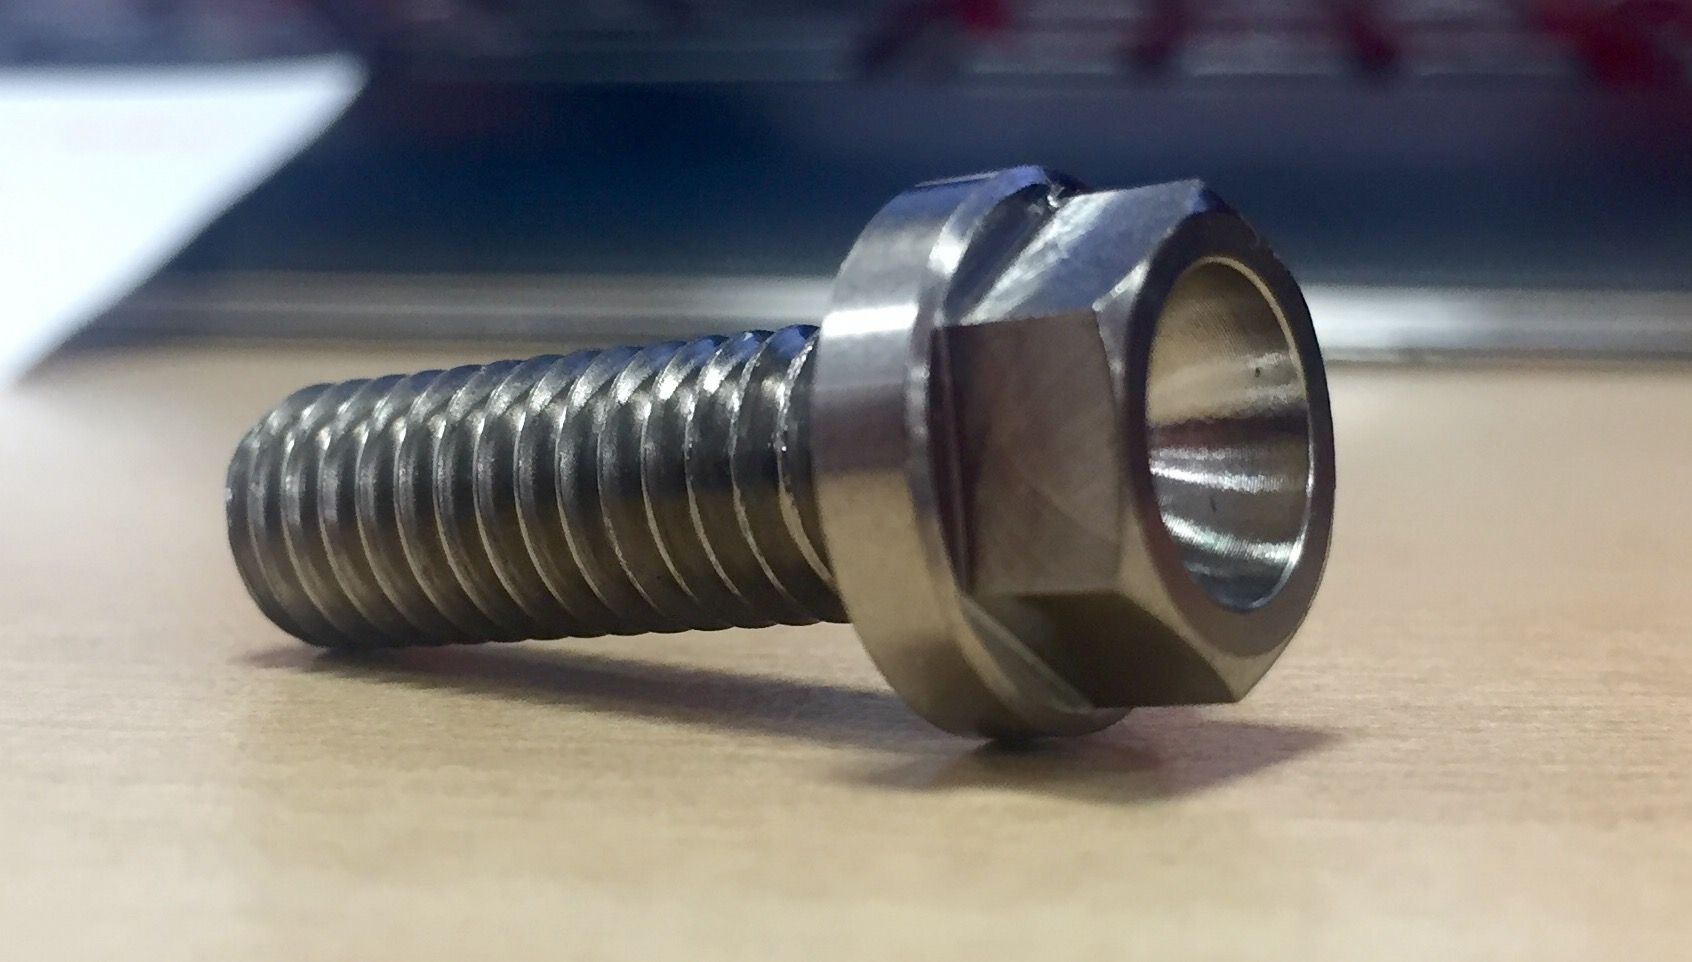
Will give them a polish up before fittingLeave a comment:
")


Leave a comment: