Announcement

Collapse
No announcement yet.

1991 Mini - Project Trig

Collapse
X
 
  • Filter
  • Time
  • Show
Clear All
new posts

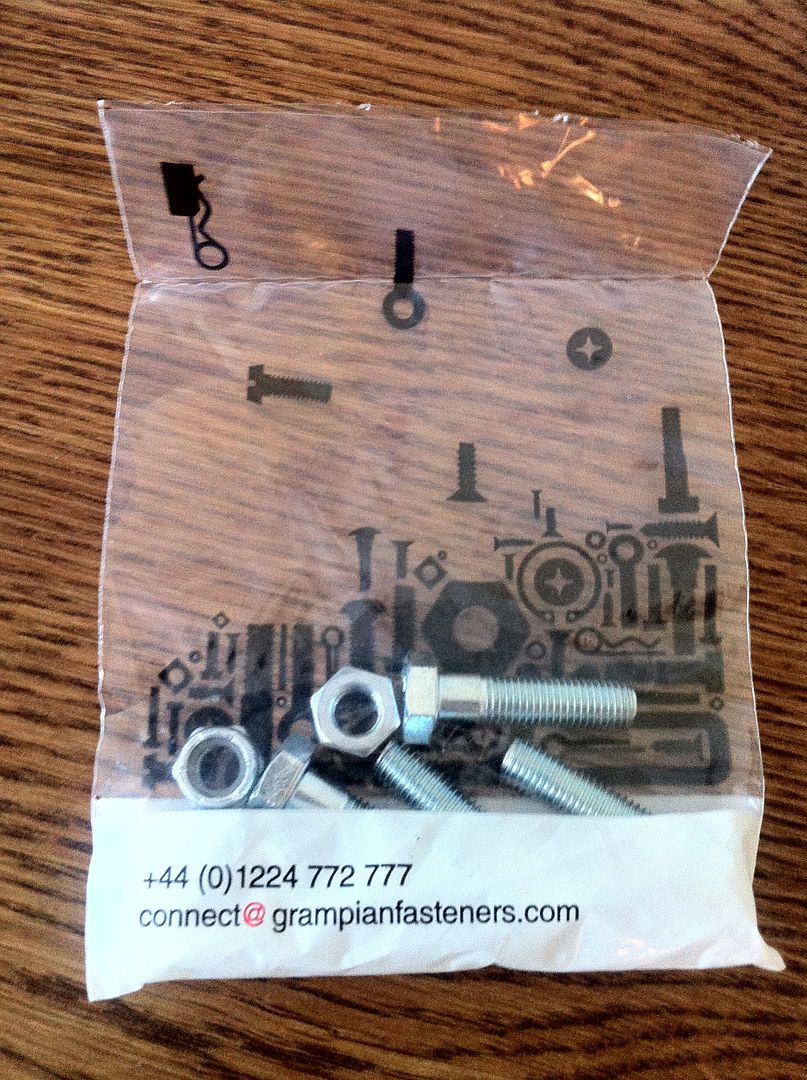
  • More work done tonight. Got to just keep on truckin with this or it'll never get done! First up some bolts (ladies and gent, please contain your excitement...) for the front subframe. The ones I had on the mounts to frame were rusty and too short to pass an MOT so a quick trip to Grampian Fasteners on my lunch break and they were bought for just over a pound! Nyloc nuts for piece of mind.


    Drilled couple of holes in the bulkhead....with yet more blue tape!


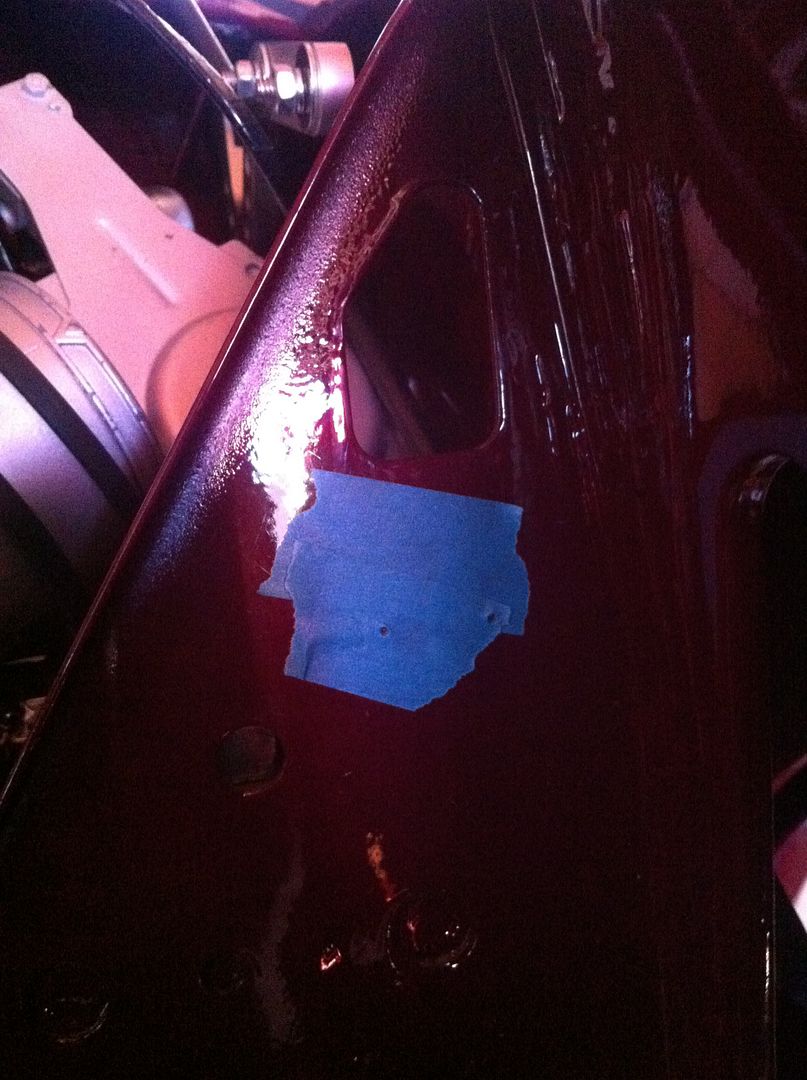
    and that was then filled!


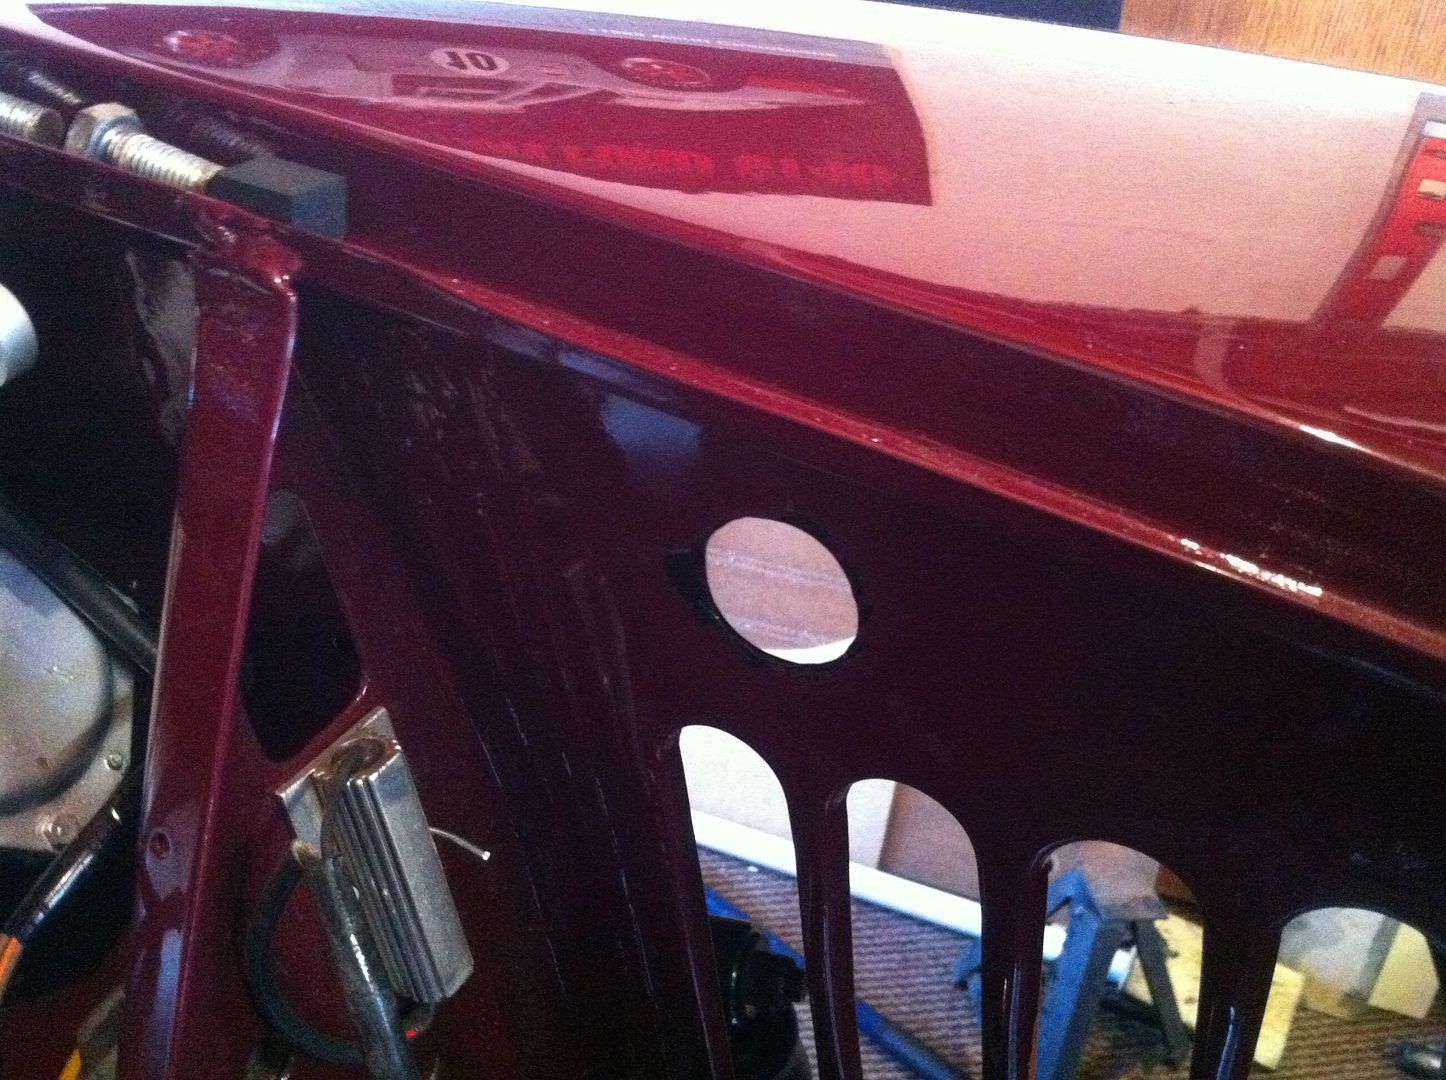
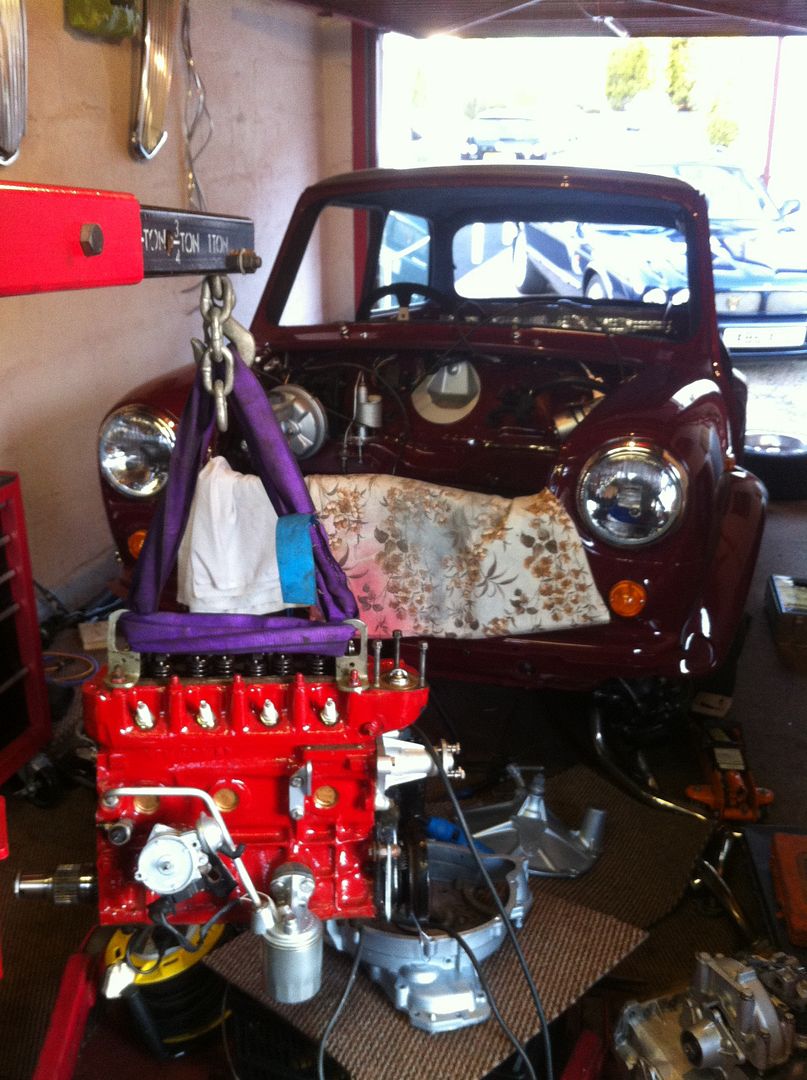
    Then I finally got round to drilling out the hole for the passenger side repeater. NEver thought to check for this before paint as you would think they would be there already....WRONG! So with the engine and rad out had space. Made a template from the passenger side in paper then mirrored this onto masking tape to act as a guide. Worked a treat!


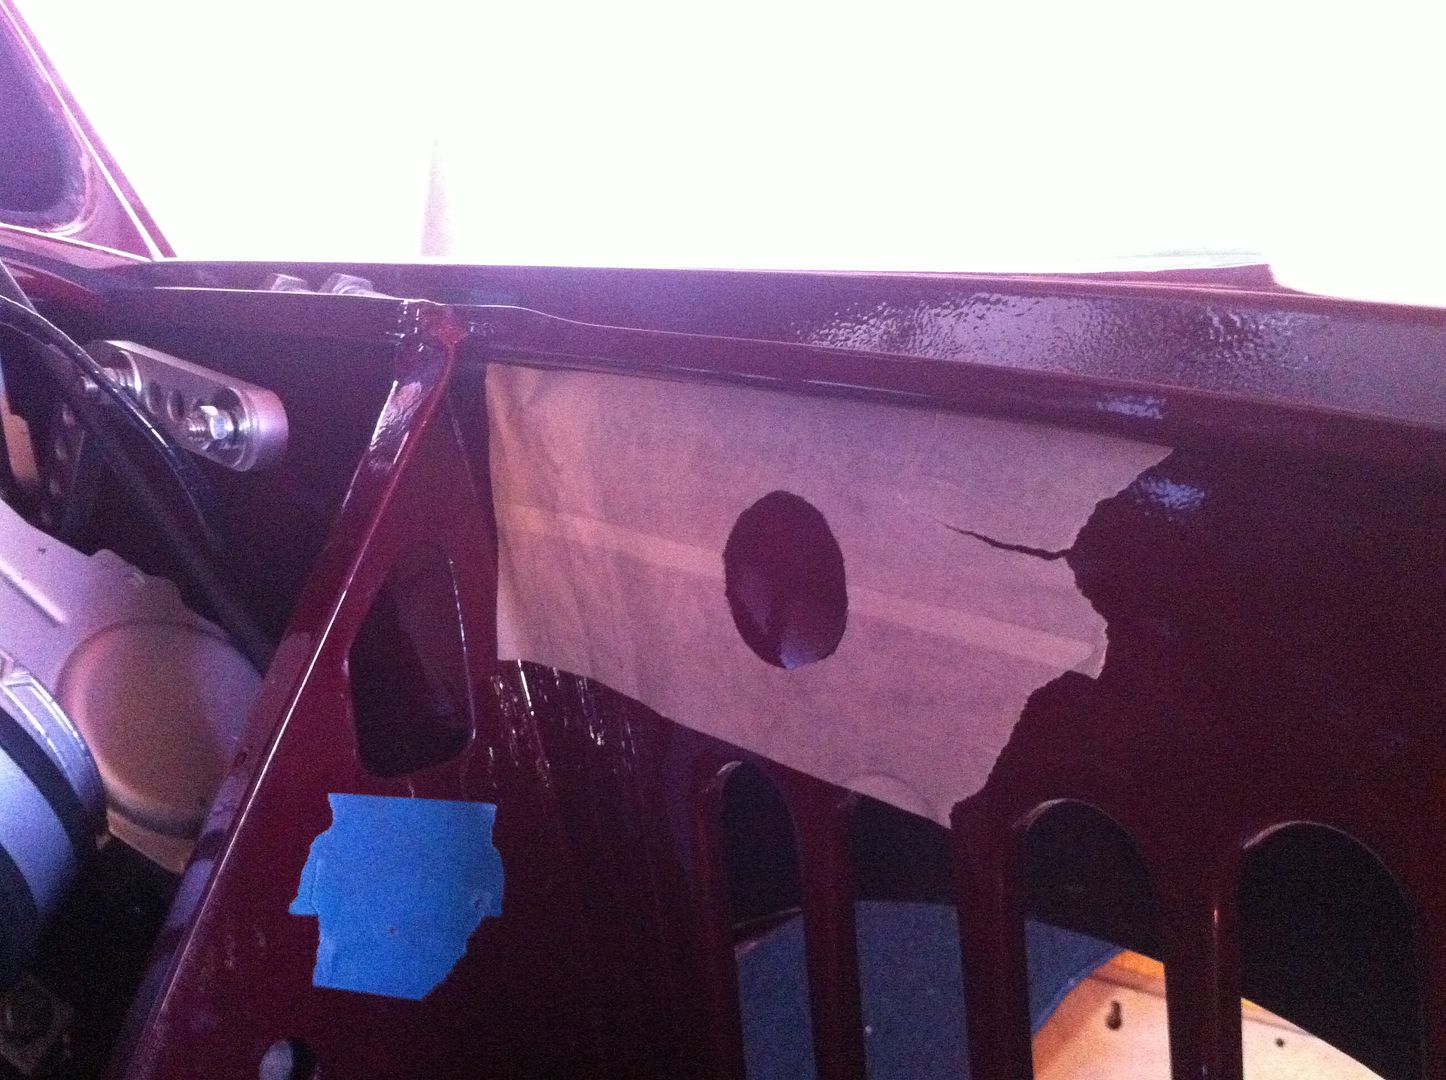
    Drilled a pilot hole, made it larger and then ran out of big enough drill bits! So I set about it with a circular course file and made a huge amount of noise in the process.


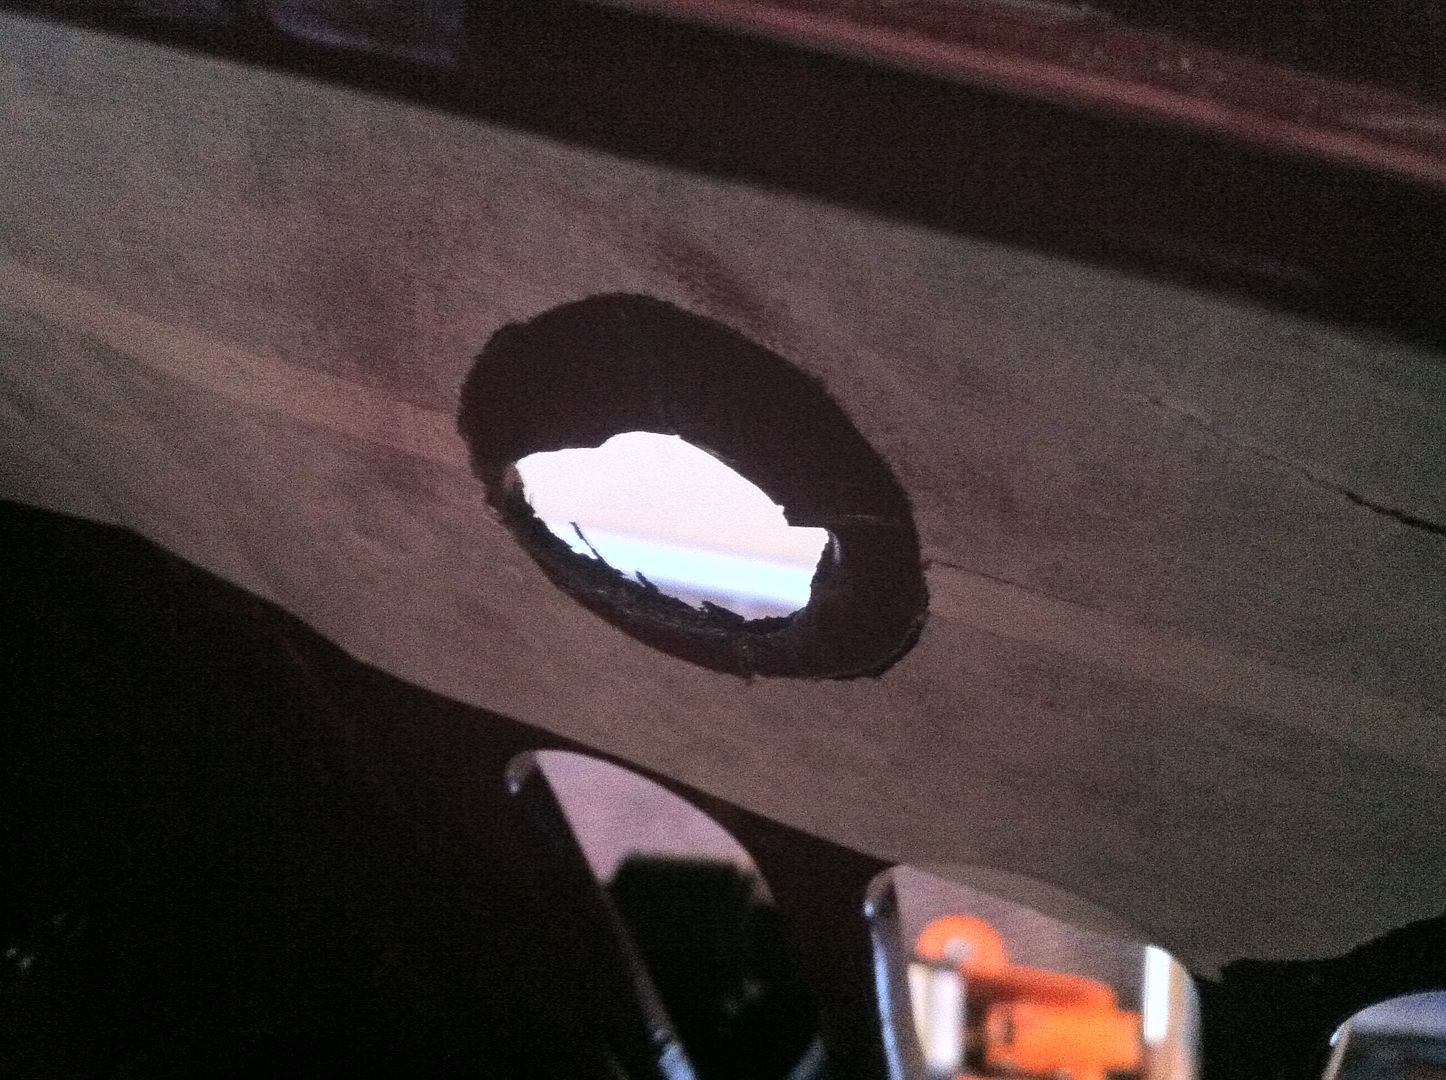
    Got it roughly right then took a stone bit on the Dremel to tidy it up nice and smooth. Then finished it off with hammerite to prevent rust setting in!


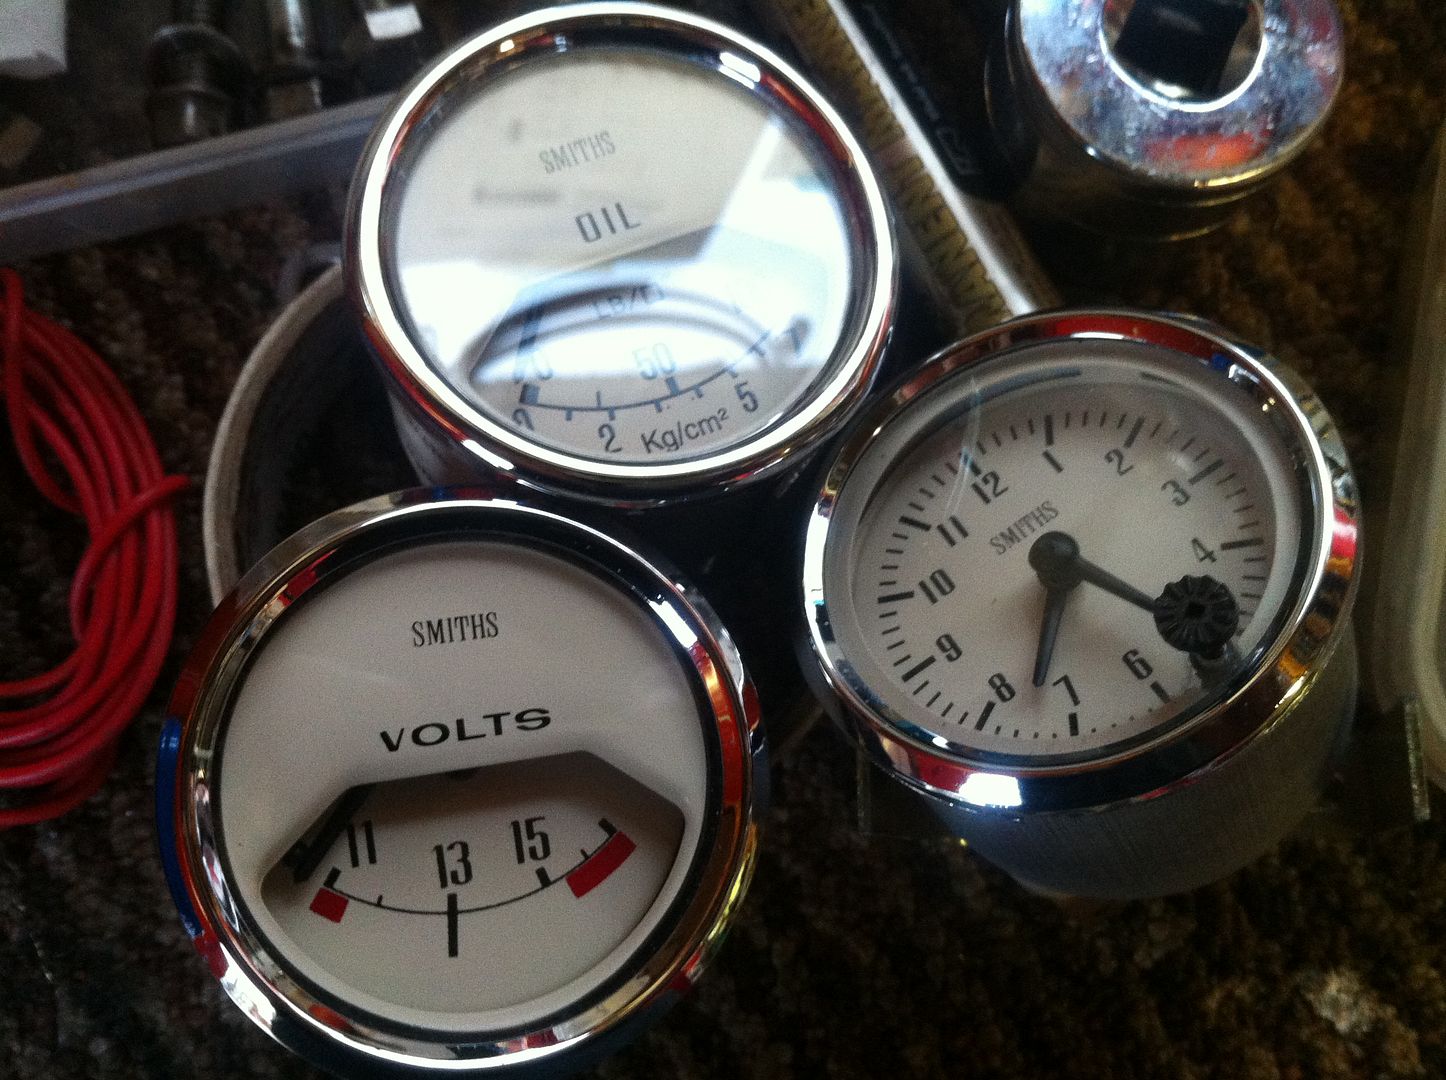
    Then, seeing as my required part didnt show up again I thought I would tackle some shiny. So cleaned up the gauges for the dash. They were pretty grotty but nothing a bit of polish couldnt sort. We have oil pressure, voltmeter and clock


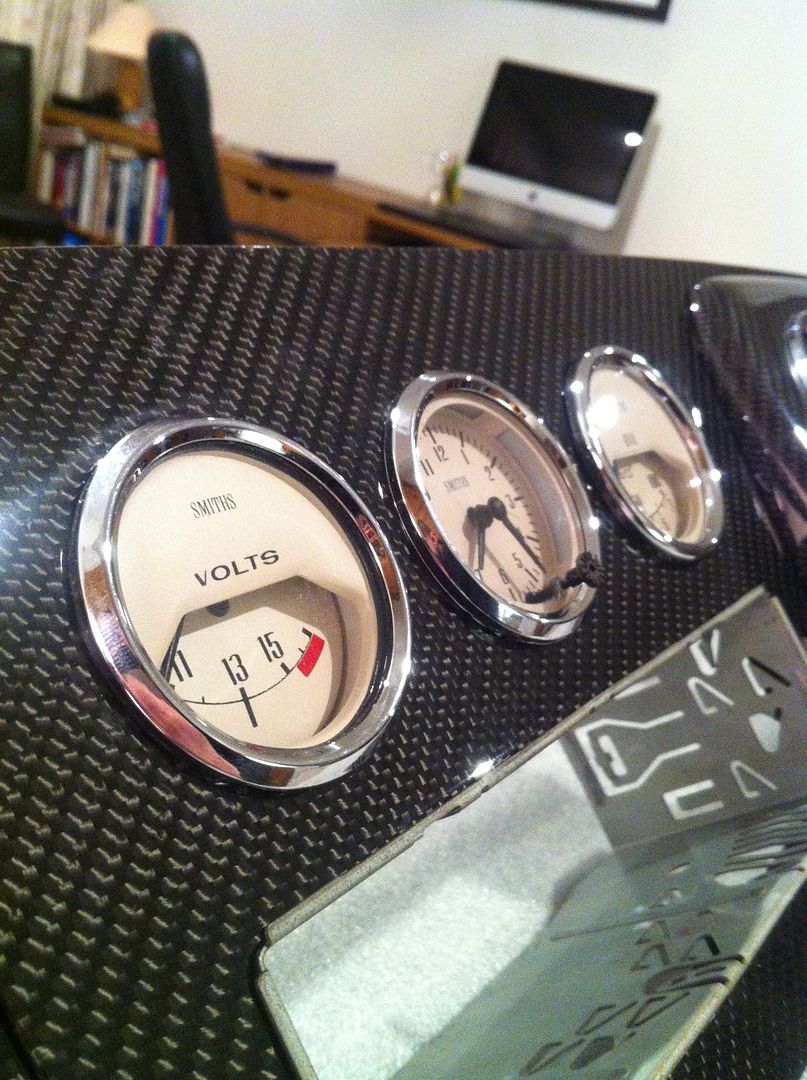
    Then fitted it all to the dash! Had to make some small wooden spacers on the rear in order to fit them correctly with the brackets. Easy enough with a hole boring bit on the drill though!


    Also fitted the radio cage for the radio which is almost fully wired up ready to fit.


    The main cluster is going to need some adjusting and larger screws than standard but ran out of time and light to do that tonight. Still, its going to look awesome!


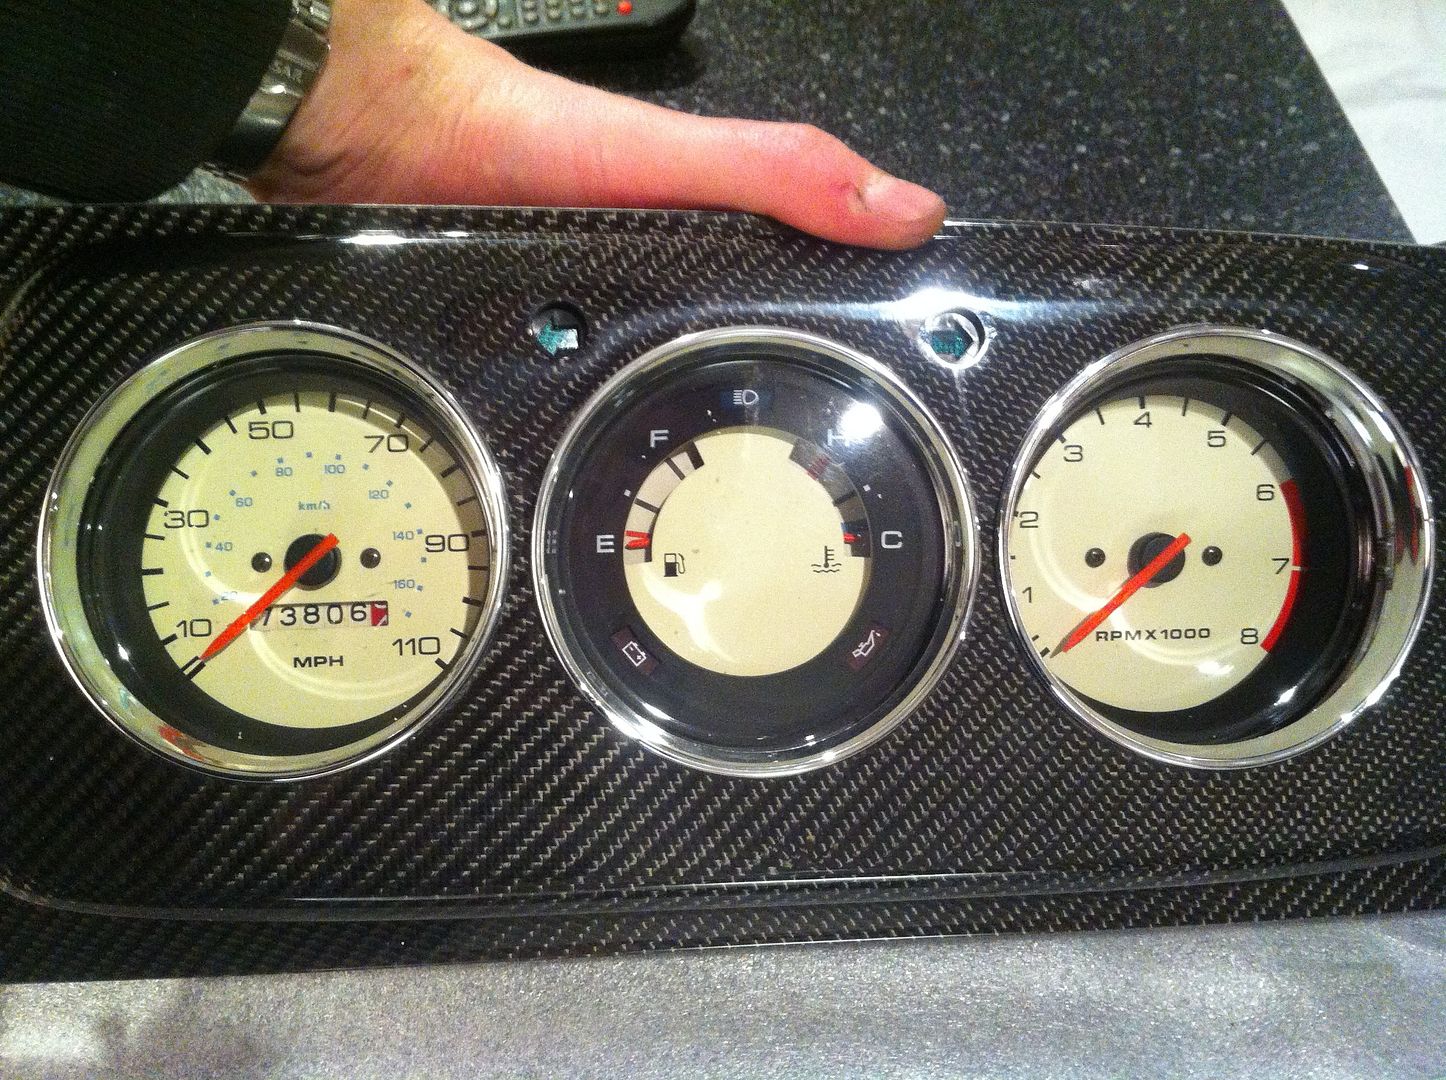
    Shame its still sitting like this but hey ho, plenty other stuff to be getting on with!


    More progress this weekend as Im off to see Fast 6 tomorrow night

    Comment


    • Progress! Parts finally arrived yesterday and this morning! First up, gearbox crankshaft seal. Genuine of course.


      And door shims incase the doors need finer adjusting and diff shims! 10thou and 6though. Exactly what I needed, which is handy!


      So with the shims acquired I shimmed up the diff, reassembled it and back on the box. Then befo fitting, tested it with the linkage. Click, click, click, click, lift and click! 1st thought to 4th and reverse. Result!


      Bought a special tool for the roll pins on the linkage. £3 and does its job perfectly! Makes the pins an ease to add or remove without damage!


      Replaced the oil pickup seal on the gearbox face (goes between box and block) needed changed!!!


      And then mated the box to the engine and the flywheel housing back in after fitting a new genuine main oil seal around the crank hole.


      Then was out the whole afternoon in town but did my mum was busy making up a cover for the gear stick gaitor. In door card matching suede. Looks great!


      So tomorrow it's flywheel etc back on and then install the engine again!

      Comment


      • Not long in from the garage. Been out since about 9.30am! So 13hrs aint too shabby!

        This popped up on my phone just to remind me that this is a week away.....


        First up, get the flywheel etc all on. Housing went on no bother s we marked up the bolts and the housing to match everything up. Top tip, keep everything loose until you have all bolts located them tighten. We tightened up a couple first and then found the others wouldnt go in. Save yourself the hassle!

        Then got the flywheel and clutch assembly on and correctly torqued up as per Haynes recommendation.


        Then it was on with the 'wok' flywheel cover and engine was hoisted into place. With the brake servo still being in to prevent having to rebleed the brakes, we made life difficult for ourselves but loosened off the servo and tied it with some rope to the rafters of the garage. Worked a treat!


        With the huge help from my parents, we eventually got the engine located in the subframe. Took longer than anticipated, the air was blue and the floor was red with blood from my burst knuckles but it was in! Then we set about getting the ancillaries all in. So all thats left to do is get the rad, throttle/choke cables, heater cable and coil wiring and HT leads on and its broom broom time! Should get all that done tomorrow night hopefully!


        So that was today. Hands are in tatters but worth it for this amount of preogress. Note the masking tape plaster quick fix :lol:


        Dedication and commitment? You bet! :thumb:

        Comment


        • Wee update. Finished everything off yesterday to get the engine going but didn't start due to flat battery. Home today from work to a charged battery and still no starting! Checked for fuel......

          So with fuel bought () and poured in we tried again. Still no start but strong spark and turnover. Looked at the choke cable and realised it was jamming the choke fully closed as the cable housing was up against the retaining bolt. So with that adjusted, it fired up first time no bother at all! Result! Again, its running terribly but the exhaust is properly sealed this time which is good and its popping and banging on overrun lovely

          Very happy with the work we did on the engine and box. Never tackled anything like it before (any of us!) and it hasn't got any leaks, be that oil or water. Drove it out to test the gears and we have 1st, 2nd, 3rd, 4th and reverse. Ace! Shame its not got the better final drive of the 1275 box but beggars cant be choosers! Ultimately I want to rebuild the now spare box but that can wait for now.

          So, first thing tomorrow, out to fine tune and then get going on other bits and pieces. Not looking for perfection from the timing as I will get Jim King to do that at MOT once its failed its emissions test .....

          Comment


          • Badly wet and windy, on and off, throughout the day so car stayed inside. Not ideal but made the most of it.


            Spent the first few hours playing with the carb/dizzy etc etc. It was backfiring through the carb, not revving and cutting out. Thankfully thats now all stopped but its not perfect. It is good enough to drive it to the MOT which is all I need though!

            Excuse the dust and dirt in the battery box! Needs a clean but got the three drainage grommets in after a quick stop at Autoparts. Had to buy three multi packs to get the three I needed.......


            Then got the front window rubber on (not window, thats tomorrows job!) As you can see it wasn't wanting to sit correctly and seemed far too long.


            However, with a bit of stretching and pulling it sat nice and tight in the frame. Hopefully the windows easy enough to get in now!


            With the front electrics done, I got the bonnet catch back in. Left loose for now to allow adjustment for bonnet fitting but its working.


            Grommeted up the choke and heater cables. Two of the hardest grommets Ive ever come across. Beyond tight!


            And swapped out the dull black plastic knob on the dash for a chrome one. Balances it out much better!


            I did try and fit the radio up loosely so I could disconnect it again for dash fitting. Need a couple of correct shaped connectors to get it done. Hopefully get lots more done tomorrow like dash, radio, doors etc.

            Comment


            • It's looking great! Seen your build on TMF as well.

              Comment


              • Just want to chime in and say that I've really enjoyed watching this build progress. Keep up the great work!

                Comment


                • Looks fab!

                  Since I've had a polished stainless steel shift knob, I also changed the heater knob back in the days. I went' to a hardware store and got me a closet door knob, which looked similiar. Maybe a touch you could think about, regarding your glove box knob. Would look ace for the heater as well.
                  My 1978 Porsche 924 build thread is quite boring.
                  * * * * * * * * * * * * * * * * * * * * * * * * * * * * * * * * * * * * * * * * * * * * * * * * * *

                  STRLW // Photography focused on vehicles

                  Comment


                  • what an amazing build!

                    I own myself a 1991 City E also. I'm still rebuilding it, but is not as awesome as yours!
                    Did you still have the standard 998cc engine?

                    Comment


                    • Oh, I love this!
                      Instagram: @Eurow

                      Comment


                      • impressive work!


                        http://www.stanceworks.com/forums/sh...t=16940&page=7

                        Comment


                        • Man, this is so legit


                          W I L D M A N 'S R O D S H O P


                          R.I.P P.WALKER 2013/11/30

                          Comment


                          • Originally posted by timmy201 View Post
                            It's looking great! Seen your build on TMF as well.
                            Thanks!

                            Originally posted by Rally View Post
                            Just want to chime in and say that I've really enjoyed watching this build progress. Keep up the great work!
                            Thanks its good to know someone is reading my ramblings

                            Originally posted by forloveandglory View Post
                            Looks fab!

                            Since I've had a polished stainless steel shift knob, I also changed the heater knob back in the days. I went' to a hardware store and got me a closet door knob, which looked similiar. Maybe a touch you could think about, regarding your glove box knob. Would look ace for the heater as well.
                            Good idea! Might have to look into something like that!

                            Originally posted by jgpeggeman View Post
                            what an amazing build!

                            I own myself a 1991 City E also. I'm still rebuilding it, but is not as awesome as yours!
                            Did you still have the standard 998cc engine?
                            Thanks! It could be with enough time.....and money haha! Yeh still got the 998cc but its got a destroyed crank end thread and now a broken 1275cc gearbox. BE good for a rebuild project down the road though......

                            Originally posted by MikeyRa View Post
                            Oh, I love this!
                            Originally posted by a3 german View Post
                            impressive work!
                            Originally posted by 244Brick View Post
                            Man, this is so legit
                            Thanks gents!


                            More work done on it toda with the help of Greig again!

                            First up, windscreen in. Took a while and a bit of haridryer heat required but we got there! Didnt get the locking strip in as it was far too cold and the rubber was very stiff. Try again tomorrow if weathers nicer!


                            He was very happy with our achievement...


                            Then we wired up the radio, and it doesnt work. Time to upgrade then.......

                            We built up the passenger door and then got the drivers door fitted. Fits ok but needs a shim on the bottom hinge I think to bring it up perfectly in line with the shoulder line. Good to get it on though!

                            Again Greig was enjoying himself fondling the inner wing.....


                            Finish = epic!


                            Inside looks not too bad either though


                            And then got this too! Some light bedtime reading ahead......

                            Last edited by Mini 360; 05-23-2013, 04:03 PM.

                            Comment


                            • Forgot to update this last night so here it is before I get todays work done!

                              It was a REALLY hot and sunny day so the toys all got out to play!


                              Went about fitting the windscreen fillet. The tool for this is around £15 so instead of that i modded an old coat hanger onto an old hand file. Worked a treat!


                              It went in eventually after leaving it in the sun and plenty of car shampoo water!


                              and that meant I could get my heavy duty wipers on! I did adjust the drivers side after I took this, dont worry...


                              And whoever said Minis are low......mine doesnt seem to be at the moment!


                              Two great engines but totally different beasts!


                              I got some rear dor bin liners from my parents as an early birthday gift. Will wait until the door cards are in before fitting as they are going to need a bit of modifying around the arch due to them being tubbed.


                              Got my new plates delivered too! I already had the Trig ones for shows but fancied some pressed metal 100% legal ones for day to day running! For the price of them they are great quality!


                              But me being me.......I didnt want to drill any holes in the front one for a cleaner look. So I took my old front plate, scuffed it up and painted it satin black....


                              I had already drilled some counter sunk holes to fit a couple of counter sunk allen head bolts....


                              and then with the paint dry, it was fitted to the car and then the metal plate fitted with number plate pads on the back. Clean look thats still removable if need be. Devils in the detail!


                              Got my rear view mirror fitted after I had broken it down for cleaning and polishing.


                              its as shiny on the back metal plate as it is on the glass.


                              Painted up my sun visor brackets before I get them fitted today with their new alcantara covers....satin black to be low key until i source some chrome replacements.


                              Given i have sportspack arches i need shorter bumpers. They are £50 each so Im going to try and cut mine down to fit for now.


                              I also got my internal boot release cable fitted up. Looks a bit rough but it will be getting carpeted over with a boot board so you wont see it in the end!


                              We waved off Iona and driver on their journey to the Thistle Run. Wish i was going too but it wasnt meant to be!


                              And with that days work done, we finished off with a BBQ before I went out for the evening. Good progress of little jobs, that seem to take an age to complete!


                              Today its wiring up the aux gauges, radio and possibly even get this dash fitted!!!

                              Comment


                              • Awesome work with the plate, Andy. Clean.

                                Where'd you get your plates done? I want some for the E36

                                Comment

                                Working...
                                X