Announcement

Collapse
No announcement yet.

1991 Mini - Project Trig

Collapse
X
 
  • Filter
  • Time
  • Show
Clear All
new posts

  • #91
    Had a wee while outside again. Not much done as ran out of things to do and need parts to be ordered before I can progress!

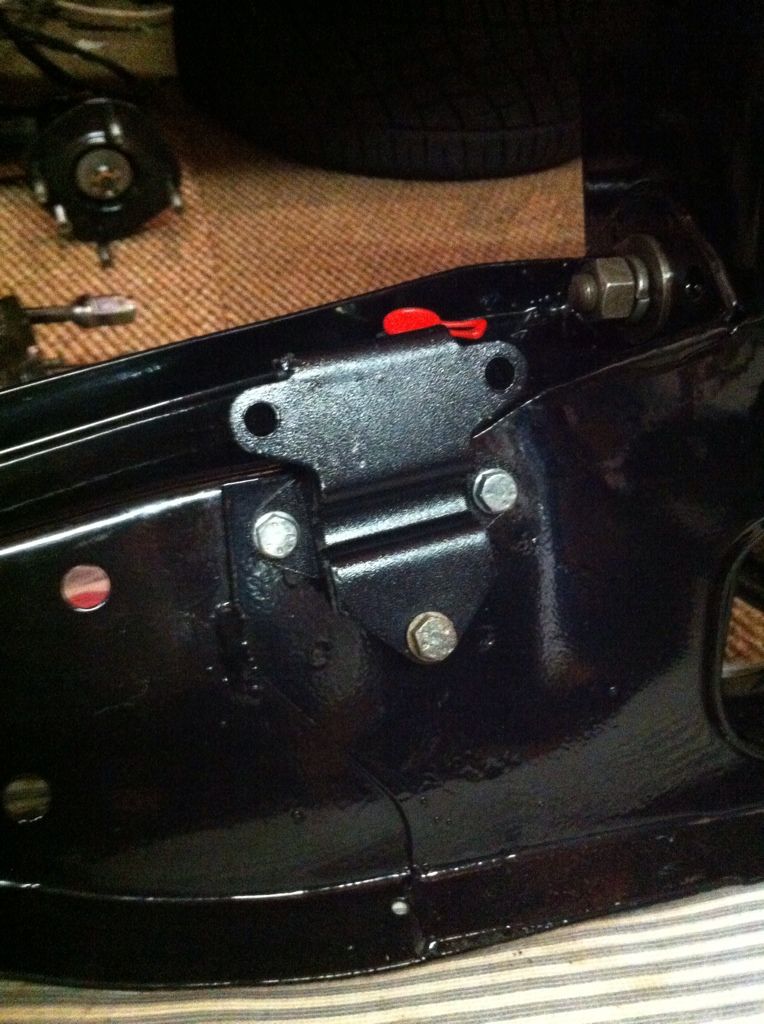
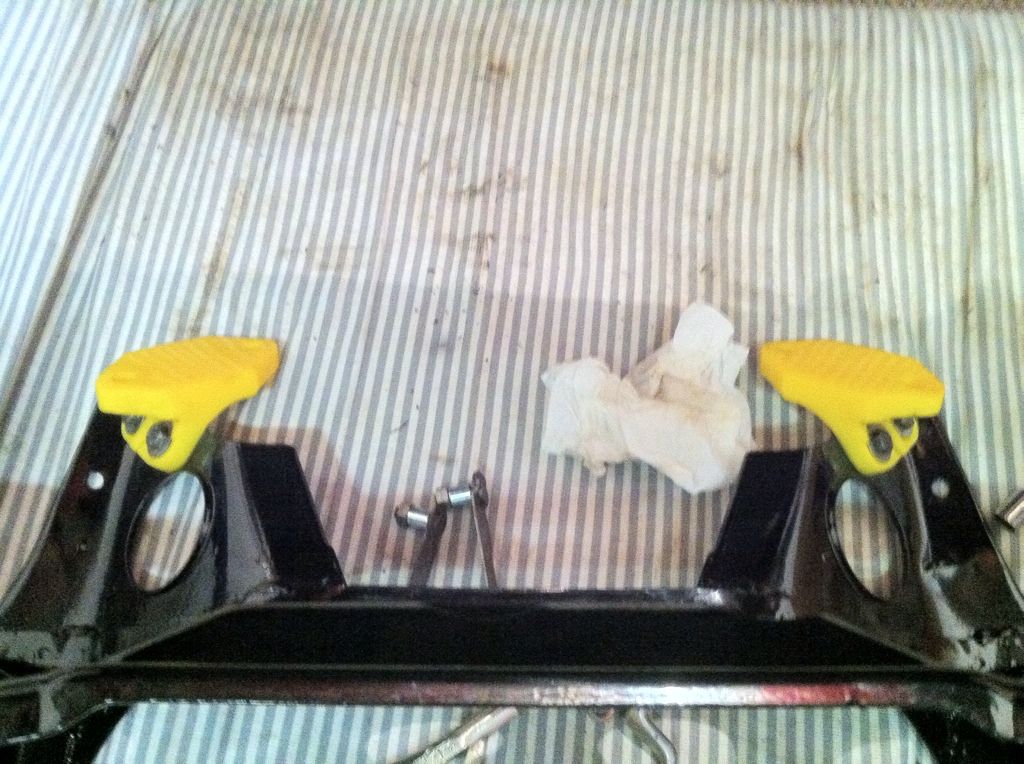
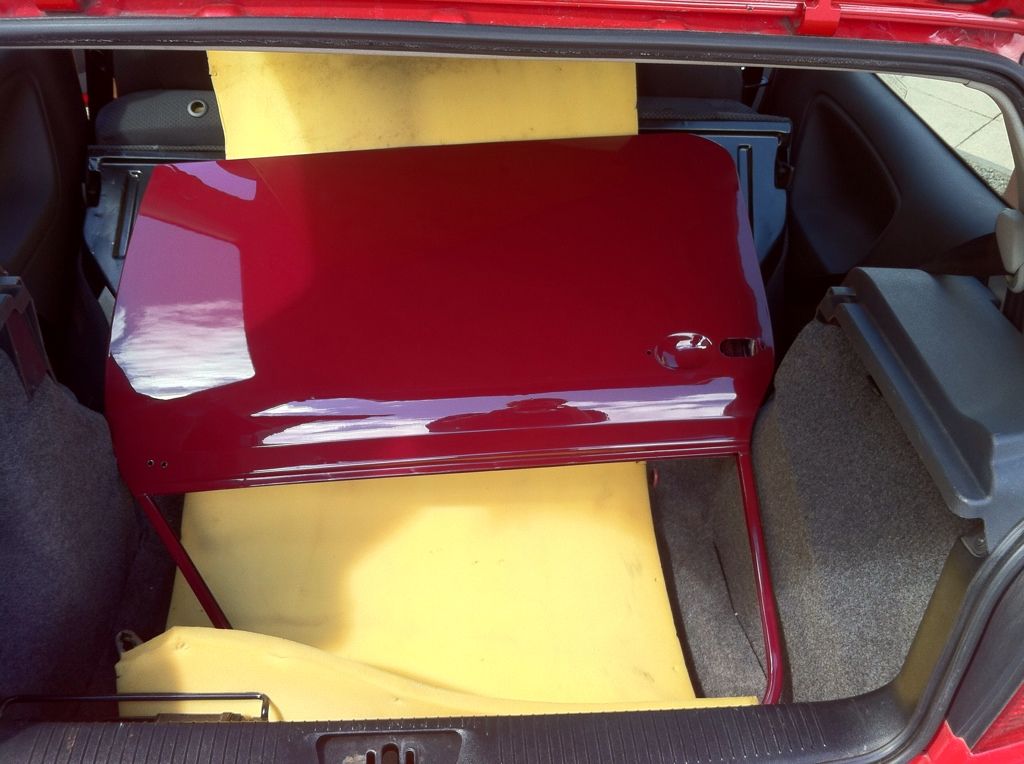
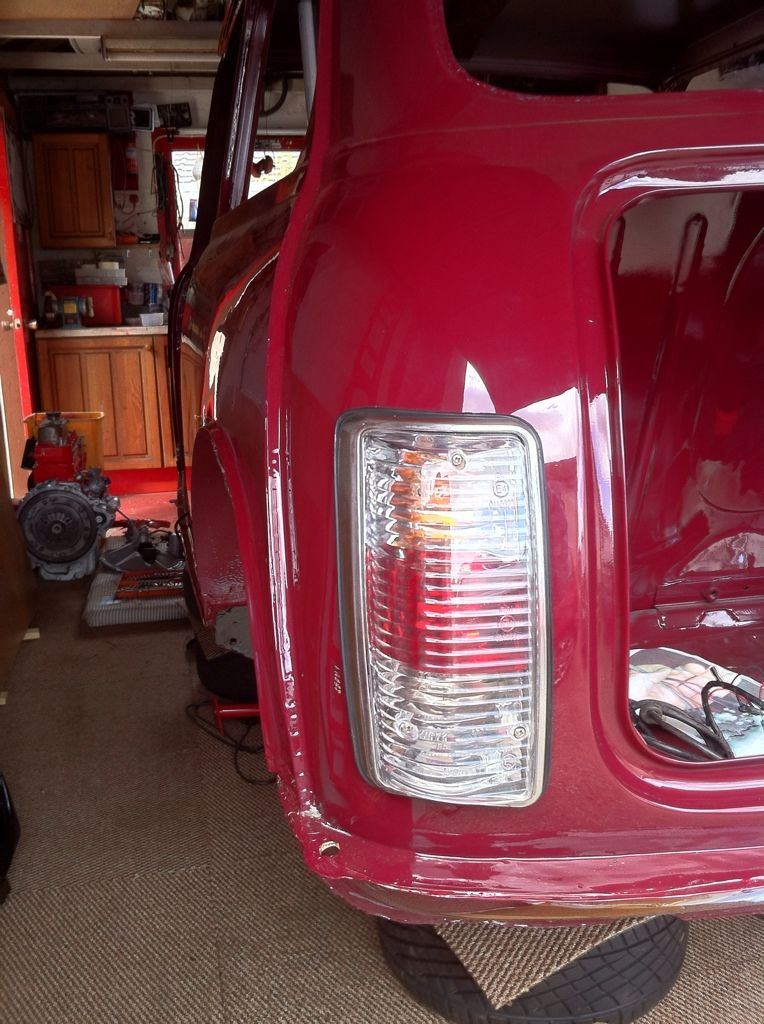
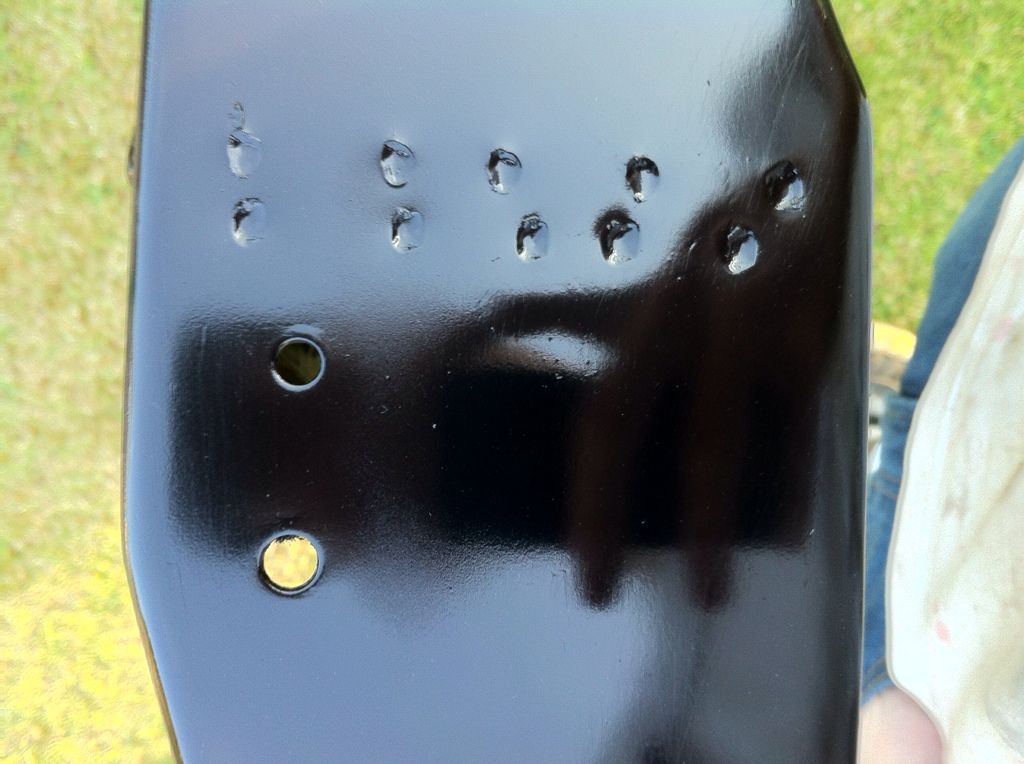
    Tidied up my fresh air duct that goes in the inner wing. As I don't have the eyeball vents in the dash anymore I needed to cover up the hole that leads to this. So one Hammerite spray can cap later. We have a cover :lol: Perfect fit for anyone out there looking to do the same!


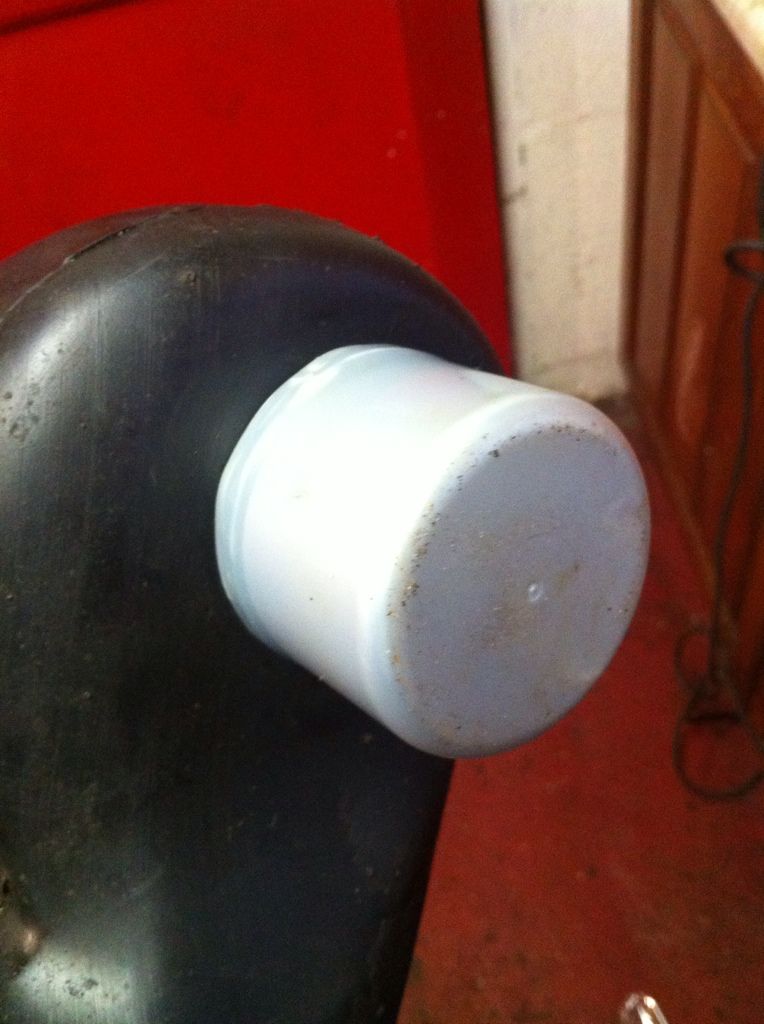
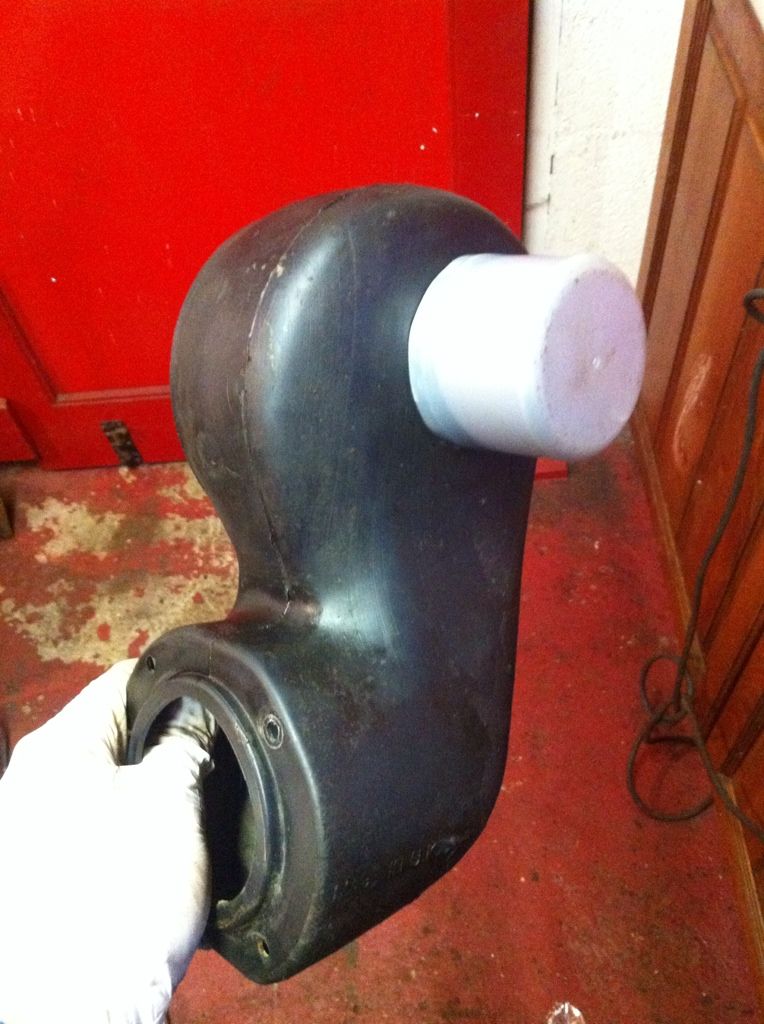
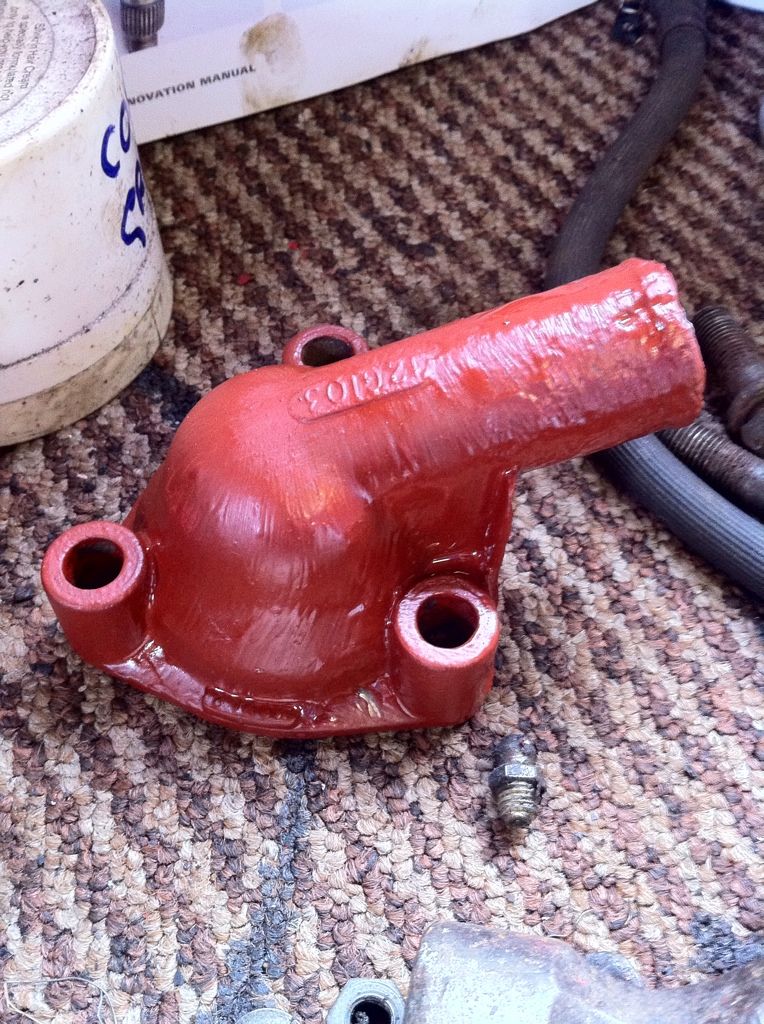
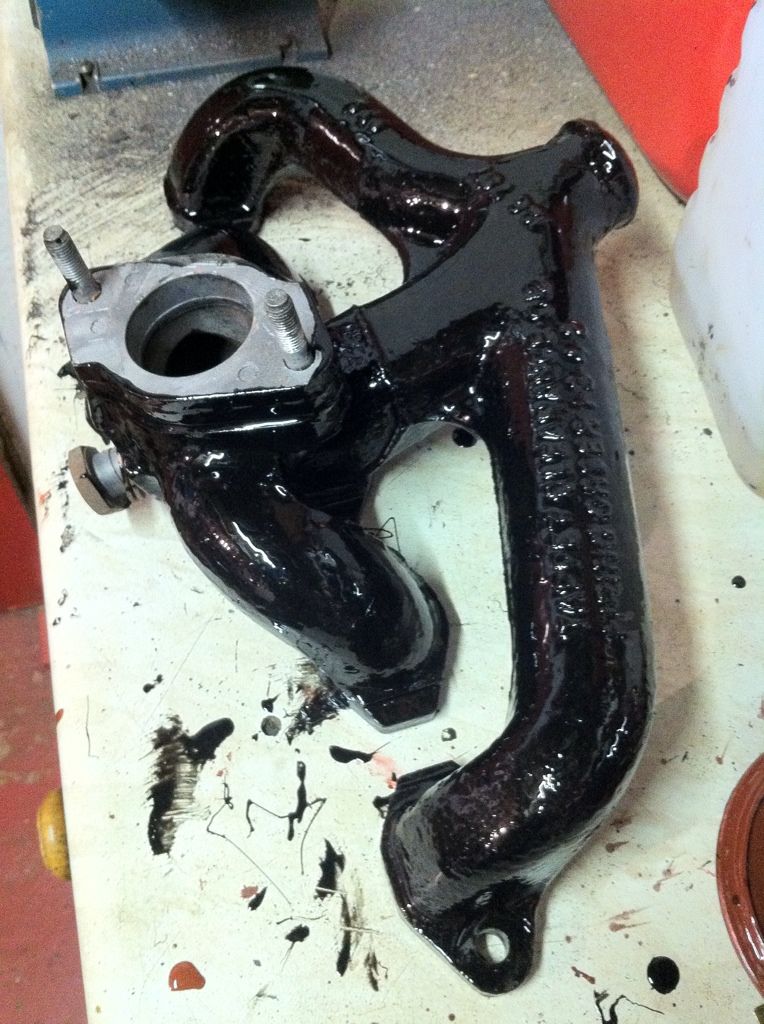
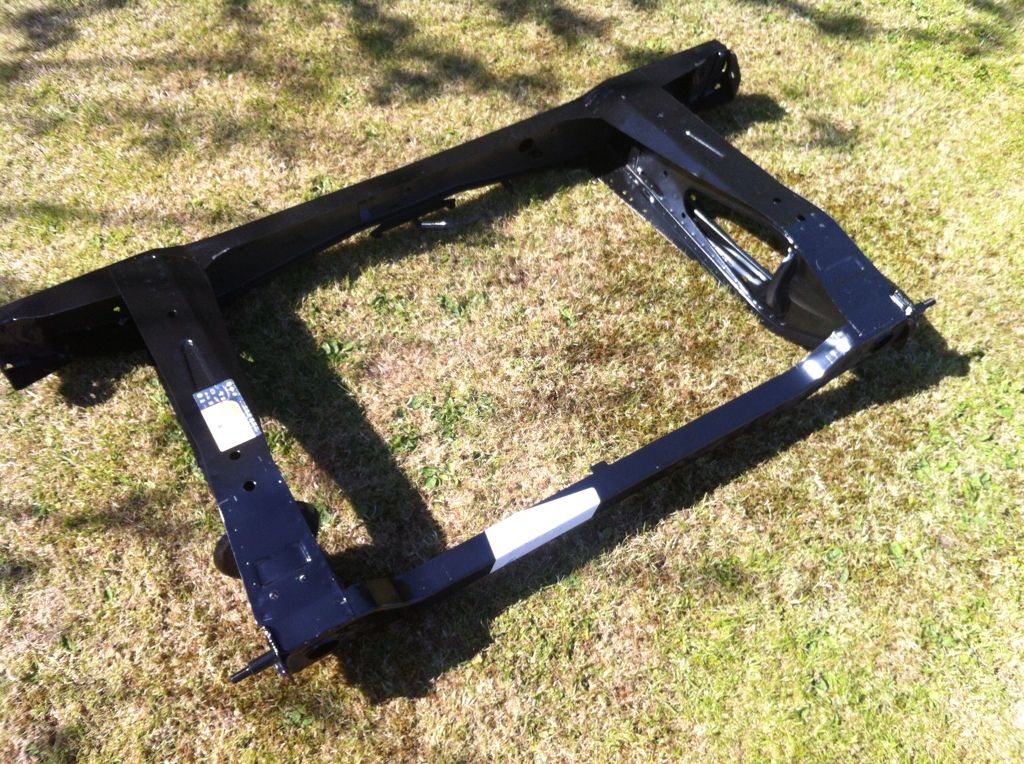
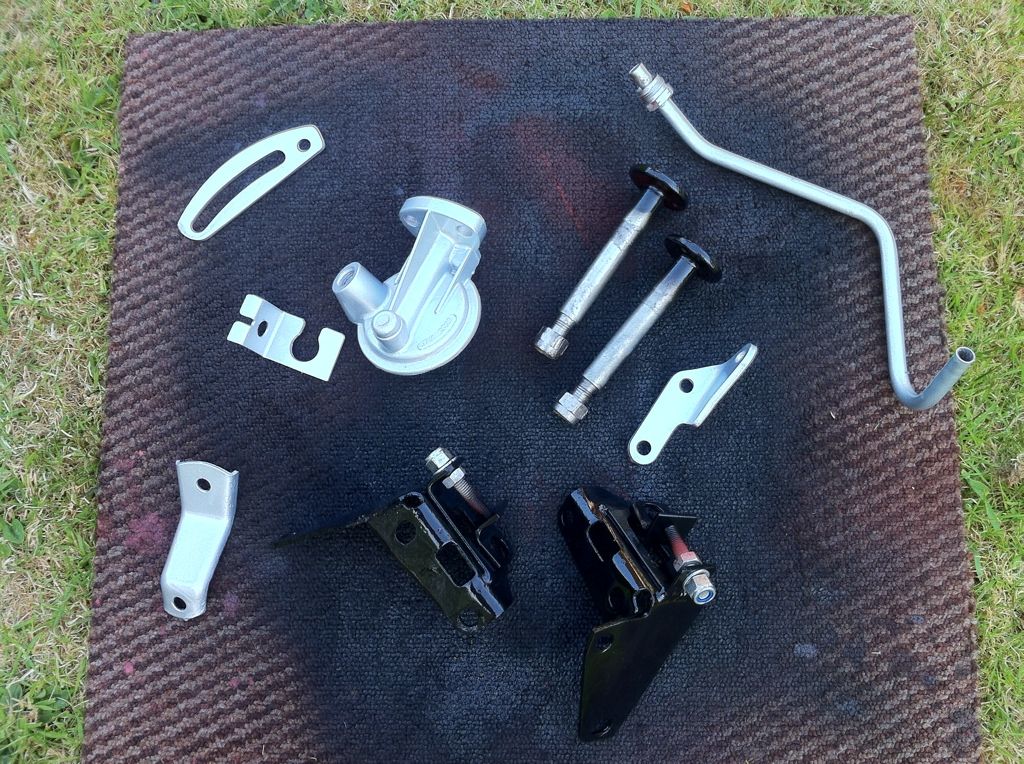
    Gave a few parts a coat of hammerite so leaving them to dry. Then I ran out of things to do so came in again. Frustrating lack of progress and parts list needed is scary.....return date of 3rd June looks all but a dream now.

    Comment


    • #92
      Another few hours of graft tonight. Not as much as I would have liked but awaiting parts and waiting for stuff to dry meant I couldn't get more on.

      But I got the front bumper on as I was fed up of catching my leg on the leading edge. Stainless bolts and rubber grommets throughout and underside of bumper painted with Hammerite for rust prevention.


      Painted up a few more bits but nothing interesting. Got my air duct bolted in, again with stainless bolts. Pig of a job for clearance and access but got there in the end. Not a fan of fishing for bolts when you can't see what you're doing!!!

      As one tie bar and bottom arm were dried and ready to go, I got them bolted in with poly bushes in place. Contrast of black and yellow looks ace.


      Ultimately these will be replaced with adjustable tie bars and bottom arms for neggy camber but funds simply don't stretch that far at the moment which is a shame.....

      Should HOPEFULLY get my parts tomorrow but if not Monday and I can get going with fully reassembling the front frame, get it installed and then get the engine in and wired up ready to go. I feel i need to get this stage done asap so I feel like the car is progressing as at the moment it feels like its not progressing at all.

      Also texted Phil about door, boot lid and bonnet and he says they should be ready end of this coming week so can't wait for that. Been waiting a while but I know they finish will be worth the wait, especially my little surprise on the bonnet.

      Comment


      • #93
        Got a wee bit more done. Mainly bolting things to the subframe ready to accept the engine again. Got some help from my mate Greig again which was dam handy when it came to the Hi-Lo's!

        So engine mounts.......


        Braided hoses from frame to calliper


        and then the hi-lo's. I don't have the tool at the moment as a mate is using it so it was a bit of a fiddle but they are in! Pretty much put it in as a top arm, hi-lo and spring assembly and then fixed it in place with the top arm shaft. Pig of a job but its done now


        Need to give it a dam good clean up as grease went everywhere and yes I know I have to fit the rubber over the nylon cup to stop it getting filled with crap but it was getting late so finished up for the evening

        Next stage.....who knows!

        Comment


        • #94
          Good to see those Hi-Lo's wound right down

          Comment


          • #95
            Originally posted by Minuki View Post
            Good to see those Hi-Lo's wound right down
            They can be wound up? 
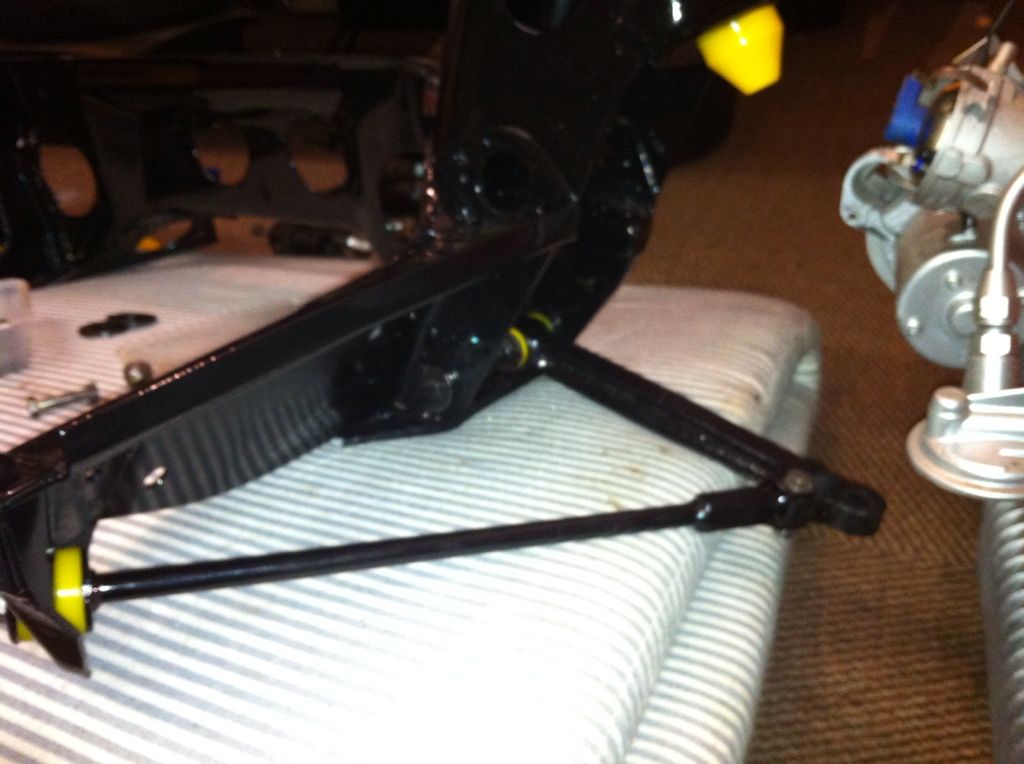
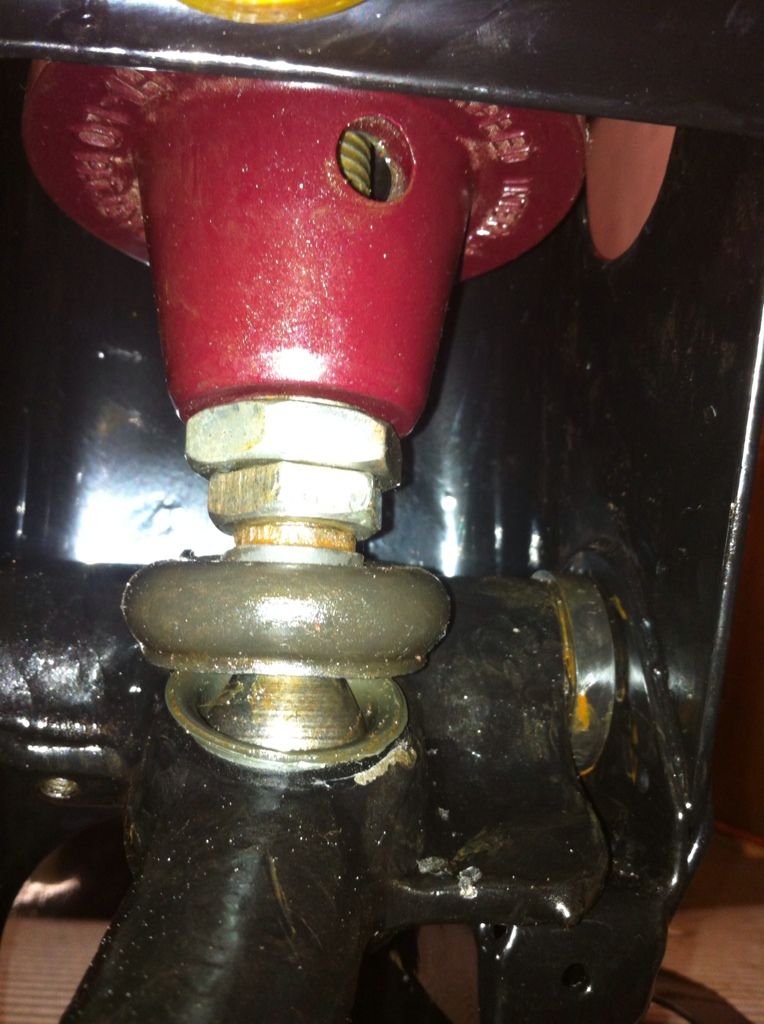
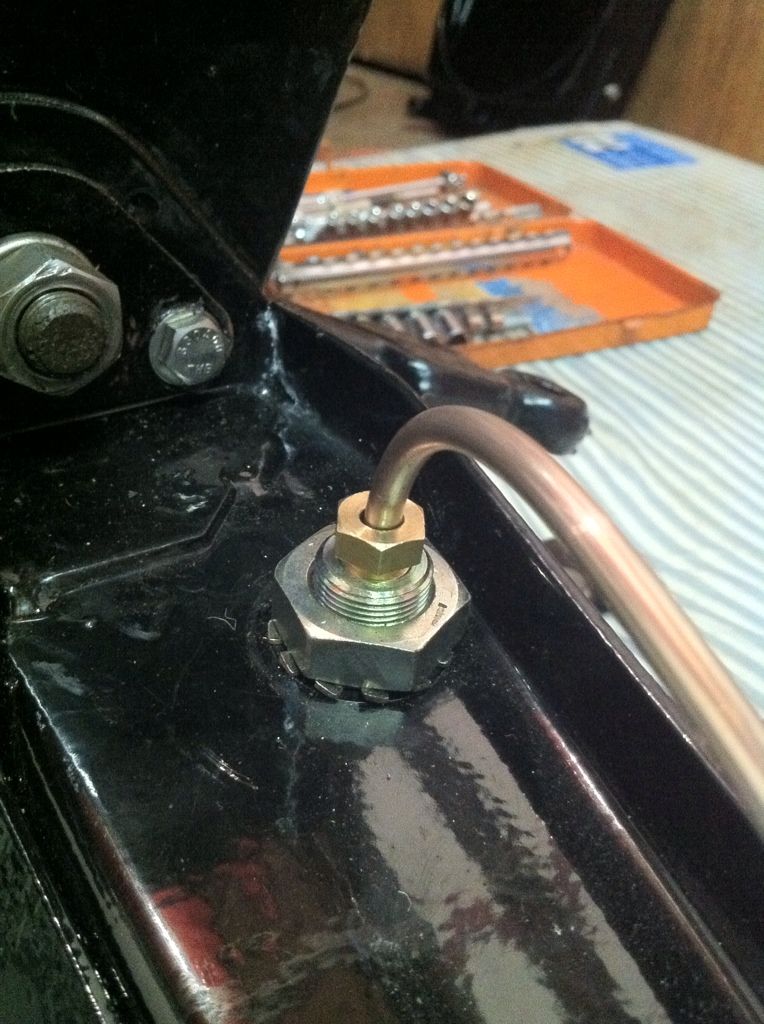
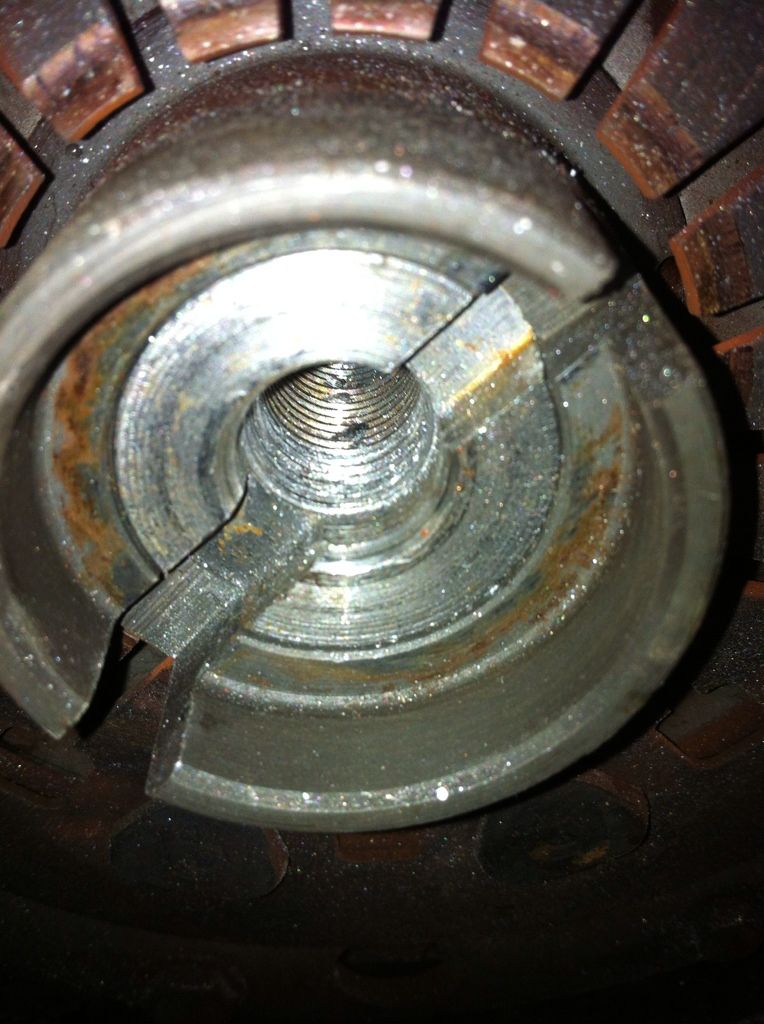
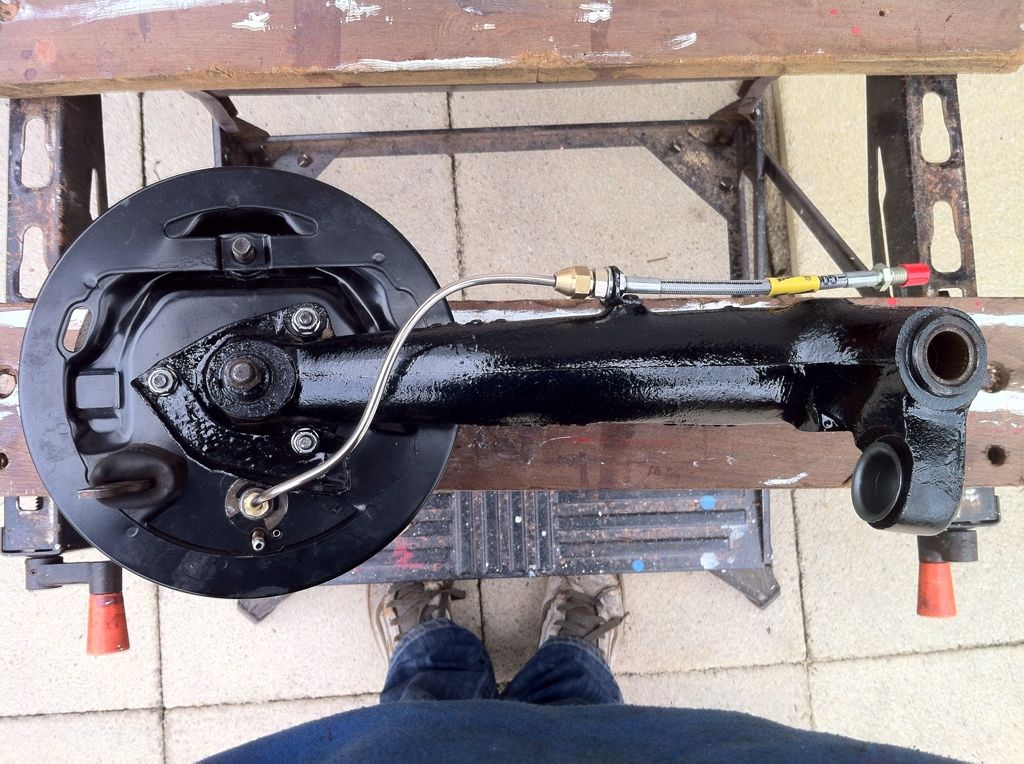
If its not low enough I will just get rid of the adjuster bolt

            Comment


            • #96
              Finished uni so Ive been working a fair bit to keep me busy. Means more monies for the rebuild too 
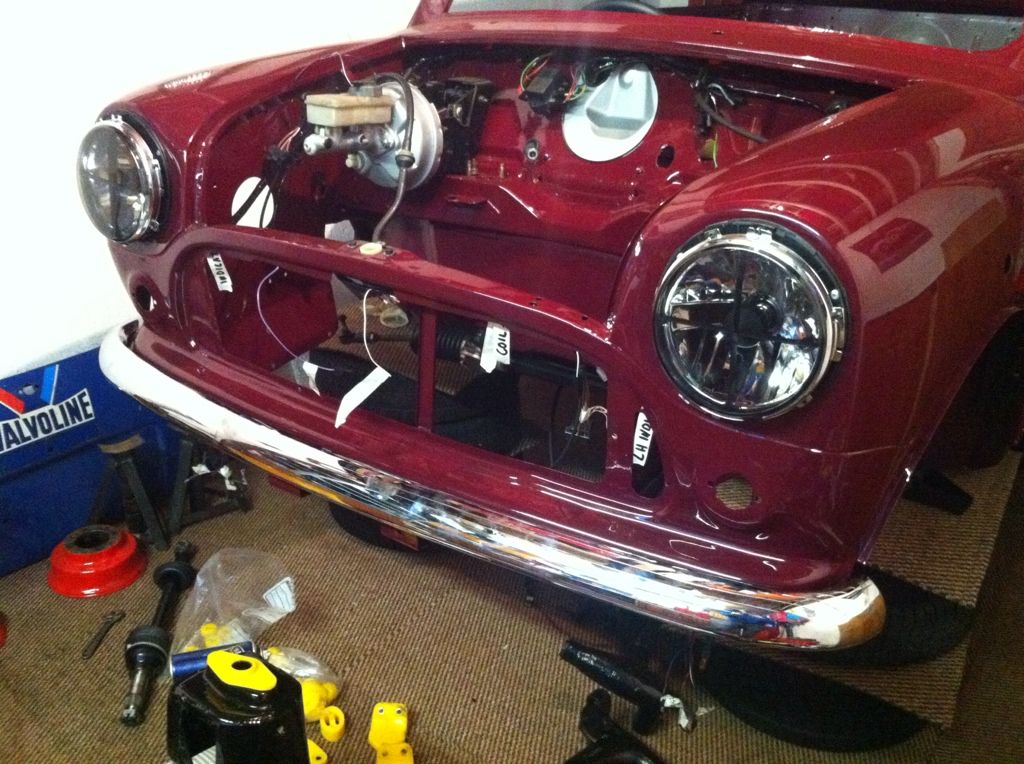
But today my dad began his weeks holiday from work so we got stuck in (after a break for the epic grand prix of course)
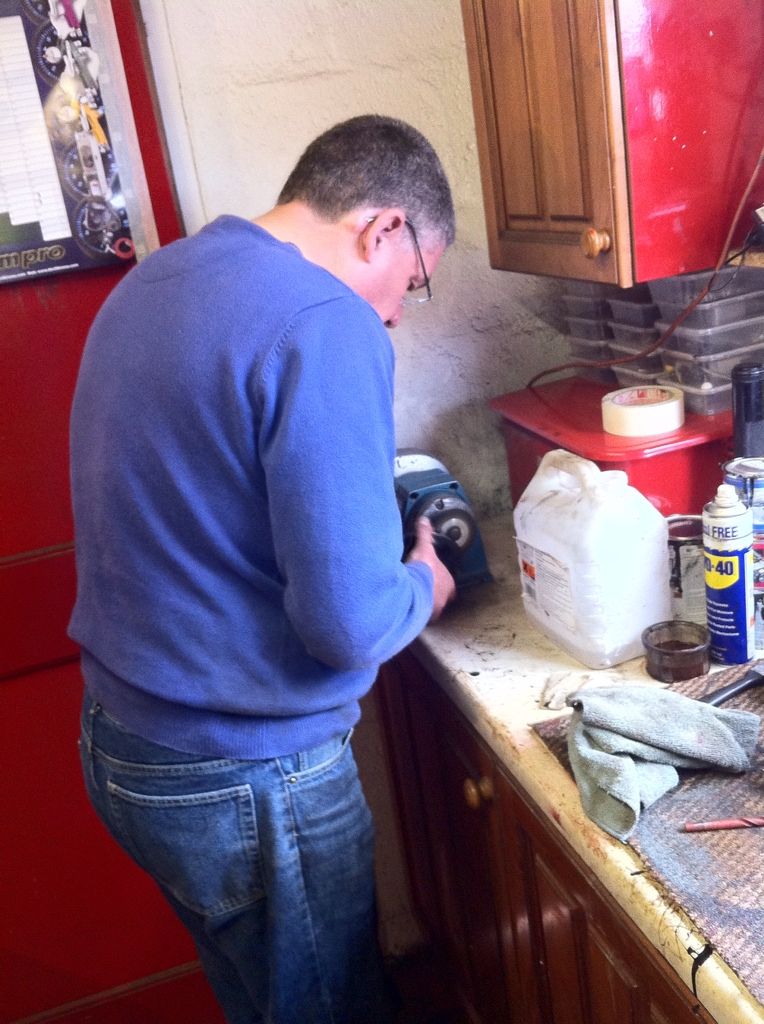
              So the helper getting stuck in with the cleaning up of parts!


              I had tried to shim up my hub ball joints before but the kit didn't have enough shims. So I contacted Simon at MiniSpares and got some sent out FOC straight away. More great service but postage is still really slow. Could be because Im in Aberdeen but its the mainland so no reason why it takes so long.

              However we got both hubs completed and now we are just waiting wheel bearings to go in.


              Also you may remember my CV joint ball bearing issues. Well after my 7th attempt we got it all assembled. Not a fun job! But this meant we could get the driveshafts fully reassembled ready to go back in. Just need to buy proper clips to seal them all up.


              And with that dad cleaned up one of the pot joints and gave it a lick of primer and then paint.


              Also got my thermostat cover stripped cleaned and primed. Waiting for it to dry to give it the top coat of silver.


              Took a look at my old brake pipes for a bit of reference for refitting. This was the rear section that sits on the rear frame. Pretty horrible and rusty....


              however after a clean up.......


              it looks awesome again!

              I also got the front subframe rear mounts fitted to the frame ready to go....


              and I began to run the brake lines on the front subby too...


              Im just awaiting a banjo bolt for this union now.


              and then left some more parts to dry overnight.


              and this standard intake/exhaust manifold is for sale now its all nice and shiny again


              So lots of progress! Plan to have the engine and from subframe in the car by end of the week.

              In other news I have just ordered a genuine rear subframe from MiniSpares. Costs a bomb but being genuine it will fit and will last forever with the right protection. Should arrive by end of the week hopefully which means I can finally get the car rolling! Then theres no holding me back

              Comment


              • #97
                Wee update. Nothing major as parts are en route to progress. Main part being a genuine heritage rear subframe (huge dent in the pocket....) as I have been mucked around by two guys from TMF now offering genuine frames only to find one had been sold to a relative and then one seemed to want it collected not posted. Shame as it would have meant money saved but I need a frame to get going.

                So got a text from Phil saying almost all my parts were done. Went over this morning to get a door and my arches. Bootlid is done as are the seam strips but didn't have enough room in the polo to take them home too without risking damaging them.

                So heres the pic I got sent. It looked awesome even here......


                Then I saw it and it was just as good as the car itself. Spotless and totally like a mirror.


                and this is me in its reflection. No distortion in the paint, only the shape of the door thats making me appear pretty short when intact Im 6'6"! Stunning finish as expected from Kirkton!


                I then found out how small the polos boot is.....made to measure!


                Also my dad has been busy breaking down the rear brake assemblies and refurbing all the parts in them. Everything seems pretty good nick/new anyway but Ive had a set of Ferodo brake shoes sitting for years in a box so fitting them in while the assemblies are apart which should make the brakes perfect. My back plates were rusted through in a couple of places so some genuine AP ones are on their way as I type. Will get them rebuilt and adjusted asap to then bolt onto the trailing arms.

                Got a wee order from MiniSport on the way too. Mainly pins, seals and other little things. Devils in the detail as they say!

                So hopefully I will get my frame by the end of the week meaning I can get stuff bolted onto it saturday ready for fitting sometime next week. Also hope to get the engine into the front subframe and then lower the car onto the assembly. Fingers crossed that install goes smoothly! Cant wait to get the car onto all fours finally!!!

                Comment


                • #98
                  So today we thought it would be a great idea to get my flywheel off the engine in order to change over my clutch. Bad idea.

                  We bought the flywheel puller tool designed solely for the Mini however we didn't know what all came in the kit and it turns out we were missing a bit..... This resulted in us stripping the threads on the end of the crankshaft. One ruined crank and engine!


                  Picture doesn't look too bad but the thread is beyond repair and theres no way Im going down the engine strip down route as its just a standard 998 at the end of the day and Im not keen on the idea of ordering a new crank and getting it all balanced up either......

                  SO! After many sweary words we got started on the 1275cc engine I have had lying for about a year. I didn't want to install this engine as insurance will be nuts as is given the amount of modifications the car now has. Being only 20 this isn't ideal but needs must!


                  Looks pretty tatty but so did the other one. Managed to get it all cleaned up and Deox'd and its now sitting in primer ready for top coat tomorrow.


                  While we were working away on this my MiniSport delivery arrived. Nothing major but it did contain genuine AP brake drum back plates. So we got stuck in and rebuilt the assemblies. Easy enough which was good as I was expecting it to be a nightmare job.

                  So a before and after......


                  and all reassembled!


                  And I also got my pot joints cleaned internally and then popped these onto the driveshafts. Nice and easy thankfully! They are now, along with the CV boots, clipped on ready for refitting.


                  Only got one done as the other was only painted today so leaving it to dry.


                  So a productive but rather annoying day. Didn't intend on ending today with a 1275 engine away to go in but I think its a blessing in disguise.....more poweeeeeeer!!!!

                  Tomorrow is more engine painting and then get as much bits from the 998cc engine transferred over to the 1275cc. So all in all its not been a massive hold up.

                  Comment


                  • #99
                    Another day of works!

                    First things first I cleaned up the engine a bit more and gave it another lick of primer. Looks much better for it. End of the day I got it painted in its first coat of Rover Flame Red. Properly bright and a proper red, unlike all the engine paints which end up drying more orange than red in my experience!


                    Notice it is the later 1989 Flame Red which was more vibrant for the Flame Red special edition.


                    Also got the radius arms all built up with brakes, handbrake guides and brake pipes. Braided and polished cunifer brakelines throughout!


                    Also got my other pot joint all greased and assembled whilst things were drying.

                    Few parts have been left to dry overnight. Rocker cover from the new 1275 and loads of washers for bolting on the arches. They weren't painted before and trapped rust as a result. Primer and then hammerite for the lot of them, rocker cover finish I'm not sure on yet though....


                    Also got one of my rear lights installed and new lens put in. Same as old ones but not cracked :lol: Im not 100% on them at the moment but will make a final call when its all together. Bit marmite but I like them....I think... :lol: The red and white/silver ties in well with the body colours. Idea behind them is they are more modern styled with no sharp edges/lines unlike the clear versions of the standard lights that you get which look god awful.


                    So thats todays work!

                    Working tomorrow all day and night but will get going on it again on Monday.

                    Comment


                    • Today I had a lie in after an epicly long shift at work. But I was awoken by the postie with a huge parcel.

                      It contained some Heritage loveliness


                      Genuine Heritage rear subframe. Expensive, yes, worth it, yes.


                      MOWOG stamped as it was from factory.


                      All I need is new bolts for the boot floor and healboard to frame so will go to Grampian fasteners later on in the week. Most of mine snapped when i removed them.....

                      Got another couple coats onto the engine too so the finish is great and should stay well. The frame came with radius arm brackets but I ve changed them over for my adjustable camber brackets instead. Also got new front wheel bearings so I got them installed. Pretty easy really, you just have to take your time with it so as not to damage the inner faces of the hubs or indeed the races.

                      Comment


                      • Today I was working 7am-4pm so when i got home at 5 I went straight to the garage seeing as the weather was a toasty 20oC!

                        Got my wheel bearings done and seals installed.


                        Then it was time to add some much needed girth to the car. Step in sportspack arches!


                        They are 3.5" wide each side so makes the car 7" wider. Ace!


                        And here they are fitted. The seam strips aren't a great fit so going to buy different ones and redo it. These are all puckered and don't hug the body well at all. Its not perfect so therefore it is wrong.


                        I also took the new electronic dizzy and gave it a clean up on the bench wheel.

                        Before....


                        After....before I go and paint it silver to protect the finish from going horrible again.


                        Then I took my new rocker cover and repainted it. Hd done it in red but it needs to contrast with the block. So I took a can of Rover Charcoal Grey that is used on my best Mini mates Mini. Ties the two cars together very subtly I think


                        It still needs lacquer and a polish up but its a beautiful colour when its finished.

                        Tomorrow Im going to buy loads of silver paint to do all the cast pieces on the block and ancillaries. Then the engine will be ready to go onto the frame and into the car. Also going to buy black paint for the rear frame so its got some good protection on it for the future. Once its done I can finally get the car rolling again then its full steam ahead for MOT! I can see the light at the end of the tunnel now....

                        Comment


                        • Loving the last few updates, you wont regret that 1275 going in, much more poke than from the 998! IS it a metro or mini 1275? MY brother had a metro one in a clubby estate, drove well

                          Could you drop me a pm where you got the rubber strip for the arches and the ones your changing it with?

                          Comment


                          • Originally posted by Jozi View Post
                            Loving the last few updates, you wont regret that 1275 going in, much more poke than from the 998! IS it a metro or mini 1275? MY brother had a metro one in a clubby estate, drove well

                            Could you drop me a pm where you got the rubber strip for the arches and the ones your changing it with?
                            Thanks! Cant wait to test out the 1275 right enough! Its a Mini one from a May 92 onwards car so quite possibly an SPi block but converted to carb at some point.

                            I got the strips from MiniSport and they were roughly £8 each. So £30ish for all four. The ones Im going to fit now I have discovered in my garage and they are genuine Rover items which are discontinued now which is a shame as it means I can't mess it up :lol:


                            Went to get a few more bits from Phil at Kirkton. Nothing major really....just some body seams....


                            Oh and a boot lid as well.....


                            IT IS EPIC! Stunned at the finish and smoothness of this metal lid. Fit will be bang on as a result and the depth of the paint is just crazy. Beyond happy with it!


                            Heres the sort of shine its got. Mental and absolutely no distortion whatsoever.


                            didn't get any work done but tomorrow Im off work, as is my dad so I plan to go and get bolts for the rear subframe and then get it reassembled ready for fitting sometime next week.

                            Comment


                            • Well today I got some bolts from Grampian Fasteners for the rear subframe. Brilliant place with every bolt known to man. Brilliant service too. Spent best part of 15mins finding about 8 bolts for me :lol:

                              Once I was home most of the day was spent respraying stuff after I had stripped it all and cleaned it. Paint took minutes to dry in the sun today where it hit 25oC at one point!

                              Mainly engine stuff, all in Rover Quicksilver or gloss black. Silver got loads of clear lacquer too get the shine up too.


                              Also spent most of the day in the sun sipping on champagne as its my parents anniversary today. Not a bad way to spend a day off!


                              And I also rubbed down my new subframe as the paint is just to prevent it from corroding in transit/storage. Then gave it a coat of gloss black paint. Used a whole 500ml can for the first coat so I need to get more.....finish isn't too bad for rattle cans but its just for rust prevention not show/concourse.


                              Working next couple days but Im off Sunday again so hope to get the frame all done and dusted ready to go in sometime mid week.

                              Comment


                              • I got paid yesterday! So thats 4 different orders from 4 different suppliers completed!

                                Silent Coat sound deadening
                                Silver Anodised billet alloy bonnet hinges and reservoir plate (look amazing!)
                                Front door window stainless trim
                                Red anodised rocker cover t-bars
                                Rear subframe trunion pins (old ones had badly worn threads, not ideal on a critical safety part!)
                                Electronic dizzy to loom converter cable (1275 uses electronic dizzy so utilising it for reliability!)

                                So all that should be here by mid week hopefully. This SHOULD be the last parts I need to get it back on the road which means I can then start saving for a Honda Integra Type R to replace my daily Poslow with

                                Comment

                                Working...
                                X