Announcement

Collapse
No announcement yet.

1991 Mini - Project Trig

Collapse
X
 
  • Filter
  • Time
  • Show
Clear All
new posts

  • Mini 360
    replied
    Finished uni so Ive been working a fair bit to keep me busy. Means more monies for the rebuild too 
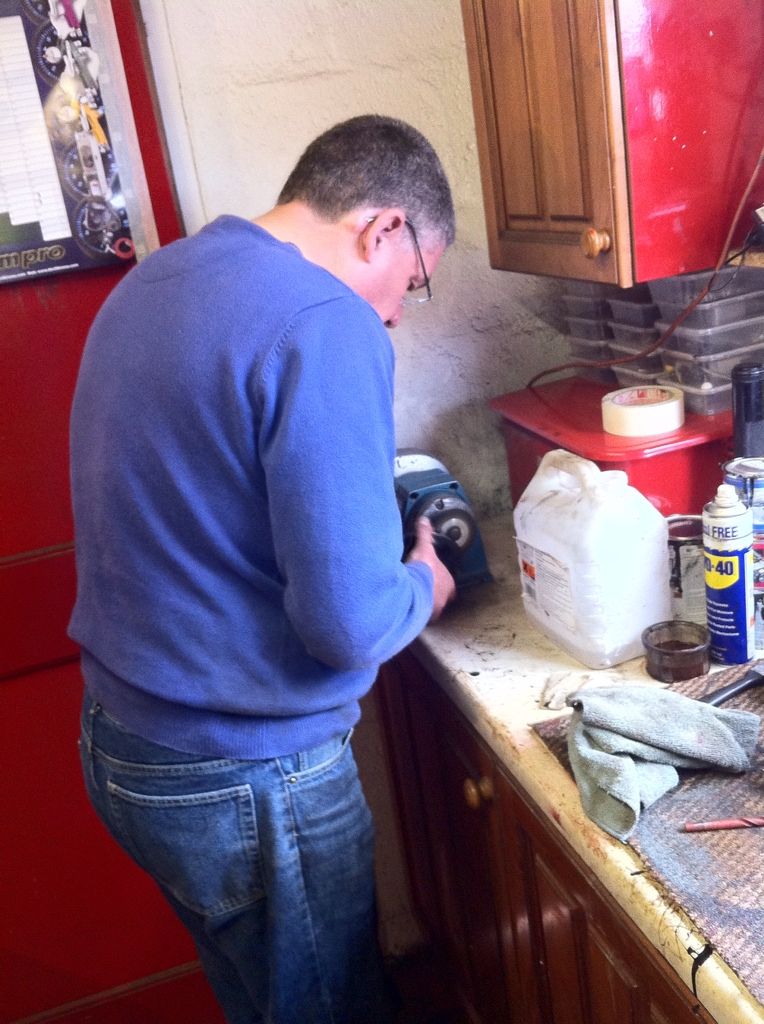
But today my dad began his weeks holiday from work so we got stuck in (after a break for the epic grand prix of course)

    So the helper getting stuck in with the cleaning up of parts!


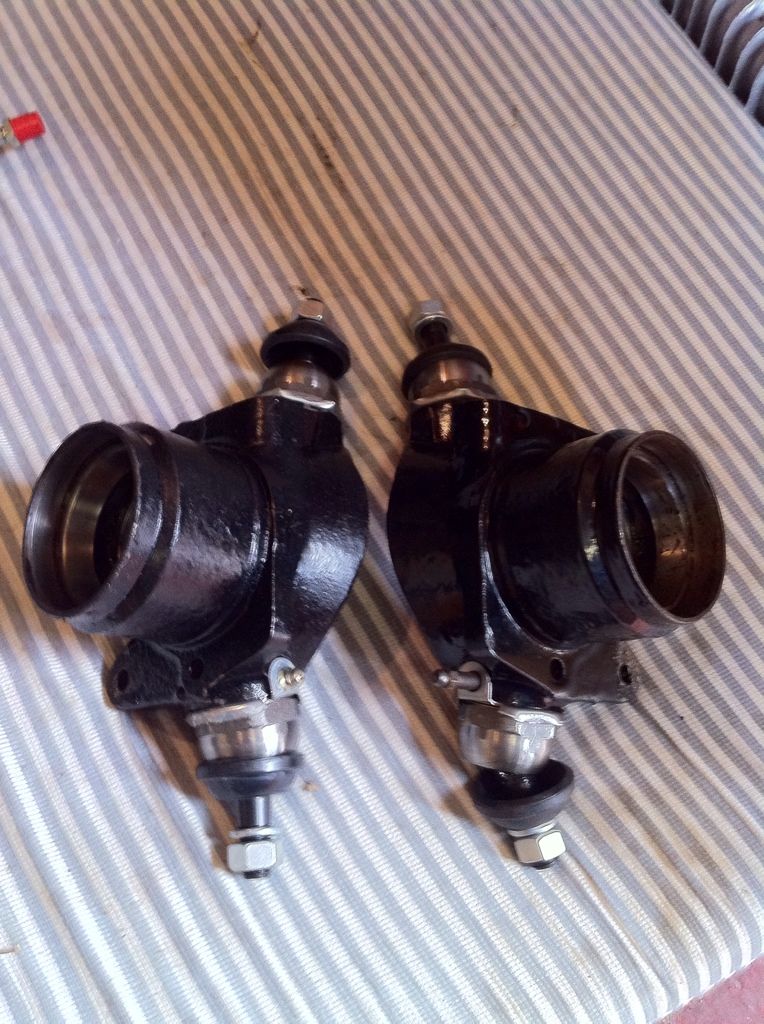
    I had tried to shim up my hub ball joints before but the kit didn't have enough shims. So I contacted Simon at MiniSpares and got some sent out FOC straight away. More great service but postage is still really slow. Could be because Im in Aberdeen but its the mainland so no reason why it takes so long.

    However we got both hubs completed and now we are just waiting wheel bearings to go in.


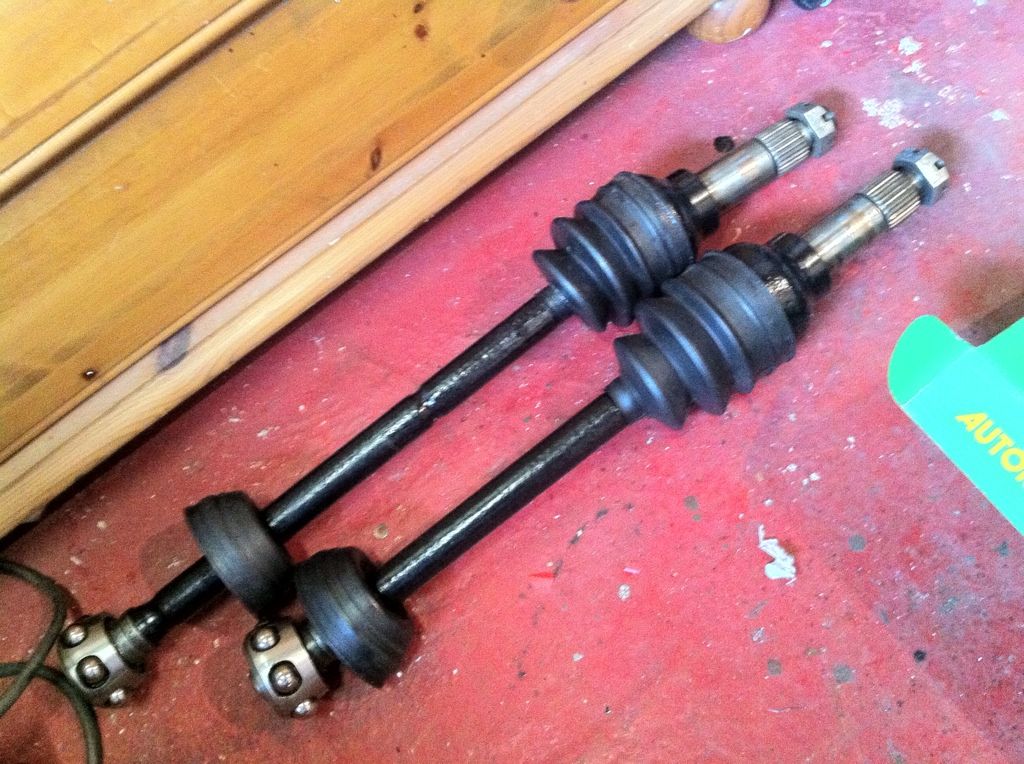
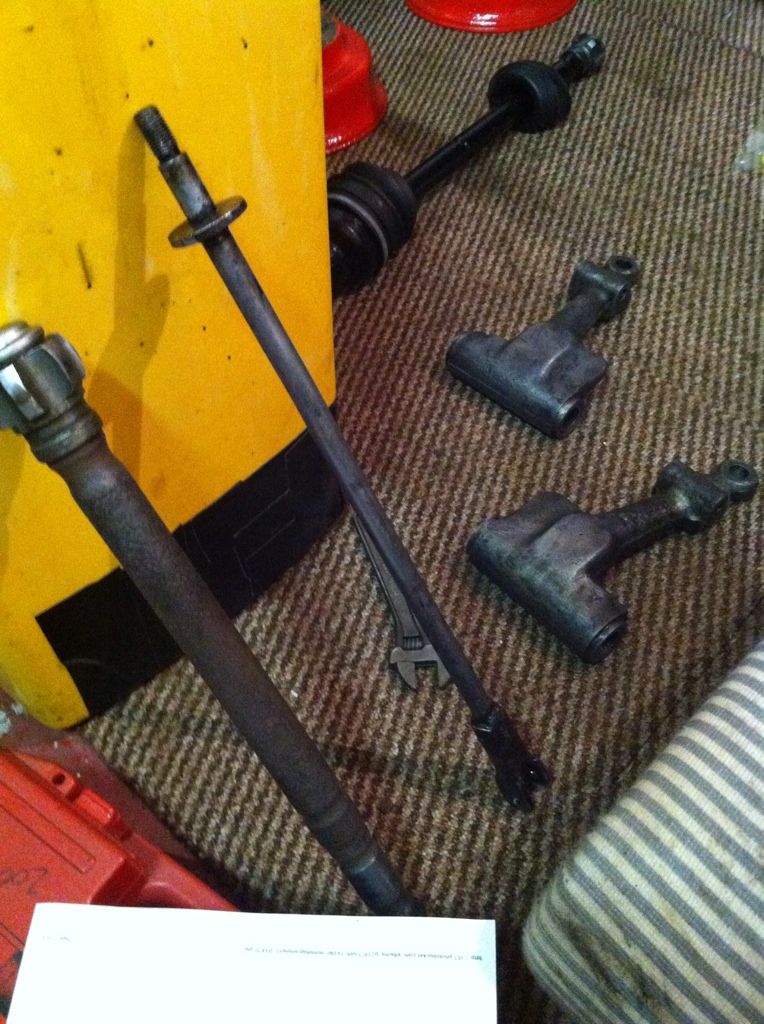
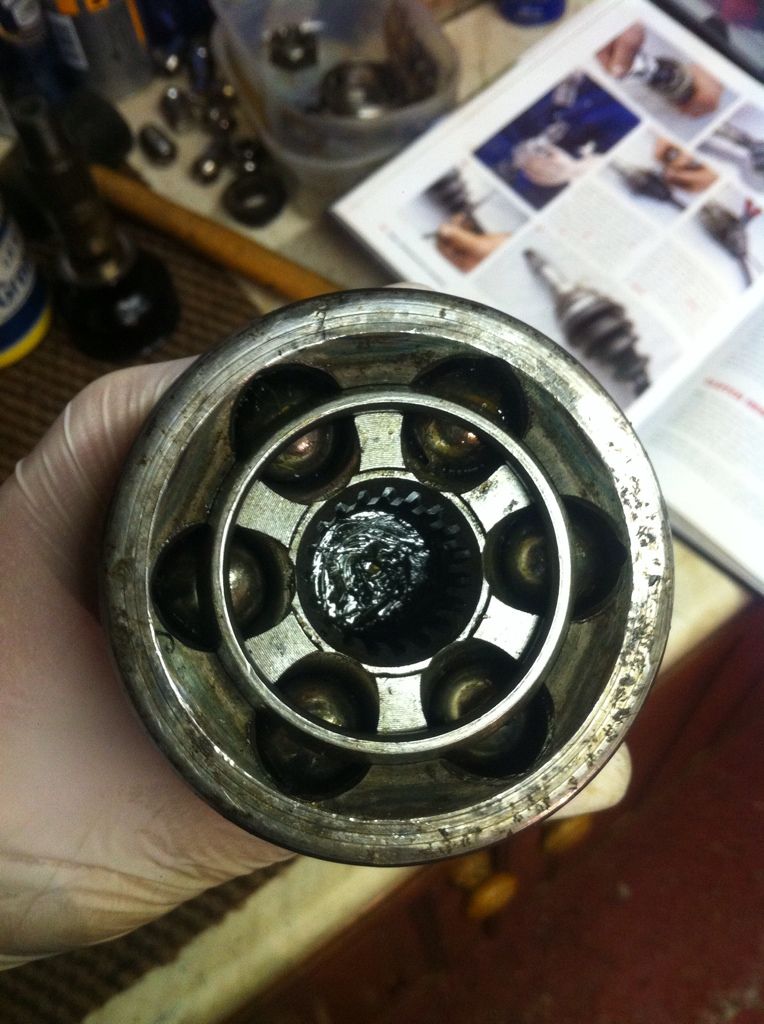
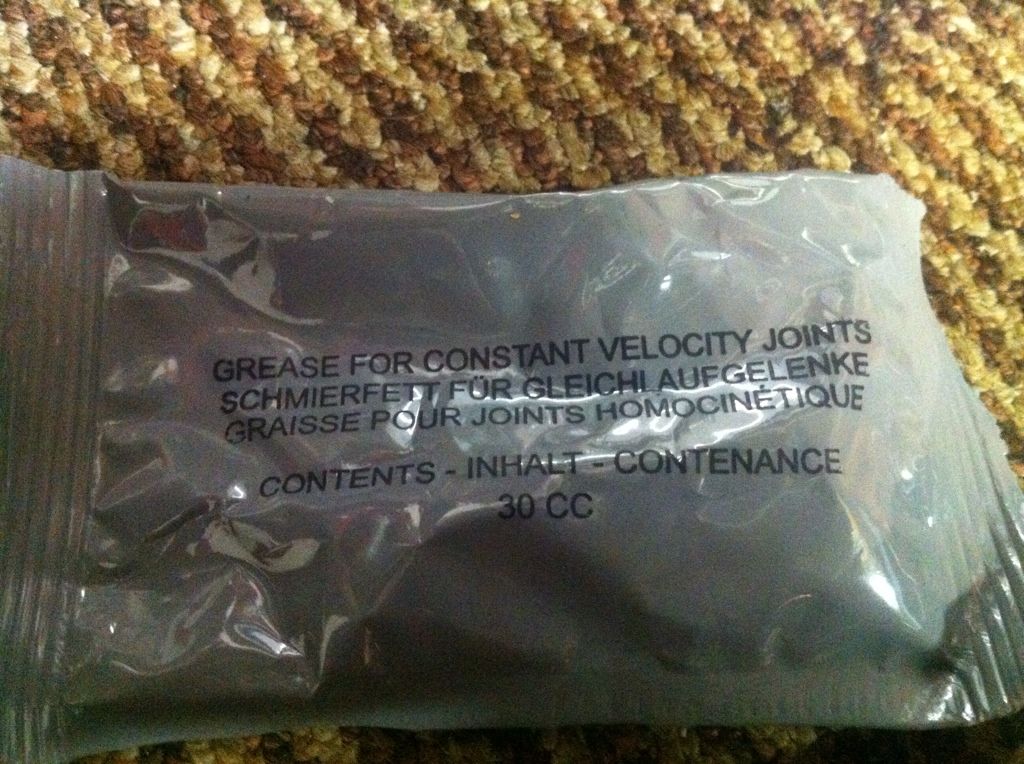
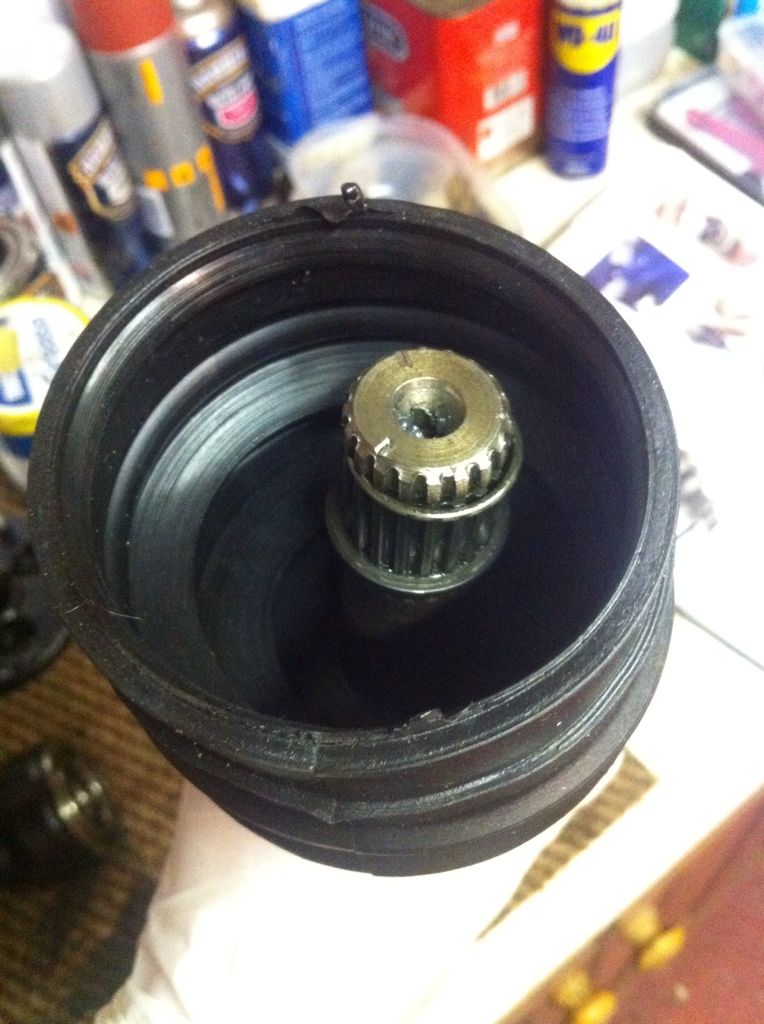
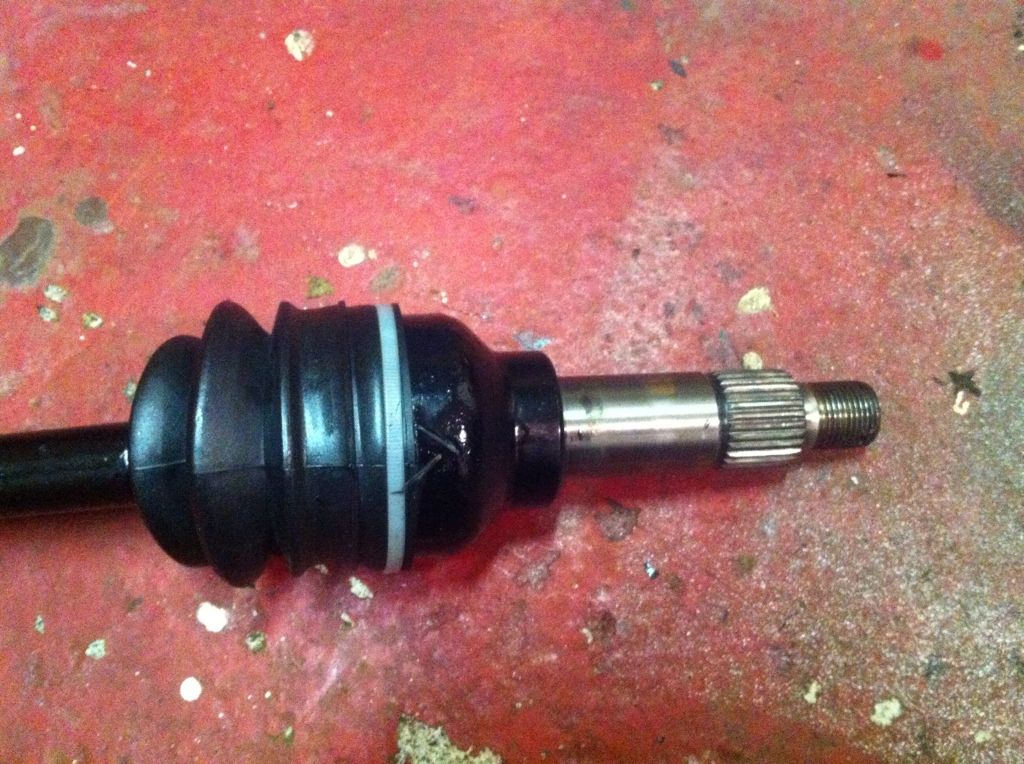
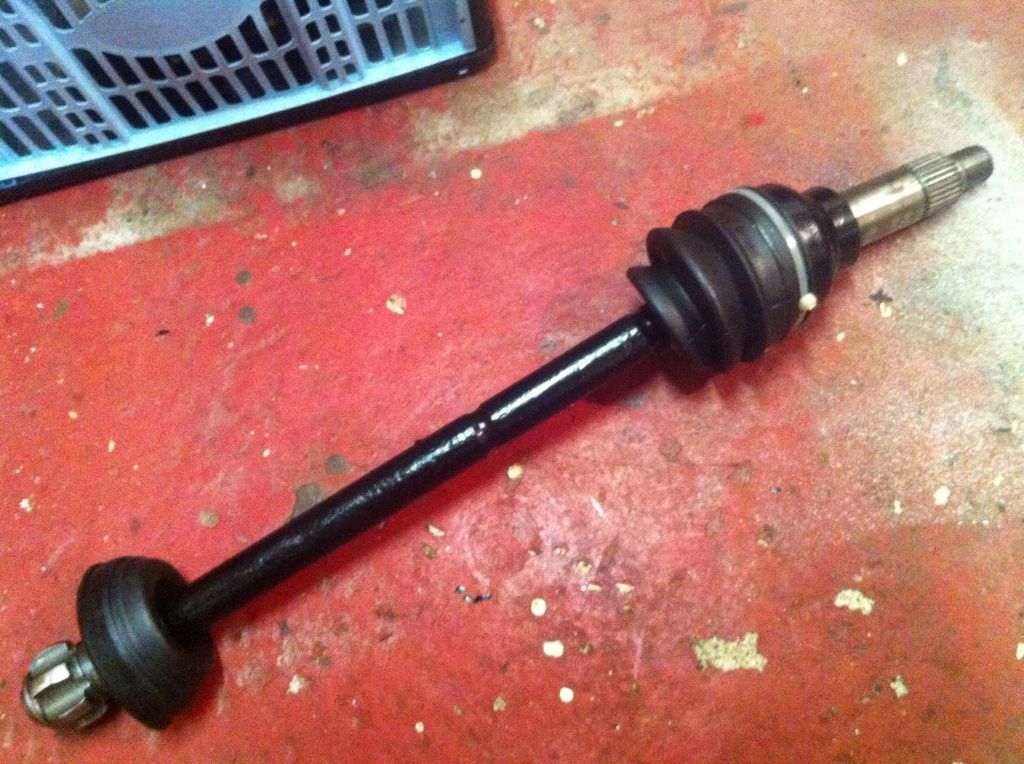
    Also you may remember my CV joint ball bearing issues. Well after my 7th attempt we got it all assembled. Not a fun job! But this meant we could get the driveshafts fully reassembled ready to go back in. Just need to buy proper clips to seal them all up.


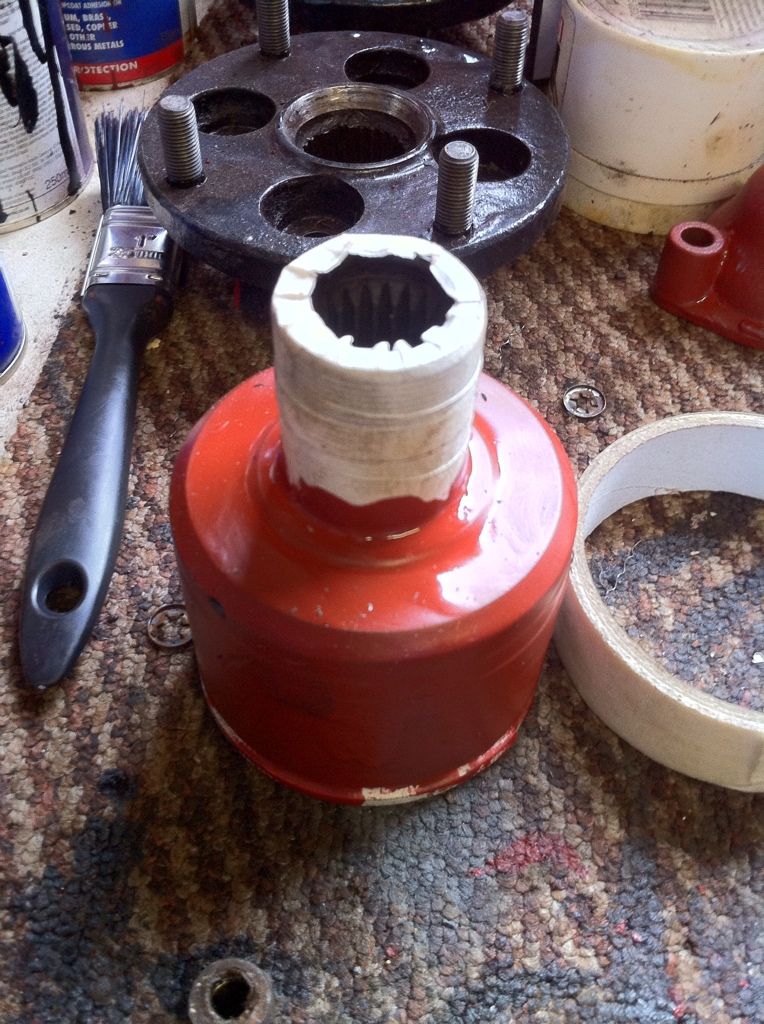
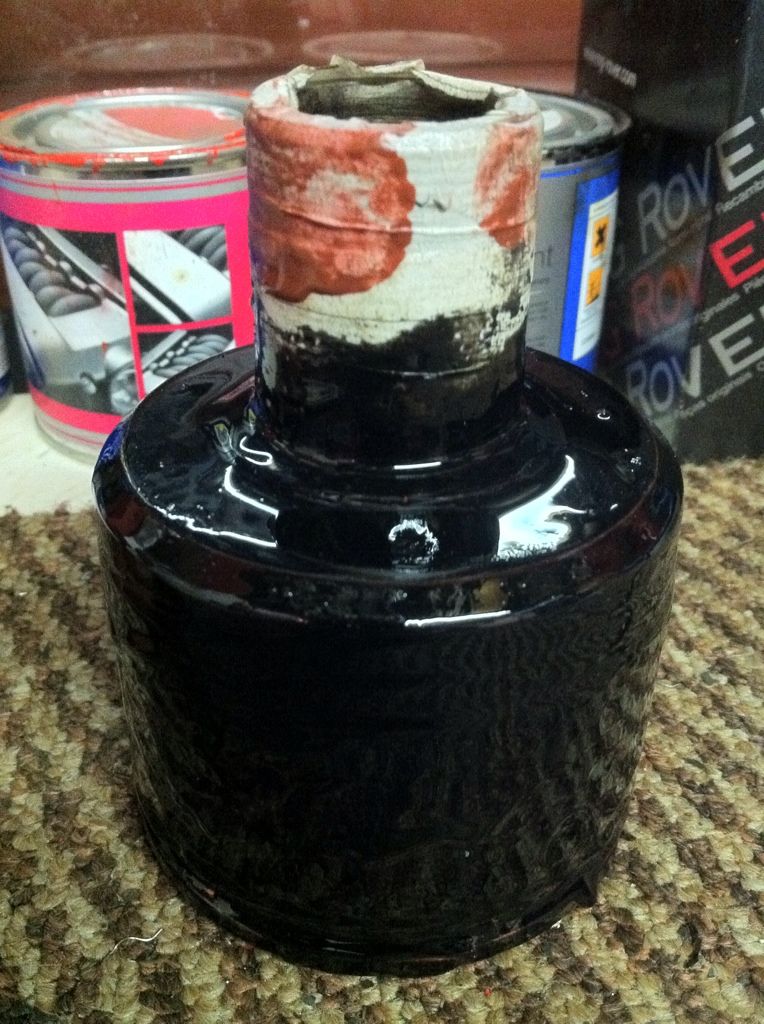
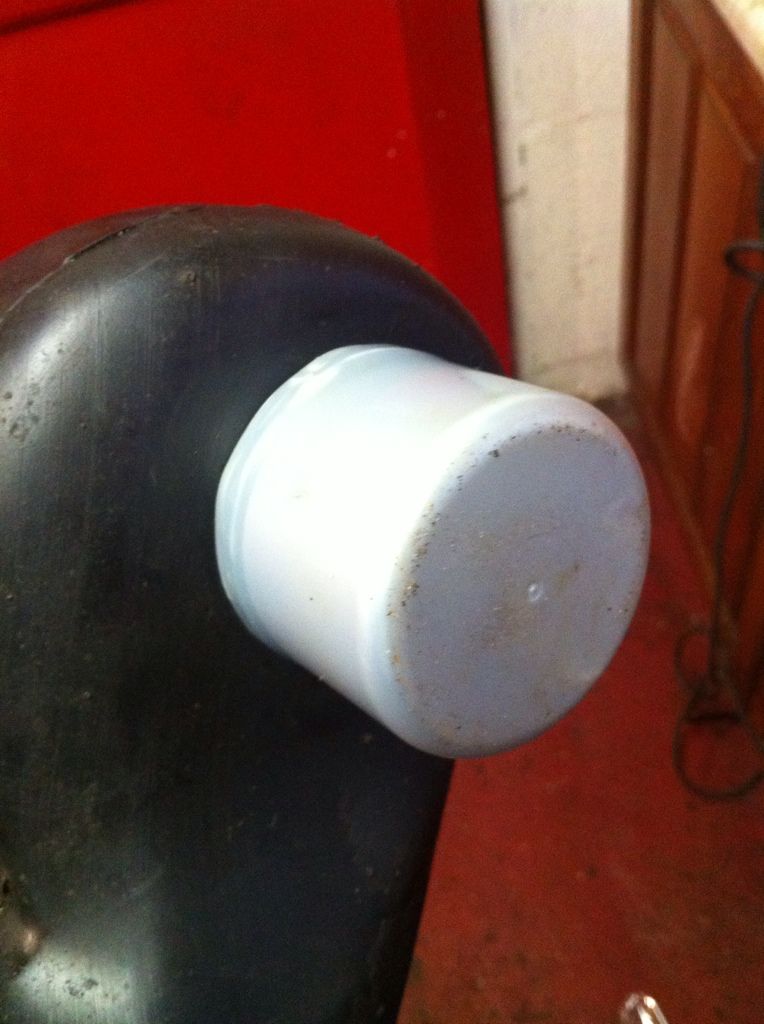
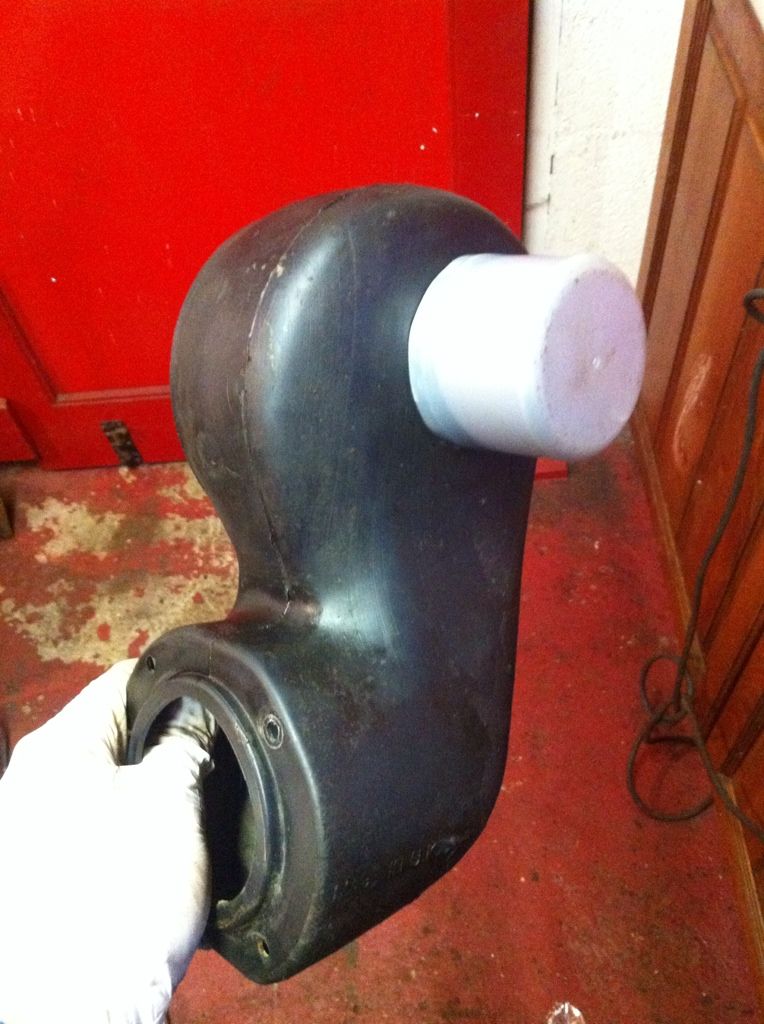
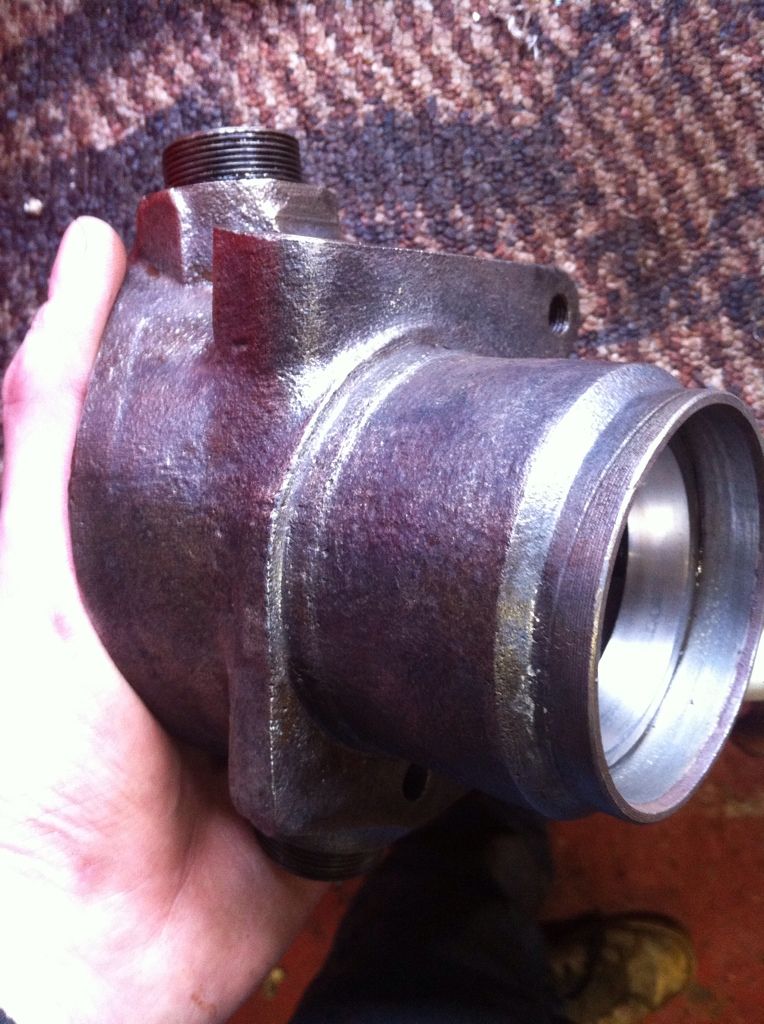
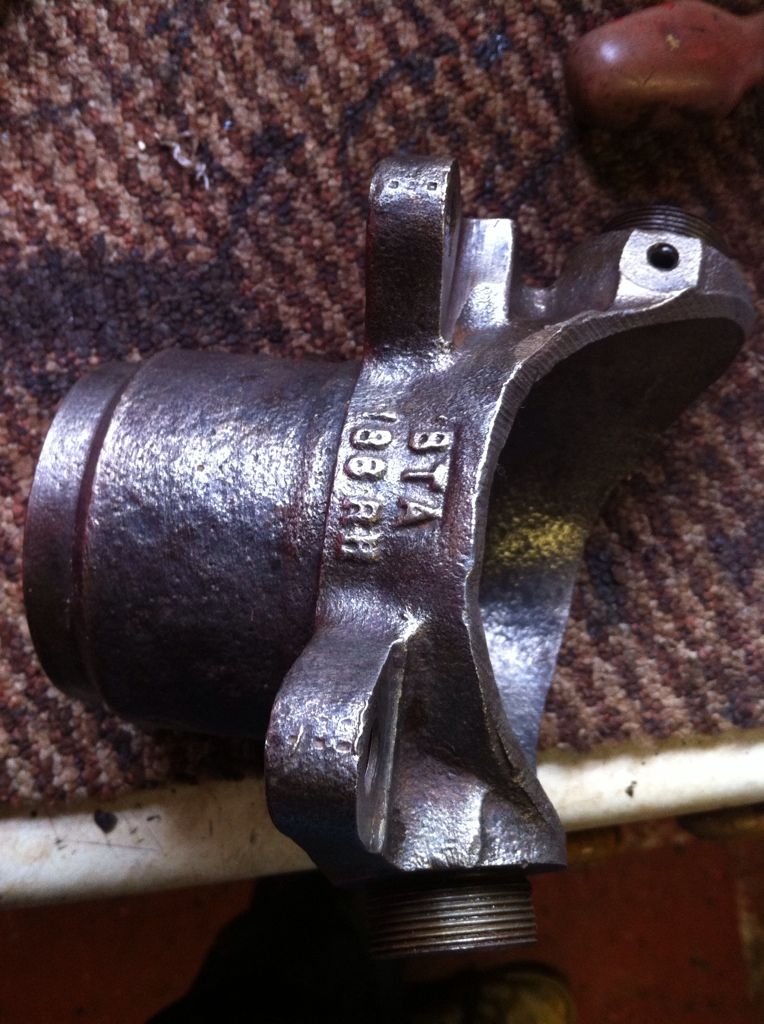
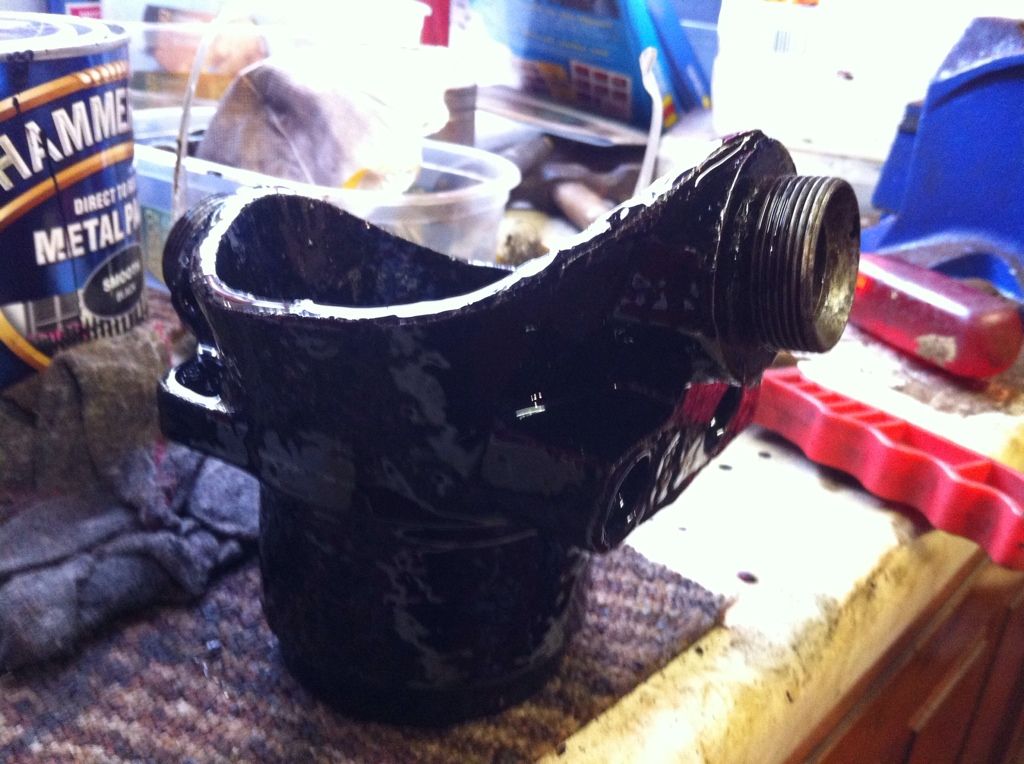
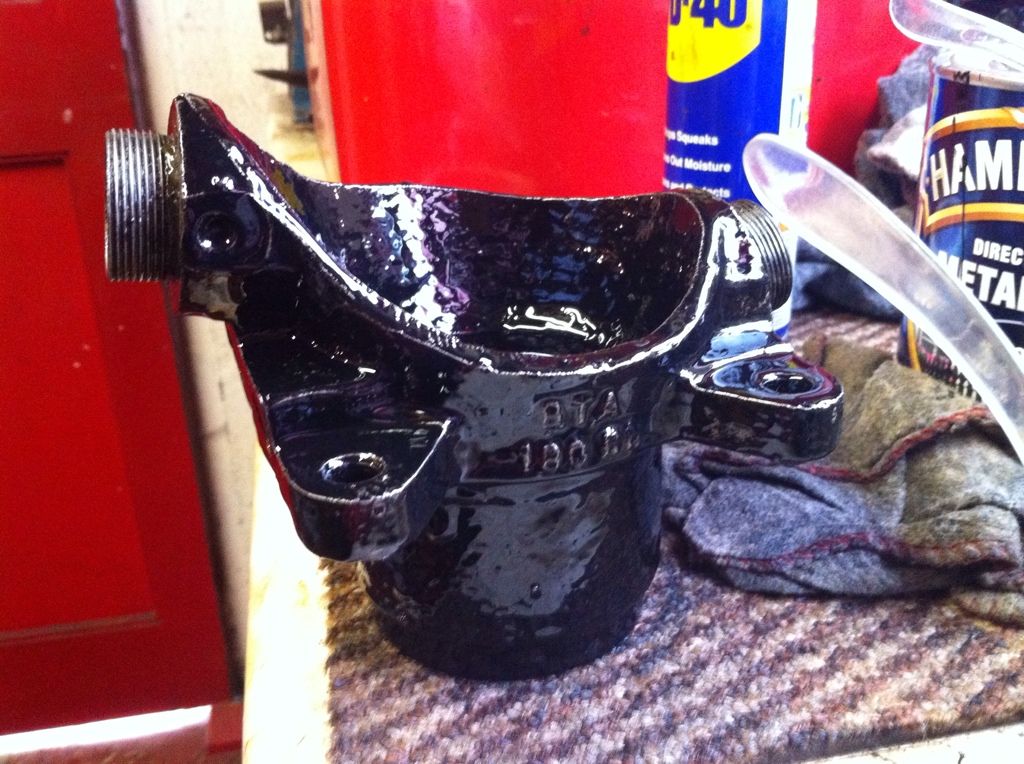
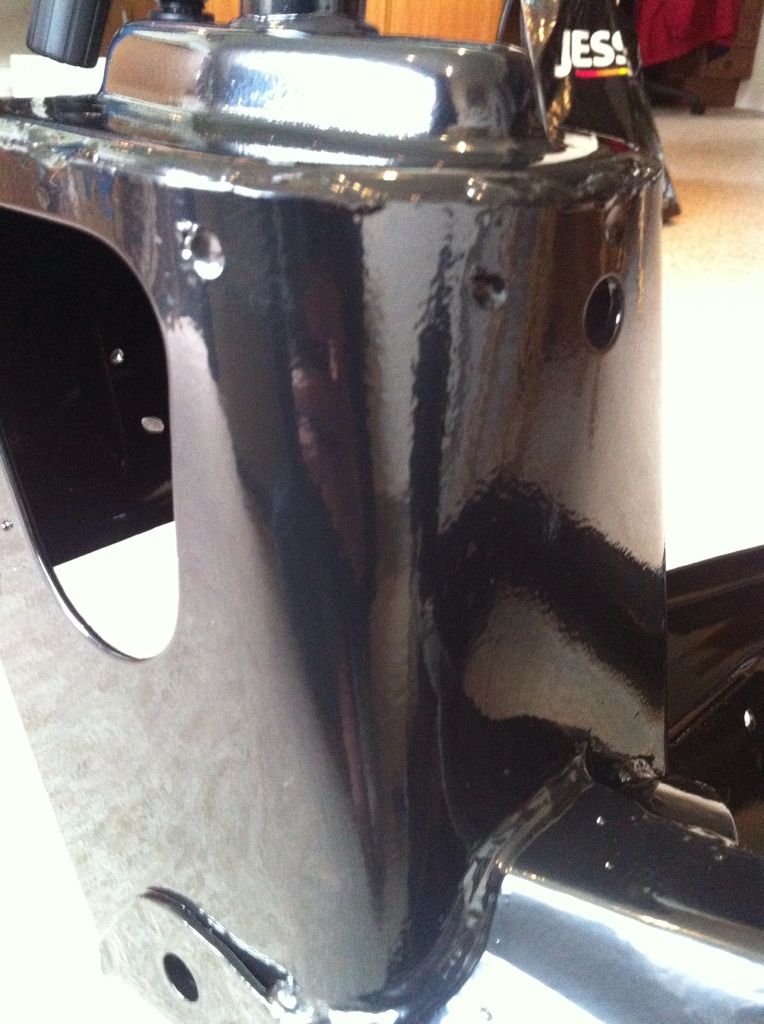
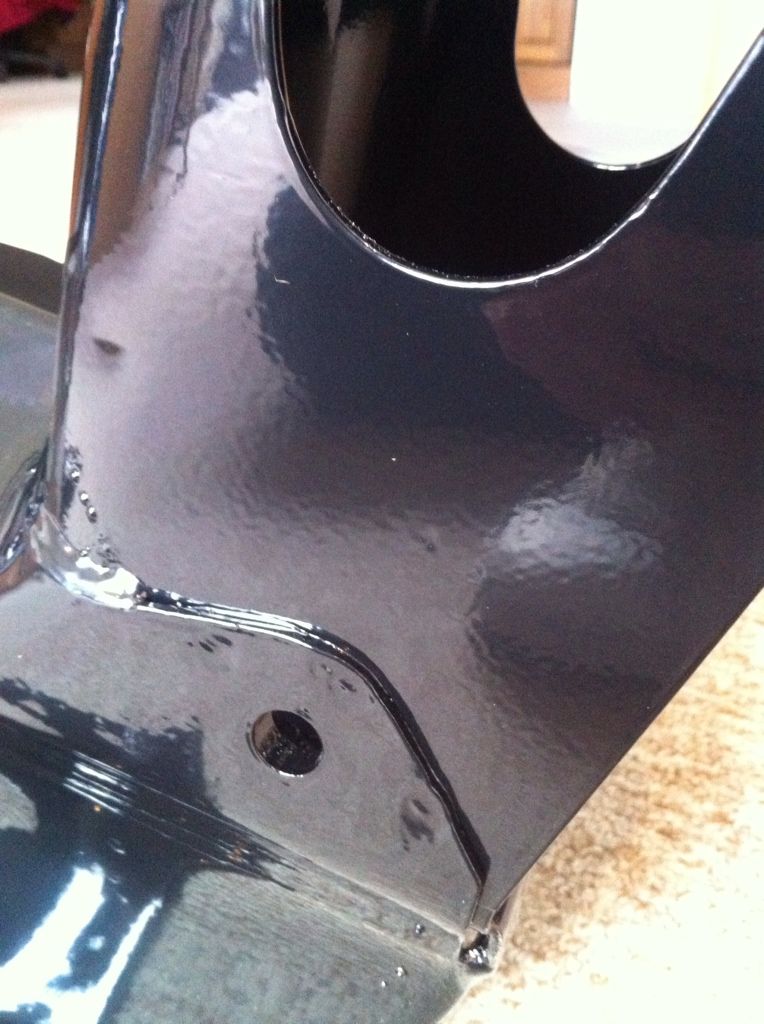
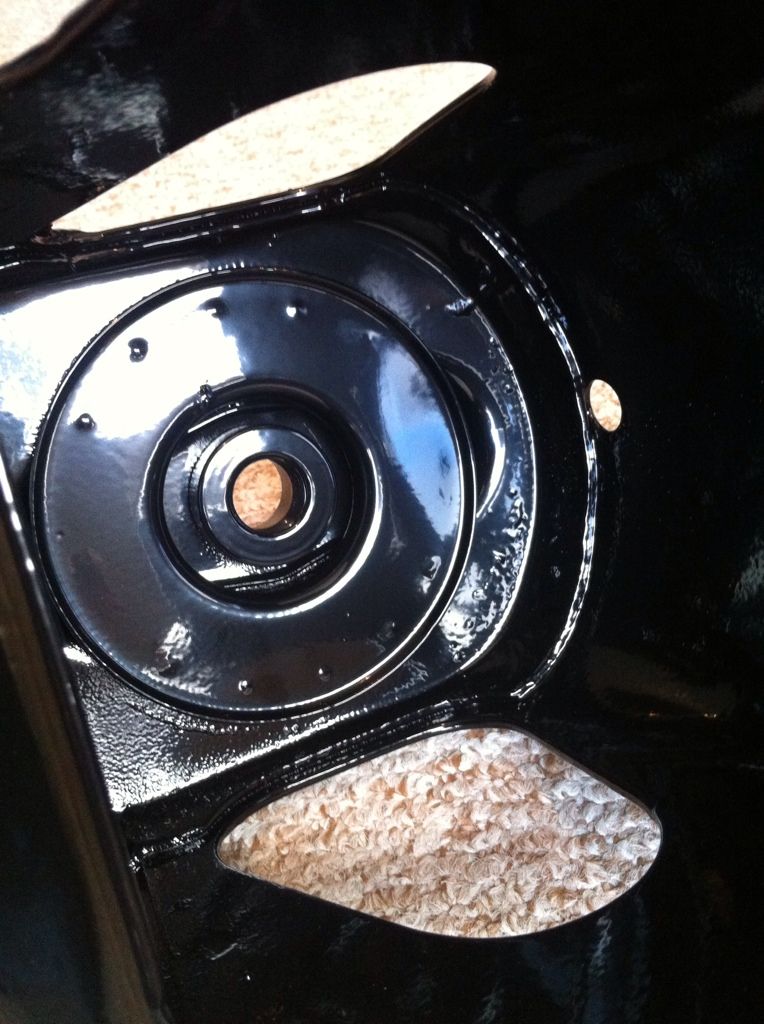
    And with that dad cleaned up one of the pot joints and gave it a lick of primer and then paint.


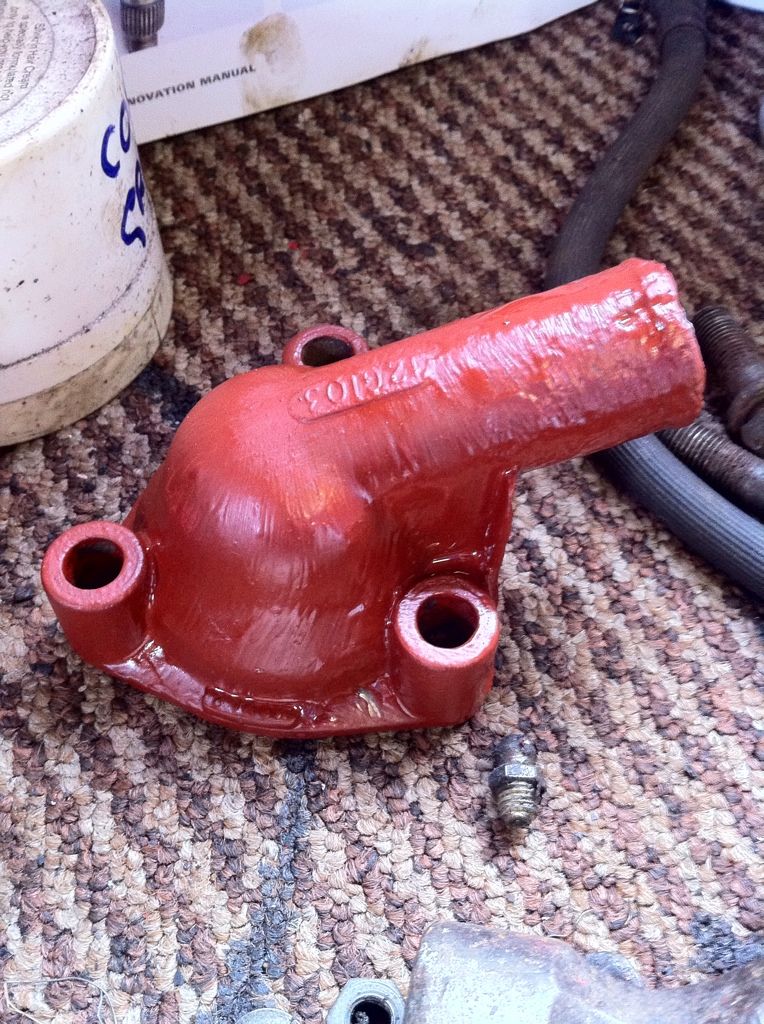
    Also got my thermostat cover stripped cleaned and primed. Waiting for it to dry to give it the top coat of silver.


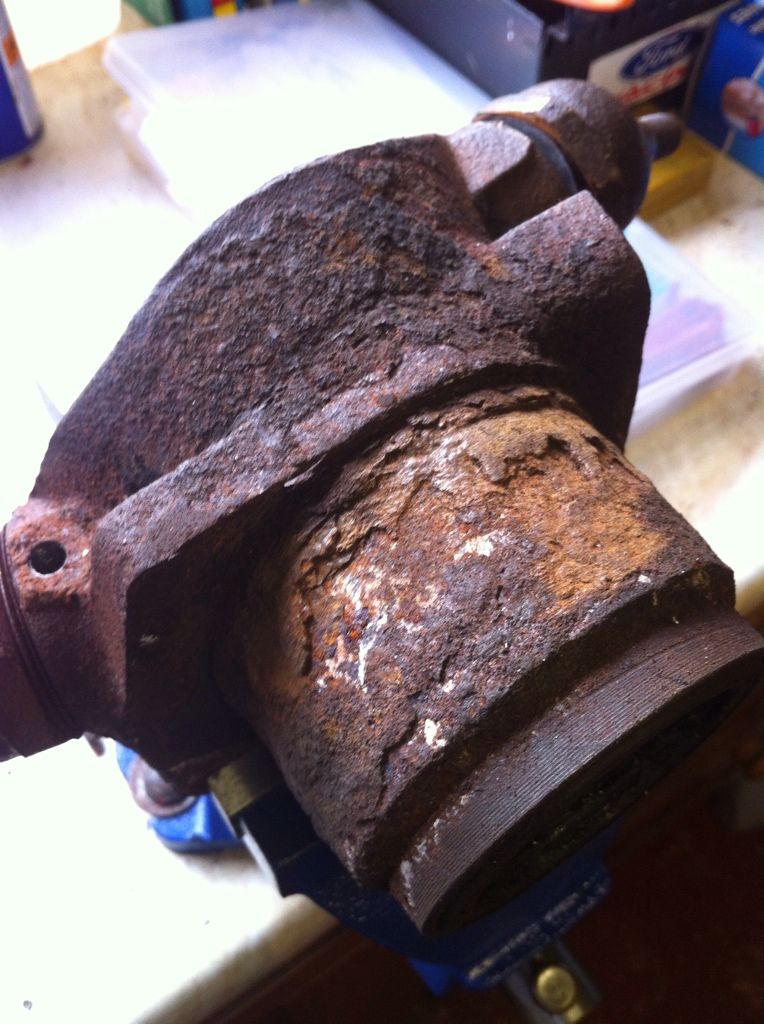
    Took a look at my old brake pipes for a bit of reference for refitting. This was the rear section that sits on the rear frame. Pretty horrible and rusty....


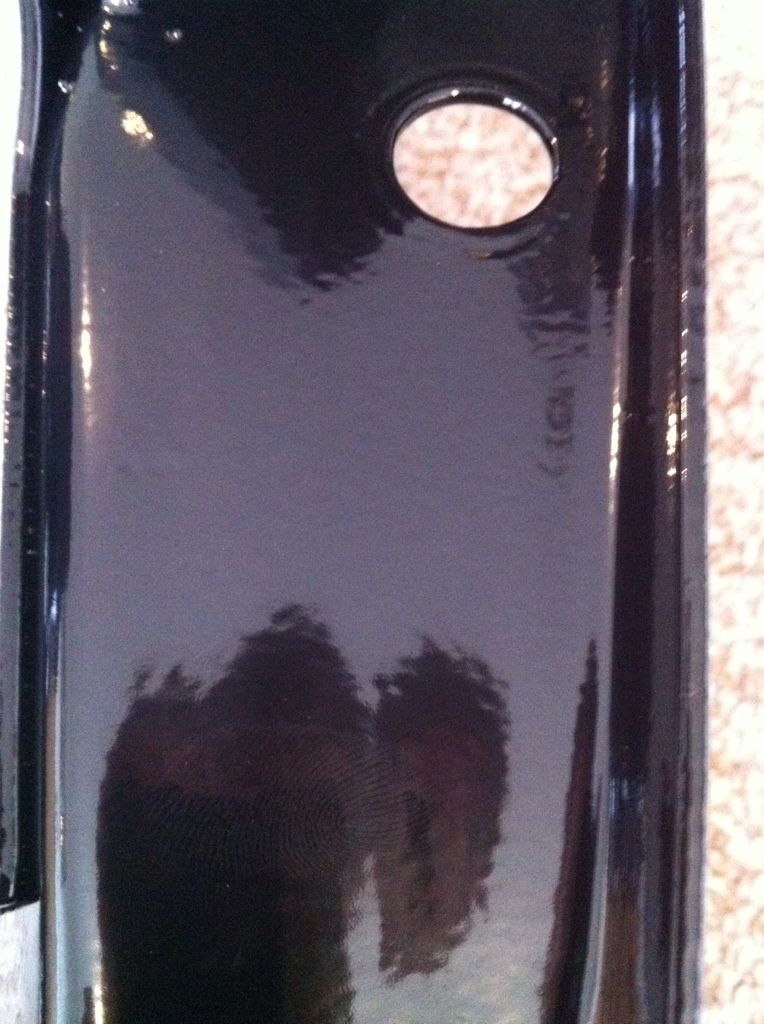
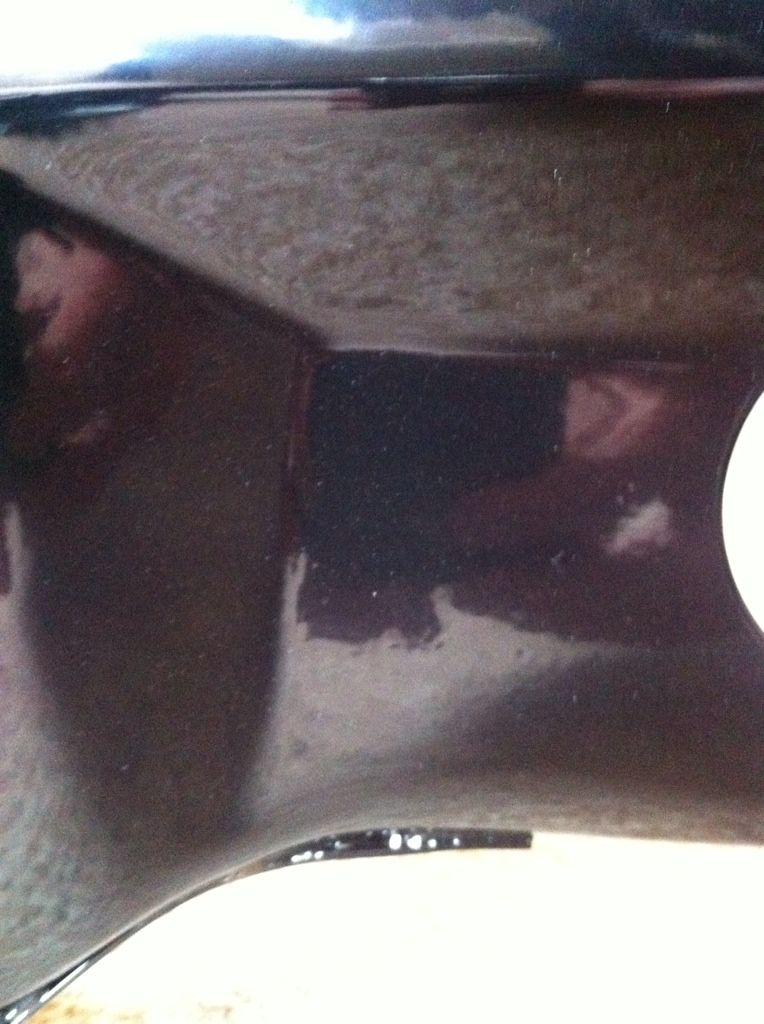
    however after a clean up.......


    it looks awesome again!

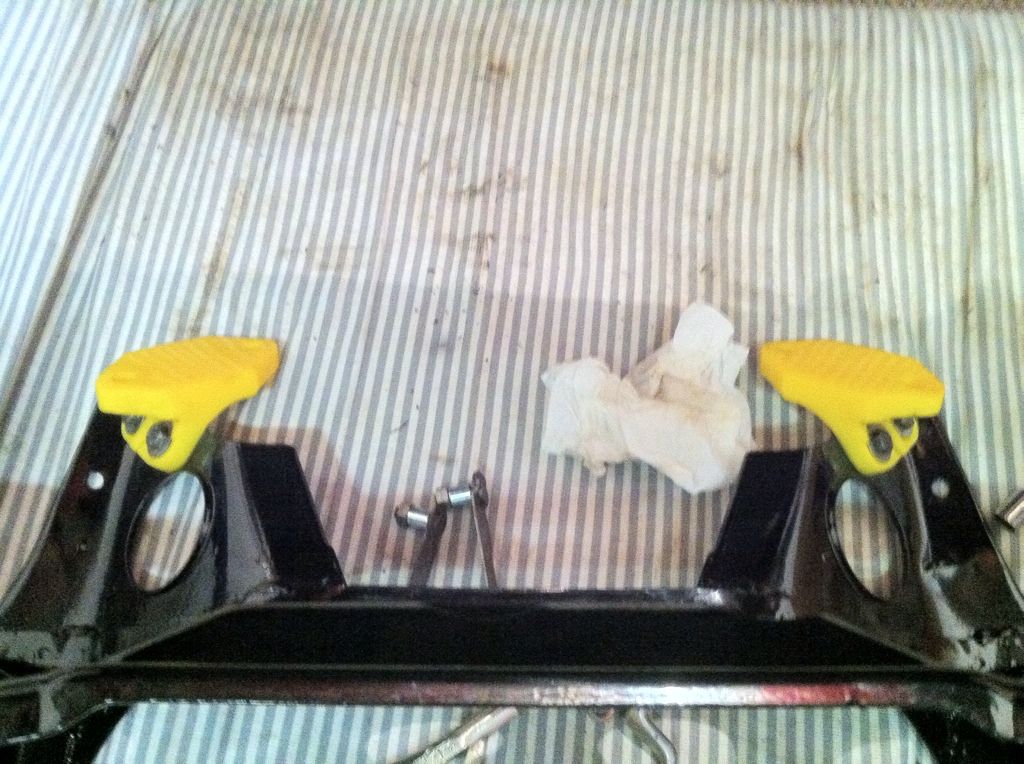
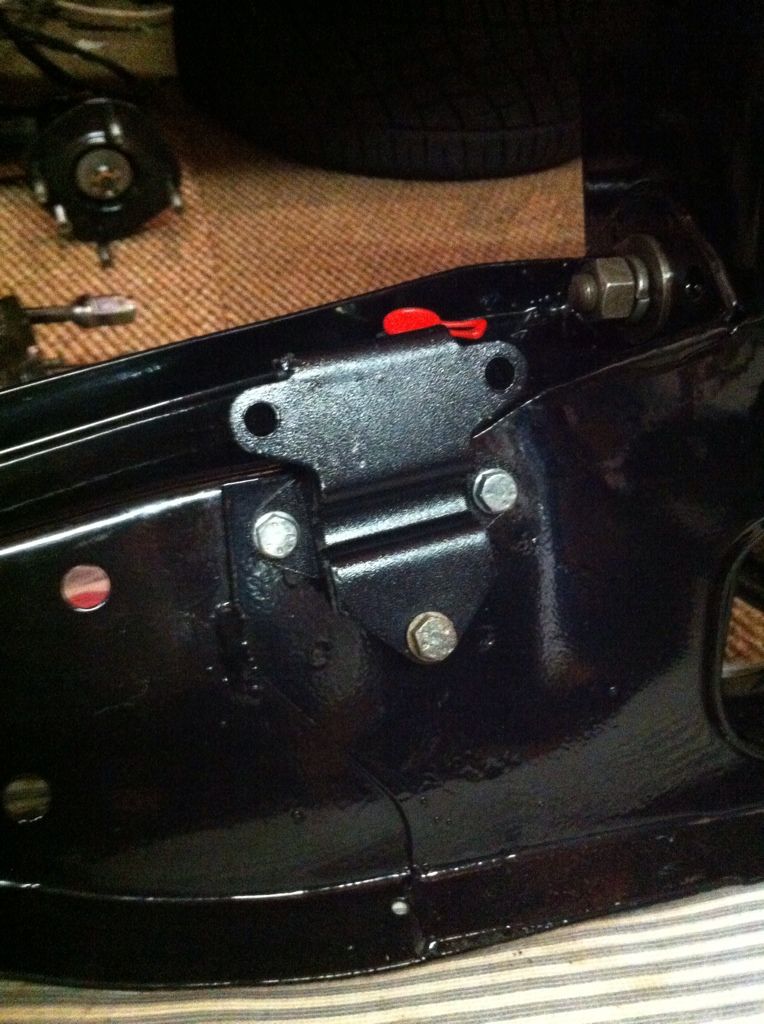
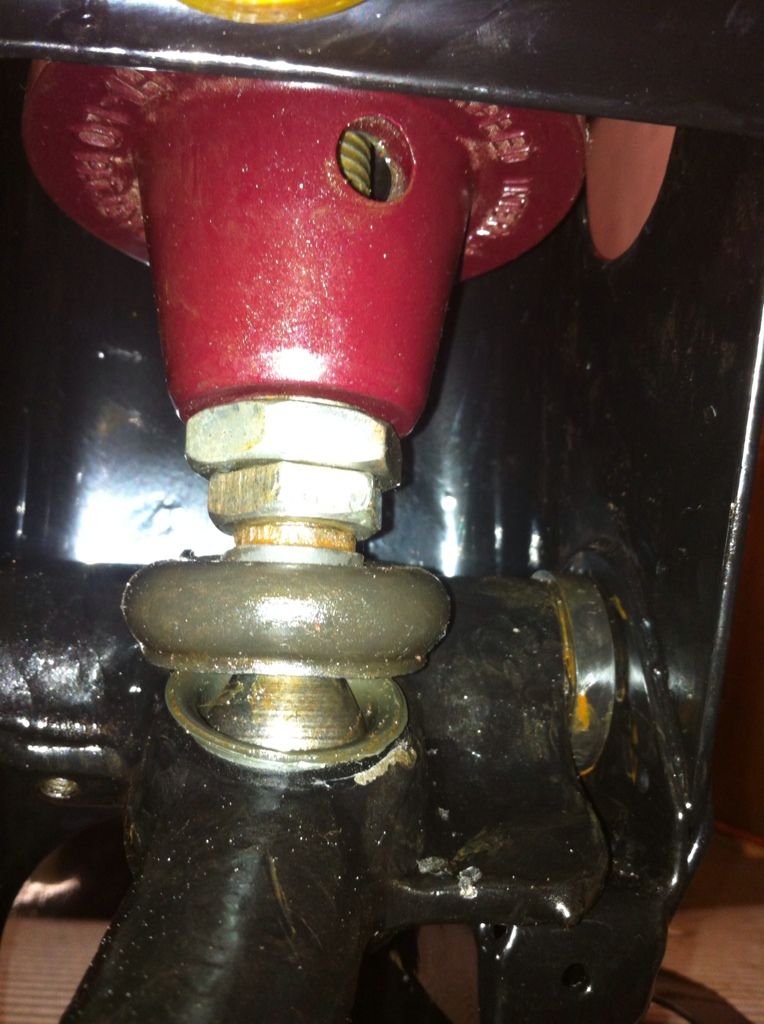
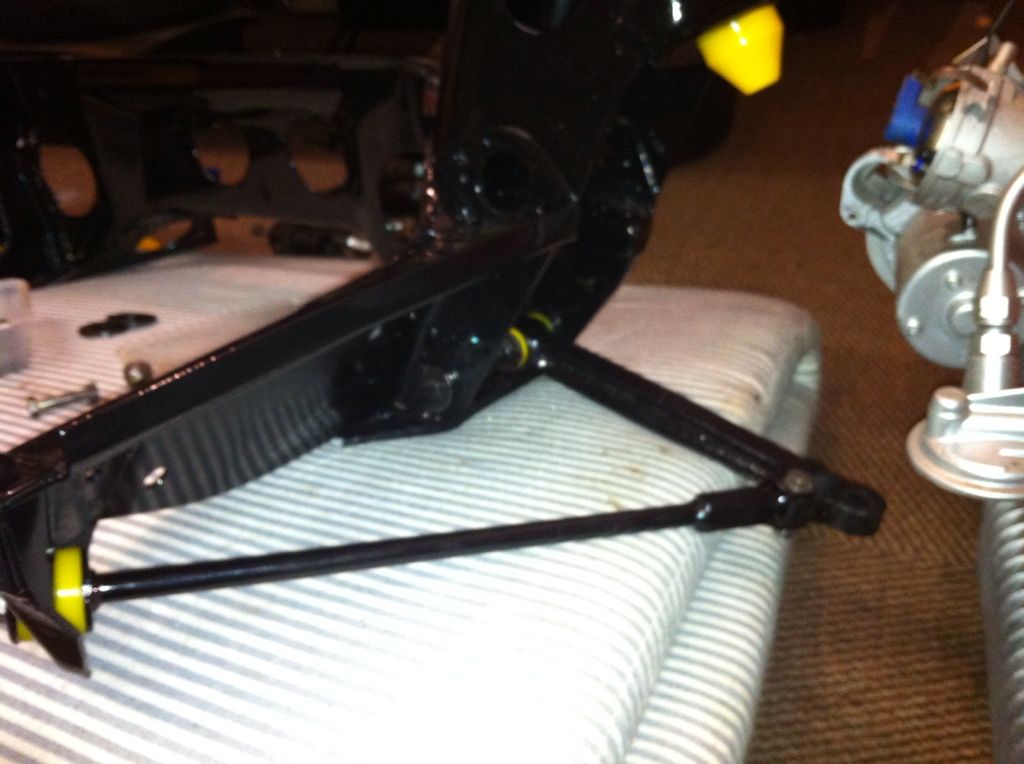
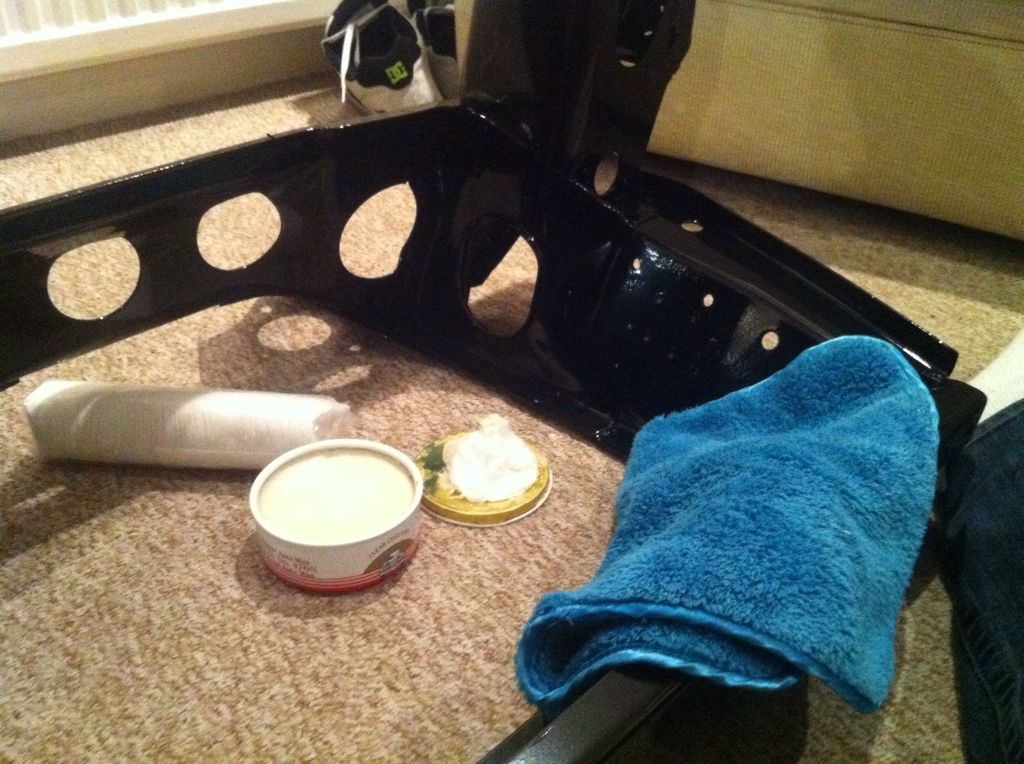
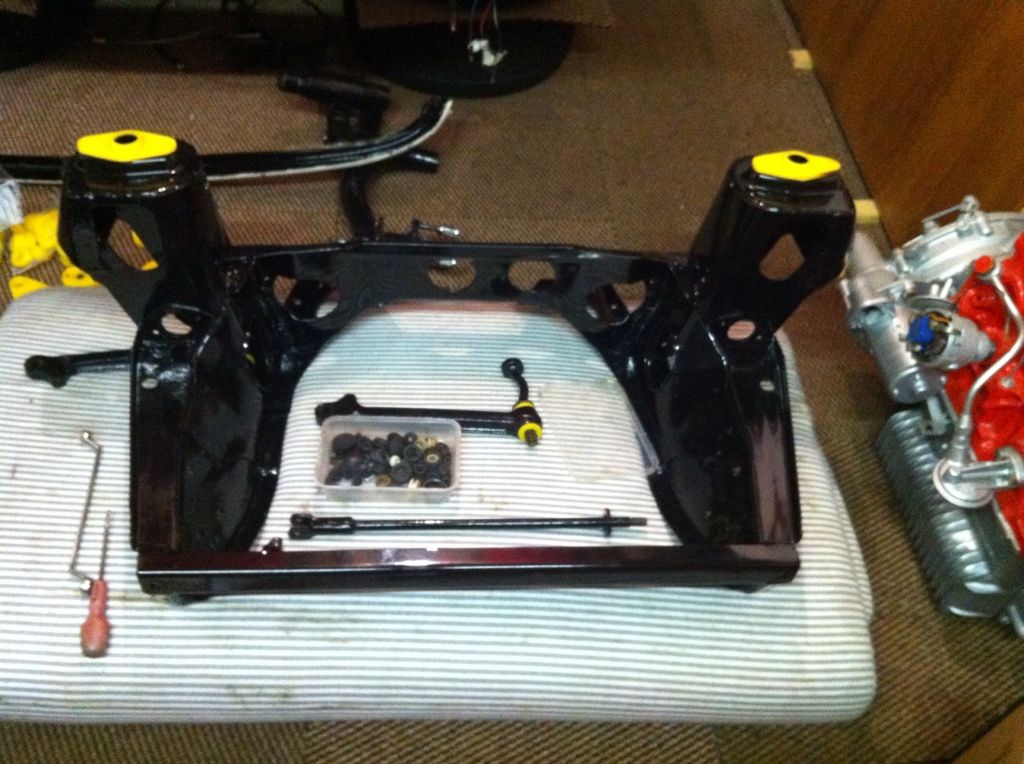
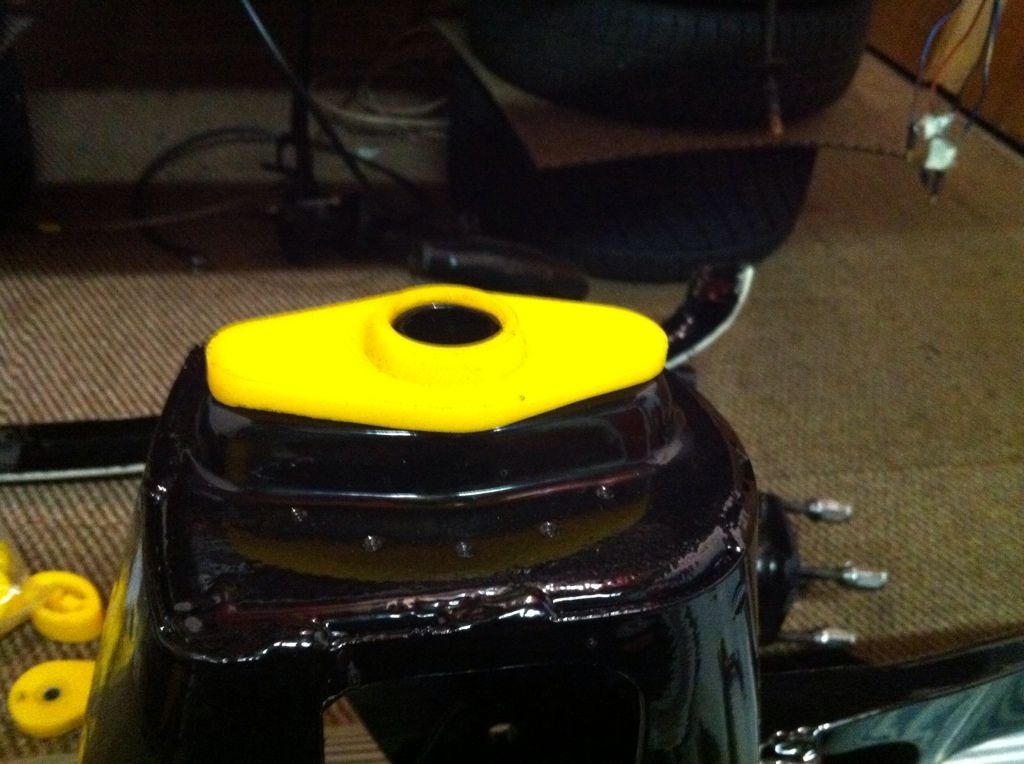
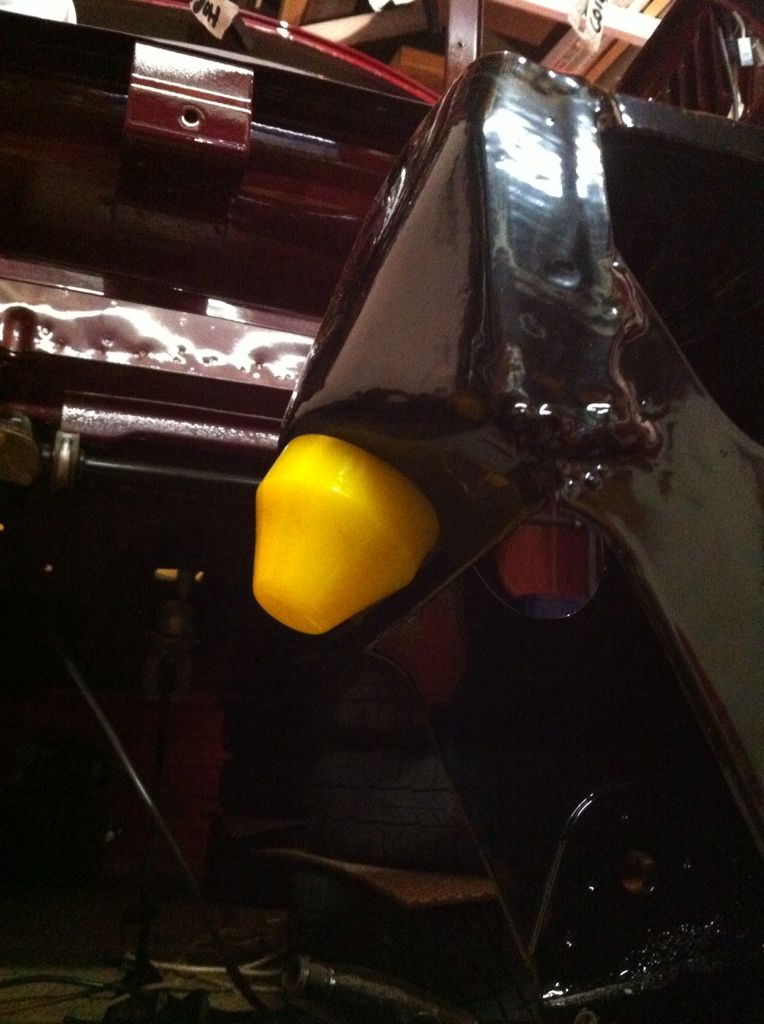
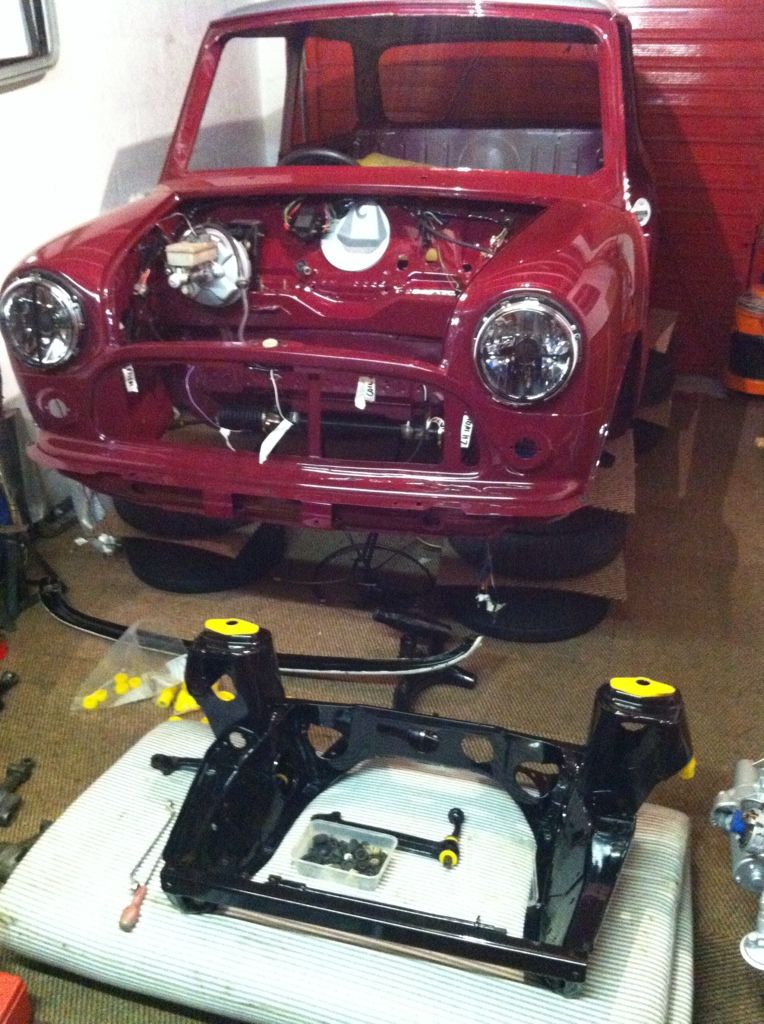
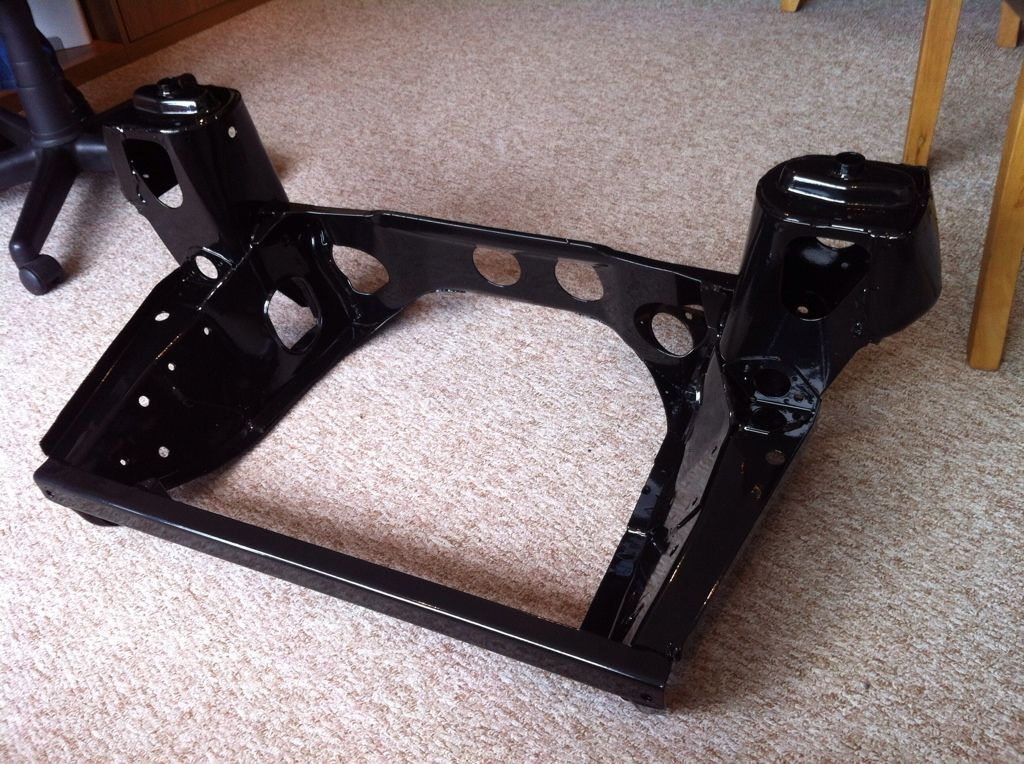
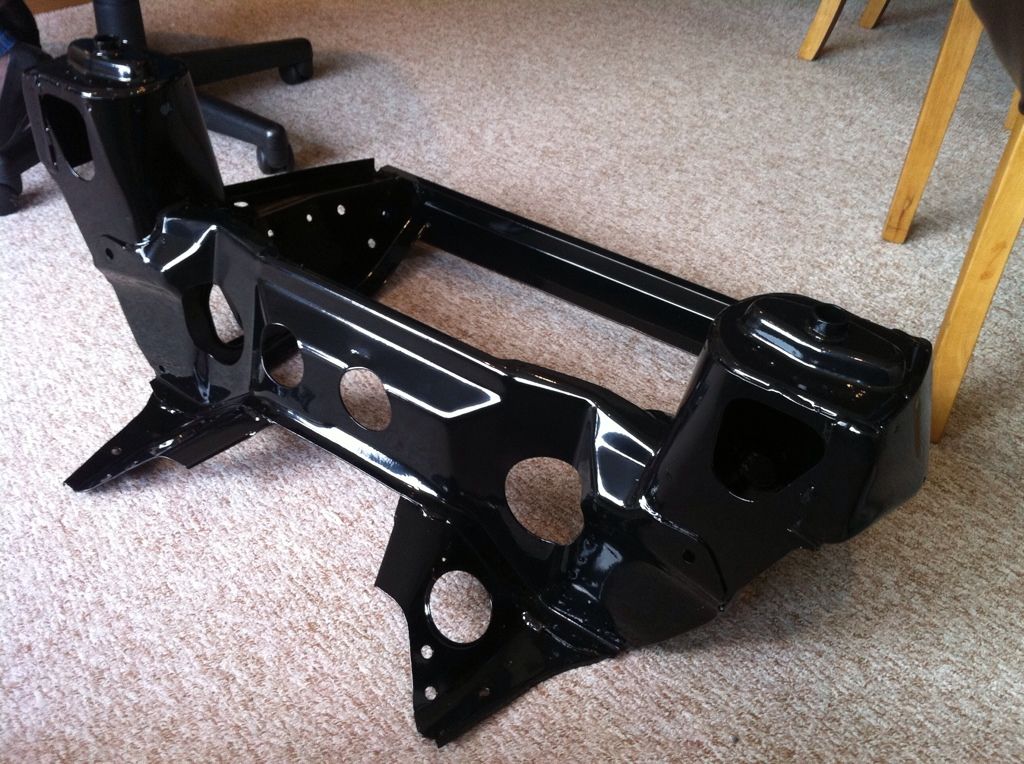
    I also got the front subframe rear mounts fitted to the frame ready to go....


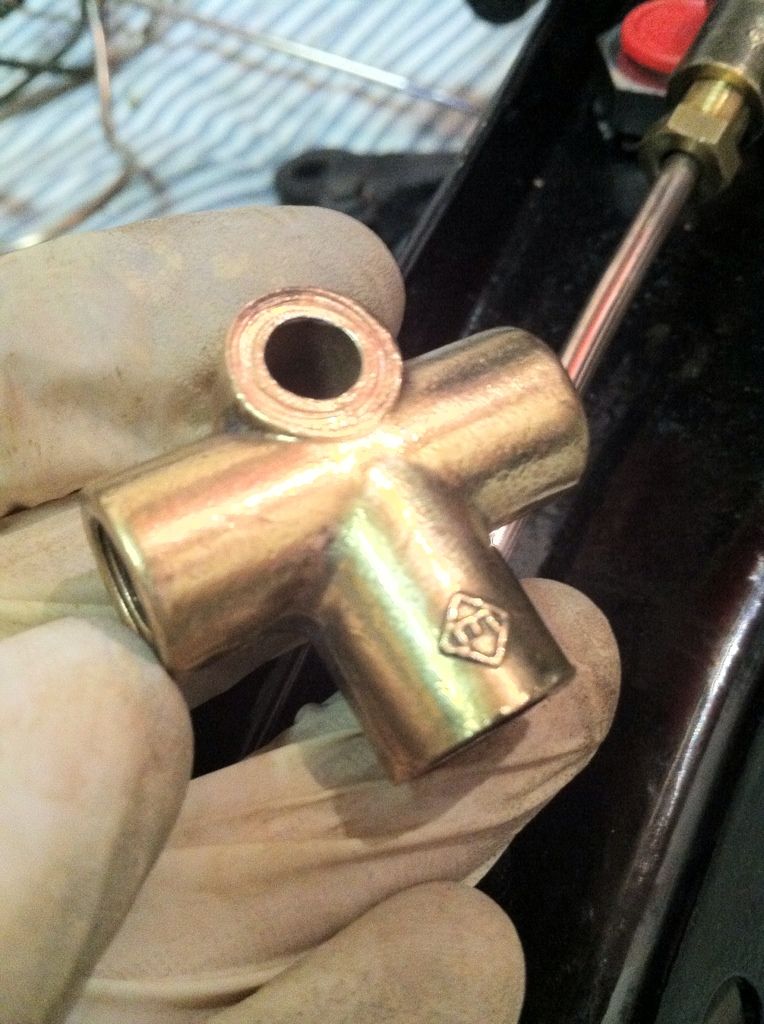
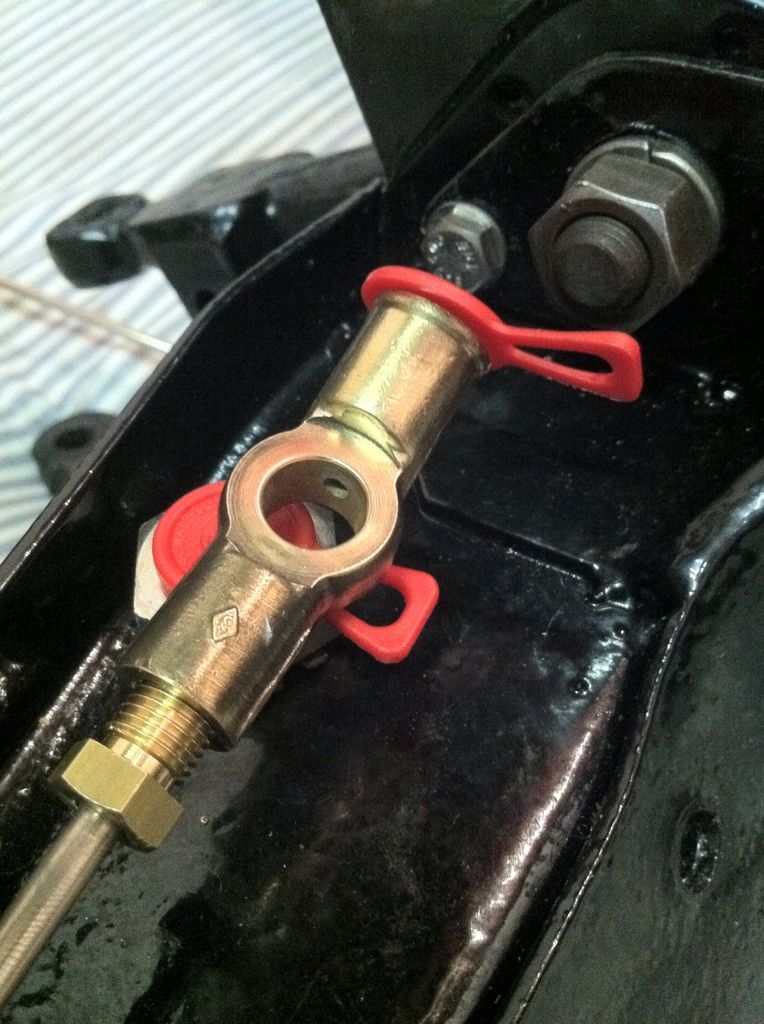
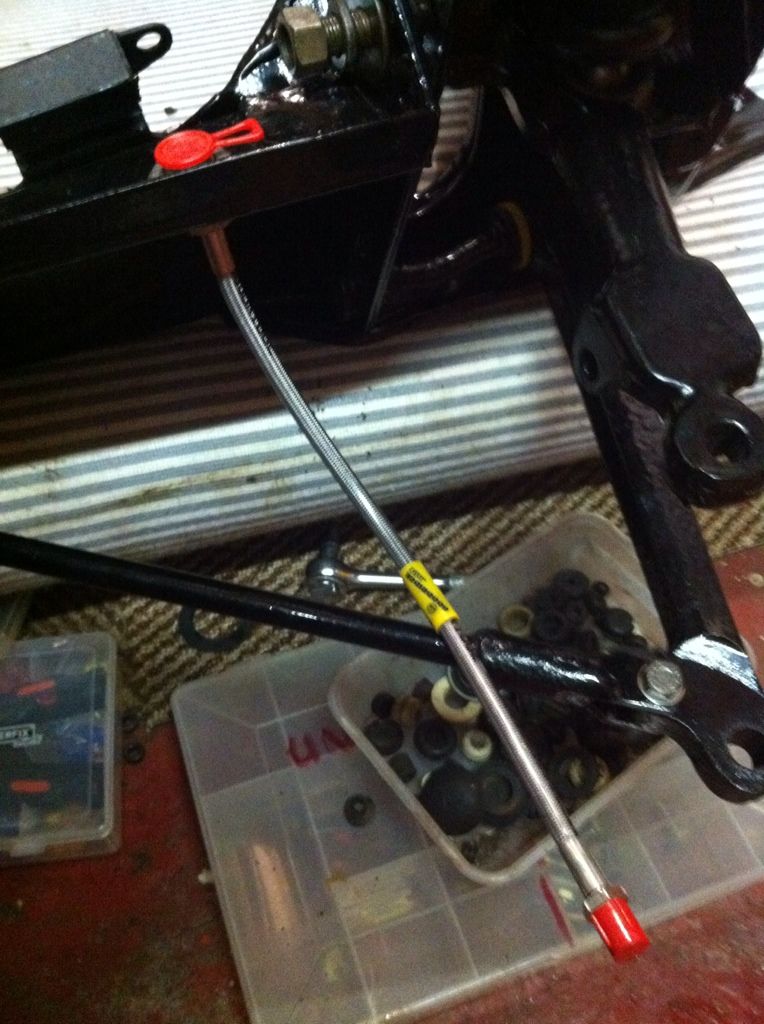
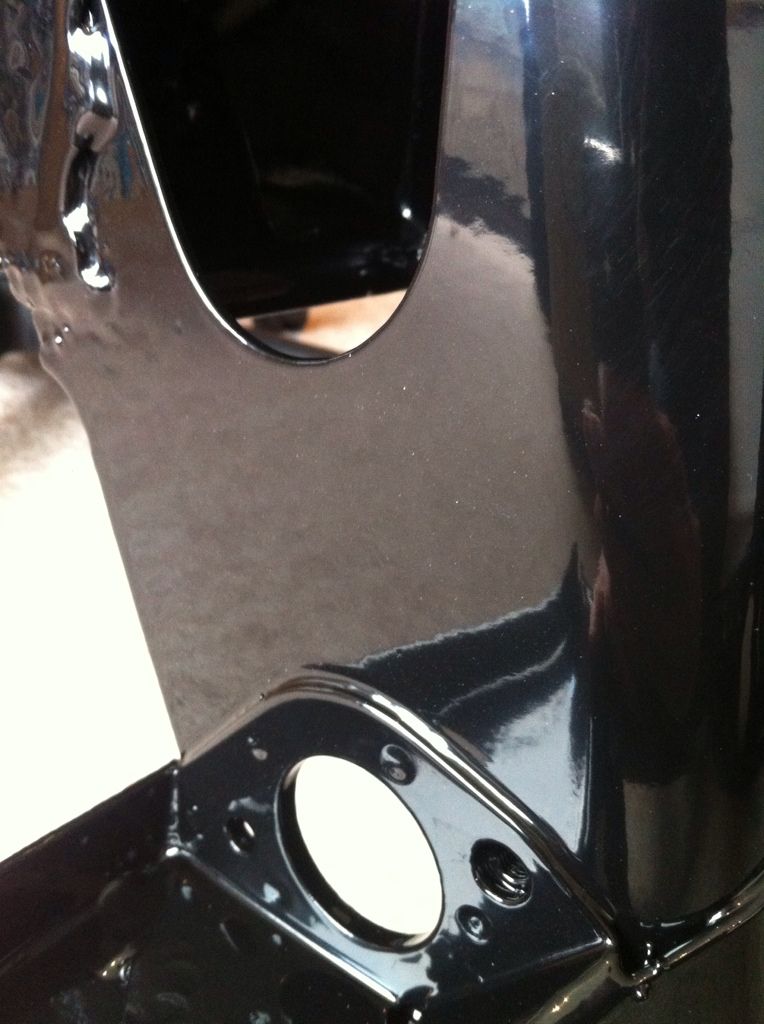
    and I began to run the brake lines on the front subby too...


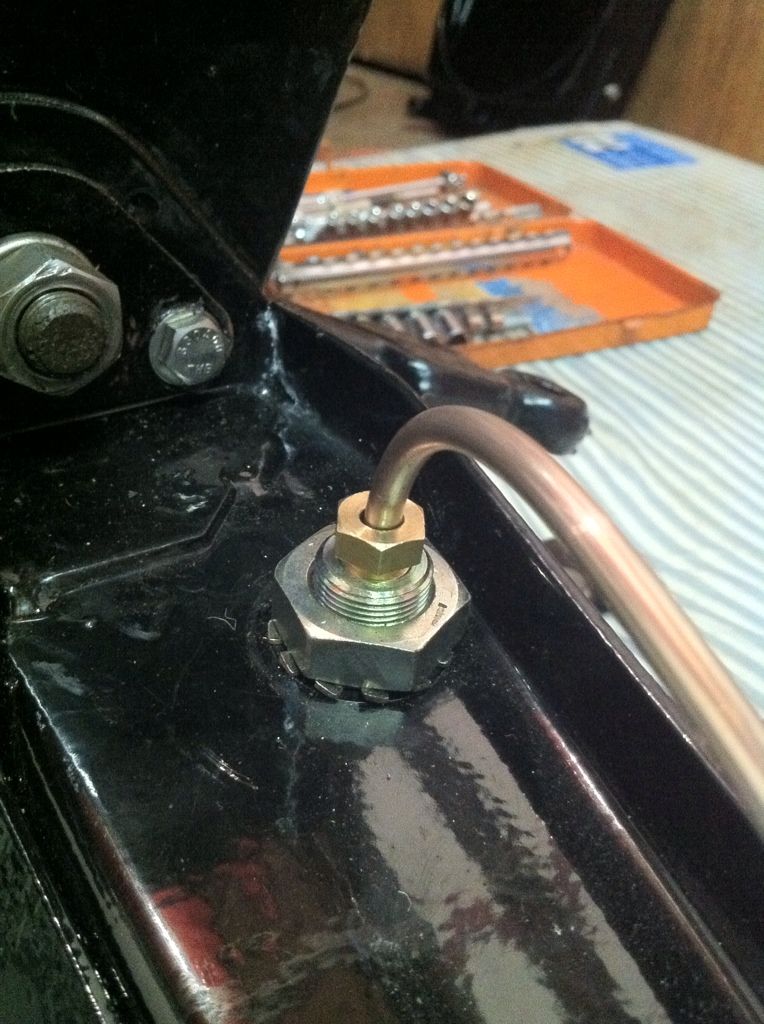
    Im just awaiting a banjo bolt for this union now.


    and then left some more parts to dry overnight.


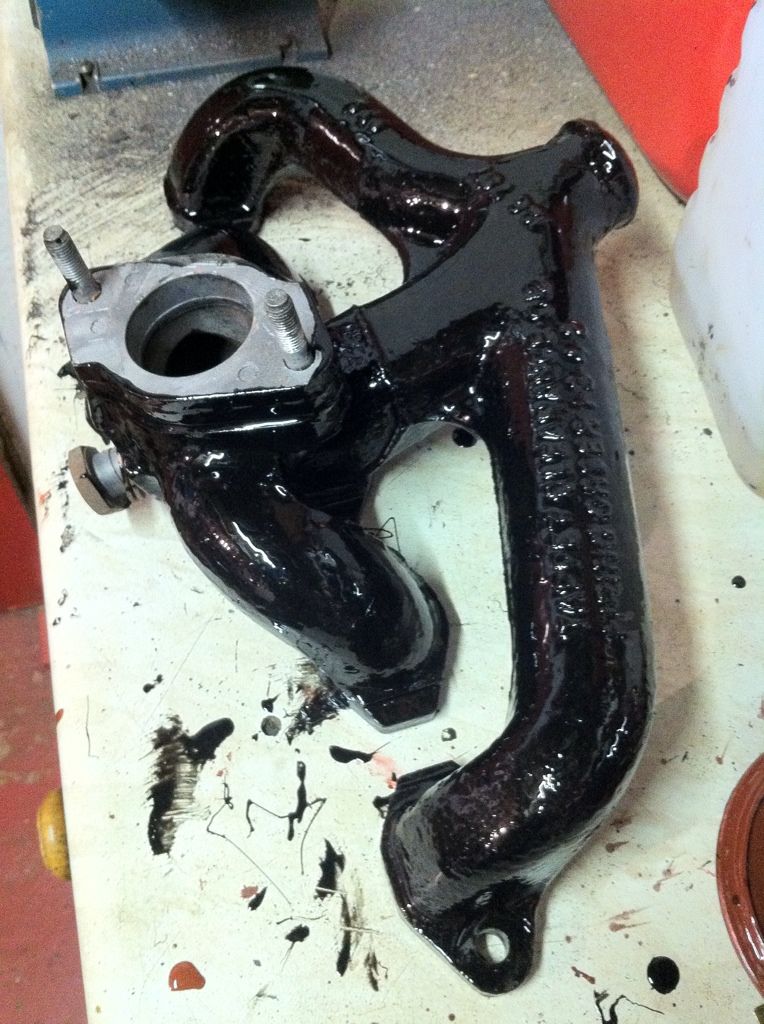
    and this standard intake/exhaust manifold is for sale now its all nice and shiny again


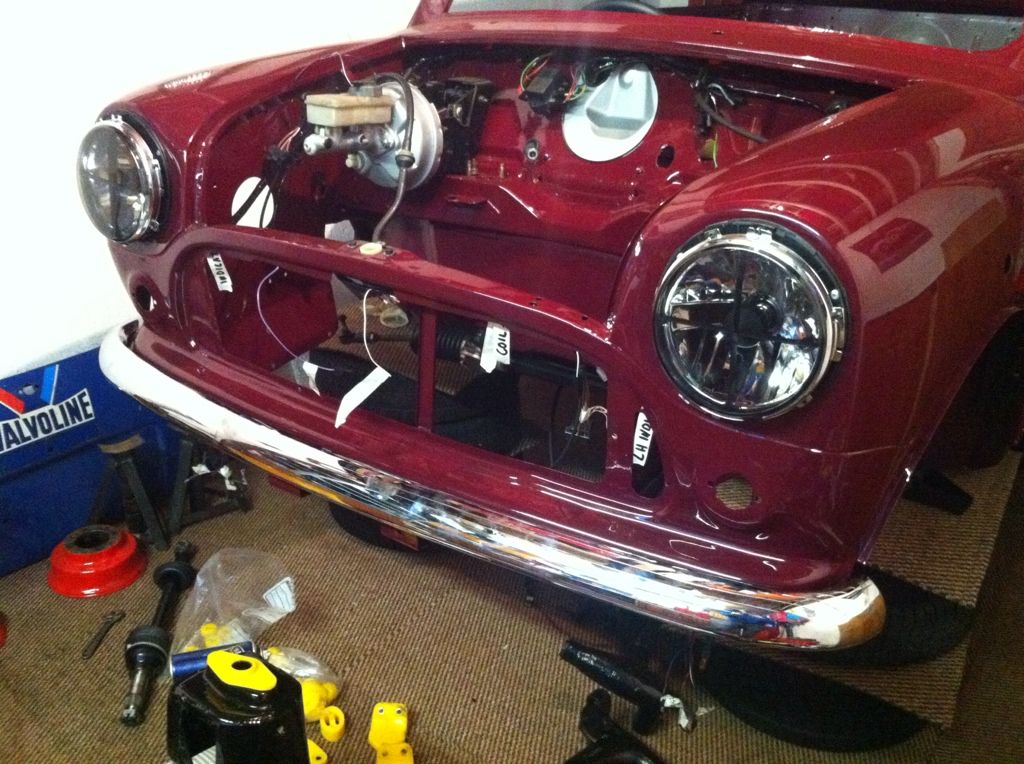
    So lots of progress! Plan to have the engine and from subframe in the car by end of the week.

    In other news I have just ordered a genuine rear subframe from MiniSpares. Costs a bomb but being genuine it will fit and will last forever with the right protection. Should arrive by end of the week hopefully which means I can finally get the car rolling! Then theres no holding me back

    Leave a comment:


  • Mini 360
    replied
    Originally posted by Minuki View Post
    Good to see those Hi-Lo's wound right down
    They can be wound up? If its not low enough I will just get rid of the adjuster bolt

    Leave a comment:


  • Minuki
    replied
    Good to see those Hi-Lo's wound right down

    Leave a comment:


  • Mini 360
    replied
    Got a wee bit more done. Mainly bolting things to the subframe ready to accept the engine again. Got some help from my mate Greig again which was dam handy when it came to the Hi-Lo's!

    So engine mounts.......


    Braided hoses from frame to calliper


    and then the hi-lo's. I don't have the tool at the moment as a mate is using it so it was a bit of a fiddle but they are in! Pretty much put it in as a top arm, hi-lo and spring assembly and then fixed it in place with the top arm shaft. Pig of a job but its done now


    Need to give it a dam good clean up as grease went everywhere and yes I know I have to fit the rubber over the nylon cup to stop it getting filled with crap but it was getting late so finished up for the evening

    Next stage.....who knows!

    Leave a comment:


  • Mini 360
    replied
    Another few hours of graft tonight. Not as much as I would have liked but awaiting parts and waiting for stuff to dry meant I couldn't get more on.

    But I got the front bumper on as I was fed up of catching my leg on the leading edge. Stainless bolts and rubber grommets throughout and underside of bumper painted with Hammerite for rust prevention.


    Painted up a few more bits but nothing interesting. Got my air duct bolted in, again with stainless bolts. Pig of a job for clearance and access but got there in the end. Not a fan of fishing for bolts when you can't see what you're doing!!!

    As one tie bar and bottom arm were dried and ready to go, I got them bolted in with poly bushes in place. Contrast of black and yellow looks ace.


    Ultimately these will be replaced with adjustable tie bars and bottom arms for neggy camber but funds simply don't stretch that far at the moment which is a shame.....

    Should HOPEFULLY get my parts tomorrow but if not Monday and I can get going with fully reassembling the front frame, get it installed and then get the engine in and wired up ready to go. I feel i need to get this stage done asap so I feel like the car is progressing as at the moment it feels like its not progressing at all.

    Also texted Phil about door, boot lid and bonnet and he says they should be ready end of this coming week so can't wait for that. Been waiting a while but I know they finish will be worth the wait, especially my little surprise on the bonnet.

    Leave a comment:


  • Mini 360
    replied
    Had a wee while outside again. Not much done as ran out of things to do and need parts to be ordered before I can progress!

    Tidied up my fresh air duct that goes in the inner wing. As I don't have the eyeball vents in the dash anymore I needed to cover up the hole that leads to this. So one Hammerite spray can cap later. We have a cover :lol: Perfect fit for anyone out there looking to do the same!


    Gave a few parts a coat of hammerite so leaving them to dry. Then I ran out of things to do so came in again. Frustrating lack of progress and parts list needed is scary.....return date of 3rd June looks all but a dream now.

    Leave a comment:


  • Mini 360
    replied
    Originally posted by Jozi View Post
    I've gone some on the E30 shell for prob 3 weeks now Some of it is still soft, the hardened stuff is going to be a paint to remove. I find it great though, certainly better than kurust
    Ive never been brave enough to leave it for THAT long! Much better than Kurust though!
    Originally posted by superturbodiesel.com View Post
    Looks very nice! Great work
    Thanks! More to come soon...

    Leave a comment:


  • superturbodiesel.com
    replied
    Looks very nice! Great work

    Leave a comment:


  • Jozi
    replied
    I've gone some on the E30 shell for prob 3 weeks now Some of it is still soft, the hardened stuff is going to be a paint to remove. I find it great though, certainly better than kurust

    Leave a comment:


  • Mini 360
    replied
    Yeh I let it work its magic for an hour or so as I do other things and then go back to it. NEver leave it longer after experience on the block.....

    Leave a comment:


  • Jozi
    replied
    Deox gel is brilliant stuff! Hope you covered it with cling film or it goes hard and is stubborn to come off!

    Some shine of everything! I might wax my powdercoated parts as well when I get them Friday

    Leave a comment:


  • Mini 360
    replied
    Managed to finish off my epic essay this morning so went to the garage all afternoon as a reward. Before that though I got a couple coats of wax onto the subframe to protect it from the elements a bit more before reassembly.


    and then got cracking. This was the hubs state as it came off the car. LOADS of curb caked on and loose rust that needed chipped off.


    So this was if after the drill had attacked it with the wire brush on it.


    and then given its first coat of black hammerite


    Then cleaned up the other drive shaft and deox'd it then realised my top arms had some rust patches coming through already. Probably due to not being thorough enough with cleaning before painting. So I stripped them back to bare metal and redid the deox'ing. Leaving these overnight to fully dry off


    and started putting the bits back onto the subframe


    Loving the yellow and black contrast on it

    and here it is almost ready to be put back in....


    Not sure when I will next get out to work on it but hey ho, will keep going with it!

    Leave a comment:


  • Mini 360
    replied
    Haven't managed to get anything done today/tonight as I was too busy doing a 3000 word essay due tomorrow on propaganda for uni :lol:

    However PPS finally phoned today at twenty to five saying the subframe was ready. So I went down straight away to collect it much to their surprise. No discount even though its two weeks late though......

    It is stunning! The finish is beyond amazing as stupidly tough. Much tougher than Hammerite or any other paint. The gloss of it is awesome too so no need to polish up! Im glad they managed to get inside the towers done so well as its pretty tight in there but I shall let the pictures do the talking now.....


    So as you can see, epic finish! Just need to drill out some of the holes and retap the threads of the captive nuts on the towers.

    Need to give it a wipe down and a few layers of tough wax before fitting to keep the dirt at bay. Definitely need the rear frame (once it arrives) done in powder too

    Leave a comment:


  • CubbyChowder
    replied
    haha I just went through the exact same process with my CV joints. I tried putting one back together without greasing it and it kept seizing up, then I realized 'wow, I should probably grease them up a bit first...' oh the wonders of grease. Keep up the progress, this car is going to be amazing!

    Leave a comment:


  • Mini 360
    replied
    Managed to get a couple hours in the garage tonight after 9. Aimed to get a driveshaft and CV joint reassembled and managed it easy enough.

    Getting the bearing into the cage/race was a bit of a pain. Then realised I'd forgotten to grease up the bearing channels. Once I had done that it was unsurprisingly, much easier.....

    So here the race, cage and bearings reassembled in the joint


    then greased it all up with the perfect sized sachet that came in the kit


    I then gently tapped the driveshaft into the CV joint to locate it. I made sure I had the new gaitor in place BEFORE i did this otherwise I would have to take it all apart again to put it on. One thing if you are doing this yourself is to make sure the inner race has the machined face with the 1mm inner section in from the outer face pointing TOWARDS the driveshaft itself. This allows the driveshaft to locate itself in this race face. This is important to get right.


    and then I popped the gaitor over the CV joint itself and sealed with a heavy duty tie wrap. Job done!


    And the whole driveshaft almost ready to be refitted. Need to do the point joint end next but that should be quicker as Ive got the method now.


    Oh and I also found the bracketry for my throttle pedal, so thought I would bung that on. I like it but not decided whether to keep it or just grip tape the throttle pedal to match the others. We shall see.....

    Leave a comment:

Working...
X