If this is your first visit, be sure to
check out the FAQ by clicking the
link above. You may have to register
before you can post: click the register link above to proceed. To start viewing messages,
select the forum that you want to visit from the selection below.
How'd you get on with the wiring the other night? Dreading that part...
In a word....shite......
I got the interior stuff routed, connected etc but in order to do the engine bay stuff I need the bulkhead blanking plate painted and I didn't have paint.....so gave up to leave for another day. Wiring is tedious!!!!
Will get out to it again tonight for more Hammerite and other odds and sods
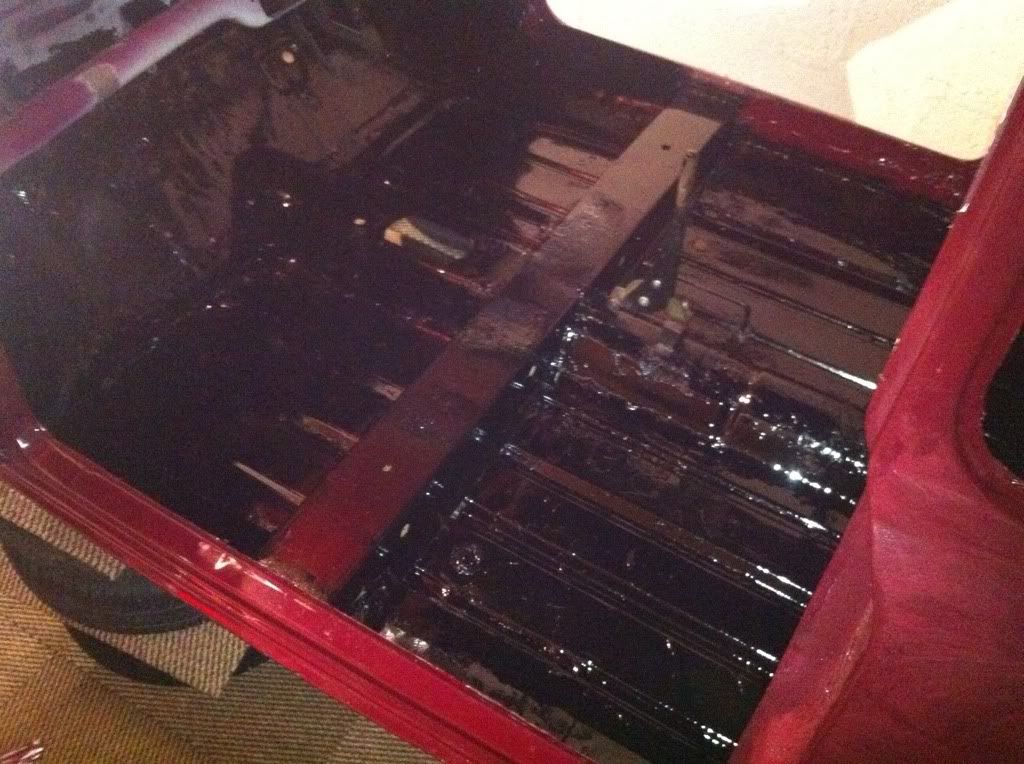
Went out about 8 to get the floor painted in hammerite to give it a bit of added protection. What a mare of a job! Got most of it done apart from the parts where the supporting wheels are holding it up. Will have to go over it again as I know some bits are thinner than others which isnt good enough!
Not really an exciting photo but here you go.....
and seeing as I had the Hammerite out I thought I might as well get going on my other radius arm. It was covered in surface rust (as you would expect) so stripped that off with the bench wire wheel, quick rerust with the Deox Gel, degrease and then a coat of paint. Its come up really well!
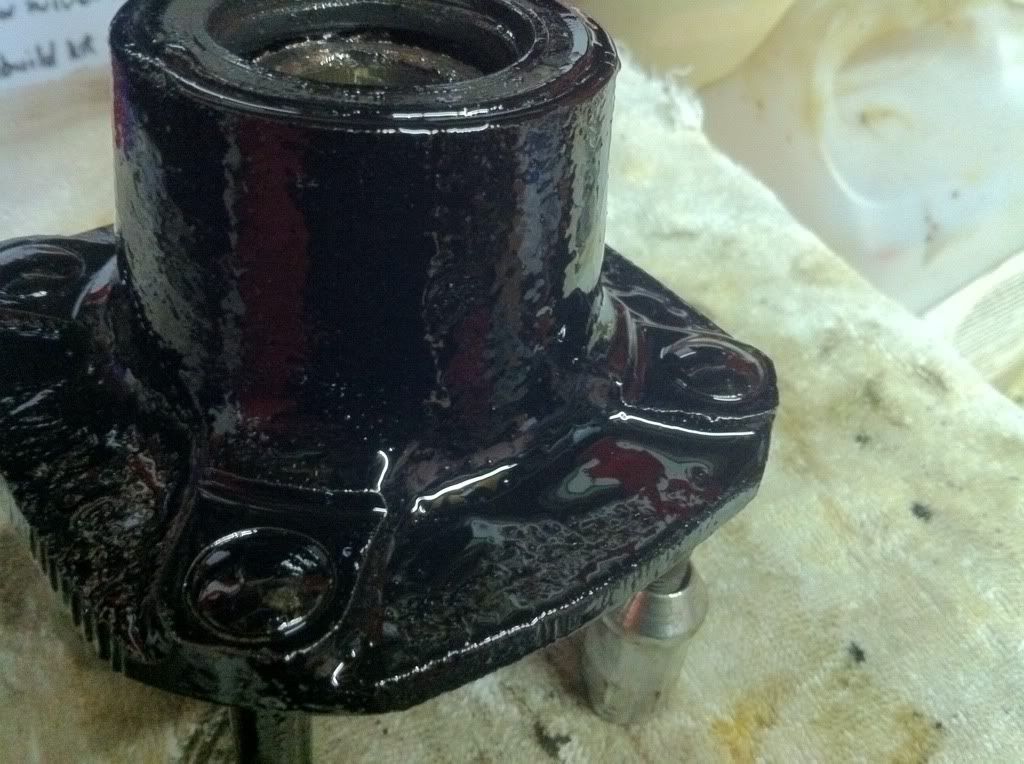
Also did the hub whilst I was at it.
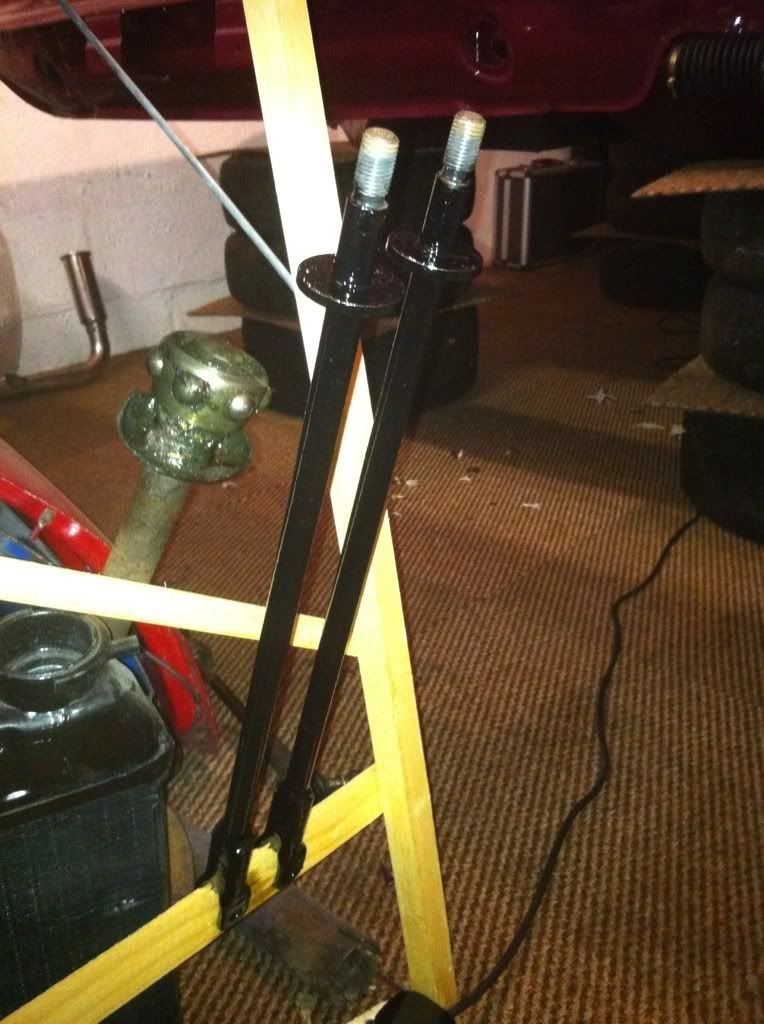
Also I managed to straighten out my tie bars, which were pretty out of shape as on most Minis, with my special precision impact tool (MASSIVE HAMMER)
So with these parts done thats all the suspension stuff tidied up and painted ready for subframes. Just need to get them blasted first but don't have the time/funds at the mo!
The floor took an age to dry due to the temperatures at the mo. Meant I couldn't get to work on it last night. However tonight it had finally hardened so with the day off work I got going
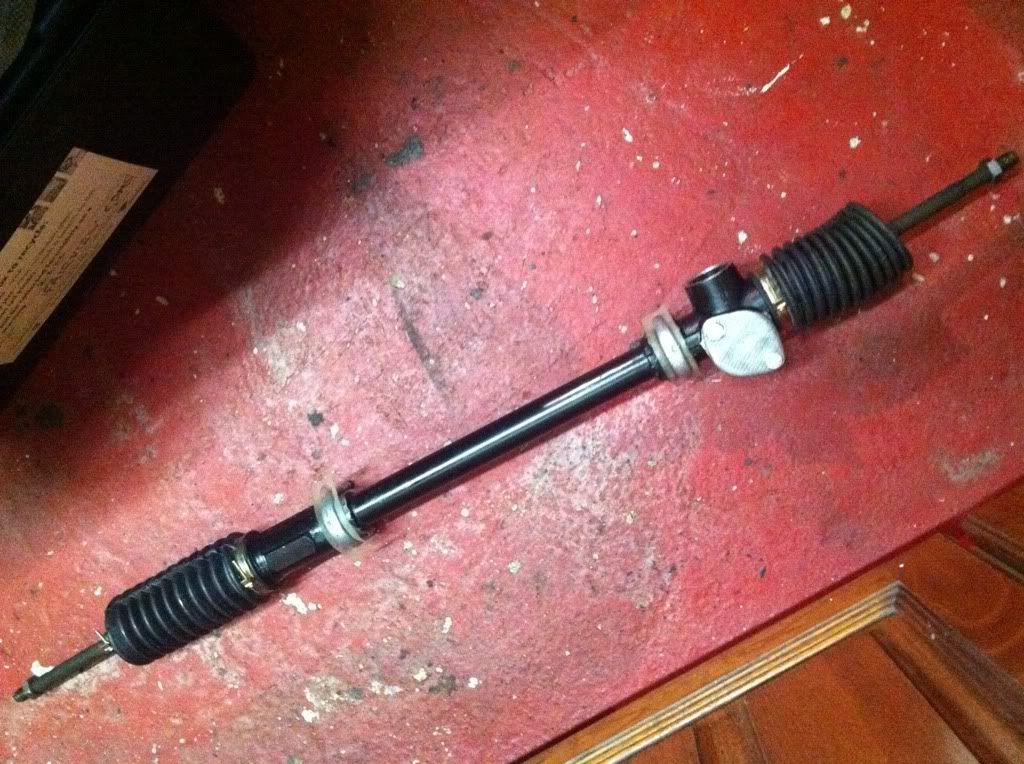
First thing to do was the steering rack. I had the choice of two as I bought another which I believe to be a sports pack one. Having tested them theres a 1/4 turn difference so Im not convinced however its a quarter turn less so it made the cut. It needed refurbed as the rubbers were split and the grease had all escaped, bolts were rusted solid and track rod ends had seen better days.
Had a spare refurb kit that a guy at my dads work donated to the cause after learning out his garage years ago so that was handy! After mixing and matching track rod ends from the two I got a decent steering rack together! Stripped the U bolts and painted them in silver Hammerite to protect them. Didn't repaint the rack itself as it was in pretty good nick under the grime which must have preserved it.
So here it is, all regreased, new rubbers and bolts replaced for stainless.
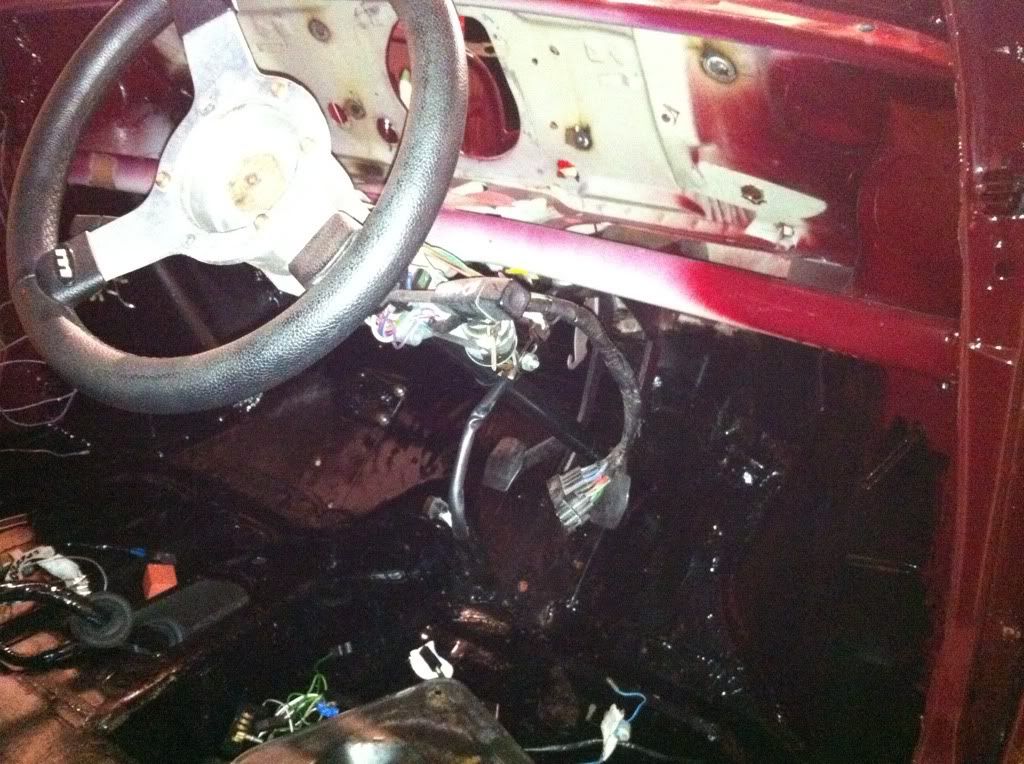
So with that installed I got the column in too. Got a drop bracket on it but I think I must have snapped the bolt that attaches it to the dash rail as its nowhere to be found, so its tie wrapped in place for now. This won't be the final steering wheel as I have something special in mind for that.
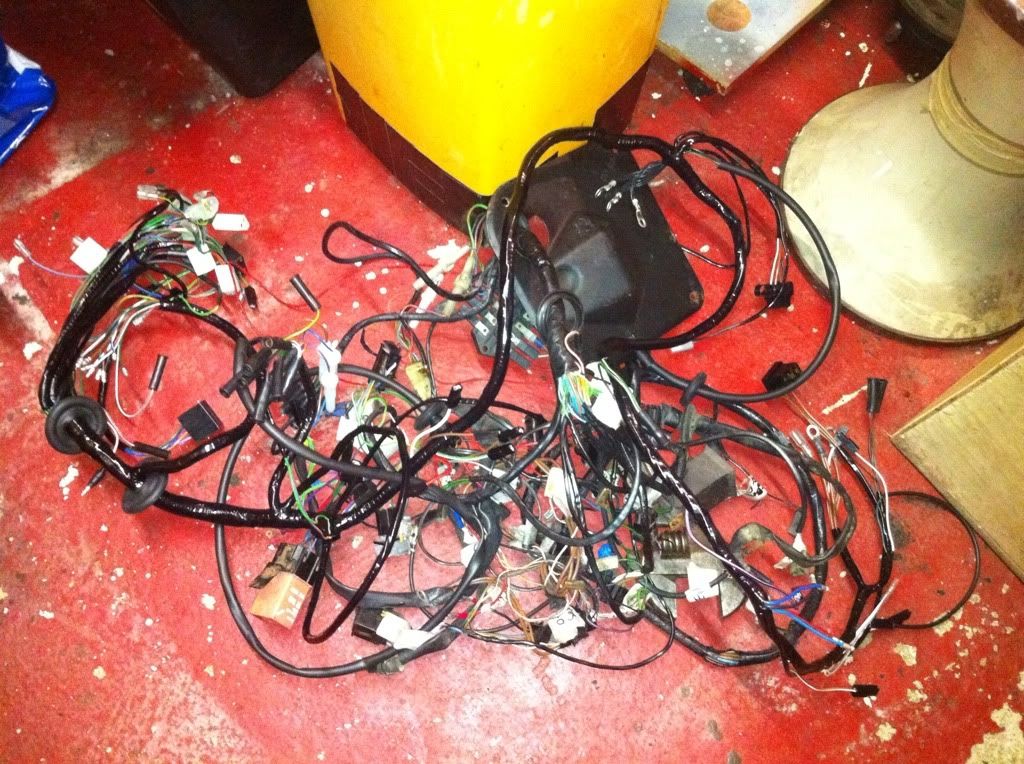
And with that all installed I started to tackle the wiring loom. Been dreading this but once I had it all load out side by side its actually pretty simple. Thankfully I had labelled most of the old loom as I took it out. If I hadn't done this I would have had no hope in getting it done!
At this stage I was a little worried.....
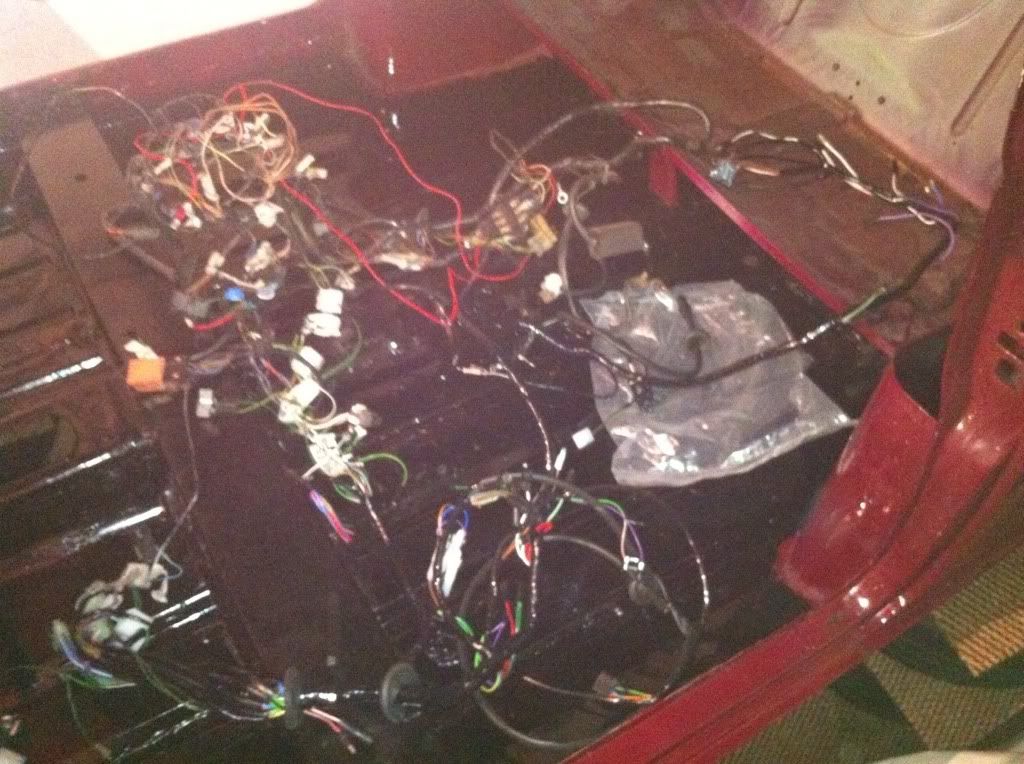
Old loom on drivers side and new loom on passenger side. Almost all done but finished up early to relax in front of the TV for a while before work all day tomorrow
Satisfying to finally get going with it!
I can see the June 2nd target being met at this rate
Damn, this is awesome. Good inspiration for my squareback. I'm about to start the body restoration with the intent to paint it something just as beautiful as your paint came out as. Sub'd and excited for more updates as you put it back together.


Leave a comment: