Announcement

Collapse
No announcement yet.

Project Crowdmower : Ford Chassis, Chevy Motor, and Nissan Transmission

Collapse
X
 
  • Filter
  • Time
  • Show
Clear All
new posts

  • laextreme5
    replied
    Originally posted by 190Evan View Post
    Jealous on the computer man. Those 243's should be awesome, the extra 10cc intake and 5cc exhaust volume on those ports will help but I'm curious about one thing. I know it's going to be NA for now but when it comes time for big single turbo what are you going to do compression wise? It would be rad running 10.5:1 but I feel like the 241's will be better for a boost app. because of the actual Chamber volume while only going from 10.5:1 to 10.1:1. Can't wait to see this thing all buttoned up and ready to run I'm just eager to learn your plans.
    UUUHHH,


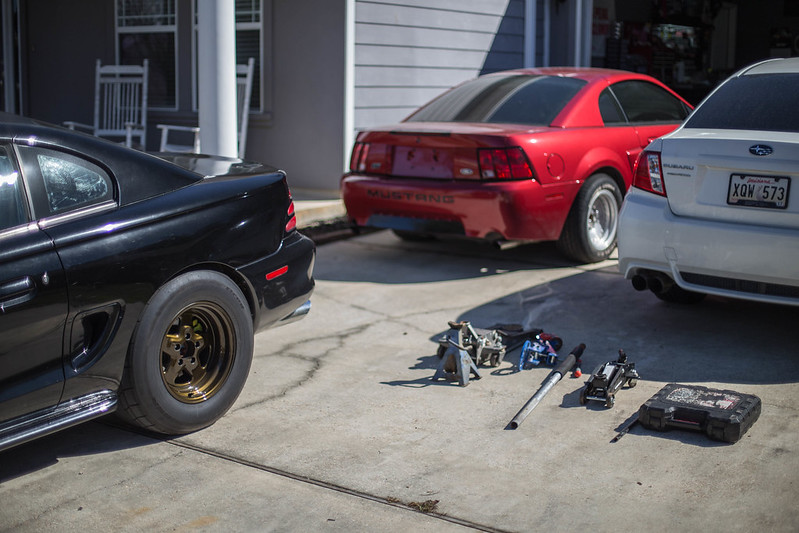
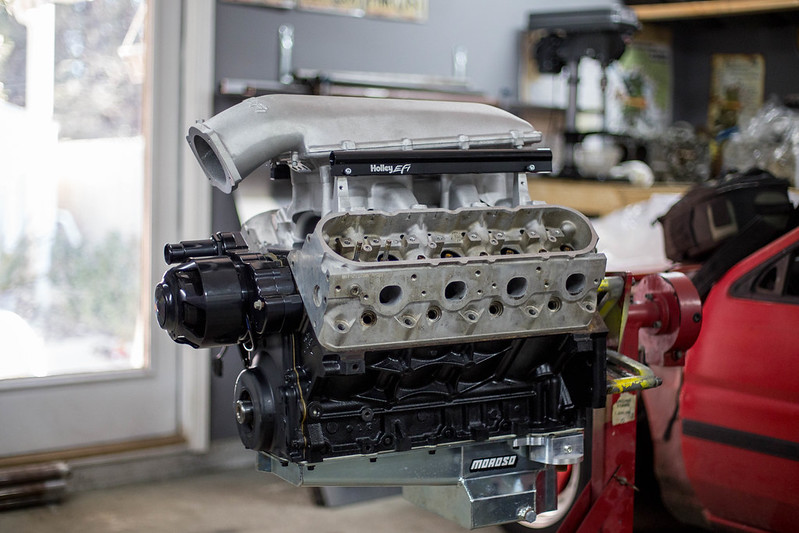
    im going boost right off the bat now

    Leave a comment:


  • 190Evan
    replied
    Jealous on the computer man. Those 243's should be awesome, the extra 10cc intake and 5cc exhaust volume on those ports will help but I'm curious about one thing. I know it's going to be NA for now but when it comes time for big single turbo what are you going to do compression wise? It would be rad running 10.5:1 but I feel like the 241's will be better for a boost app. because of the actual Chamber volume while only going from 10.5:1 to 10.1:1. Can't wait to see this thing all buttoned up and ready to run I'm just eager to learn your plans.

    Leave a comment:


  • laextreme5
    replied
    I promise I haven't forgotten about ole girl. Still working on that corolla in my garage. In the meantime I've picked up a few parts here and there.

    First up is a another set of heads. Decided porting the 862s was just taking too much damn time, and time is my enemy. So I picked up a set of 243's. All I'm going to do to them is port match the exhaust ports to the manifolds. I also picked up some arp heads bolts, balancer bolt, and intake mani bolt kit. Just som odds and ends I need. recently got an account with a wholesale parts distributor so I ordered them for my first open order. Also pick up some BNIB trunion upgrade kit for the stock rockers. And lastly nab da throttle body off a friend who didn't need it. Ill upgrade it down the line but for now this will do.

    new computer (1 of 7) by lawrx, on Flickr

    new computer (2 of 7) by lawrx, on Flickr

    new computer (3 of 7) by lawrx, on Flickr

    new computer (4 of 7) by lawrx, on Flickr

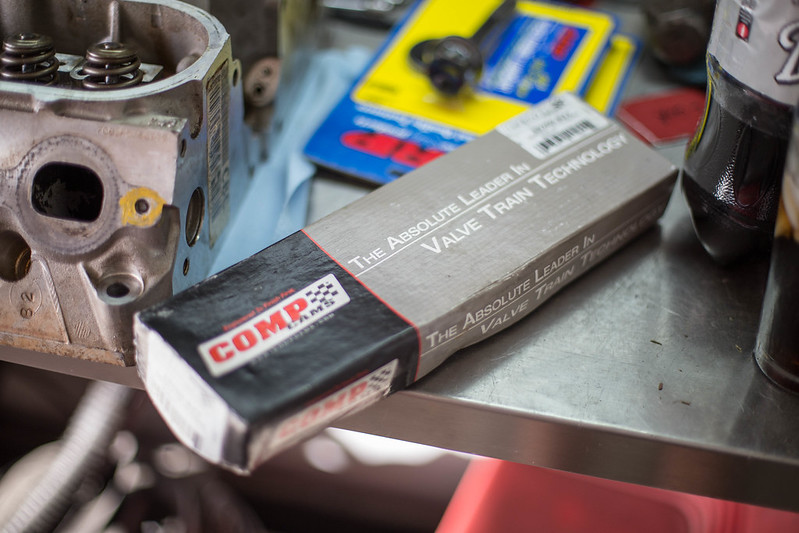
    new computer (5 of 7) by lawrx, on Flickr

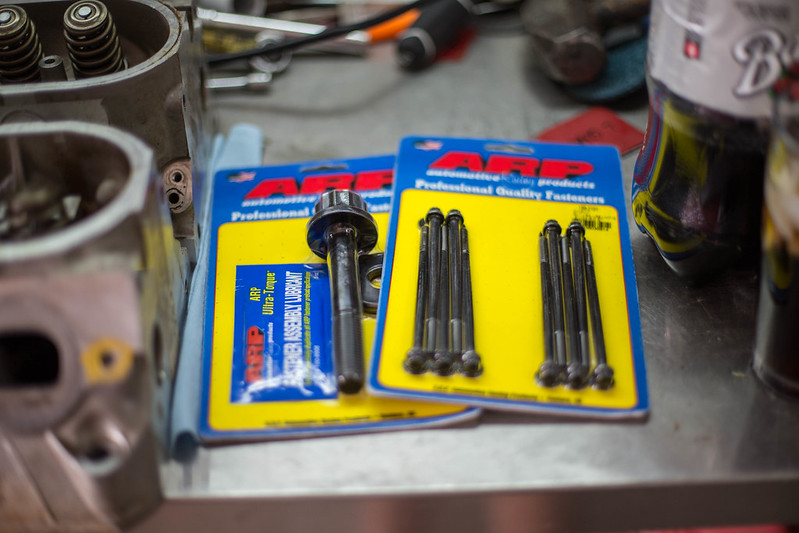
    new computer (6 of 7) by lawrx, on Flickr


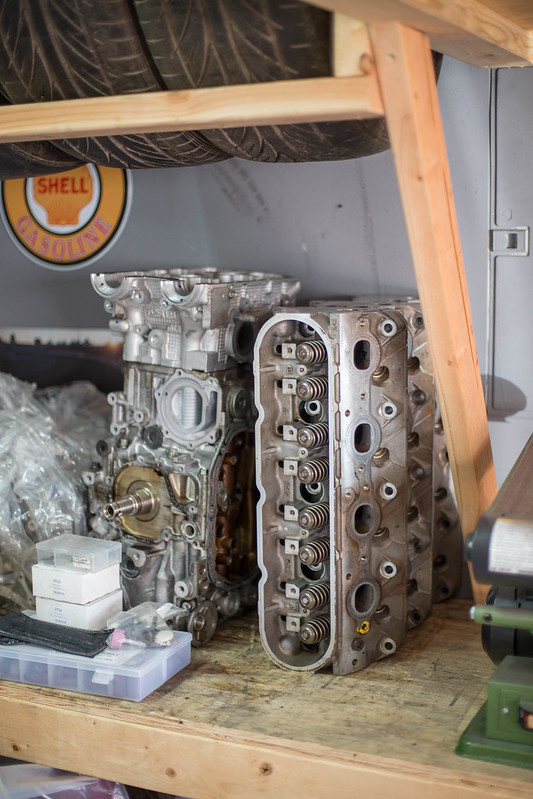
    new computer (7 of 7) by lawrx, on Flickr


    My wife also surprised me this past week with an early birthday present. iMac 27'' 5k computer. Ive been editing and such off her 8 year old 13.5'' macbook pro for years now for pictures. Its awesome to finally have a decent large screen to edit on. This also means I can try my hand at a bit of video. The MacBook wouldn't run any video software as it has so much shit on it.
    new computer (1 of 2) by lawrx, on Flickr


    new computer (2 of 2) by lawrx, on Flickr

    Leave a comment:


  • laextreme5
    replied
    Originally posted by wickedsnake00 View Post
    Bummer on the HOA.

    I used the same HF die grinder and a router controller for porting my heads back before I had a compressor. Worked out nice but did yours break on you? I killed 3 of them.
    Yeah, they have given me shit ever since i moved in. And no it hasnt failed on me yet.

    Leave a comment:


  • wickedsnake00
    replied
    Bummer on the HOA.

    I used the same HF die grinder and a router controller for porting my heads back before I had a compressor. Worked out nice but did yours break on you? I killed 3 of them.

    Leave a comment:


  • laextreme5
    replied
    So bit of an update. Haven't touched the mustang since the last post. Still slammed with work from the tornado, slammed with on the side alignments and suspenion installs with the weather warming up and show season starting around here.

    With that being said the mustang is going into a short term temp. hibernation. Buddy of mine helped me move it to his dads property a few miles away. Reason being as I've been getting flack from the HOA (TRUST ME I KNOW) and on top of bringing home the f100 the driveway has gotten a bit crowded. So the mustang has been moved until i can finish the AE86 that is currently taking up residence in my garage. Once its done and moved to the shop for paint then the mustang will b coming home. In the mean time ill be stacking up cash to order some more parts. Current plan is to continue porting the heads when i get a spare minute every now and then and wrap up the motor, including the valvetrain componets i need to purchase so that when the chassis is ready to come home the motor is ready to drop in and mockup for the motor plates and header construction.


    untitled (1 of 1) by lawrx, on Flickr

    Leave a comment:


  • laextreme5
    replied
    Ive been slammed with work the last week or so. Tornado hit New orleans East (About an hour south of us) and weve had cars just rolling in nonstop with damage coming ion for repairs. It s Monday and ive got 4.5 hours of overtime already (thats ALOT for my position lol) so needless to say i havent time do to much of anythign to the car.


    I did however do the COMPLETELY rational thing (it makes sense i swear) and bought another project. Its destined to be the tow rig for the mustang. Was too good a deal to pass up.


    Post your build threads here! Keep us updated on what you're doing in your garage.

    Leave a comment:


  • laextreme5
    replied
    Originally posted by 190Evan View Post
    Porting looking solid as per usual and those covers make a WORLD of a difference. Good to see more progress.
    indeed they did. Even more so when they are painted and not the flashy chrome
    Originally posted by JoshHiney View Post
    Awesome to see a fellow Chelsea fan! Keep it up, this project looks great so far. Any plans/ideas for the body yet?
    Current plan is to leave the bod alone other than fix some blemishes and such. In the future id like to do a single piece carbon front end and some carbon doors and such, but not anywhere near any time soon, or even needed.

    Leave a comment:


  • JoshHiney
    replied
    Awesome to see a fellow Chelsea fan! Keep it up, this project looks great so far. Any plans/ideas for the body yet?

    Leave a comment:


  • 190Evan
    replied
    Porting looking solid as per usual and those covers make a WORLD of a difference. Good to see more progress.

    Leave a comment:


  • laextreme5
    replied
    Originally posted by nsogiba View Post
    Don't envy all the aluminum dust you're breathing, but keep it up, it'll be worth it.

    Not sure how limited your funds are, but pick up a decent sized compressor, you will wonder how you ever did work without it. My wife bought me a 30 gal Campbell Hausfeld used a few years ago on craigslist for $250. Best money ever spent. When combined with actual air tools your work efficiency will go way up as well.
    eah, good thing is right now its mainly large sized shavings. Once i start using the sanding disk vs the cutting bits im goign to use some type of breather so as i dont die an early death lol

    As fro the compressor, im kinda spoiled with work. you can grind and grind all day and it never looses pressure. Then again it is a industrial size unit lol But i do have a 29 gallon at home, but it just simply cant keep up with an air grinder. Break bolts loose wit an impact or somethign that only takes a few seconds it qorks great. But any constant use the motor is constantly kicking on and ill eventually burn the motor up prematurely. This electric setup i bought works great so for now im going to stick with it. Once i move and have more room ill be picking up a much larger compressor.

    Leave a comment:


  • nsogiba
    replied
    Don't envy all the aluminum dust you're breathing, but keep it up, it'll be worth it.

    Not sure how limited your funds are, but pick up a decent sized compressor, you will wonder how you ever did work without it. My wife bought me a 30 gal Campbell Hausfeld used a few years ago on craigslist for $250. Best money ever spent. When combined with actual air tools your work efficiency will go way up as well.

    Leave a comment:


  • laextreme5
    replied
    Porting. Porting. More Porting. Porting.


    Thats my current situation lol. Thanks to the recommendation of a fellow member i picked up a few new tools that are really speeding up my process. Reason being is i only have a small compressor and it simply can't keep up with my air grinder. So i picked up a variable speed controller and an ''electric thinga-ma-jig" because i can't remember the actual name of it right now. This has sped of the process very much so, that i was able to get 2 more intake tracts roughed in along with the the rest of the combustion chambers on one head. (still need to clean the other before i even start on it). Only issue was the higher rpms and extremely long shank were causing the tip to flop all around. So i ended up having to trim it down a bit and it worked beautifully.


    IMG_7991 by lawrx, on Flickr


    IMG_7992 by lawrx, on Flickr


    IMG_7993 by lawrx, on Flickr


    IMG_7994 by lawrx, on Flickr


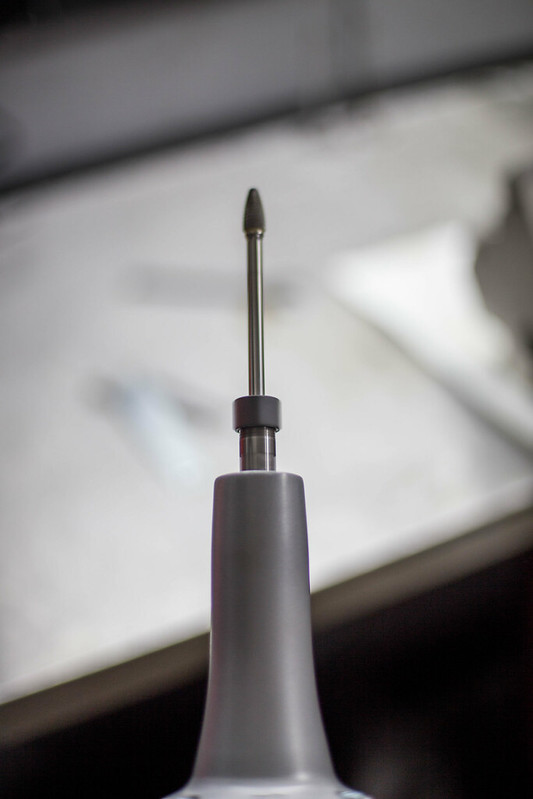
    IMG_7995 by lawrx, on Flickr


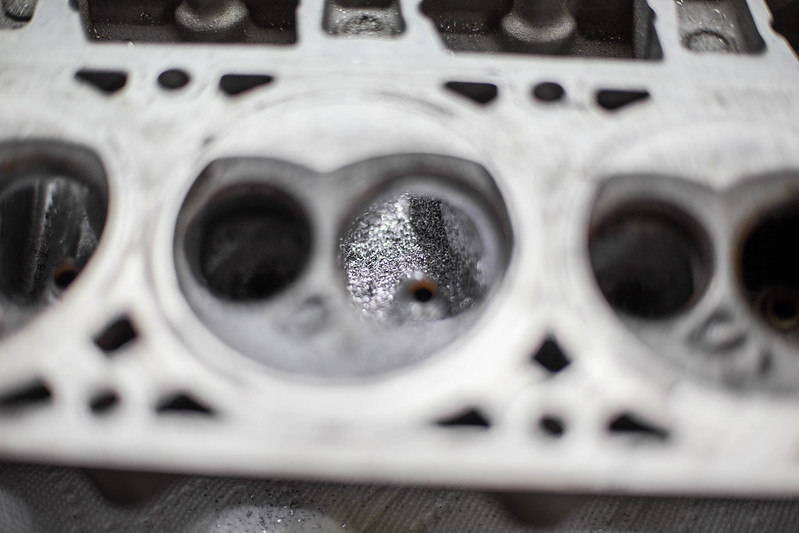
    IMG_7997 by lawrx, on Flickr


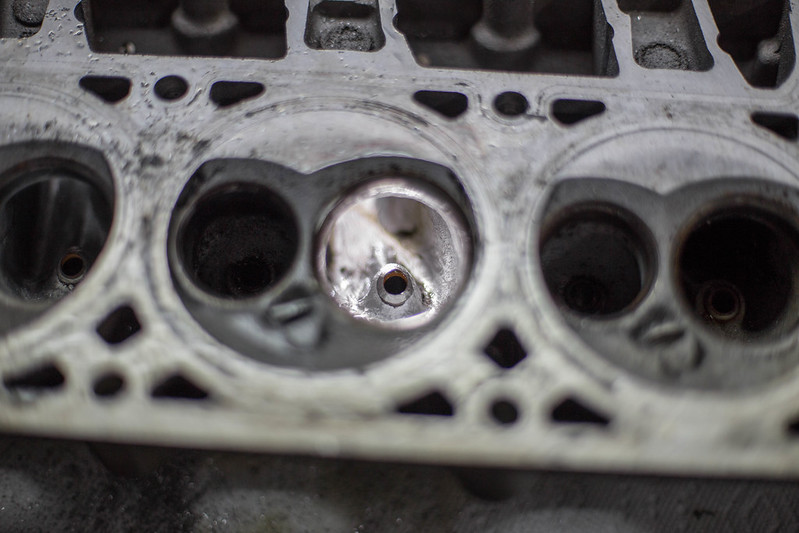
    IMG_7999 by lawrx, on Flickr


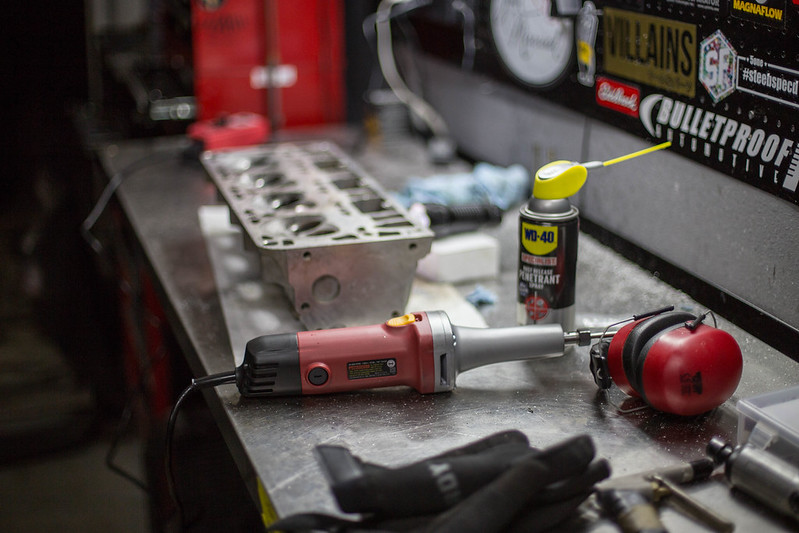
    IMG_8000 by lawrx, on Flickr


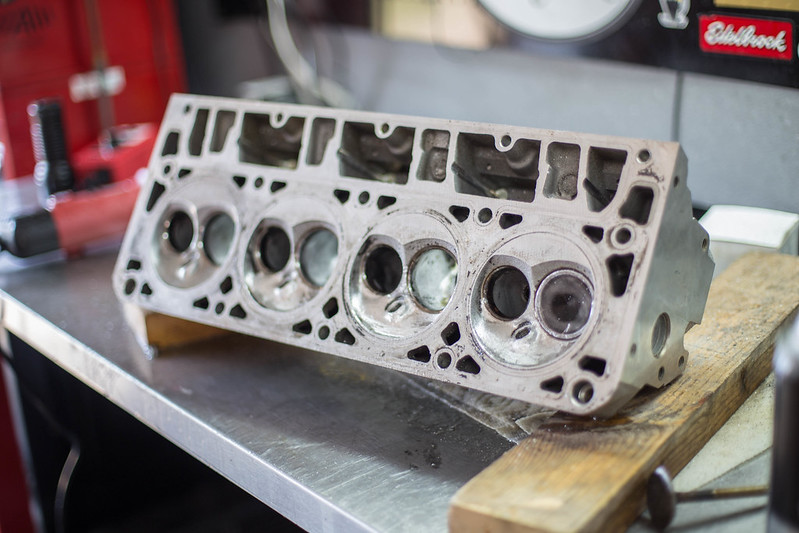
    IMG_8085 by lawrx, on Flickr


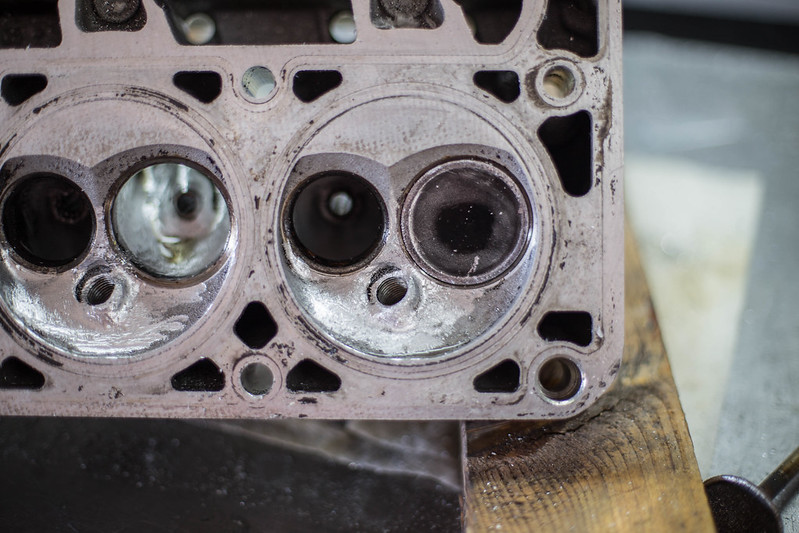
    IMG_8086 by lawrx, on Flickr


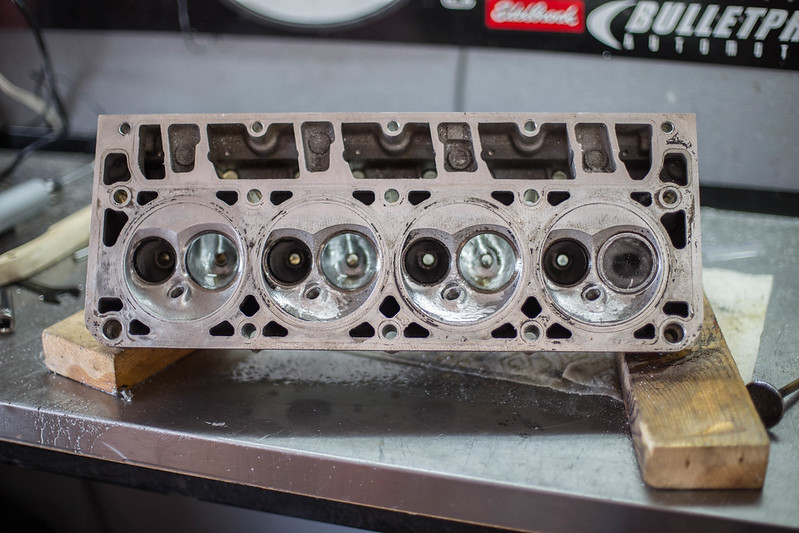
    IMG_8088 by lawrx, on Flickr


    I also have been lacking something to use to hog out on the exhaust ports to port match, so instead of ordering a flange i decided to order a full SS diy header kit, because frankly i wasn't happy that i cheaper out on a set of eBay knockoff junk.

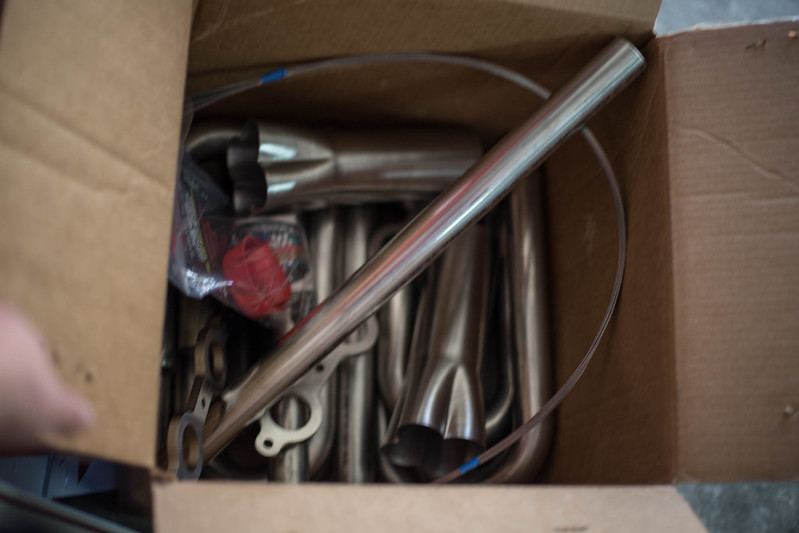
    IMG_8090 by lawrx, on Flickr

    IMG_8091 by lawrx, on Flickr


    IMG_8092 by lawrx, on Flickr


    IMG_8094 by lawrx, on Flickr


    I also picked up a few other parts. Some valve covers, which will get painted. They already make it much better looking. I also picked up a fox body manual steering rack, seeing as only flaming river makes a manual rack which is absurdly priced, i picked up said fox rack.

    IMG_8095 by lawrx, on Flickr


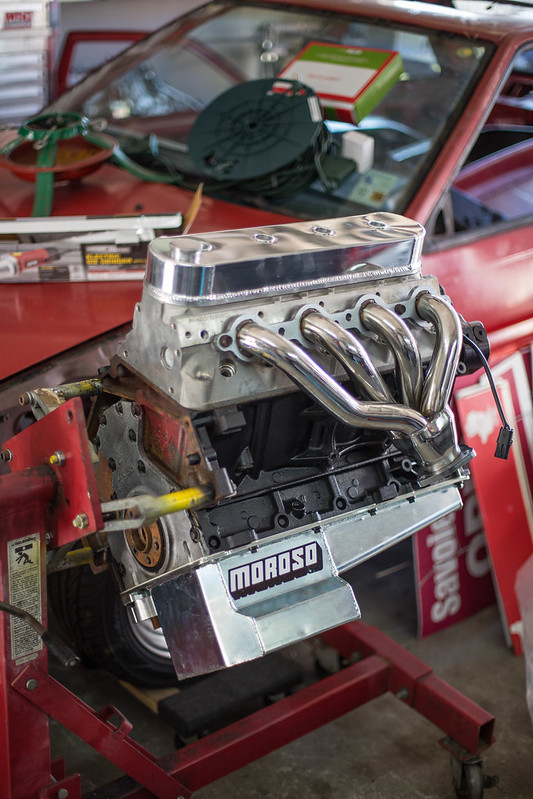
    IMG_8096 by lawrx, on Flickr


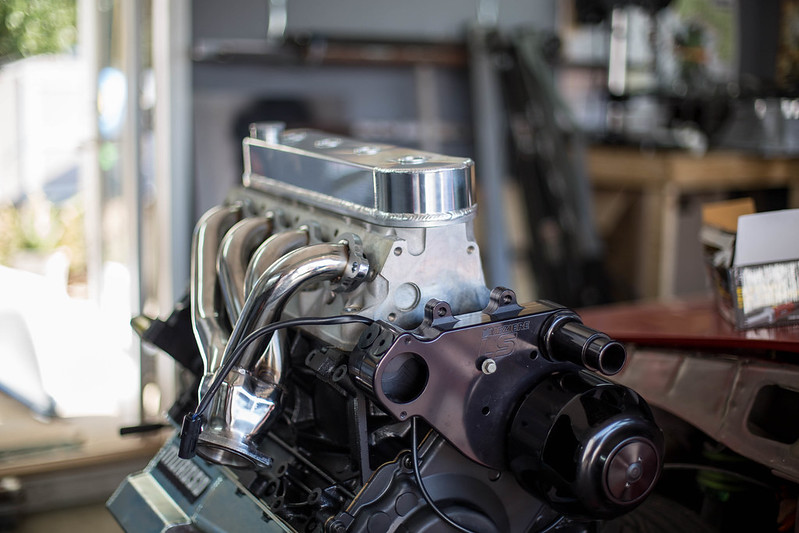
    IMG_8098 by lawrx, on Flickr


    IMG_8099 by lawrx, on Flickr


    IMG_8100 by lawrx, on Flickr


    I also got the intake mani down to start on porting it as well. The mid rise consist of three parts, the base, the adaptor, and the plenum top. the base and the adaptor for whatever have 1/8'' overhang on one side of each of the 4 ports. its stupid. So yay more work porting. Since I'm doing that i plan on cleaning up the casting on the upper plenum piece. Lets just hope all this adds up and makes decent power for what it is,


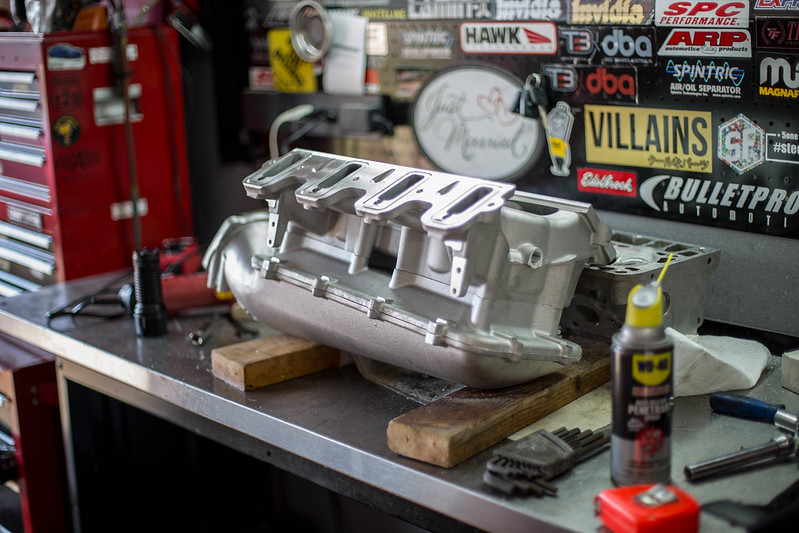
    IMG_8101 by lawrx, on Flickr


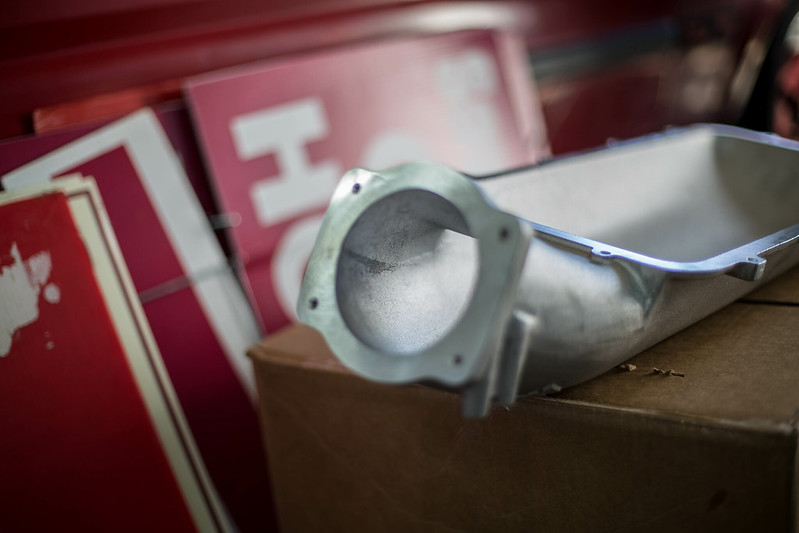
    IMG_8102 by lawrx, on Flickr


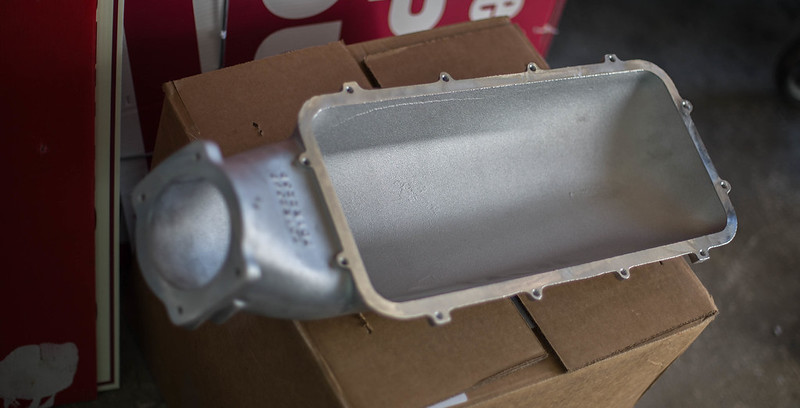
    IMG_8104 by lawrx, on Flickr


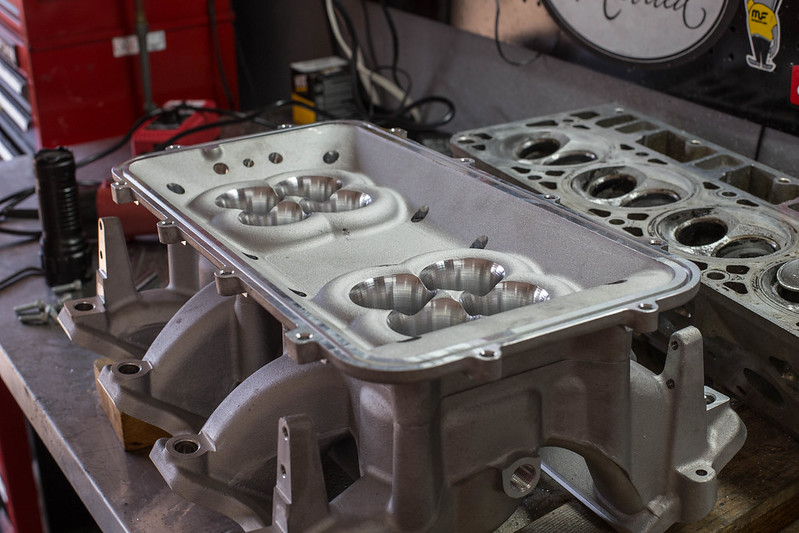
    IMG_8107 by lawrx, on Flickr
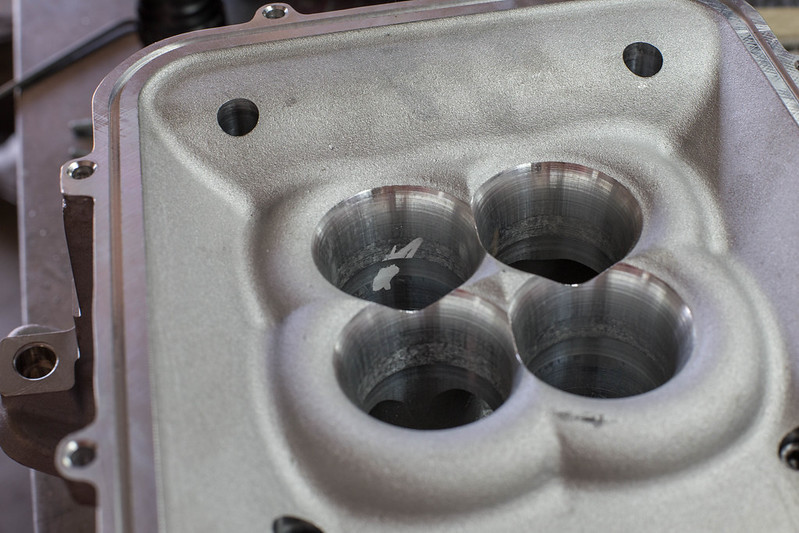

    IMG_8108 by lawrx, on Flickr

    IMG_8108 by lawrx, on Flickr


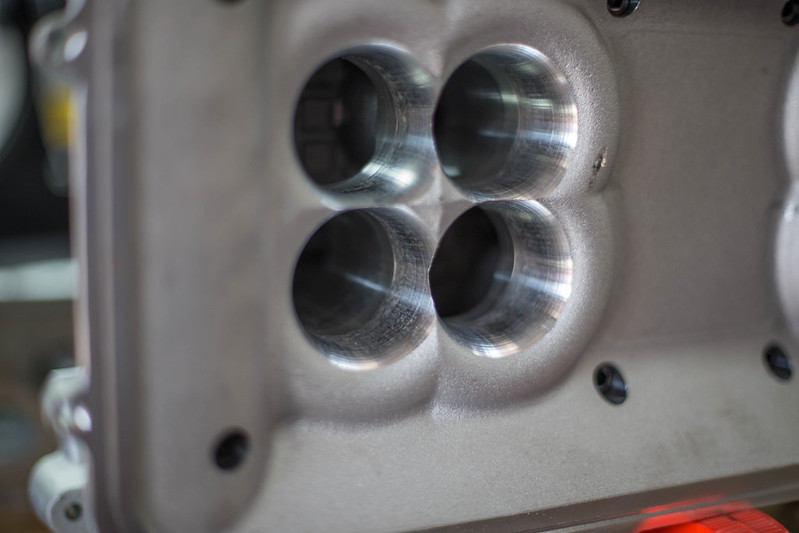
    IMG_8111 by lawrx, on Flickr


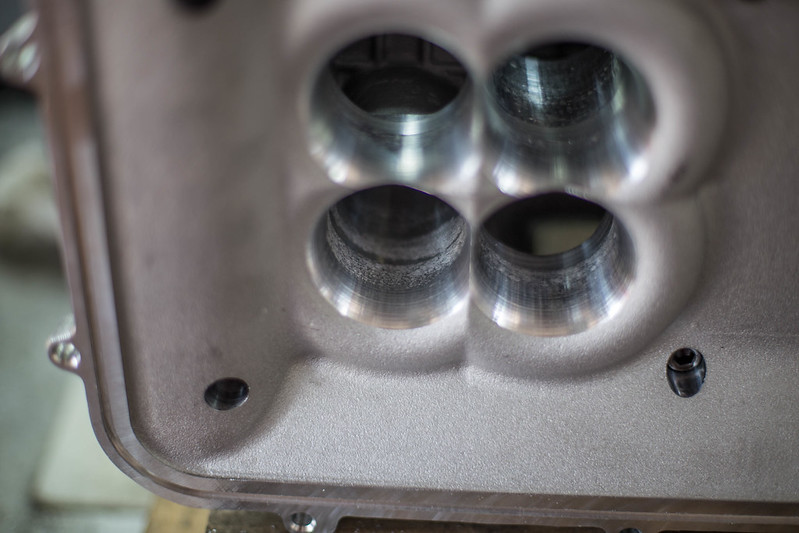
    IMG_8112 by lawrx, on Flickr

    Leave a comment:


  • laextreme5
    replied
    Not a whole lot has been going on lately. Did a bit more porting on the heads one or to nights. really just been busy with work and such.

    Over this weekend a friend of mine and i swapped rear ends. We had come to the conclusion that my 4.10s are way to short for the CD009 ratios and his 3.08s were way too long for his intended use. luckily my 4.10s were exactly what he was looking for and his 3.08 was exactly what i was looking for. SO needless to say the swap worked out perfect. my original plan was to just run the 4.10s and deal with it while NA as my next plan of attack was a 9'' swap. Thats still the plan its juts now pushed back till the big turbo power comes.

    IMG_7950 by lawrx, on Flickr


    IMG_7951 by lawrx, on Flickr


    IMG_7954 by lawrx, on Flickr


    IMG_7955 by lawrx, on Flickr


    IMG_7958 by lawrx, on Flickr


    IMG_7962 by lawrx, on Flickr


    IMG_7964 by lawrx, on Flickr


    IMG_7970 by lawrx, on Flickr


    While i had the rear end out and the car up i decided to drop out the fuel tank. Frees up quite a bit of room and gave me a good view of what all i can cut when I'm ready to put the fuel cell in.

    IMG_7963 by lawrx, on Flickr


    IMG_7971 by lawrx, on Flickr


    While finishing up blaine car i decided to take a few shots of the cars in the driveway since it was that "golden hour" every photographer loves

    IMG_7964 by lawrx, on Flickr


    IMG_7967 by lawrx, on Flickr


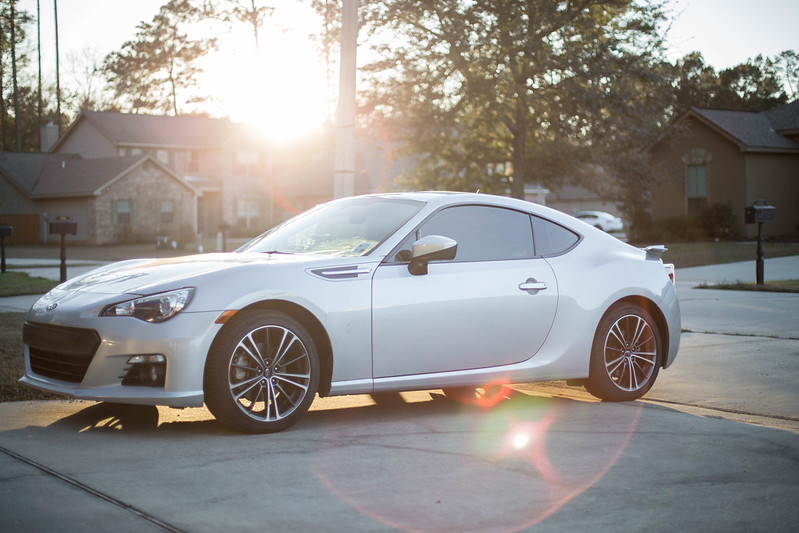
    IMG_7968 by lawrx, on Flickr


    IMG_7972 by lawrx, on Flickr


    IMG_7976 by lawrx, on Flickr


    IMG_7978 by lawrx, on Flickr

    Leave a comment:


  • laextreme5
    replied
    Been piddling with the motor on off this week when have time. Friend of mine came over and wanted to see the motor fully dressed. So i decided to throw the intake and water pump on to see what it all looks like. While we were at it decided to cut out a rough size of the turbo ill be running in the future, to see if my plan will work. And from the looks of it ill barely have an 1'' to spare. everything will work out perfectly, and ill have less than a foot of charge piping while still using a intercooler. Which is awesome.
    IMG_7744 by lawrx, on Flickr

    IMG_7749 by lawrx, on Flickr


    IMG_7750 by lawrx, on Flickr


    IMG_7752 by lawrx, on Flickr


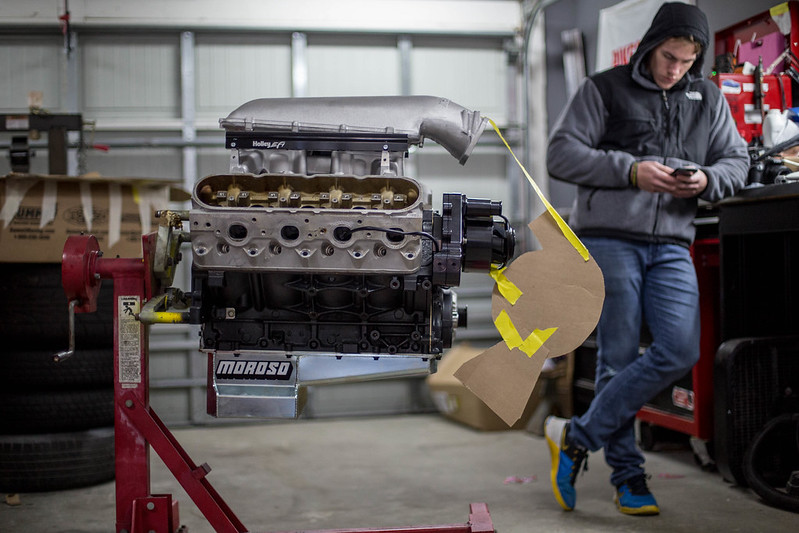
    IMG_7753 by lawrx, on Flickr


    IMG_7742 by lawrx, on Flickr


    Early in the week my unterminated harness arrived from megasquirt. Once i had made sure everything was there i started to sort and label all the wires. The names were printed on the wires themselves, but are so god damn small i just made it easier on myself and made much easier to read larger labels i can look at at a glance and know what it is. With all the laebling done i grouped all the wires into similar actions. All the injectors, all the sparks, all the out puts, inputs etc. Still need to figure out what I'm going to be about a fuse box. Haven't figured that out just yet.

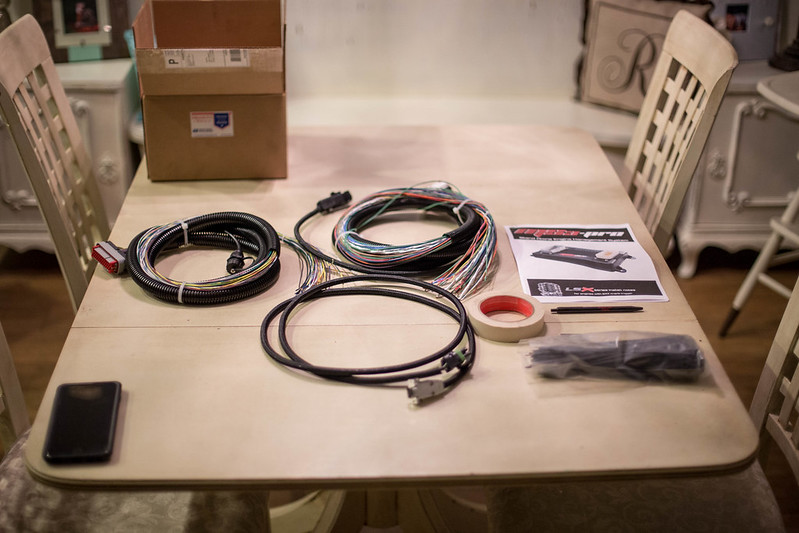
    IMG_7754 by lawrx, on Flickr

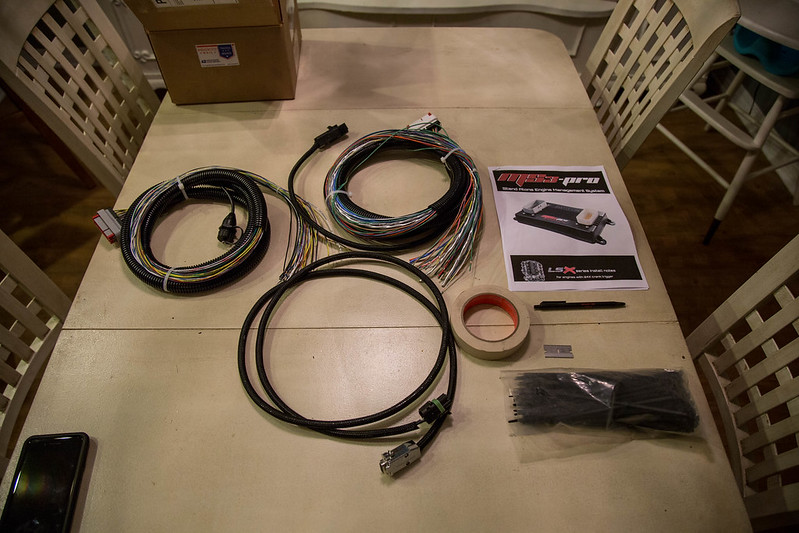
    IMG_7756 by lawrx, on Flickr

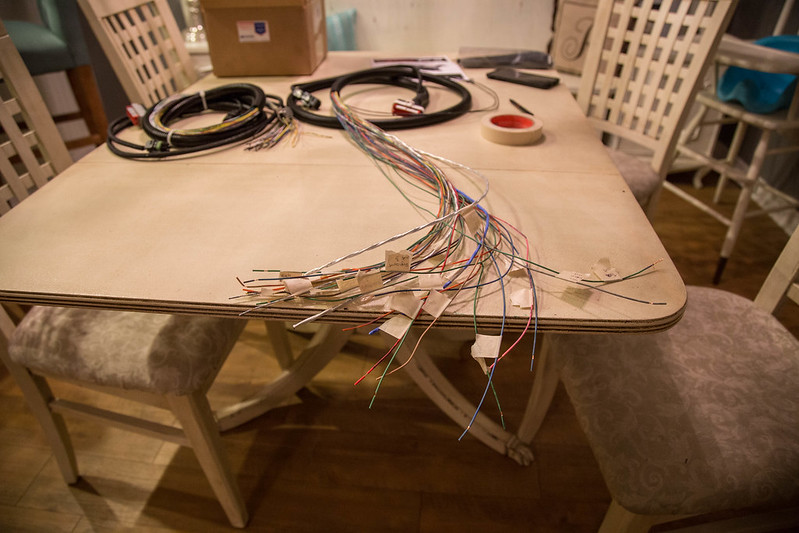
    IMG_7758 by lawrx, on Flickr


    IMG_7760 by lawrx, on Flickr

    IMG_7761 by lawrx, on Flickr


    IMG_7762 by lawrx, on Flickr


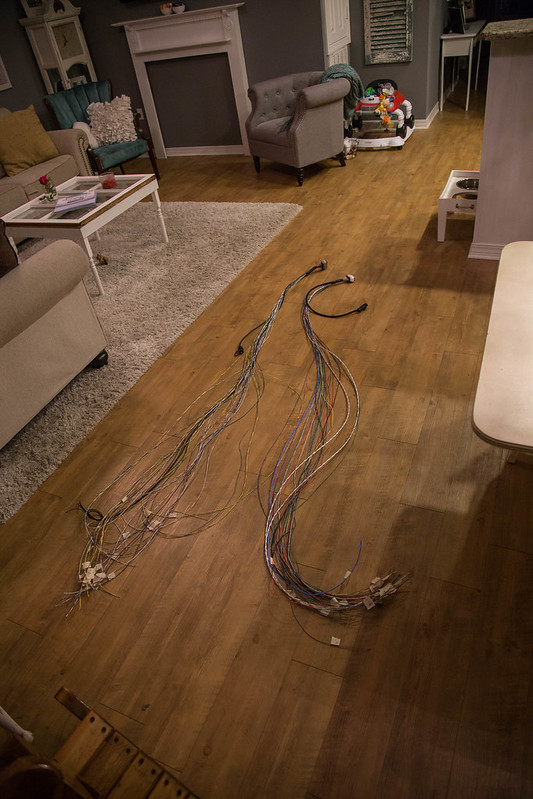
    IMG_7763 by lawrx, on Flickr


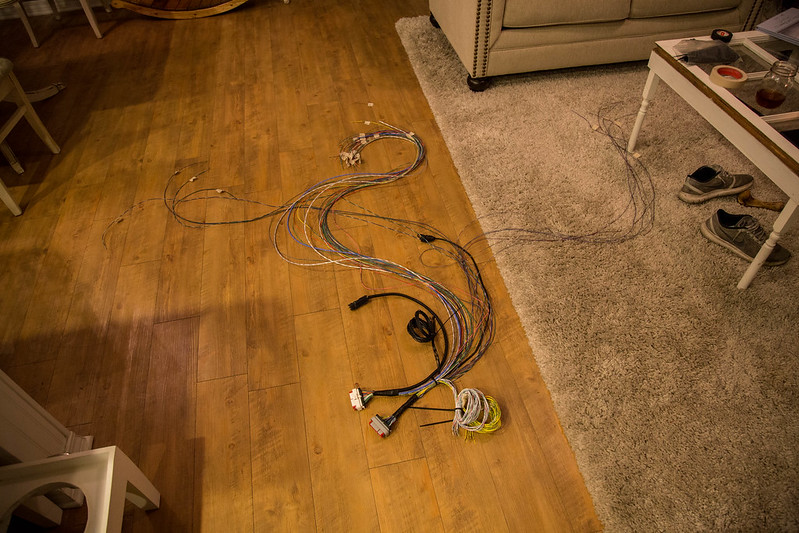
    IMG_7764 by lawrx, on Flickr


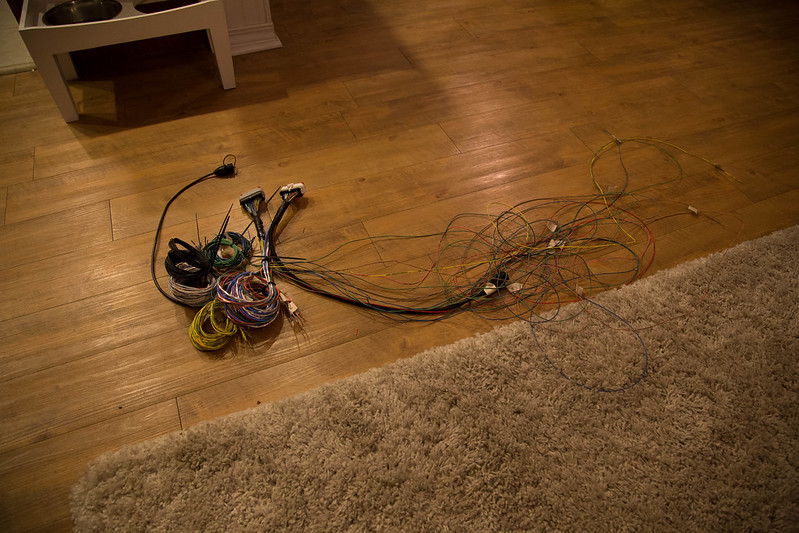
    IMG_7766 by lawrx, on Flickr


    And of course the latter part of the week I've been continuing the porting. So far i have completed one intake port and one combustion chamber. Moving a little slow, as one its my first time and two my small compressor can't keep up and will likely burn up if it tries, so I've been using mh cordless drill. While it works it doesn't have nearly the speed required to take off large amounts of material in a timely fashion. It is however great for minor detail work with the cutting bits at lower speeds. Basically all I've done is removed the rocker bolt hump, smooth out the area around the valve guide, and smooth the walls out. with the combustion chamber i simply removed all hard edges, unshrouded the valves a bit. I used the head gasket as a templet for how much i could remove, and then smoothed out the whole combustion chamber, So far to me it looks pretty damn good. I know there are some areas i can improve on, and now that I've kinda figured out a process of what all I'm going to remove where i can do th rest in a much quicker fashion. ESP. after i find an alternative to using my cordless drill lol

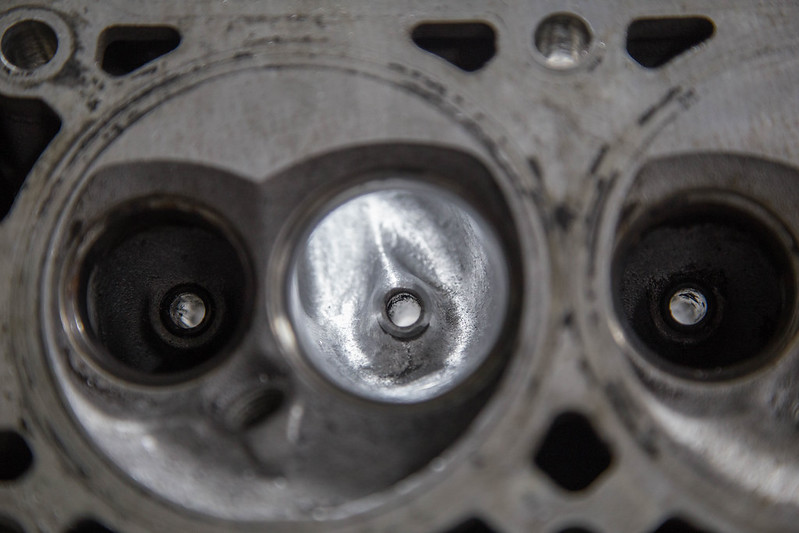
    IMG_7770 by lawrx, on Flickr


    IMG_7772 by lawrx, on Flickr


    IMG_7769 by lawrx, on Flickr


    IMG_7775 by lawrx, on Flickr


    IMG_7777 by lawrx, on Flickr


    IMG_7781 by lawrx, on Flickr


    IMG_7783 by lawrx, on Flickr


    IMG_7784 by lawrx, on Flickr


    IMG_7785 by lawrx, on Flickr


    IMG_7787 by lawrx, on Flickr

    Leave a comment:

Working...
X