Announcement

Collapse
No announcement yet.

1960 Studebaker Lark VI 2dr sedan

Collapse
X
 
  • Filter
  • Time
  • Show
Clear All
new posts

  • #46
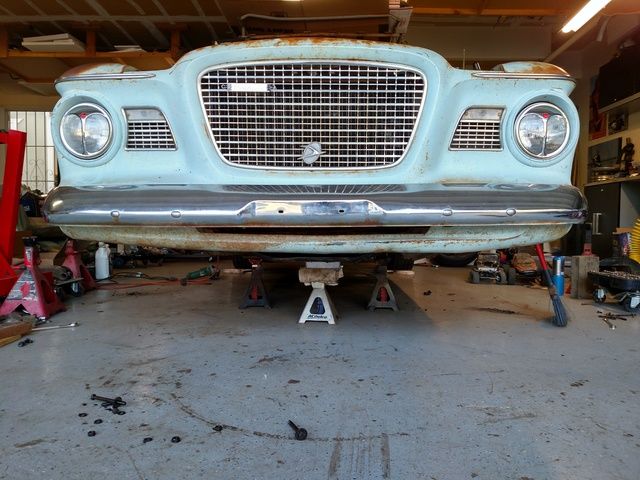
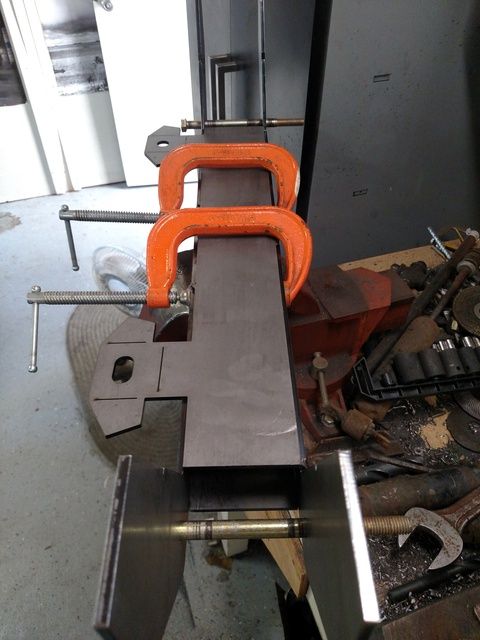
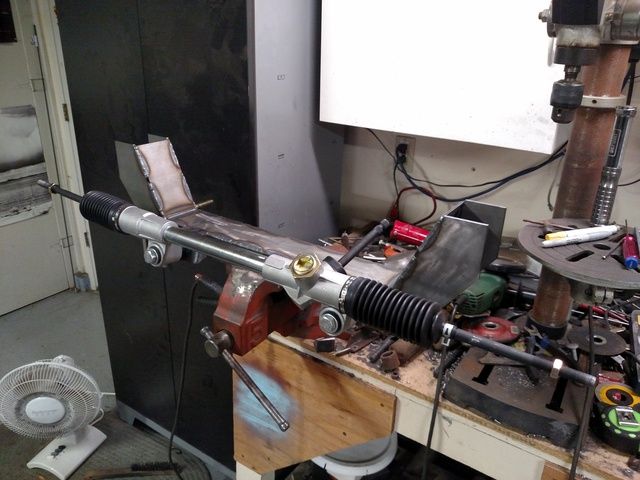
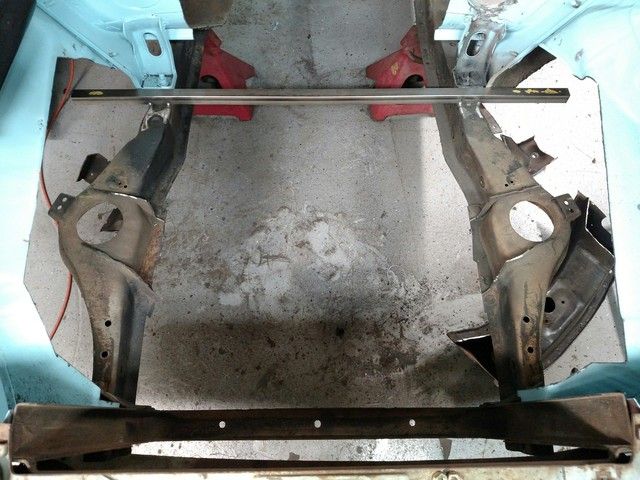
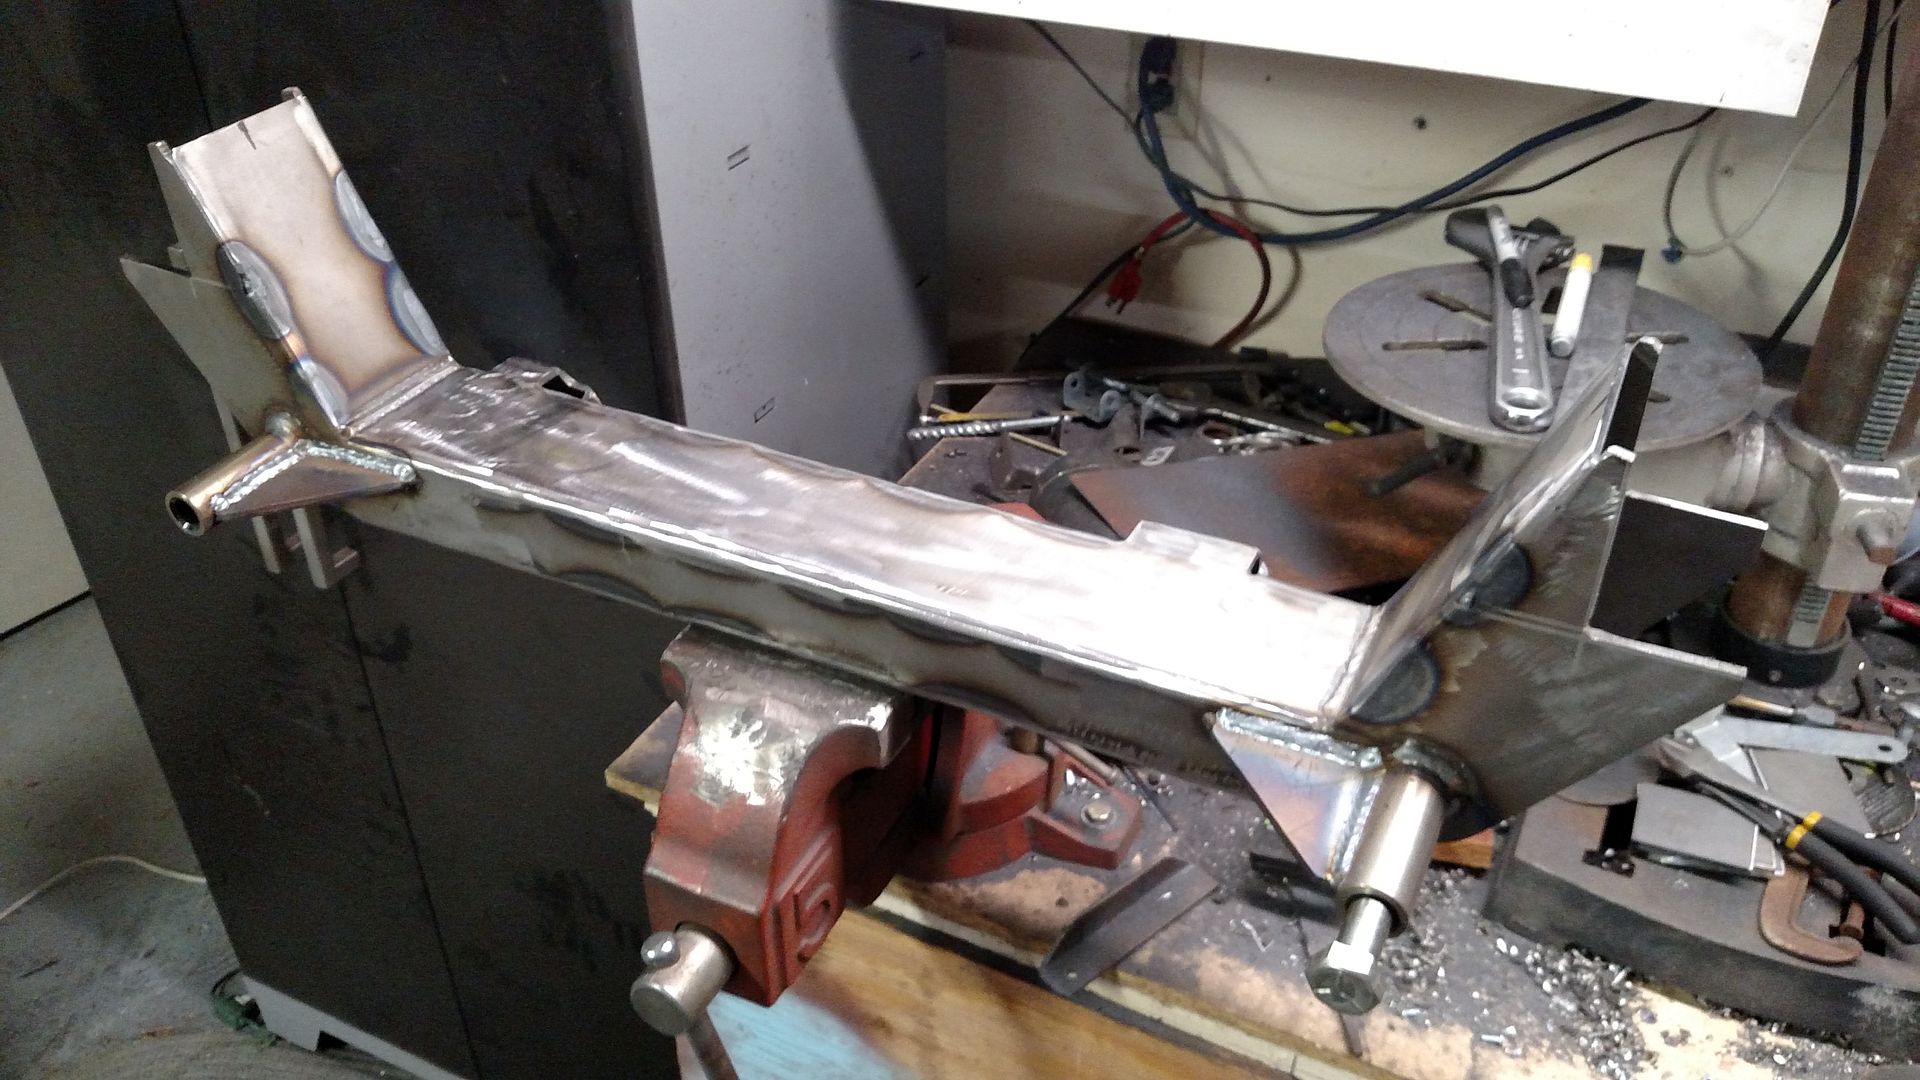
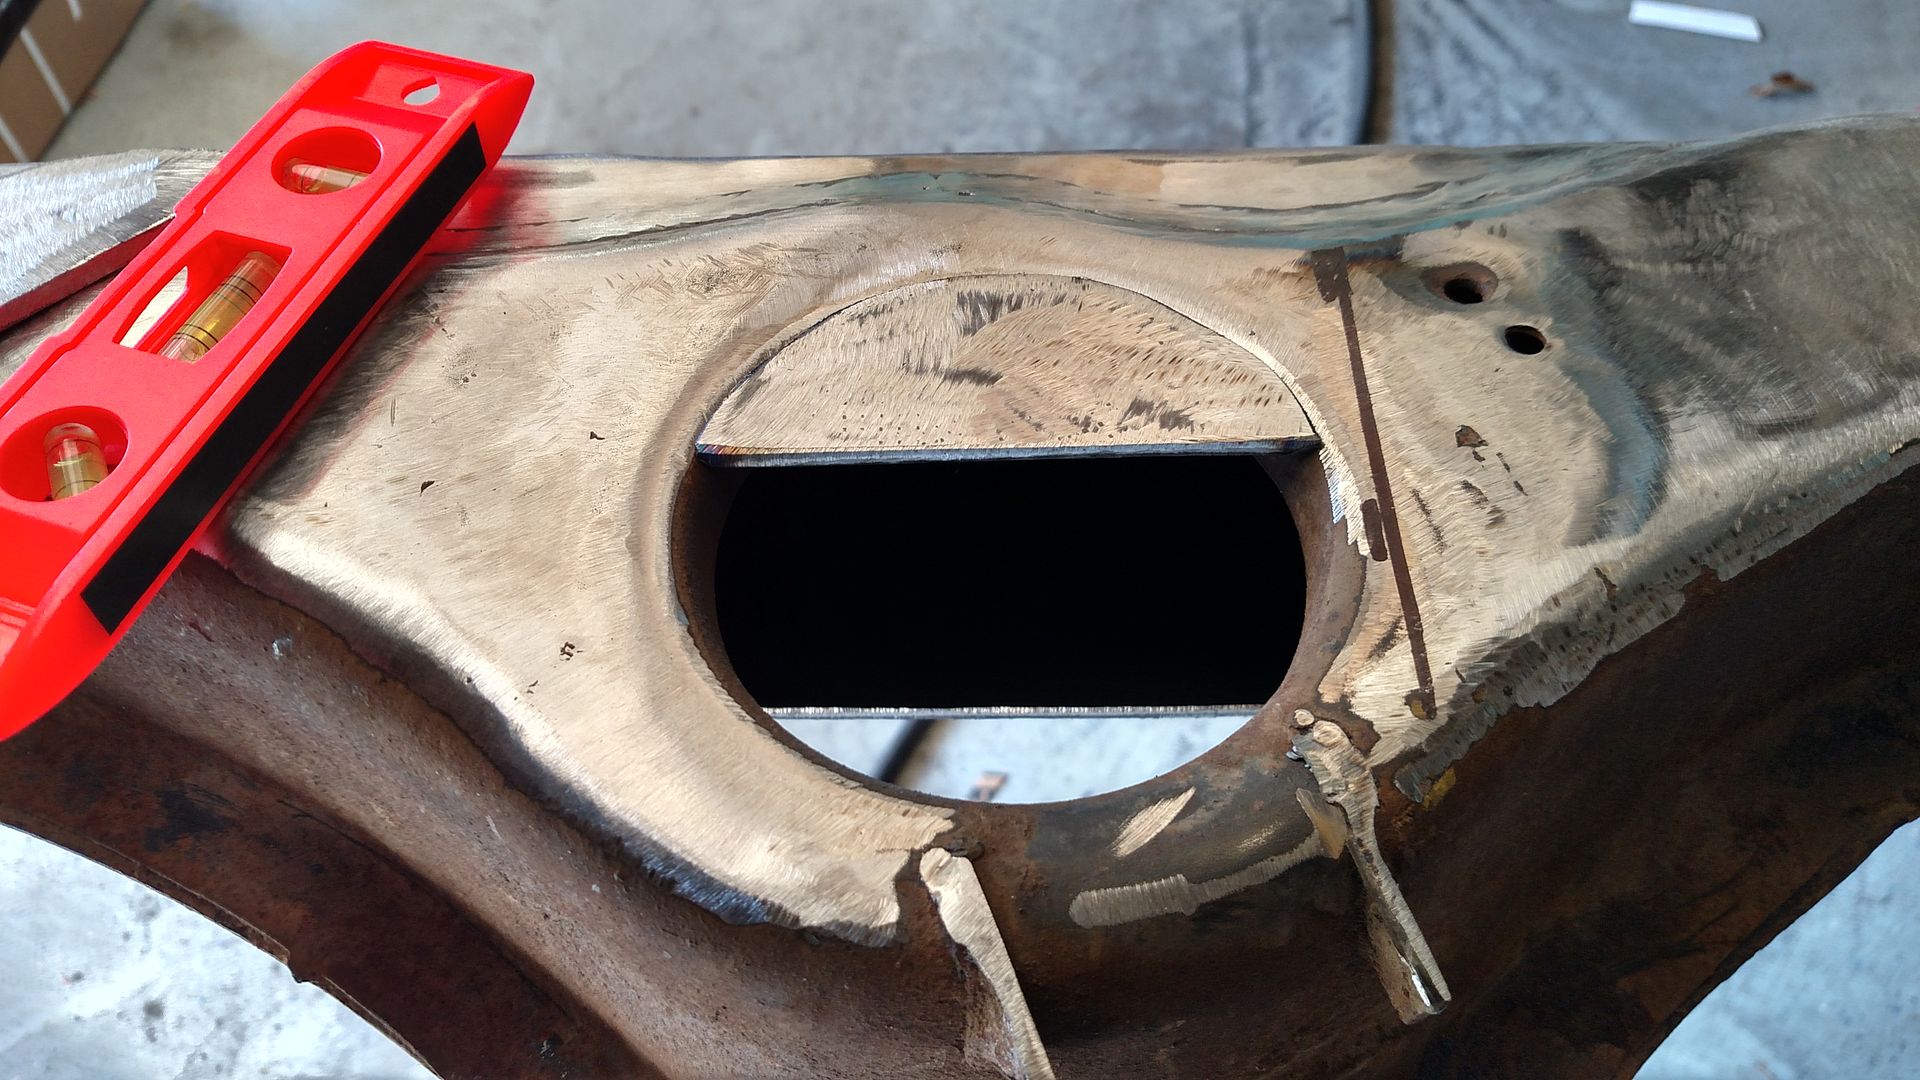
    So I ordered and received a manual rack and pinion for the common mustang 2 type suspension, but as I thought the distance and angle to connect the steering column to the rack input is too short and steep to mount it in a cradle behind the axle.

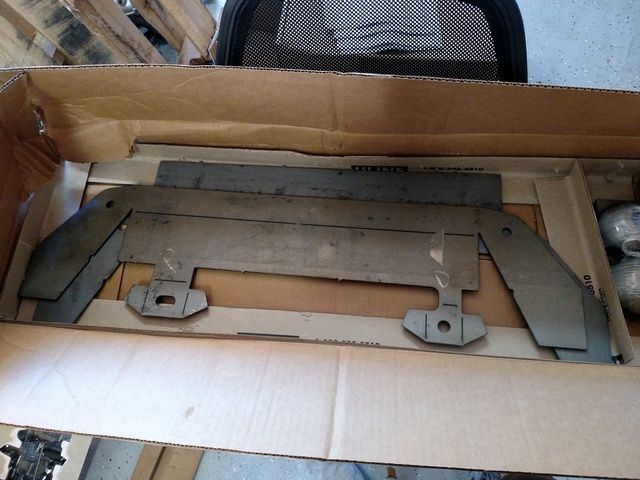
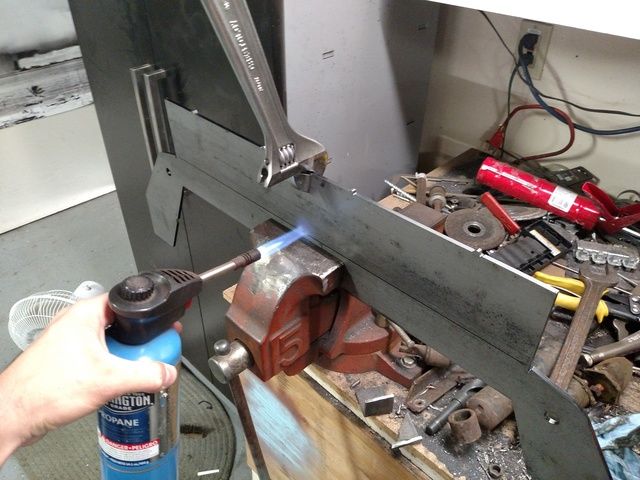
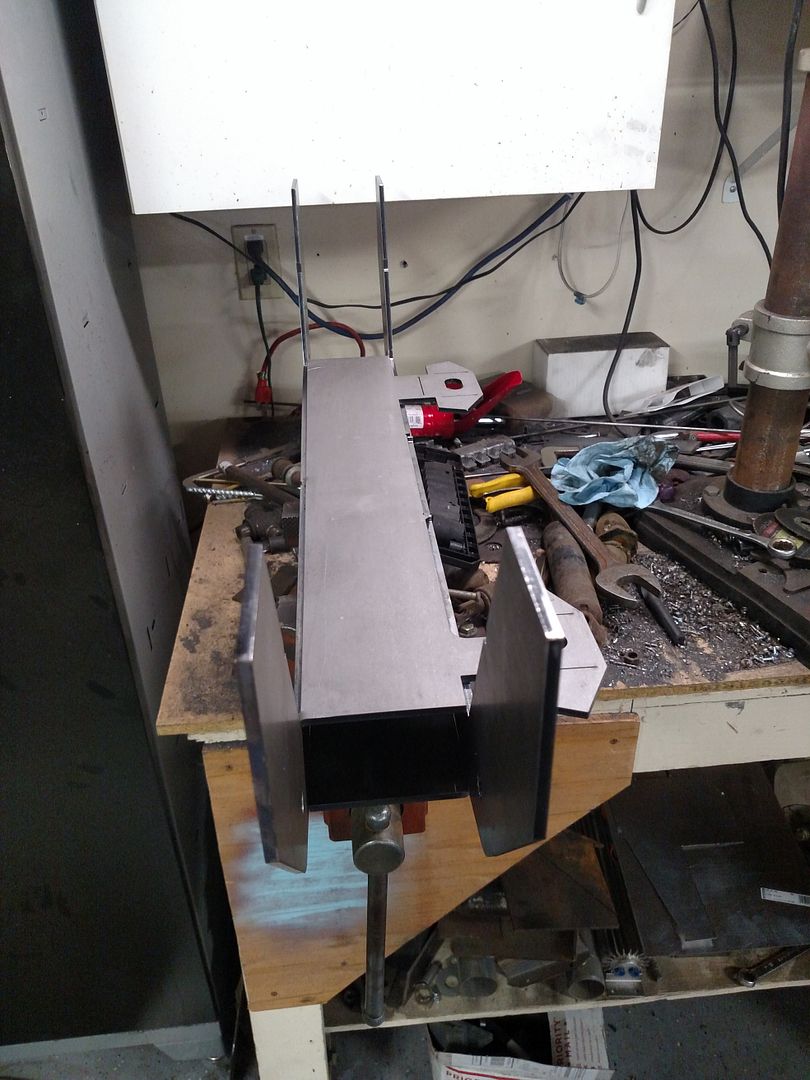
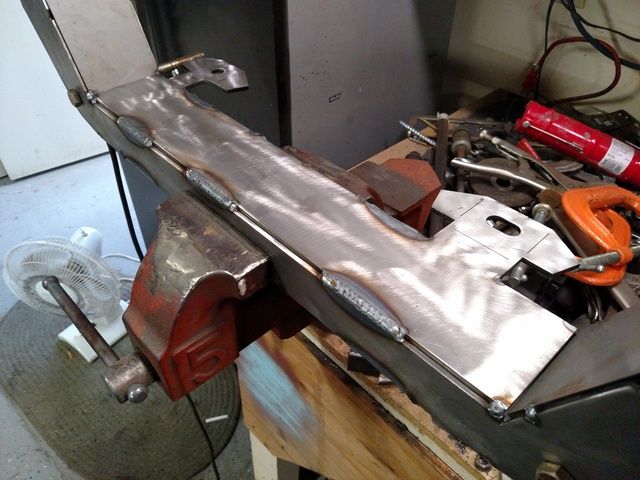
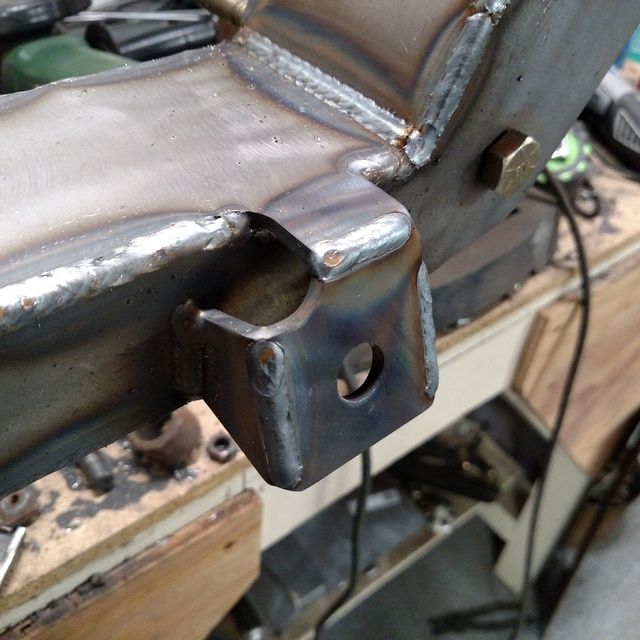
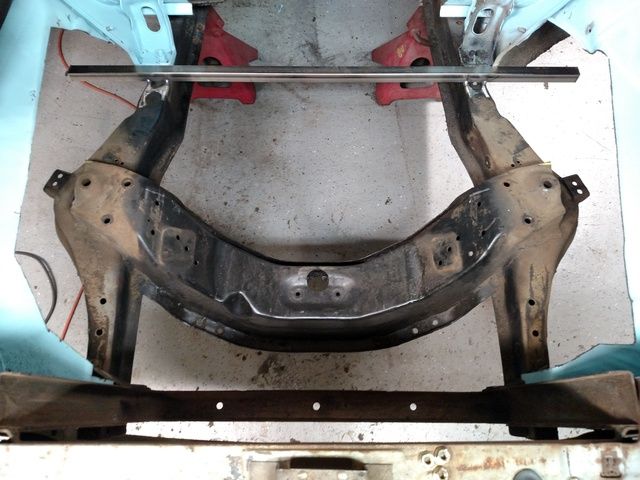
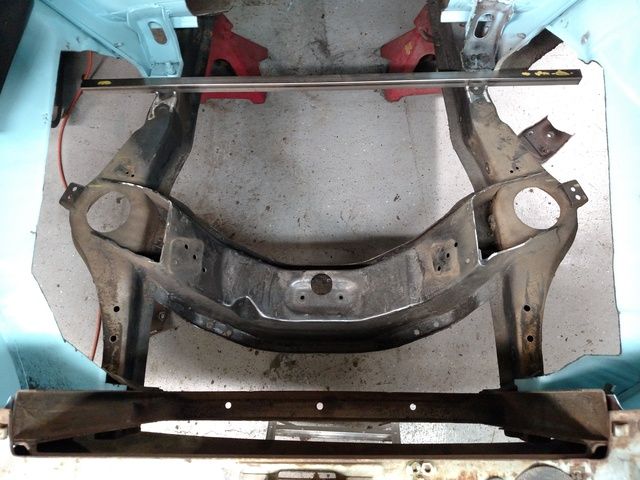
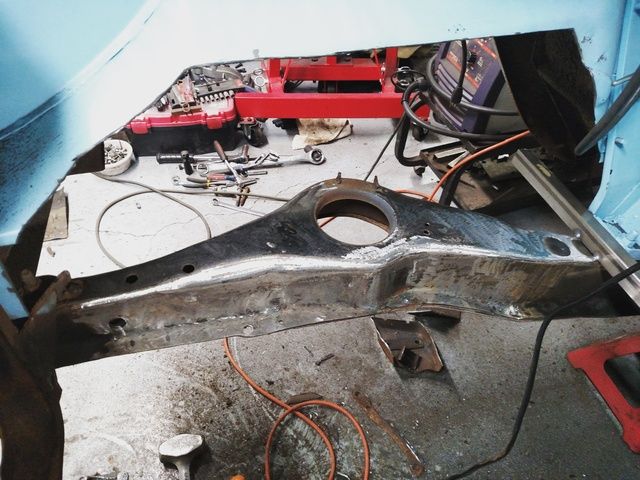
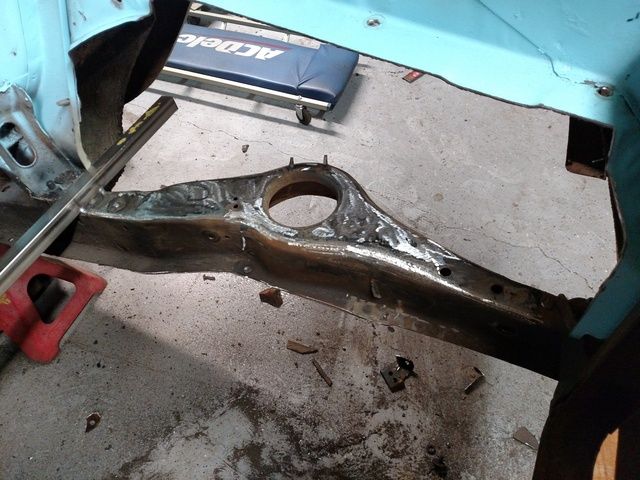
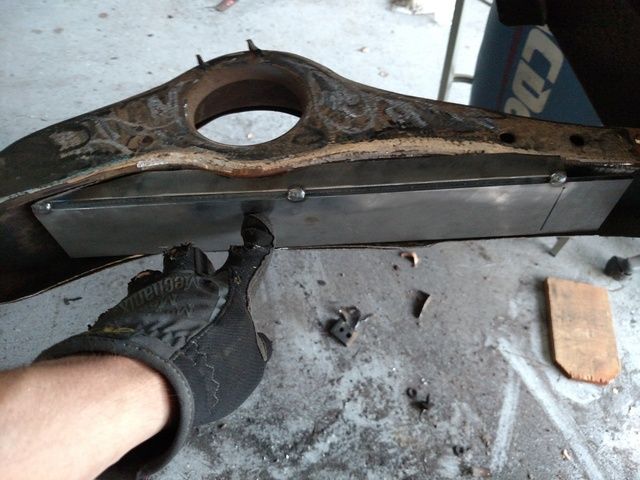
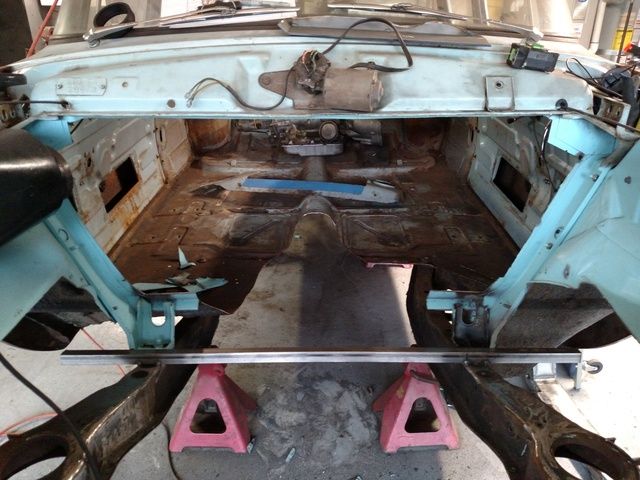
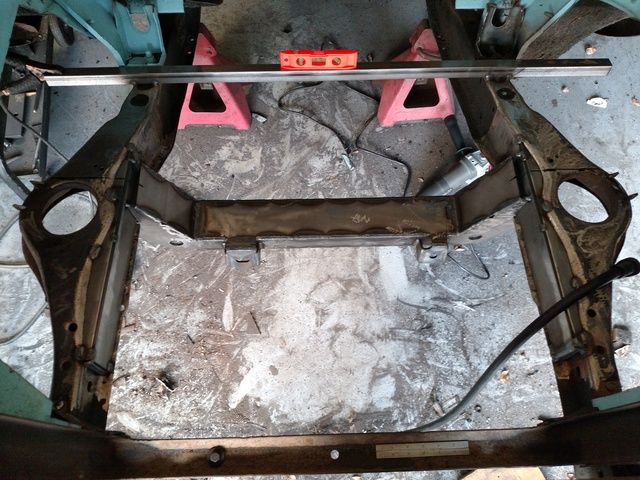
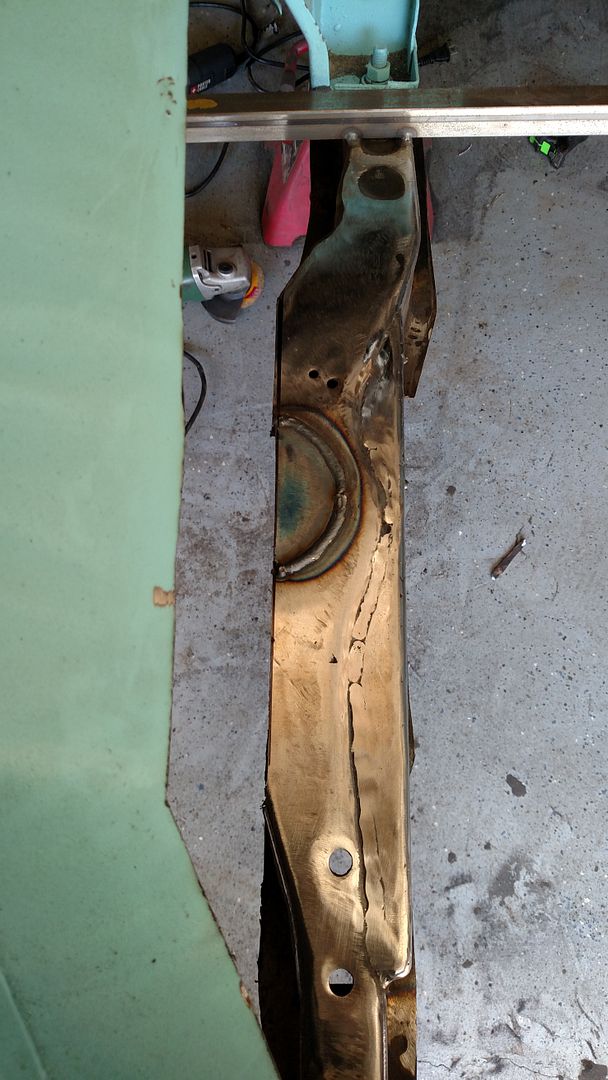
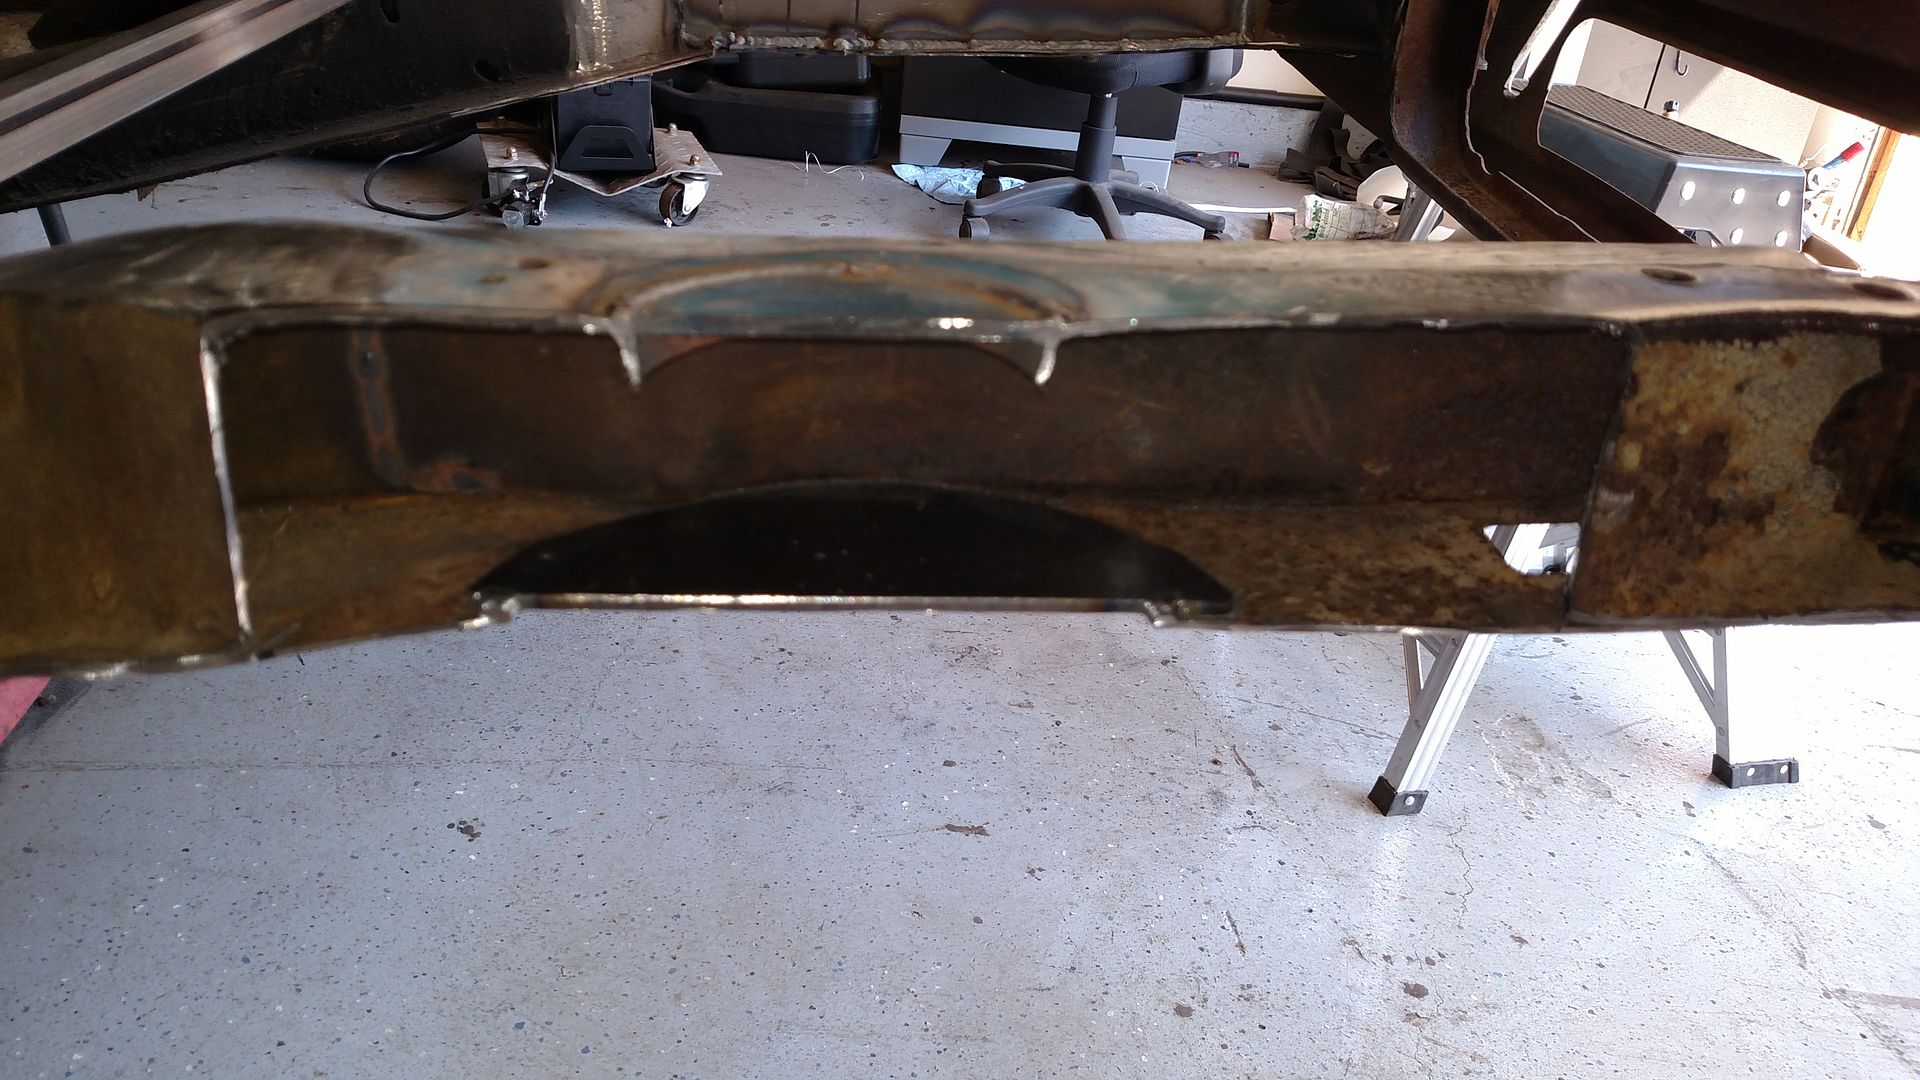
    Therefore I'm moving on to a full replacement of the front crossmember and original suspension and steering. I've already ordered most of the components except the crossmember itself because I need to establish the frame width which will dictate how wide a crossmember I will need.

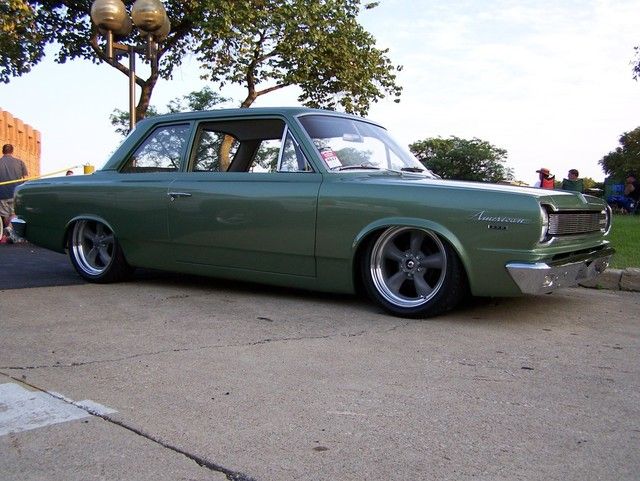
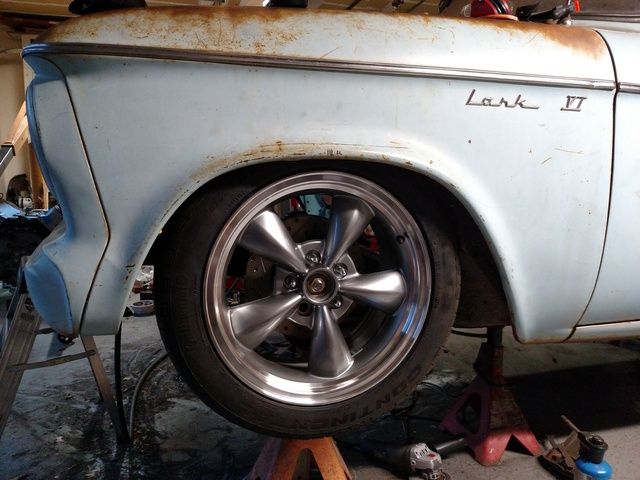
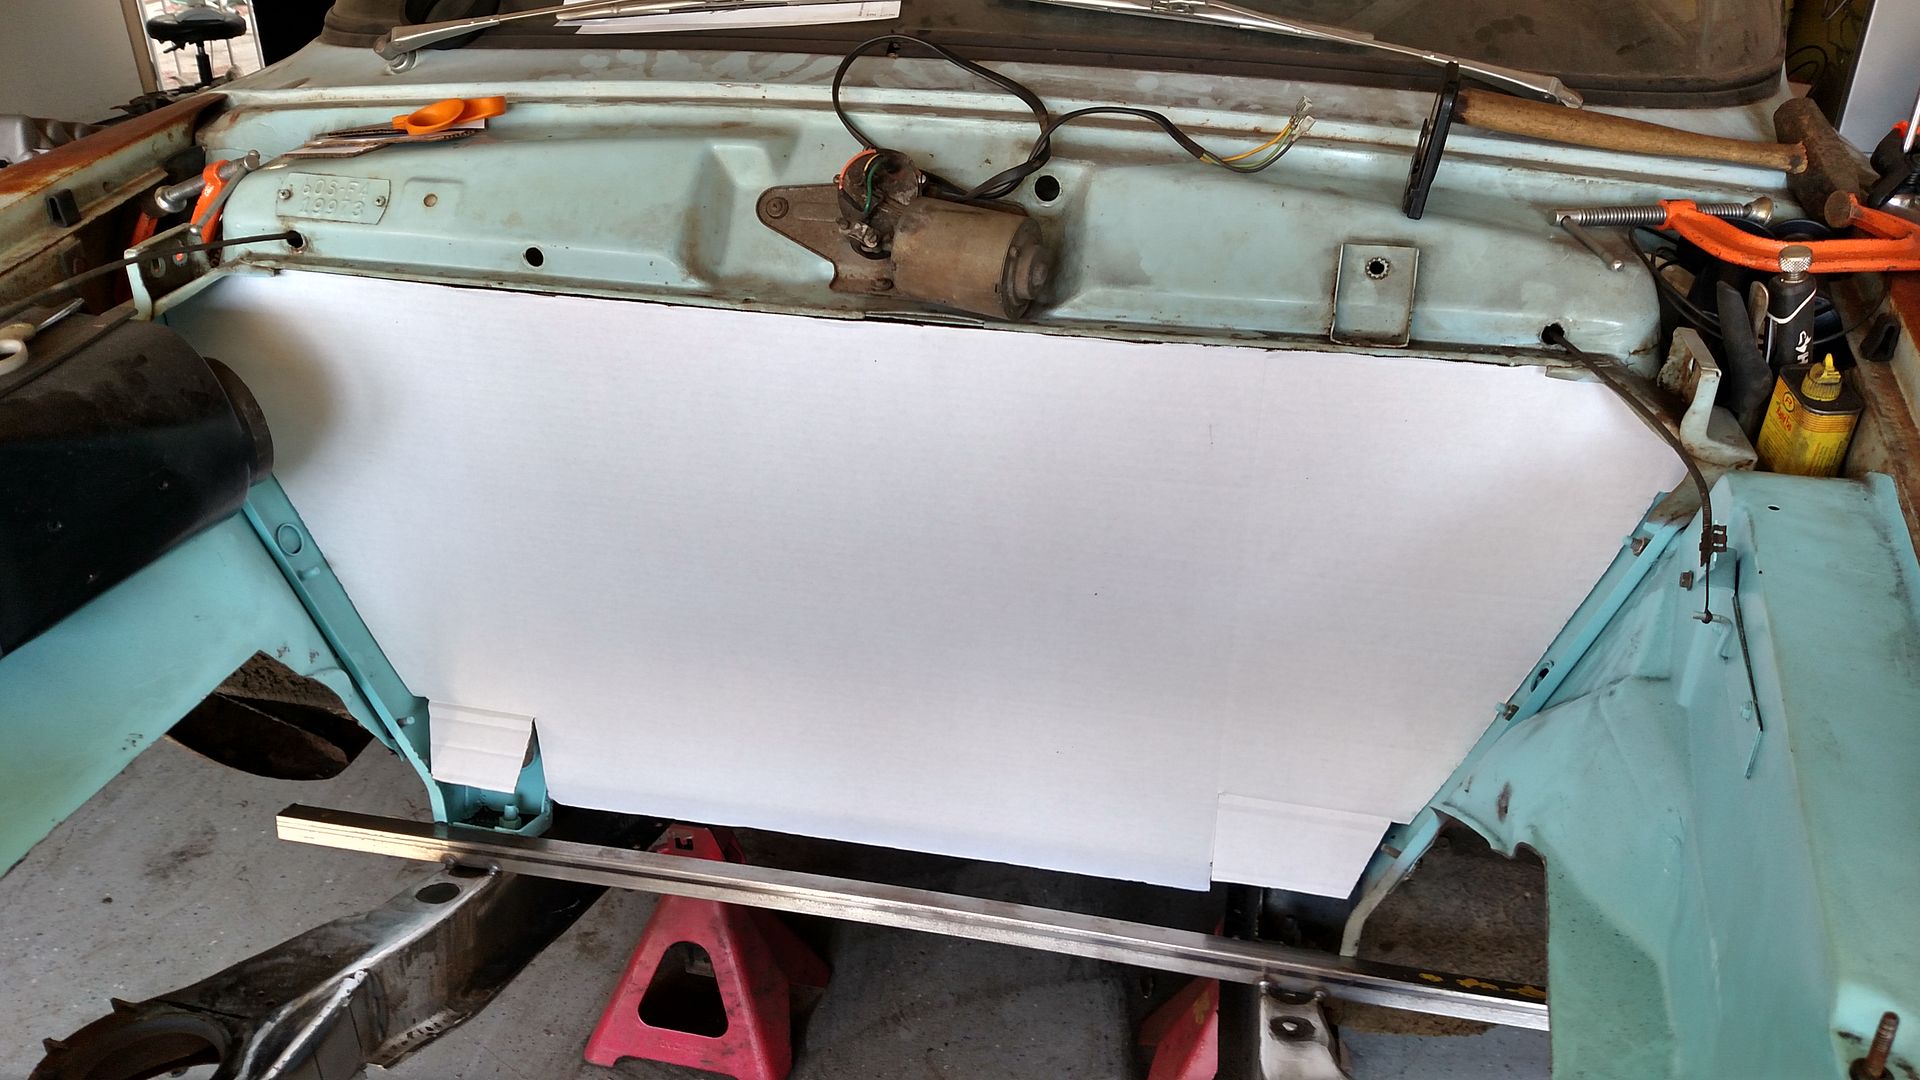
    In the meantime I began brainstorming an air dam and possibly a front splitter.
    It would cover the small one that's already part of the front sheet metal and follow the shape of the front bumper. It would be subtle and complement the overall build.


    -Tyler
    1960 Studebaker Lark VI Build --> http://www.stanceworks.com/forums/sh...ad.php?t=80102 <--
    1948 Ford F1
    sigpic

    Comment


    • #47
      My much anticipated gauges arrived last week I think I ordered them around the end of May. They're from a company called Speedhut which has been around since 2001 but I only discovered after starting this project. They offer a ton of options as far as face color, backlighting, bezel, font and also allow for custom graphics and writing to be placed on the gauge face.

      Another cool thing is the speedometer is GPS driven and records data such as top speed, 0-60, 1/4 mile times, and a few other things. They also come with a lifetime warranty and are made in the USA.

      I went with a pretty basic layout black with blue illumination to match the car and added the "STUDEBAKER" text in between the high beam and turn signal leds.


      Originals for comparison.


      They're very low profile, and the wiring is all pre-terminated harness connectors.
      -Tyler
      1960 Studebaker Lark VI Build --> http://www.stanceworks.com/forums/sh...ad.php?t=80102 <--
      1948 Ford F1
      sigpic

      Comment


      • #48
        Great progress.

        Comment


        • #49
          oh my god i love everything about this build

          Instagram: @half_lung

          Comment


          • #50
            Originally posted by white out View Post
            Great progress.
            Thank you

            Originally posted by scweet14 View Post
            oh my god i love everything about this build
            Thanks

            Another slight change for the better that's in the works is I'm going to run 245s at all four corners instead of the originally planned 215s, so I picked up some used rubber off craigslist for $60 to make sure it'll all fit.

            They'll help fill out the wheel wells better not to mention the added performance.


            I'll be going with a 17x9 of these american racing torque thrust M series wheels in the anthracite and machined lip.


            Here's the best looking rendition I've found of them.

            -Tyler
            1960 Studebaker Lark VI Build --> http://www.stanceworks.com/forums/sh...ad.php?t=80102 <--
            1948 Ford F1
            sigpic

            Comment


            • #51
              With this hobby, I'm very fortunate to have the job and access to the machines that I do. I work at a laser cutting, welding, and marking facility so naturally I find small things for my projects that I can make at work for that added custom touch. I've been working on a gauge trim plate to go over the stamped steel dash insert and after a couple attempts and some hand filing I got the fit just right.

              This one was just for mockup and to get the profile just right, the real piece will have an engine turned finish like how I did on the Ford. The difference this time though is I won't be using a thick billet insert and making the pattern myself but instead I found that Speedway sells pre-turned .060" thick aluminum sheets 6" wide and from 12"-48" long. Although kinda limited in width for anything large it'll work perfect for the trim plate.

              I should be getting the piece from speedway this week but here's the mock up piece for reference.


              -Tyler
              1960 Studebaker Lark VI Build --> http://www.stanceworks.com/forums/sh...ad.php?t=80102 <--
              1948 Ford F1
              sigpic

              Comment


              • #52
                Those gauges look awesome!
                Lucas
                Daily: 2004 Pontiac GTO. . . . . . . . . Daily Econobox: 2009 Mini Clubman Cooper
                Originally posted by LCG
                High 21! It's like a high 5 but includes both hands, both feet and a boner.

                Comment


                • #53
                  Originally posted by loekaaz View Post
                  Those gauges look awesome!
                  Thanks!

                  Finished up the trim plate today and it came out great.

                  -Tyler
                  1960 Studebaker Lark VI Build --> http://www.stanceworks.com/forums/sh...ad.php?t=80102 <--
                  1948 Ford F1
                  sigpic

                  Comment


                  • #54
                    wow! the choice of gauges is on point! much respect can not wait to get working on my 2 projects!

                    Comment


                    • #55
                      Definitely following! Just bought a 61 sedan lark. Can't wait to get working on it

                      Comment


                      • #56
                        Haven't updated this thread in awhile so I'll do a quick fast forward.
                        Got plates.


                        Got the new crossmember and proceeded to bend and weld it up.


                        -Tyler
                        1960 Studebaker Lark VI Build --> http://www.stanceworks.com/forums/sh...ad.php?t=80102 <--
                        1948 Ford F1
                        sigpic

                        Comment


                        • #57
                          Got a fuel tank sump to modify the original tank for EFI


                          Then I made the big step of cutting out the factory engine crossmember.


                          And cleaned up the frame for the new crossmember.


                          I had some plates cut in the same fashion as the new crossmember where I can bend and weld the seams to create a more square piece than using separate bits of flat steel.

                          This is to narrow the frame width to the 28" needed to notch and weld in the new crossmember but also to create a strong flat mounting surface.


                          Around the same time I cut out the rest of the firewall after deciding how I was going to rebuild it.


                          And finished shaping the frame plates and have them tacked in place along with the crossmember.


                          Then I was able to lightly mock up a wheel and tire to see about how well or not it's all going to fit.

                          -Tyler
                          1960 Studebaker Lark VI Build --> http://www.stanceworks.com/forums/sh...ad.php?t=80102 <--
                          1948 Ford F1
                          sigpic

                          Comment


                          • #58
                            looks sick. That a Welderseries M2 corssmember?
                            Originally posted by Jesus Christ
                            he mustve enjoyed that bj.

                            i know for a fact you chubby bitches could suck the air bubbles out of a brake line

                            Comment


                            • #59
                              Originally posted by benz88 View Post
                              looks sick. That a Welderseries M2 corssmember?
                              Thanks and it is the welder series, can't beat the price and it went together easy.
                              -Tyler
                              1960 Studebaker Lark VI Build --> http://www.stanceworks.com/forums/sh...ad.php?t=80102 <--
                              1948 Ford F1
                              sigpic

                              Comment


                              • #60
                                Been making progress on the car. Finished welding the crossmember.


                                Then began work on the outside of the frame, first by making partial fill plates for the original spring pockets.


                                After those were welded in I drew a line parallel with the edge of those plates along the top and bottom of the frame and cut out the rest of the spring pockets.


                                Also made a firewall template.


                                And received my master cylinder/prop valve assembly from wilwood to go along with the pedal I purchased awhile ago.


                                I also made a big decision to go with a completely different style wheel on the car. I just wasn't liking the one I had bought before and wanted something more aggressive looking so I picked up 4 17x9 matte black D-window steel wheels that are slightly too wide for the body so I'll be doing some fitting to make them work.


                                -Tyler
                                1960 Studebaker Lark VI Build --> http://www.stanceworks.com/forums/sh...ad.php?t=80102 <--
                                1948 Ford F1
                                sigpic

                                Comment

                                Working...
                                X