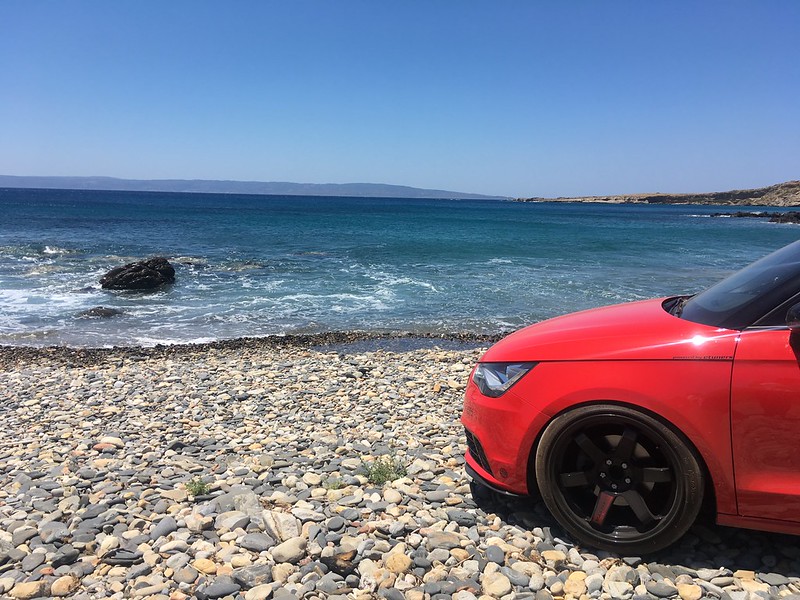
So, truth be told i was pushing my luck somewhat
 Untitled by mgpdoc, on Flickr
 Untitled by mgpdoc, on Flickr
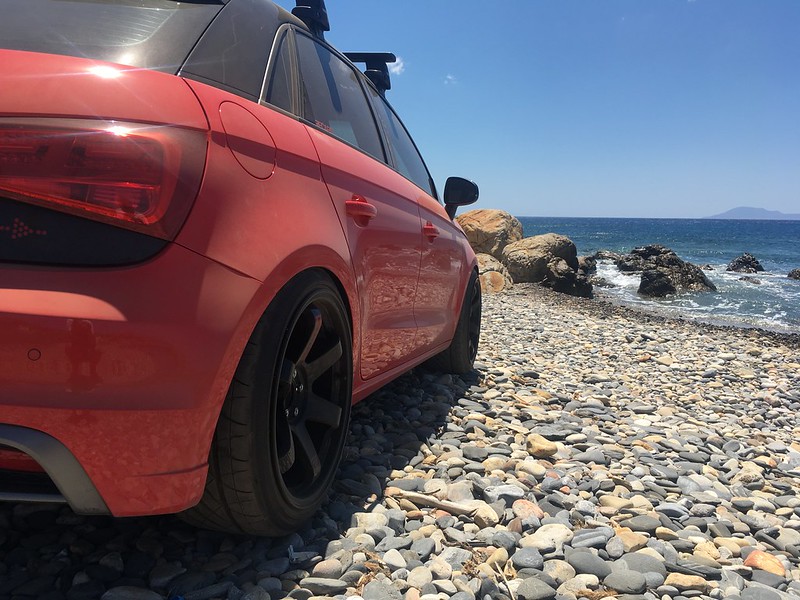
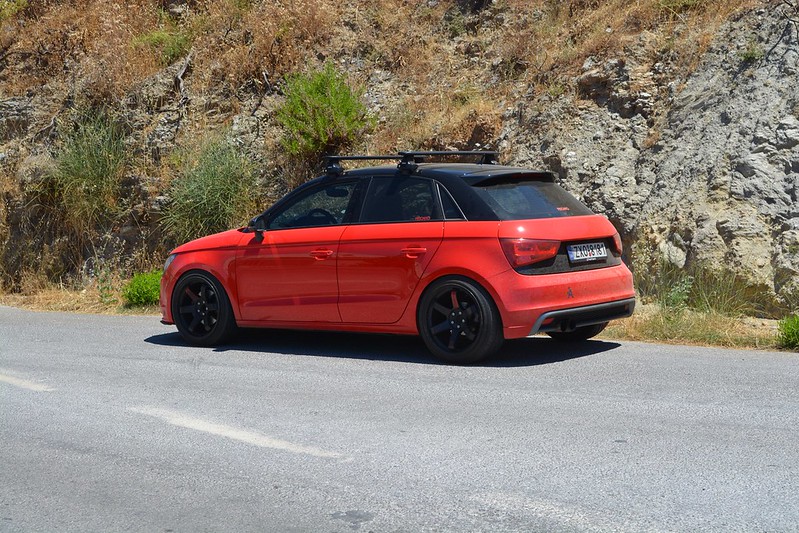
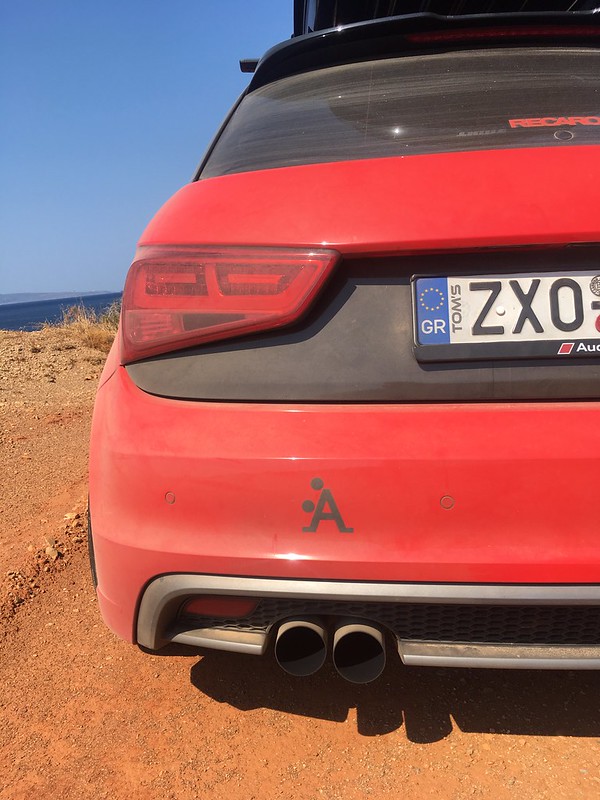
In the past i entered the sea with the Cherokee pretty ofter at this particular spot. However . . .
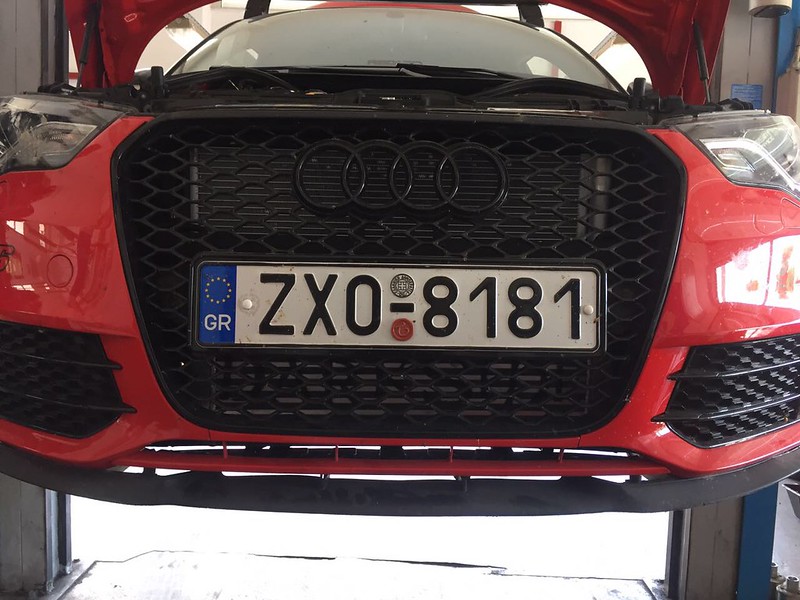
This is not a Jeep
 Untitled by mgpdoc, on Flickr
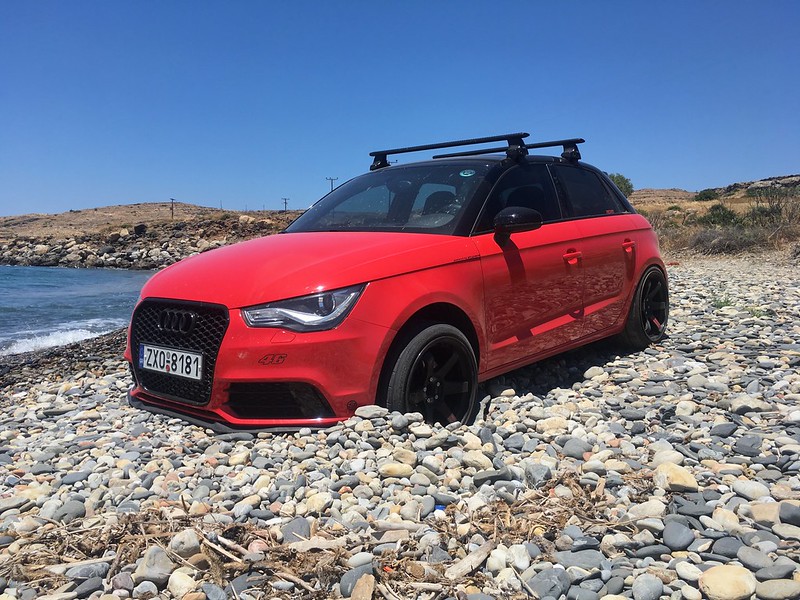
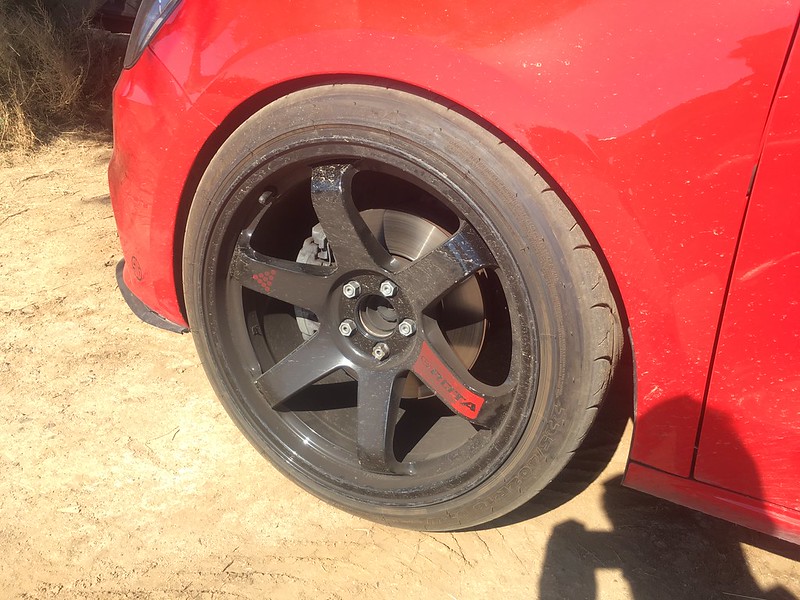
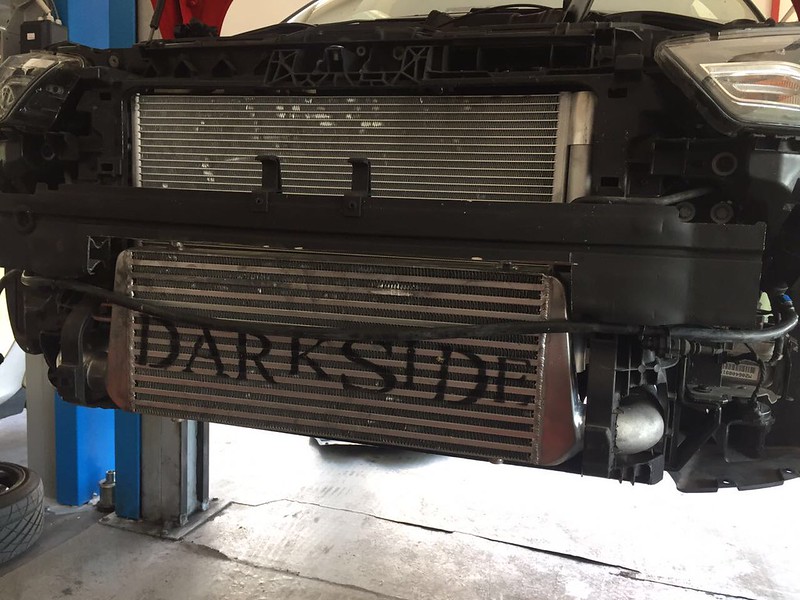
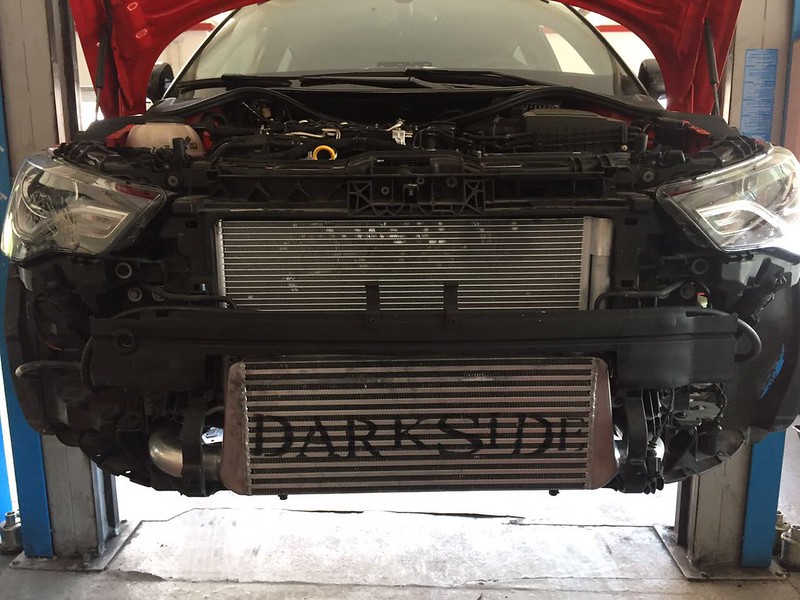
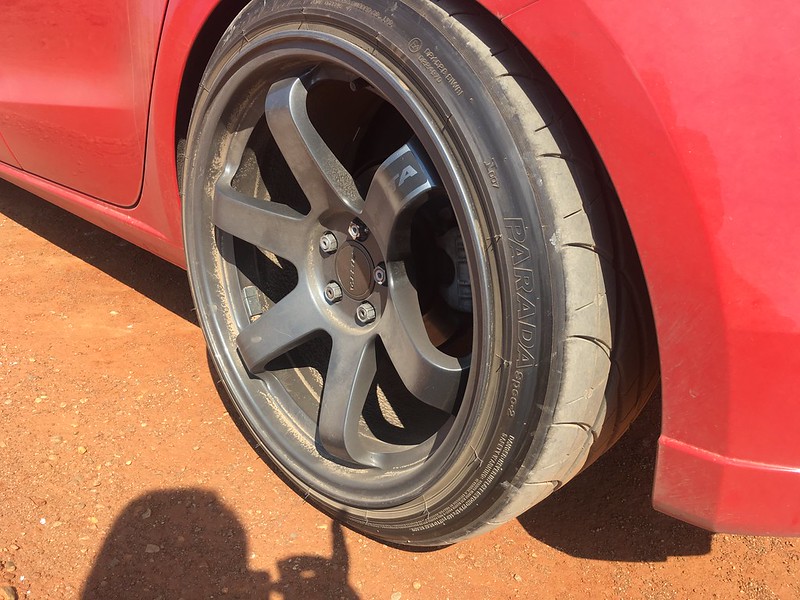
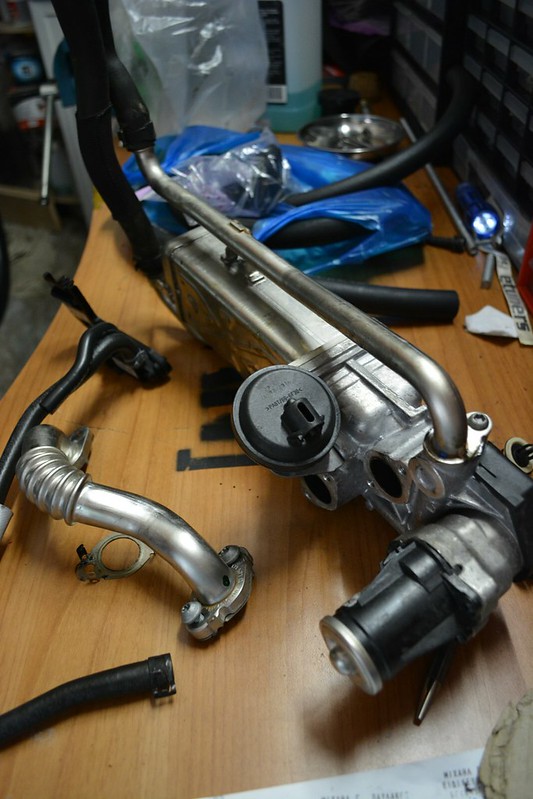
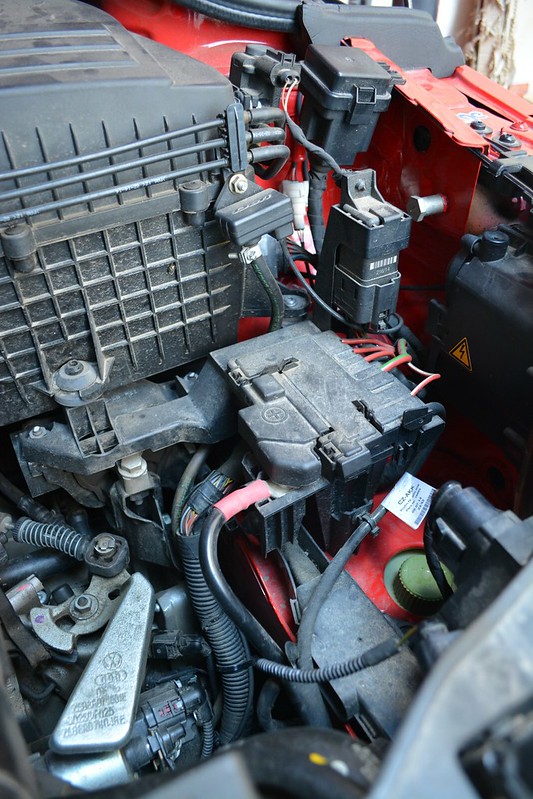
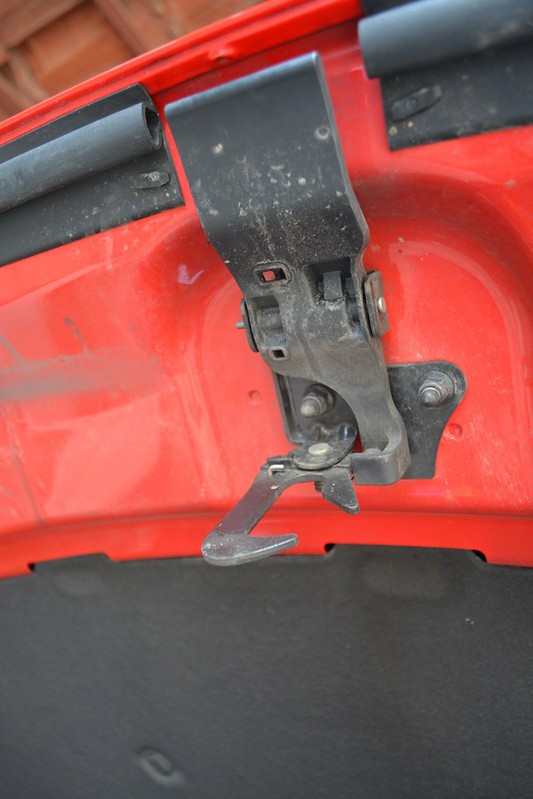
Got pulled out by a family car, but not without my pride and my car being hurt as well. AC radiator got pushed by the bad Darkside IC installation probably, and also, wheels were scratched from the rocks at the beach.
Had no Ac for the next days, and scratched wheels, oh well
 Untitled by mgpdoc, on Flickr
 Untitled by mgpdoc, on Flickr
 Untitled by mgpdoc, on Flickr
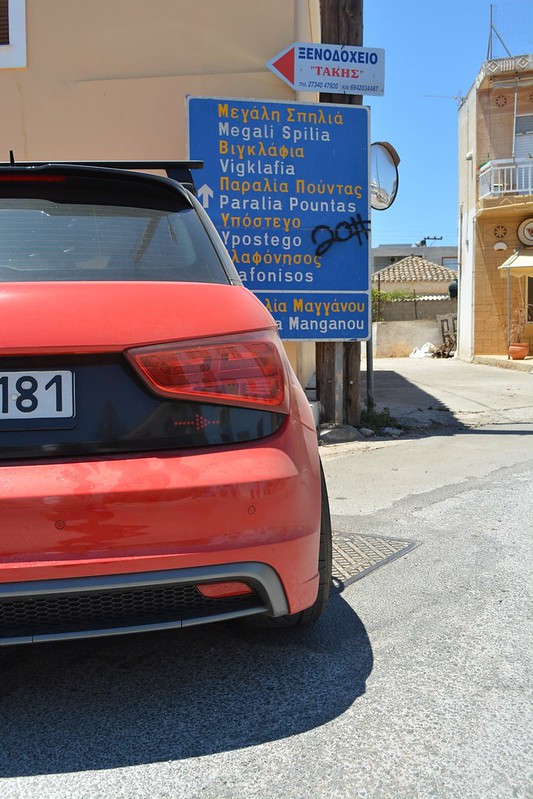
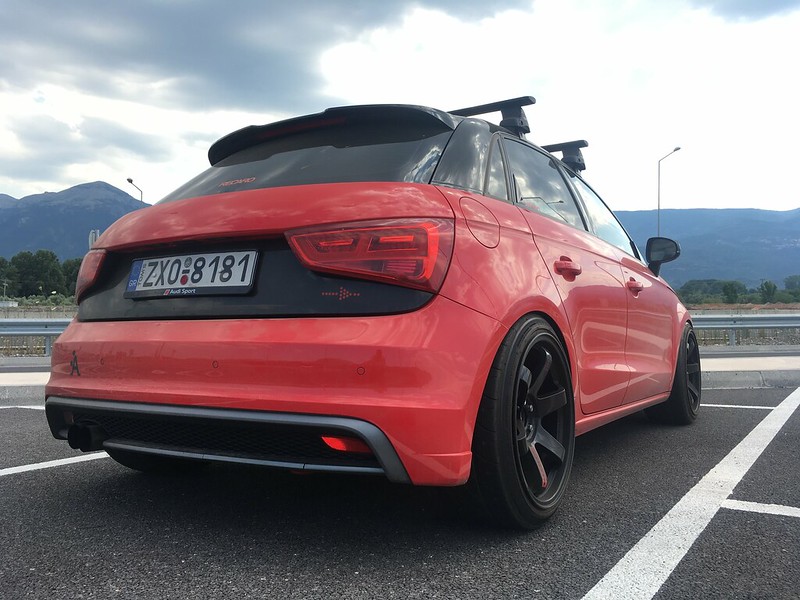
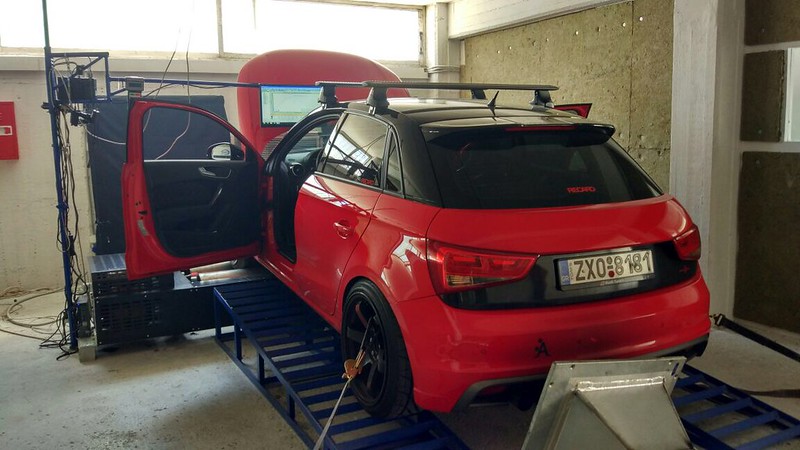
On my way back home, at a highway parking
 Untitled by mgpdoc, on Flickr
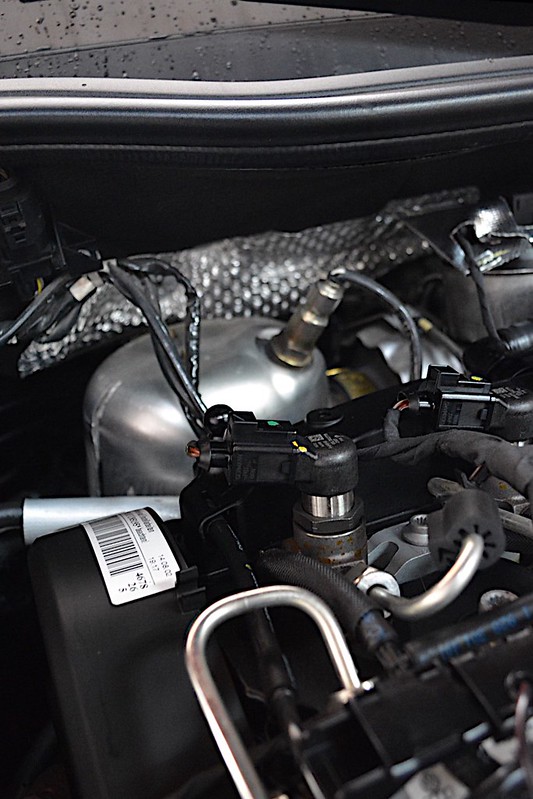
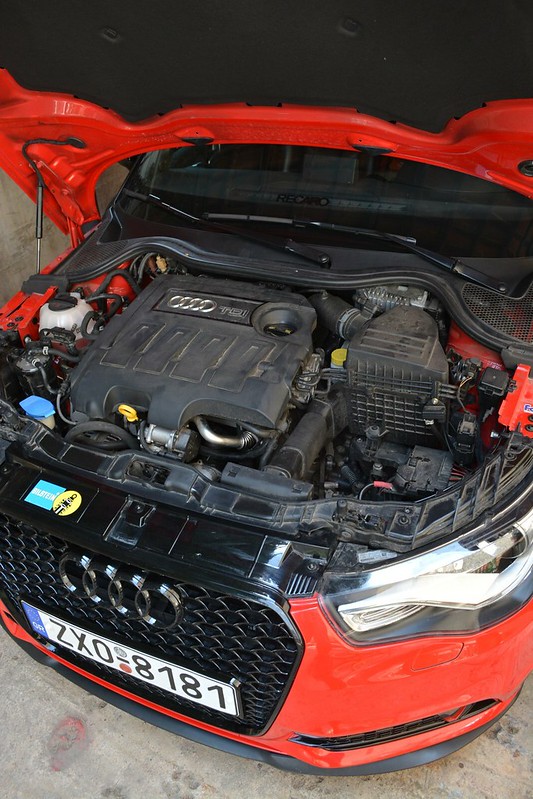
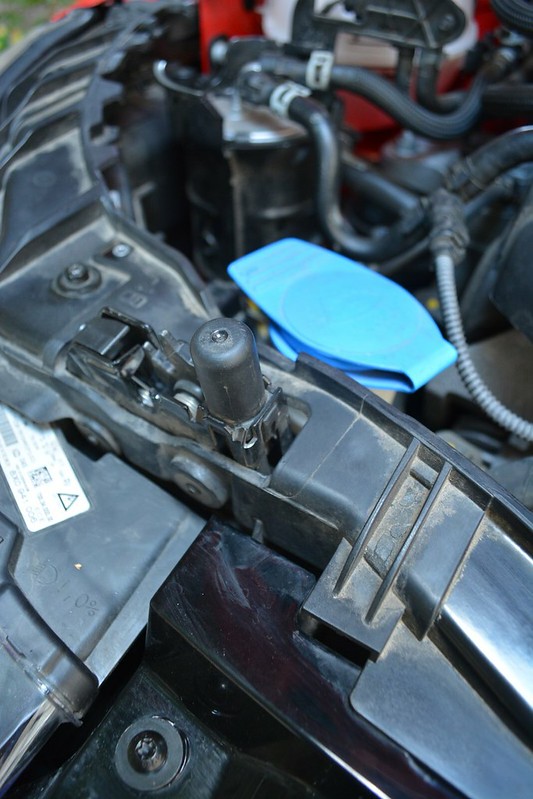
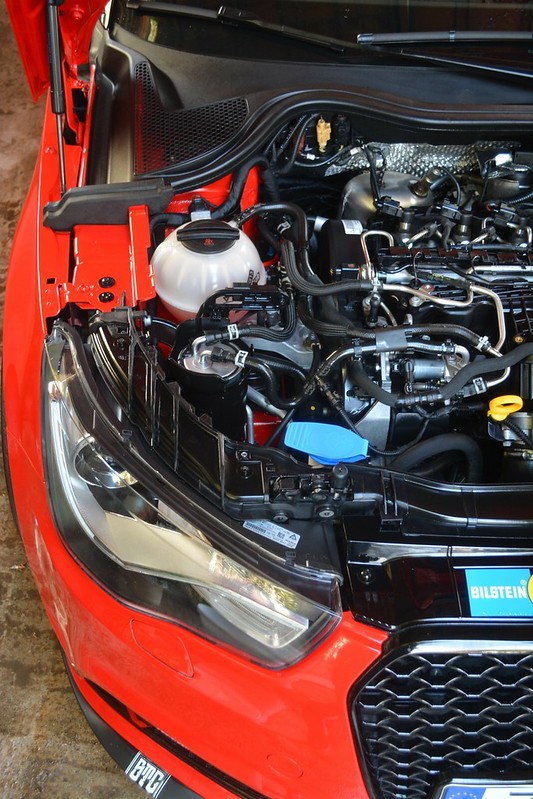
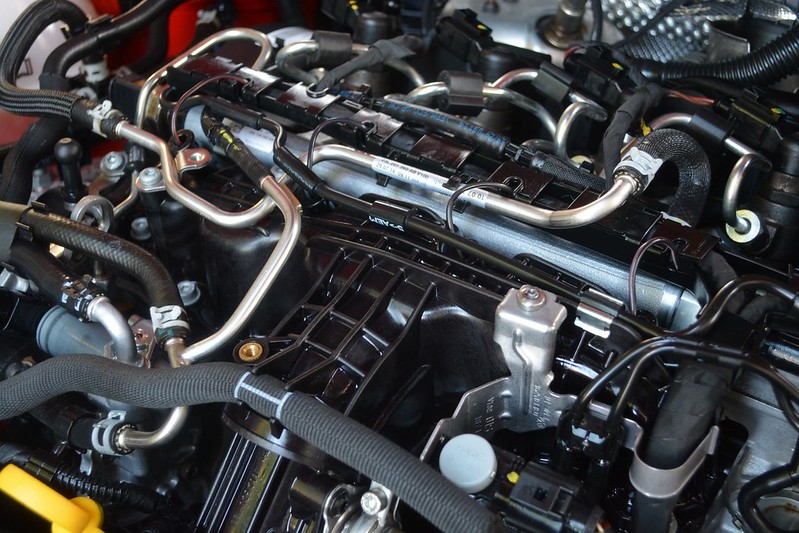
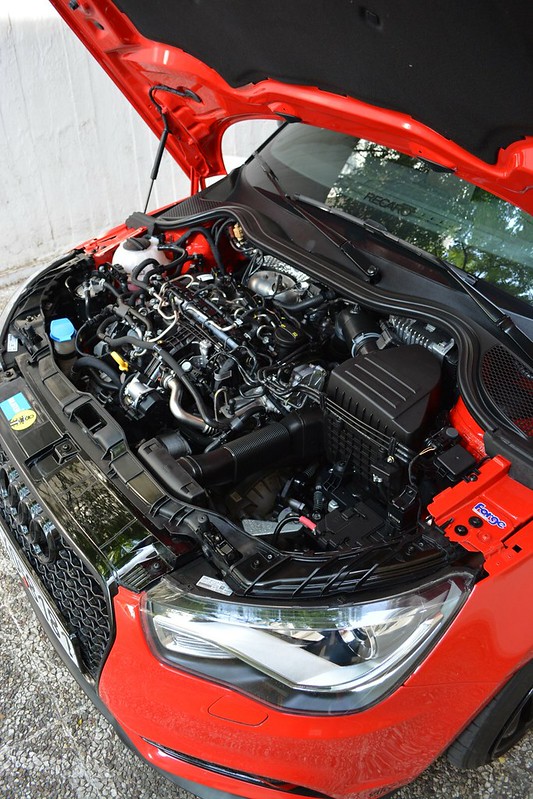
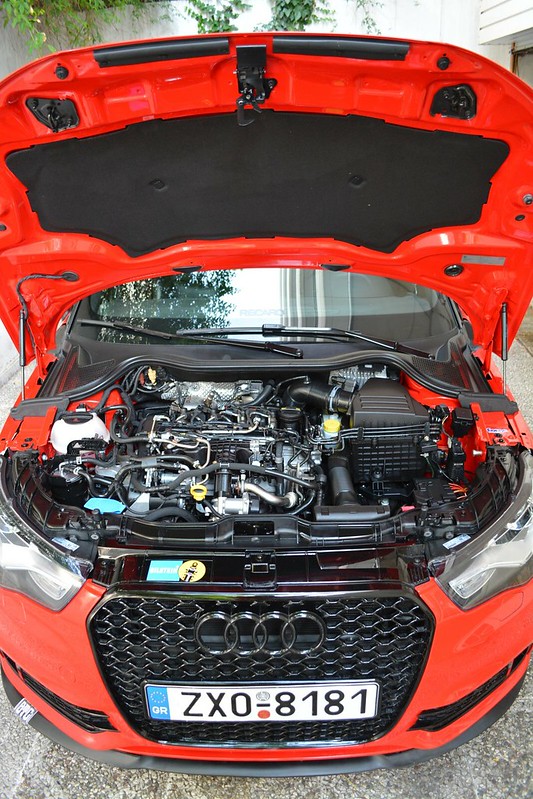
Got back to Athens, and lost no time
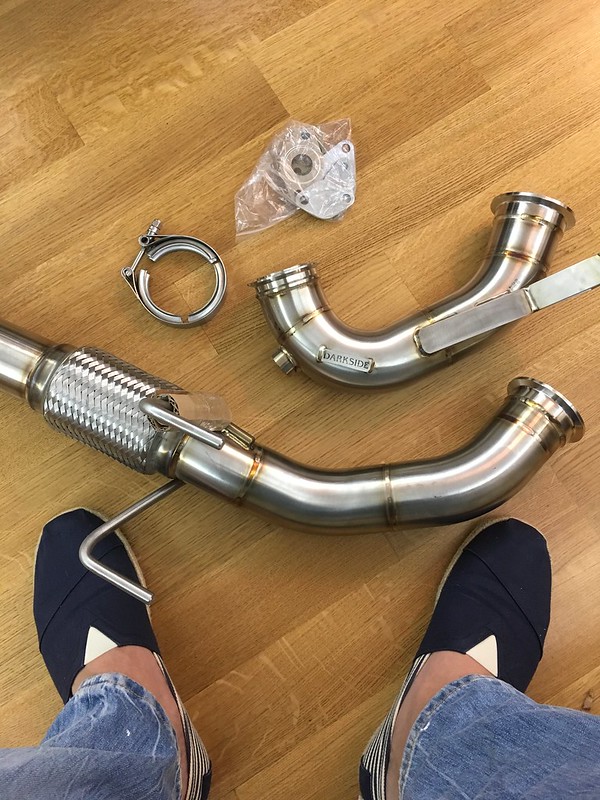
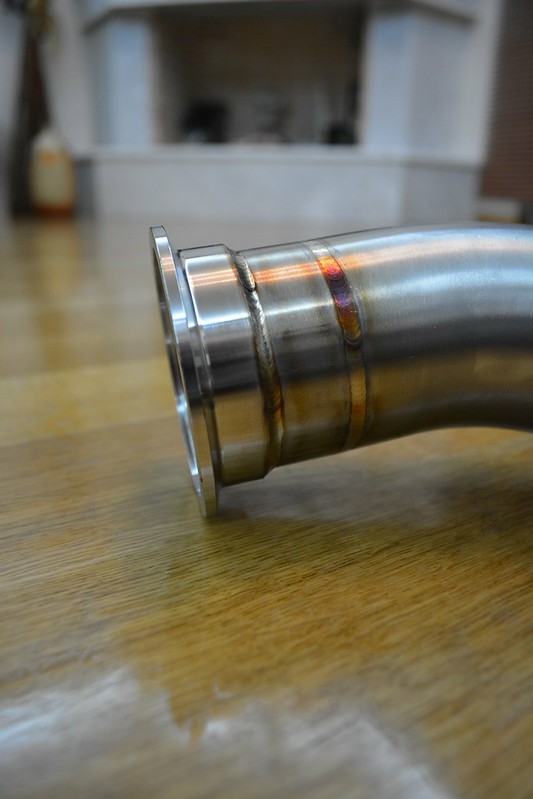
First AC radiator replacement, and new mounting points and brackets for the IC, properly this time, and not like my half-ass job on a bad product
 Untitled by mgpdoc, on Flickr
 Untitled by mgpdoc, on Flickr
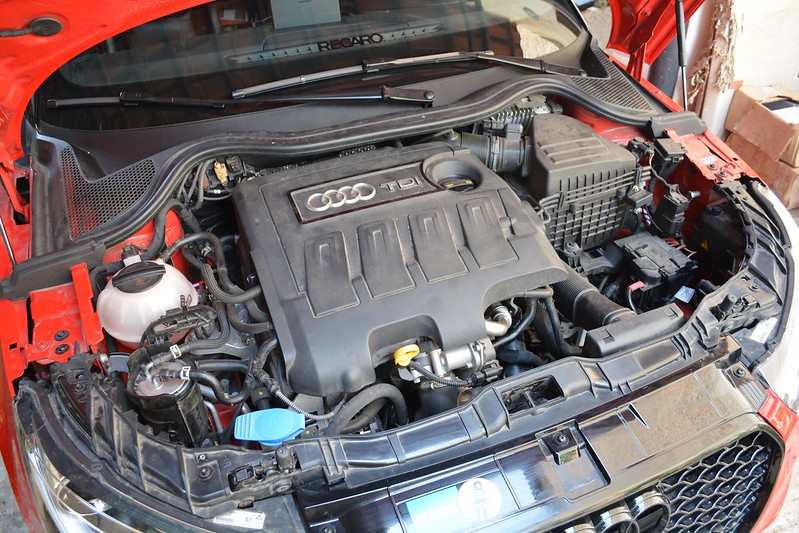
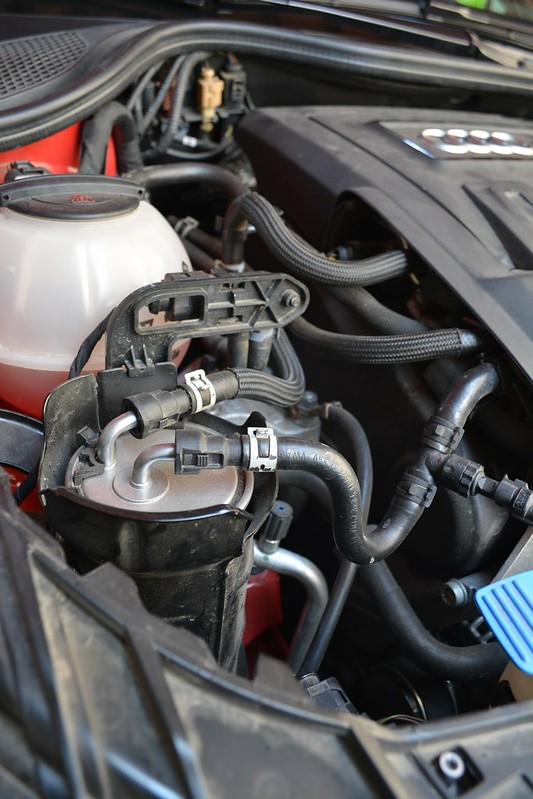
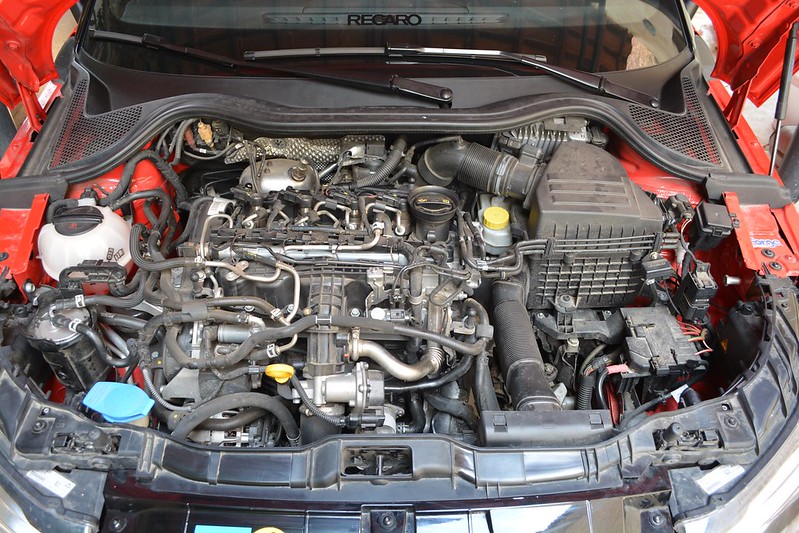
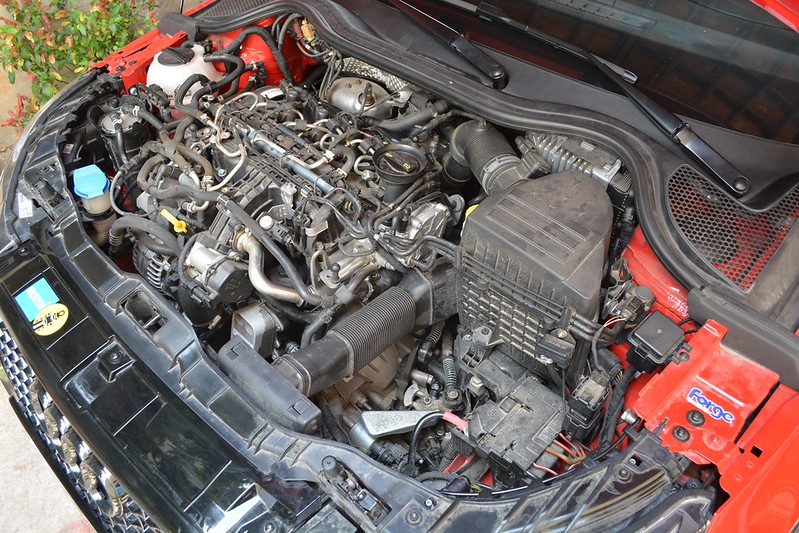
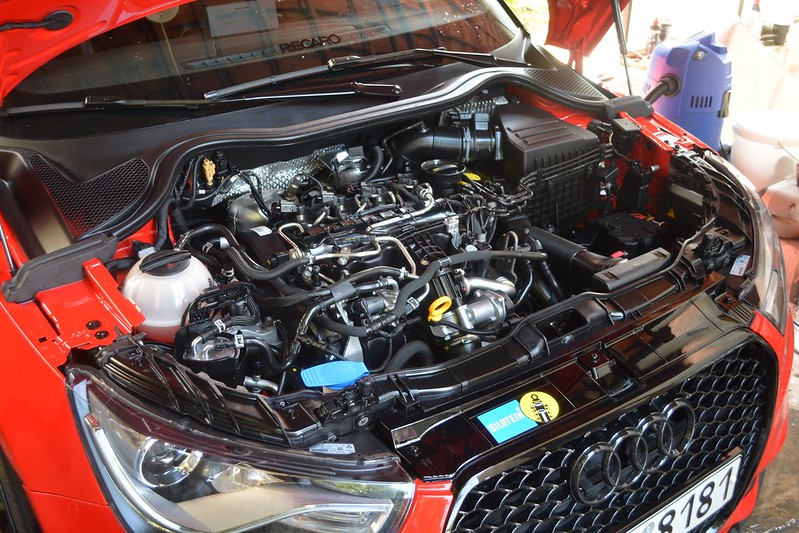
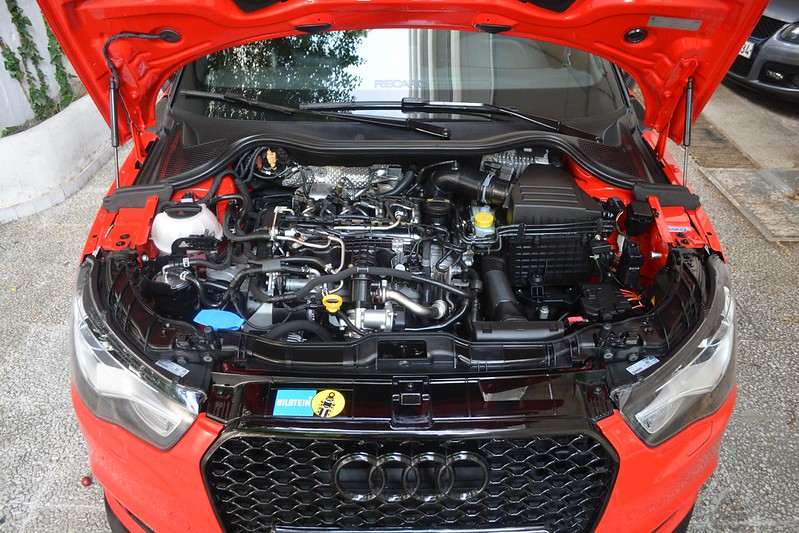
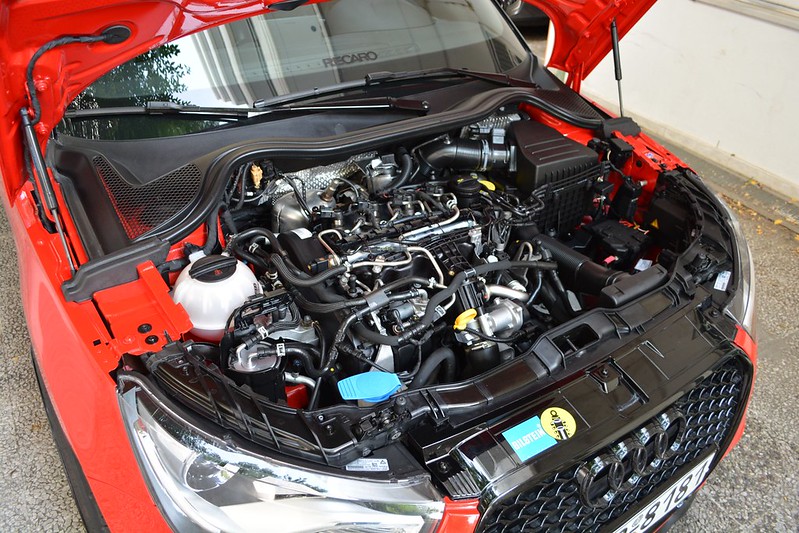
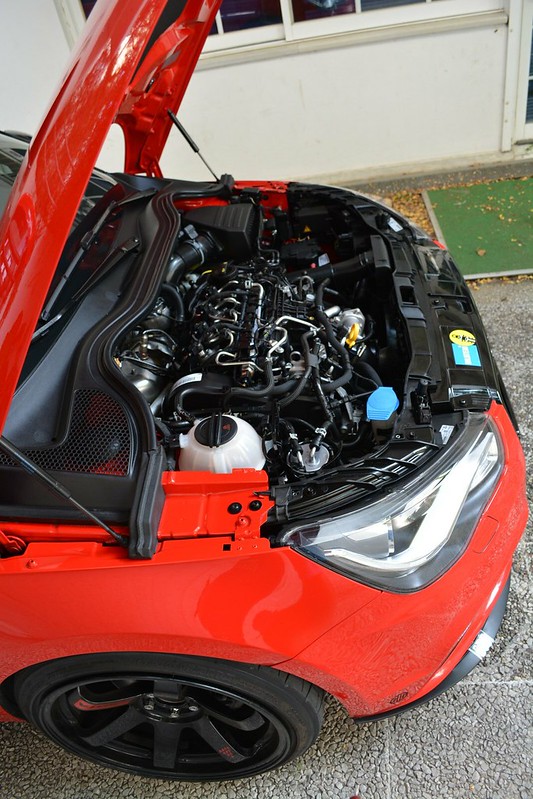
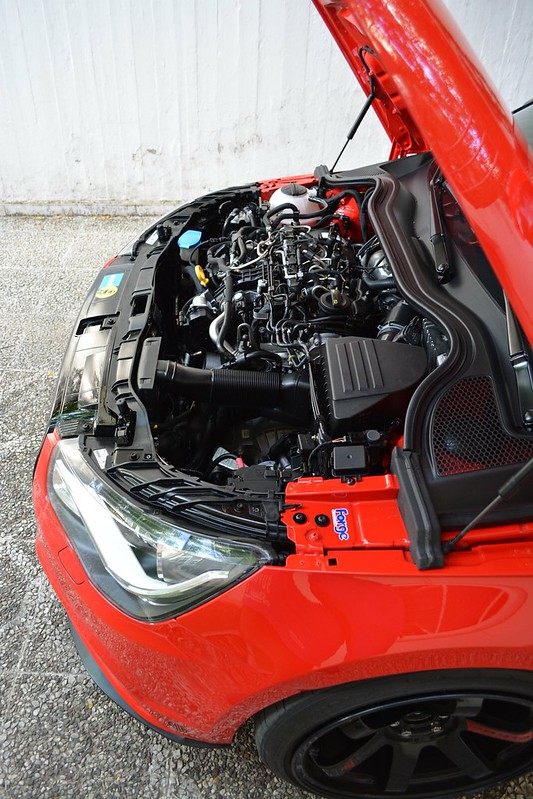
All done and I love how the new BEHR Ac Radiator is silver instead of black
 Untitled by mgpdoc, on Flickr
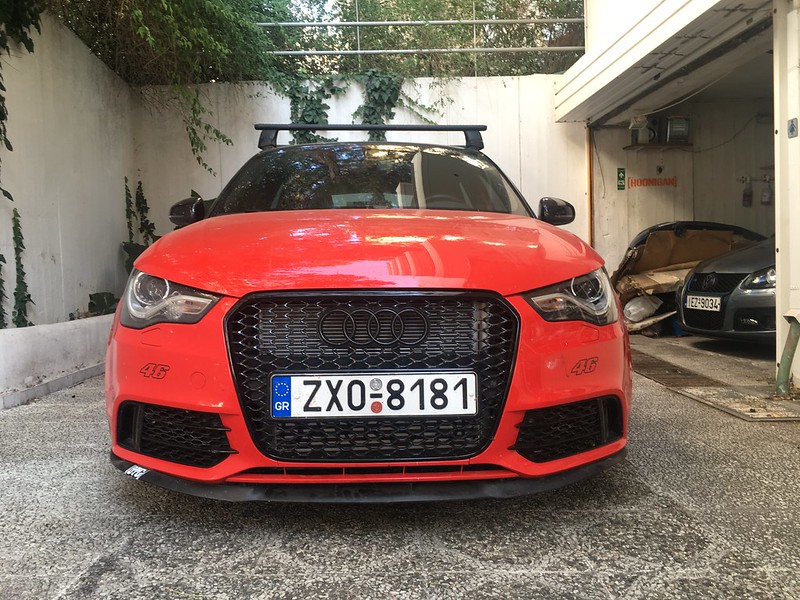
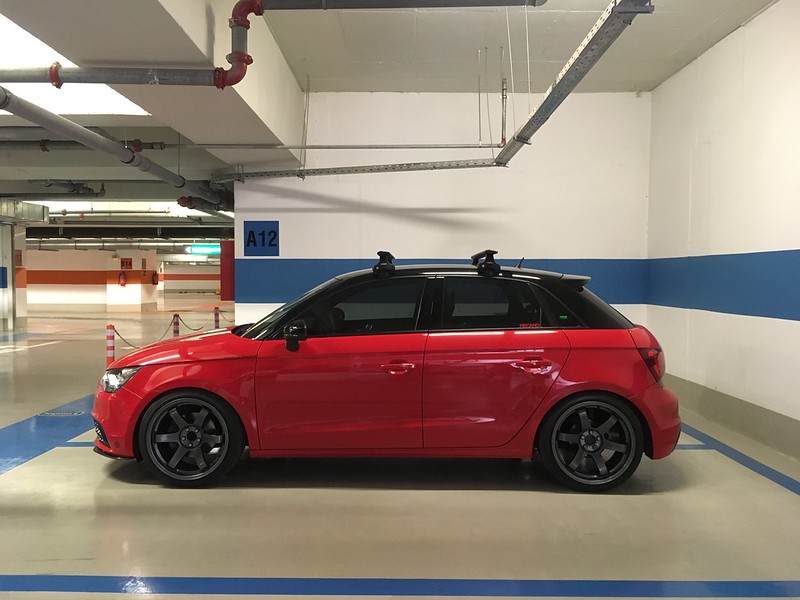
Looks mean
 Untitled by mgpdoc, on Flickr
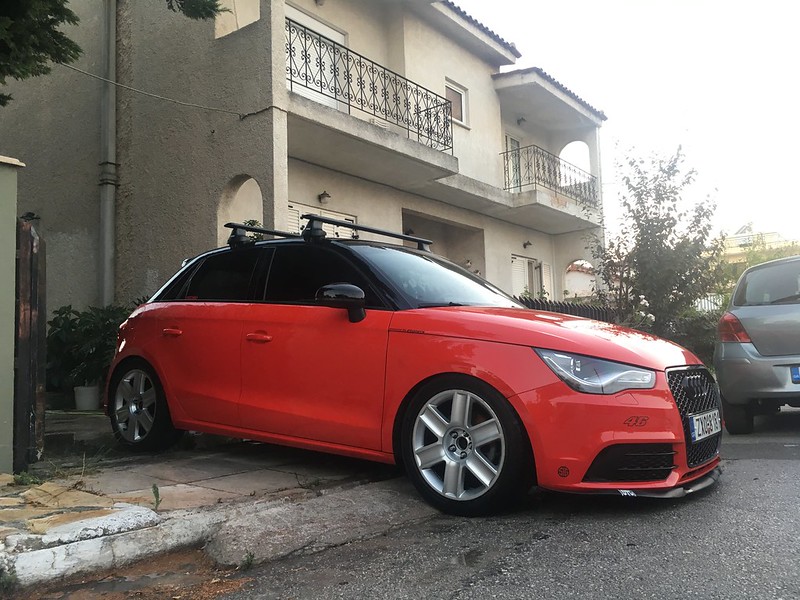
Temporary Audi wheels while mine were sent to be painted
 Untitled by mgpdoc, on Flickr
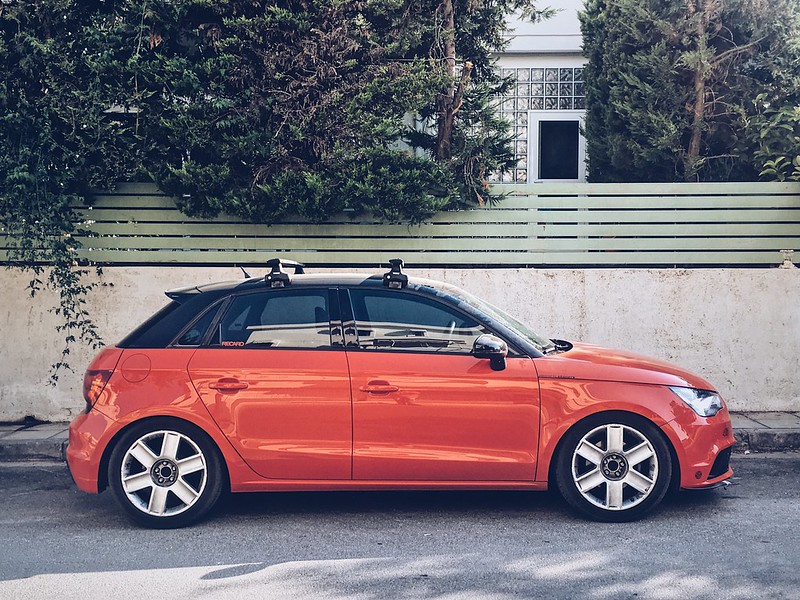
Gave it a proper wash
 Untitled by mgpdoc, on Flickr
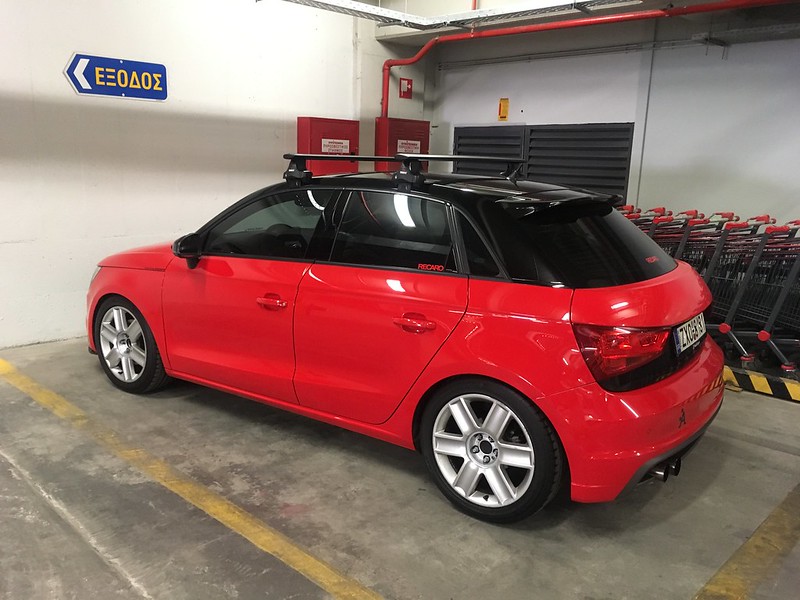
Do these wheels make it look like a Renault or is it just me
 Untitled by mgpdoc, on Flickr
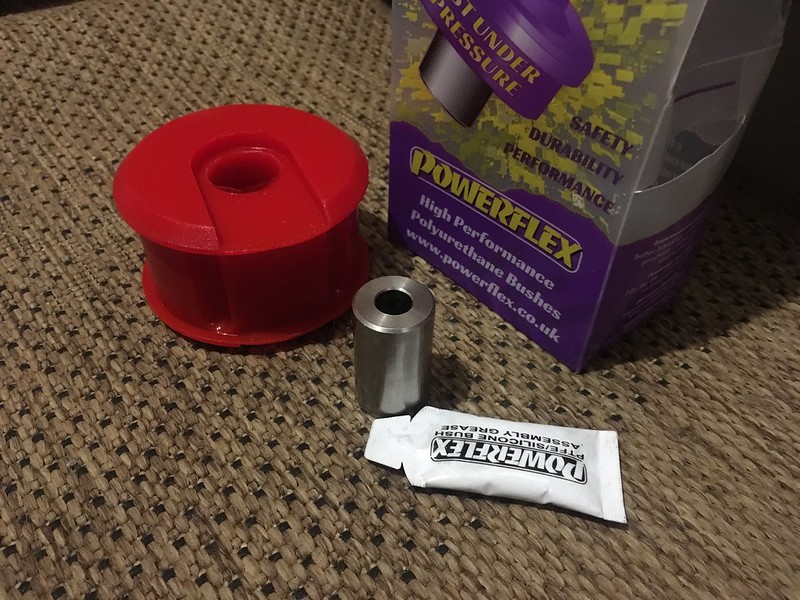
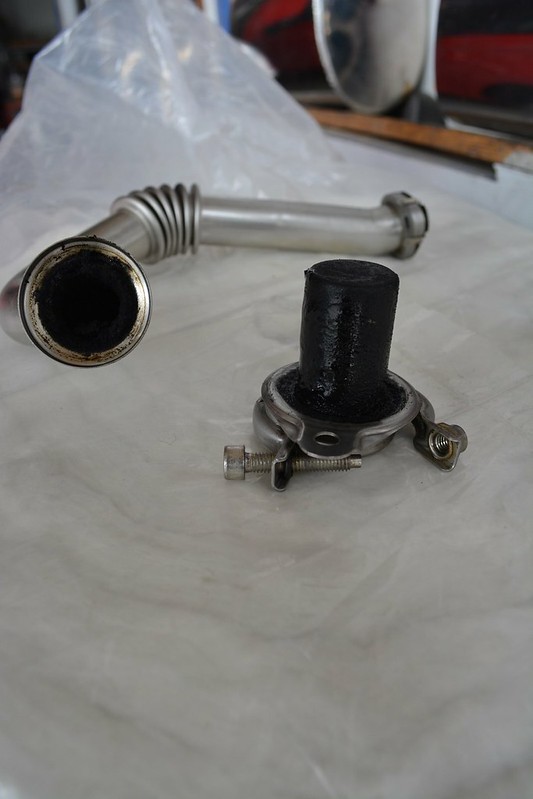
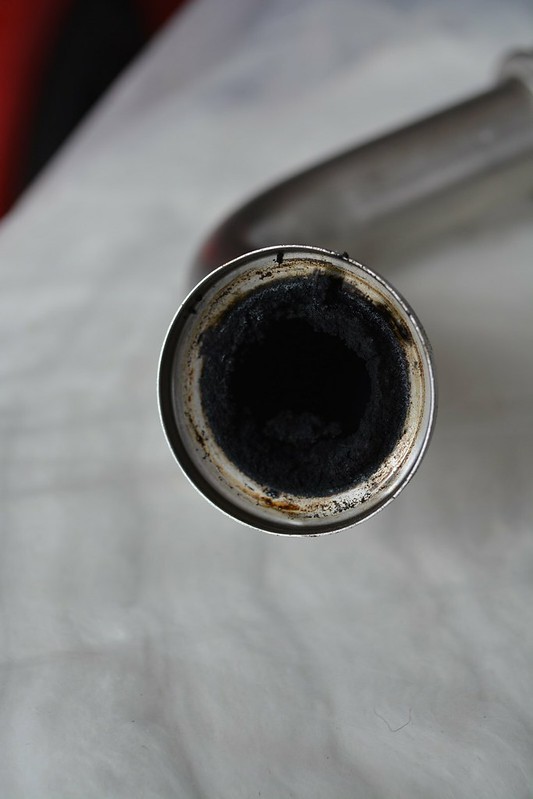
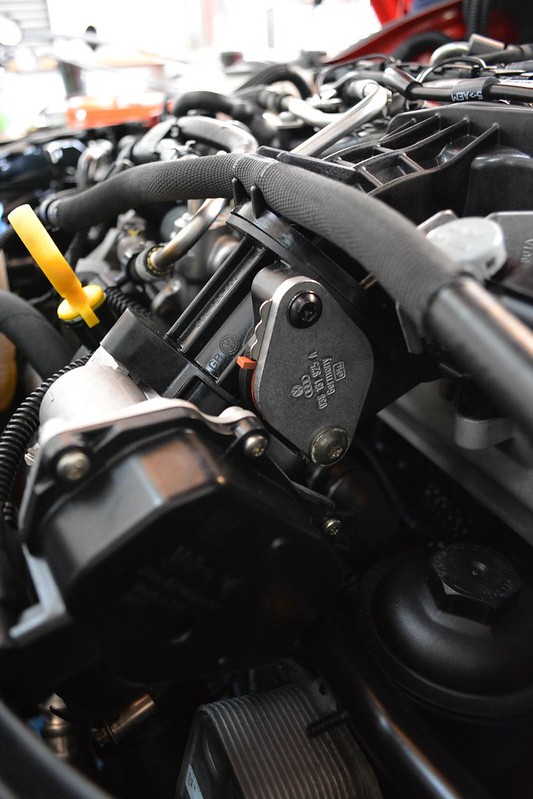
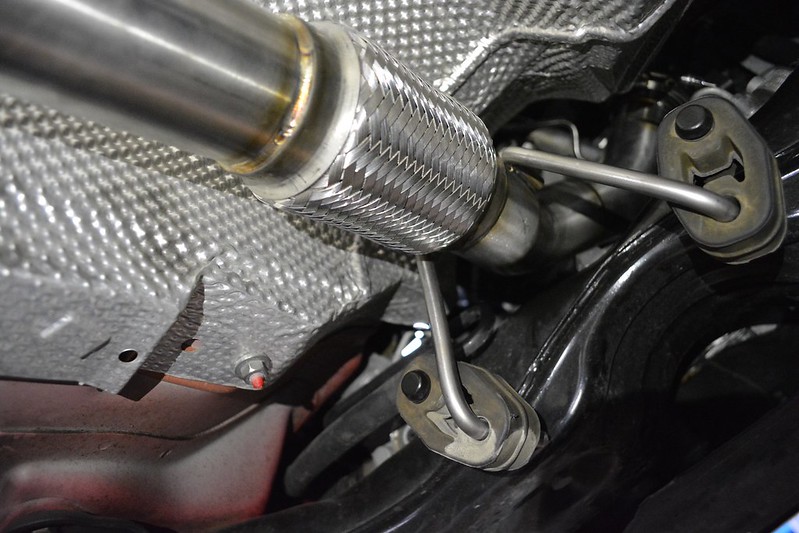
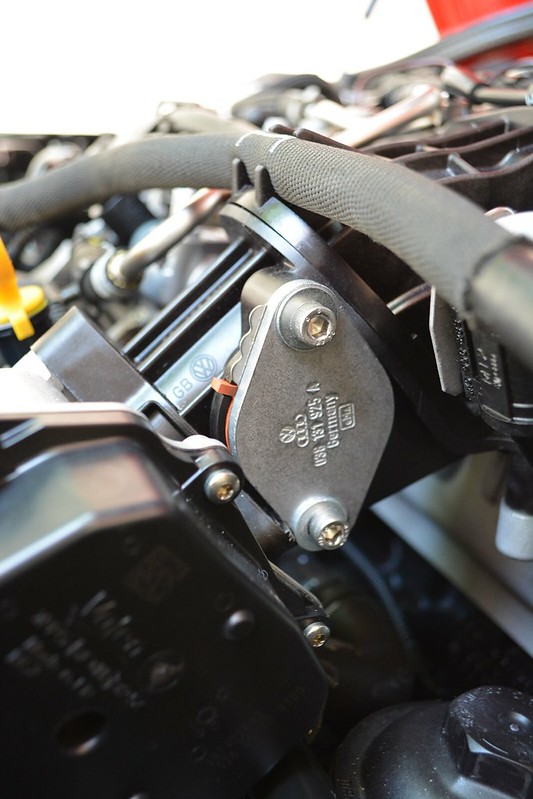
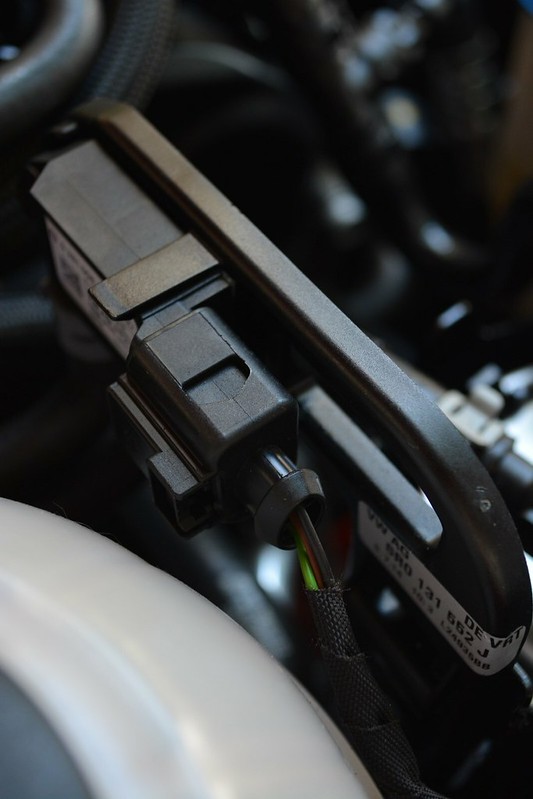
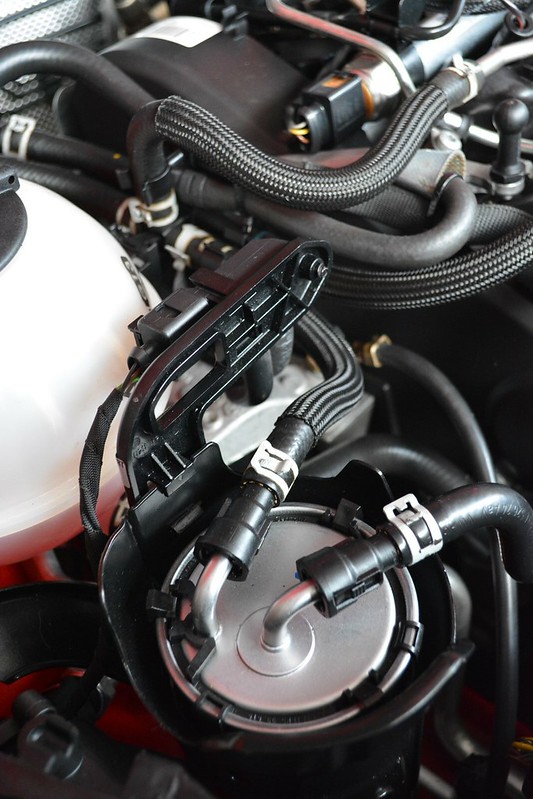
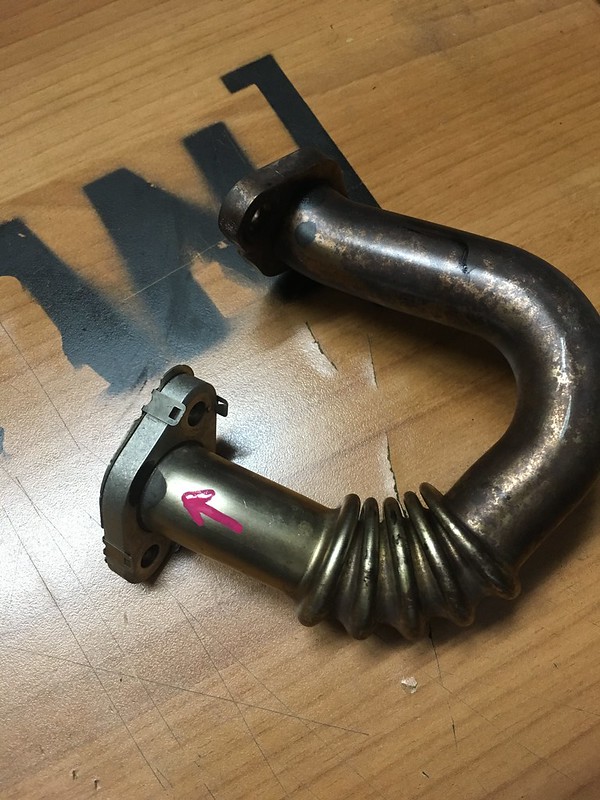
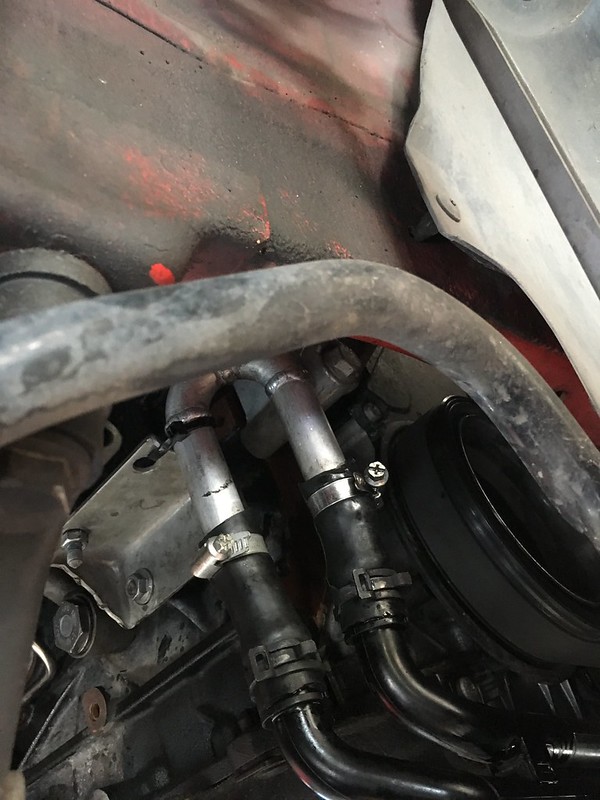
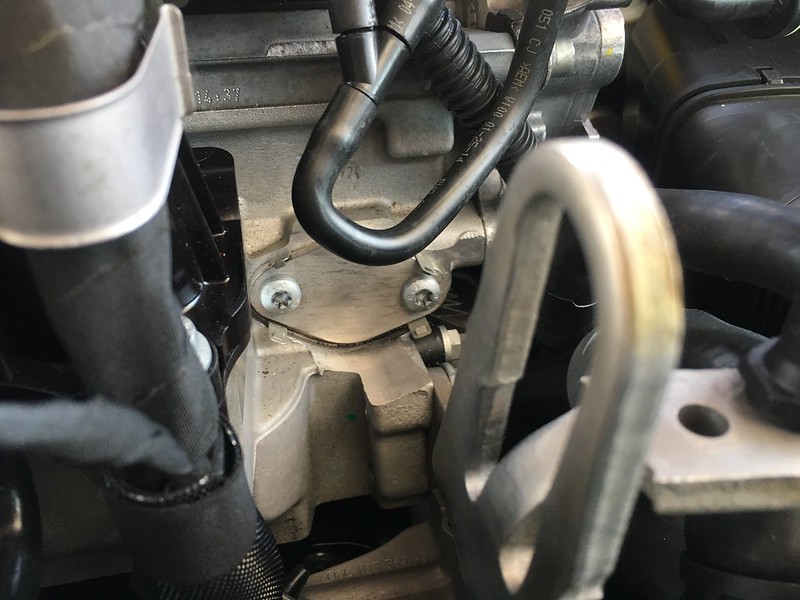
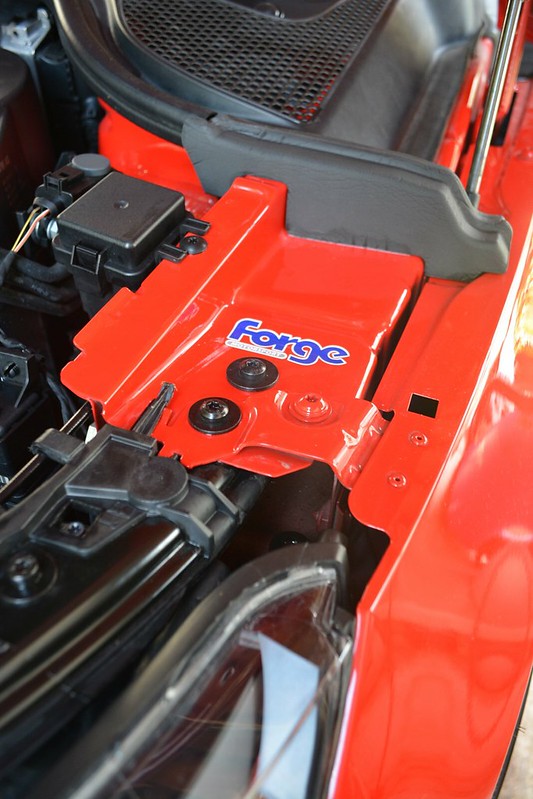
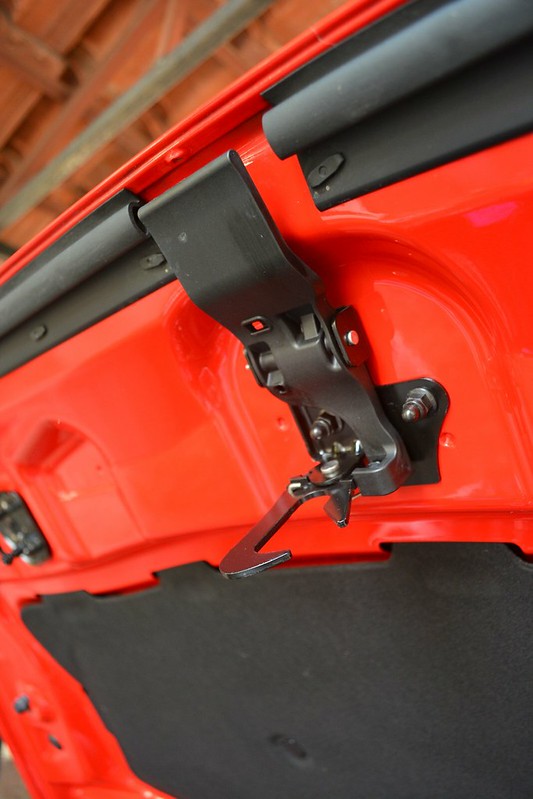
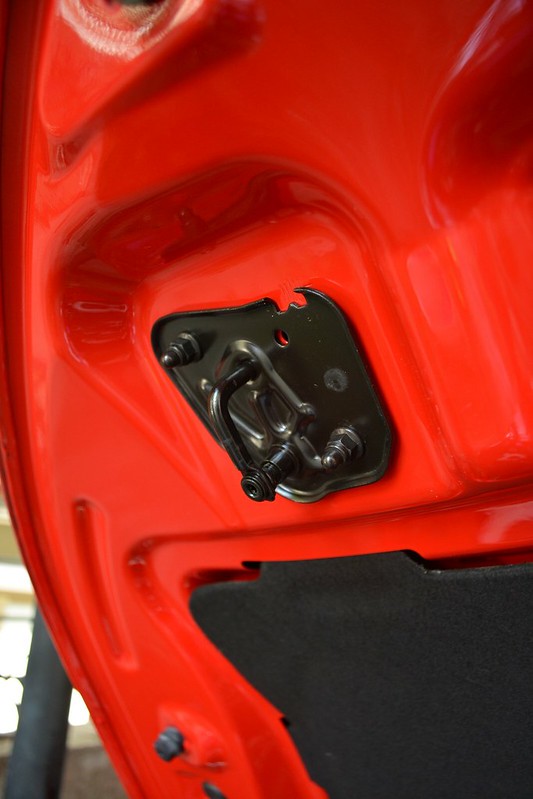
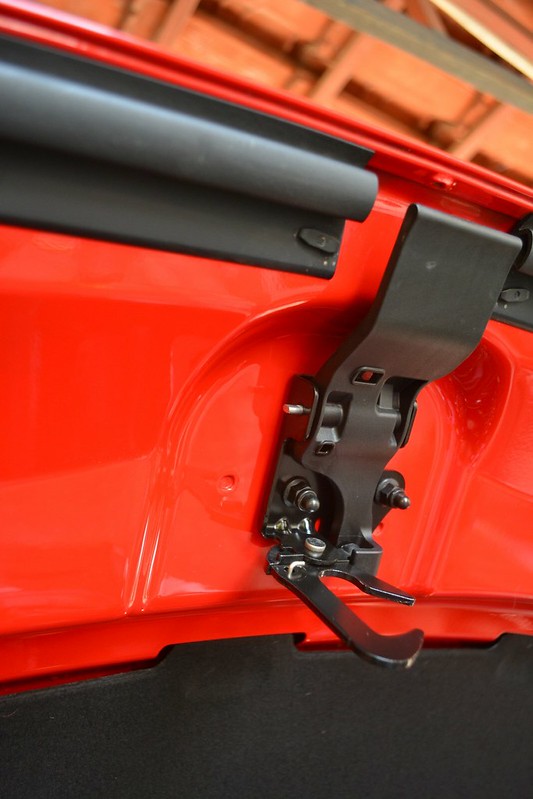
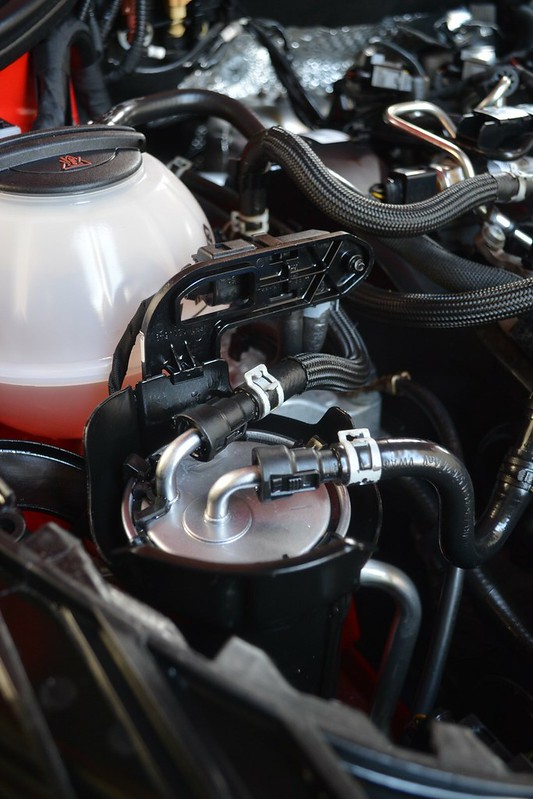
I also ordered this Powerflex mount - Diesel Specific - To reduce engine movement which was getting frustrating especially after the track visit.
It increased vibration, but reduced movement like it should
 Powerflex by mgpdoc, on Flickr
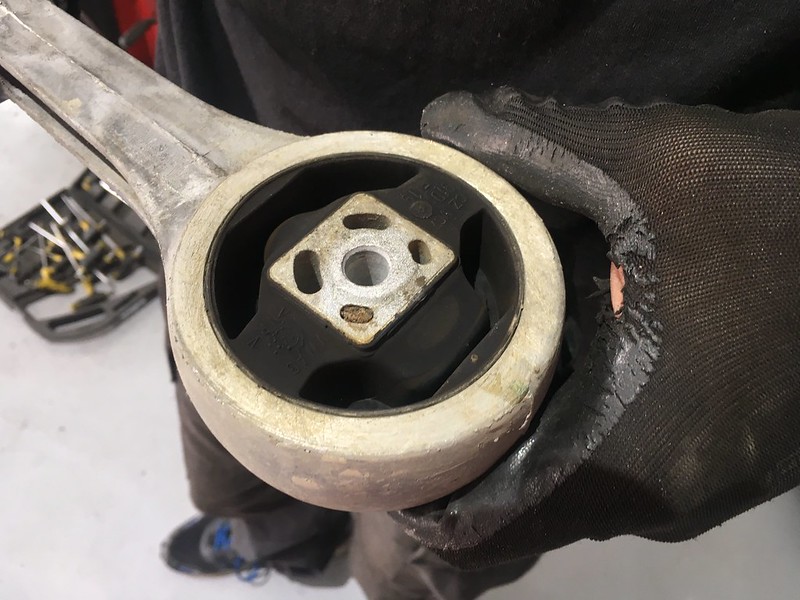
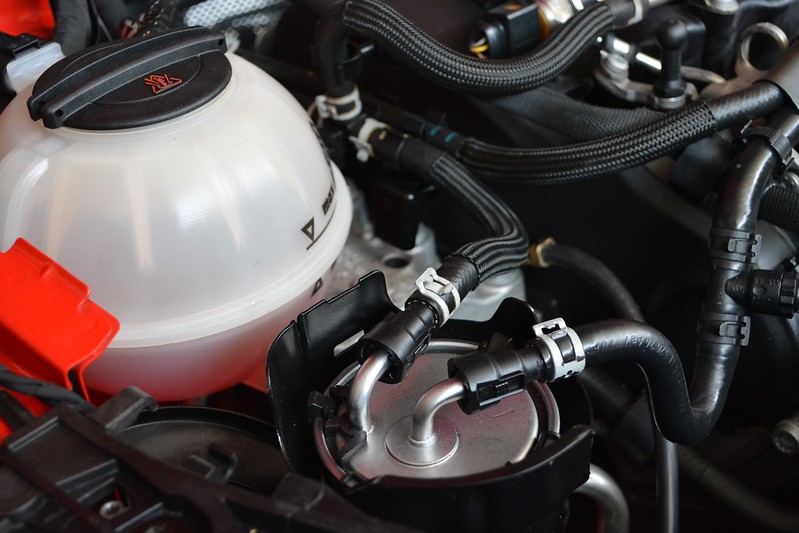
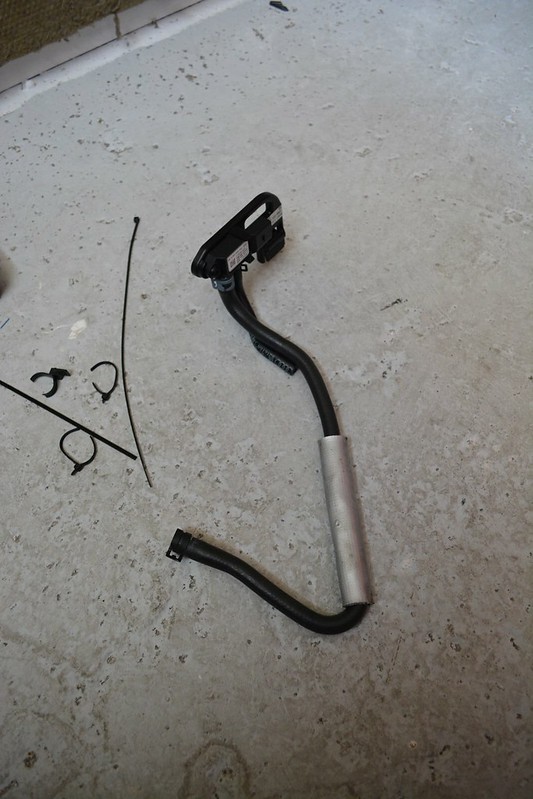
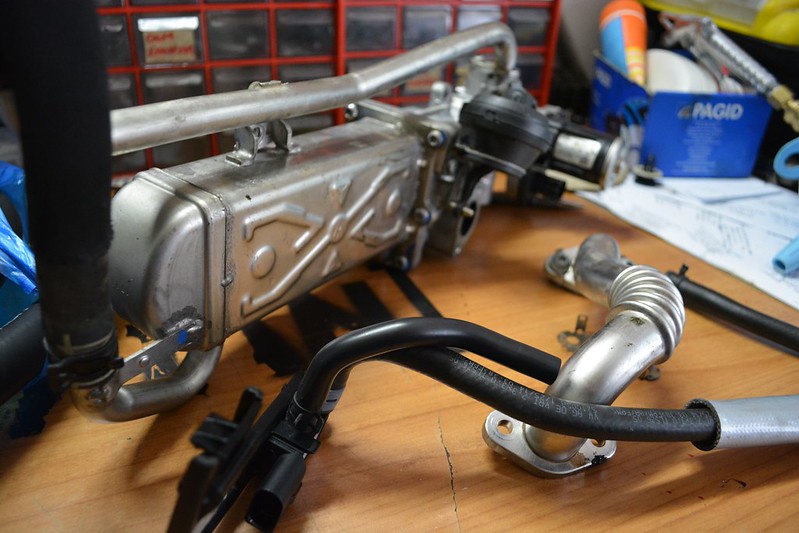
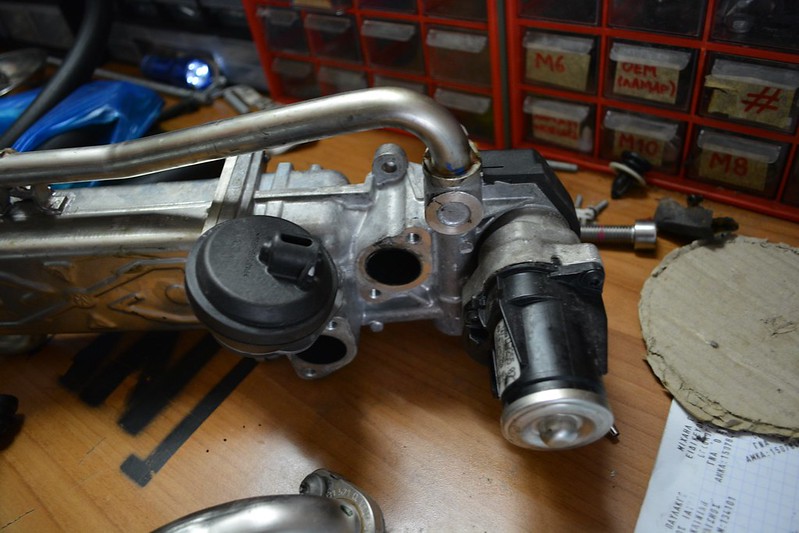
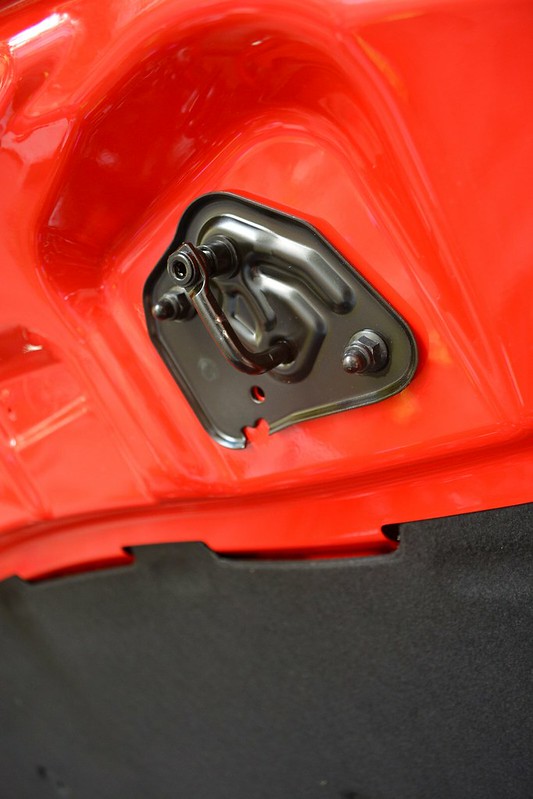
Oem
 Powerflex by mgpdoc, on Flickr
 Powerflex by mgpdoc, on Flickr
And then wheels were ready
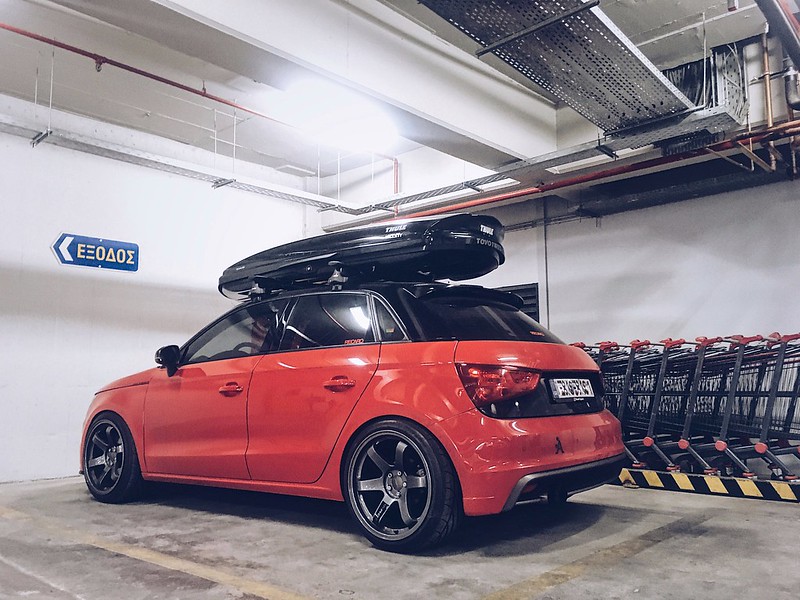
I opted for a change to see how it would look. I normally like to keep my cars in a two tone theme. And this is no exception, it was red and black.
However, i thought I'd give it a go on something rather different.
So. . .
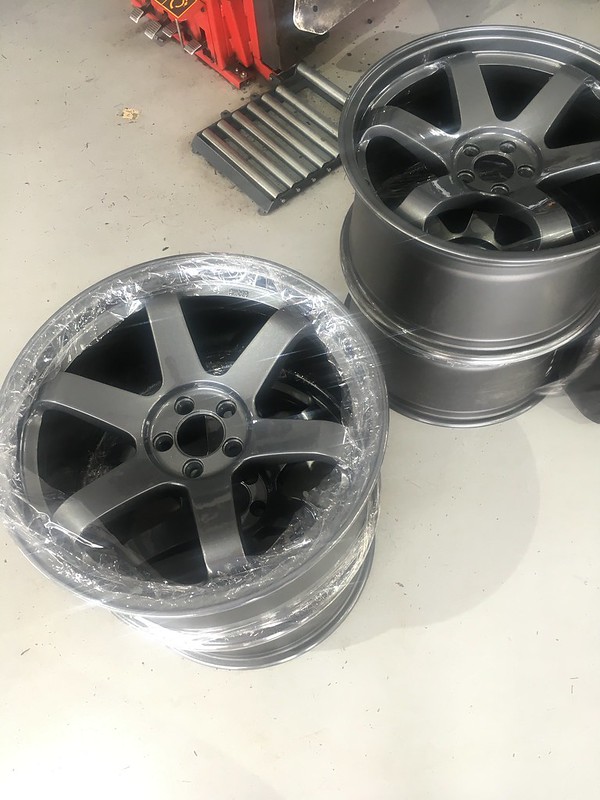 Gunmetal Wheels by mgpdoc, on Flickr
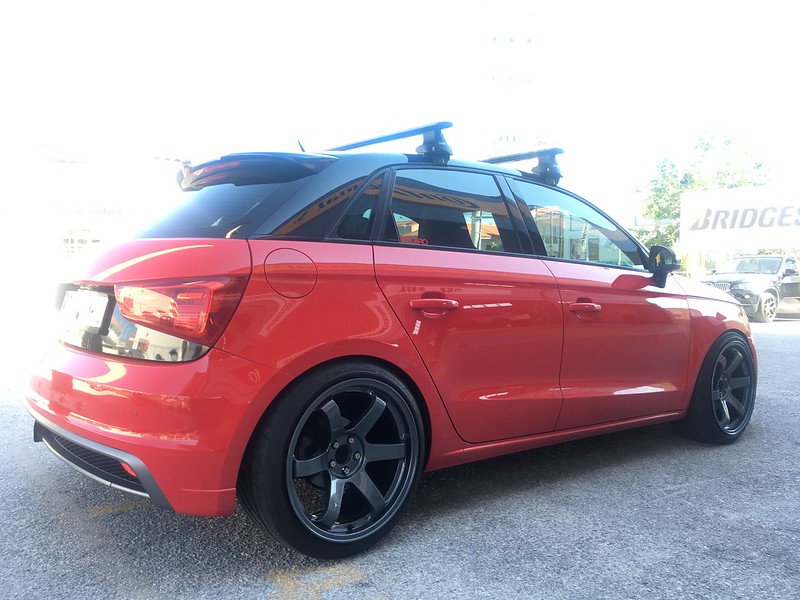
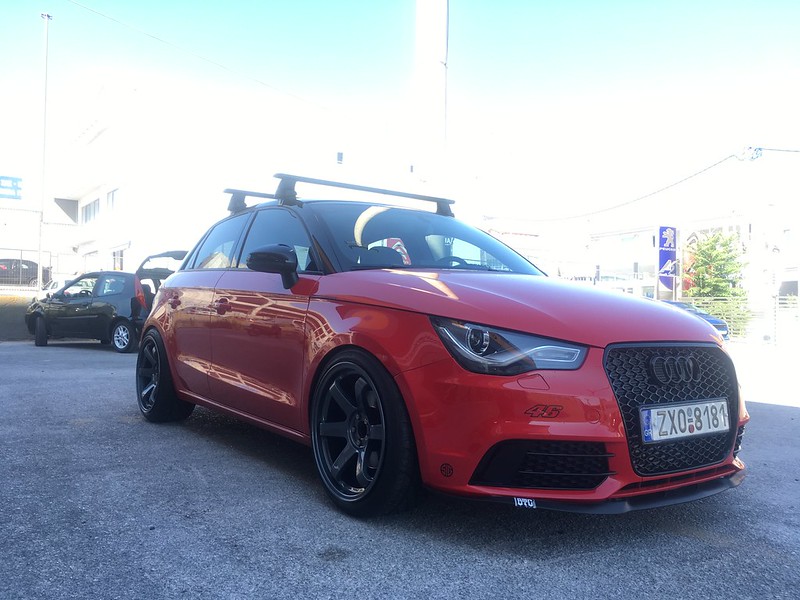
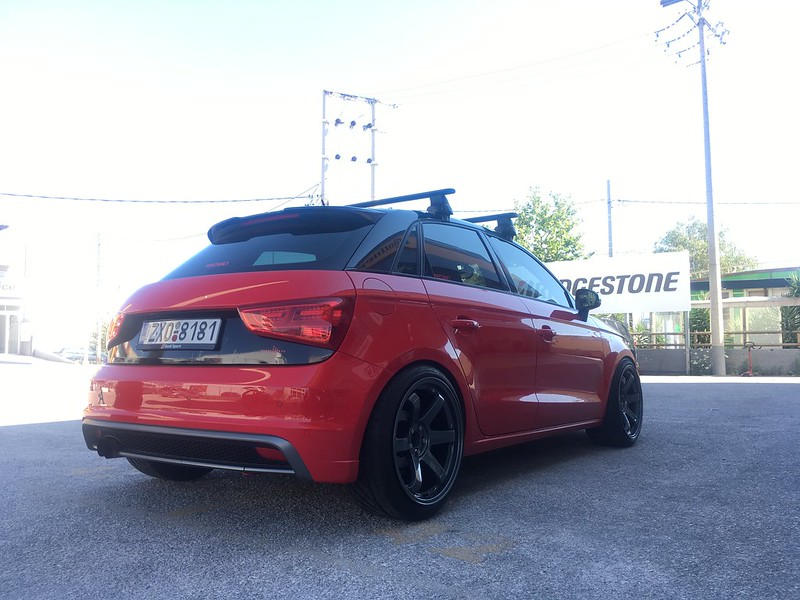
This is what I came up with
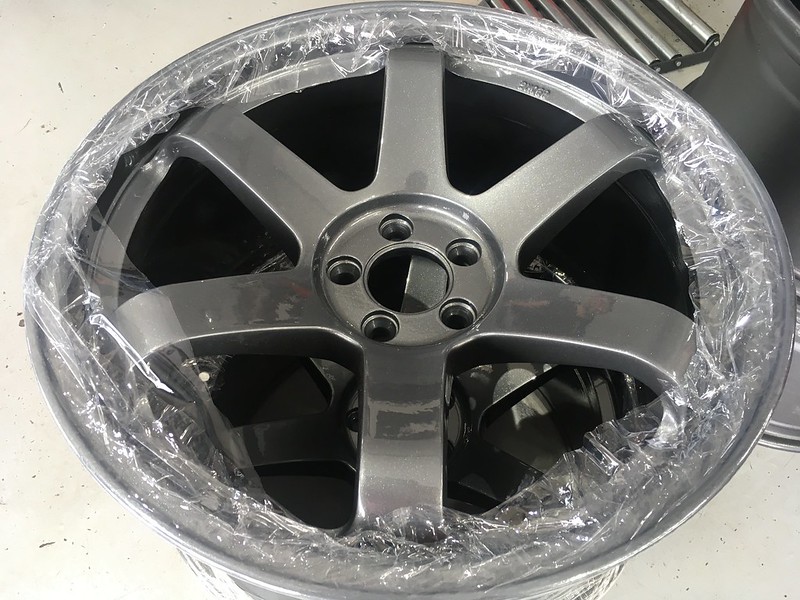 Gunmetal Wheels by mgpdoc, on Flickr
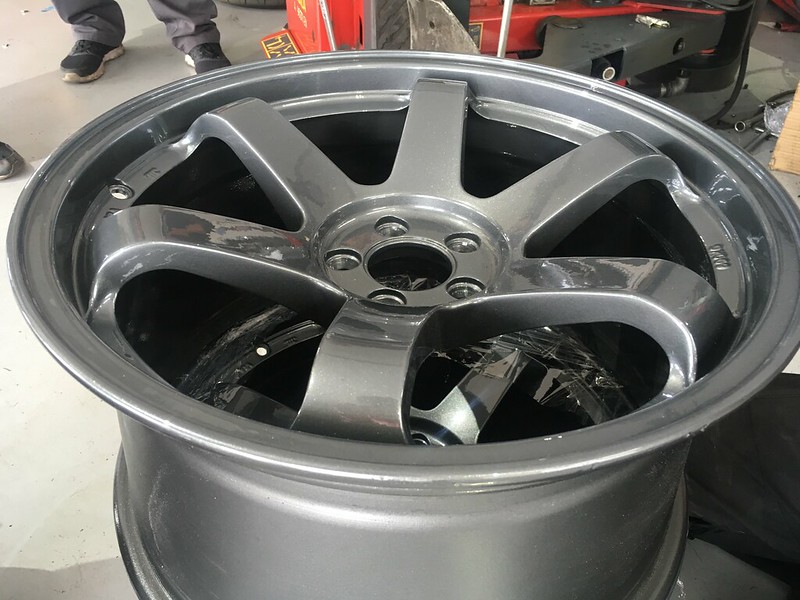 Gunmetal Wheels by mgpdoc, on Flickr
First time on the car
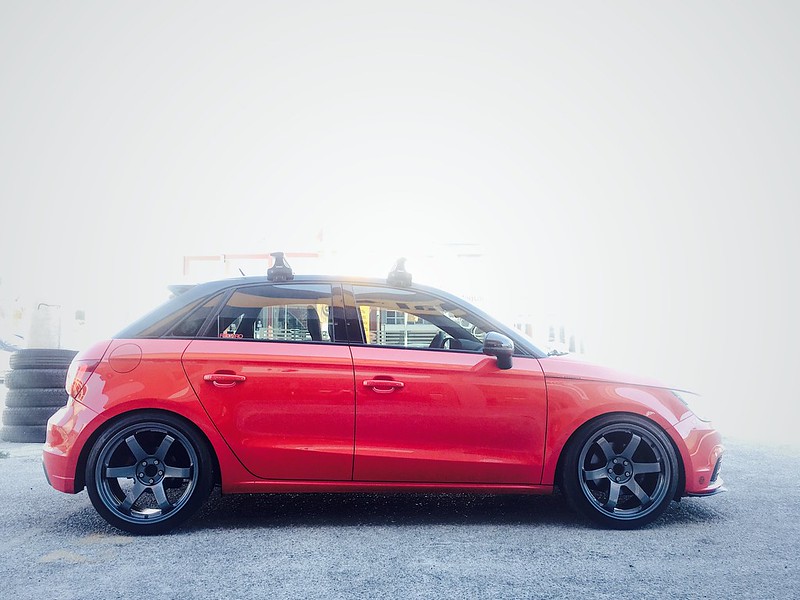 Gunmetal by mgpdoc, on Flickr
 Wheels by mgpdoc, on Flickr
 Gunmetal Wheels by mgpdoc, on Flickr
 Gunmetal by mgpdoc, on Flickr
They sure look bigger
 Wheels by mgpdoc, on Flickr
 Gunmetal Wheels by mgpdoc, on Flickr
 Wheels by mgpdoc, on Flickr
To be honest at first i couldnt get used to it but the more i saw it the more i liked it
 Wheels by mgpdoc, on Flickr
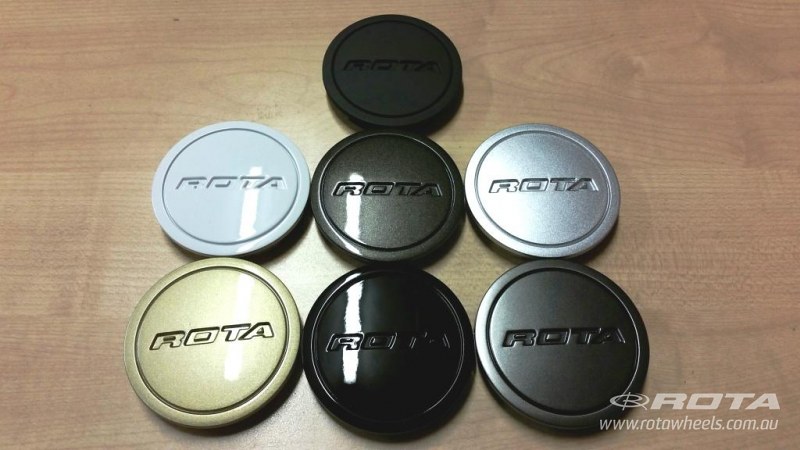
Threw on some Rota caps in Gunmetal which I ordered from UK again
 Gunmetal Wheels by mgpdoc, on Flickr
And the box as well
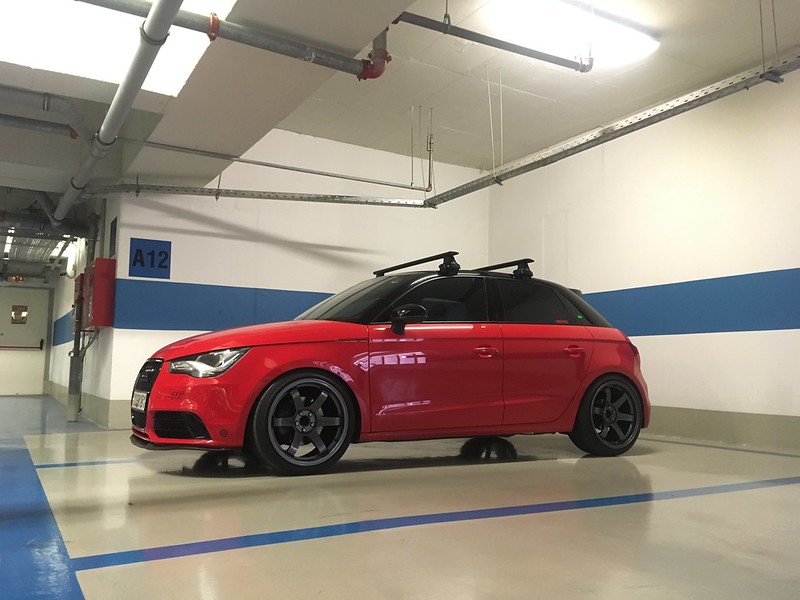
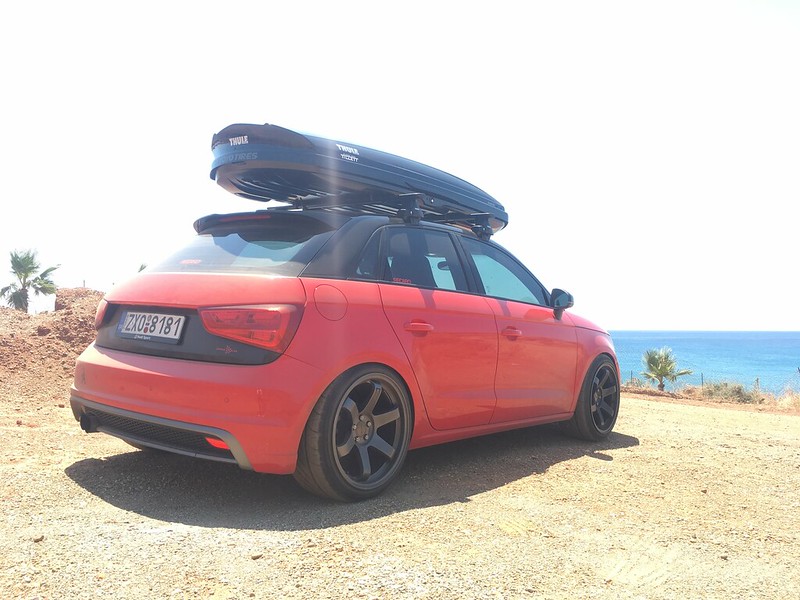
 Summer by mgpdoc, on Flickr
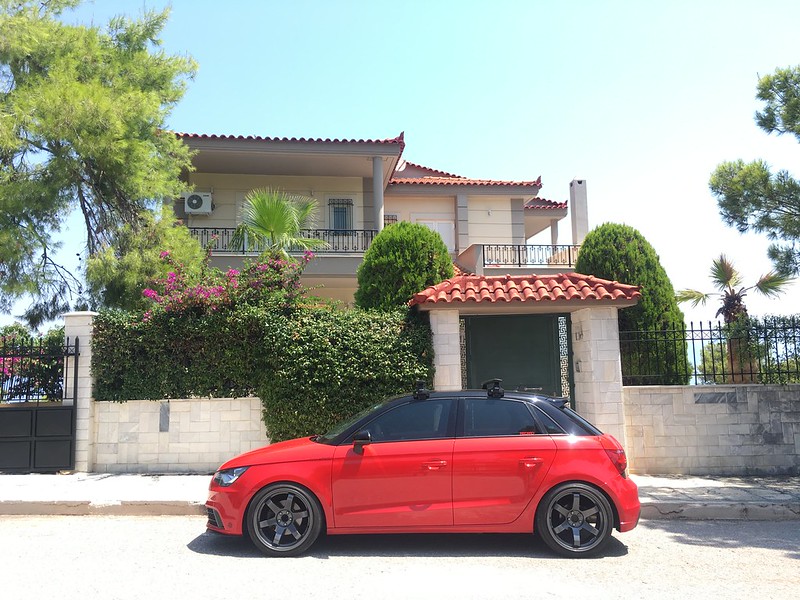
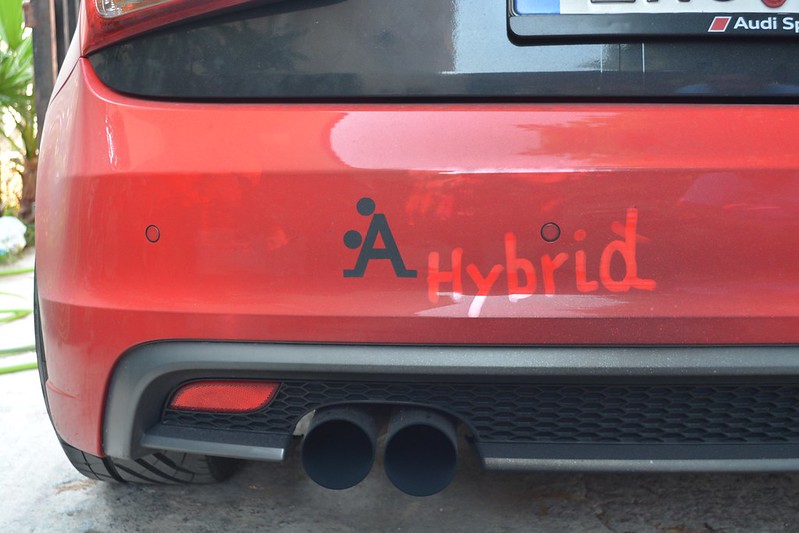
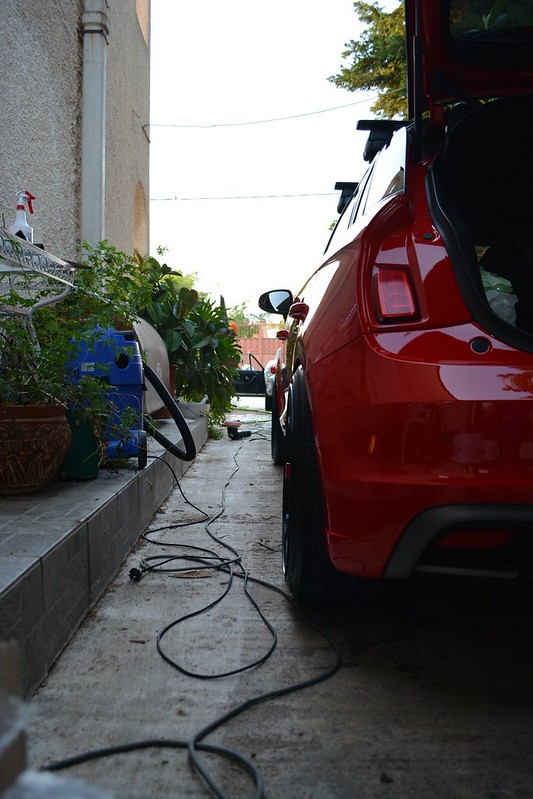
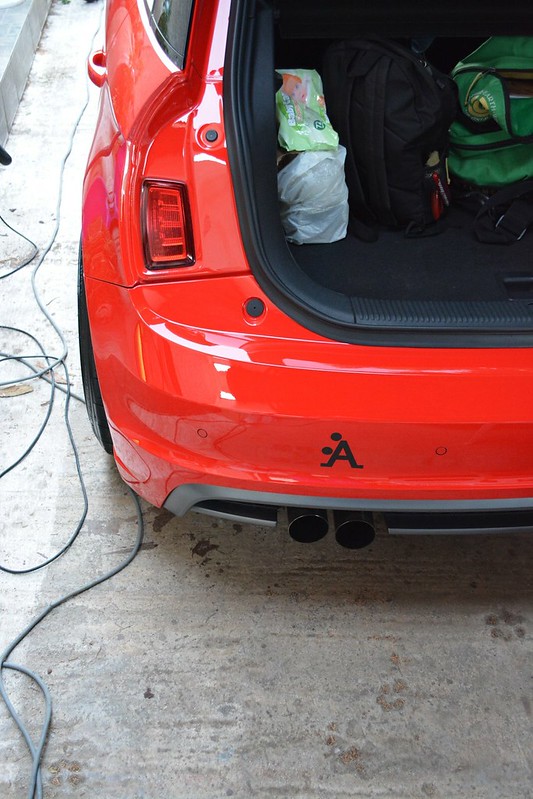
Car is currently away on vacation mode, seeing some dusty roads and beaches
 Summer by mgpdoc, on Flickr
 Summer by mgpdoc, on Flickr
Cheers
 Summer by mgpdoc, on Flickr
Mike
Untitled by mgpdoc, on FlickrUntitled by mgpdoc, on FlickrIn the past i entered the sea with the Cherokee pretty ofter at this particular spot. However . . .
This is not a Jeep
Untitled by mgpdoc, on FlickrGot pulled out by a family car, but not without my pride and my car being hurt as well. AC radiator got pushed by the bad Darkside IC installation probably, and also, wheels were scratched from the rocks at the beach.
Had no Ac for the next days, and scratched wheels, oh well
Untitled by mgpdoc, on FlickrUntitled by mgpdoc, on FlickrUntitled by mgpdoc, on FlickrOn my way back home, at a highway parking
Untitled by mgpdoc, on FlickrGot back to Athens, and lost no time
First AC radiator replacement, and new mounting points and brackets for the IC, properly this time, and not like my half-ass job on a bad product
Untitled by mgpdoc, on FlickrUntitled by mgpdoc, on FlickrAll done and I love how the new BEHR Ac Radiator is silver instead of black
Untitled by mgpdoc, on FlickrLooks mean
Untitled by mgpdoc, on FlickrTemporary Audi wheels while mine were sent to be painted
Untitled by mgpdoc, on FlickrGave it a proper wash
Untitled by mgpdoc, on FlickrDo these wheels make it look like a Renault or is it just me
Untitled by mgpdoc, on FlickrI also ordered this Powerflex mount - Diesel Specific - To reduce engine movement which was getting frustrating especially after the track visit.
It increased vibration, but reduced movement like it should
Powerflex by mgpdoc, on FlickrOem
Powerflex by mgpdoc, on FlickrPowerflex by mgpdoc, on FlickrAnd then wheels were ready
I opted for a change to see how it would look. I normally like to keep my cars in a two tone theme. And this is no exception, it was red and black.
However, i thought I'd give it a go on something rather different.
So. . .
Gunmetal Wheels by mgpdoc, on FlickrThis is what I came up with
Gunmetal Wheels by mgpdoc, on FlickrGunmetal Wheels by mgpdoc, on FlickrFirst time on the car
Gunmetal by mgpdoc, on FlickrWheels by mgpdoc, on FlickrGunmetal Wheels by mgpdoc, on FlickrGunmetal by mgpdoc, on FlickrThey sure look bigger
Wheels by mgpdoc, on FlickrGunmetal Wheels by mgpdoc, on FlickrWheels by mgpdoc, on FlickrTo be honest at first i couldnt get used to it but the more i saw it the more i liked it
Wheels by mgpdoc, on FlickrThrew on some Rota caps in Gunmetal which I ordered from UK again
Gunmetal Wheels by mgpdoc, on FlickrAnd the box as well
Summer by mgpdoc, on FlickrCar is currently away on vacation mode, seeing some dusty roads and beaches
Summer by mgpdoc, on FlickrSummer by mgpdoc, on FlickrCheers
Summer by mgpdoc, on FlickrMike


Leave a comment: