Announcement
Collapse
No announcement yet.
Audi A1 by mgpdoc ••
Collapse
X
-
Your attention to detail and documentation is awesome!! Keep up the awesome builds.
Leave a comment:
-
I'm a fan of the car but not the wheels. Interior looks good, I could have lived with less logos, especially on the non Recaro parts, but hey, you do you!
Leave a comment:
-
I promise you, if you see it in real life, the logos are just the correct amount, and they really set it off very nicely . Trust me on this one, until you see it for yourself.
Someday !!!
Cheers
Mike
Leave a comment:
-
Maybe too many logos for me personally, but damn does it look good in there.
Leave a comment:
-
Hello everyone. Again, many things have been happening, but didnt have the time to put them in writing I guess . . .
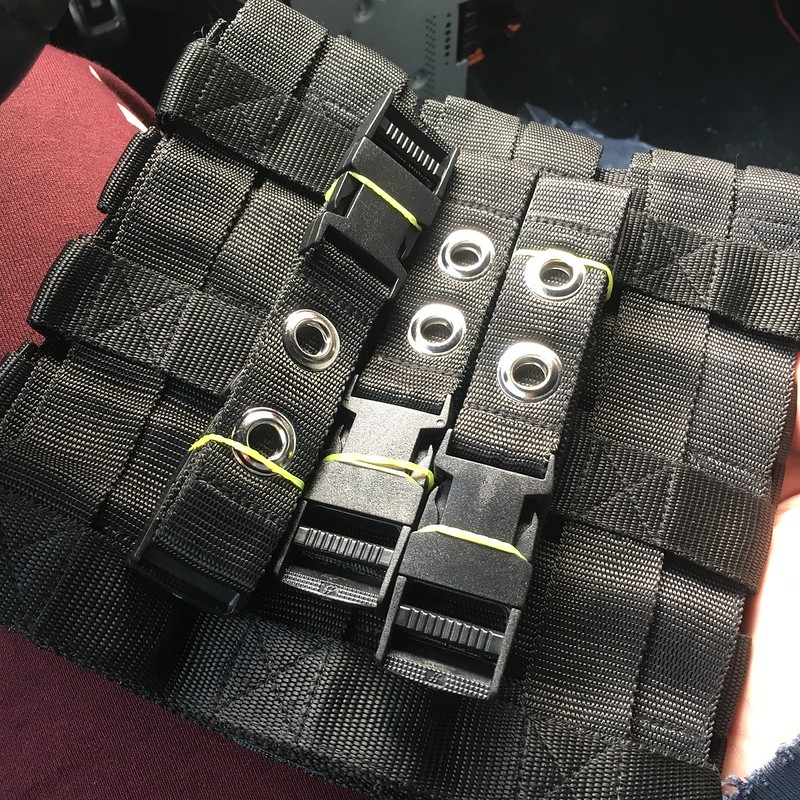
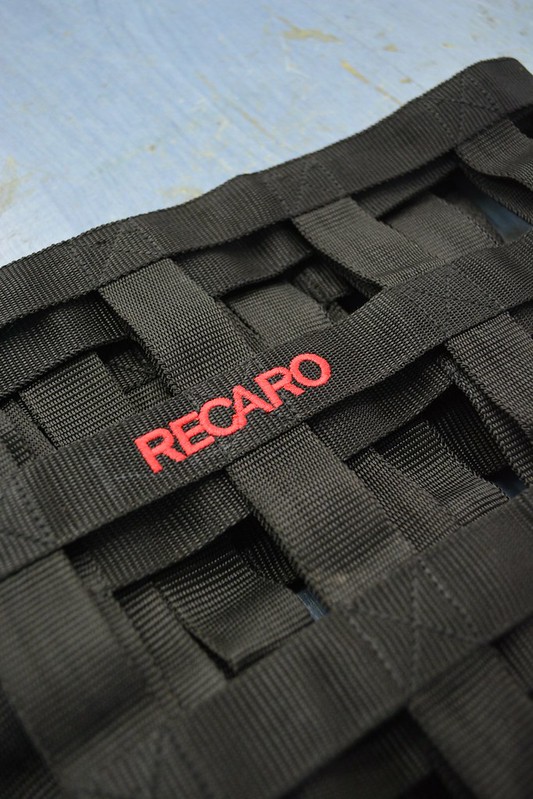
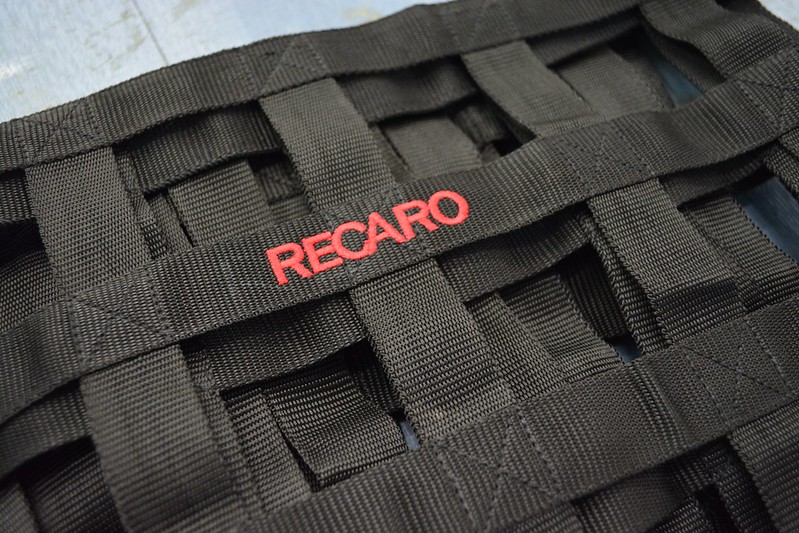
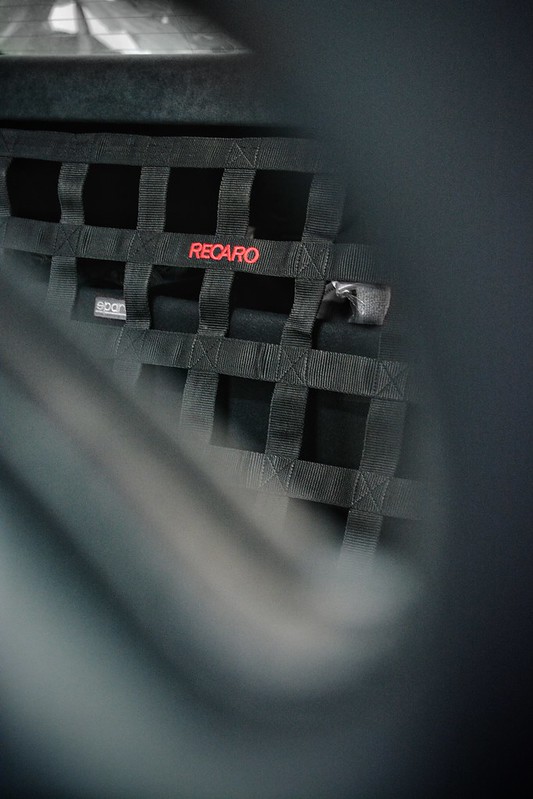
First I customized a window safety net to fit my rear trunk compartment
 Feb2018 by mgpdoc, on Flickr
 Feb2018 by mgpdoc, on Flickr
 Feb2018 by mgpdoc, on Flickr
And installed in place like so
 FeB by mgpdoc, on Flickr
Then I also sourced a rear Audi Q3 Led Dome light
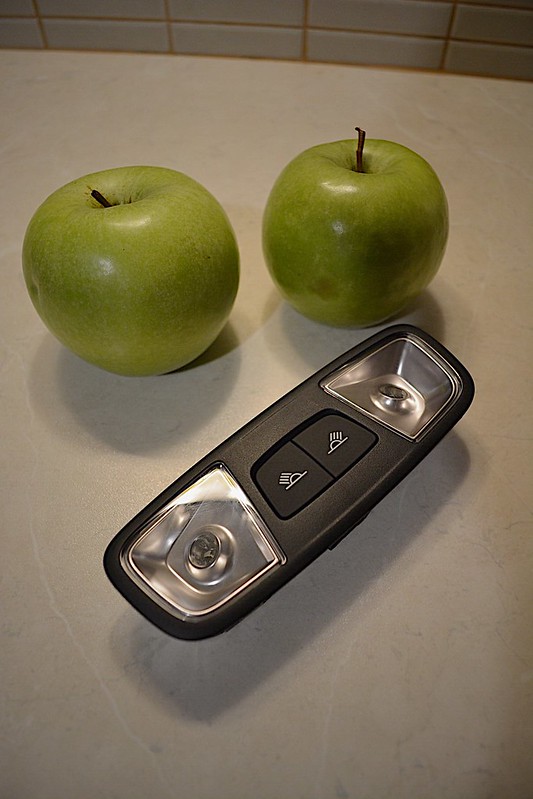 Feb 18’ by mgpdoc, on Flickr
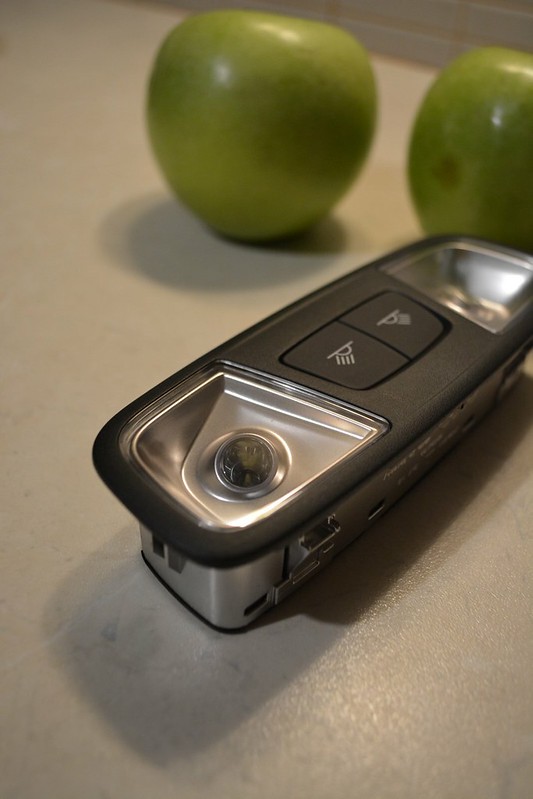 Feb 18’ by mgpdoc, on Flickr
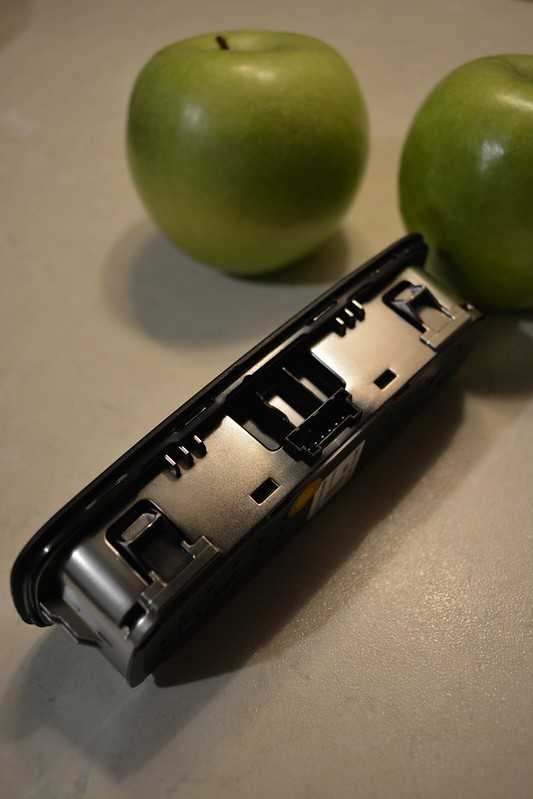 Feb 18 by mgpdoc, on Flickr
And also another Led front one, which unlike mine has the connections to play inline with the rear one
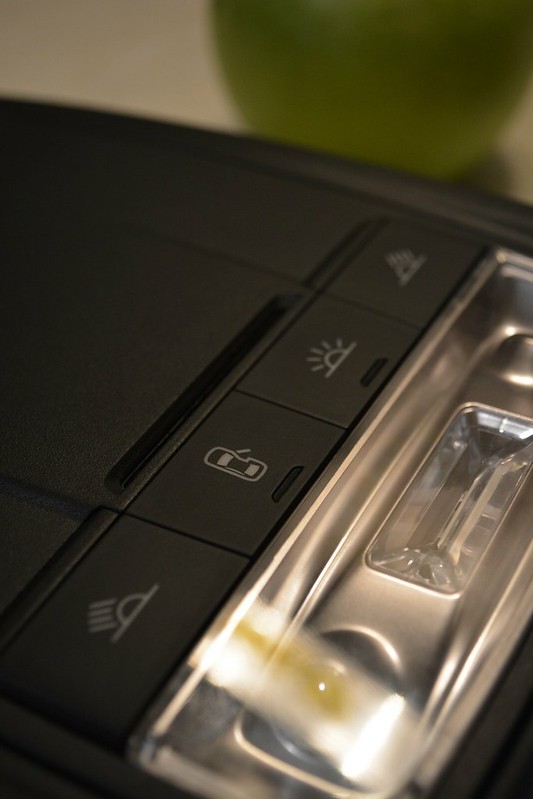 Feb 18 by mgpdoc, on Flickr
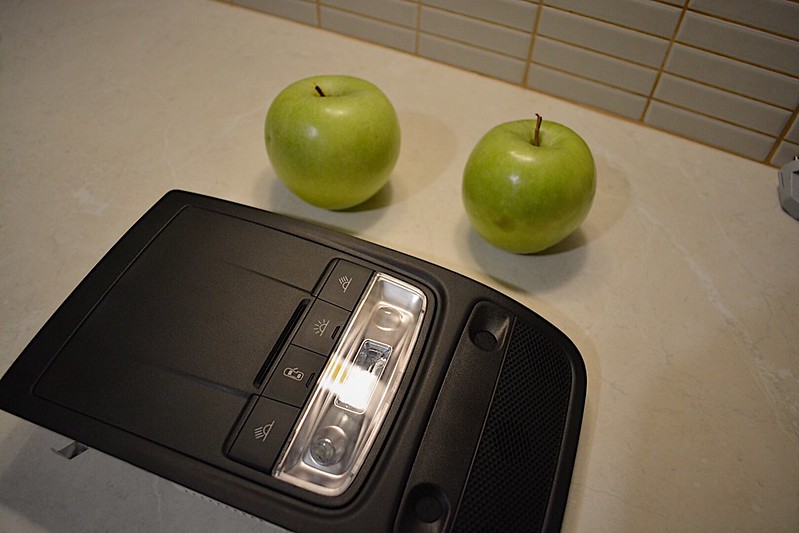 Feb 18’ by mgpdoc, on Flickr
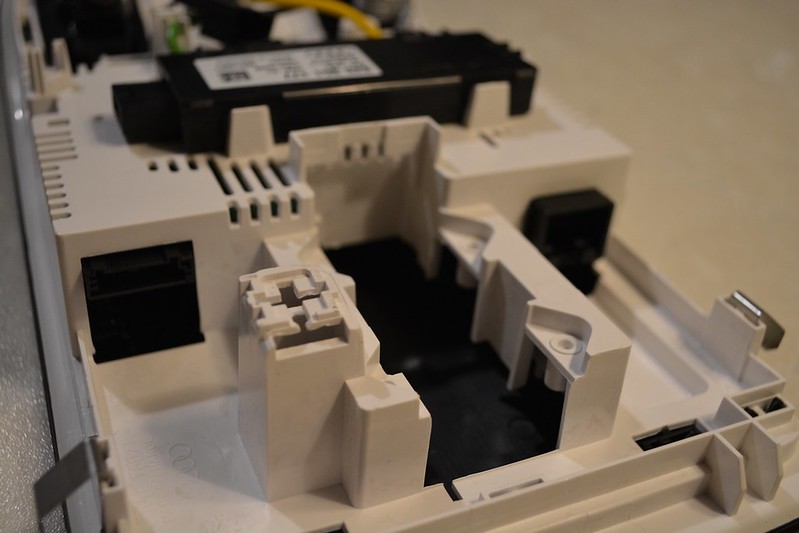 Feb 18 by mgpdoc, on Flickr
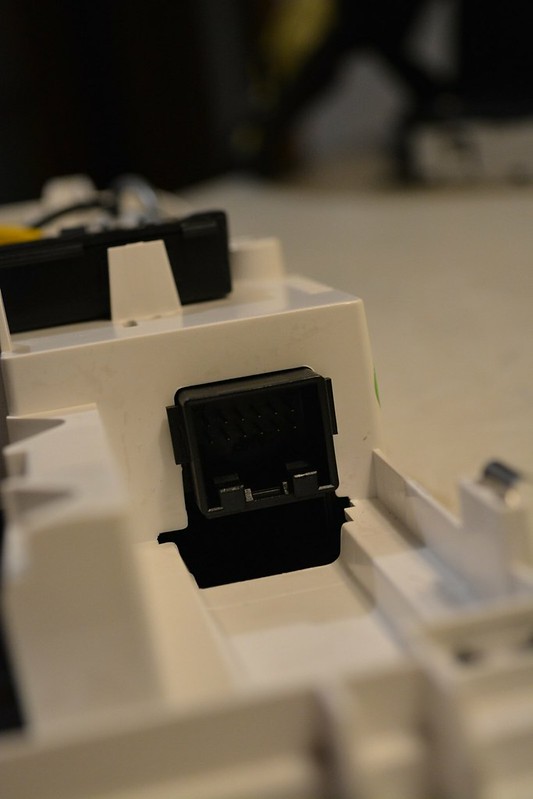 Feb 18 by mgpdoc, on Flickr
Then, it was time for the big change on the interior. A change i had a long time coming, although i didnt accept it at first, lol.
Like in every car i own, it was time to go custom .
This is, how i was driving daily for a couple of months.
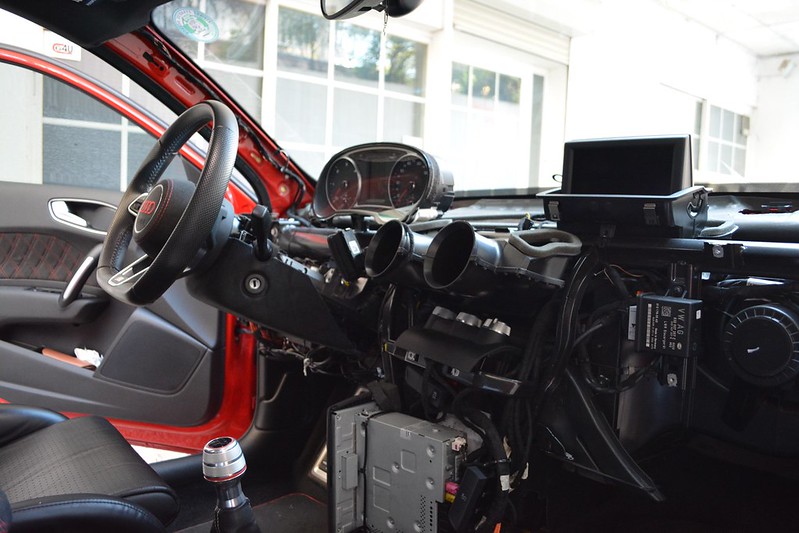 Feb 18 by mgpdoc, on Flickr
Everything was working, and nothing was scratched
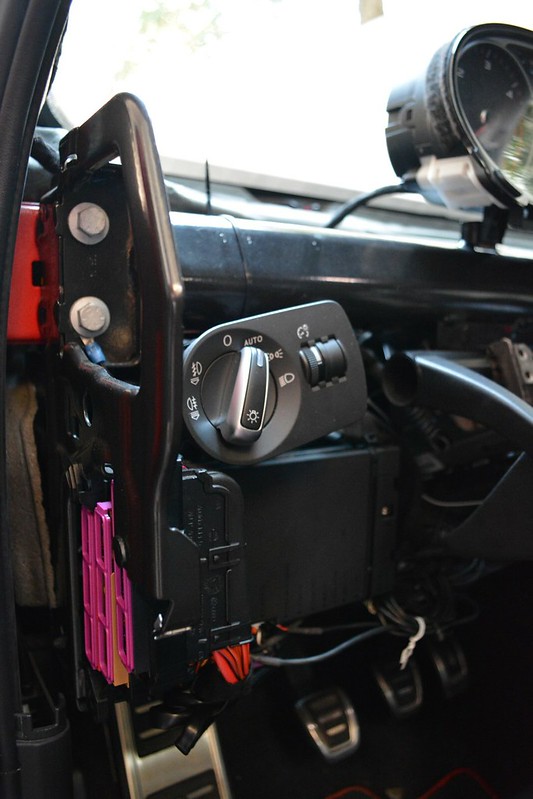 Feb 18’ by mgpdoc, on Flickr
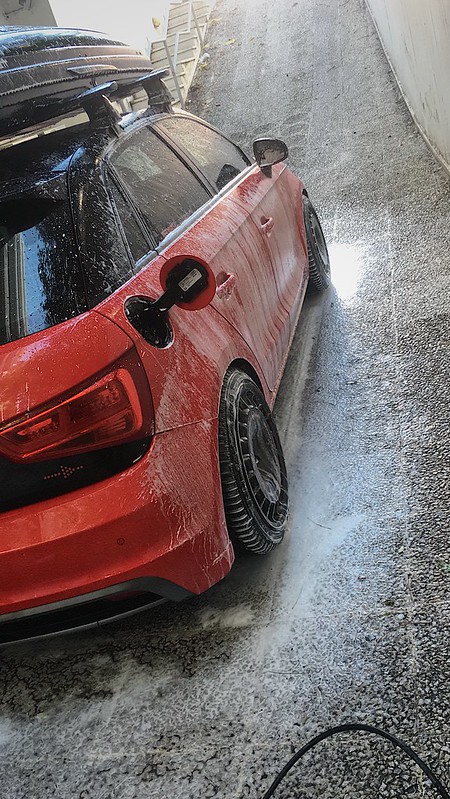 Feb 18’ by mgpdoc, on Flickr
Like always, i removed the dashboard on my own, and re-installed everything again on my own. Two months later, everything was ready at last
Pics of parts
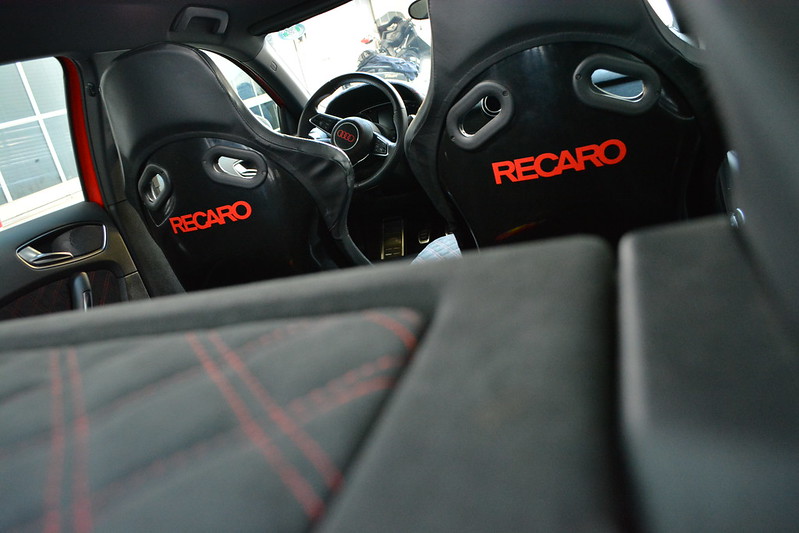 FebFeb18 by mgpdoc, on Flickr
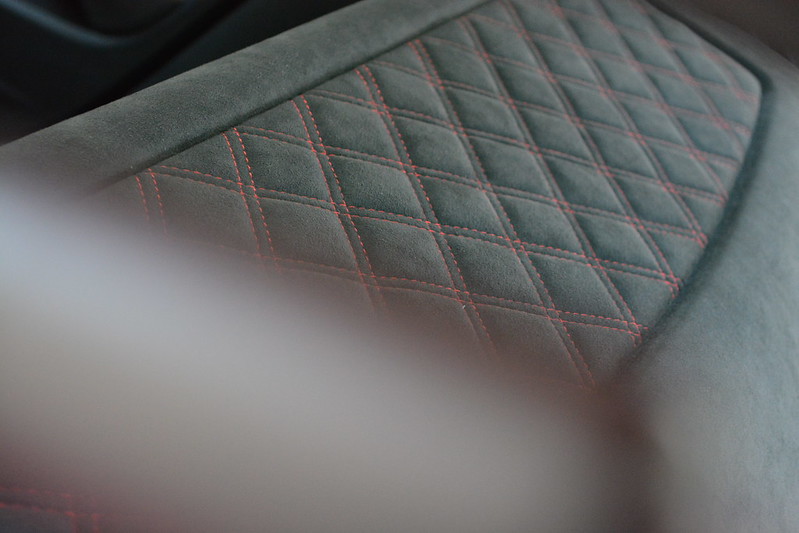 FebFeb18 by mgpdoc, on Flickr
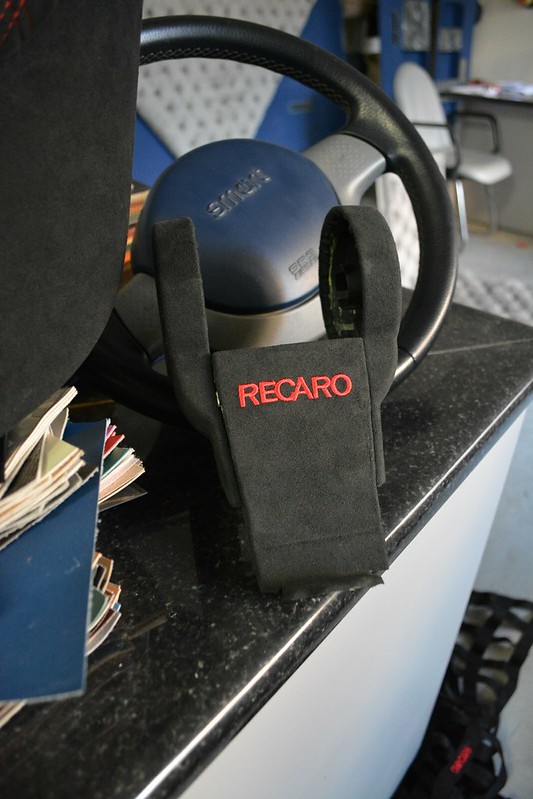 FebFeb18 by mgpdoc, on Flickr
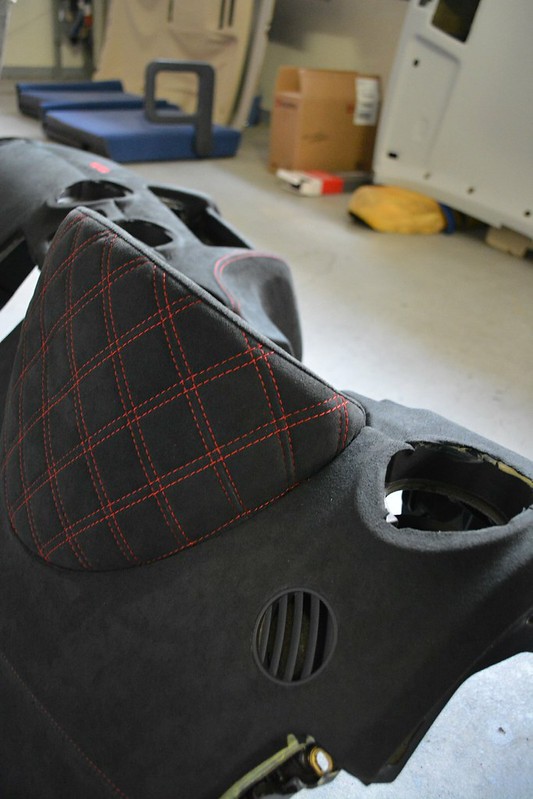 FebFeb18 by mgpdoc, on Flickr
For this, i chose the OEM location of where the Quattro badge is situated
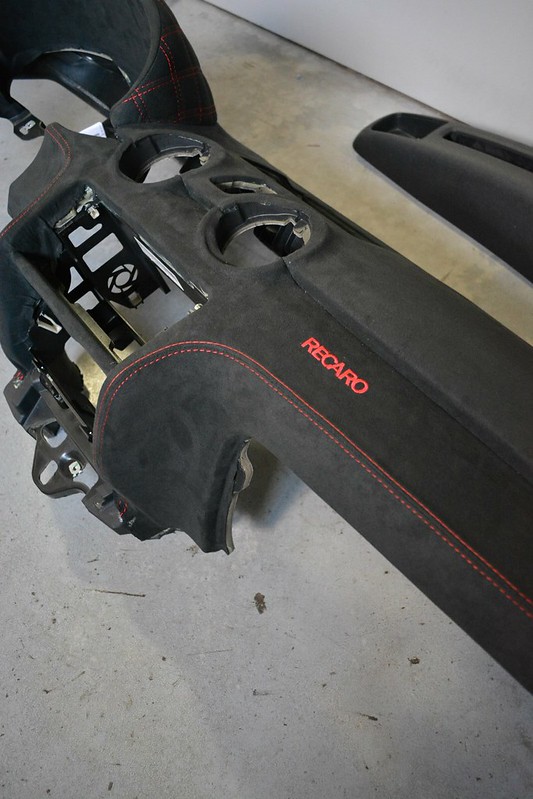 FebFeb18 by mgpdoc, on Flickr
Center console
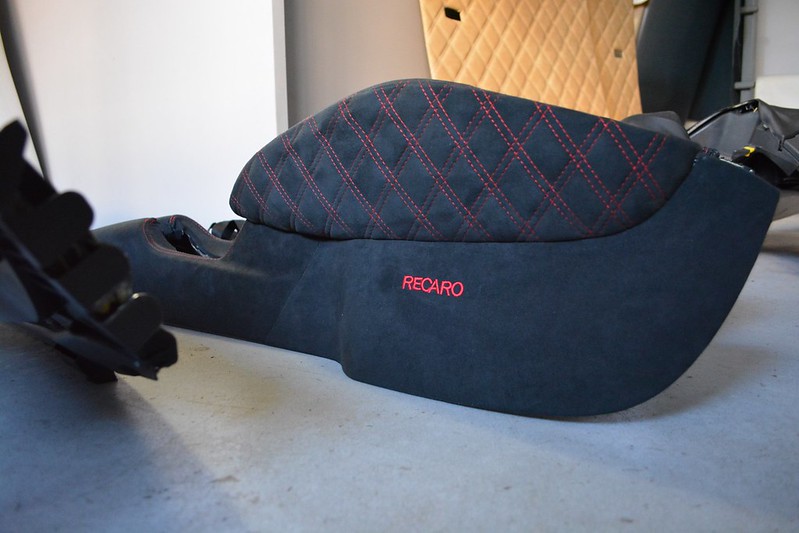 FebFeb18 by mgpdoc, on Flickr
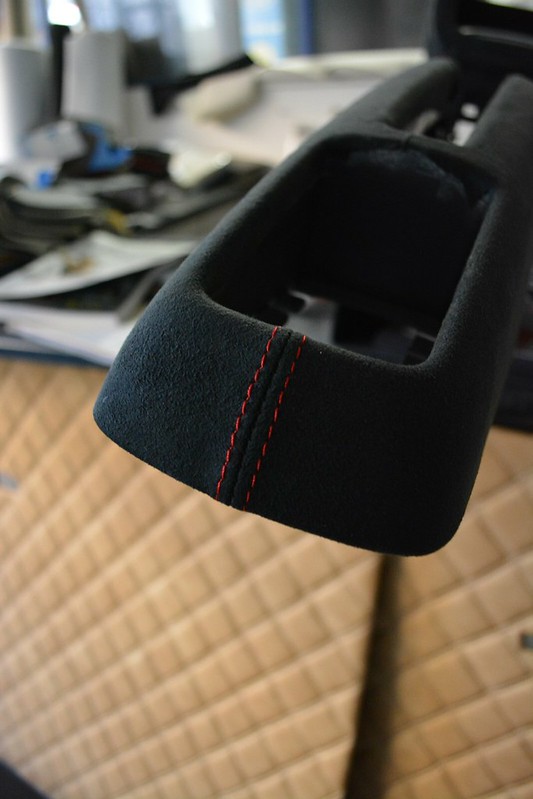 FebFeb18 by mgpdoc, on Flickr
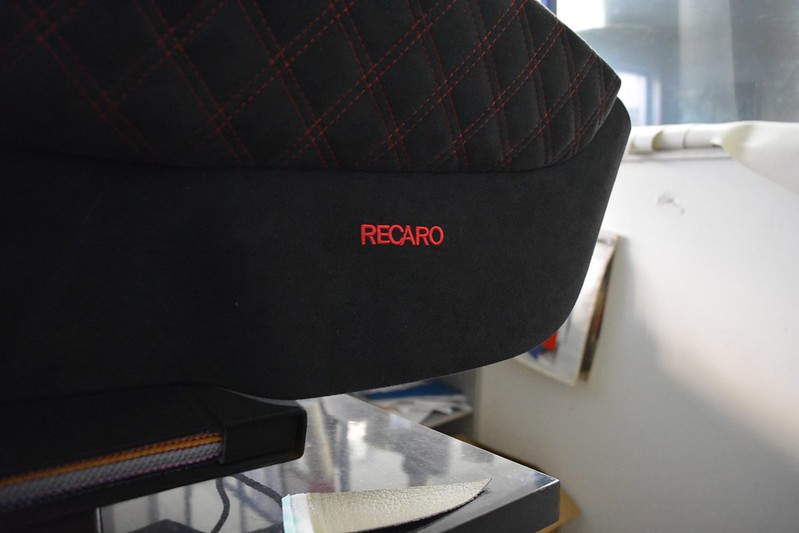 FebFeb18 by mgpdoc, on Flickr
Double-Stitching like you should
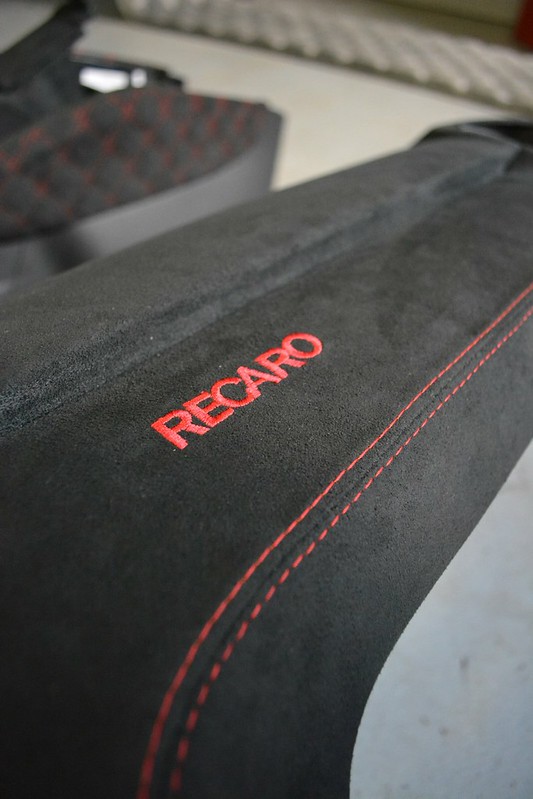 Feb2018 by mgpdoc, on Flickr
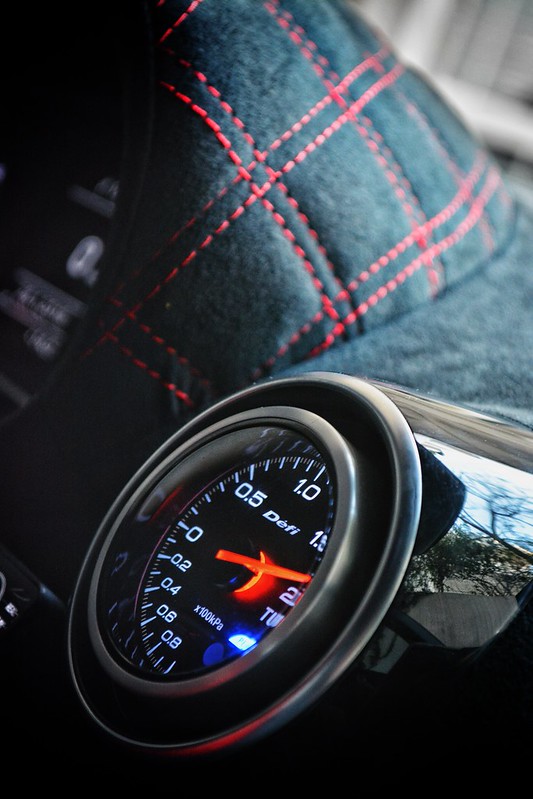
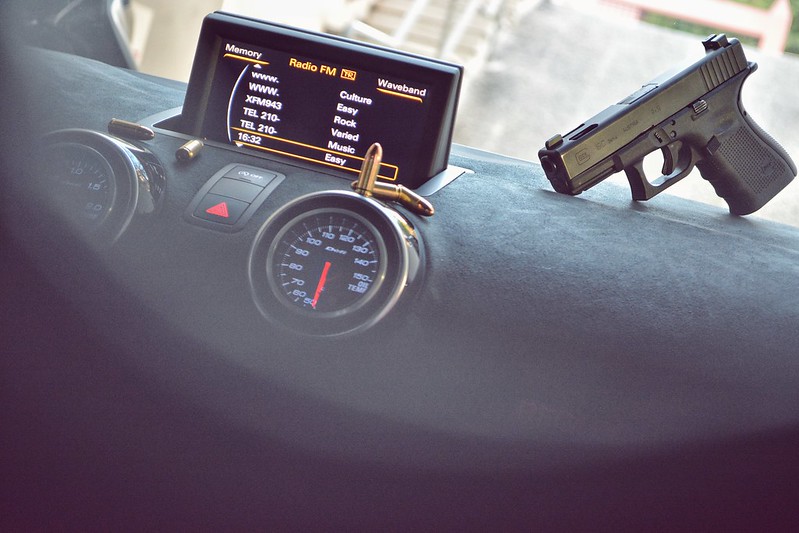
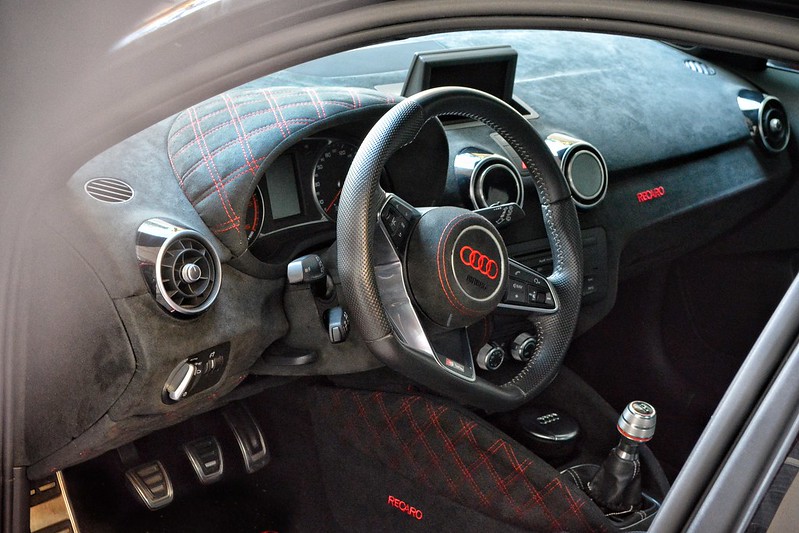
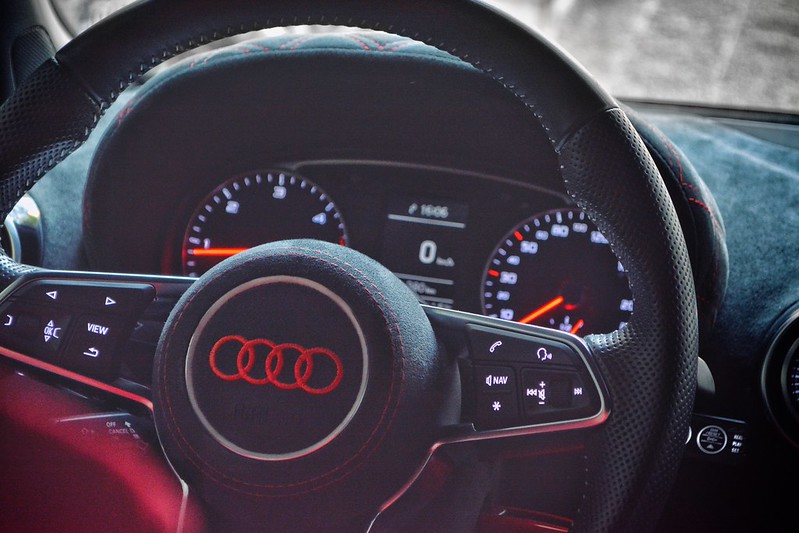
And then, re-installed everything back together, it was a joy to say the least enjoyed it all the way
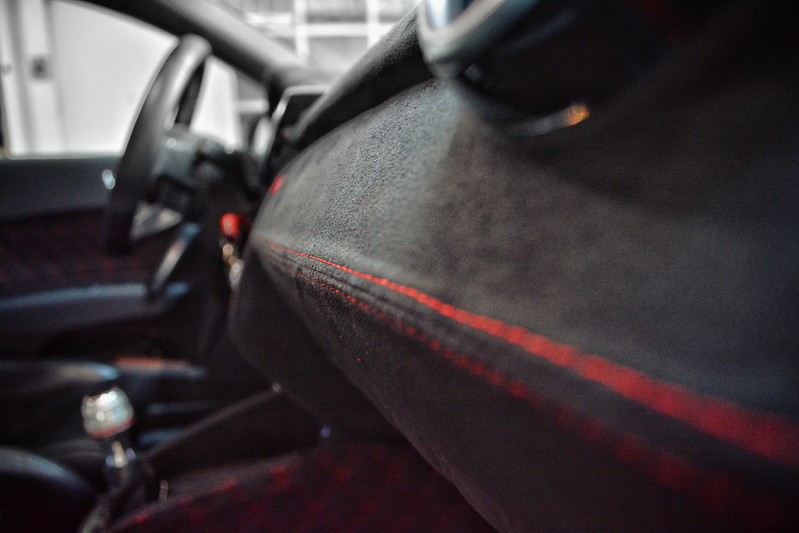 FeB by mgpdoc, on Flickr
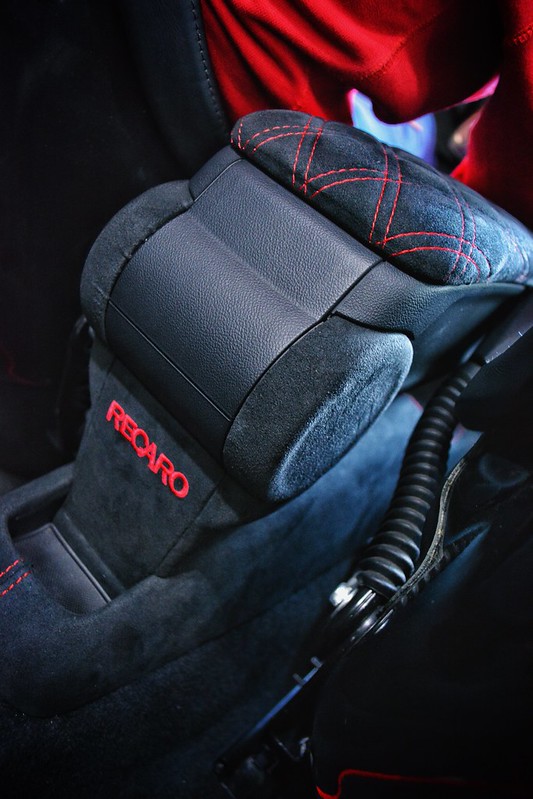 FeB by mgpdoc, on Flickr
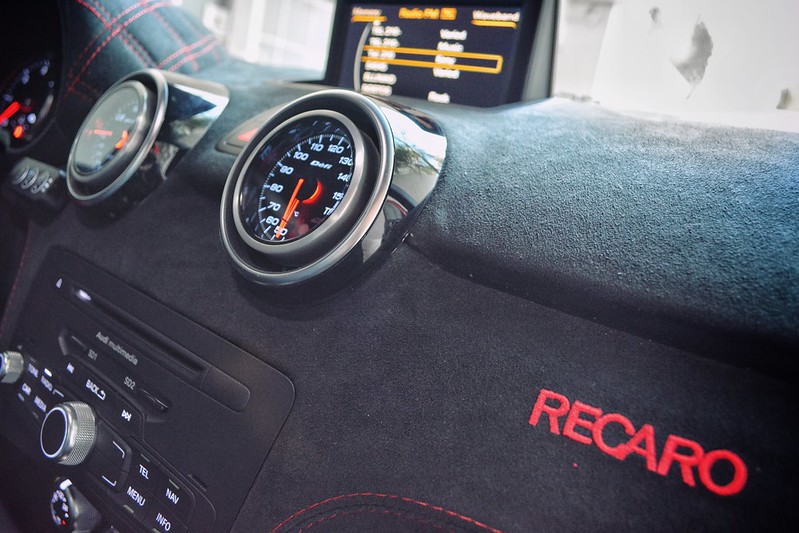 FeB by mgpdoc, on Flickr
Needless to say i was over the moon with it
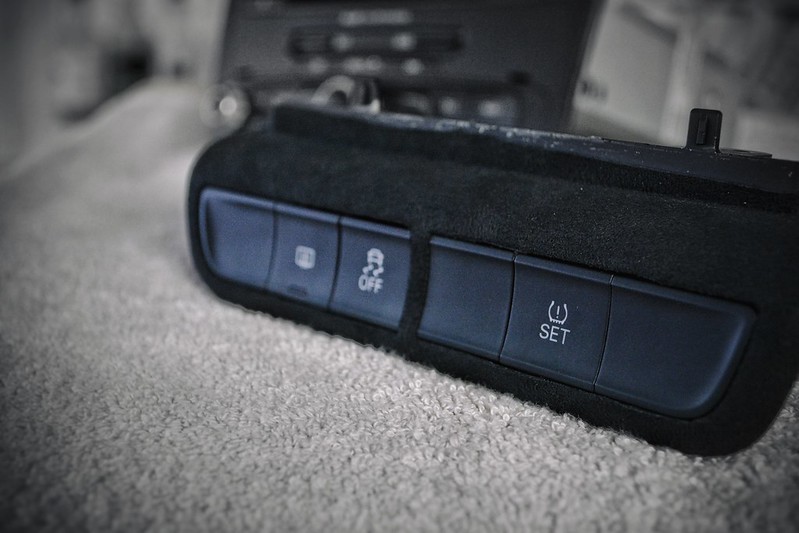 FeB by mgpdoc, on Flickr
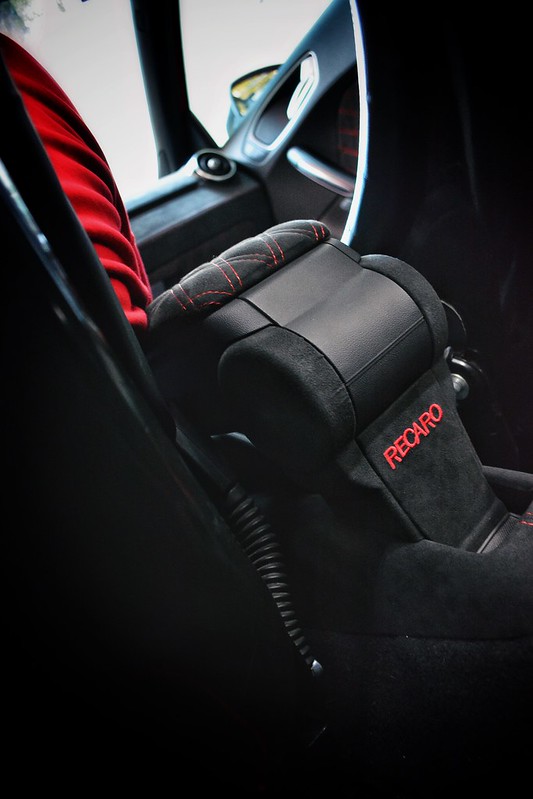 FeB by mgpdoc, on Flickr
 FeB by mgpdoc, on Flickr
 FeB by mgpdoc, on Flickr
 FeB by mgpdoc, on Flickr
 FeB by mgpdoc, on Flickr
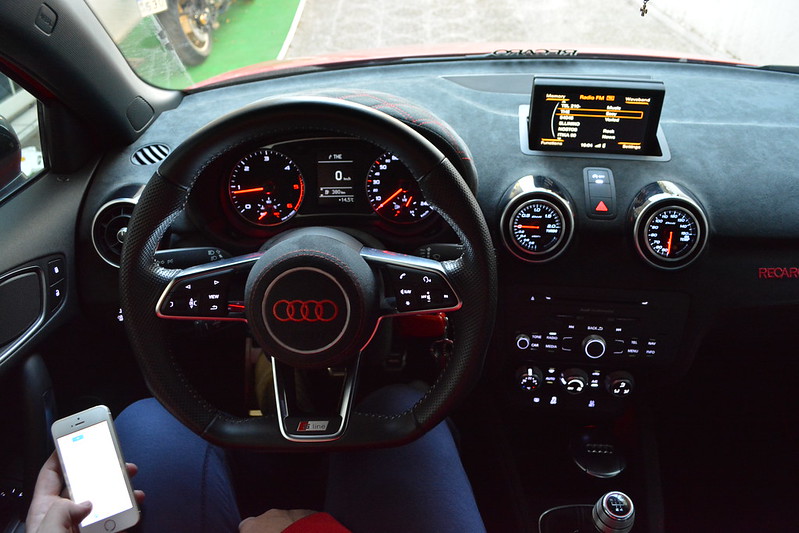 FeB by mgpdoc, on Flickr
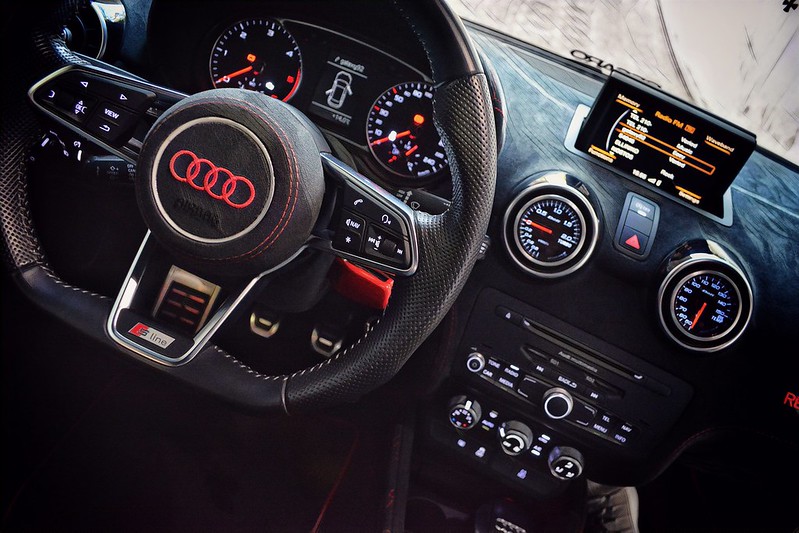 FeB by mgpdoc, on Flickr
I hope you liked it too
More to come
Follow me over at instagram, @mgpdoc for faster updates on this, and more.
Cheers
Mike
Leave a comment:
-
Hello there and thank you for the feedback. I have thought about it too, going lower, but at this point it is combining great looks, at least for me, and great practicality as this is my daily.Originally posted by SoapHero View PostThe wheels are looking amazing. There is only 1 thing I would change at this car.... The ride height (to high for me). Apart from this its perfect with the D154s
What is more, once it is fitted with the larger tyres, it will look lower, in the wheel-arch gap, yet be kinda higher from ground, which is an issue in our roads. Even now, I have to be REALLY careful, plus, using this even on snow conditions, i dont want it to "climb" on snow too quick, being low static. I think current ride height combines a lot of things. Plus, it is more than capable in cornering, it can surprise many cars.
Cheers
Mike
Leave a comment:
-
The wheels are looking amazing. There is only 1 thing I would change at this car.... The ride height (to high for me). Apart from this its perfect with the D154s
Leave a comment:
-
Finally, i have another interesting update, which i personally enjoyed A LOT
So, this is, or at least was till last year, winter setup on the oem 17s, painted gloss black
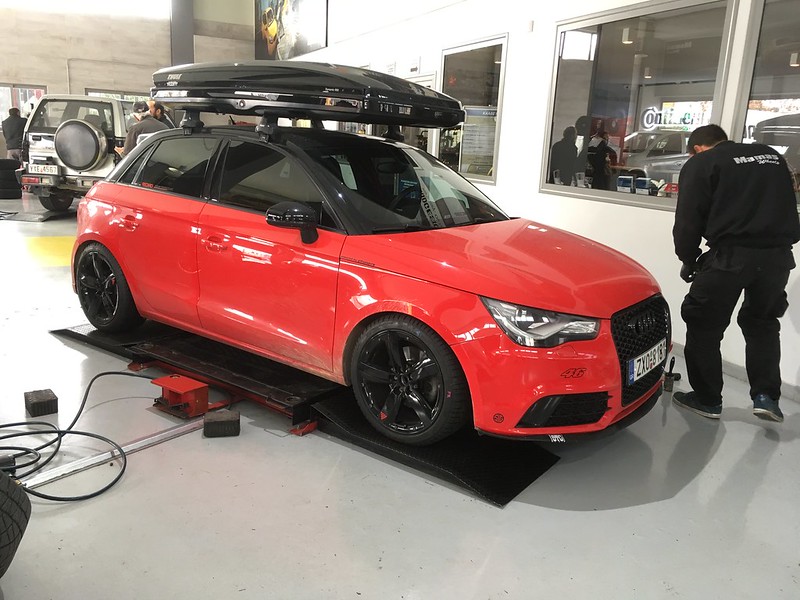 Untitled by mgpdoc, on Flickr
Summer wheels were removed and will be washed and polished and stored next to my Golf till next season
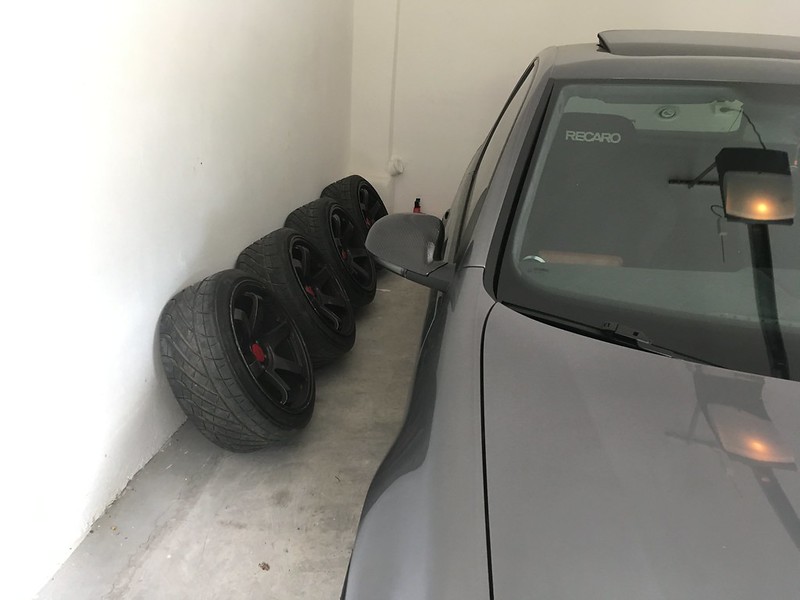 Untitled by mgpdoc, on Flickr
Winter 20mm spacers, vs Summer 15mm spacers in the back
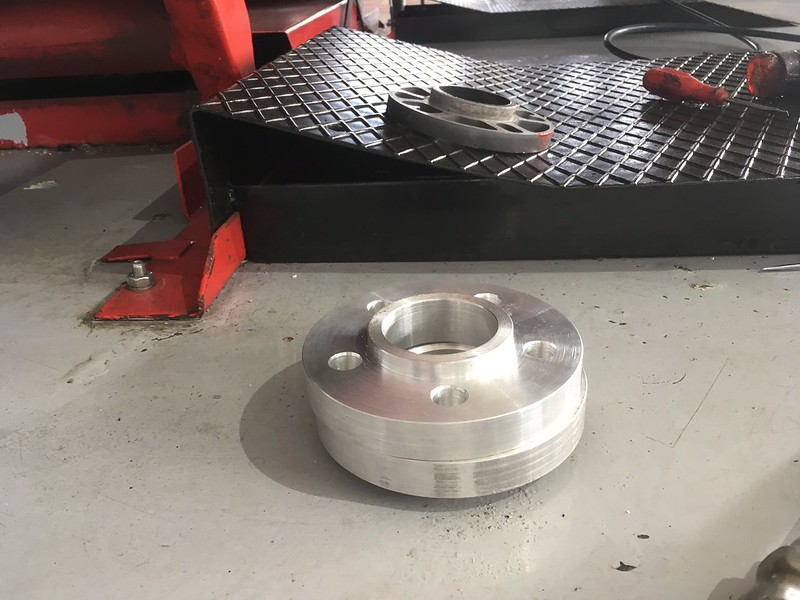 Untitled by mgpdoc, on Flickr
What for , you will ask. And I shall reply. For a new set of wheels
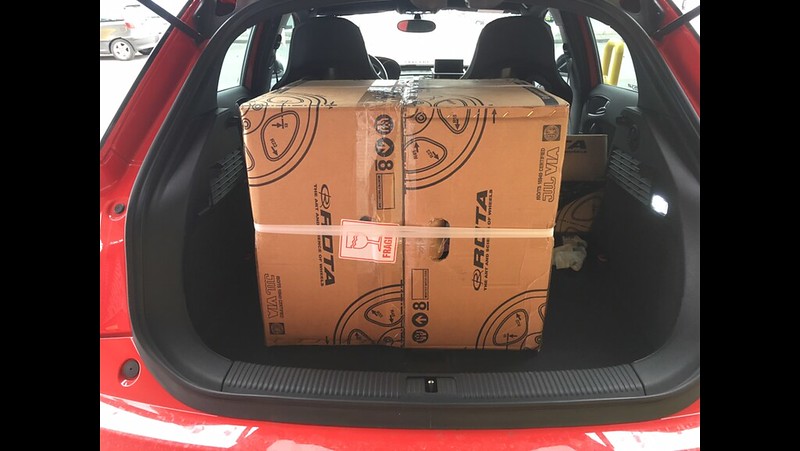 Untitled by mgpdoc, on Flickr
i can remember myself wanting these wheels since i was a child, and i never went ahead with it. Till this Xmas
Here they are
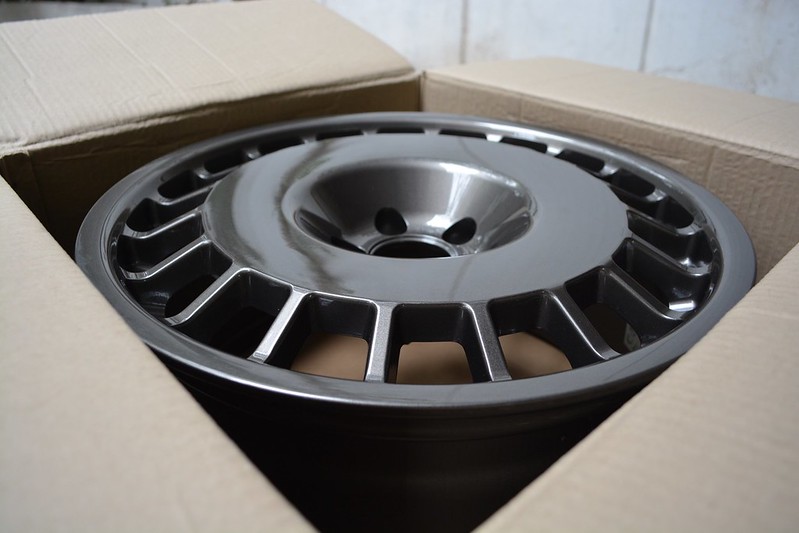 D154s by mgpdoc, on Flickr
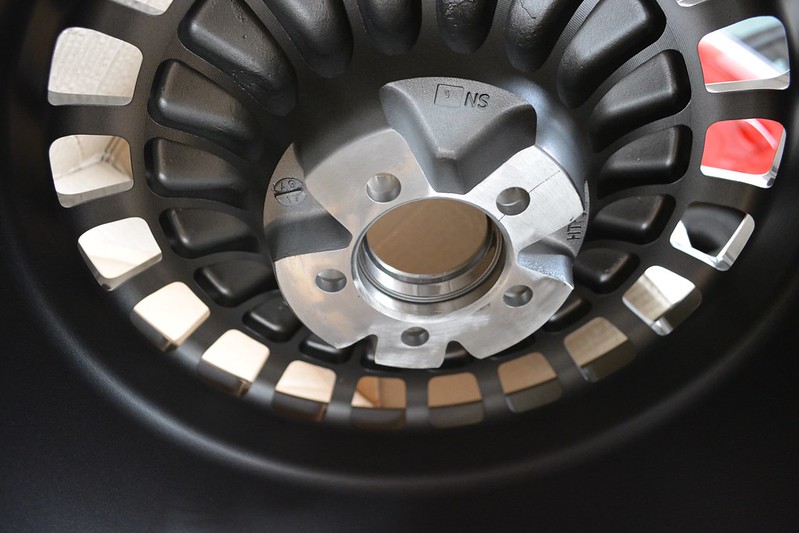 Untitled by mgpdoc, on Flickr
I have opened many boxes with car parts, but there are few that i was excited like this time. I love these wheels.
Inside the boxes, were also some stickers i custom ordered to spice things up a bit
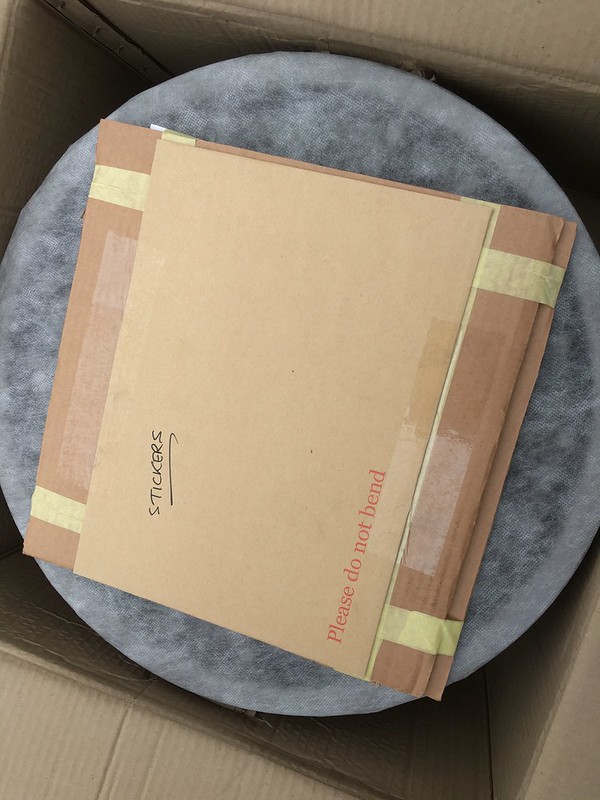 Untitled by mgpdoc, on Flickr
Rare Rims uk, Rota Dealers, delivered once again
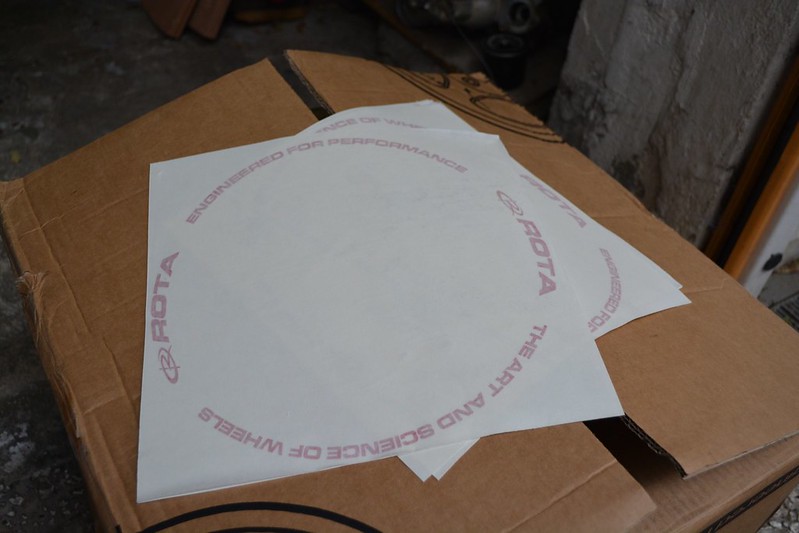 D154s by mgpdoc, on Flickr
Now that is what i am talking about
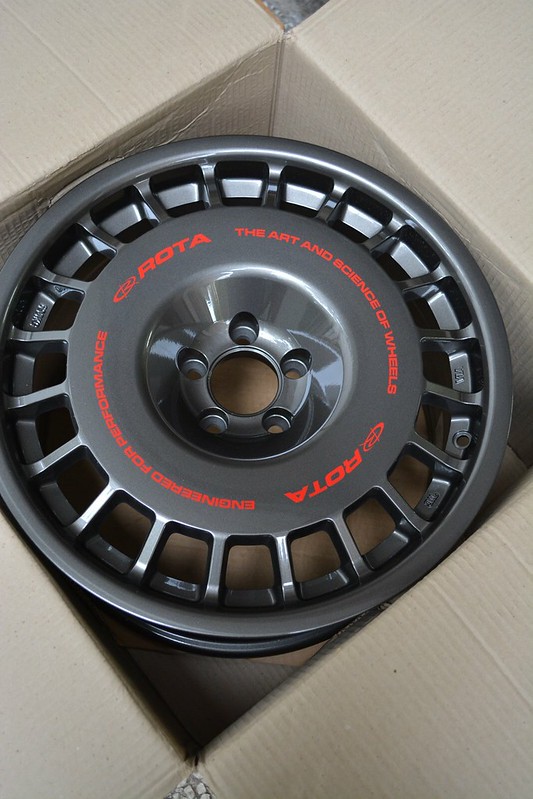 D154s by mgpdoc, on Flickr
Specs are 8,5x17, ET35, 5x100pcd square fitment
the blue beast was once again mad at me
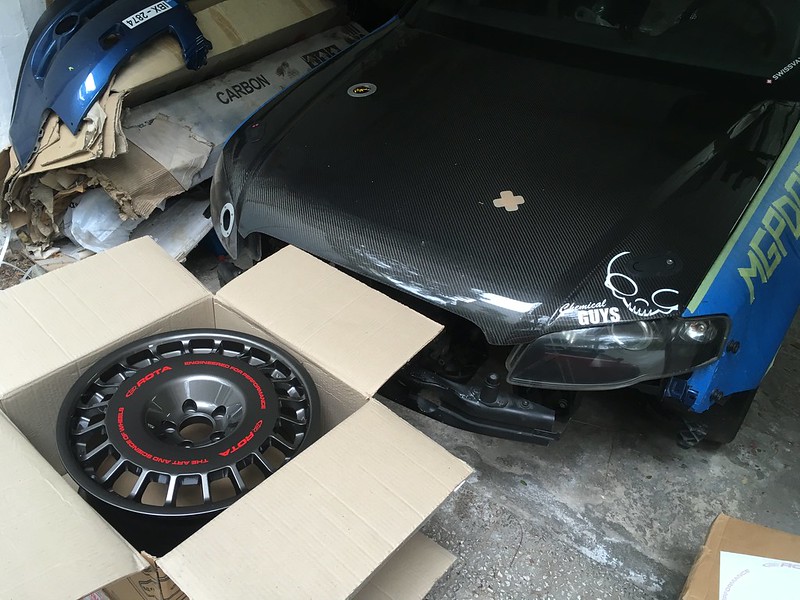 Untitled by mgpdoc, on Flickr
After i threw the stickers on, time to mount them
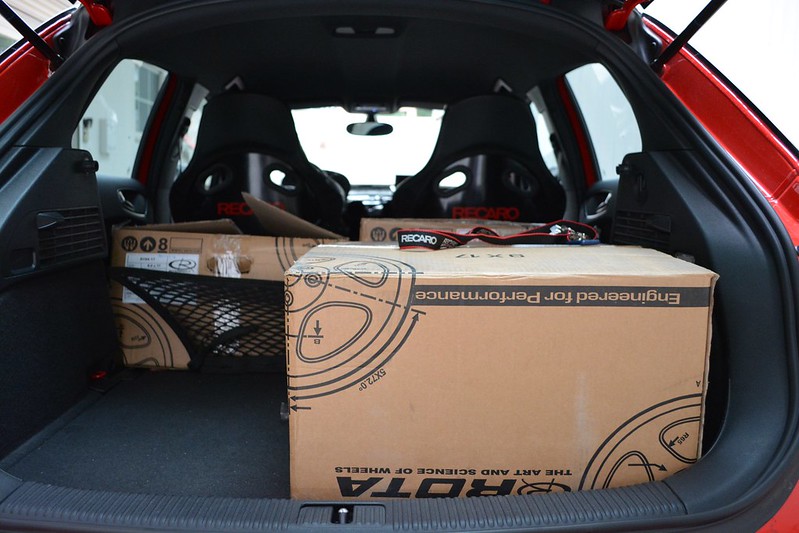 D154s by mgpdoc, on Flickr
Spacers on
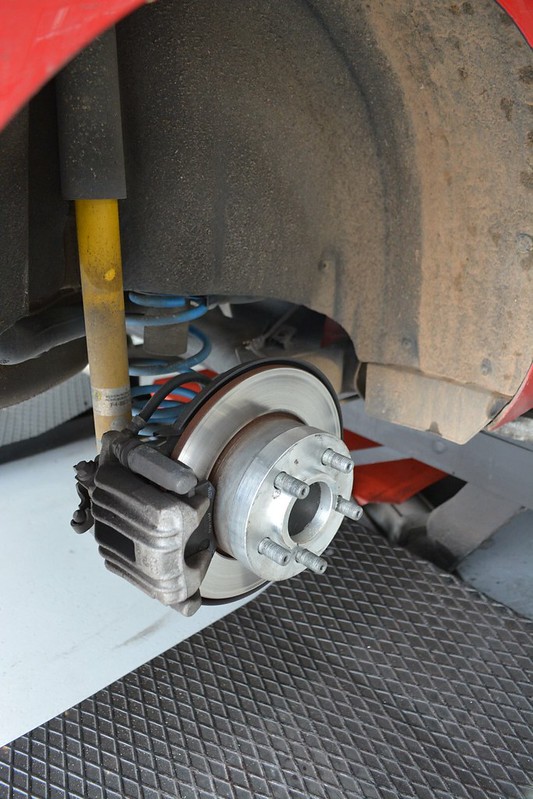 D154s by mgpdoc, on Flickr
Test fitting
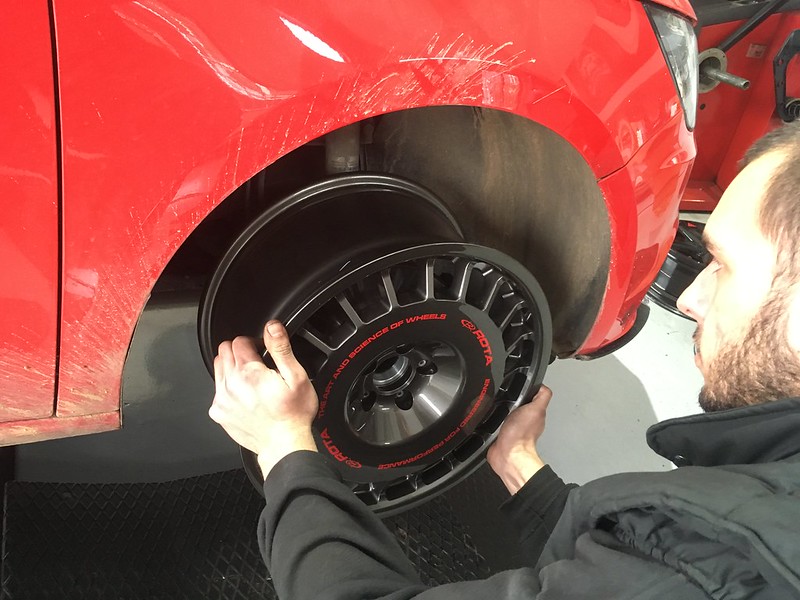 Untitled by mgpdoc, on Flickr
Dont know if i will be selling these, we shall see
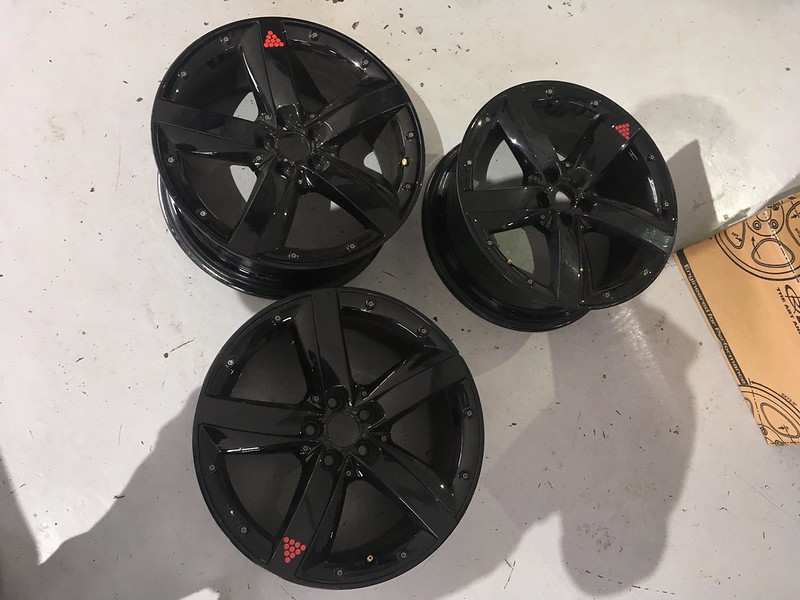 Untitled by mgpdoc, on Flickr
Damn so sexy
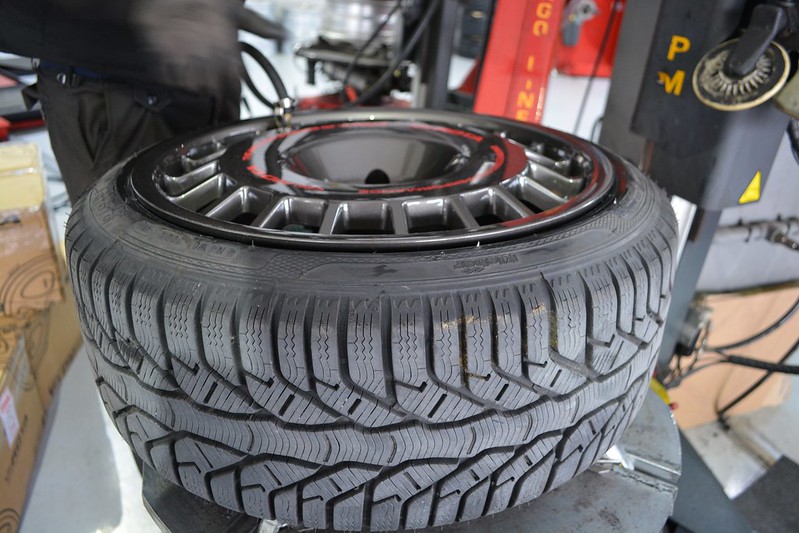 D154s by mgpdoc, on Flickr
Currently running my 215.40.17 Kleber Krisalp IIs, but next seasons i will go for 225.45.17 which can be fitted, and are much cheaper and with no stretch on the 8,5 wheel
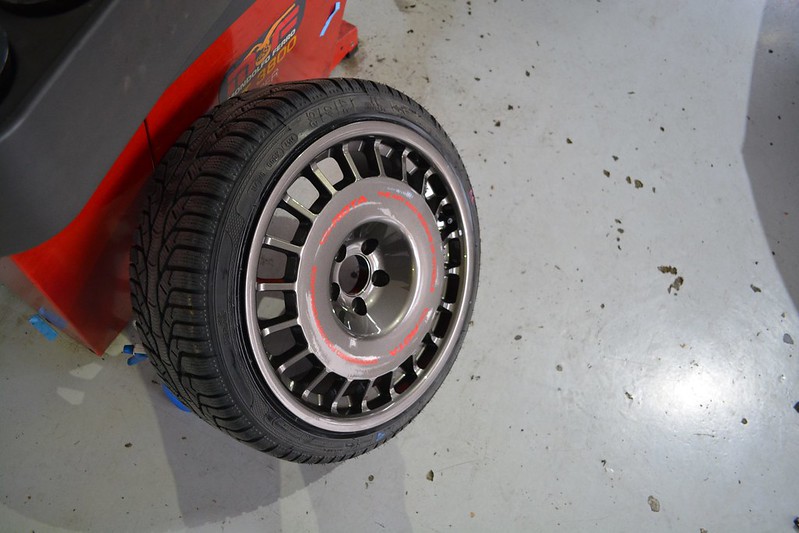 D154s by mgpdoc, on Flickr
Threw them on, and installed center caps as well
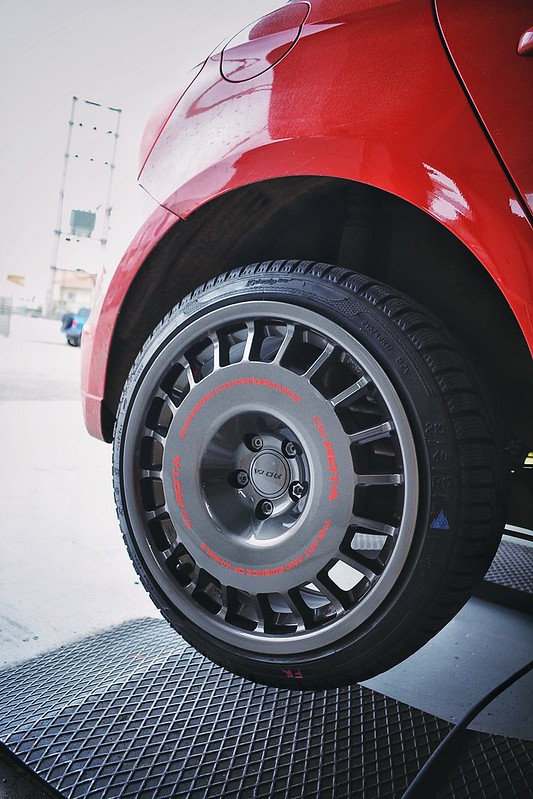 D154s by mgpdoc, on Flickr
First touchdown and i am in love
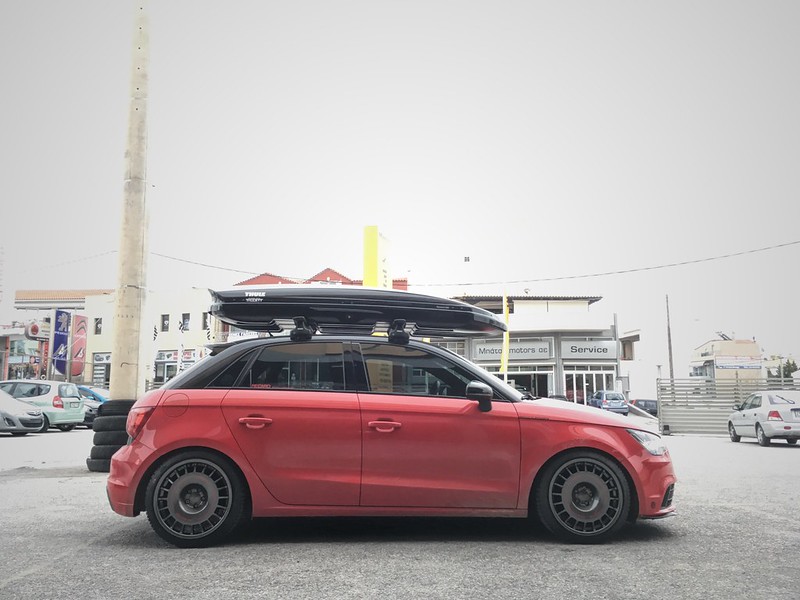 Untitled by mgpdoc, on Flickr
Threw the lug nut caps, which are a pain in the ass to remove, to say the least, but they look tidy af, so they went on
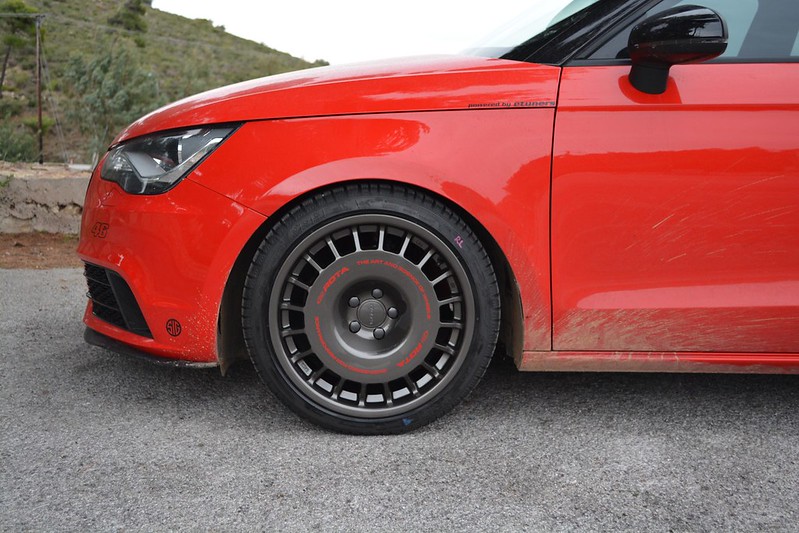 D154s by mgpdoc, on Flickr
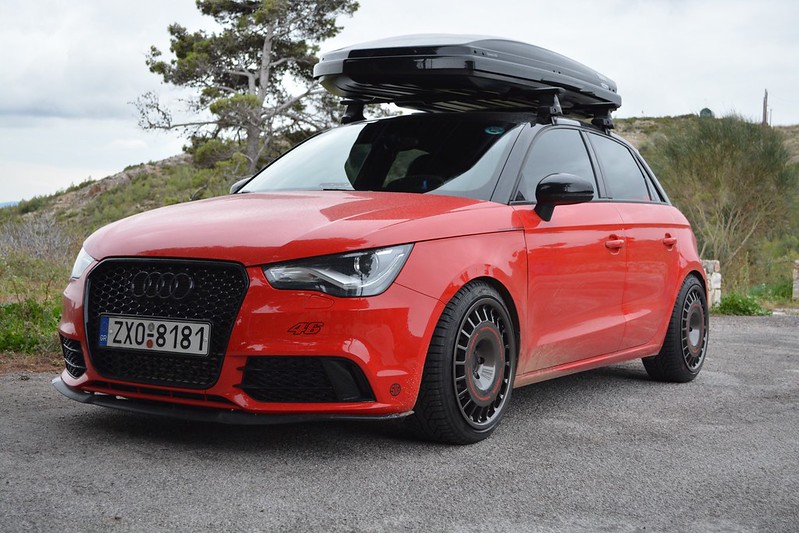 Untitled by mgpdoc, on Flickr
Fitment with the 215.40s
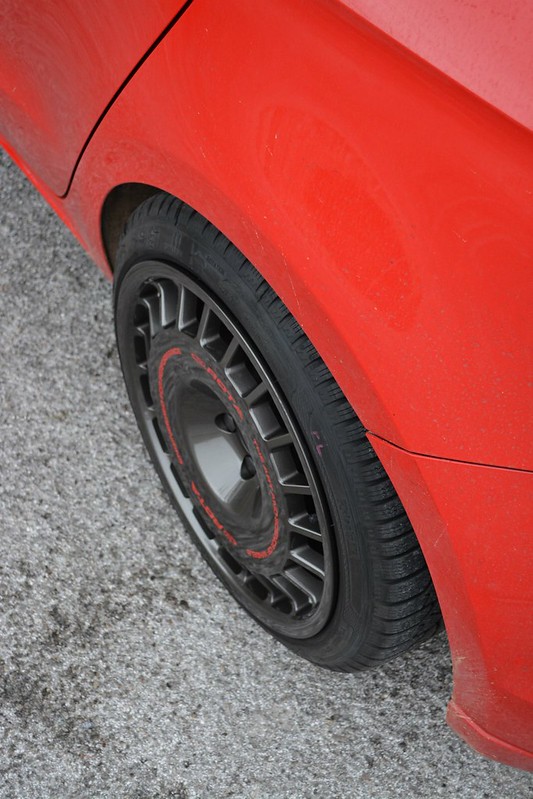 D154s by mgpdoc, on Flickr
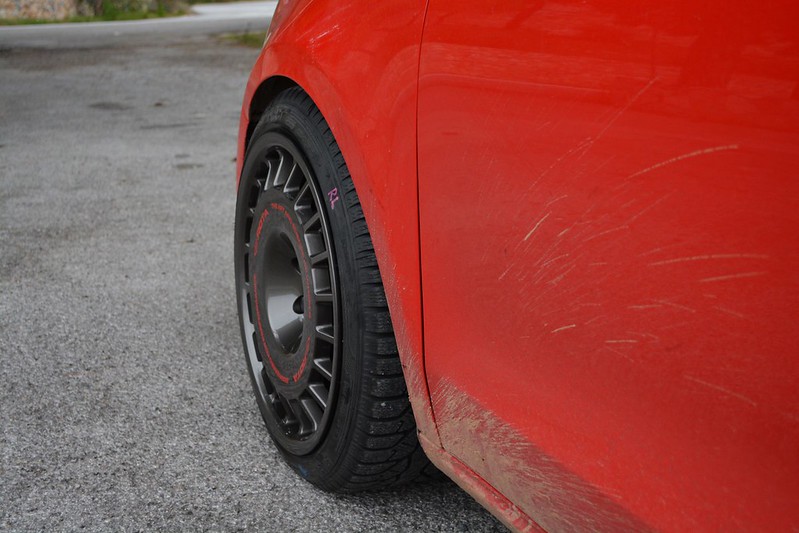 D154s by mgpdoc, on Flickr
Went for a quicky shoot jut before rain and snow started, excuse the dirty car
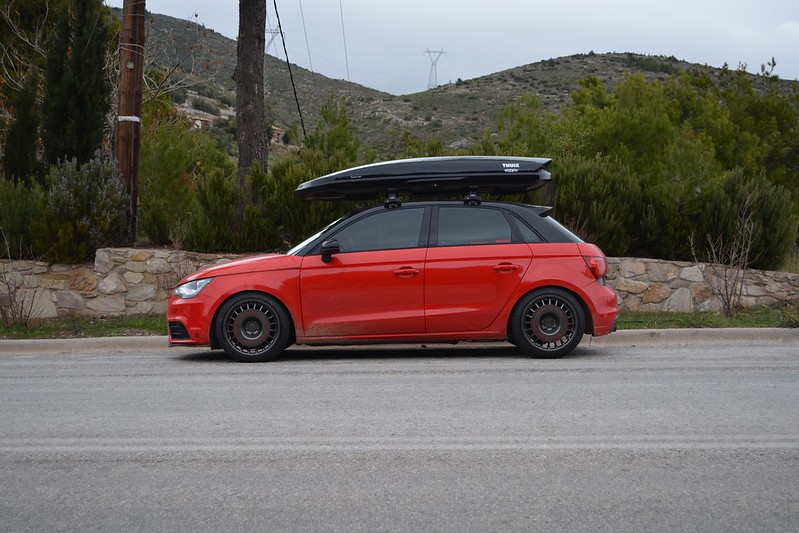 Untitled by mgpdoc, on Flickr
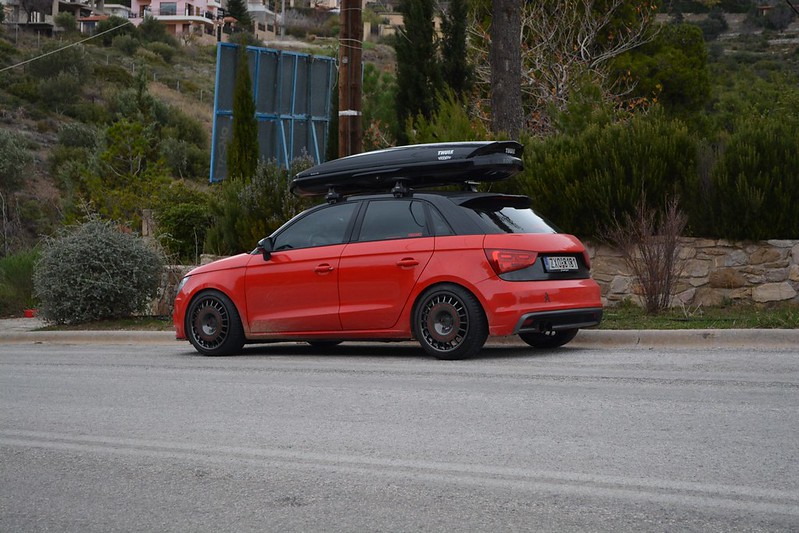 Untitled by mgpdoc, on Flickr
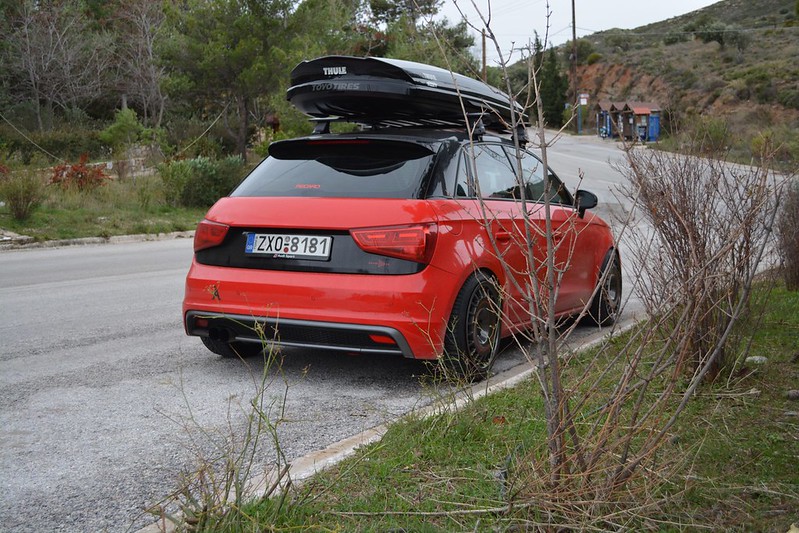 Untitled by mgpdoc, on Flickr
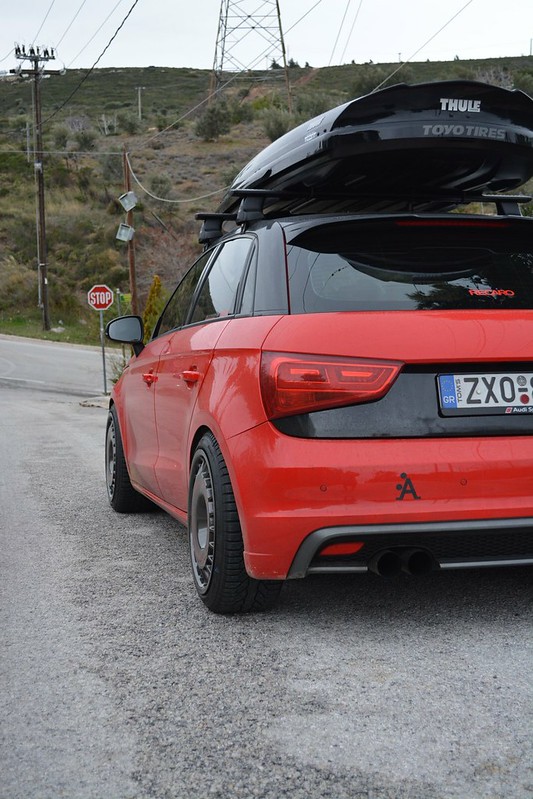 D154s by mgpdoc, on Flickr
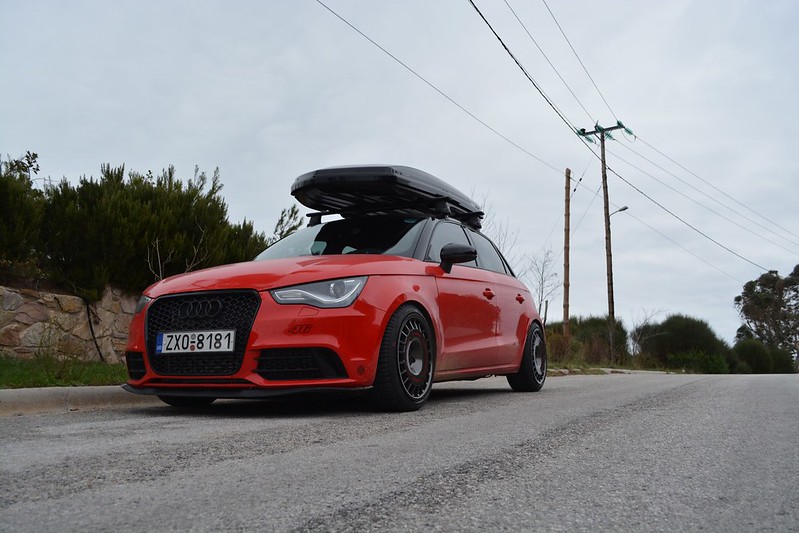 D154s by mgpdoc, on Flickr
Cheers

Leave a comment:
-
Then, I started removing stuff . . .
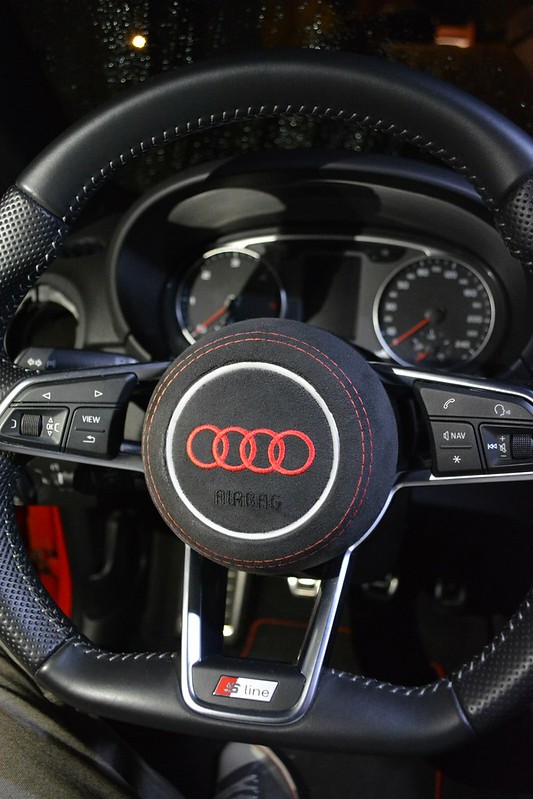 Updates by mgpdoc, on Flickr
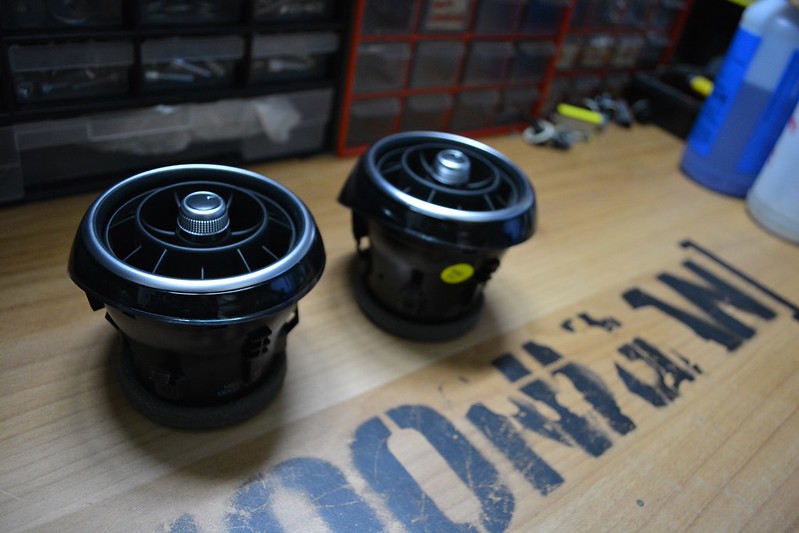 Updates by mgpdoc, on Flickr
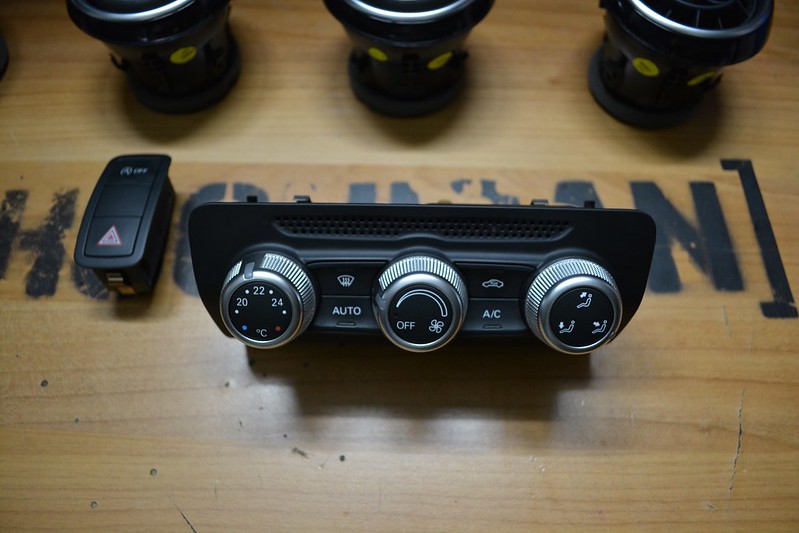 Updates by mgpdoc, on Flickr
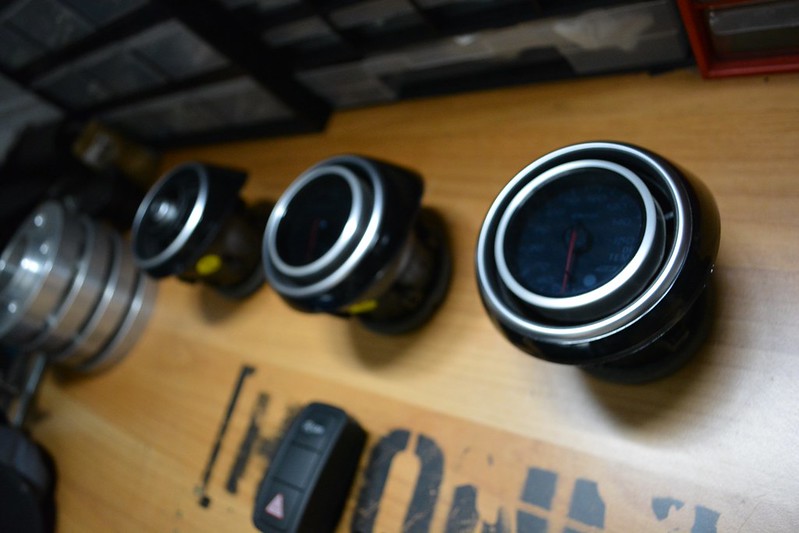 Updates by mgpdoc, on Flickr
Had some trouble removing the radio main unit - needed some metallic specific tools to pull it out . . . however i came up with this that i broke of a pen, hehe
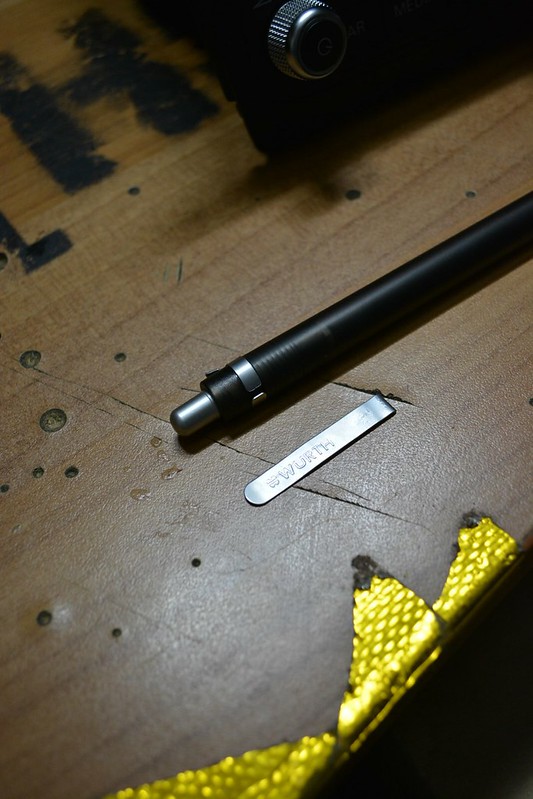 Updates by mgpdoc, on Flickr
All done
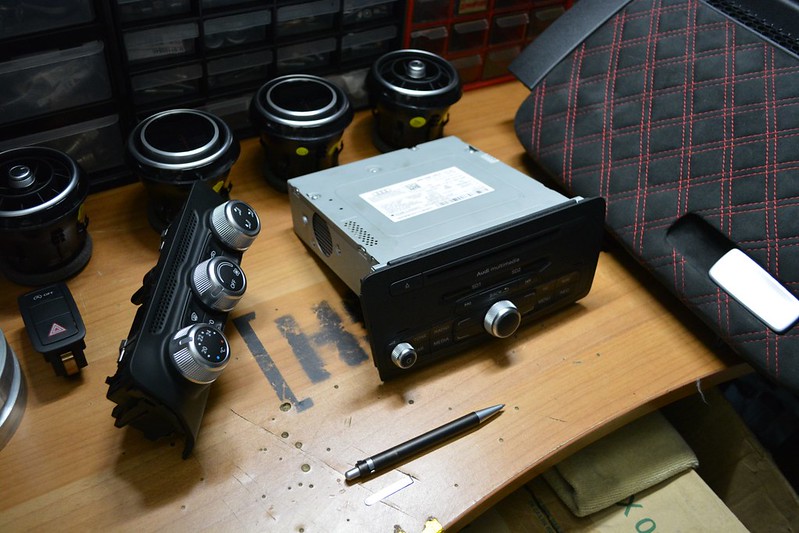 Updates by mgpdoc, on Flickr
Also removed the main tunnel console for further changes
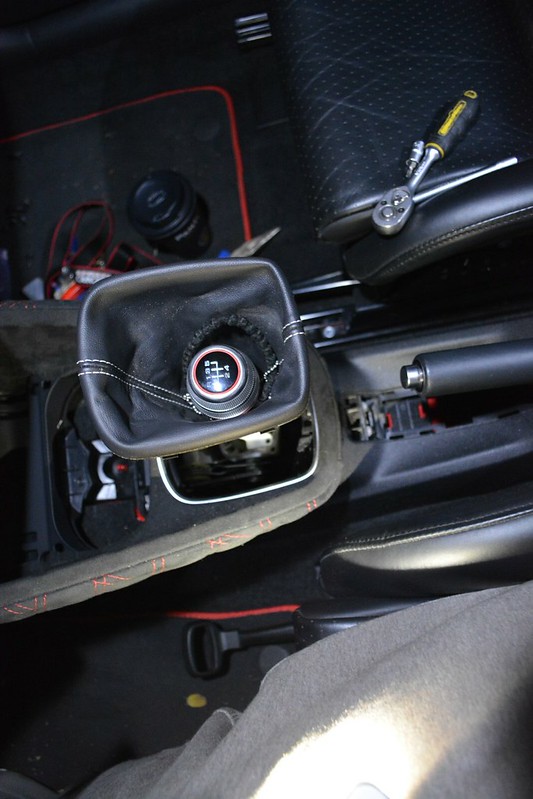 Updates by mgpdoc, on Flickr
Pile of parts got bigger and bigger
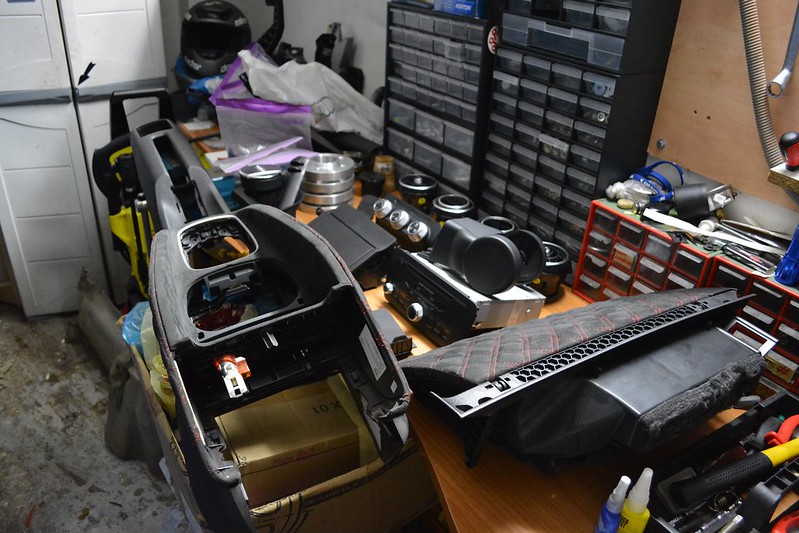 Updates by mgpdoc, on Flickr
Resulting in this going out and.....yeah you guessed it, it will be retrimmed . . .
 Updates by mgpdoc, on Flickr
Also, I managed to source some gunmetal 19mm plastic caps for the lug nuts
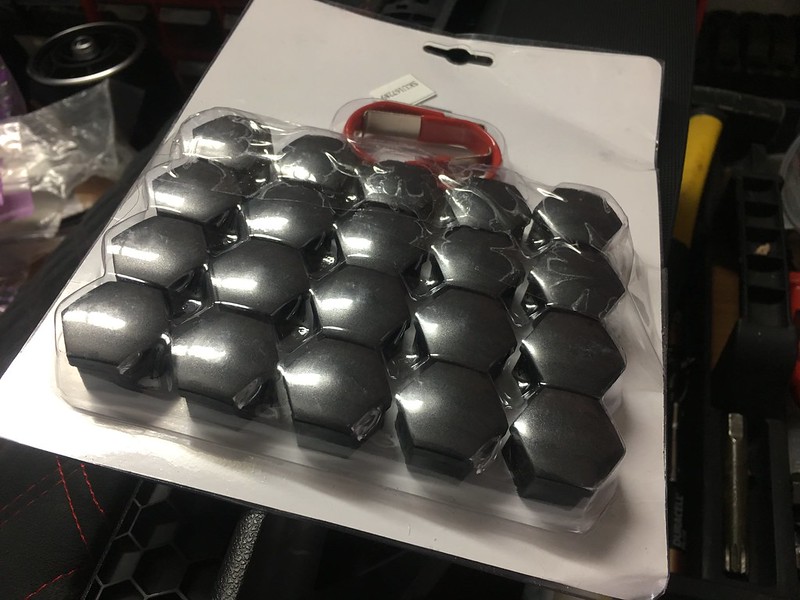 Untitled by mgpdoc, on Flickr
Much better
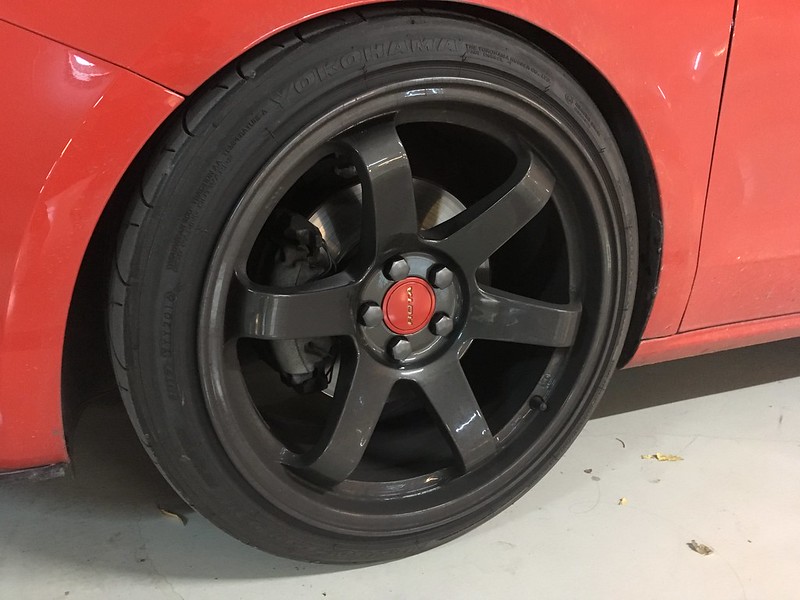 Untitled by mgpdoc, on Flickr
And also modified the audi tool i have for taking them out- shortened it to be able to get in there
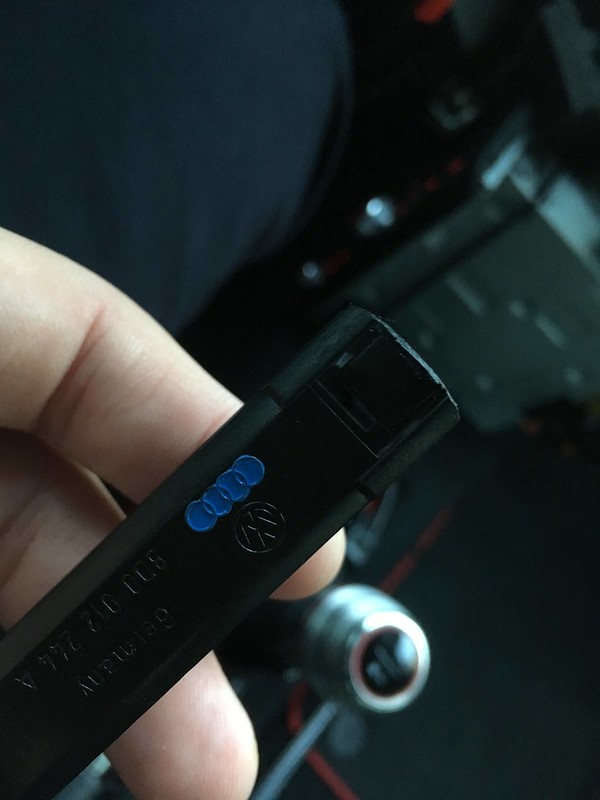 Untitled by mgpdoc, on Flickr
Then I decided to work on the bumper, and make the loom retrofit to activate the rear parking sensors which i was a bit bored to do
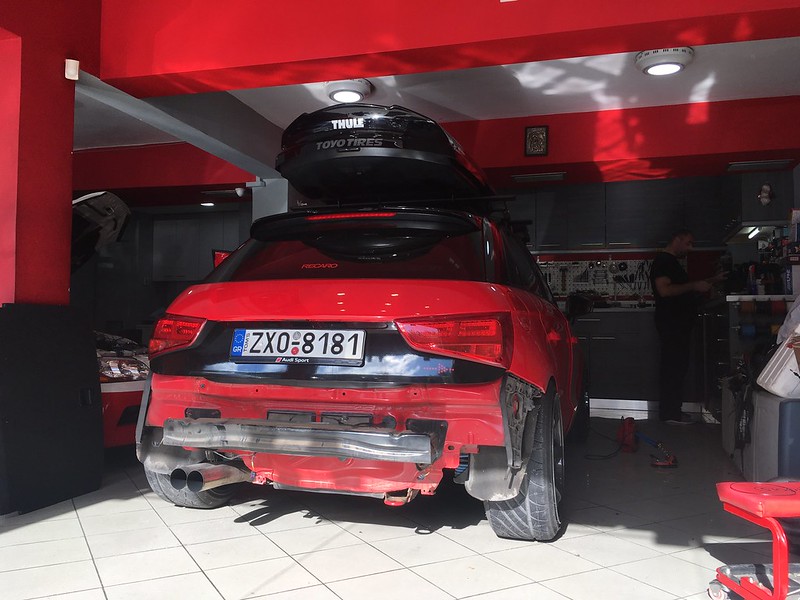 Updates by mgpdoc, on Flickr
We did the whole retrofit however, we did not manage to activate the optical thing on the MMI
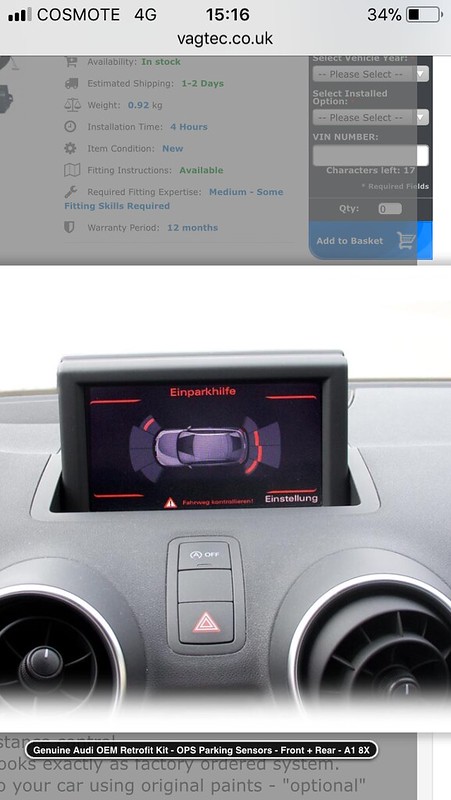 Updates by mgpdoc, on Flickr
I hope we manage to at ome point, cause i love that. I now just have the audio warning, with the music volume going down and all, but not the visual thing
Had another roadtrip on the countryside
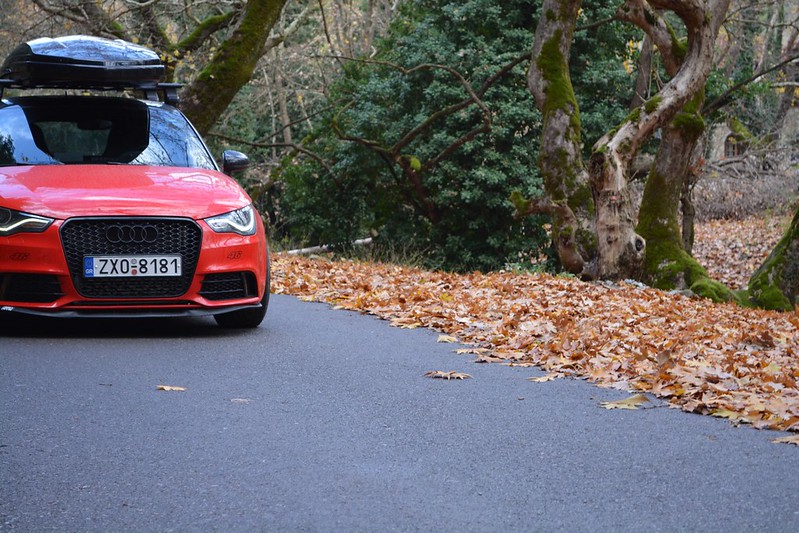 Untitled by mgpdoc, on Flickr
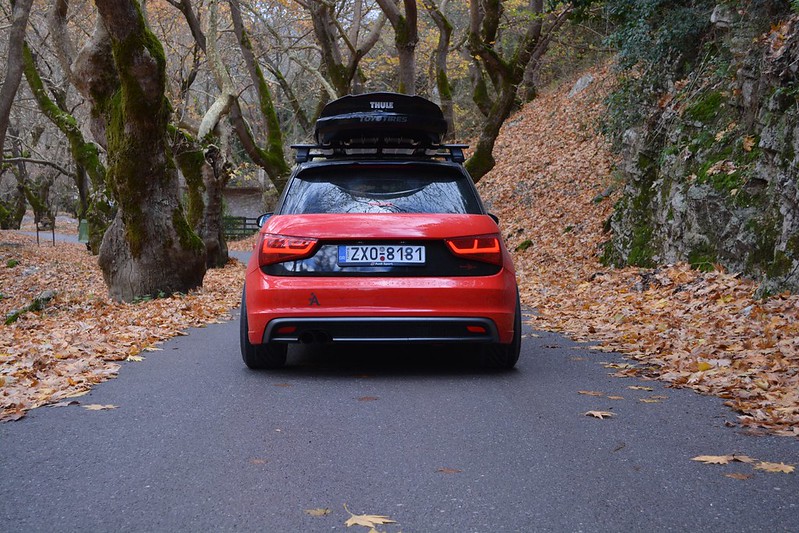 Untitled by mgpdoc, on Flickr
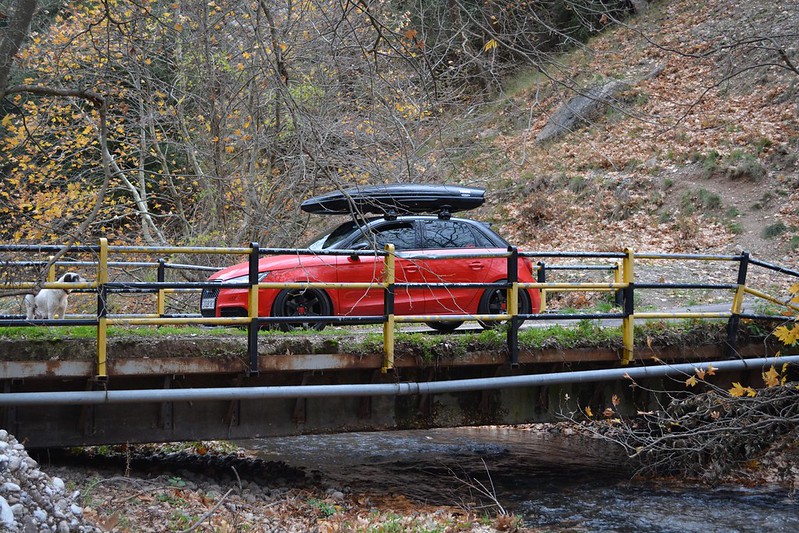 Untitled by mgpdoc, on Flickr
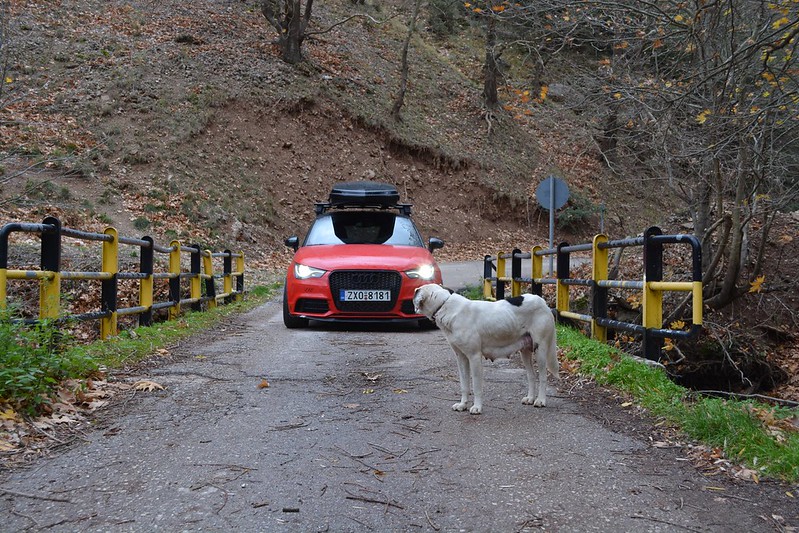 Untitled by mgpdoc, on Flickr
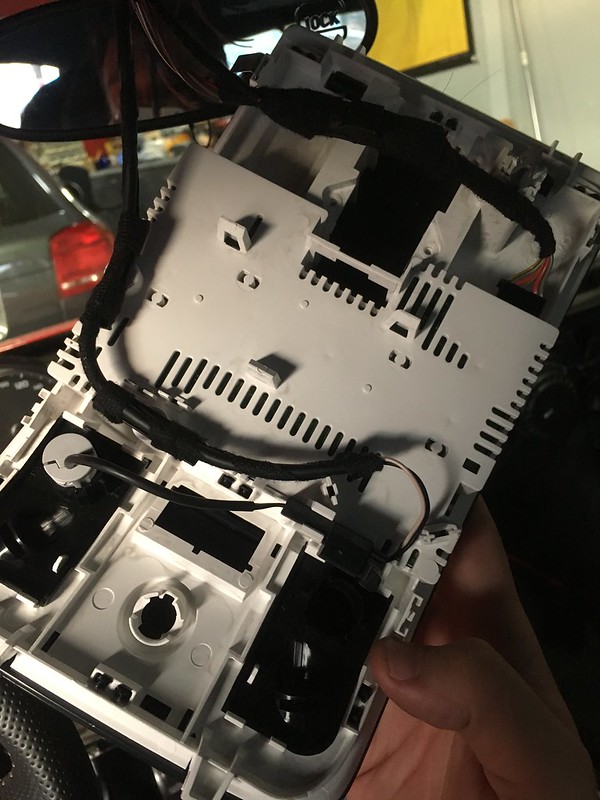
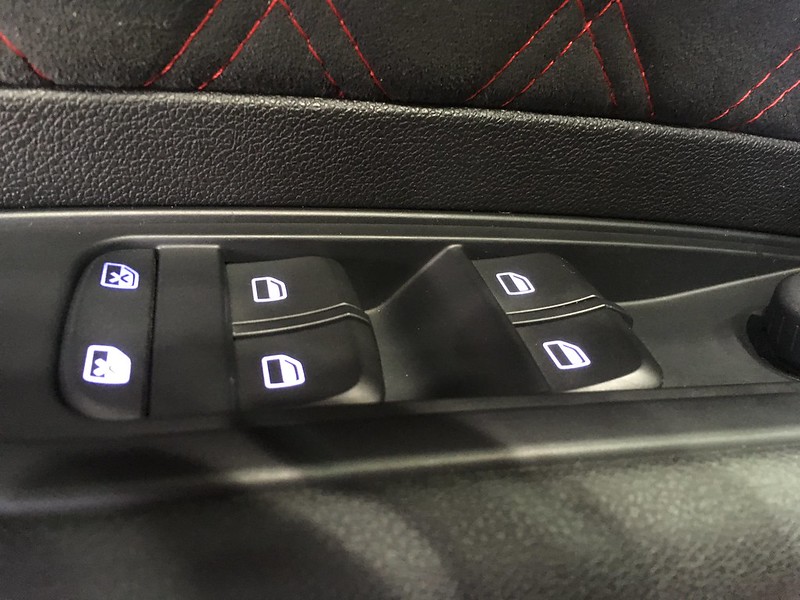
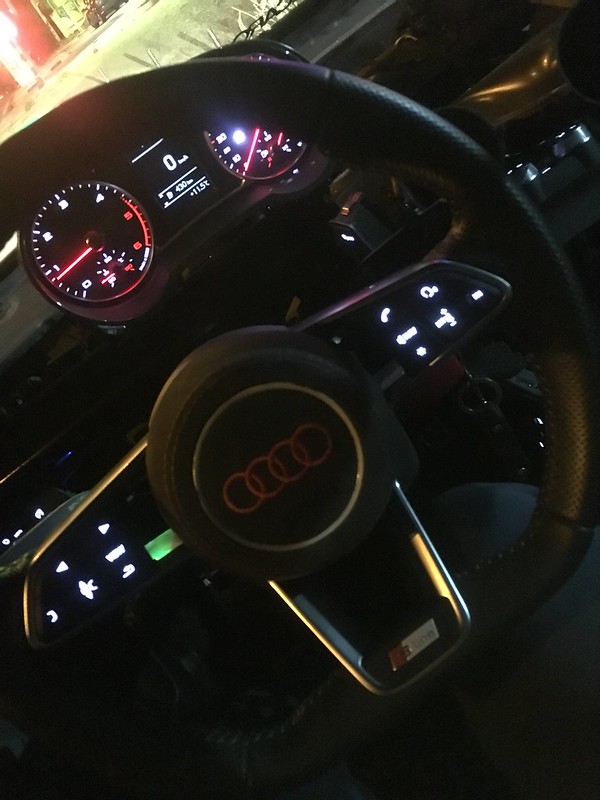
Ofcourse, having the dashboard apart like this, was an opportunity i couldnt pass on. I had the chance of changing all the interior light in clear white, instead of red, like on all the new audis.
So, time for that, not easy, i can tell you. You have to take out all of the door cards for instance, just for one window switch, etc etc. . . .
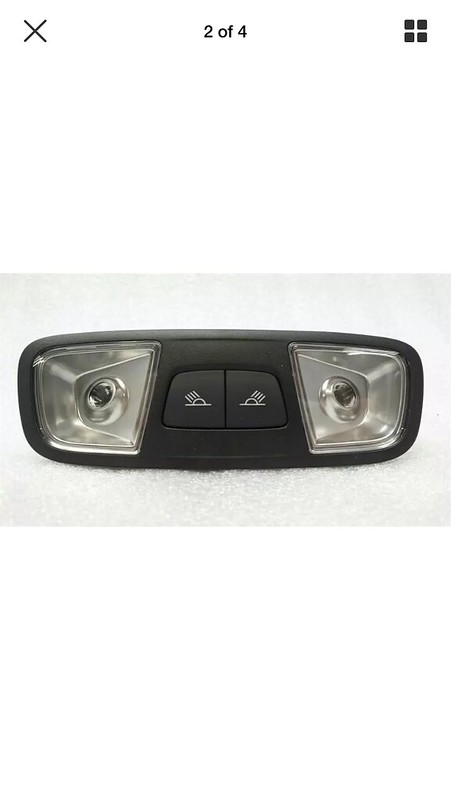
While i was there, we retrofitted a new dome light with leds from factory that i had for some time now, and also ordered a new one for the rear "seats".
pics to follow
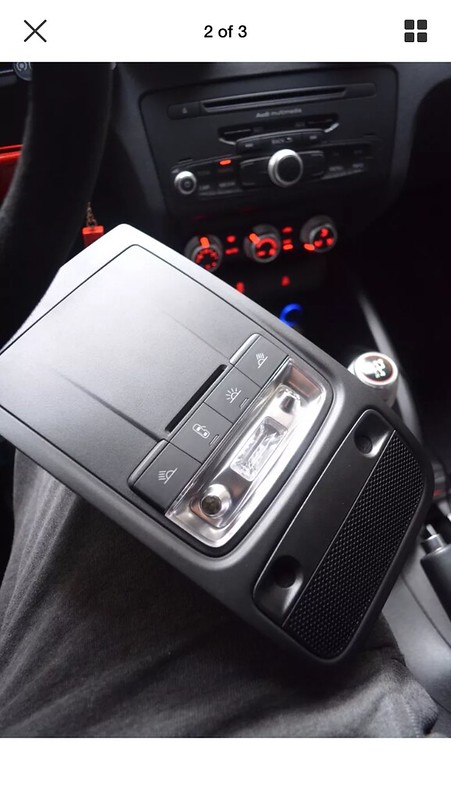 Untitled by mgpdoc, on Flickr
OEM one out, and rewiring ready to be done
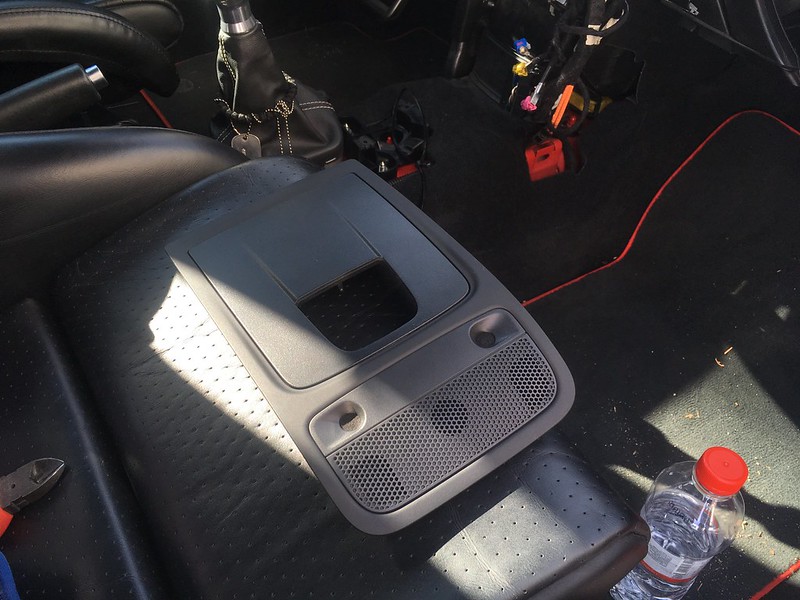 WhiteLed by mgpdoc, on Flickr
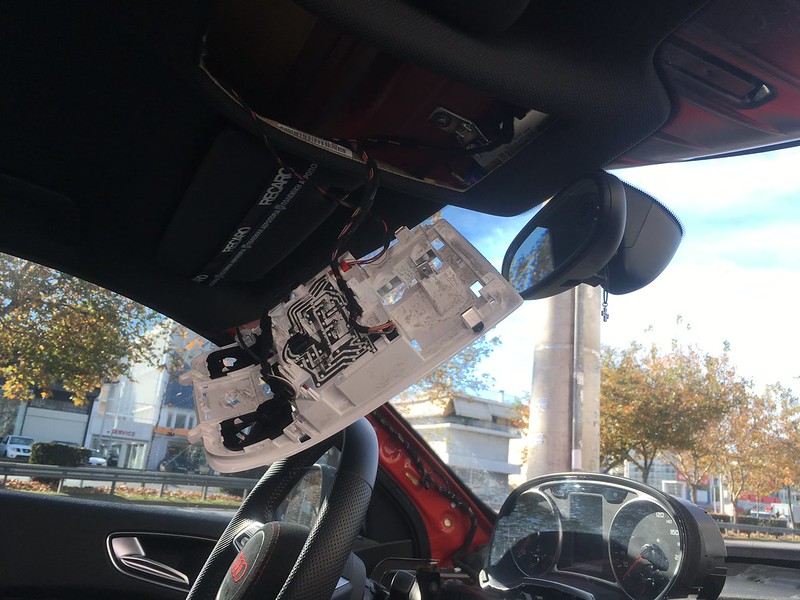 WhiteLed by mgpdoc, on Flickr
I removed all 4 door cards
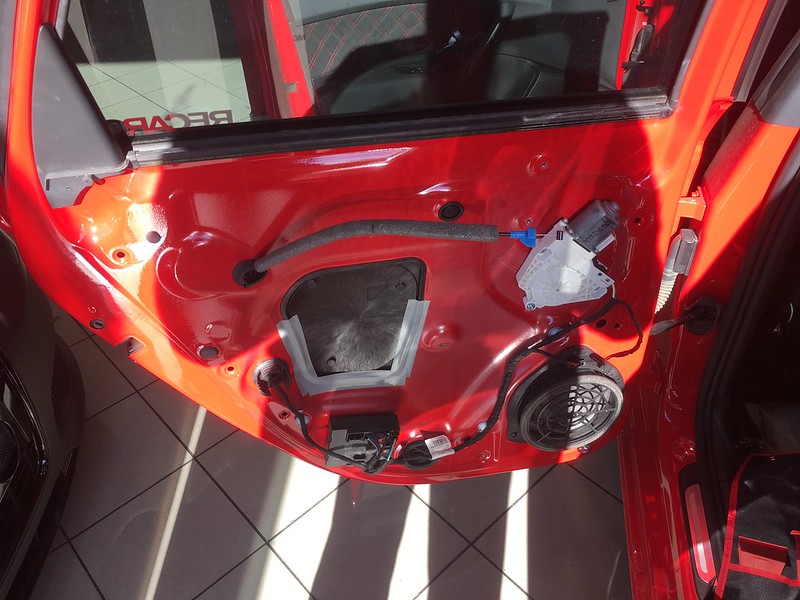 Untitled by mgpdoc, on Flickr
Various parts where switches and lights are hidden
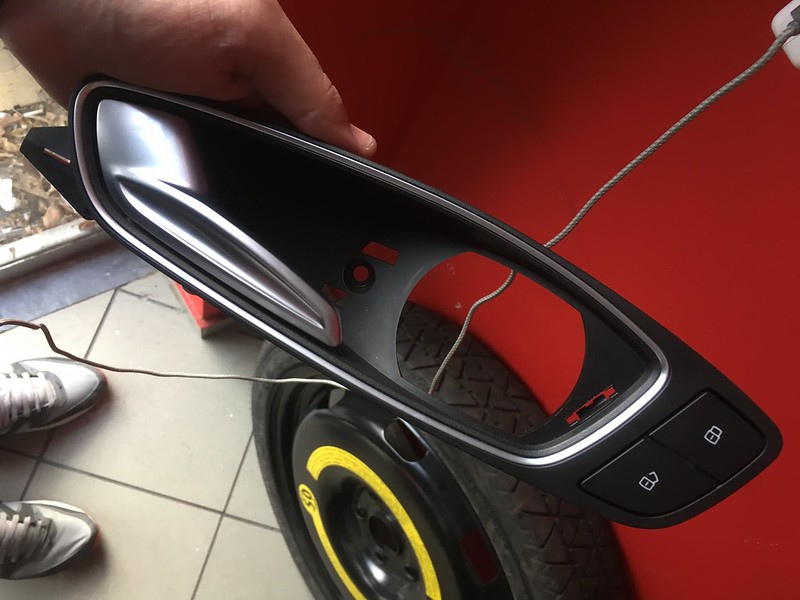 Untitled by mgpdoc, on Flickr
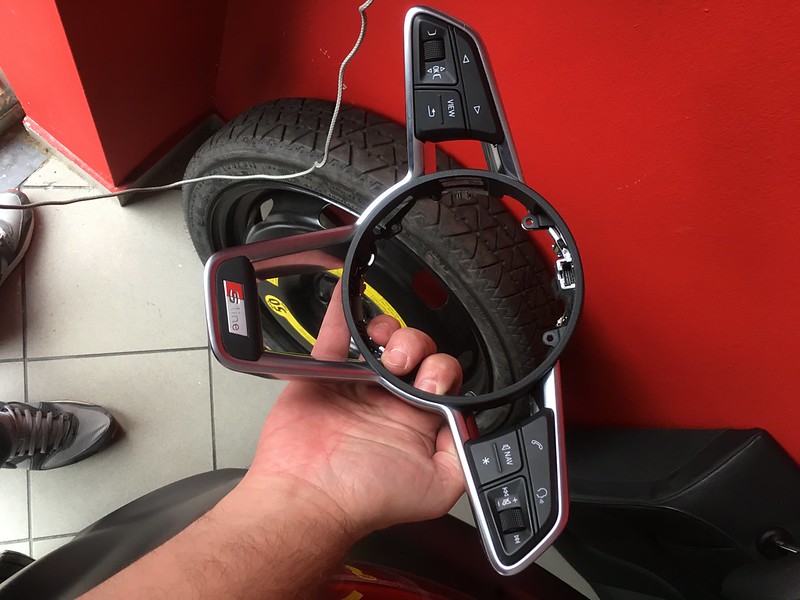 WhiteLed by mgpdoc, on Flickr
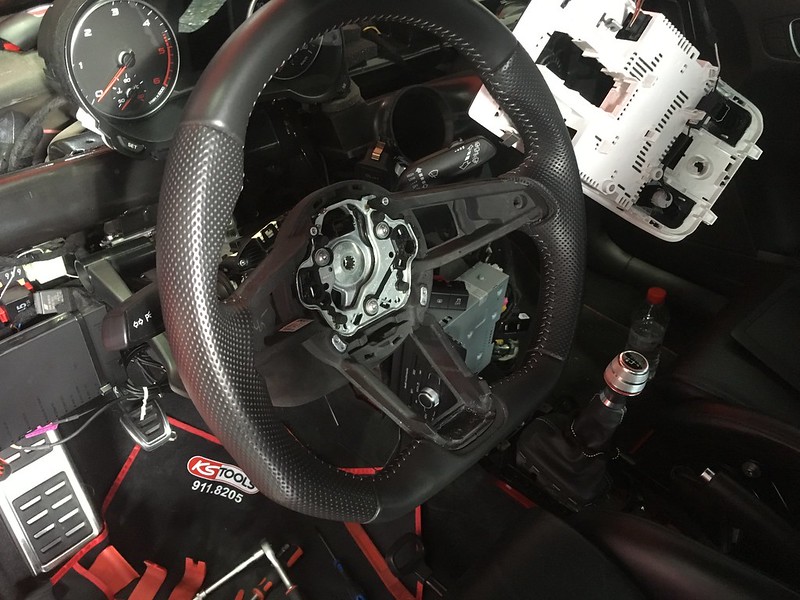 WhiteLed by mgpdoc, on Flickr
We also changed from red leds to white on the new dome light
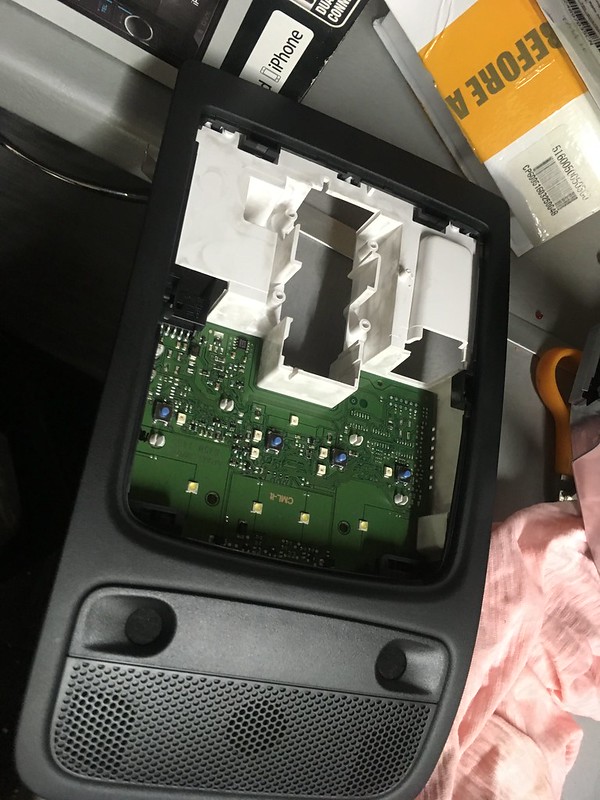 WhiteLed by mgpdoc, on Flickr
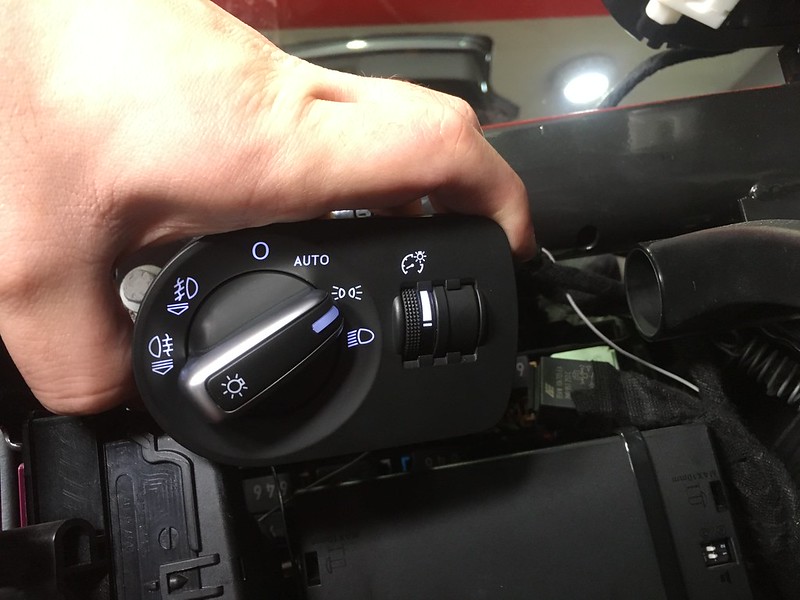 Untitled by mgpdoc, on Flickr
This was the hardest to dissasembly
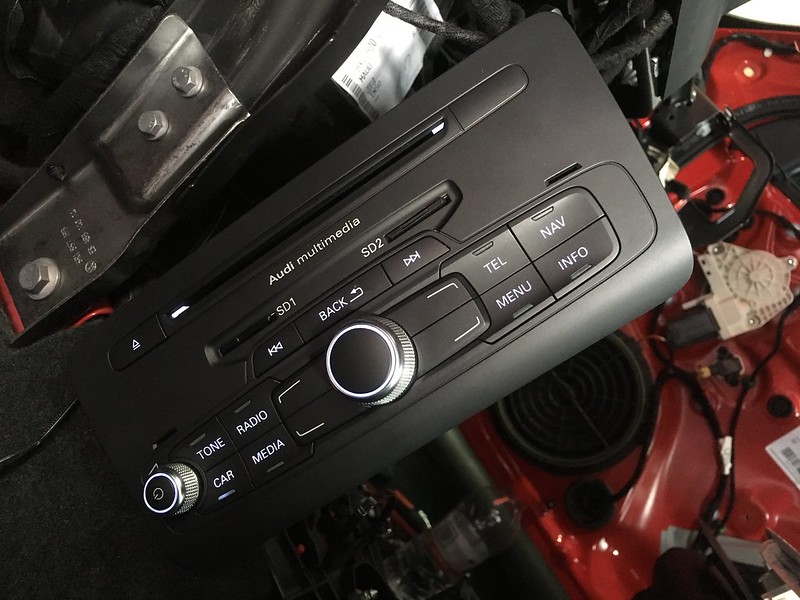 Untitled by mgpdoc, on Flickr
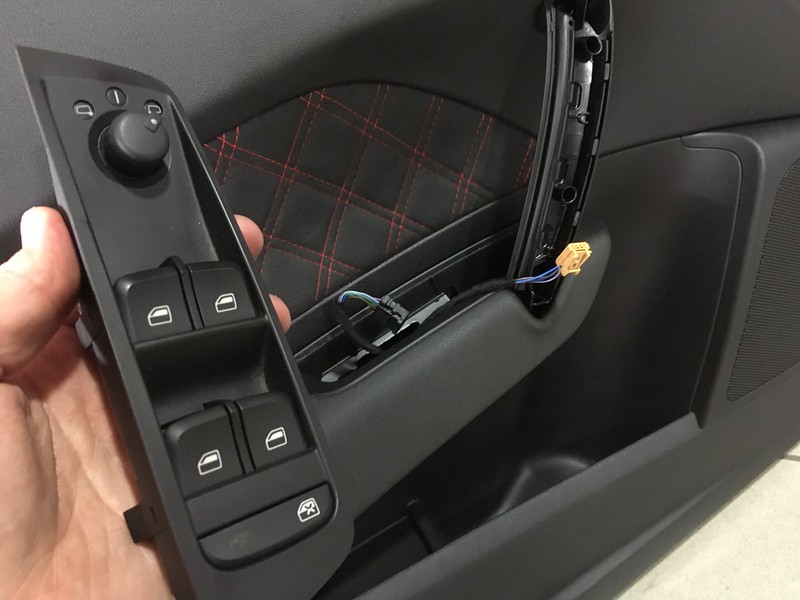 UpDates by mgpdoc, on Flickr
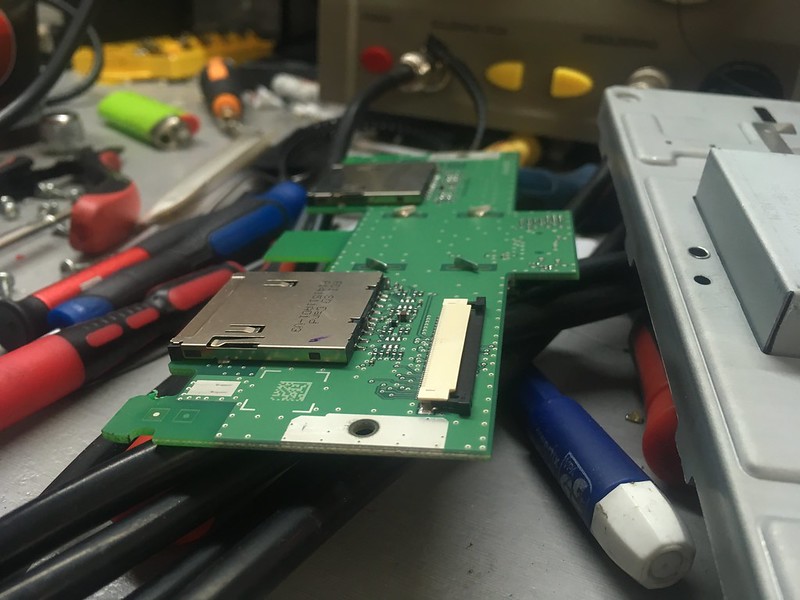 Untitled by mgpdoc, on Flickr
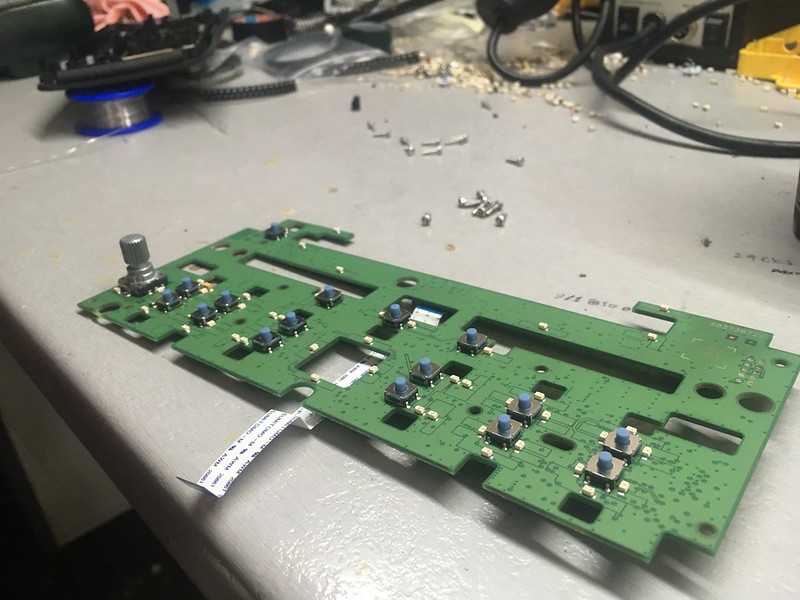 Untitled by mgpdoc, on Flickr
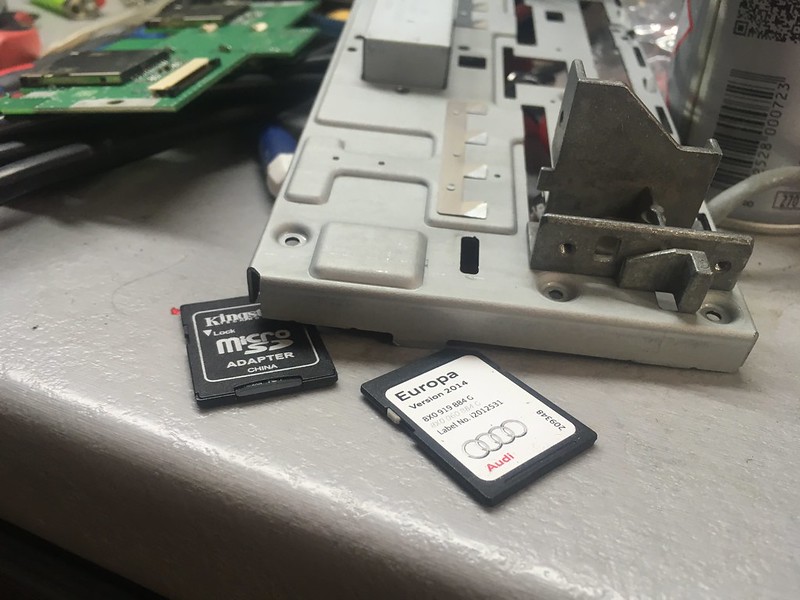 WhiteLed by mgpdoc, on Flickr
Now that's what i like
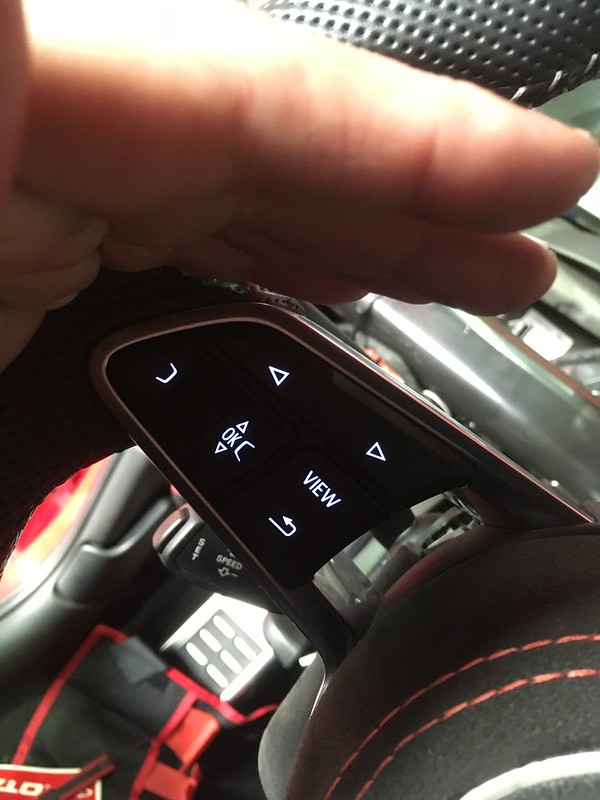 WhiteLed by mgpdoc, on Flickr
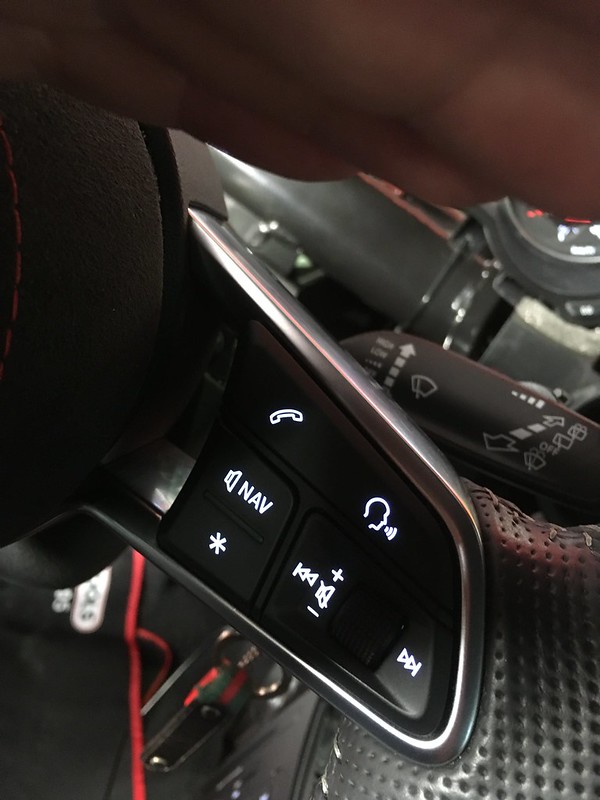 Untitled by mgpdoc, on Flickr
Oem leds and reading lights
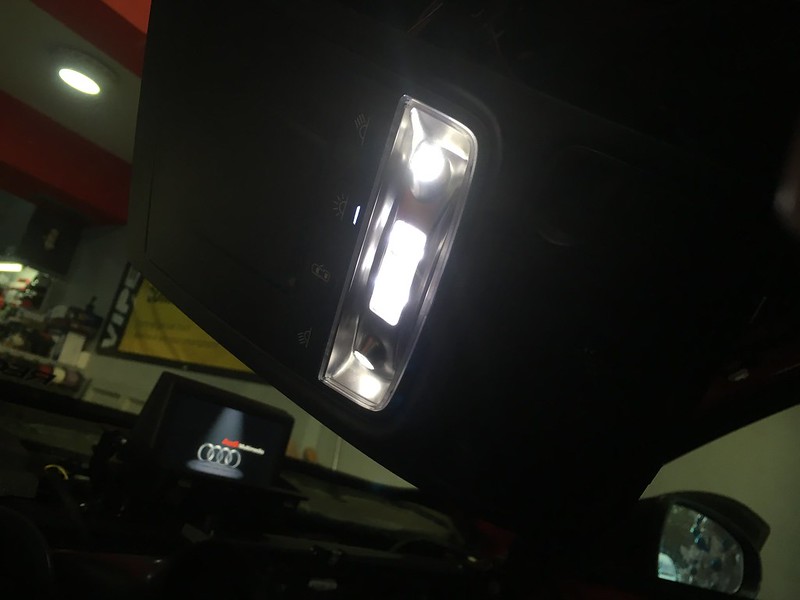 WhiteLed by mgpdoc, on Flickr
Ambient light changed from red to white
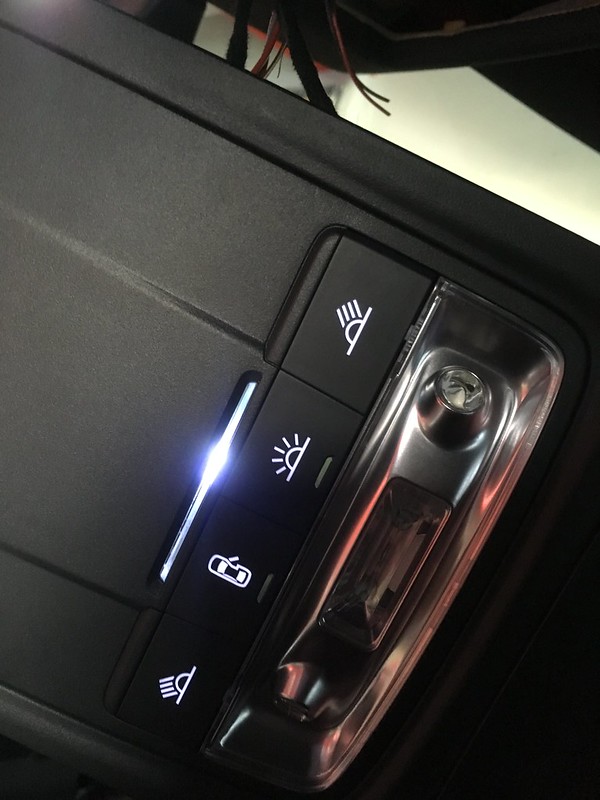 WhiteLed by mgpdoc, on Flickr
Bluetooth microphones wired as well
 UpDates by mgpdoc, on Flickr
 WhiteLed by mgpdoc, on Flickr
 UpDates by mgpdoc, on Flickr
Ordered this for the rear
 Untitled by mgpdoc, on Flickr
Will put everything together when the dashboard is ready from the trim shop and will take nice pics
More updates to follow, uploading them as we speak
Cheers
Leave a comment:
-
So lets see some progress. . . .
Fabricated some custom spacers of 20mm for the 5x100 pcd
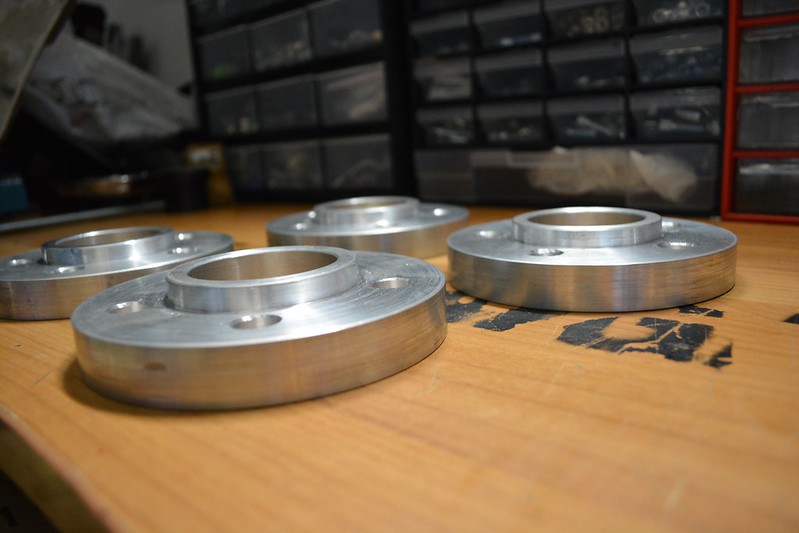 Updates by mgpdoc, on Flickr
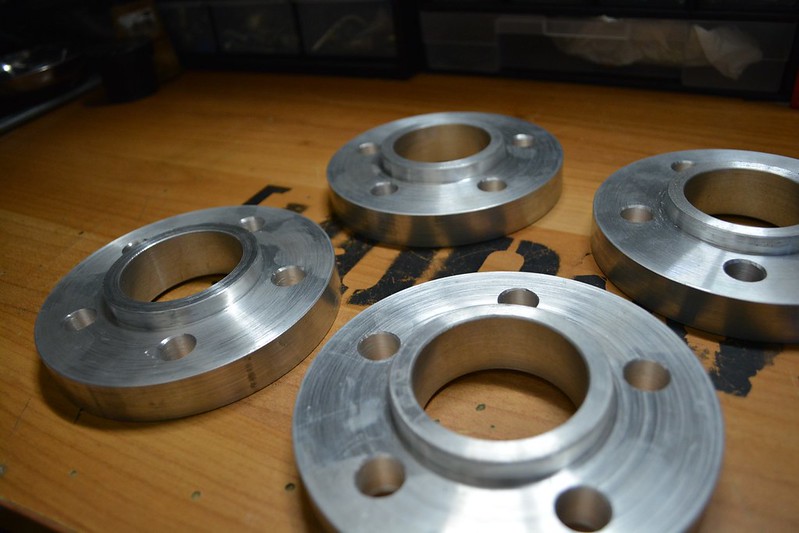 Updates by mgpdoc, on Flickr
I already run 15mm on summer wheels, but wanted another set of 20mm spacers for my winter set of wheels . . .
Threw the ski box on, in time for winter season
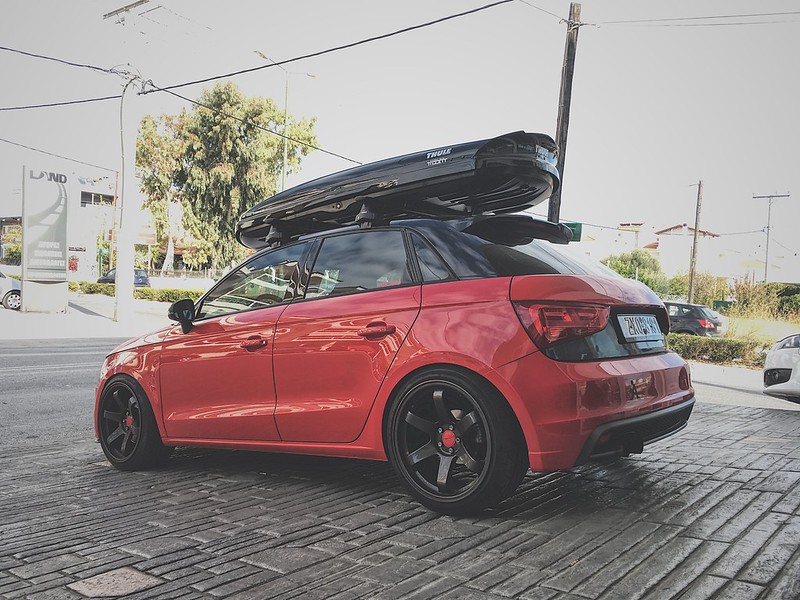 Updates by mgpdoc, on Flickr
My other project was also there seeing the progress fealing jealous
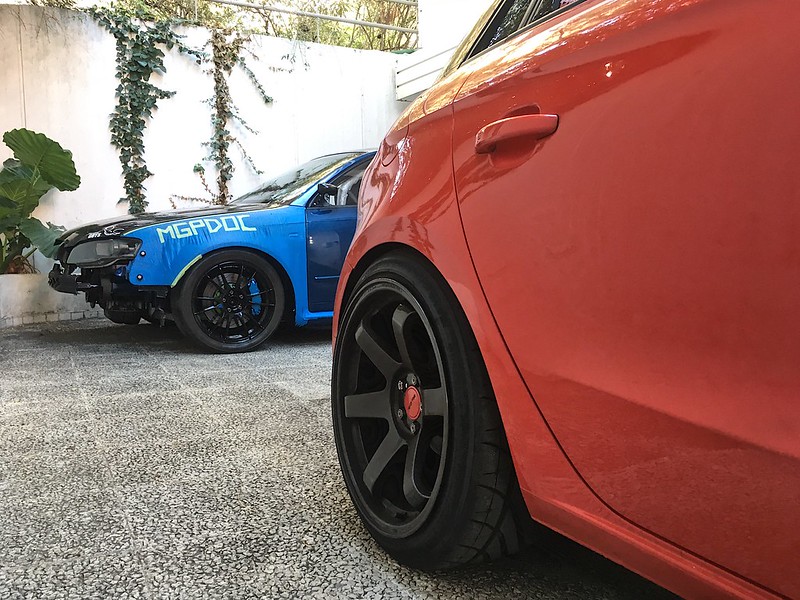 Updates by mgpdoc, on Flickr
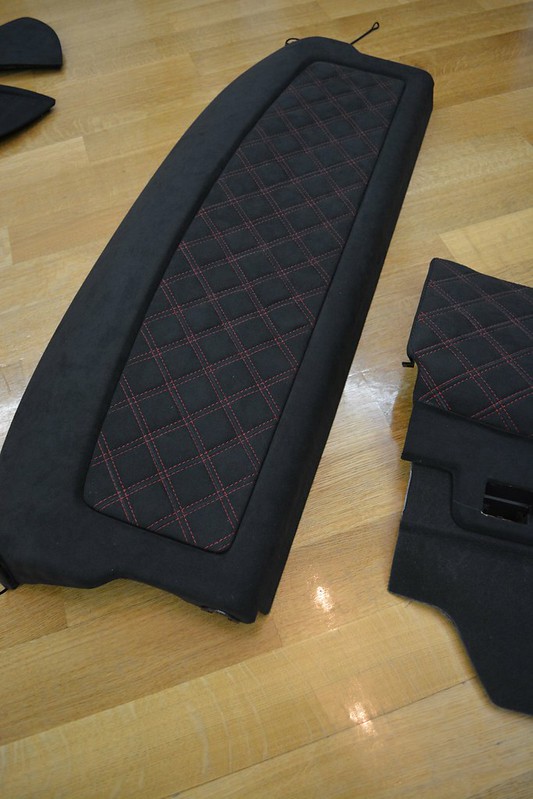
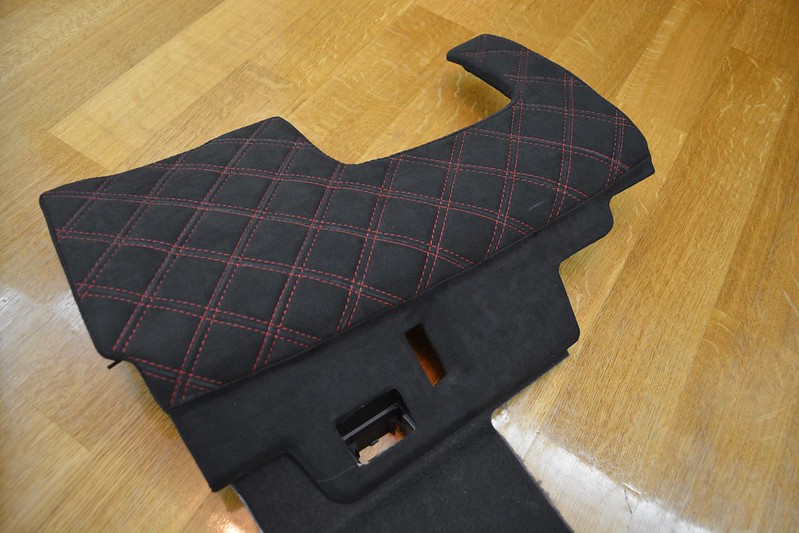
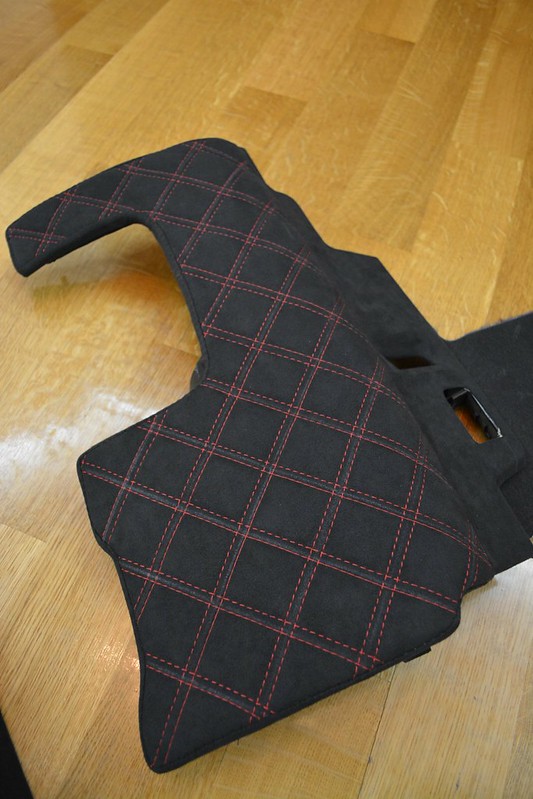
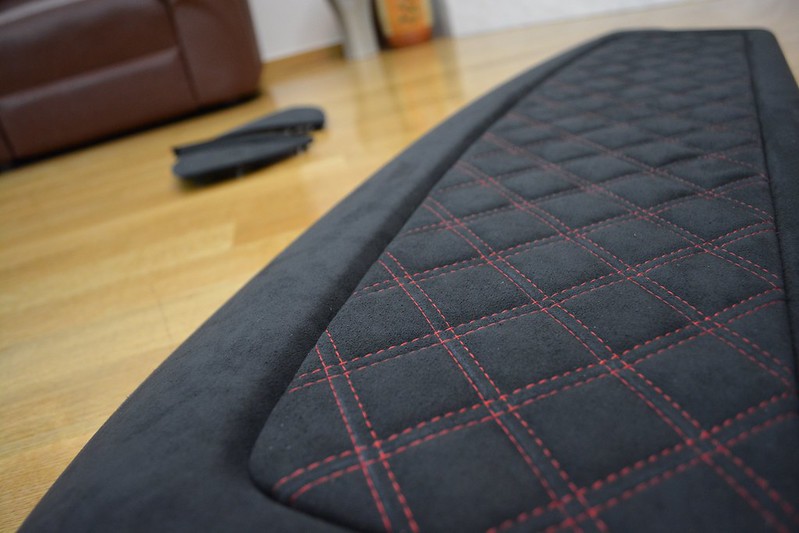
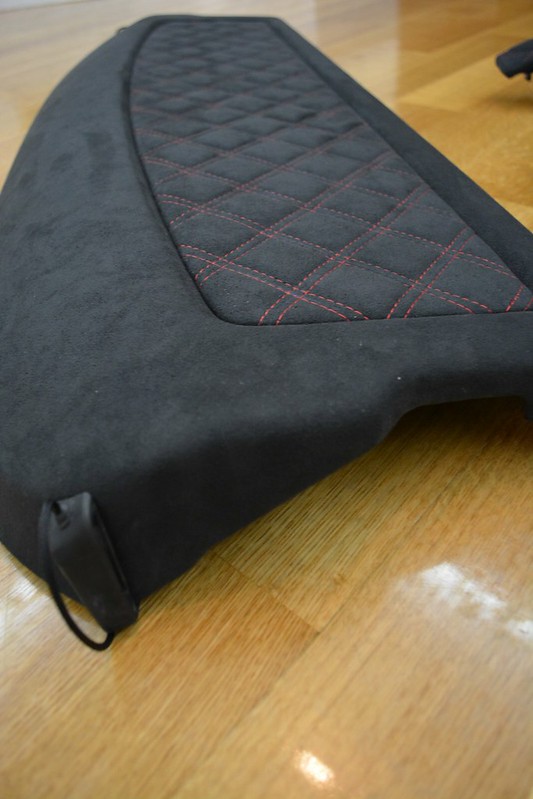
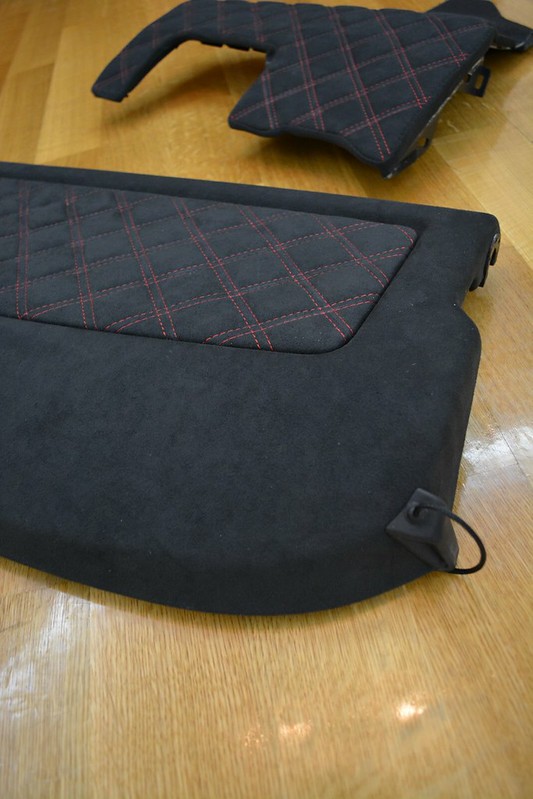
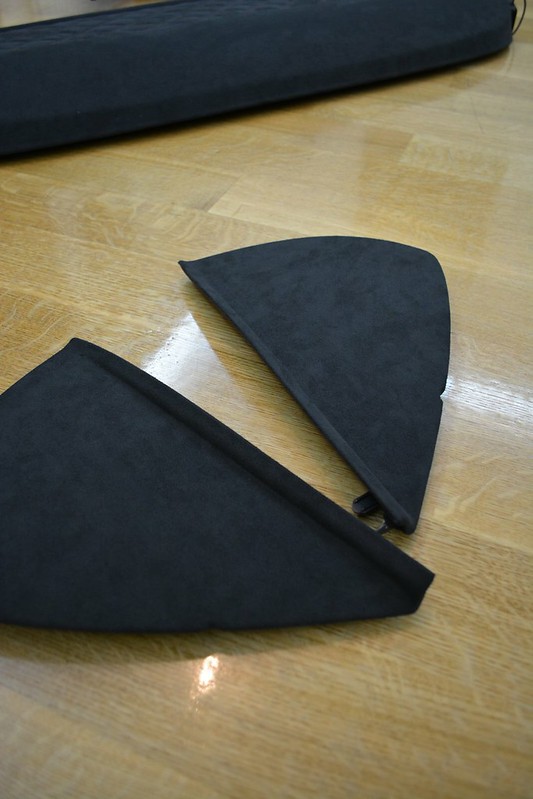
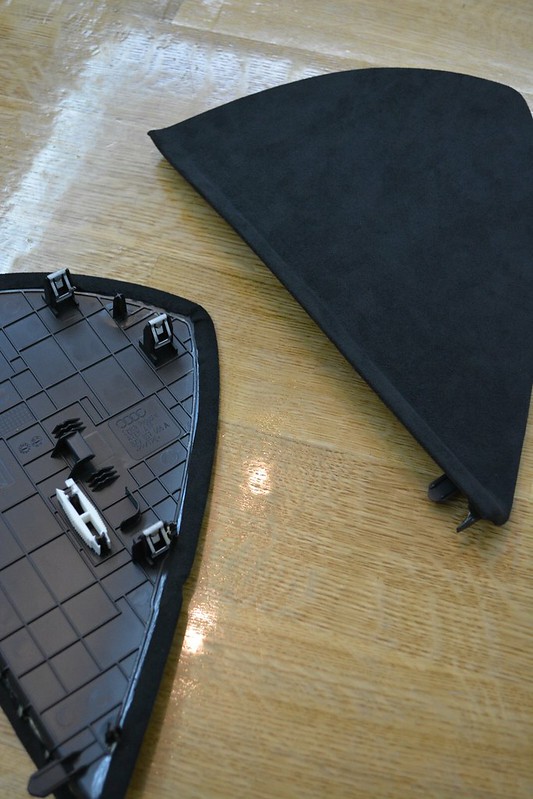
Then I had some more parts trimmed
 Untitled by mgpdoc, on Flickr
I love how they came out
 Untitled by mgpdoc, on Flickr
 Untitled by mgpdoc, on Flickr
 Untitled by mgpdoc, on Flickr
 Untitled by mgpdoc, on Flickr
 Untitled by mgpdoc, on Flickr
 Untitled by mgpdoc, on Flickr
 Untitled by mgpdoc, on Flickr
Leave a comment:
-
So i ordered and installed a KN specific kit for my car
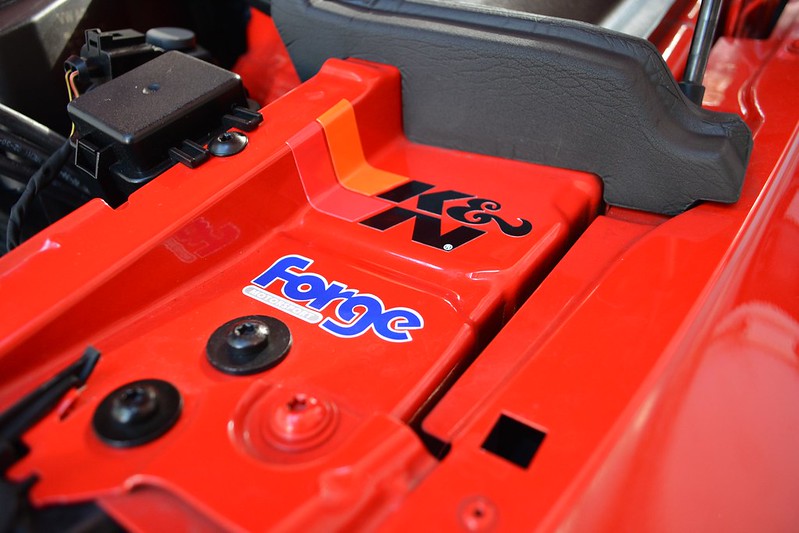 November by mgpdoc, on Flickr
Started like this
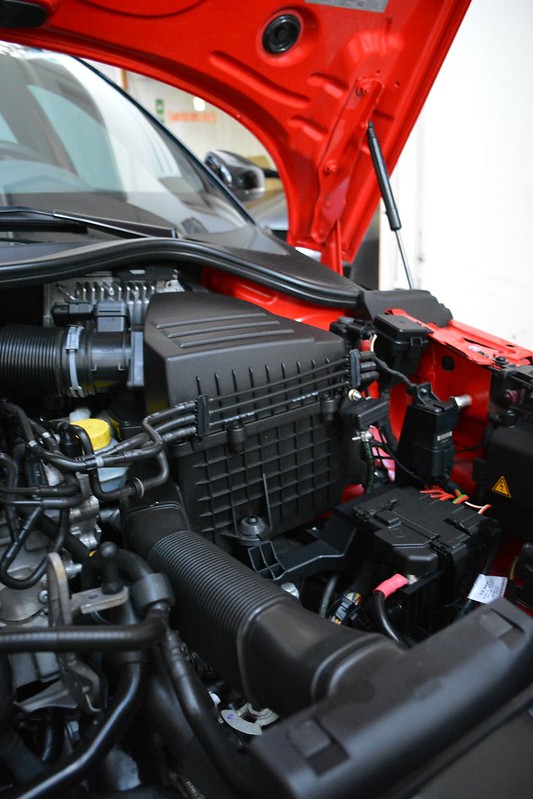 November by mgpdoc, on Flickr
Removed my oem box
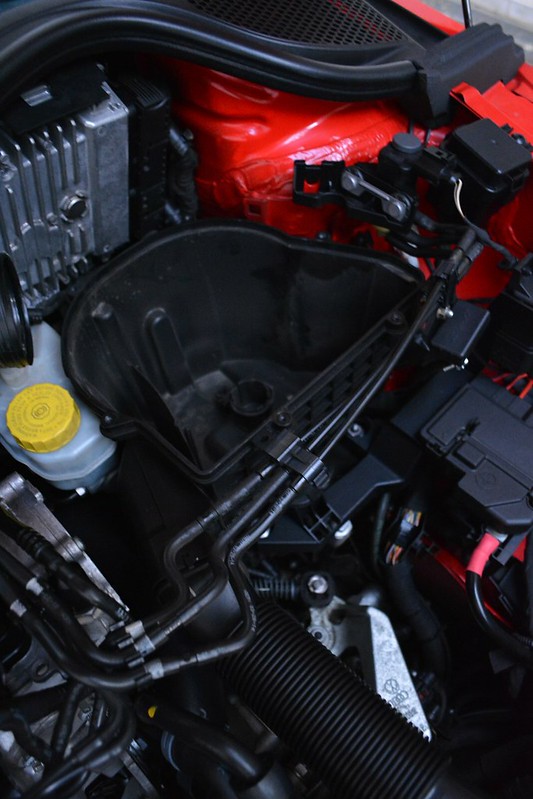 November by mgpdoc, on Flickr
Old filter
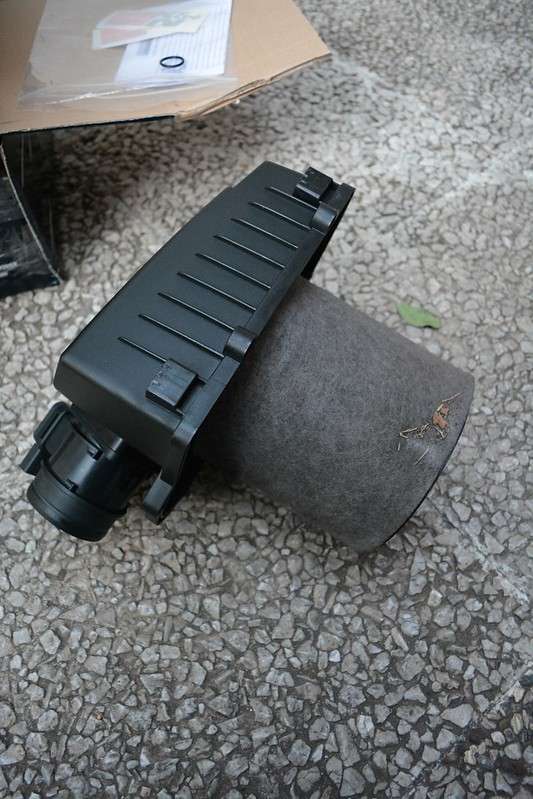 November by mgpdoc, on Flickr
New filter and housing assembly
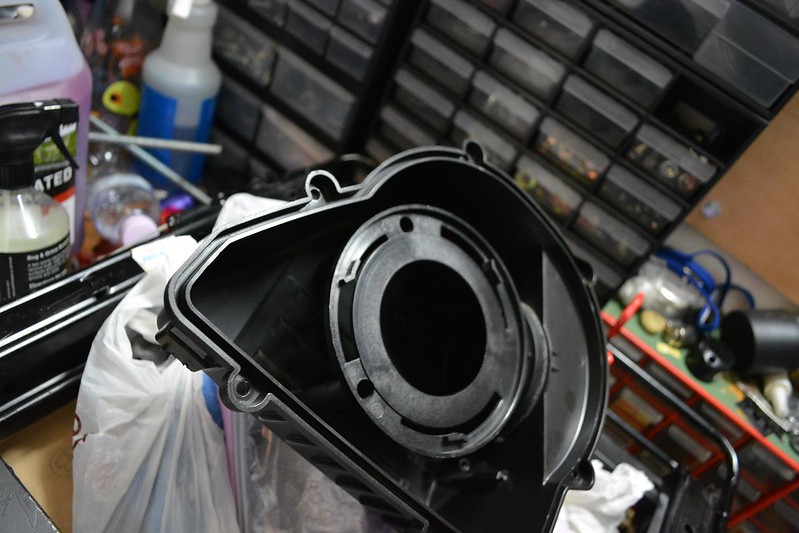 November by mgpdoc, on Flickr
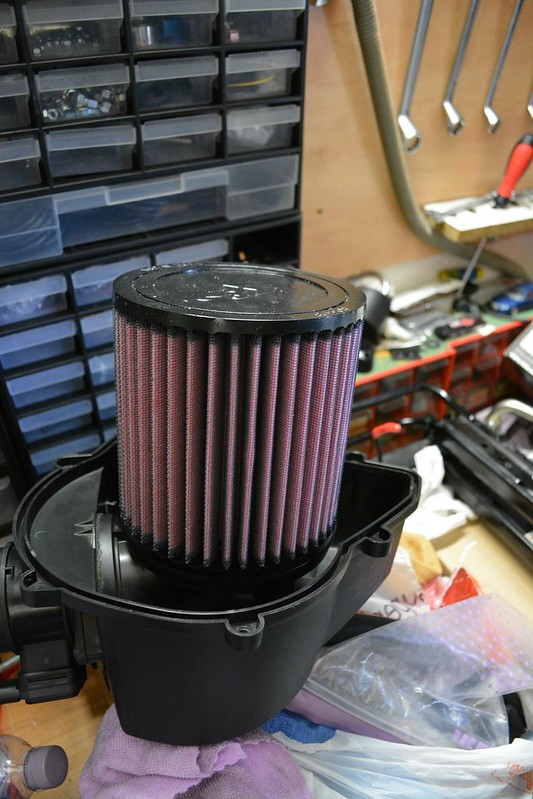 November by mgpdoc, on Flickr
All back in place
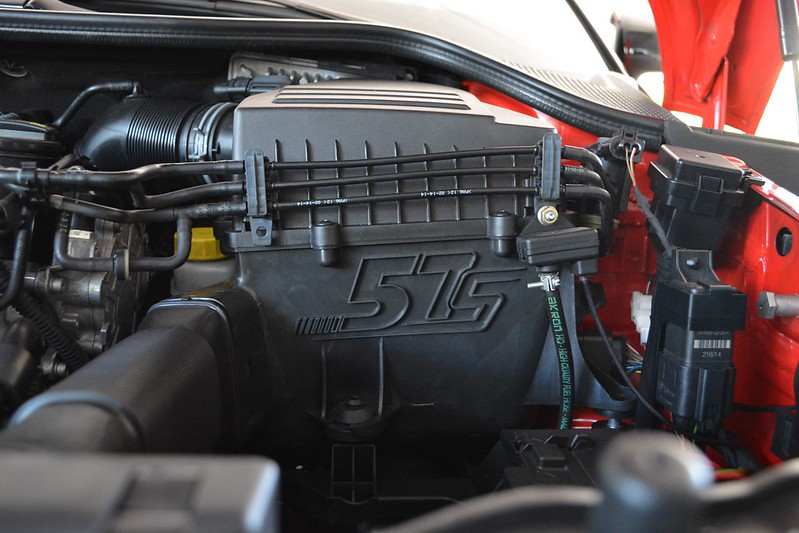 November by mgpdoc, on Flickr
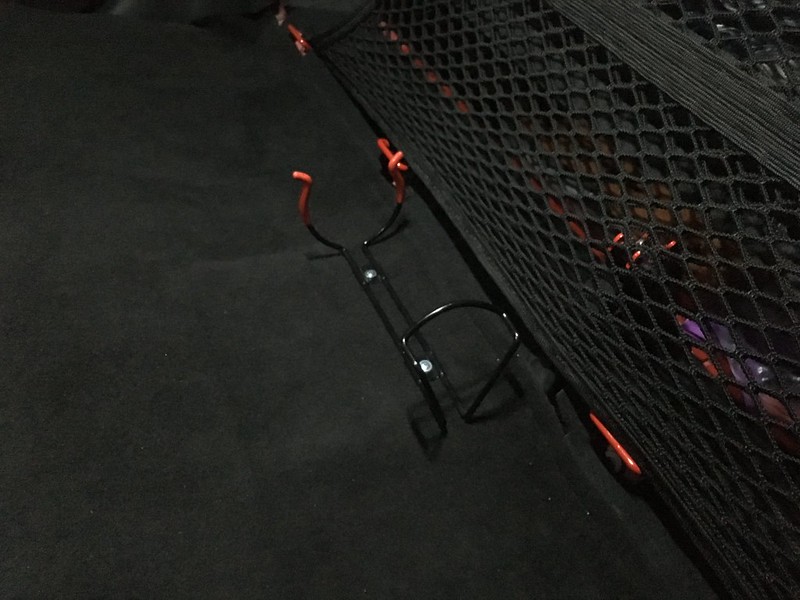
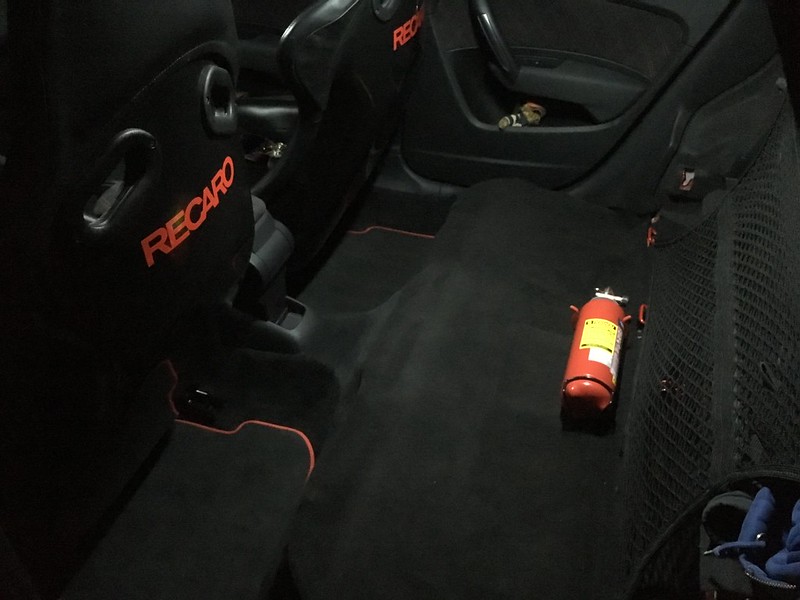
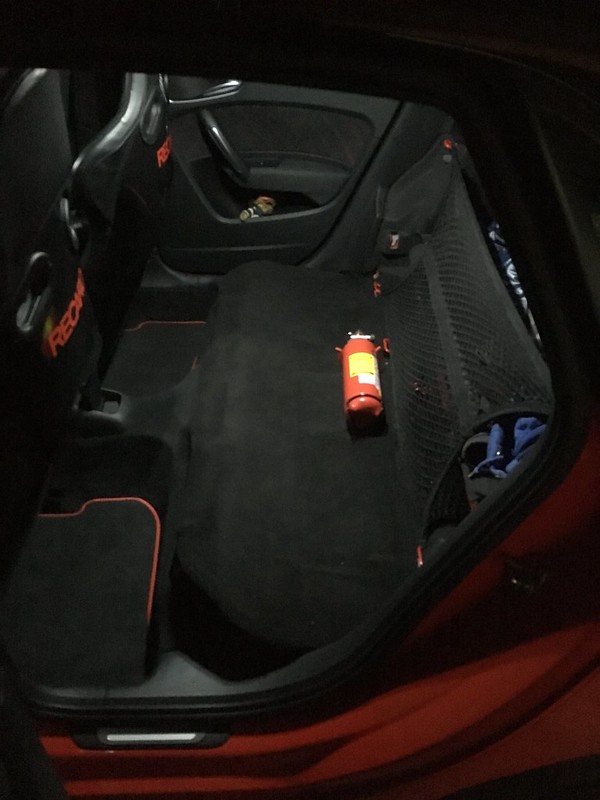
Also, i mounted my fire extinguiher in the rear seat
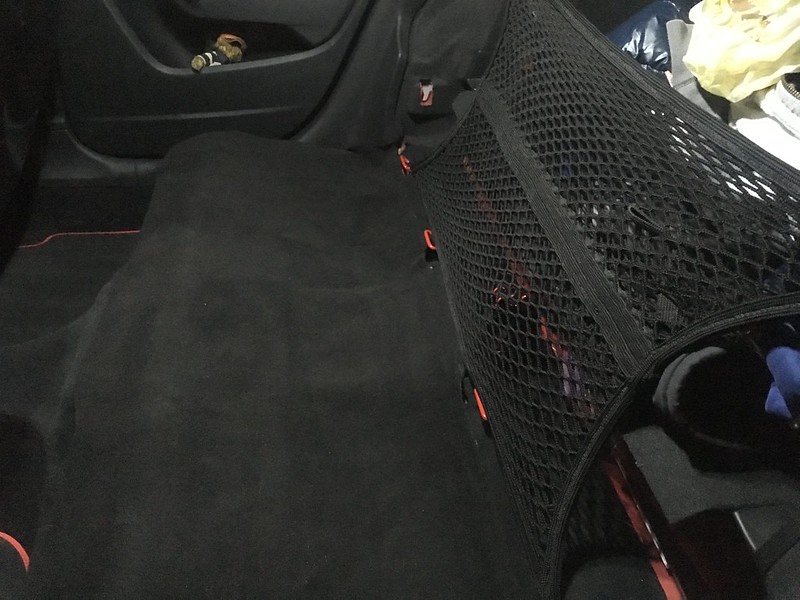 November by mgpdoc, on Flickr
 November by mgpdoc, on Flickr
 November by mgpdoc, on Flickr
Came out clean like i wanted it
 November by mgpdoc, on Flickr
Uploading more pics as we speak . . .
Leave a comment:

Leave a comment: