@nsogiba
I had to register just so I could commend you on this build. It is by all means, incredible. I have to assume she's all up and running now, yes?
Anyway, because I'm a shameless BMW whore and have an undying love for this platform, I wanted to make a suggestion for you to check this out.
I have this NBT Navigation/Infotainment system in my car from the factory, having an F30 but now that there's retrofit kits available for the older E-Chassis lovers among us, I just think it might be an amazing finishing touch on your build.
I'm in no way affiliated with the companies or people that push these by the way, the ADD meds are just hitting me particularly hard at work today, and I'm bored.
So, check this out!
-
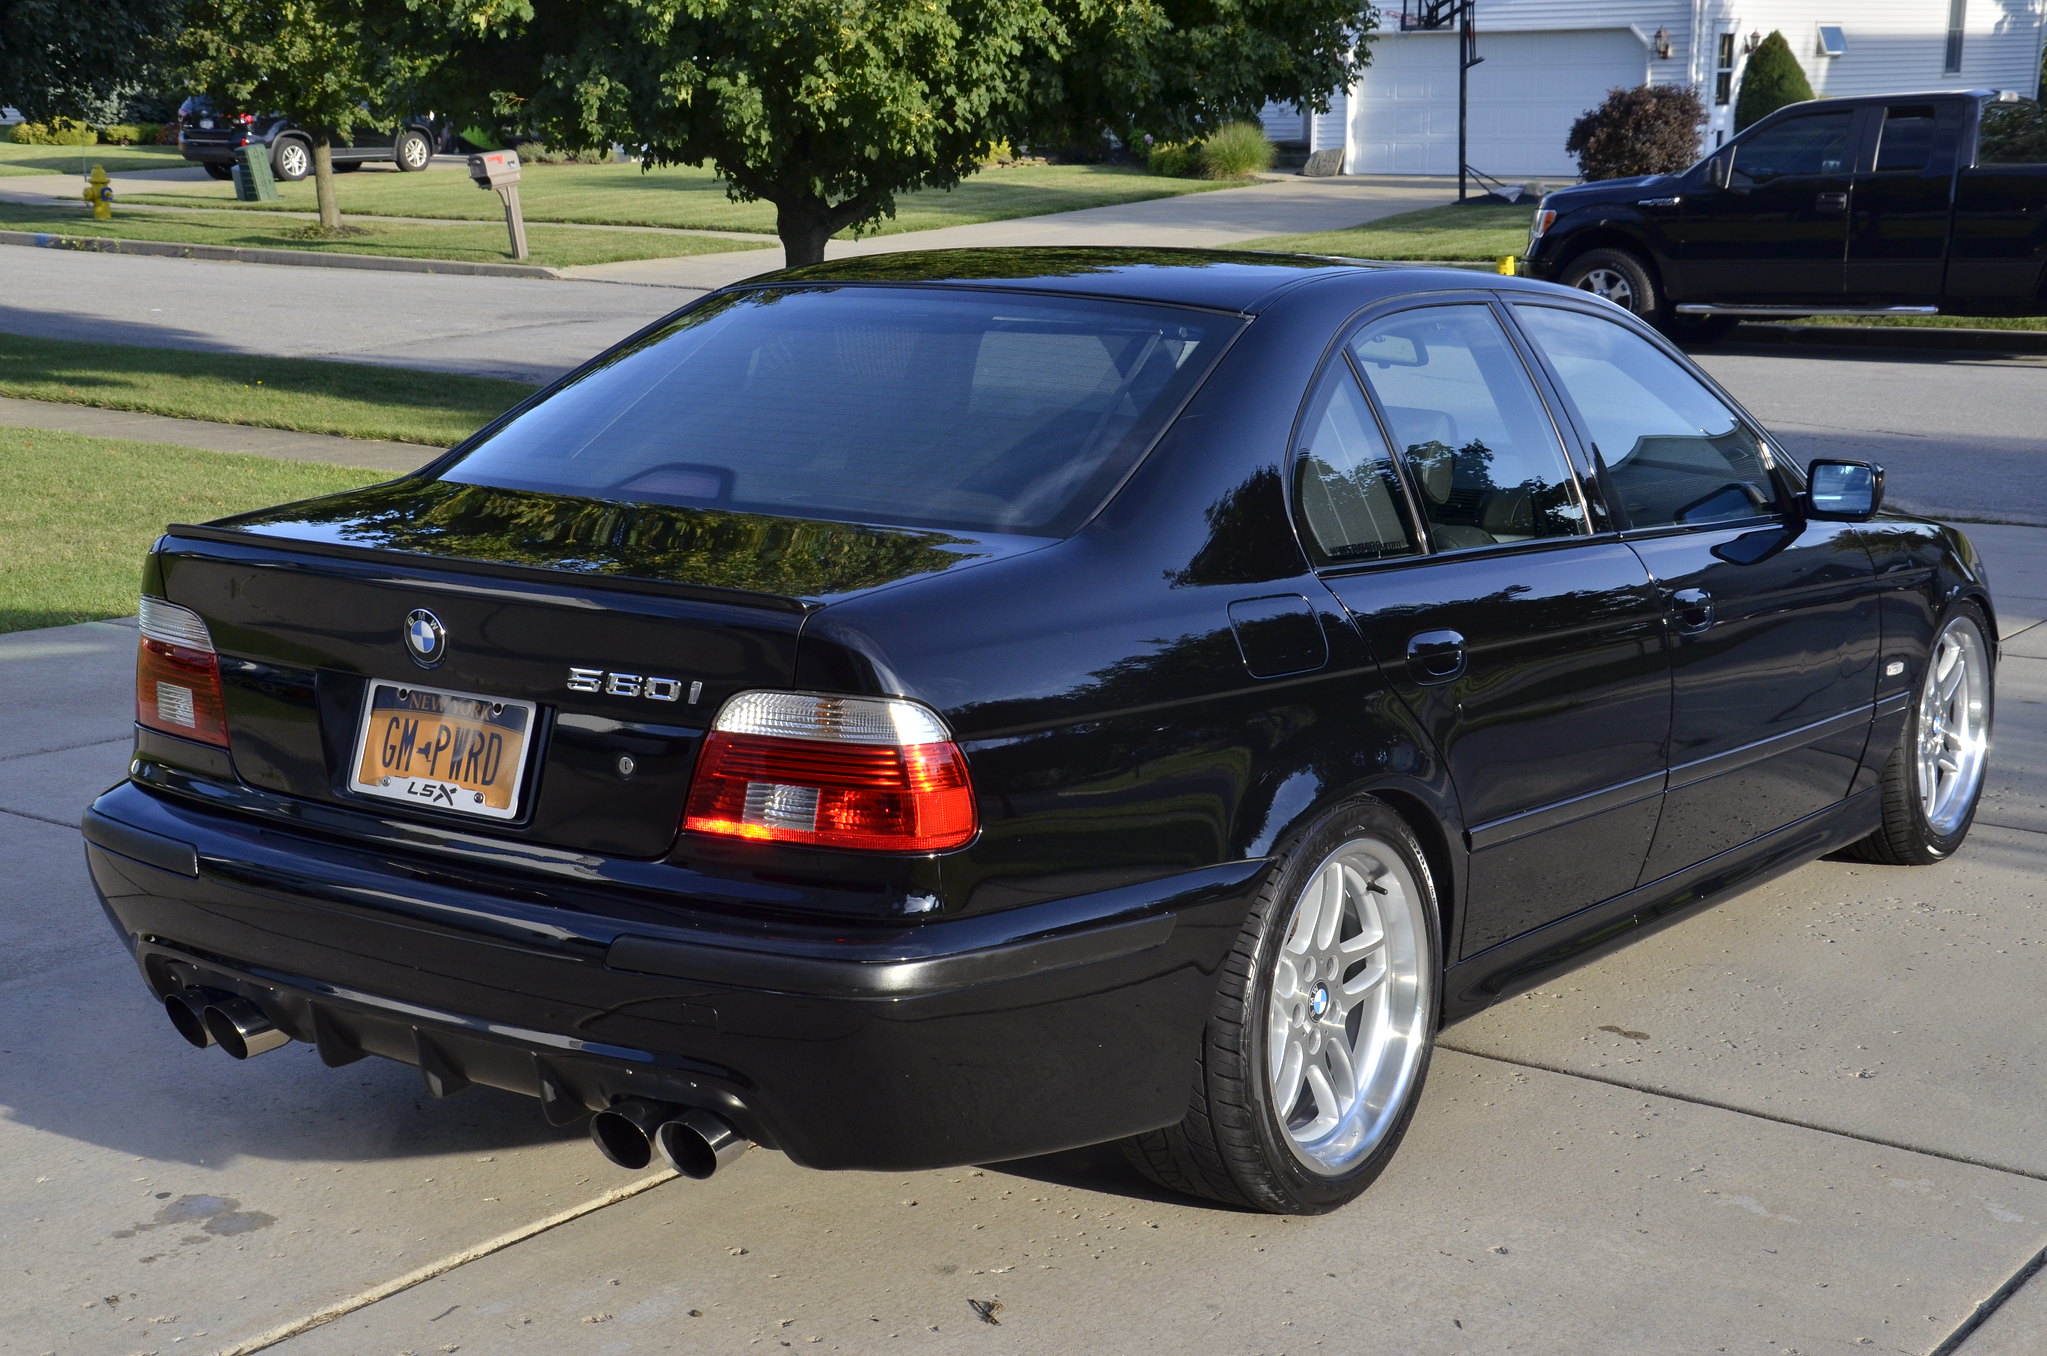
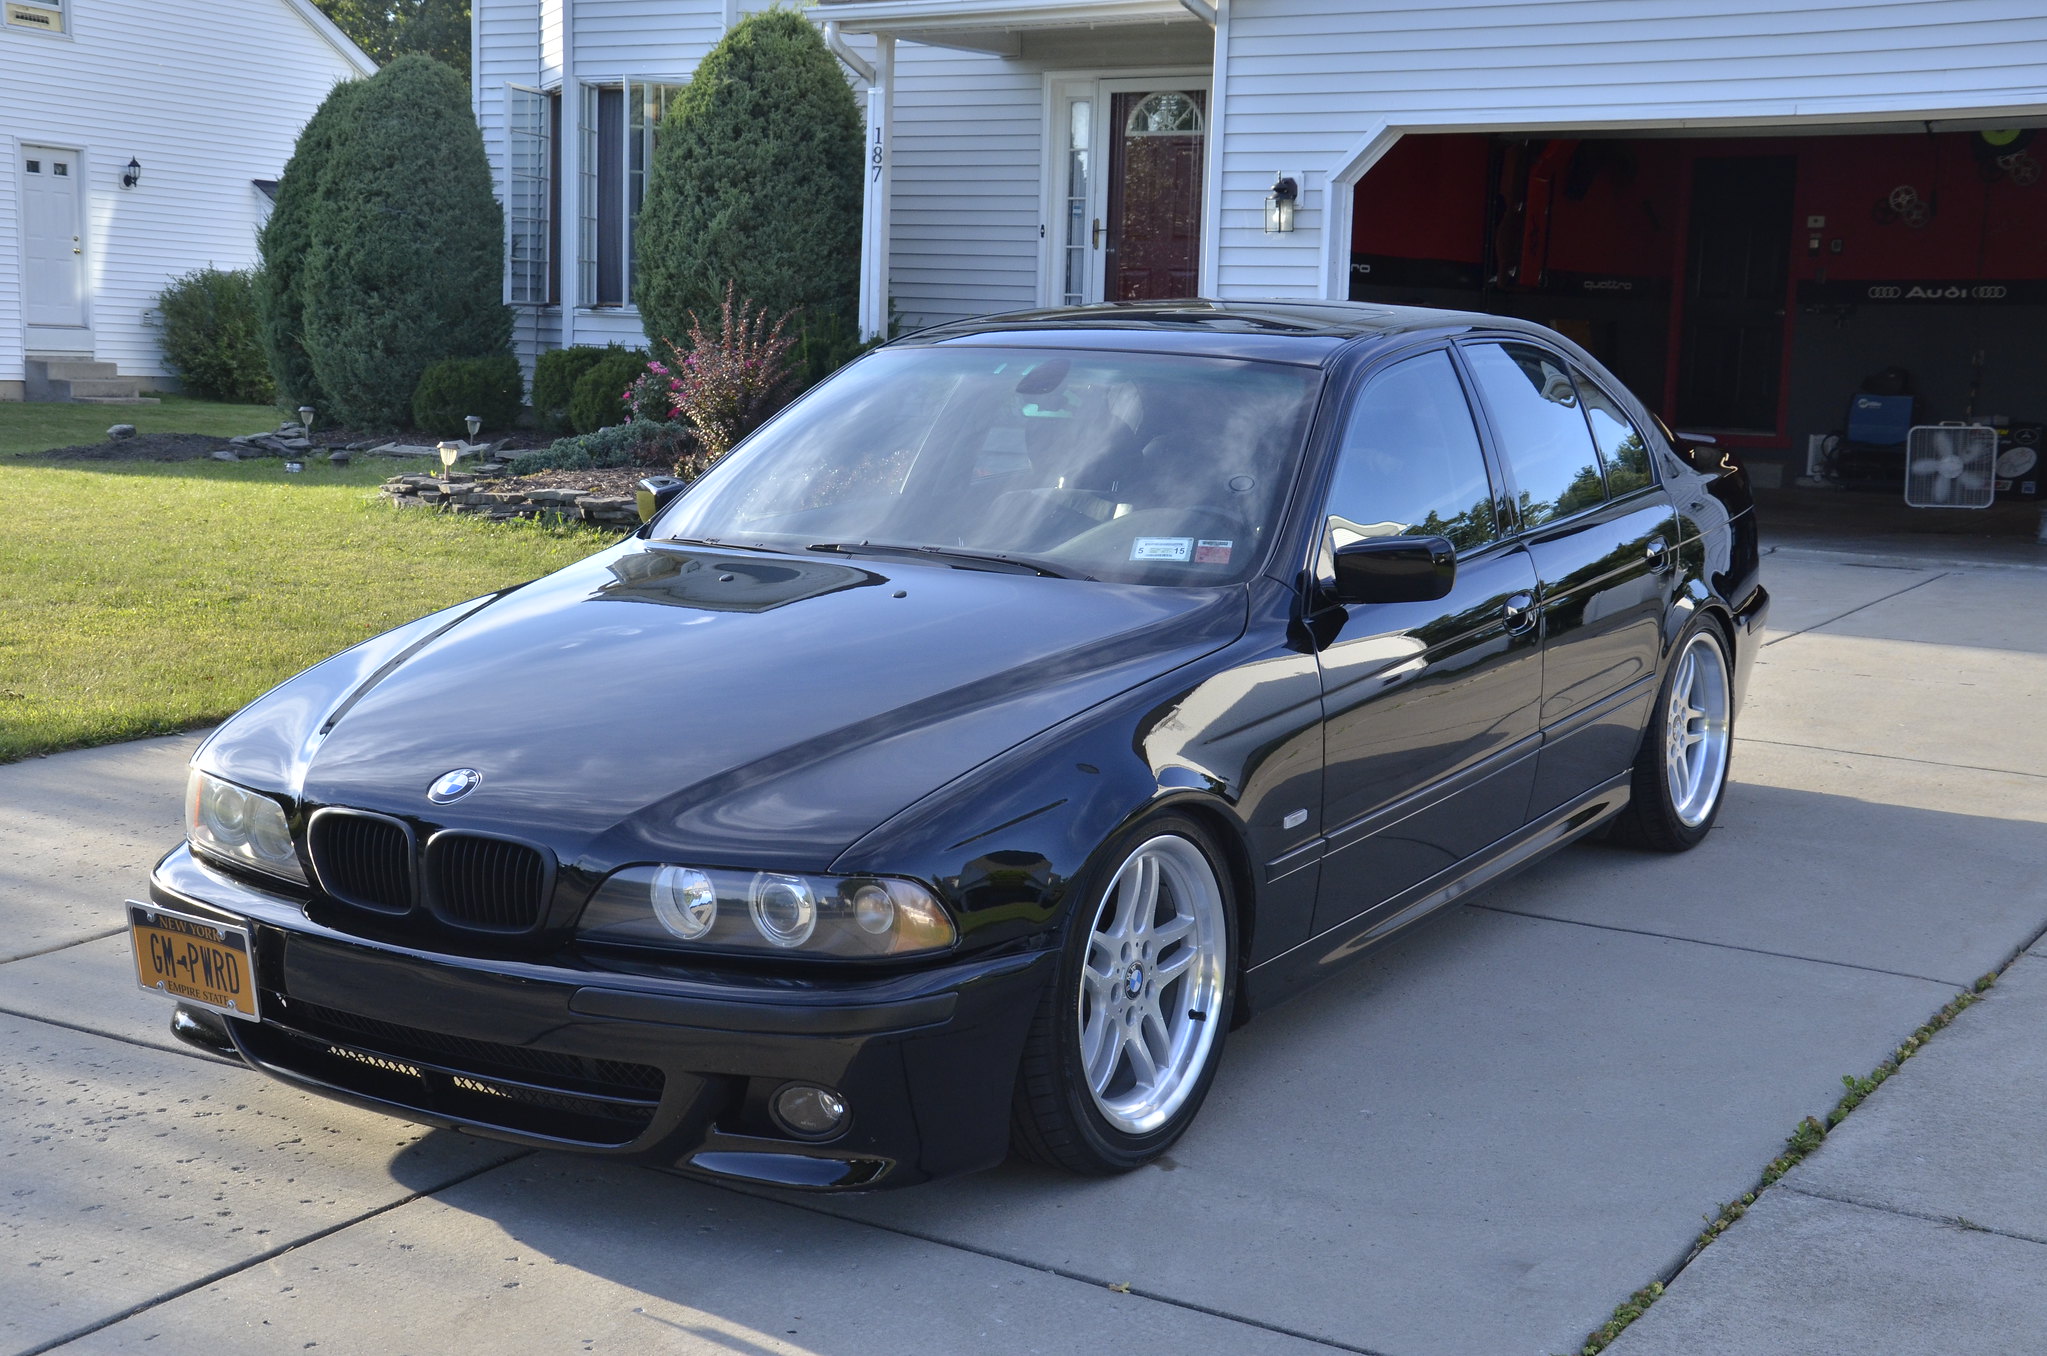
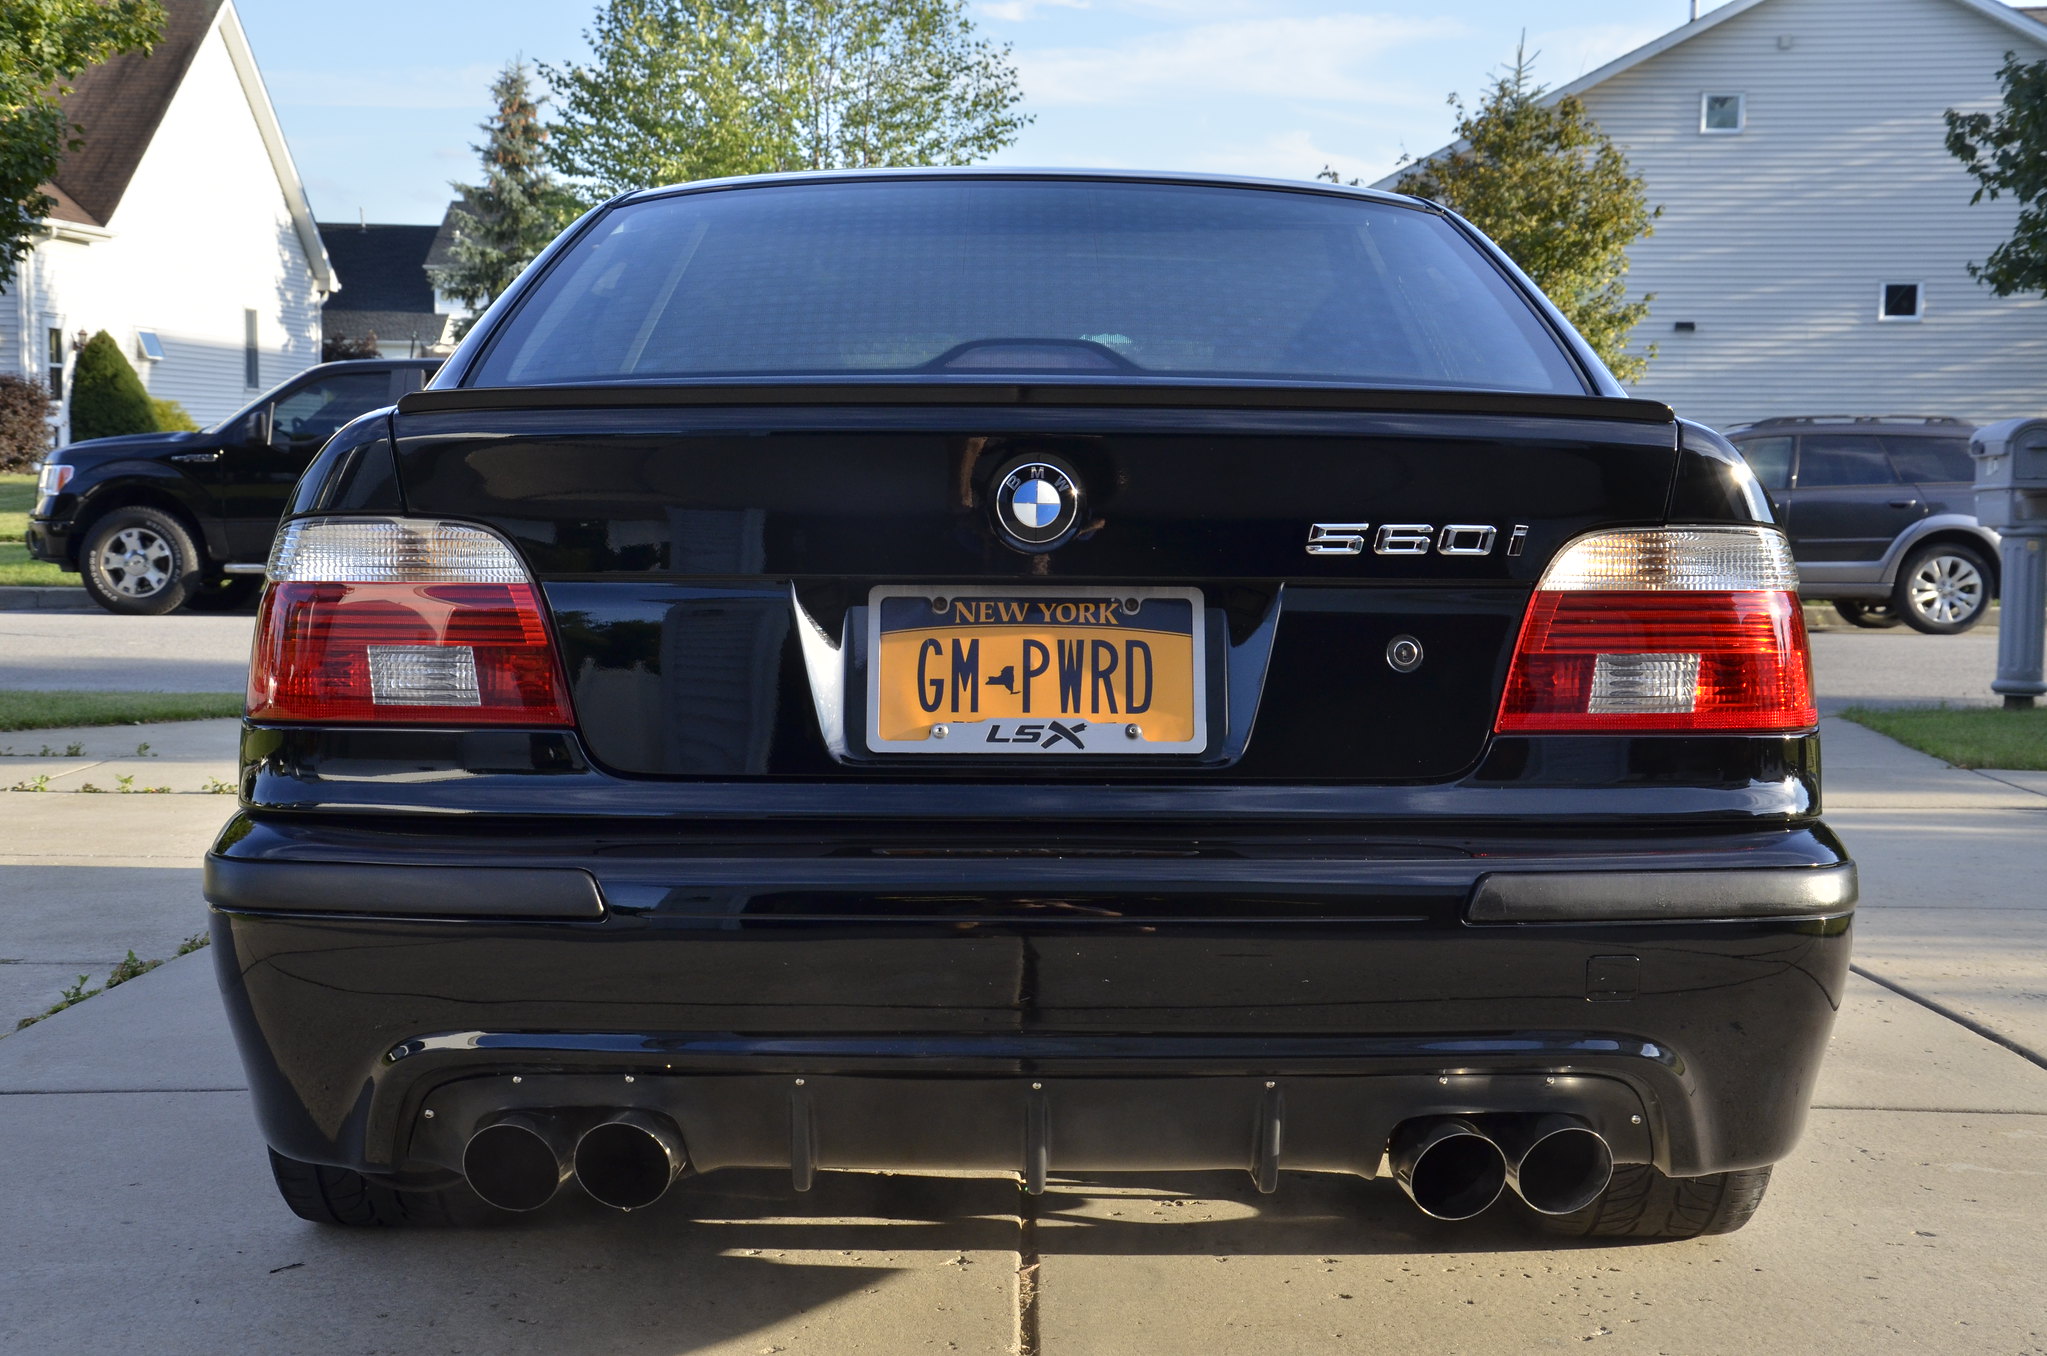
some crappy pictures in my driveway. I highly recommend Brian with Sheer Luxe Detailing, the experience and results were great.*
Quick Before:
 photo 2 by Norbert Ogiba, on Flickr
 photo 3 by Norbert Ogiba, on Flickr
Restoring Bumper Trim:
 photo 4 by Norbert Ogiba, on Flickr
Quick shot of compounding, before and after.
 photo 1 by Norbert Ogiba, on Flickr
Final Results
 _DSC4107 by Norbert Ogiba, on Flickr
 _DSC4108 by Norbert Ogiba, on Flickr
 _DSC4110 by Norbert Ogiba, on Flickr
 _DSC4111 by Norbert Ogiba, on Flickr
 _DSC4112 by Norbert Ogiba, on Flickr
 _DSC4113 by Norbert Ogiba, on Flickr
 _DSC4115 by Norbert Ogiba, on Flickr
 _DSC4117 by Norbert Ogiba, on Flickr
 _DSC4120 by Norbert Ogiba, on Flickr
 _DSC4118 by Norbert Ogiba, on Flickr
 _DSC4119 by Norbert Ogiba, on Flickr
The car will be featured on his blog in the next few weeks, will post a link when it's available.*Leave a comment:
-
Small update.
It is hot.
Inside the garage, no airflow will do this
 image by Norbert Ogiba, on Flickr
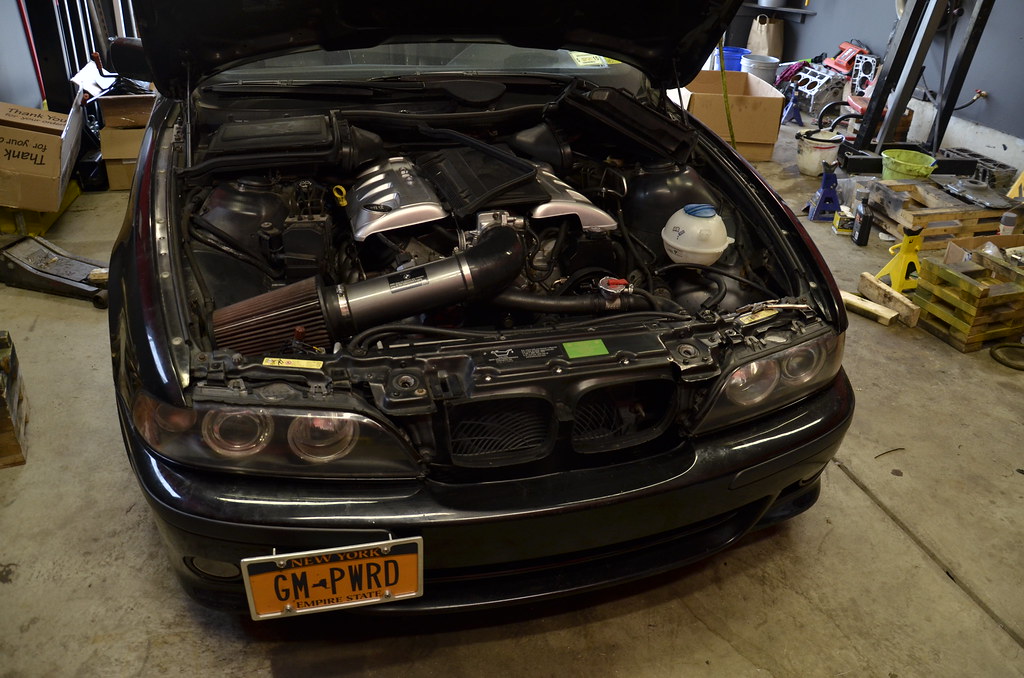
Got my hands on HPTuners, working on perfecting the driveability. Did I mention that it's hot?
 image by Norbert Ogiba, on Flickr
Restored the headlights. I need to get some "after" pics, they came out looking brand new. This picture is after a pass with the 3000 grit, just before compounding and polishing.
 image by Norbert Ogiba, on Flickr
Took a break from the car to work on the garage. The old "to-do" list, with chalkboard paint:
 image by Norbert Ogiba, on Flickr
I was always running out of room, so I expanded it
 image by Norbert Ogiba, on Flickr
and added tool storage to free up room in the toolbox:
 image by Norbert Ogiba, on Flickr
Got the IHKA apart and soldered so that it would trigger the GM PCM for AC using the OEM BMW snowflake button.
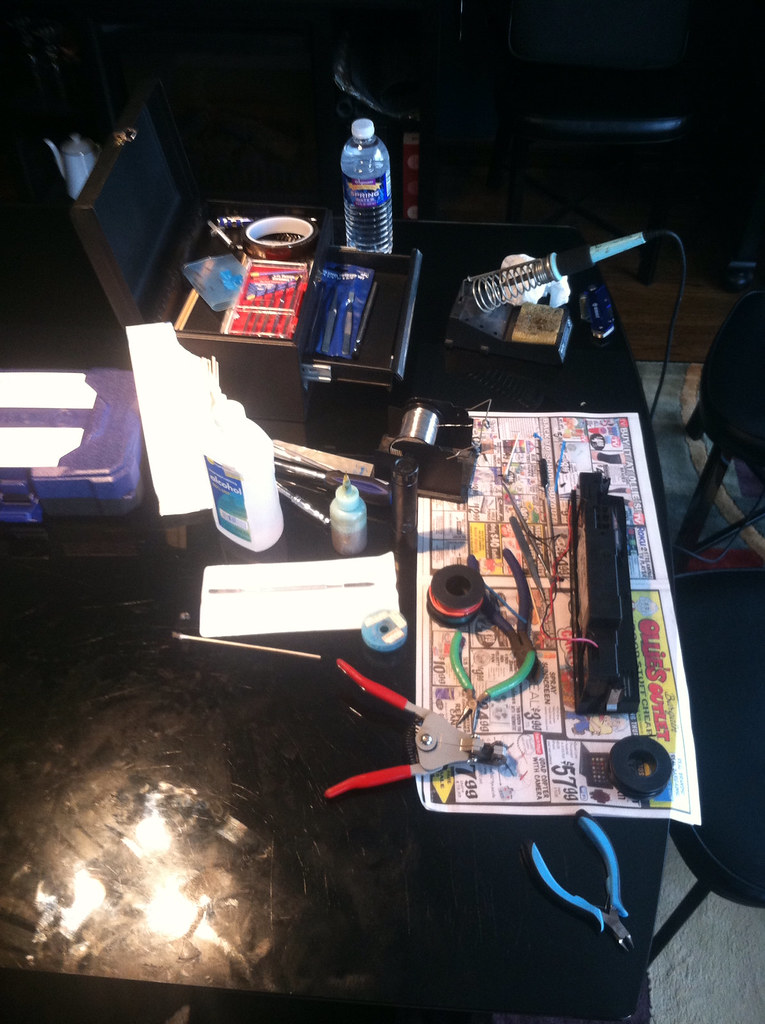 image by Norbert Ogiba, on Flickr
Leave a comment:
-
some little things here and there
had the car tuned at New Era Performance, with a focus on driveability- pretty happy with the result.
Picking up the car - some nice machinery out front (check out the sick drug dealer SUV)
 IMG_0169 by Norbert Ogiba, on Flickr
 IMG_0170 by Norbert Ogiba, on Flickr
 IMG_0171 by Norbert Ogiba, on Flickr
Finally had an alignment done - ironically this is the first one I have done in the 4 years and 43K miles I've owned the car for. Rear camber was about a degree too negative, and front toe needed work too.
 IMG_0184 by Norbert Ogiba, on Flickr
 IMG_0182 by Norbert Ogiba, on Flickr
As usual, passed inspection without a hitch - just plug and play
 IMG_0185 by Norbert Ogiba, on Flickr
Next up: installing this
 IMG_0192 by Norbert Ogiba, on Flickr
 IMG_0200 by Norbert Ogiba, on Flickr
so i can stop doing this

Leave a comment:
-
damn this thing is sweet! id be pretty bummed too though making less power than before.Leave a comment:
-
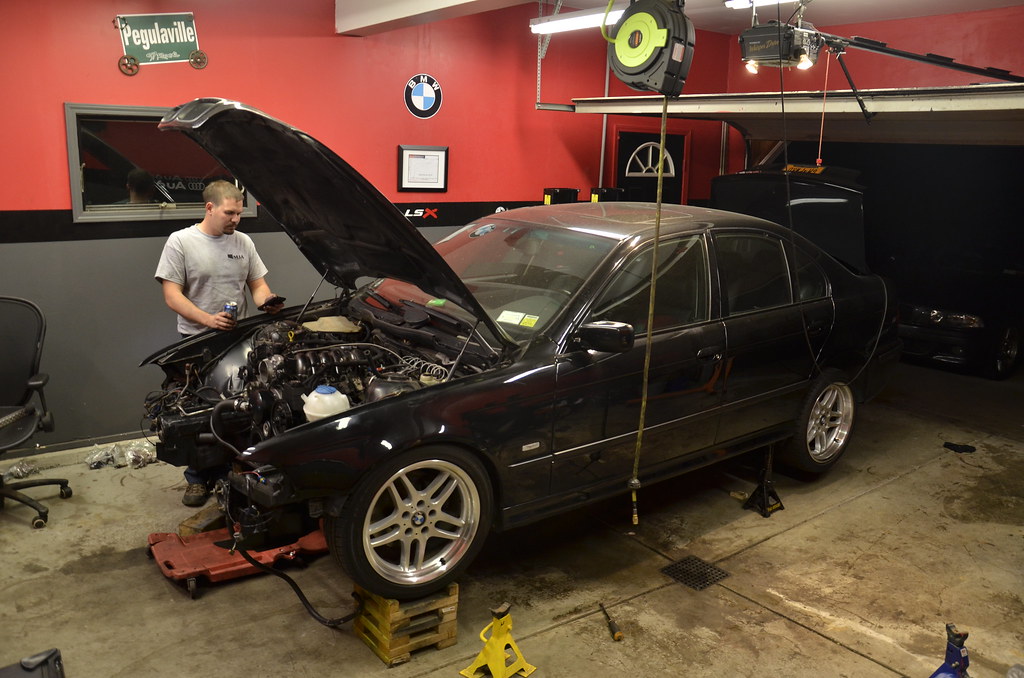
Engine/Trans Assembly and Installation into car
Bolted on a bunch of crap like the front accessories, starter, manifolds, coolant sensors, etc. Cleaned the pressure plate and flywheel with isopropyl alcohol to remove any fingerprints or grease, installed both with ARP hardware, torqued to spec. Joining these two bastards was super fun on my own!
 _DSC3923 by Norbert Ogiba, on Flickr
 _DSC3924 by Norbert Ogiba, on Flickr
 _DSC3925 by Norbert Ogiba, on Flickr
 _DSC3926 by Norbert Ogiba, on Flickr
and, in ya go
 _DSC3927 by Norbert Ogiba, on Flickr
Workspace = filthy
 _DSC3928 by Norbert Ogiba, on Flickr
Finally got it in (without removing the driveshaft no less)
_DSC3928 by Norbert Ogiba, on Flickr
Technician117 doing what he does best
 _DSC3929 by Norbert Ogiba, on Flickr
 _DSC3930 by Norbert Ogiba, on Flickr
 _DSC3931 by Norbert Ogiba, on Flickr
Reconnecting vacuum lines and wiring
 _DSC3932 by Norbert Ogiba, on Flickr
Final reassembly
 _DSC3933 by Norbert Ogiba, on Flickr
Interior back together
 _DSC3937 by Norbert Ogiba, on Flickr
Done!
 _DSC3934 by Norbert Ogiba, on Flickr
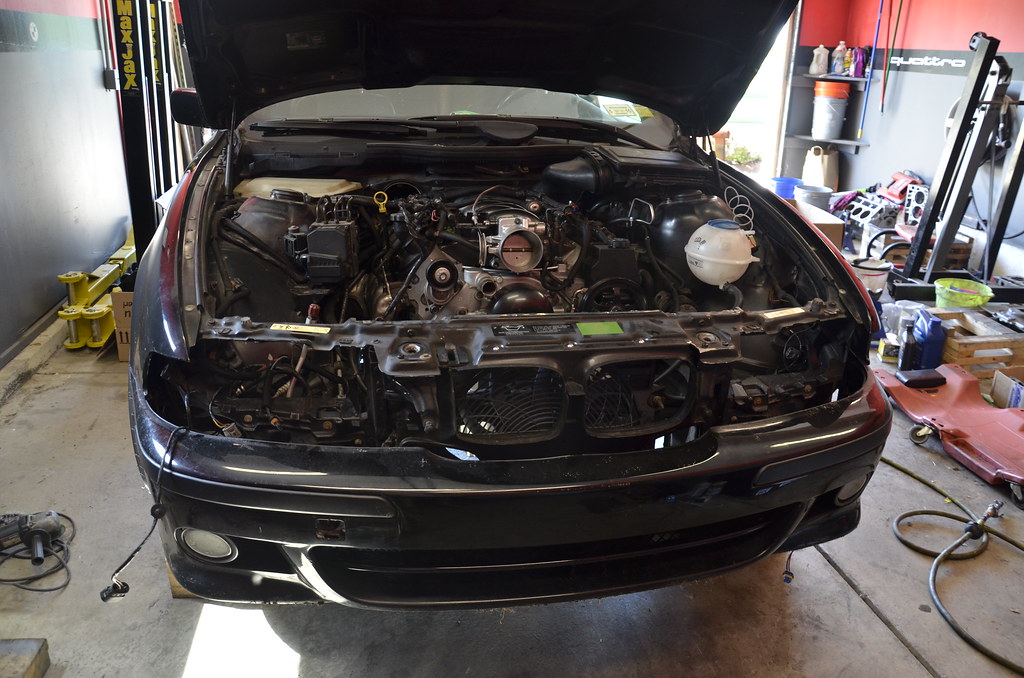
Fired it up and let it idle while checking oil pressure, coolant temps, and general leaks. Some minor things but no deal breakers. The biggest "oh crap" moments were a minor miss due to a loose plug wire, and a leak from the OPSU (replaced with an appropriate plug). As I walked out to hop in and take it for the maiden voyage, it started puking coolant out of the overflow bottle, where a nipple had cracked and broken on a nearly new tank
 _DSC3935 by Norbert Ogiba, on Flickr
 _DSC3936 by Norbert Ogiba, on Flickr
Naturally only one store had one in stock locally and they had closed for the day, so it pushed back my schedule by another day. However, I tossed a new one in, and took the car to be tuned.
Mileage at the time of engine rebuild for future reference.
 _DSC3939 by Norbert Ogiba, on Flickr
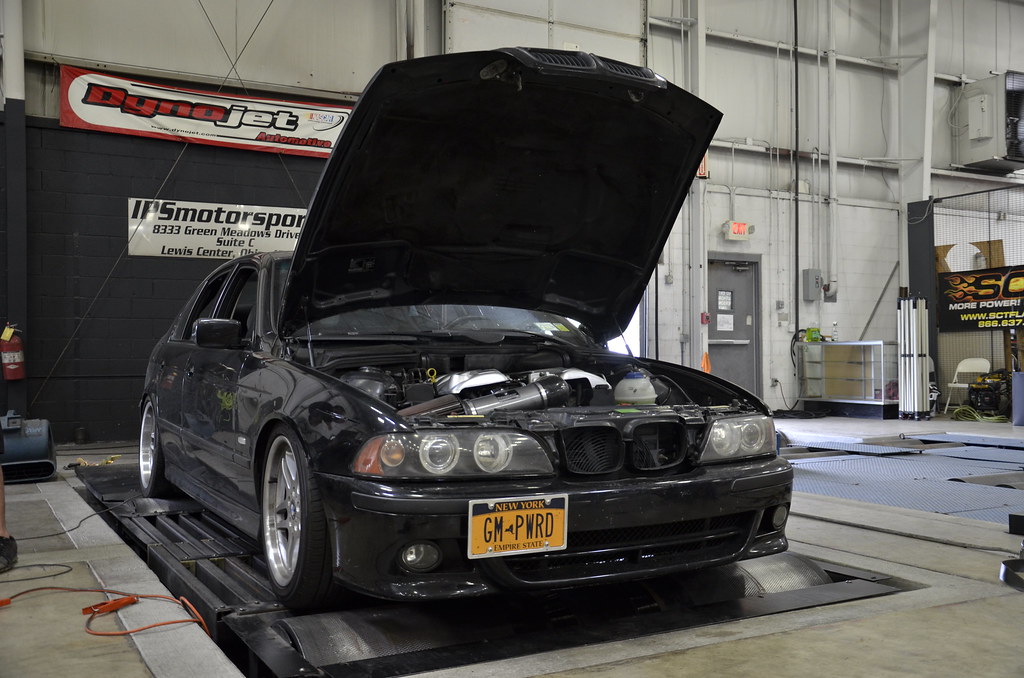
Met my goal and made it out to Columbus, OH for Timmayfest - got it strapped down on the dyno (very high heat and humidity).
 _DSC3970 by Norbert Ogiba, on Flickr
Fairly disappointed at the numbers - 360whp and 349 lbft. The only change was a more restrictive exhaust in the form of cats, a resonator, and slightly smaller diameter piping. Last year I made 427whp/400lbft on a local dyno. Go figure.
 _DSC3971 by Norbert Ogiba, on Flickr
Had to make a stop on the way home:
 _DSC4064 by Norbert Ogiba, on Flickr
Leave a comment:
-
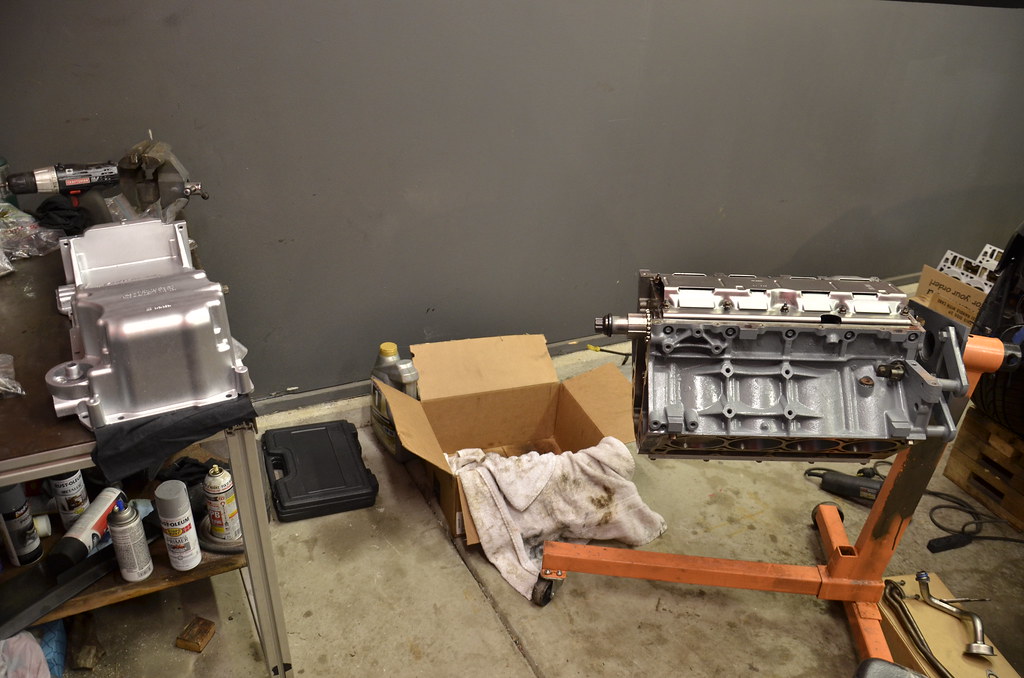
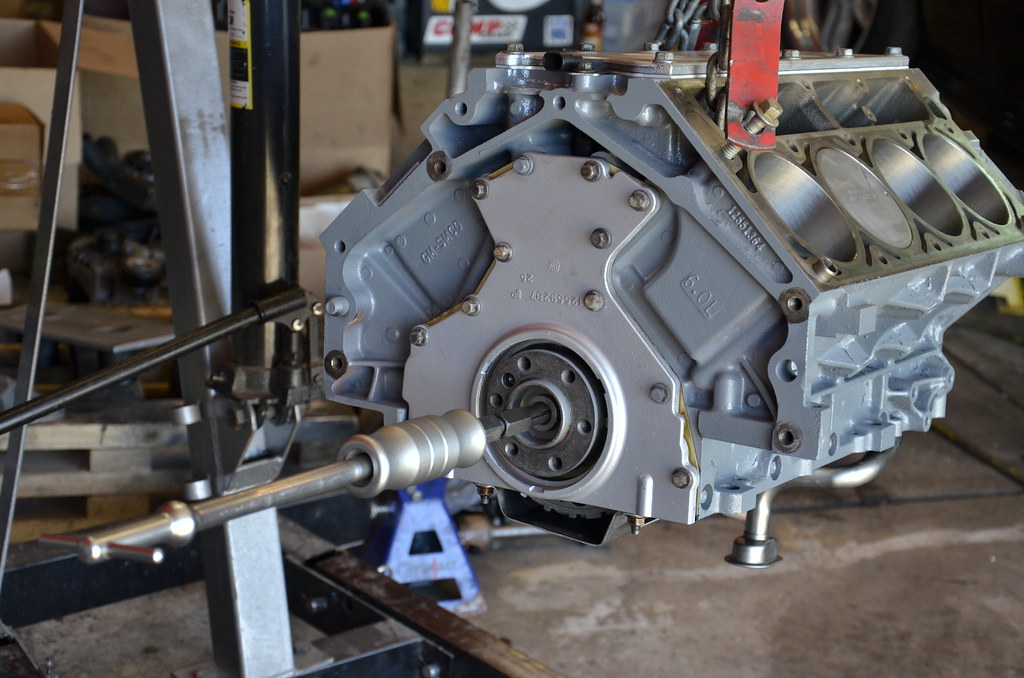
Top End Assembly
I flipped her over on the stand and went to town.
Brand new OEM LS7 lifters got an oil bath for 2 weeks prior to assembly.
 _DSC3885 by Norbert Ogiba, on Flickr
Pre-assemble into lifter trays, which were scrubbed clean and blown out with compressed air prior to use
 _DSC3887 by Norbert Ogiba, on Flickr
Cylinder head dowels installed, headgaskets laid in place. I chose an OEM MLS LS3 6.2 headgasket to match the .030" overbore.
 _DSC3889 by Norbert Ogiba, on Flickr
 _DSC3890 by Norbert Ogiba, on Flickr
 _DSC3891 by Norbert Ogiba, on Flickr
 _DSC3892 by Norbert Ogiba, on Flickr
Ready for a fresh head (love this shot)
 _DSC3893 by Norbert Ogiba, on Flickr
Get her down into place, making sure not to snag the surface with the corner of a dowel.
 _DSC3894 by Norbert Ogiba, on Flickr
ARP head bolts (varying length design) were torqued in sequence and in 3 stages to the appropriate spec using the required thread lube on the threads, washers, and under the head of the bolts.
 _DSC3895 by Norbert Ogiba, on Flickr
Once both heads were on, they got new plugs:
 _DSC3896 by Norbert Ogiba, on Flickr
Since I was in a time crunch to get the car done, the rest went together fairly quickly, so I will let the pictures tell the story.Leave a comment:
-
thanks. it still has some ways to go in the way of minor details but it's pretty much where I want it. It will be up for sale in the next few months if anyone is interested in learning more about it.Leave a comment:
-
Hey buddy. Awesome work. Check into some l92 heads for this thing. Keep it up
Sent from my iPhone using TapatalkLeave a comment:
-
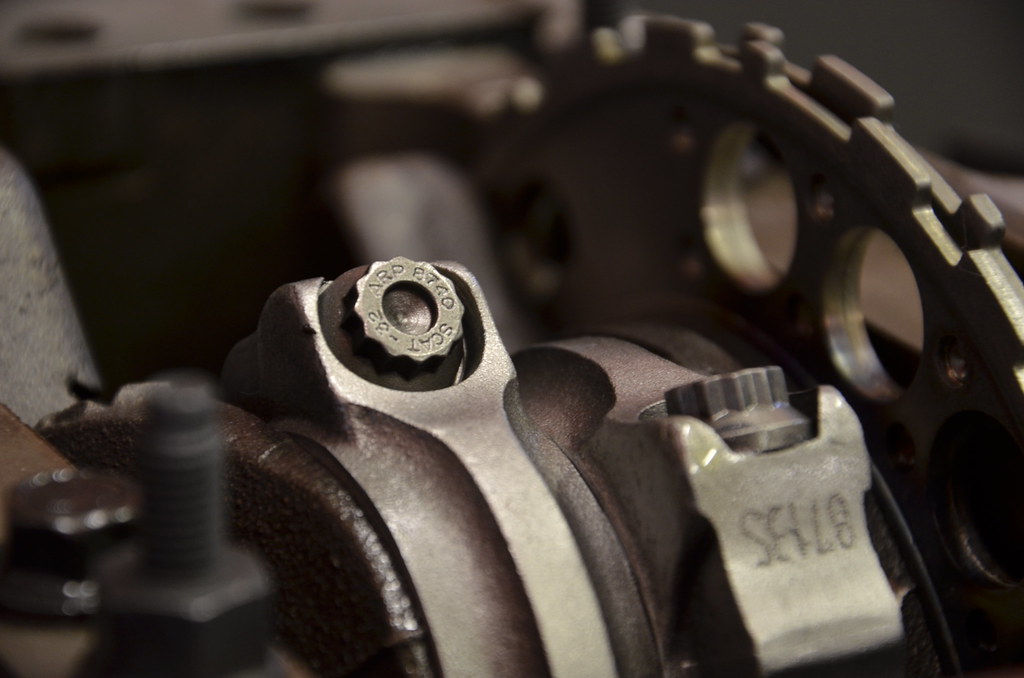
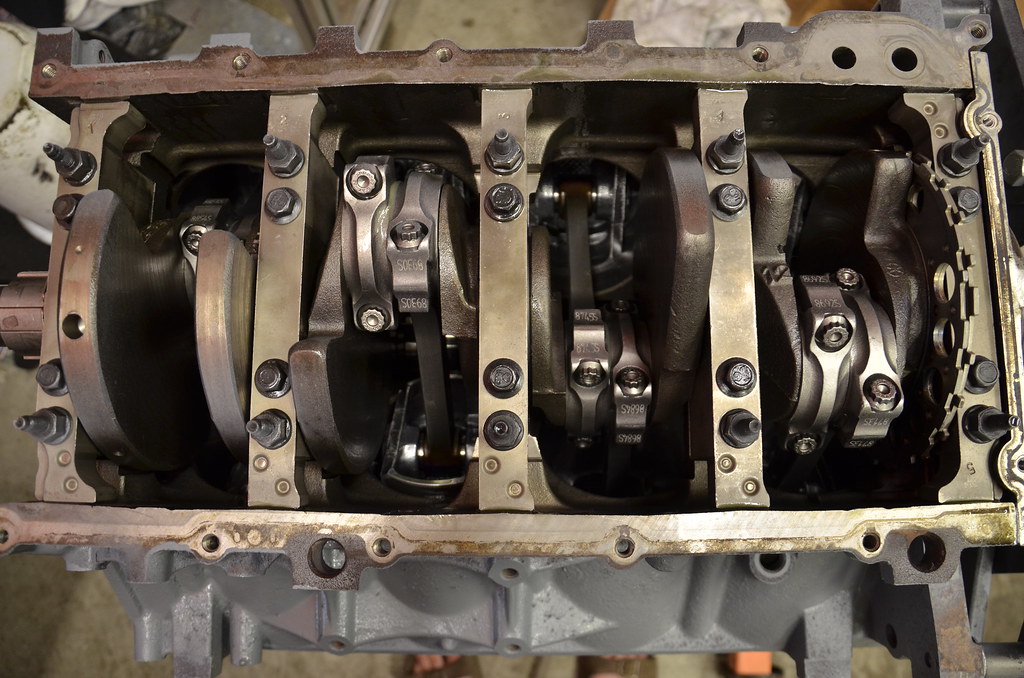
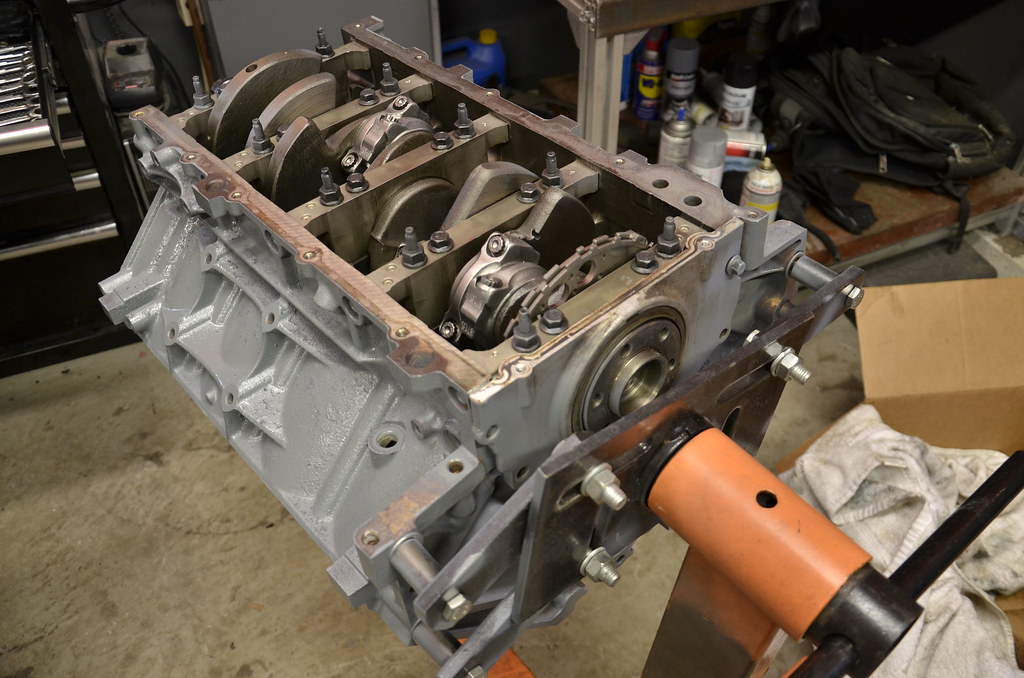
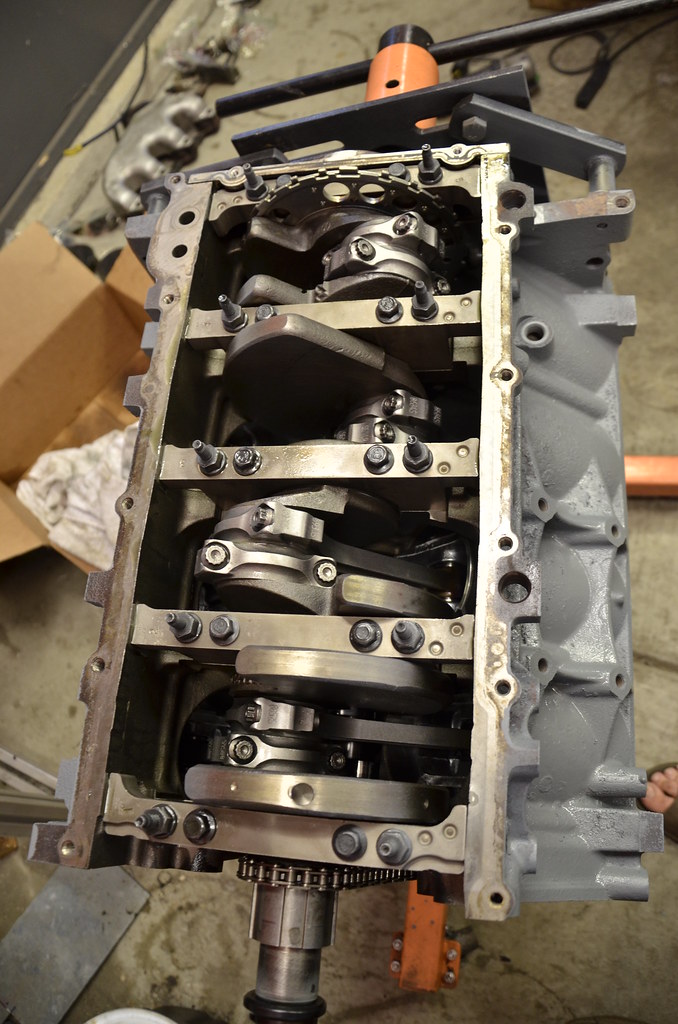
Bottom End Assembly
Scat I Beam Forged Rods, ARP hardware
 _DSC3868 by Norbert Ogiba, on Flickr
 _DSC3870 by Norbert Ogiba, on Flickr
The stock crank was in good shape, so it was reused - rod journals were within clearance and were just polished, but the mains needed to be ground .010 with appropriate size Clevite "P" bearings installed.
 _DSC3872 by Norbert Ogiba, on Flickr
 _DSC3873 by Norbert Ogiba, on Flickr
 _DSC3874 by Norbert Ogiba, on Flickr
Ready for the oil pan.
 _DSC3875 by Norbert Ogiba, on Flickr
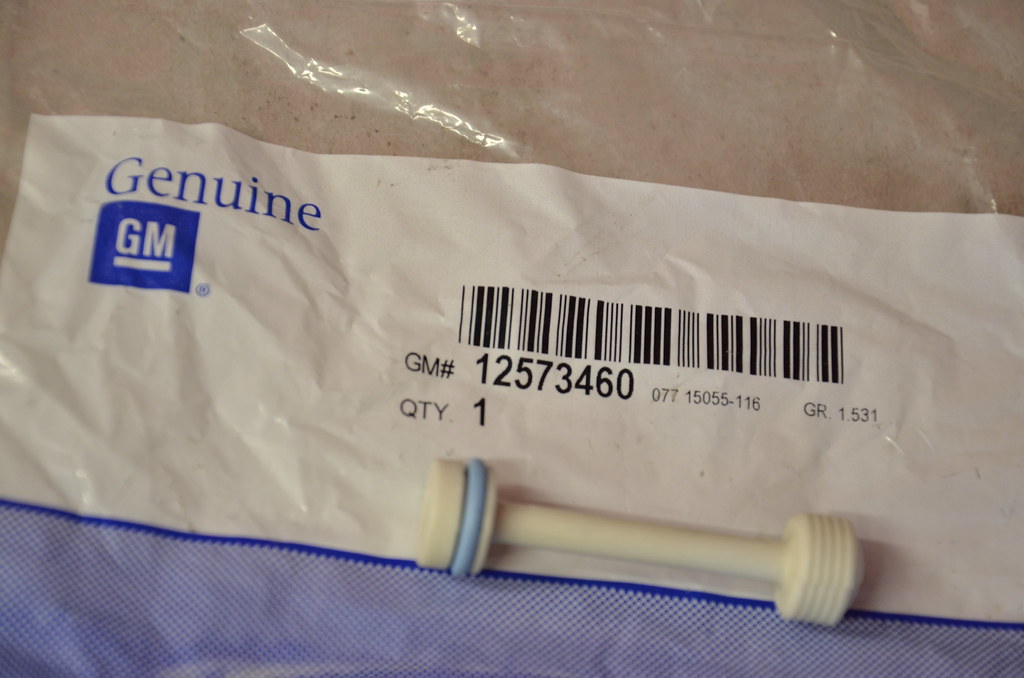
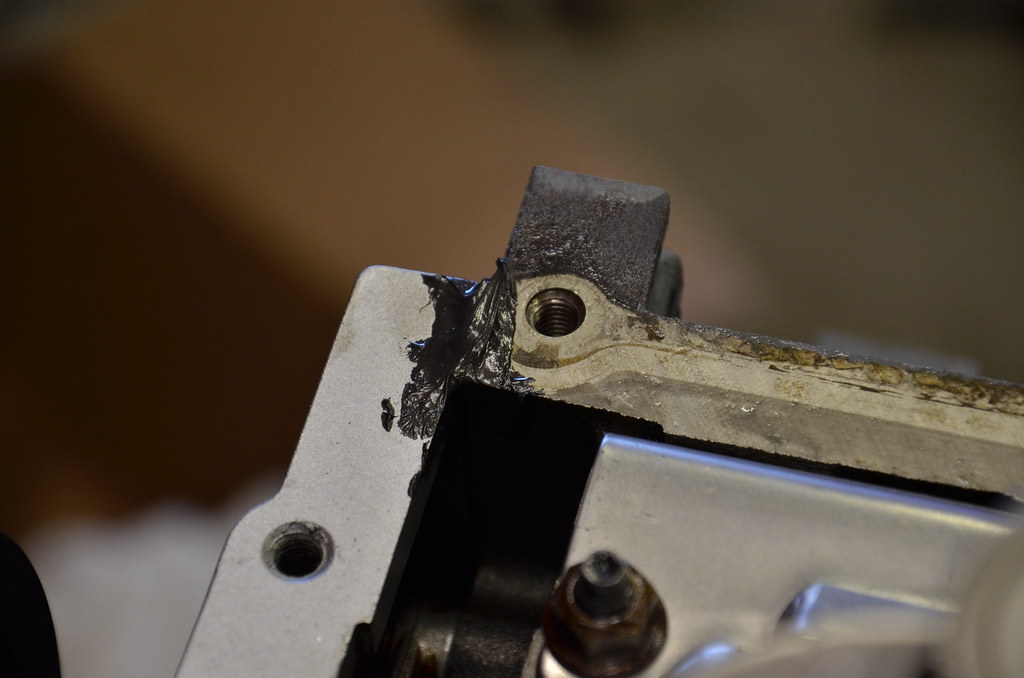
A new oil galley barbell plug was installed as the old one's o-ring had grown brittle and dry.
 _DSC3876 by Norbert Ogiba, on Flickr
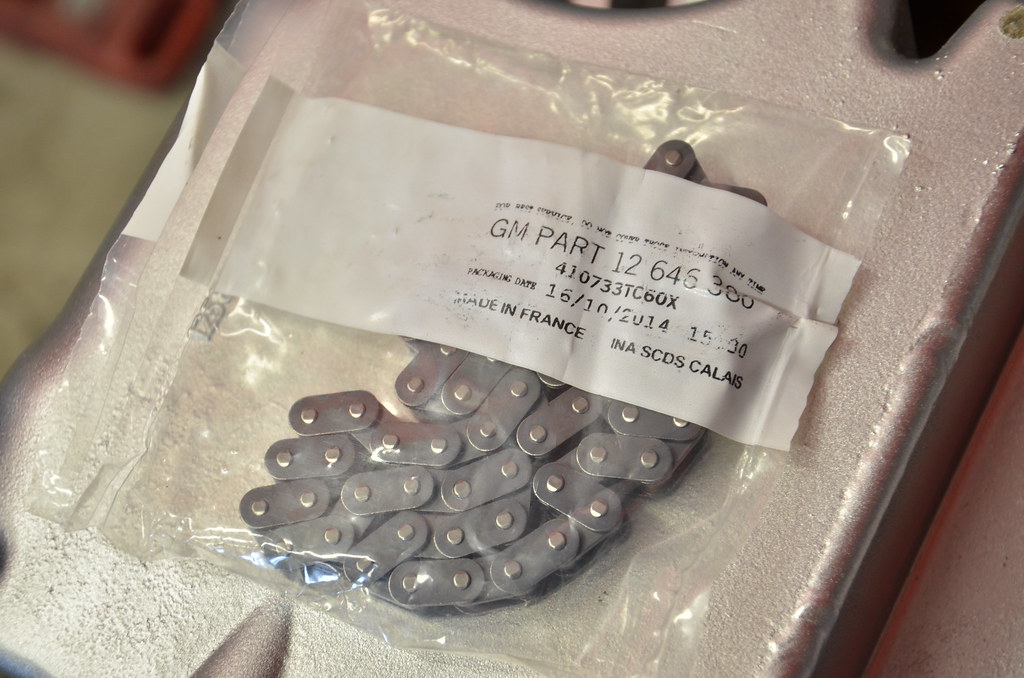
A new OEM GM LS2 timing chain replaced the weaker factory Gen 3 chain.
 _DSC3877 by Norbert Ogiba, on Flickr
I have to find the pictures, but I also disassembled the stock oil pump and scrubbed every component. Nothing special to report besides the typical oil staining and deposits. The pressure relief spring was not stuck, but I still cleaned the spring bore to make sure it moved perfectly.
Oil pump was installed over new timing set followed by front and rear covers, which each received a new main seal. Oil control tray, was installed followed by the pickup tube (don't pinch that o-ring!). Lastly the balancer was pressed on using my homemade tool (M16x2 threaded rod, washers, nuts, thrust bearing)
 _DSC3881 by Norbert Ogiba, on Flickr
Pilot bearing was replaced with a new OEM unit
 _DSC3880 by Norbert Ogiba, on Flickr
Dab of RTV at the corners of the front and rear covers seals them against the oil pain
 _DSC3882 by Norbert Ogiba, on Flickr
I removed the windage tray, internal pan oil tubes, and pickup tube, and cleaned them with warm soapy water to make sure no foreign material was hiding in there. Cleaned them up and blew out with compressed air to make them like new.
 _DSC3883 by Norbert Ogiba, on Flickr
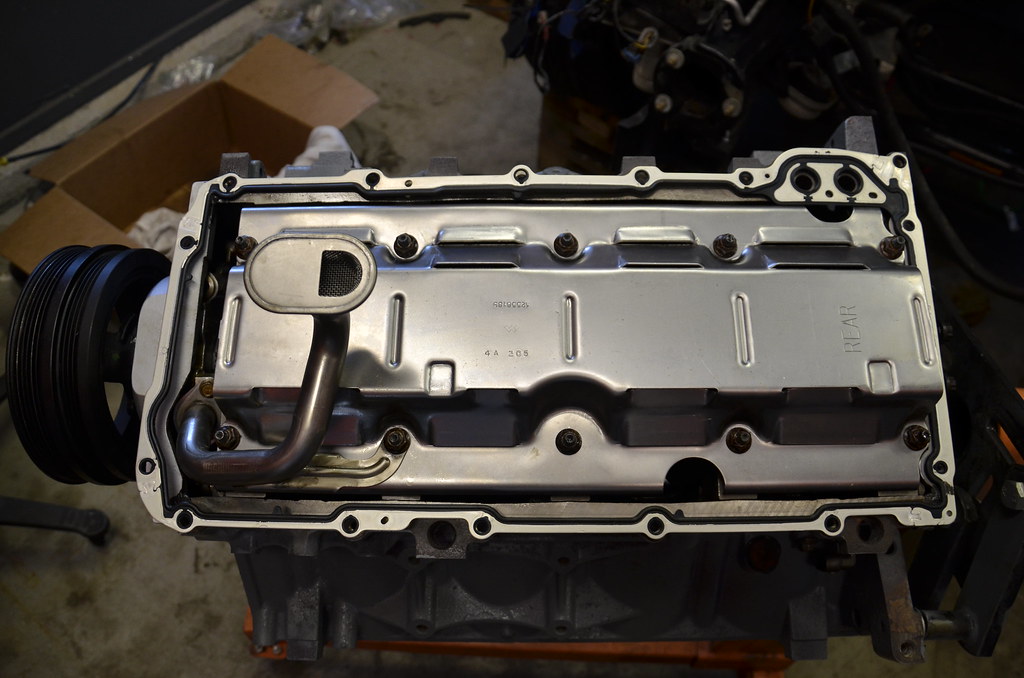
Oil pan on, aligned, and torqued.
 _DSC3884 by Norbert Ogiba, on Flickr
Leave a comment:


 Keep up the good work sir!
Leave a comment: