-
There are two B7's on this planet that I give any kind of a shit about, and this is one of them. DOPE car dude, real nice work. -
No gearbox
No mock-ups
Help me find a V160 / V161 gearbox guys
In europe .
And then we can have progressLeave a comment:
-
Ordered this .

Brake, Clutch and Throttle Pedal-w/ Throttle Link
Wilwood�s new floor mount pedal assembly has a brake / clutch / throttle triple pedal design. There are three individual fabricated steel pedals with non-slip pedal pads to control brake, clutch and throttle. Pedal assembly part number 340-12411 is for front engine cars and includes a throttle bell crank and linkage assembly. This unit features an aluminum frame with strong lightweight fabricated steel pedal arms. The frame and the pedal arms have a black e-coat finish for protection and an attractive appearance. Also included with the pedal assembly are mounting studs, clevises, and balance bar assembly that is designed to provide smooth and accurate settings of the brake pedal bias. The balance bar can be set and locked down with the jam nut, or attached to a remote cable for quick on-track adjustments. The pedal assembly provides a 5.25 to 1 nominal ratio.


Still have to source which master cylinders I want, but there is time for that.
CheersLeave a comment:
-
So seeing that I want to remove the lower part of my engine, mostly to put for sale the ClutchMaster FX850 and the Forged Internals, JE Pistons, IE Rods, etc,
I had a thing in my mind that I wanted to do . . . more like a fun thing, but very useful in my opinion . . .
So, sourced some materials. . .

And started playing . . .

I love this material . .

Started coming together

Added some hinges


And some places to put ropes if there is a need to pull from distance . . .

Added wheels, all with brakes on them, although, in the middle there wasnt much need, just there for support really

Yes, looking good

Something is missing . . . Oh yes . . .

LoL

Ready to roll


Cheers
Leave a comment:
-
Leave a comment:
-
the most beautiful project that i ever saw... you put soo much love into this... congrats, the car is just Awesome...
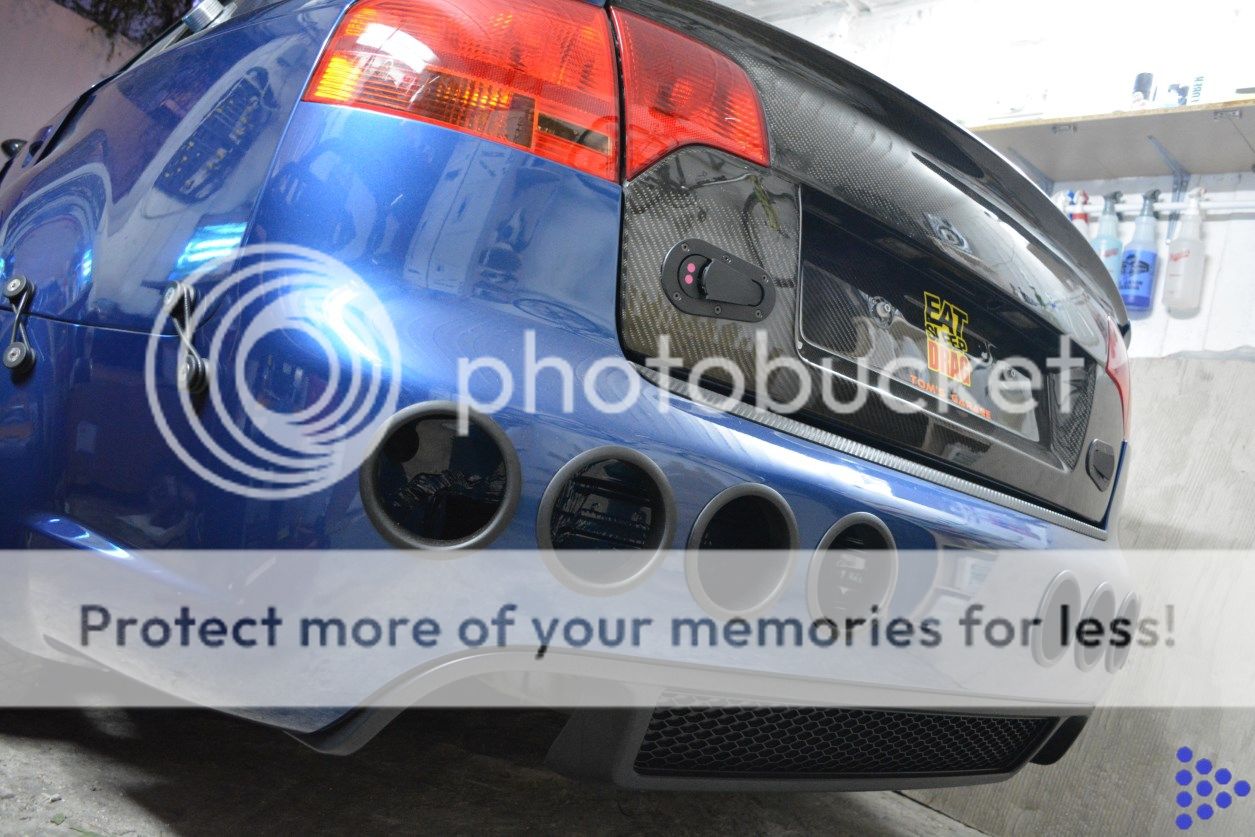
i have a few question ... how did you manage to get those holes in the rear bumper ?
and how that things that u have them in both front and rear bumper are called ? i mean, it looks like studs, but they are connected with something that looks like hose gum...Leave a comment:
-
So . . . remember this ?

Missed it much ? I know I did.
Just look at that stance . . .

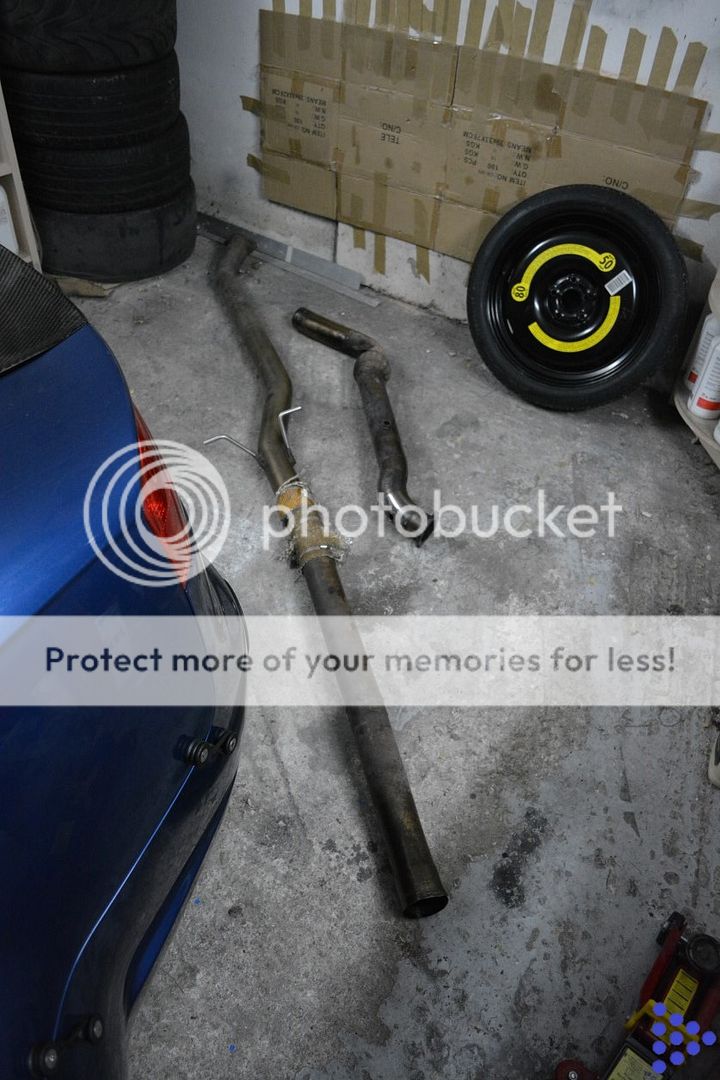
Thought I'd do some work this evening since I had some free time off work.
Next on my to-do-list, was remove the exhaust. I Figured it wouldnt be too hard, since the muffler is gone, the turbo is gone that the front of the downpipe is free of bolts, what the heck, just two hangers below the car, and that would be it . . . however . . . you know how these "quick" projects turn out to be eventually.
Grabbed my tools . . .

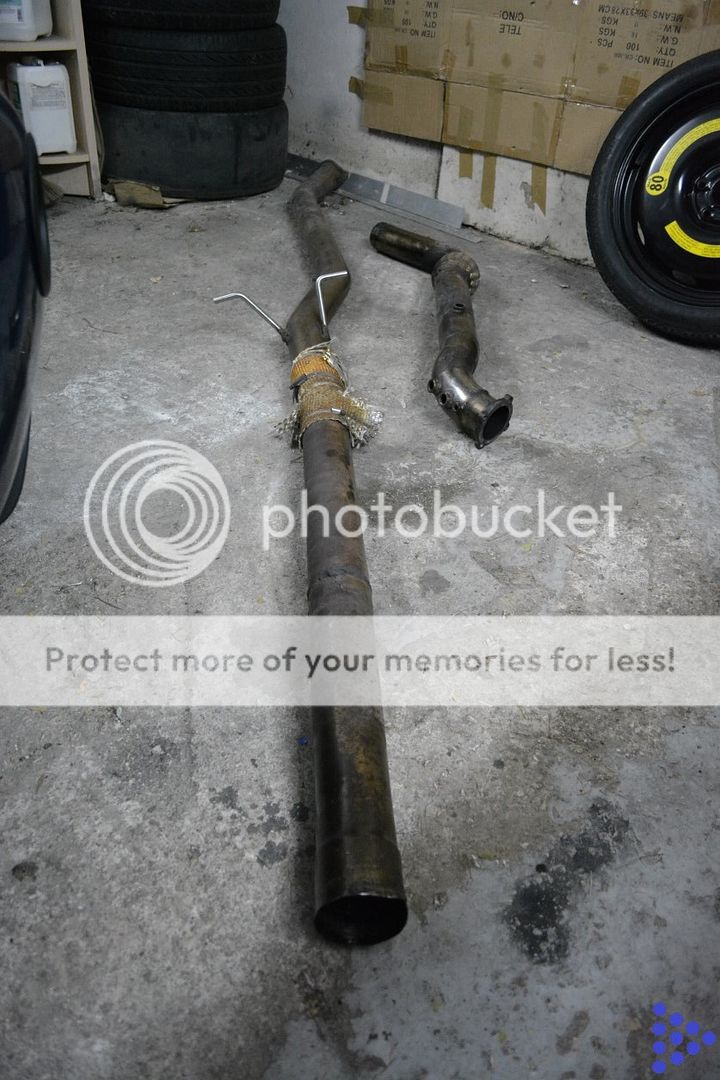
And down came the middle/rear part of the exhaust
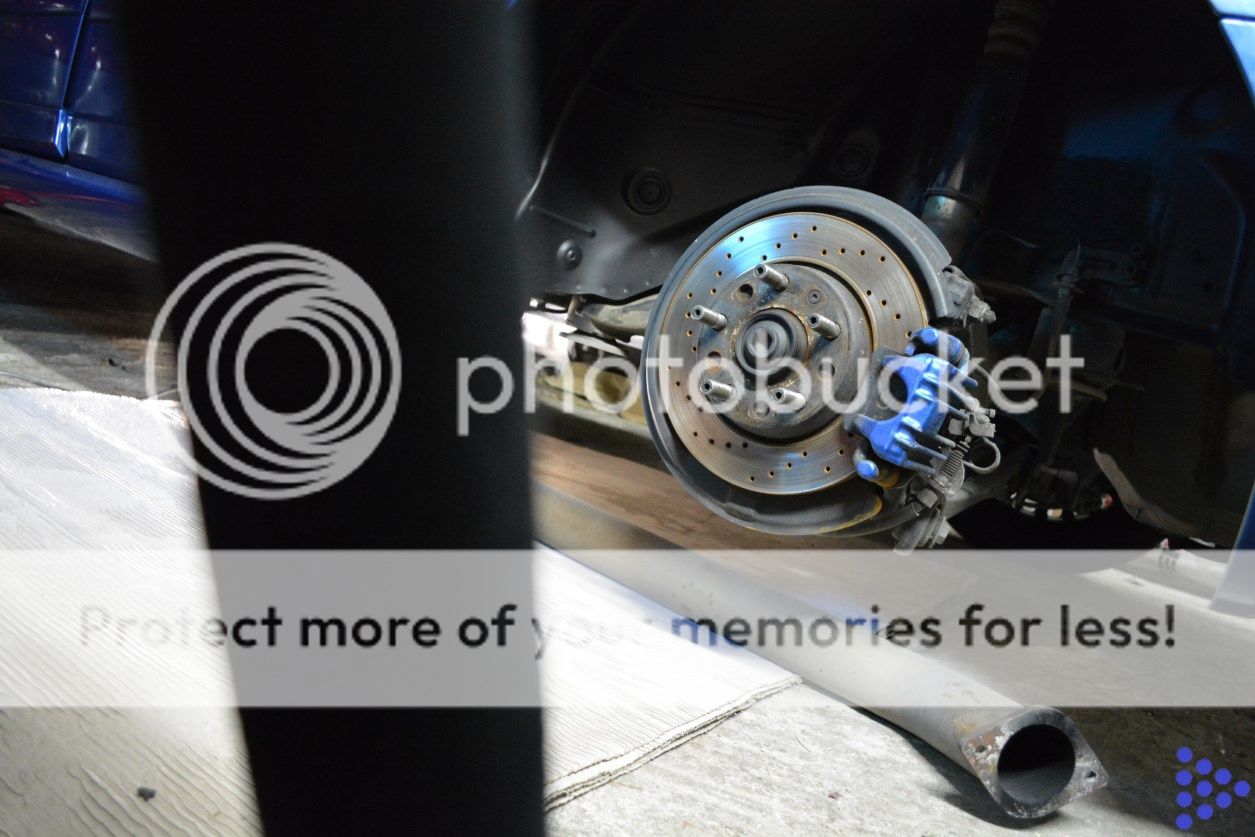
But, it could not be removed off the car, because as you can see in the following pic, the downpipe wouldnt clear the gearbox mount and the subframe
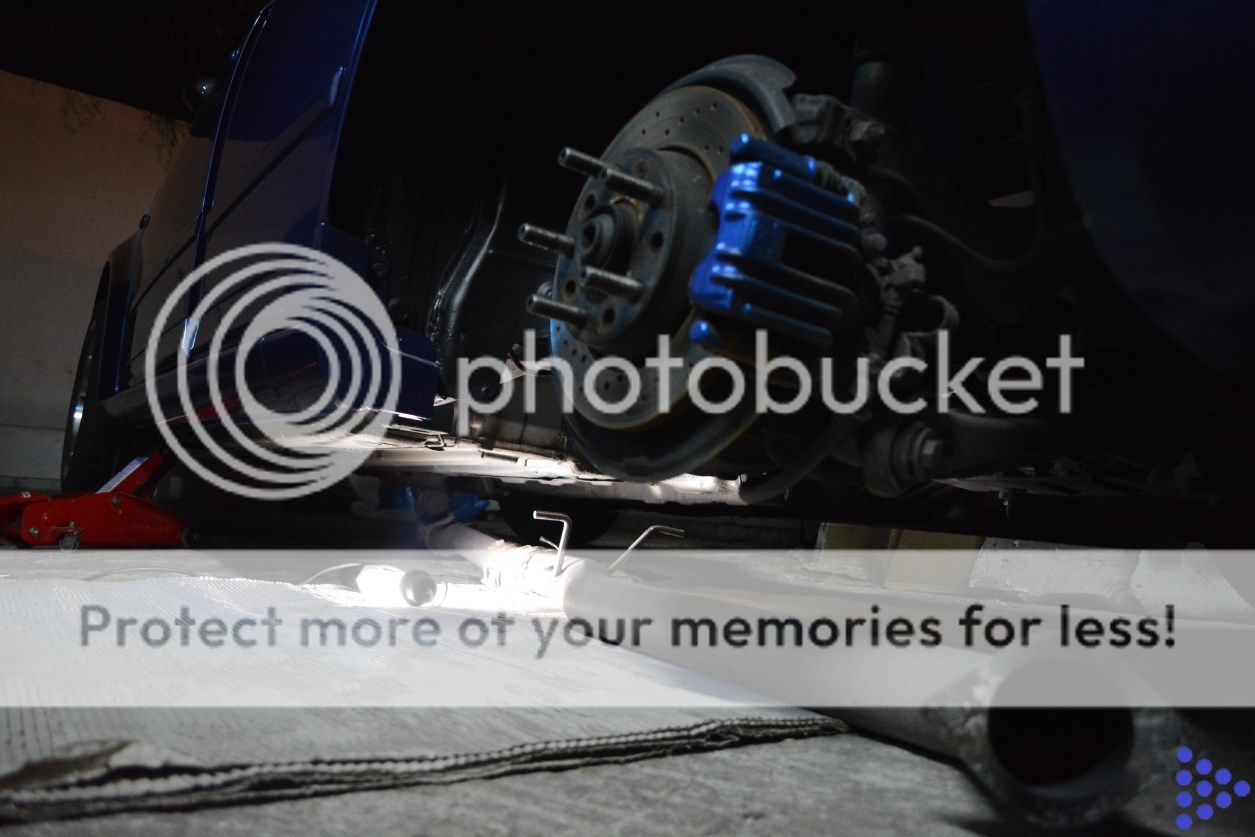
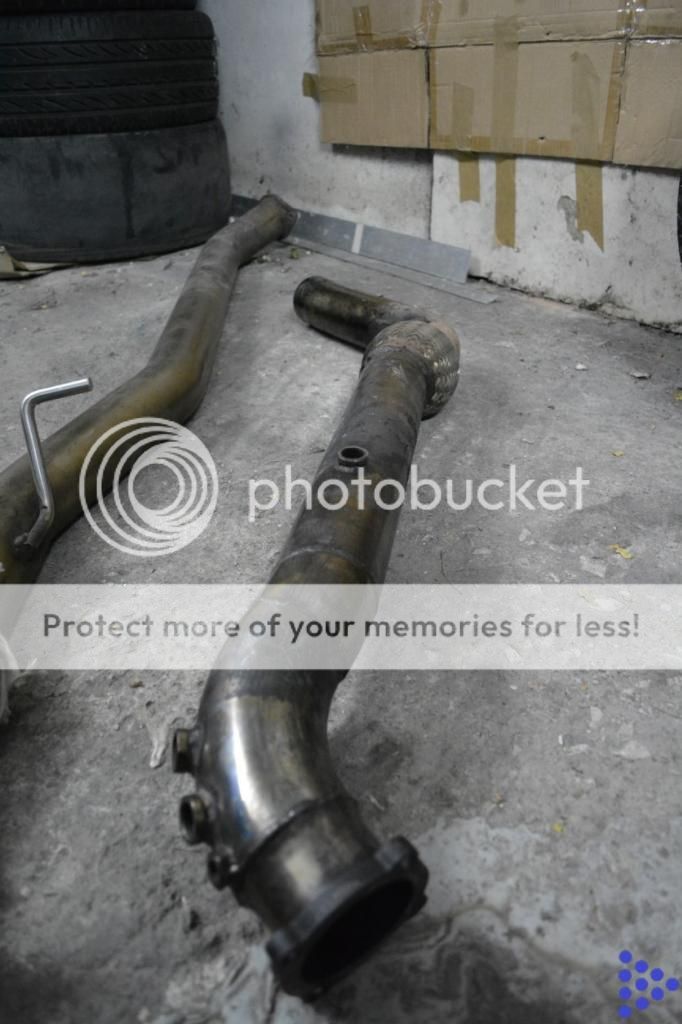
Damn. I then had to remove the connection of the downpipe with the catback.
Note to all : If by any chance, ANYONE, suggests that you connect two parts of the exhaust without flanges and bolts, or v-bands, but instead, with one pipe sliding into the other, and then a clamp, please, dont accept it.
If you do, there will come a time, when you will regret it.
You guessed correctly, I spent about 1,5 hours of my life, trying to loose that connection, spent about a can of WD-40, and a lot of hammering, but made it in the end, cause let's face it, I wasnt leaving the place if I didnt remove that exhaust.
I see no DownPipe section there, so I must have done something right
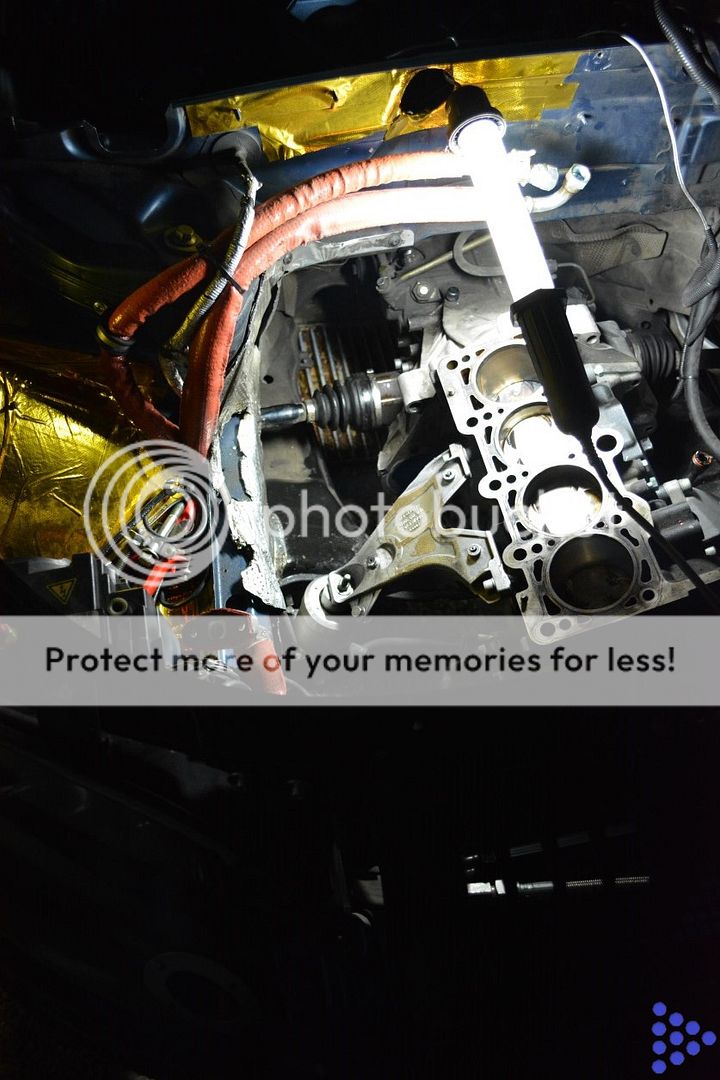
There she is
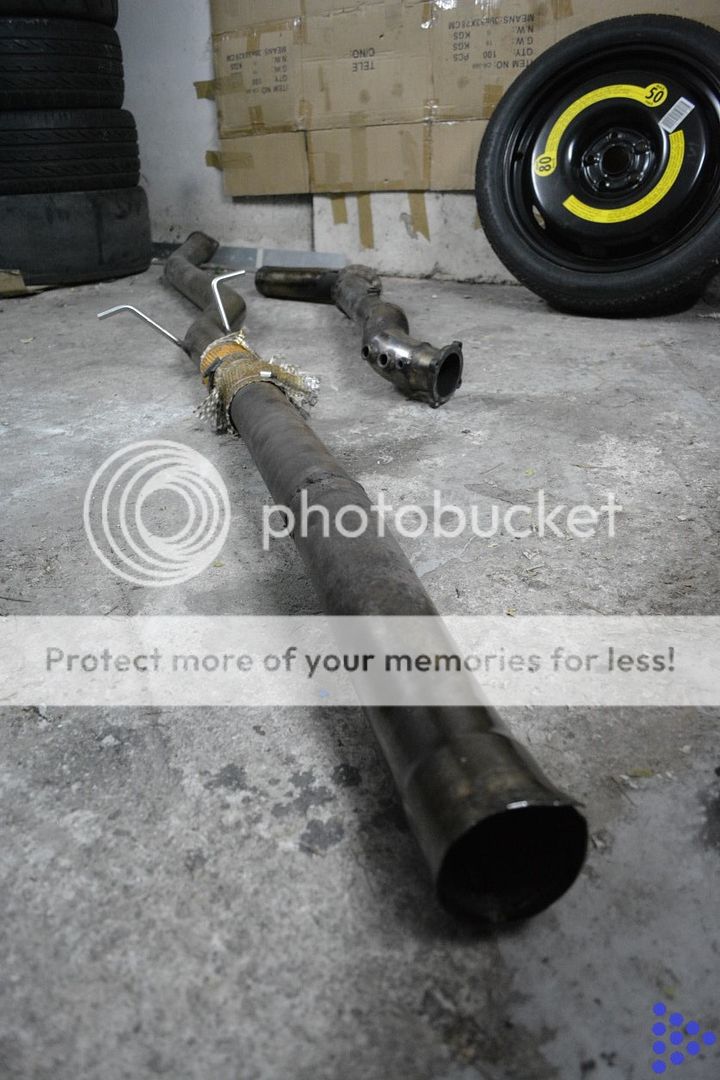
For Sale of course, as all are most of the things, soon on ebay as well.
Okay Audi, Time to go to bed

CheersLeave a comment:
-
Really enjoy checking this thread out every now and then, so much work going into this build, keep it up.Leave a comment:
-
Thank you my friend.
On another note, maybe this car needs a thread of its own . . .

Leave a comment:
-
Doc u are one maaad person. I love your car can not wait until its finnished subbed
Leave a comment:
-
I can understand that, but I bet its eating away at you though, waiting to see what it looks like all together. Ever since I got a suede wrap for my steering wheel I've been wanting more suede in my car...makes me wait to learn to sew hahaLeave a comment:
-
Well the reason you dont see any such pic, is because, even though I wanted to do that, I didnt go ahead with it, because i will have to remove it again for the forthcoming swap.Originally posted by JagRacer View Post
So there is no reason to get into all that trouble for the car to sit in the garage, and then remove all things again.
thanks for the support
Leave a comment:


Leave a comment: