Announcement

Collapse
No announcement yet.

1967 Pro-Touring 122 Amazon (Project Volvo X)540 Horsepower LS6/Tremec TKO600 5-Speed

Collapse
X
 
  • Filter
  • Time
  • Show
Clear All
new posts

  • Iamtheonlyreal1
    replied
    Here are some more body shop updates, and we are at some of the initial stages of the sanding/blocking, which there will be several more block sanding/guide coating sessions coming.. We will continue priming/guide coating, along with alot more block sanding, until we get all the imperfections out of the body. If people would take time to do this process in a couple of stages before painting, there would be alot better looking paint jobs out there. Anytime you apply layers of Primer or Coatings to various area's of the body, you will have varying surface levels and contours, so you have to take the time to make sure you have all the varying coating levels blended into each other. Until you take the time to level out the whole body surface with the final priming/guide coating and Block sanding, you will have the appearance of ripples, rather than have a true mirror/glass appearance.

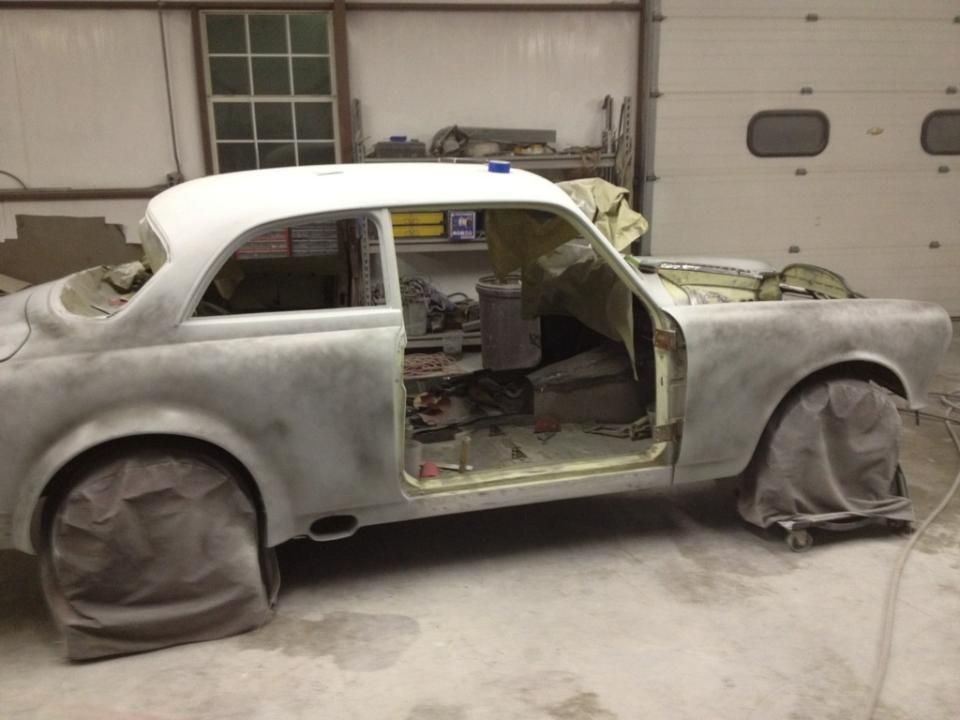
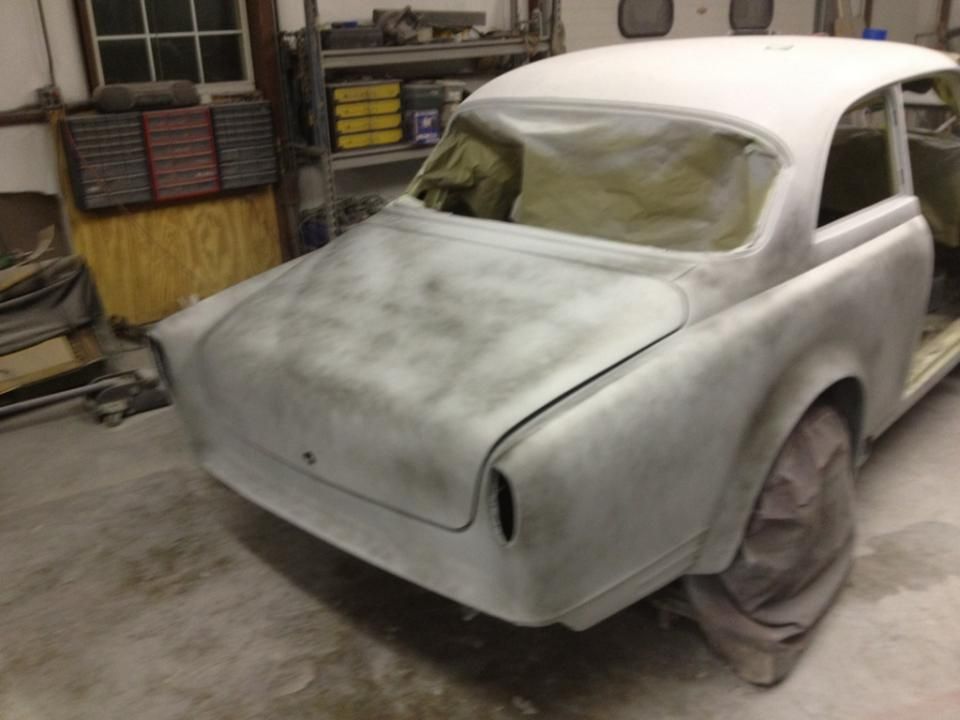
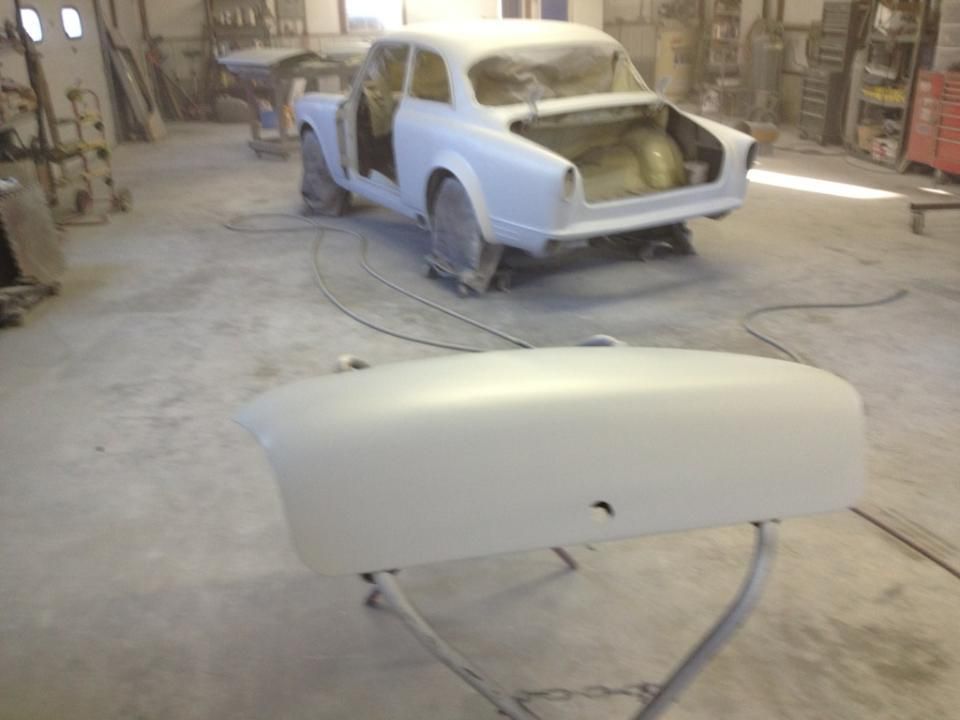
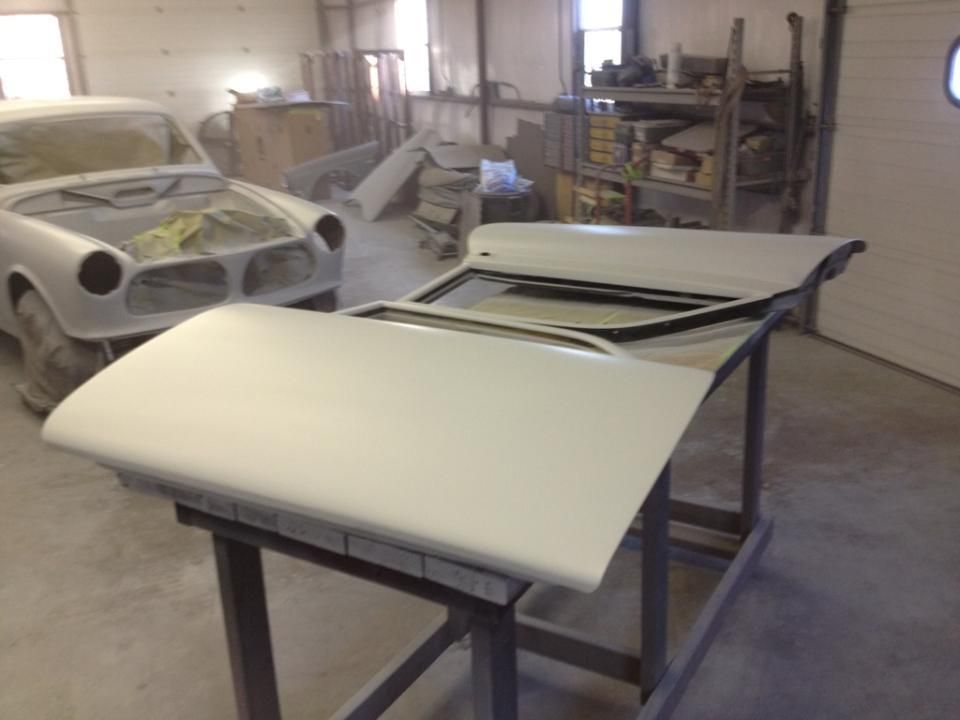
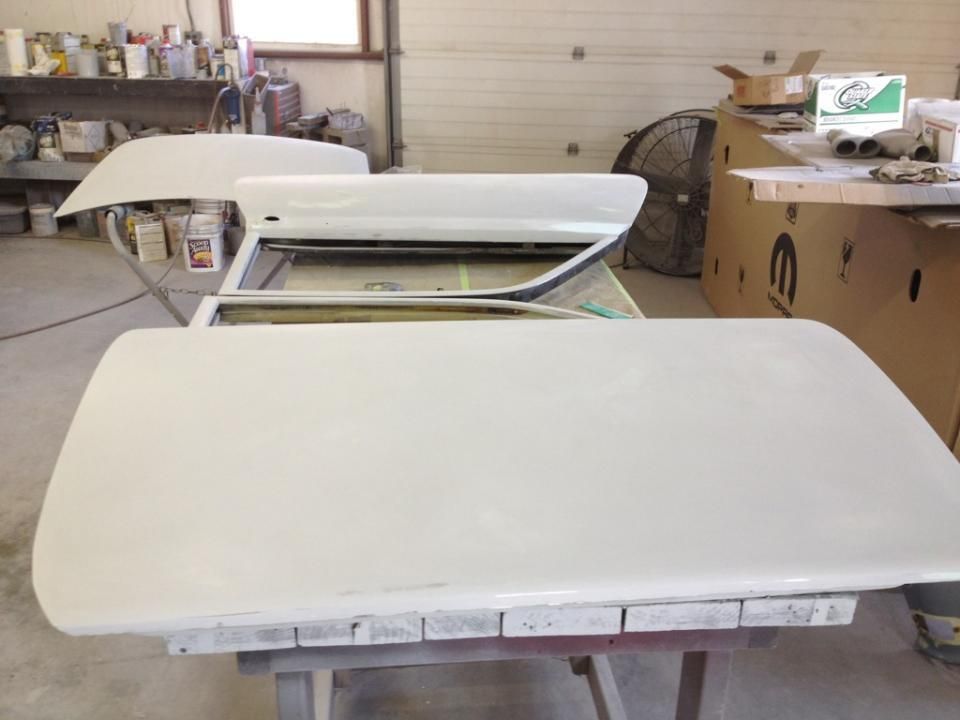
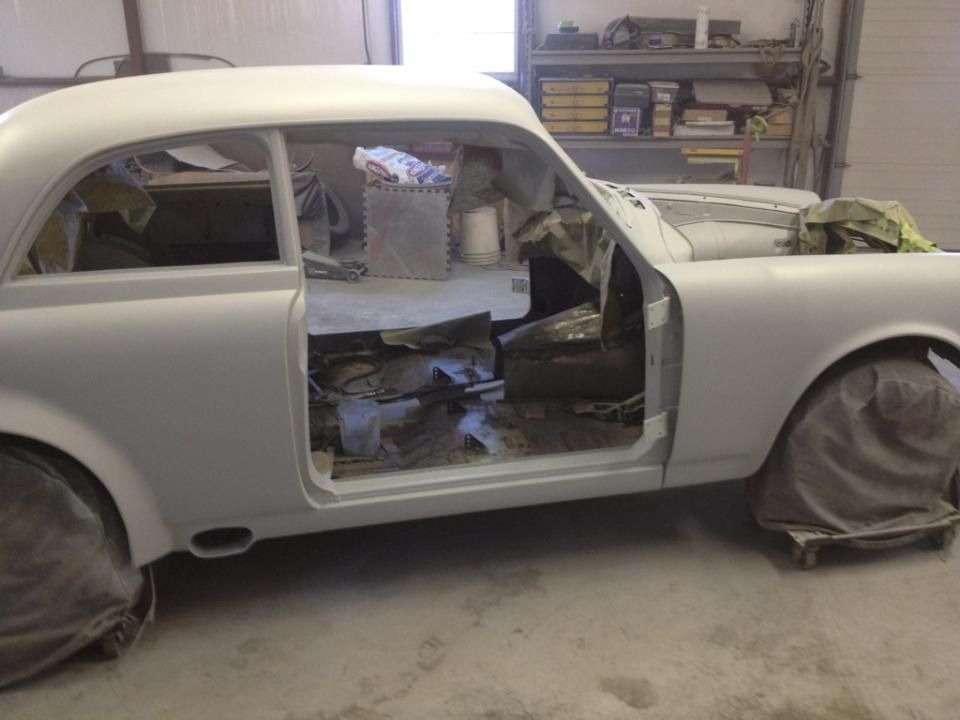
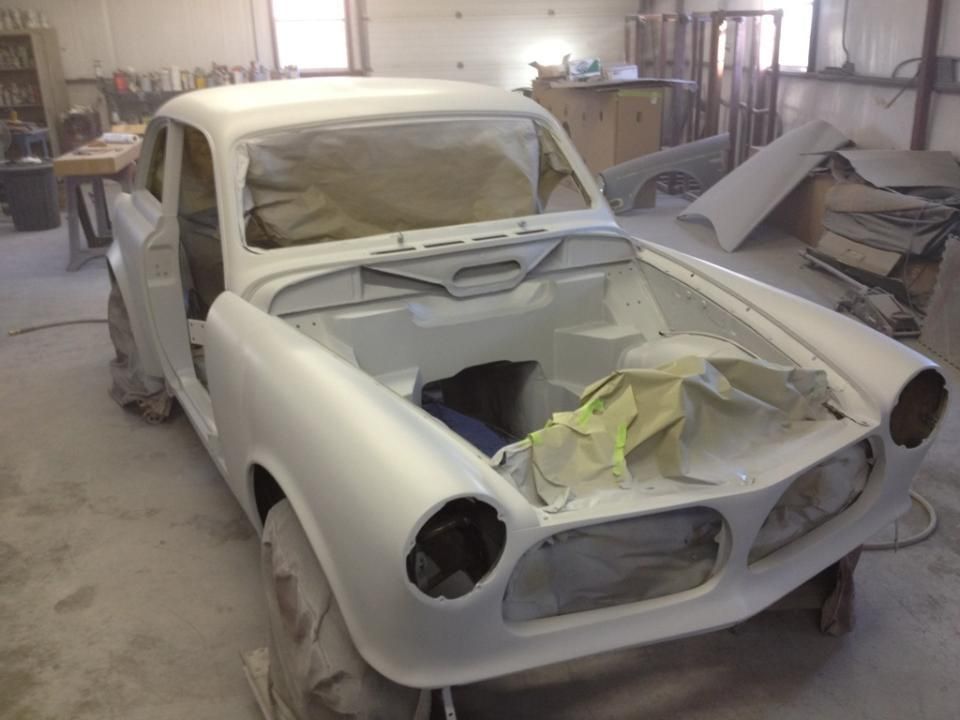
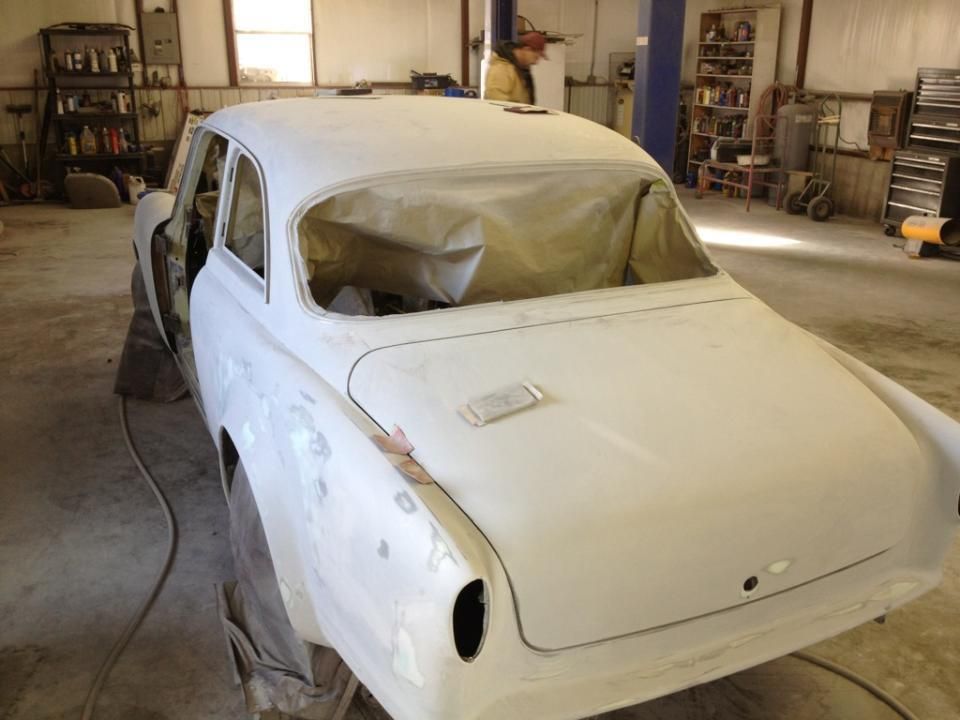
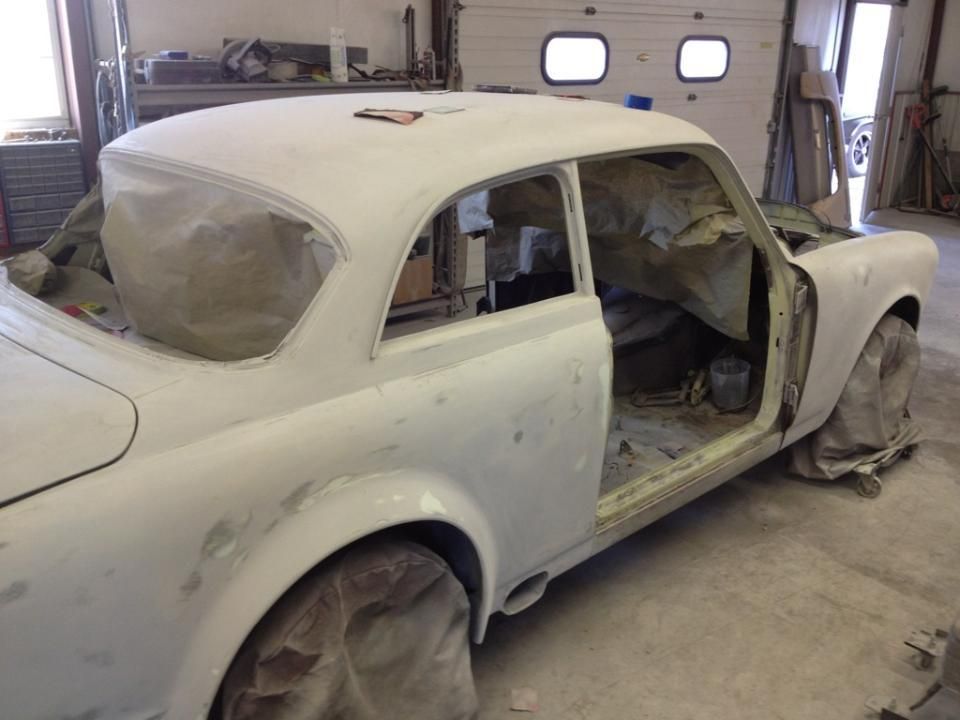
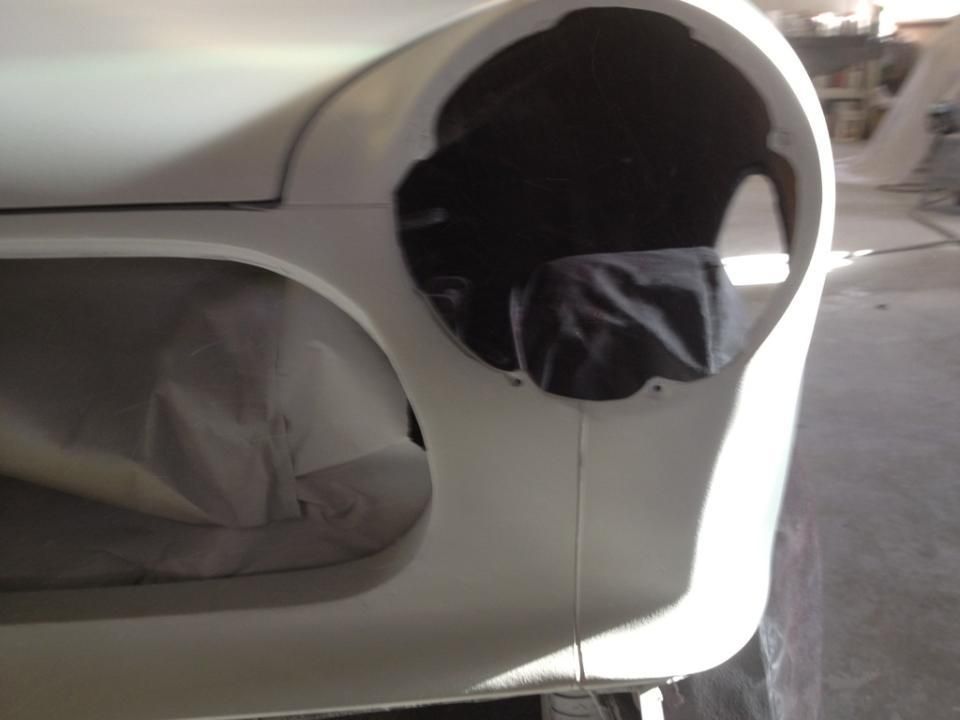
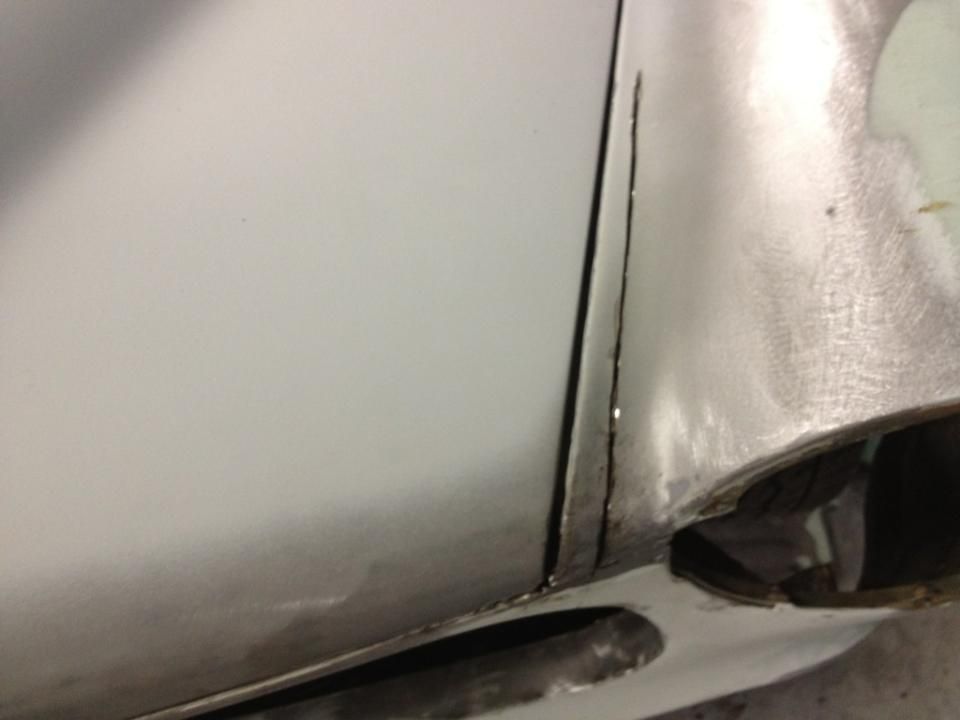
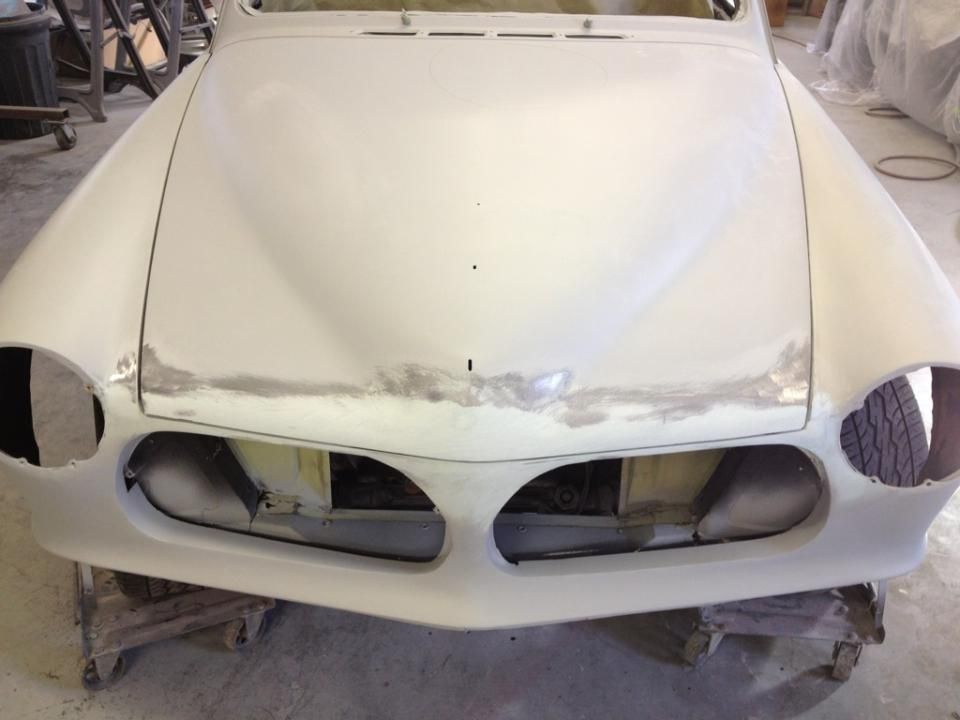
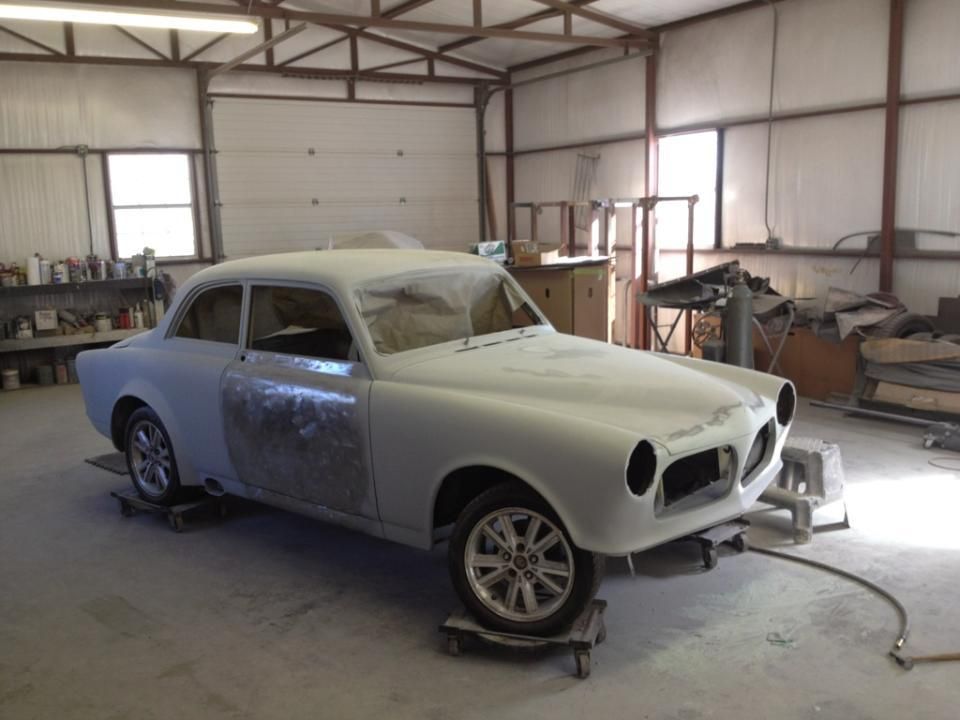
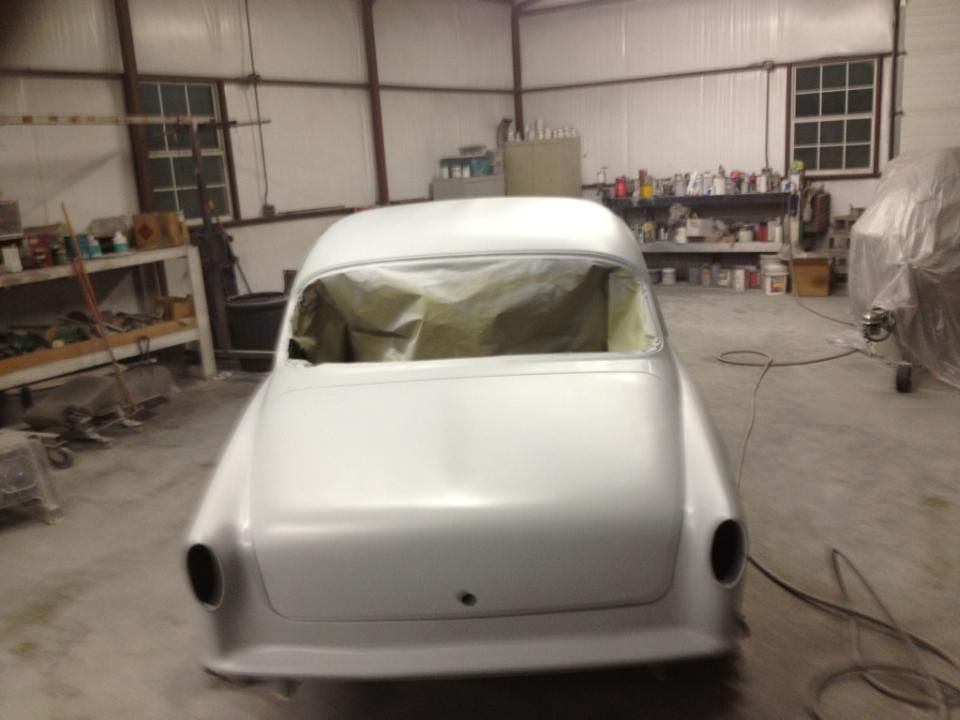
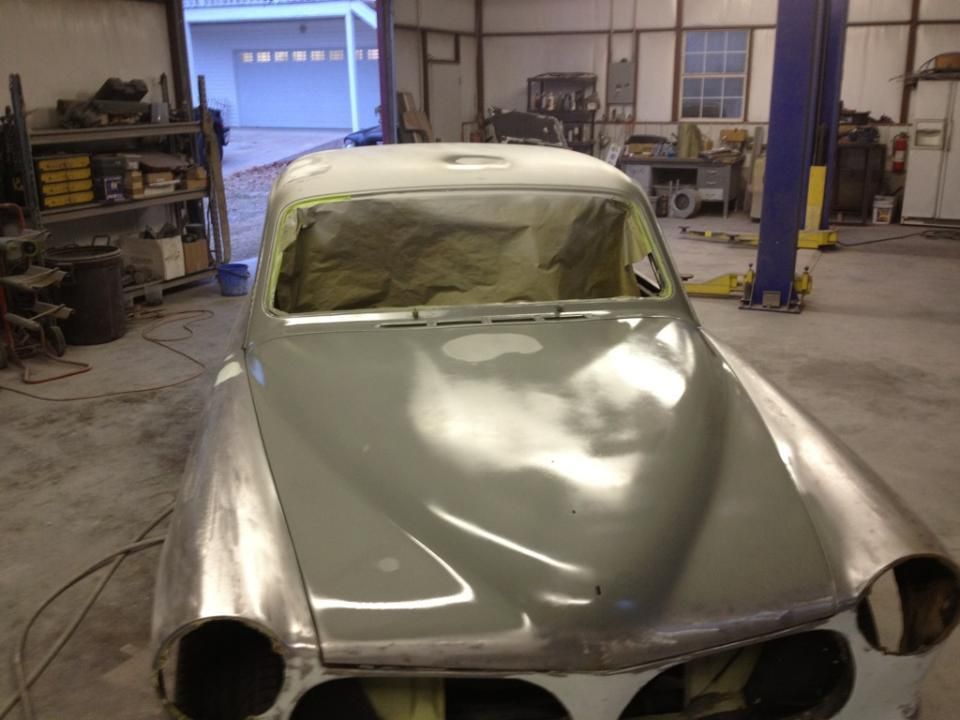
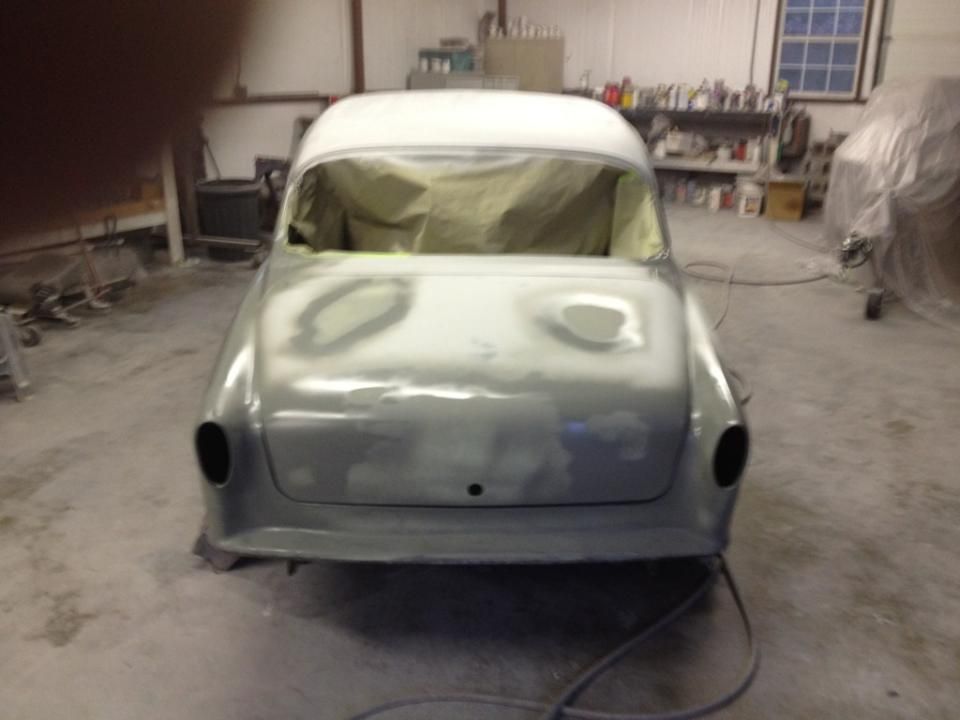
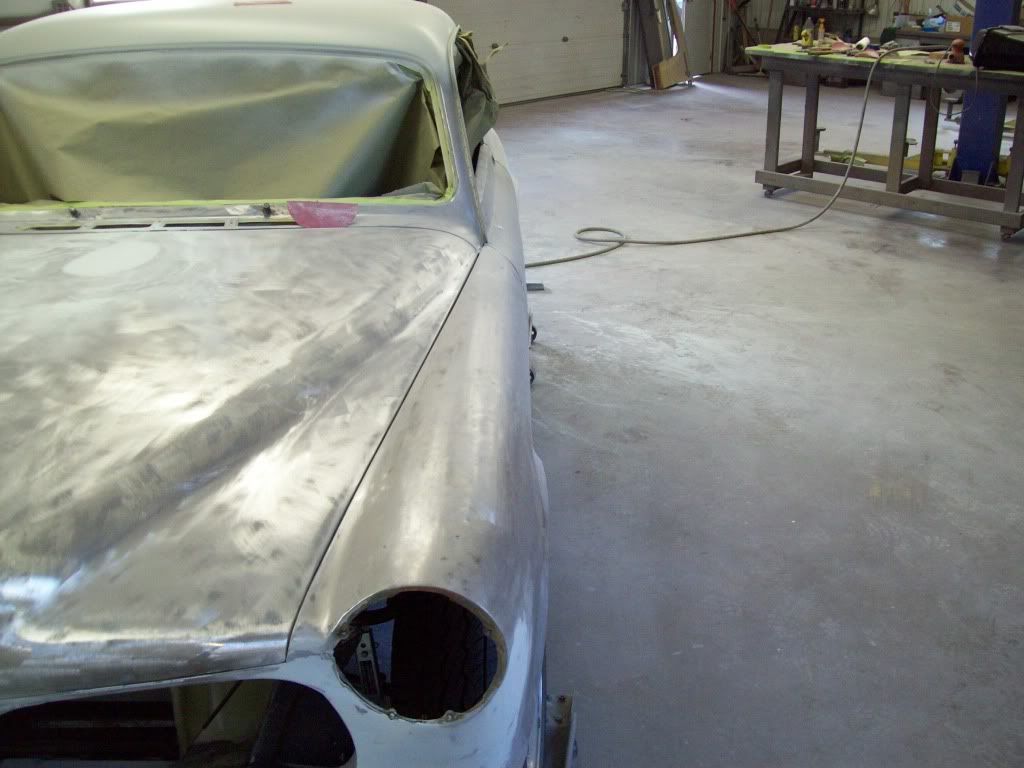
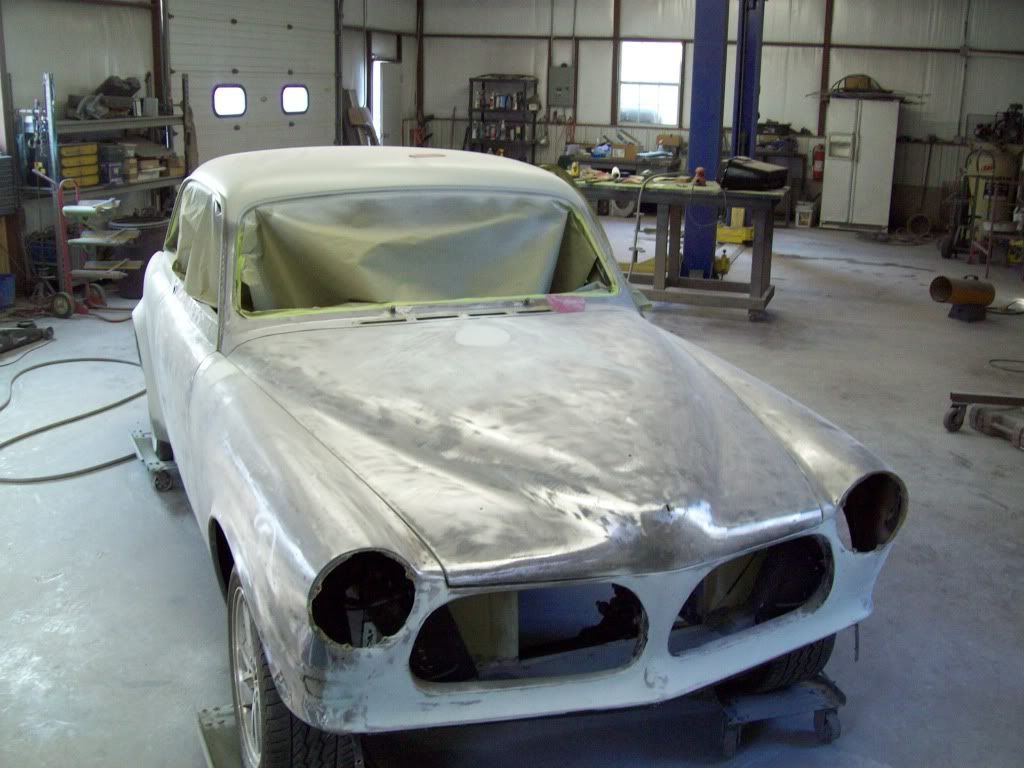
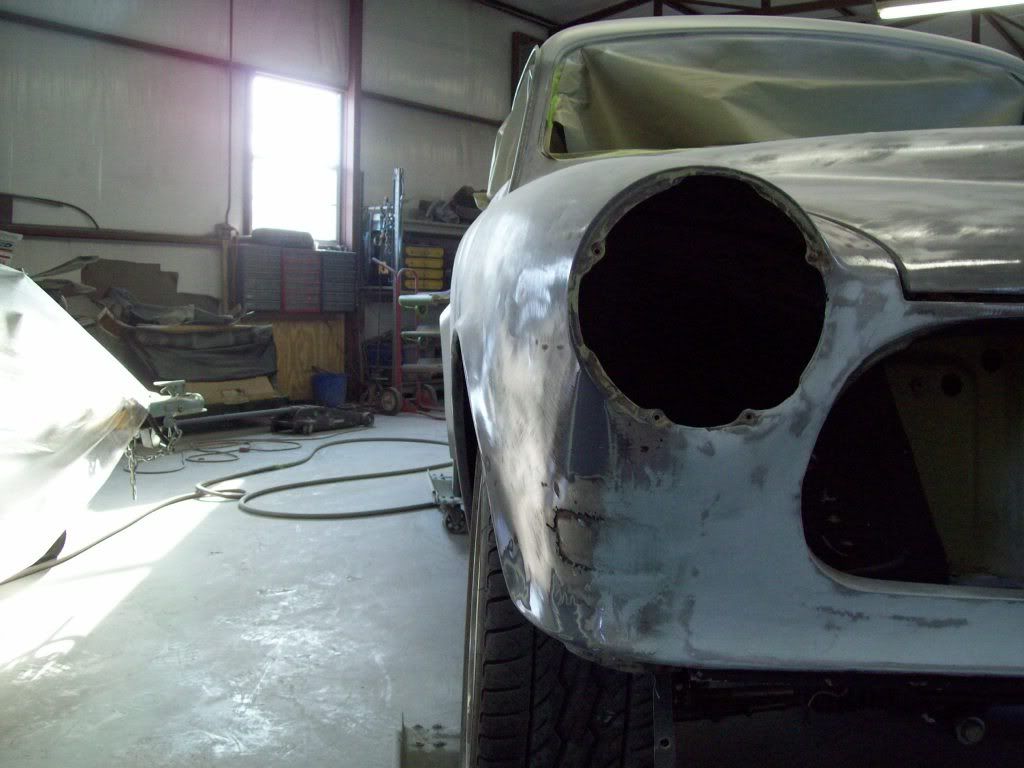
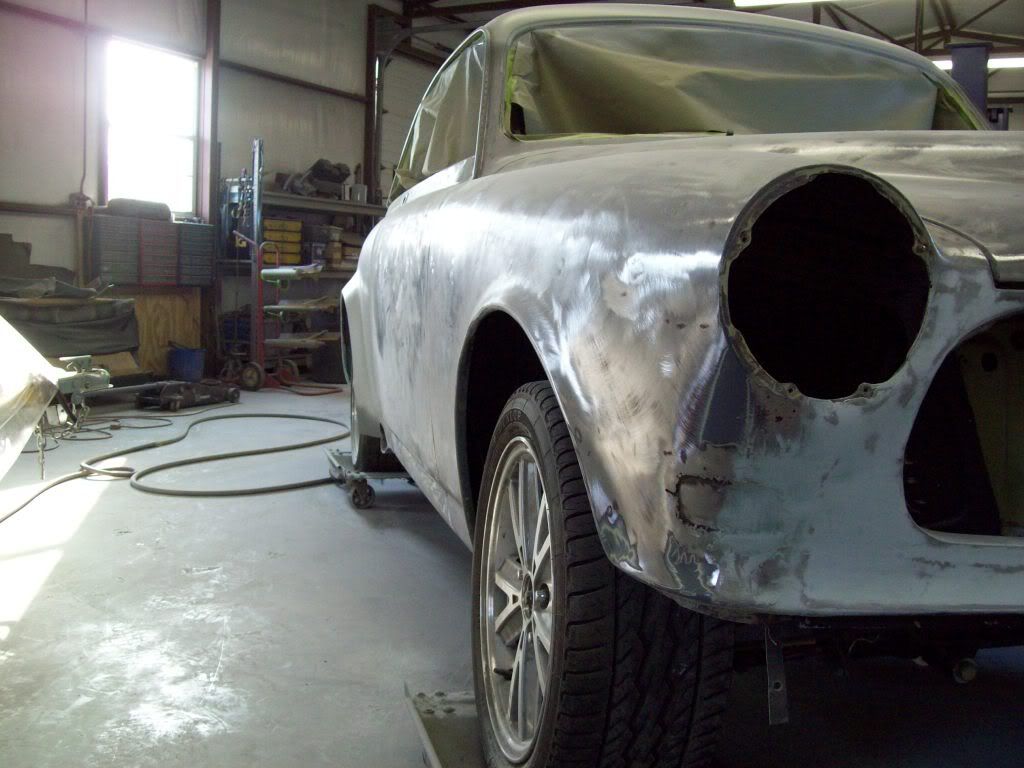
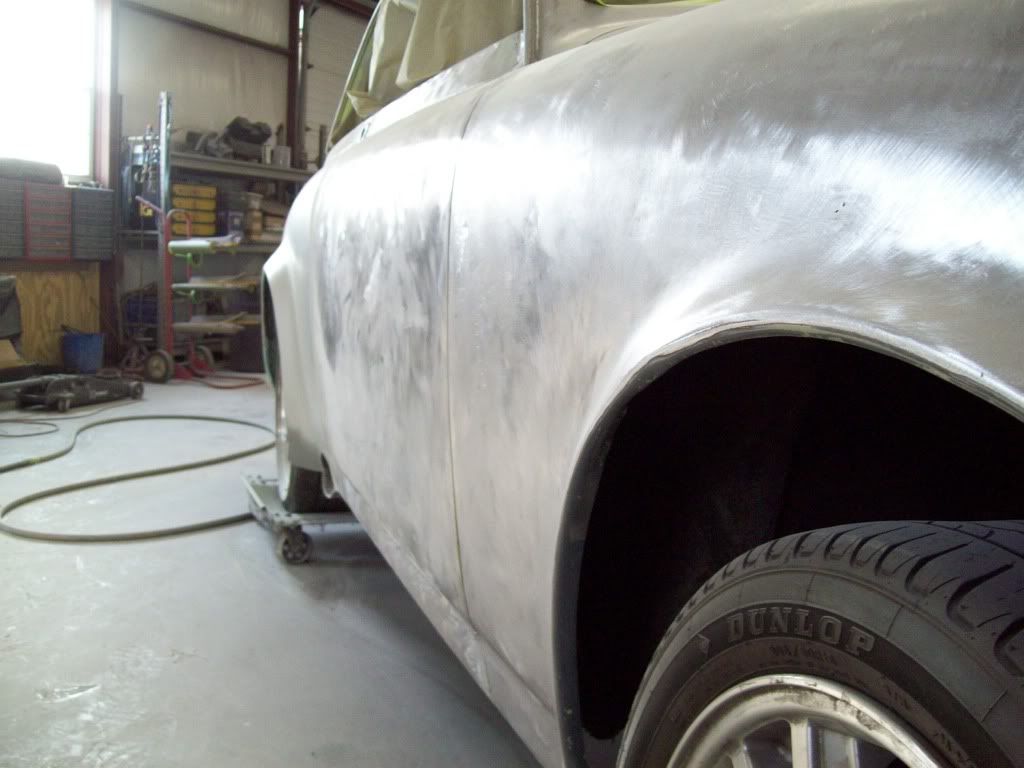
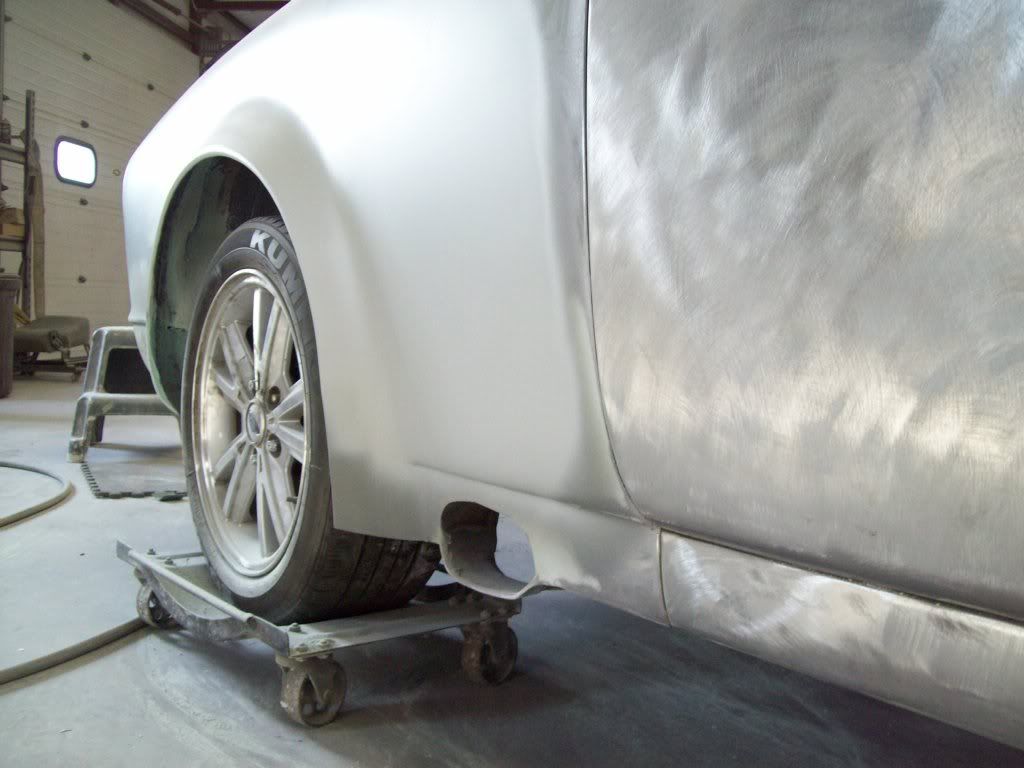
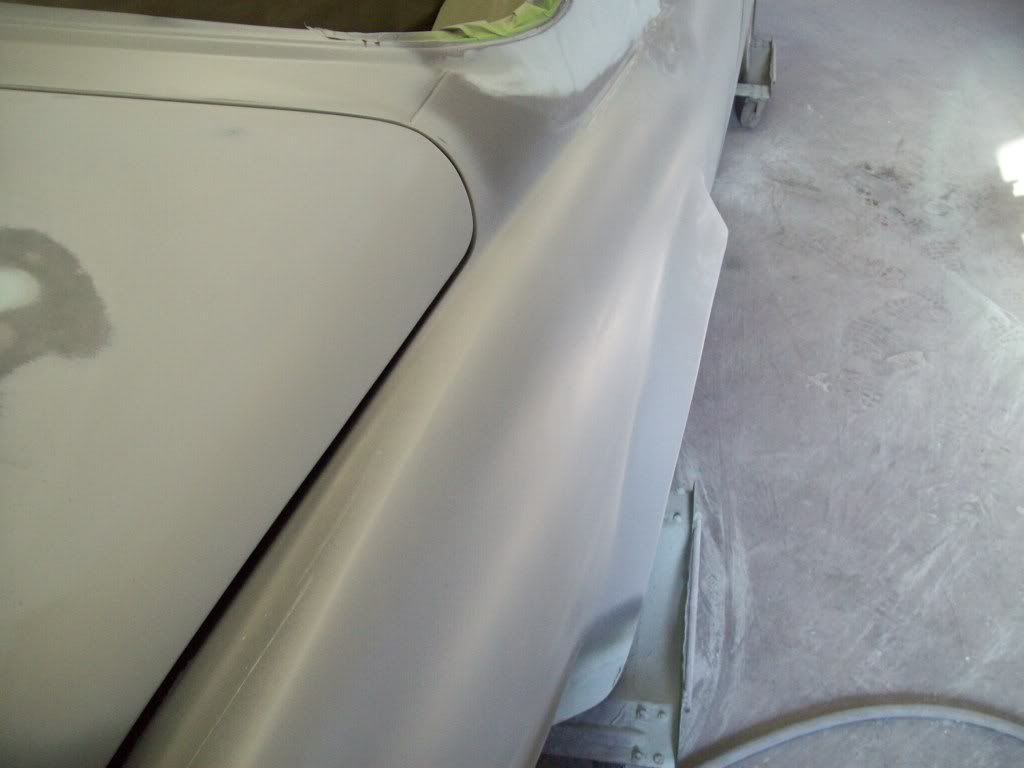
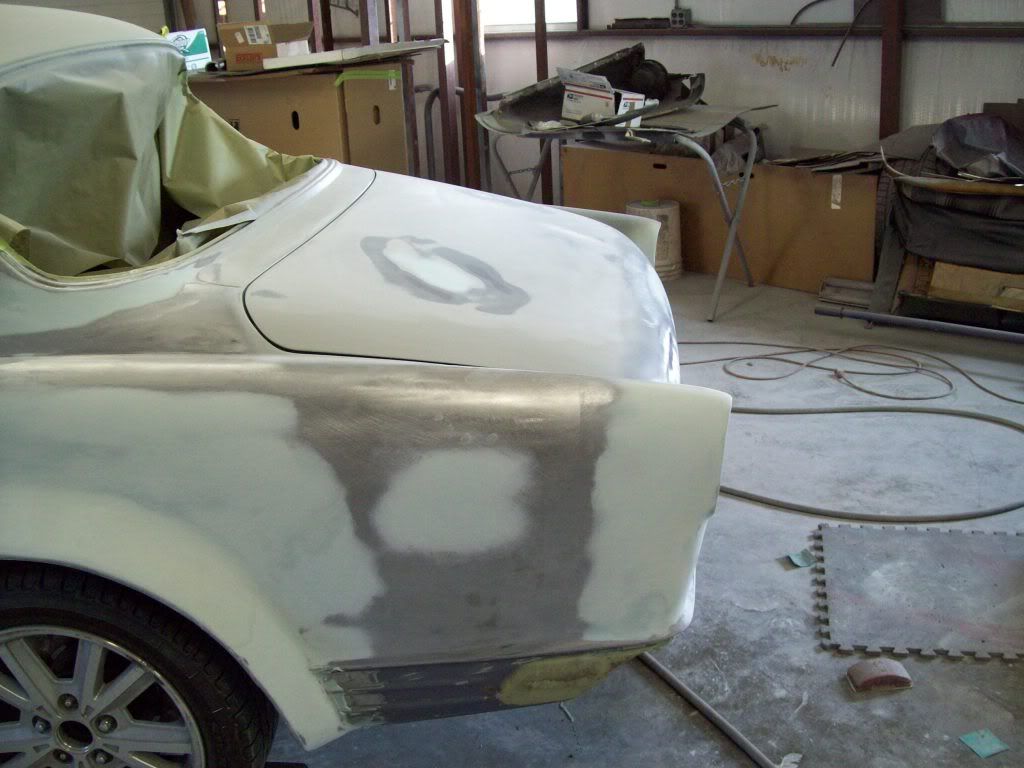
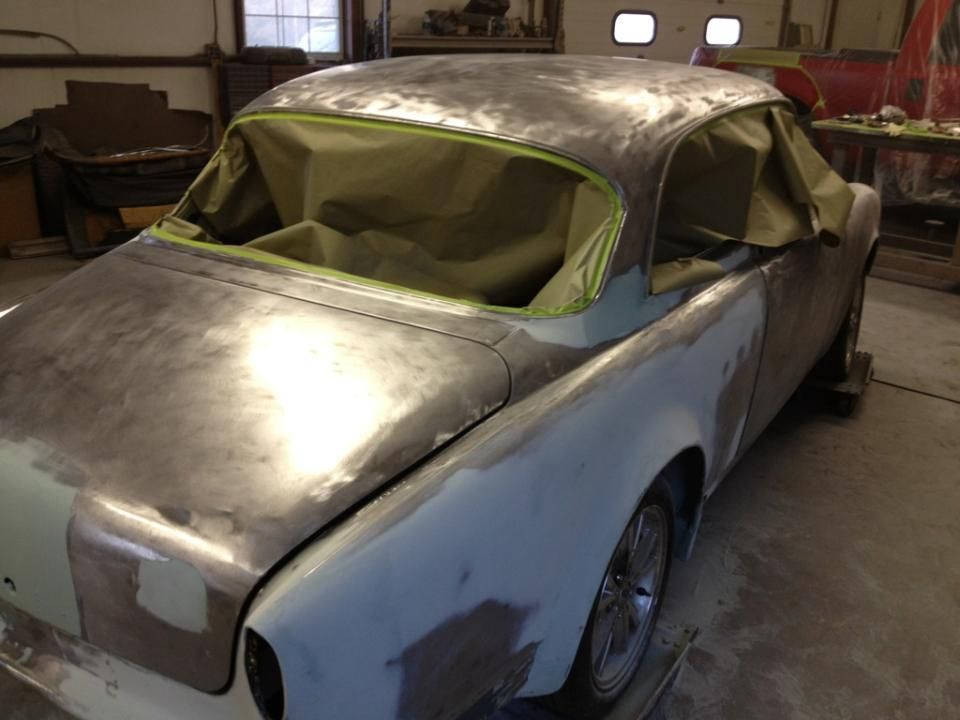
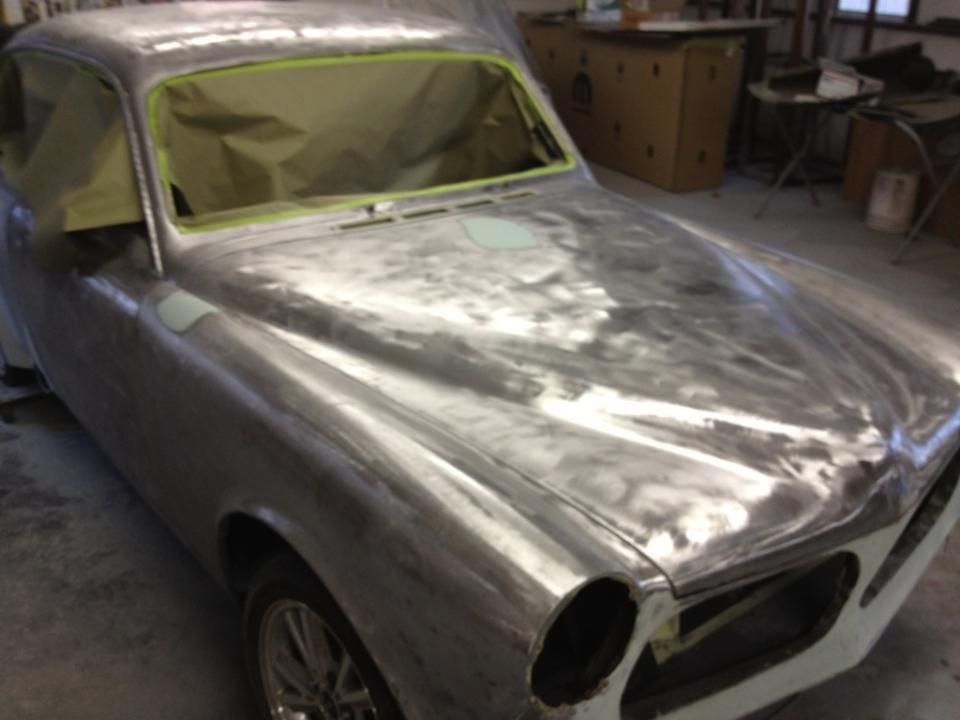
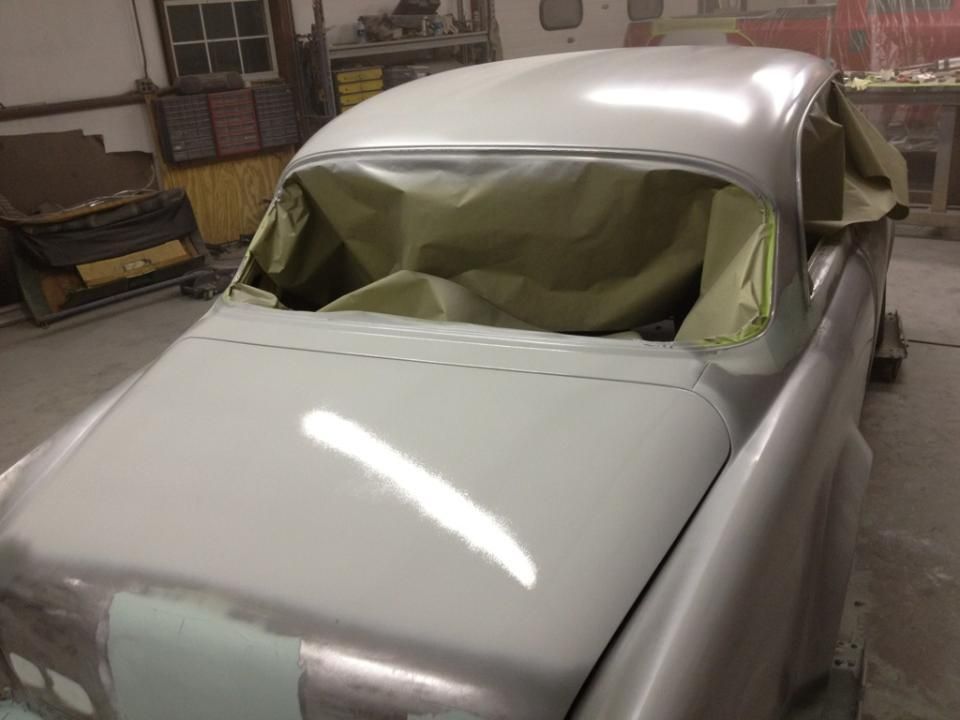
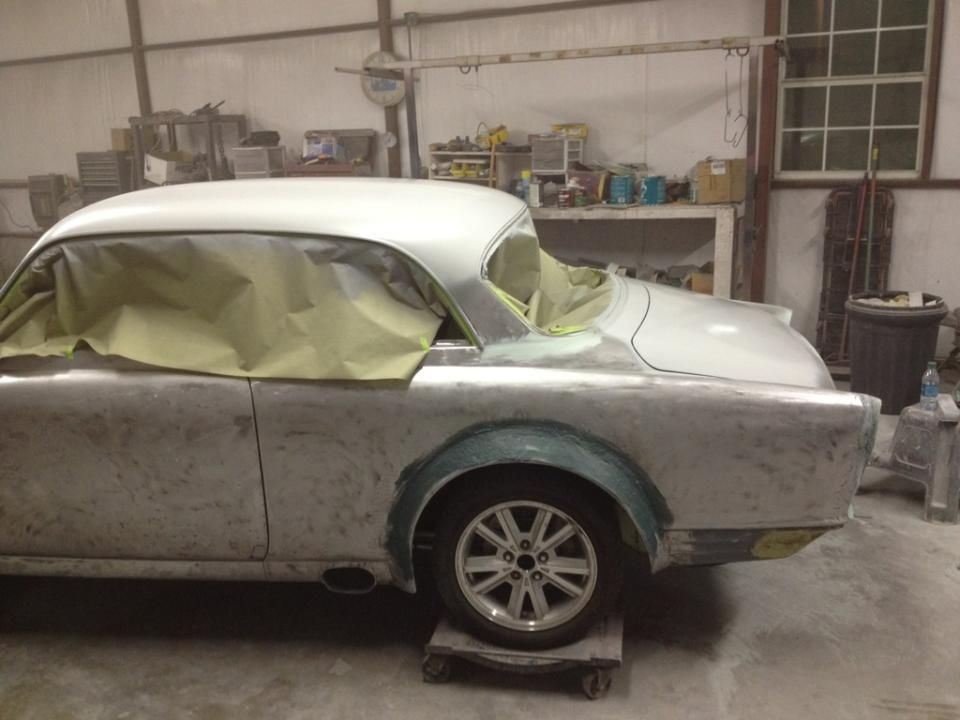
    Right now, the door, hood, trunk jambs are all being worked and primed, so they can all be painted before assembly.. After those area's are painted, we will re-assemble the car, and do the final block sanding/blending, and then it will be ready for final paint. The engine bay is coming out quite nice, and will be very clean once it is all completed. I havent been posting as much of this process, because it really all starts to look the same, so the subtle differences arent really noticed in pictures. The body work is flying along, considering we are battling the flu bug in this area, but we should be in full paint in a week or two.


    Leave a comment:


  • Dave_The_BMXER
    replied
    I've had this build open for months until I had the time to go through it and I finally did.

    Stellar work man.

    Leave a comment:


  • sdosmill
    replied
    this is such an epic build! the attention to detail is incredible...great job!

    Leave a comment:


  • Iamtheonlyreal1
    replied
    Here are a couple of pics of the front facia panel, with the new roughed in hood gaps, and the OEM Seams accents added... Eventhough I do like a clean look, I added the seams back in the panel, because they actually make the facia panel's compound angles make more sense.. The front panel/fender blend could have been basically flattened out where they come together, but these front ends are a bit more dimensional complex than they appear right off, and I wanted to keep that feature.. Pictures tend to flatten the front end features of these cars, but they actually have a very accented front pointed nose, because the front facia panel actually curves back in, before extending forward again to meet the fender attachment. The facia also has another curved contour from top to bottom, where it is extended forward at the top and bottom, with a gradual inward curvature in the center..


    Leave a comment:


  • Iamtheonlyreal1
    replied
    Here are some more bodyshop update pictures, and it is getting closer. Once the doors are roughed in, it will be a matter for blending and blocking it all out, so it shouldnt be too much longer.. Once the body is all one color, and it is ready for blocking/blending, we will start posting pictures of the engine bay work.. As I have said before, my guys have a process of completing everything in sections, and that helps to keep from loosing smaller imperfections overall.

    Here are some pics for the front end pics.. As you can see, we had to do a bit of modifying to the left fender, so the gapping would be correct.


    Leave a comment:


  • Iamtheonlyreal1
    replied
    Here is another body shop update, and it seems to be coming along.. My guy normally does things in sections, so he can be dedicated to particular panels, so things dont get missed in what could be an overwhelming job.


    Leave a comment:


  • Iamtheonlyreal1
    replied
    Originally posted by alllyellow View Post
    Drains are a great idea. Like your idea and being able to position it as you have i think will really make a difference. I happen to have my front drivers side interior door panel off on my amazon wagon and with it raining today I was curious to see how much water was pooling inside the door. I was thinking that there would be a pond. Not that bad, but I had been thinking for some time now that if I'm really going to drive my car on a regular basis "not just on sunny days" I may need to address the drain issue on my car. None of the doors have drain holes on the bottom.
    Adding a couple of simple drain holes is always a good idea with these cars, so I would definilty do that.. The drain kit in question, is really for strategic areas in these bodies, that hold and gather water. Mostly the trunk area's, especially the P1800, and other areas like the Windshield/Back Glass openings that are notorious for rust.. Alot of the early General Motors Cars with gasketed windshields and back glasses, actually had rubber drain fittings in the corners of the front and rear window channels. They would actually go bad in time, and still cause issue, but these Volvo's have nothting, so they are notorious for rust and leaking..

    Leave a comment:


  • alllyellow
    replied
    Drains are a great idea. Like your idea and being able to position it as you have i think will really make a difference. I happen to have my front drivers side interior door panel off on my amazon wagon and with it raining today I was curious to see how much water was pooling inside the door. I was thinking that there would be a pond. Not that bad, but I had been thinking for some time now that if I'm really going to drive my car on a regular basis "not just on sunny days" I may need to address the drain issue on my car. None of the doors have drain holes on the bottom.

    Leave a comment:


  • Iamtheonlyreal1
    replied
    Here are some more body work updates, and I tried to highlight a bit of the gapping work that has been done so far. These are still bare metal gappings, so you can see it isnt just a build up of bondo or some other material.. You should also be able to see that the raw metal on each panel is level with the corresponding panel, and that is without bondo or glazes also. There still a bit more to be done, but they are really starting to shape up..

    I have also tried to take some pictures that would show how the flares look proportionally to the body, but that is hard to do.. Even with the rear flares , the front end body work is still wider than the rear of the car.


    Leave a comment:


  • Iamtheonlyreal1
    replied
    Well I received the custom headlights I have been working on today, and they are not what they are suppose to be, so I am a bit surprised.. I objected to the "SICK" logo in the last batch of updates, because they were to in your face, and not the best word to be the focal point at the front of the fenders.. The previously purchased and showcased lights did not have the etched logo, and these lights were being made to my design and specifications, so I dont understand the bold in your face logo. This light version was suppost to be the same basic setup as the previous pictured lights in this build thread, with the exception of a new seperate Turn/Park lamp at the bottom of it, and they were suppose to be the same clear outer lense.

    With what I recieve, he apparently put a fluted outer lense on it, to hide the SICK logo, but that wasnt suppose to be the case at all. To make matters worse, the fluting actually conflicts with the position of the Projector Lense, so it all just seems out of sorts. I was told that this was his only solution to the matter, because to remove the logo involved destroying the whole light assembly, and there isnt any returns.


    Leave a comment:


  • Iamtheonlyreal1
    replied
    With these Classic Volvo builds I have found area's in the car that have no drainage at all, and that normally causes major rust or leakage issues with the trunk area for the P1800, along with several other areas in both the P1800/Amazon.. The P1800 Volvo has a top only trunk lid, where the trunk jamd doesnt progress to the back panel for natural drainage, so the trunk weatherstrip jamb acts as a trouph.

    From my experience with weatherstripping, and from what I have noticed through the years of restoring various models of car, it is the trapped water in the channel that allows the dirt and residue to stick for deteroiration to continue. And another thing that people dont really consider is, most of your typical trunck/door/hatch weatherstrip is actually a sponge, and the pores will hold moister for quite some time.. The more surface area that has water contact, along with amount of time with weatherstrip/water contact is allowed, the more moister the weatherstrip will store. That ratio only amplifies when you take into account the harm from the addition of layers of sediment and residue from the previous trapped water. If you can keep the water level low, and cut away from the time to obsorb, the more it will keep the rusting affect at bay.

    I have two sizes that are being made for me.. The pictured is a 1/2" head, and takes a 3/8" hole, with a 7/32" drain hole. I have another that is a 5/8" Head, and takes a 7/16" hole, with a 5/16" drain hole.. I had these made for strategic areas of the Volvo body, and the drain holes are larger than what most Oem featured body drains are. The flat spot on the head, makes it possible to get the drain hole as far inboard as possible, so it leaves virtually no water puddle.

    In the pictures below, the black bracket only represents the trunk jamb, and is not part of the kit at all...


    Leave a comment:


  • Iamtheonlyreal1
    replied
    Well here is todays body work up date, and it seems to be flying along.. I sure wish my guy wasnt making an occupation change, because it is hard to find dedicated and quality body men willing to take on the classics in a timely manner..


    I thinking the work on the gapping is really starting to show now, and the flares are really starting to blend nicely.. I know you cant see it in the pics, but there has been alot of hammering and dolleying done here, and most all the little dings have been hammered out enough that they can be block sanded out in the primer stages, rather than just filling and working them with glaze... The whole center of the drivers door had to have a bondo patch removed, and all the metal shrank to give the sheet metal its strength back, because it just kept flopping in and out from being stretch by the hidden damage.. There is alot of work that can be saved with just a bit of hammering/shrinking, instead of glopping layers bondo on, and then trying sand until it looks right.


    Last edited by Iamtheonlyreal1; 01-22-2013, 09:11 PM.

    Leave a comment:


  • Iamtheonlyreal1
    replied
    I am more than happy to share information, and that is what this thread is about.. I will PM you the information about the bezel and guages.

    Leave a comment:


  • alllyellow
    replied
    I have been following your threads and am amazed at what you are doing. Really great work. I have a 68 wagon that will receive some serious treatment and hopefully some of your products. First question is that I love the dash that you have for this car. Is that 6 gauge bezel surround a custom piece for you? Is it available for sale through you or would you be willing to provide the source. I would like to potentially move in that direction with my dash. Watching very closely the progress with everything as I easily see myself being a huge customer. Thanks in advance for your response.

    Leave a comment:


  • BreadBaskett
    replied
    Originally posted by evilstar View Post
    yeah it is pretty amazing isnt it Tobi.
    Yes Master.

    Leave a comment:

Working...
X