Originally posted by rsingh3g
View Post
-
I am working on having park/turn signals put in the lights, and I am sure it will work out that way.. -
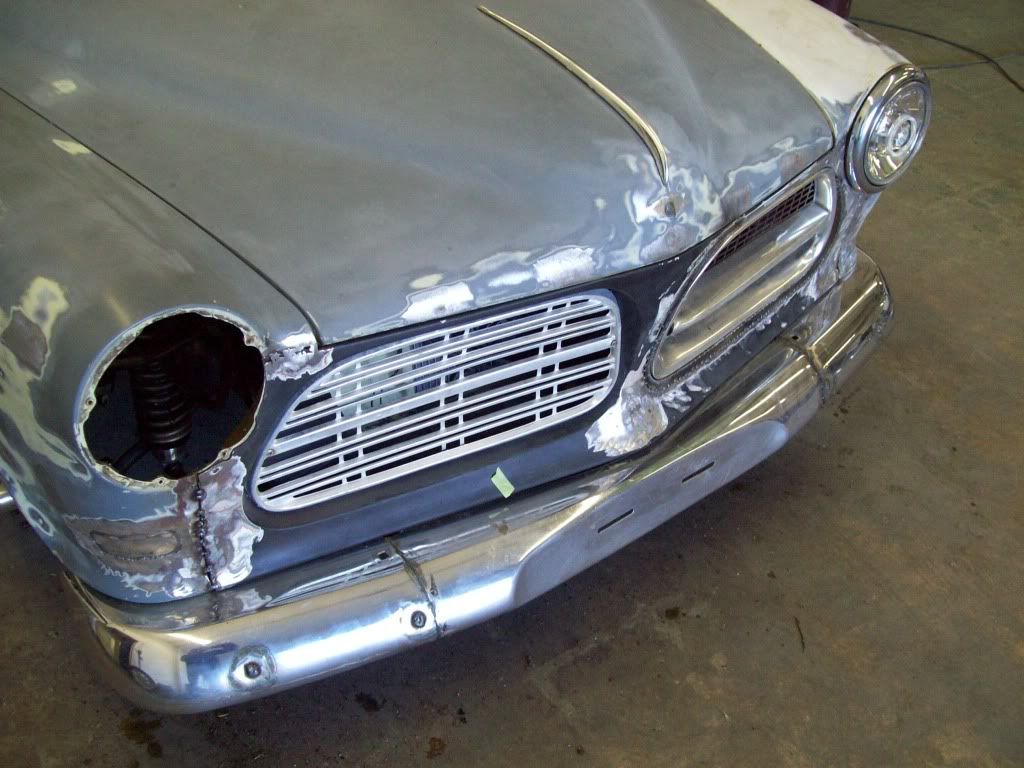
I have been doing alot of thinking about what to do with the front of the car for an air dam/splitter, and havent really come up with a solution as of yet.. I know that IPD has had an air dam out there for quite awhile, and personally I dont think it is very attractive at all, because it removes the front bumper totally..
The question I have is this, Has anyone tried to use the IPD air dam, with the bumper? I know you would have to do some trimming, and even find a new mounting position, but I do think it is doable. I dont want to actually add it to the bulk of the bumper itself, because that would put things back to the stubby appearance, so I want it mounted rearward of the bumper, which should be a much better appearance..
I really think this air dam could look great, if it was mounted correctly and still used the factory bumper, and have this only to compliment and fill out the bottom of the front end. Most of your modern cars all have some sort of small plastic air dam/splitters now, and they are mounted underneath the bumper, but reward of it.. From all the examples of this air dam mounted I have seen, it seems that you have to trade on incompleteness with the front end, so I would think someone has to have made the attempt to have both the factory bumper and the IPD air dam.
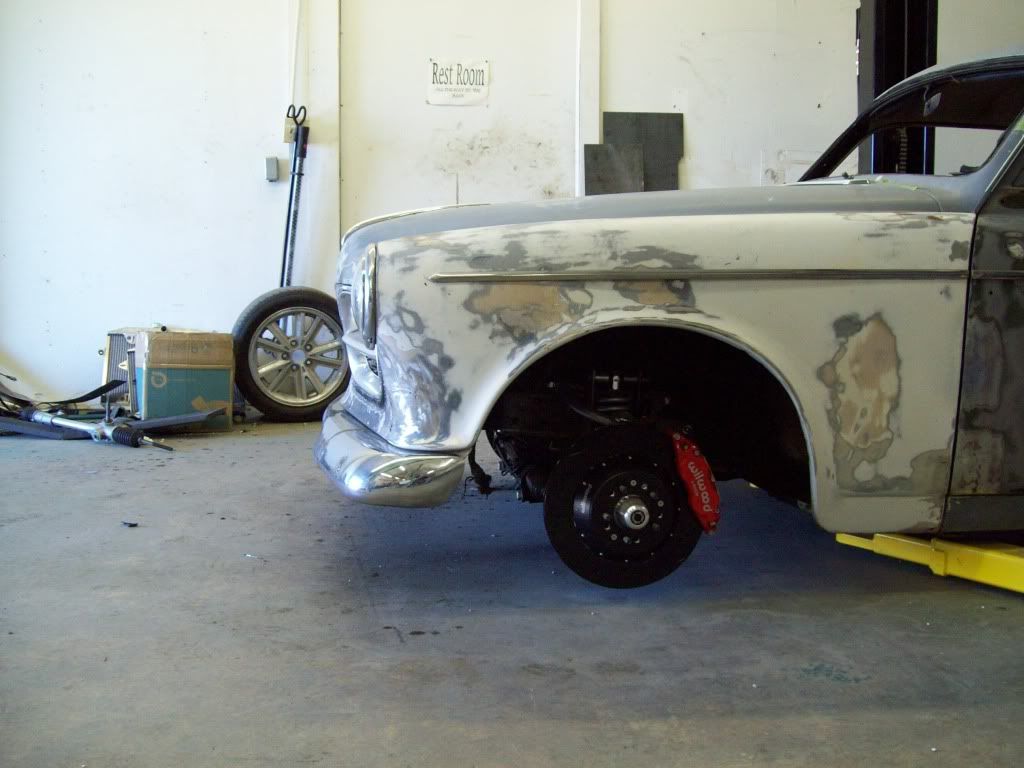
I went ahead and ordered an air dam like you see pictured below, so I will have to wait for it to come in so I can see if it will work like I think it could, but I wonder if anyone has any pictures of how they may have run the factory bumper with it?
 Last edited by Iamtheonlyreal1; 11-04-2012, 07:56 PM.
Leave a comment:
-
Thanks for the kind words, and I really think more people should share some of the how too, of what they do.. I am not saying that I am doing everything the correct way, but I am I try to think it all out.. All the work being done here is with basic tools, a 4.5in angle grinder, a Miller Mig Welder, occasional torch, hammers, and that is really about it..Originally posted by Bystrov View Post
I am trying to make my products and mods weekend builder friendly, instead of some of the full fab shop builds that are showcased on tv. I dont have a metal break, a metal roller, a metal shrinker, ect, so everything is done by hand and the metal is bent over what ever I can find laying around.. LOL Short of my 2 post lift, there are alot of hobbiest garages that have exactly what I have or more, and I wanted to be sure and point that out so guys dont think they have to have it all to start.Leave a comment:
-
if i may address the OP, Sir, it is this thread, and threads like this one On this forum is the reason i joined this site .... amazing fabrications and ideas for others... awesome stuff. Many thanks for posting this.Leave a comment:
-
Started working on the One Piece Bumper, and wanted it to mount with no exposed bolts, and also have a better fit.. I was told by a chromer to make sure and butt weld the bumper, rather than weld the overlap, because welding the overlap will cause potential problems later due to trapped chemicals.. So that is what I did.
Being that this car is going a satin silver/grey color, and I have brushed aluminum wheels, I am looking into a Brush/Satin Chrome for the bumpers and all the trim. I have found a company that says they can do it, and they are sending me a sample. The more common place to see this type of chroming is normally household accessories, and will have more of a stainless steel affect, but with just a bit more sheen.
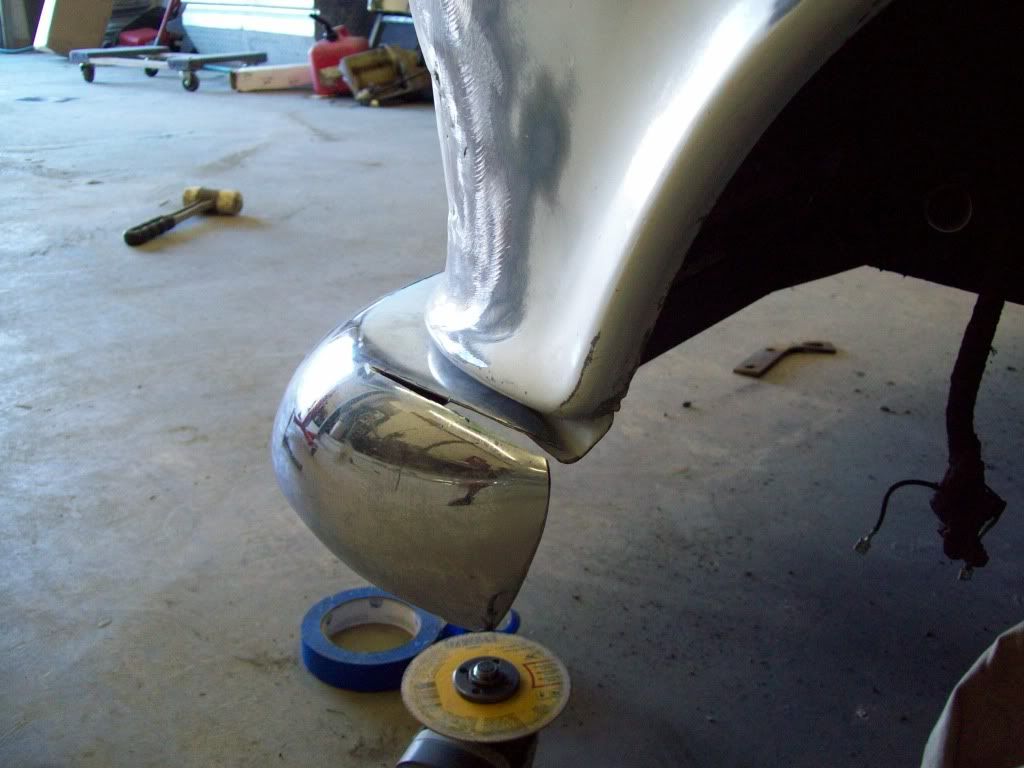
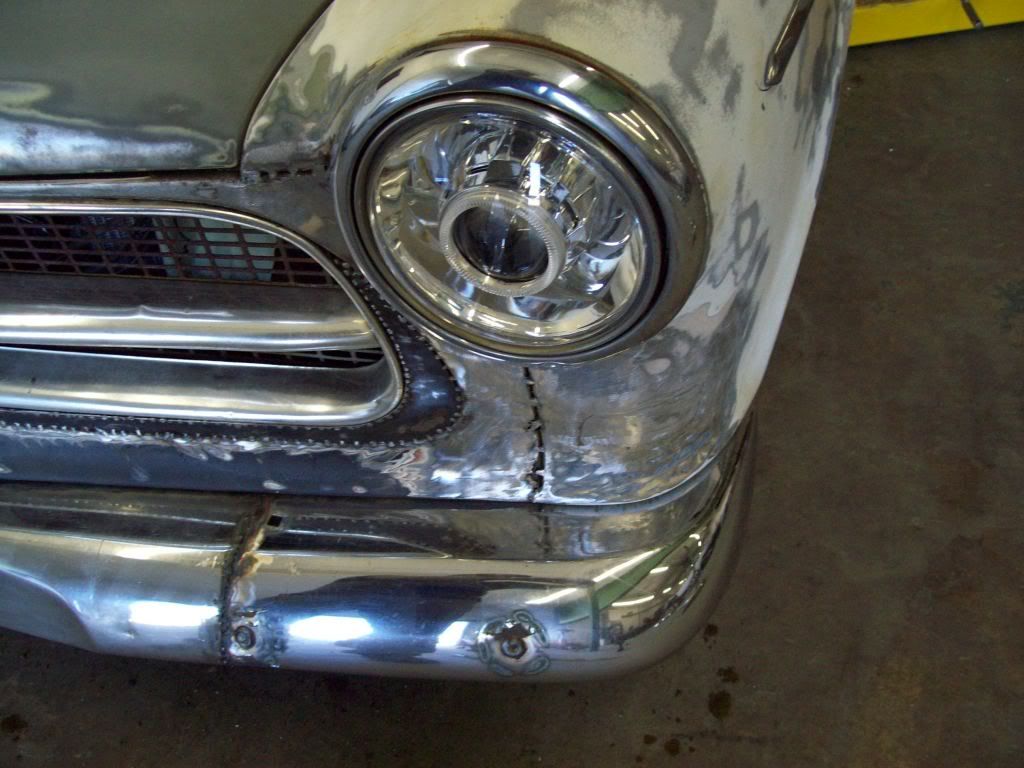
Here are a few steps of how I did the bumper, but keep in mind I am working with old parts, so there will be just a bit more straightening of the bottom and top edges.. It was more important to get the front curvature of the bumper and centers to be clocked correctly, than making the top and bottom edges perfectly level.
After I got the center bumpers overlap sections cut off, and also got the bumper to the desired width, I tacked welded it.. I didnt like the curve/shape of the bumper wrap around on the ends, so I reshaped that by making a slice at the top, and a couple of verticle slits at the bottom, so I can pull and twist the end with our changing the overall shape.
Here are the before and after the cut.. You can see that it allows you to fine tune the bumper end to follow the wheel opening much better.
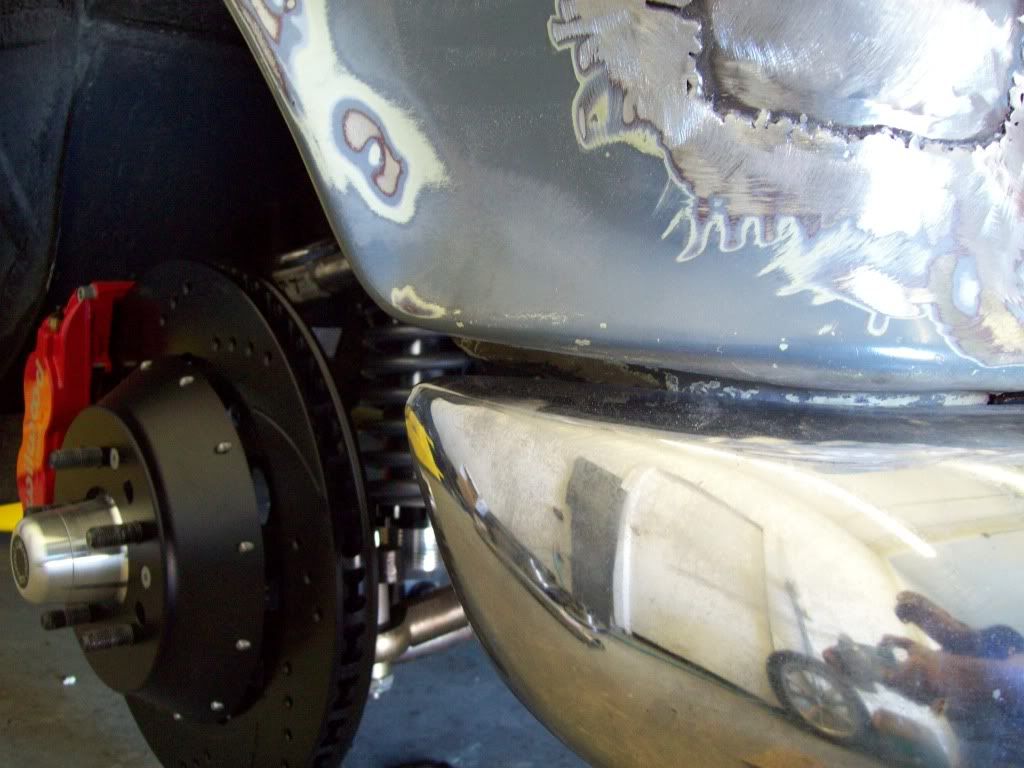
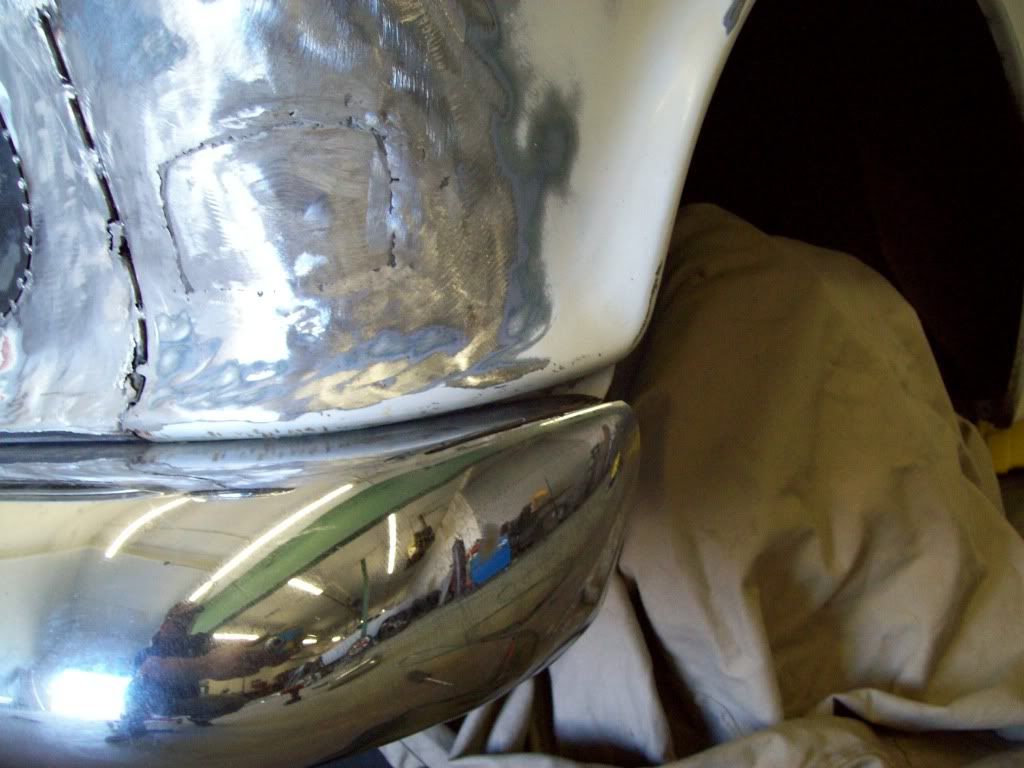
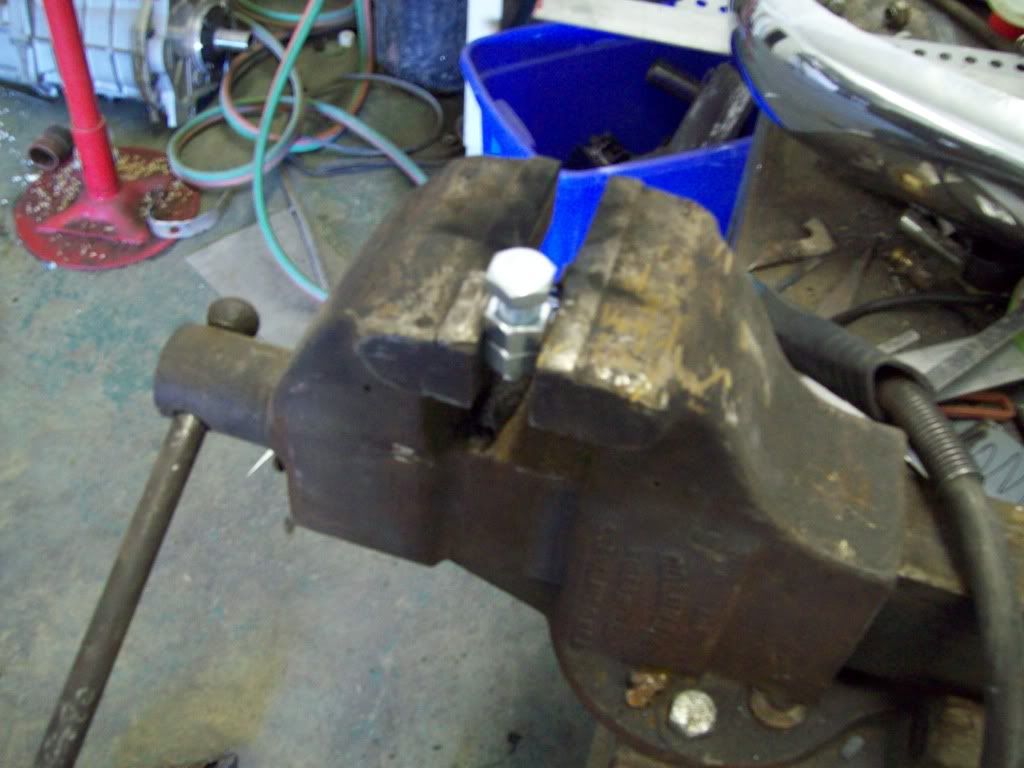
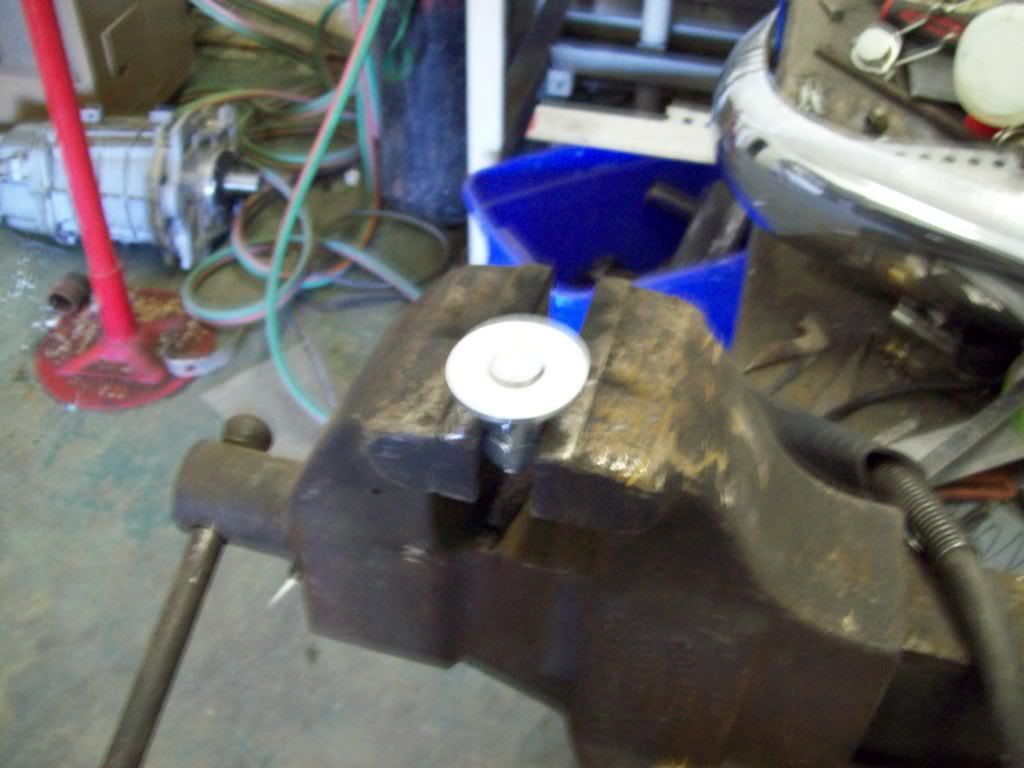
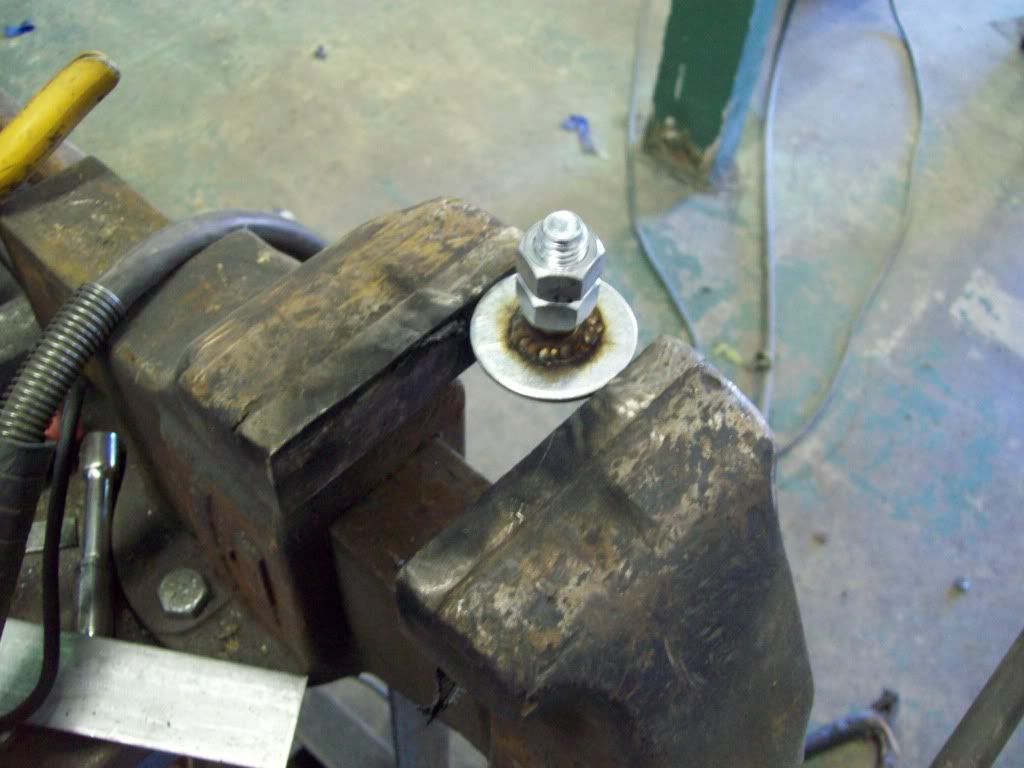
Rather than just weld stud or bolts in the exist hole, I made these bolt pieces to weld inside the bumper.. It is important to get as much off a welding/support footprint as possible, because this will help against future cracking later.. If you just weld a bolt in the bumper hole, the footprint is too small, and it will allow the bumper to flex the welded joint.
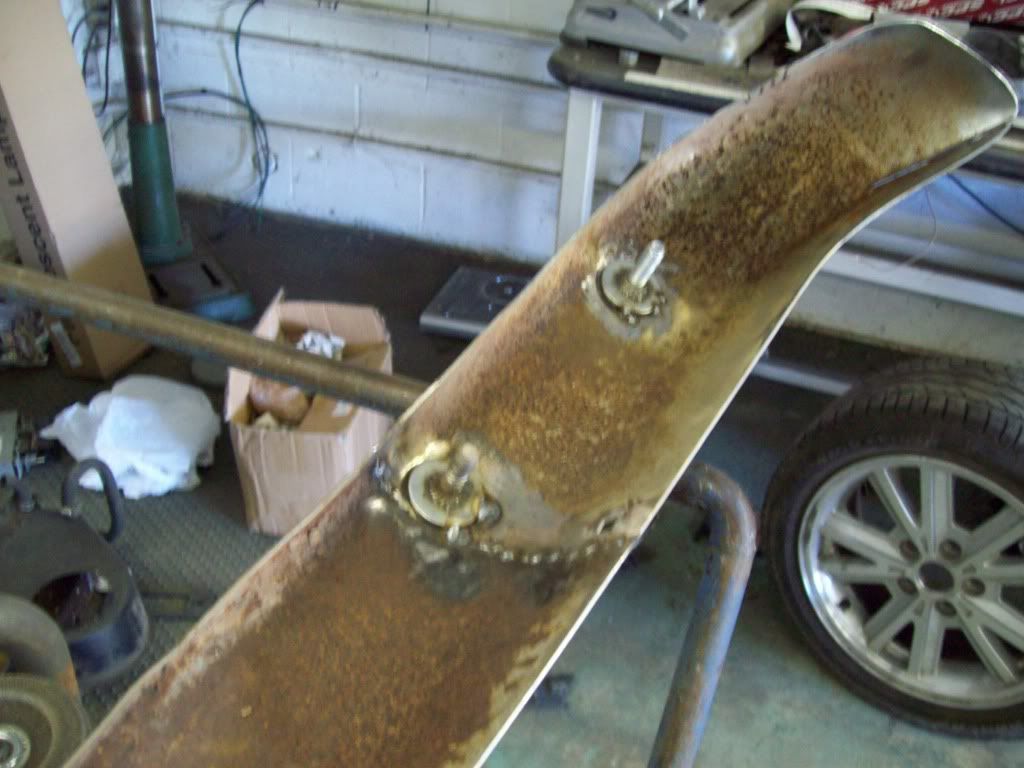
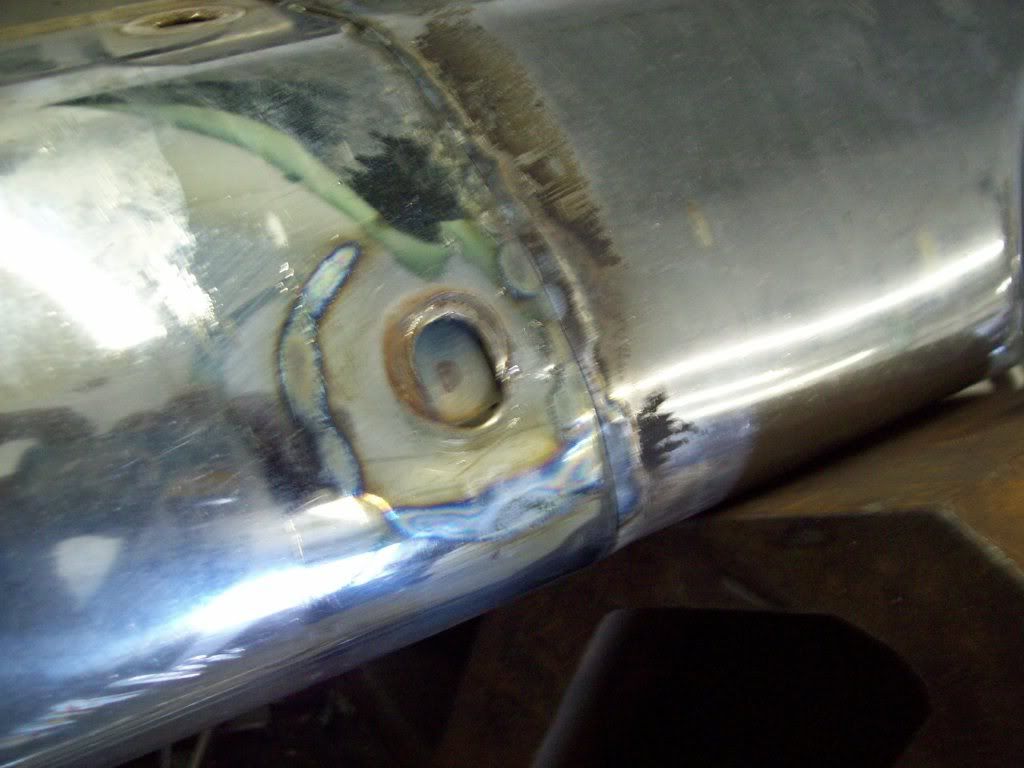
Now that I have some solid mounts, and the bumper is tacked well enough to hammer and jack on, I can install it to the car for fine tuning.. I have also sloted the bumper brackets where the mount to the car and bumper, and that will give me all the adjustment I really need. Also, if you look at the pics of the bumper, you will see the welded footprint of the new mounting stud, and you will see that you fill in the old holes, and weld the the stud plate at the same time.

Leave a comment:
-
I dont recall what projector it is, because I have a guy that made them for me.. This set was actually made for my P1800 build (Project Changling), and I am running small LED park lamps/turn signals on the fender. I am thinking I will have another set made with a lower partitioned section in the headlampe for an amber LED park/turn lamp, and that will keep me from adding additional light bulk elsewhere. I was considering hiding a small light in the lower corners of the grille, or in the bumper, but it might look cleaner if they were actually made into the headlamp assembly..Originally posted by rsingh3g View PostLeave a comment:

Leave a comment: