Announcement

Collapse
No announcement yet.

1967 Pro-Touring 122 Amazon (Project Volvo X)540 Horsepower LS6/Tremec TKO600 5-Speed

Collapse
X
 
  • Filter
  • Time
  • Show
Clear All
new posts

  • Iamtheonlyreal1
    replied
    Here are some pics of the the body shops progress today, and it was surprising, because the car was just dropped off at about Noon Today.. I had to weld up all the side moulding holes, because the original trim actually has to be relocated to a slightly higher mounting position due to the rear quarter flaring. I also had the front fender/facia seams welded up, because I didnt like the factory fit, but there will be a groove mimicking a oem seam cut in for appearance.

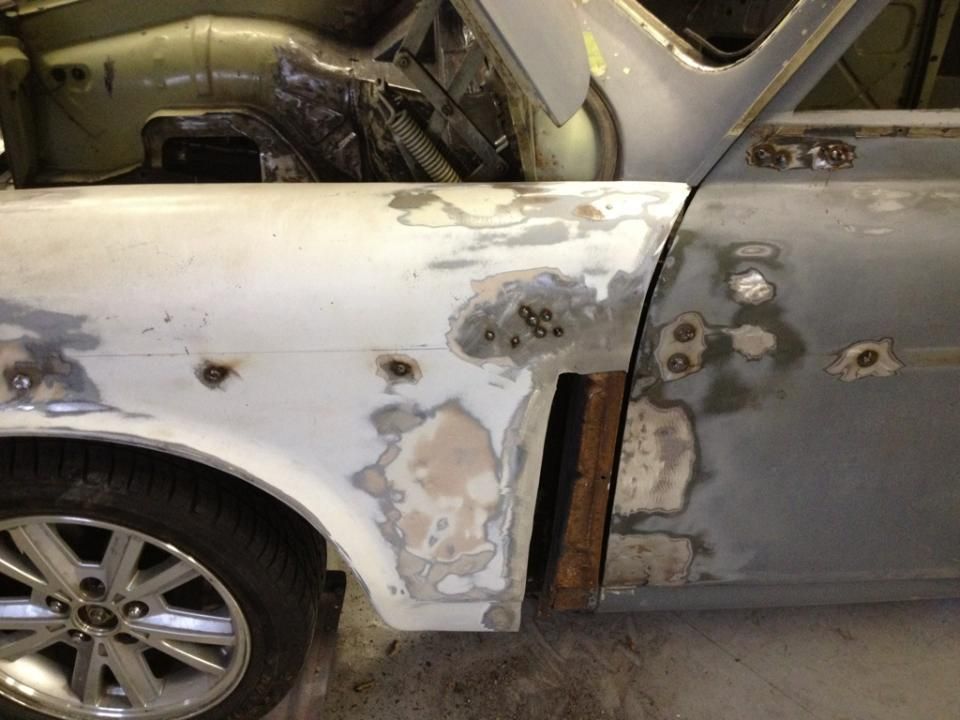
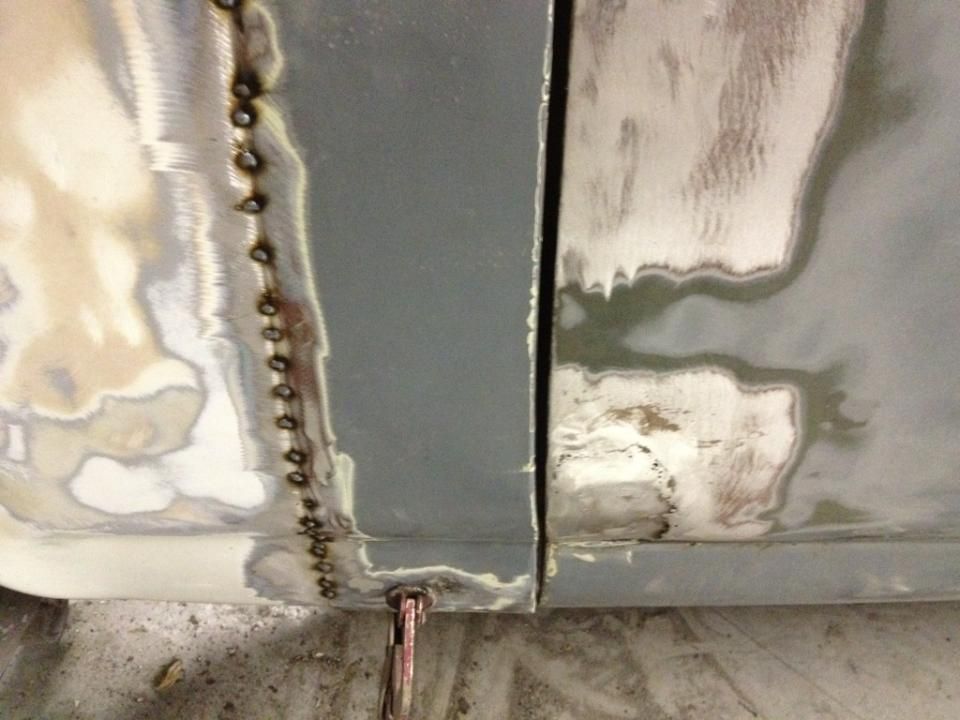
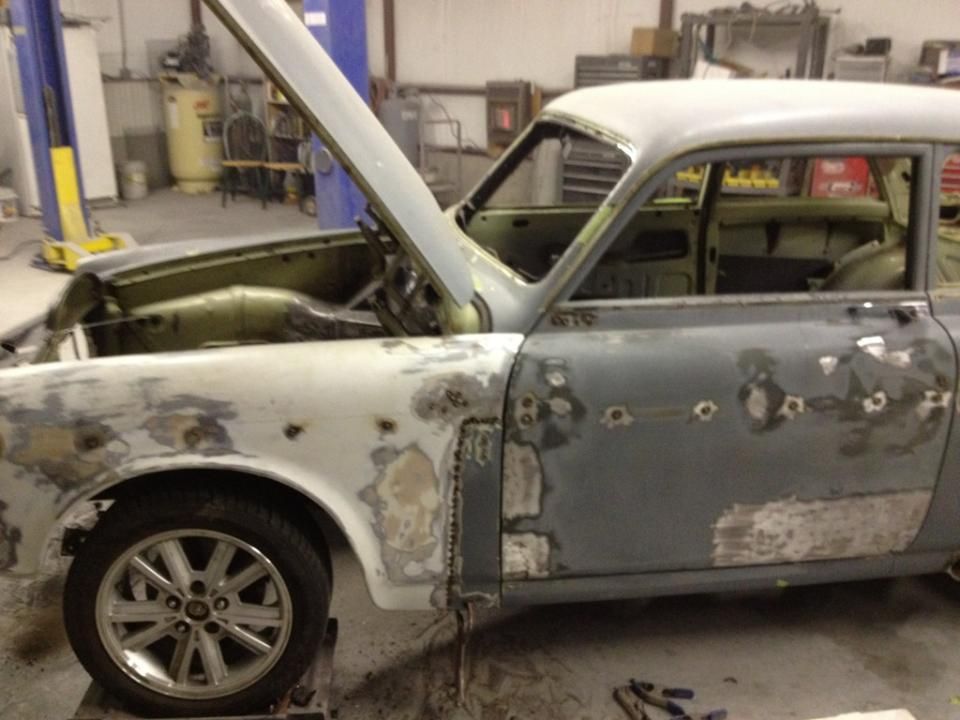
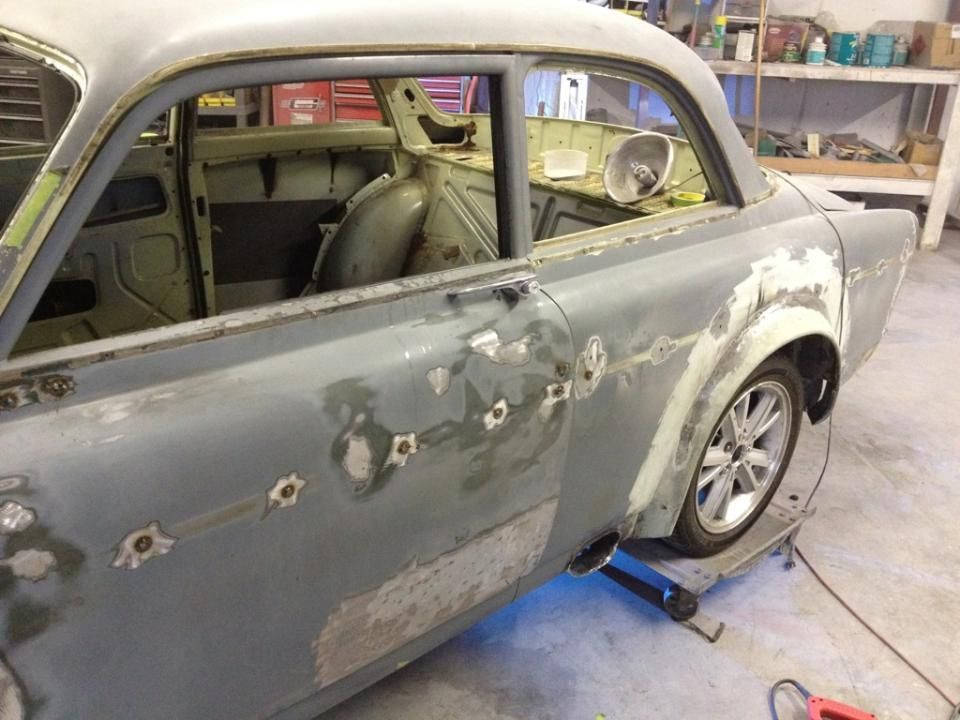
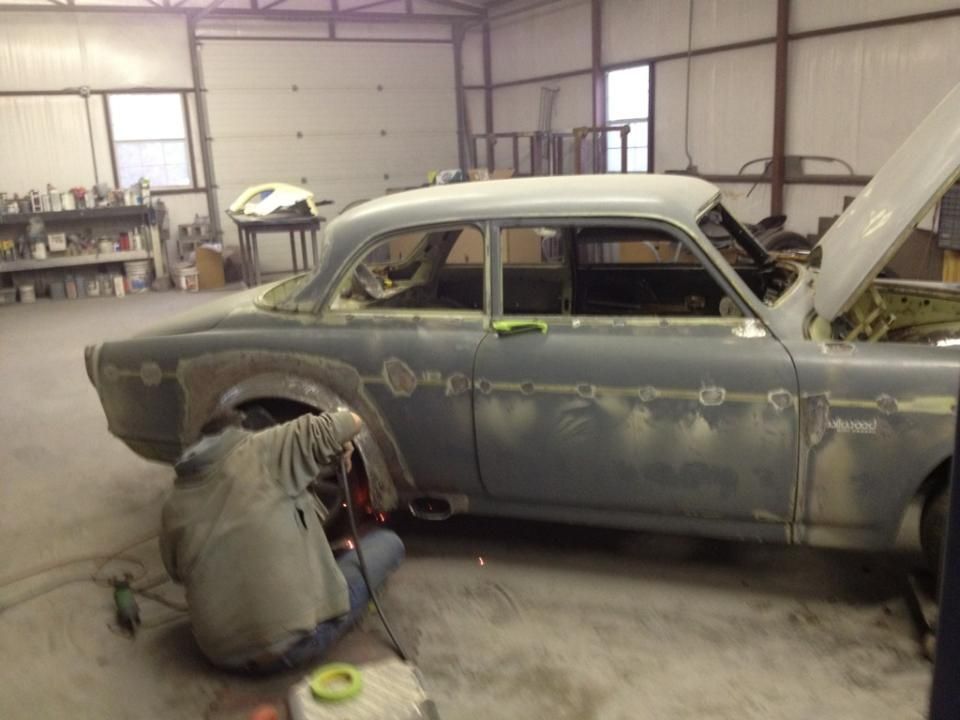
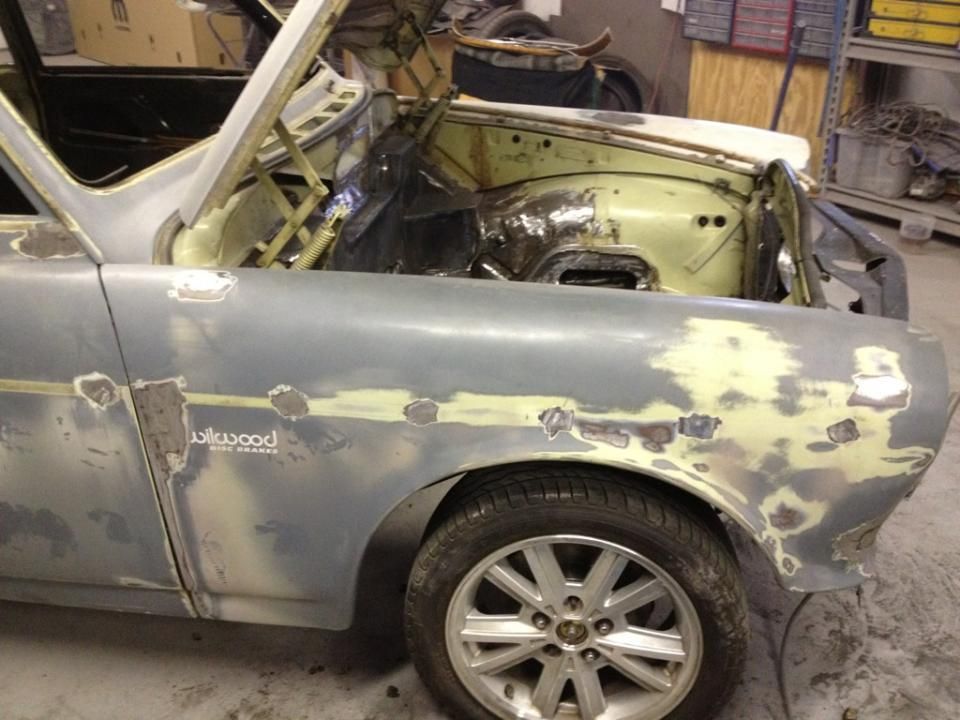
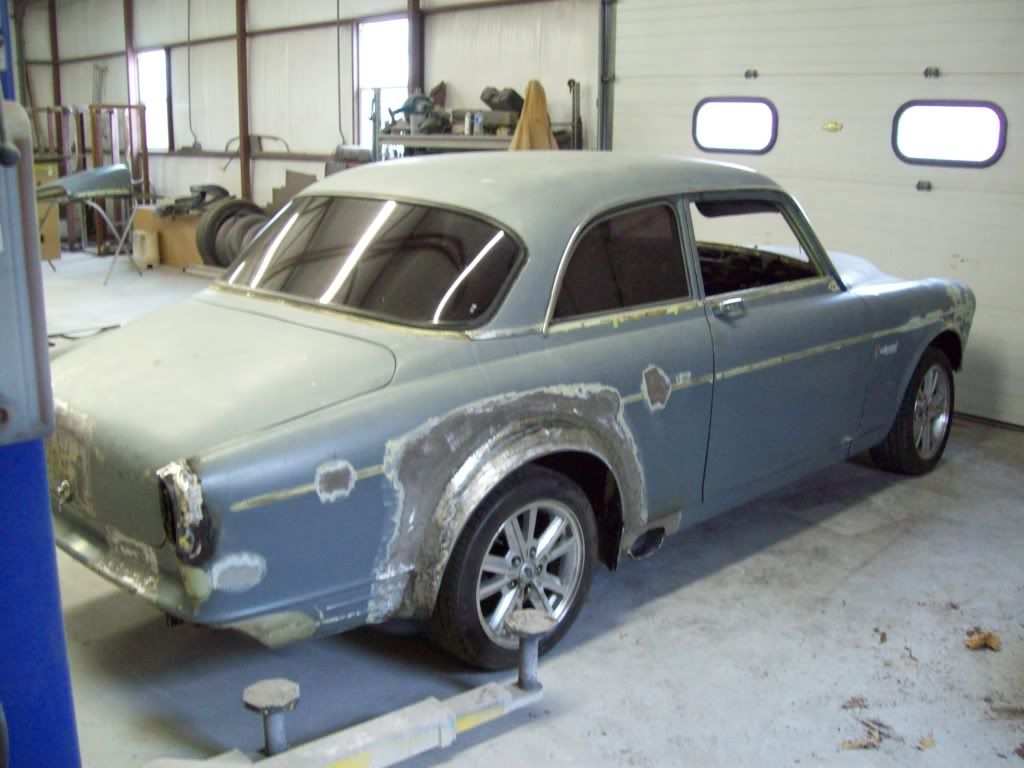
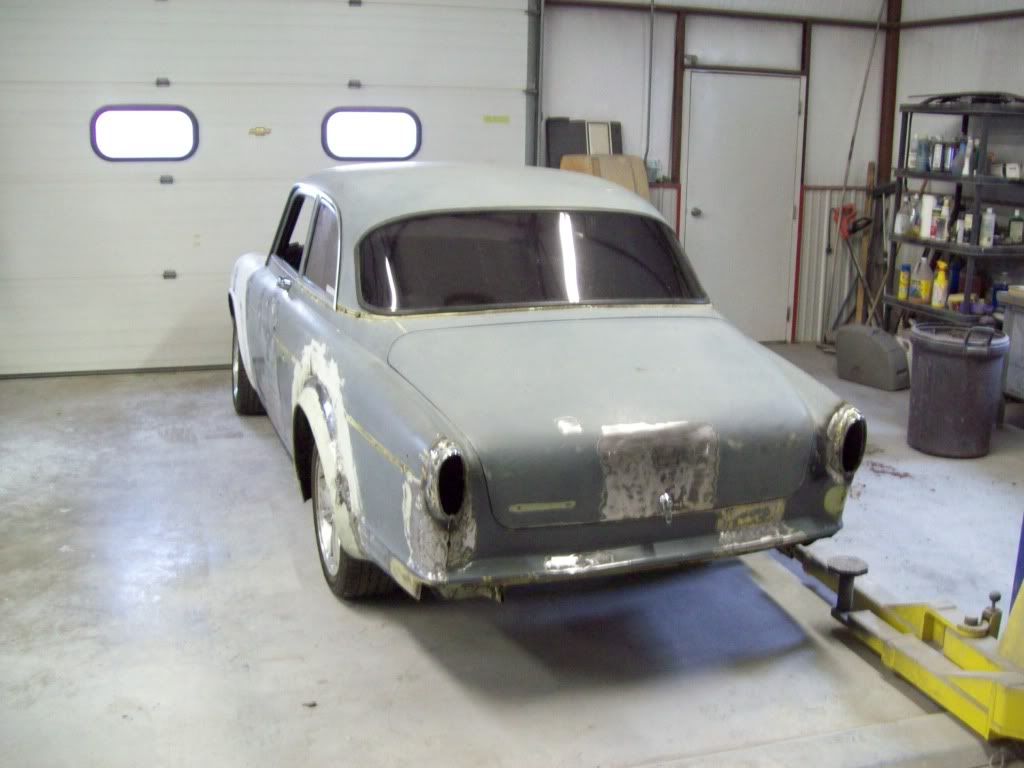
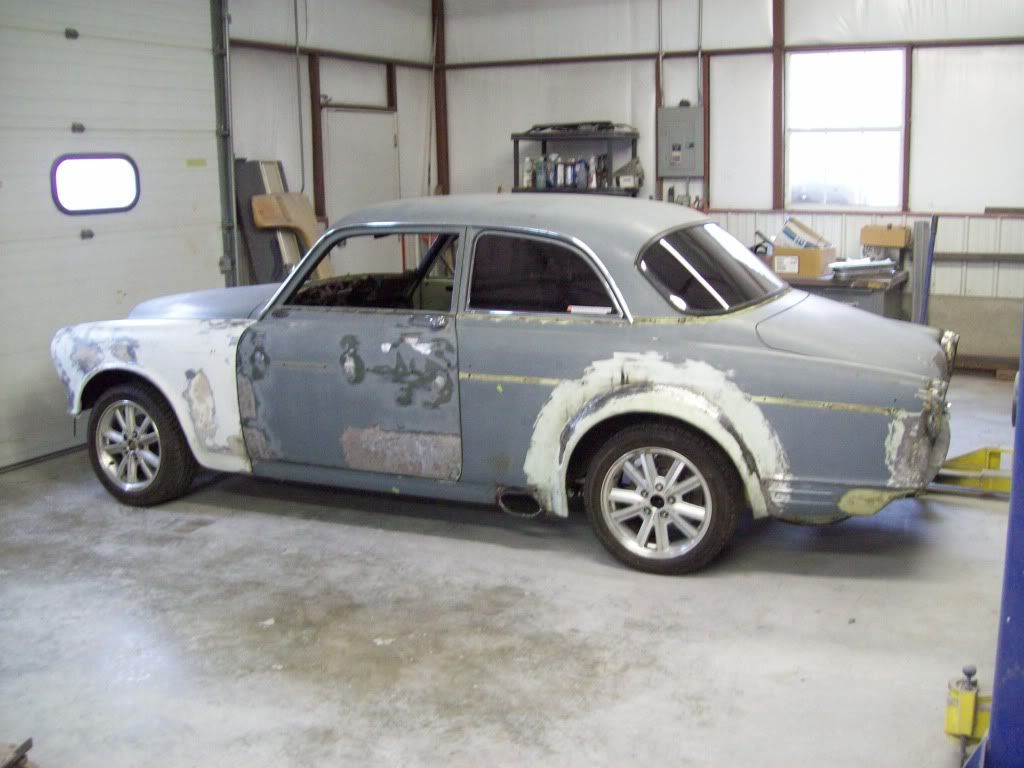
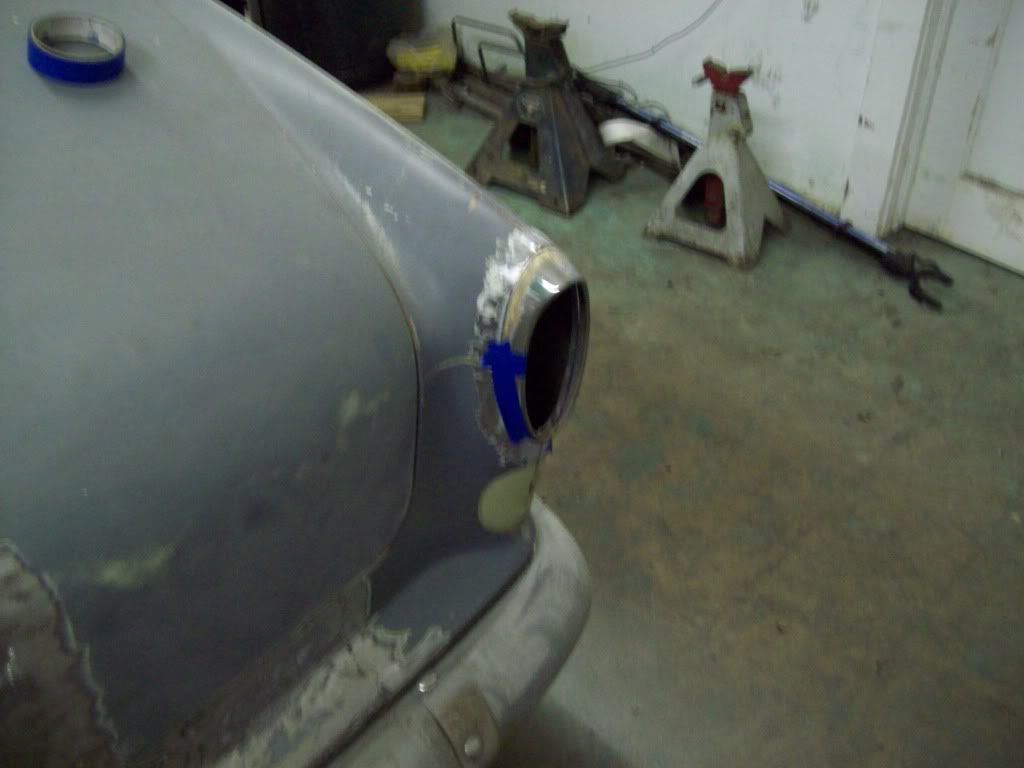
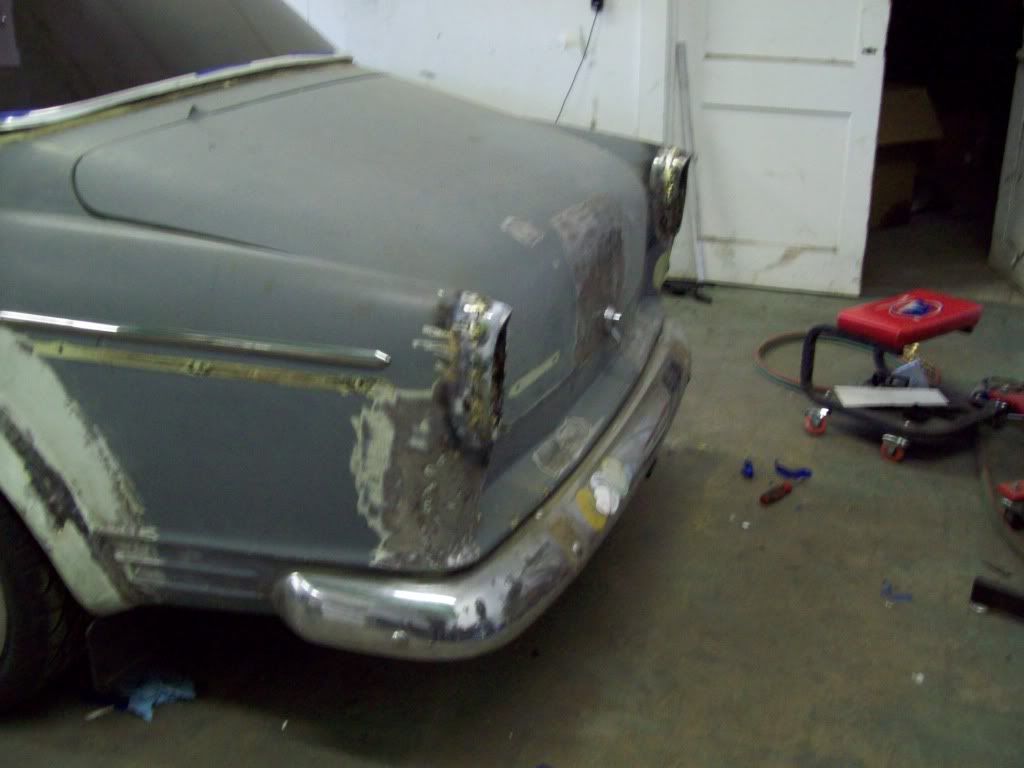
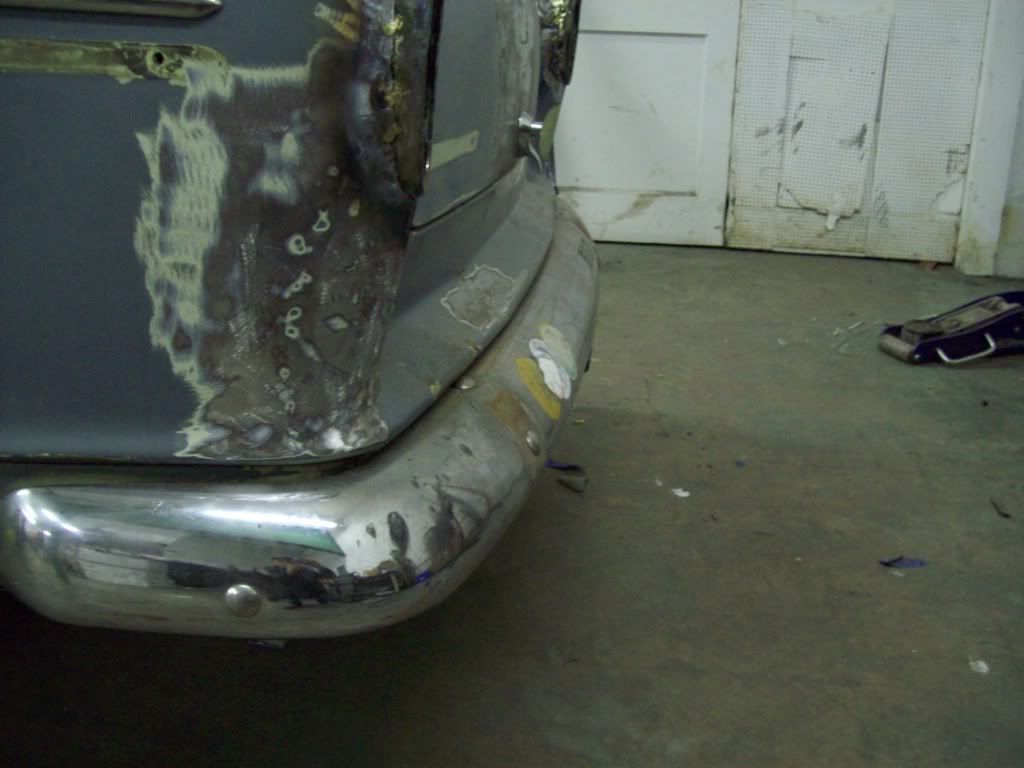
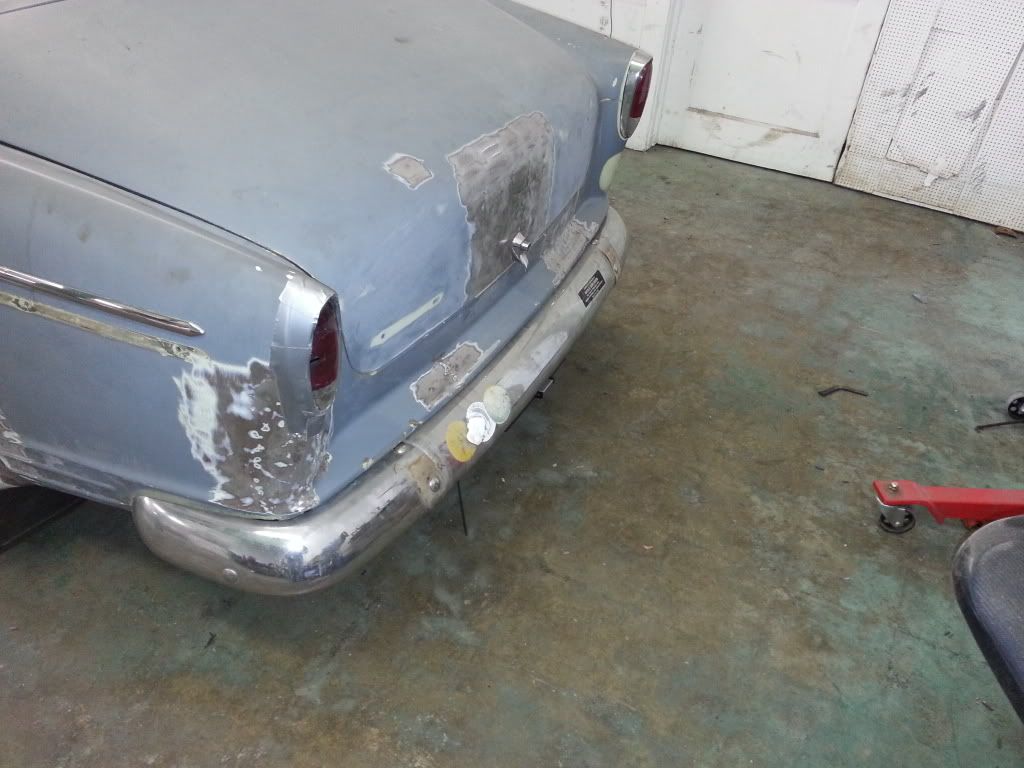
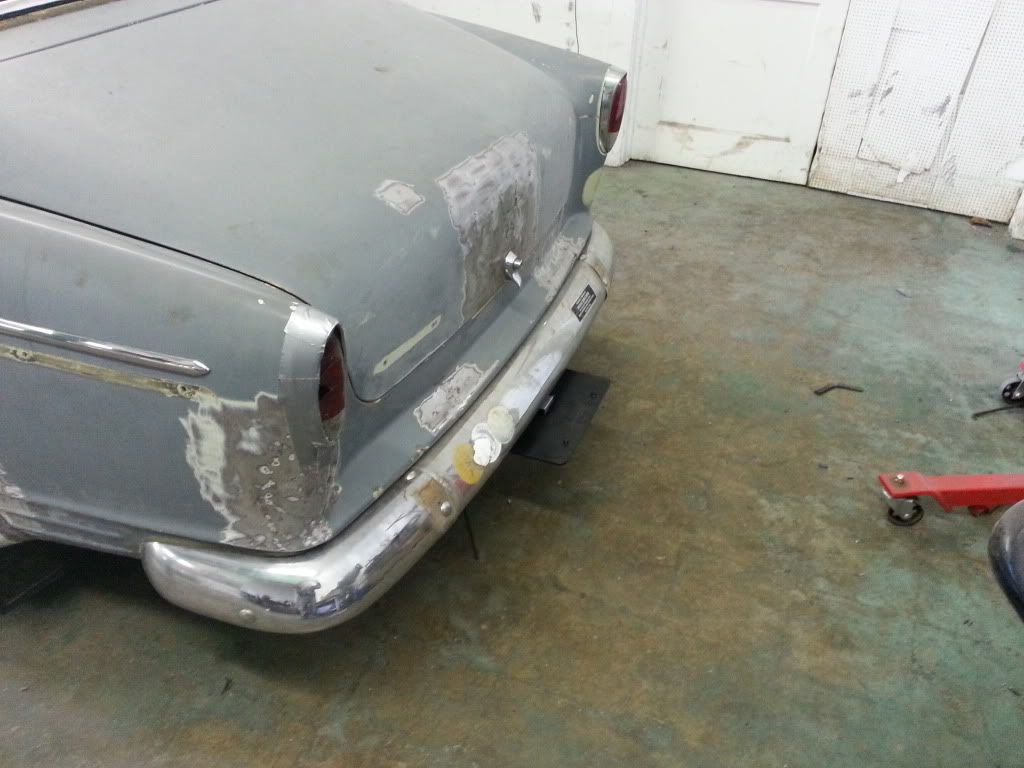
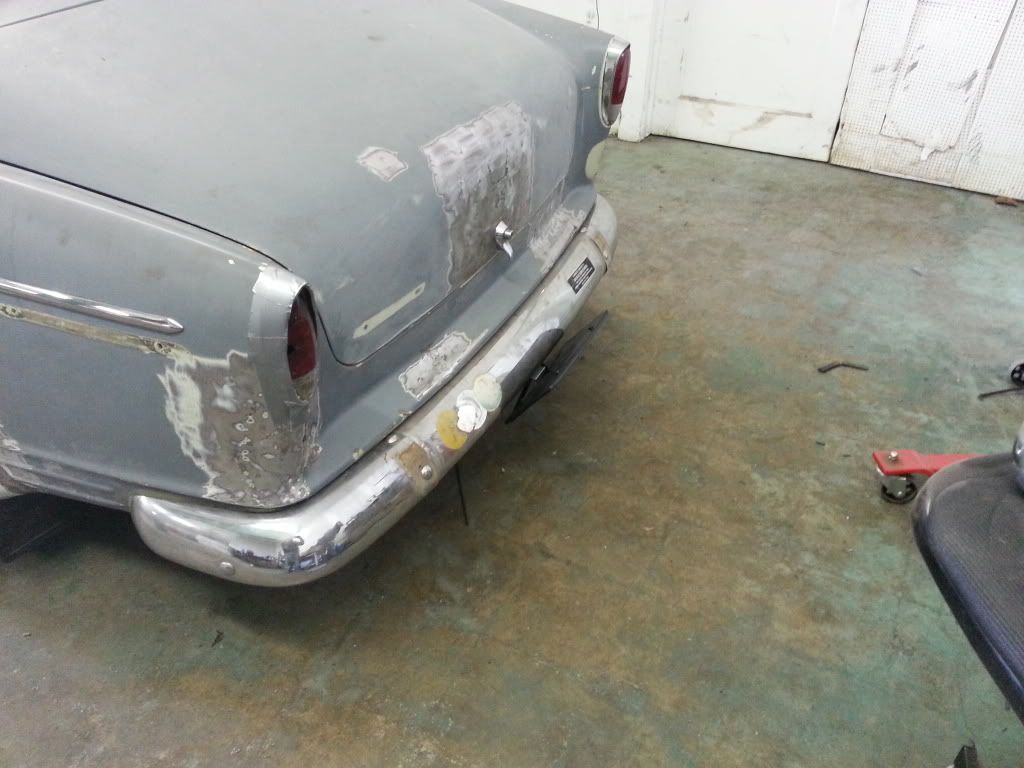
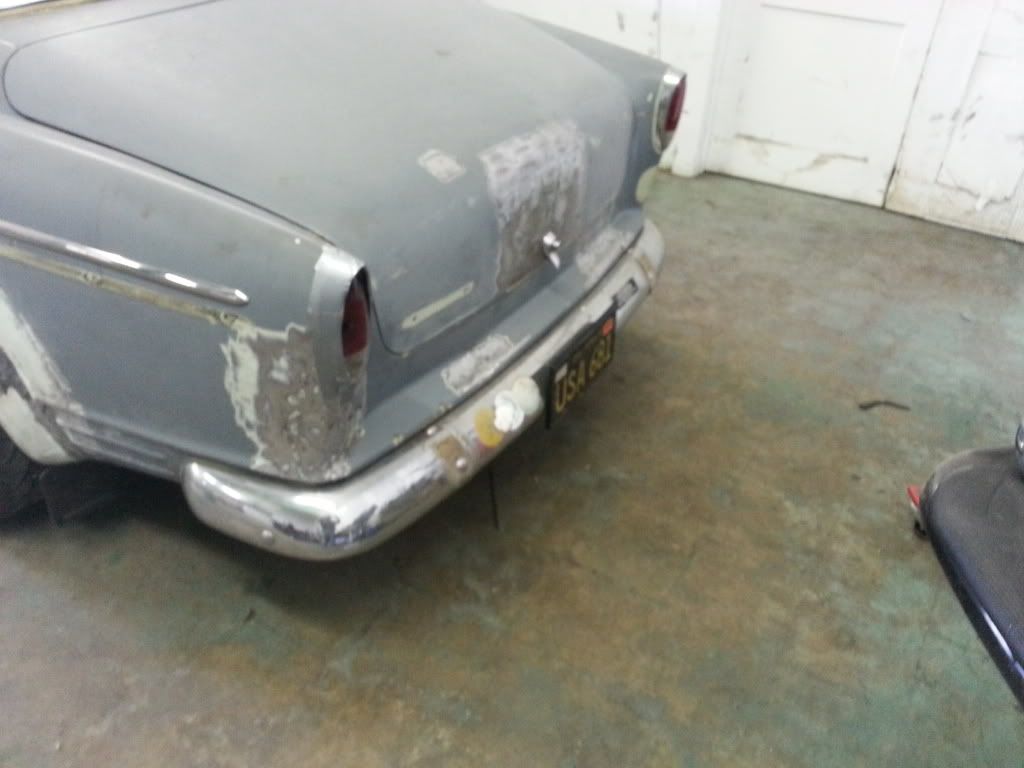
    I am not sure if there is alot of difference between the earlier model or 4 door front fenders, but the replacement drivers fender gap was absolutely horrible, so rather intrusive fix had to be done. The original fender that donated the repair fender/door edge was rotted out in the front near the park lamp and facia attachement point, and the replacement white fender had the bad gap and a bit more previous repair and rust than was previously noticed, so we had to work with what we had here.. There isnt a whole lot of panel adjustment with these cars, and the hood/cowl/fender gaps were about perfect, so I would rather just remedy this one area of the drivers fender, rather than do alot more work on several more gaps and panels.

    After all the finish welding and gapping is completed, the car will be disassembled, and then all the panels will be stripped and prepped with body work. In the next step involved, the car will be reassembled and then have a sealer primer before the several stages of final blocking and gap checking, which can be very time consuming. After the final blocking and gap tolerances are all worked out, the car will be disassembled again, and then painted. I am going with a Satin Paint, and there isnt any metallic or peal involved, so we dont have to worry about hanging parts back on the car before paint for perfect panel paint blending.

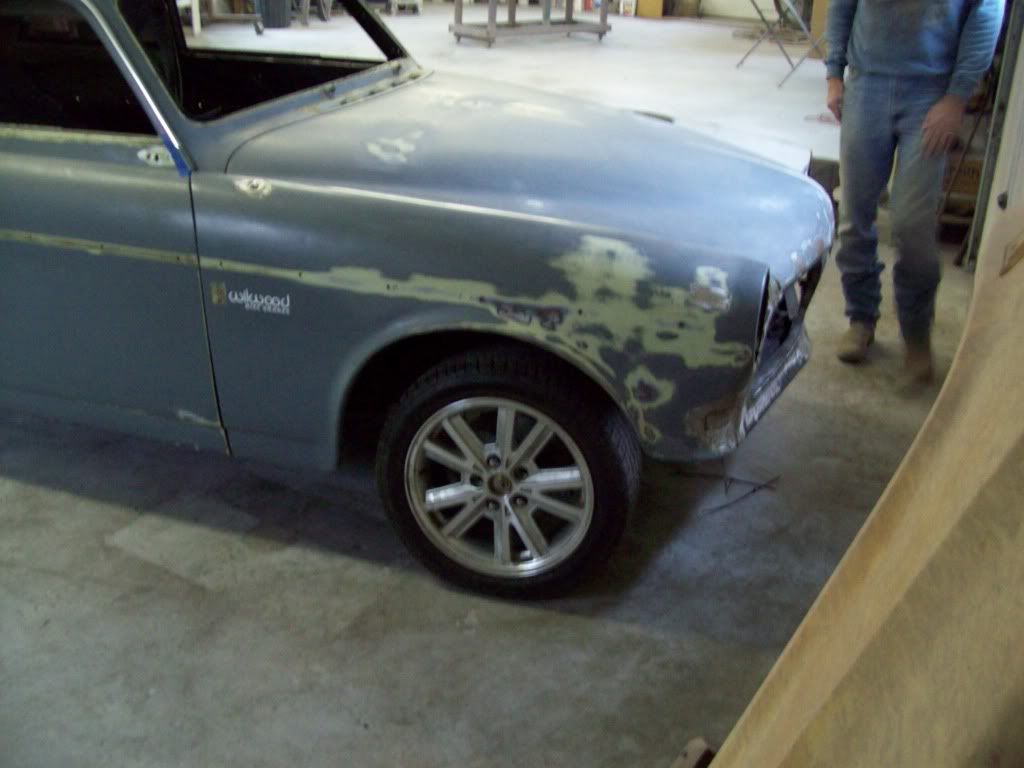
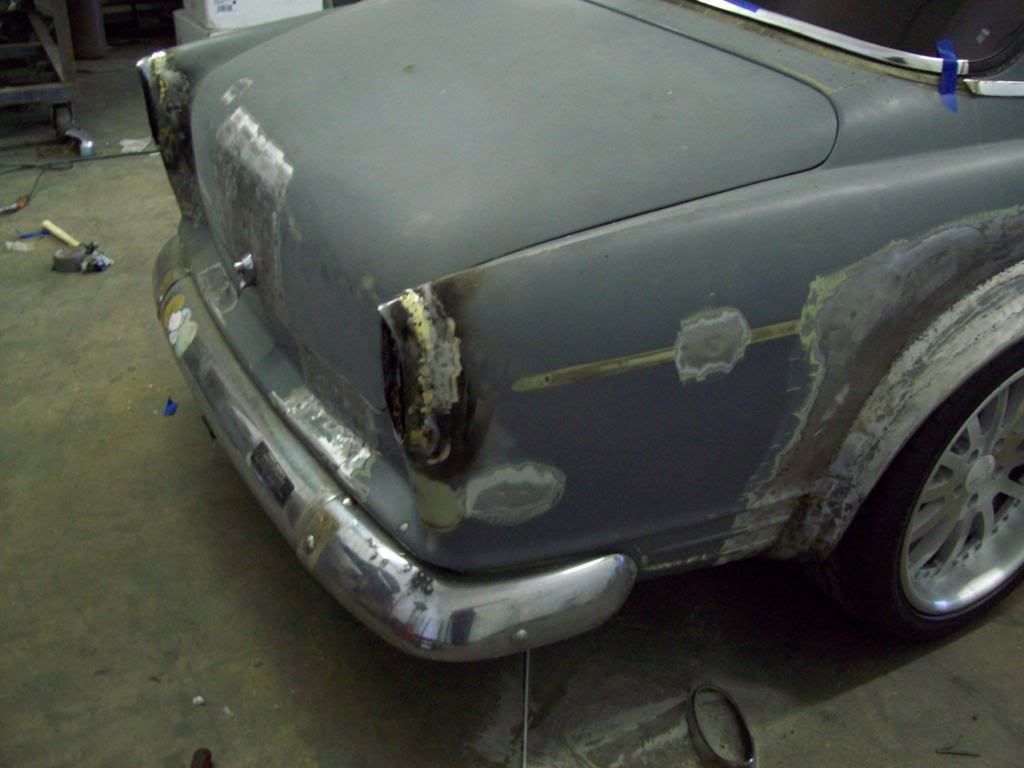
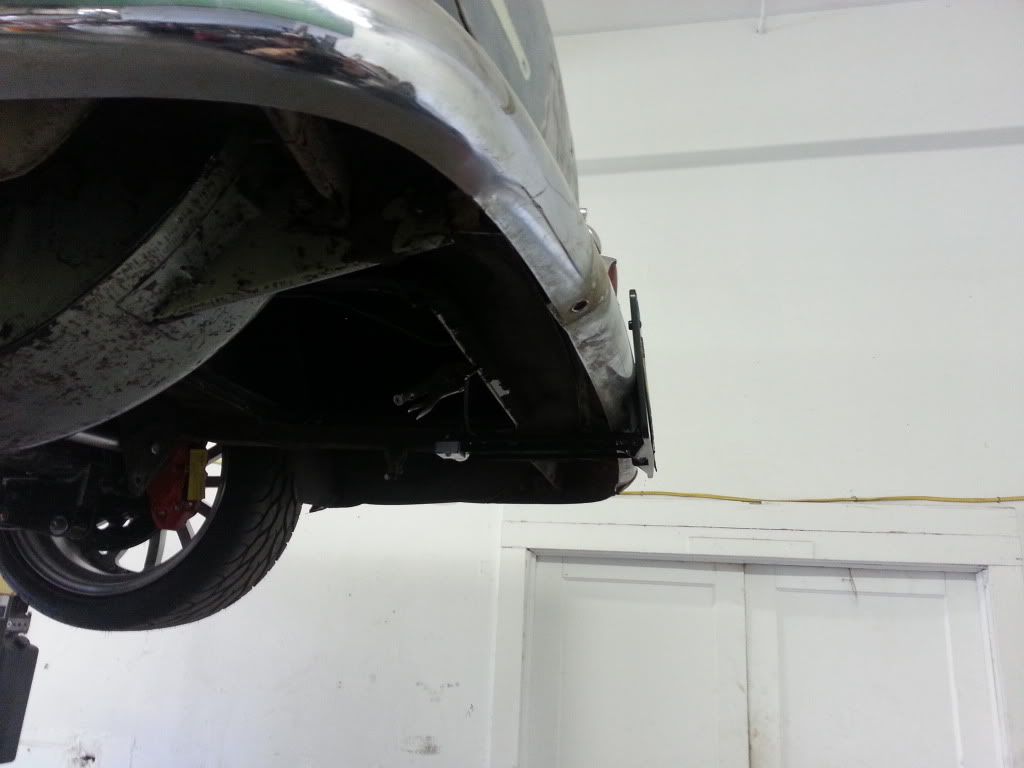
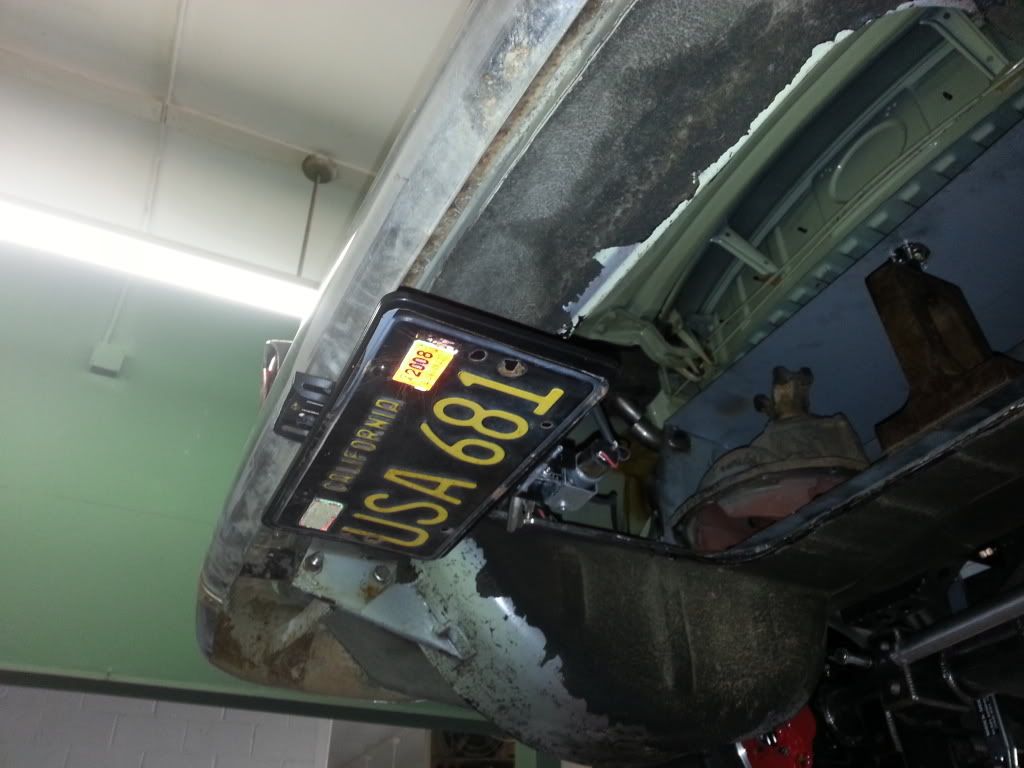
    I just want to be clear about the paint and body process with this particular car, and how we are not taking several other steps that are involved with our customer restoration cars. This is not going to be a full routisserie job, because I am not sure what will happen to this car in the several months after it is completed, because it might actually end up in a ditch or against a wall in its immediate future.. This car is going to be used for demonstrations, and will be majorily abused, along with being a daily driver after all the testing/promotions is done, so there isnt any point to put a 12-15k paint process on the car.. The workmanship and materials of what is being done to the exterior will be extremely nice, but I am not going to worry about a trailer queen finish to the bottom of the car.


    Last edited by Iamtheonlyreal1; 01-15-2013, 09:00 PM.

    Leave a comment:


  • Iamtheonlyreal1
    replied
    Volvo X is now on the down hill slide of completion, and now that it as the body shop, the transformation should be way more dramatic over the next few weeks.. The car will be exploded in pieces for painting, but that will come after all the Door, Hood, Trunk, and Fender gapping is all dialed in, and that is a process in itself. The first week will be eat up with all the alignment and gapping, but progress should fly after that..


    Leave a comment:


  • ItsaCorolla
    replied
    This build is amazing. It has giving me the desire to get on ebay and craigslist to try and find an old volvo. I love the integration done on the headlights, but from a distance it gives the car a "surprised' look. I think if the projectors were recessed or if the housing was made darker in color it might eliminate that somewhat. Is there no room to make deeper housings? Other than that this is coming along amazingly and this thread should have far more support and commenter.

    Leave a comment:


  • Hitman Cody2130
    replied
    Holy wow, killer build! I cant wait to see this thing finished up and on the road!

    Leave a comment:


  • Iamtheonlyreal1
    replied
    Here are some pics of the Firewall Conversion Kit with the motor out. The kit actually runs straight across the top, but I modifed to utilize the Amazon cowl vent for my intake system. The kit will be a series of interlocking plates that will give you references for initial cuts, and then will interlock on the bench, so you can drop it in as an assembly. It will then set down on key oem body points, and from there, it will just be a matter of squaring and welding it in.

    The body shop will do just a bit more grinding, and welding of un-necessary holes, so it should all come out great. I have the steering shaft position roughed in, but I dont have the under dash shaft support, so it appears to be really close to the pedal assembly. There is a bearing/seal support for the steering shaft that bolts into the firewall, so we have no chance of rattling..


    Last edited by Iamtheonlyreal1; 01-13-2013, 08:37 PM.

    Leave a comment:


  • Iamtheonlyreal1
    replied
    I had worked on blending the tail light bezels into the body, because I really dont like the bulky gasket seamed look, and think it will really make a clean looking quarter panel. I have figured out how to trim the tail light lenses so I can mount them from the inside, along with how to mount the light panel, so there really wasnt any reason not to do it.

    I will say that it was a bit more difficult than I had thought, because the original bezels are thin brass, so brazing was just a bit tricky.. I messed up two bezels, before I figured out the best way to do it.. You can braze Brass to Steel with a Brass/Bronze rod and plenty of brazing flux, but with the bezels being so thin, you really need a thinner brazing rod than I had on hand, so heat was my enemy here. After the thin bezels were brazed to the quarters, they really got very sturdy/rigid, and after I apply a panel bond epoxy to the inside of them, I really dont see any issue of them being weak at all.

    After the bezels were tacked in a few spots on the outside, I found it was better to braze by reaching inside the bezel, and sweating the brass/bronze into the seam from the inside out. Here are some pictures, when brazing with the brass/bronze and flux things dont look too clean, until the final grinding is done..


    Last edited by Iamtheonlyreal1; 01-13-2013, 11:59 AM.

    Leave a comment:


  • RubbderDucky
    replied
    Loving the work to it man.

    Leave a comment:


  • Iamtheonlyreal1
    replied
    Here are some pictures of the firewall set up from the inside.. It really could use just a bit more grinding, but there really isnt a point to do more, because it will have seam sealer and dynamat covering it all.. I used a heavier guage steel plate for the firewall metal, and with all the compound angles, it shouldnt have really needed the crossbar I added across the top of the firewall. That bar will add support, but is really there just to support the new steering column.. The Wilwood pedal assembly works out great, and the whole unit just drops out with four bolts.

    I probably made things just a bit more complicated by not just rolling a piece of steel to make the trans tunnel, but I didnt want that typical street rod trans tunnel.. I actually used some of the original Amazon trans tunnel, and piece things together for a but more contour. The trans tunnel is really just a bit taller, and not too much wider at all, so it has a nice pedal position, that has plenty of room for work boots to make the pedal function.


    Leave a comment:


  • Iamtheonlyreal1
    replied
    Well Volvo X is leaving for body work on Monday, which will be about 3 weeks of dedicated body shop time, and I will have updates of the process.. This car is not be done as a routisserie build, because it is going to be used and abused, but it will still be a very nice quality.. We are taking the extra time to weld up all the edges and gaps, so this car will be straight and precise looking..

    I have locked on a solution to my rear license plate bulk issue, and I think this is going to work out just fine, along with look very minimal and clean. This set up is normally used for a front plate application, and it is on a Key Fob remote operation set up, but I am wiring it up to a timer relay for ignition Off/On operation. By doing that, I take the Key Fob operation out of the equation, along with the chance of forgetting to put it up or down. Here is the basic set up, and it is actually a very easy system.. I wanted to have it drop straight down, and be hidden in the body work, but there really wasnt any good way to do it with the body space I had available..

    In order to get rid of the small reciever hitch look of the bracket below the bumper, I am thinking that all I will have to do is paint it a fairly close grey color that will match the new finished brushed/satin bumper.. Worst case scenario would be to have the metal track also put through the plating process, and that should help hide the overall appearance.


    Leave a comment:


  • Iamtheonlyreal1
    replied
    Originally posted by rsingh3g View Post
    I agree with you little things like that make builds more special
    Now I will just have to come up with a few more of these subtle items.. LOL

    Leave a comment:


  • bostongrnM3
    replied
    this build is awsome. that's what i call fabwork.

    suscribed

    Leave a comment:


  • rsingh3g
    replied
    I agree with you little things like that make builds more special

    Leave a comment:


  • Iamtheonlyreal1
    replied
    Here are some pics of what I have come up with for the intake/throttle body attachement, because I dont want the typical rubber boot and clamps you see. This collar welds onto the intake tube, and has a machine fit for tight tolerance, along with an O-Ring gasket setup. All the welding will be done from the inside, because I didnt want to have to worry about finish grinding on the curves, so finish product will look just as clean as it appears in these pics. This particular intake will be solidly mounted to the motor, so the O-ring should work out great, and I am sure this style collar could be used on other intake runner setups.. Hopefully it will be little items like this, that really make the build of this car planned out, rather than off the Ebay page or off the shelf.

    For the other version of fabbed tube intakes, this collar could still be used for a free standing style system that doesnt have attachment points on the body of the car, because the tubes would be supported with hidden brackets to the motor.. I just really wanted a clean look, and couldnt find anything else out there for a factory style throttle body, so I had to make something for atleast my car.. These can be made in Steel, Stainless, Aluminum, Plastic, ect, ect, so I suppose they could be made to work with what ever material tubes you wanted to run.. I didnt make these to sell, but if anyone would like some, I can ask my machine guy to pop some out, that way he get a bit more out of his cnc programming.. LOL


    Last edited by Iamtheonlyreal1; 01-05-2013, 12:17 AM.

    Leave a comment:


  • softg
    replied
    ^ agreed

    can't wait to see this doing some quantifying

    Leave a comment:


  • Iamtheonlyreal1
    replied
    Originally posted by evilstar View Post
    You should add the power to weight ratio for the original and project x. To bad you cant quantify the other added features/benifits to show that comparison. Its amazing the amount of improvements for the little weight you are gaining.

    ♥ Raf
    I think the comparison Video's will quantify those benefits just fine.. LOL

    Leave a comment:

Working...
X