You should add the power to weight ratio for the original and project x. To bad you cant quantify the other added features/benifits to show that comparison. Its amazing the amount of improvements for the little weight you are gaining.
♥ Raf
-
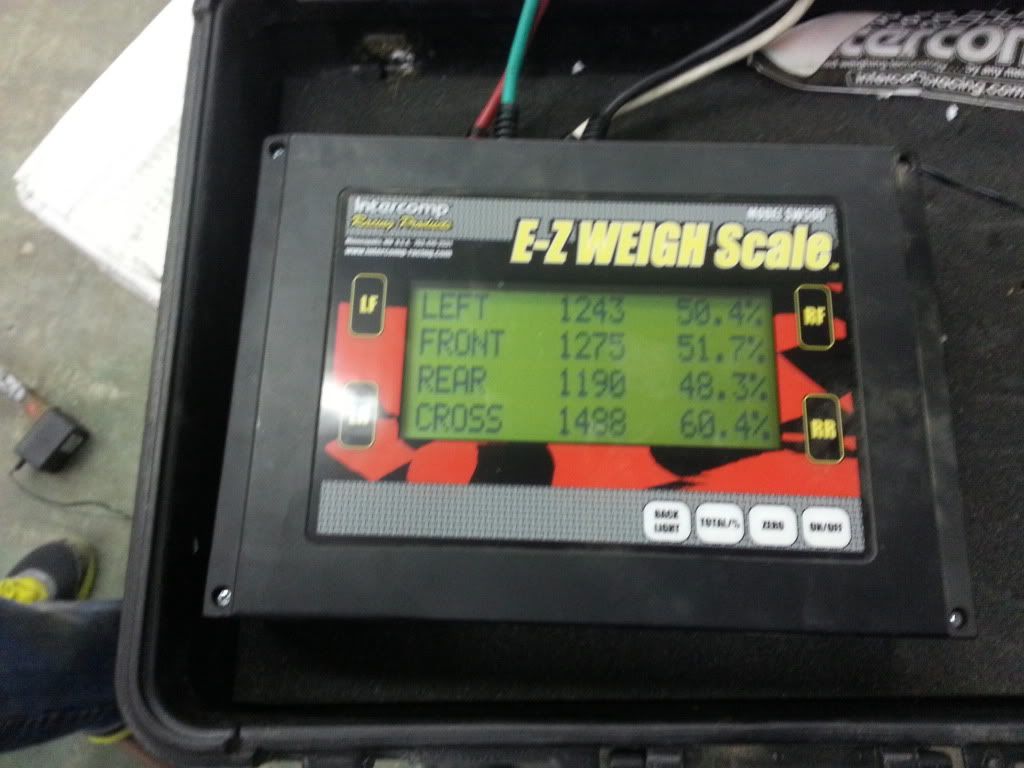
Well I have some preliminary weight figures for Volvo X, and hopefully that answers some of the questions some have had about the weight affect of the V8 and extra performance components. As a comparison to stock, I also have some figures from a 39,000 mile original car, so we should get a great preliminary indication here.. I must say that I am very pleased with the outcome so far, I think this car is going to hit the mark I was shooting for..
With these weight figures, I have an all original car first, and it is as stock as you can get, so this is a great comparison car.. Volvo X has all its running gear in the car, simulated Fuel weight, seats, complete suspension, Steering Column, Guages, bumpers, ect.. It is really only missing the basic wiring, windshield/back glass, insulation and carpet, so we should be in 200-300 pound difference margin for the added accessories. We are figuring that, by the time we add the missing weight of the missing interior/insulation components, Windshield/Back Glass, HVAC to the central part of the car, that will actually get the Distribution ratio even closer to 50/50
Original Car ________________________________Volvo X
Total Weight 2386lb_____________________________Total Weight 2465lb
Front Weight 1270lb________________________Front Weight 1275lb
Rear Weight 1116lb________________________Rear Weight 1190lb
Weight Distribution___________________________Weight Distribution
Front 53.2% Rear 46.8%_________________________Front 51.7% Rear 48.3%

I had a problem getting Volvo X totally level, and that is why you will see the variation in the cross weight, and that is cause by the floor affecting the contact points on the scales.. It was way to cold to switch the cars around, but I will definitely do that on the final weigh in..
Something to consider in all of these figures, is that I have added additional weight in areas like the wheels and tires, along with some heavy duty parts like the rear end assembly and other items, so I think a major achievement was made here.. Keep in mind we are at 540 horsepower, with a V8 and heavy duty trans/Rear end assembly.. Also I am running 14in Front and 13in Rear Brake assemblies, ect, so we are gaining alot, with minimal over all weight difference. On the next weigh in, I will probalby put some original style wheels on the car, along with a few other less bulky things, and I think we will find that there really isnt any notable overall gain in suspension and drivetrain.Last edited by Iamtheonlyreal1; 01-01-2013, 12:17 AM.Leave a comment:
-
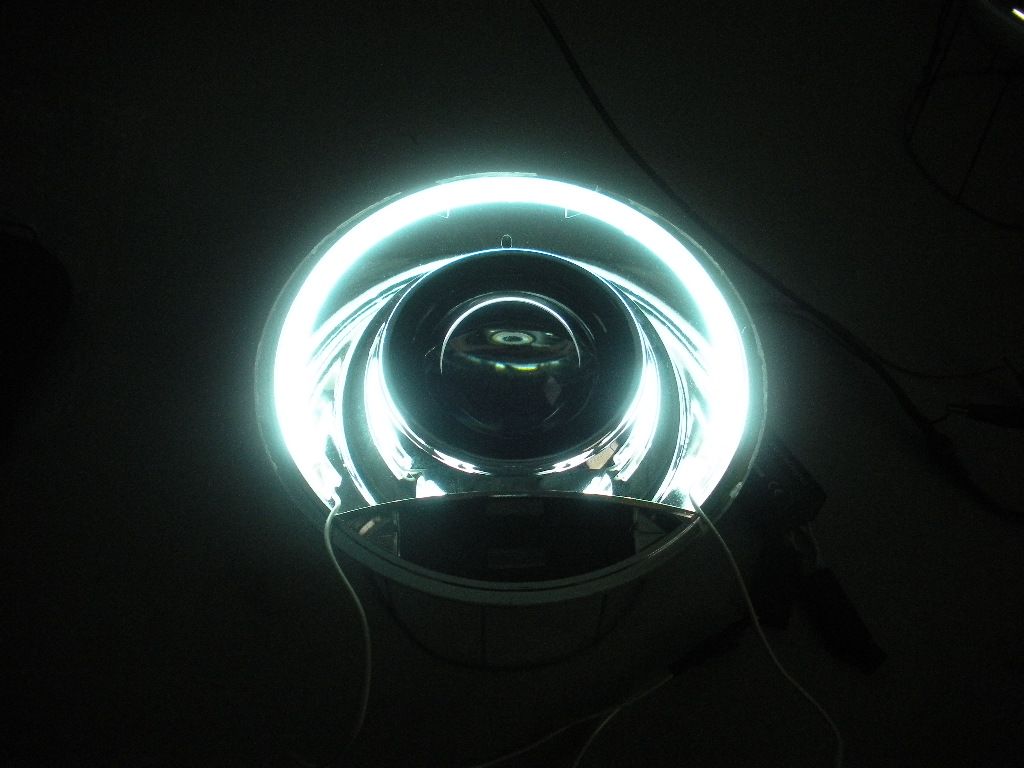
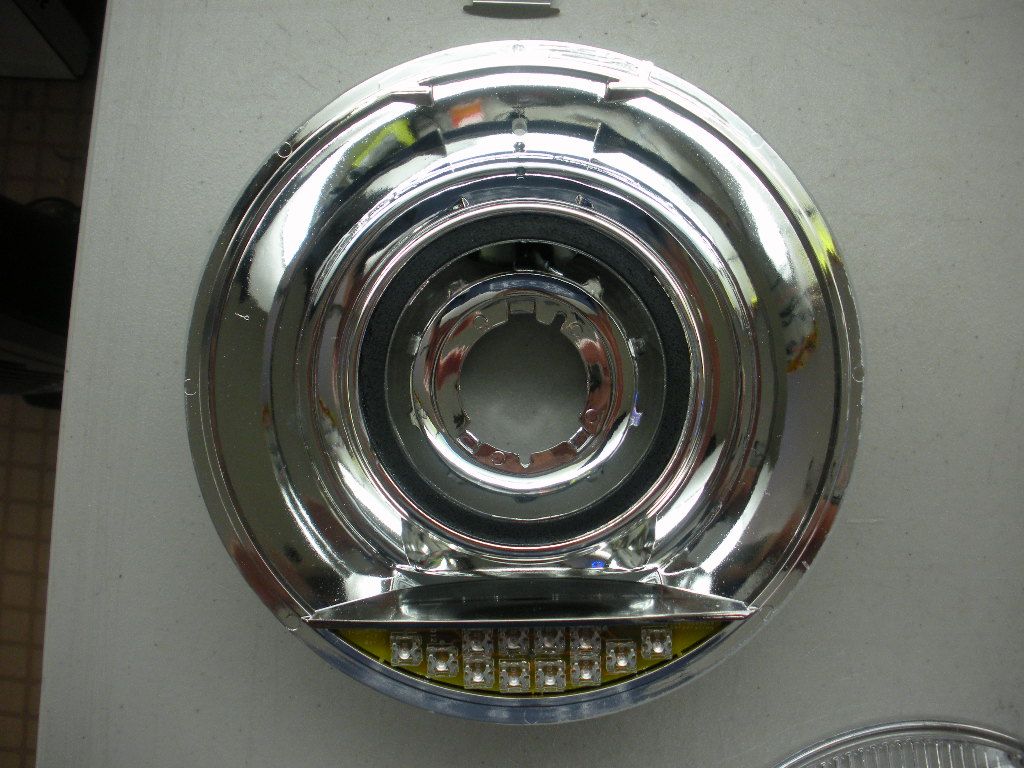
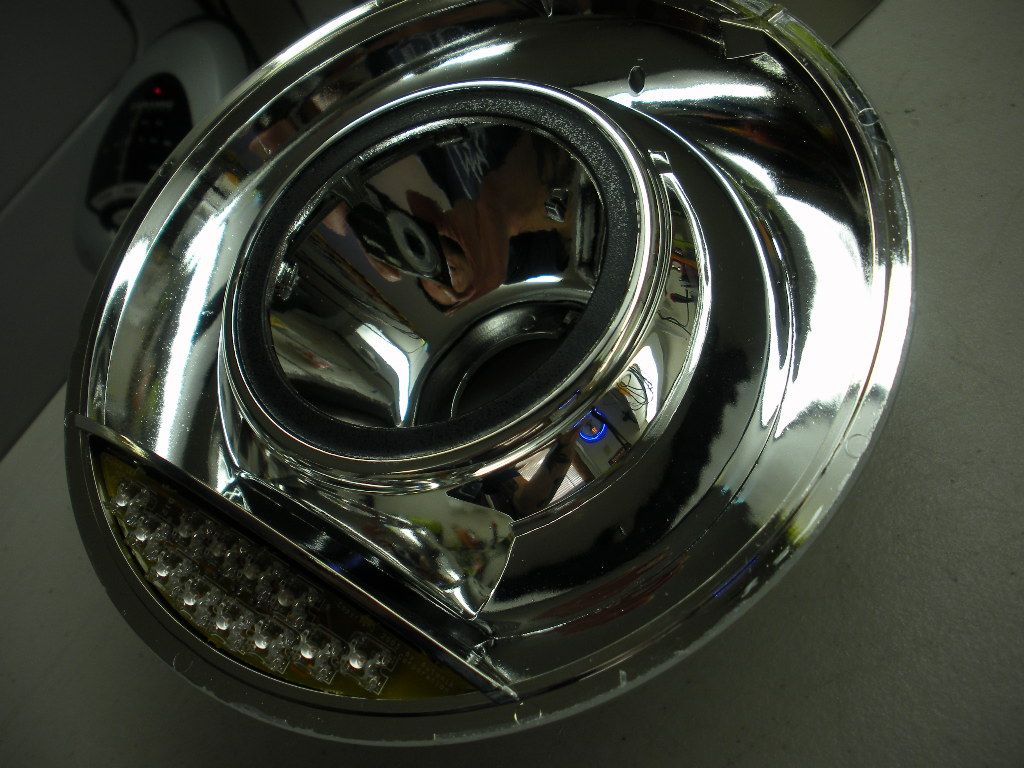
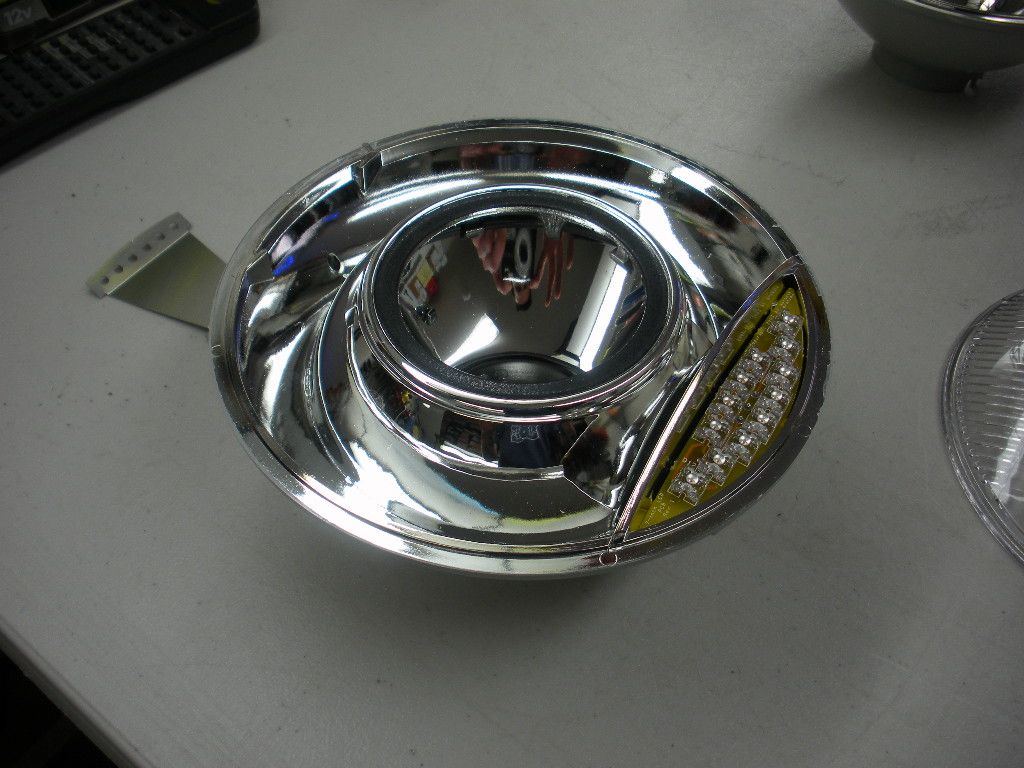
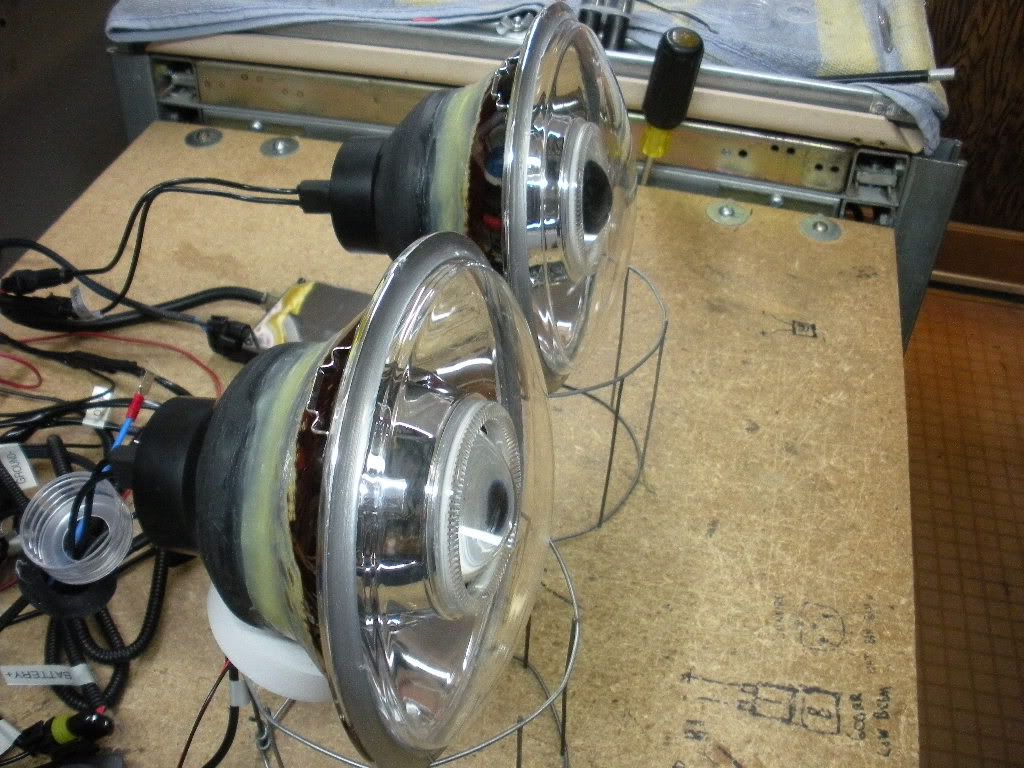
Here is a little bit more of the headlight building process, and you can see where the turn/park lamp will be placed, along with the new Halo placement..


Leave a comment:
-
Originally posted by evilstar View Post
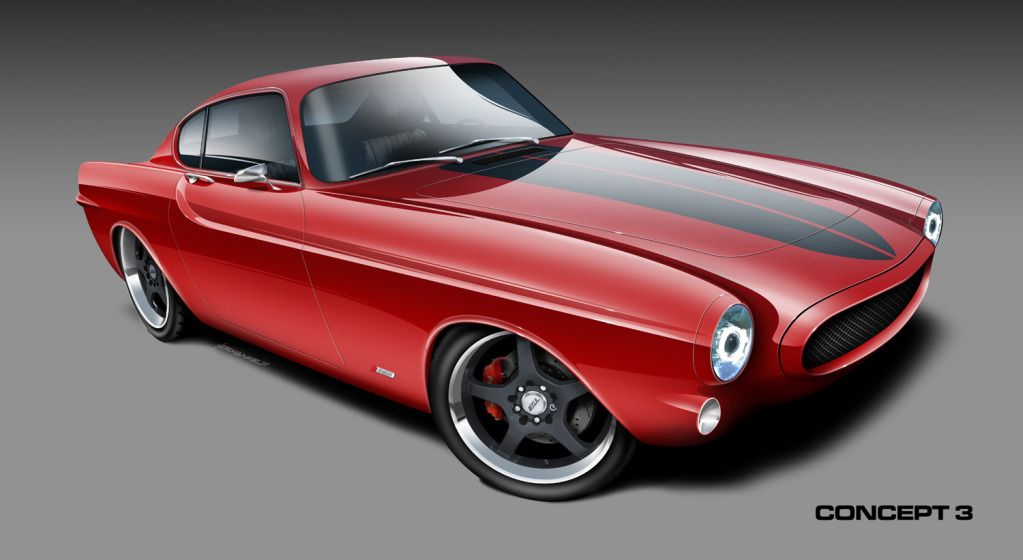
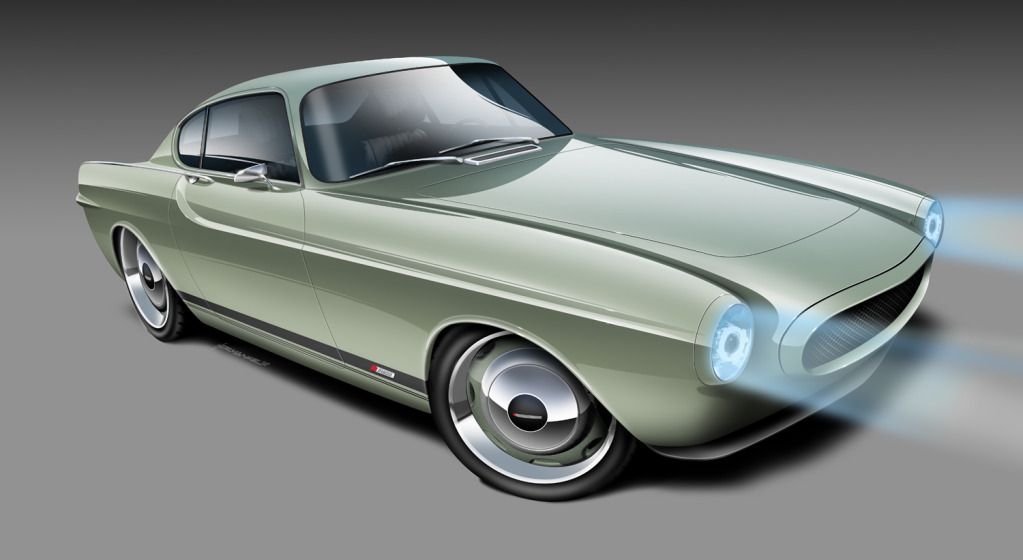
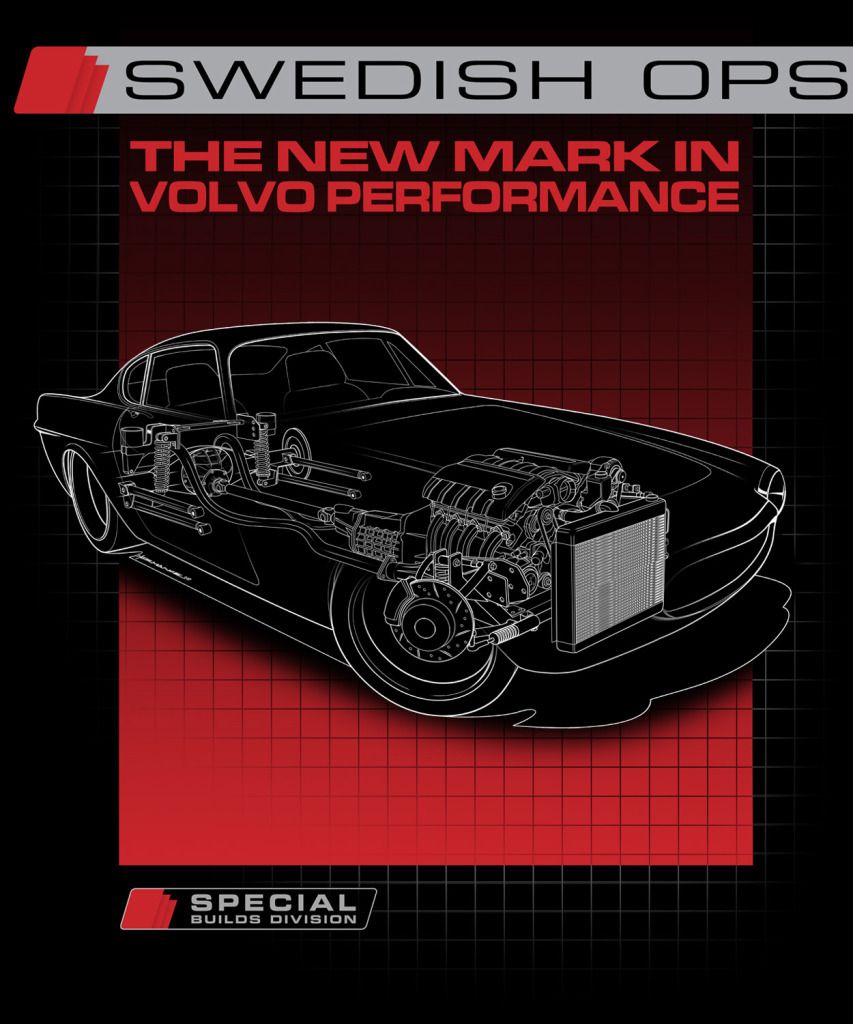
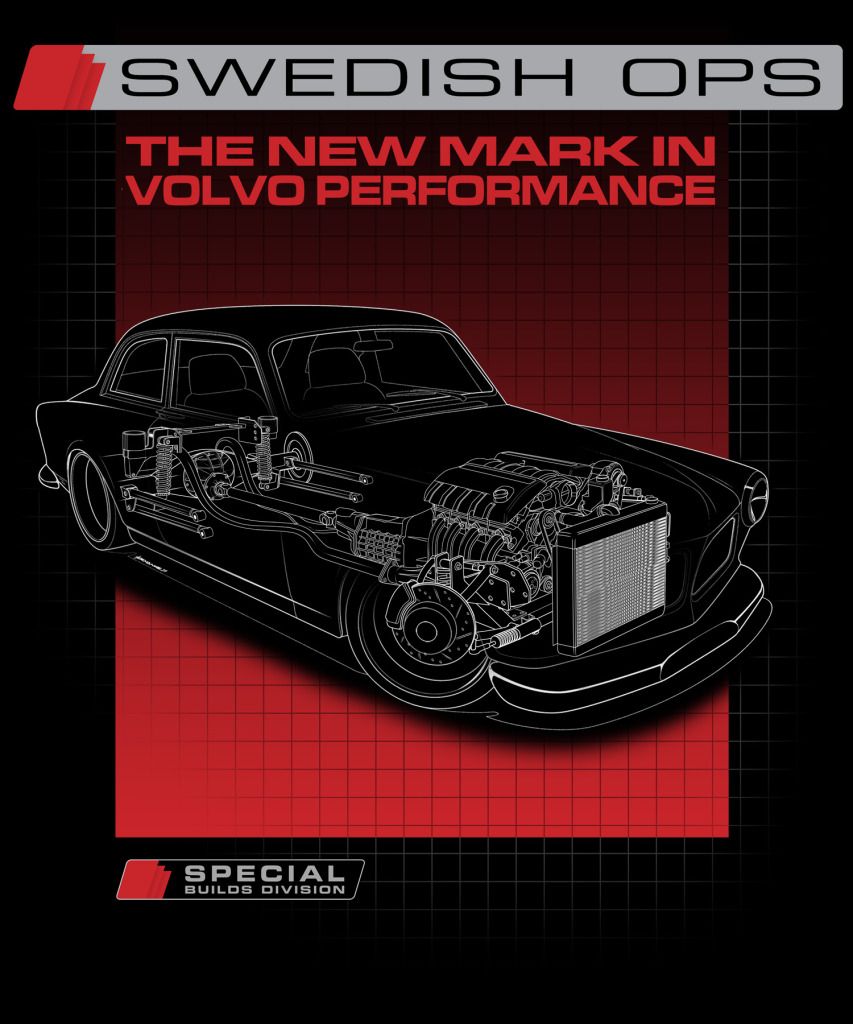
Here are a couple of renditions of the Swedish Ops (Special Builds Division) P1800's, and you can see some subtle mods in them. I will be posting the other upcoming build cars, because these type build threads will act as my customers build updates, so they can see everything that is going on with their car, along with offer some technical information to the public.. I have 3 inhouse customer builds, along with 4 more on the waiting list, and that doesnt include the Swedish Ops shop promotional builds.
Here are the some of the upcoming Swedish Ops P1800/Amazon T-shirts, they will be coming in the normal T-shirt, along with the old Dickie Style button up automotive shop shirt. I had them done in this line drawing fashion, because it showcases the products that are in these cars, and I like the technical look.. I have never been a big fan of specific build car/motorcycle shirts, like OCC/PJD and other car/motorcycle builders/ because they seem a bit hokey and gimicky.
 Last edited by Iamtheonlyreal1; 12-30-2012, 01:01 PM.
Leave a comment:
-
Man, this is incredible. These cars look so sinister when done correctly. Loving this build, can't wait for more updates!Leave a comment:
-
Originally posted by evilstar View Post
Here is a link to the Project Changling P1800 Build, and I will be posting a build thread on there, once I get started on it again.. I am trying to wrap up this build for product results and trials, so this car will be abused instead of Project Changling, which has some major appearances when it is done..
There are alot of body mods on this car, beause it is being built after the Vox P1800 Rendition. I am now planning on an LS upgrade up to the SuperCharged LS9, which will put this car way over the top.. LOL
Leave a comment:
-
this just keeps getting better and better! Please tell me you will be posting a build thread for that as well. I have loved p1800s since I first saw them. My uncle has a wagon that I have been begging him to let me buy since I can remember lol. He has 2 more now. lolOriginally posted by Iamtheonlyreal1 View PostLeave a comment:
-
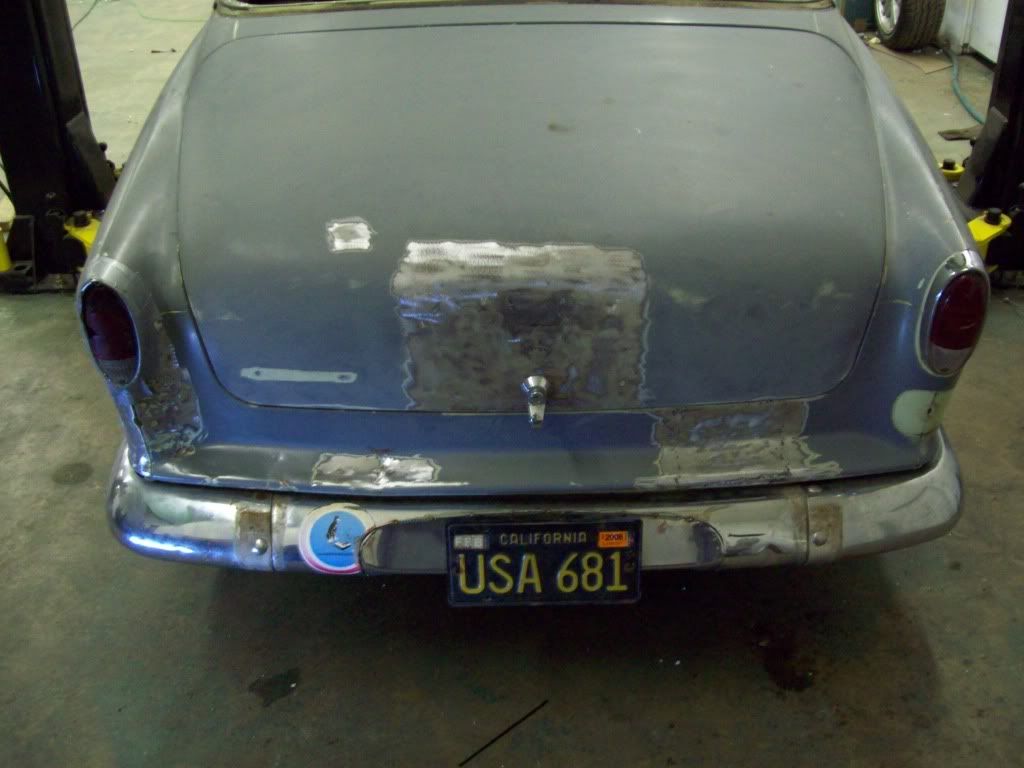
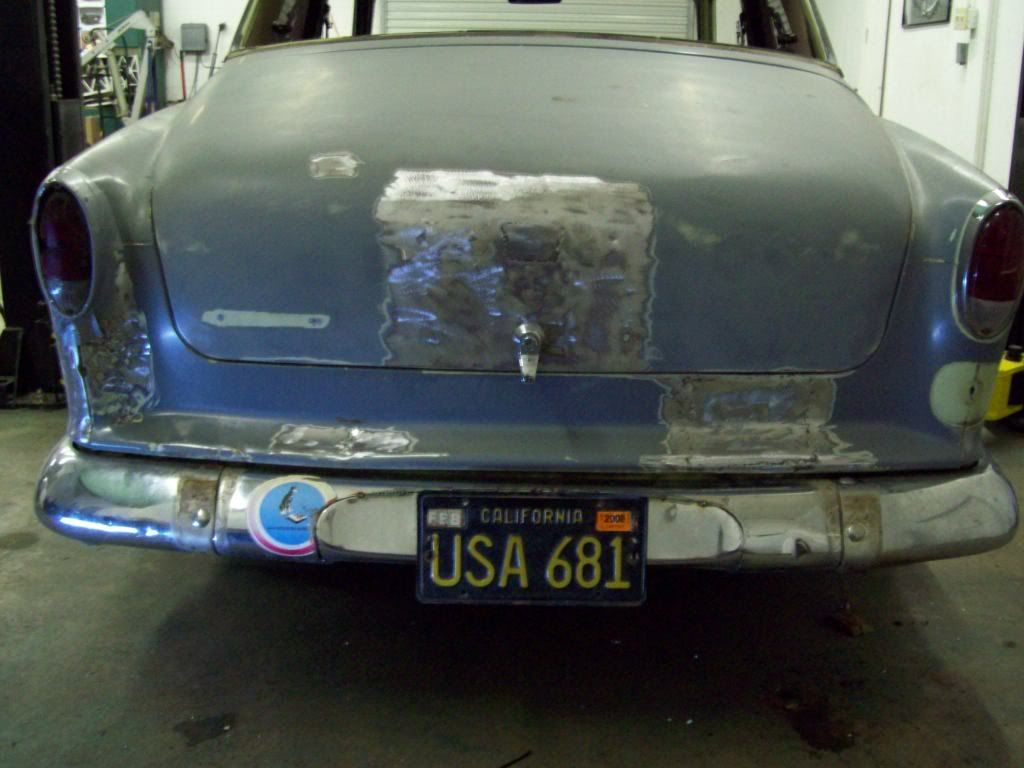
I am really gravitating toward this option, and I think I will make it drop down anytime the ignition is on.. I can hide the whole plate behind the bumper, and in the body work, so none of the mechanism will be seen at all. If I do this set up, I will have a perfectly smooth bumper, with no reliefs of anykind, and that would be as clean looking as is possible.. I think this is the direction I am going to go for sure, but I am waiting for it to come in, so I can make sure there isnt any reason it cannot be used for the rear? It seems to me, that the front mount would be alot harder on the structure of the unit, due to the direct air force, but there may be a reason why it wont work hanging down from the rear?
Here is a Youtube link to a modified Show and Go hidden plate unit.. It is typically used for the front plates, but I can easily modify it for a rear application..
The first video is of how the Show and Go works without modification, but you can see the mechanism below the body, which I dont like.
[ame="http://www.youtube.com/watch?v=A24u56tfQqY"]Altec Motorized License Plate - YouTube[/ame]
This video is of a modified Show and Go, which allows the plate to drop straight down, so all the mechanism can be hidden in th body work.
[ame="http://www.youtube.com/watch?v=S69y7VMa6Vo&NR=1&feature=endscreen"]Show N' Go License Plate on a INGS+1 350z - YouTube[/ame]Leave a comment:
-
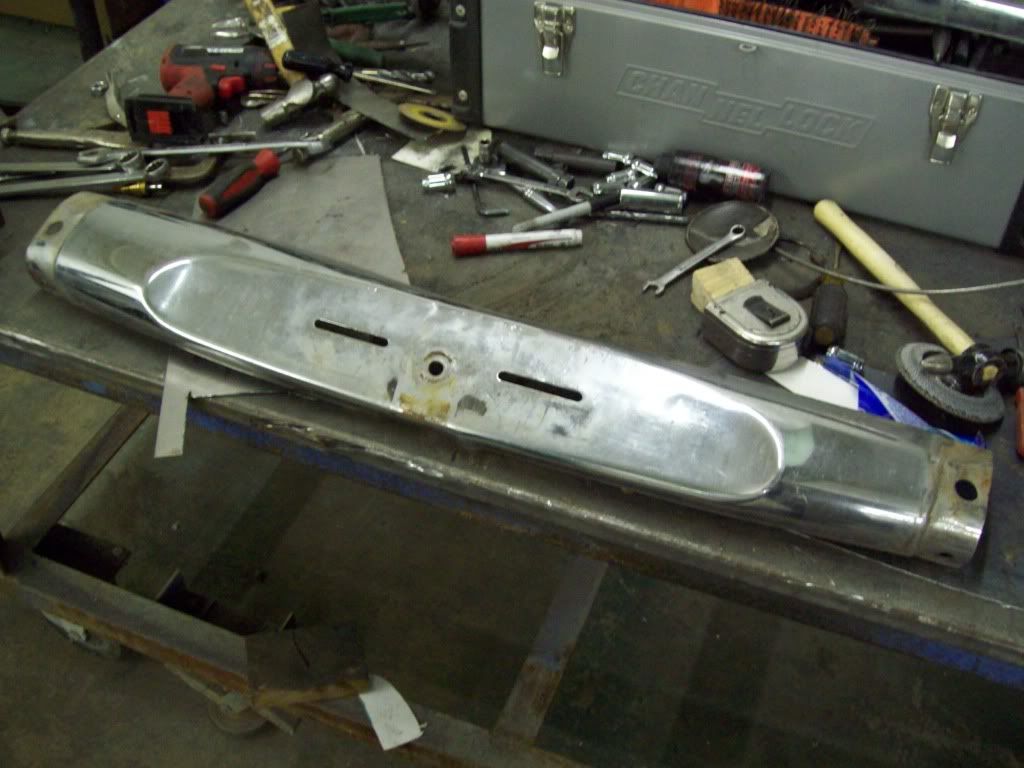
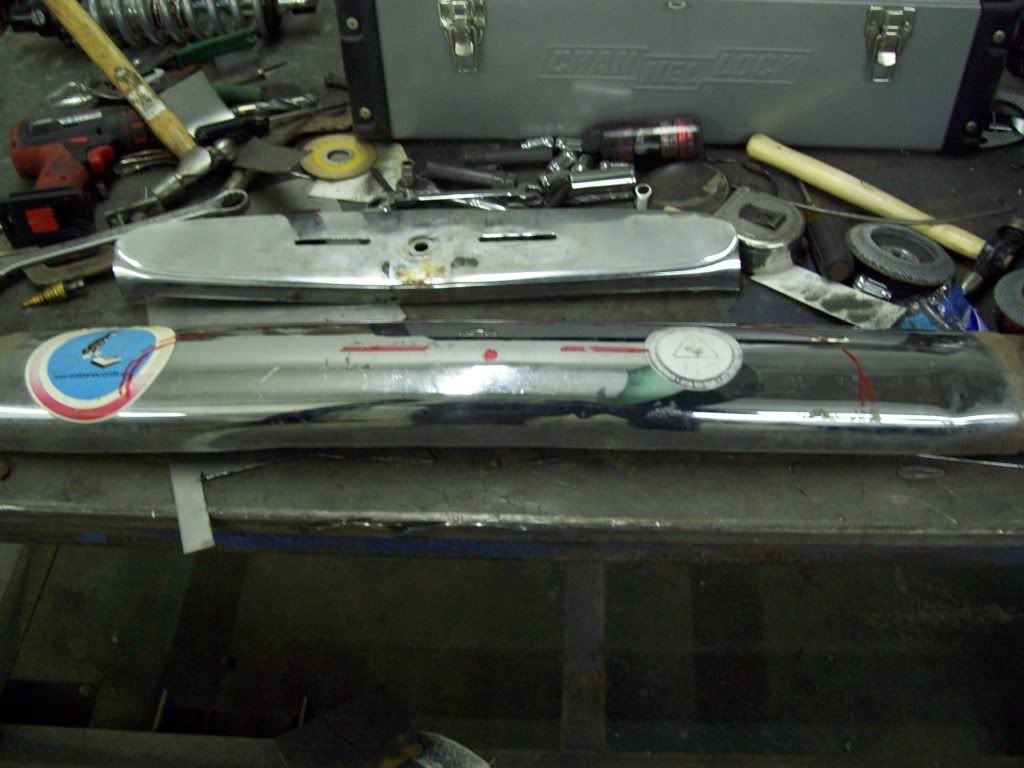
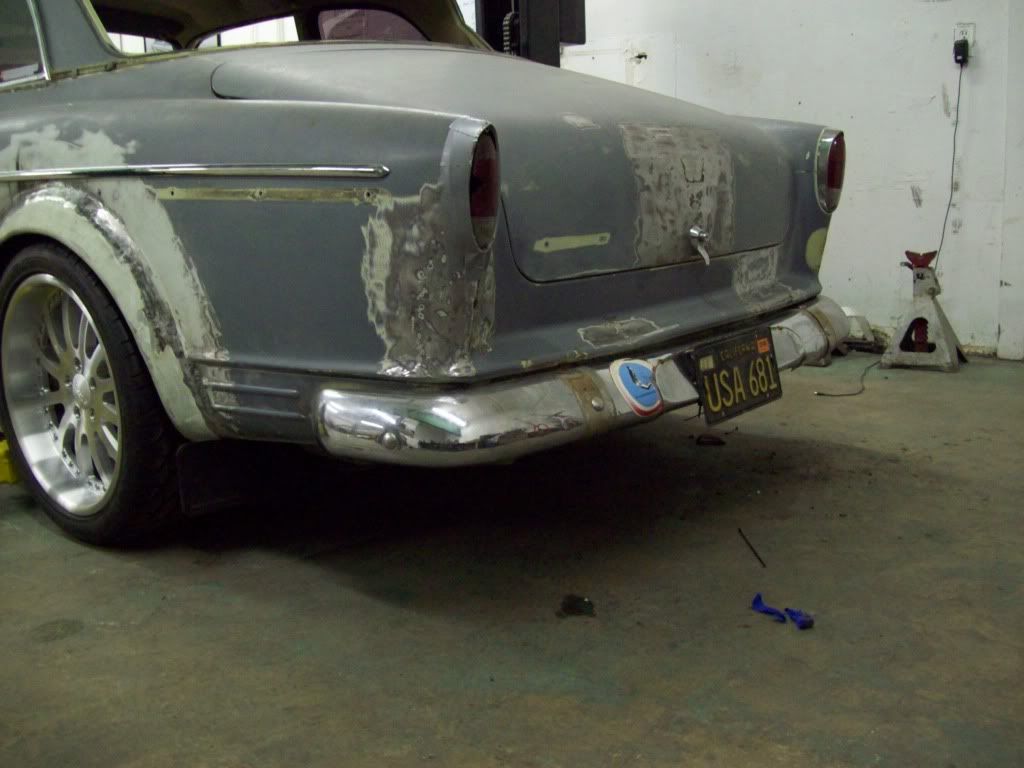
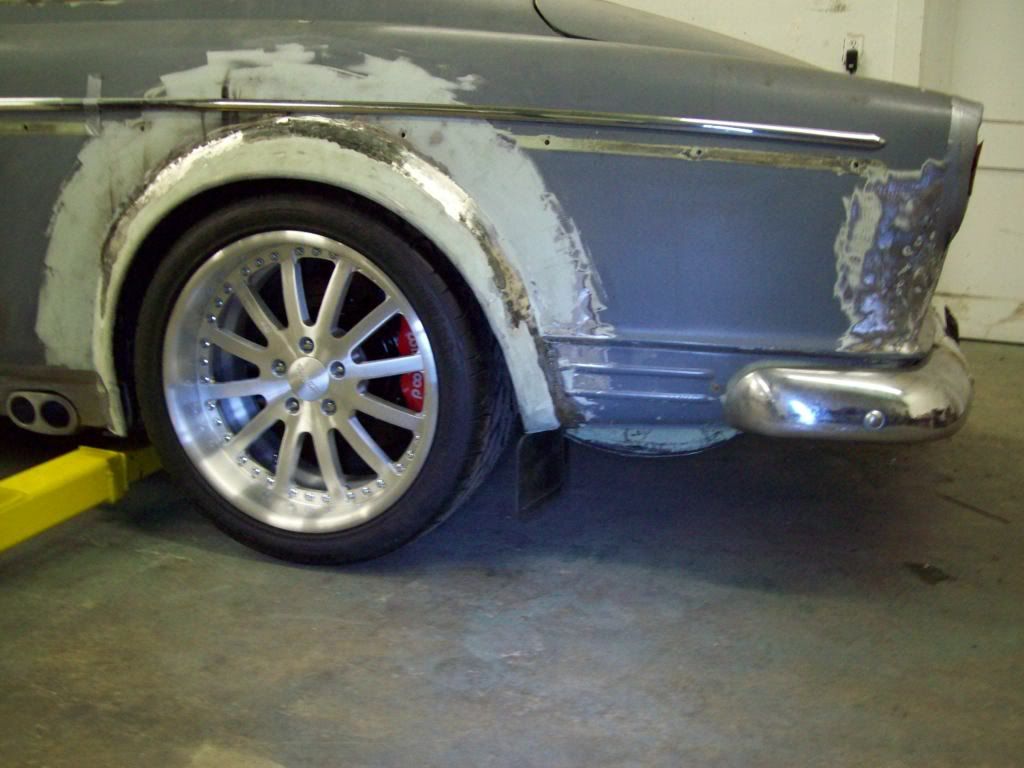
I am trying another rear bumper license plate mounting setup, and I am actually using the front bumper license plate relief.. In order to have it flow correctly into the rear bumper, the mounting angle is just a bit much, but I wonder if I can source an early chrome style license plate frame from some where? I had a PV that had a nice American license plate housing/mount, and I have seen something similar for the Amazon's.
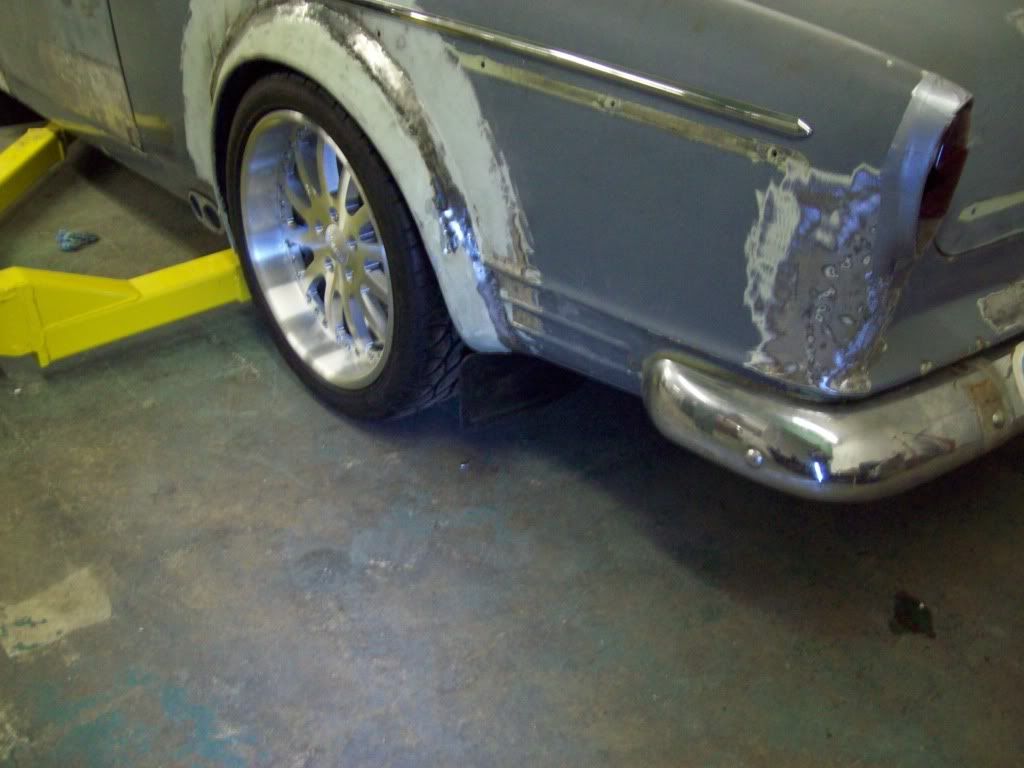
I am also experimenting with rear mud flaps, and I am trying to use an altered version of the front mud flaps.. I think they will come back and out just a bit more, but they should work out.. It is Volvo styling, and I like the benefit I should get from them, when it comes to chipping and Tire Abuse. I havent trimmed out the spare tire sump, but it will be reduced to be abover the lower quarter panel, so it will not be seen when all is done.
The bumper will be made into a one piece bumper like the front, and all the mounting bolts will be hidden on the back side, but this will give an idea of what the overall bumper will look like.

Leave a comment:
-
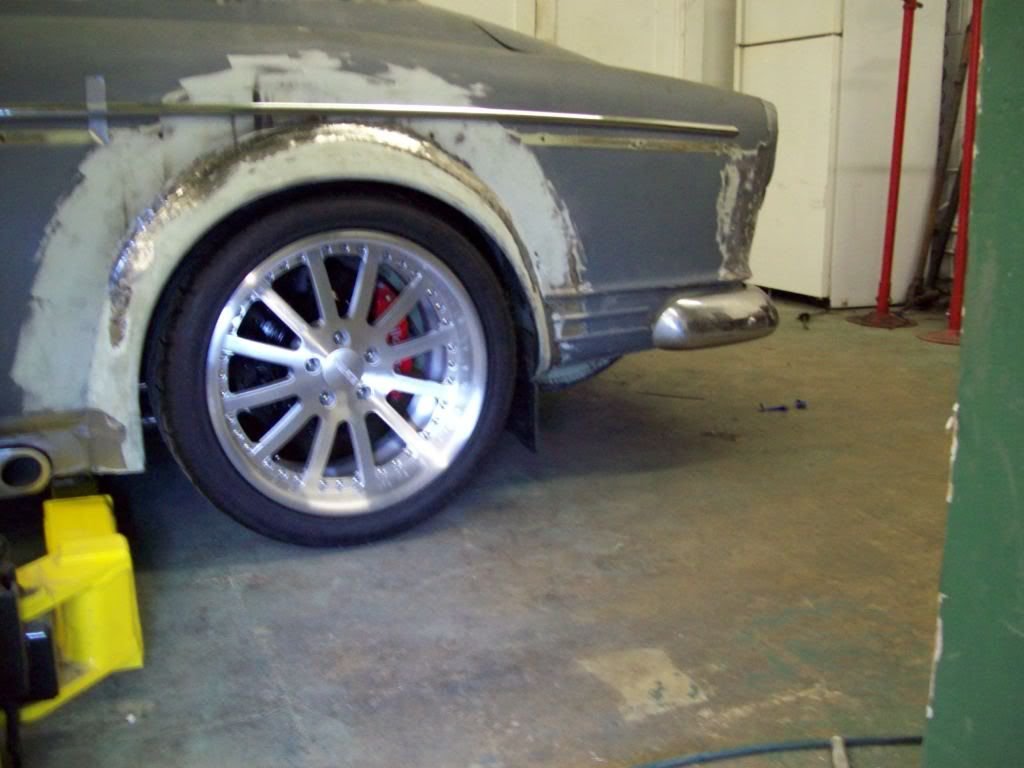
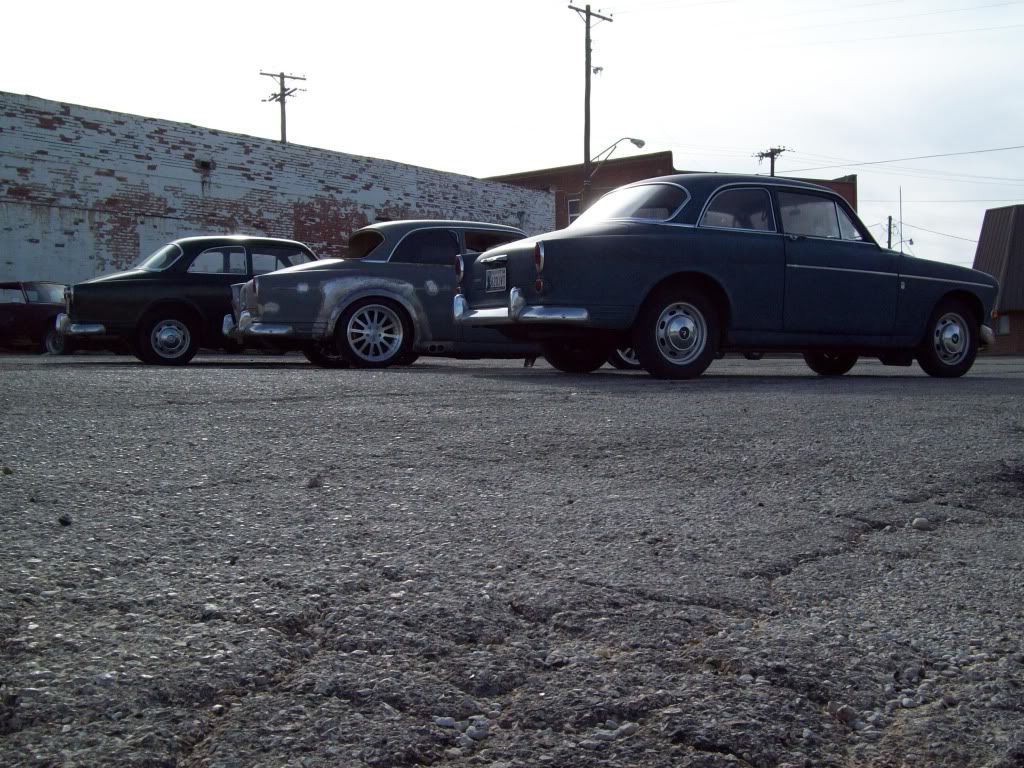
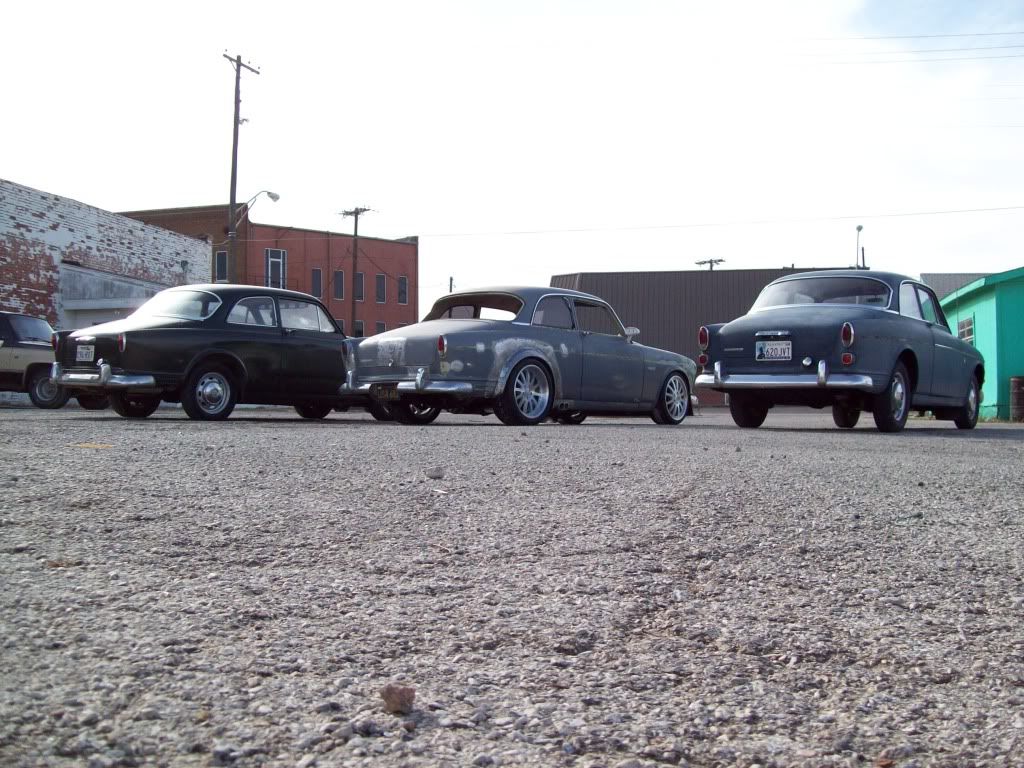
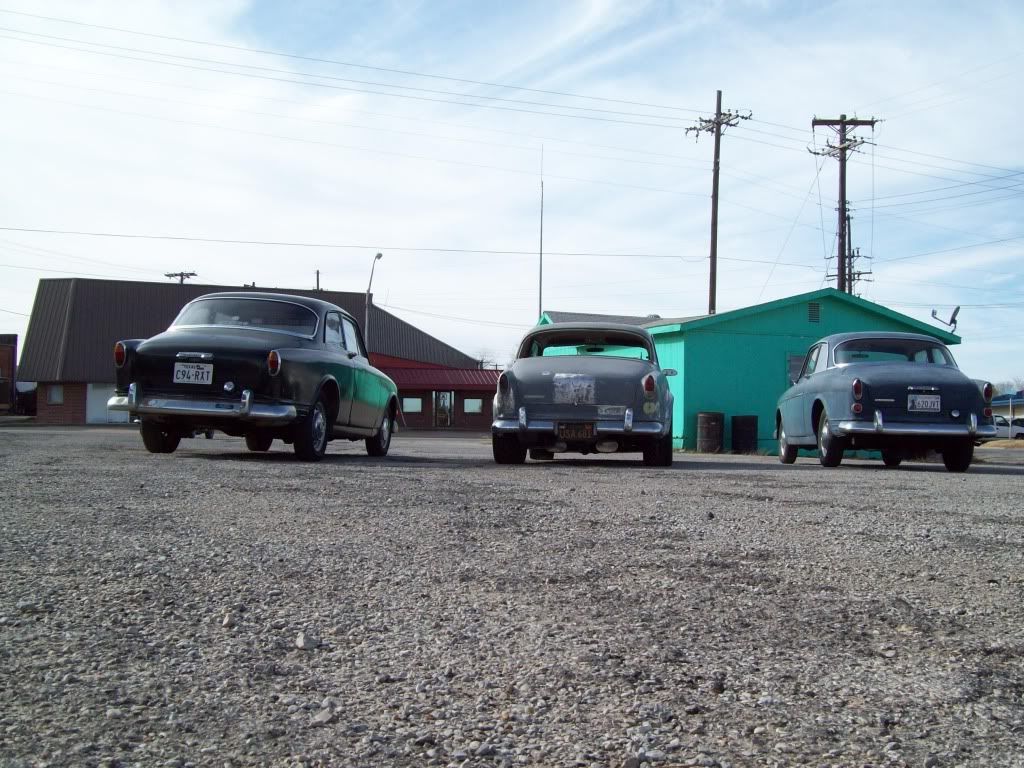
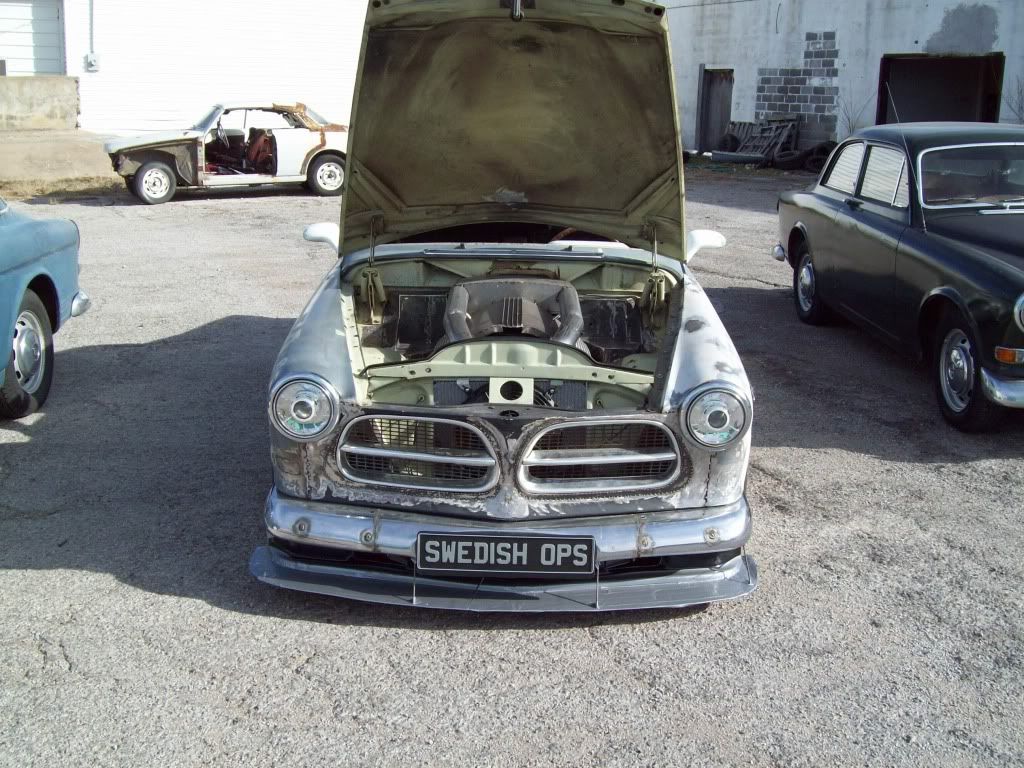
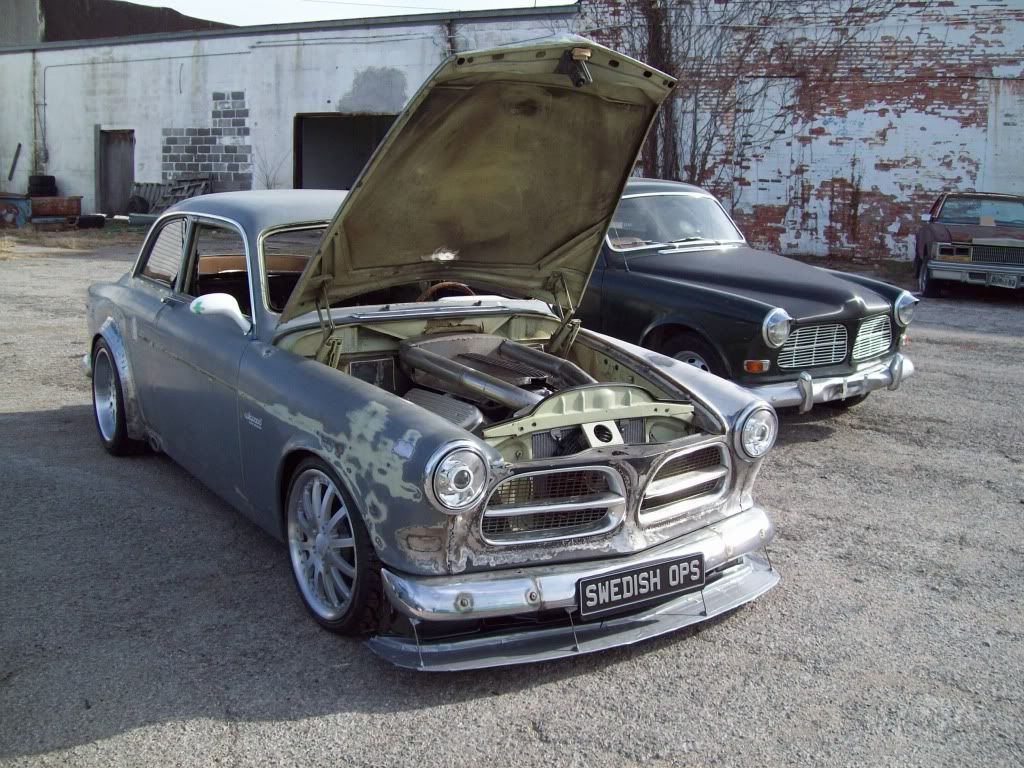
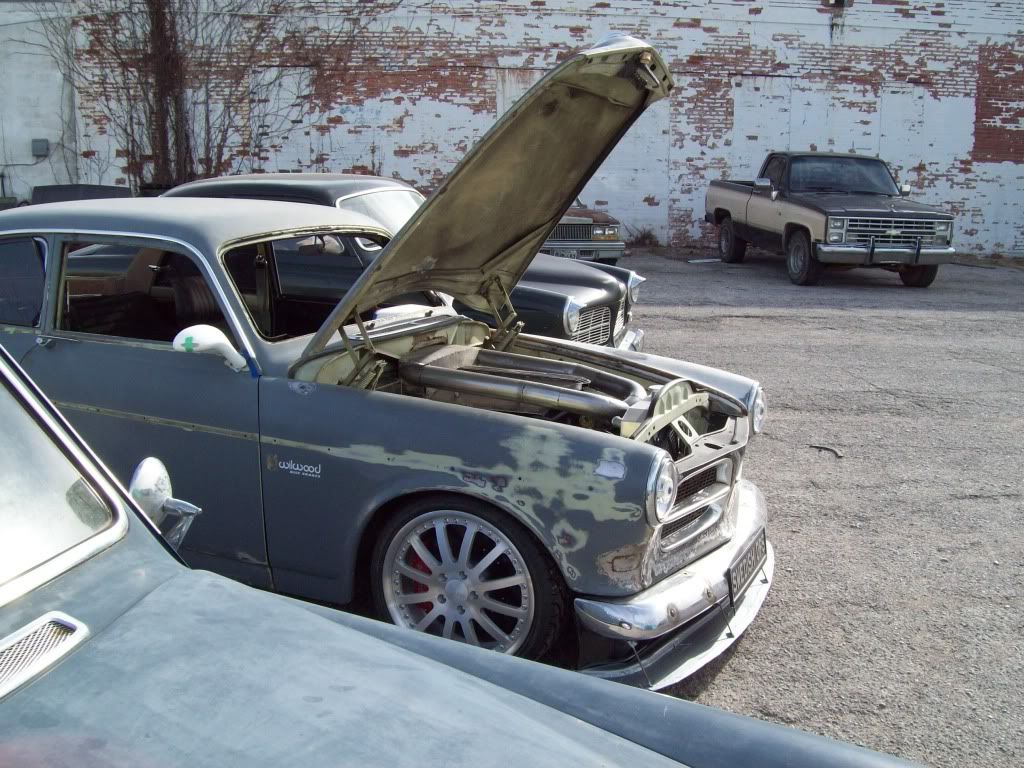
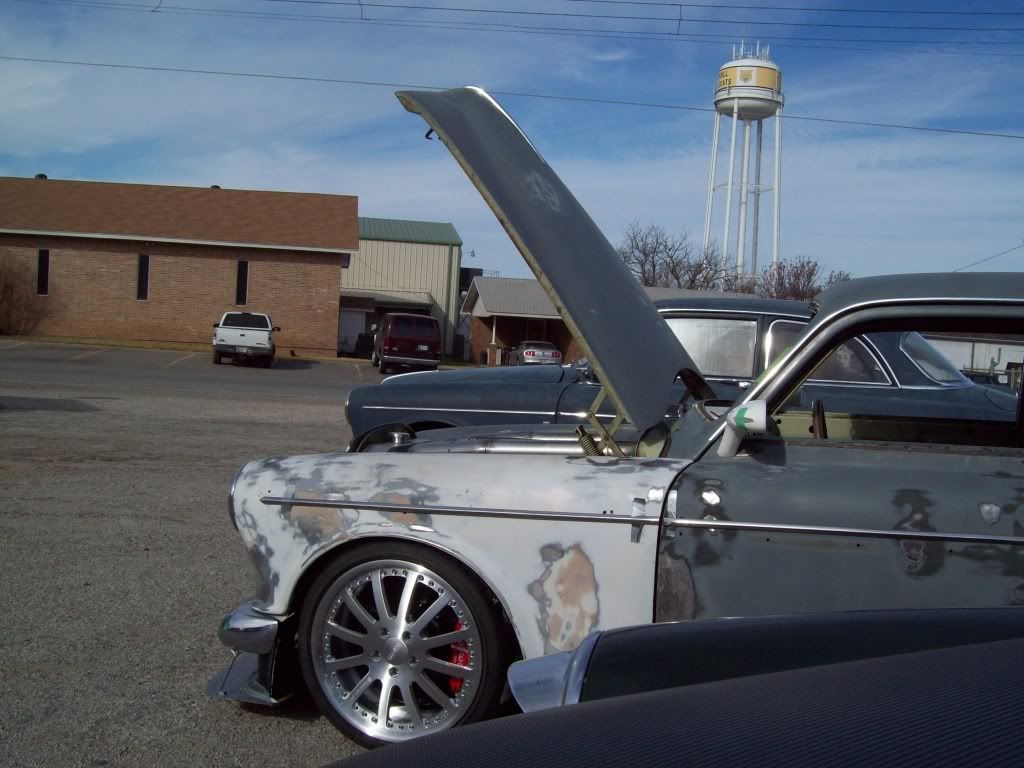
I rolled the car out, so I can see the proportions of the REMOVABLE AIR DAM/SPLITTER in the real world.. I think if I take some of the forward extension away from the lower splitter wing, that will help out the back looking view of the air dam body. The mounting position of the air dam is optimal for the quick connect/disconnect setup I am wanting to run, so it really needs to work where it is located. It may still look a bit clunky or awckward, but once everything is level and body color, I really think it will look at home there. Especially at the track event settings, where there are alot of other cars with various aerodynamic aides attached..
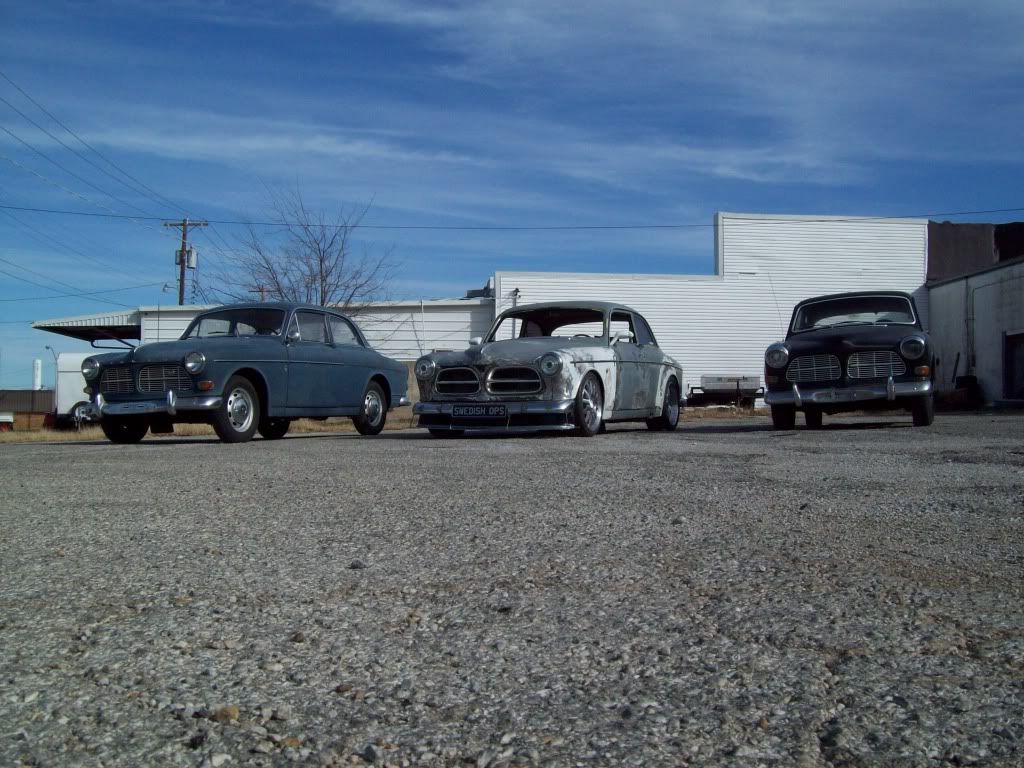
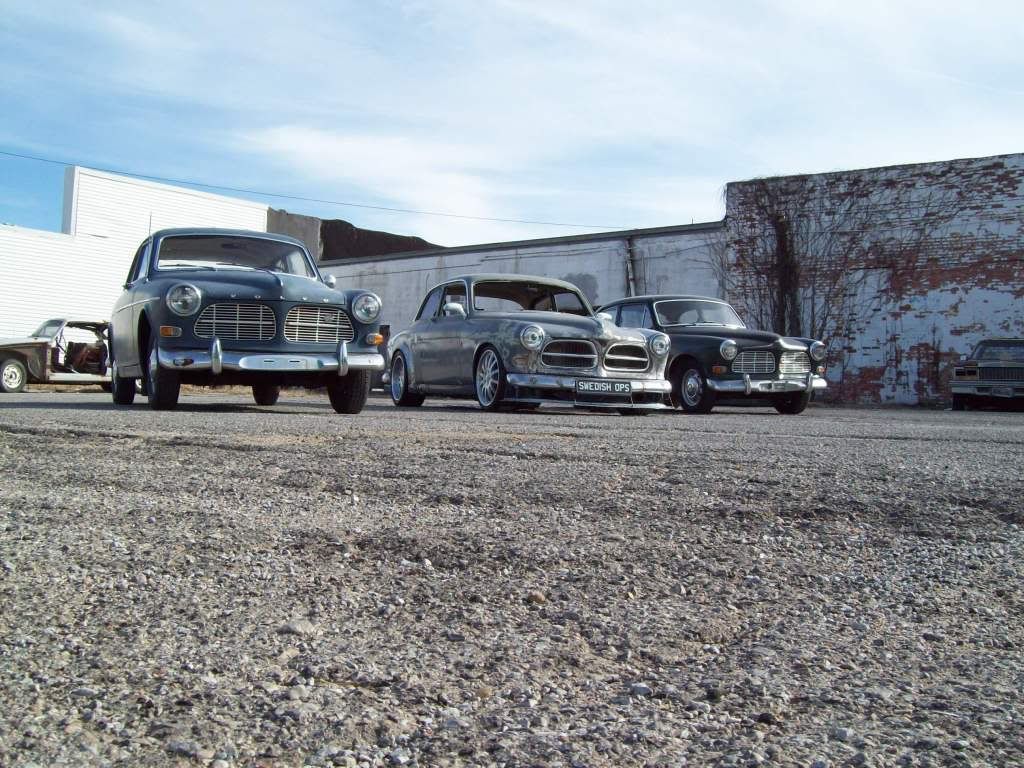
I could resist putting two stock Amazon's next to it during the pics of the air dam/splitter, because I was curious what it would look like at some upcoming events, if it was just setting in a crowd of Amazon's..
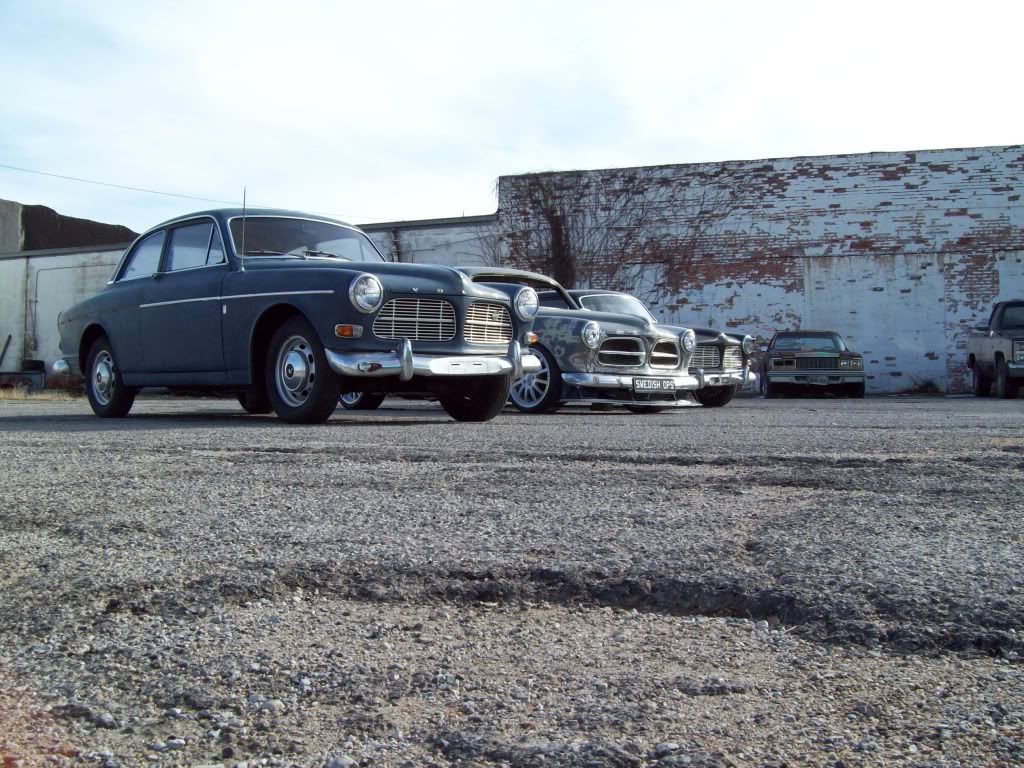
Leave a comment:
-
i am the only one who thinks this car might actually be the second coming?Leave a comment:
-
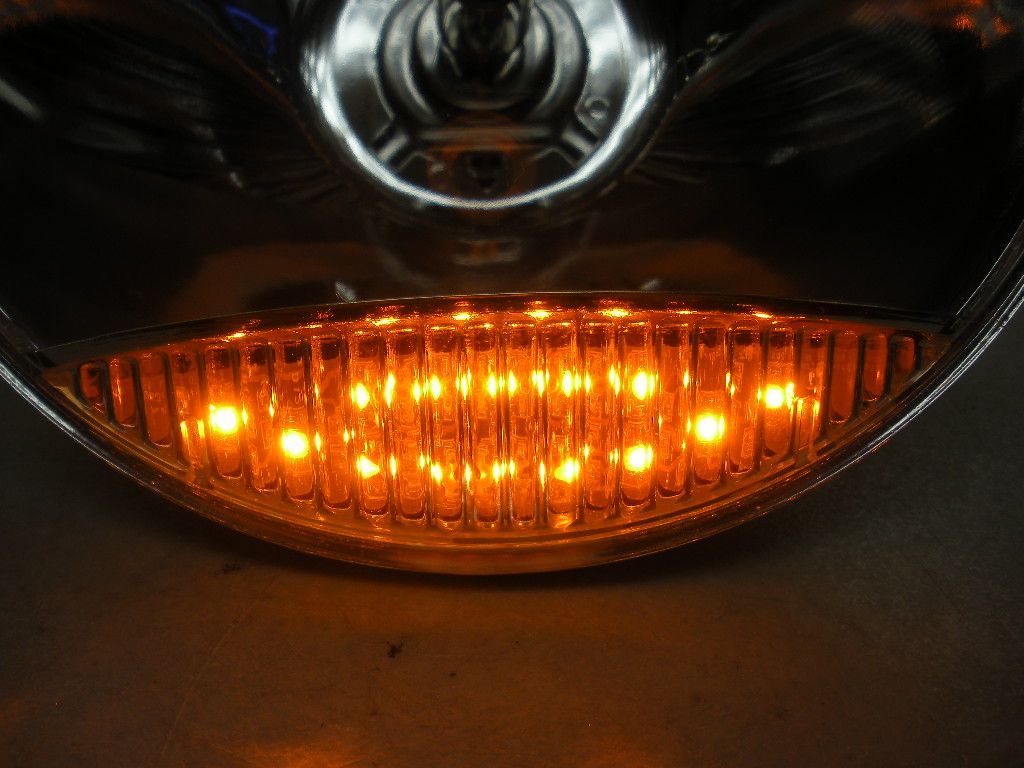
Here is a little teaser/tech info about the headlamps being made for this build.. They will have the amber turn/park lamps made into the bottom of them, and they are seperate from the actual headlamp..
Being that these are HID Projector Lights, they will have a smooth reflector, along with a clear lense for a completely clean look.. I dont like the fluted glass or angled reflectors that are typically used for the refracting of the light project, because old school headlamps look cluttered and dull..
These things will really come together, once the projector and lense are installed.. These are hand fabbed, and are completely custom, so there are alot of option to choose from.. In the build of these, you actually have a variety of light color spectrum to run them in.. I will be going for the Pure White, but you have the choice of the Blues/Purples, Yellow tone, and a few others.. There is also the option of an outer or inner LED Halo, that can be used for several functions also.
Here is a pic of the headlamps I have now, but these do not have the turn/park section made into them, because these are for my Project Changling P1800 build, which will have an updated park lamp still on the fender. These have the Projector LED Halo, rather than the outer ring Halo.
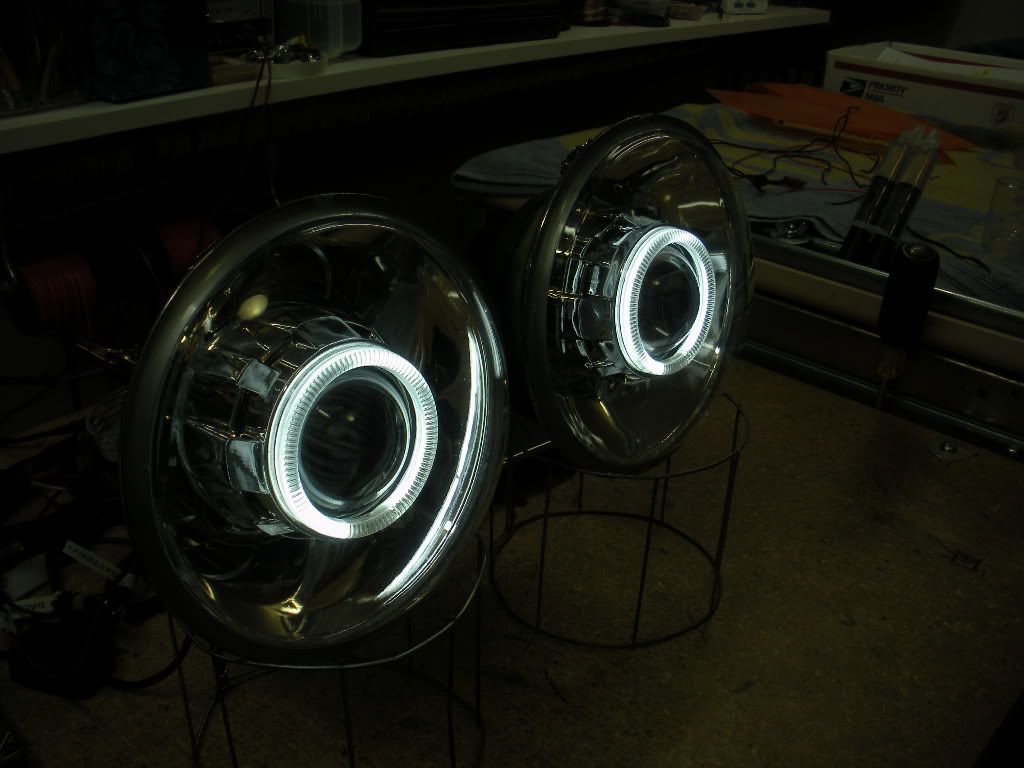 Last edited by Iamtheonlyreal1; 12-21-2012, 11:00 PM.
Leave a comment:
-
I was hoping that gets started on in the next few weeks, right after the motor fires up.. My guy was suppose to be working on the body part time during the last several weeks, but I am sure you know how that goes..LOL I really think the game will change, once this thing is all one color. I will have a Black Epoxy Primer stage, so I will get to see what it would look like with the Hot Rod Flat Black color also..Originally posted by rsingh3g View Post
I am not doing a full rotissorie build on this one, because it will be abused and might be damaged in the first few weeks, so the bottom of the car will be just cleaned and re undercoated.. So once it is started, the paint job should be about 4 weeks, but there will be alot of updates during that time also.Leave a comment:


Leave a comment: