why this thread still doesnt have a 5*?
awesome work man!
-
forgive my ignorance but i had no idea that there were high end volvo shops out there let alone doing work like this. Amazing stuff man.Leave a comment:
-
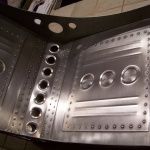
Here is my idea for the Intake Setup.. I think that once I get the remaining pieces, so I can run it back to the filter box, it will all tie in nicely. I am need two 30 degree bends so I can cut back to the box in the proper place, but of course I didnt order those. I am trying to make this where it all looks like it isnt out of place, so I have some of the basic runs mimicking the fender angles, so when the hood is open, the Intake Tubes and the Fenders compliment each other. I think that it takes little feature like that, so you have the capability to have something as an uncommon option, but it appears that it was made for it.. It is these little features that go un-noticed in the day to day, but makes it apparent when someone is using cookie cutter items that are one size fits all.
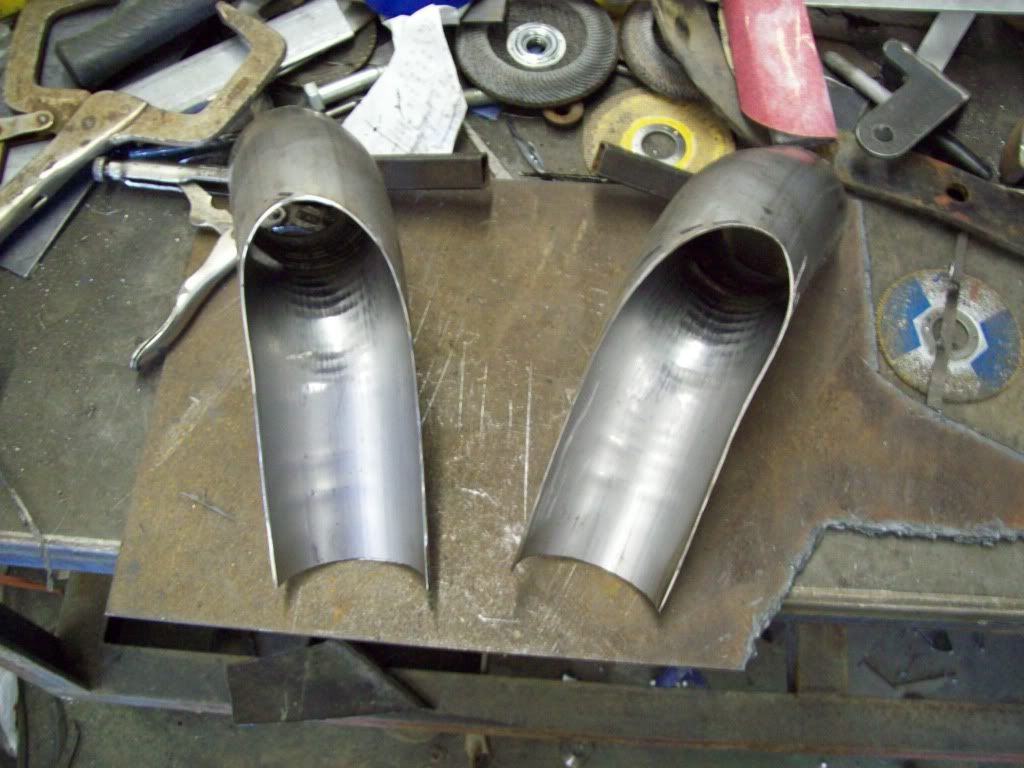
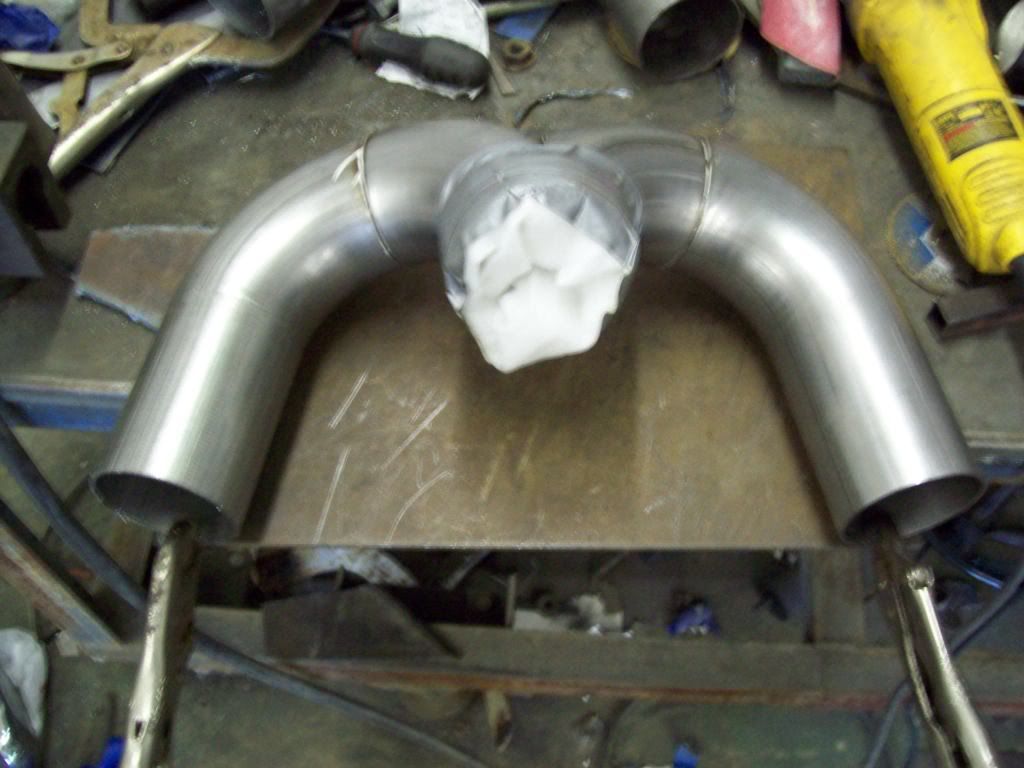
I had to split two 90 degree pieces to make my Y section (I guess it would actually be a T), and that turned out to be a bit more complicated than I had thought, because I had to factor in the angle of the outlets from the Y section before they were cut. I did my best with the tools that I had, but I think it came out pretty damn good.
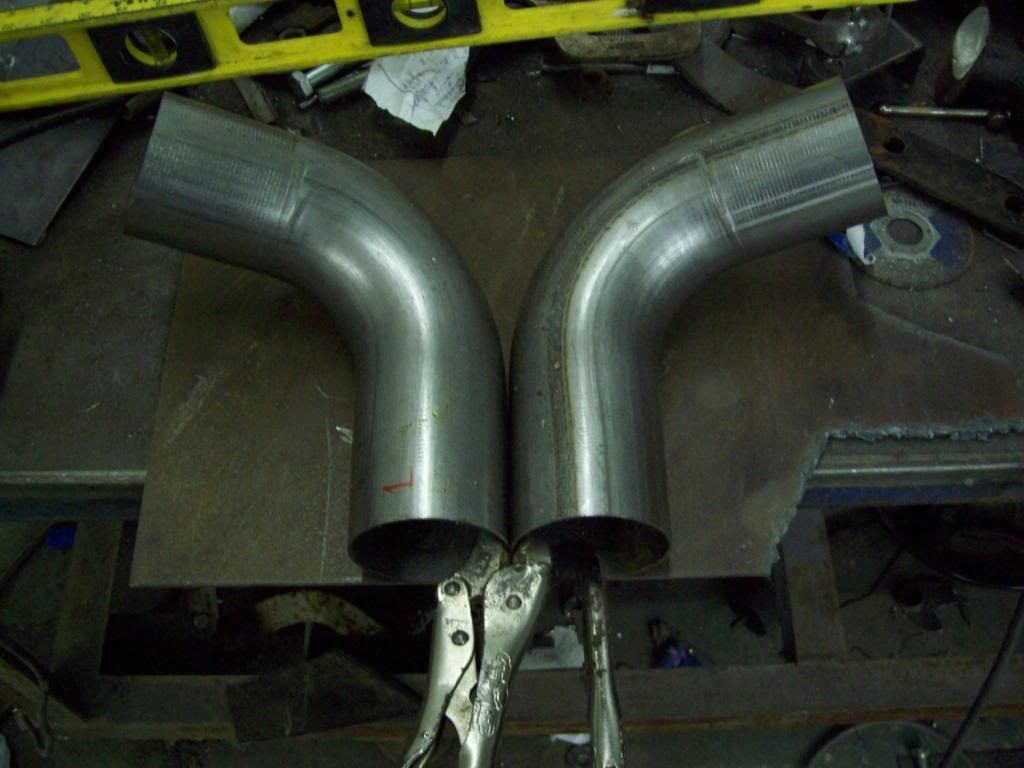
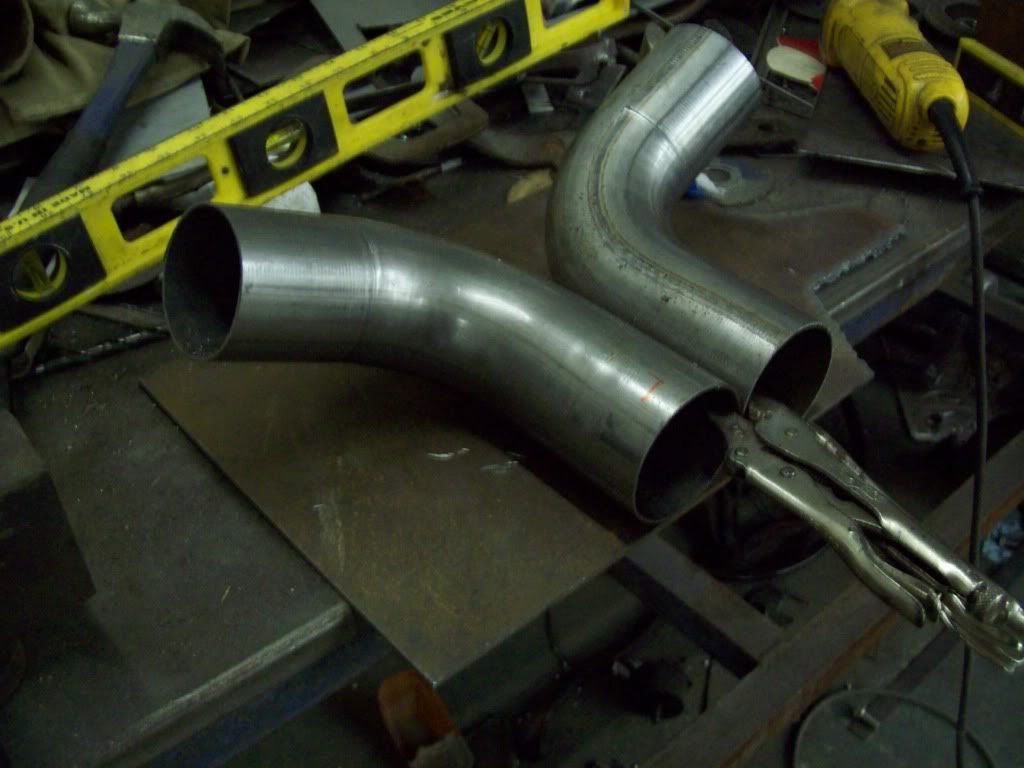

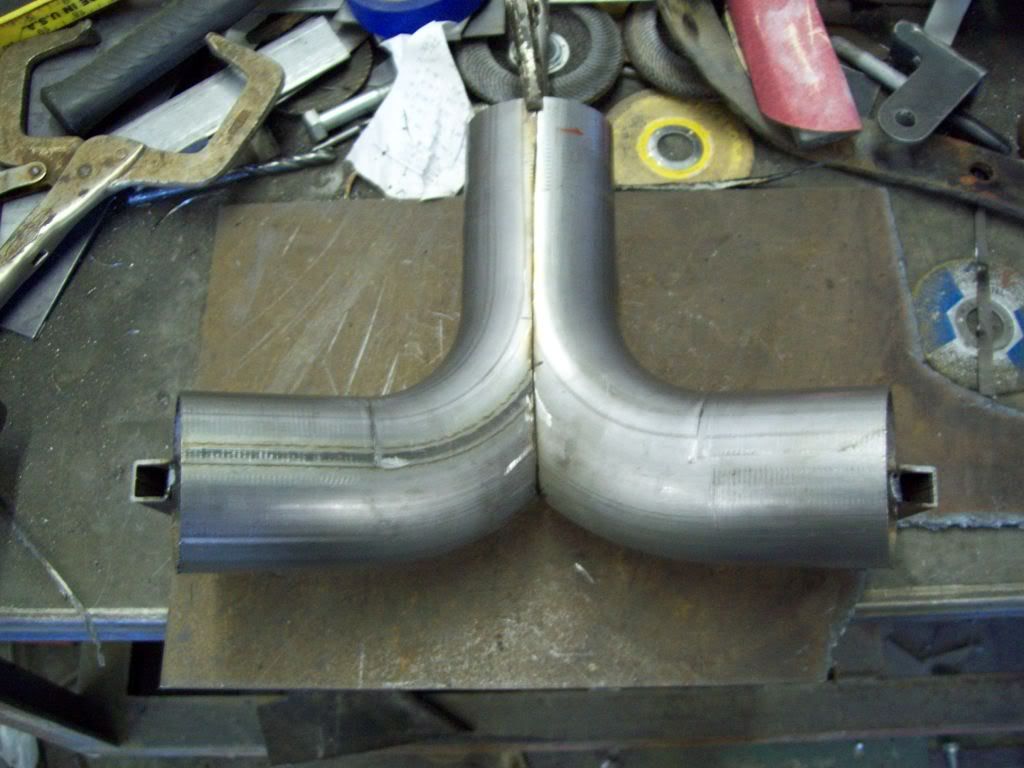
Now that the Y (or T) is done, I was able to lay out the rest of the angles, and cut the material I needed off the ends of the bends, to get the overall curves to fall where I needed them. It took a bit of trial and error, but as long as you cut off a little at a time, you are pretty safe.

Leave a comment:
-
What about aircraft seats? Maybe something like an aerobatic plane.Leave a comment:
-
I like that style seat, but it is honestly over done and easy. The VOX car and other builds have used that style, and they just appear to massive and bulky in the car, so I am really trying to rack my brain for something different. I dont plan on running those exact seats that I pictured, and I think what I am looking for is some of what you were describing just above.Originally posted by Miroteknik View PostLeave a comment:
-
have the seats look a little something like this? with raw brushed metal backs?

Leave a comment:
-
those seats are cool, but I'm not feeling them for this car. rat rod? sure. but this car.... this car needs something comfortable.
maybe if he made the seat core/back in the design of a bride lowmax or something similar, and wrapped it in brown leather.... he could leave the backs exposed, but wrap the actual contact part of the seat in leather. then you could carry the brown leather and brushed metal look throughout the cabin. it would be very classy. like an old bugatti or maserati
here is a hint of what i'm talking about.

Leave a comment:
-
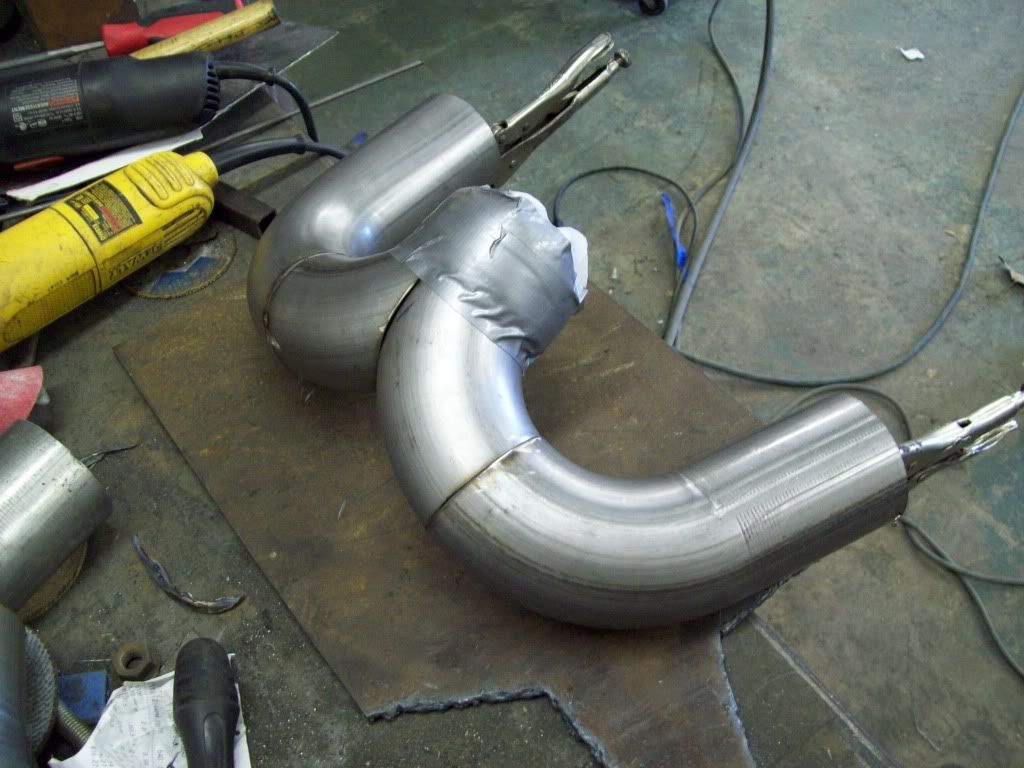
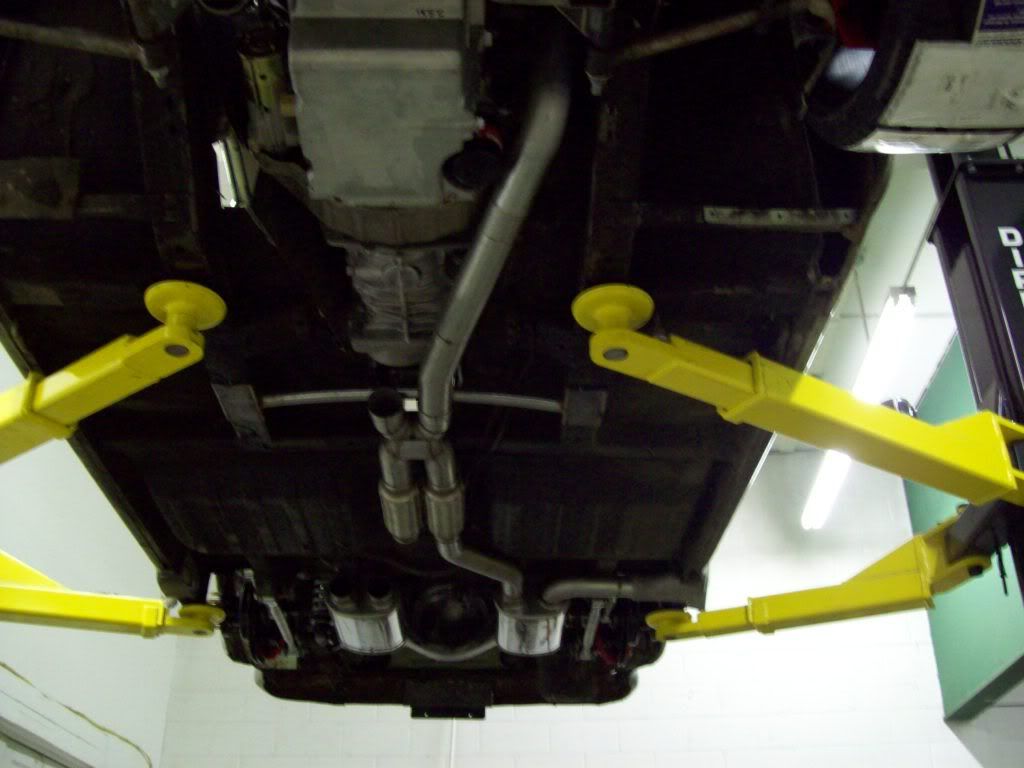
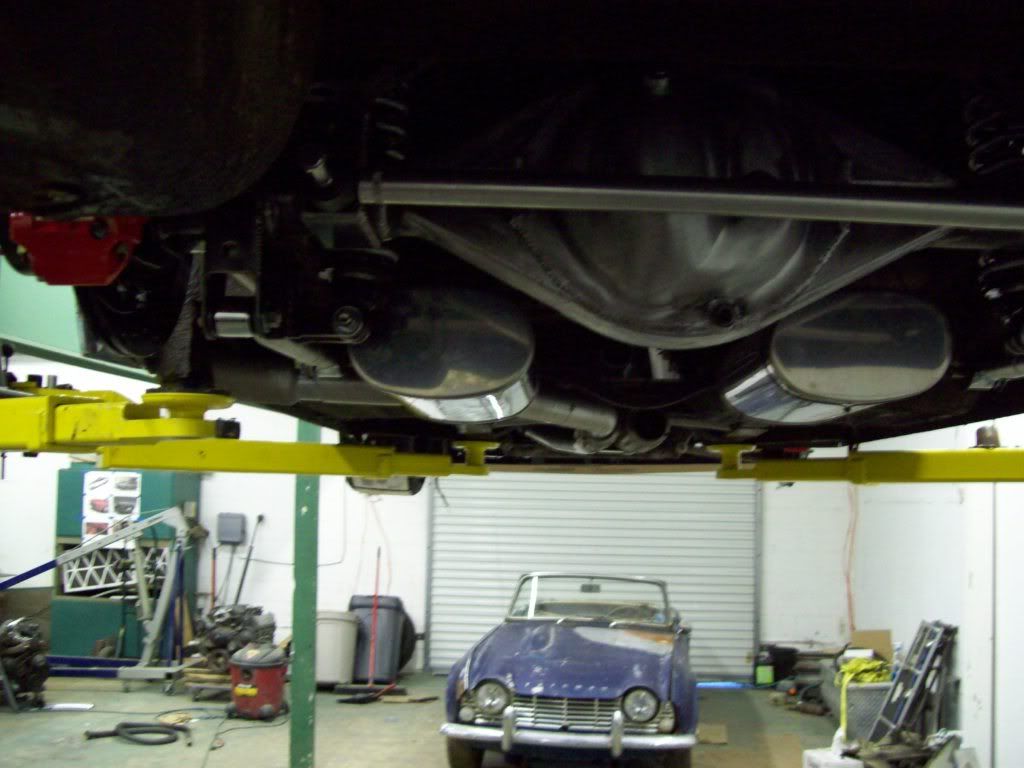
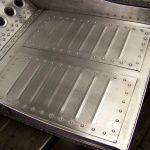
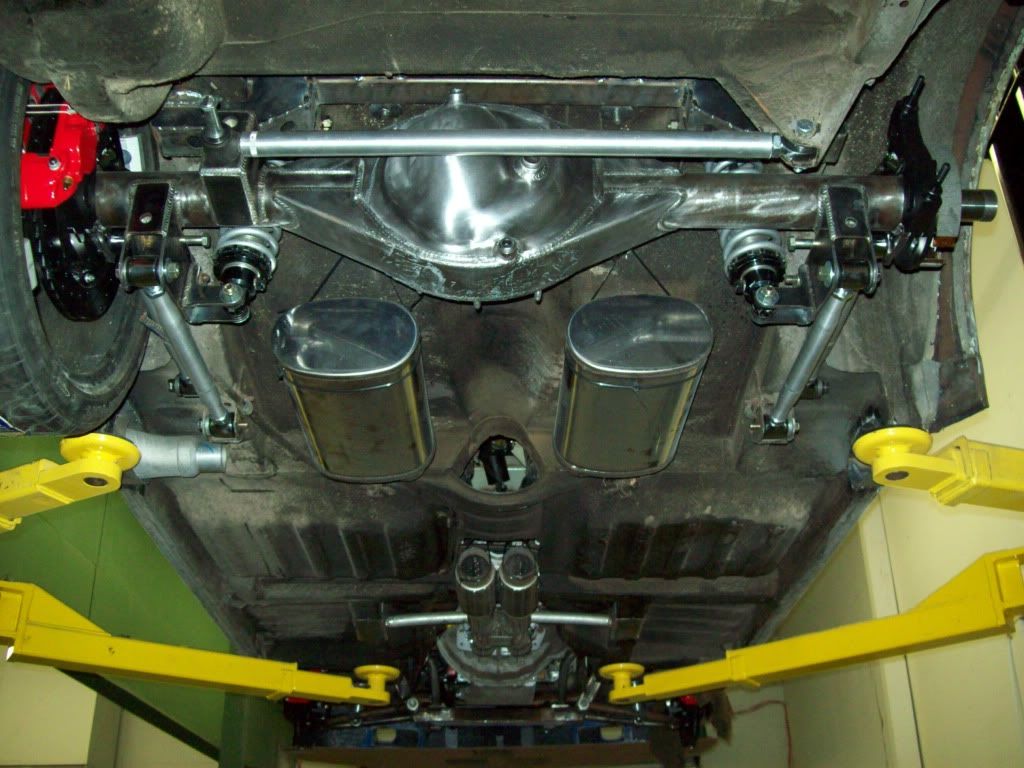
Here is a layout of how I see the exhaust working out. Of course I didnt order enough of certain bends that I needed, and had too many of some I didnt, but I atleast had enough to complete one side. I am waiting on the electric exhaust dump to come in, so I can see if I can blend into the system, so it would run the muffled and open exhaust through the same side tips. I would like the option of open exhaust at times, but dont want the exhaust system to look like a complete mess trying to achieve that.. I am thinking I can add the Exhaust Dump Y pipe right before the muffler Inlet, and then add a directional Y just before the tip..
After I get all the exhaust run where and how I want it, I will then determine where the bolted joints will be, that way it can be disassembled/installed easily. Eventhough this is all stainless steel, I will more than likely send it out for some sort of coating..
Leave a comment:
-
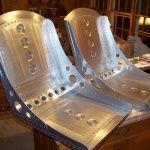
I am really debating on having this guy make the seats and interior panels for Volvo X, because I think Machine/Industrial look would go great with the build style I am trying to achieve, and the workmanship is off the wall. The only questions I have for him at this point is, can he make them a bit more complete looking around the bottom skirting and the side bolsters?
I think these would look great, if there was a bit more dimension to the sides, along with a taller back rest/head rest area.. If the sides were a two panels sort of boxing, that would offer a bit more bulk/dimension to the outer profile of the seat, and would make them look more like a conventional seat body. And if there was some way to make the back taller, and then incorporate some sort of headrest (perhaps Adjustable Headrest), that would put these things over the top, because they would appear to be a more functional seat.
For drivability, there can be some snap on pads like pictured in the first seats, and then for the shows, the pads can be removed.. He also makes some kick ass door/interior panels, along with custom matching consoles.
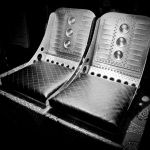
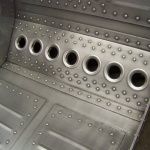
I really like the skirting on this couch he makes, so I am wondering if he can do something similar to the bottom of the bucket seats, rather than just have them end at the bottom
 Last edited by Iamtheonlyreal1; 11-25-2012, 07:17 PM.
Leave a comment:
-
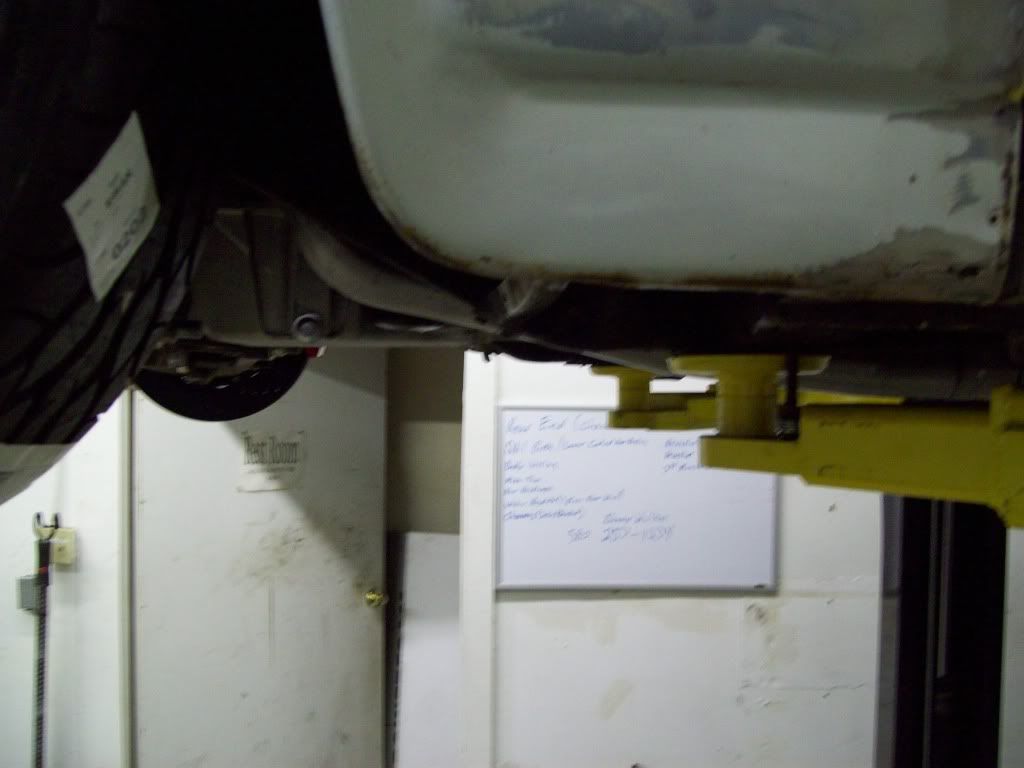
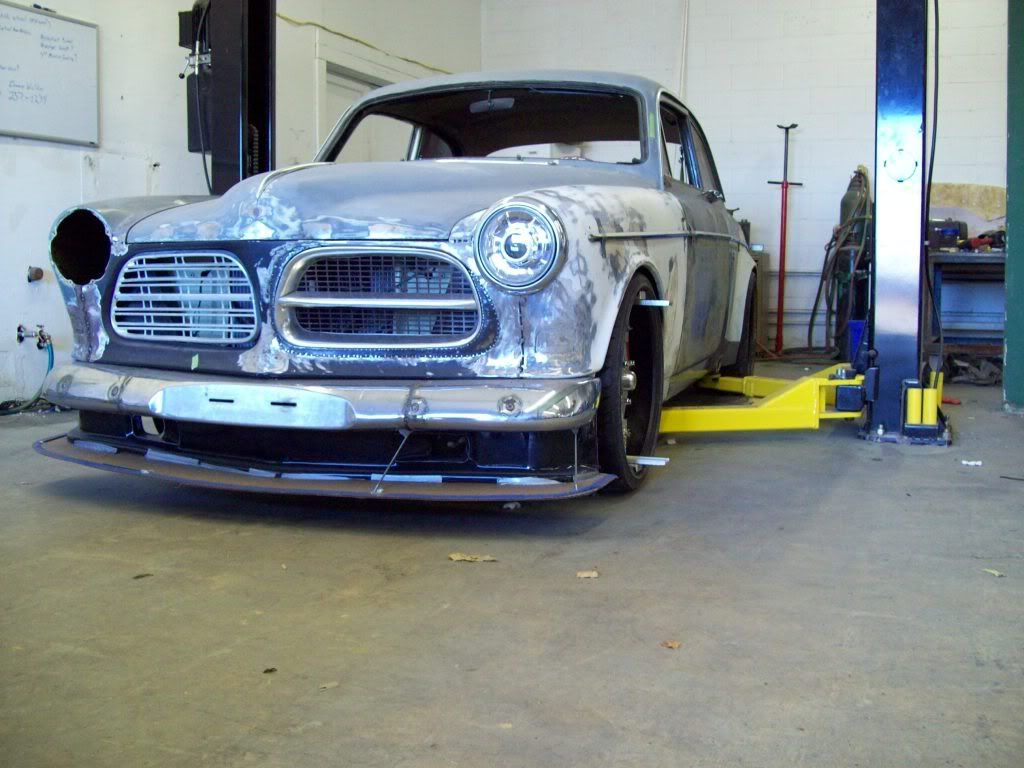
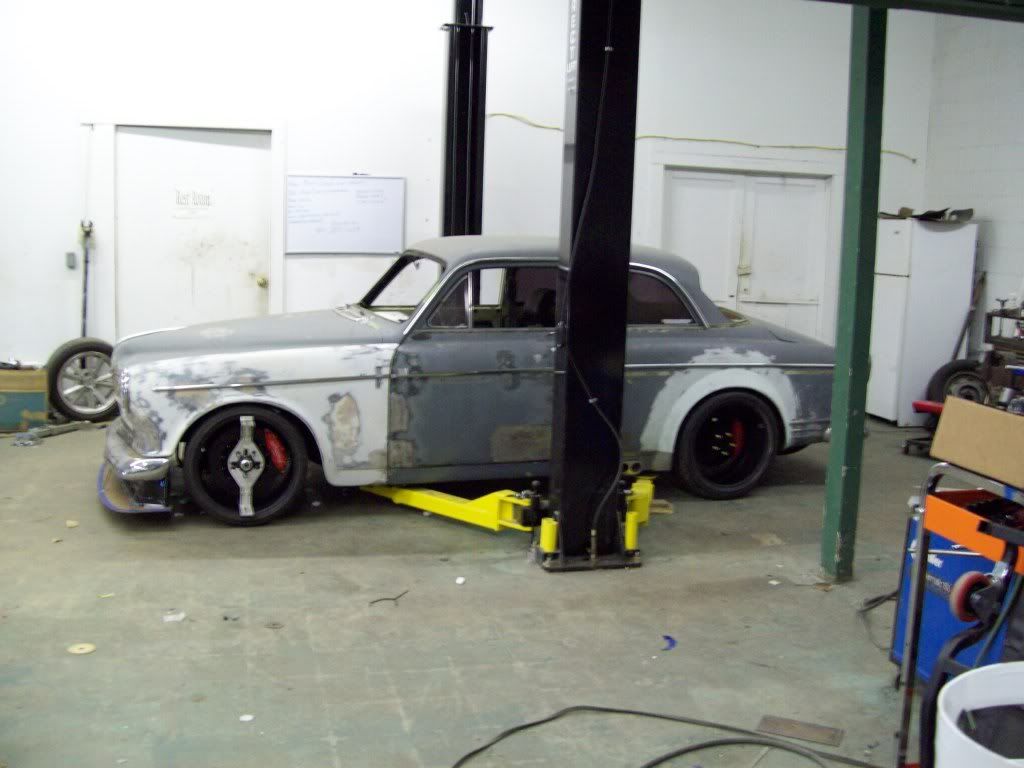
I have the offsets of the wheels sorted out, and I should have them real so, and then I can get this car on the ground. I can see where the Wheel Mate tool really comes in handy, because it would have been nothing but a bunch of confusion and guessing, when trying to get proper wheel offset. I have the car set at about ride height at this point, and I think it will look pretty good.. I have about a 6.5in bottom of the rocker ground clearance, and a 6in pinch weld clearance, and I think that will be about what I am looking for.
I need the body guy to show back up to get a bit further on the body work, but I am still going to drive this thing regardless if the bodywork is done, so it wont be a hang up for testing. As soon as the wheels get here, and I finish up on just a couple of more things, it should be ready to move under its own power, but I was hoping most of the body would be sorted first. No time to wait, because I have too many other projects waiting on results, so it might be running down the track in all its multi-color glory.. LOL
 Last edited by Iamtheonlyreal1; 11-23-2012, 05:23 PM.
Leave a comment:
-
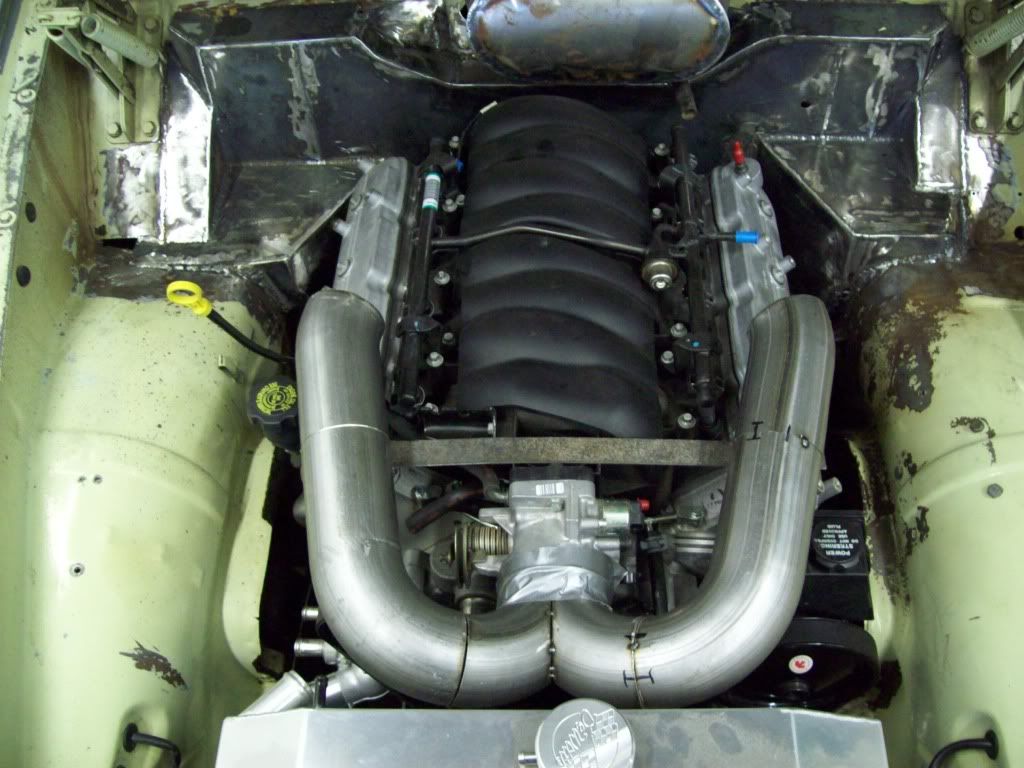
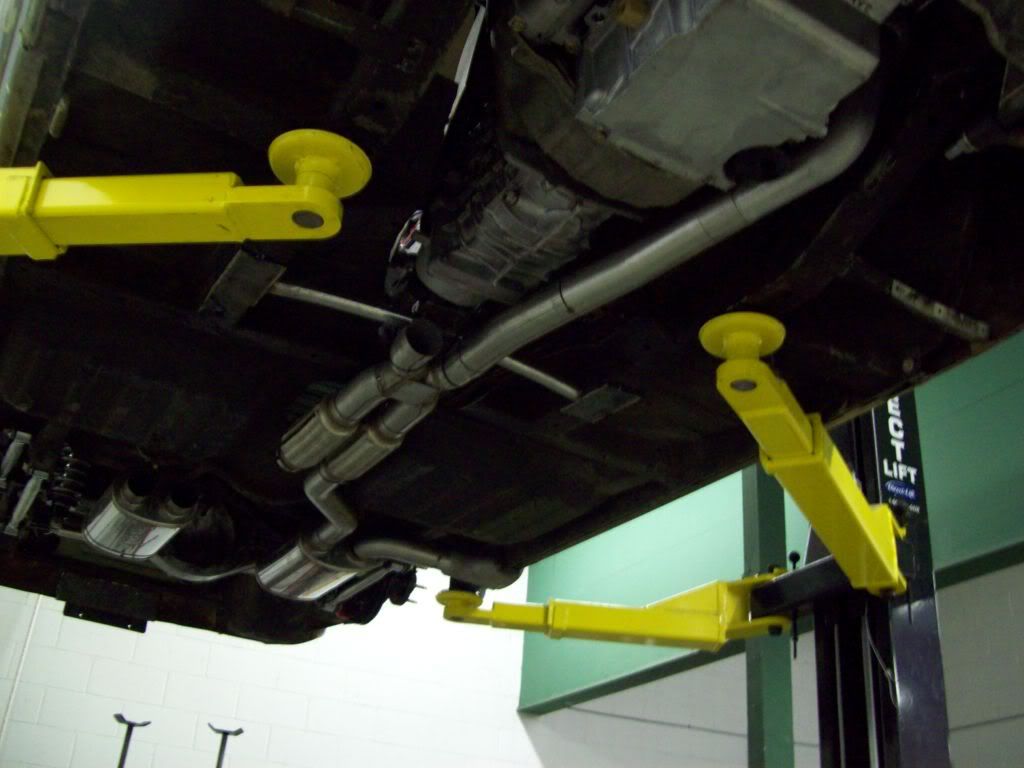
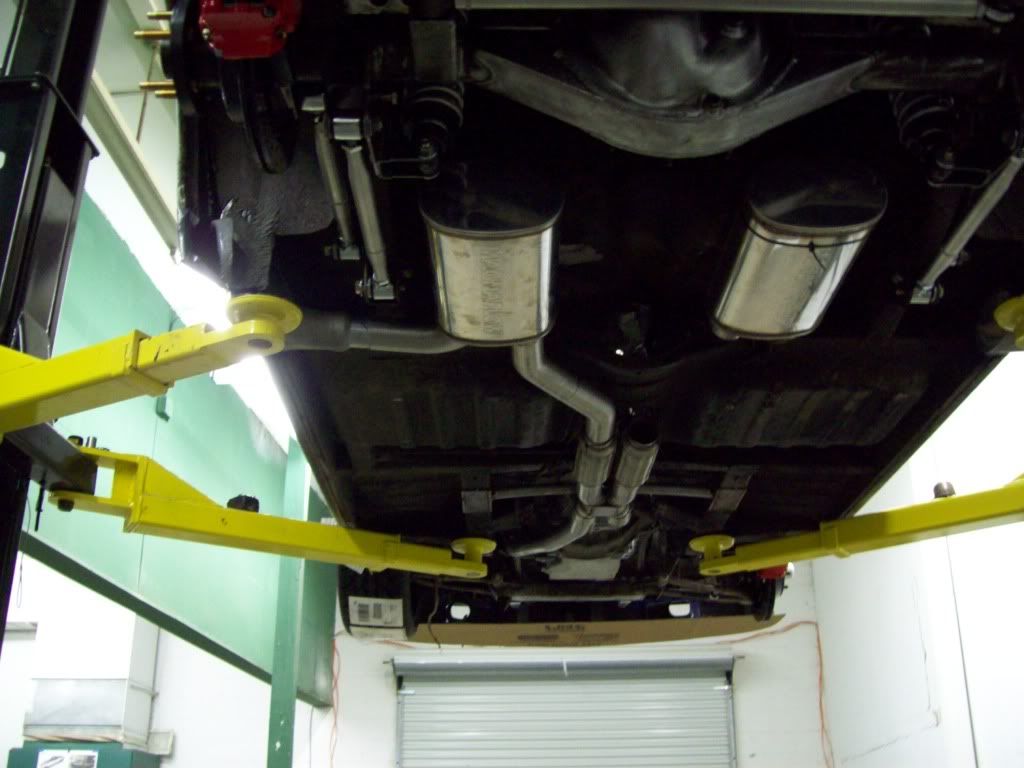
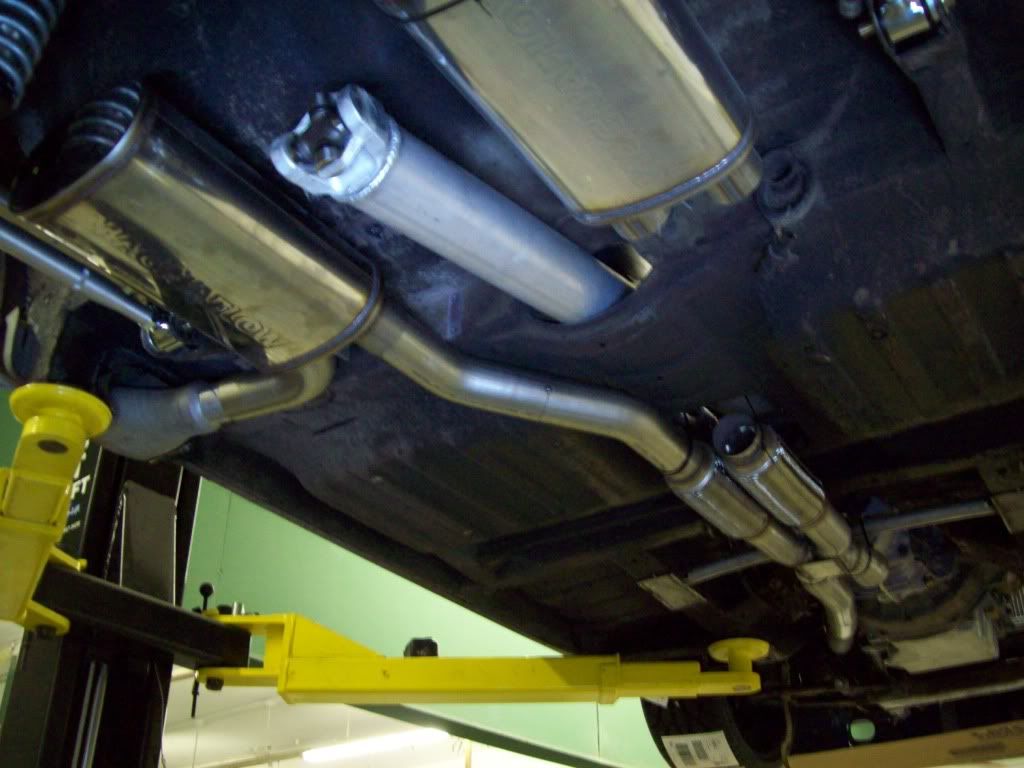
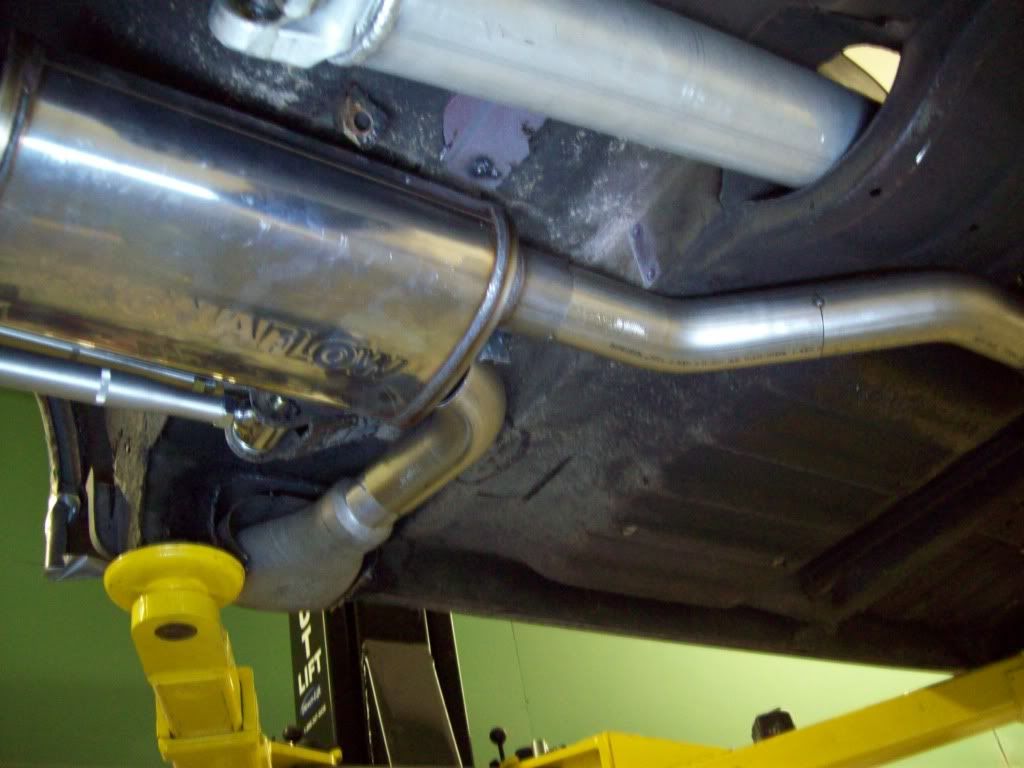
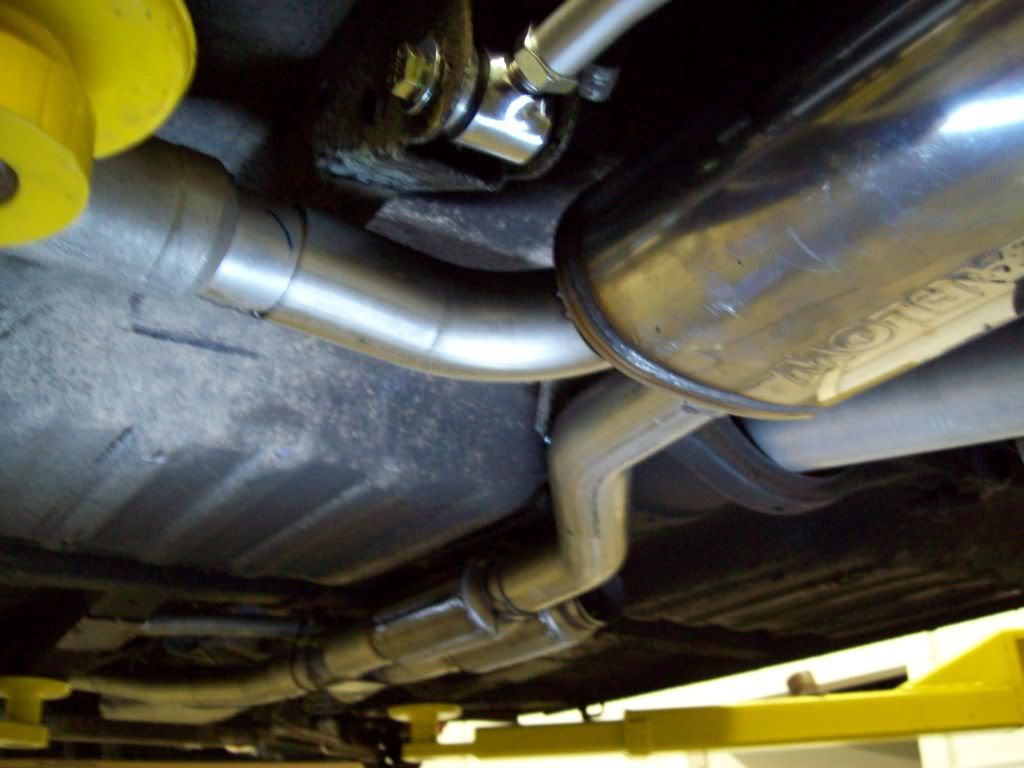
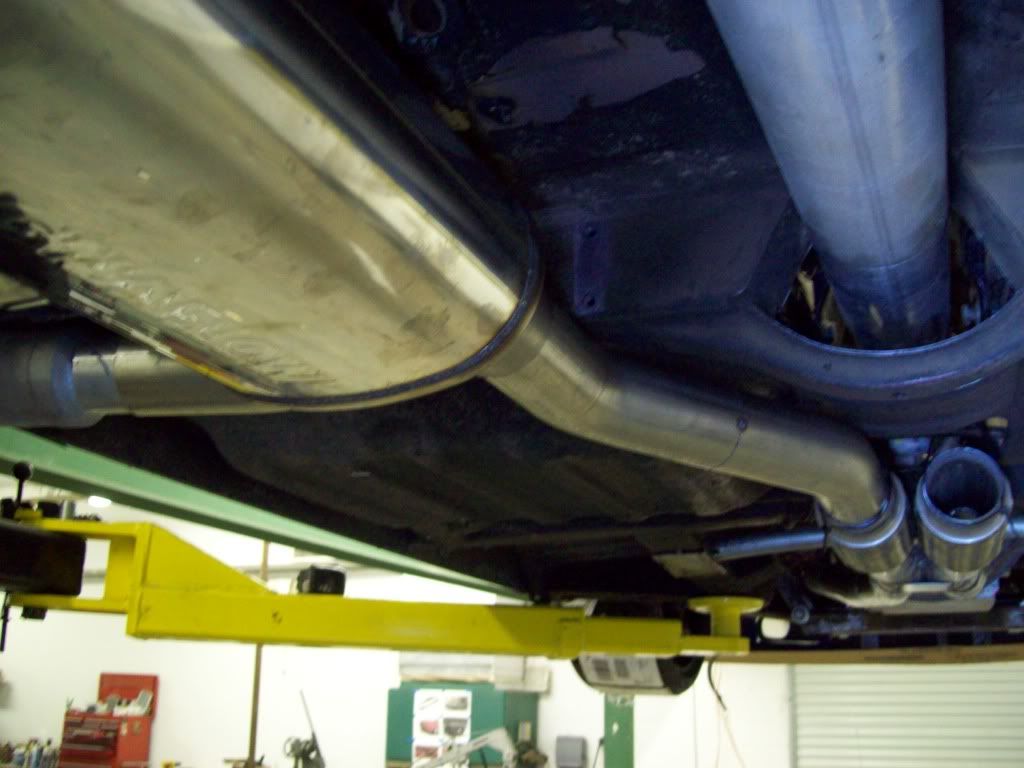
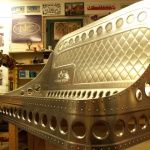
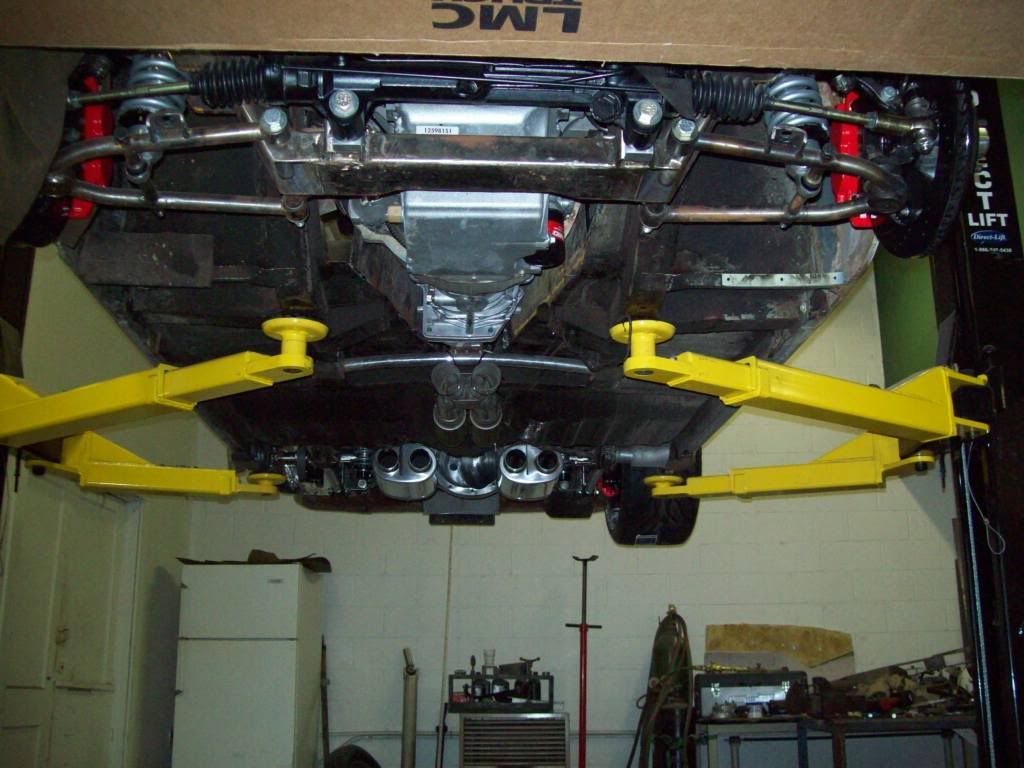
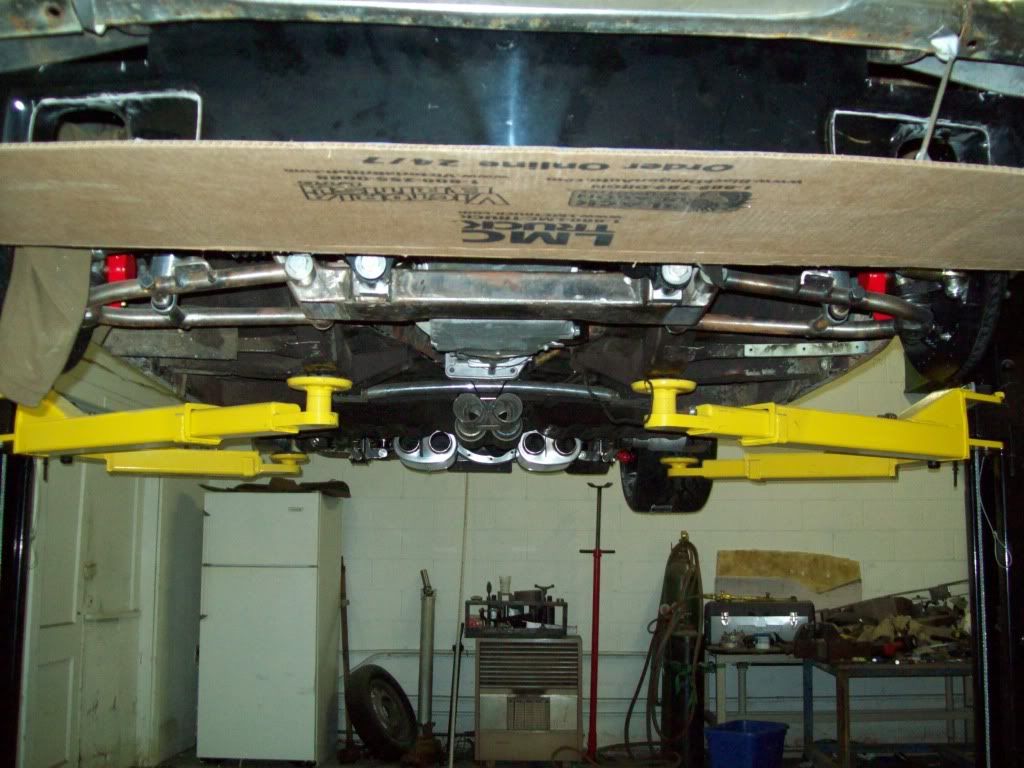
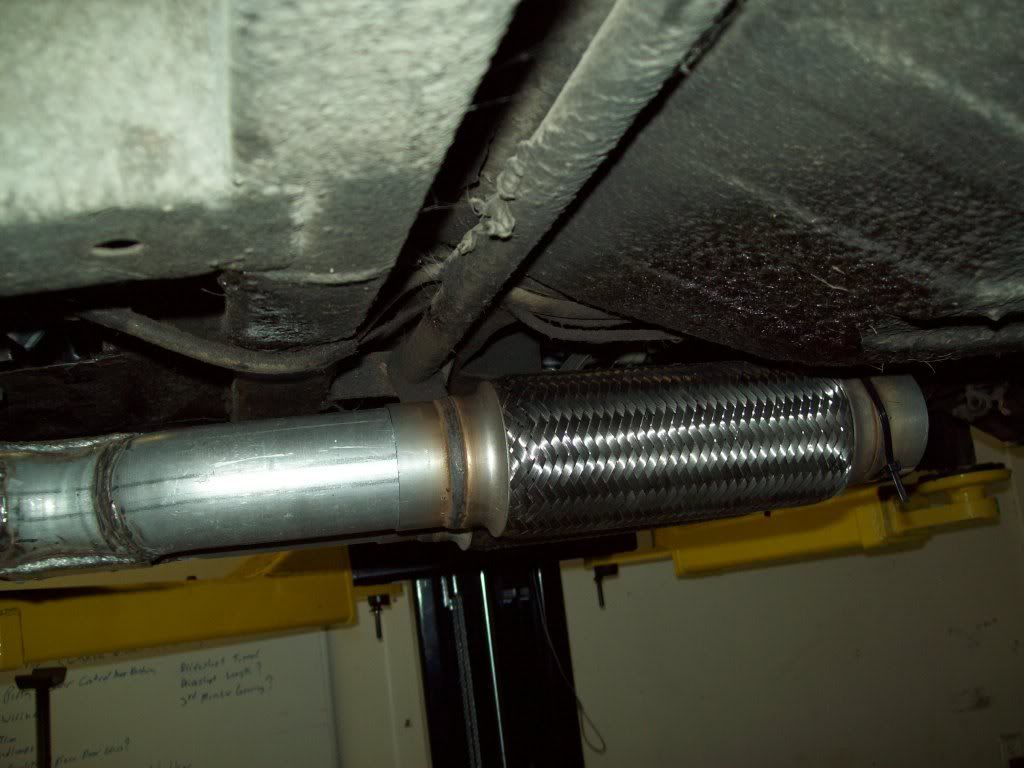
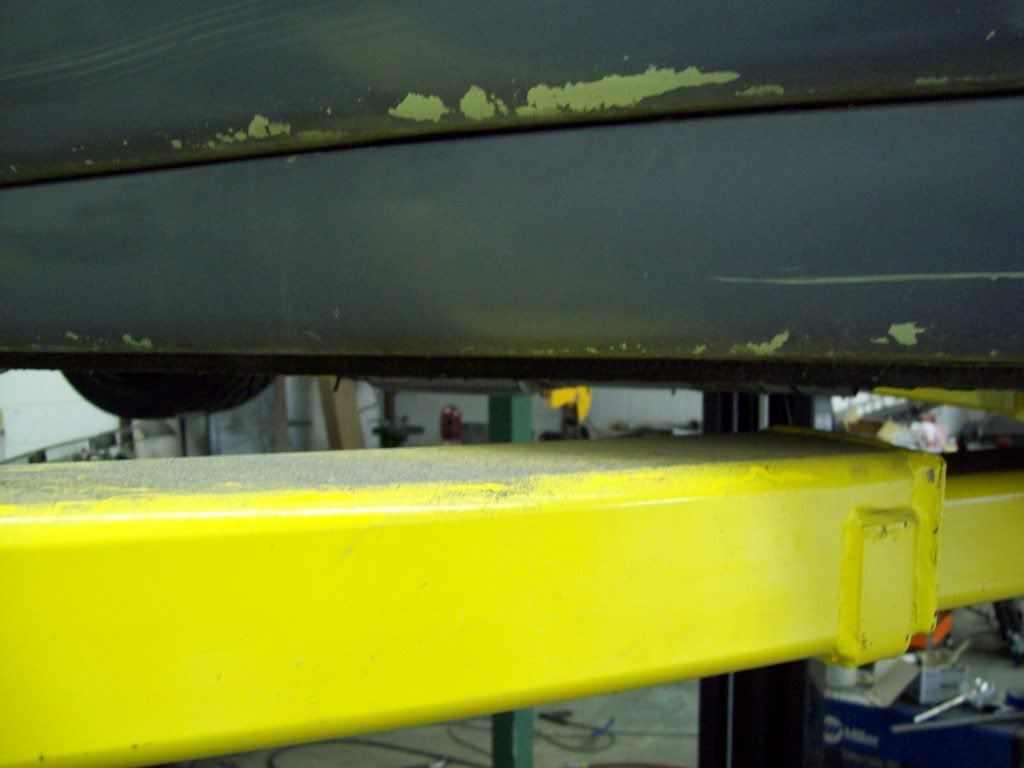
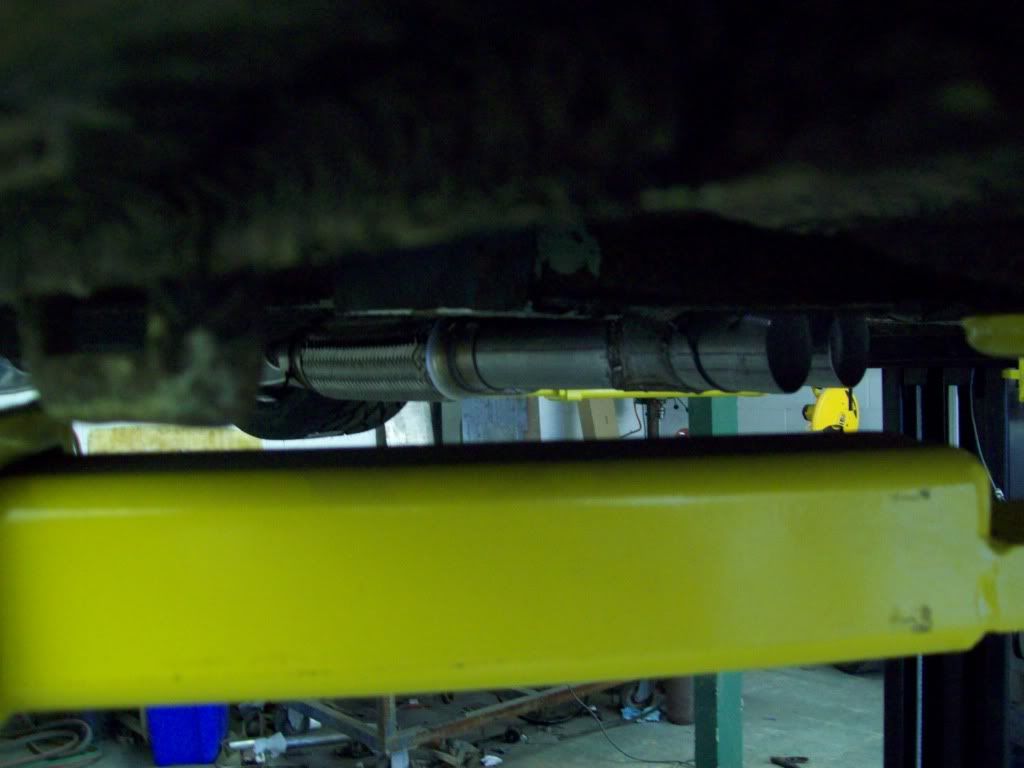
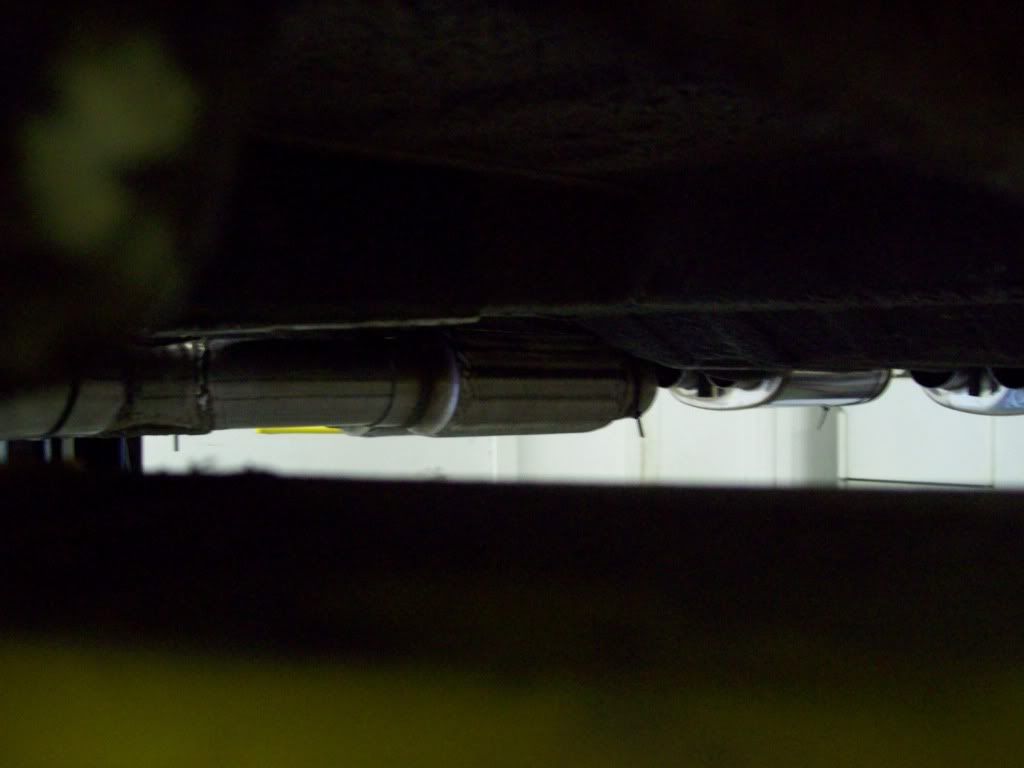
I tell you what, Pull Ties are about one of the greatest inventions for mockup, because I can hang and map everything witout any wasted fab work or material. Here are a few pictures of how I see the exhaust system laying out.. I am waiting on some mandrel bent pieces, so I can build it all, but this is where the key components are going to be placed.
I tried to get some pictures that would show how tight it all is, but I am apprently not a photographer, so this is what you get instead. There is clearly not enough room in the floor pan for the exhaust to totally disappear, but it rides high and tight, so there wont be any ground clearance issues. With all the placements pictured, I can get my fingers between the X-pipe and mufflers, and those are the bulkiest pieces.

Leave a comment:
-
Awesome project... I love seeing old iron still going up and down the road (no matter the make!). You have skills!Leave a comment:
-
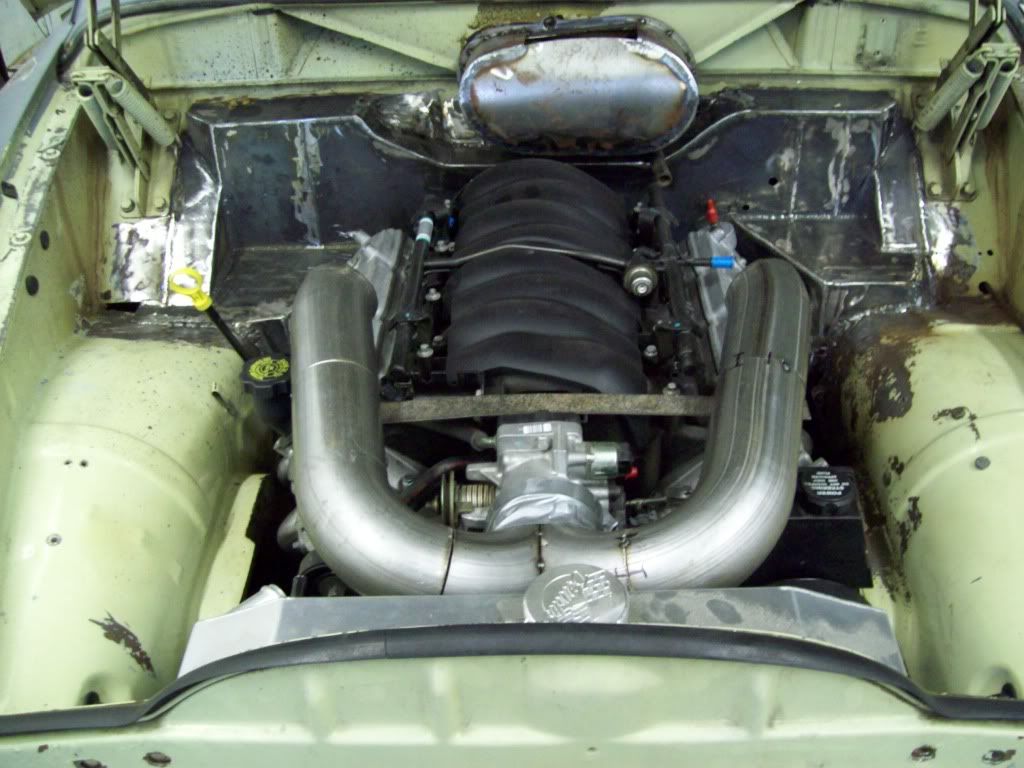
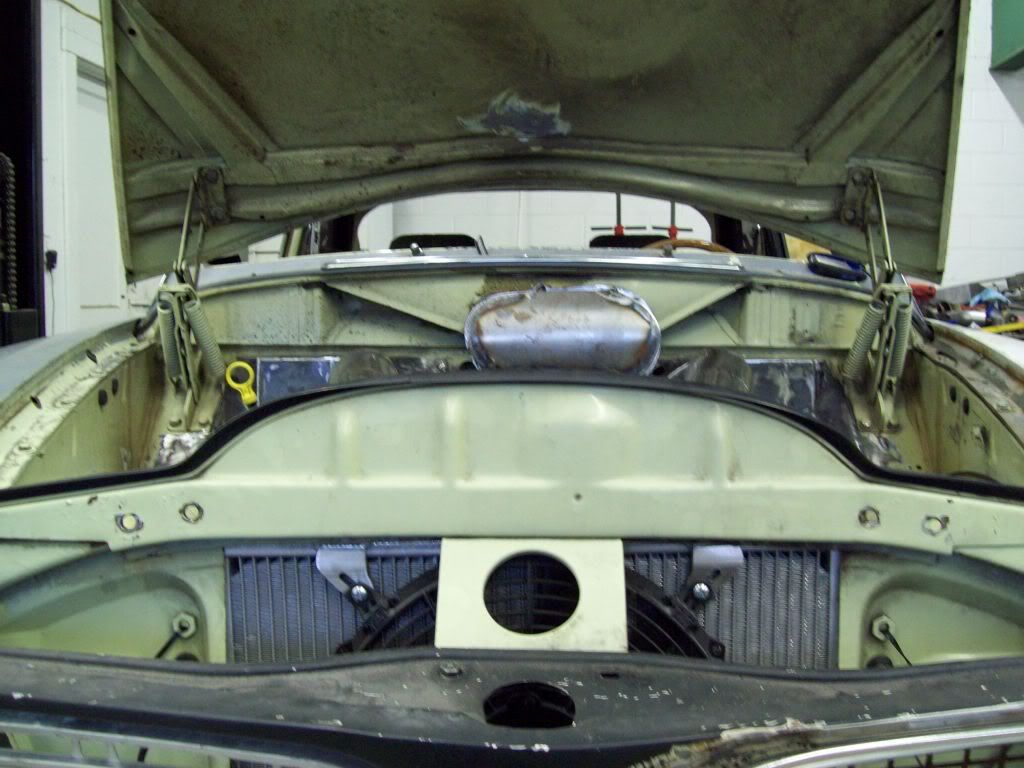
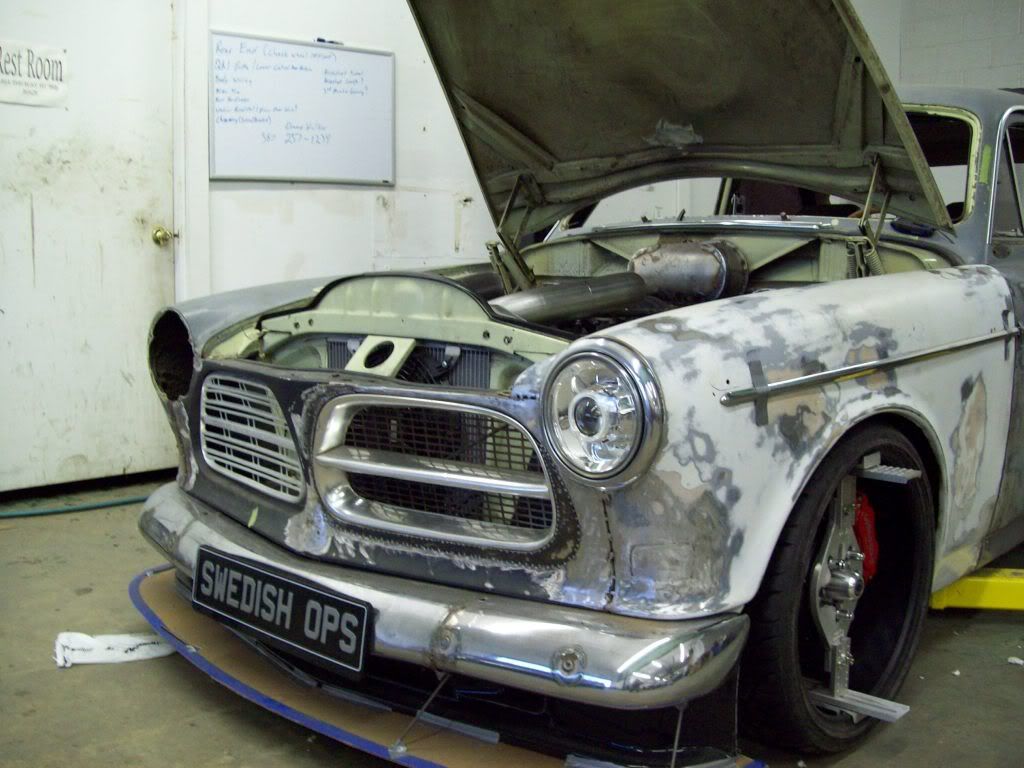
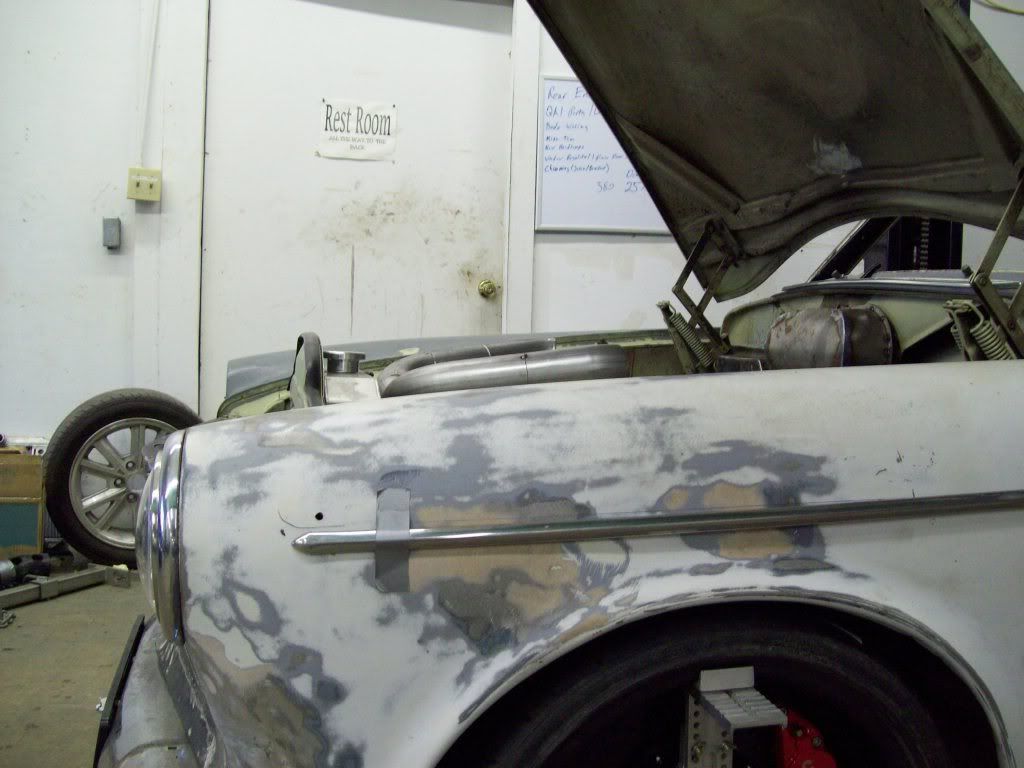
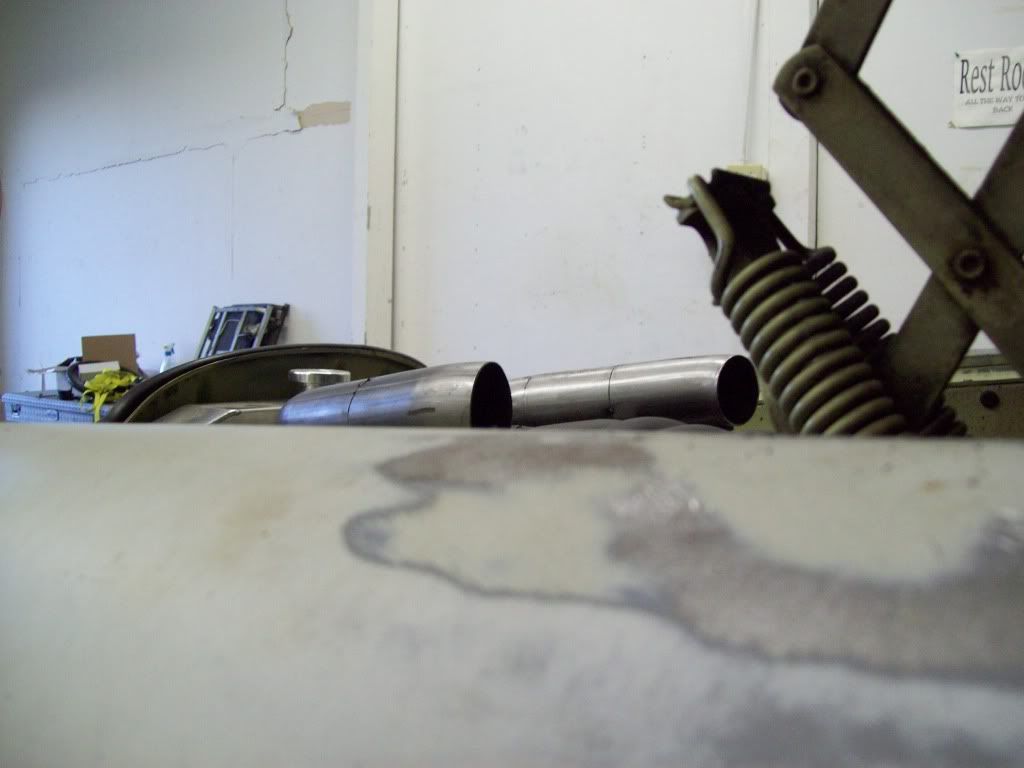
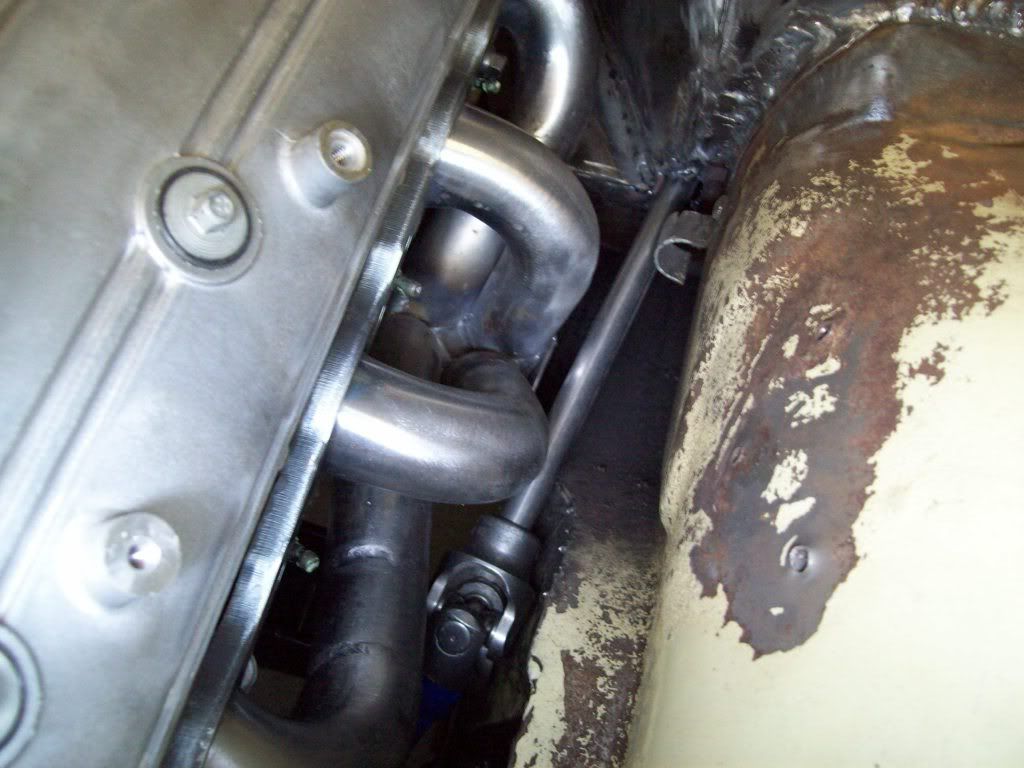
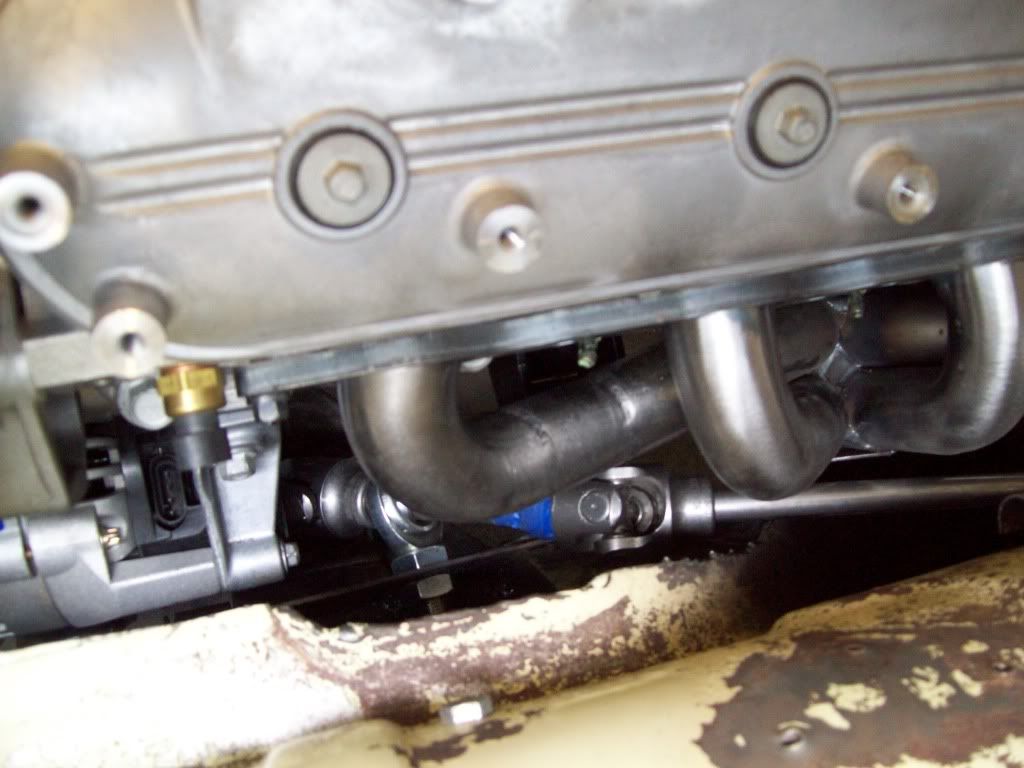
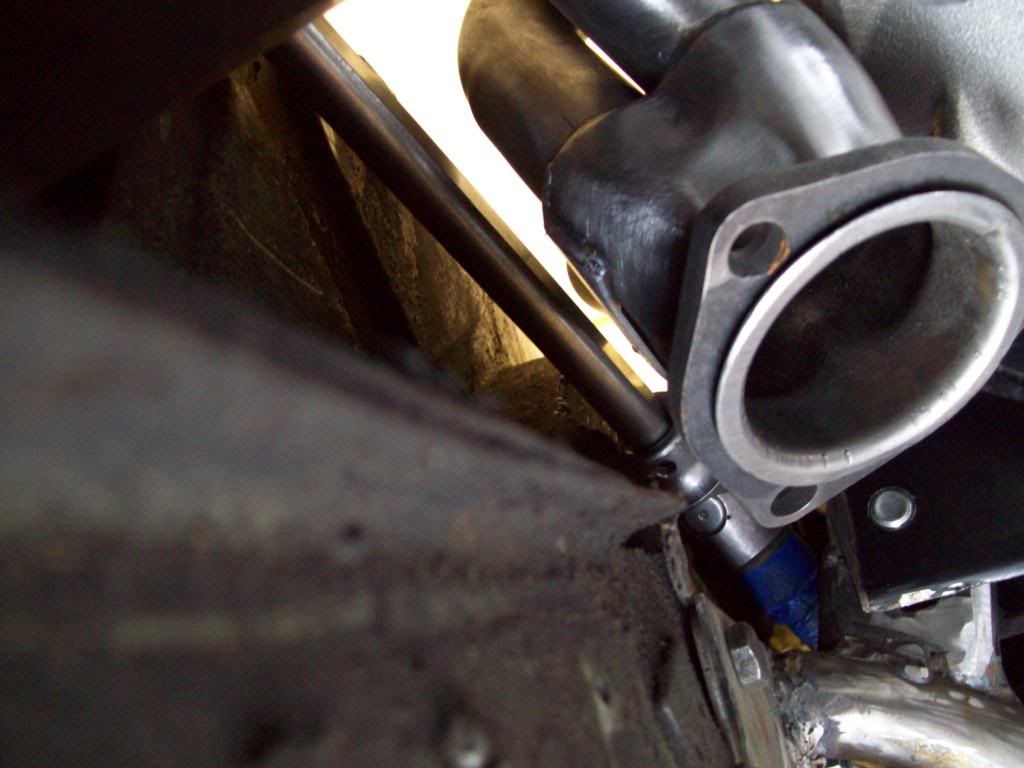
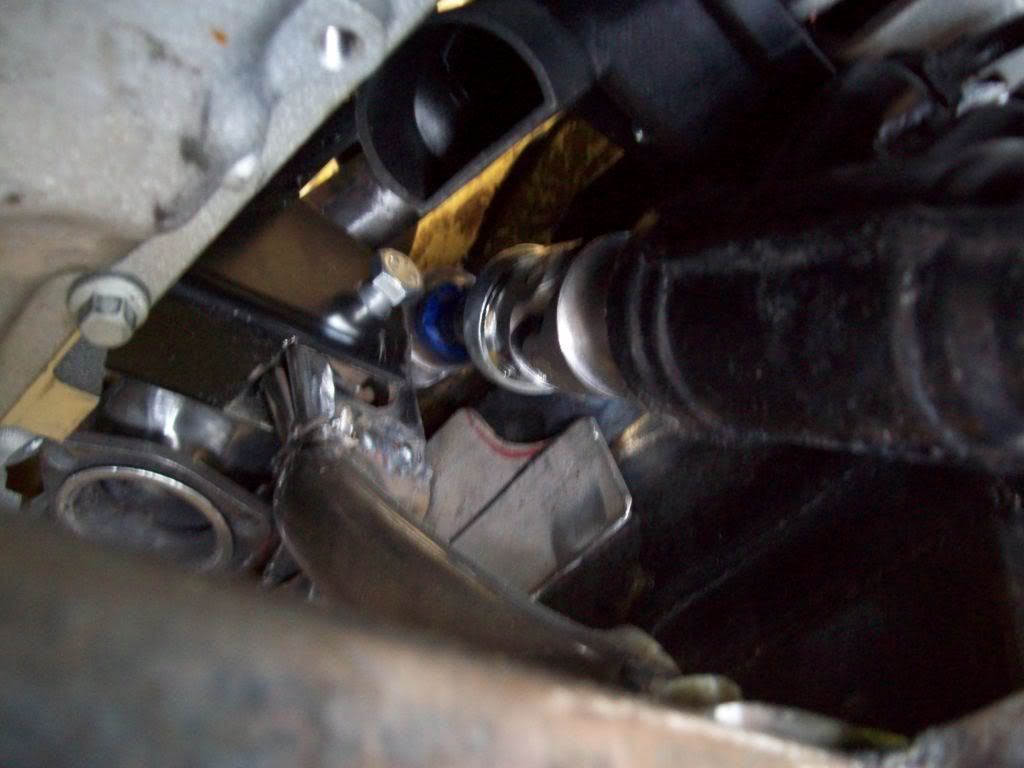
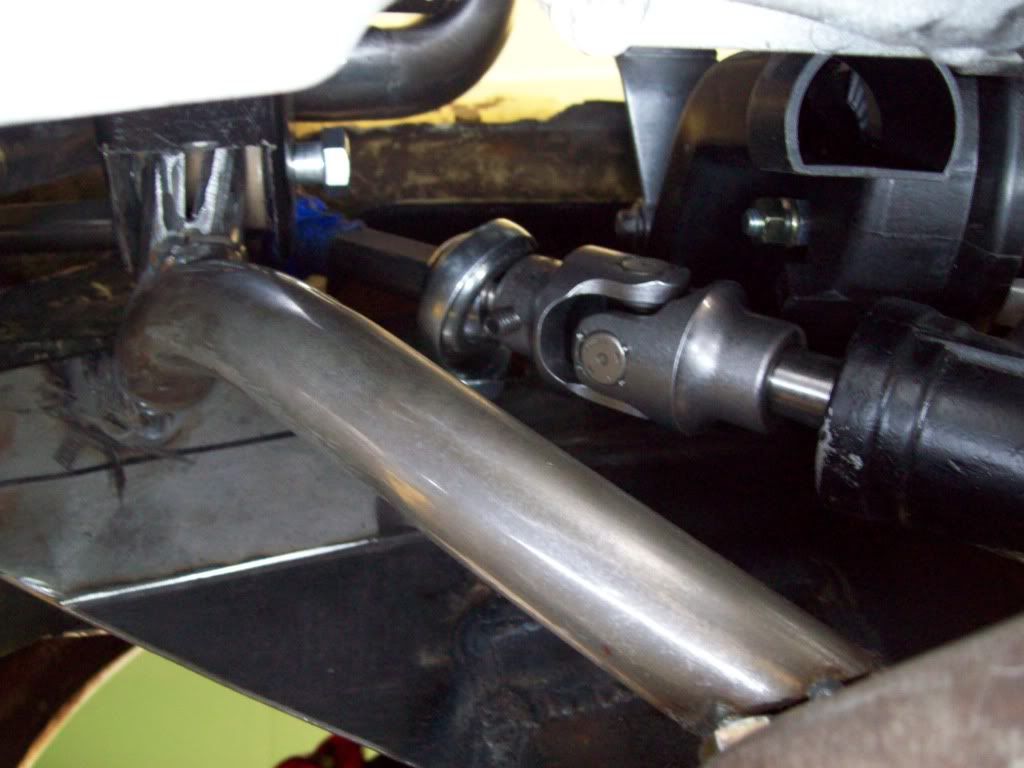
Here are some pictures of how the steering shaft works with the Swedish Ops headers, and it all lays out quite well.. I still have to mount the firewall bearing/stabilizer, and this actually passes the steering shaft through the firewall, while stabilizing the whole shaft.. This actually keeps you from having to make a huge hole, and then come up with some sort of rubber boot, so it should simplify things greatly. For all of you that might notice there isnt any rubber dampening in the steering shaft, there is an option for that, but I didnt order it yet.
I dont know why I cant get pictures that show the proper cleanances with this camera, but there is plenty of room between the headers, steering shaft, and body, which should be noticed in the various angle pictures.. Also, the motor mount/stands are only the mock up, so they are not very clean. I just wanted to make sure that all was good with accessorie clearance, before I locked in the production models.. The final production headers will not have the welded joint you see pictured, and this kit is only this way, because they wanted to make sure the shape of the pipe was good before locking the tubing jig in place.
You may also notice a pretty tight tolerance between the Altenator and Rack and Pinion, but there is more room than it appears in the pics also.. I am working on a couple of more things to get a bit more clearance, because I like the F-Body/Camaro accessory setup better.. The Corvette setup mounts the Altenator high on the motor, and way over to the side, so it is much more bulky looking at the top.. The torque from forward load on the motor, will actually pull the altenator up and away, while the reverse torque will bring it toward the rack. Luckily there are way more instances for heavy forward engine torque, so I dont think I will have any issue.
Leave a comment:
Leave a comment: