Originally posted by andybob
View Post
-
Thanks man..... It will start coming together real quickly, along some much more epic updates.. LOL -
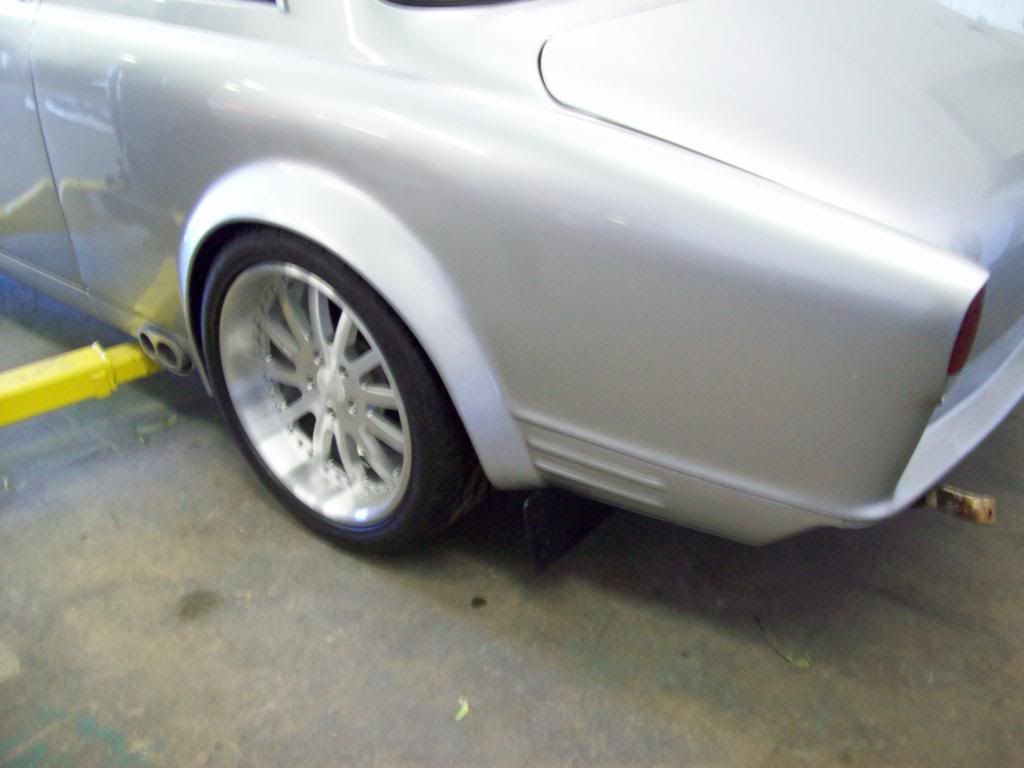
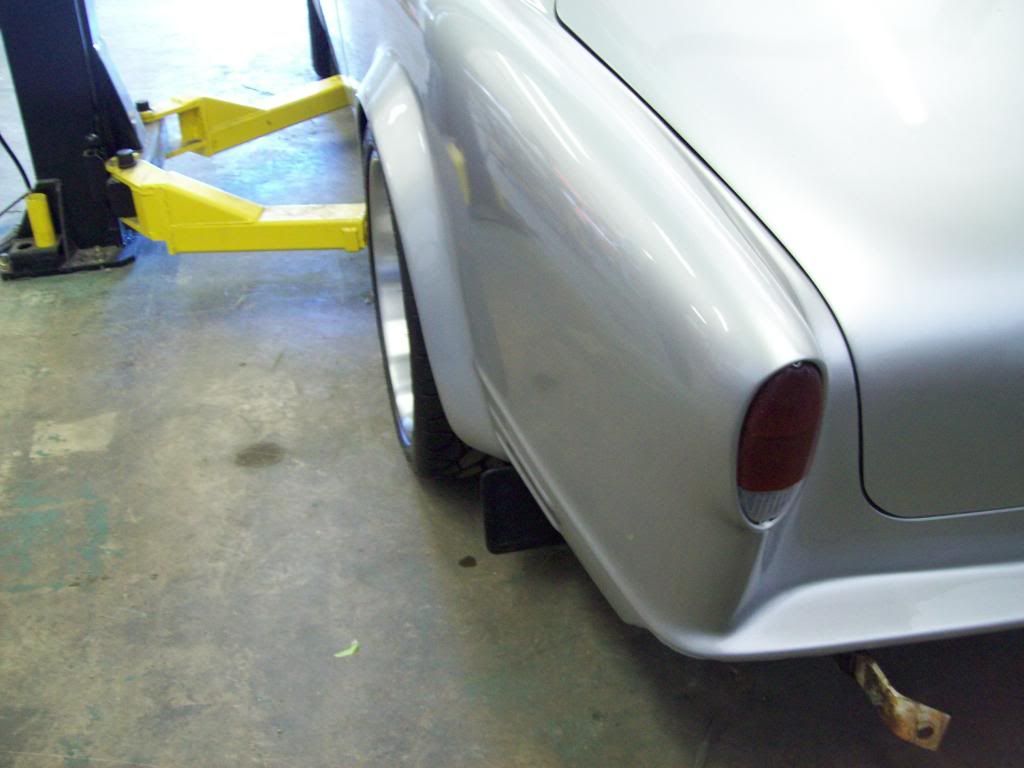
I am still debating on using the original style Volvo Mud Flaps on this car, and that is partly because it is basically a Volvo standard on these older model cars, so it would be a unique feature for this type of build.. Beauty of it is, I can remove them at any time, with no adverse affects, and think that the OEM front style works best for both the front and rear of the car...
 Last edited by Iamtheonlyreal1; 06-02-2013, 07:16 PM.
Leave a comment:
-
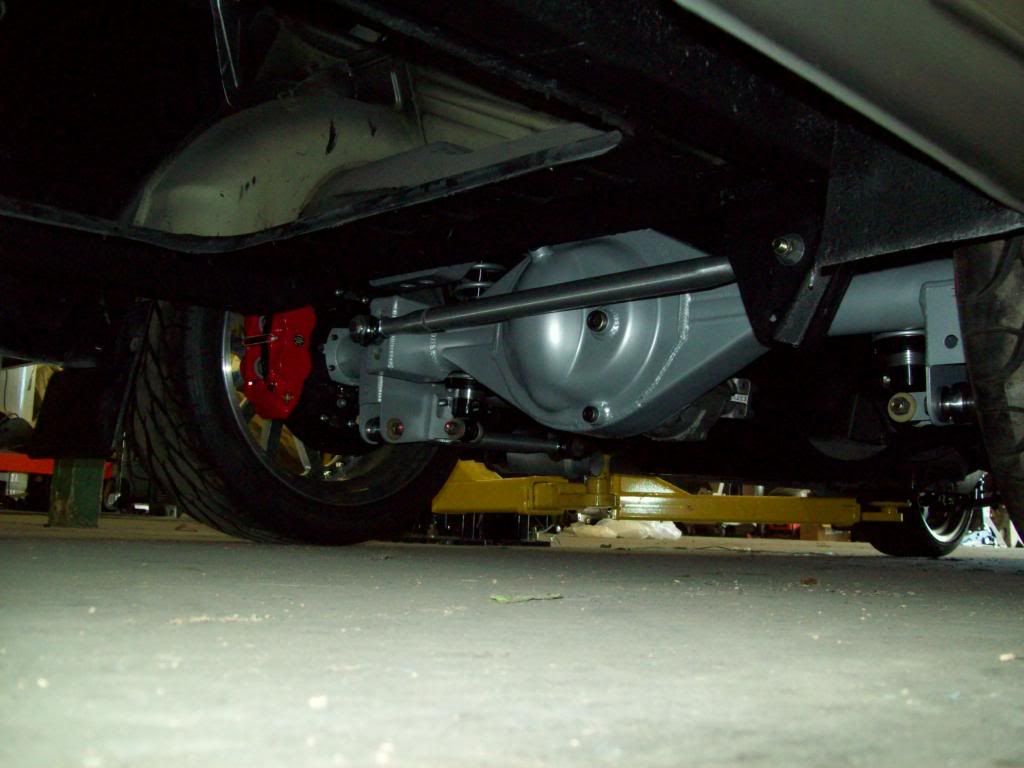
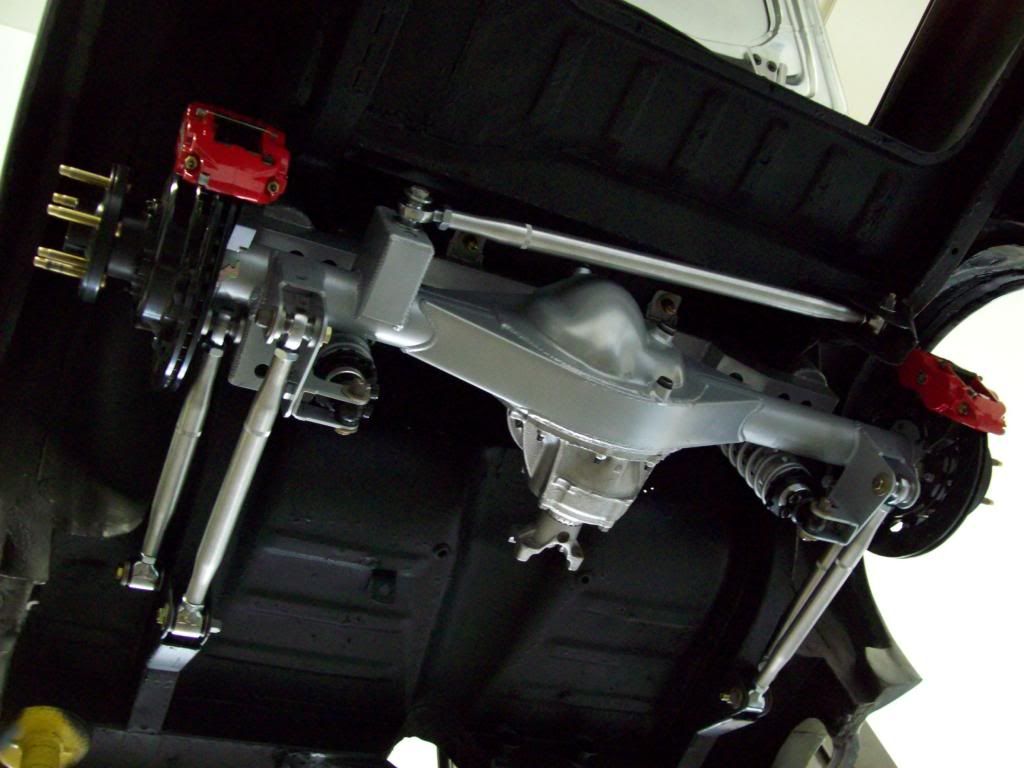
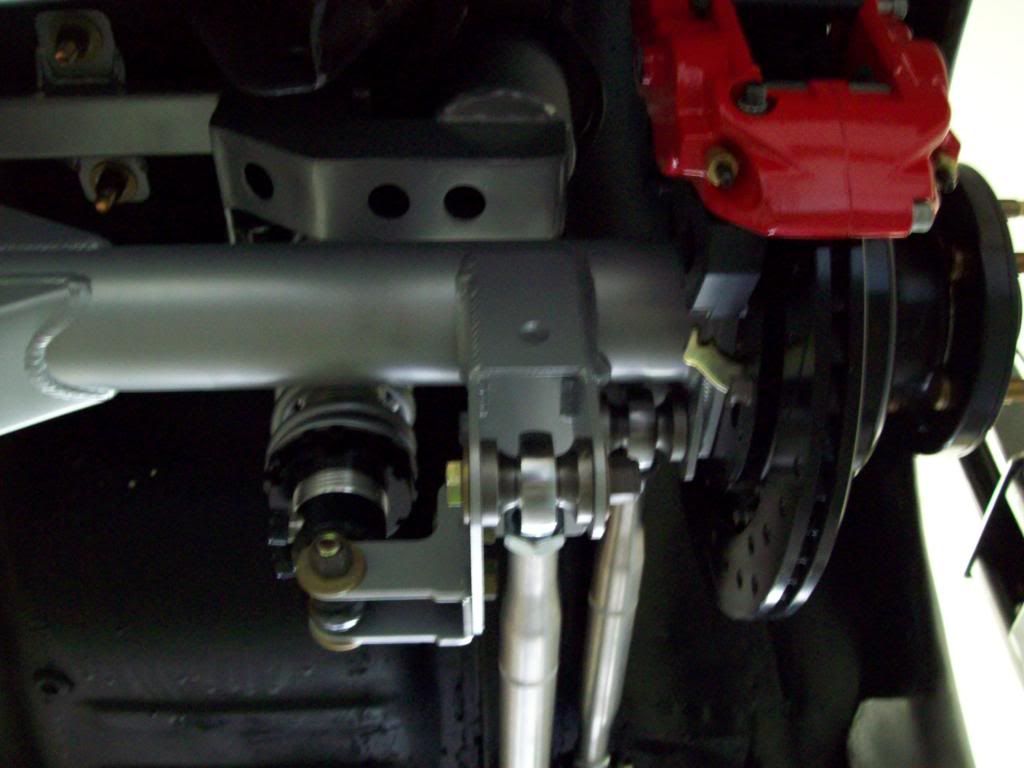
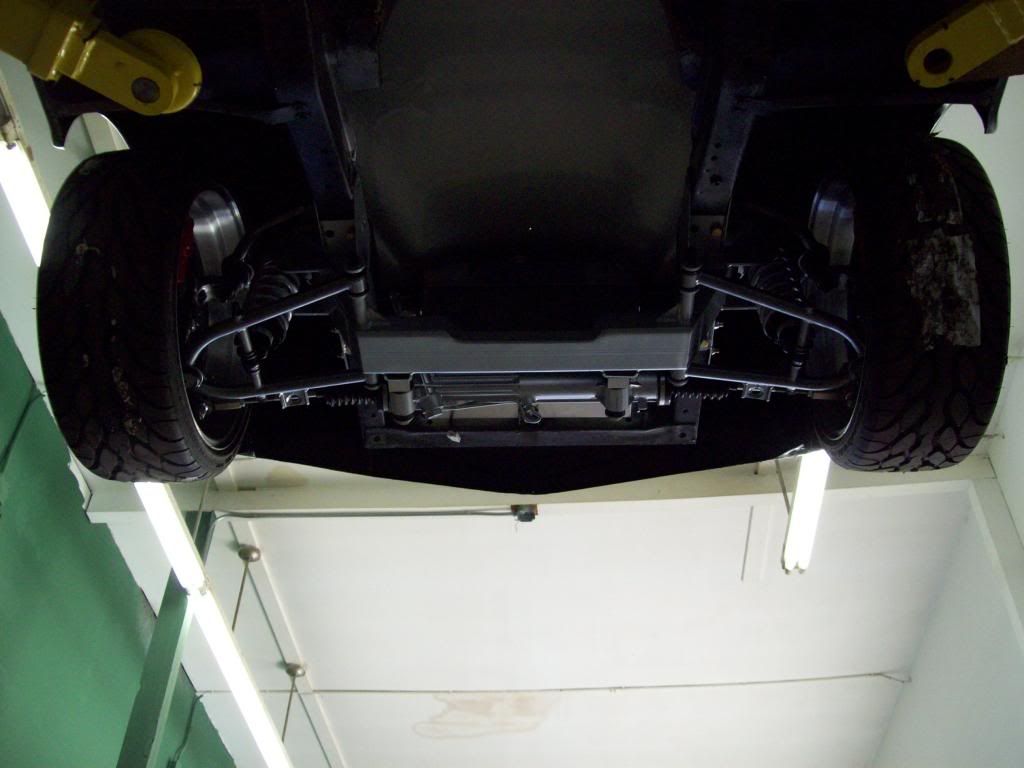
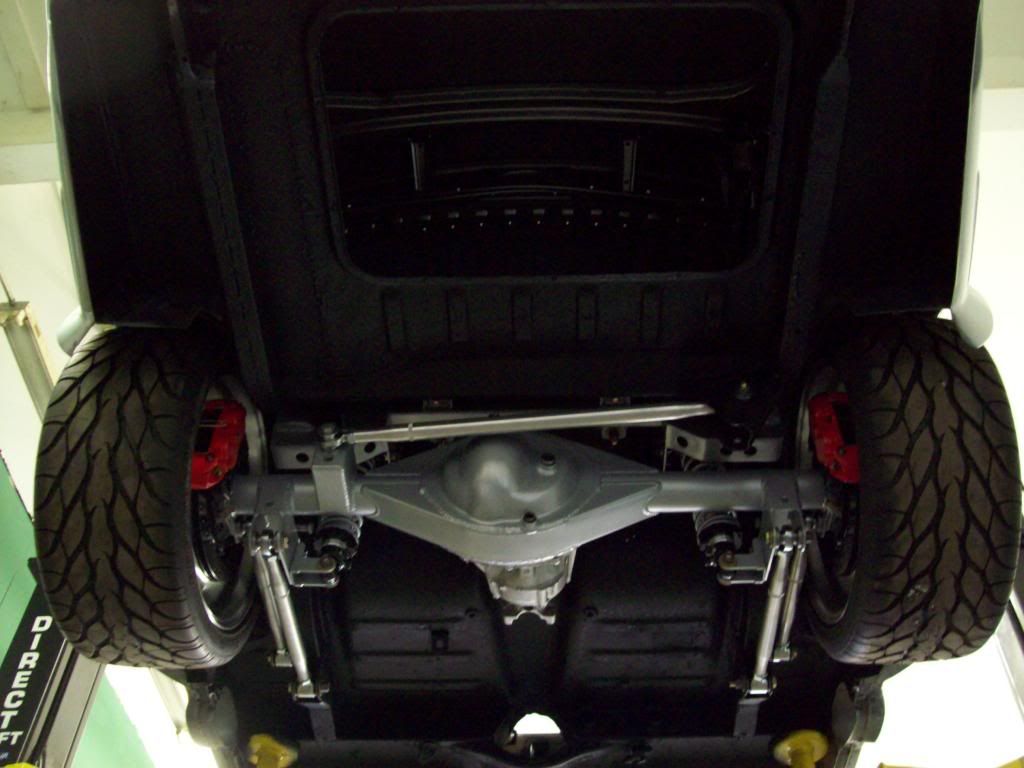
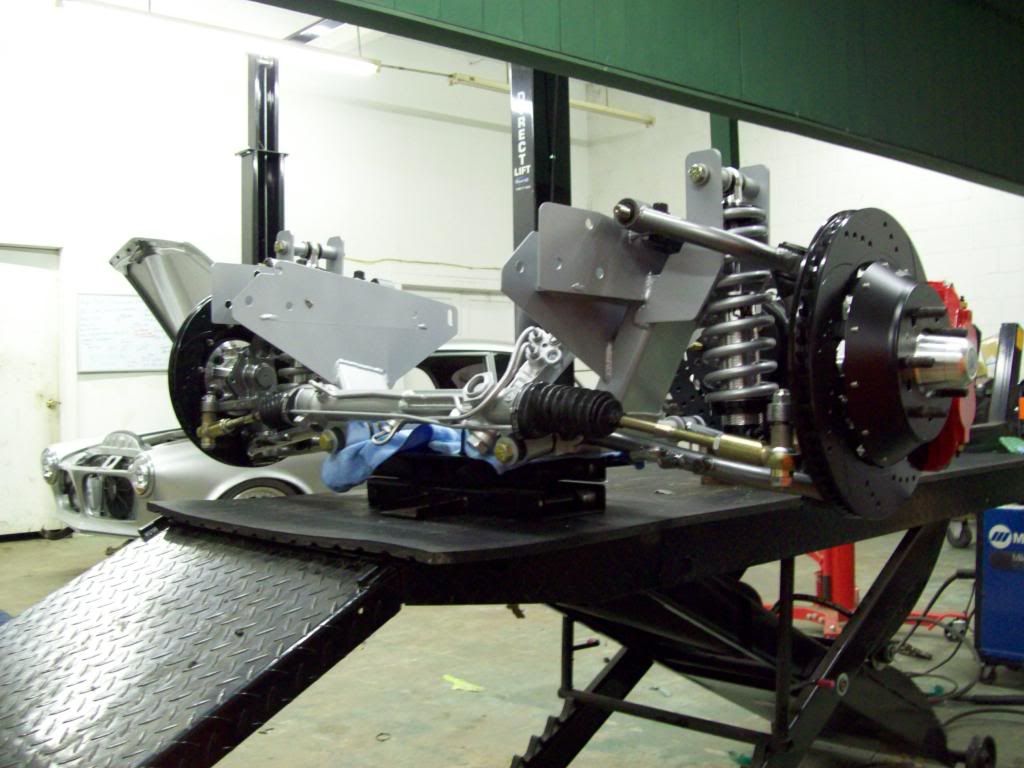
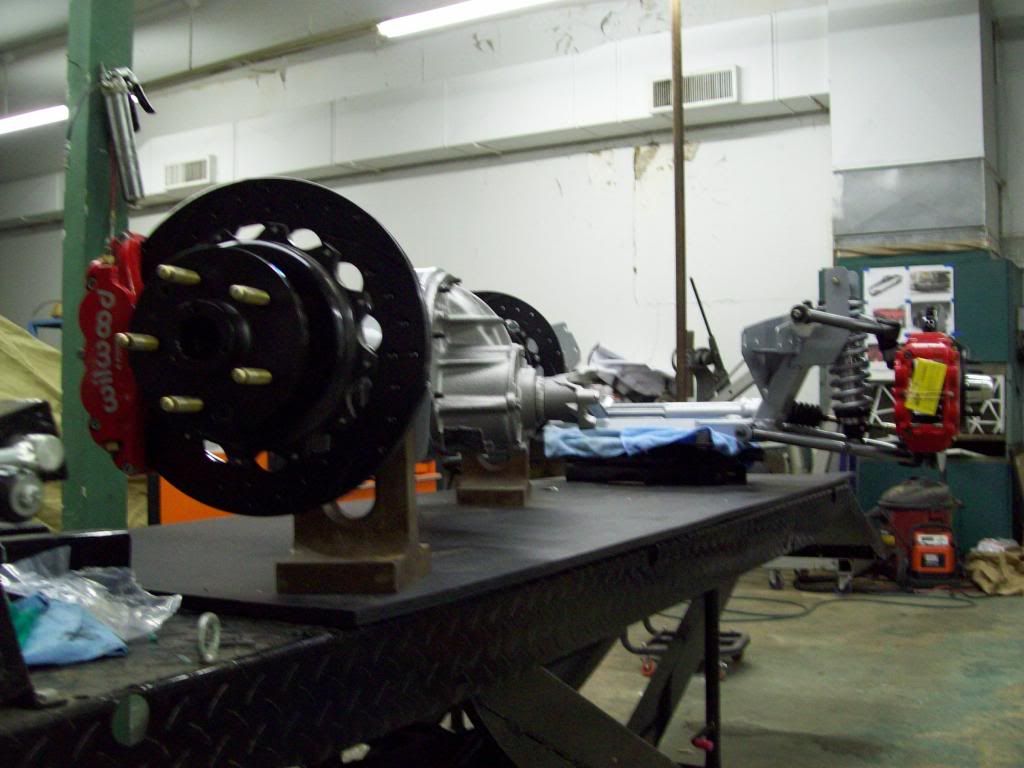
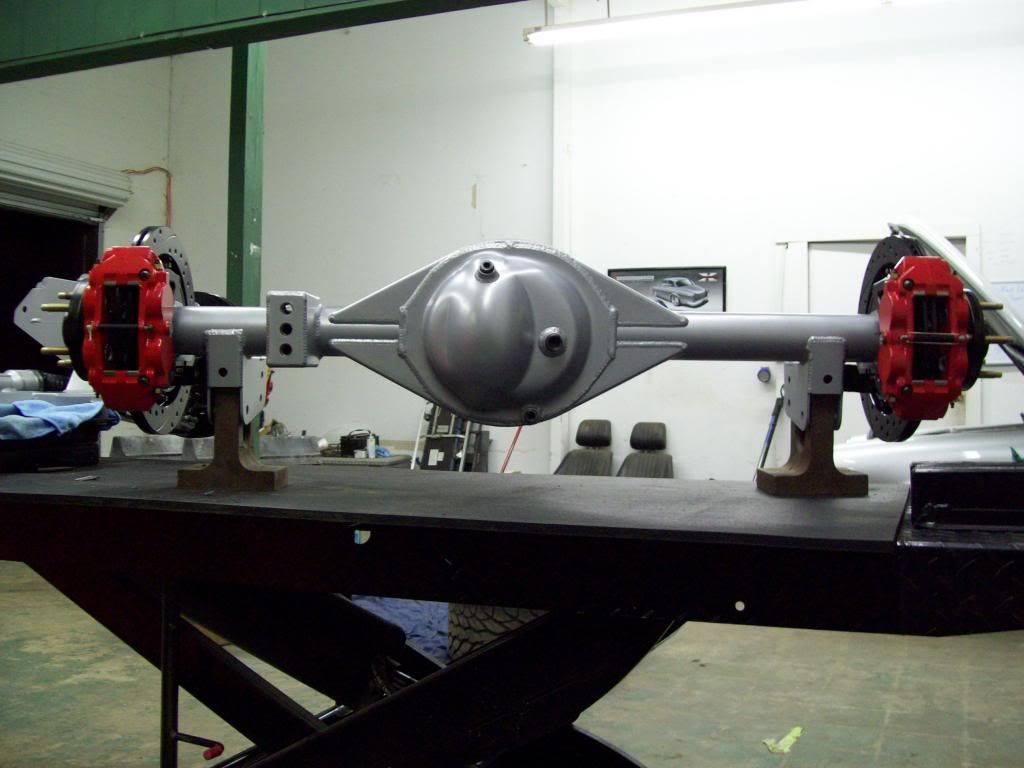
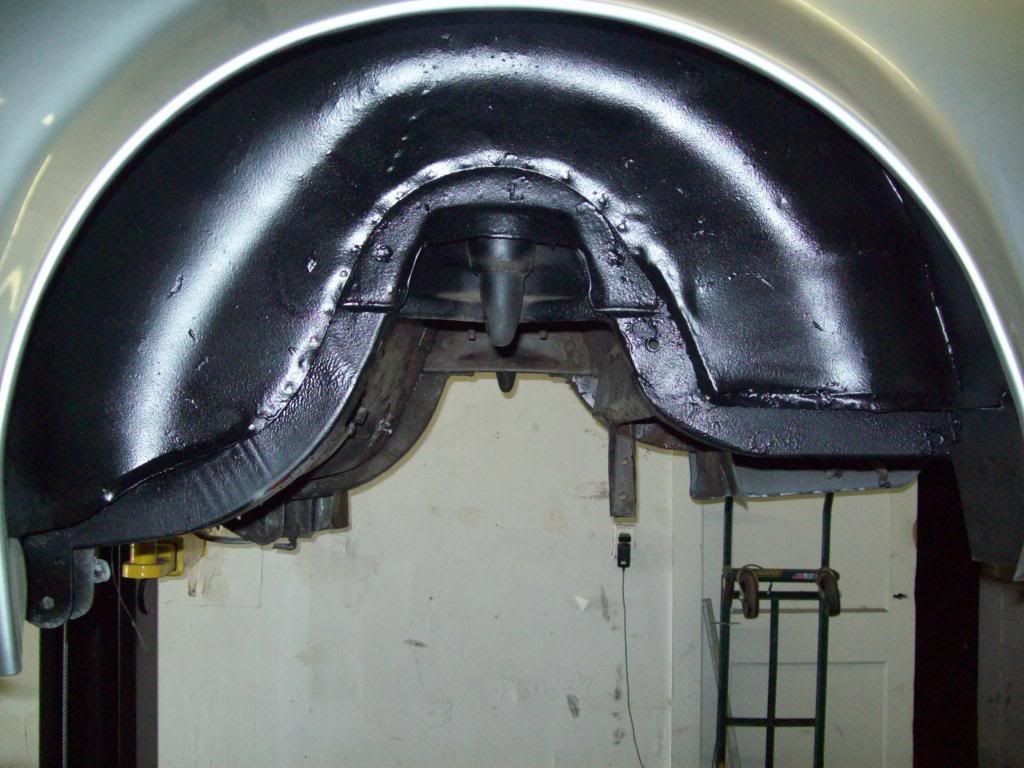
Eventhough I still need to undercoat the center of the car, I went ahead and coated the rear of the car, so I can get the Rear End Assembly installed. I still have to work out some changes I am making to my driveshaft options, so I am not sure how much tunnel mod is necessary, until I get the production motor stands and transmission crossmember in the car..
The rear end kit is a direct bolt in, and I have made all the hardware/bushings to make it an easy install, so I can take the guessing out of future builds. This rear end assemble is using a combintation of Heim Joint and Rubber Rod Ends, because I was actually wanting to split the suspension load/give difference between a totally Heim and total Rubber Rod End, so hopefully it is more of a multi-purpose setup. I have also temporarily installed the front end kit, because I forgot I had to drill out the hole for the steering shaft support, and it will be easier to do that without the motor installed.


Leave a comment:
-
I really appreciate it.. I have a few P1800 Builds coming up, and there will be much less clutter in those build thread, because this car was used for product and build process development, so the others will really be just build process and sorting out the styling and options.Originally posted by andybob View PostLeave a comment:
-
The mirrors are at home now, because all the drilling has been done to the body work, but I think you will change your mind once the car is outside in the real world.. LOL Tight spaces and focused attention pictures really change the perspective a bit, so we will see if your view changes, as well as a few others. I just couldnt put the typical non functional crappy chrome mirrors back on this car..Originally posted by Edgar. View PostLeave a comment:
-
So gangsta! I really like the fact that you're documenting just about every step of the process.
Feels like it's close to being done!Leave a comment:
-
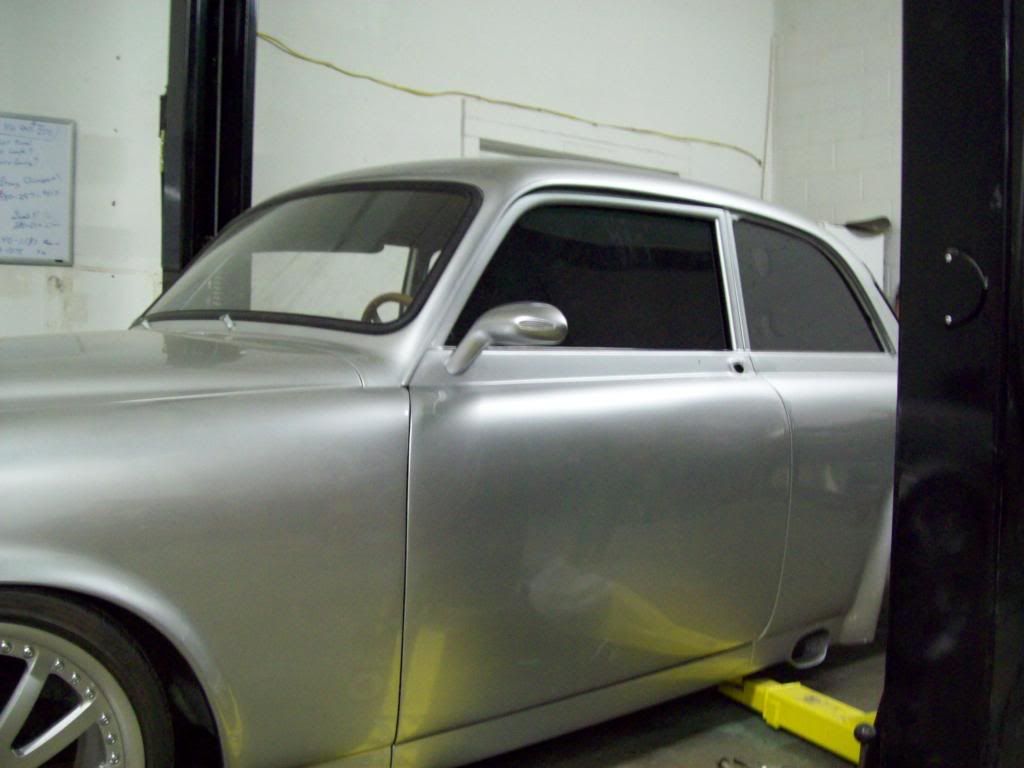
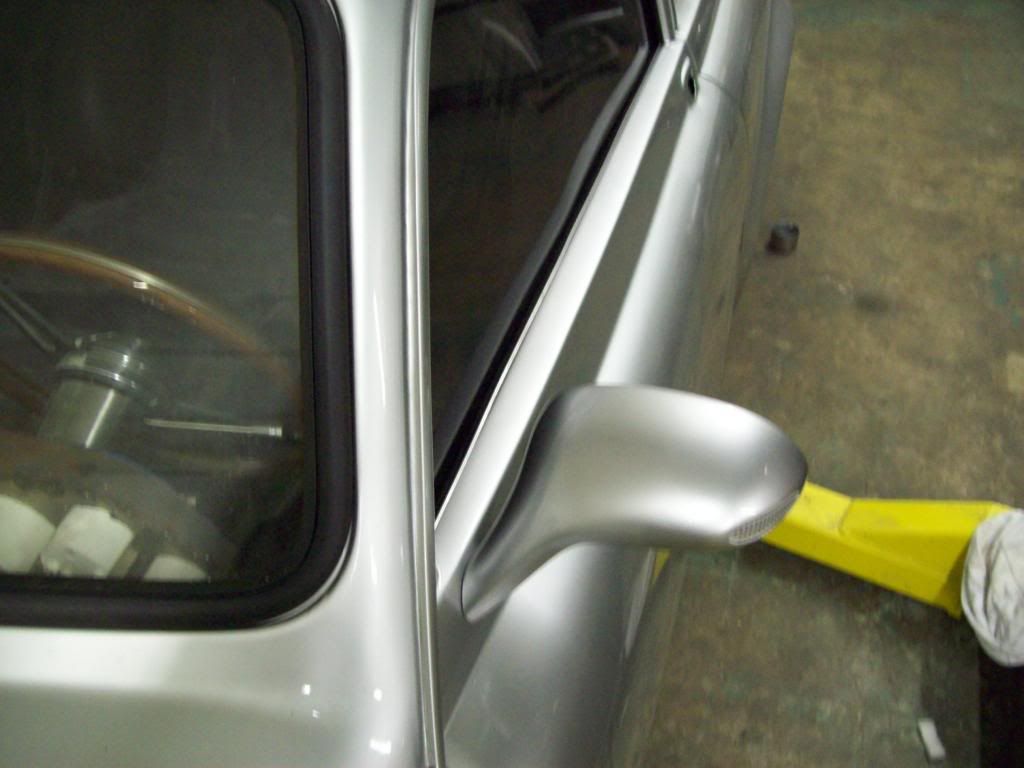
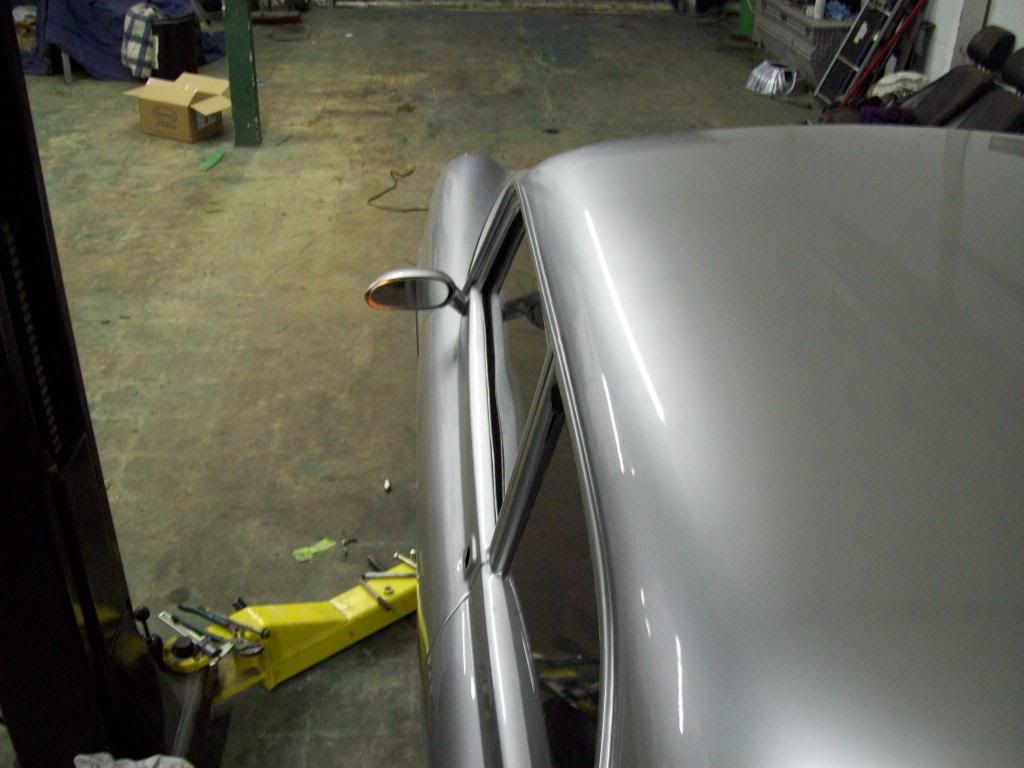
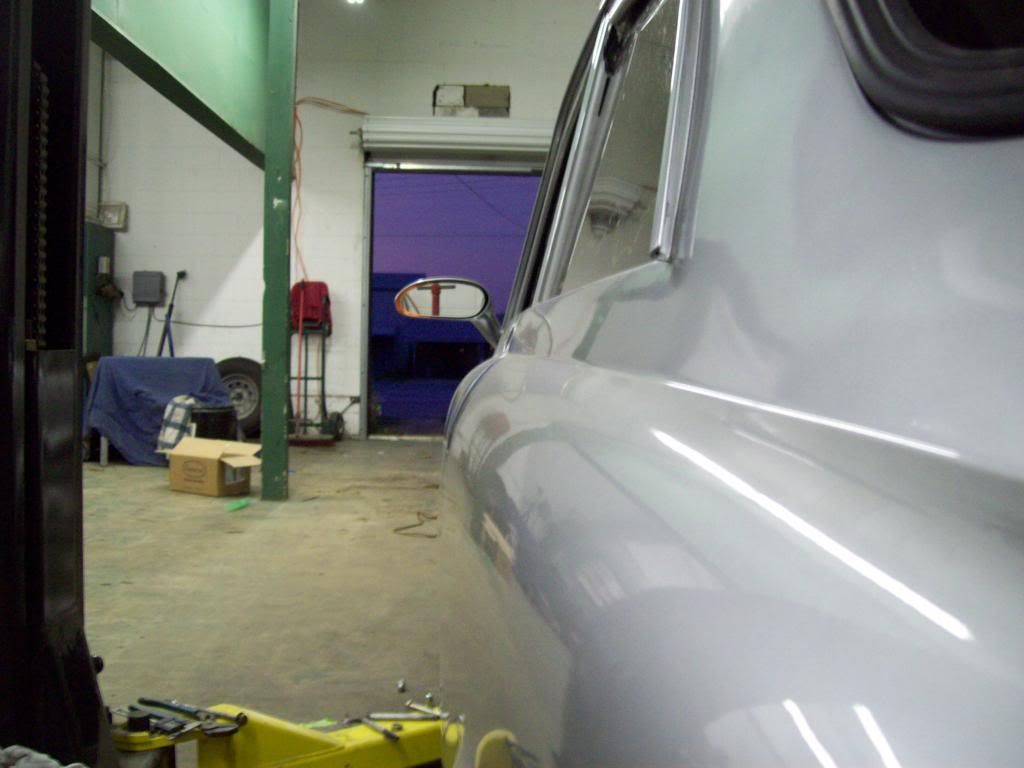
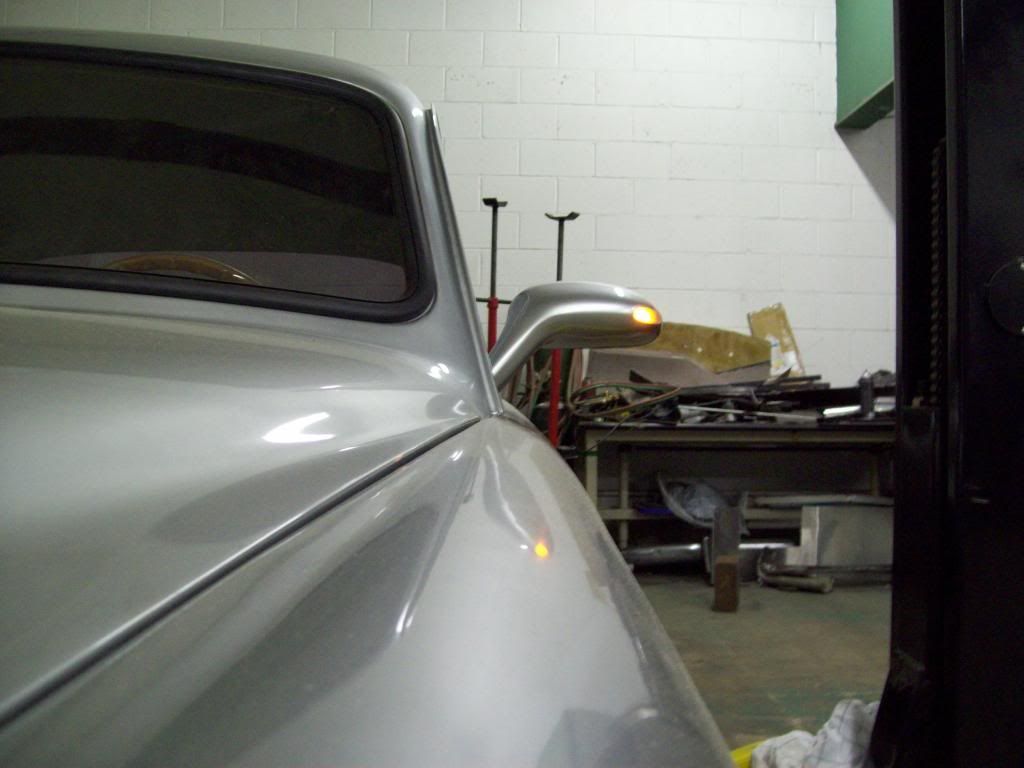
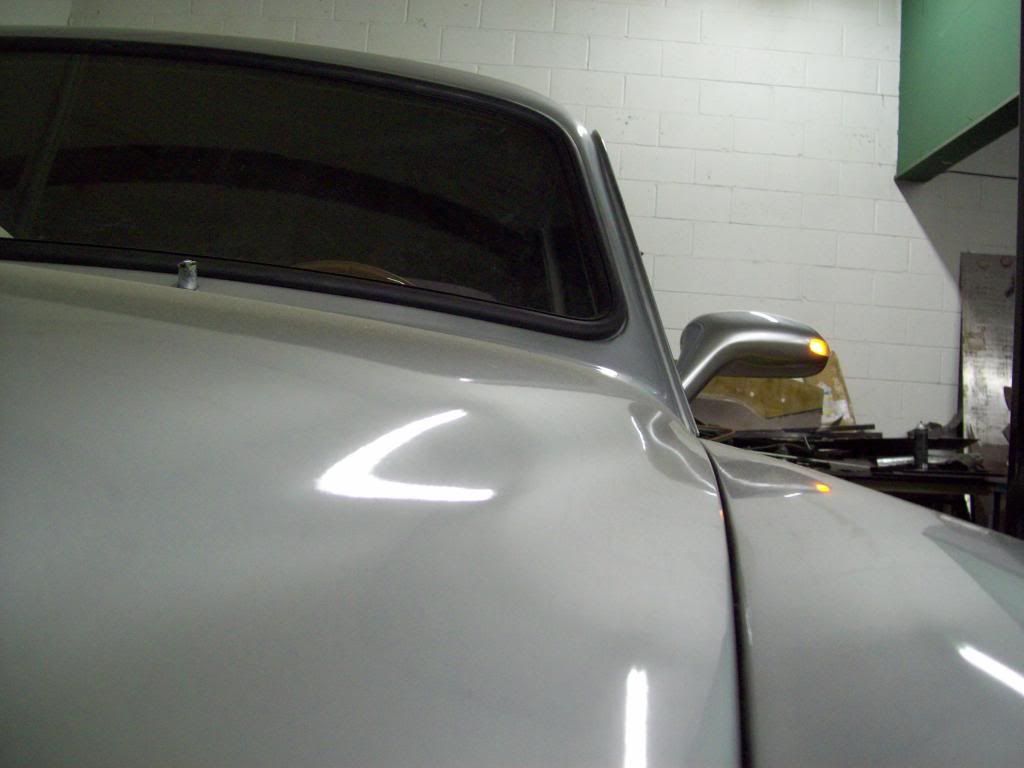
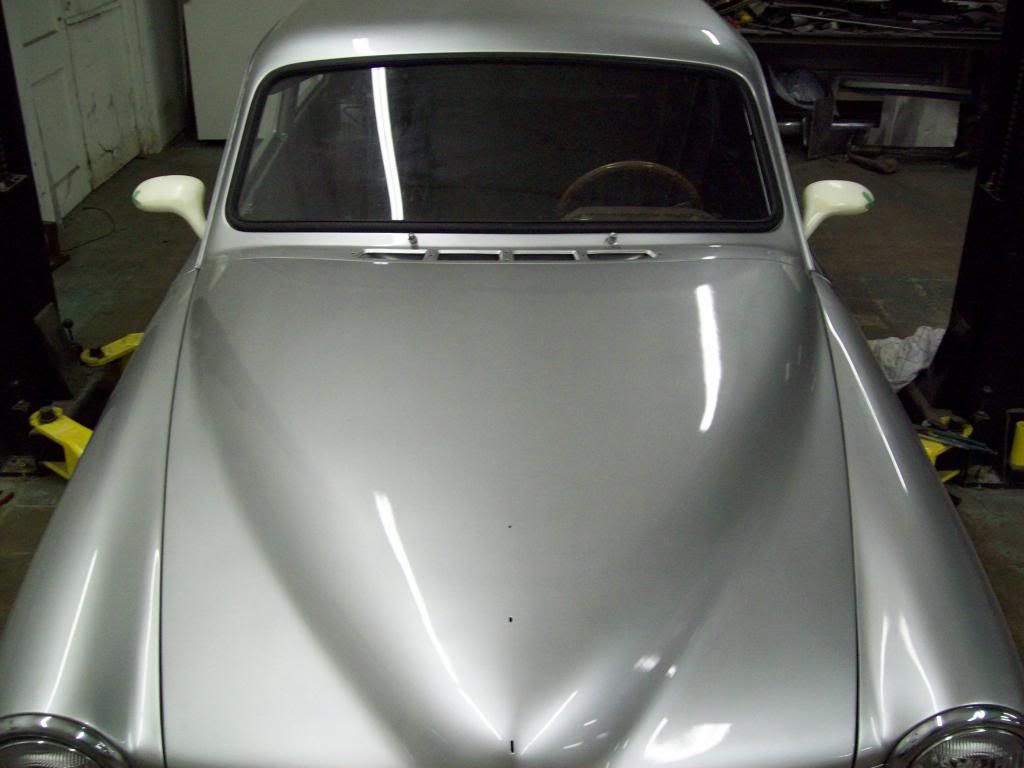
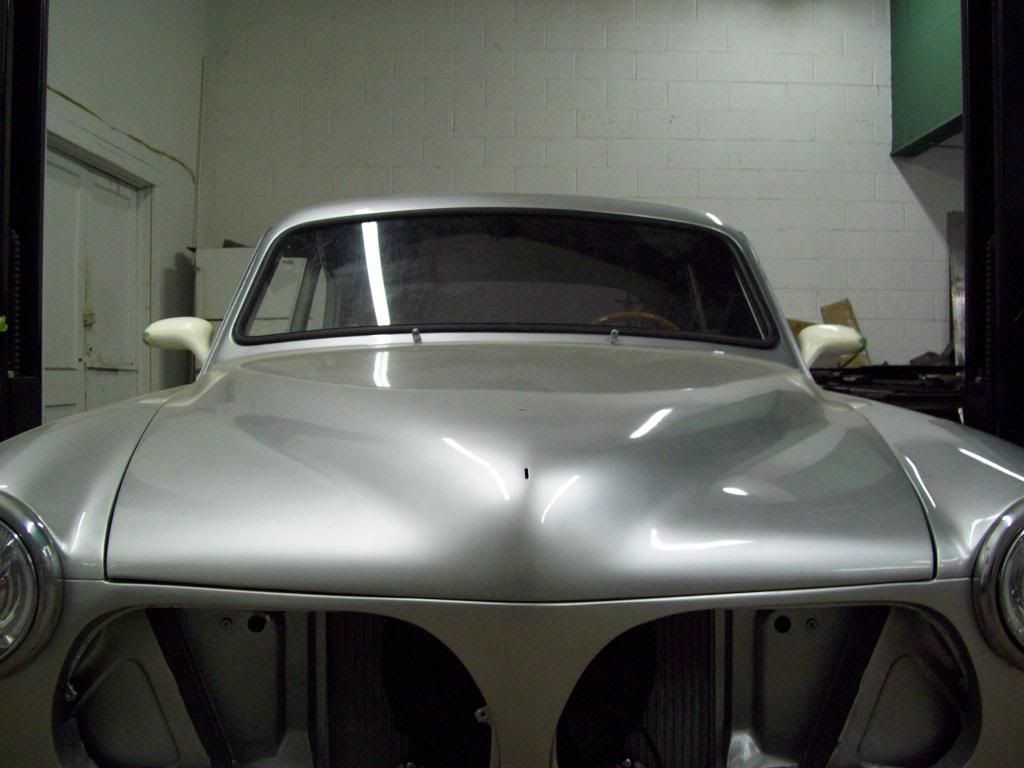
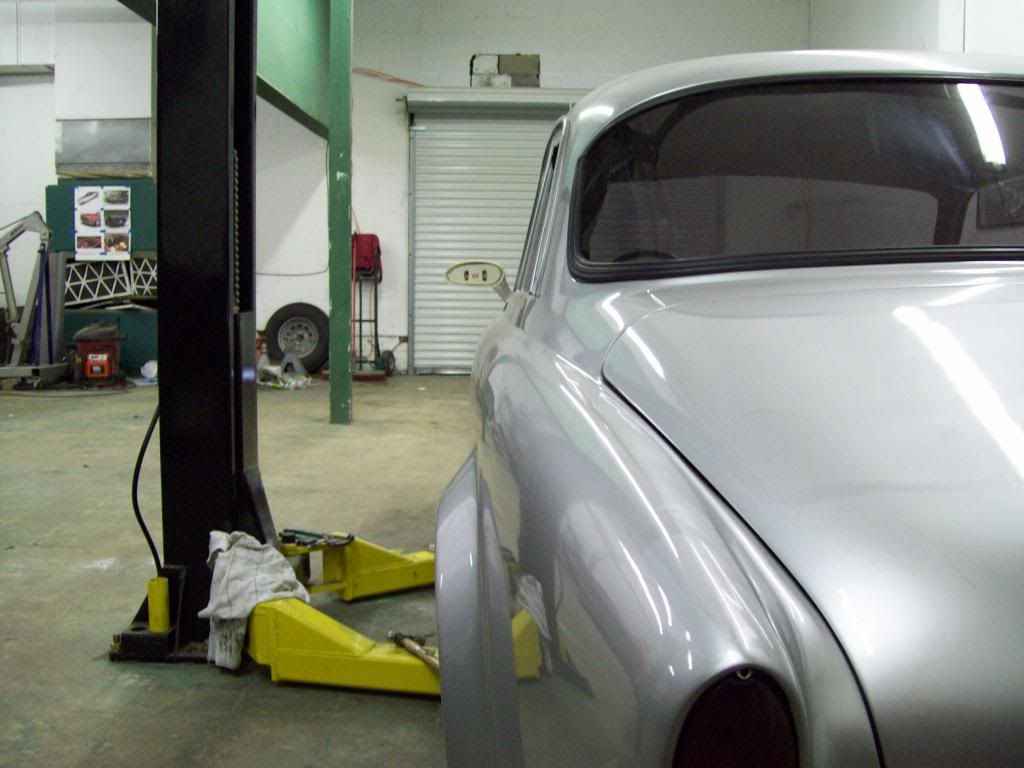
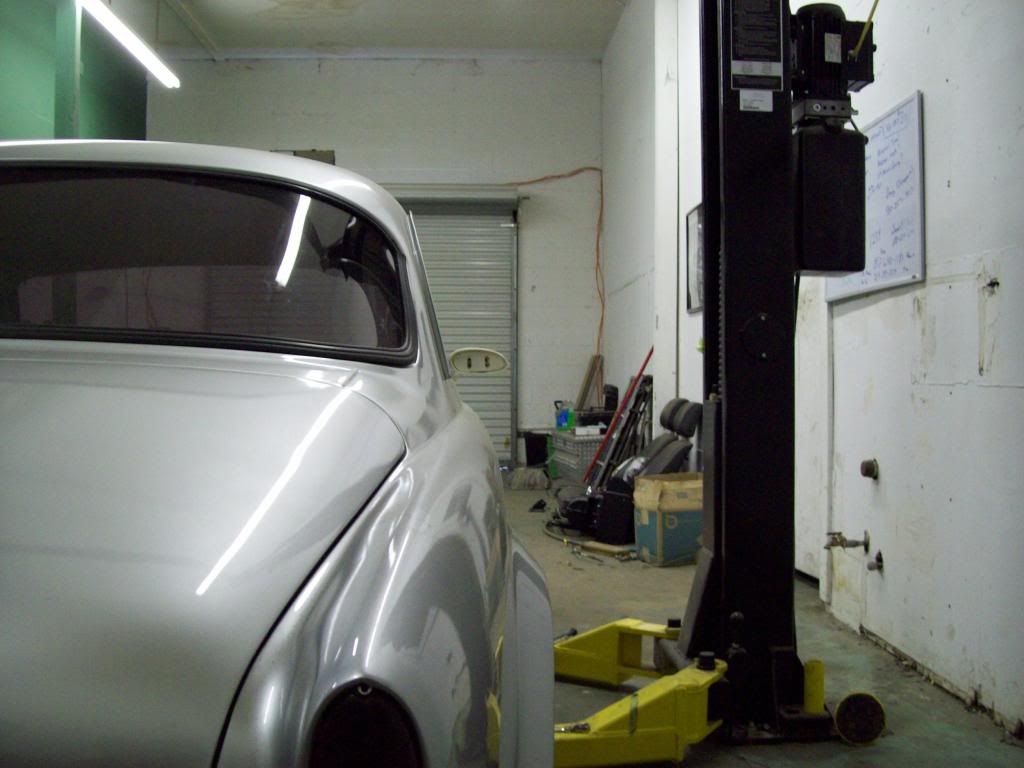
Here are some updated pictures of the mirrors after they were painted, and I think they look like they are right at home now, and they look much better in person versus the pics.. I went ahead and lit up the LED's, because I wanted to see the whole package, so here it is... Once the car is outside in an open space, the mirrors will only get better looking, because you can get the correct perspectives..
Leave a comment:
-
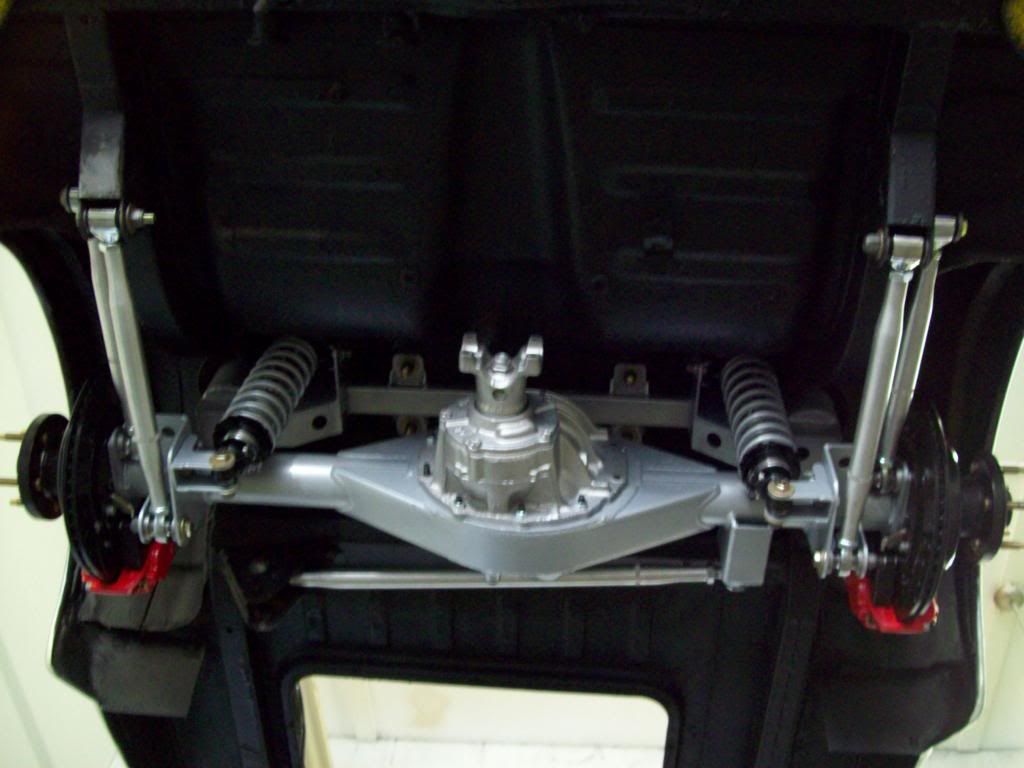
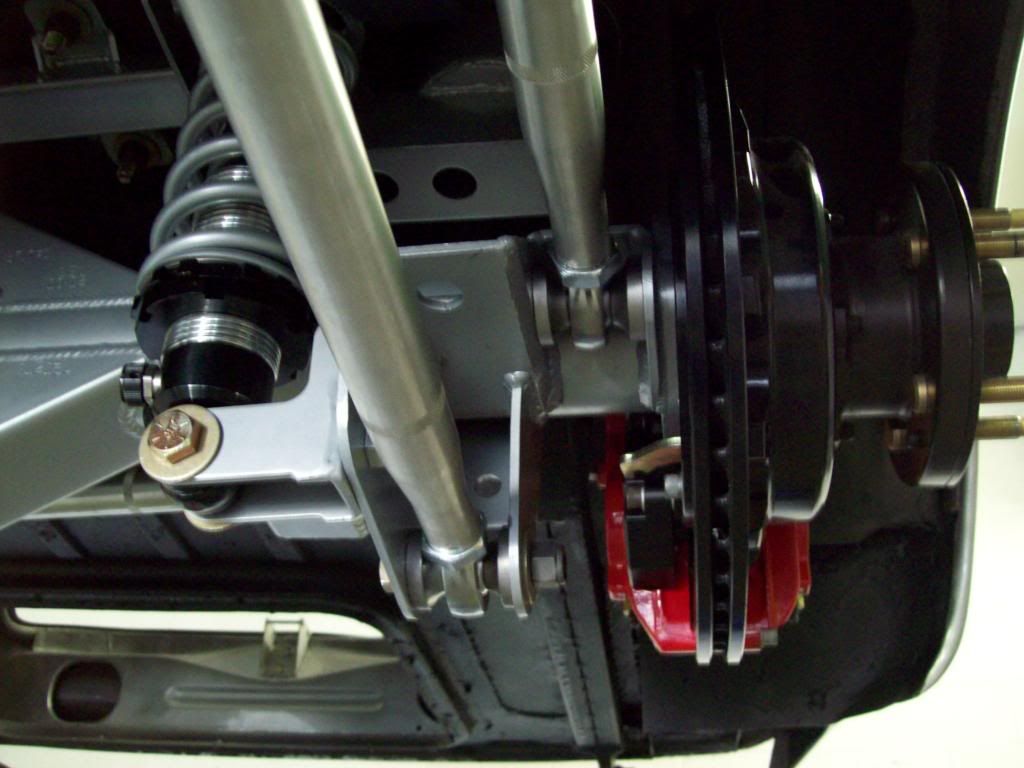
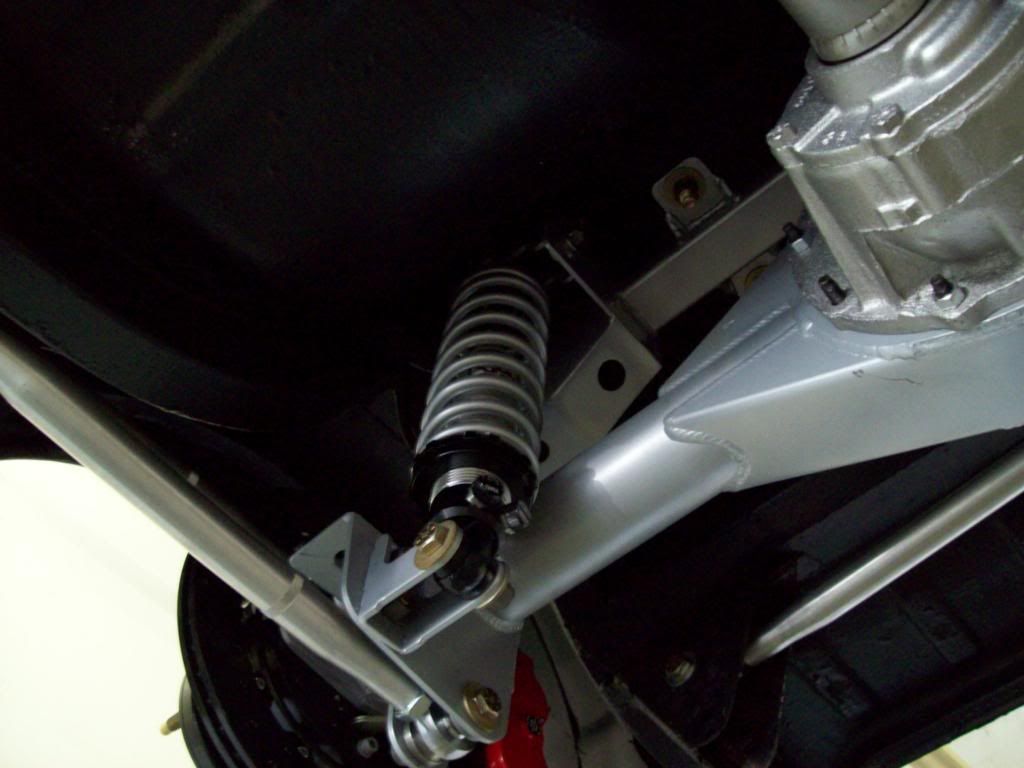
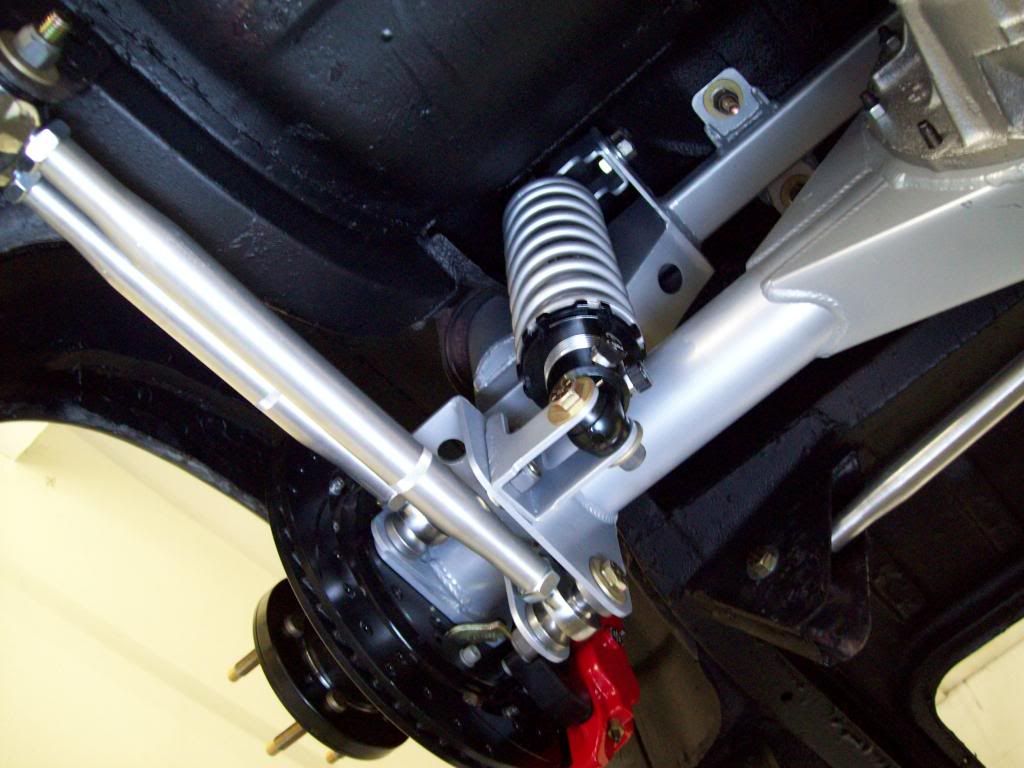
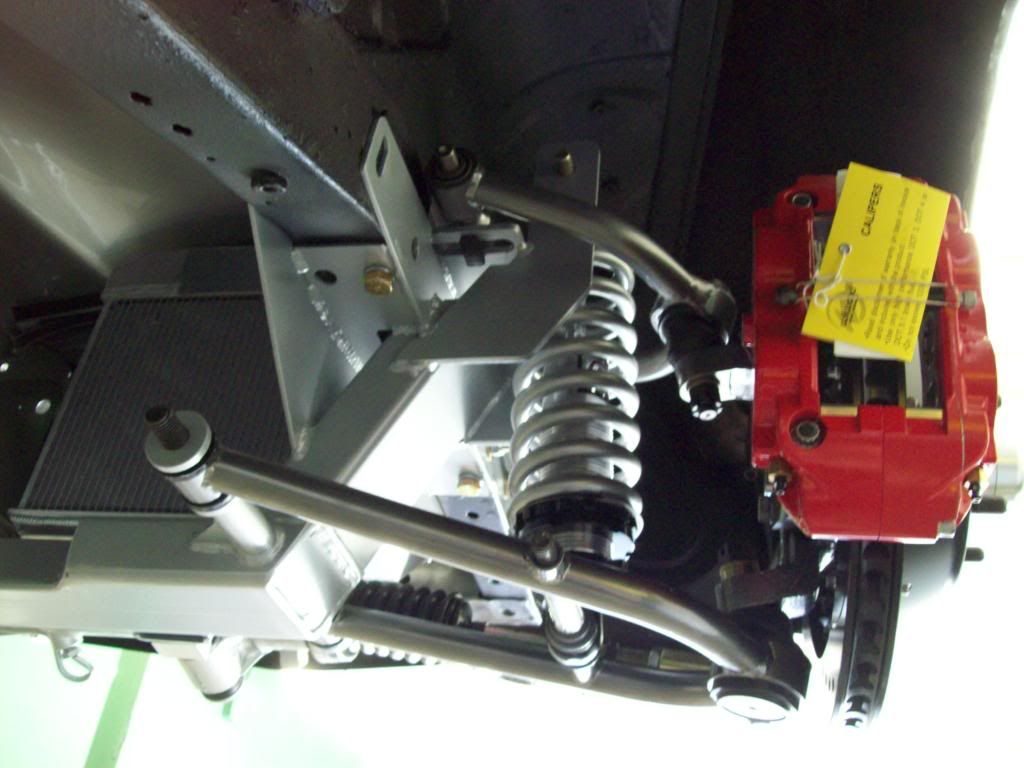
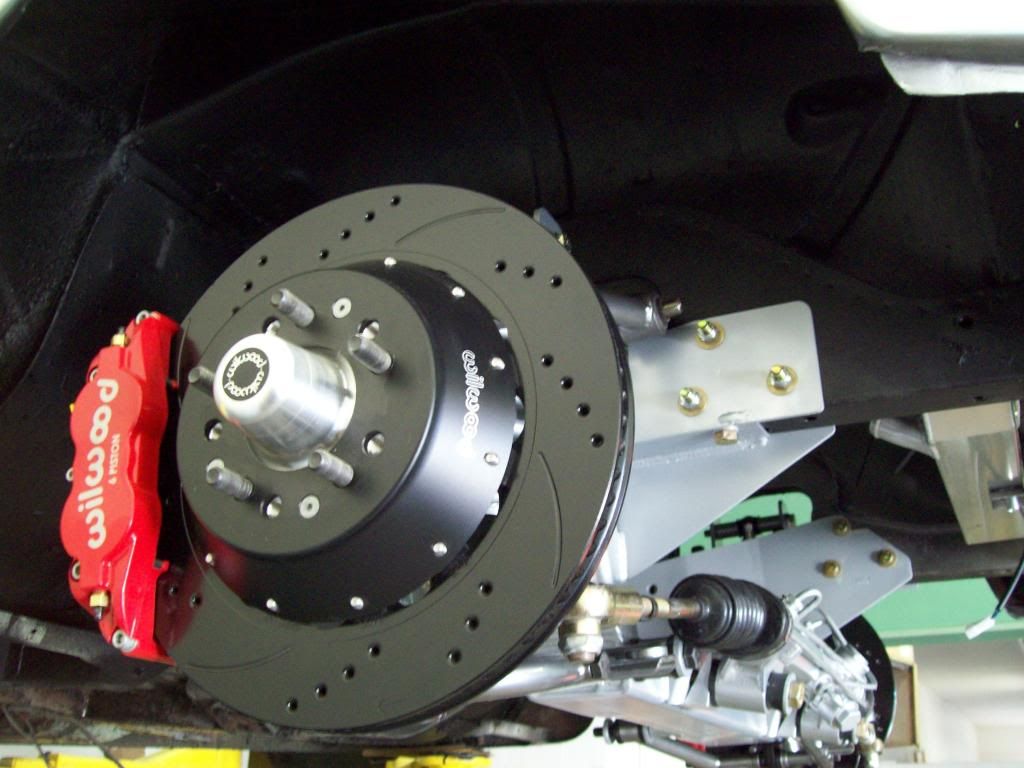
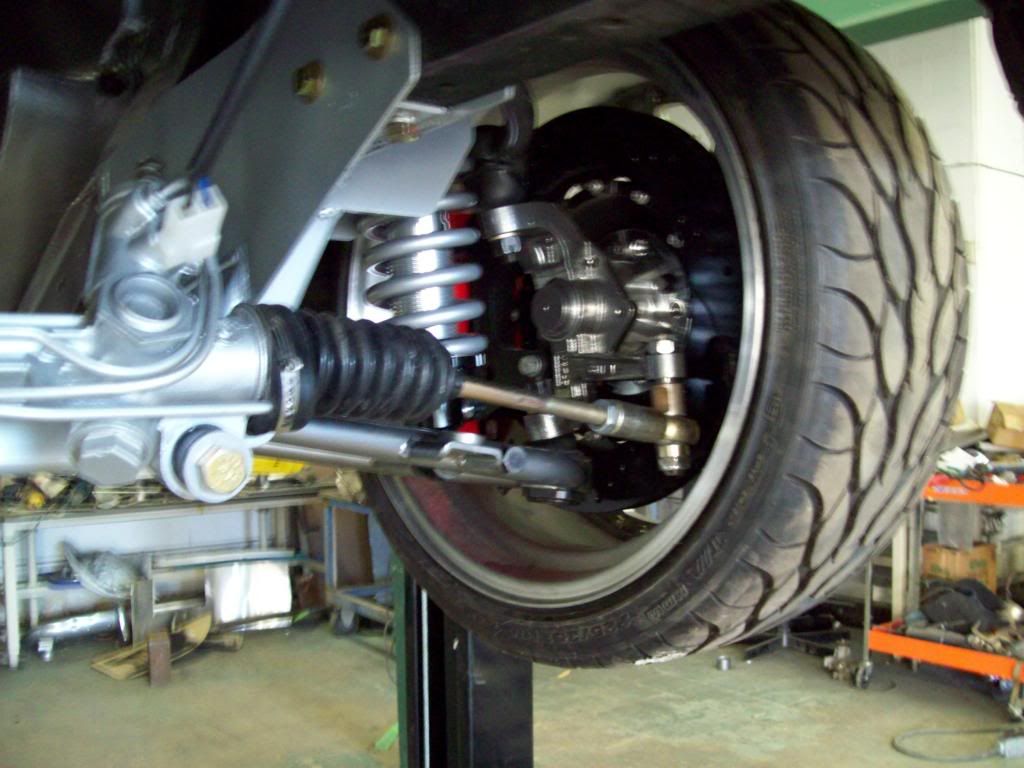
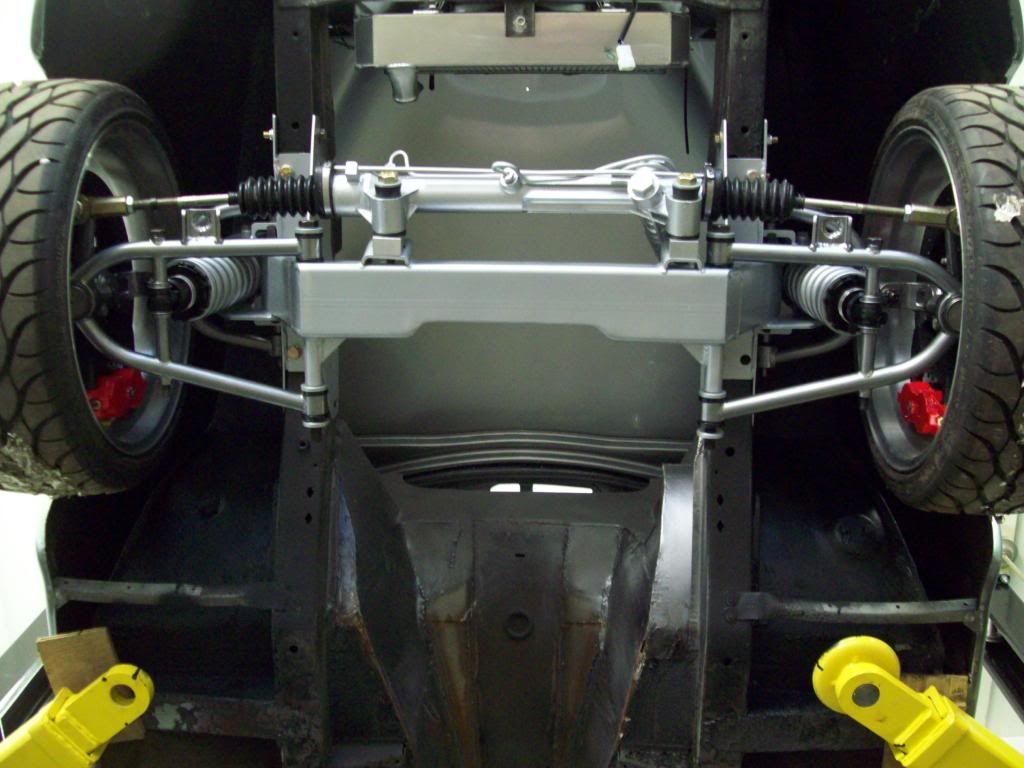
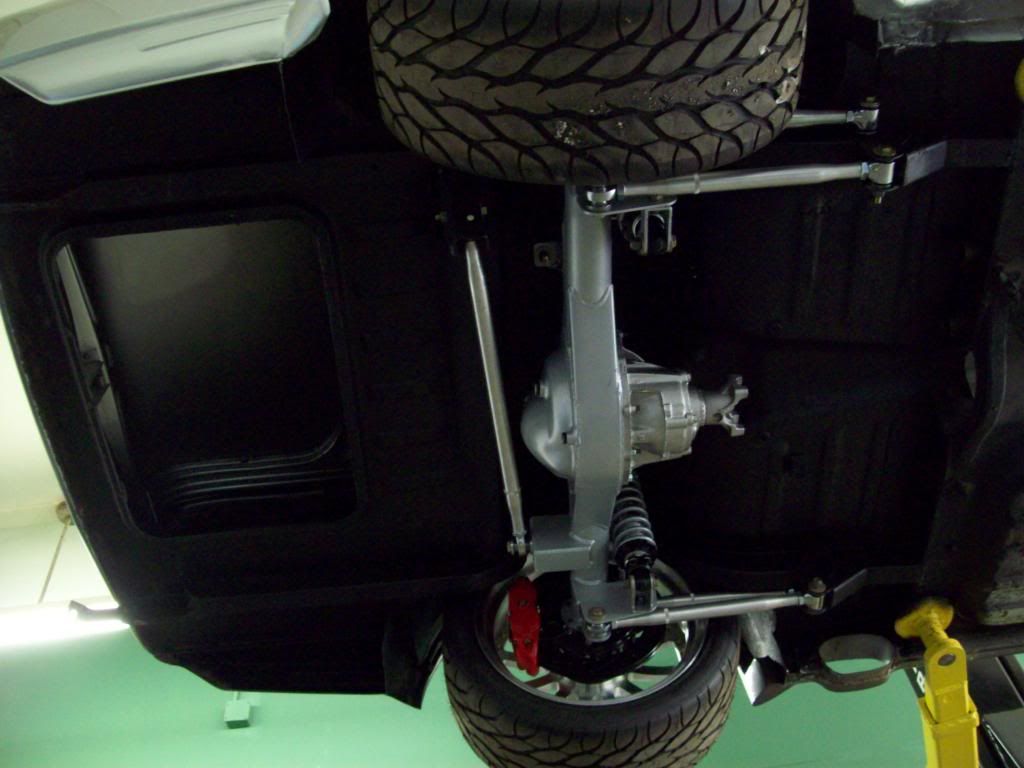
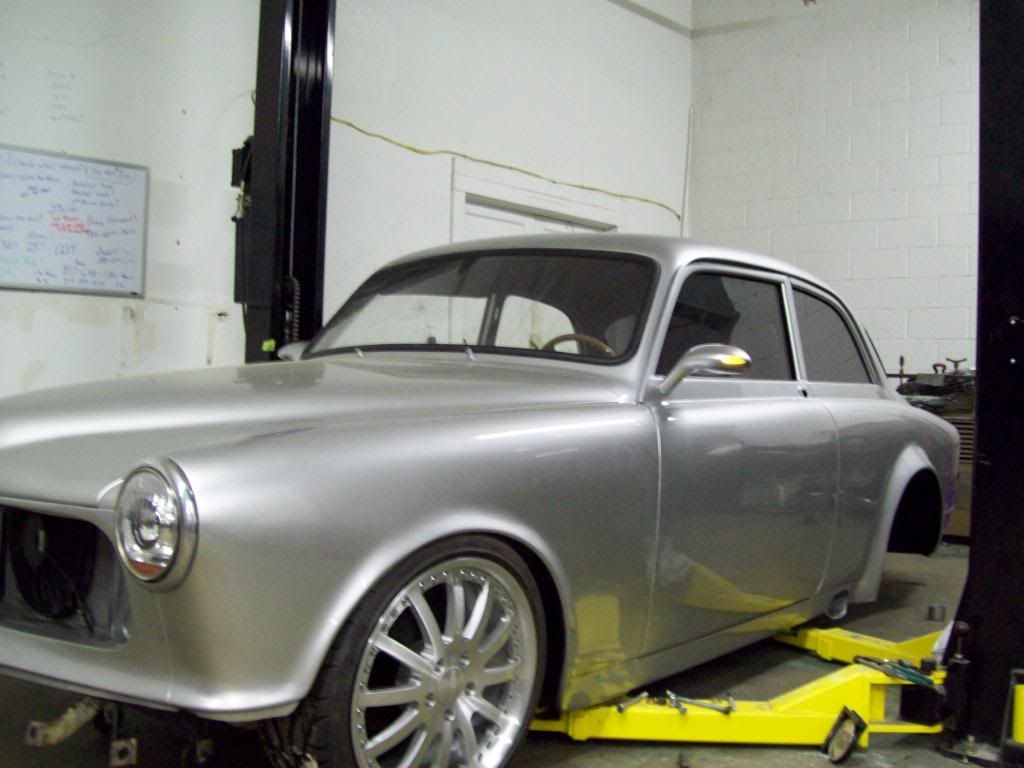
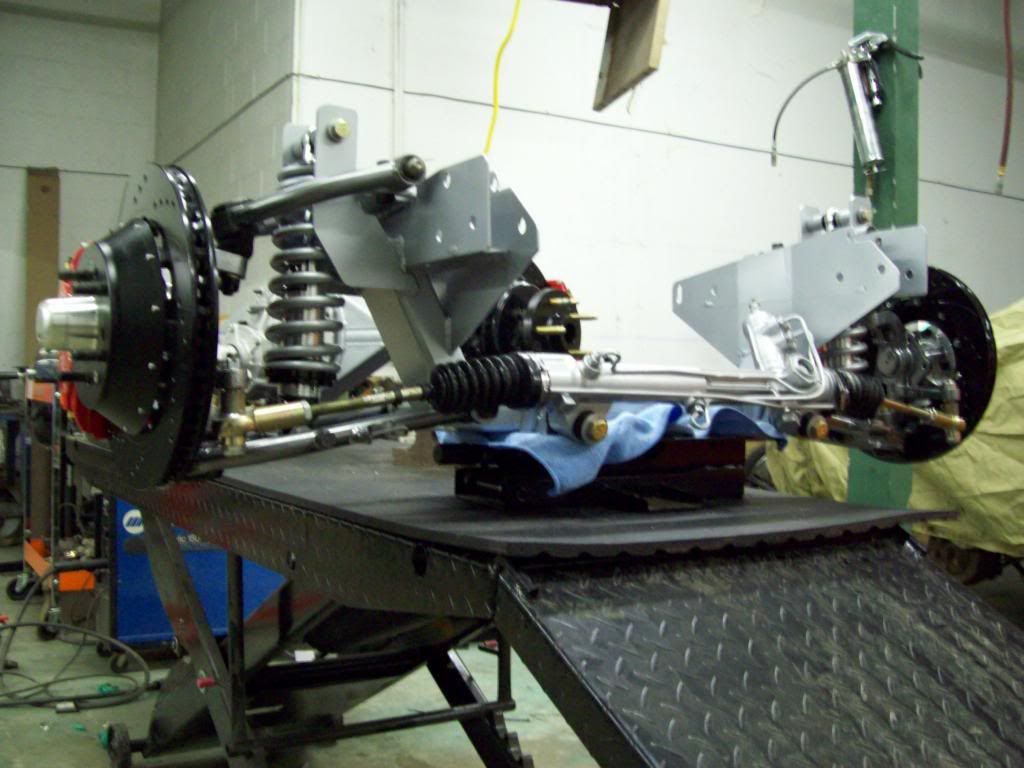
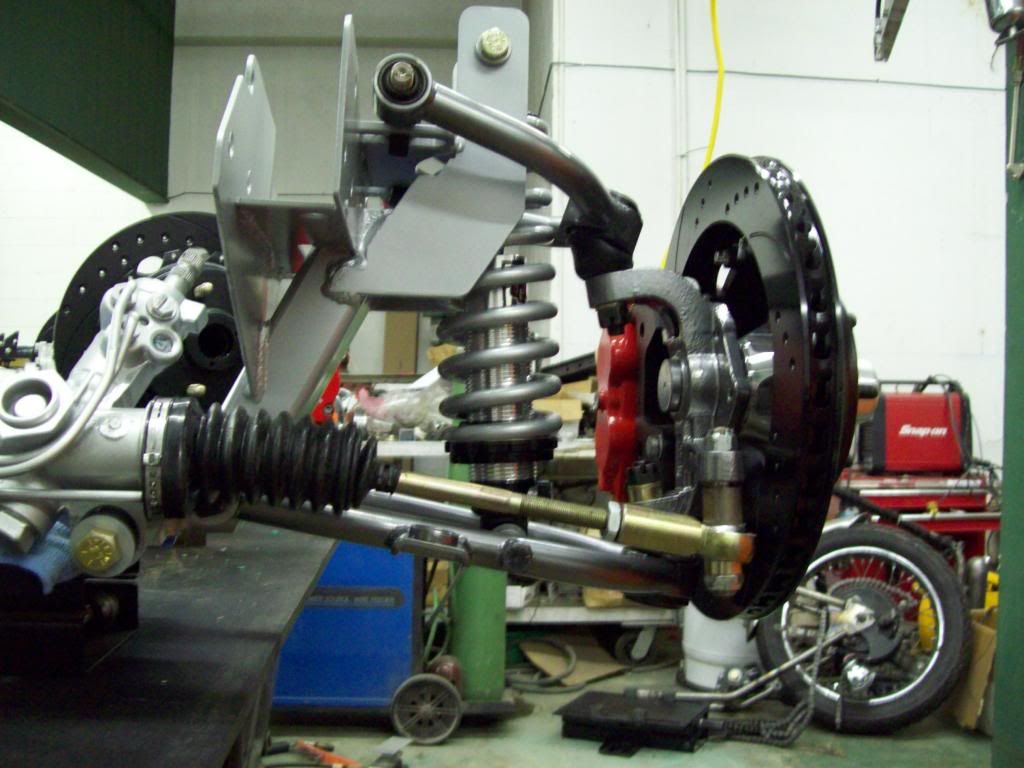
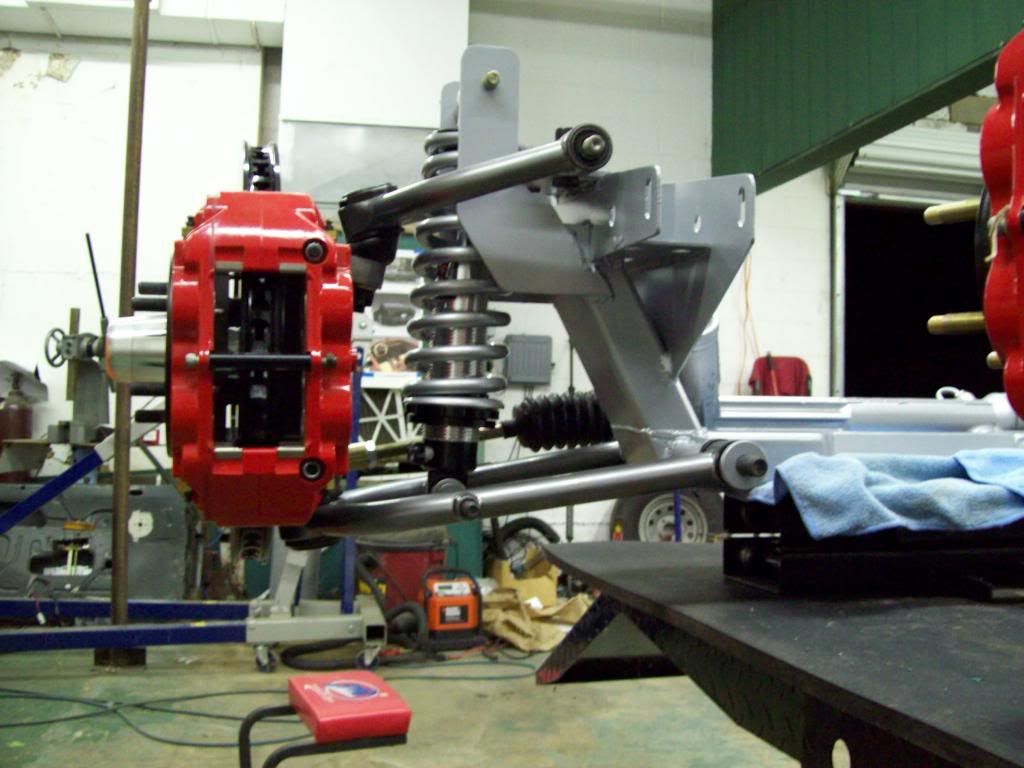
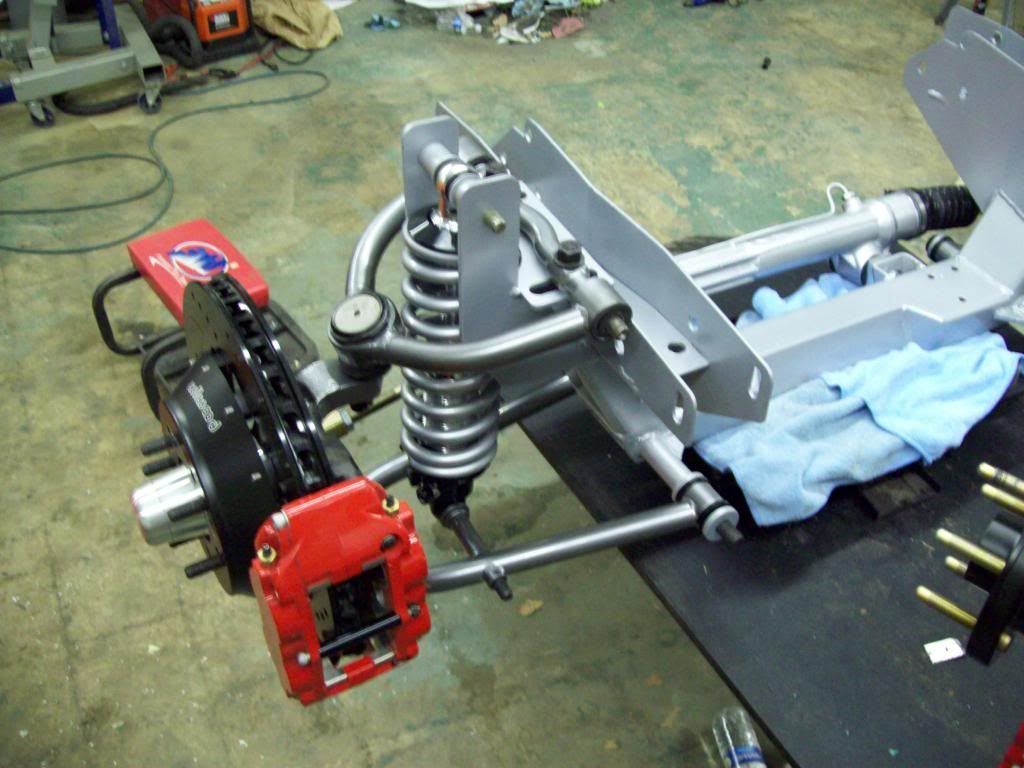
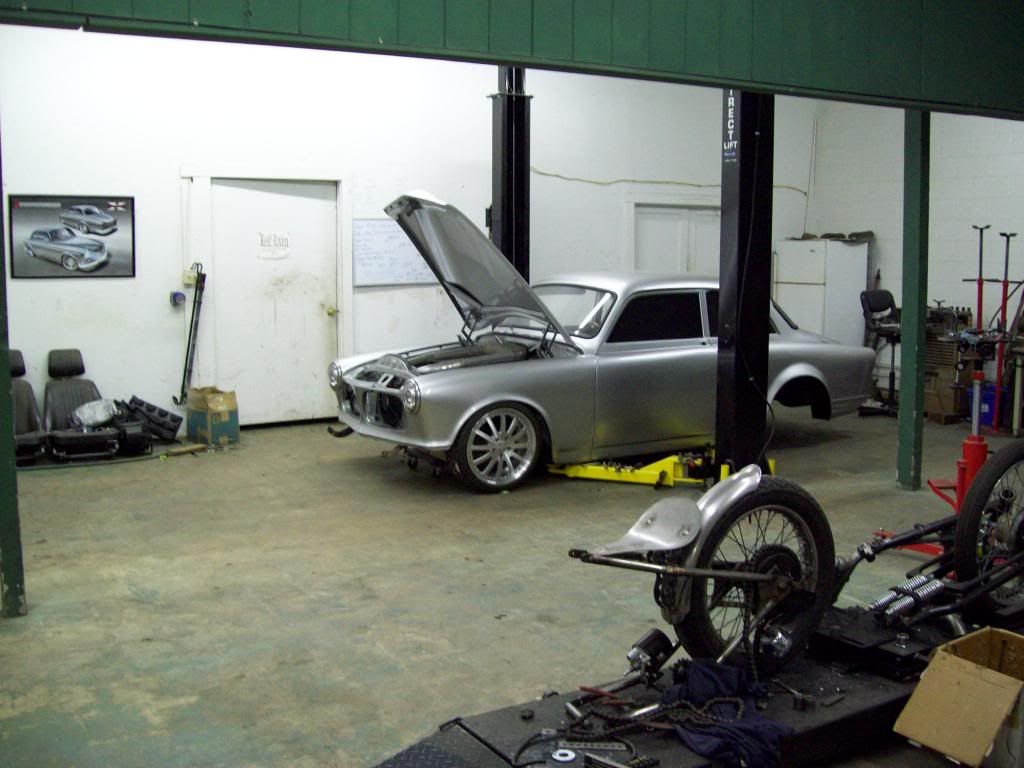
Well here is an update that looks like progress... I am just waiting on my production LS Engine Stands to make it in, and then I can install the motor/trans to the crossmember, and then install the whole unit in the car at once.. I went with a lighter aluminum crossmember and rear end assembly, and smoked chrome control arms and spindles, because I needed something to photograph well with the black bottom body coating. I think it also matches the overall theme of the car, and it should look pretty clean once it is all installed..

 Last edited by Iamtheonlyreal1; 05-31-2013, 12:46 AM.
Leave a comment:
-
Well I have the final fitment of the mirrors done, so now they need to go to the body shop for paint work, which will be body color.. I know this mirror option was a matter of debate in the past, but I dont want to install the typical non functional chrome mirrors that are generally on these cars, and I think they will blend into the body nicely after they are body color.. Like anything else, if you focus the pictures and attention on a particular item, it can make you blind to the overall appearnce in the complete package, so lets be open minded until they are painted. Besides it is too late now, there are mounting holes drilled into the paint work now. LOL
These are a really neat mirror kit, because you actually cut and sand the base to fit your car.. You can actually draw them in tighter if you want, and I actual moved them inboard quite a bit, because they had a few more inches of base stock on them. After you cut and sand them to your desired position and angle, you drill a couple of 3/8" holes in them, and then install the proviced threaded inserts for the mounting.. I actually purchase the VF-4LED option, because I wanted the integrated turn signals on them, which I thought was a nice touch of hidden modern.
These came from Vision Hot Rod Concepts www.visionhotrod.com and they were very reasonably priced...
Leave a comment:
-
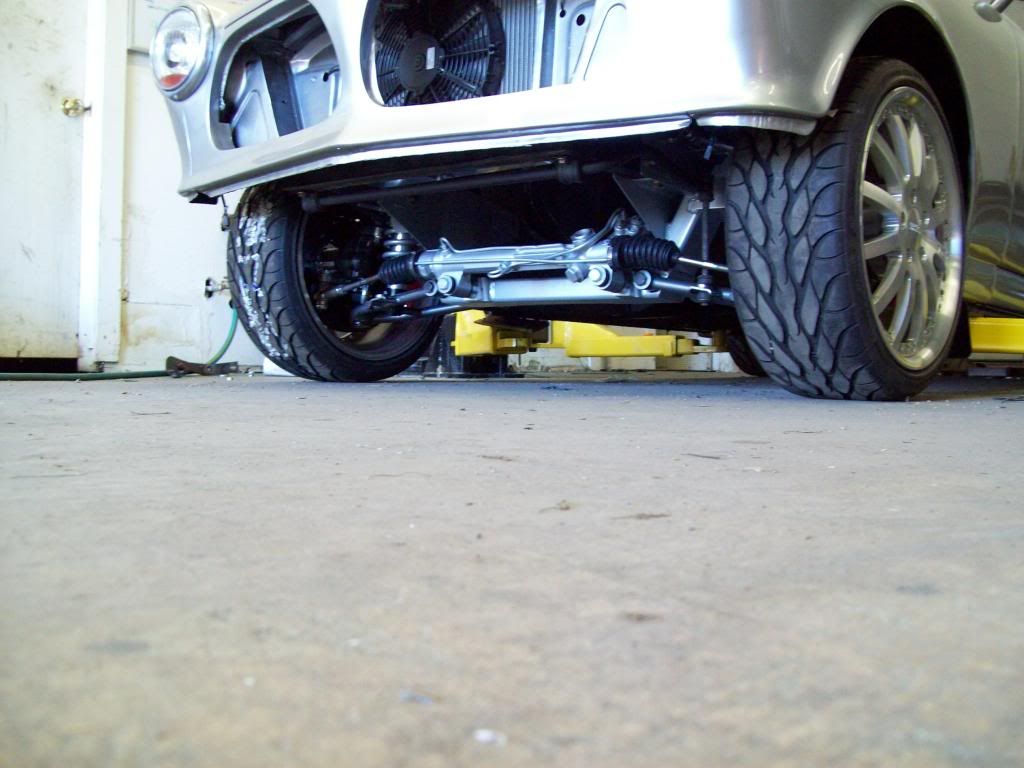
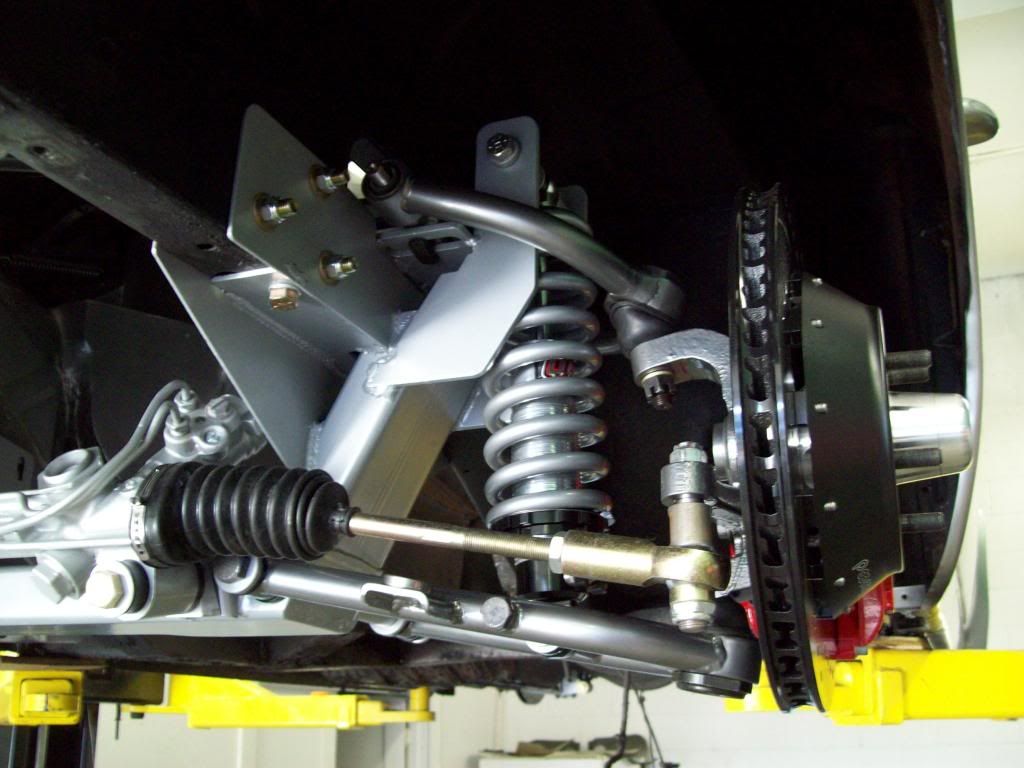
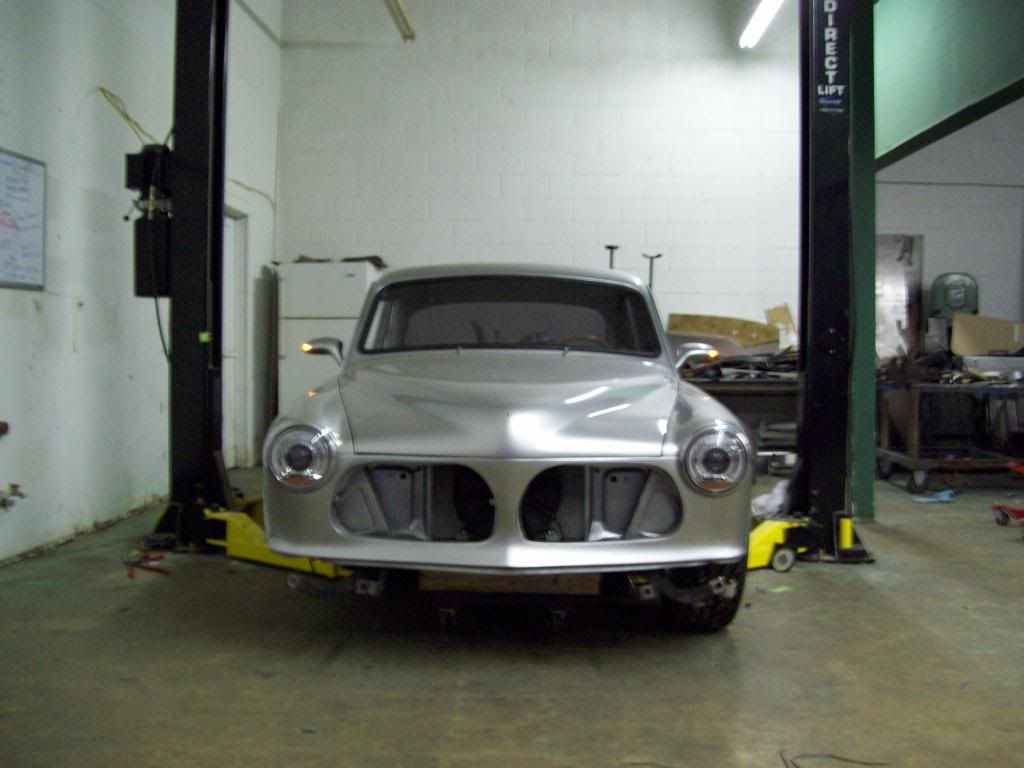
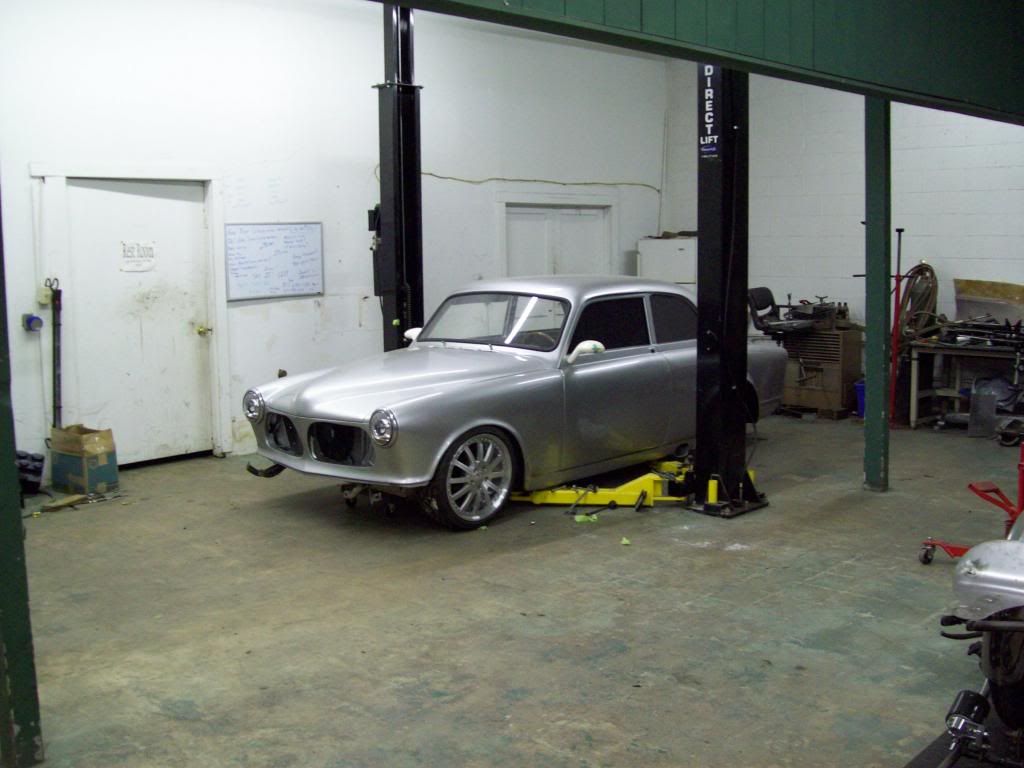
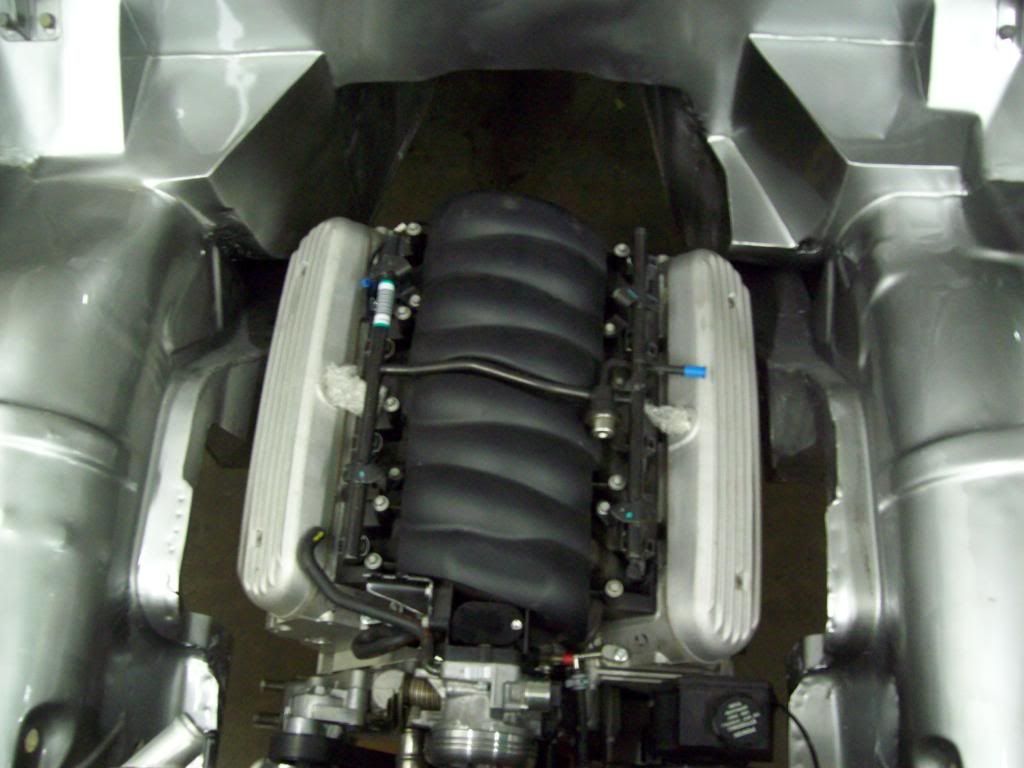
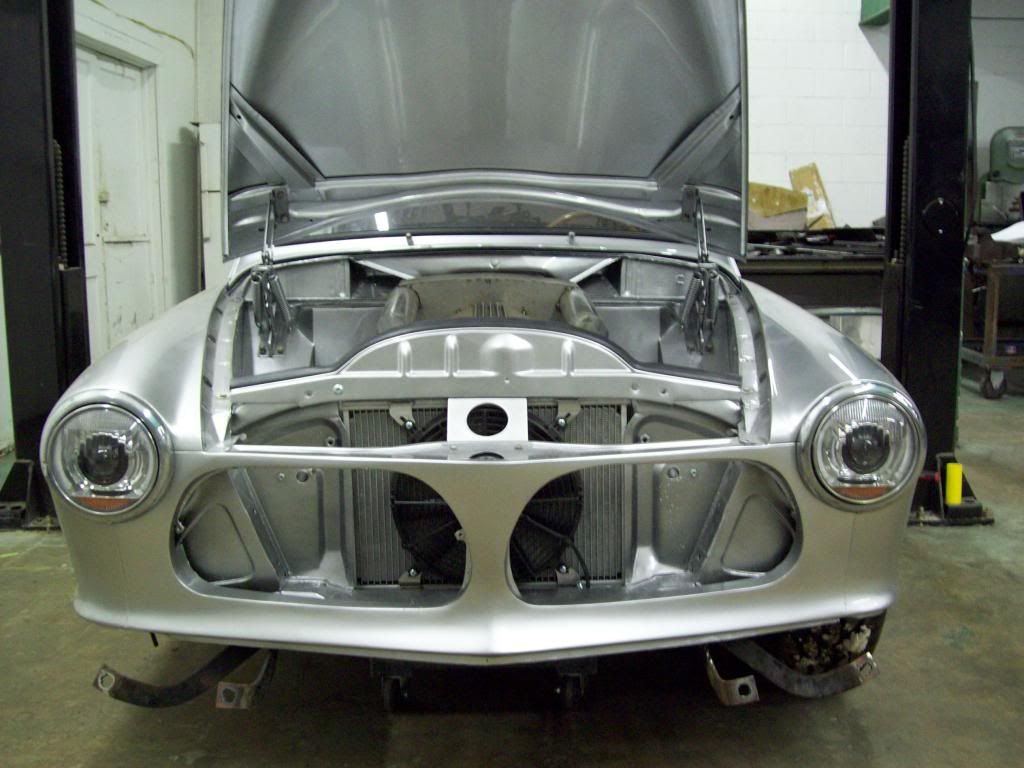
It is almost like the LS motor was made for these cars, because it appears they are just going to slide right in, and these are the factory wheel wells. I am working out a system to where I can install the Complete Suspension Kit, Accessorized Engine, Transmission, Transmission Crossmember all in one assembly from the bottom. I am working on a table style fixture that will hold the complete assembled suspension and drivetrain, so I can roll it under the car on the lift, and then set the body down on it for attachment.. This will make installation jobs much easier for our customer build cars, and will take out all potential damages from going in from the top, because you dont have to worry about angling the engine/trans to fit in the bay and transmission tunnel, while worry about the assembly dangling over the new paint work..
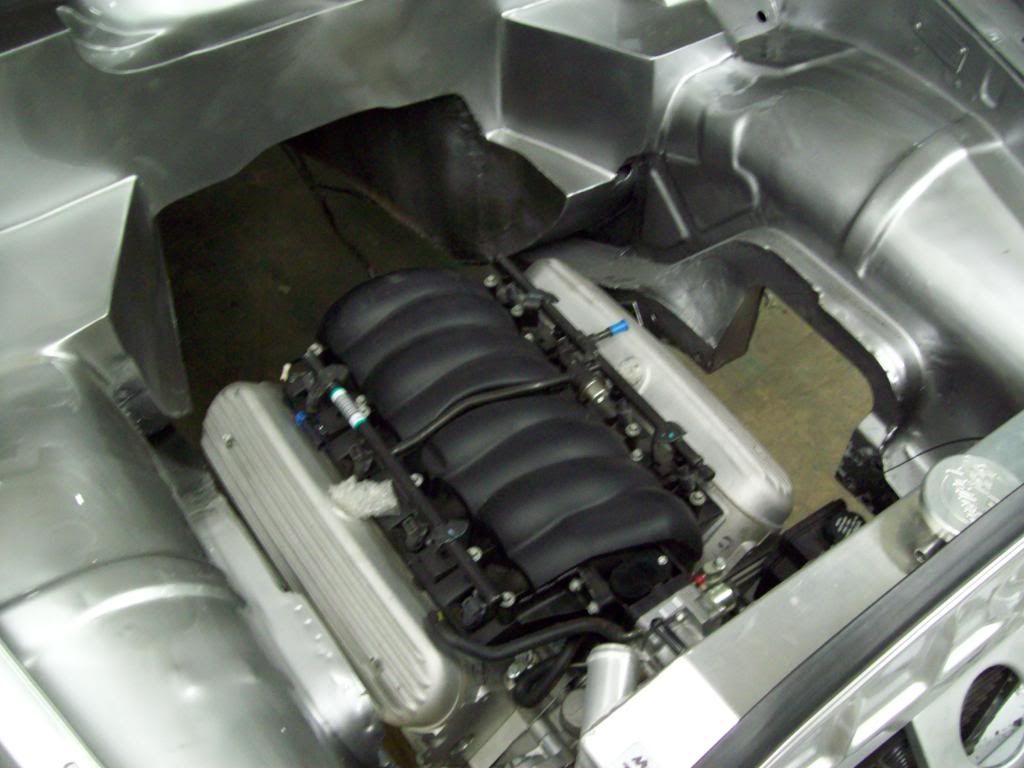
Below is the test lowering of the body over the motor, and there is a bit more room than it appears in the pics.. I did have to remove the headers I designed, but they literally install in a matter of a few minutes after the motor is in position, so it is probably easier to not worry about this procedure with them installed. I will also remove the radiator during the final install, but as you can see I dont really even have to do that..
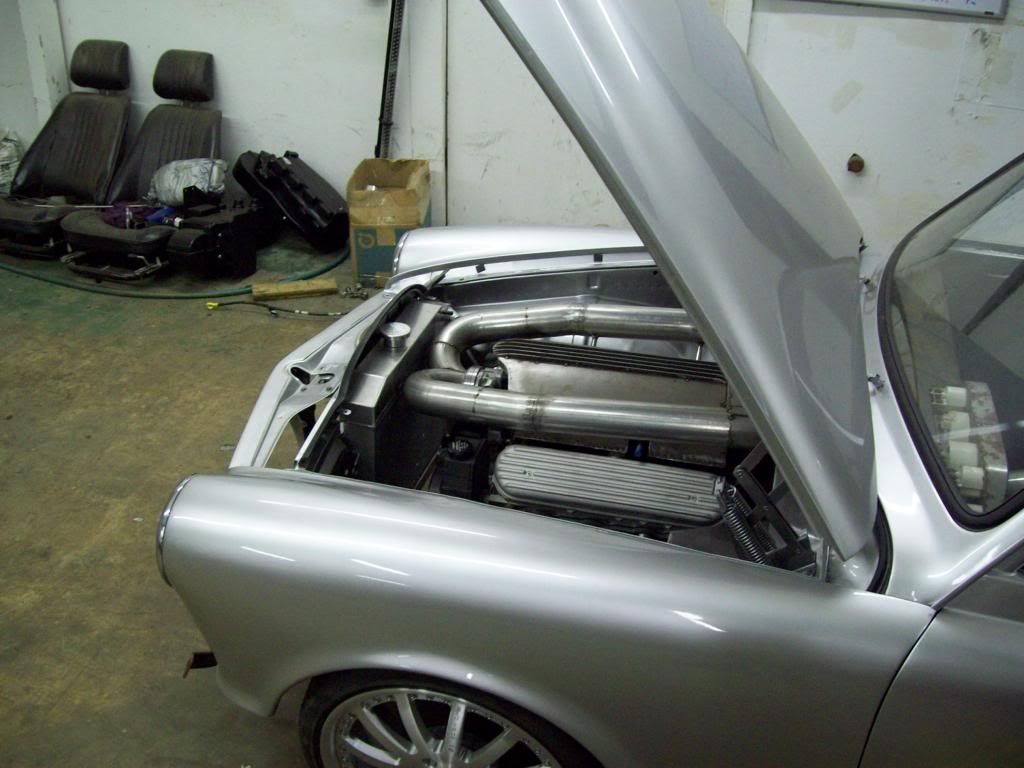
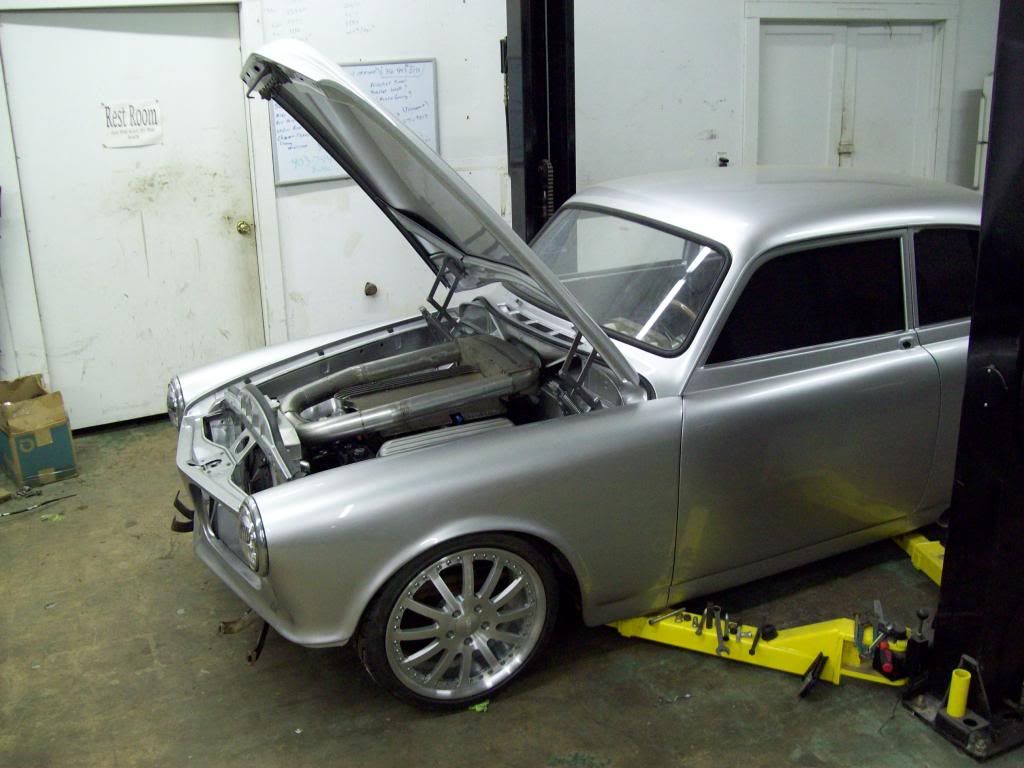
To break up some of the constant under hood color a bit, I am going to install an outer engine bay insulation on the firewall, and it will be a silver/metal color, and I think it will give it a bit more of a performance/race appearance.. It should help out with some styling, along with some functionality, and hopefully make everything look right at home.. The flat area's of the firewall around the motor will be done, along with a full exterior of the trans tunnel, so it should all tie in nicely and look pretty clean.. I am not sure if I am going to do the bottom side of the hood yet, and I know it would be beneficial to the paintwork, but that might be too much. I am running all of my motor wiring behind the motor and under the cover, so that is about all you will see there, and I am running all my body wiring and AC/Heat hose on the outside of the engine bay and under the fenders, so all of that clutter will basically be gone also..
I also have to make a trip to the bolt store, so I can find all the nice mouting hardware I need for the hinges, fenders, ect, and I am thinking I will find some sort of stainless steel rounded allen head bolts for all of that, and that should really finish everything out nicely also.. I cannot finish out the intake I am working, until I get all the complete suspension and drivetrain permanently mounted in position, because I need to make the flanges for the buffer boot necessary to allow for engine torque and seal the filter box to the air intake snout. I also still need to finish out the front of the intake cover, and I am not sure how I want to do that yet, but I need to get it done for paintwork fairly soon.


 Last edited by Iamtheonlyreal1; 05-27-2013, 11:02 PM.
Leave a comment:
-
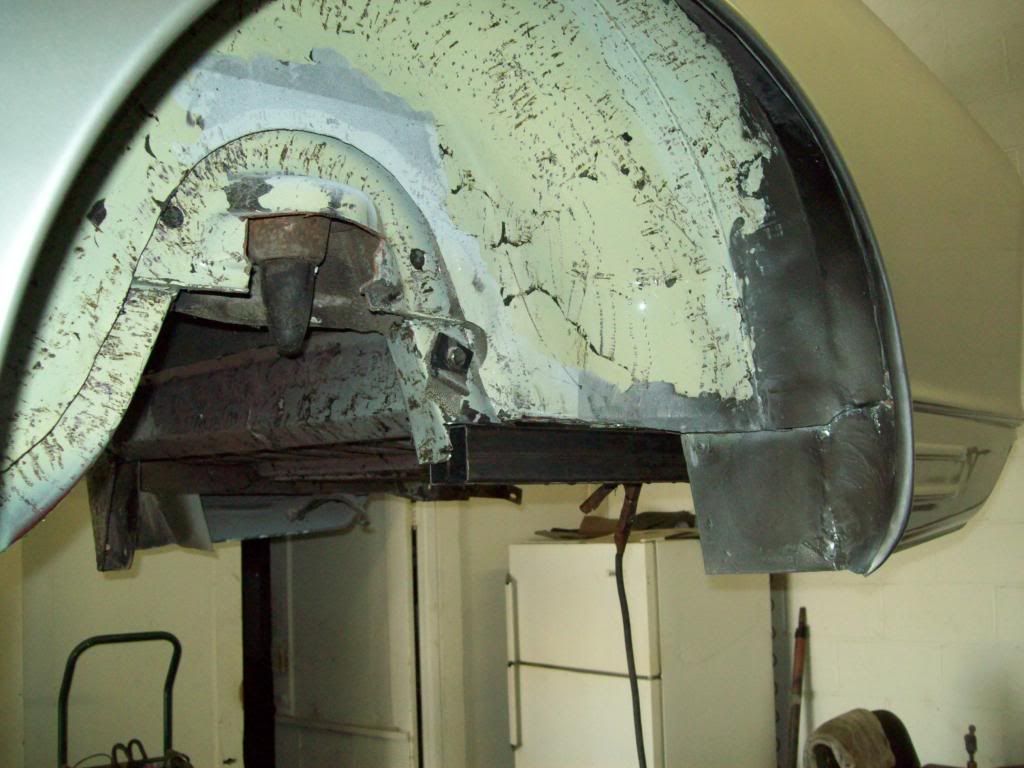
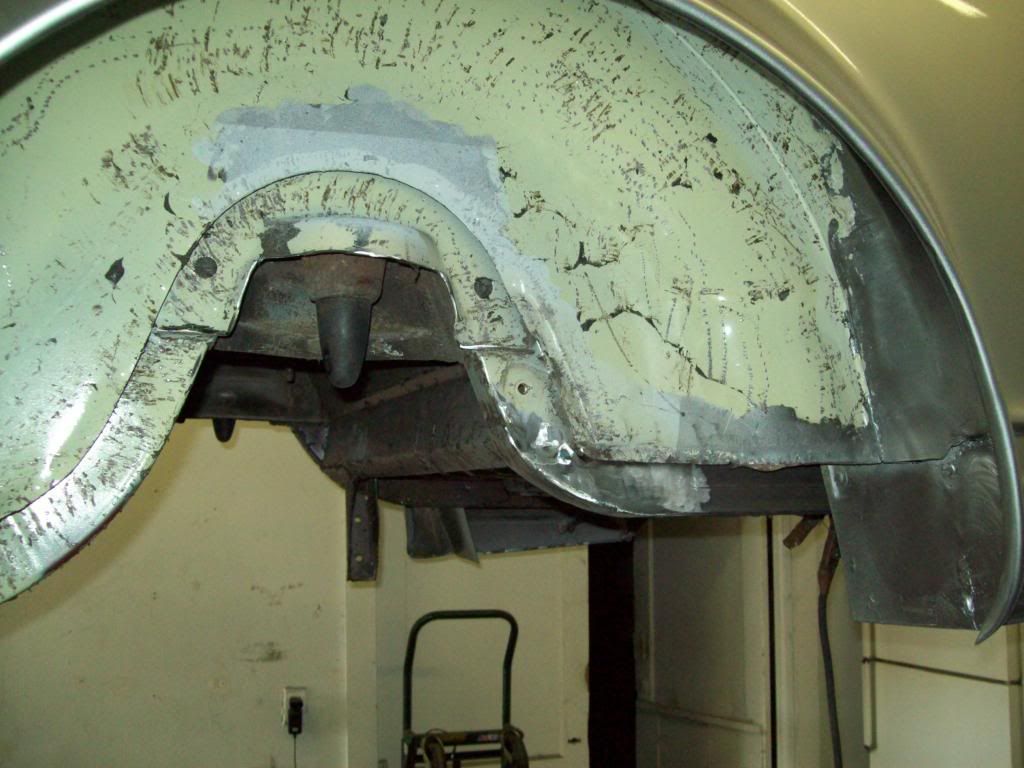
Well here is a crappy update, becaue it is a very messy job., but has to be done before the final installation of all the powder coated chassis. Normally this procedure, along with the spare tire sump removal would have been done before paint work, but my painters scheduling made it necessary to get it to him before I could get this done. Being painted also makes these jobs even more of a pain in the ass, because I cannot scratch or damage the paint, which I have been extremely lucky so far.. LOL
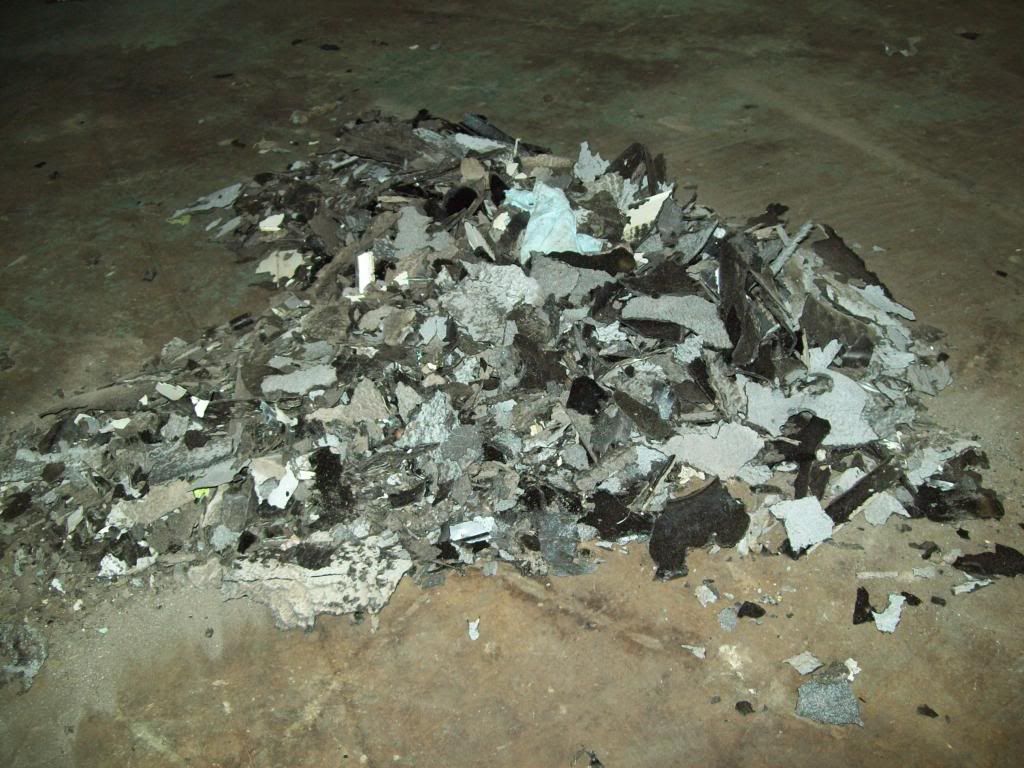
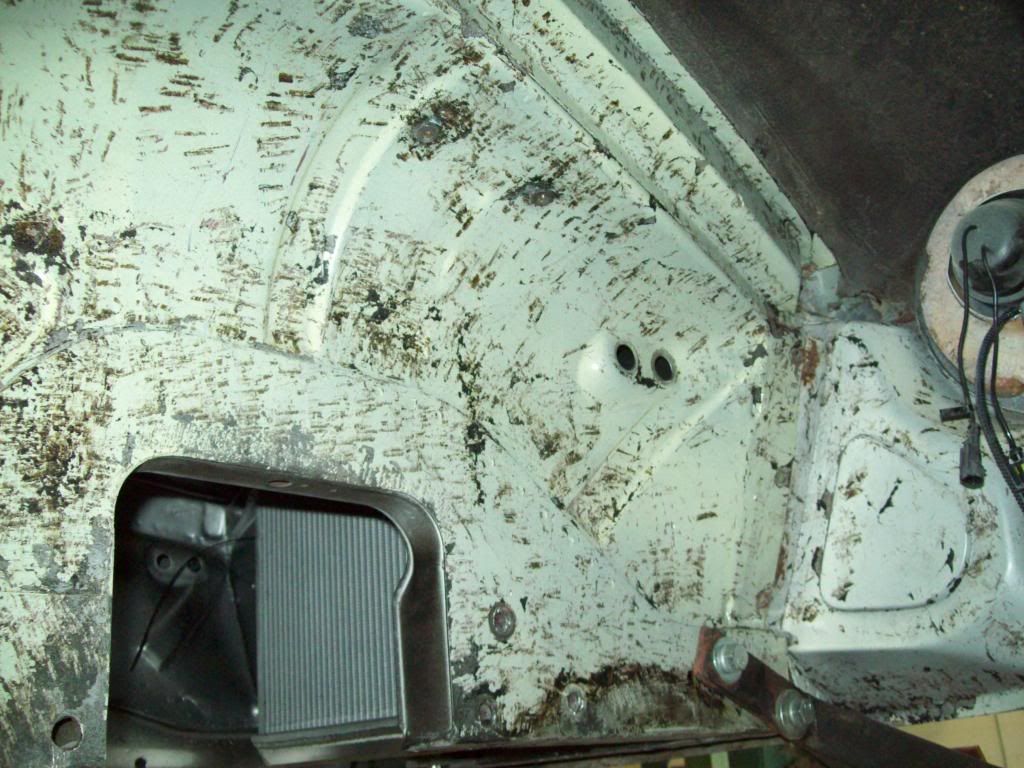
I removed the bulk of the original undercoating, and found that a Air Hammer/Chisel makes a quicker and easier process out of it, because it falls off in big chunks.. I suppose it may be due to the fact this car is pretty solid, but the factory undercoat is actually has a very hard make up, so the vibrations from the air hammer releases it with easy.. I have had to use other methods to remove undercoat in the past, and none of it is good, but I was able to get about 90 percent of all the undercoating off in about 2 hours or less..
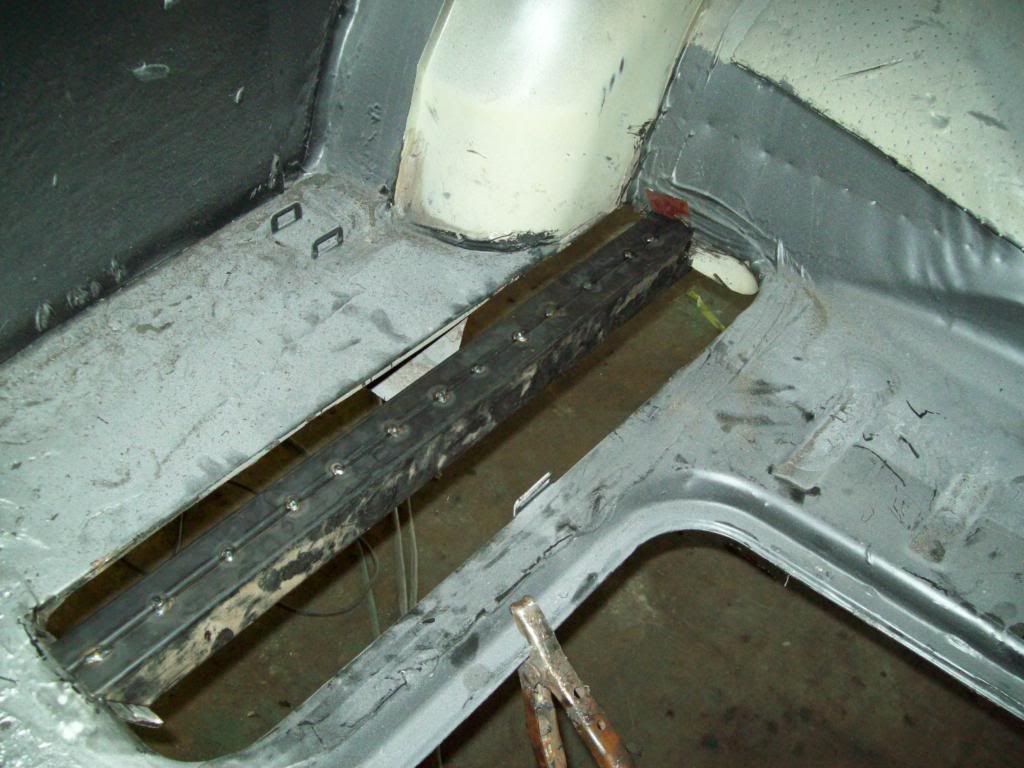
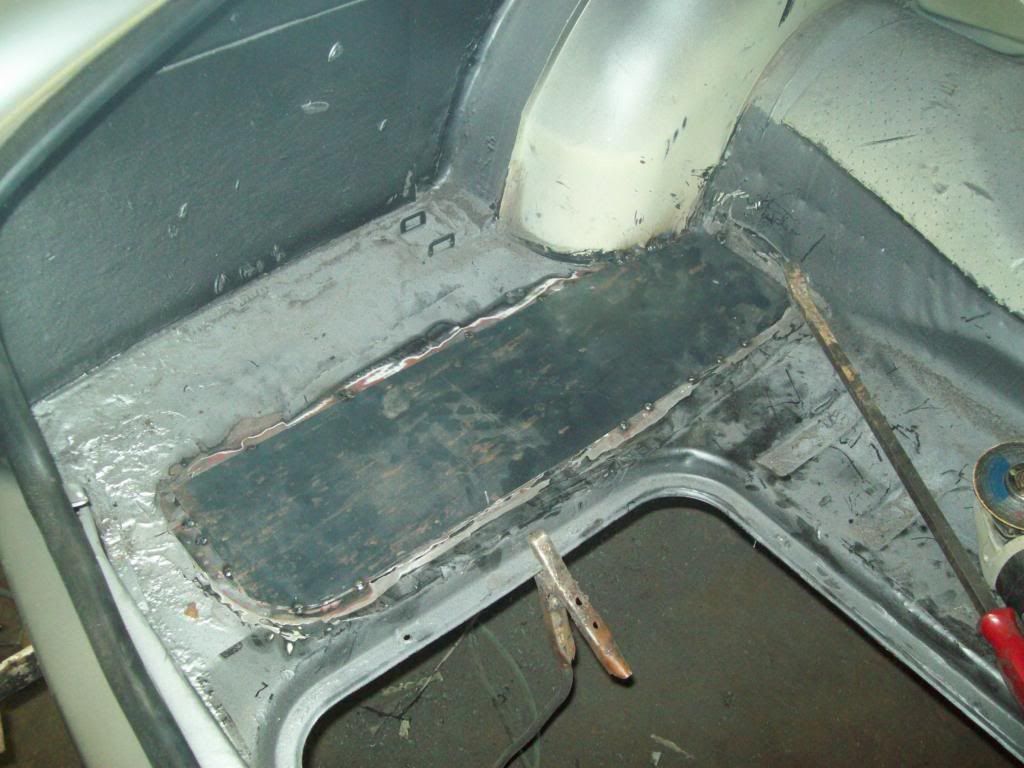
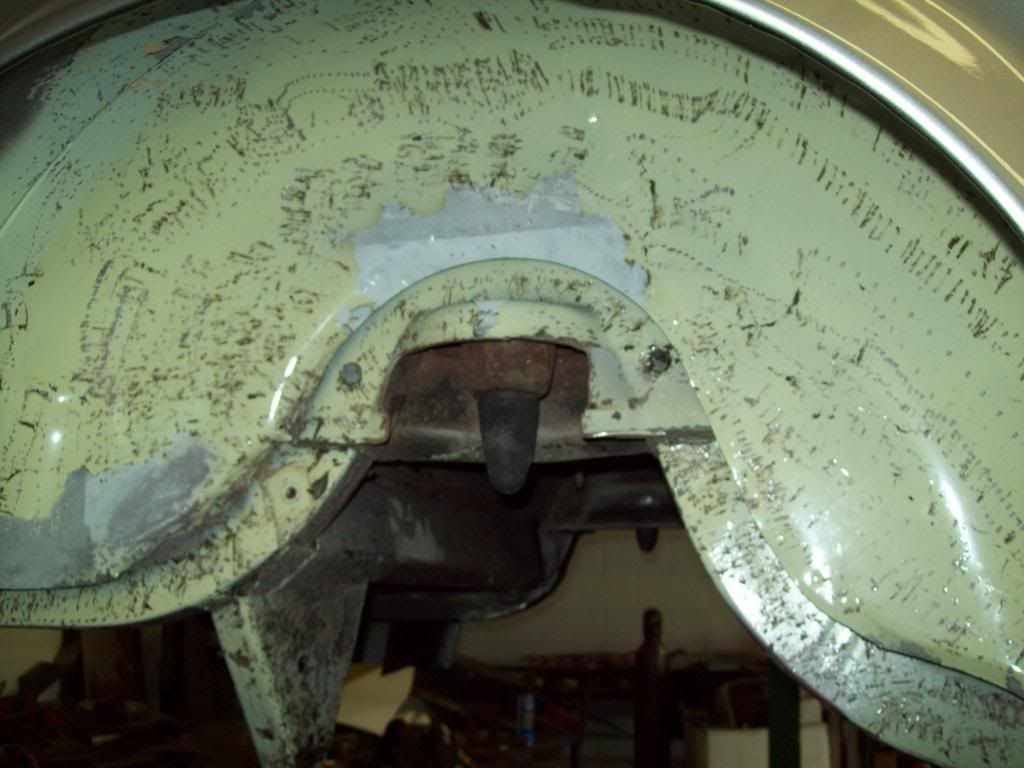
I have also removed the Spare Tire Sump at this time, because I didnt like the appearance of it in the cars side and rear profiles.. Some may not see reason for this modification, but I will not have a need for a spare, partly because none of the wheels and tires I am running will fit in the sump... Here is some of the process below, and you can also see the undercoating removal results using the air hammer...
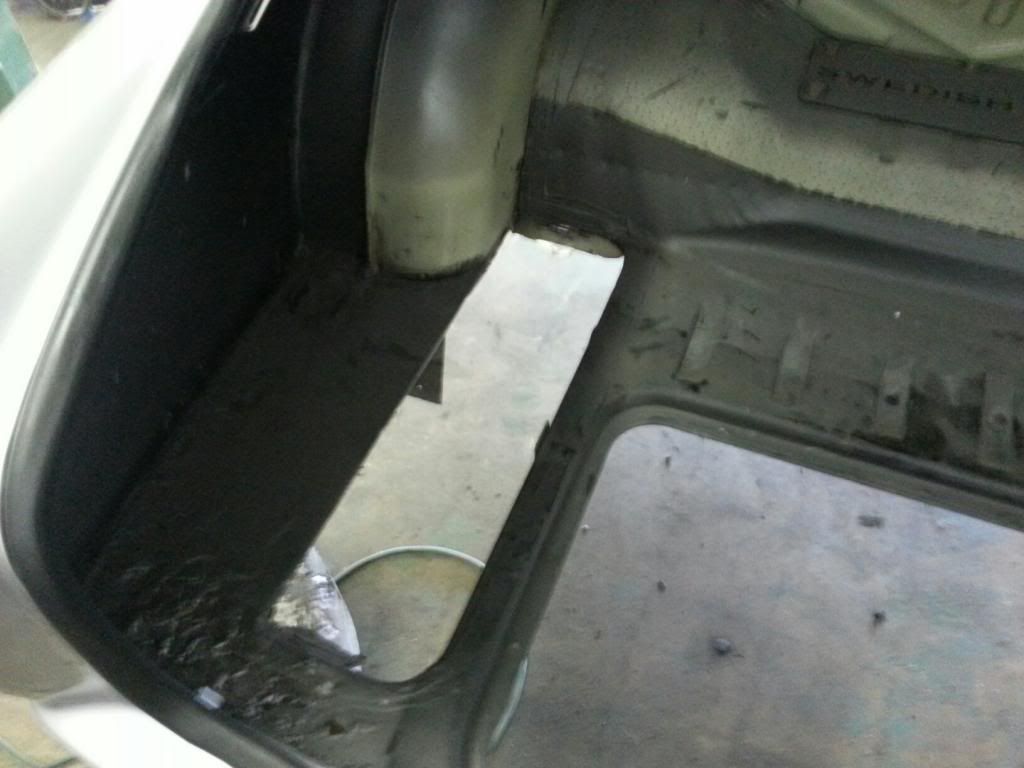
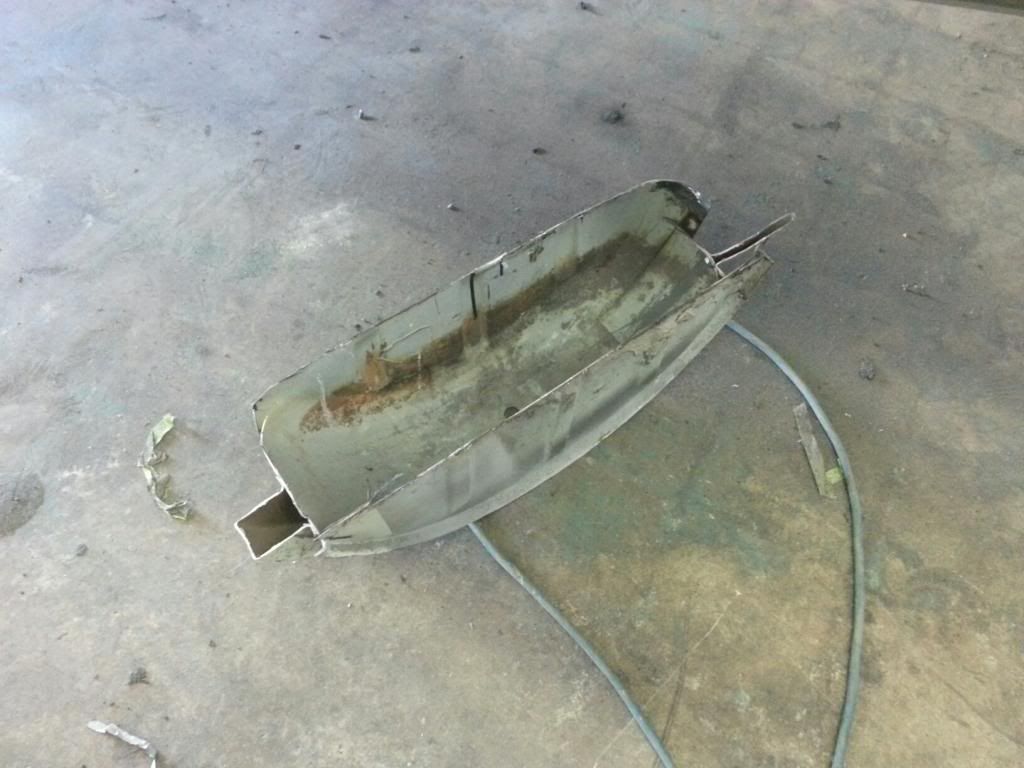
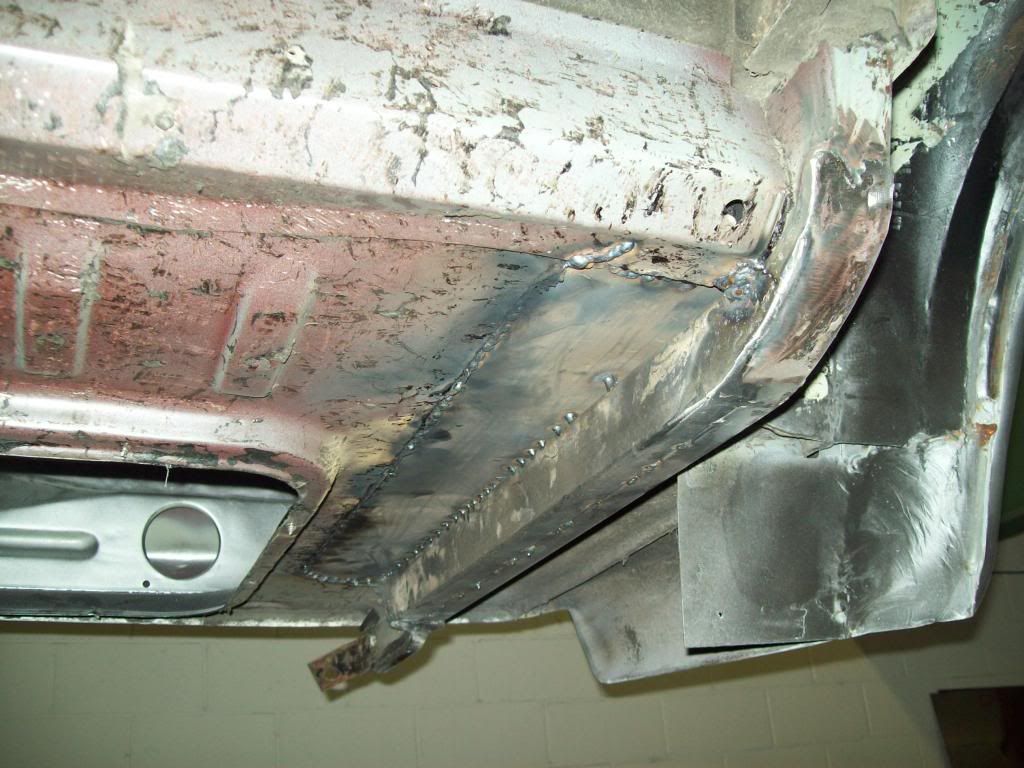
After the removal of the sump, it was only a matter of cutting some tubing to duplicate the passenger side rear frame rail. I found that if I welded to pieces of tubing I had together, it was basically the same dimensions as the factory frame rail, so that kept me from having to source more material.
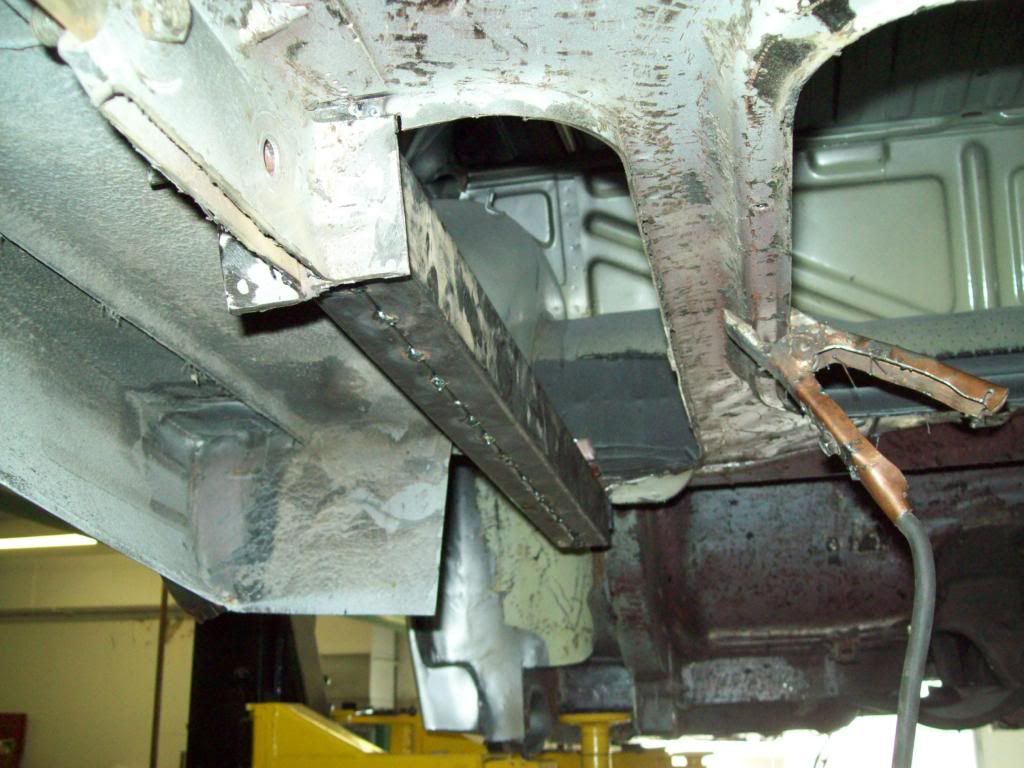
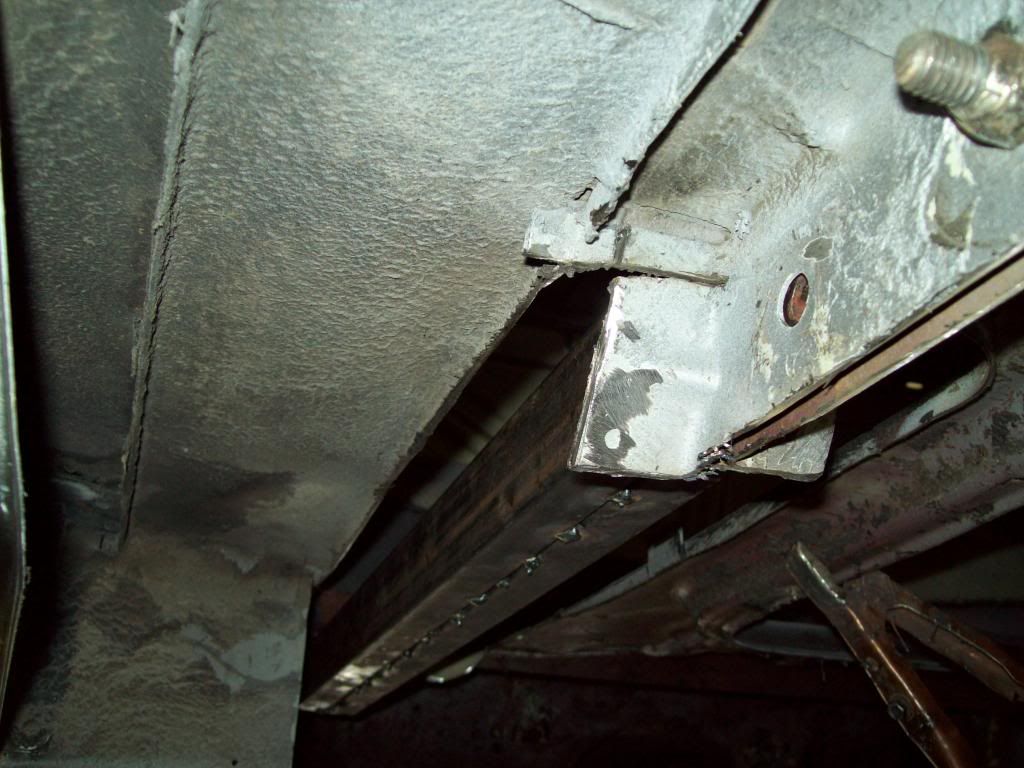
I was also able to cut a section of the frame tubing off of the spare tire sump, and that allowed me to make the curved transition angle at the back of the wheel well, which made it much easier than fabbing something else.

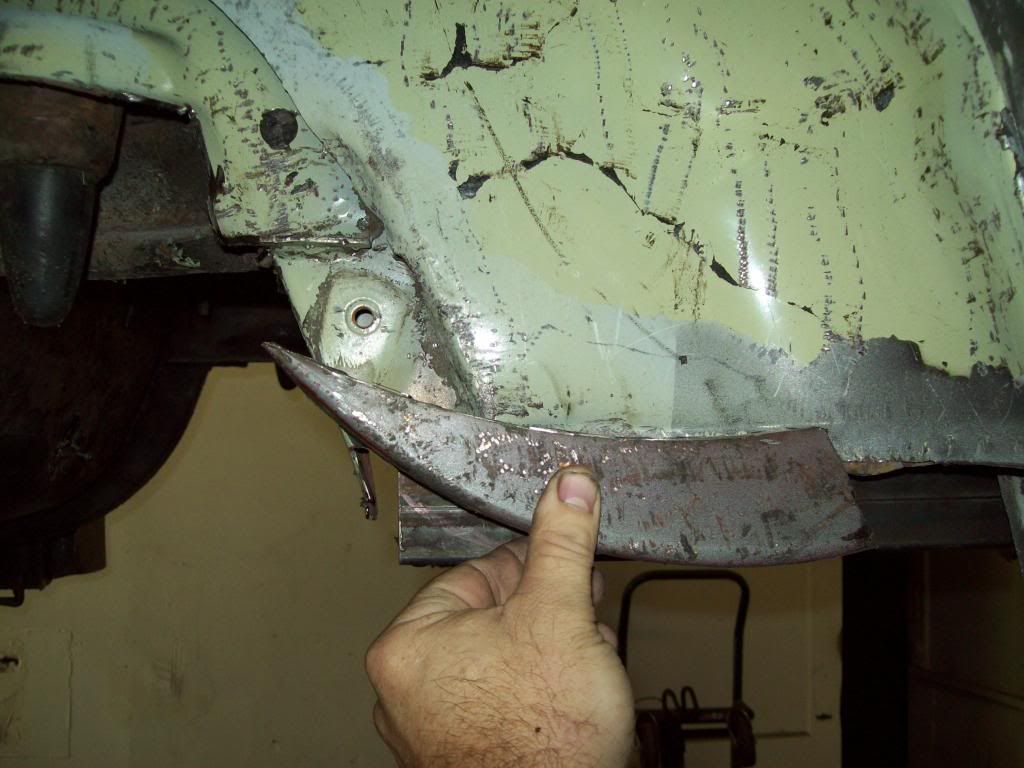
The re-bracing of the bumper bracket mount wasnt difficult at all, and was only a matter of trimming and folding the bracked, so it can be welded to the new frame rail. From here, it was just a matter of cutting a new piece of sheet metal to weld to fill in the sump hole, and then seal and clean everything up.

Here is the pile of undercoating that was removed in the short couple of hours or less, and I can only imagine how long it would have taken to remove with other procedures.. You can see the big chunks that fell off, along with the smooth attachement surface for the paint, and that allowed it to just pop off with really no more effort than just holding the air hammer, and the trick is to use a Dull or Rounded chisel bit, because you dont want to dig into the metal.. Just a slight downward and forward pressure will cause enough vibration to break it off in chunks.
Leave a comment:


Leave a comment: