wow.. i dont even.... but...
good job!
-
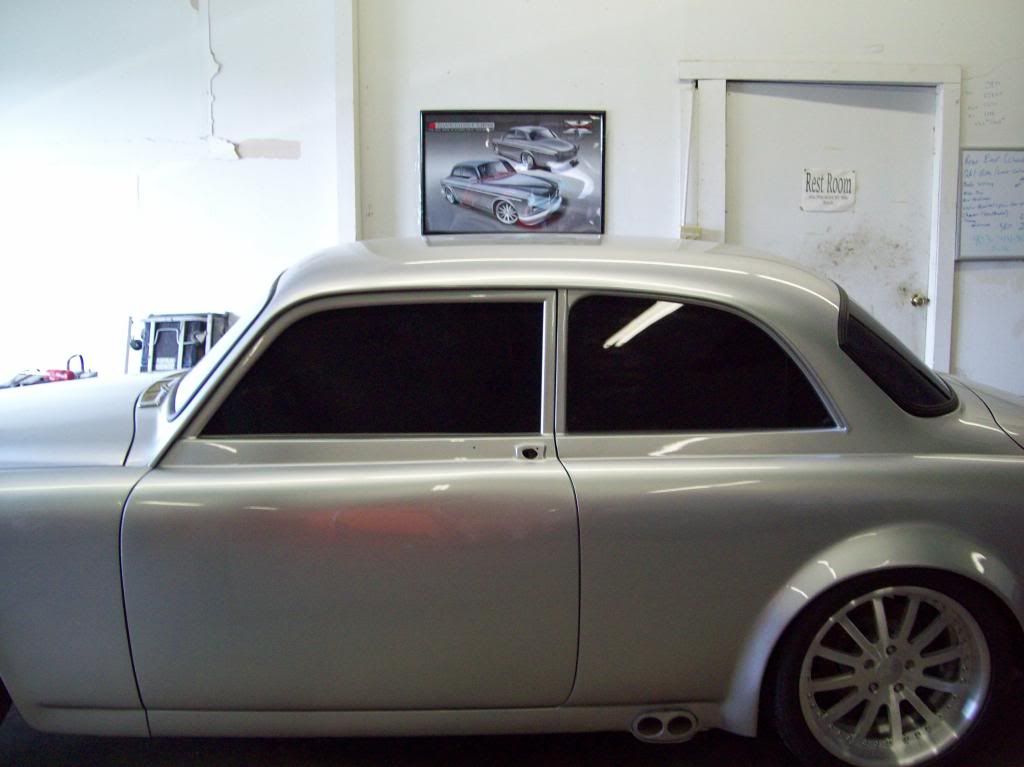
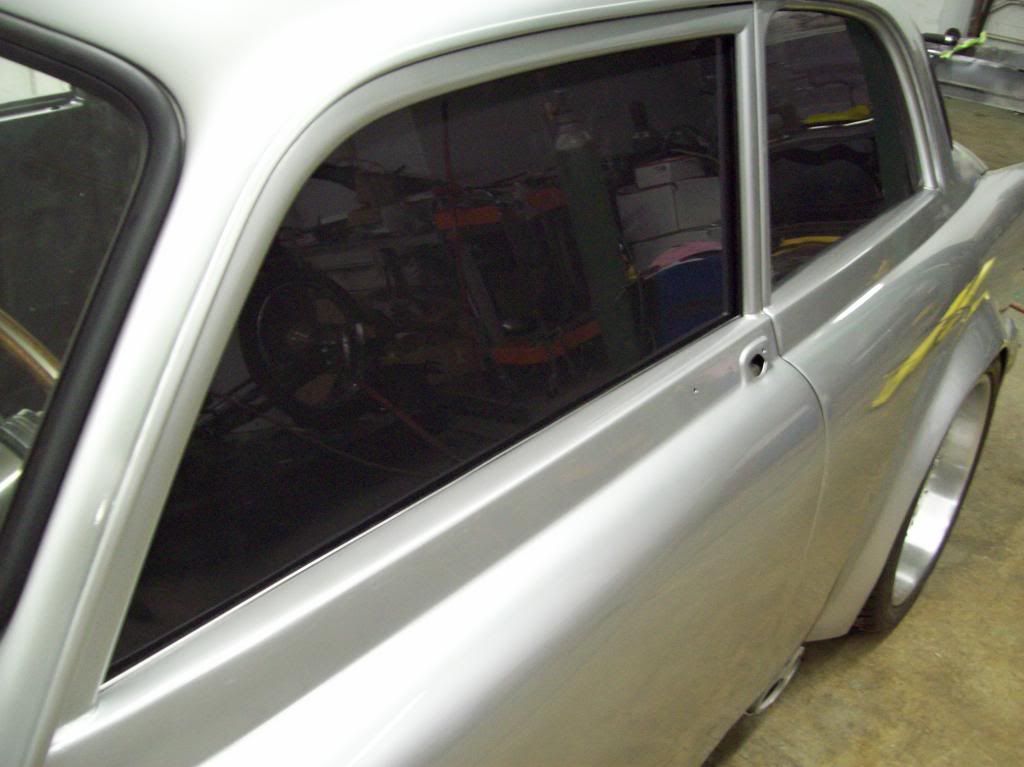
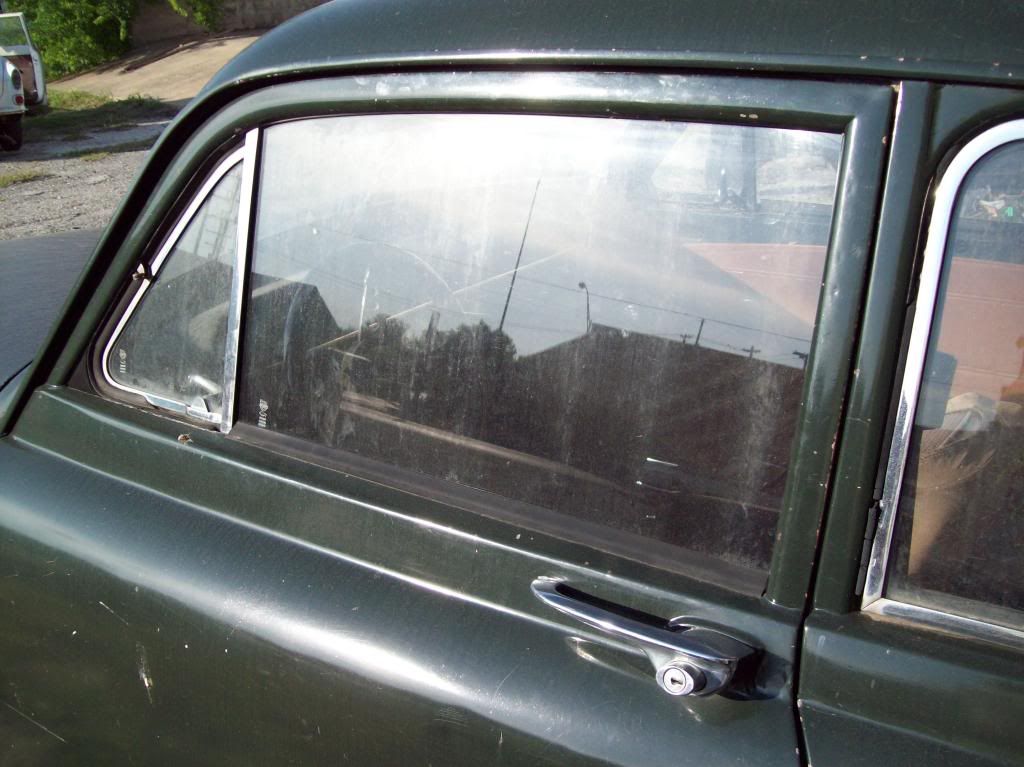
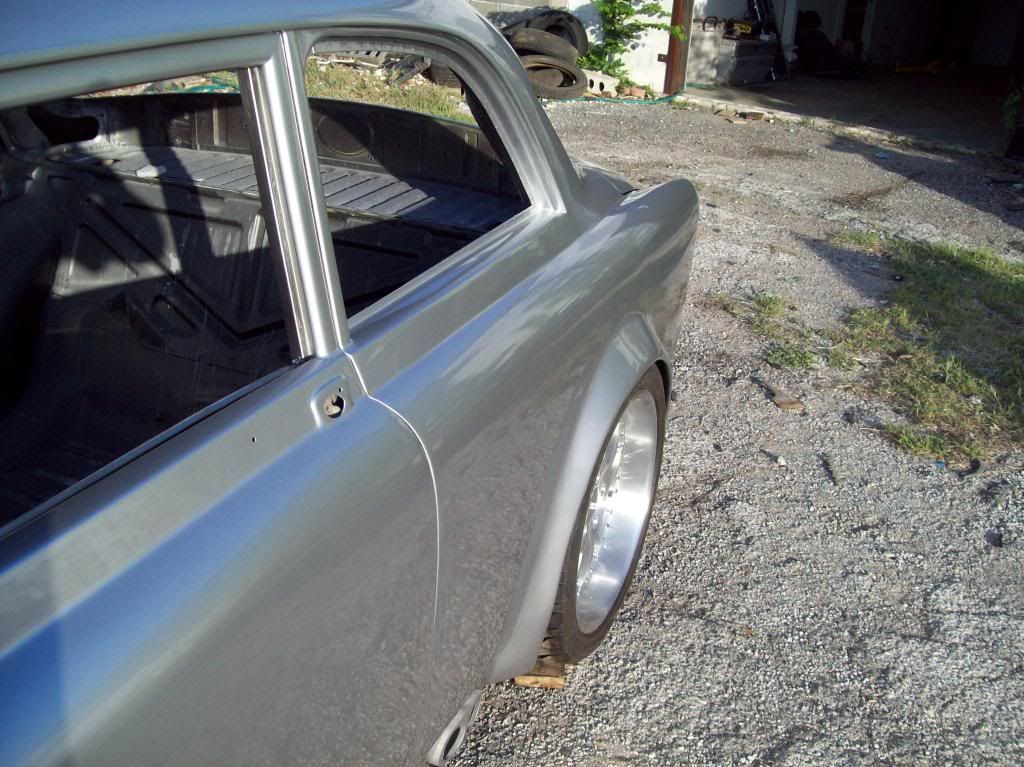
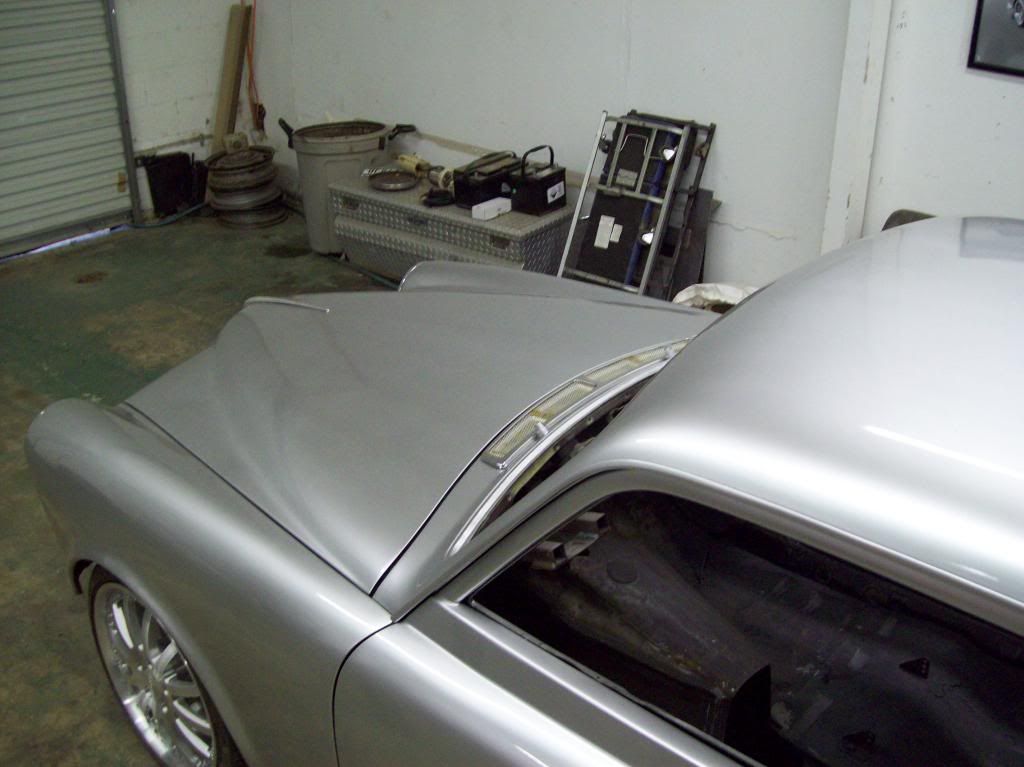
I am working on the final fitment of the One Piece Door Glass template, and I was thinking I might go ahead and have a glue in quarter glass made at the same time, but I am not sure that it doesnt look out of place? I didnt want to run the pop out quarter glass anymore, due to having a great AC system, and I also wanted to not have to worry about painting or plating the trim around the quarter glass. I will sit on it a couple of days and see how I think about it then, but I think it may look a little too big, but it might shrink down a bit in appearance, once I get a proper gap between the quarter glass and the body.. The fact that the door glass is in a frame is what is throwing the perspective off on the quarter glass, and I dont want to black out the door frame, but it would help. These templates dont represent how dark the tint is actually going to be on this car, but I find it easier to have contrasting color of the glass and body, so I can fine tune the template fitment.
I have my Power Window Regulator Conversion kits sorted out, along with the necessary belt line and weatherstrip for the door channels, so the One Piece Door Glasss is going to look great, and eliminate all the annoyances of the quarter glasses. And not to mention, allow me to be able to use a sensible mirror and mirror position for proper viewing..


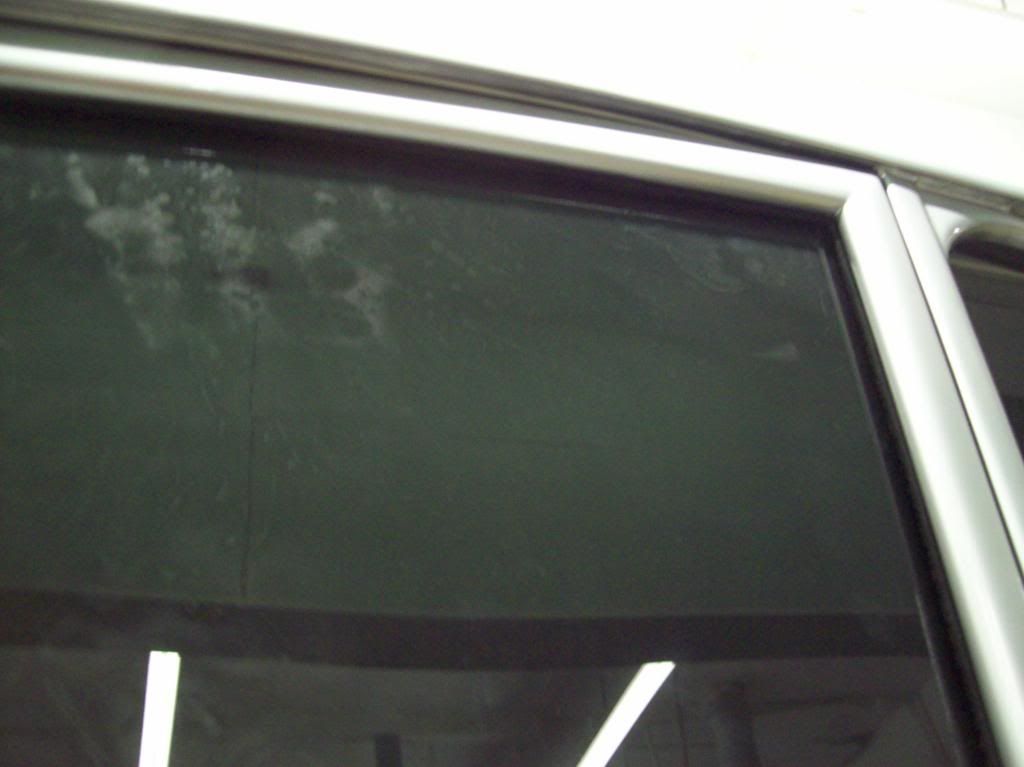
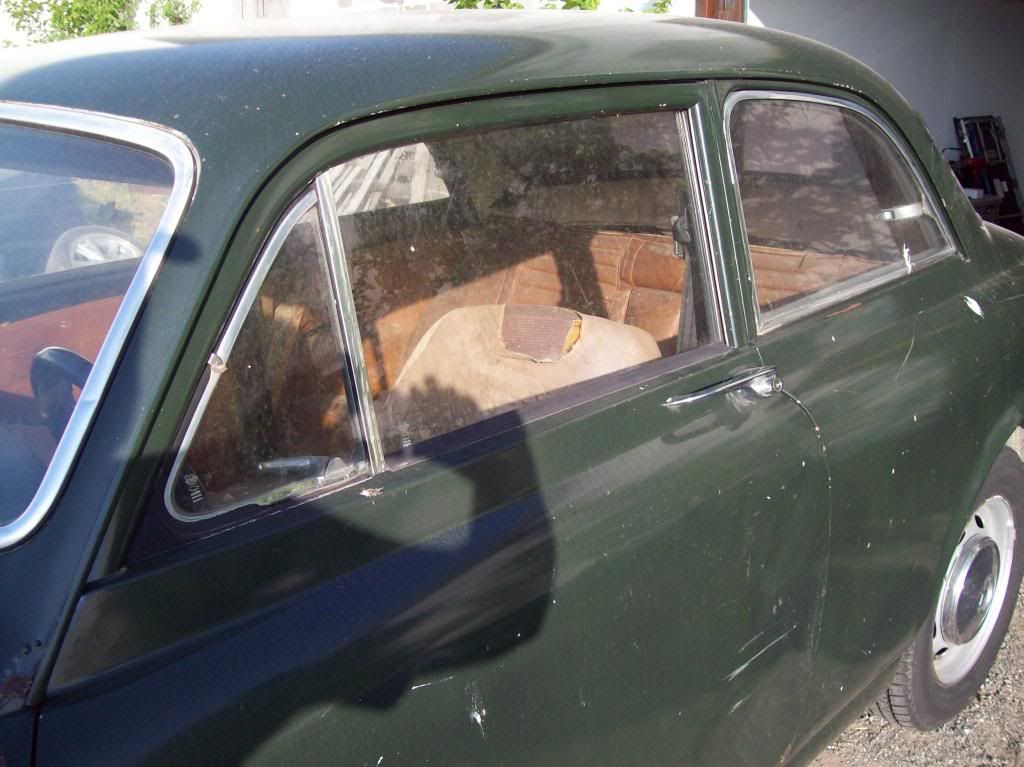
Here are some pics of the OEM Style set up...
 Last edited by Iamtheonlyreal1; 05-01-2013, 07:46 PM.
Leave a comment:
-
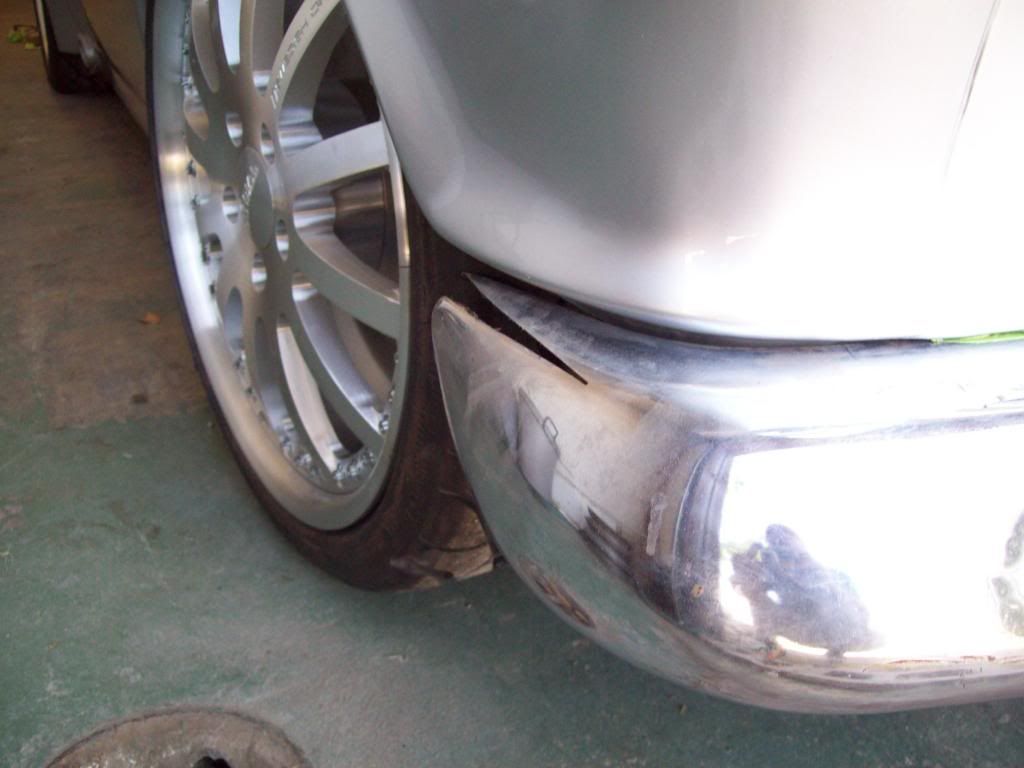
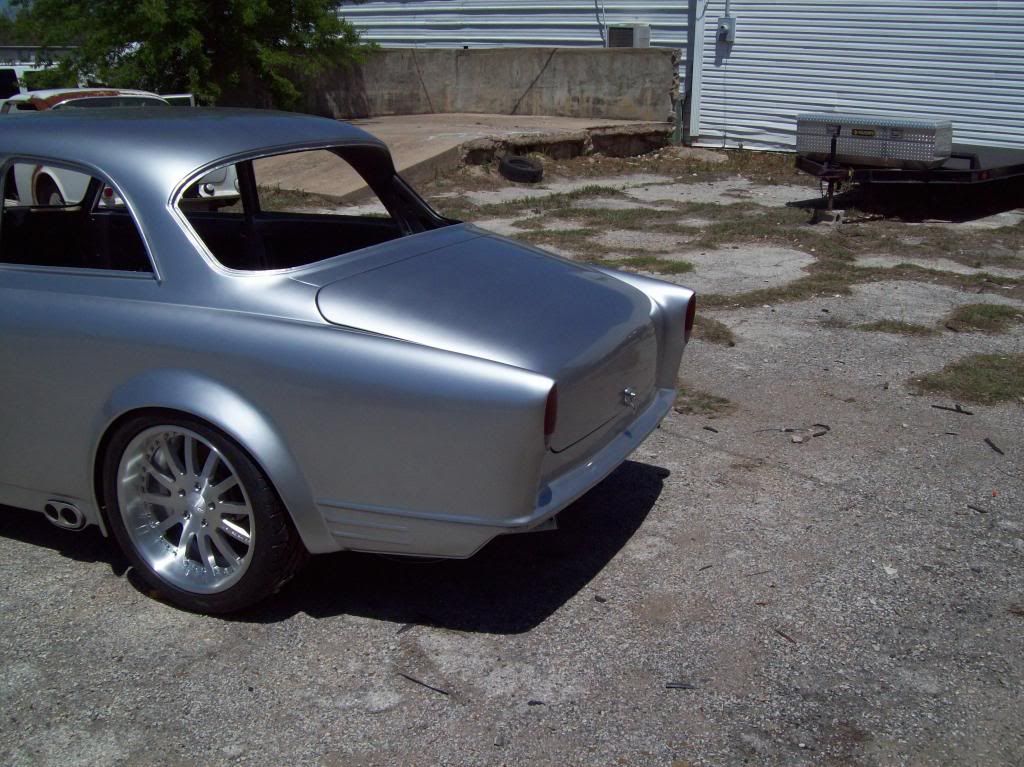
Trim should all go out for straightening and plating this week, but I have to double check fitment on everything now that the body work has been done, because there could have been potential changes... I have the bumpers fitting about how I want them, and I have still have to weld the hiddent bolt studs to the rear bumper, and add a bit of adjustment slotting to the brackets, but it all looks like it is going to fit and adjust well.. In the pics, it appears my front bumper is slightly rolled down in the back, but it does level out just fine, and I was trying to show where I actually pulled the bumper ends outward, in order to get rid of a roll in affect.
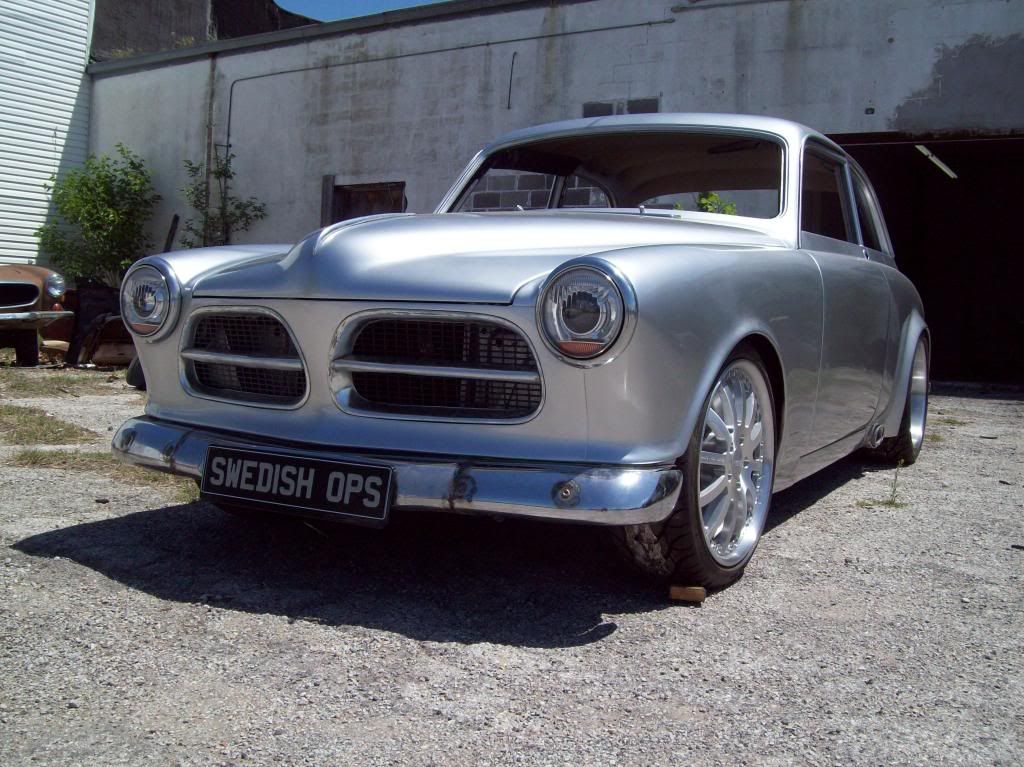

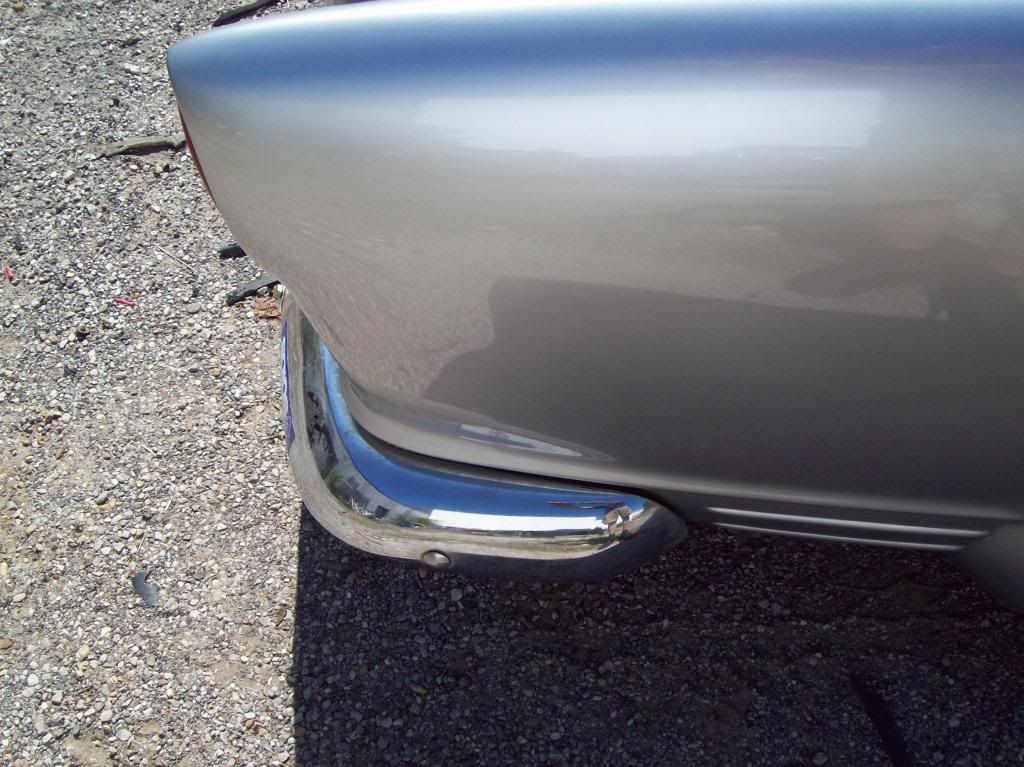
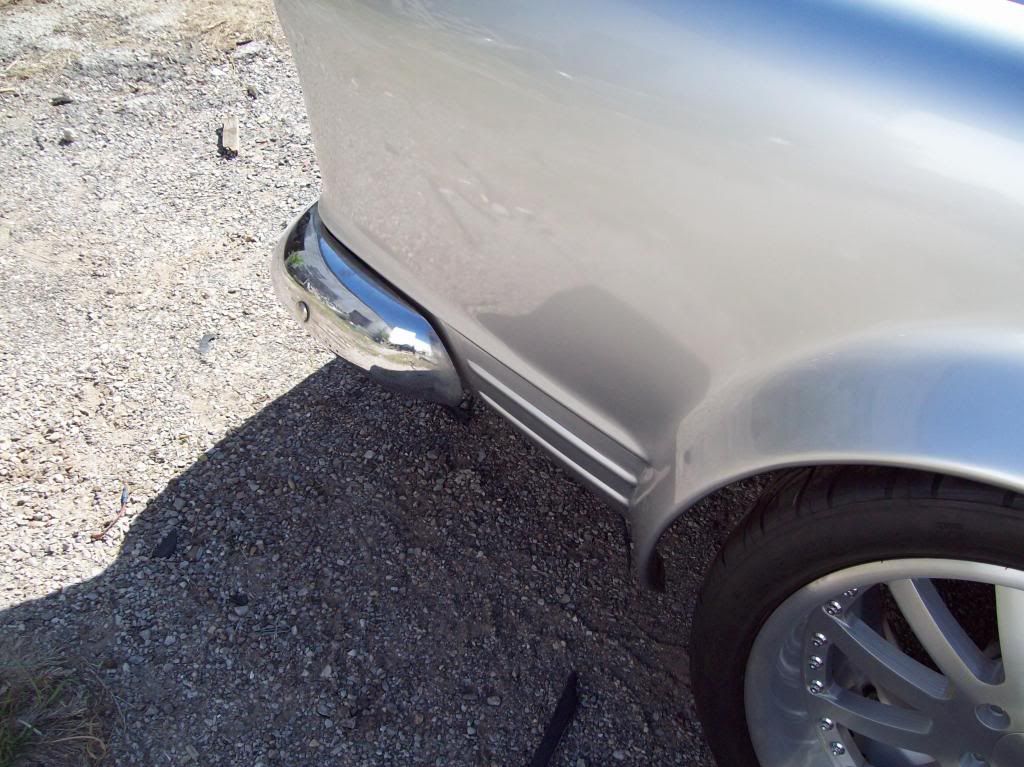
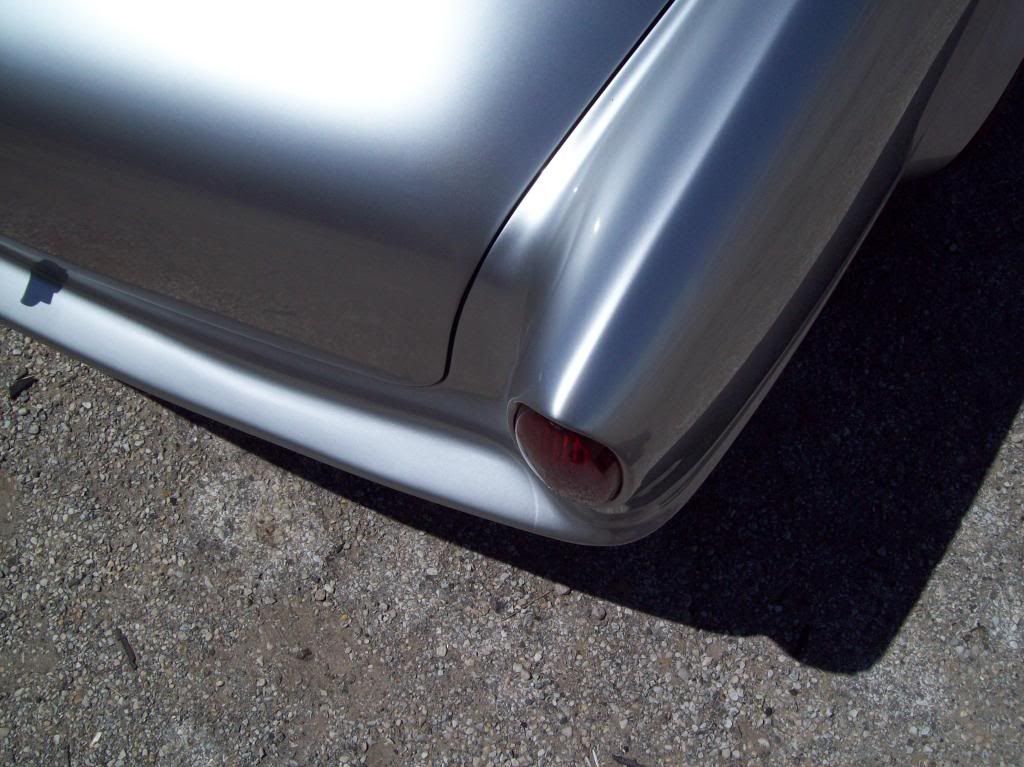
Here you will notice where I had to slice the top corner of the bumper, because I was trying to get that rolling in toward the wheel well affect of it.. I have also made it a one piece bumper, with hidden bolts, so it will give it a clean look. The rear bumper is done the same way, and please excuse the welds, but I was advised not to do any finish welding or grinding to the pieces, because the plater would prefer to do it.
 Last edited by Iamtheonlyreal1; 04-30-2013, 05:19 PM.
Leave a comment:
-
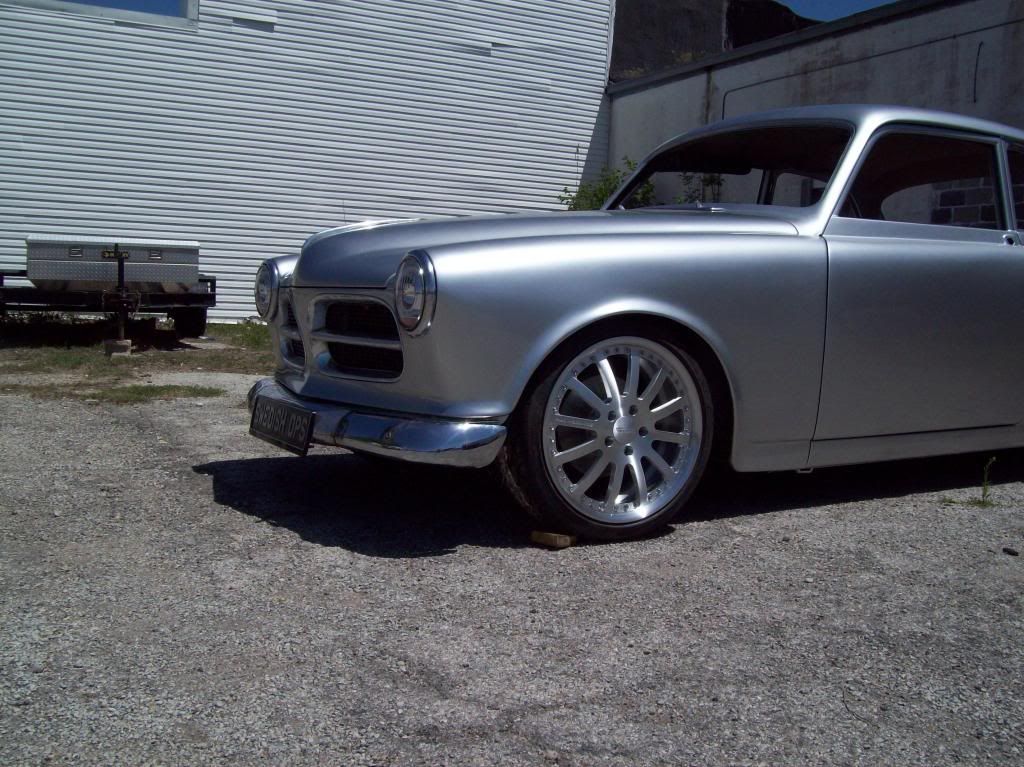
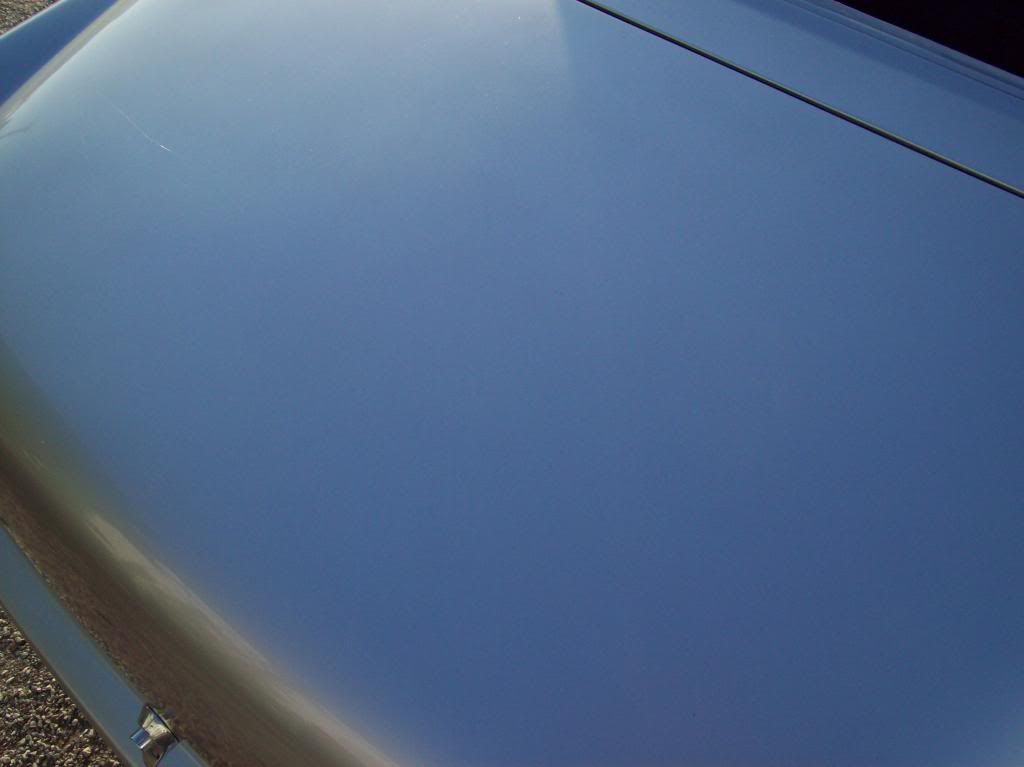
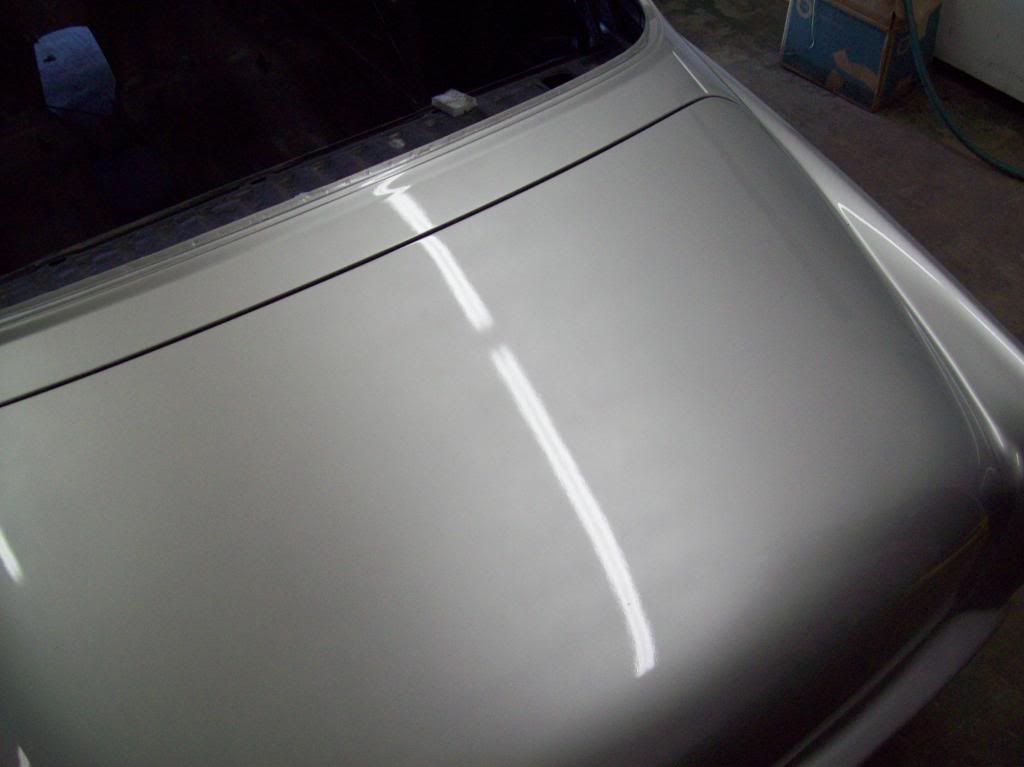
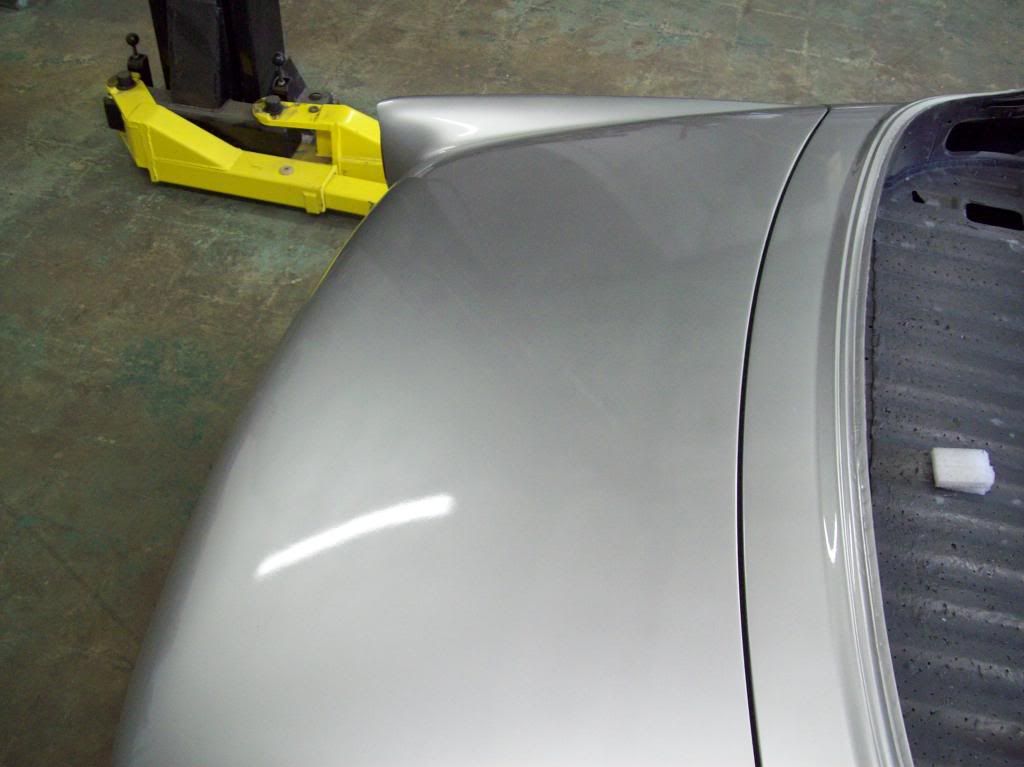
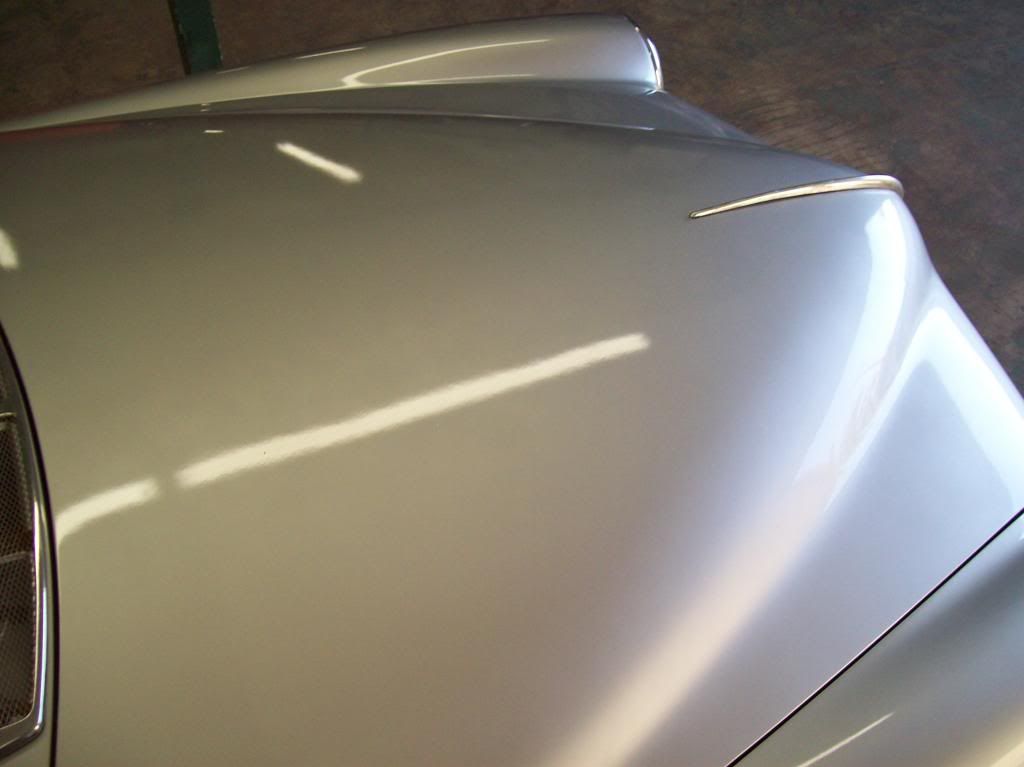
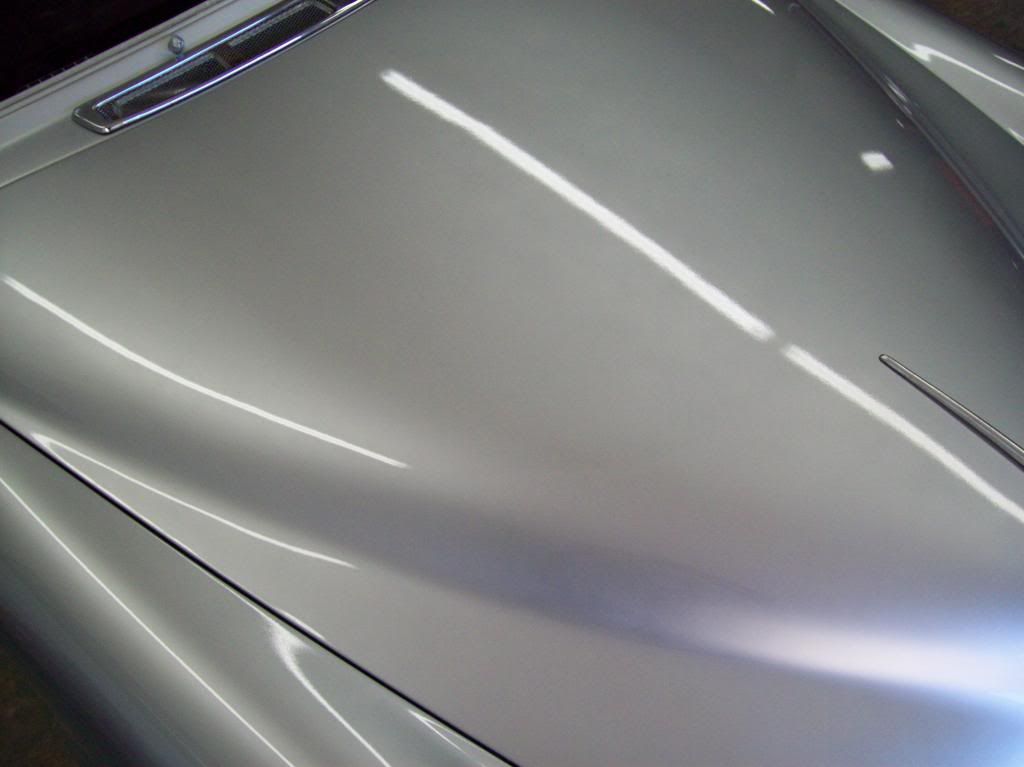
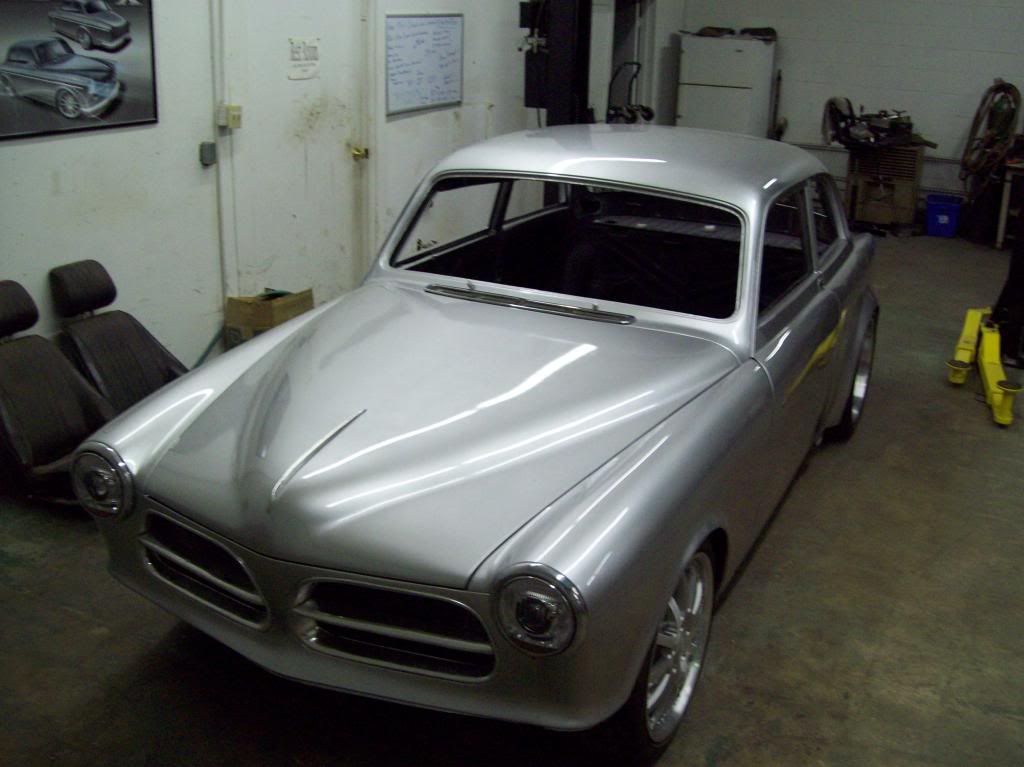
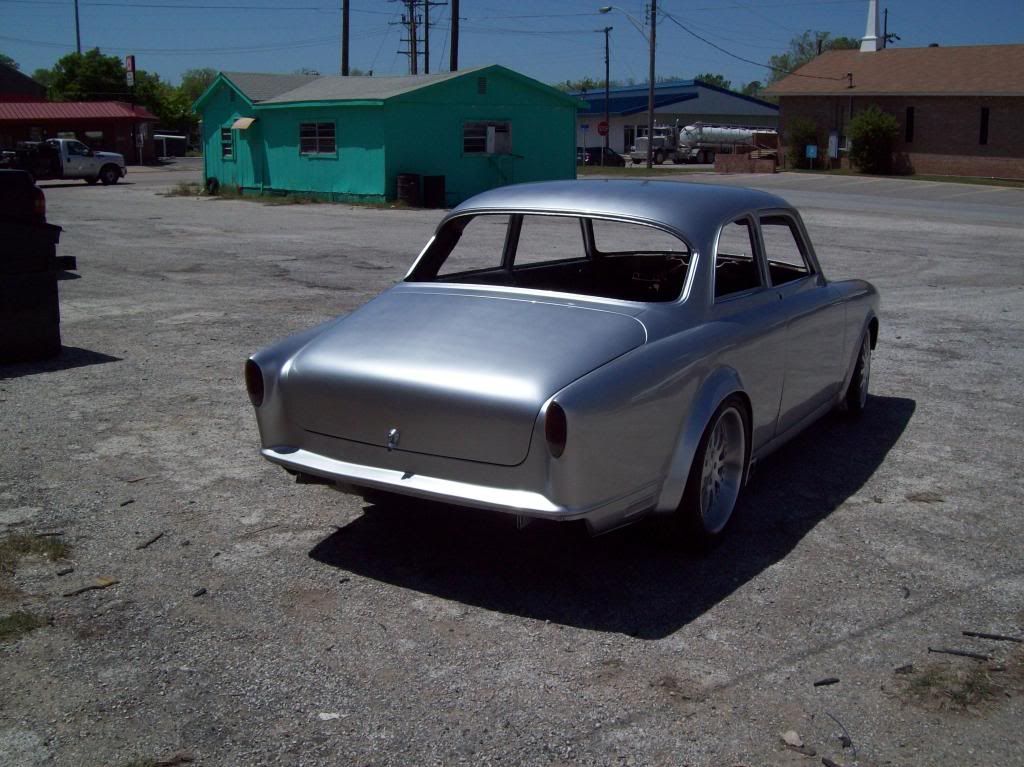
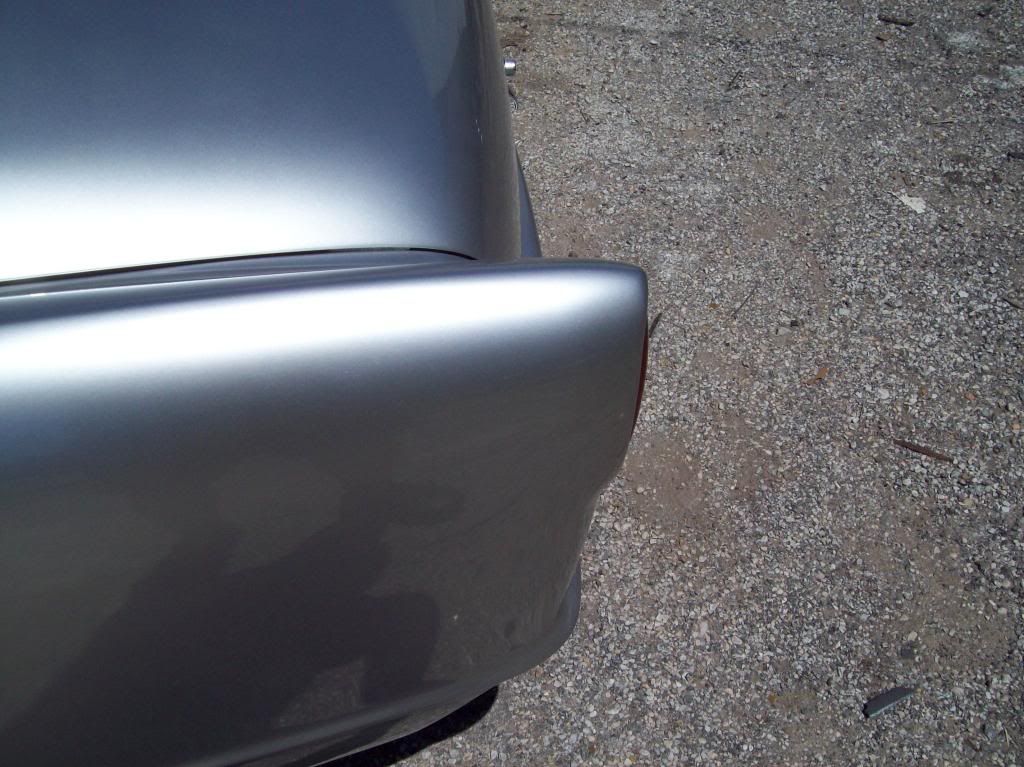
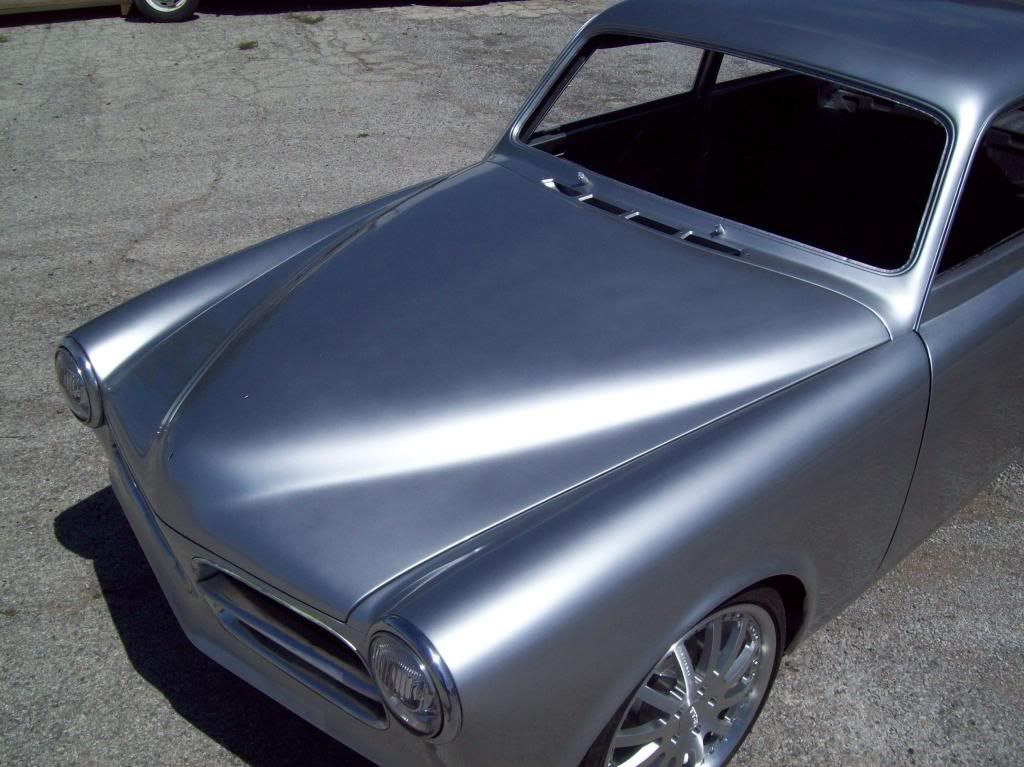
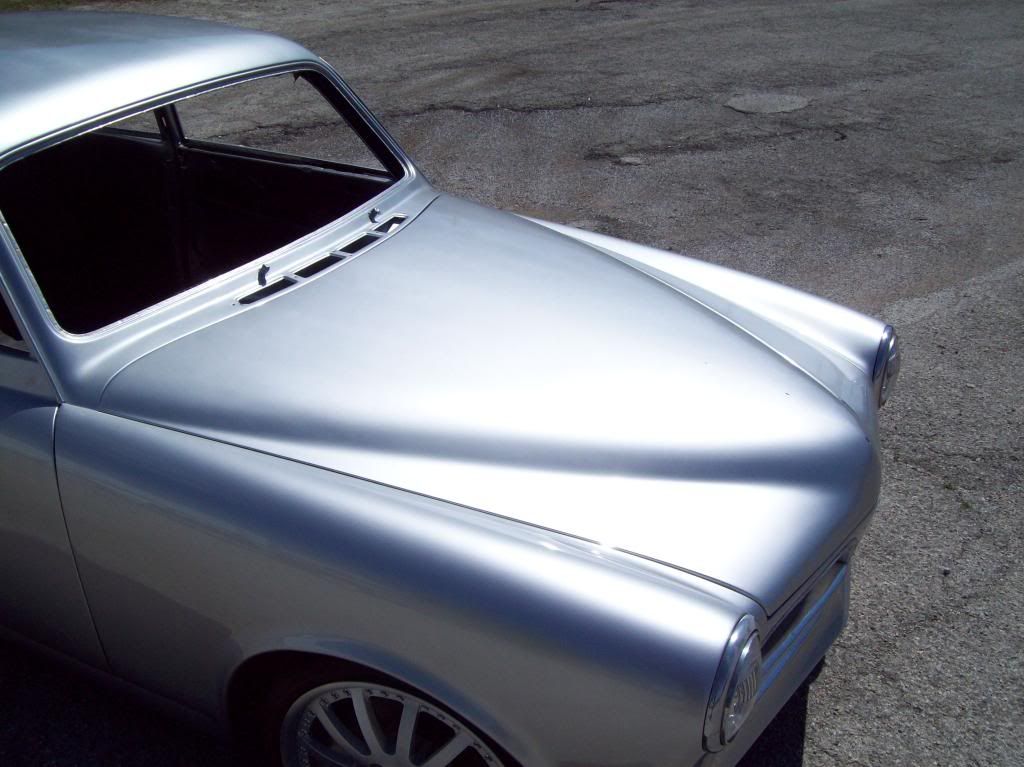
People may be getting tired of the numerous paint pictures, but apparently people have really been looking at the pics in fine detail, so I have had alot of questions about this color, and various questions about why they noticed blotching or graining in the pics. So I took pics in various lighting types, and as you can see, it is very hard to capture all the affects of the color, and even harder to see the questioned anomoly's in person. Hopefully I have captured that it isnt a coverage problem, or anything that stands out and captures your attention in person.. It hasnt been wet sanded or buffed yet, and hopefully the pictures arent that grainy in the close ups.. I am actually thinking that the non sheen of the pictures on the computer monitor is what is making various observation noticable? I am not a photographer, so I cannot say anything about what happens in digitizing photo's, and posting the pics in the forums.. If this was black, blue, or any other color, I dont think there would be any issue photographing it.
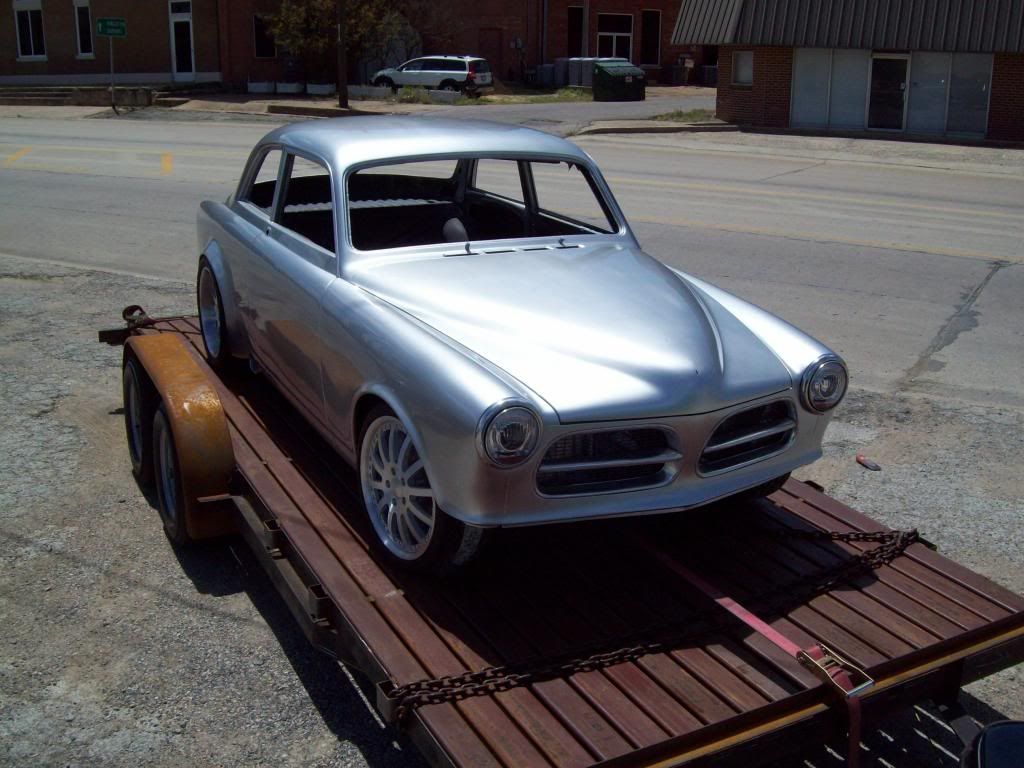
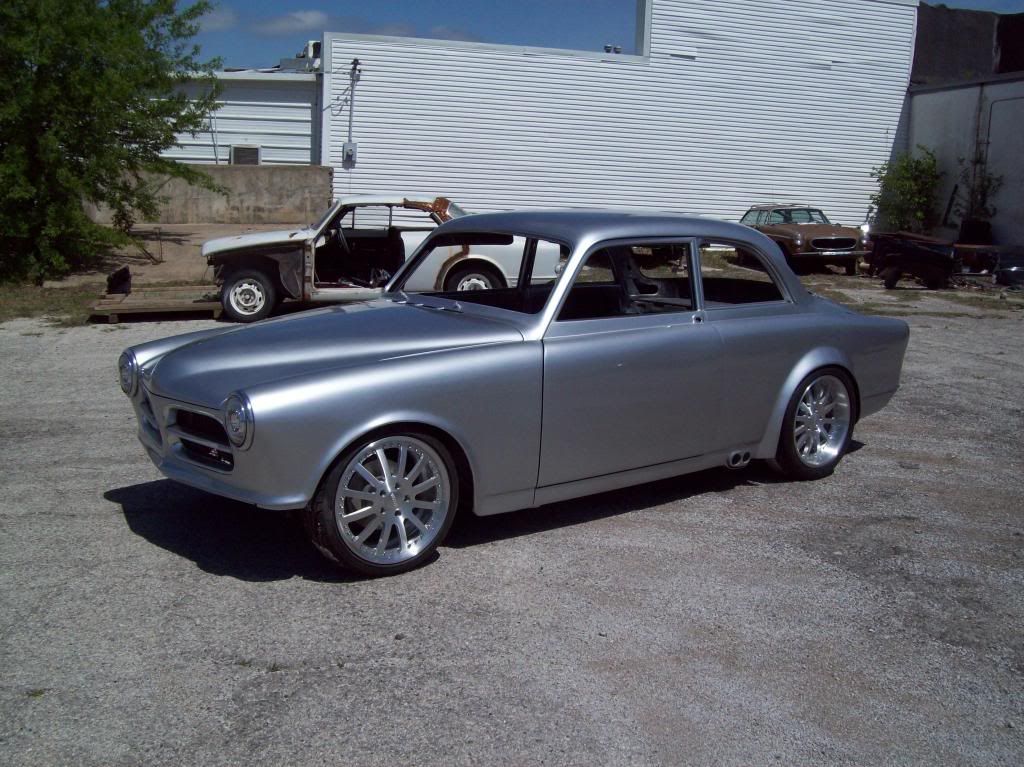
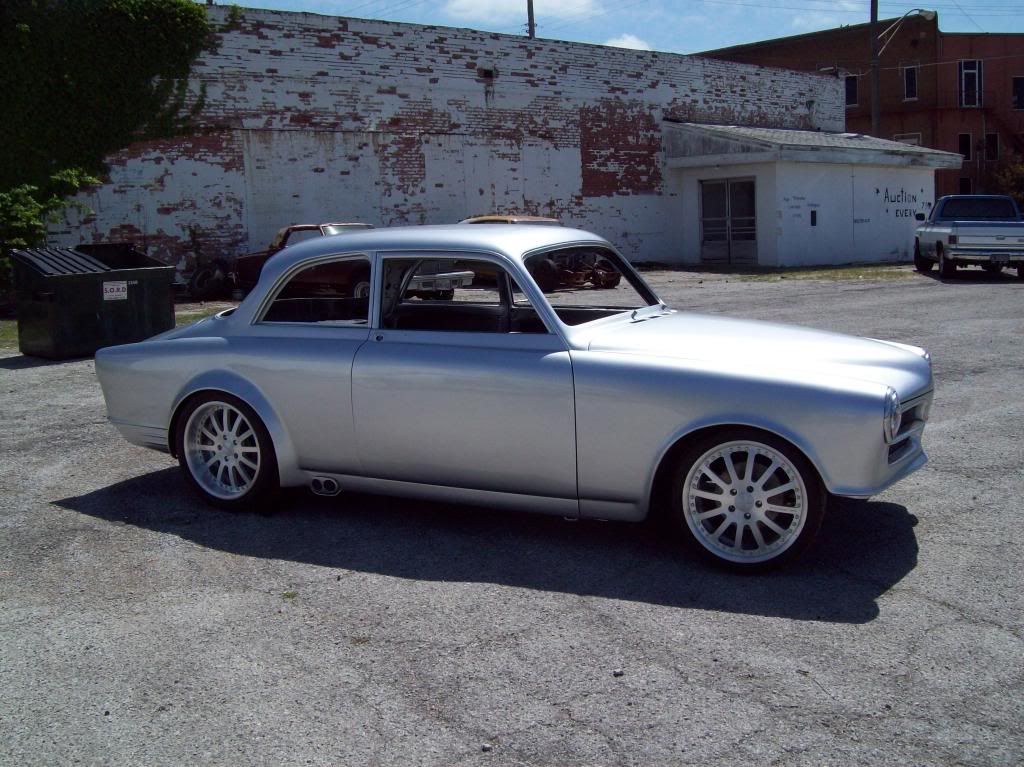
Here are some outside pictures

Inside pics with florescent lighting

Here are some distance shots that were done outside in natural light, and inside with florescent lighting
Inside distant pics
Leave a comment:
-
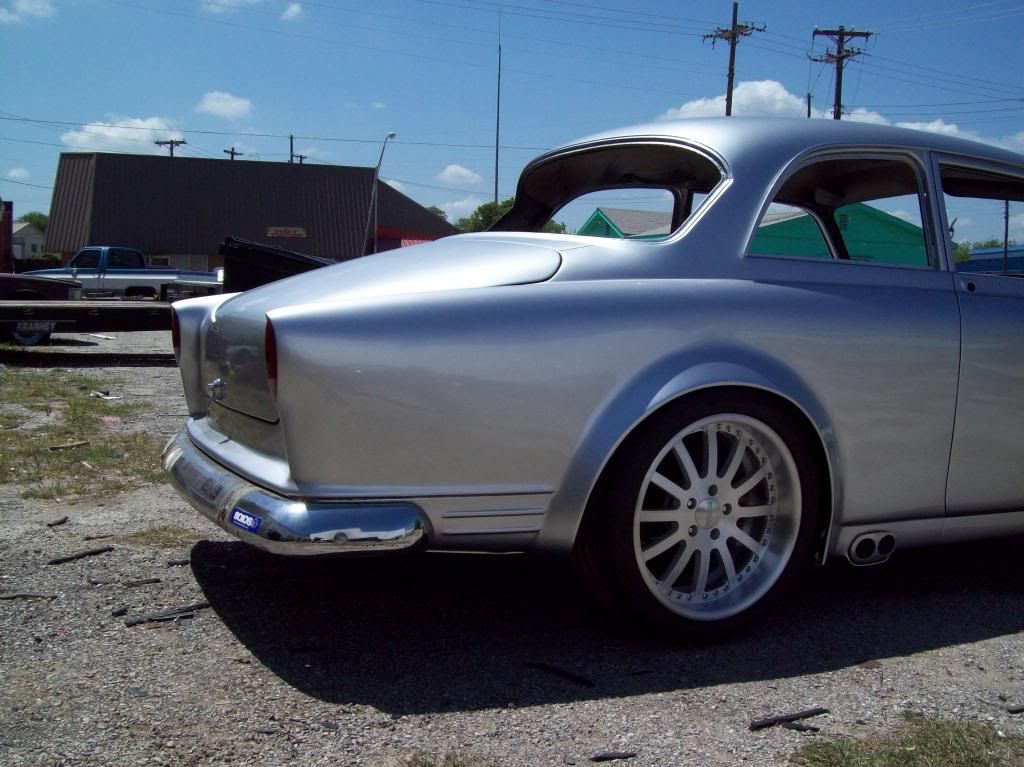
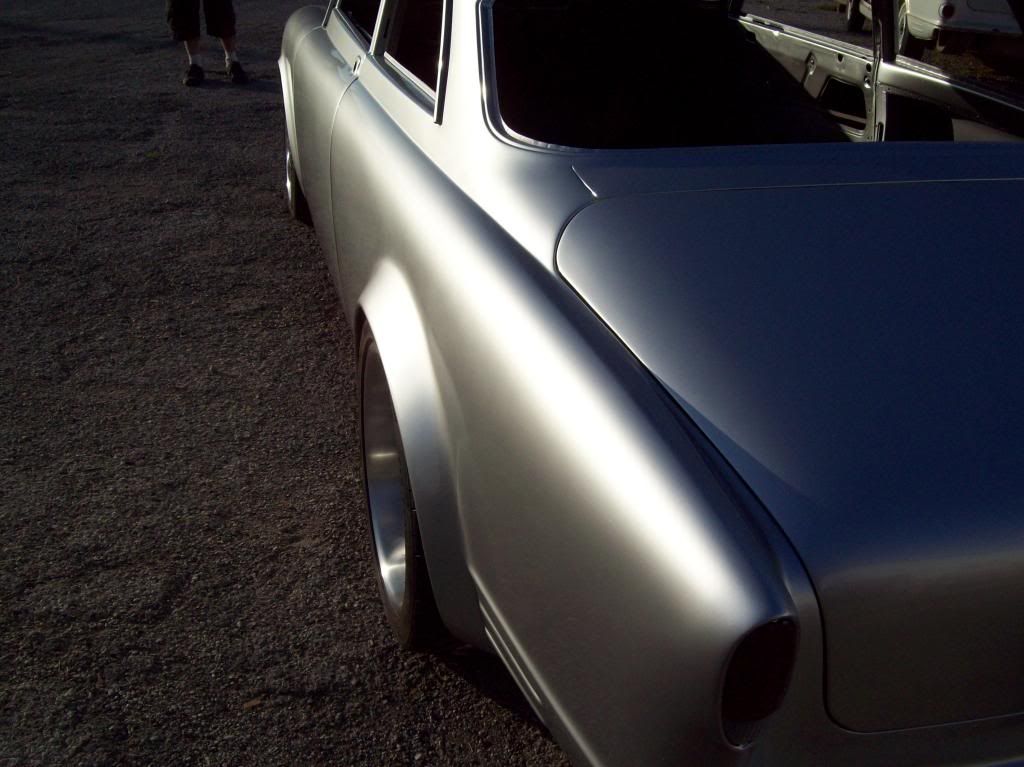
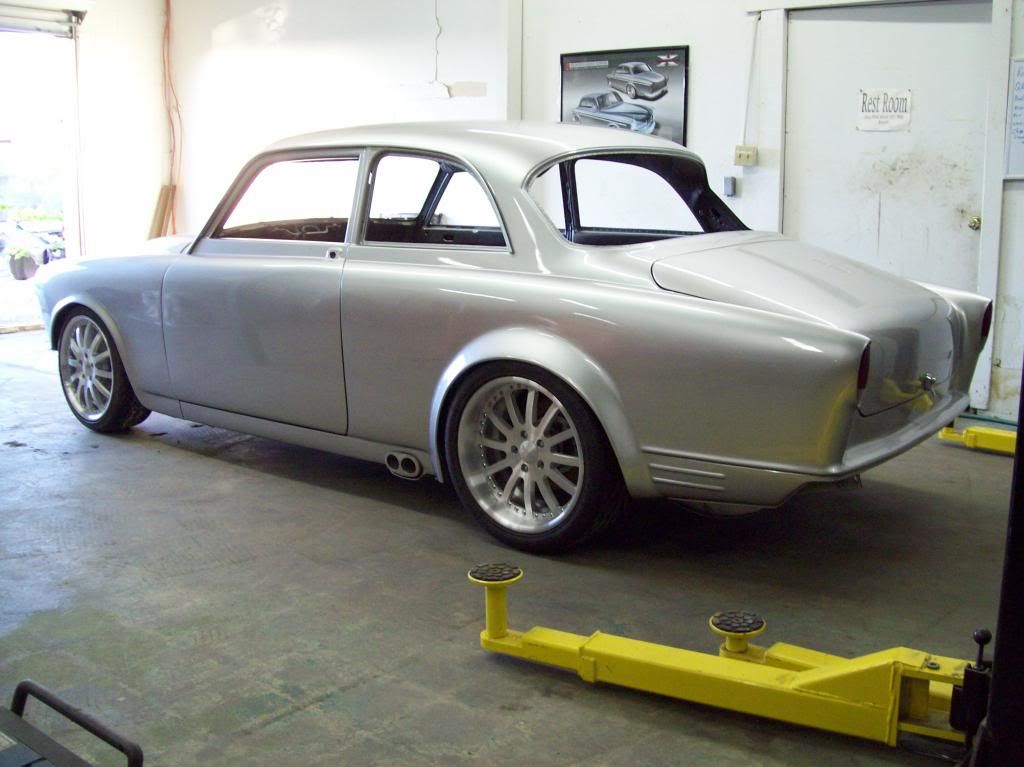
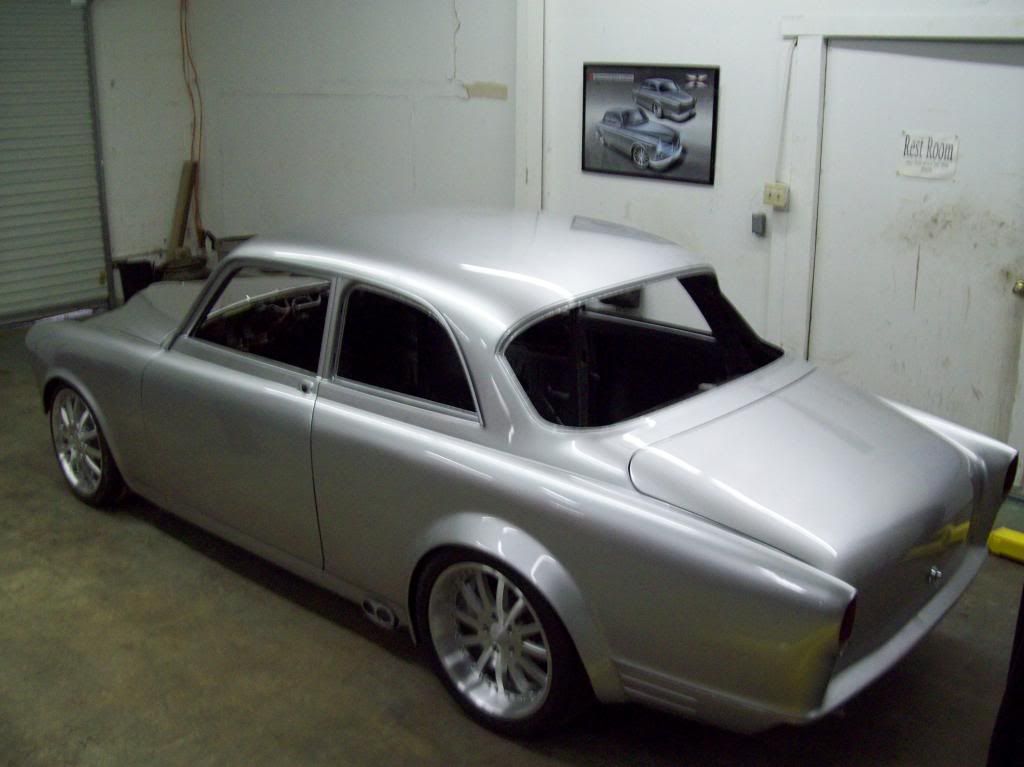
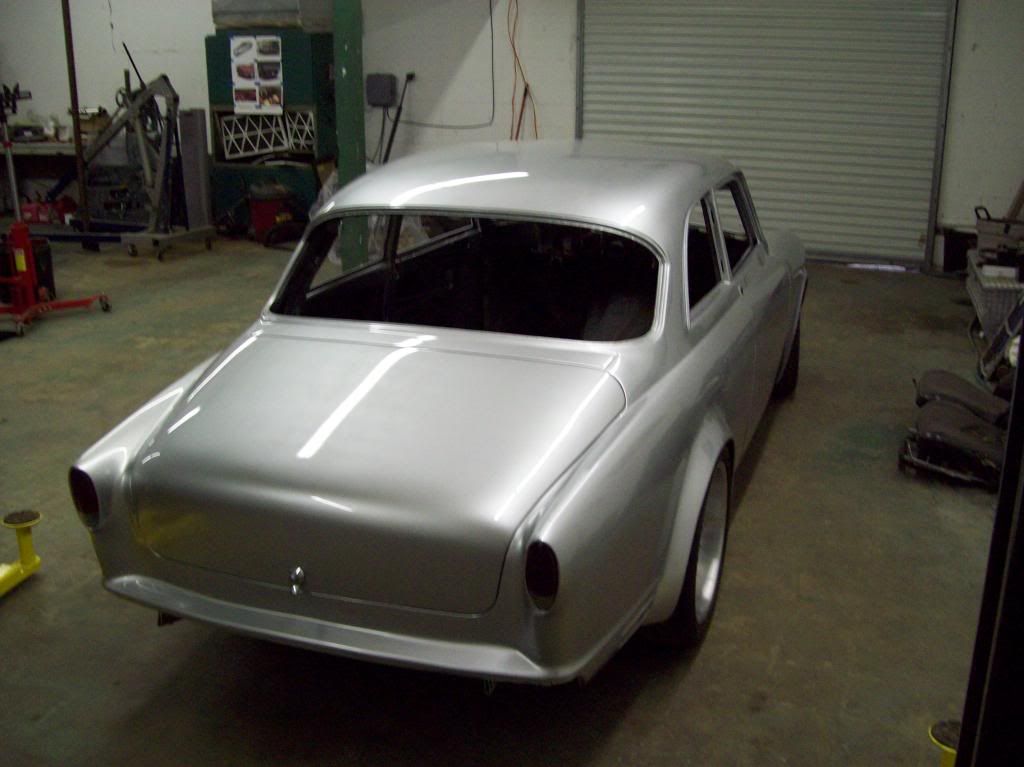
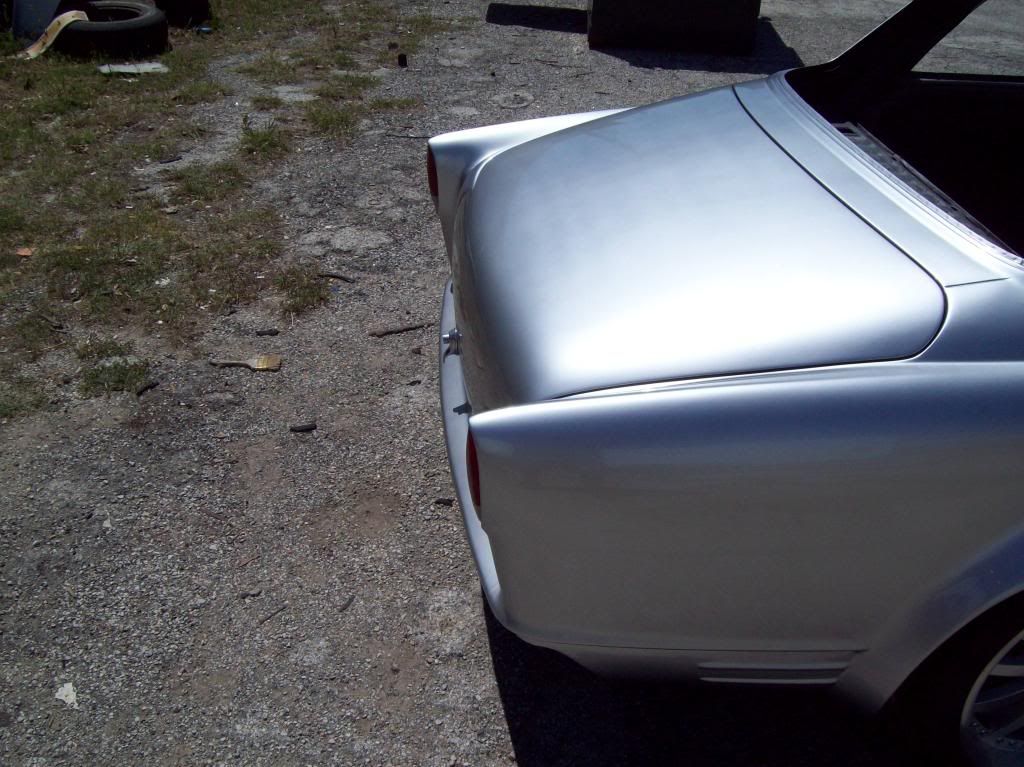
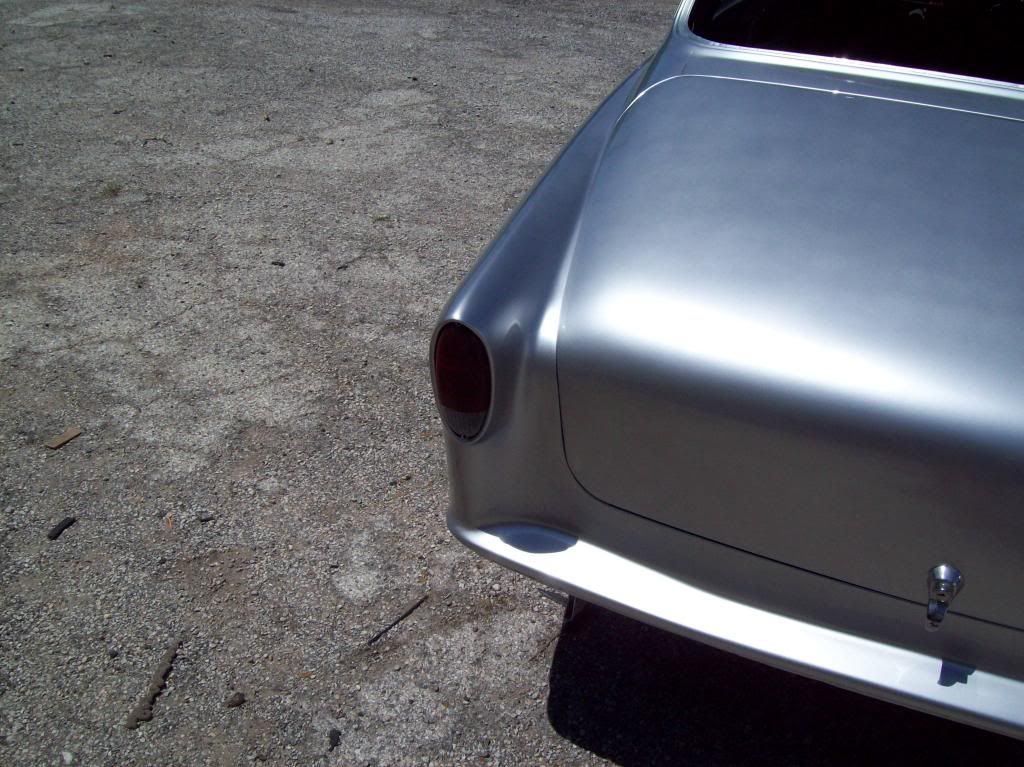
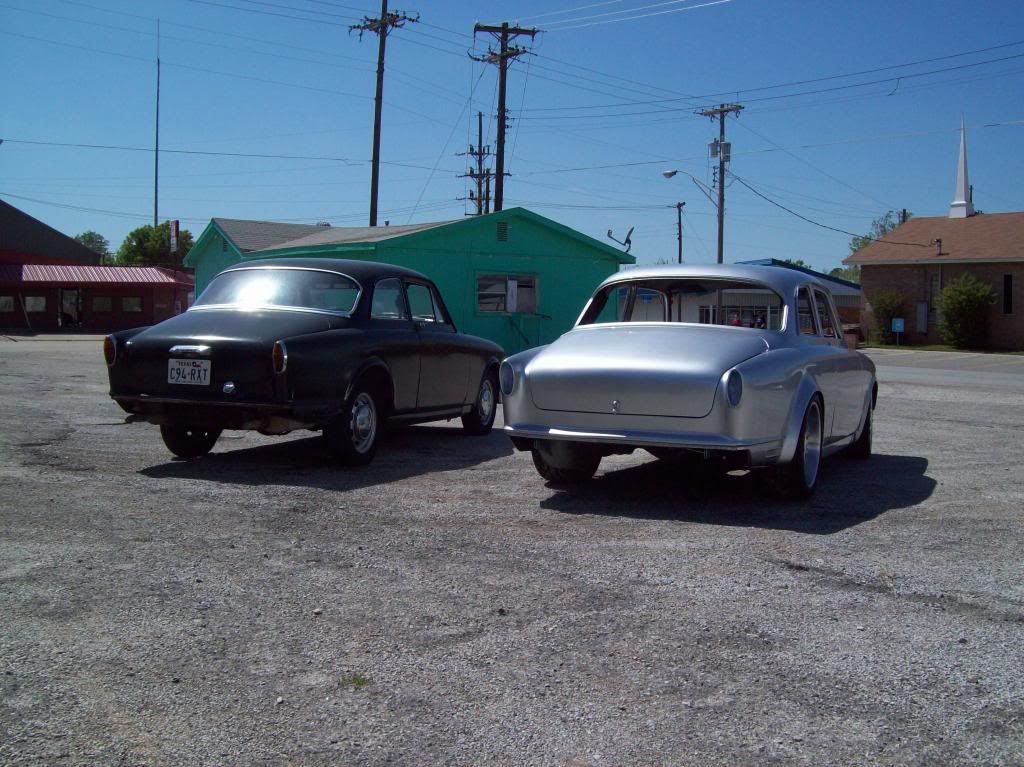
Here are some pics of the Tail Light Lense layout. I used the oem tail light bezels by welding them on to the body, so I can get rid of the seam and bulky rubber gasket, so I still have the factory profile to the end of the quarter panel.. the Tail Light Lenses fit in the same position relative to the bezels, so nothing has changed there, other than altering the lenses to install from inside the quarter panels.. I will have a very small piece of weatherstrip/sealer between the edge of the bezel and the actual lense, so that will give transisition, and even out the gapping. The lenses are just set in place at this time, so they are not in their exact positions, but I think they will look great, because they are still the oem components and dimensions..
I personally think this mod should be done more, because it really doesnt take away from the car, and it is a relatively easy procedure if you in the body working stages.. The original chrome bezel, along with the bulky rubber, really makes the shape of the quarter panel appear as an after affect, and kind of cheapens the car in my opinion.. The same goes for the P1800 tail light bezels, and that is why they are no longer on my Project Changling build, and it really makes a difference.
I am looking for some Full Red lenses, because I am wanting to remove the Clear Reverse Light section of the lense, and actually make the whole light work as Park and Brake lights, while using the whole light assembly for those functions. The early cars had a full red lense, but they are apparently in short demand, and on back order at this time..

Leave a comment:
-
You arent the only one who had their doubts, because I had alot of emails and messages with advice on how I should do things differently.. LOL I tend to stick with an idea till the end, eventhough I might have my doubts also, because it is all good if you can literally say " I meant to do that ". Like or not, who can not give you props if you actually met your goal or vision? I appreciate the kind words, and I cant wait to get this car out in the show and race scene.Originally posted by Edgar. View PostLast edited by Iamtheonlyreal1; 04-28-2013, 04:07 PM.Leave a comment:
-
It looks sooo evil from every angle. Love it. I didn't think some ideas will work out, for instance the tail lights. But the color sets it off so well that it makes them look like stock. The exhaust - killer. The wheels... Oh man when you showed the wheels and the color you're going to paint your car... Honestly, it looked like it will never ever match/fit each other. Blown away.
Leave a comment:
-
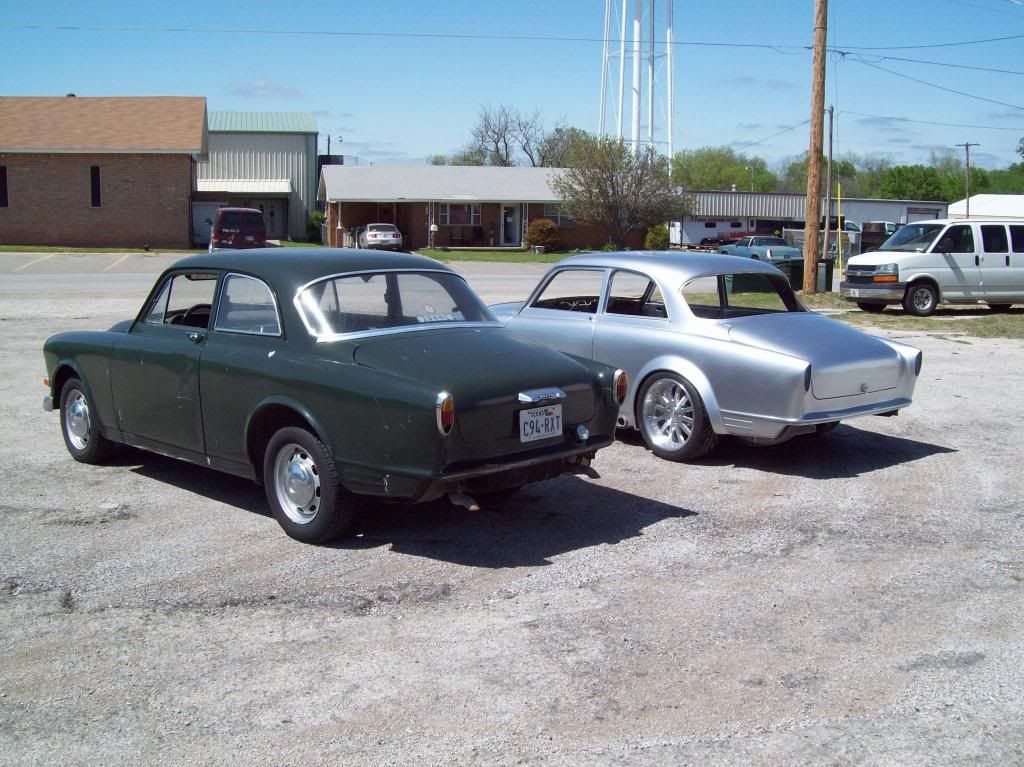
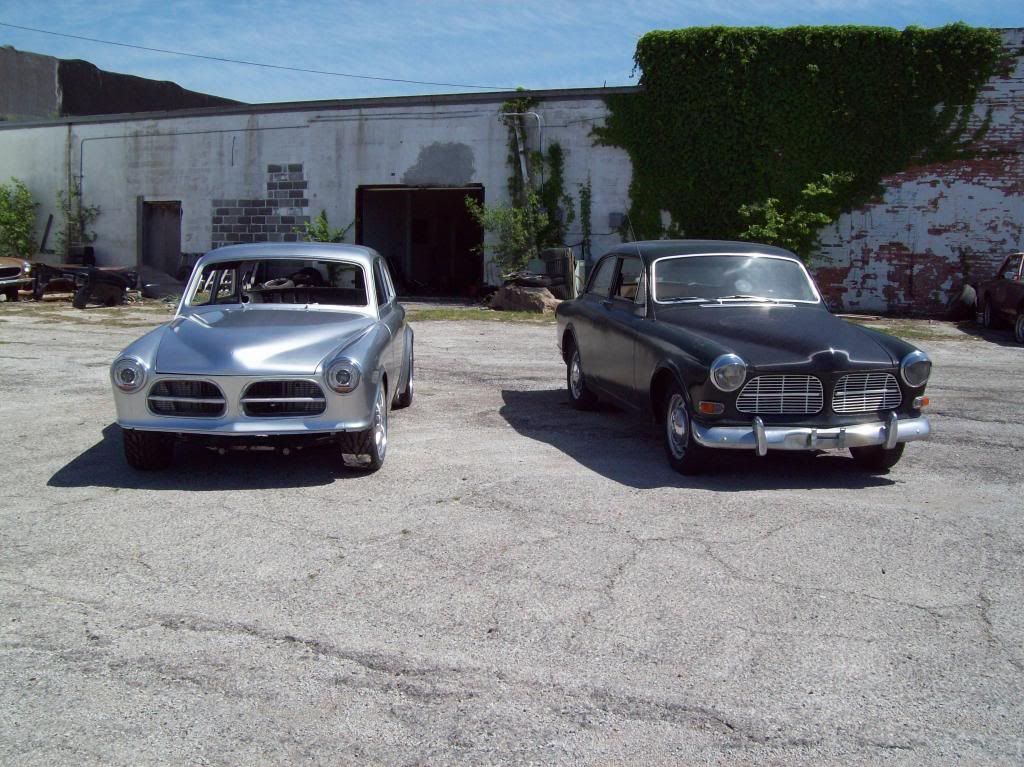
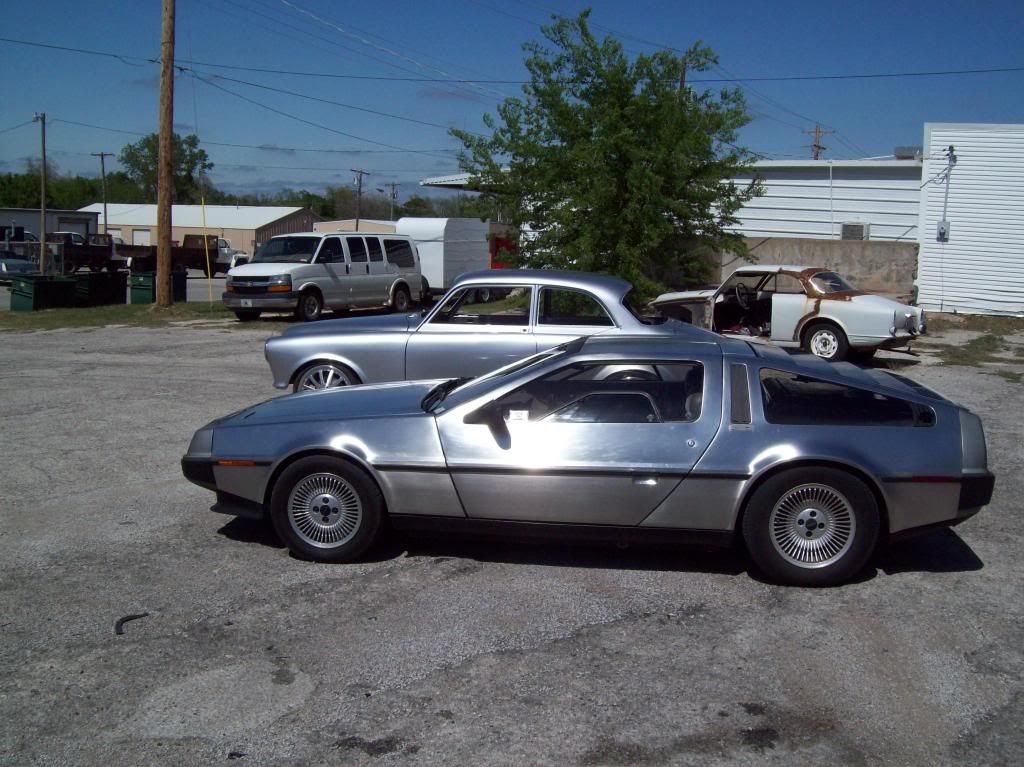
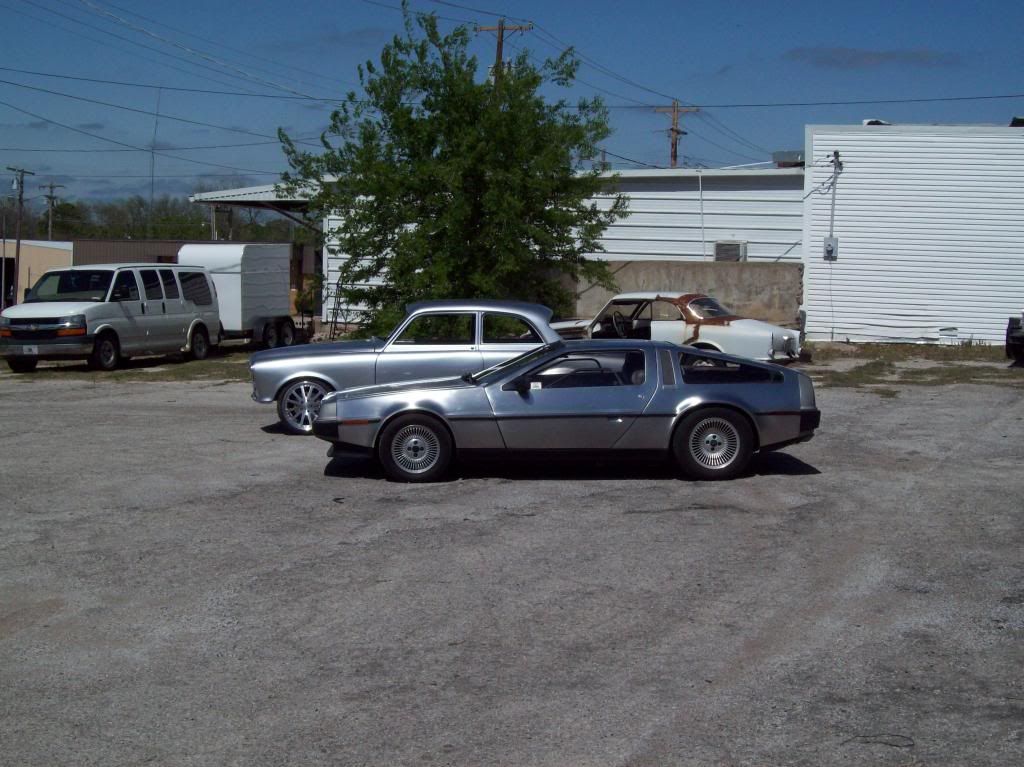
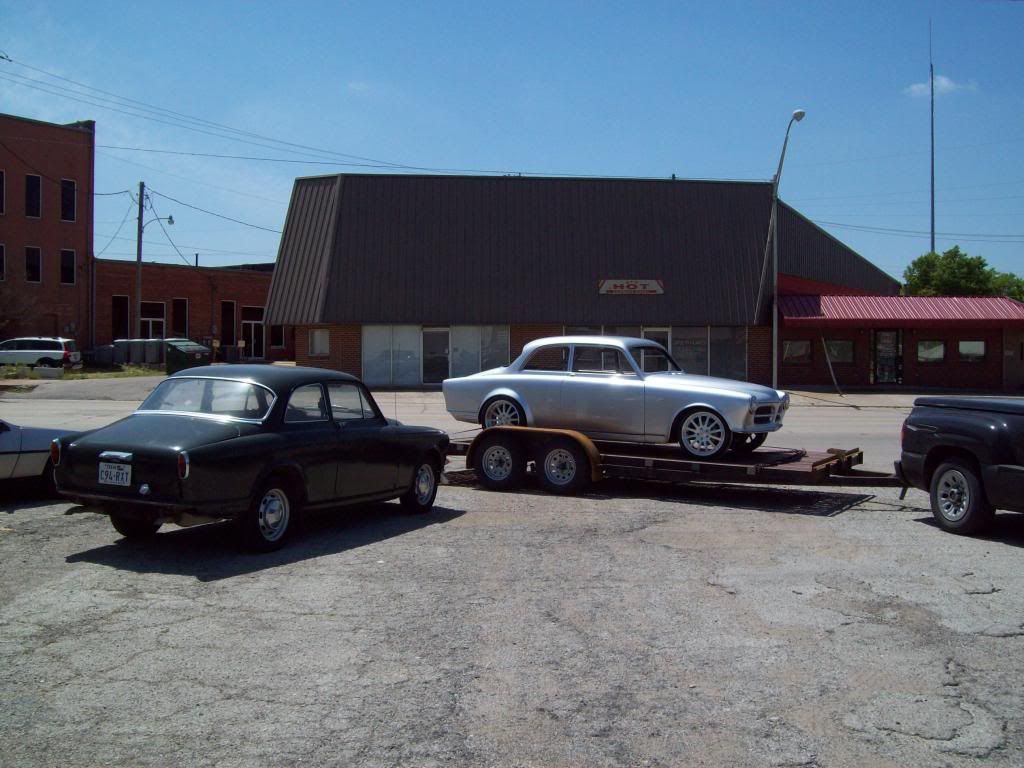
Here are some pictures compared to an original Amazon, and a Delorean I have.. LOL
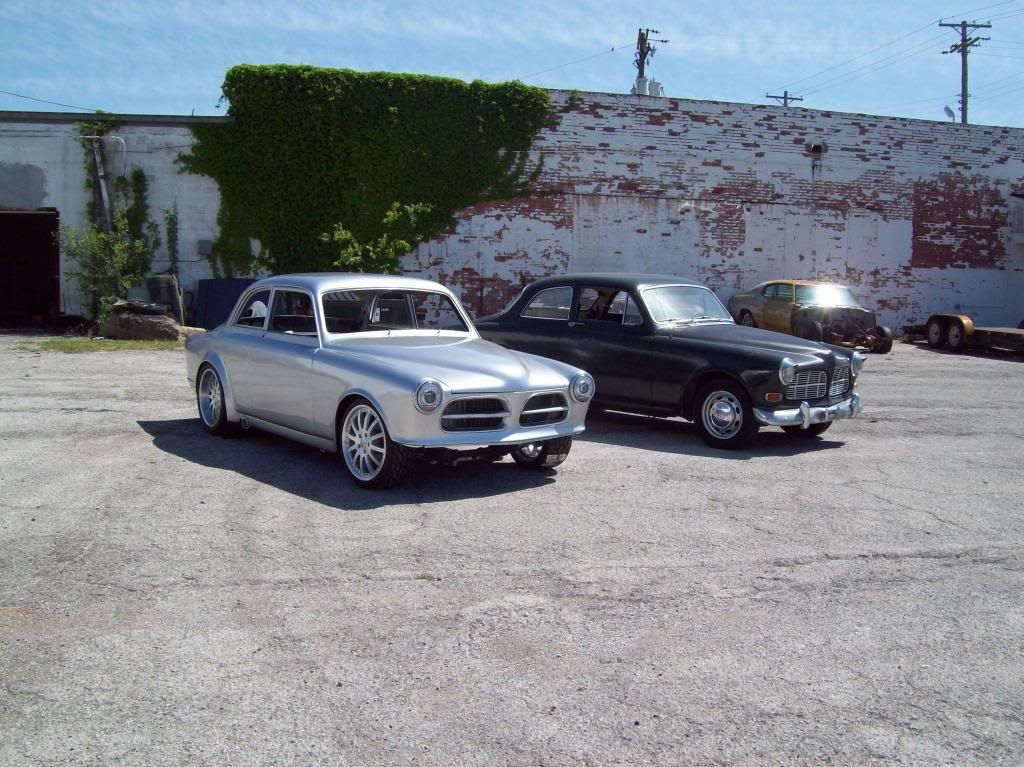
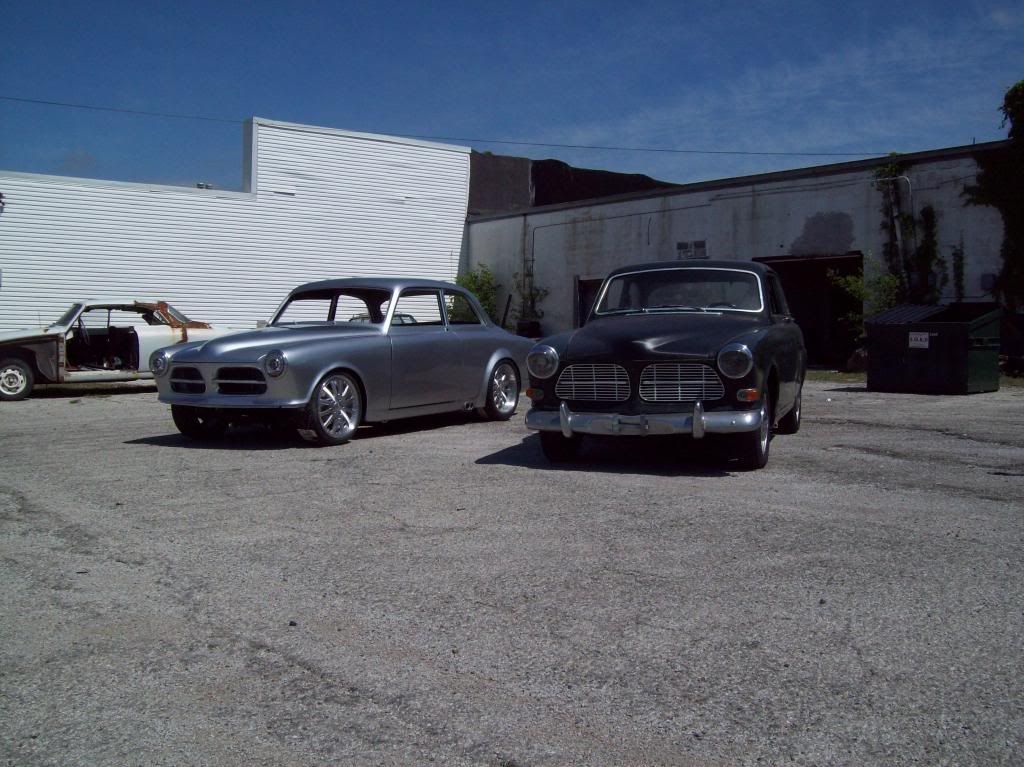
The Delorean has alot of the same glowing properties the Liquid Metal does, but the Liquid Metal is much more intense..

Leave a comment:
-
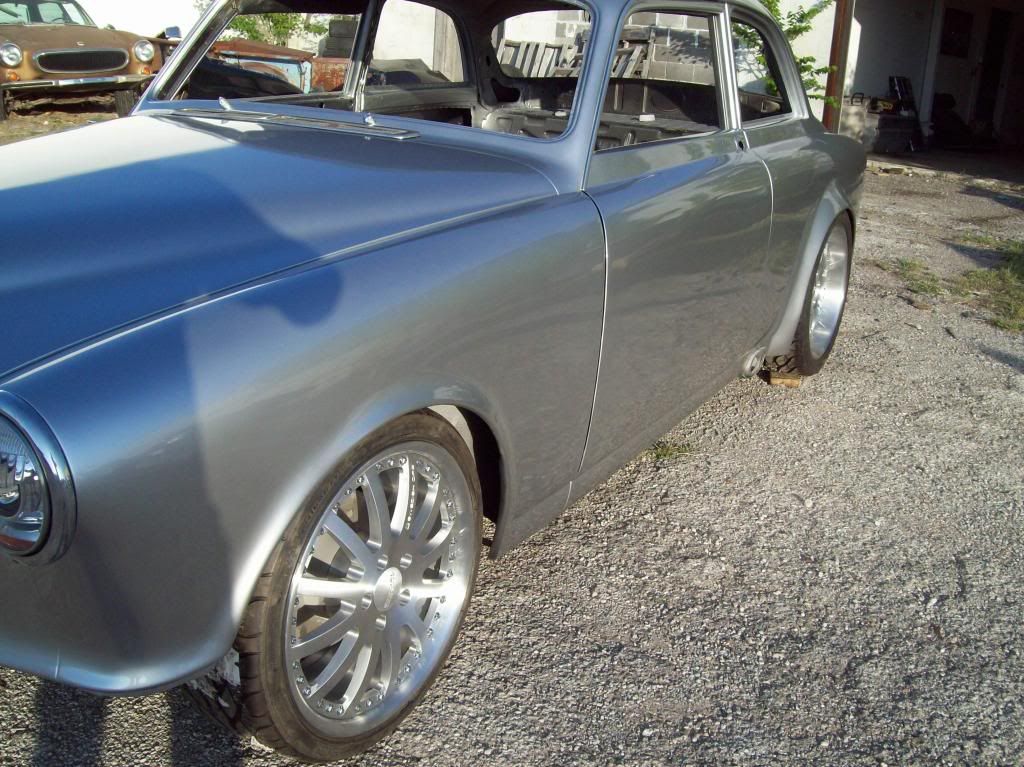
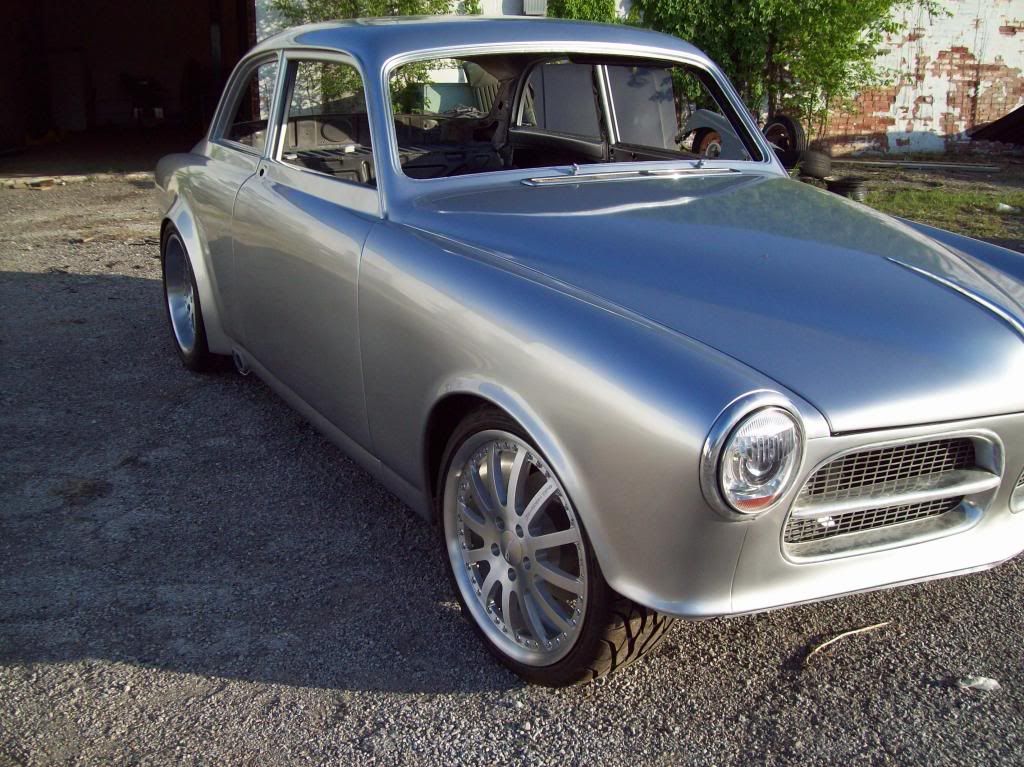
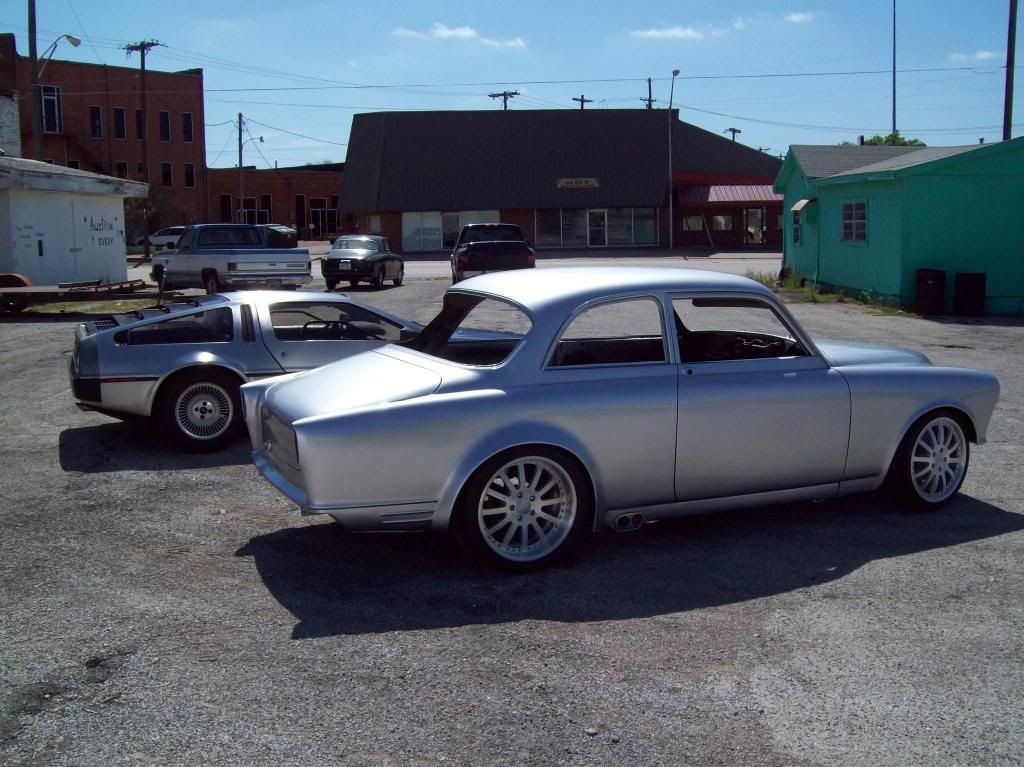
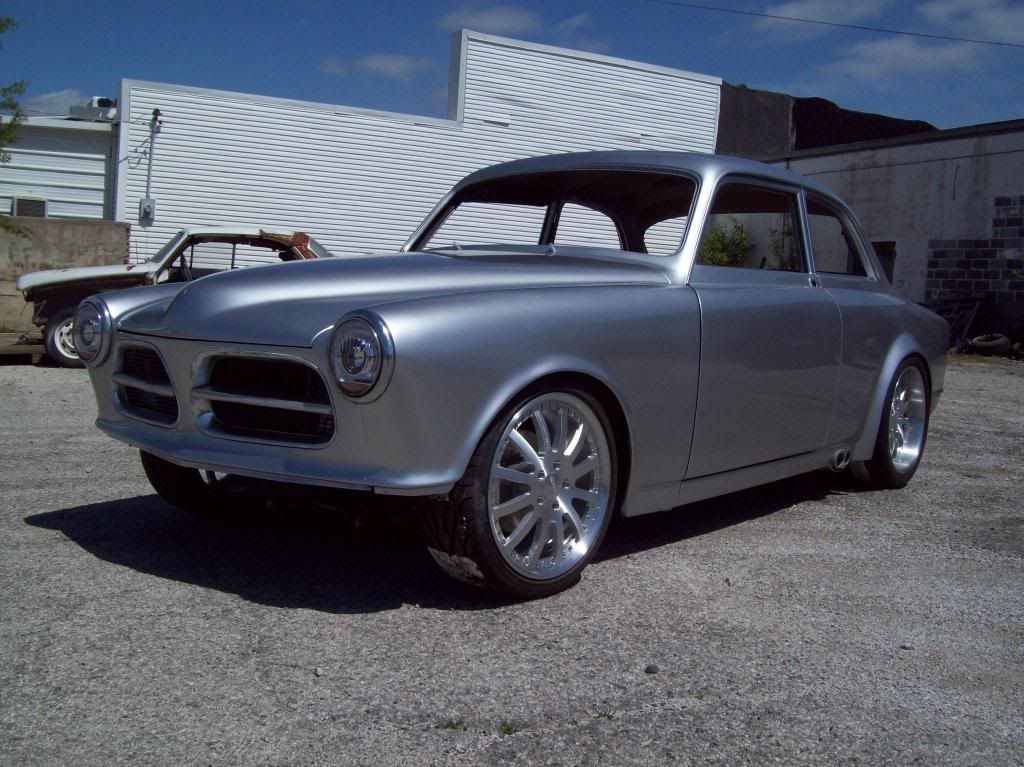
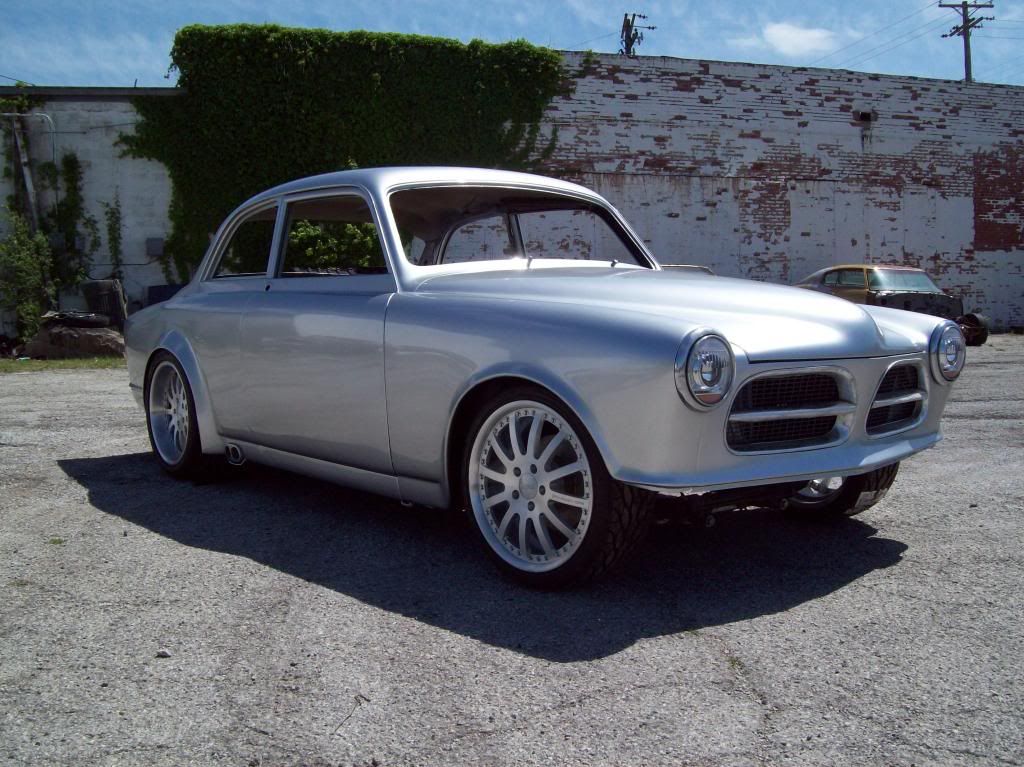
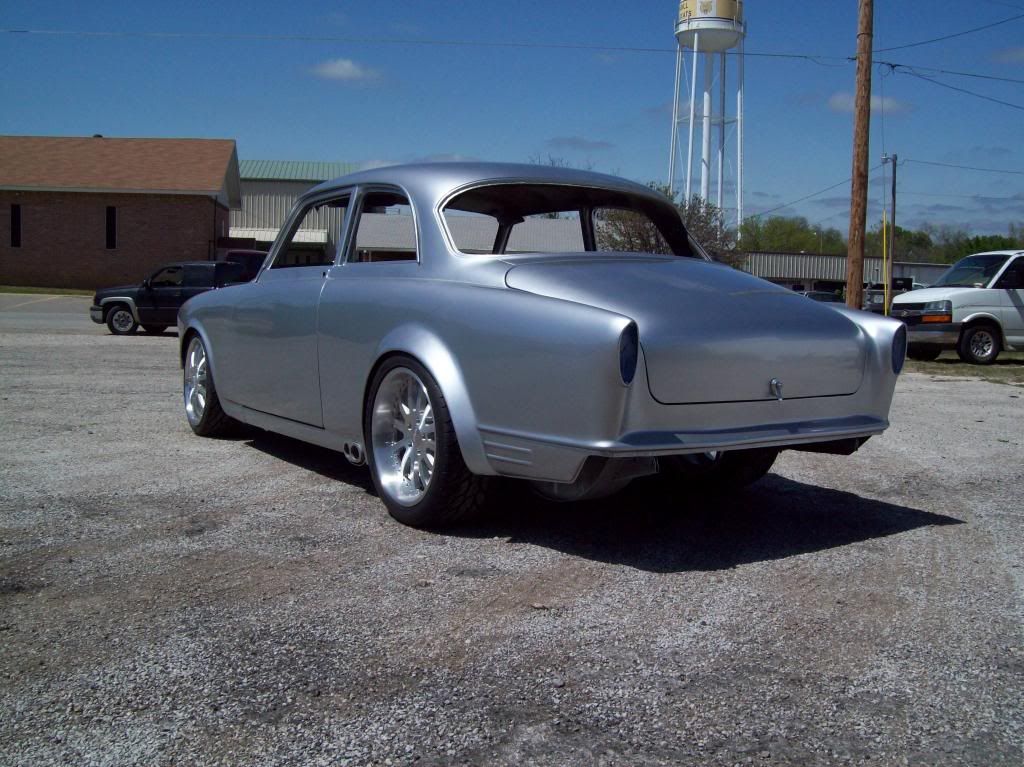
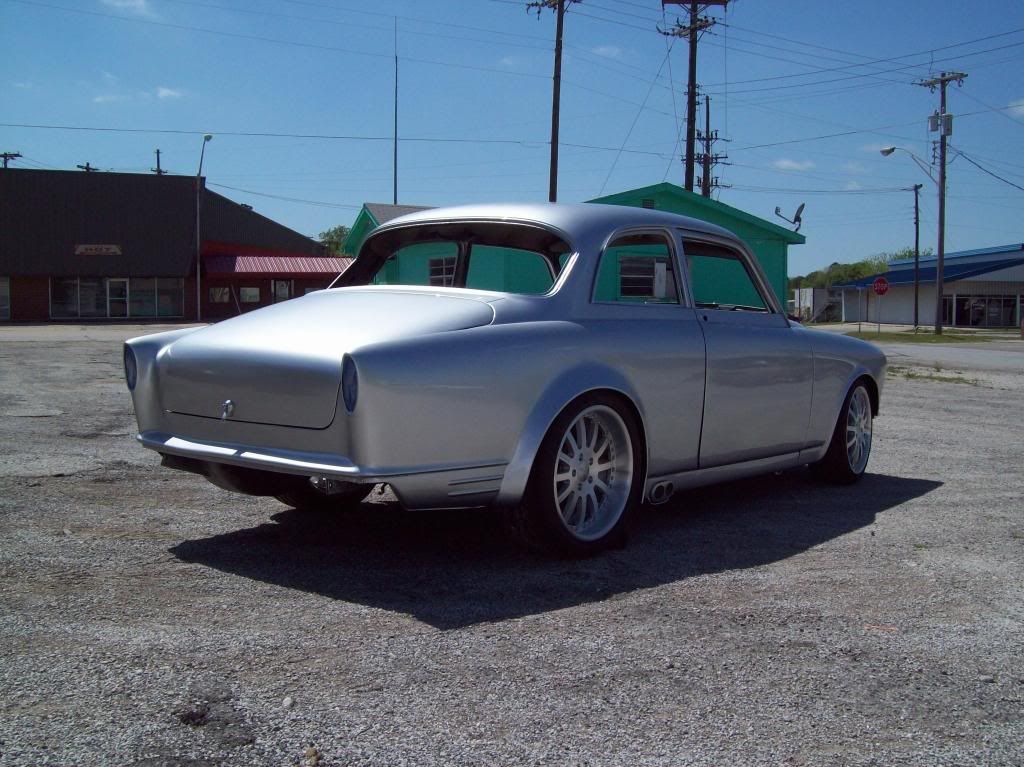
I finally got to get the car out into natural light today, and damn this thing is blinding. In the sunlight it just glows, so it actually appears like a satin paint, because you cannot see any reflection in it at all. Infact, you cant stare at it directly, because the Glow is actually blinding, and you will cause you to see black spots for awhile.
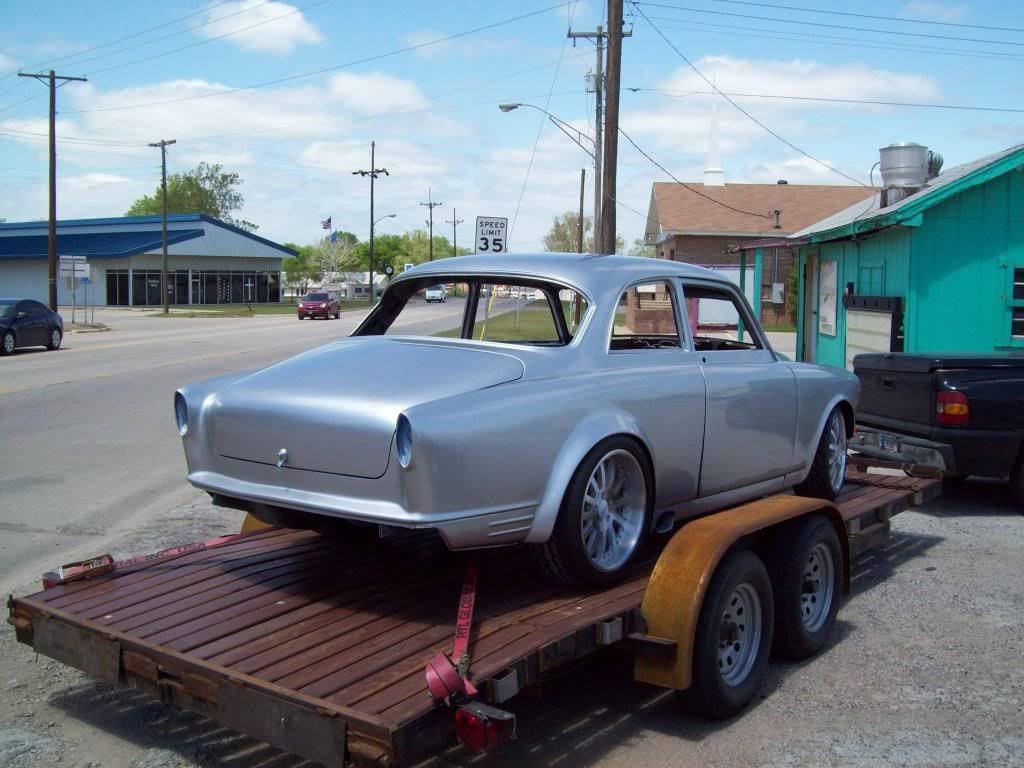
Here you can see the difference between the position of the sun to your back, and how much difference there is.. I can tell you this, the camera cannot really catch it all, but this will give you an ideal
Leave a comment:


Leave a comment: