 Tweet
Tweet
Love the latest FC, looks really solid. Can't wait to see more progress!
- Renato
- Renato

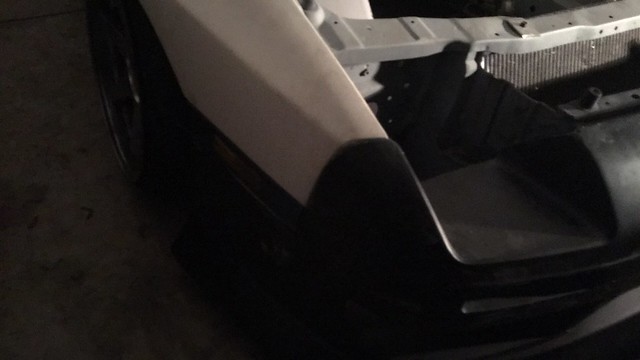
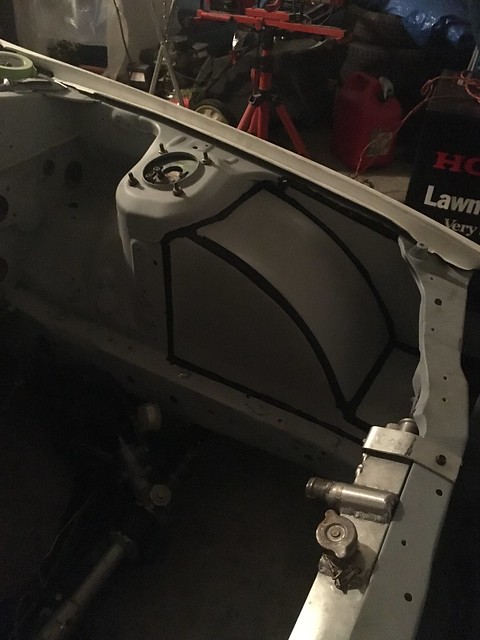
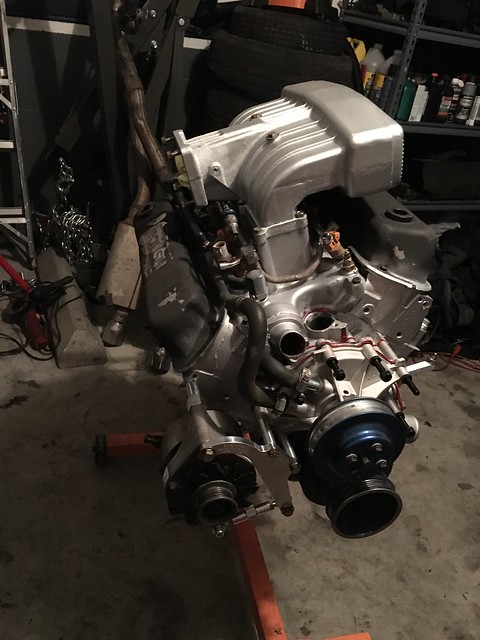
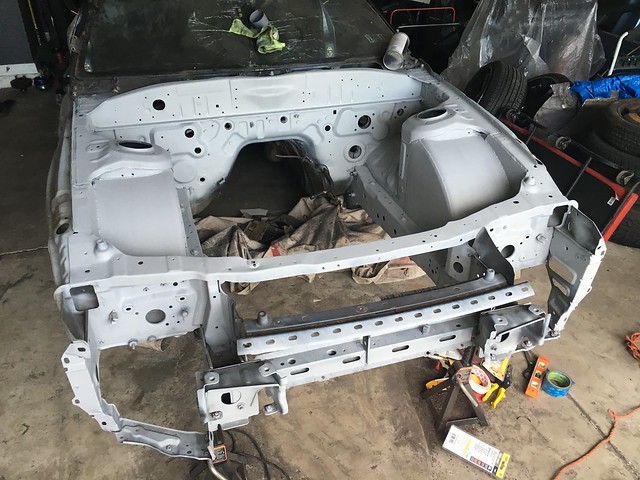 Untitled by J Manderville, on Flickr
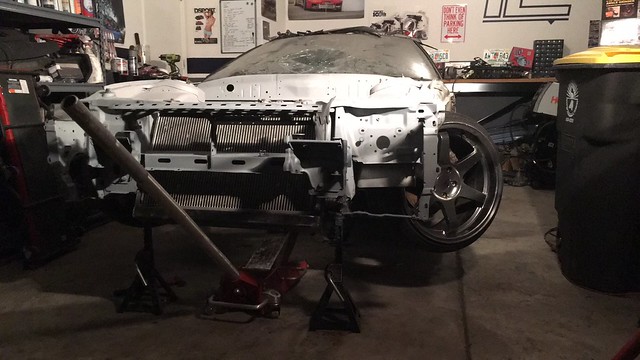
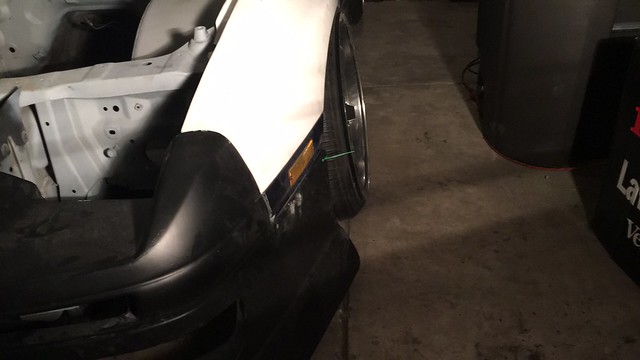
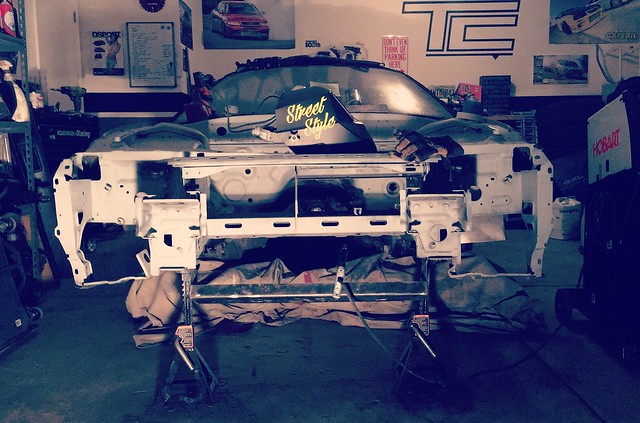 Untitled by J Manderville, on Flickr
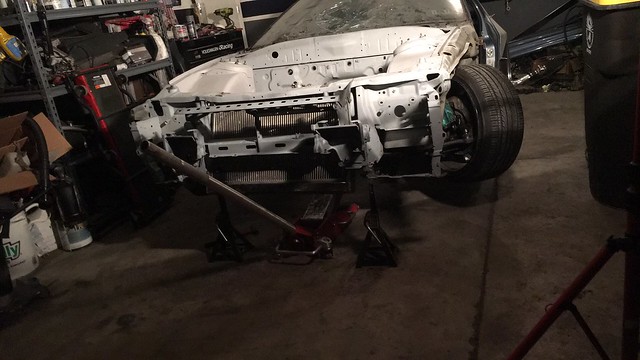
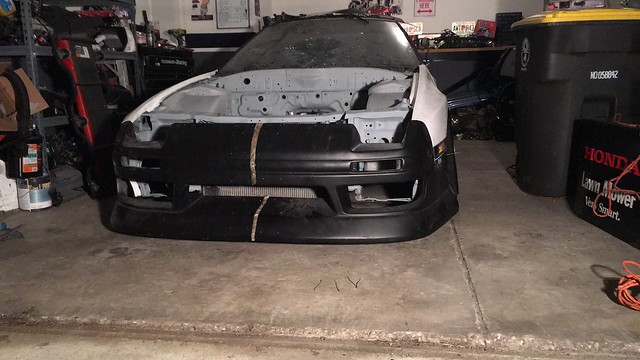
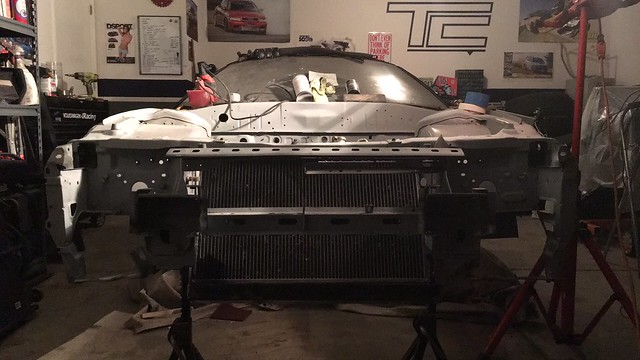 Untitled by J Manderville, on Flickr
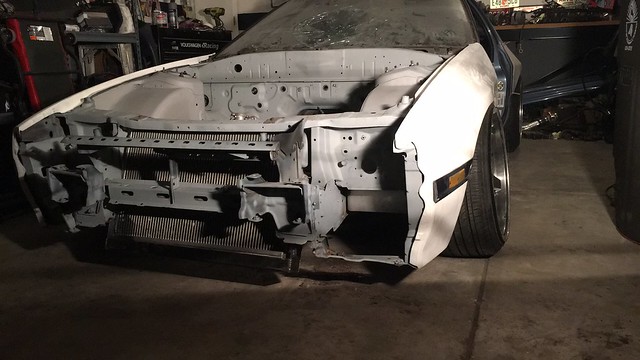
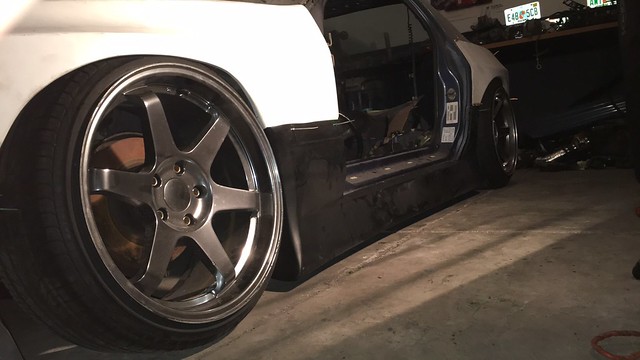
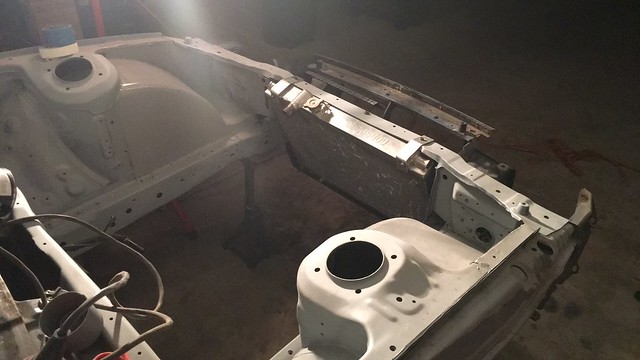 Untitled by J Manderville, on Flickr
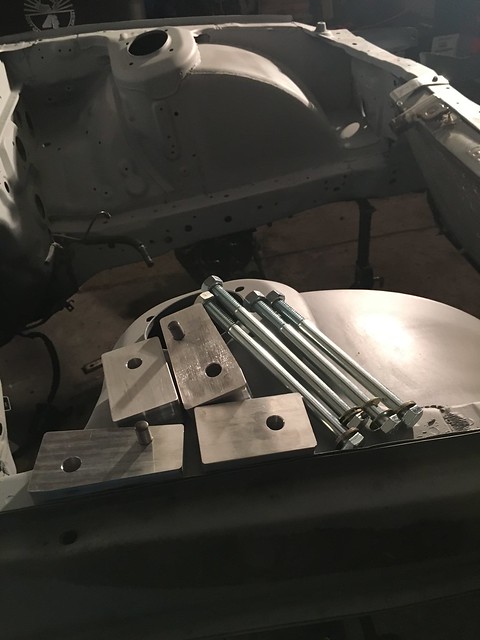

 Untitled by J Manderville, on Flickr
 Untitled by J Manderville, on Flickr
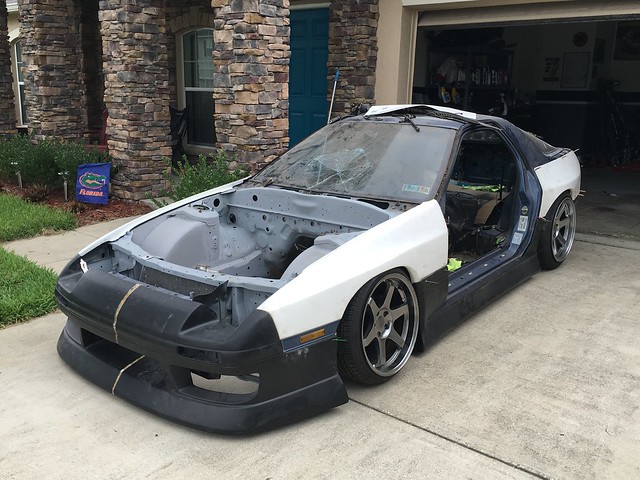 Untitled by J Manderville, on Flickr
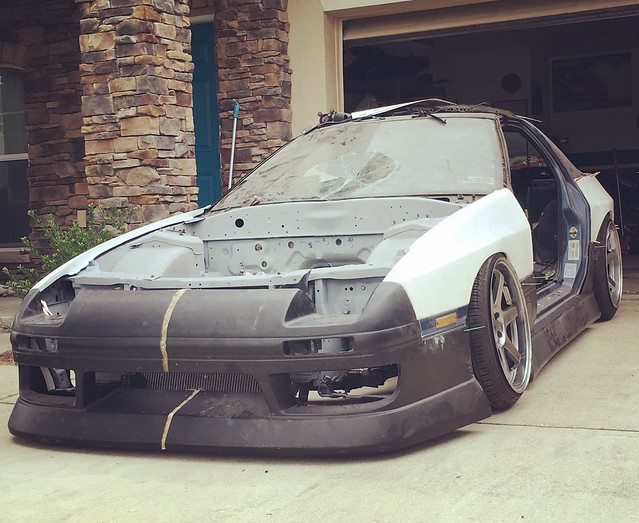 Untitled by J Manderville, on Flickr
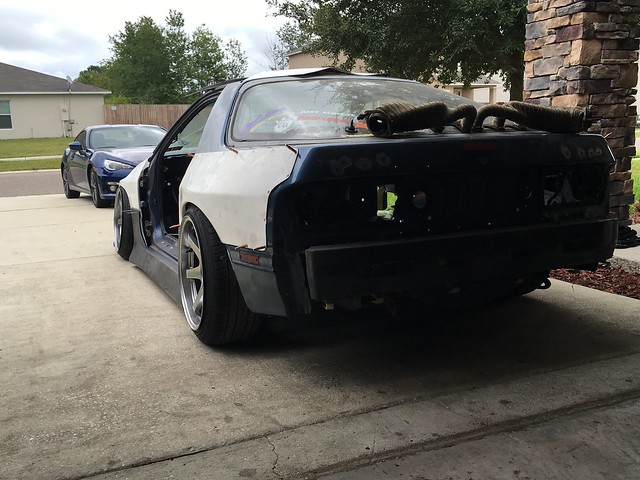 Untitled by J Manderville, on Flickr
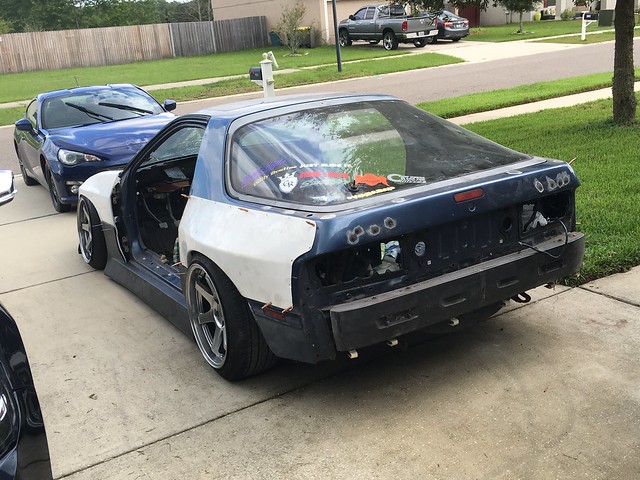 Untitled by J Manderville, on Flickr
 Untitled by J Manderville, on Flickr
 Untitled by J Manderville, on Flickr
 Untitled by J Manderville, on Flickr
 Untitled by J Manderville, on Flickr
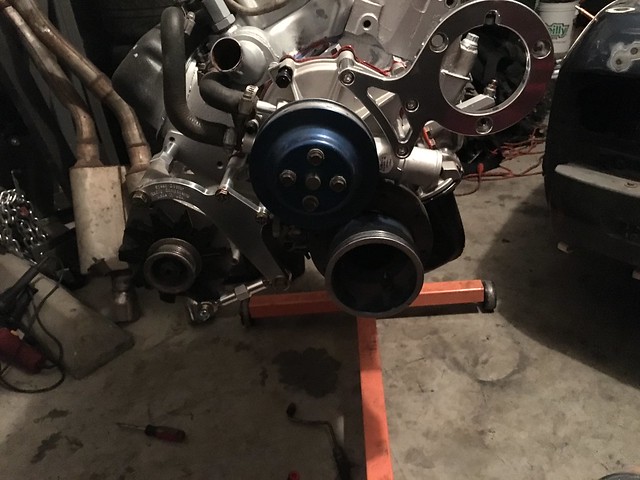 Untitled by J Manderville, on Flickr
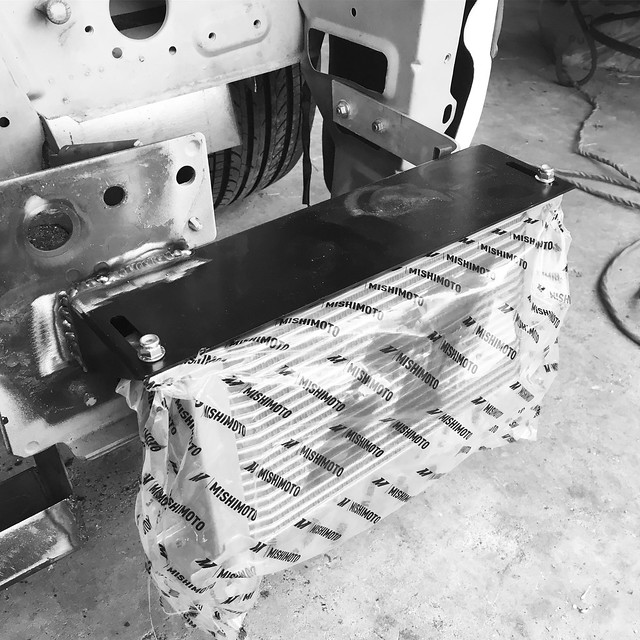 Untitled by J Manderville, on Flickr
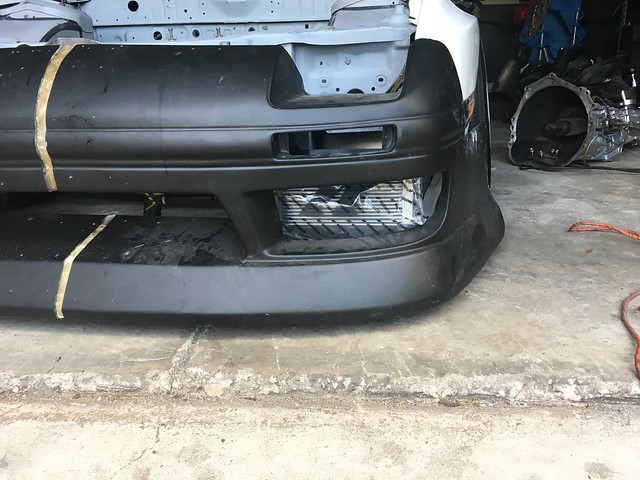 Untitled by J Manderville, on Flickr
 Untitled by J Manderville, on Flickr
Comment