-
I have loved the attention to detail in your build Earl, actually makes me miss my m42 (at least for a few minutes). One day we'll have to get our compacts side by side for a shoot, at least once they're both done
Leave a comment:
-
Finish it now :'( I wanna see it done! It will look badass (well...More so than it already does)Leave a comment:
-
I wish you could too haha
I keep finding things that I did when I started doing the build that are not up to snuff with my current views on how things should be done lol
I never thought I had bad OCD until nowLeave a comment:
-
Man, I wish I could help you finish this thing, I cannot wait to see it!
Keep going dude!
Leave a comment:
-
Got the diff assembled and the stud kit installed

I have to repaint the cover yet and get new bolts for the side covers. Can't decide if I want to match the diff cover to the subframe again or if I want to paint it with aluminum paint like the trans haha
Sprayed the subframe with paint as well. Ran out of time to prime the trailing arms

Leave a comment:
-
Last week I realized that the color I used for the subframe, trailing arms, and diff cover was discontinued. The subframe needed repainting too so I clean it up again and reprimed it.

I also started KBS coating my diff.
I started with the Aqua Kleen. It needs to be kept wet for a half hour to clean the surface.
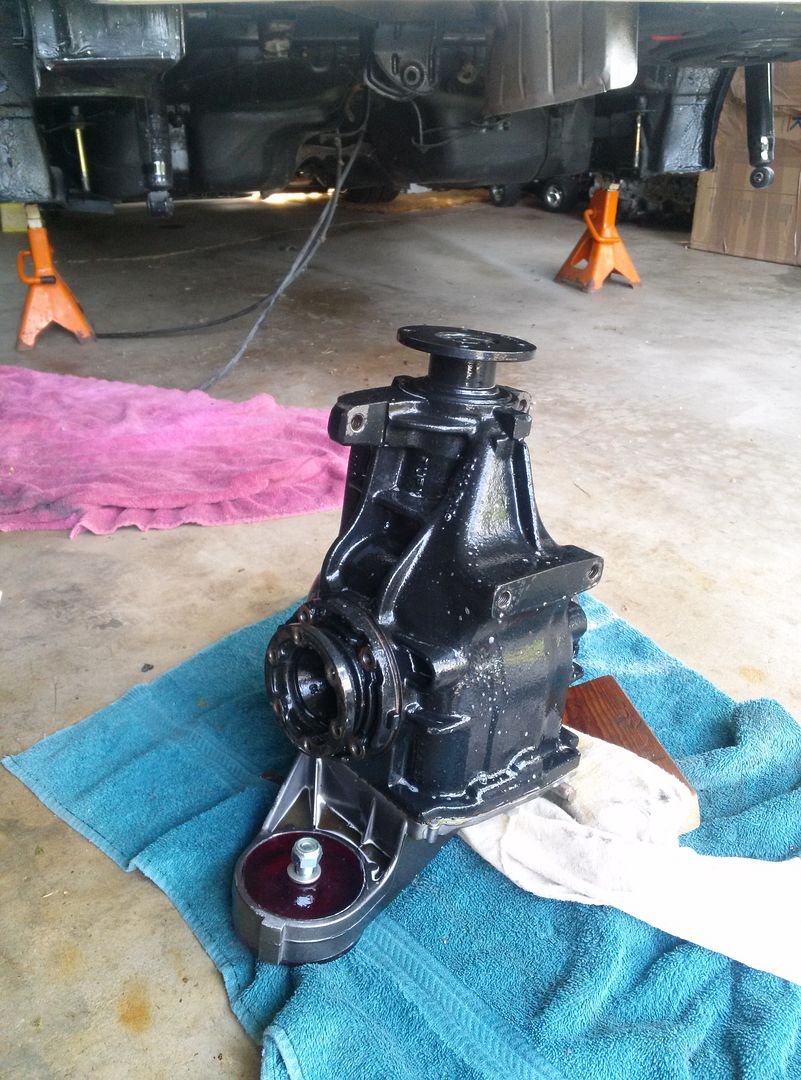
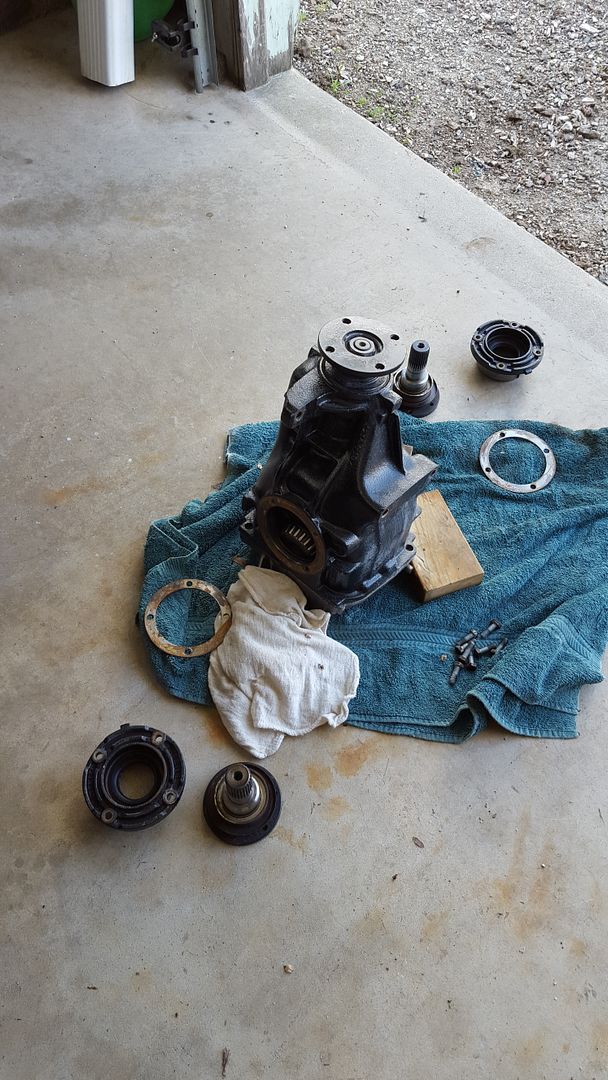
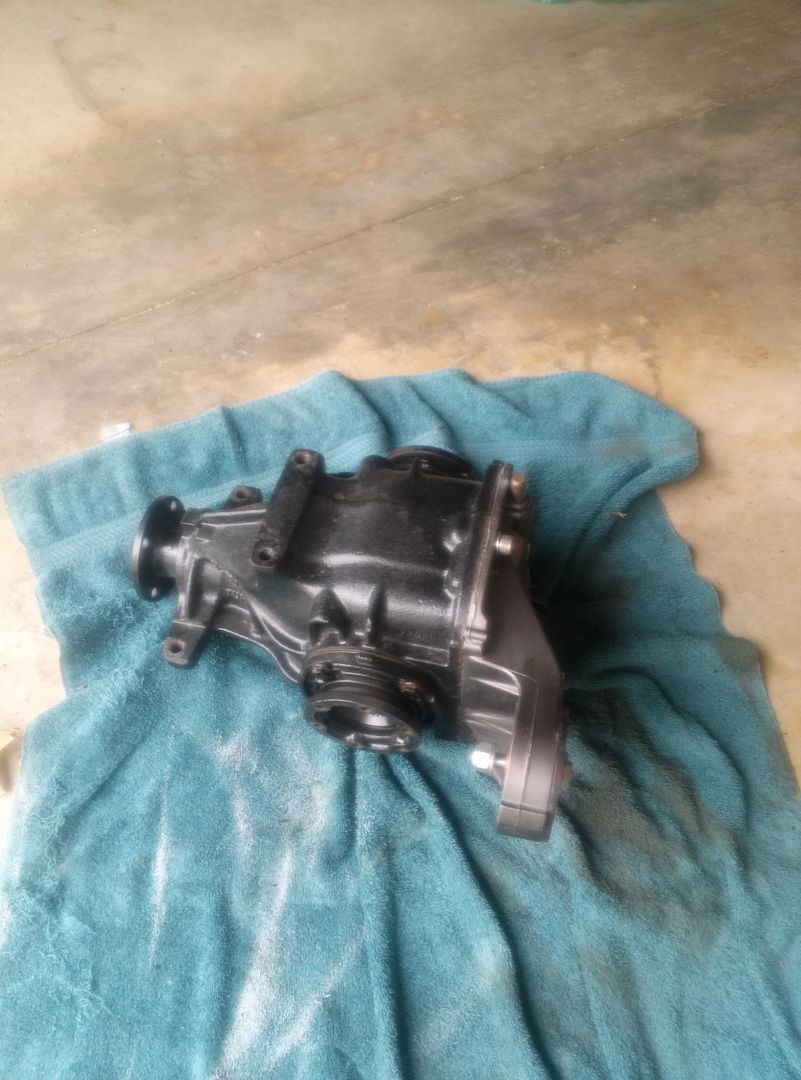
After that I used the Rust Blast to convert any rust and to put a thin zinc phosphate coating on the part to help the rust seal stick. I didn't really get a good picture of the diff after the rust seal but here is one with the diff disassembled and ready to coat.
Coating the diff was as simple as lightly brushing on the rust seal. It self levels and covers really well.

I didn't coat the inside of the diff flange that you see since it didn't make much sense to me and is already painted in there.

I'll be reassembling the diff today (sans hardware) and painting the subframe. I also need to clean up and finish priming the trailing arms.Leave a comment:
-
I was going to finish painting the arms the other day but ran out of paint and the paint I was using is now discontinued. I did spray them with self etching primer though to cover any spots I missed with the first coat of primer.
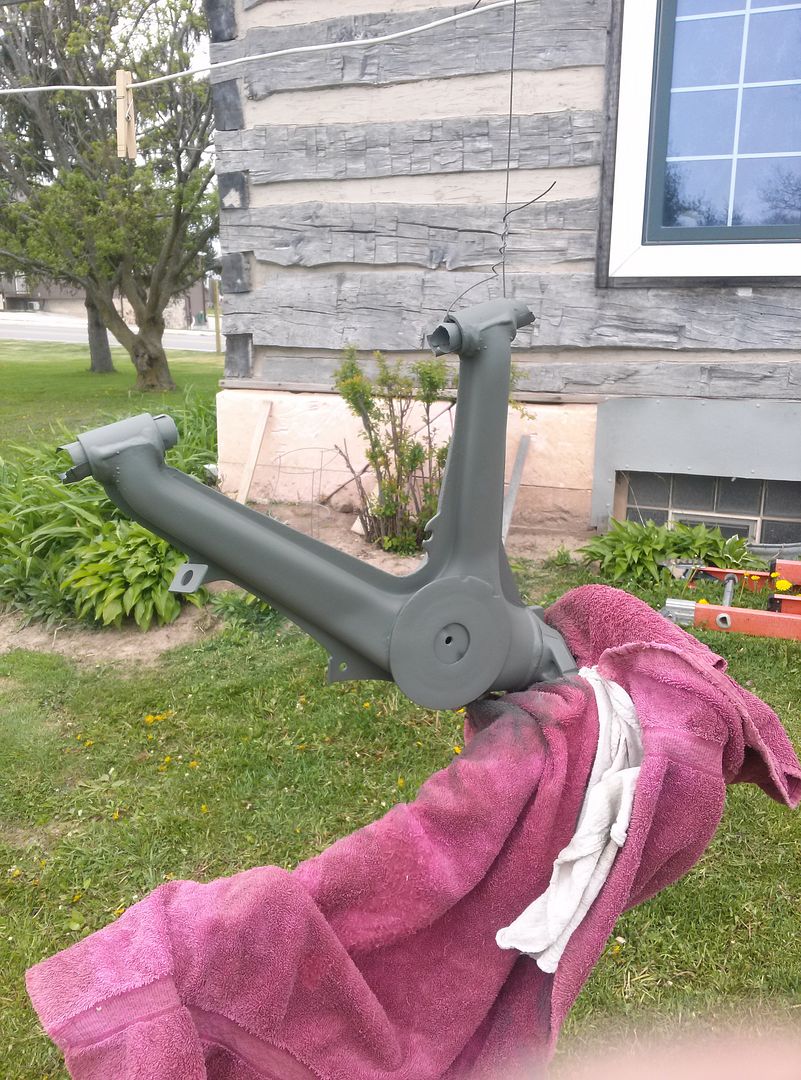
Now I just need to get a nice day to prep and paint them, as well as the subframe.
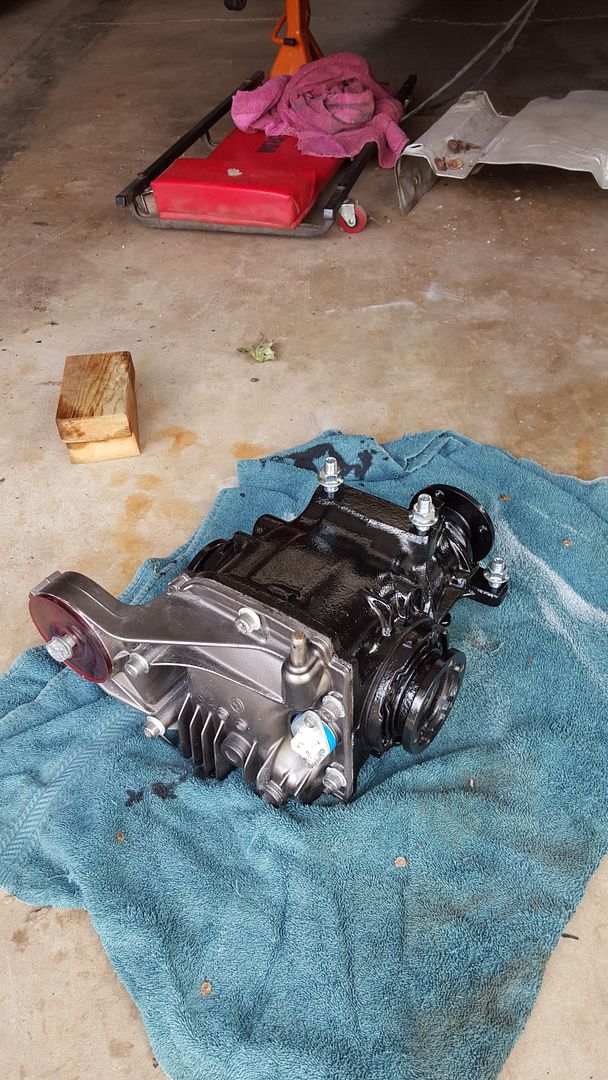
Yesterday I tackled the output shaft detent rings and seals on my diff. I will be redoing the paint on it as well as replacing the bolts for the sides and the dust caps on the flanges, don't worry=)

Popped the flanges out to see what I was working with.

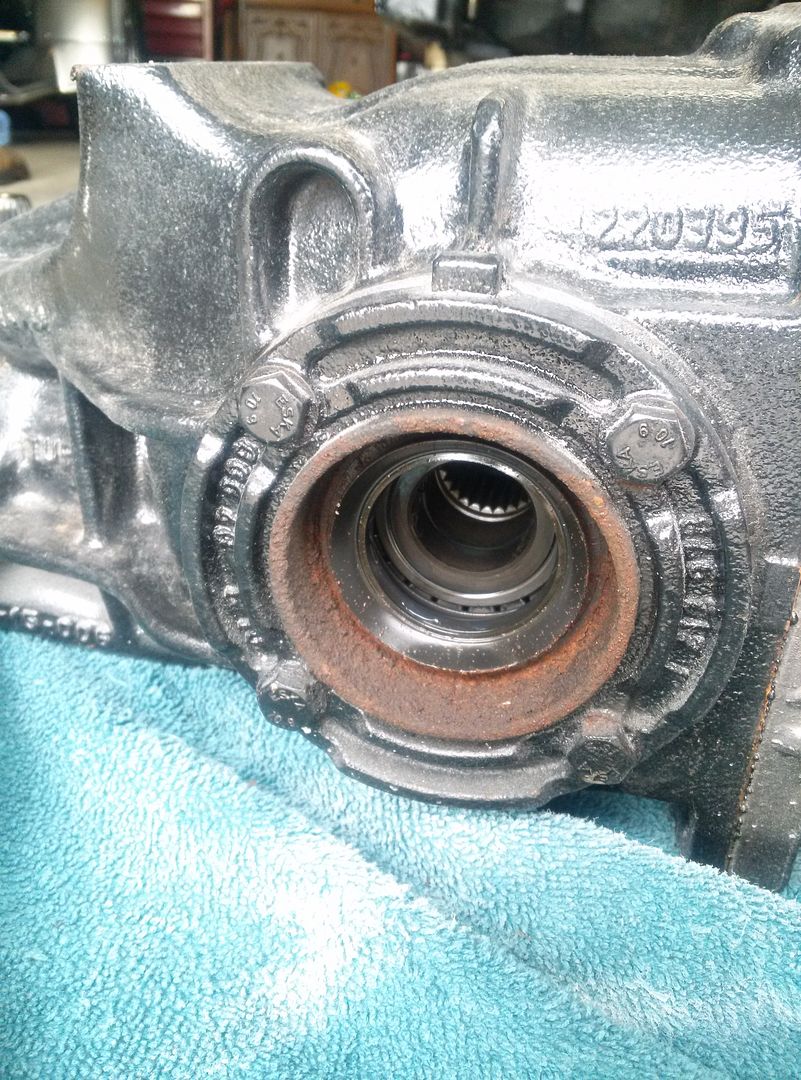
Next I pulled the sides and popped out the old seals and detent rings

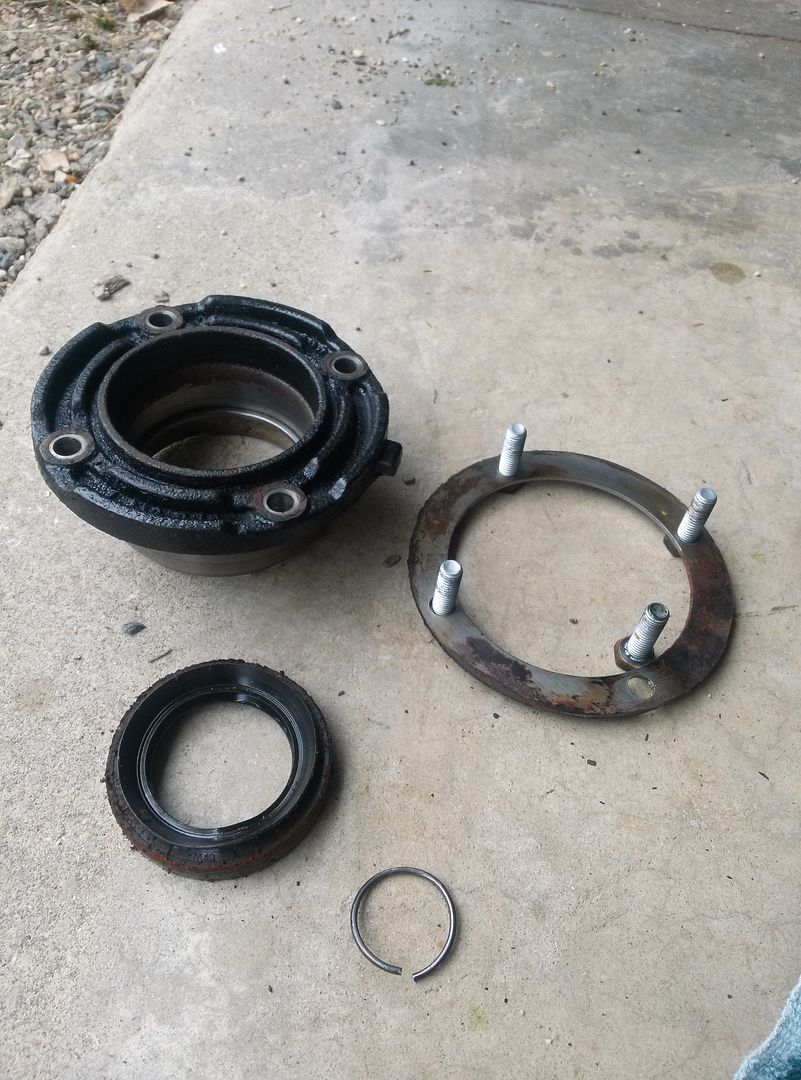
Then in went the new seals

I popped the output flanges back in for now to keep any debris out of the diff. I will be coating it in KBS rustseal and just need to pick up that up as well as new hardware for the sides
Leave a comment:
-
Nice work on the arms and the locks Earl. If your can ran out of air before all the primer was used you can add some air back into the can using an old valve stem and a compressor.
For the door handles, I'll send you a PM as you might be interested.Leave a comment:
-
Welded up the hole I idiotically drilled in the one mount


I then wire wheeled all of the paint on the arms that wasn't fairing well and threw a coat of primer on. Somehow my full can of primer ran out of aerosol after finishing one arm so I had to use a different can I had on the other.

I will be picking up more primer today and then hopefully getting the paint on them.
Also decided with a friend that we will be making the 13 hour trek to SOWO Friday night and leaving Saturday night to come home=PLeave a comment:
-
I have been holding off on updating this so that I would have a good update but things are going slower than molasses haha
Let's start where I left off. The motor and trans got mated and I started figuring out what I need to do before it goes back in.
First I changed the rear carrier bushing for the shifter.


After that I ordered up an 11/16" Volkswagen Rabbit master cylinder for my booster delete. I need to fit it and start doing the brake lines for the front of the car. I also just ordered all OEM rear hard lines so that I can finish that up.
Speaking of the rear end

I ***** how one of the bushings wasn't seated right and I wanted to redo some of the paint. I also need to refresh the seals on the diff (sold the medium case 2.93) and install a stud kit from Thayer Motorsports. That will make swapping in a medium case much easier down the line.
Here are some of the goodies that have arrived

I split the trailing arms from the subframe and removed the poly bushings but it got too dark to take pictures. I will be cleaning up the arms again, repainting them, and then installing the new bushings. I also stupidly drilled a hole in one of the bushing mounts last time to allow air to come out since one of the bushings did not want to install properly. I will be welding that up as well.
I ordered a set of LED license plate lights and installed them too. I got a set off of ebay because every brand that I could find is still made in Taiwan (even the more costly options). I tested them with a power supply to check the light output and they are a very nice bright white without being blue at all.
The only other news that I can think of is that I went to install my Motorsport handles but ran into an issue. It seems they have a different lock style than my handles, making the cylinder swap not a plug and play affair.

I could swap the wafers from my lock cylinder into the ones for the motorsport handles, but the face plates of those cylinders are all dented up. I have the handles sold and was going to pick up another set but I think I am going to keep it simple and run plain handles.
I should be working on the car tonight and am hoping to get a bit of work done on the trailing arms.Leave a comment:
-
Earl I'm constantly amazed by your build, I cannot wait to see it done!Leave a comment:


Leave a comment: