 Tweet
Tweet
Hey there guys!
Please excuse the tense in which the thread is in, ive copy & pasted every update from another forum so its all written as if it were happening now not then hah You can get where it goes tho
This build thread is of my Polo 6n (MK4) daily driver.
All of the work done to the car has been done by myself and its not perfect, but its mine. I'm only 18 also so i don't think my car is too bad considering my ages and i am only working in HALFRAUDS
Loads of people on here going to **** this car because im doing the 'JDM/J'euro' thing, you can have your opinions, im not afraid to be different.
So, the build.. Ill keep the statements as brief as i can.. i prefer to keep things visual..
_________________
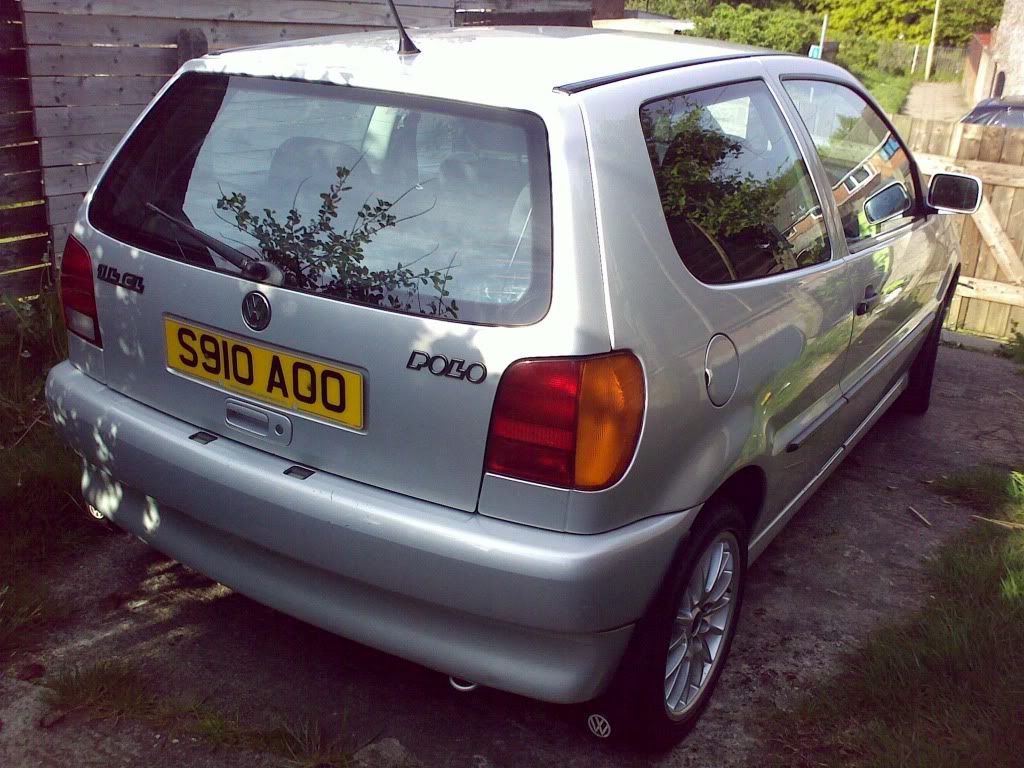
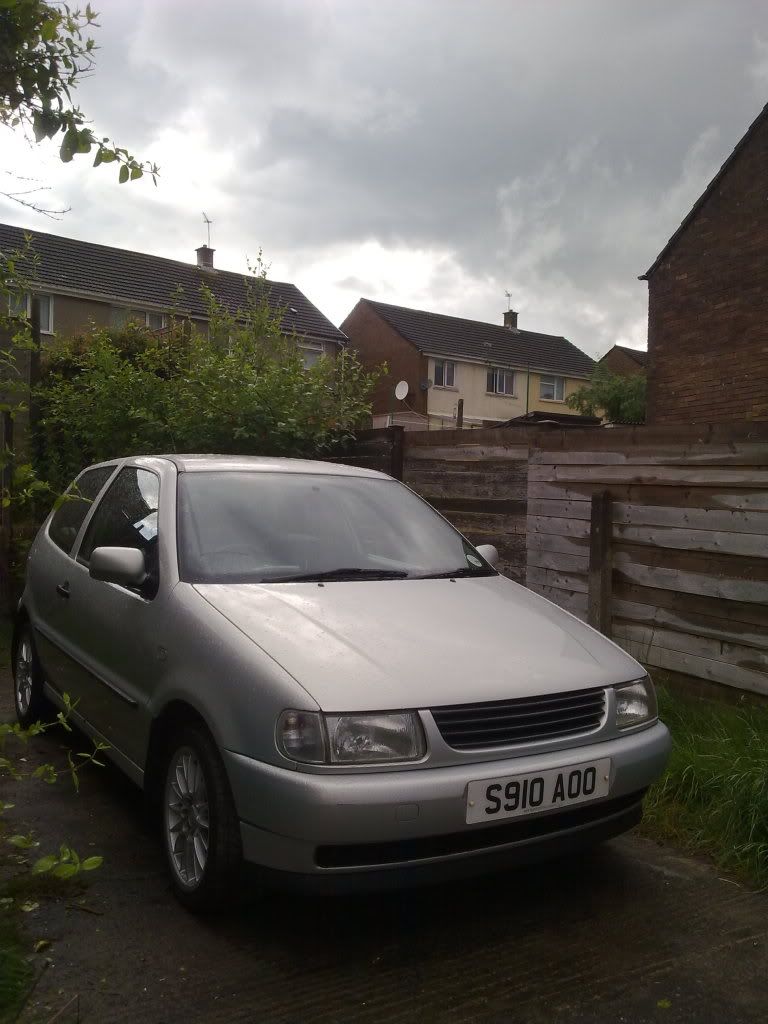
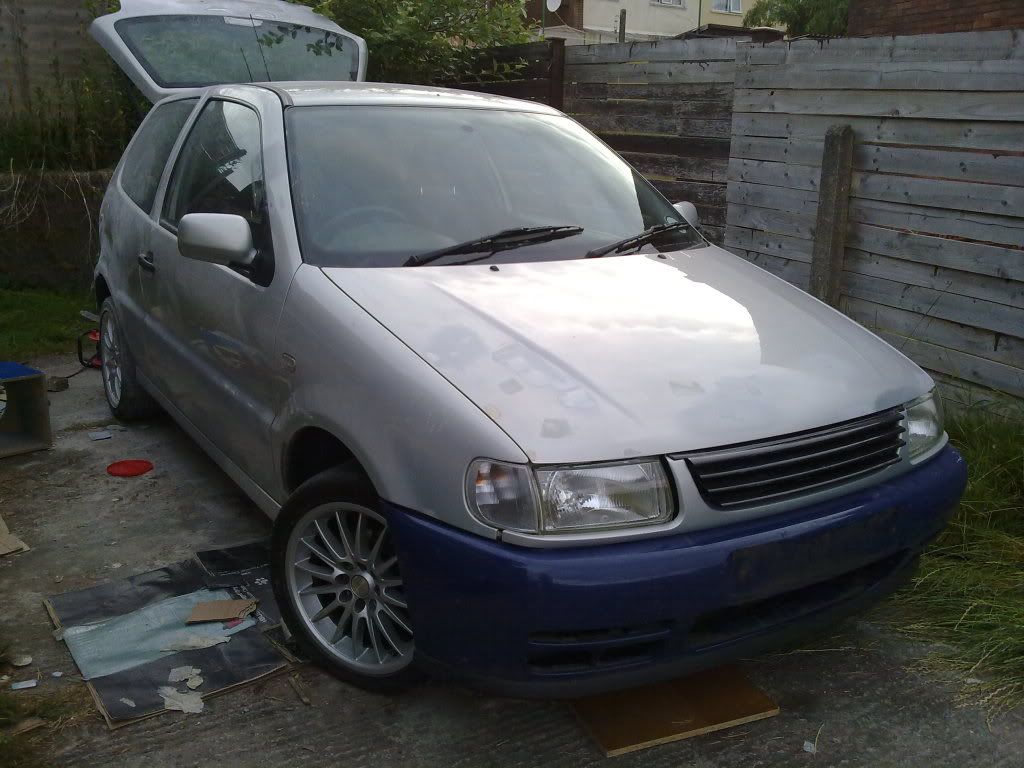
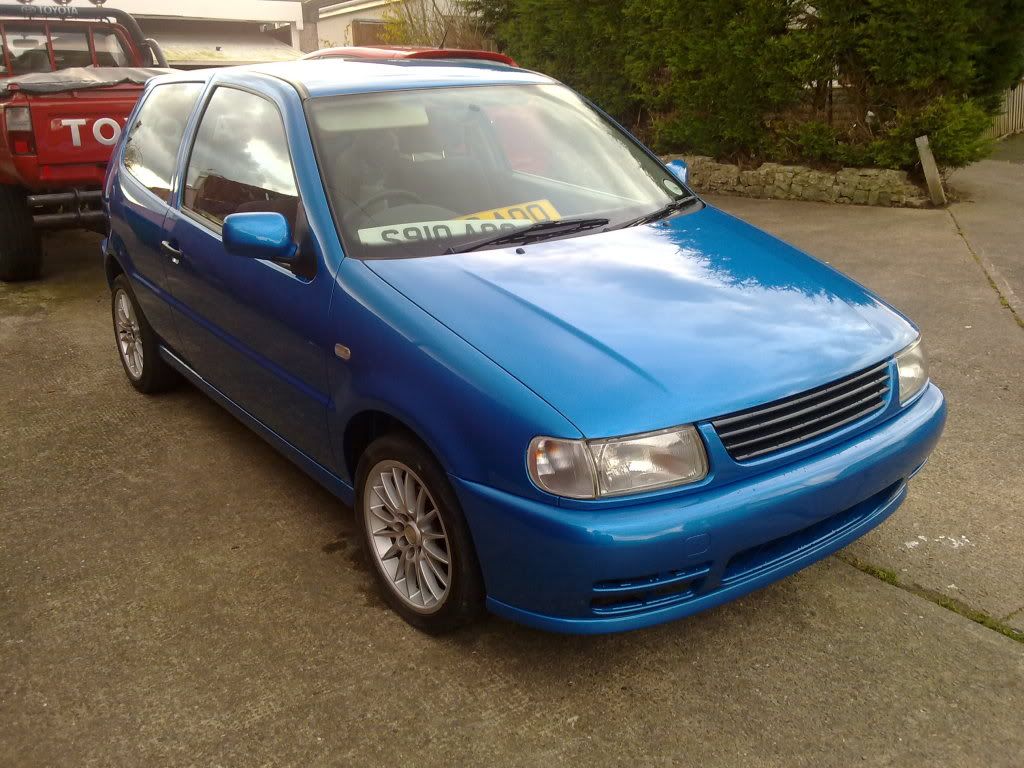
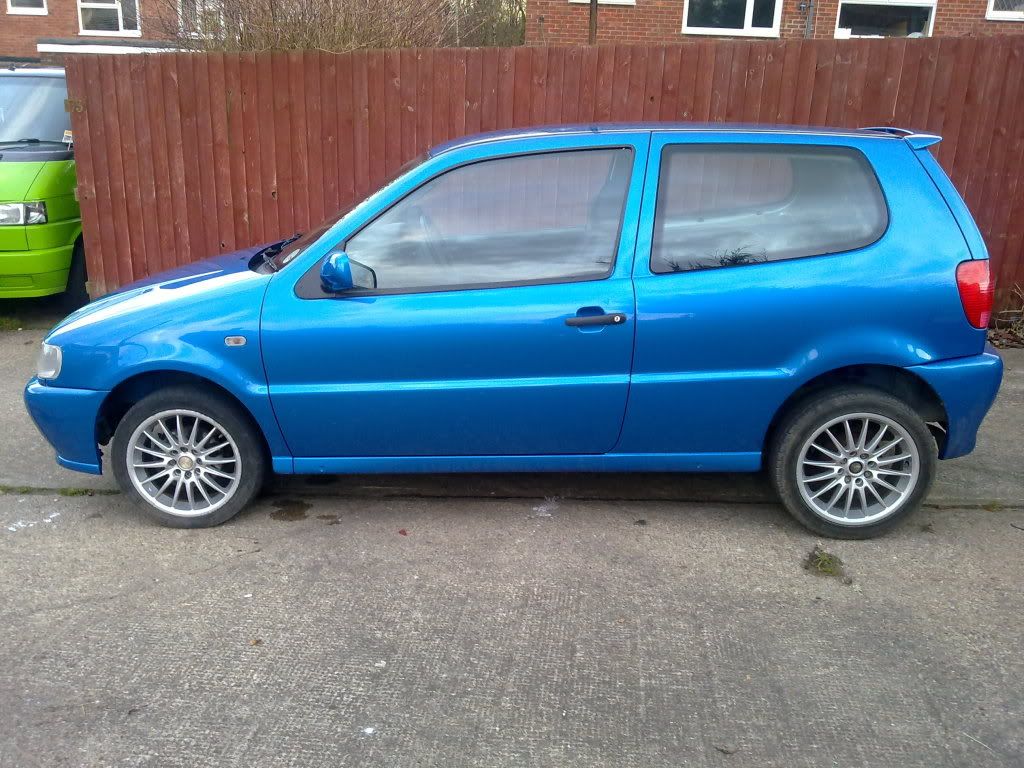
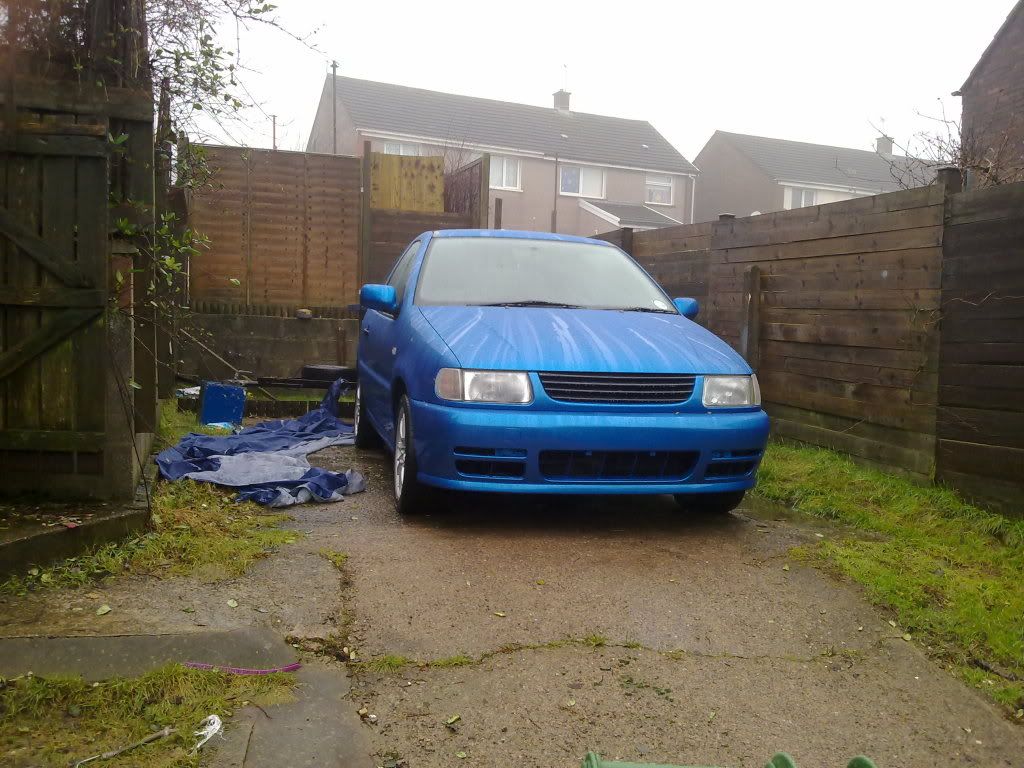
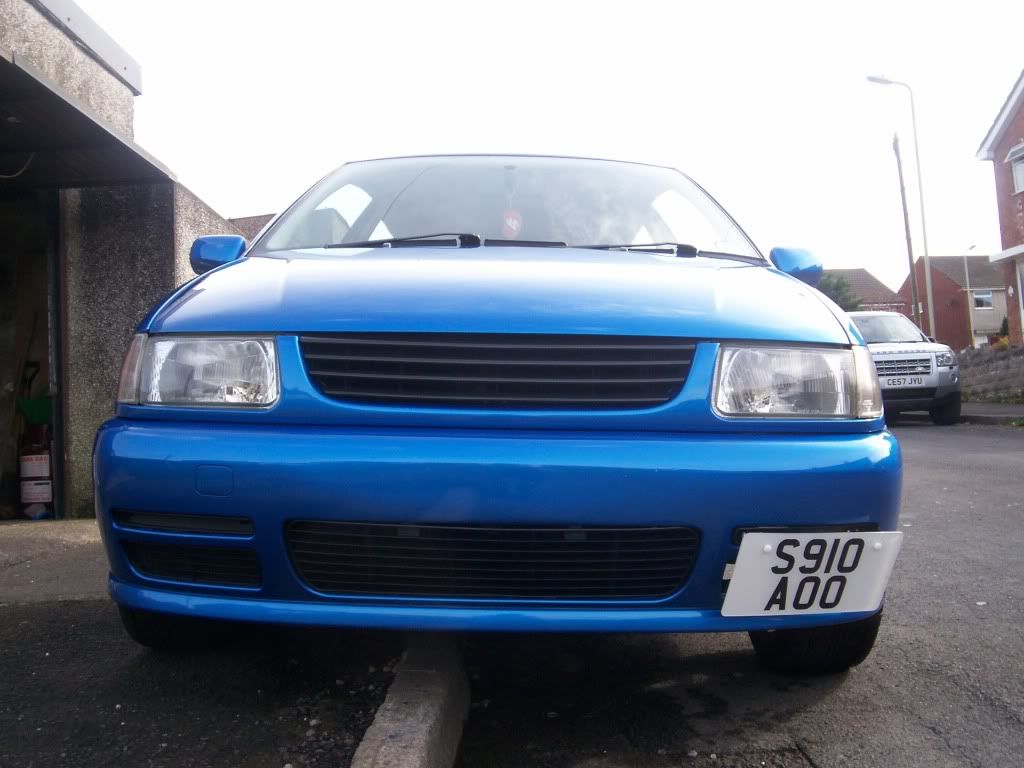
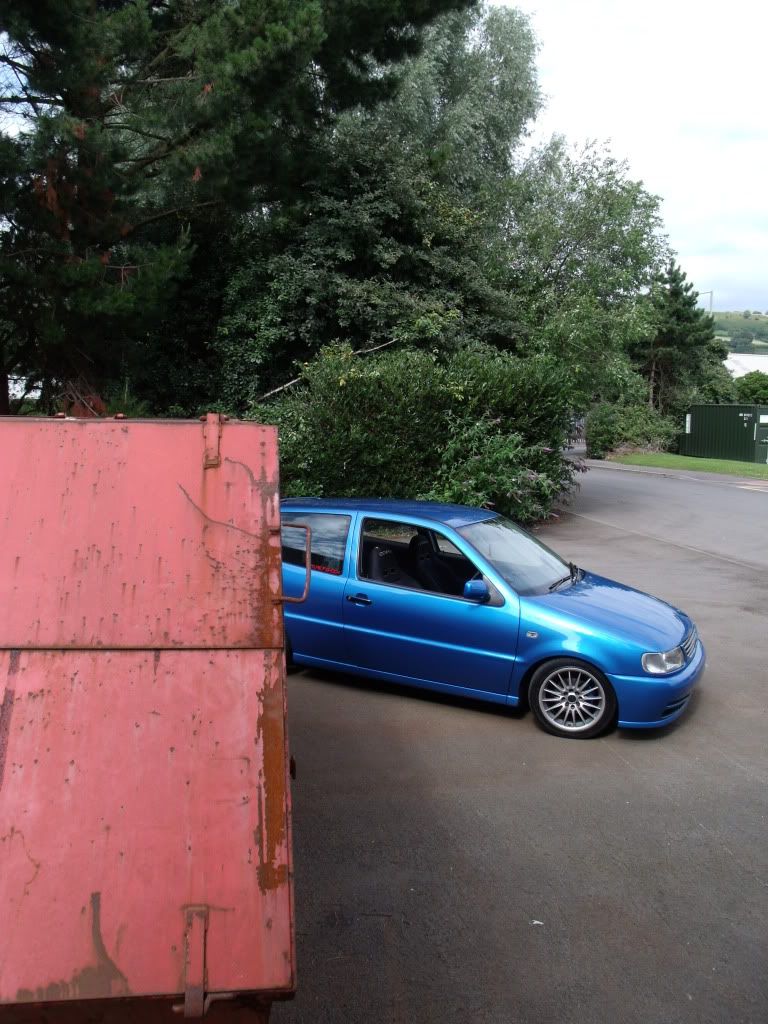
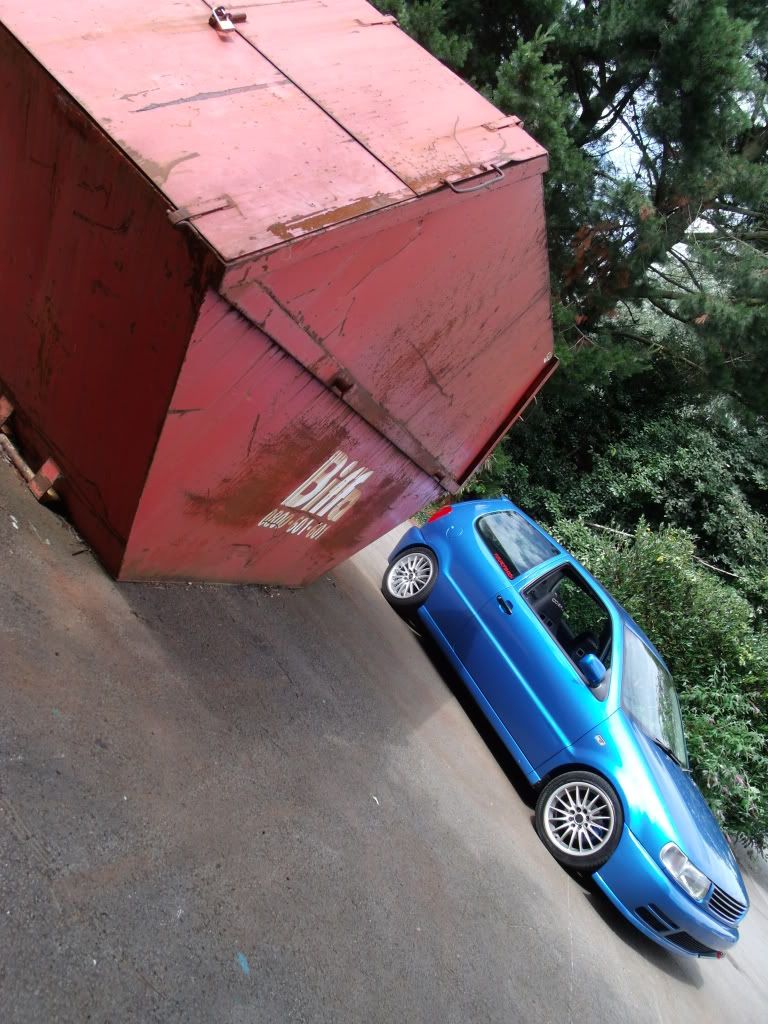
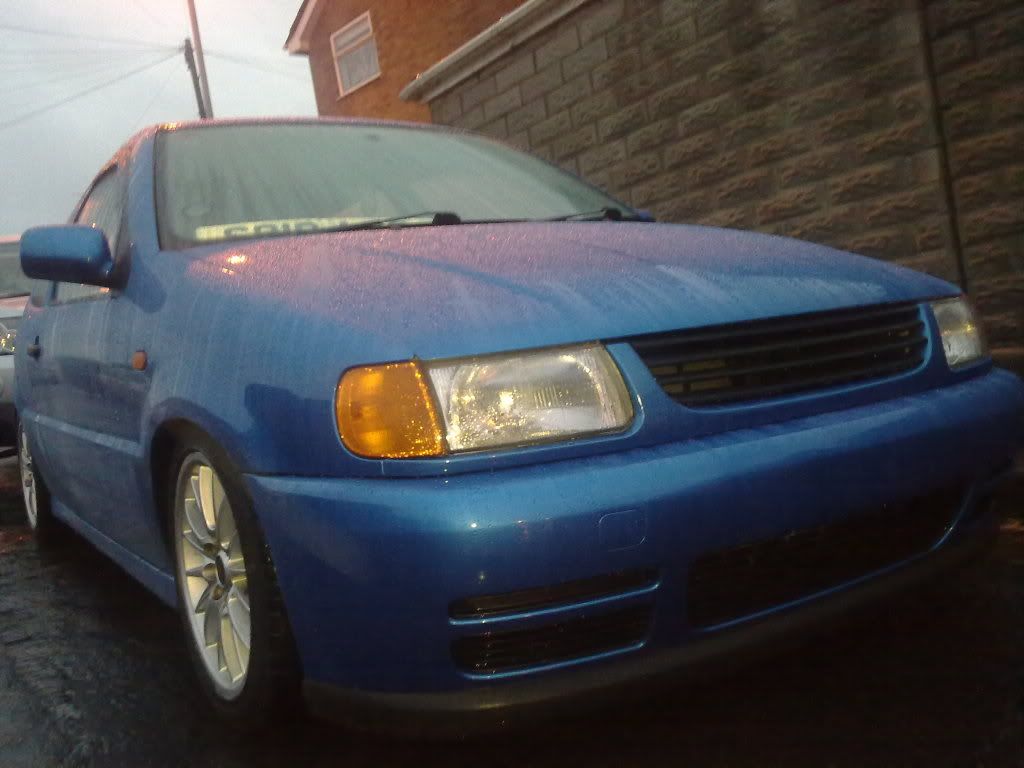
The day i bought my car..
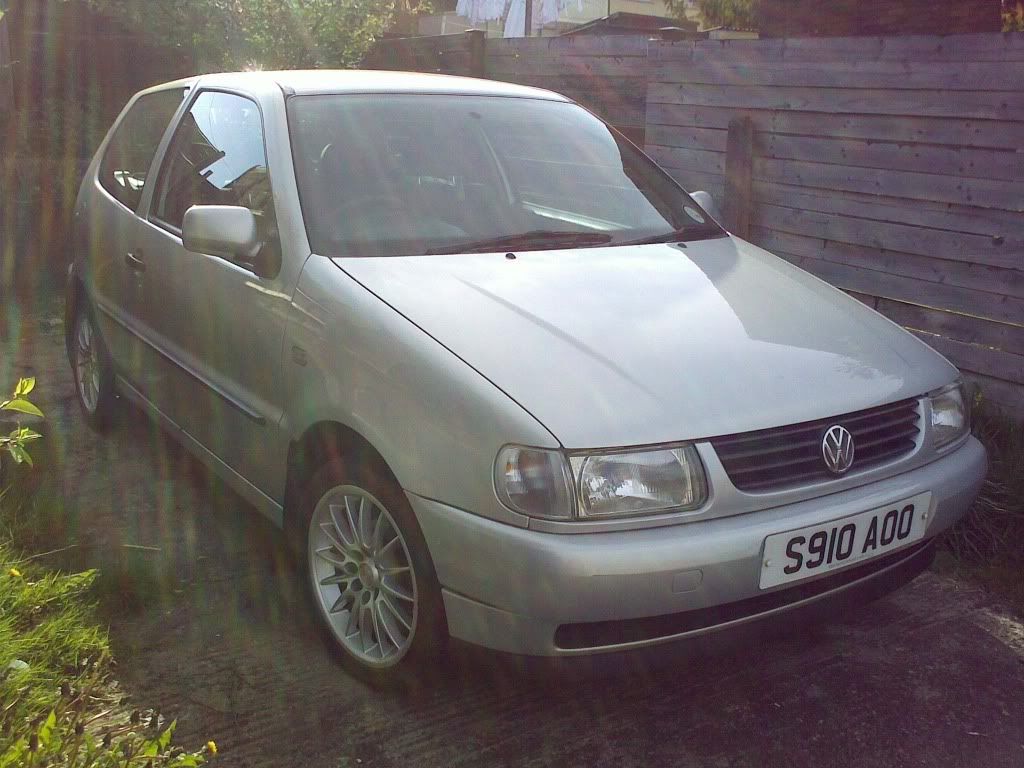

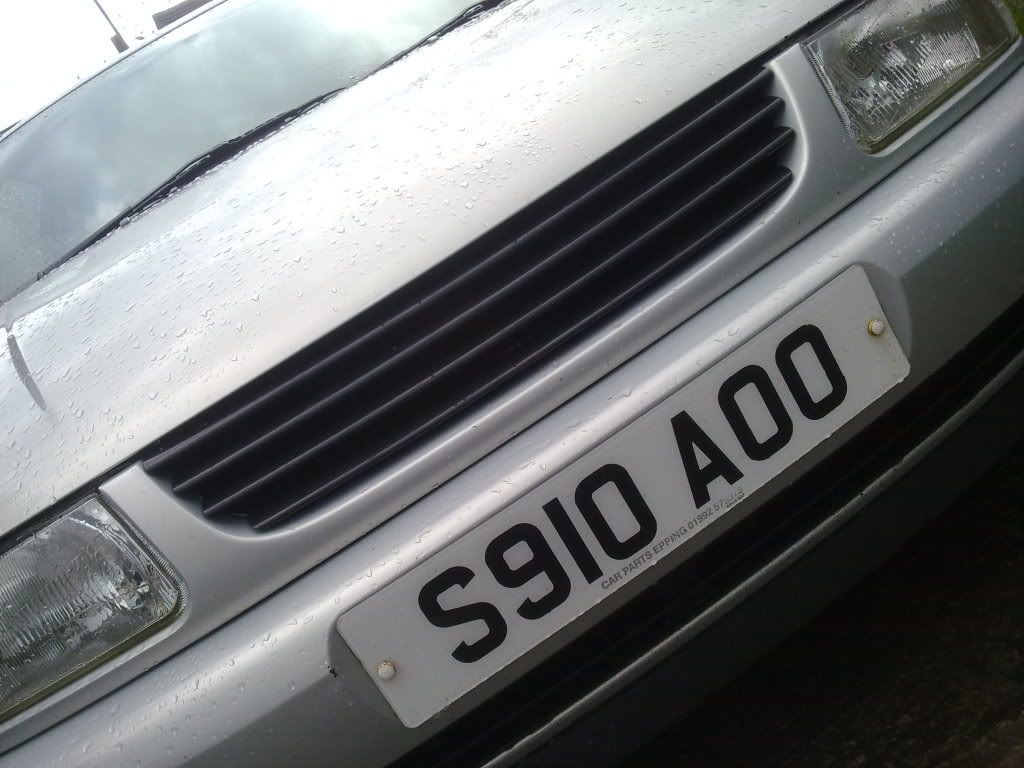
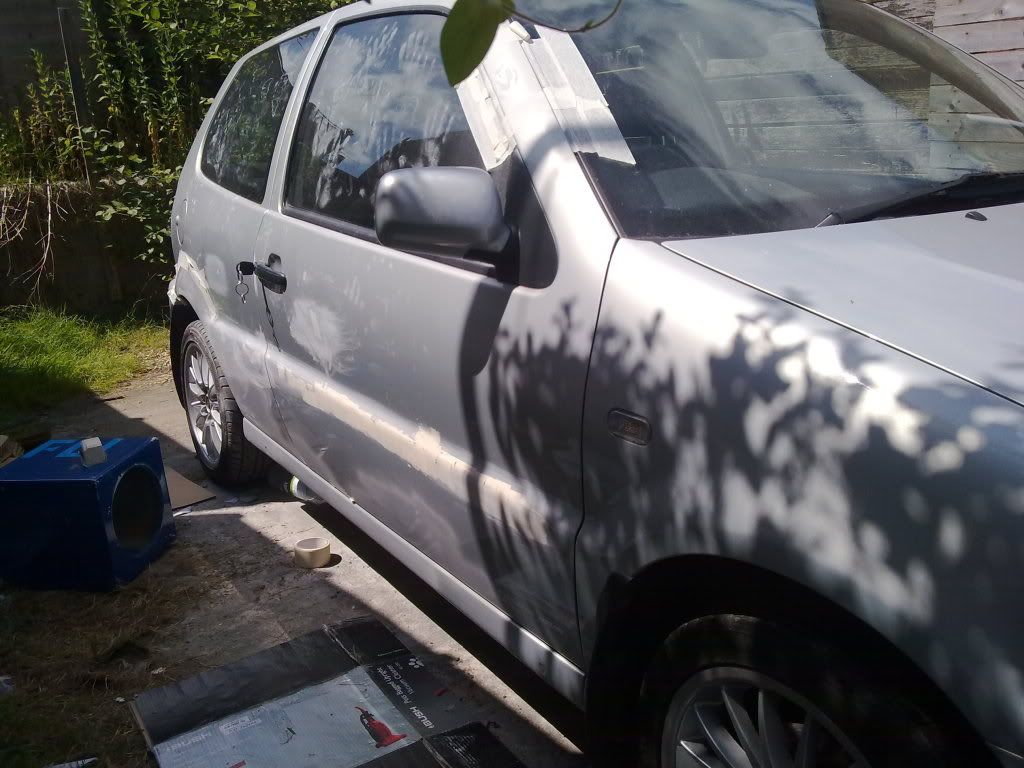
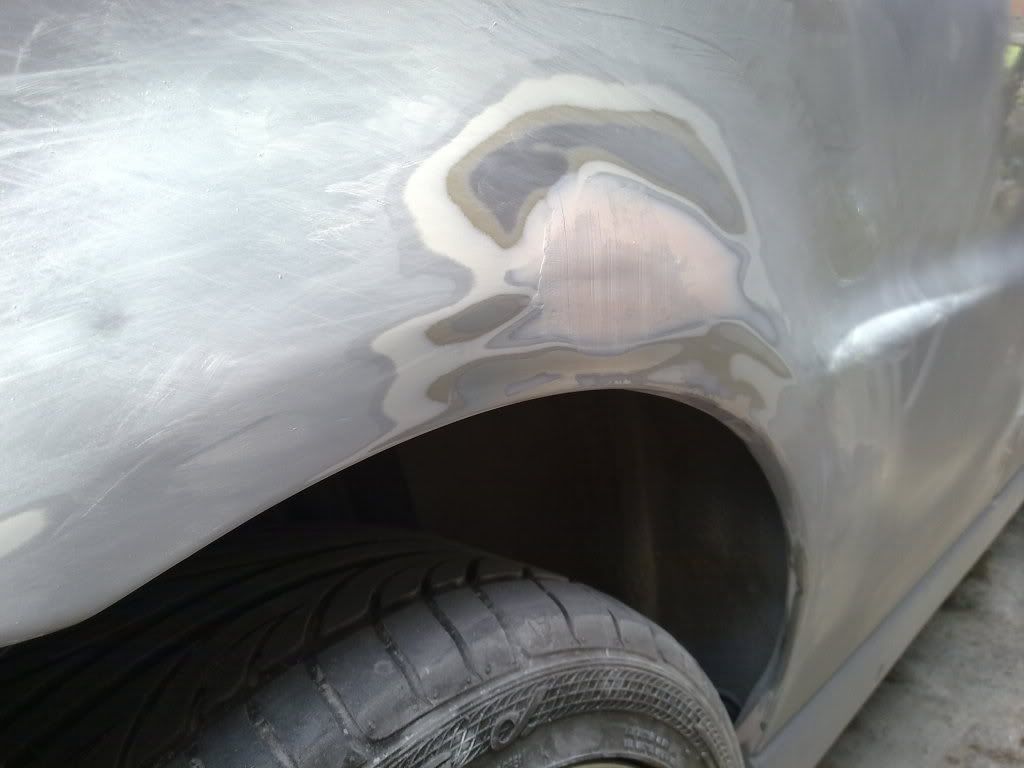
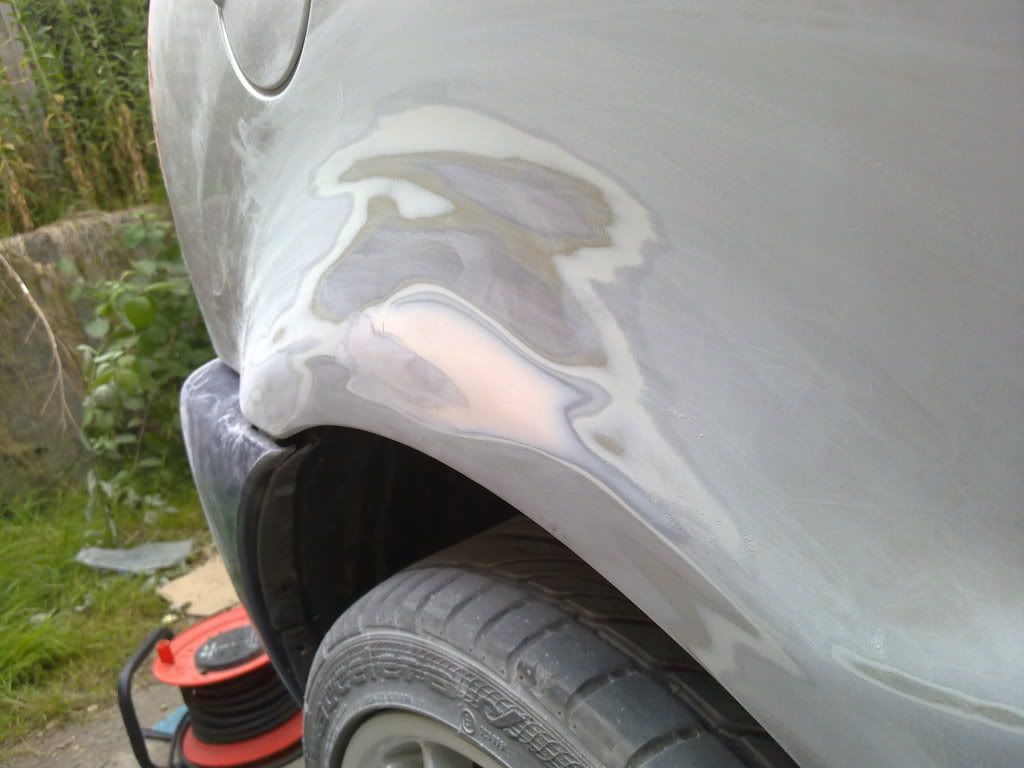
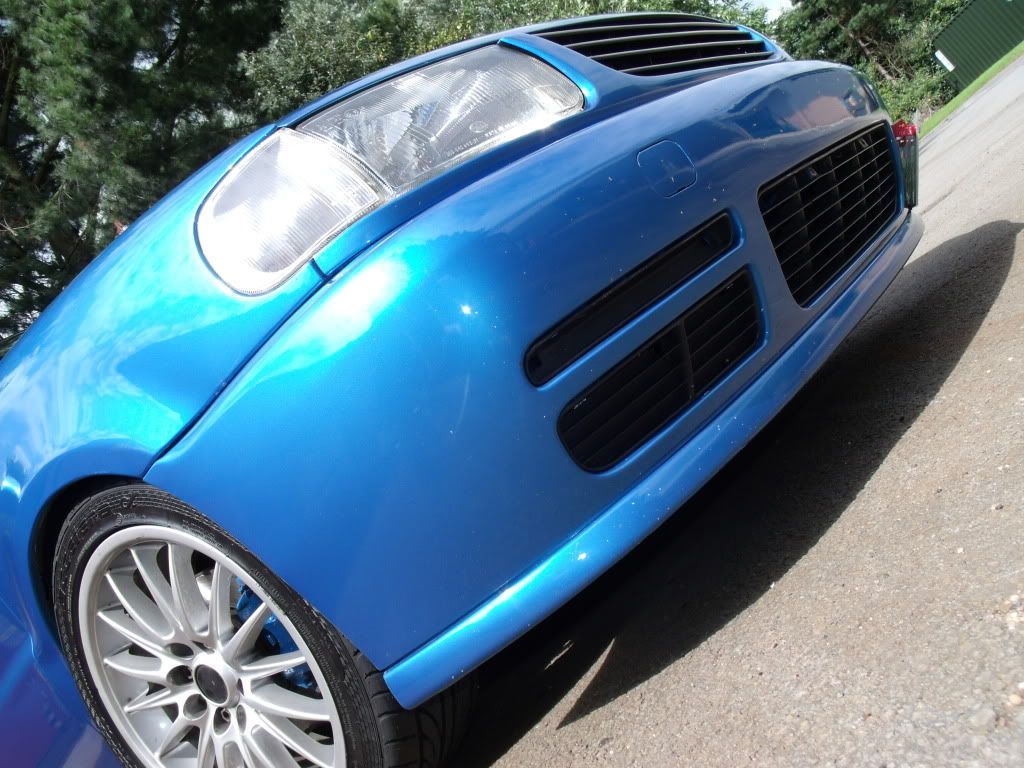
Bought a new de-badged grill.. shortly after i began on the body work and prep..

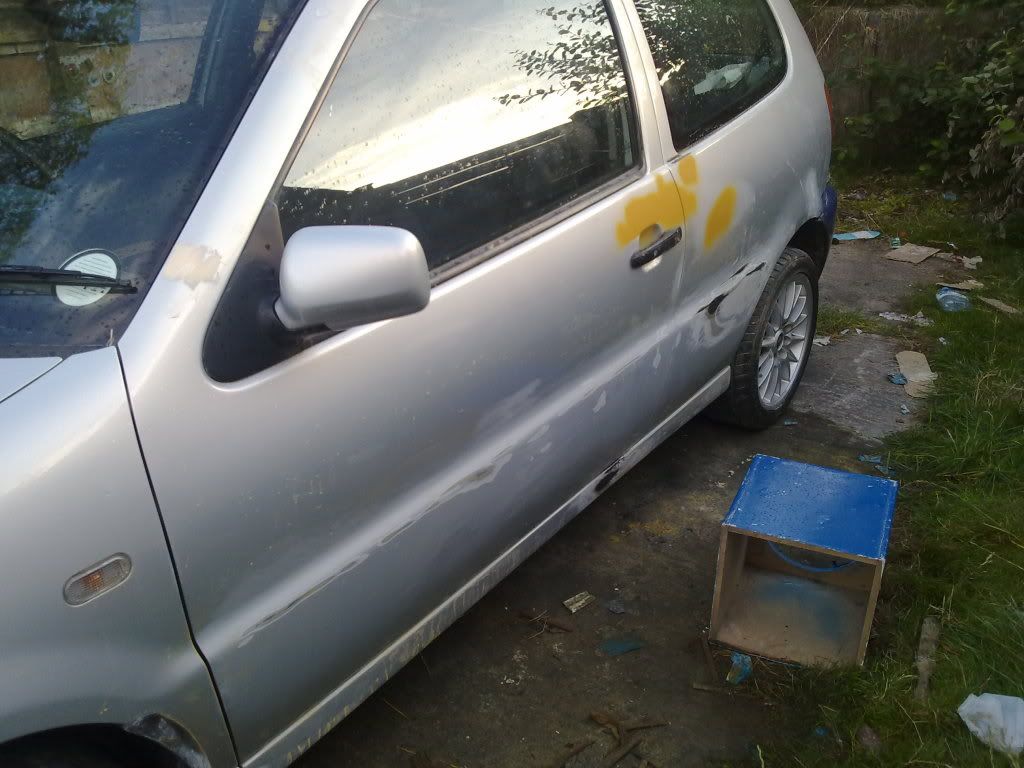
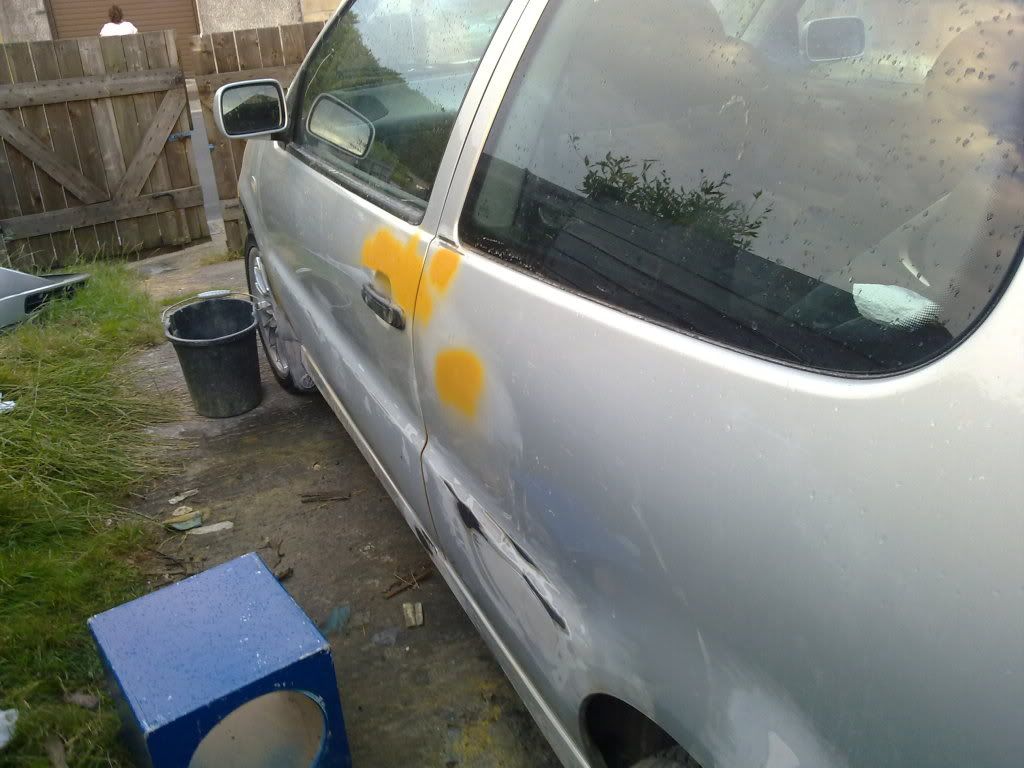


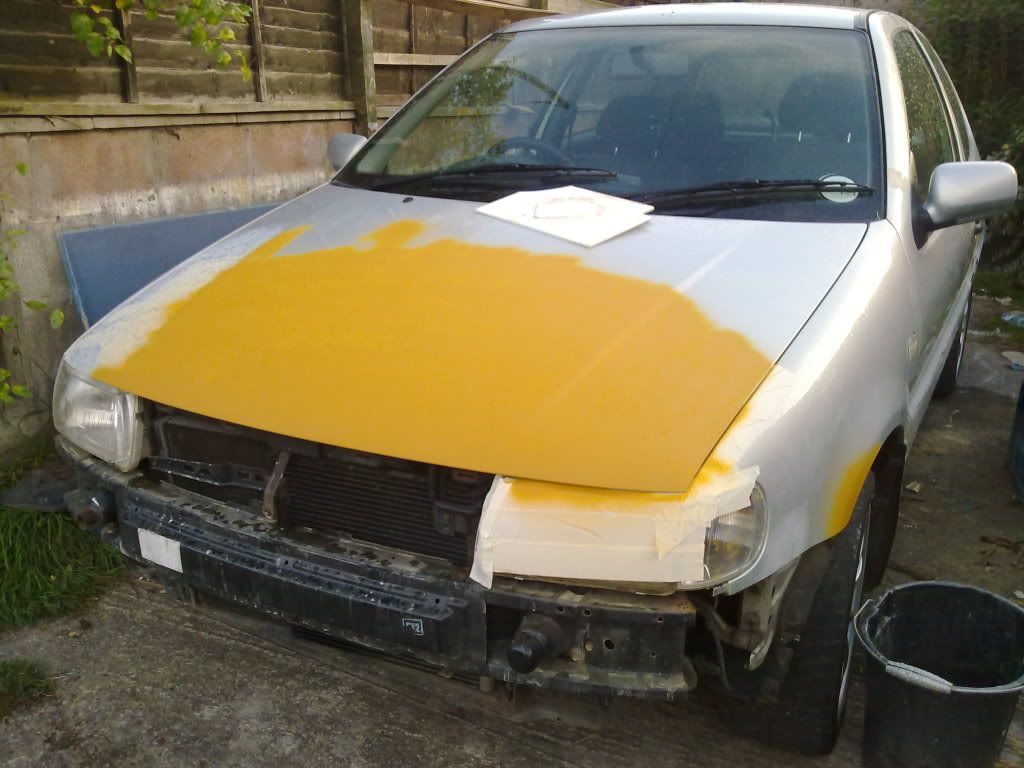
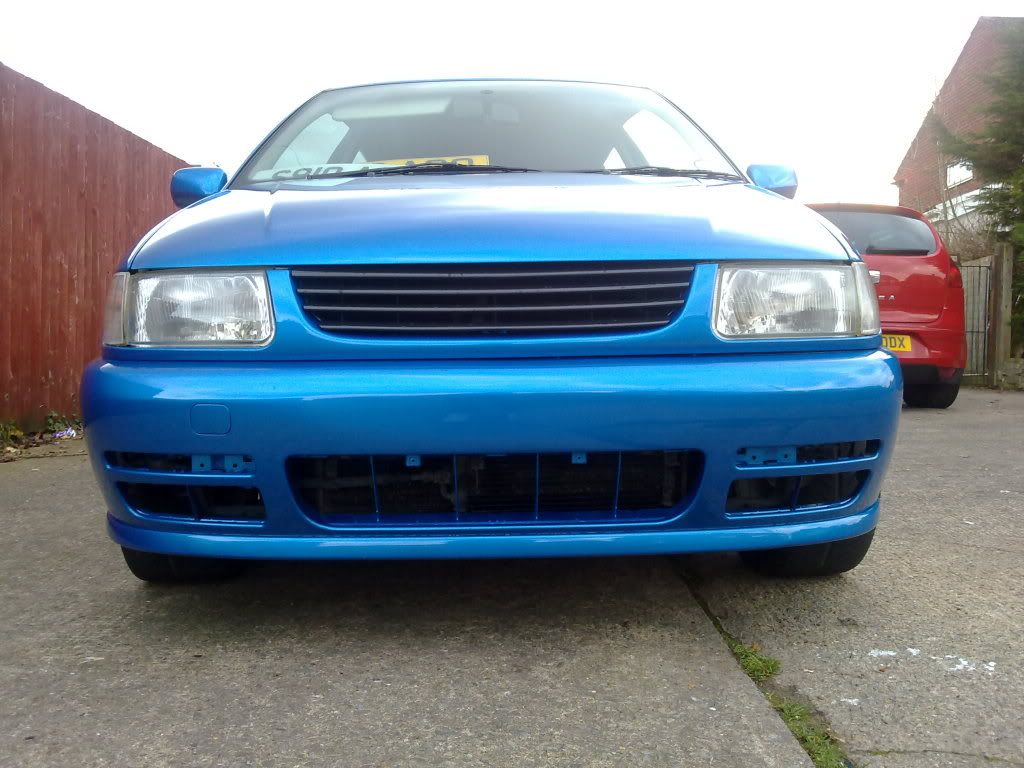
I bought myself a second hand 16v front and rear bumper, not in the best of nick but it didnt matter then as they were going to be worked on anyway..
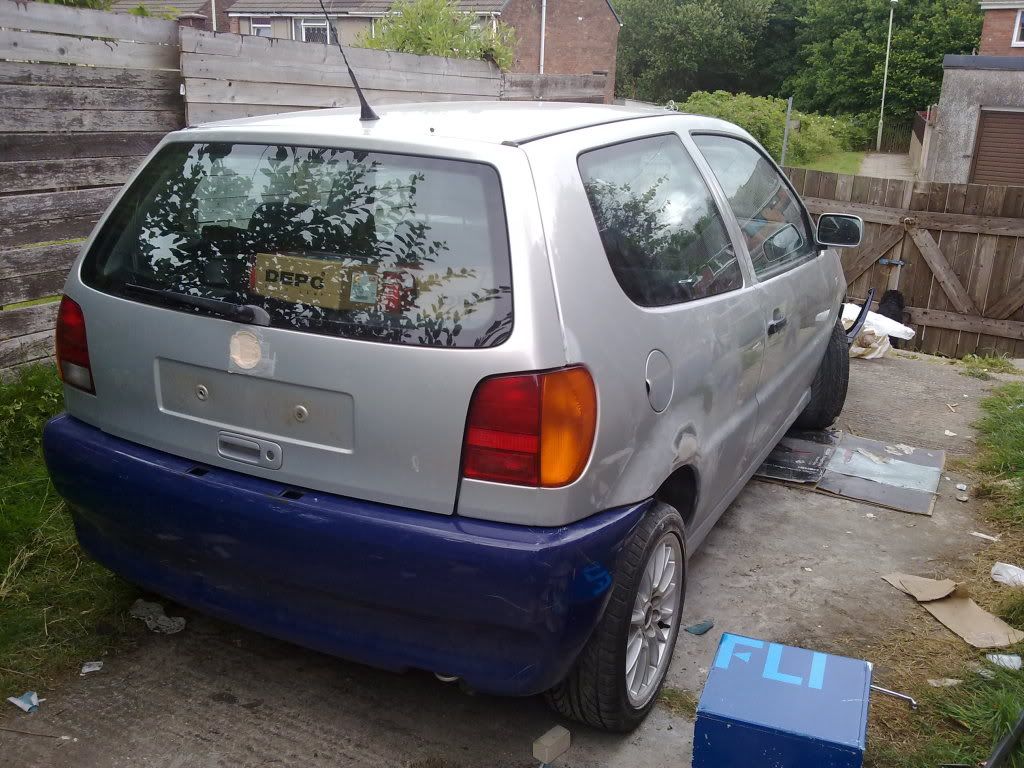
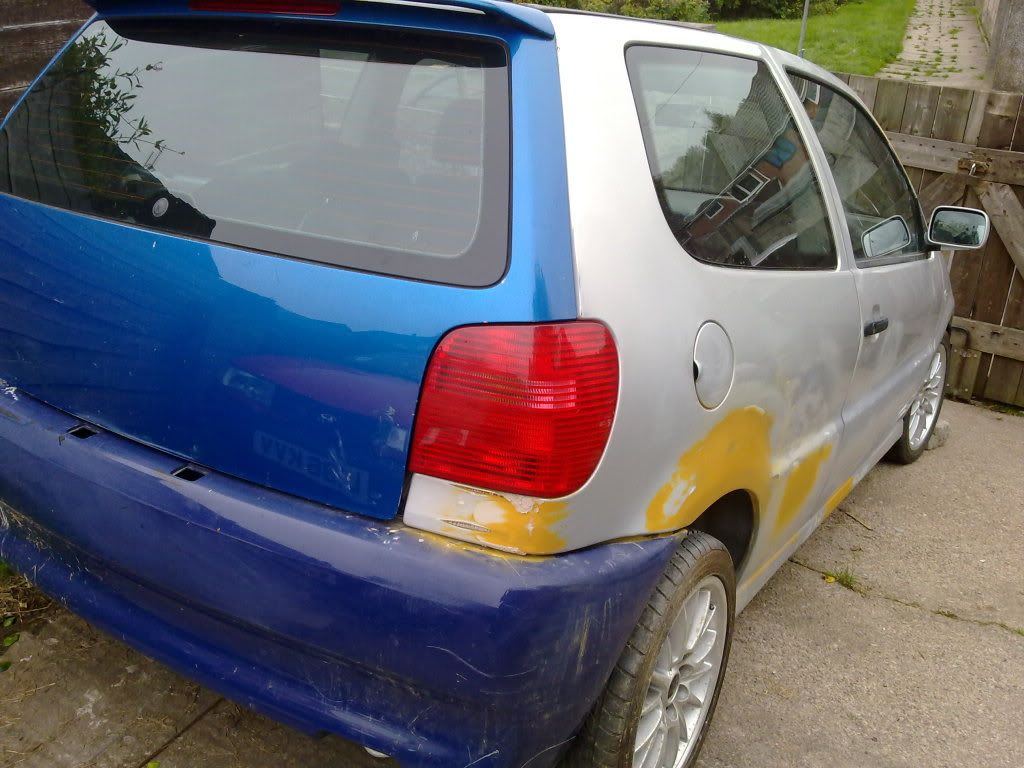
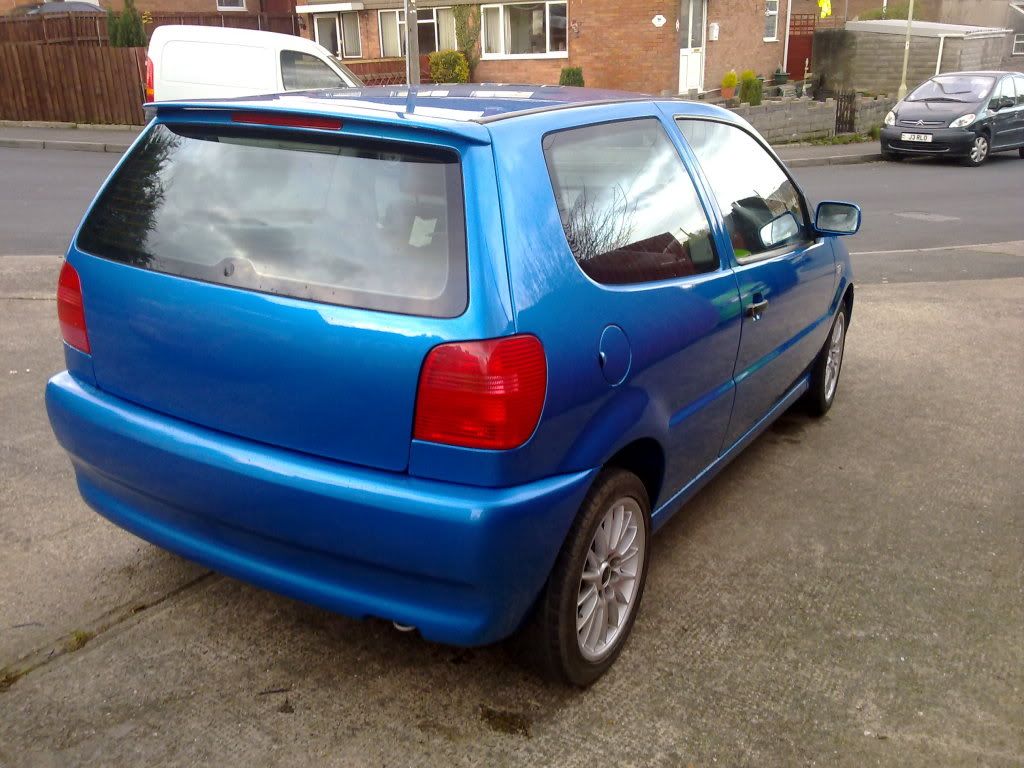
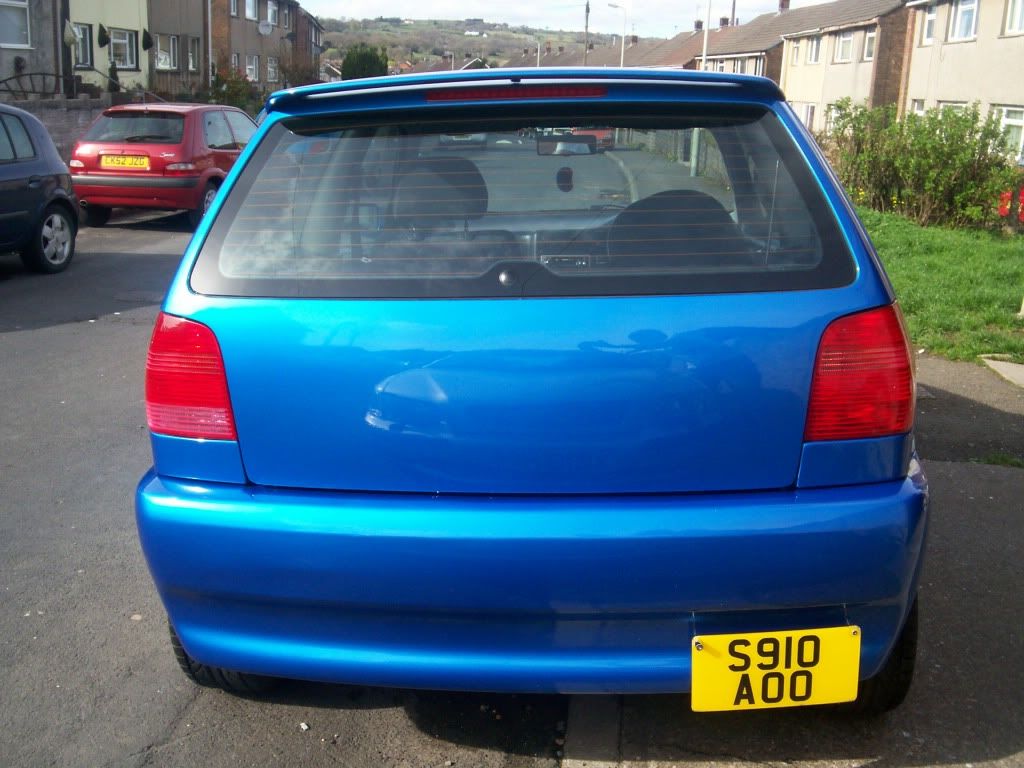
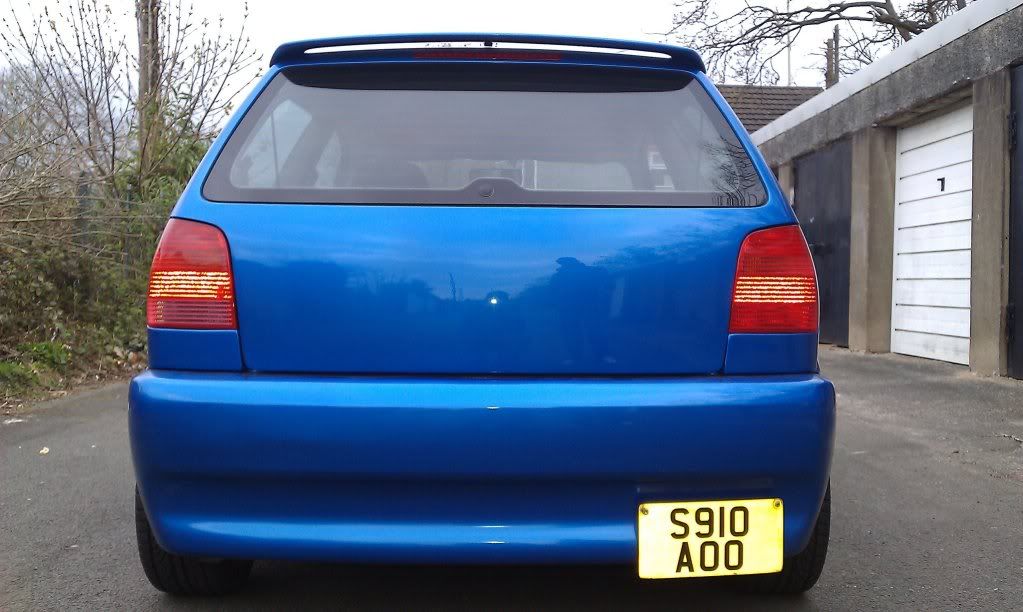
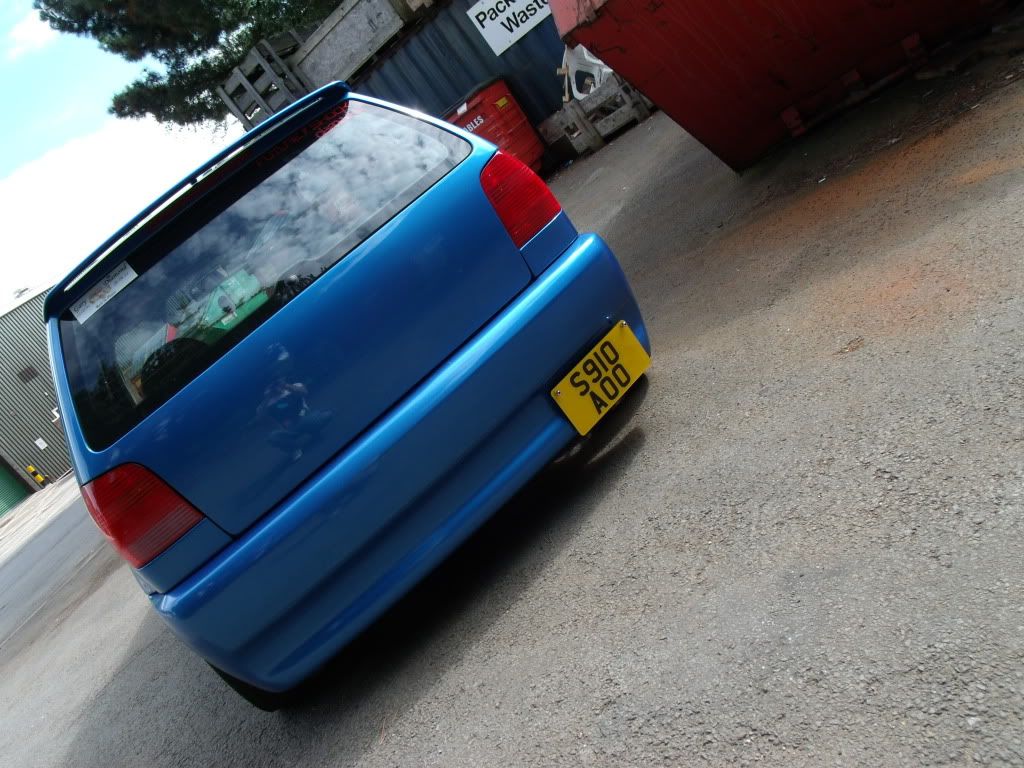
The original plan was to smooth off the original bootlid, but i found one that was ready smoothed professionally. Also it was a 6n2 rear tailgate rather than the 6n - but it fits the 6n fine..

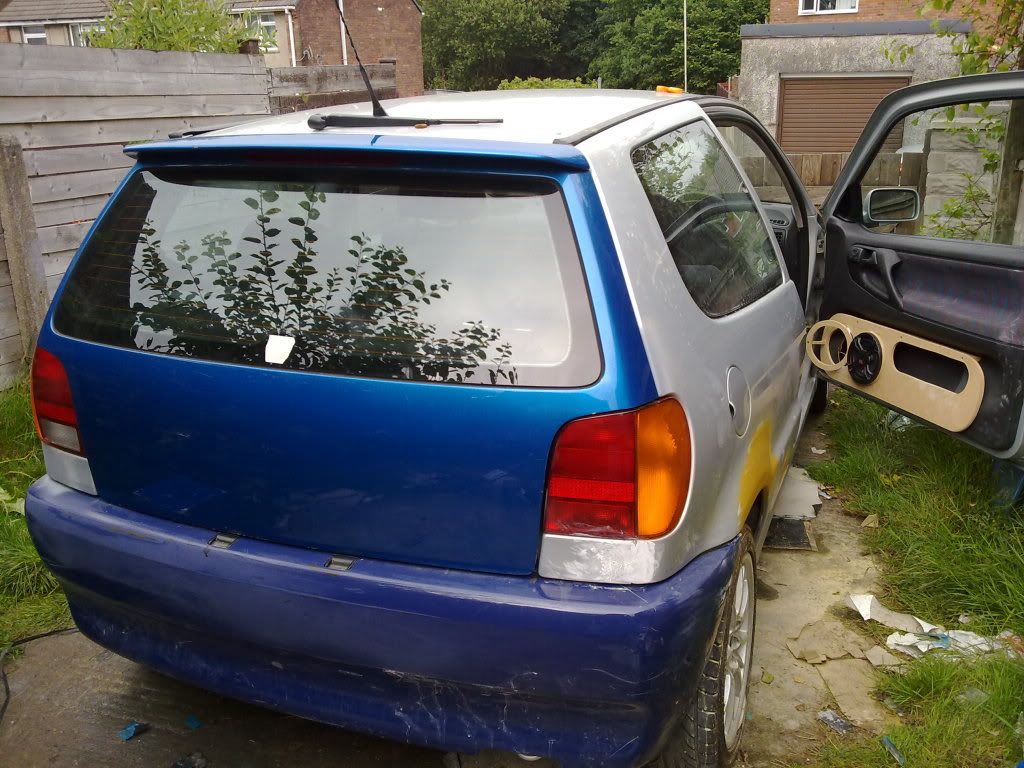
As a common mod on the 6n is to swap the rear lights for 6n2 ones, like a sheep i followed the trend, but they do work well with the new tailgate..
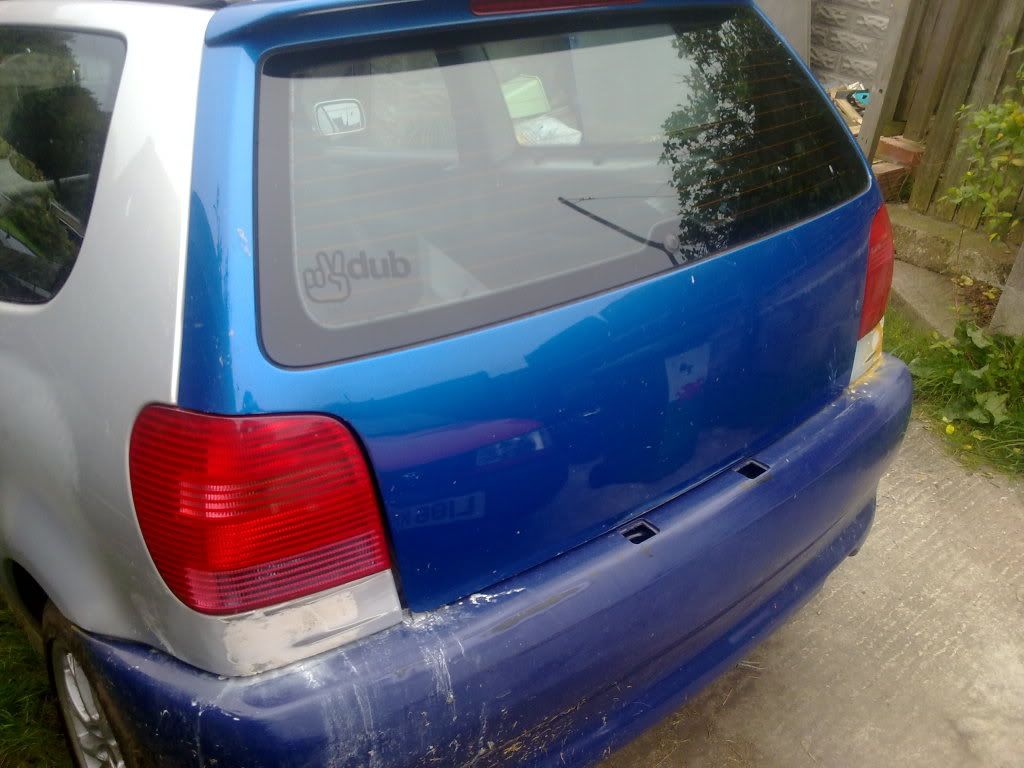
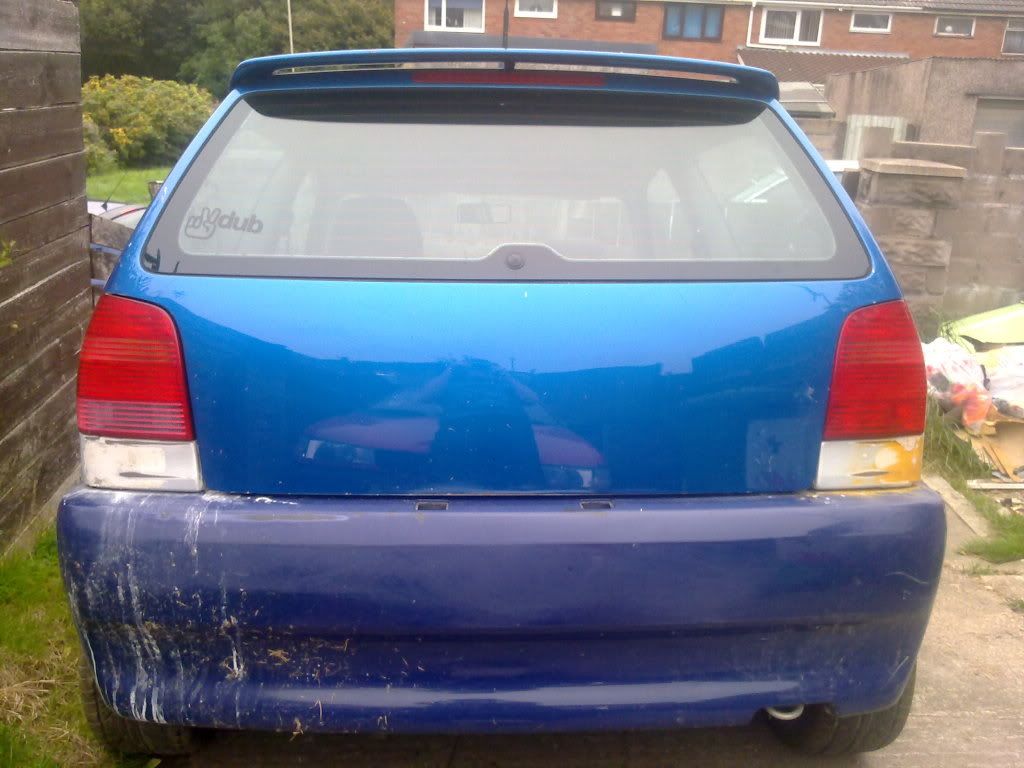
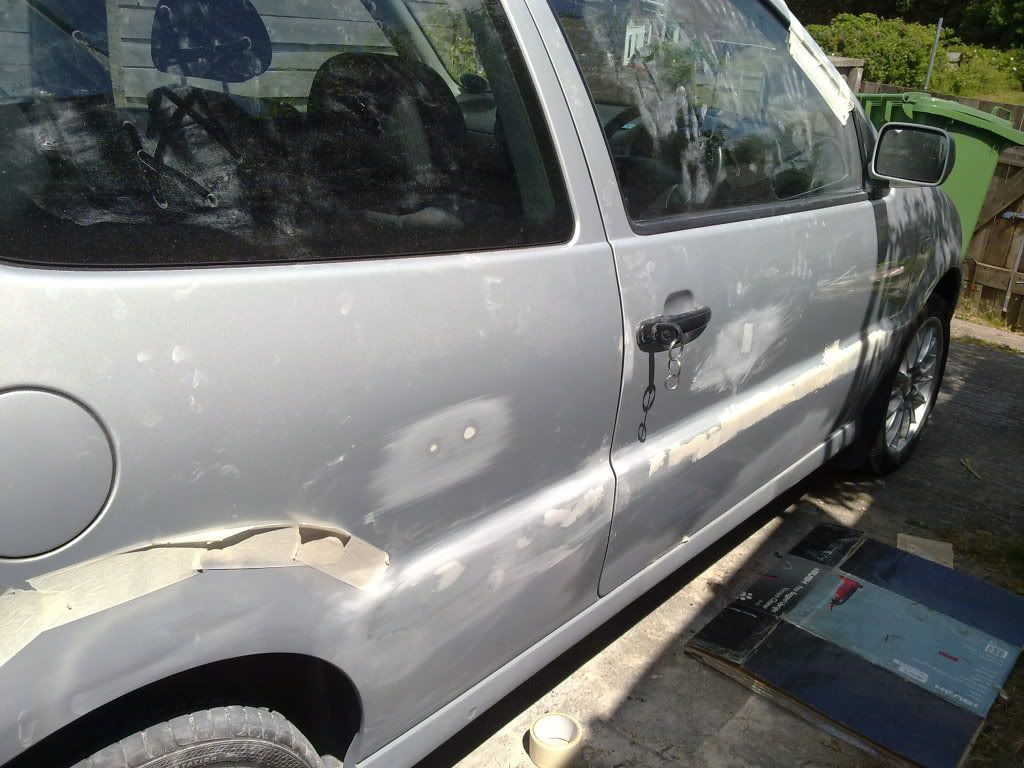
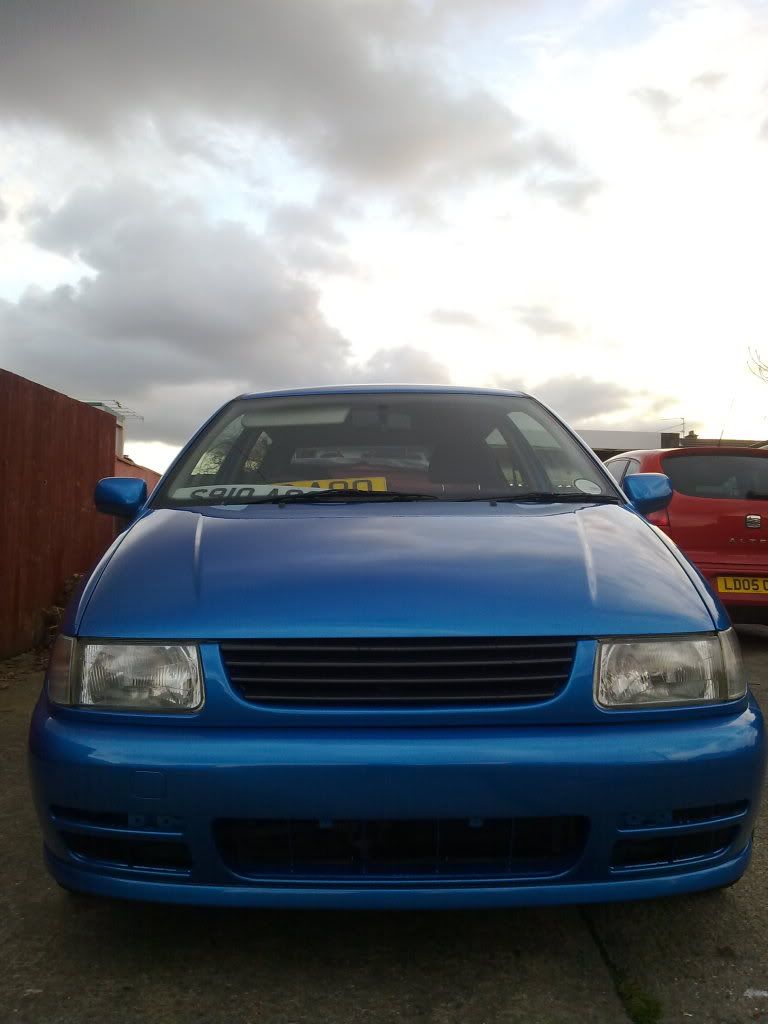
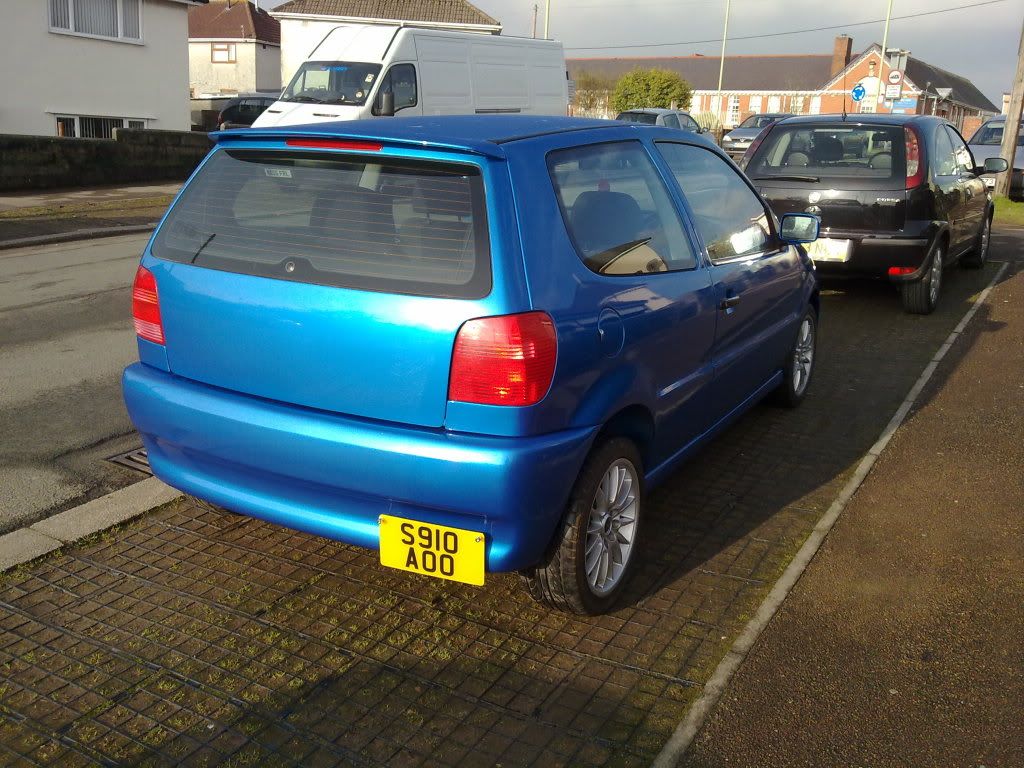
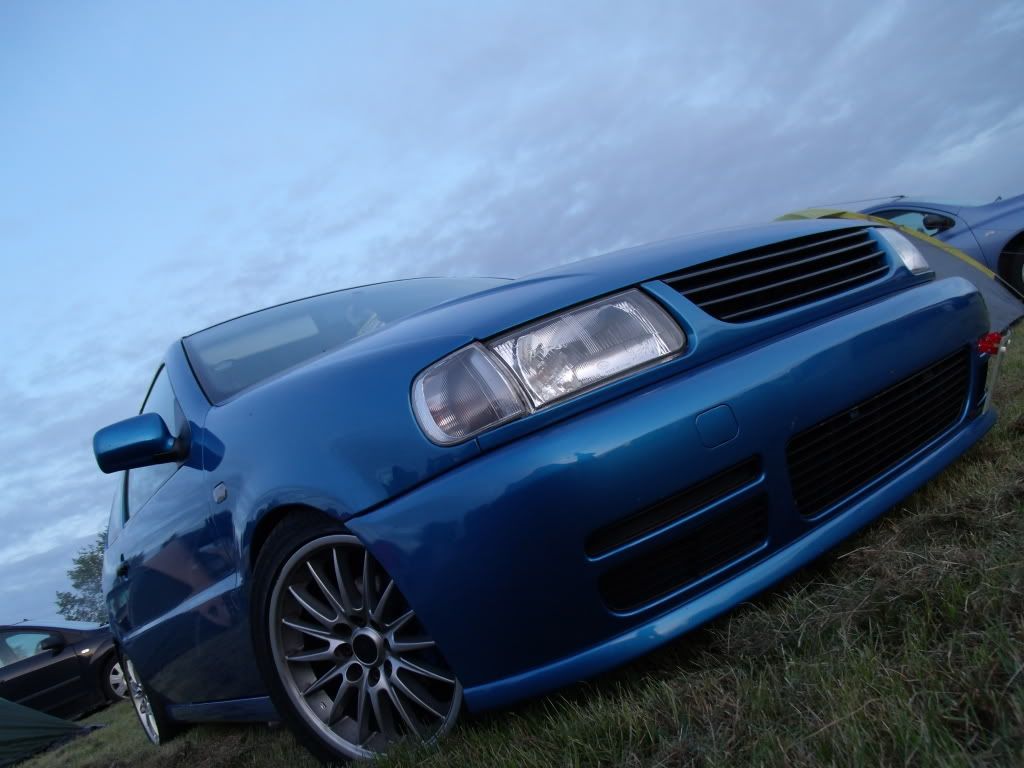
This is a picture i took the day the car left for the sprayshop..

I was going to have a respray in the same colour, but my mate sent me a link to another colour that had to be used on my car.. Vauxhall 'Arden Blue' - From the VXR Models.
Images i recieved from the spray shop..
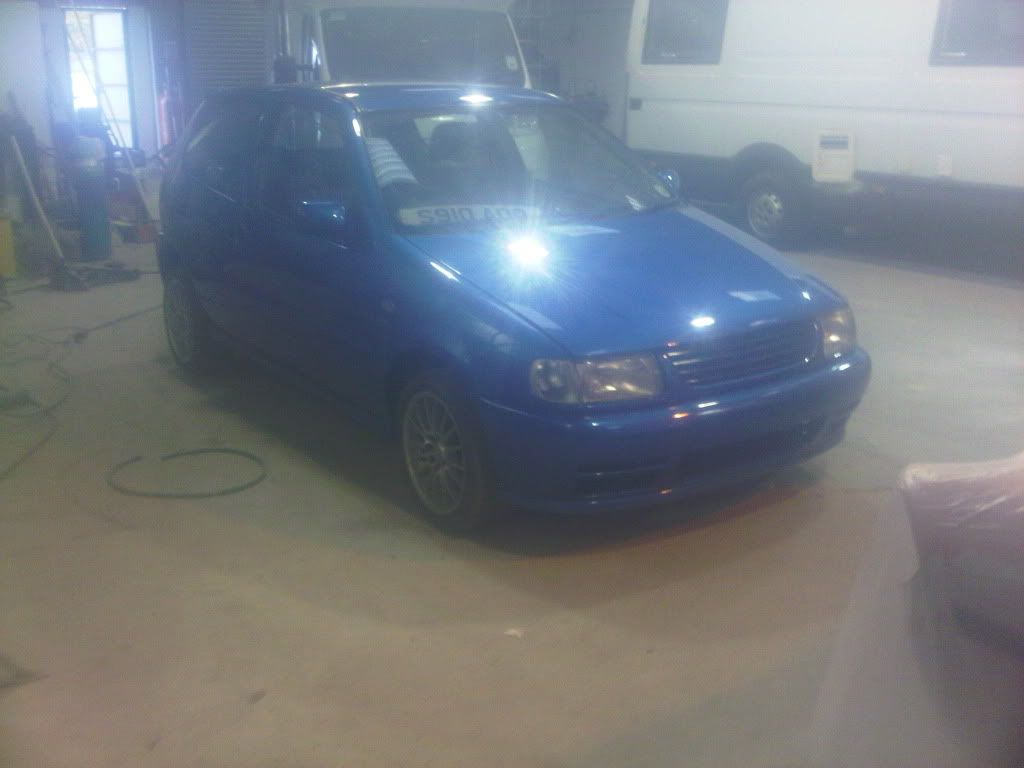
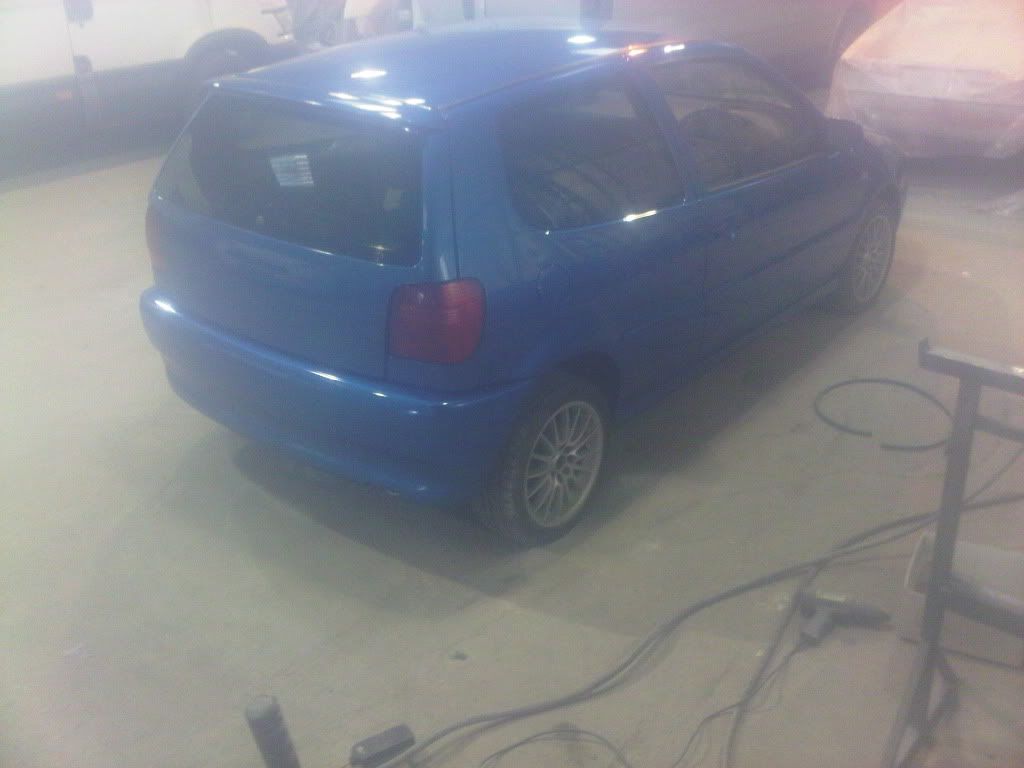
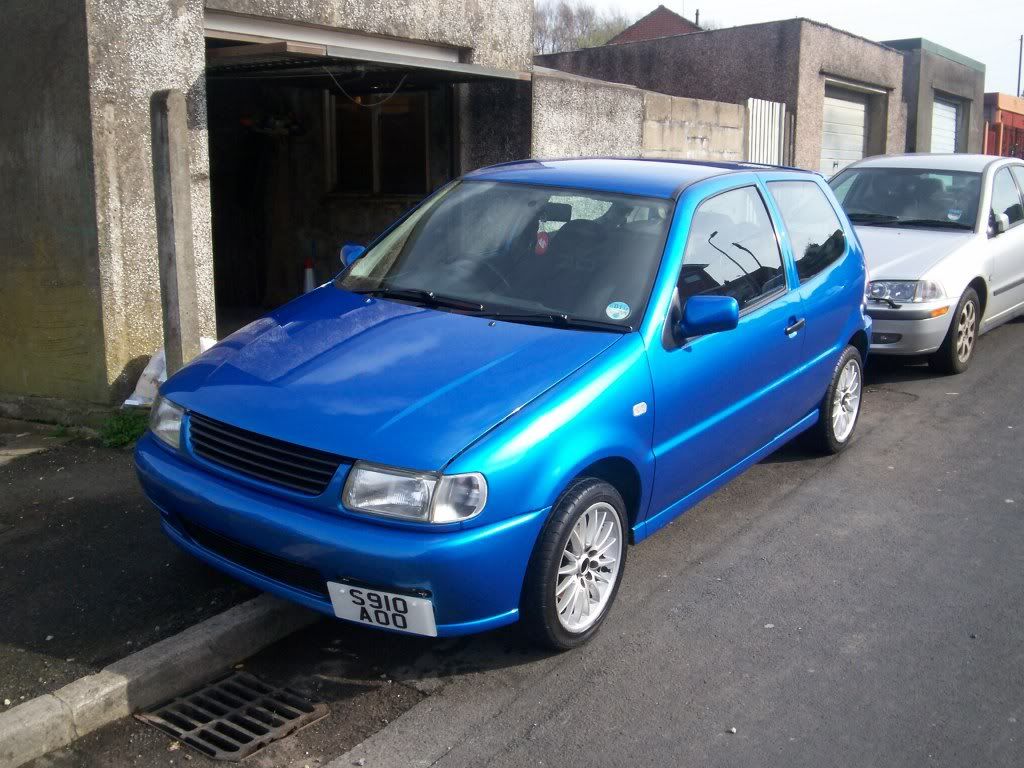
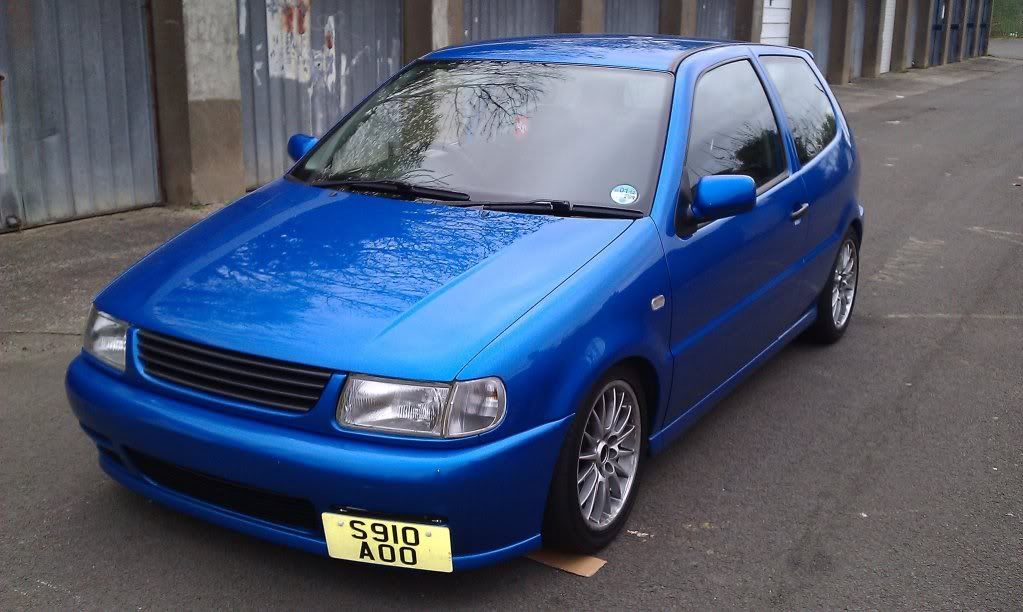
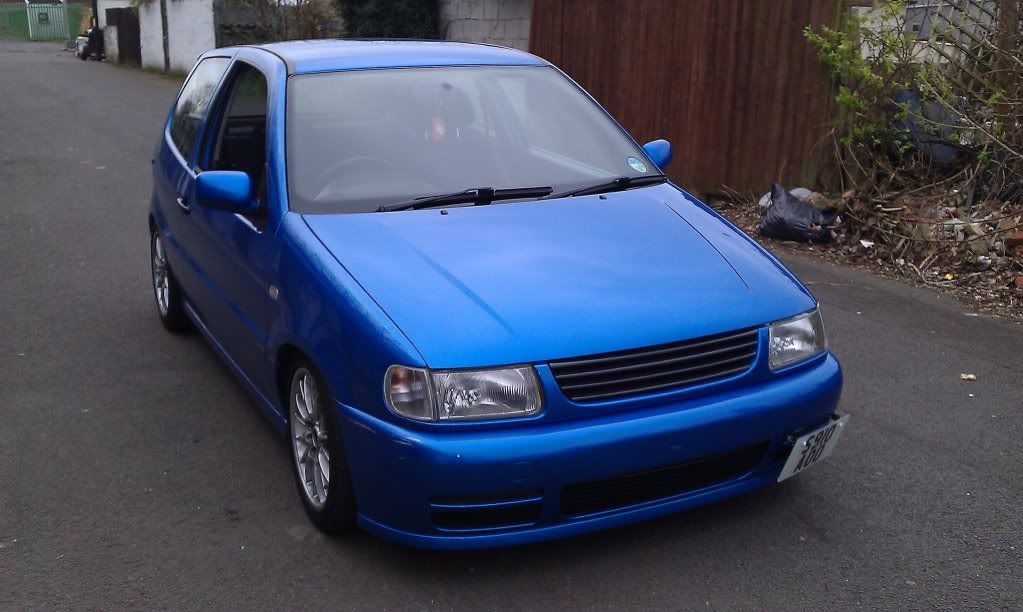
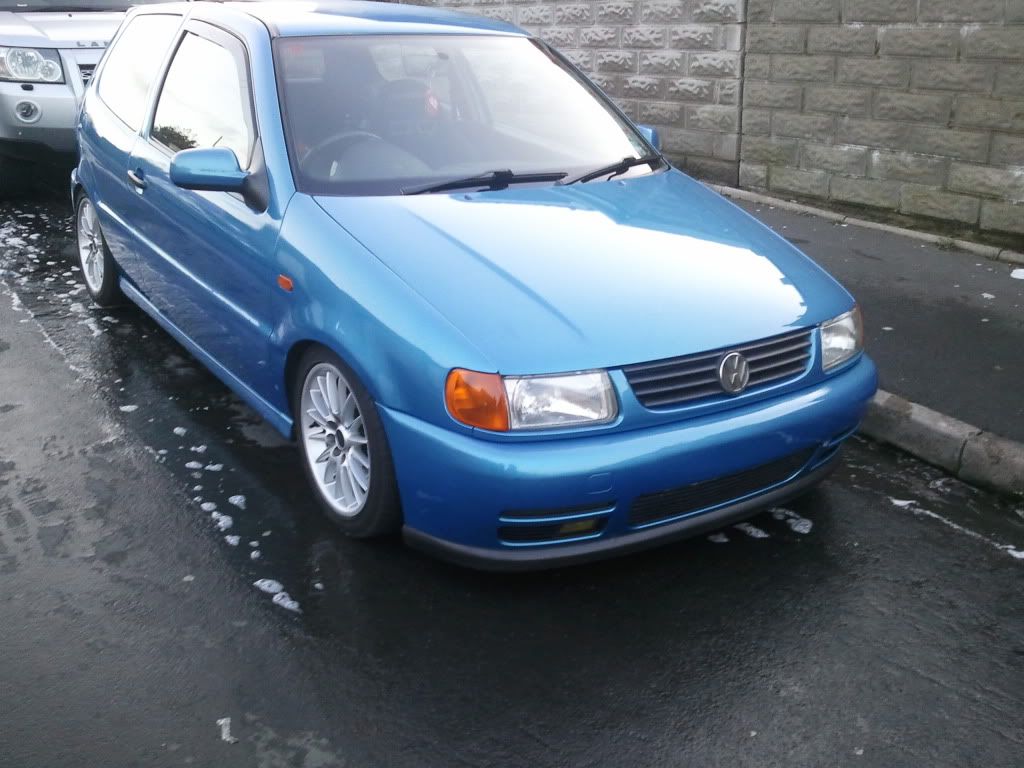
First day i saw the car back from paint. Love this colour so much, think it sets the car off well..

Car was then placed undercover for about a month or so as i hadn't passed my test at this point..
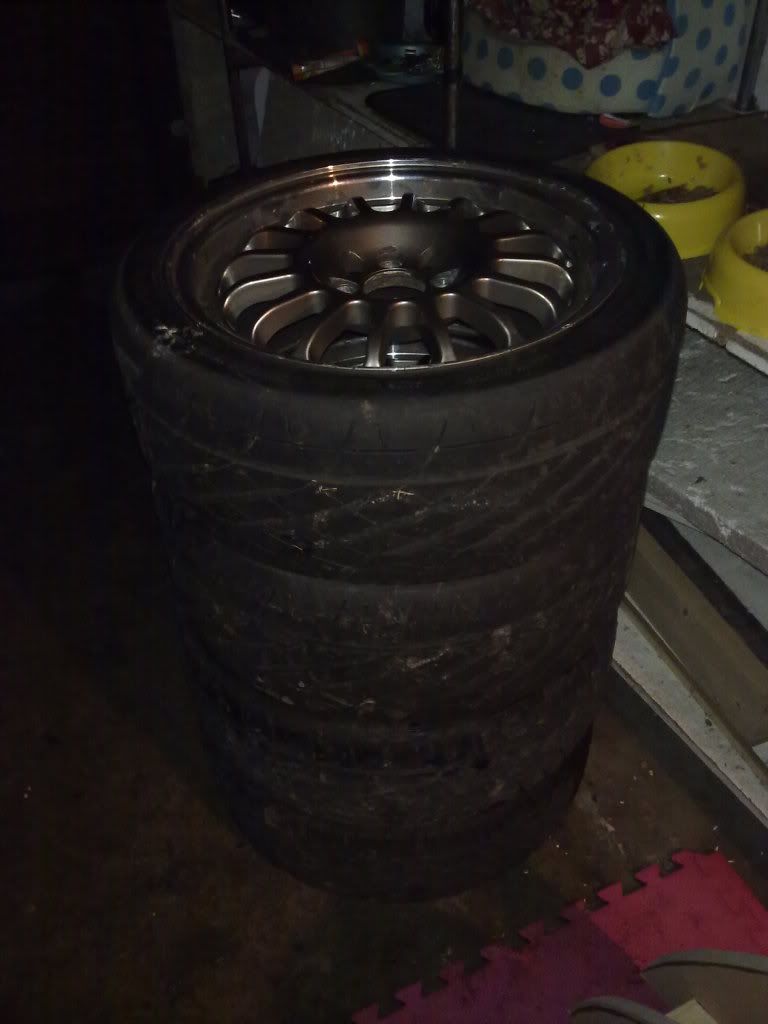
Bought some pretties for the car.. Needed refurbing but they were cheap as chips anyway.. Rota Track R's

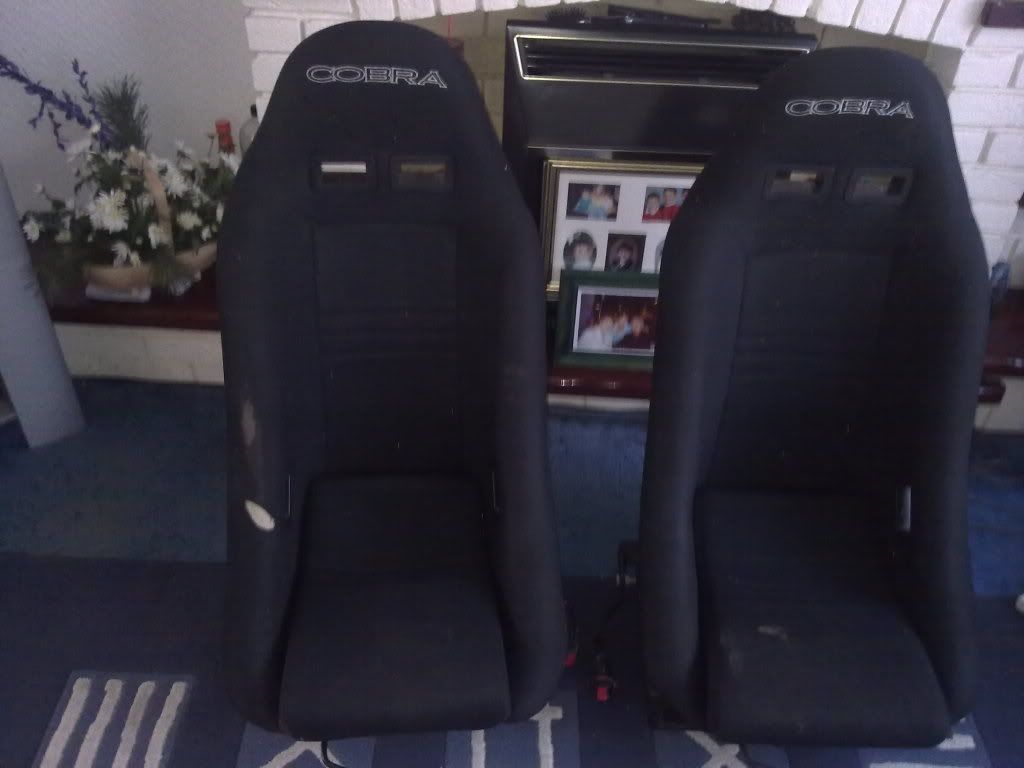
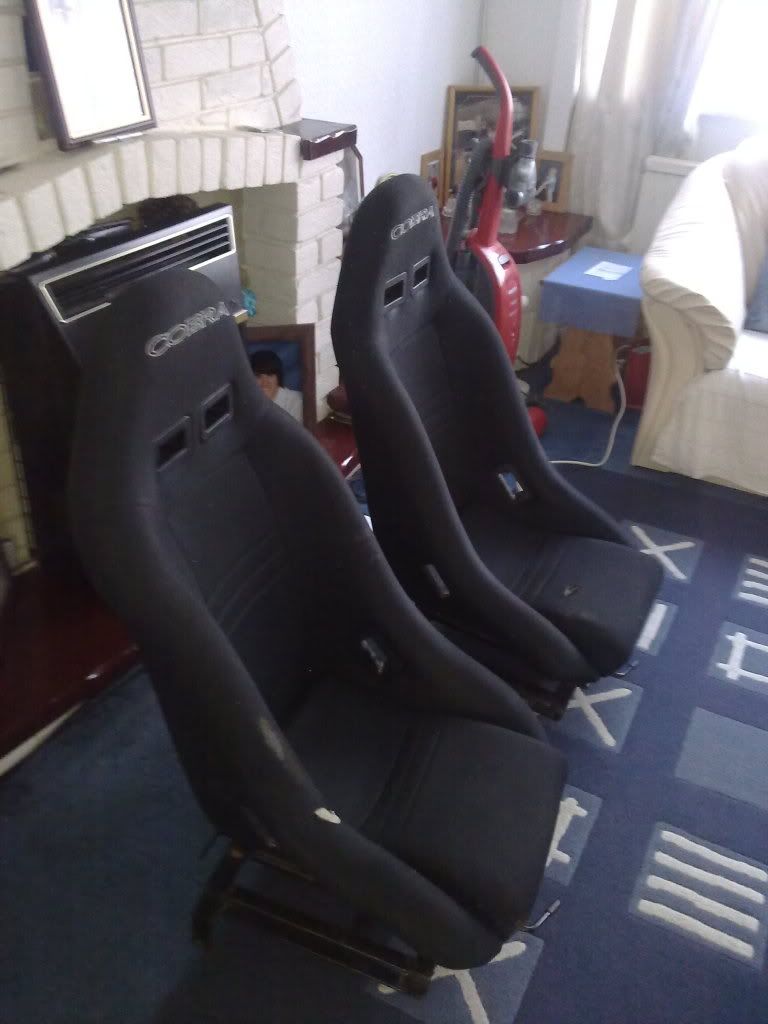
I had the lips re-polished, pictures are later in the thread. Gunna do things in order of how they happened.. Next i found these babies cheap so i got these too.. Need re-trimming but this would have happened on brand new seats anyway..
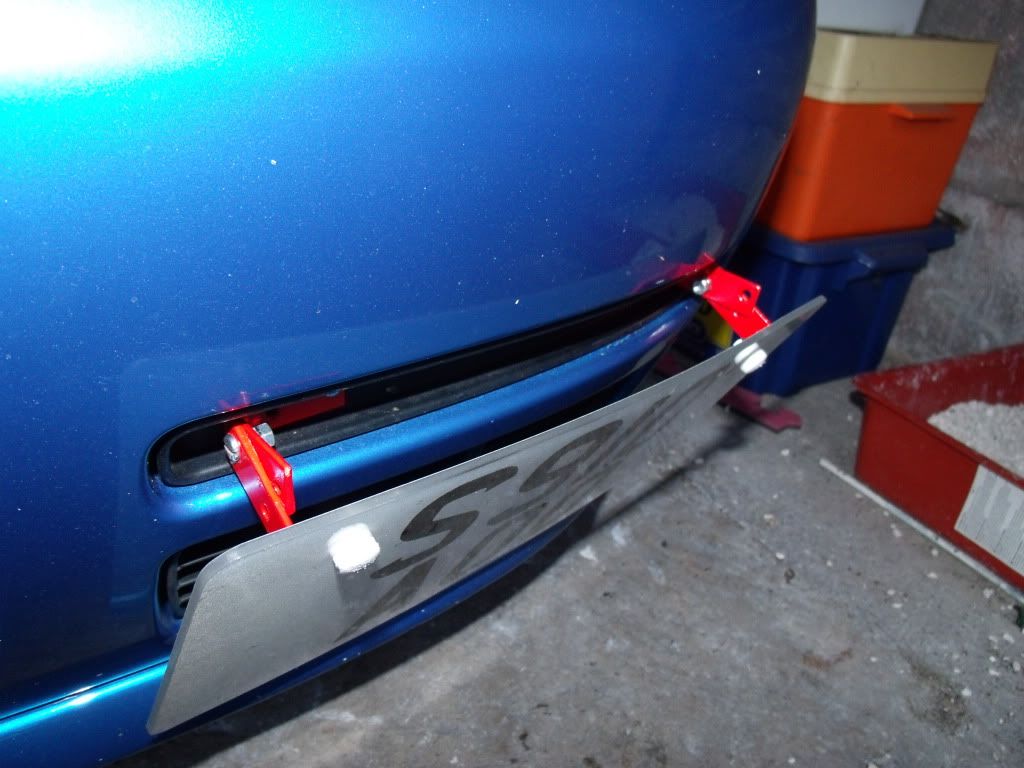
As the rear of my car is now completelly smooth, there was nowhere to mount the rear plate. I decided to have if off-center and to be mounted onto the tow eye at the rear. My neighbour made me a custom bracket out of a spare piece of sheet metal he had in his shed and this is how the plate looks mounted - with lights too of course...
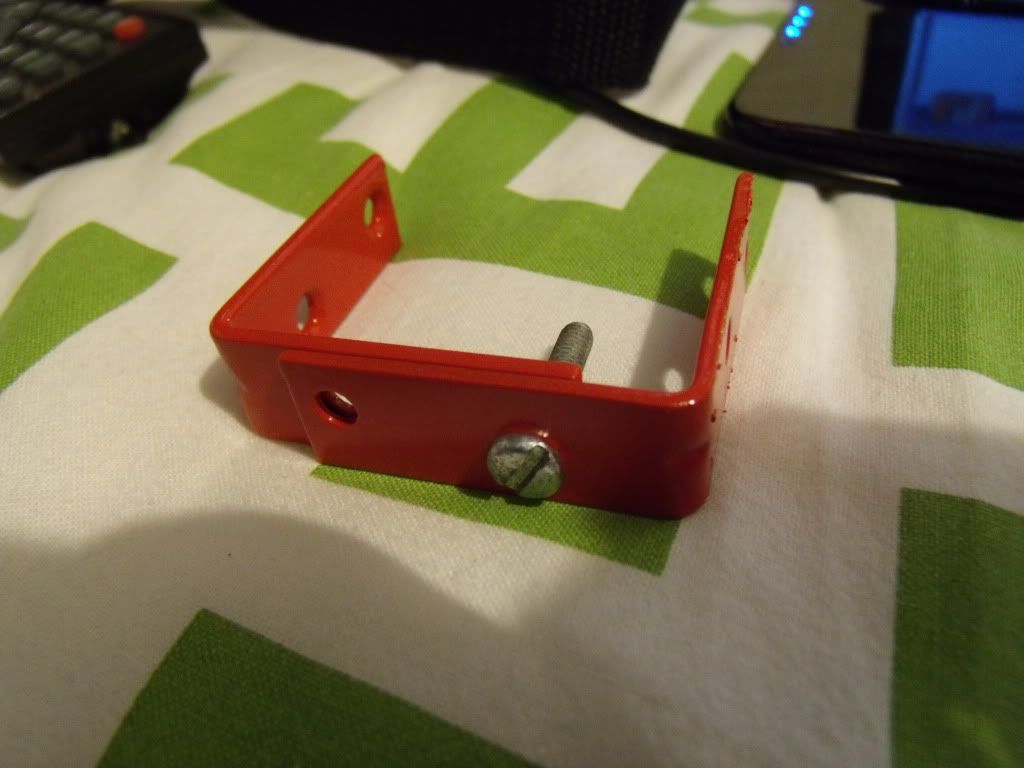
Also made myown DIY tilt bracket for the front plate. Both front and rear plates were completely removable if they ever needed to be.

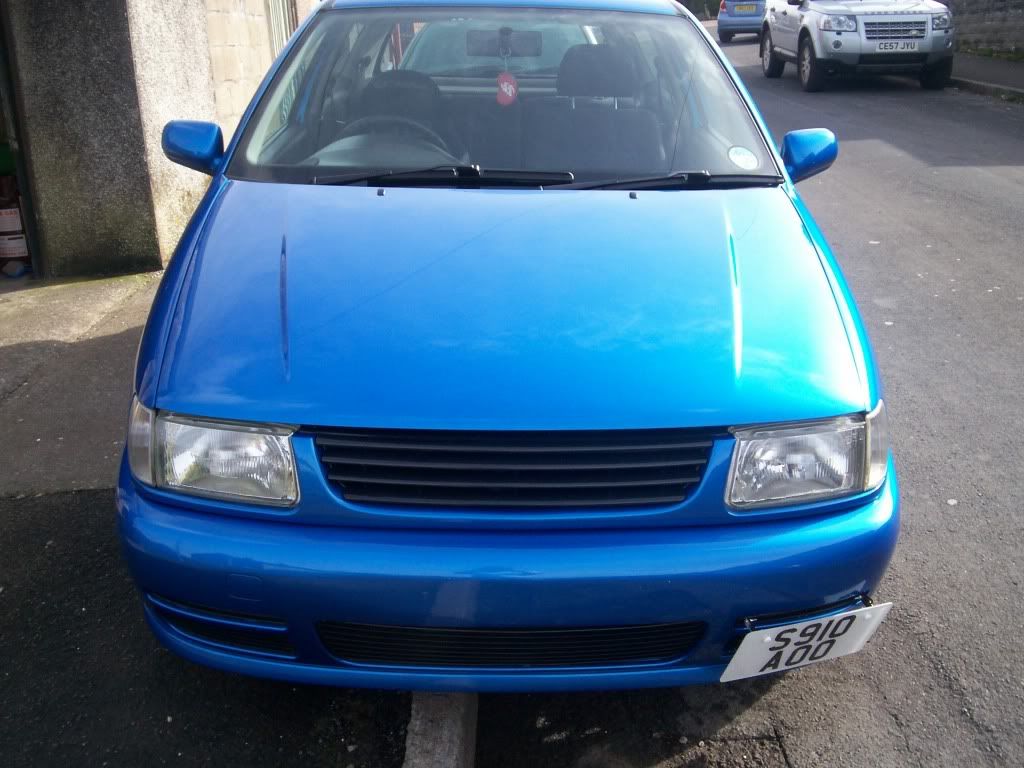
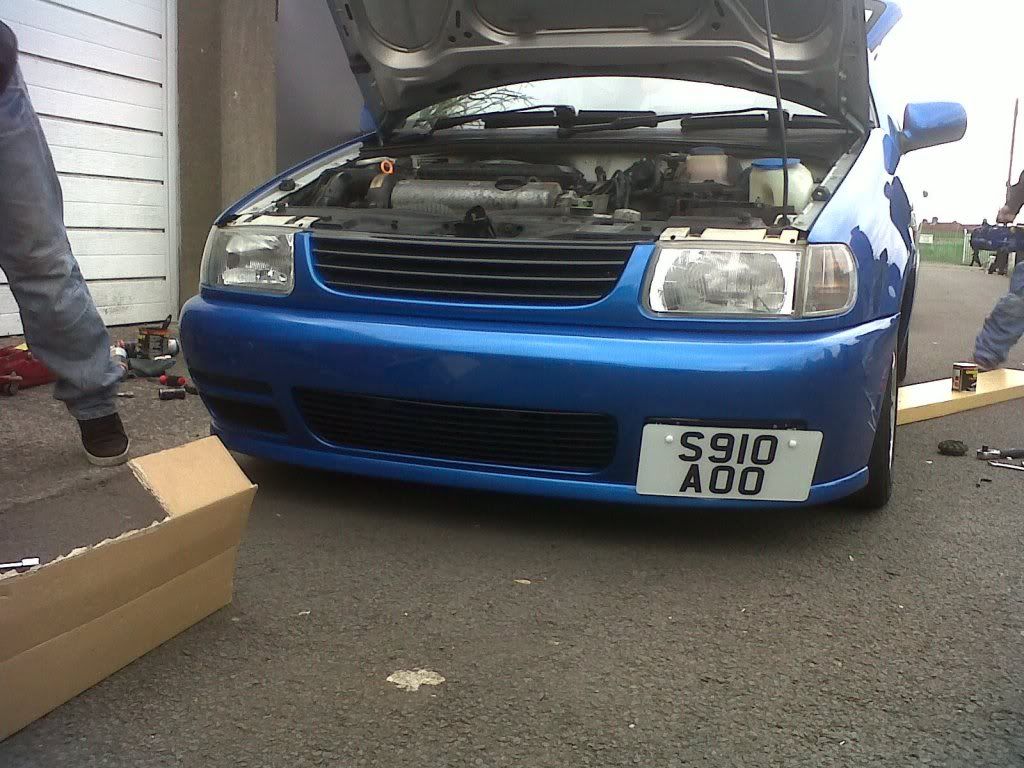
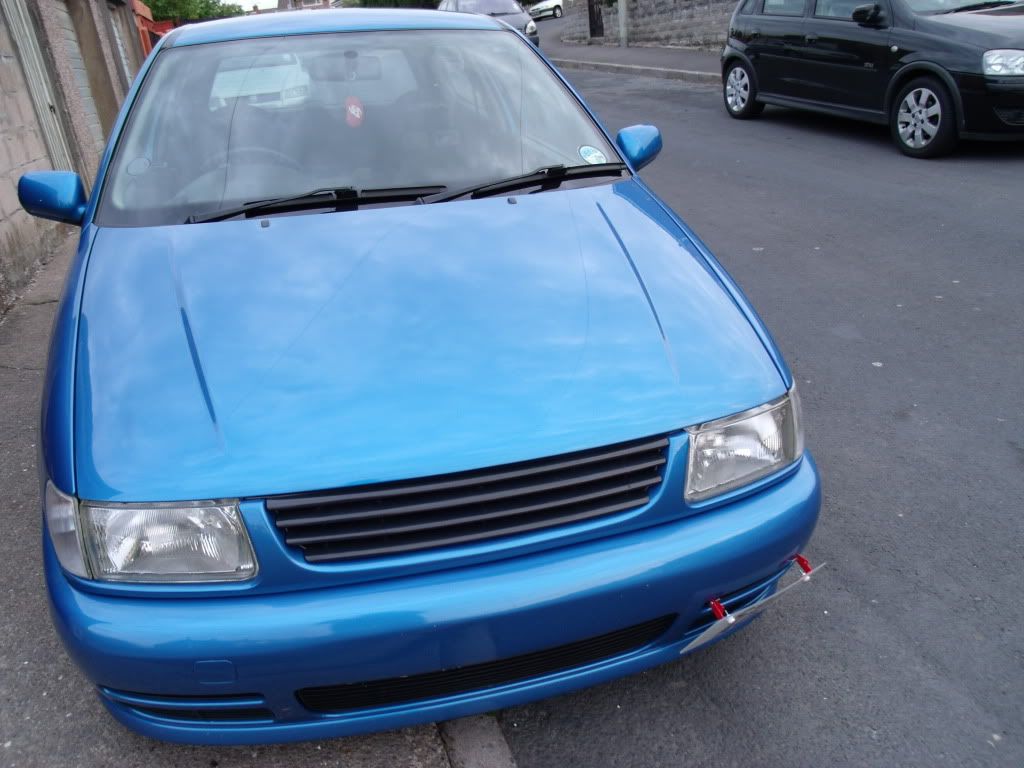
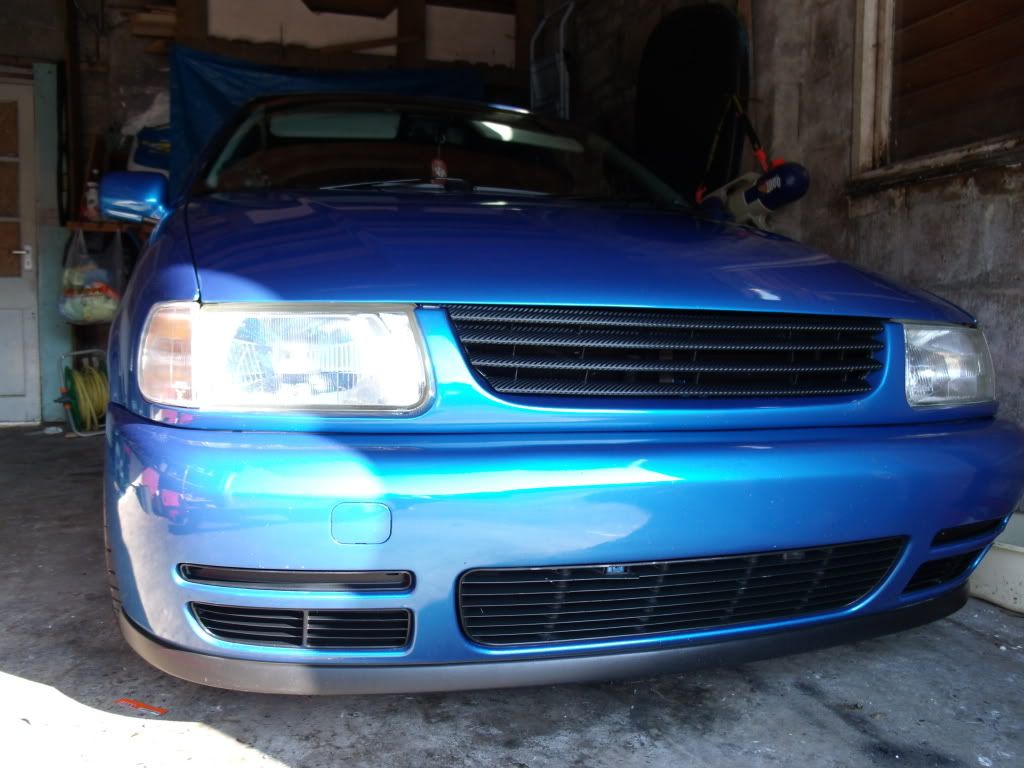
If you didnt notice i also managed to source a set of 16v bumper grills to finish of the front end..
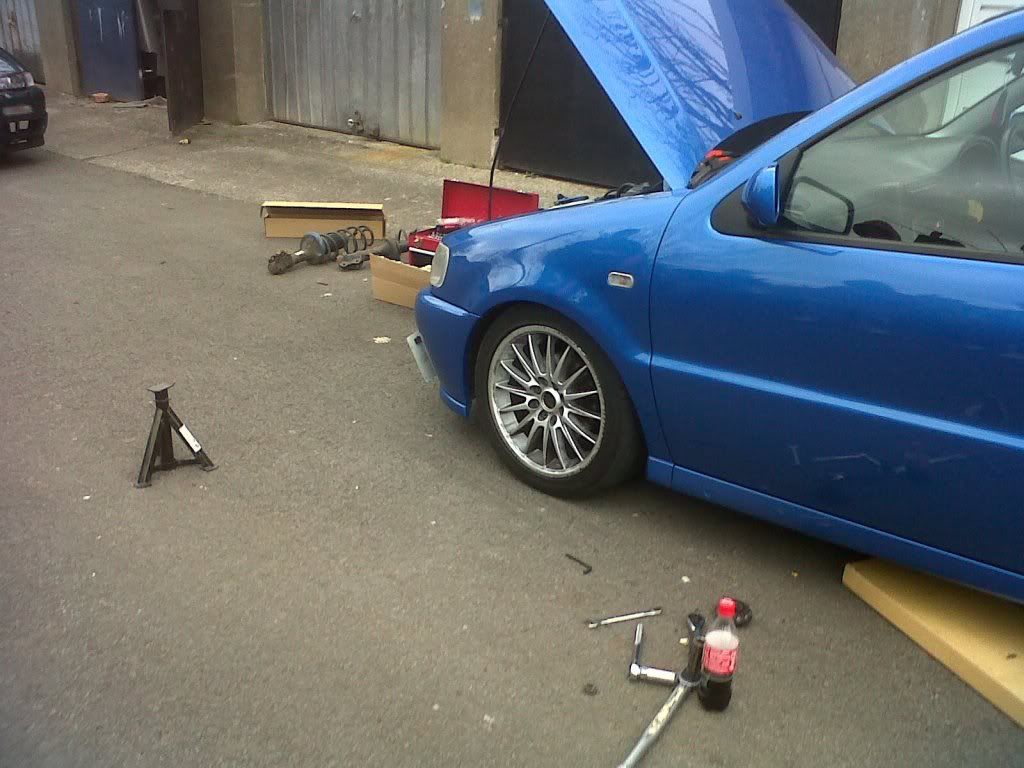
Things stalled a little for a few months until i had enough money to buy a set of coilovers.. I bought budget ones, JOM.
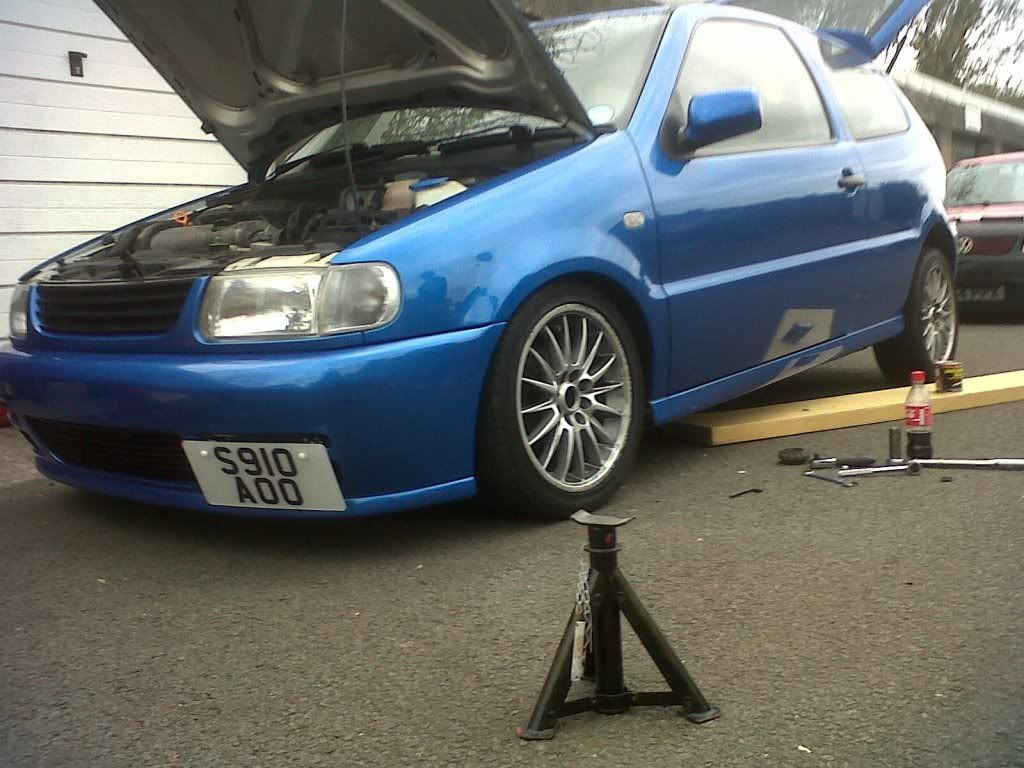
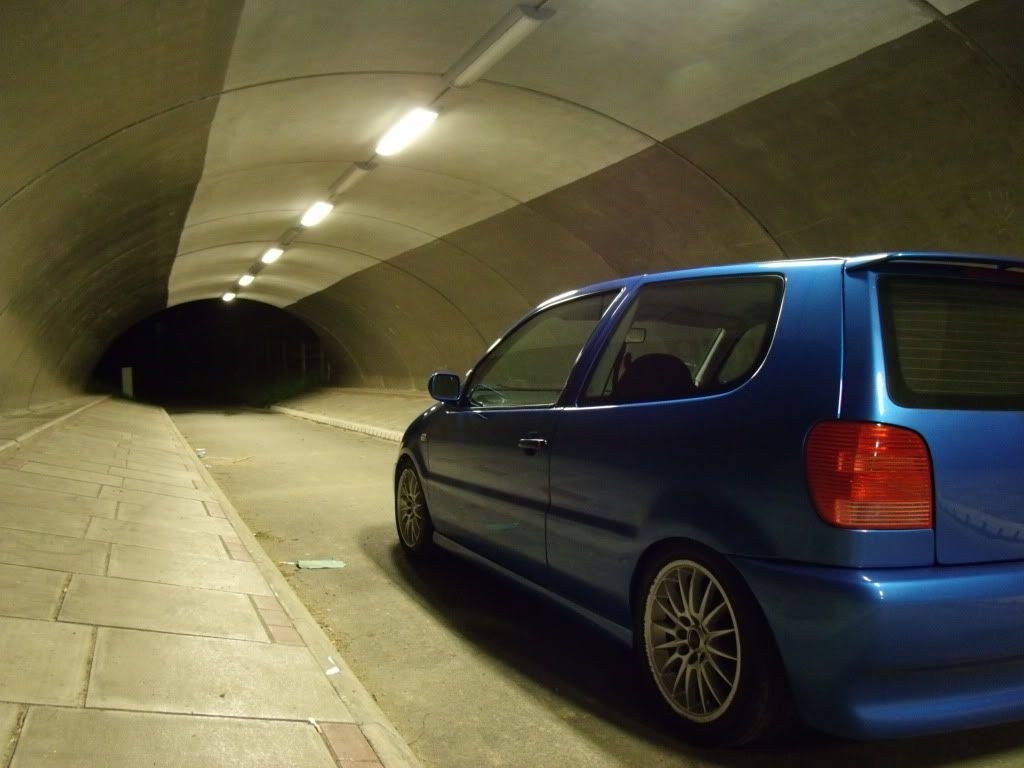
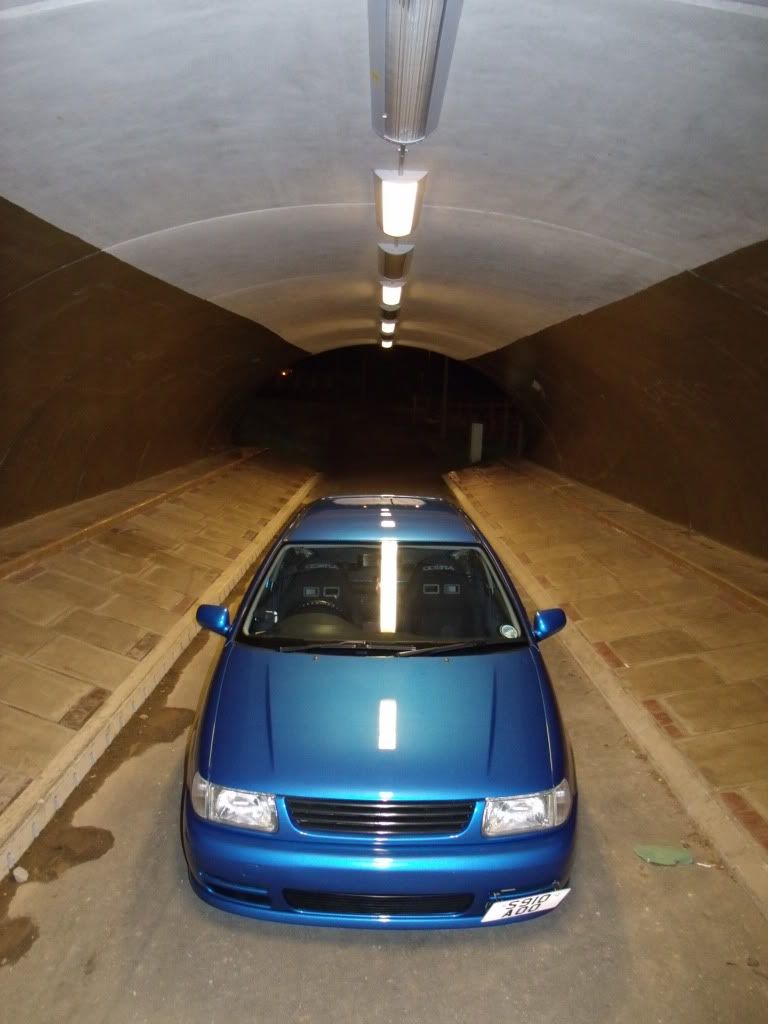
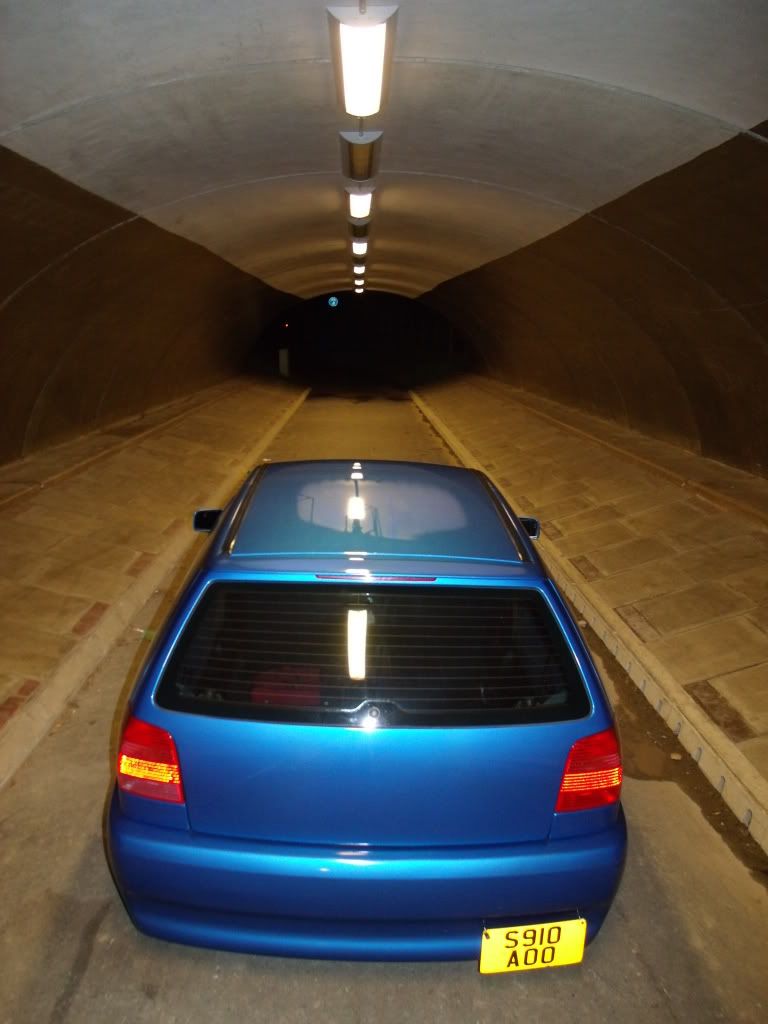
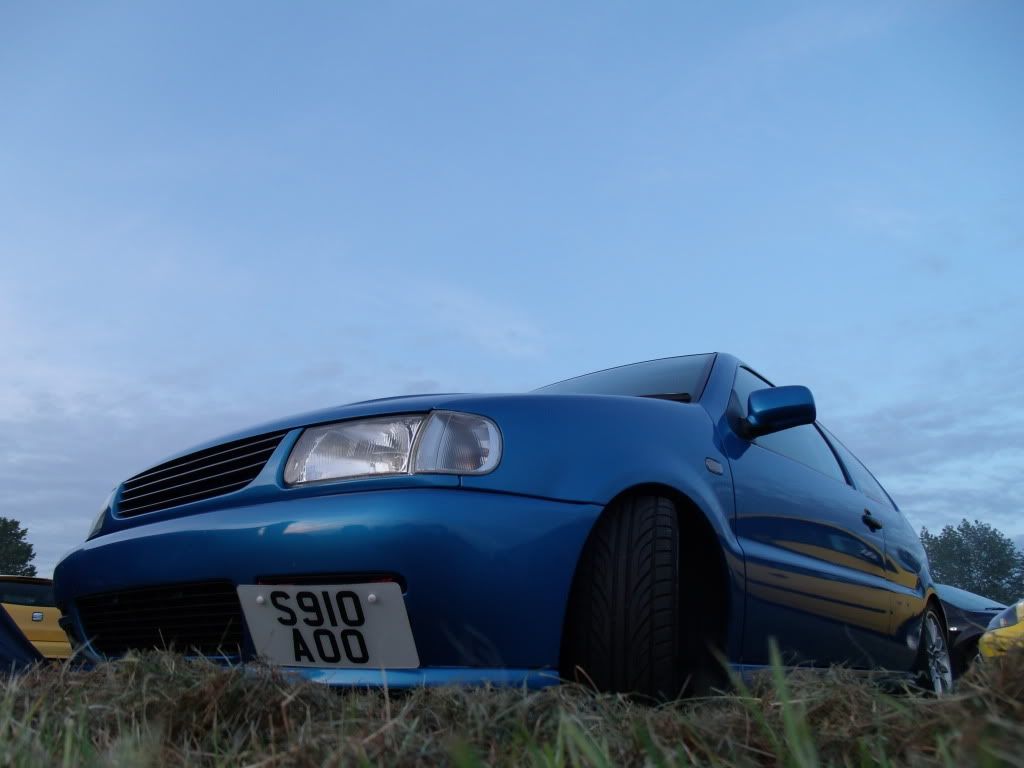
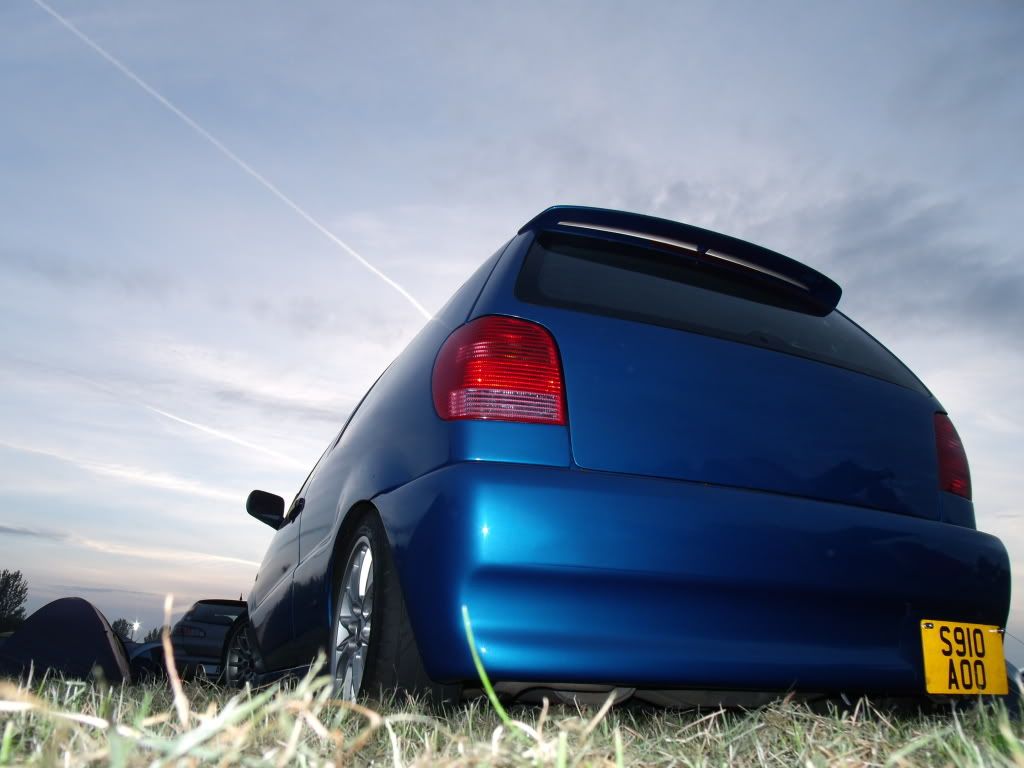
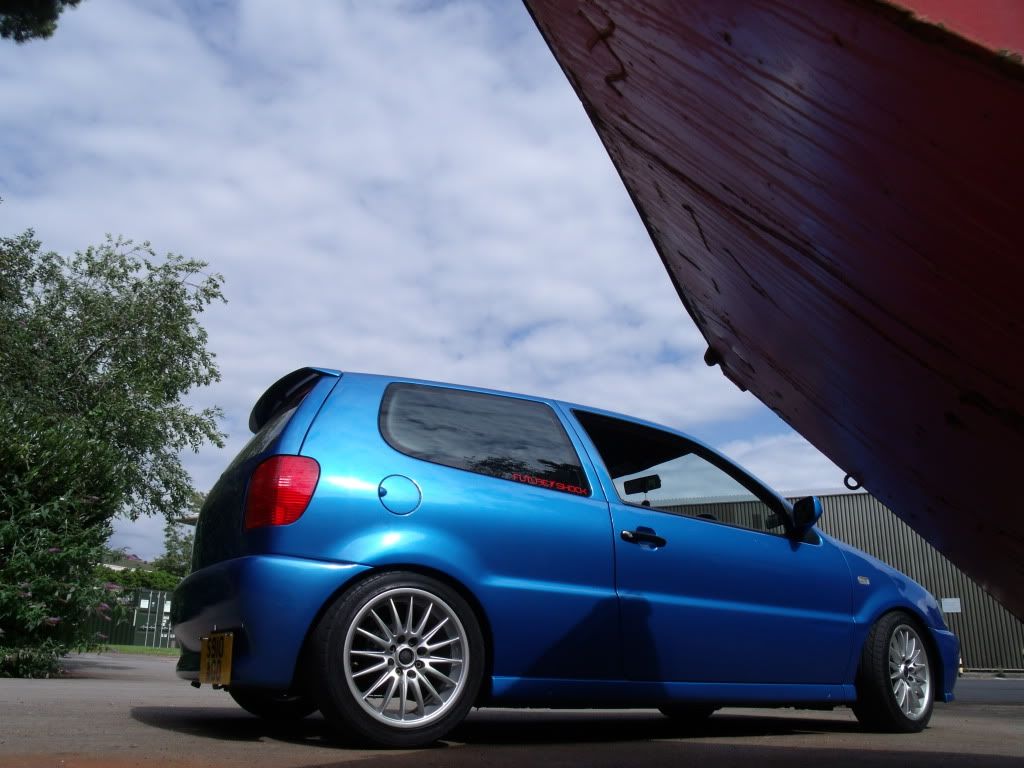
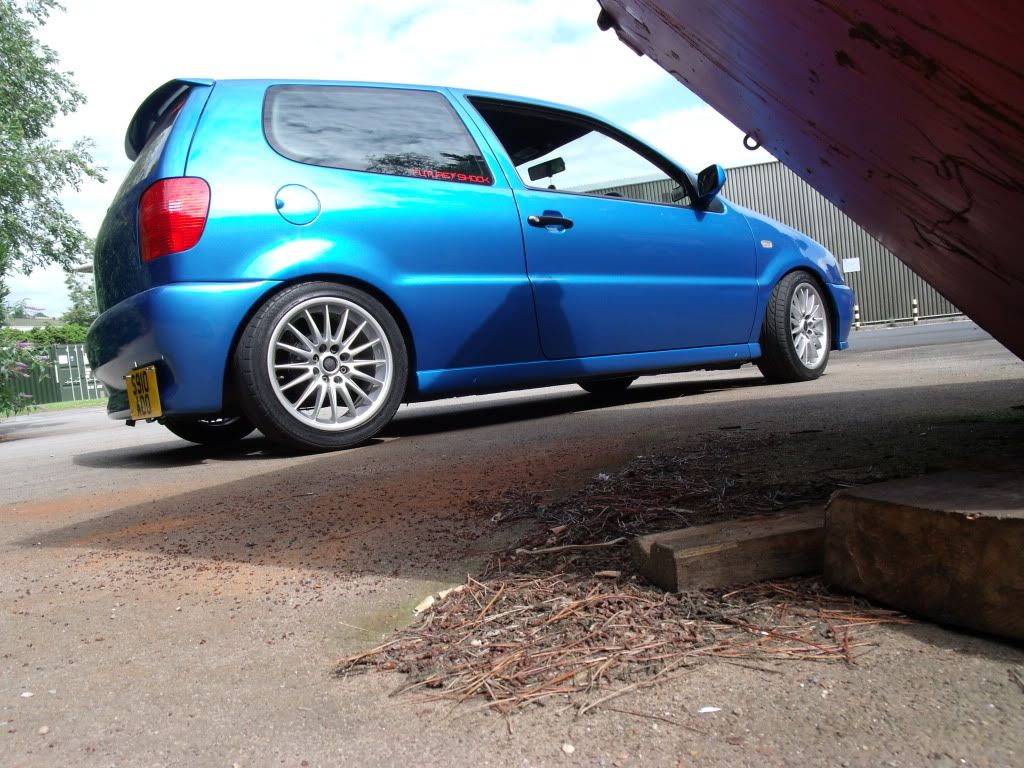
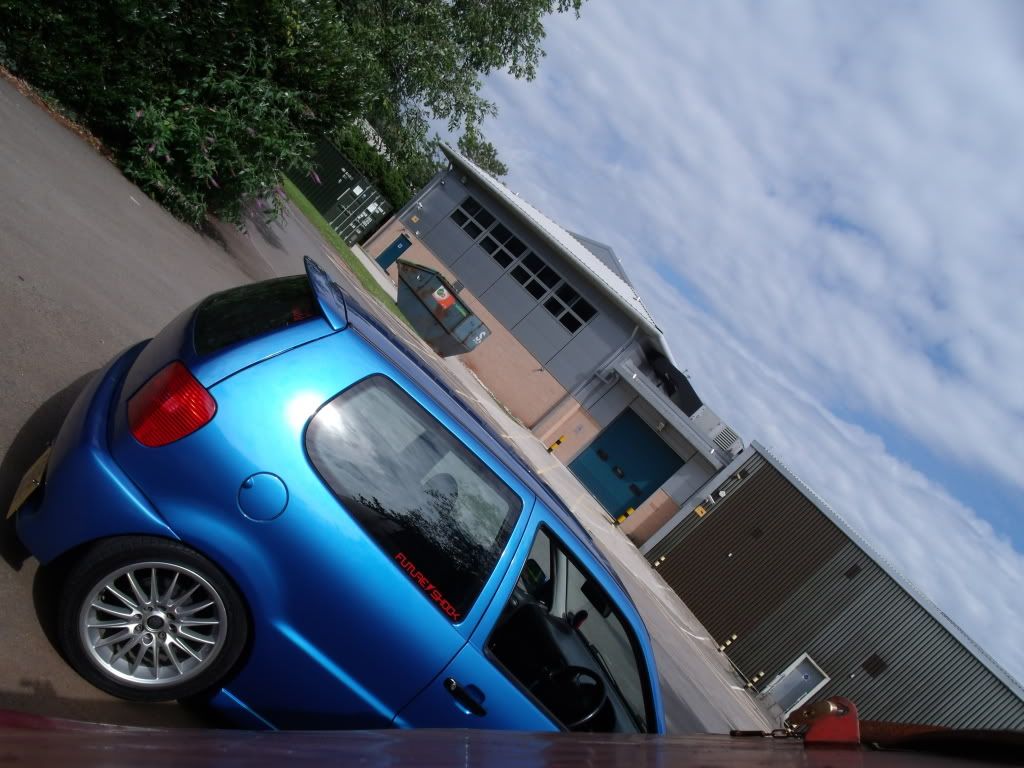
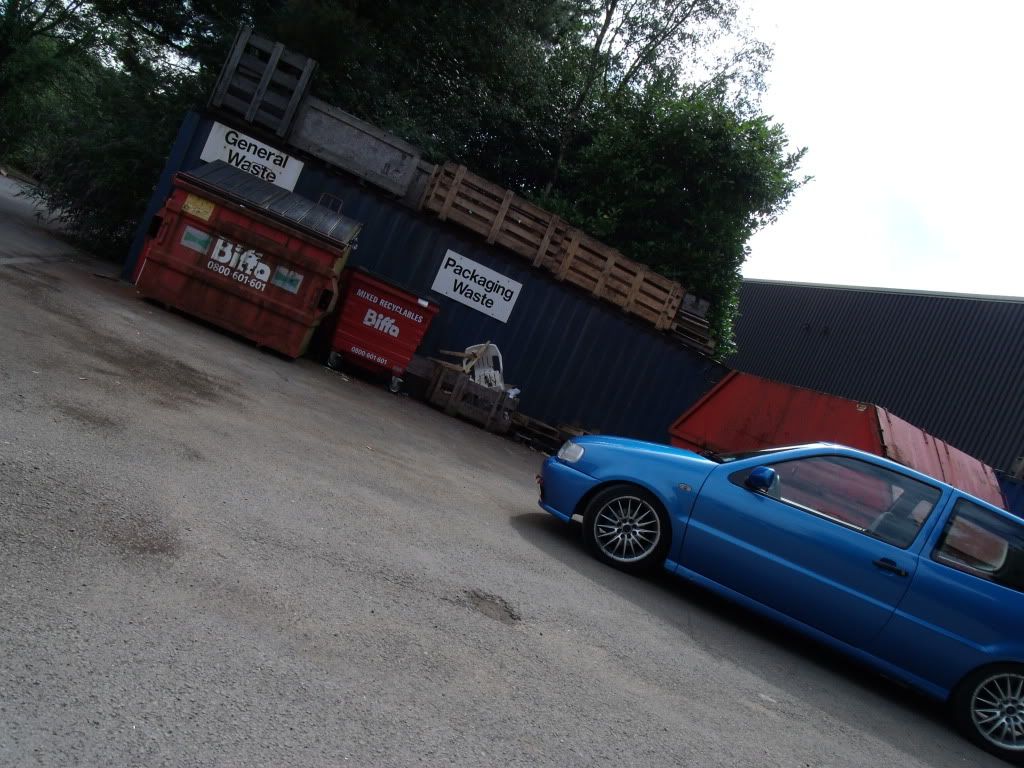
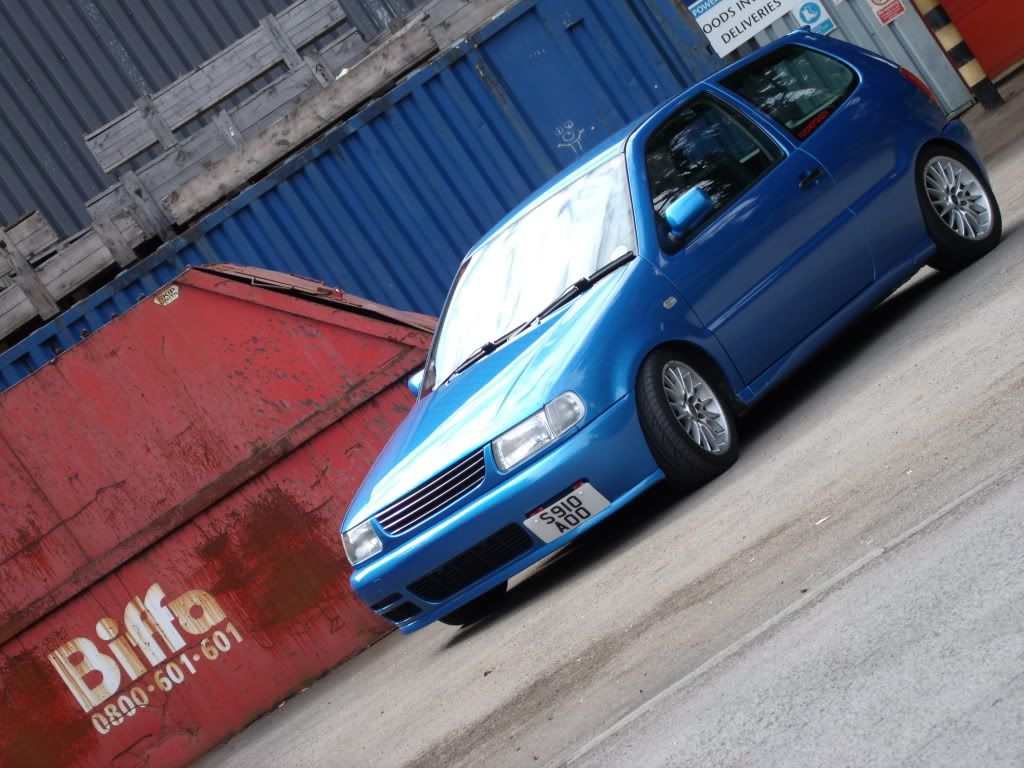
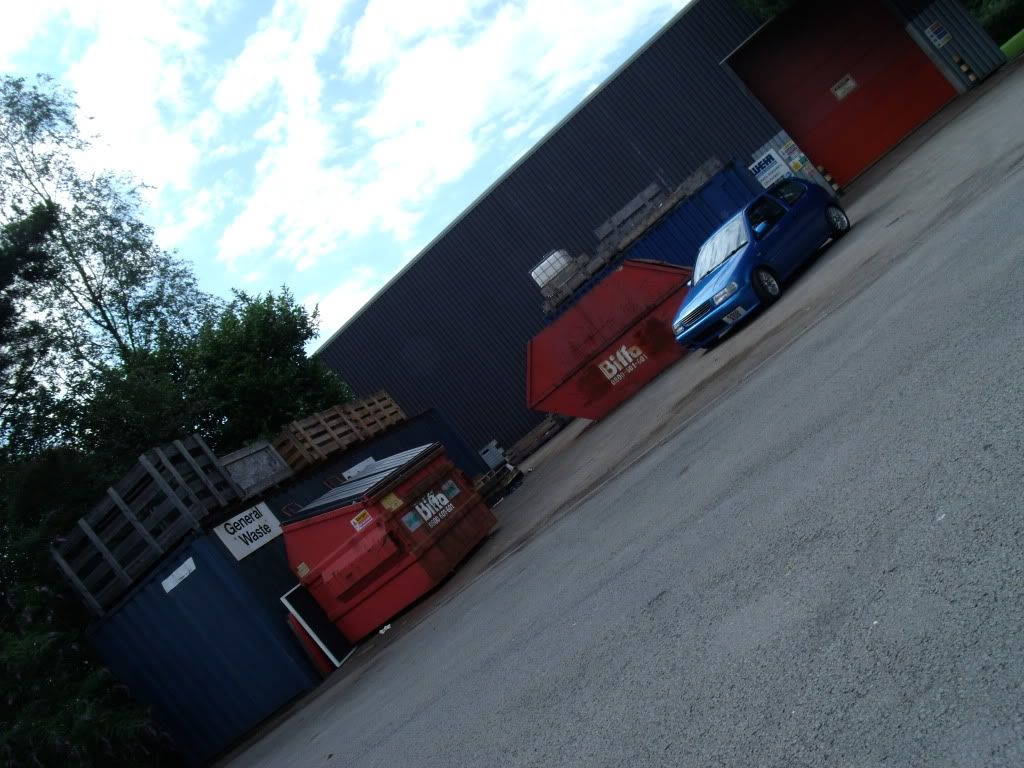
Had a mini photoshoot after it was lowered, there are a silly amount of pictures from it so ill just show the best ones..
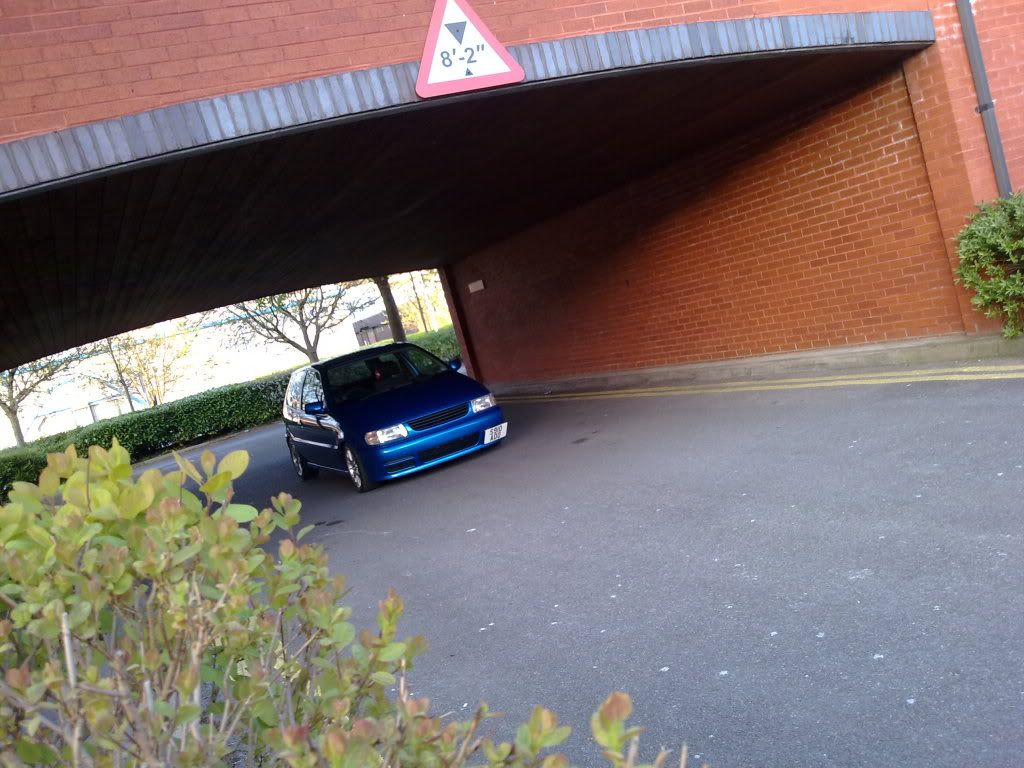
Removed the rear helper springs from the coilovers, once they were leveled, i took a few more pictures of the car in the same location..

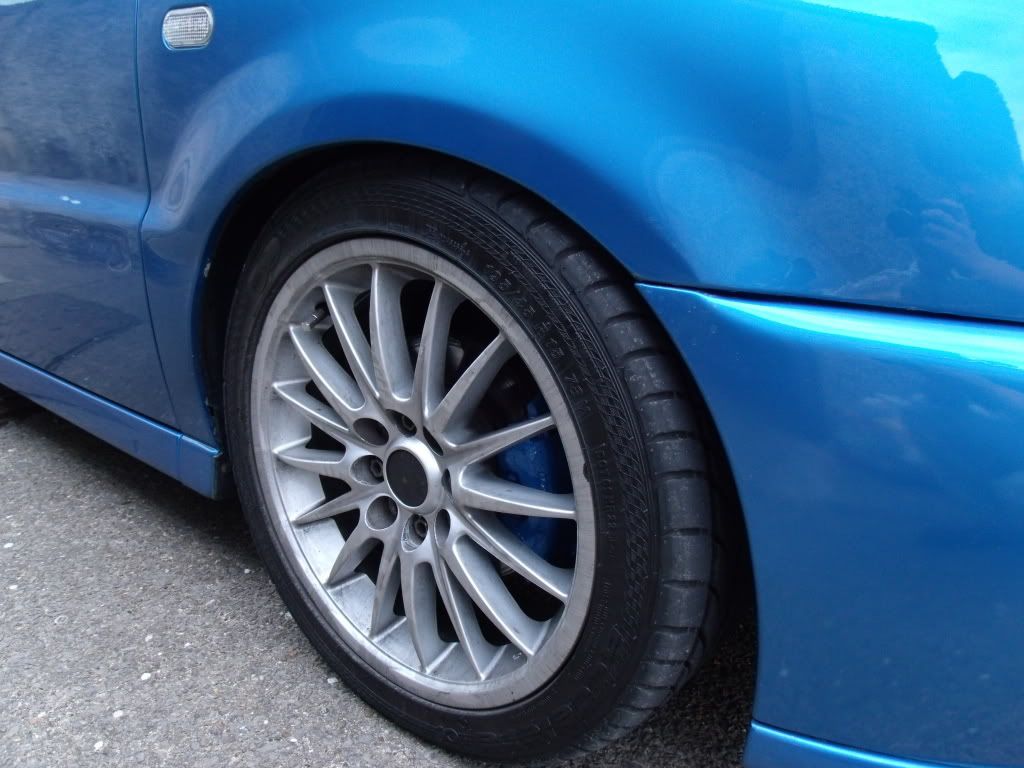
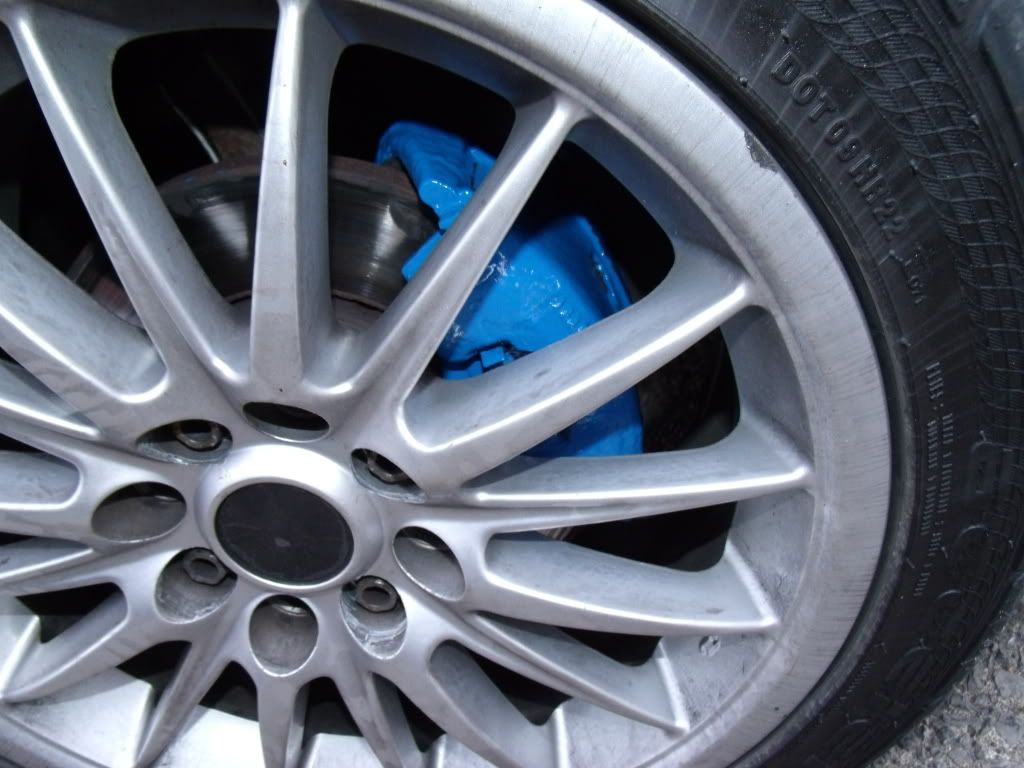
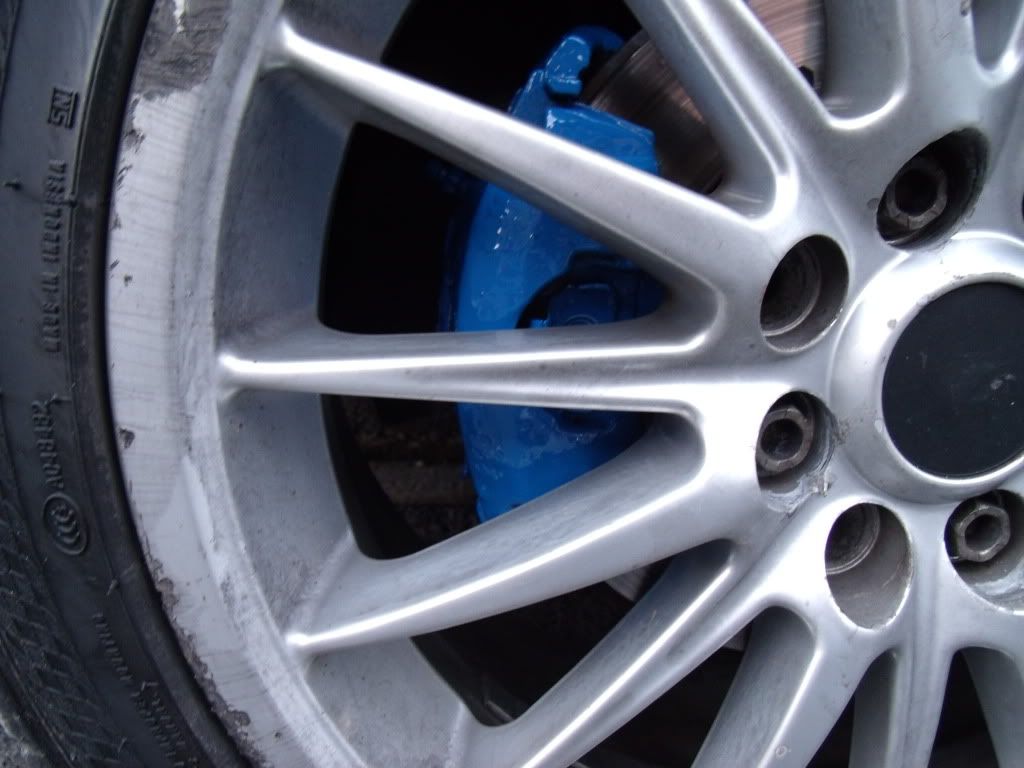
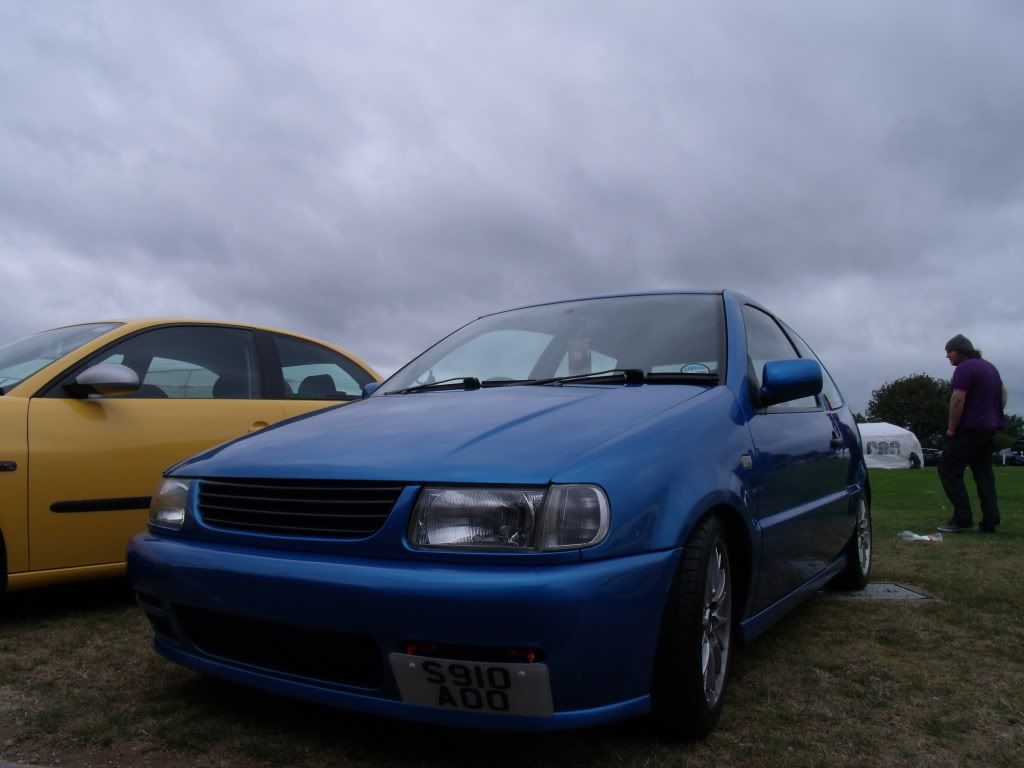
Had my first show with myown car but money was tight. I decided to paint the calipers and paint the front tilt bracket red - just to boost the little touches a bit.
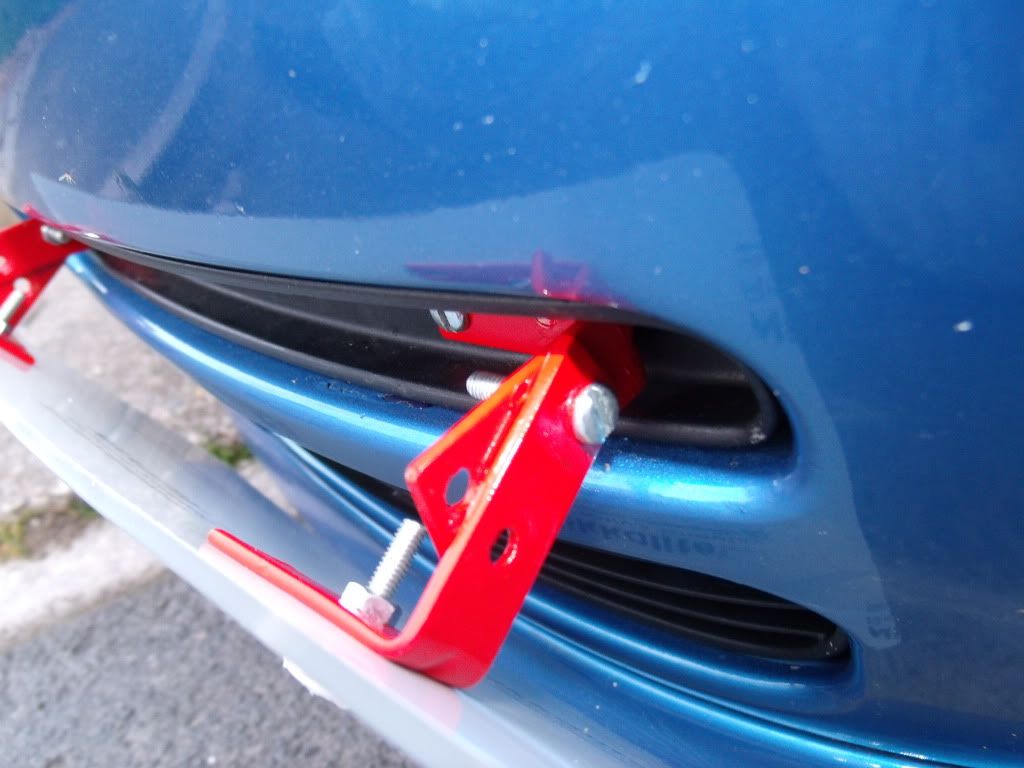
Tilt bracket will really compliment the red wheels when i get the Rota's sprayed Some people will disagree with the red but.. everyone has theirown opinions but i love the look of it
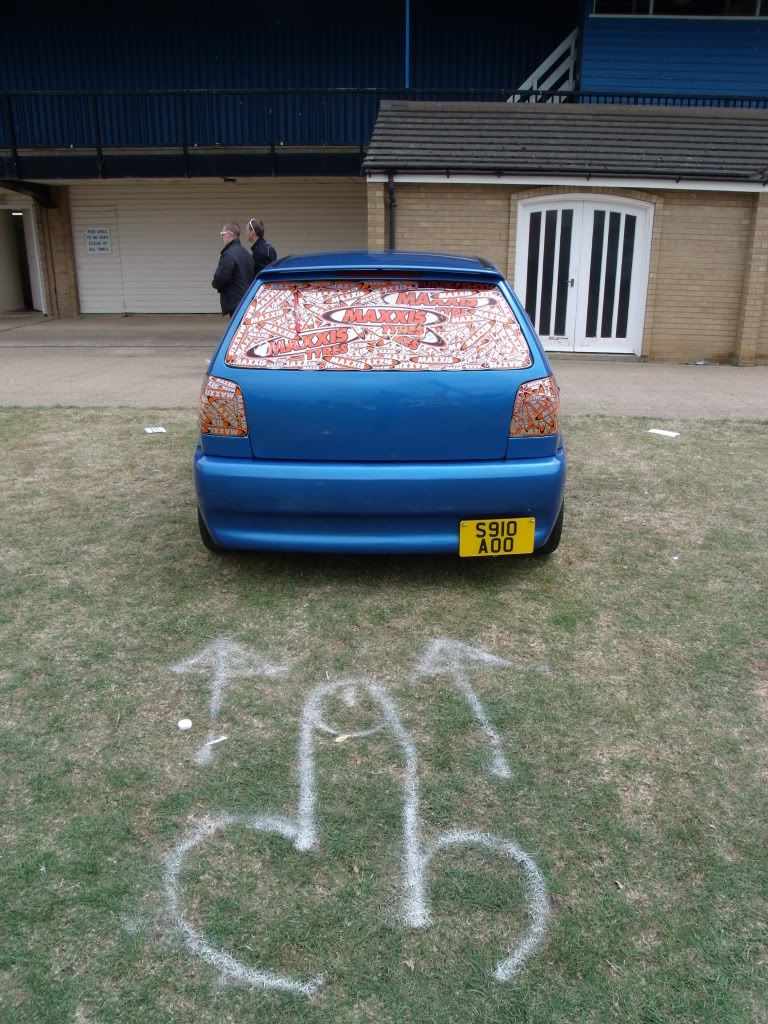
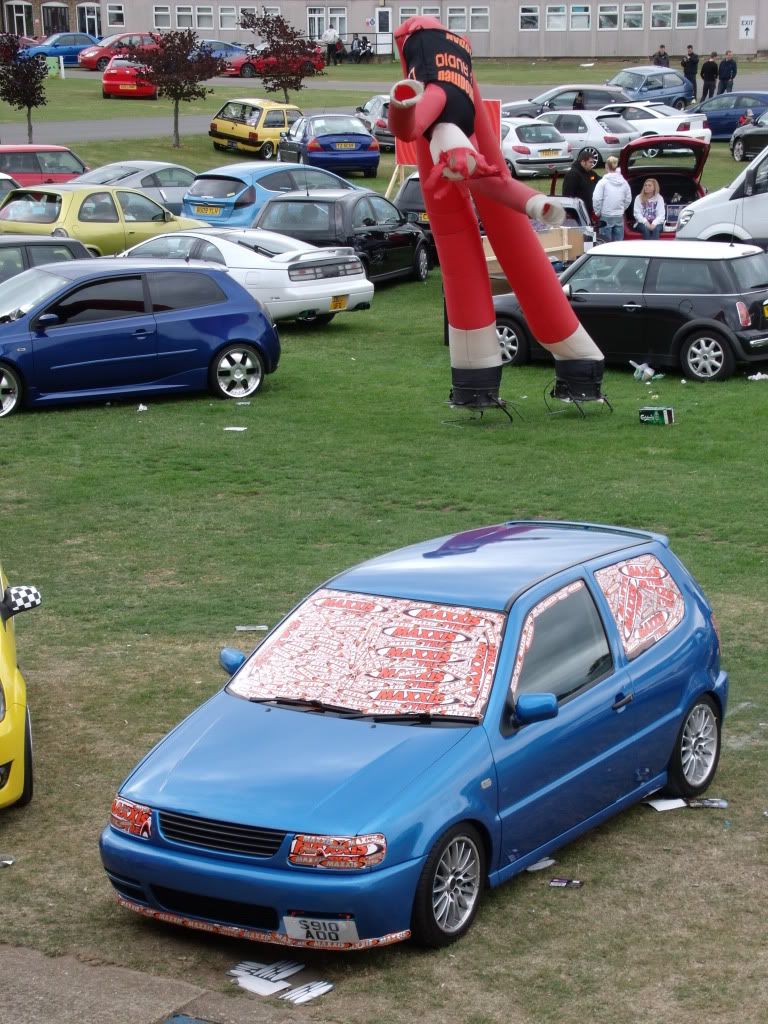
Pictures of the car from Modified Nationals 2011..
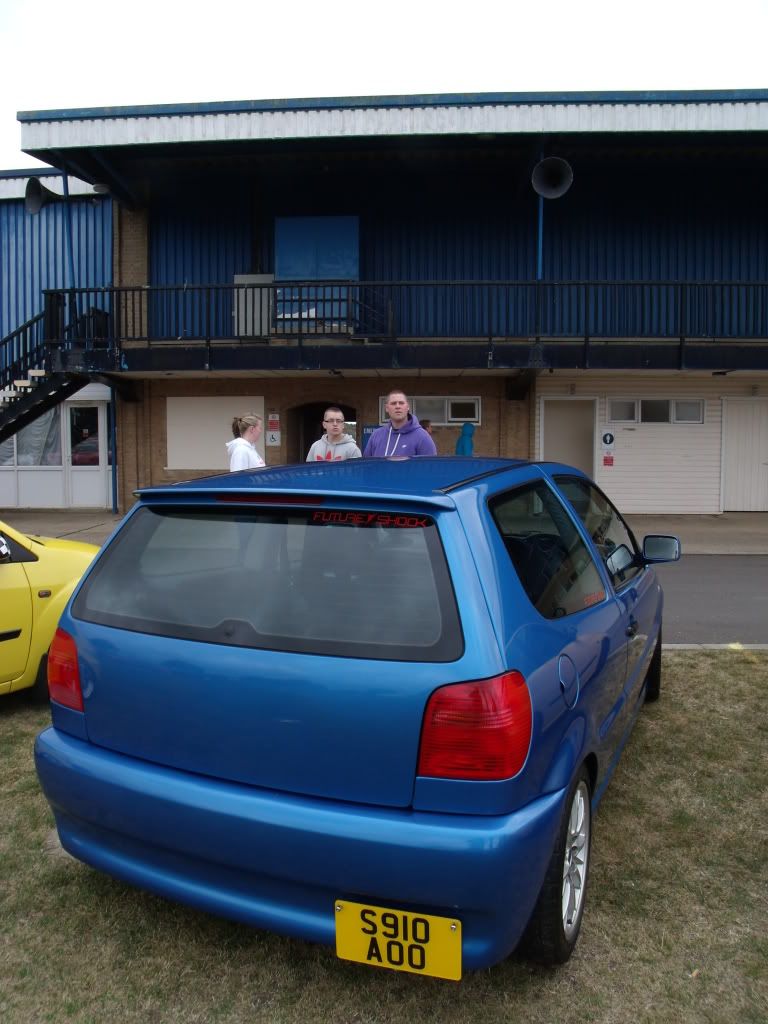
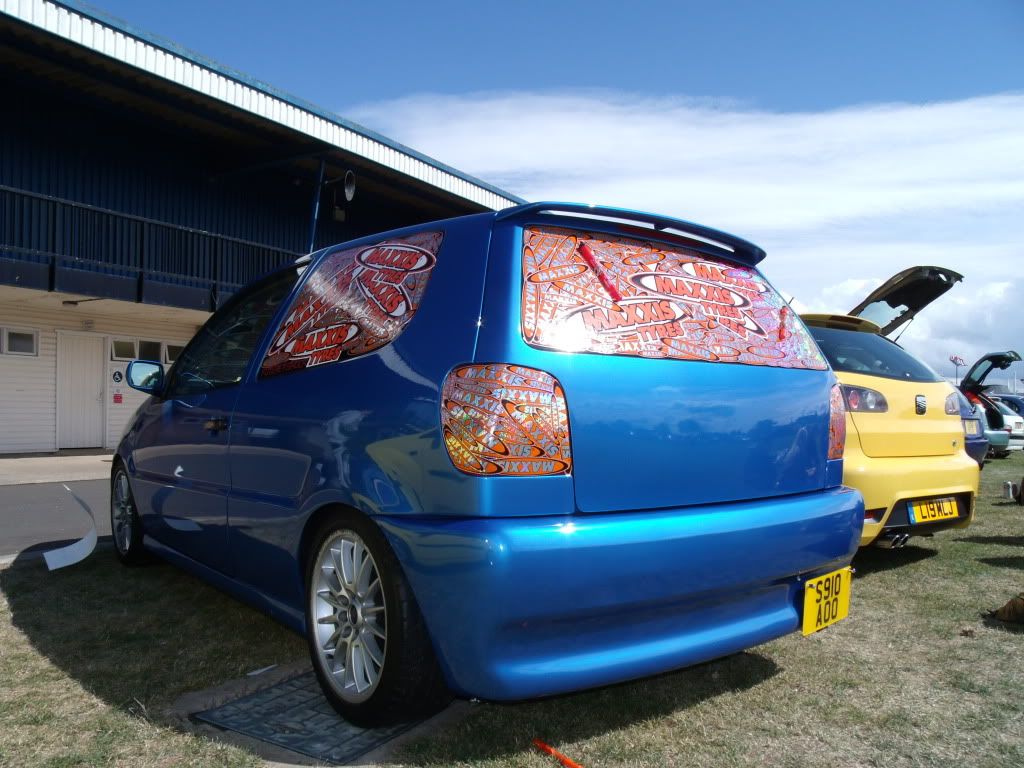
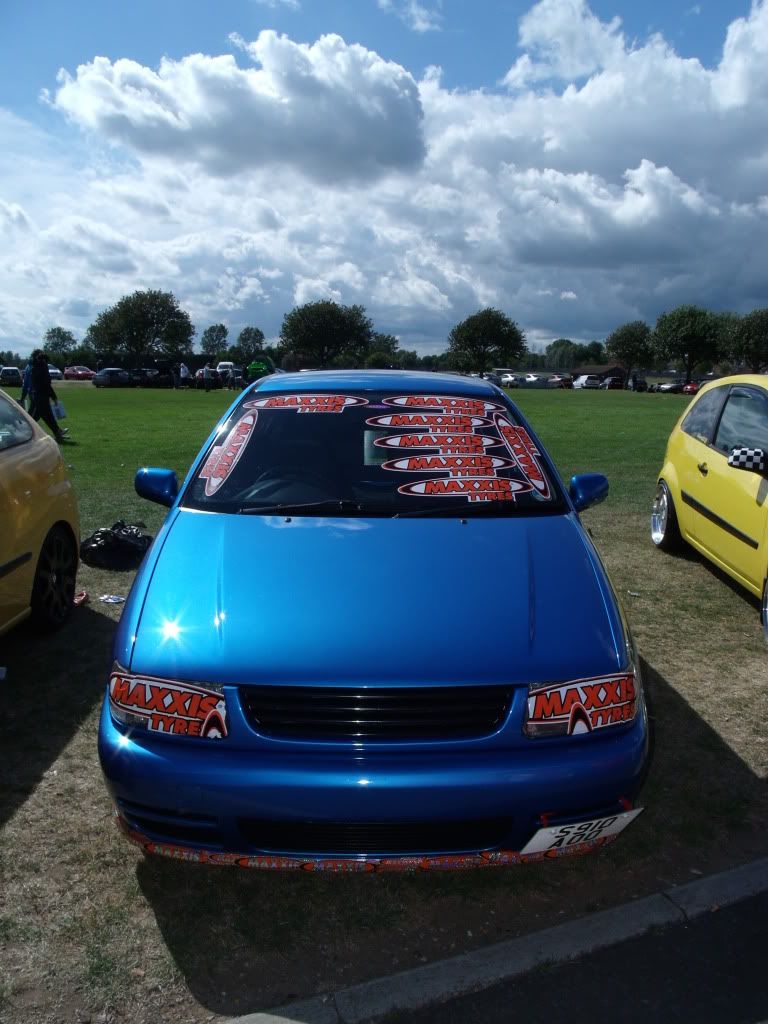
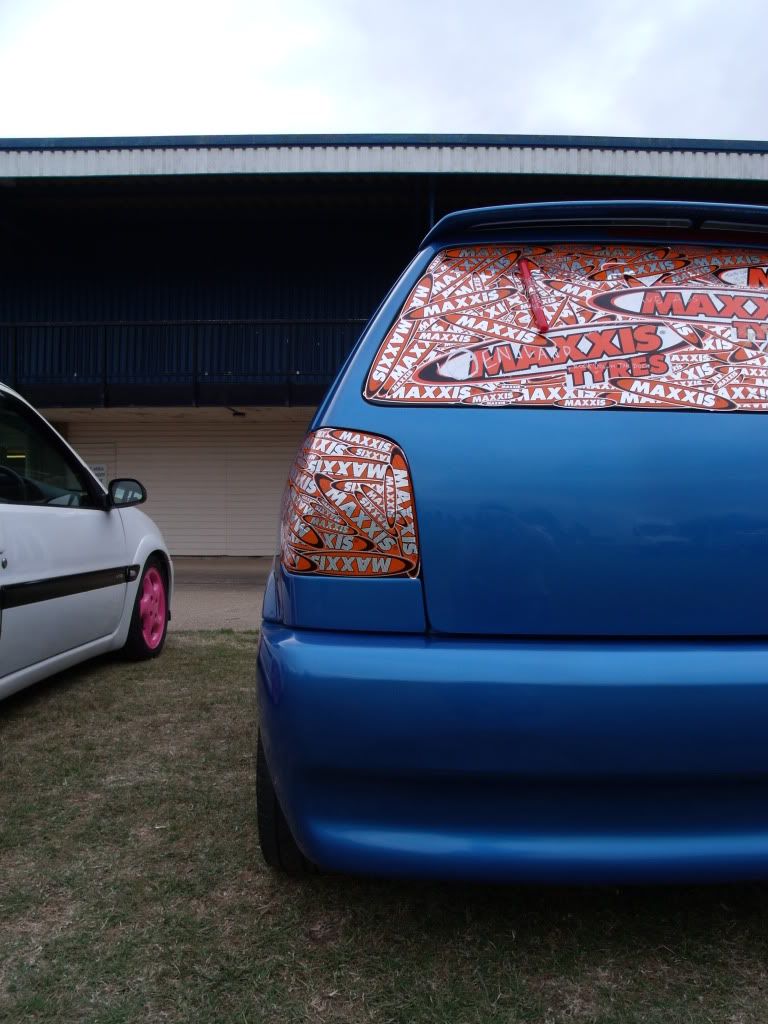
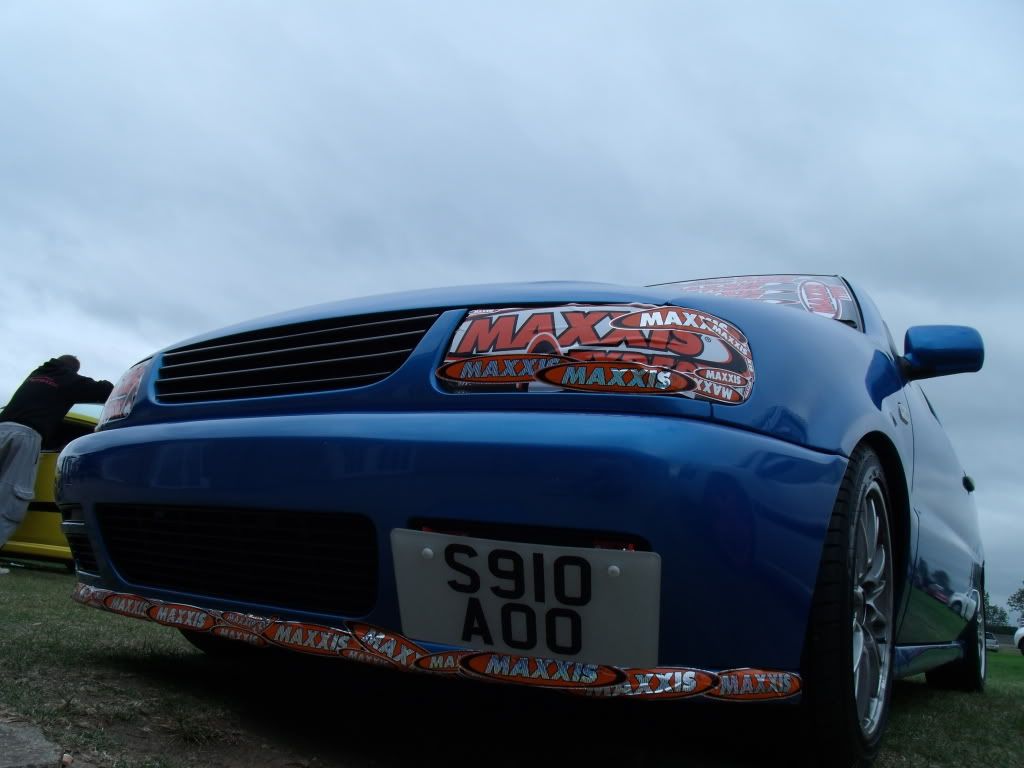
During the show, i decided to go around and take a few pictures of the cars on show etc.. whilst i was doing this.. my mates decided to COVER my car in maxxis stickers..
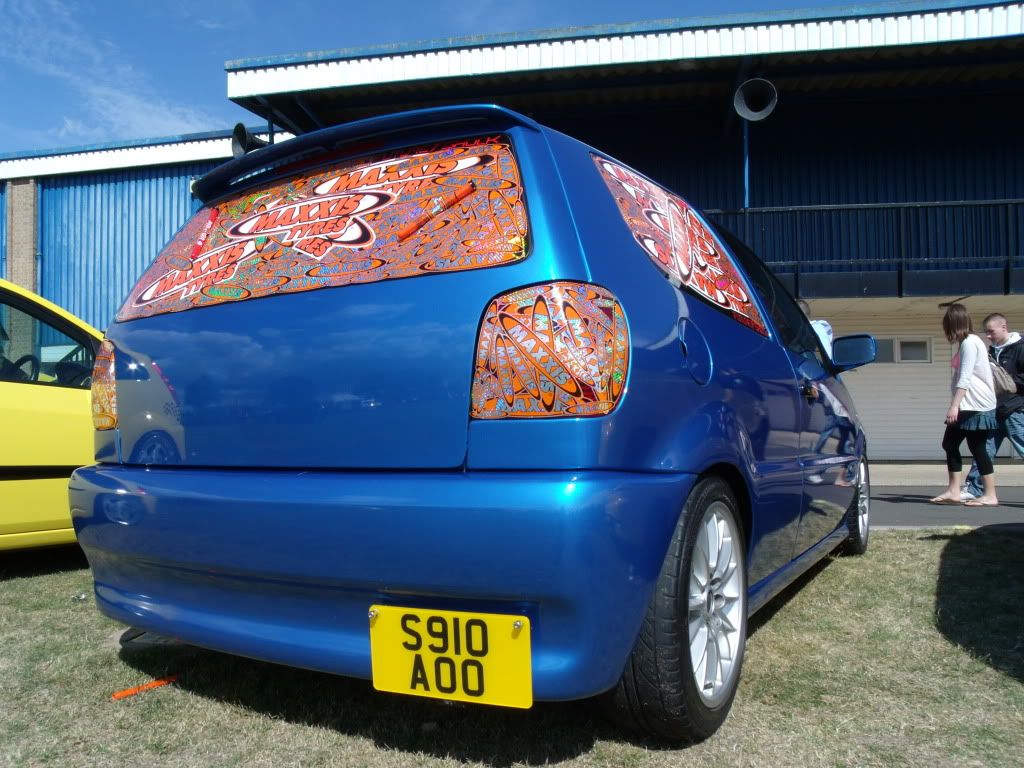
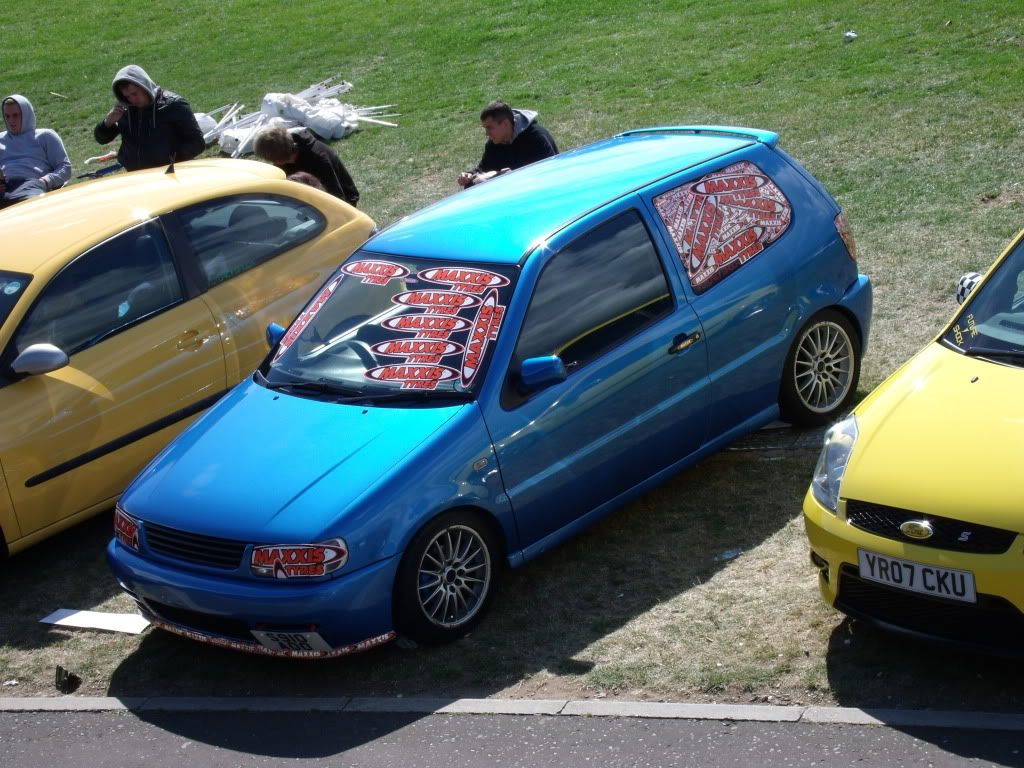

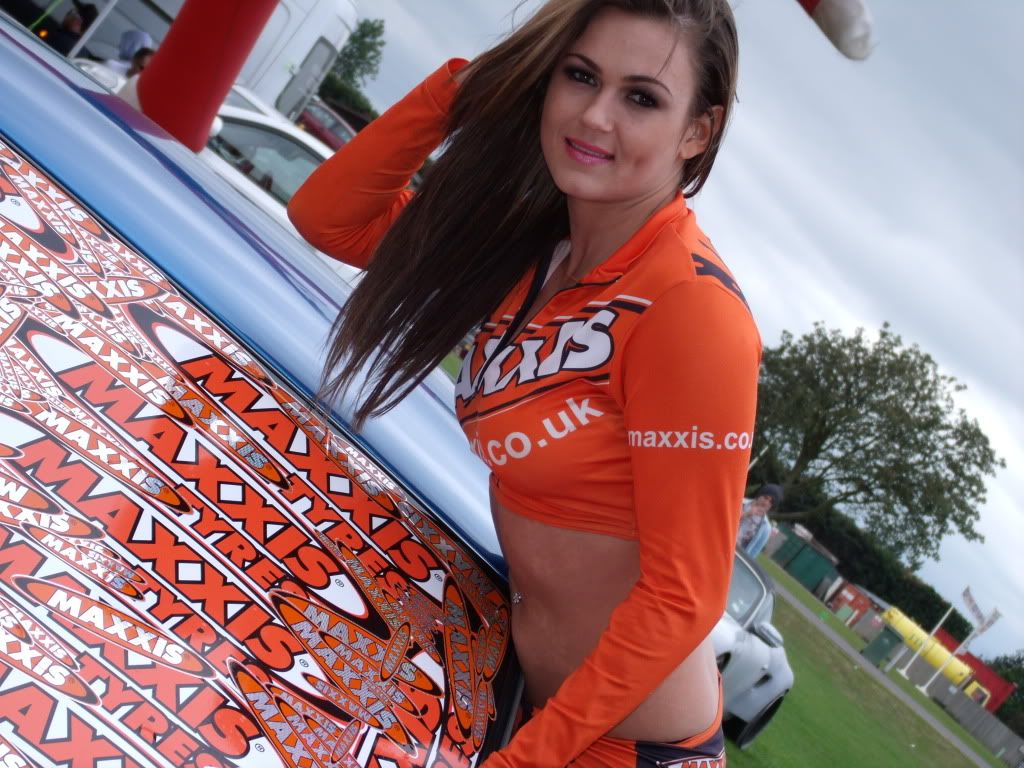
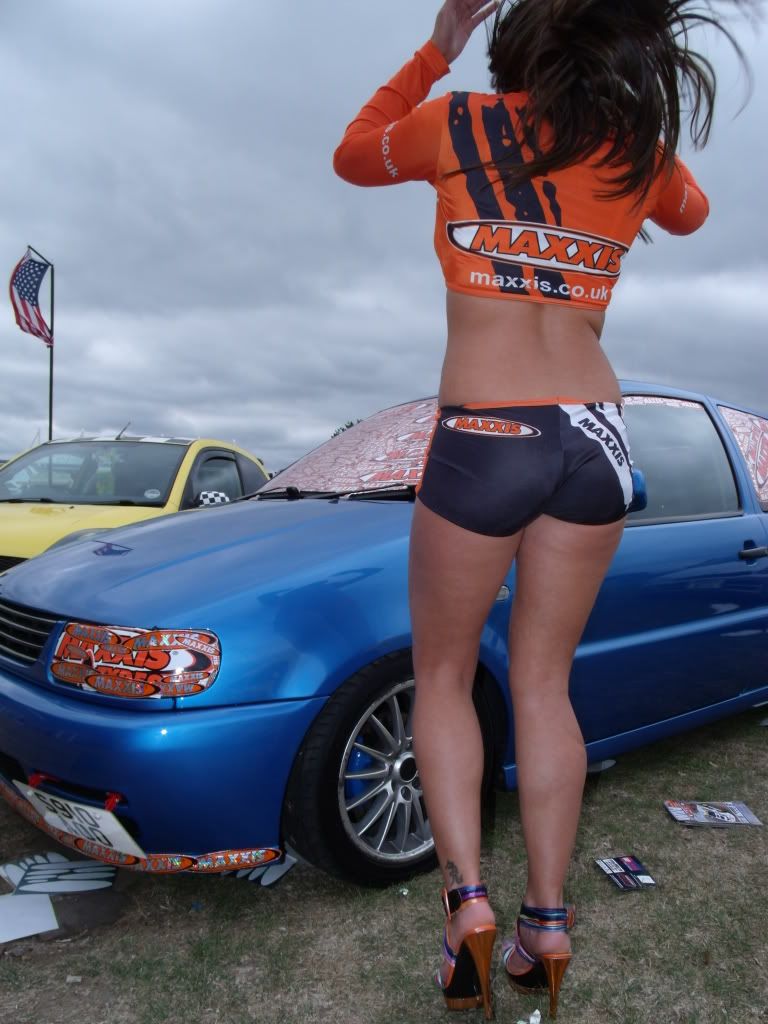
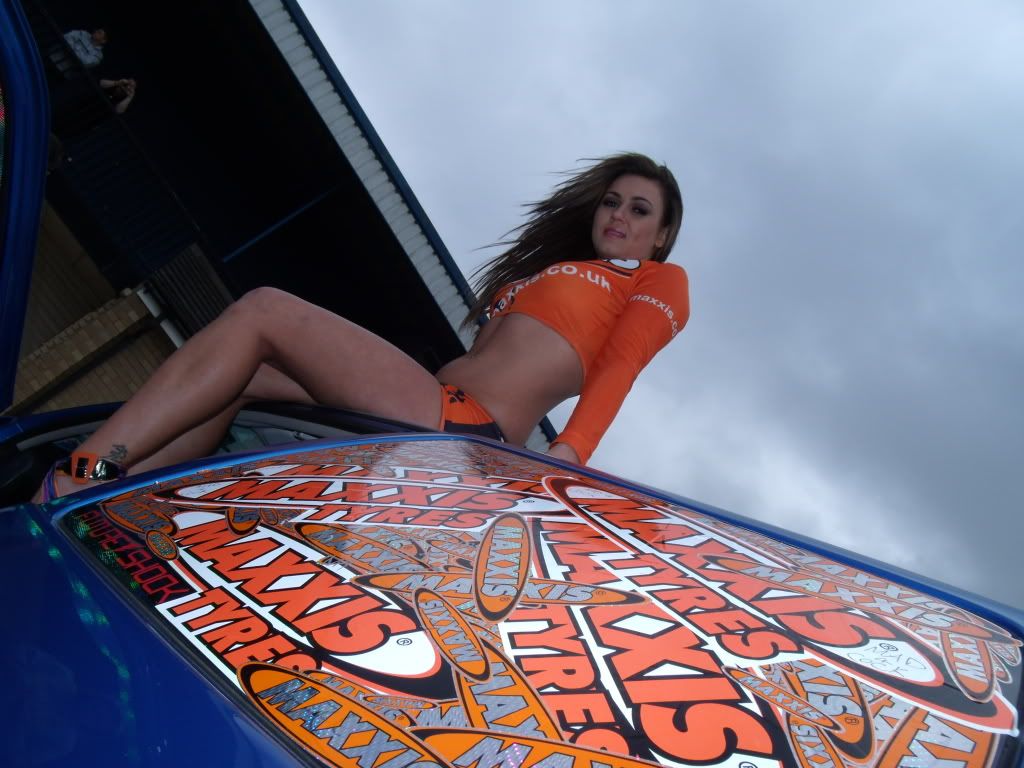
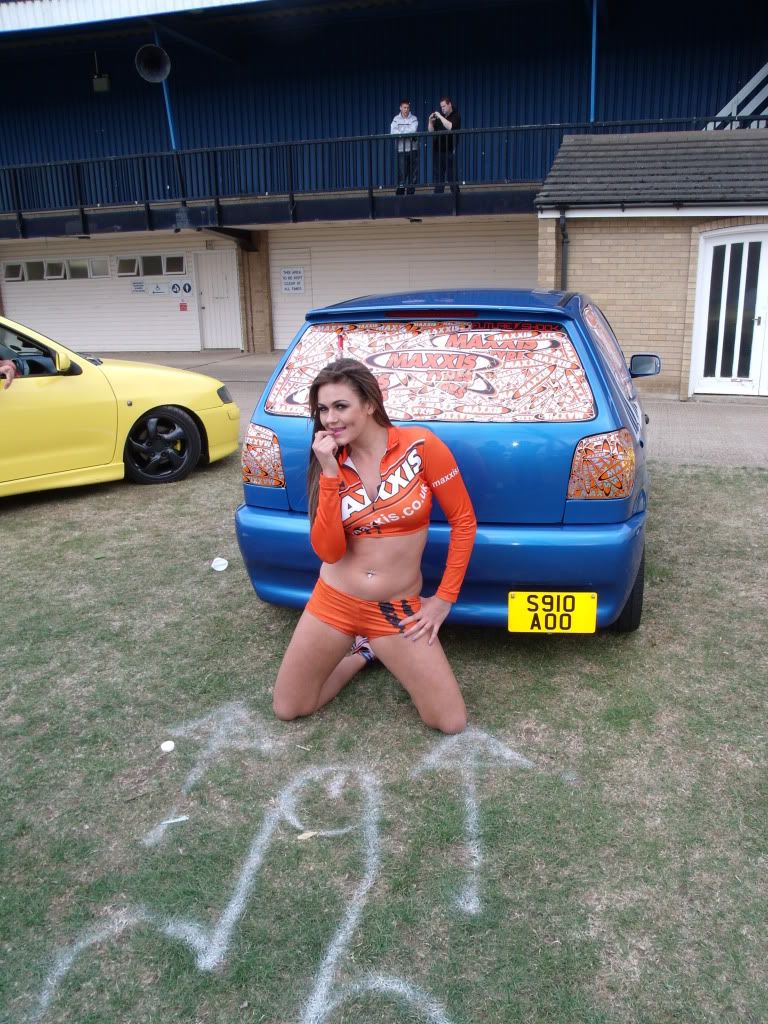
Few pictures with a Maxxis model..


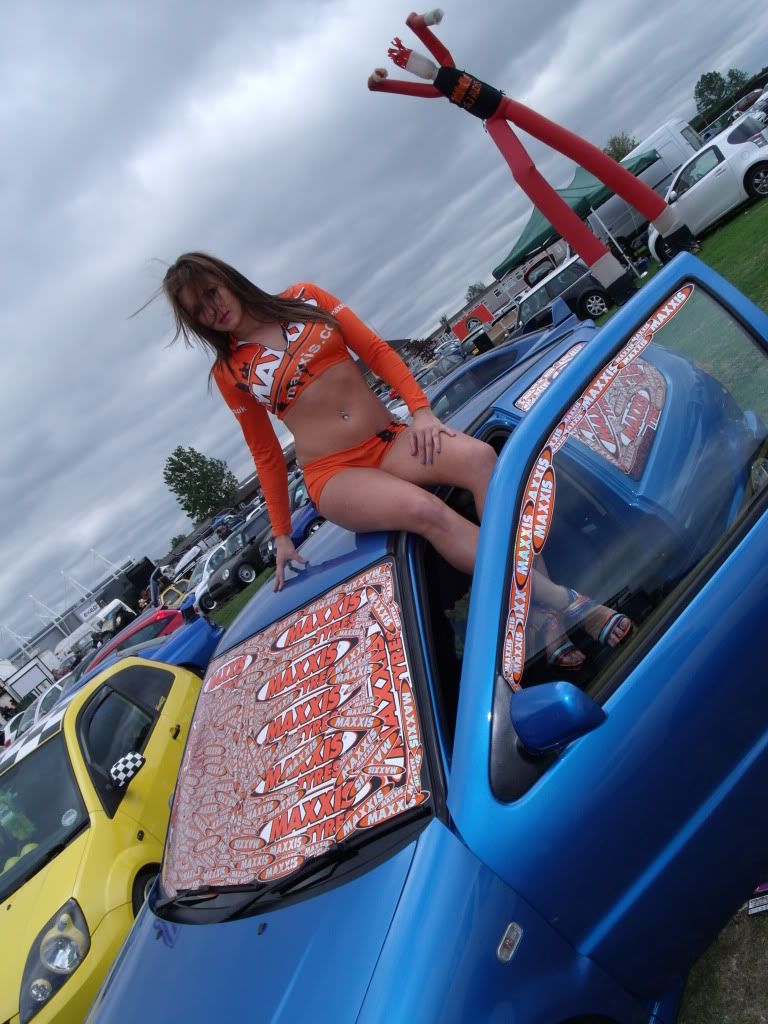
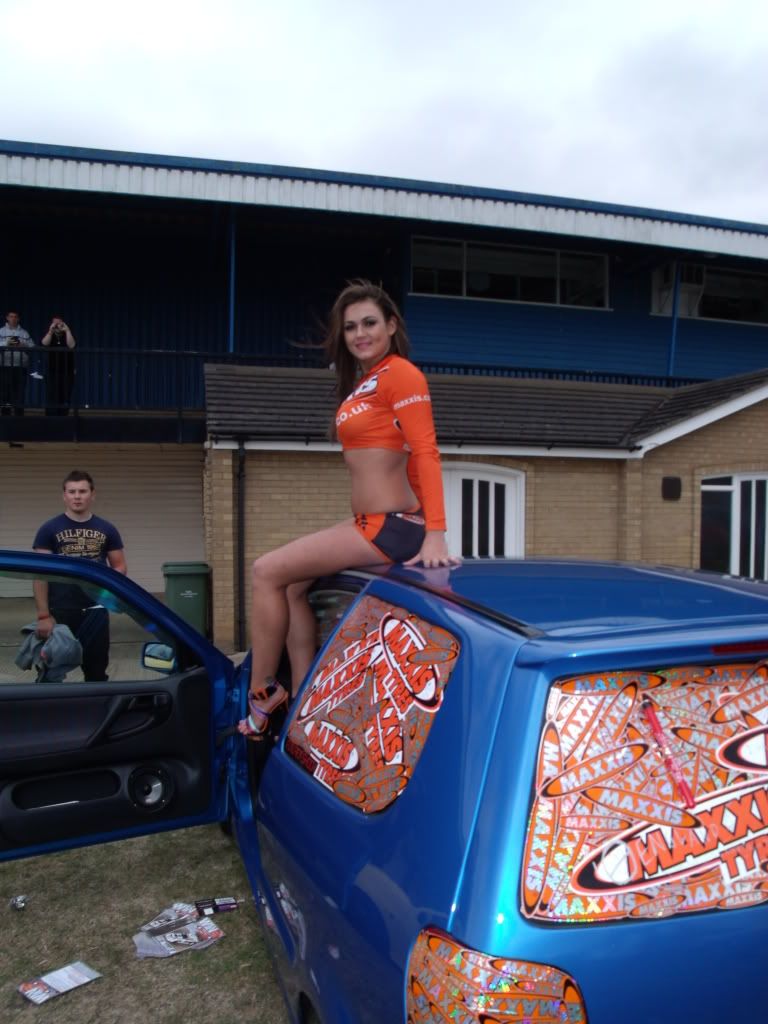
I drove home from the show with the rear 3 windows still COMPLETELLY covered in those stickers. The amount of looks i got off people haha
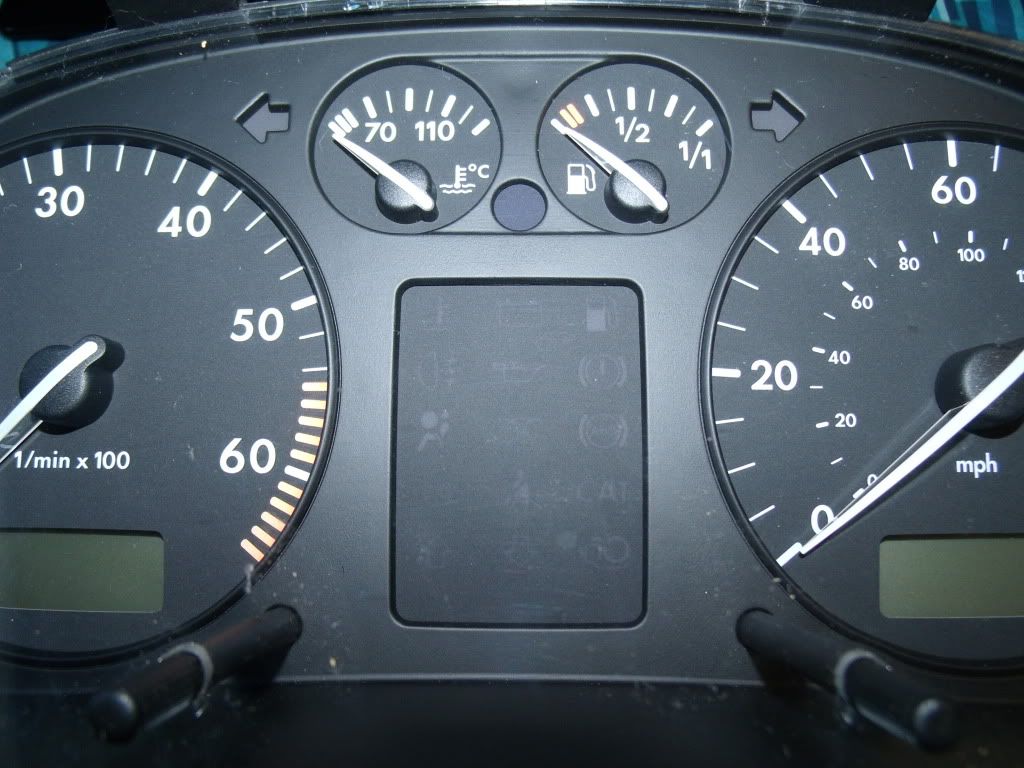
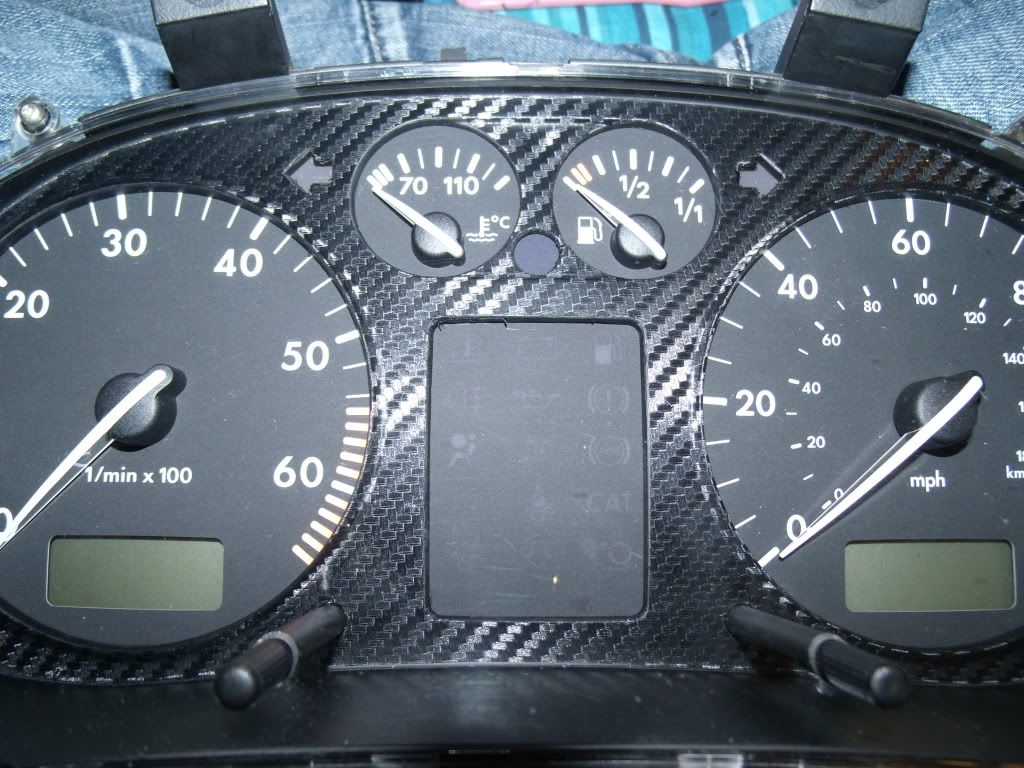
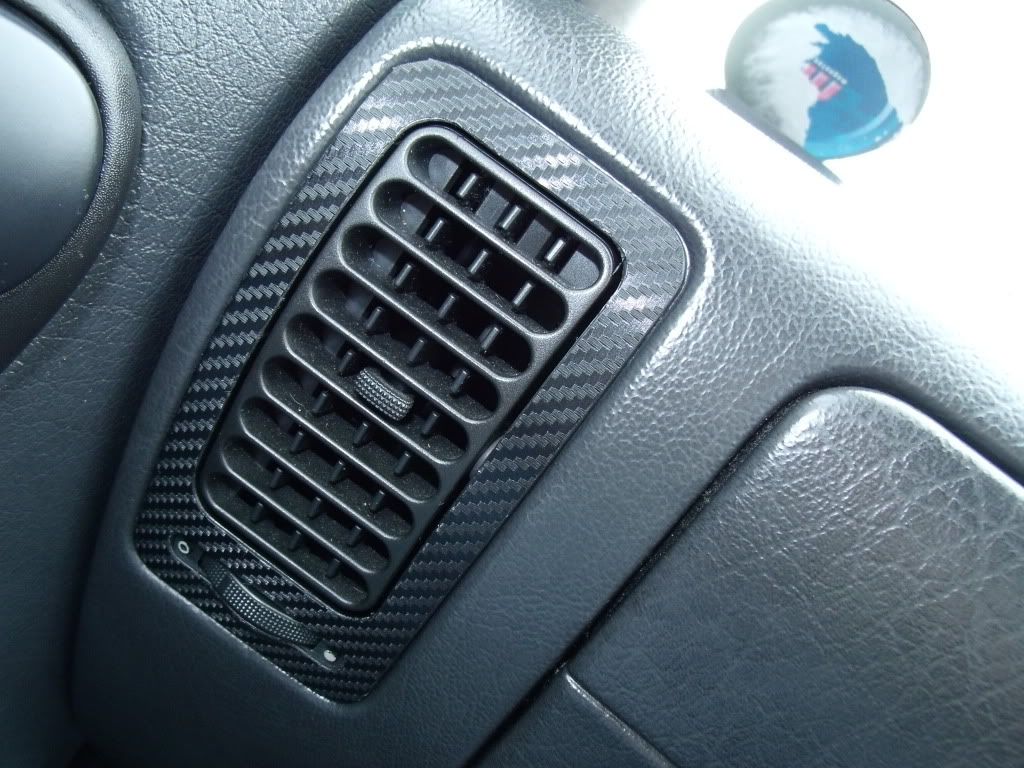
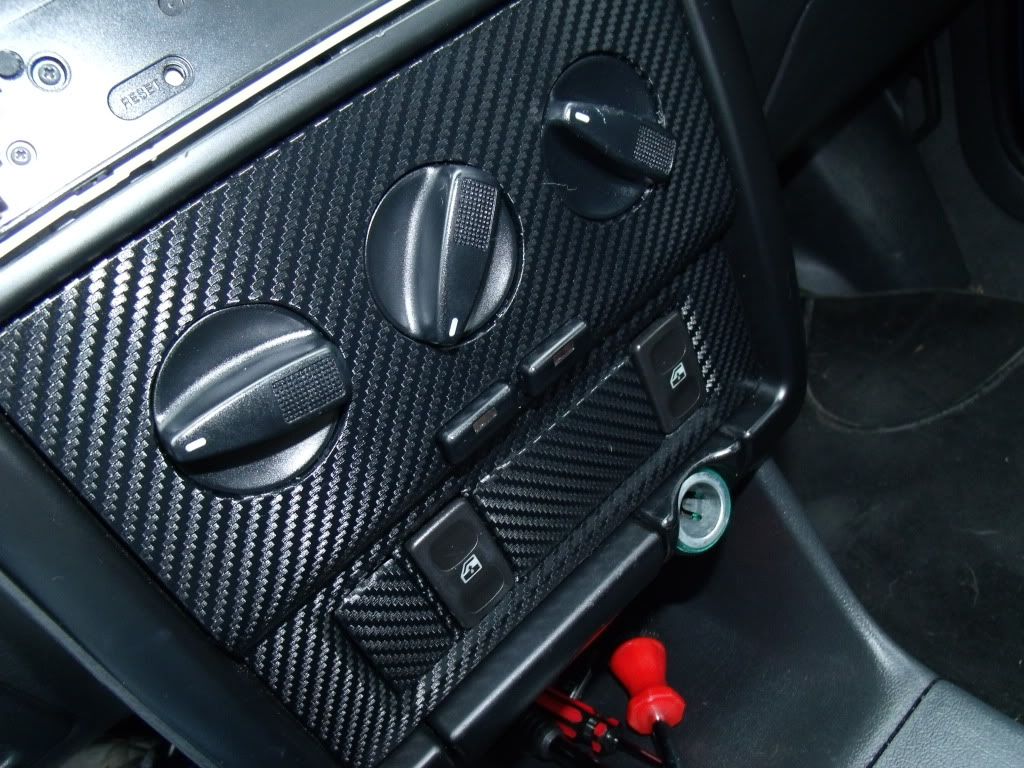
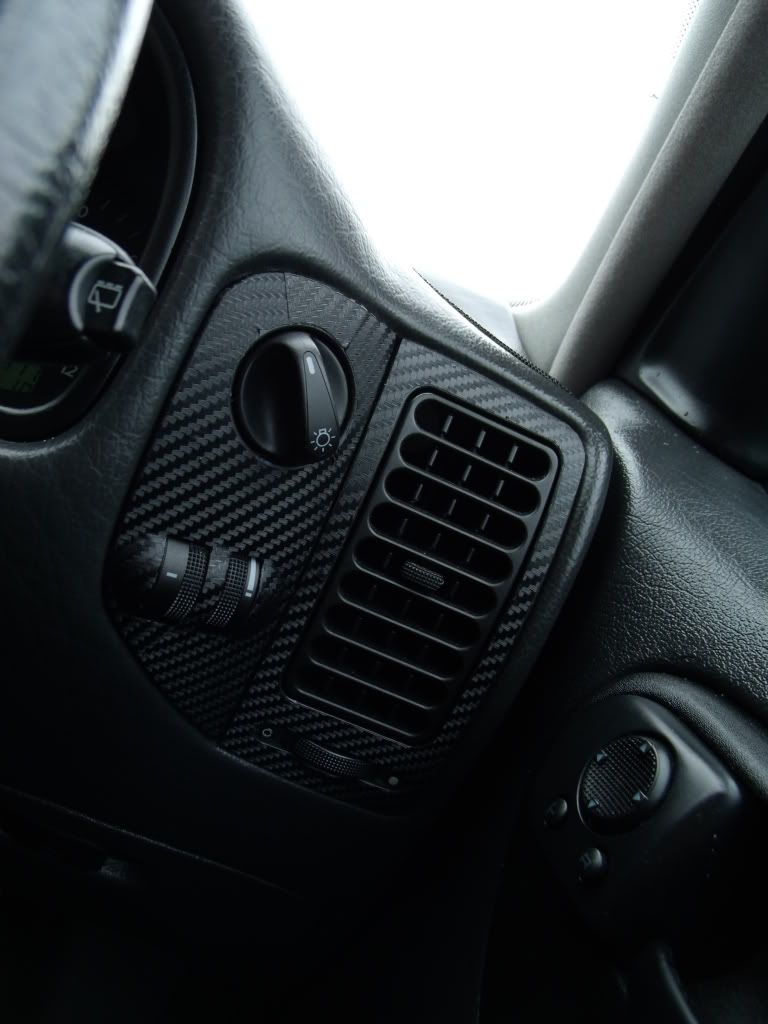
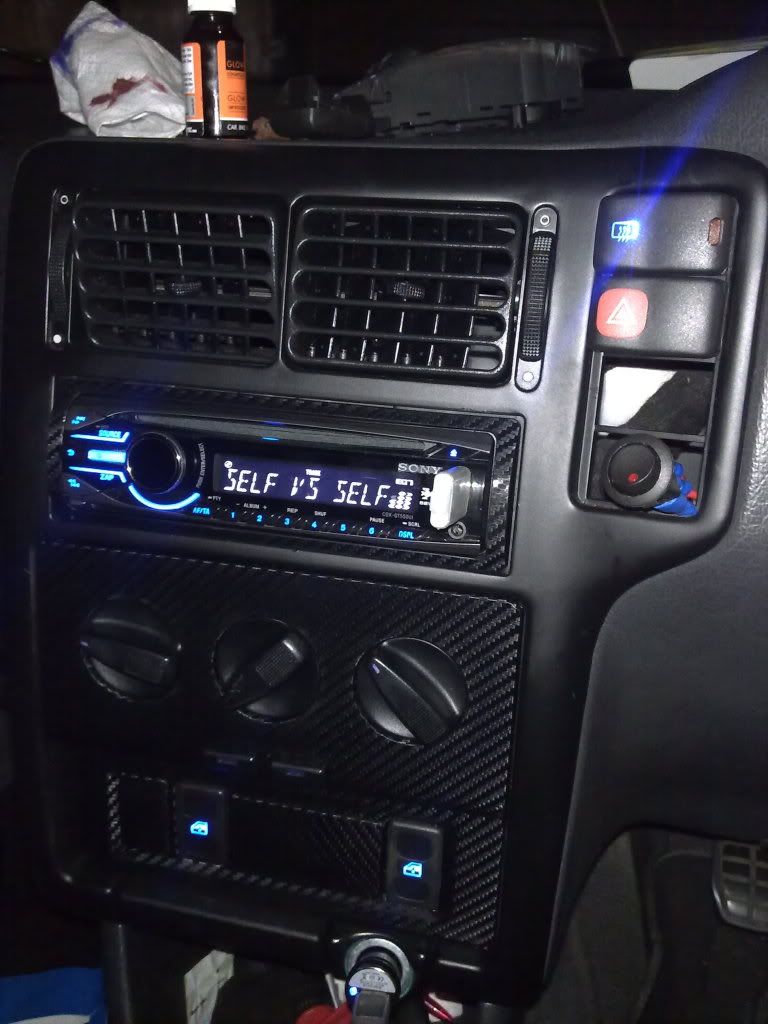
Bought a roll of carbon wrap whilst at mod nats too.. was 20cm too short to do my roof So decided to do some interior bits and bobs..
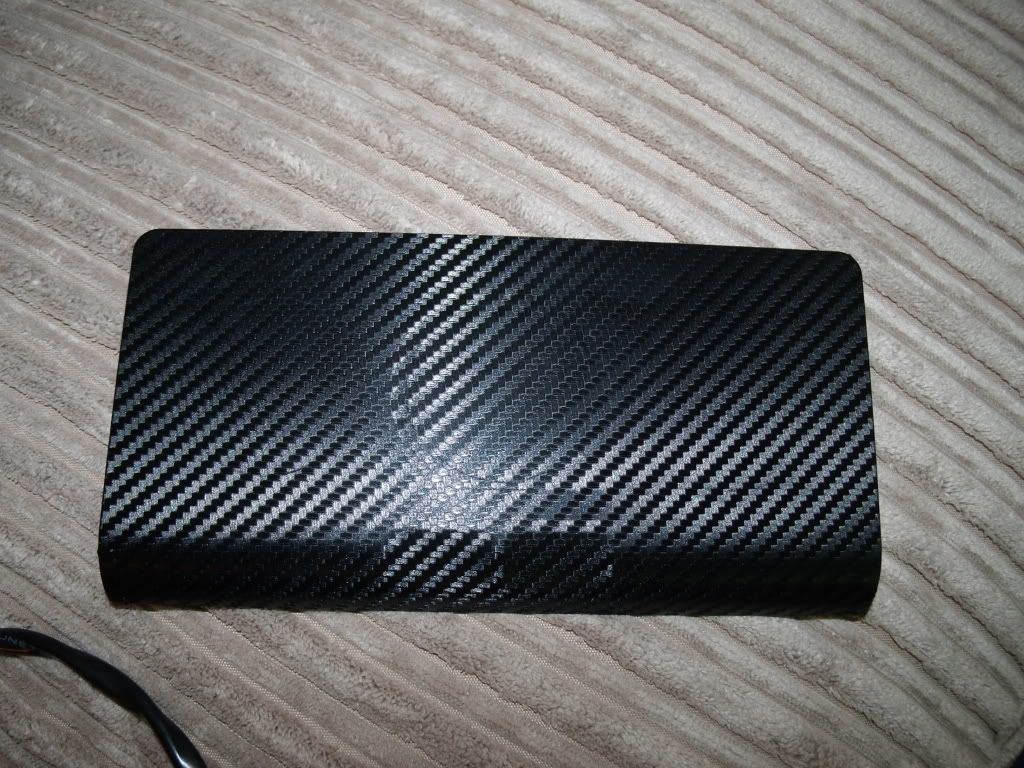
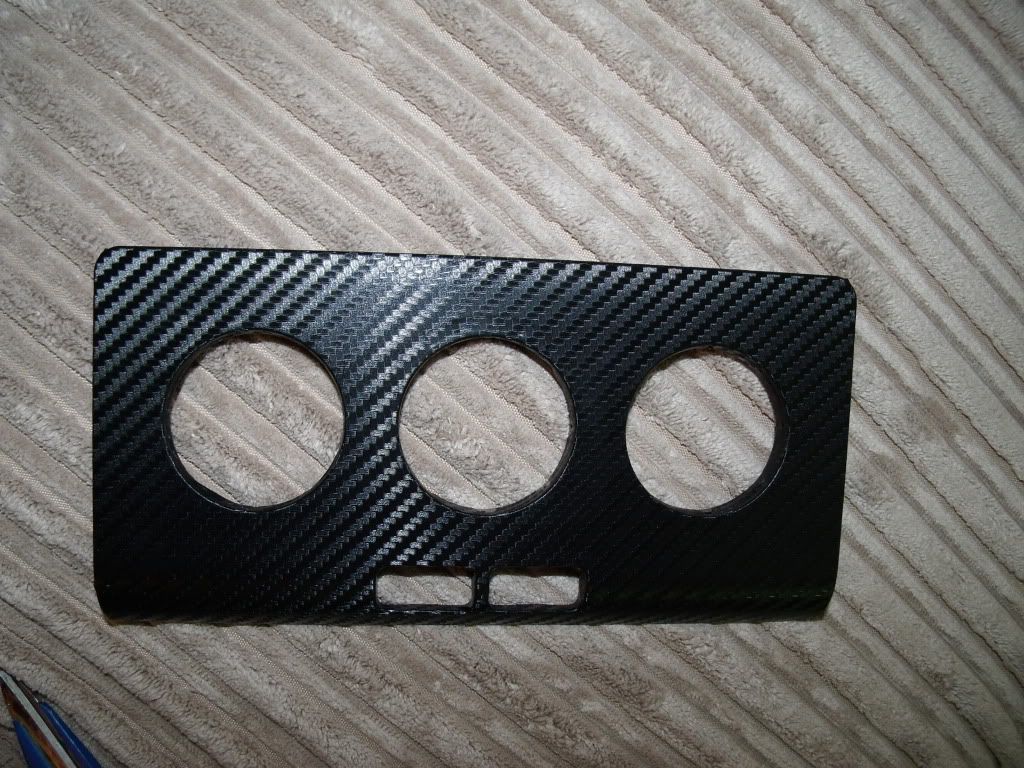

Then i got bored one evening..


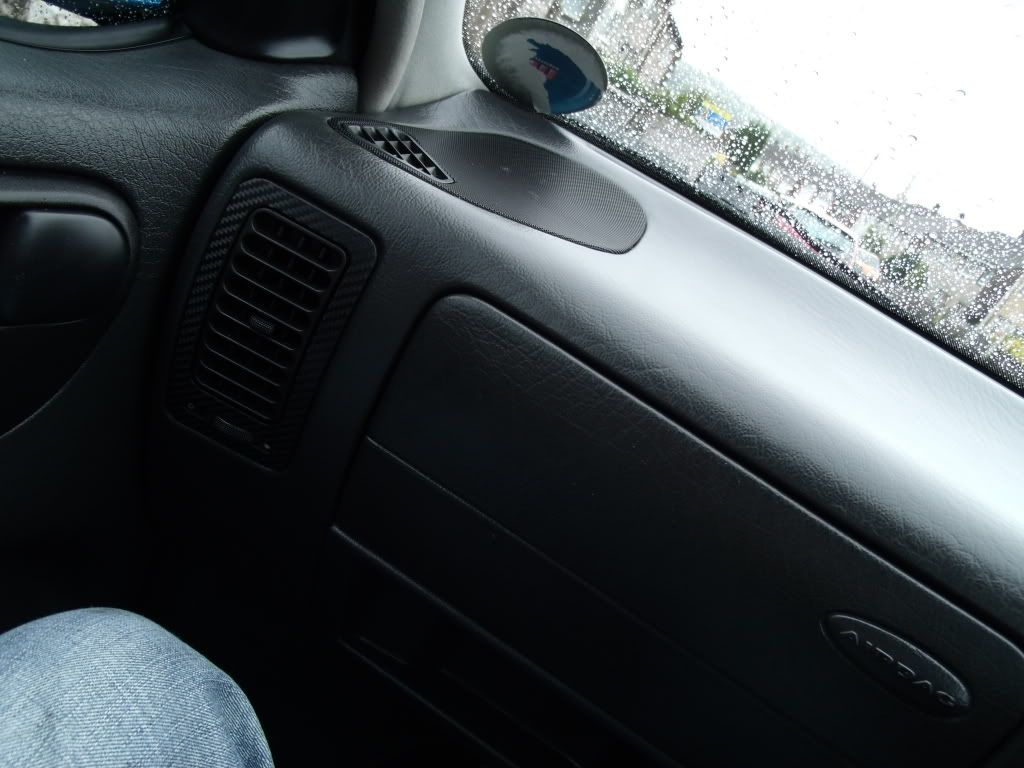
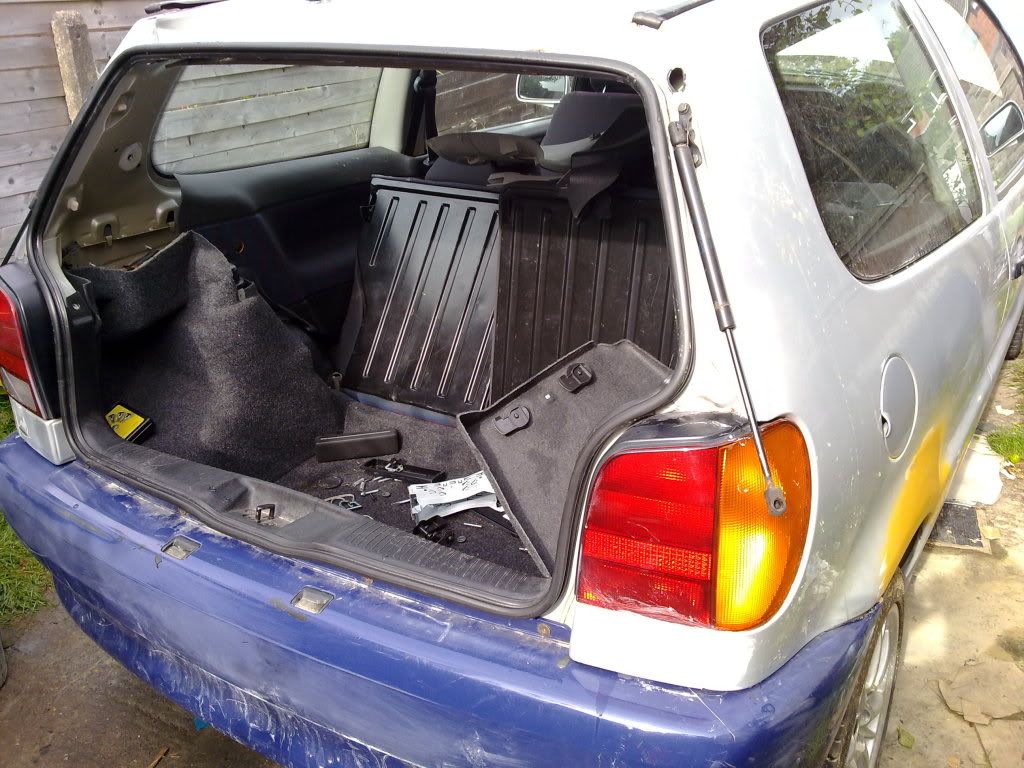
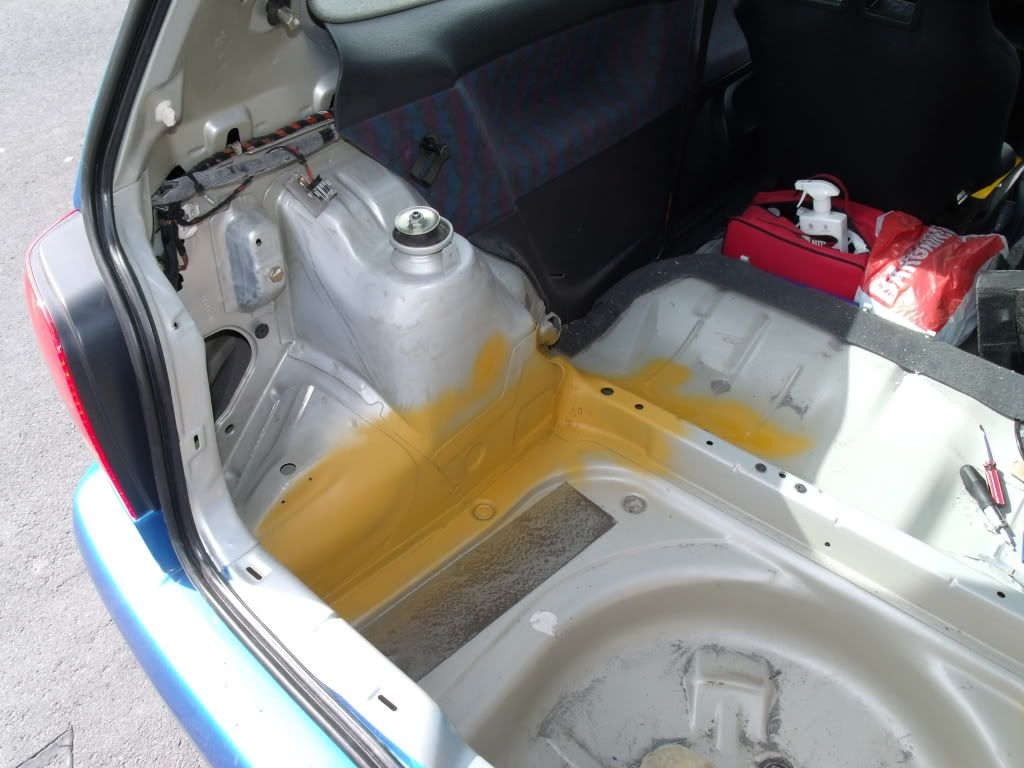
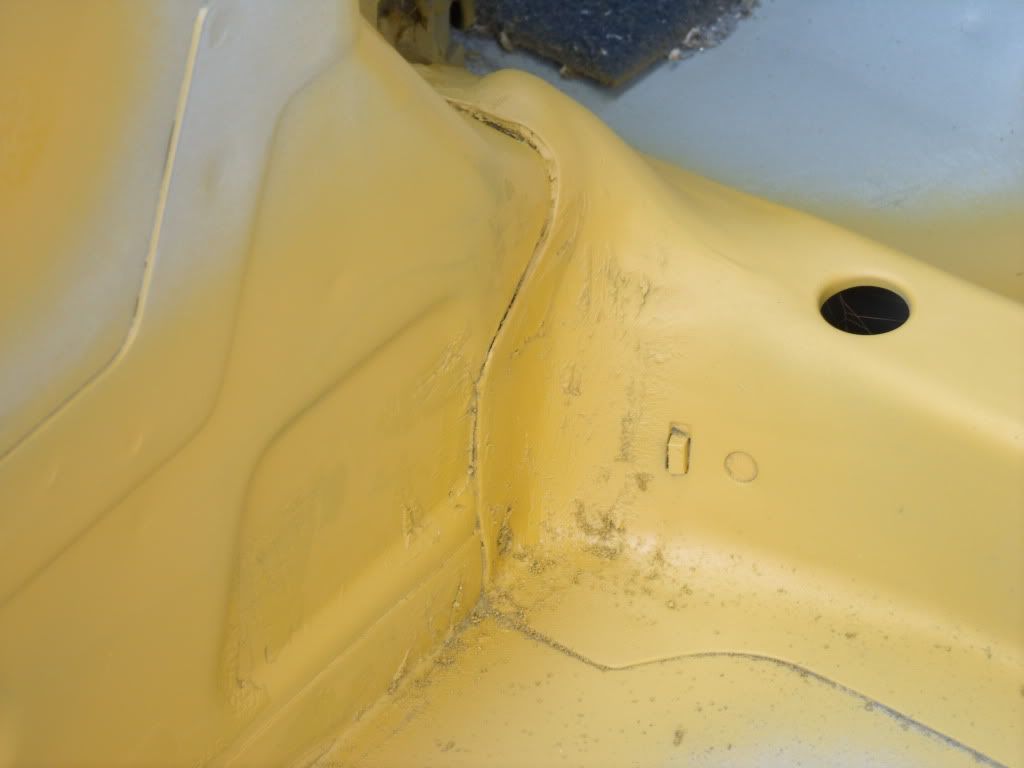
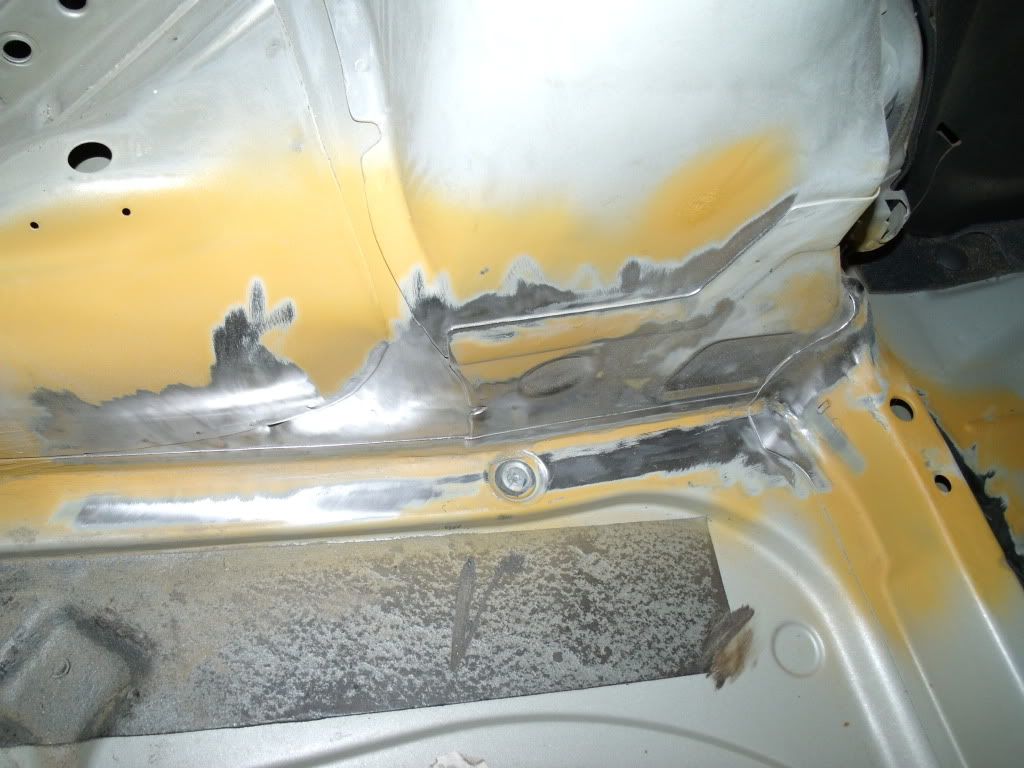
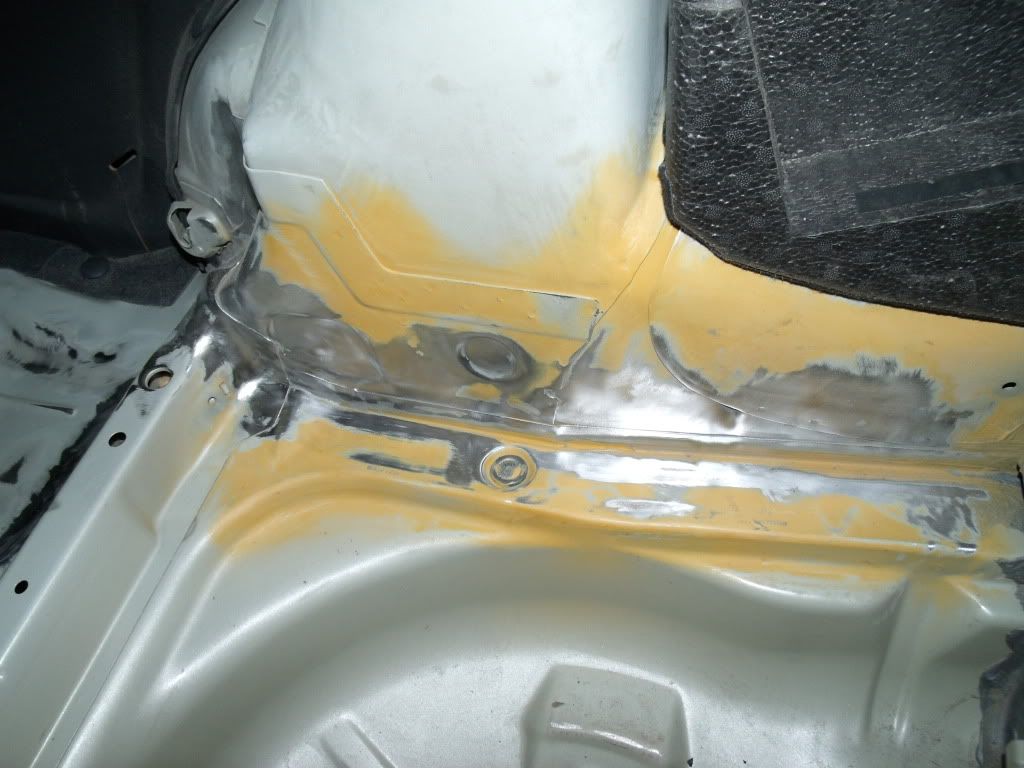
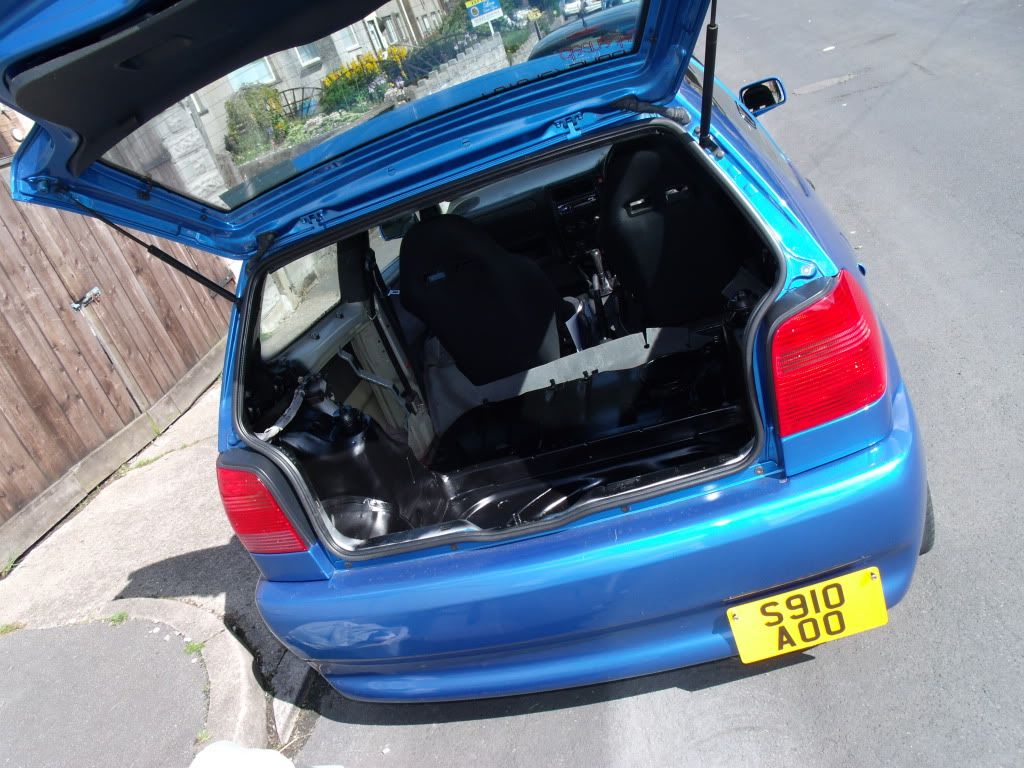
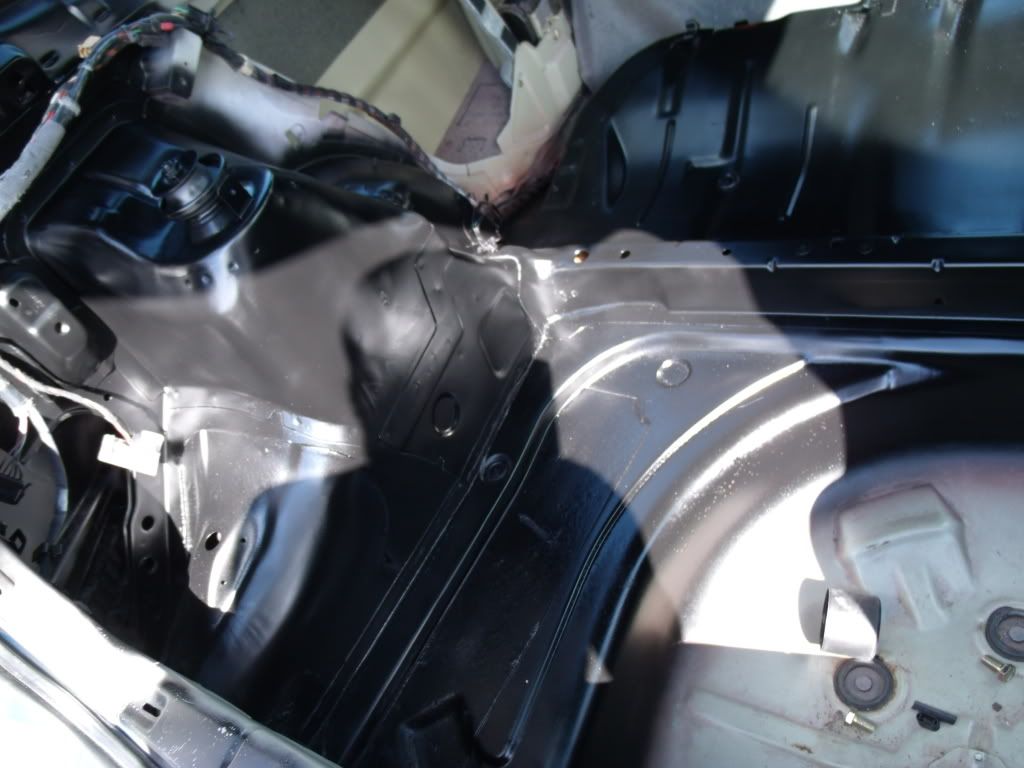
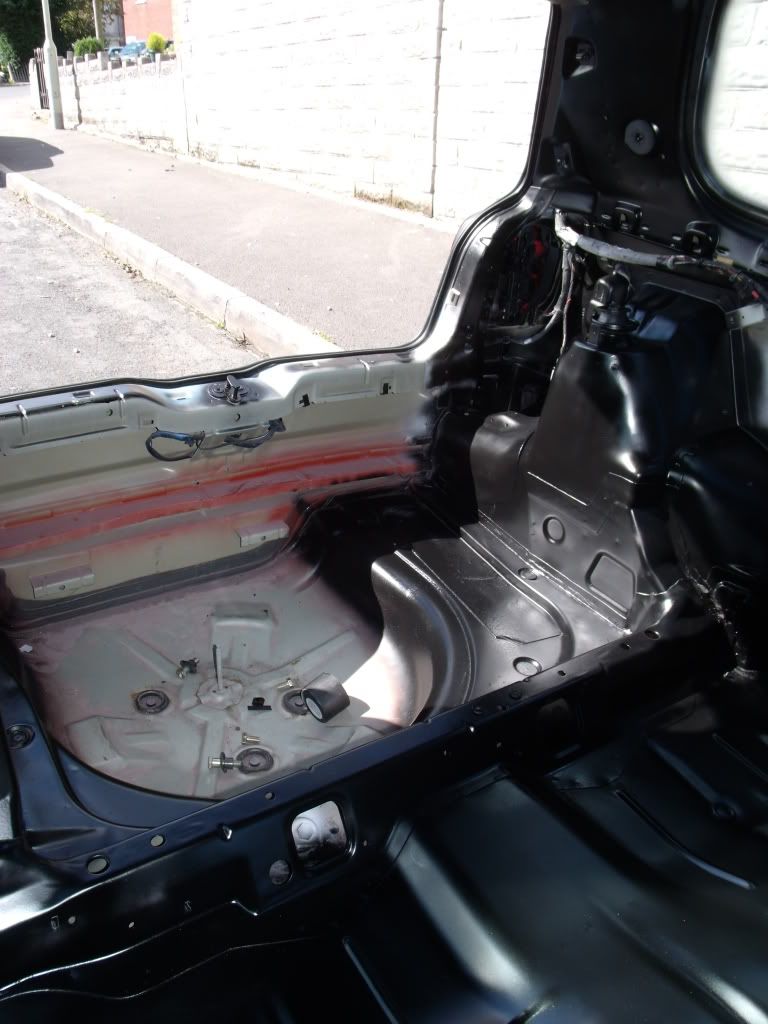
The inside of my car is stripped completely at the rear apart from the doorcards. Ive began work on removing the seam sealer and then began to spray the rear in prep for the satin black finishing coats..

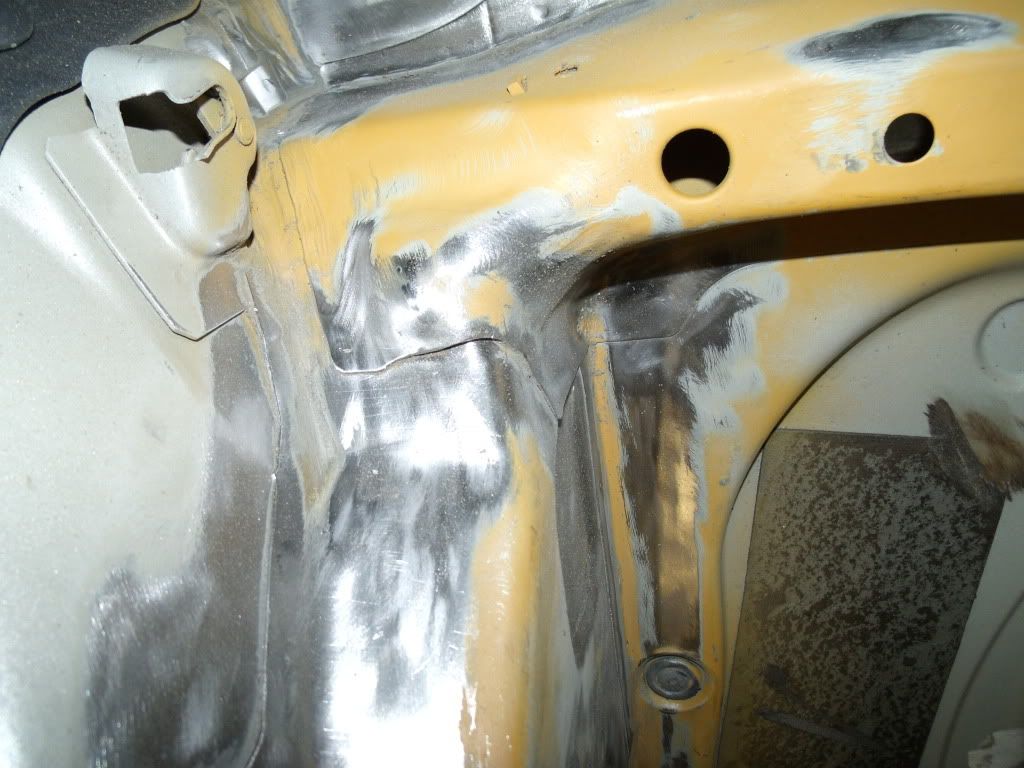
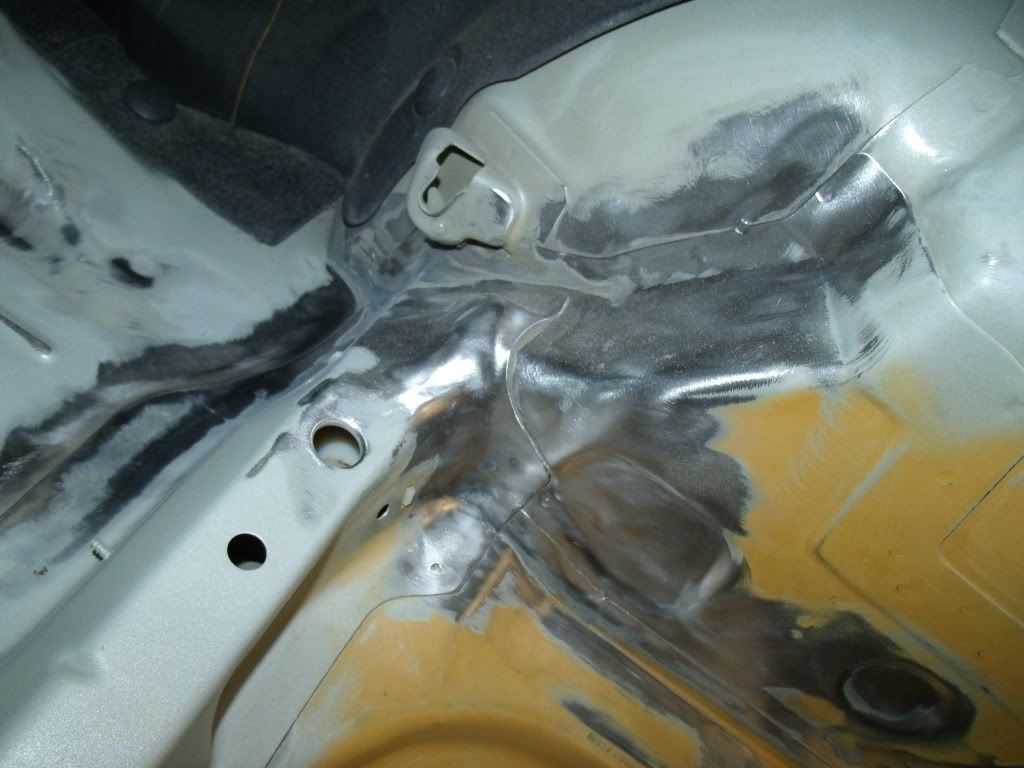
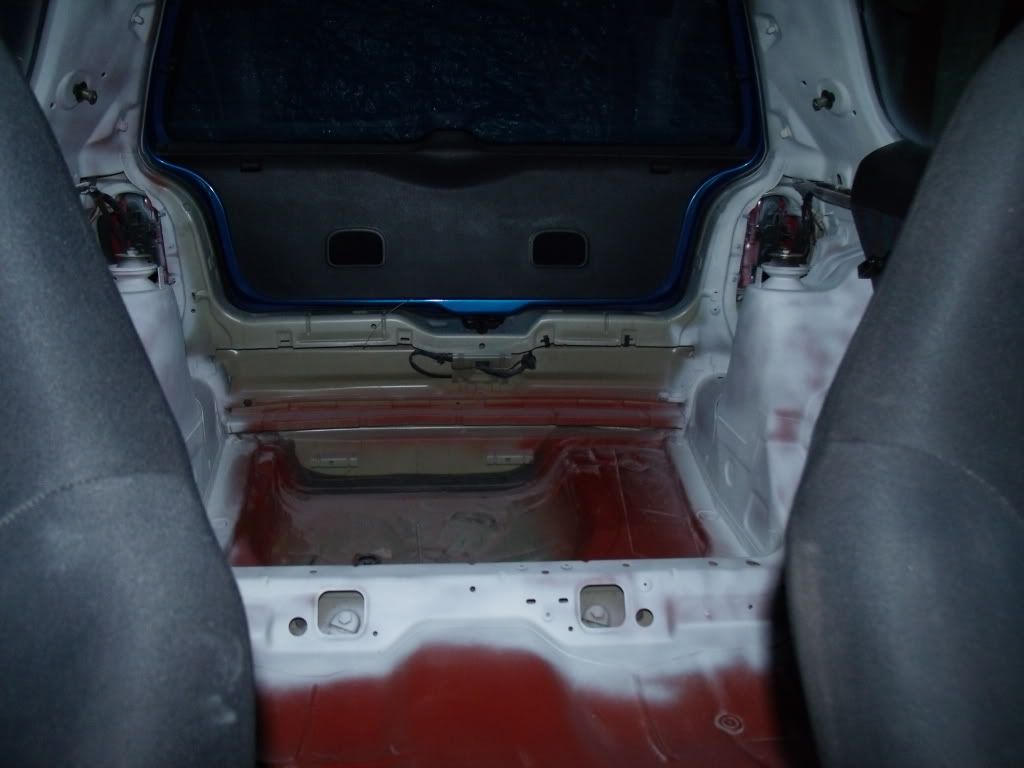
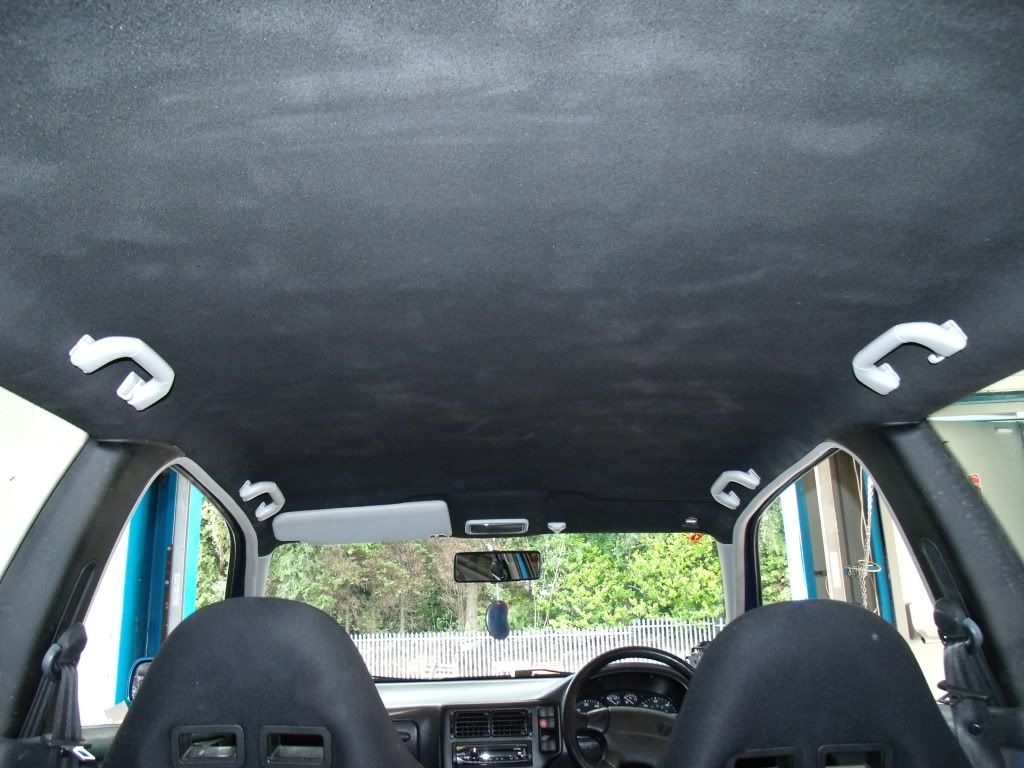
Also sprayed my rooflining black, needs another coat or so as its a bit patchy.. shall be spraying all the plasic trims black then also..
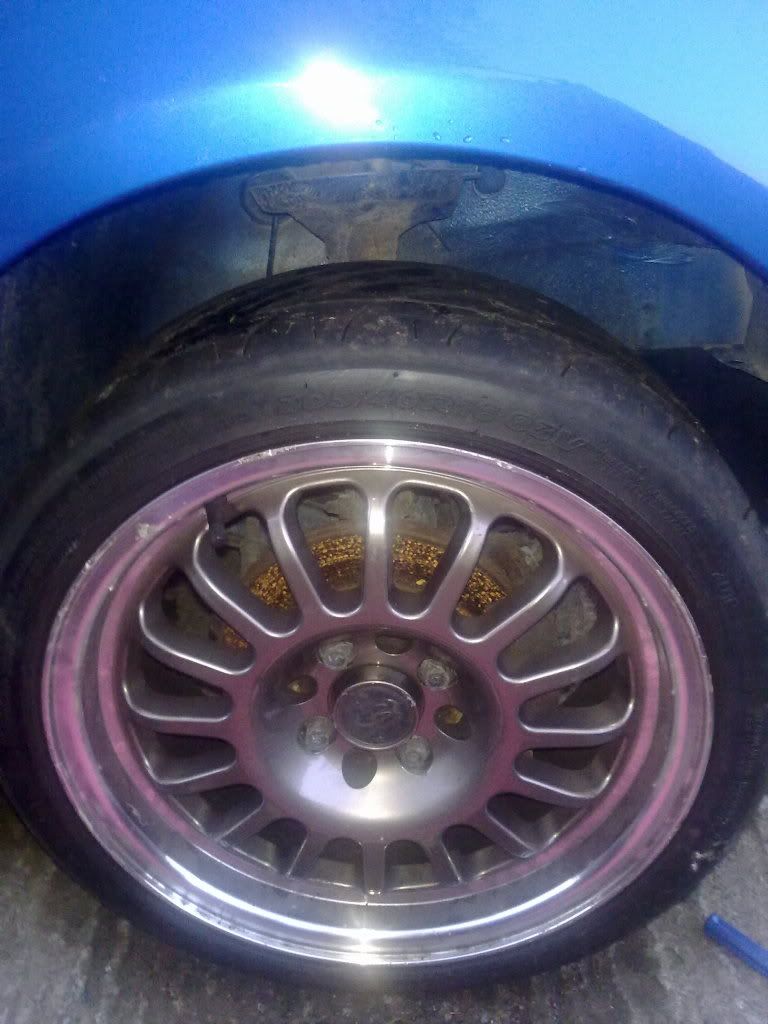
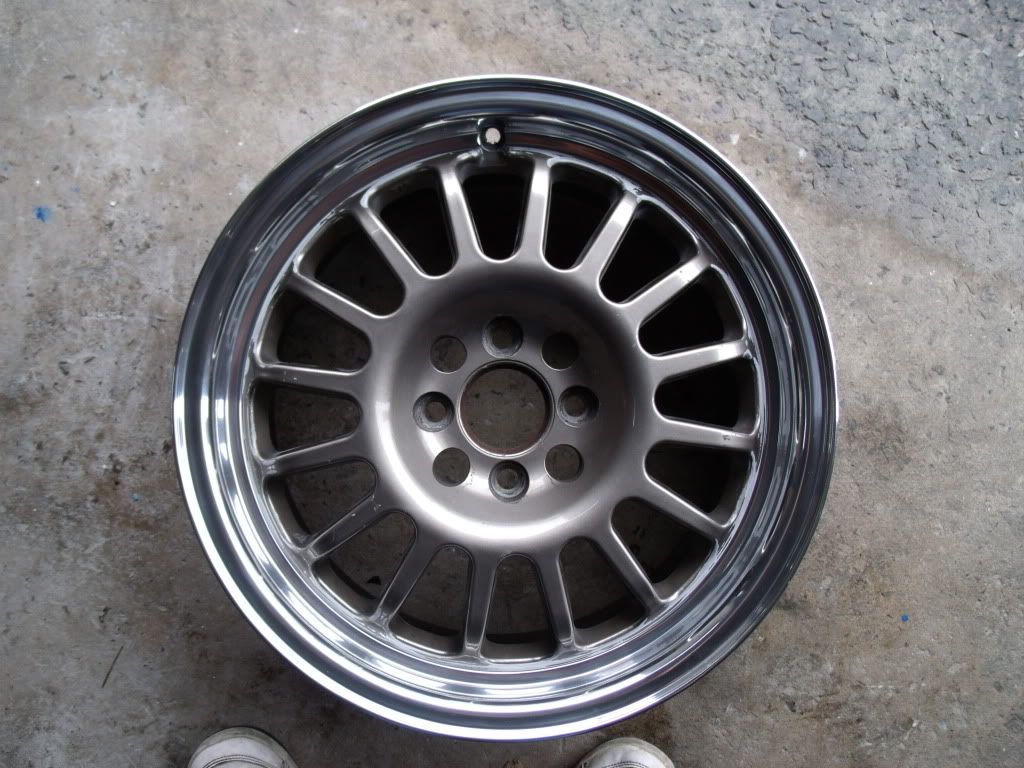
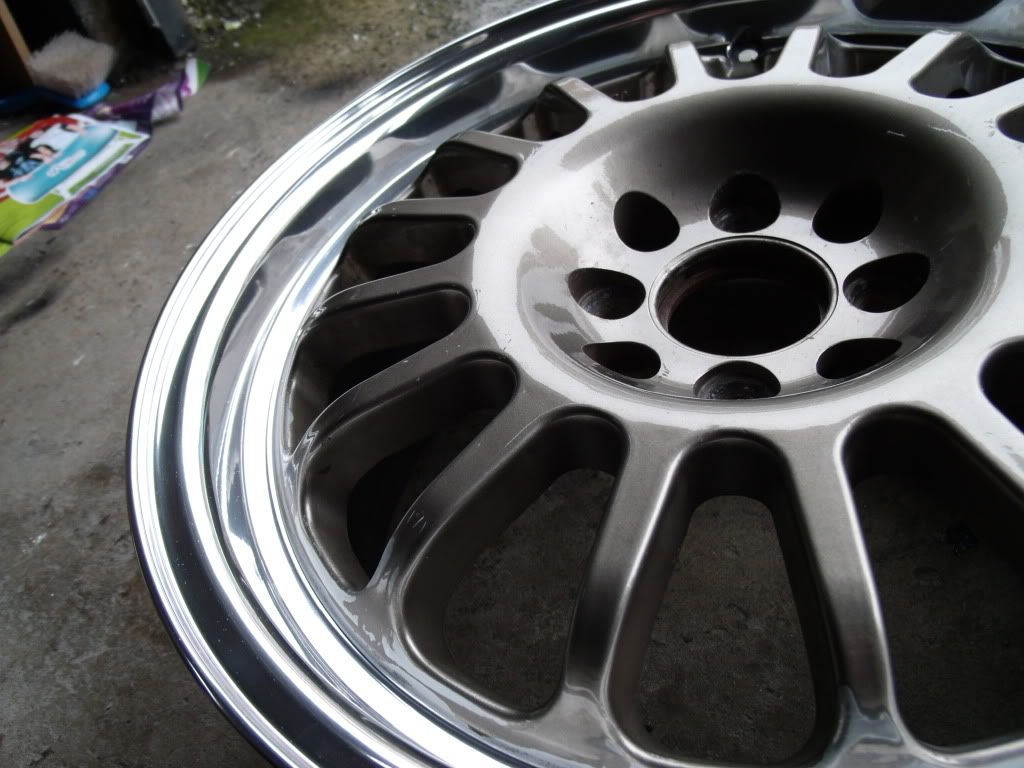
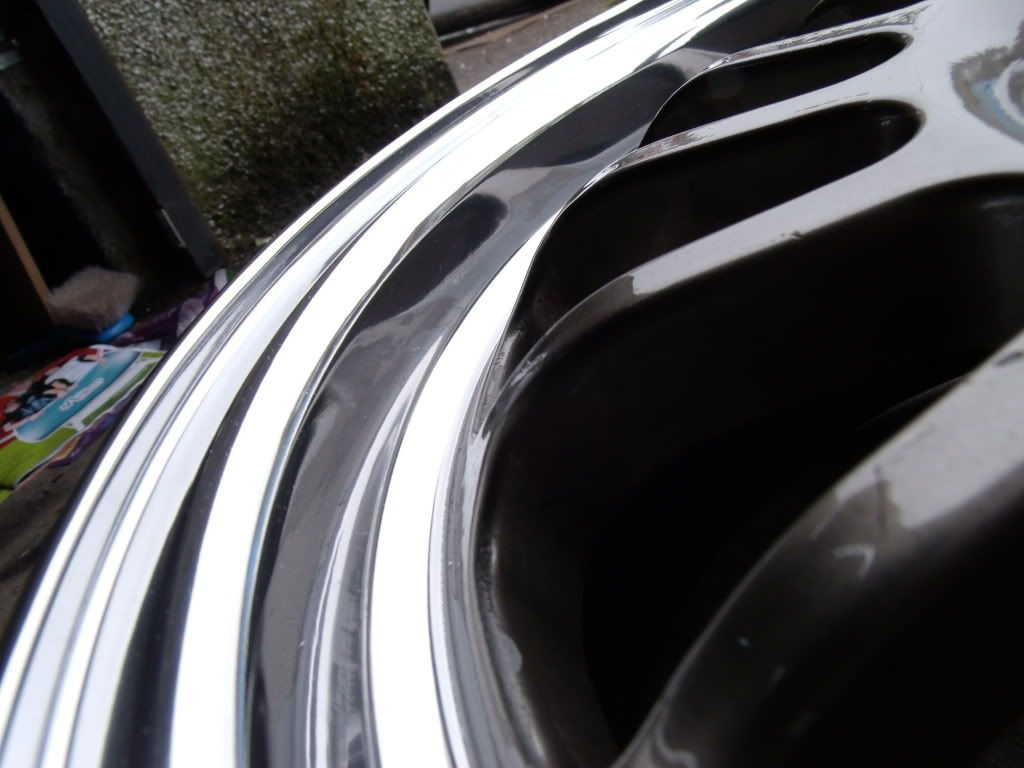
How the Rota's looked after the lips were re-polished..
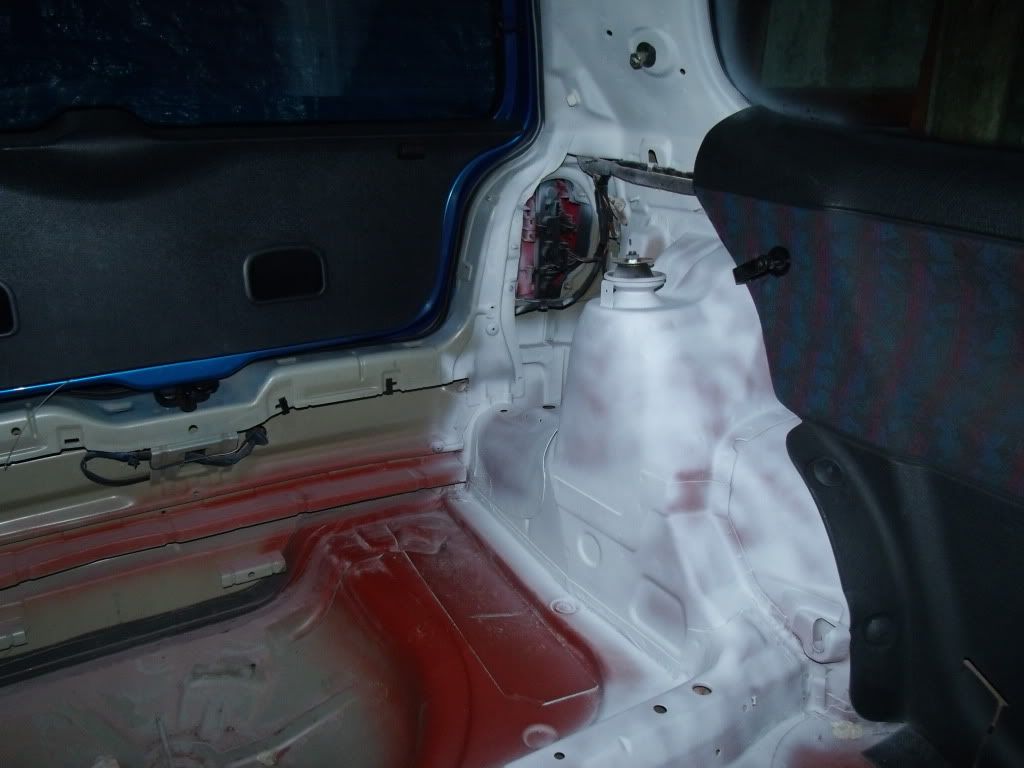
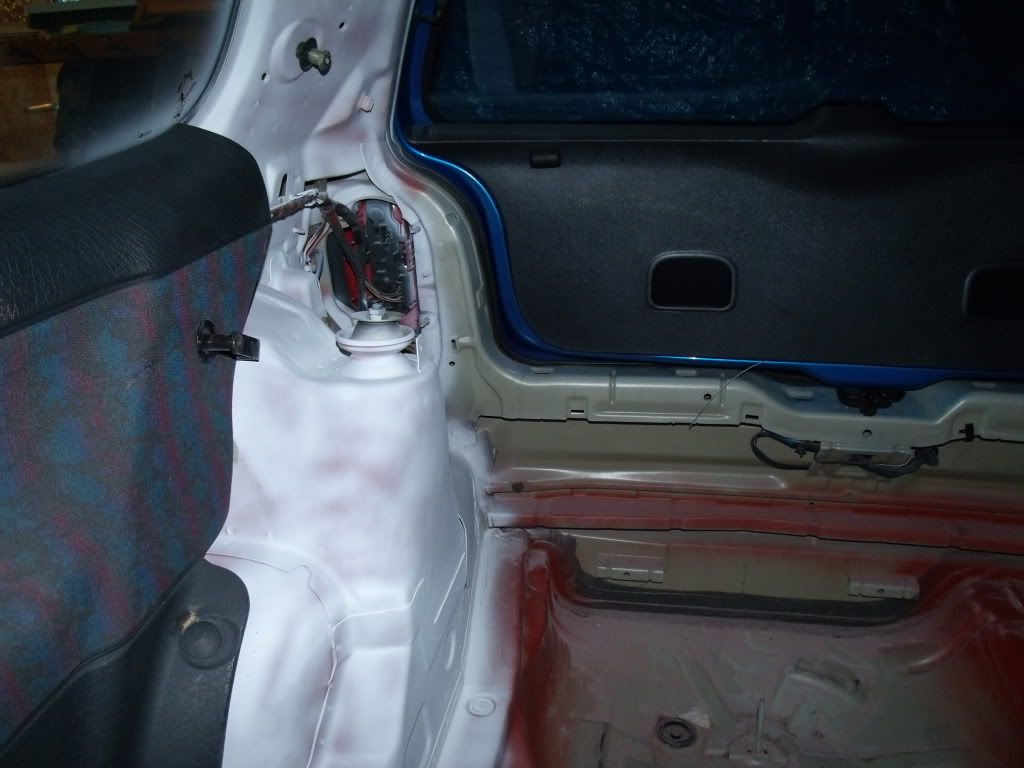
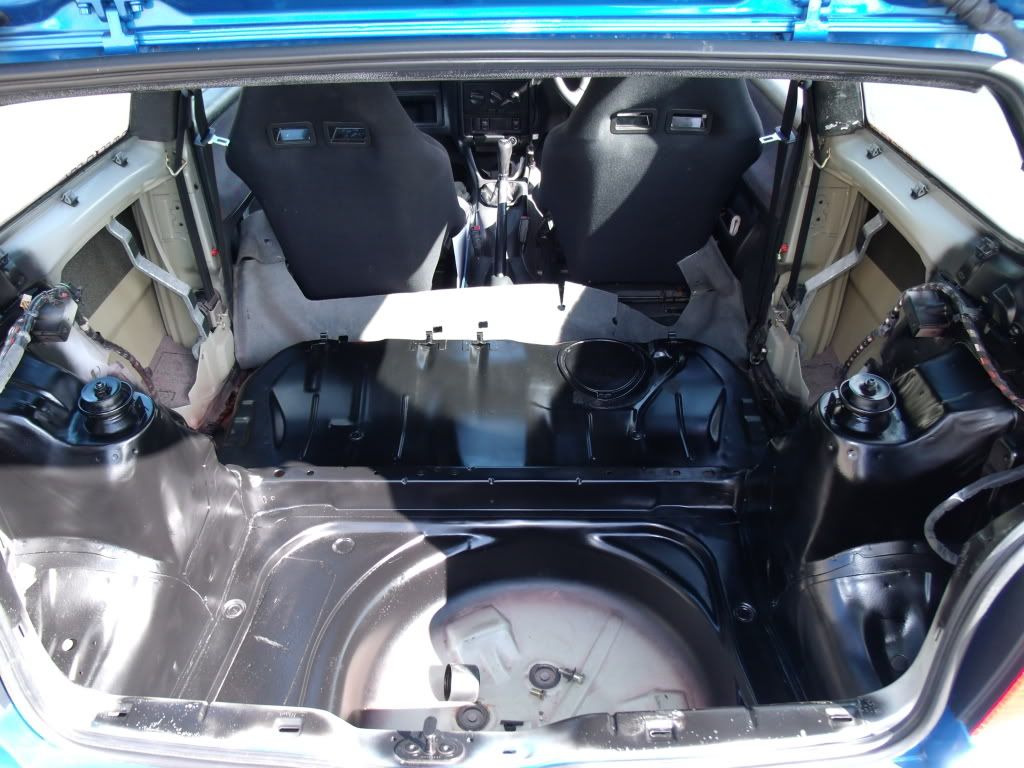
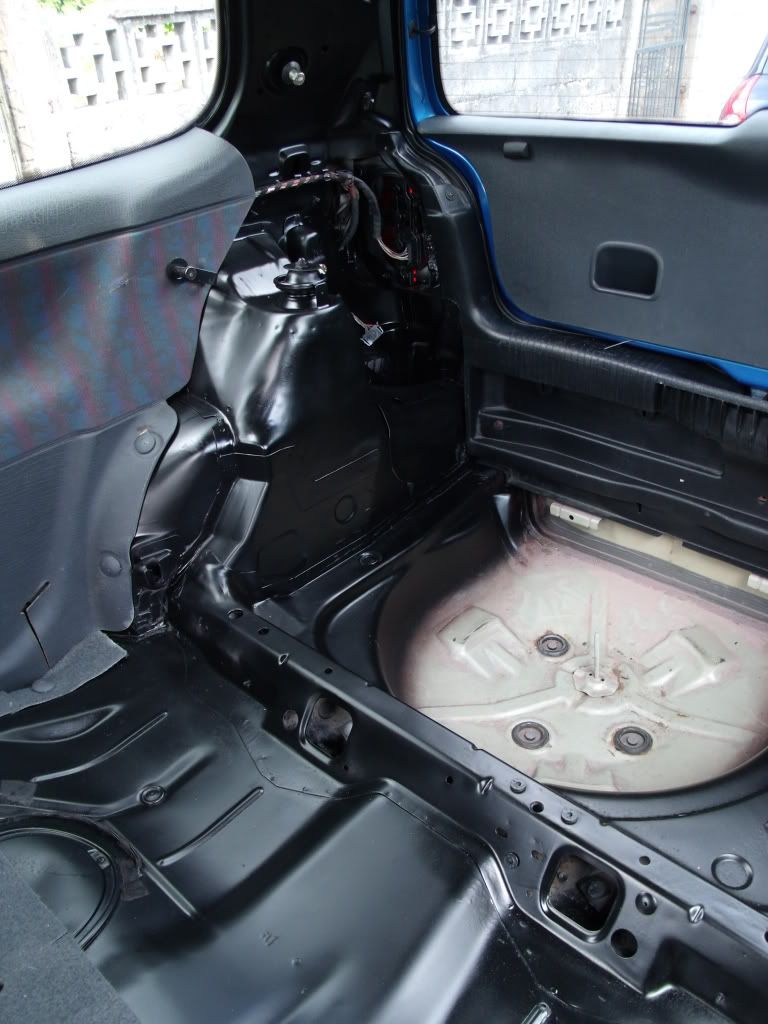
After a few weeks, i managed to get a few quid together to just finish the inside of the rear.. Will need another coat but for now its looking much better..
The wheel well will be covered so wont see the unpainted bit
The front helpers were removed shortly afterwards too, so its now sat that little bit lower on the front.
At this point i wasnt employed, so the project pretty much slowed right down, but the little bits and bobs were available..
not much happened for a few weeks, fundage had become short once again so.. wasn't able to do much.
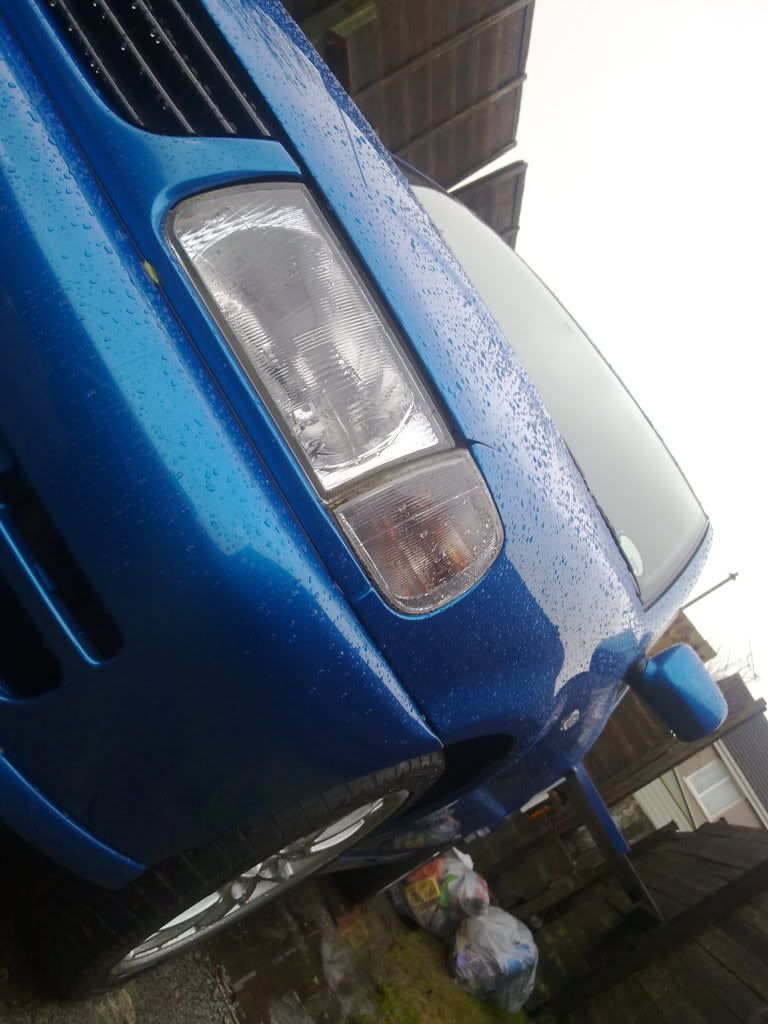
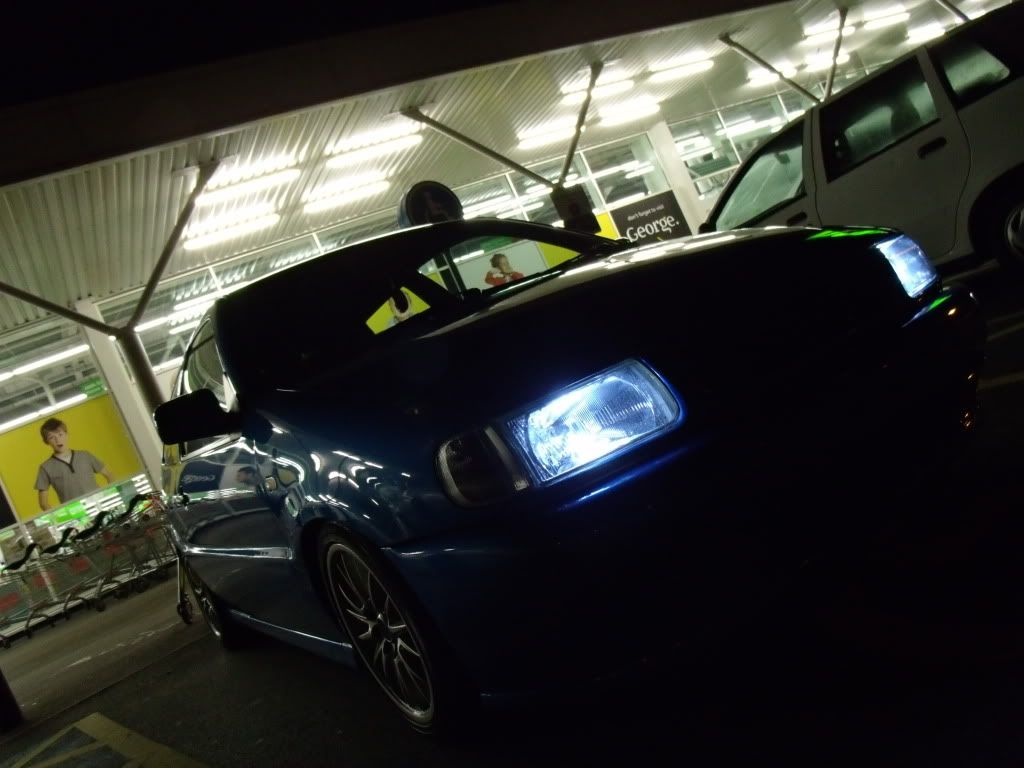
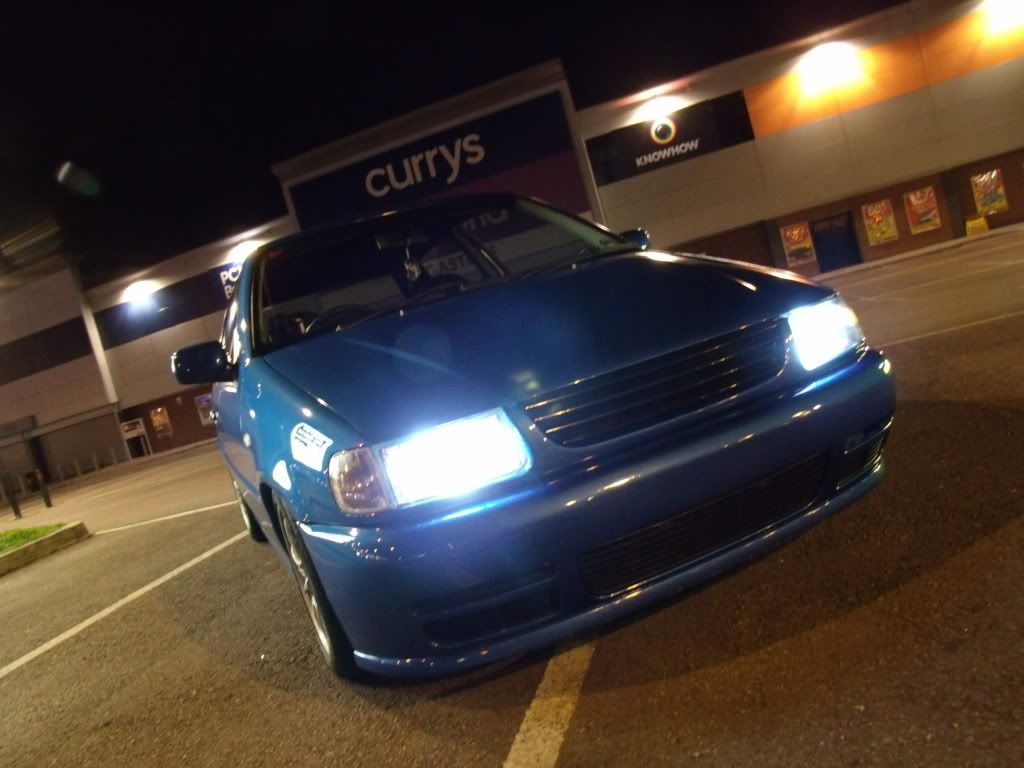
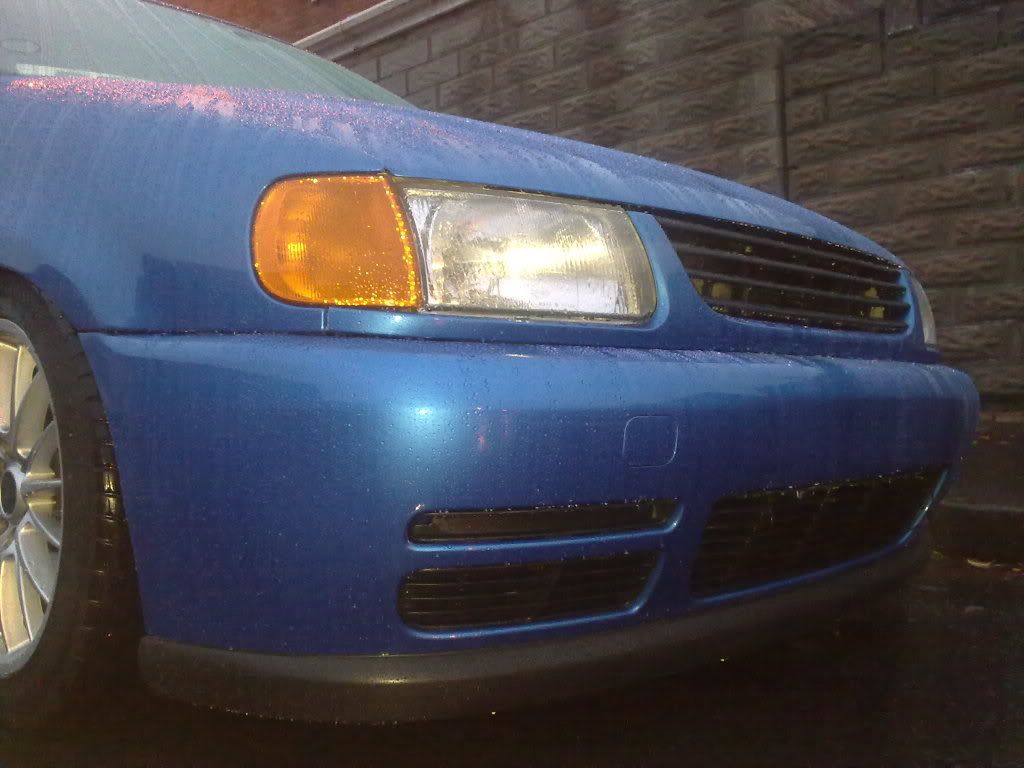
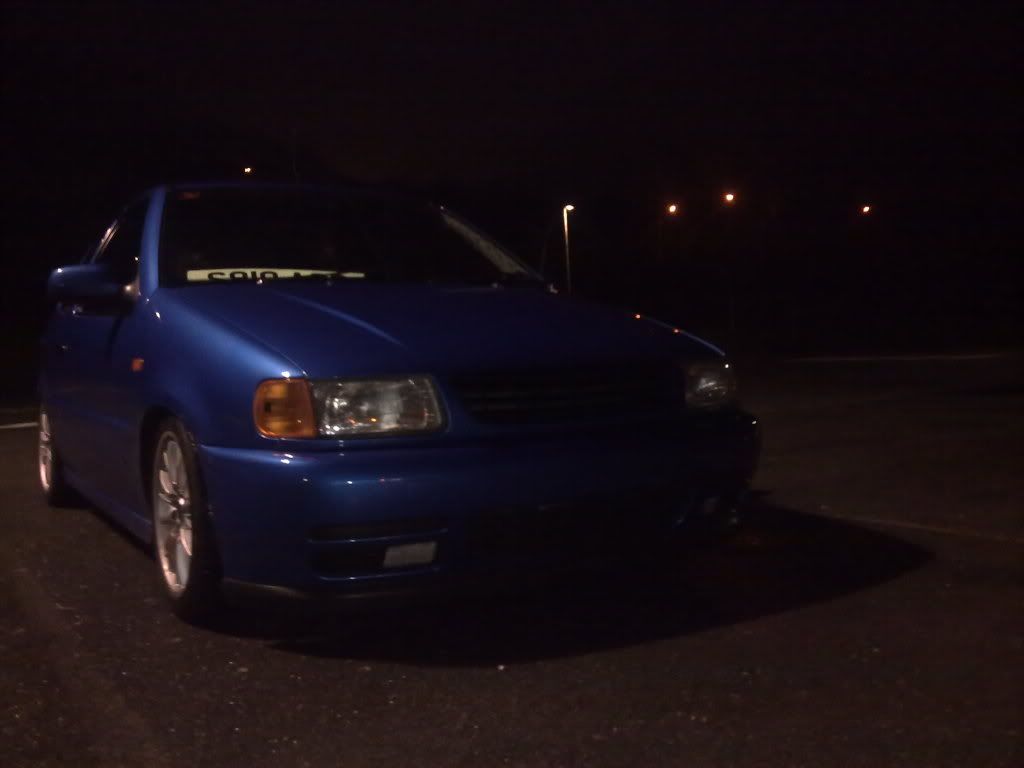
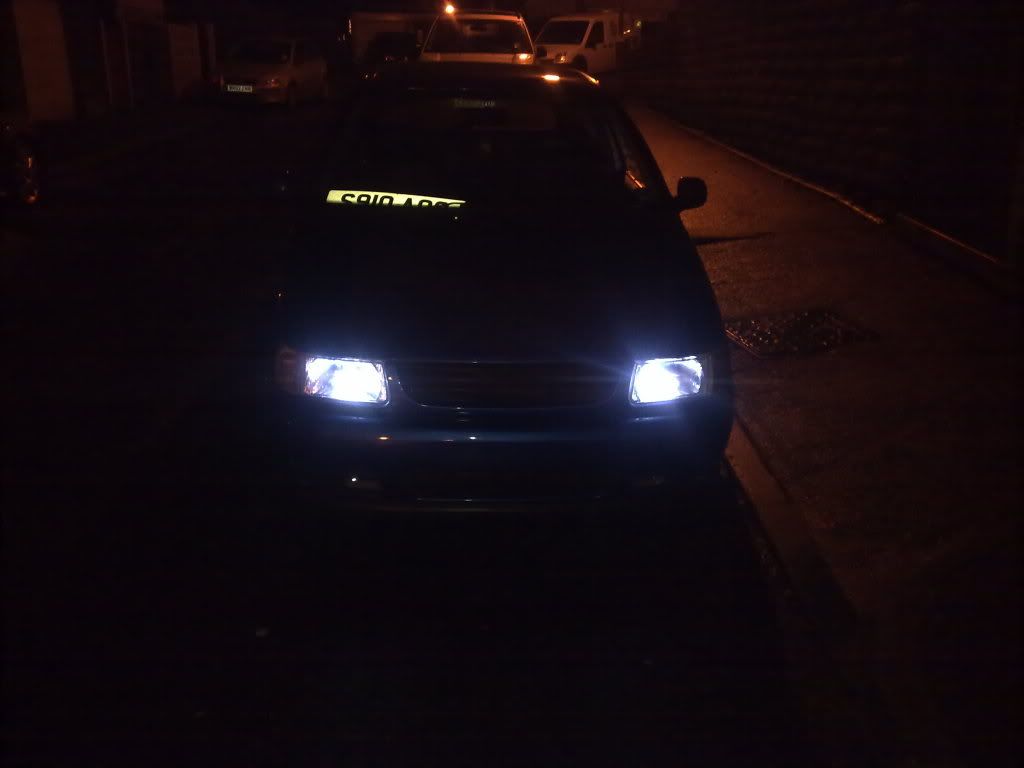
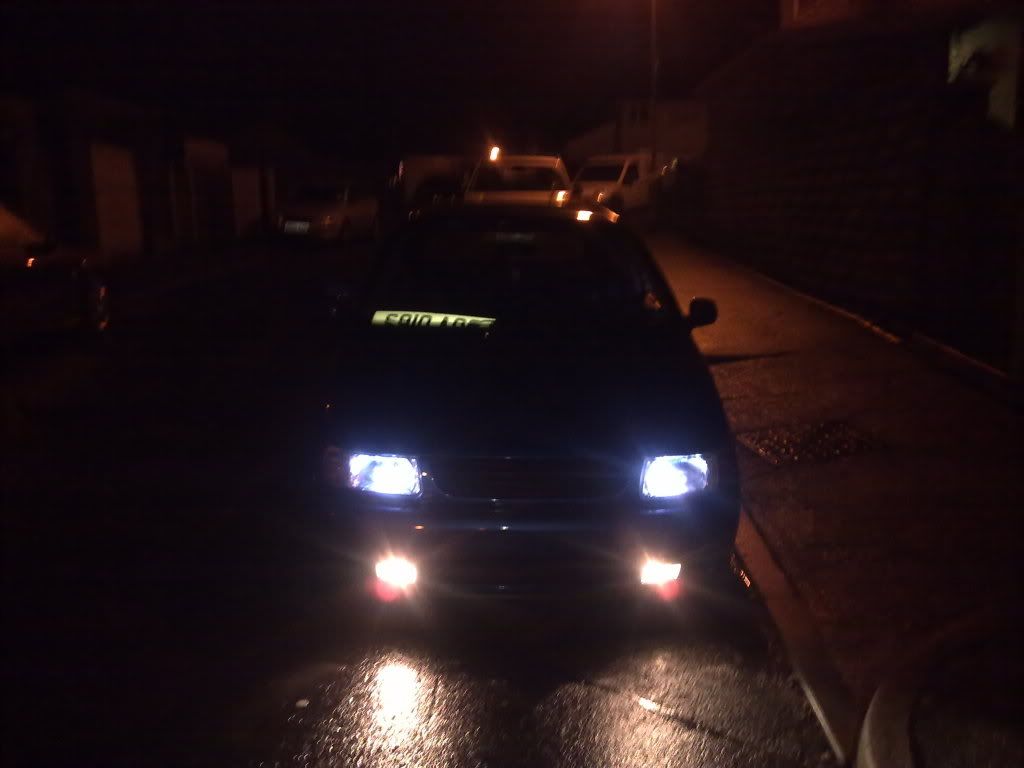
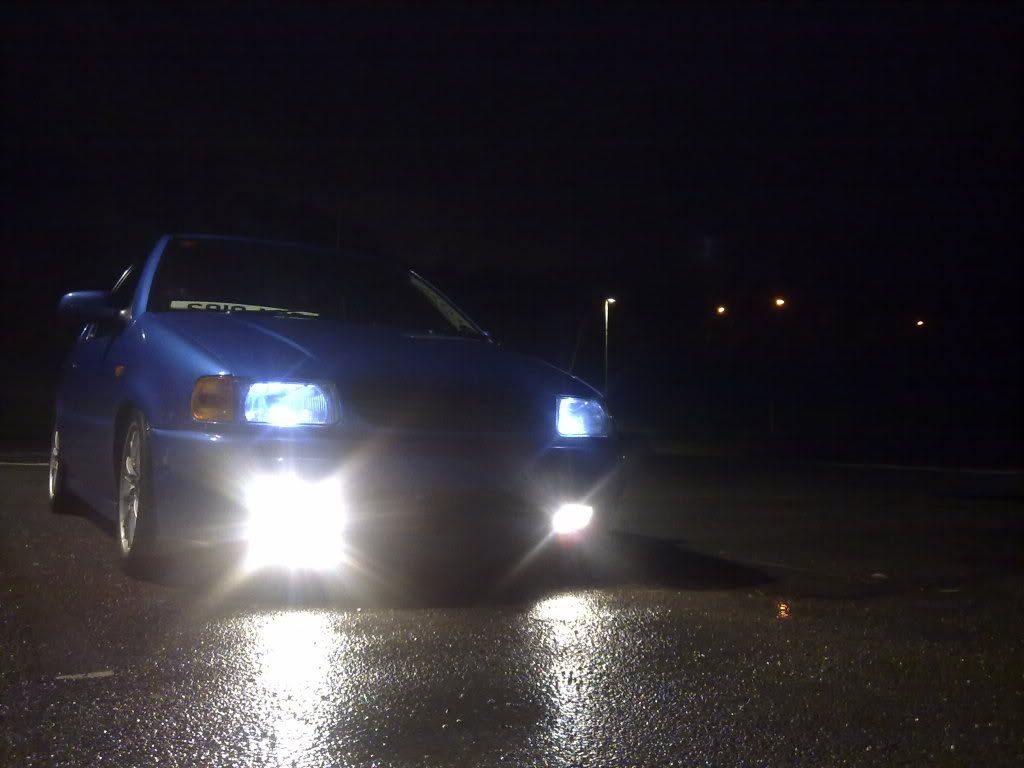
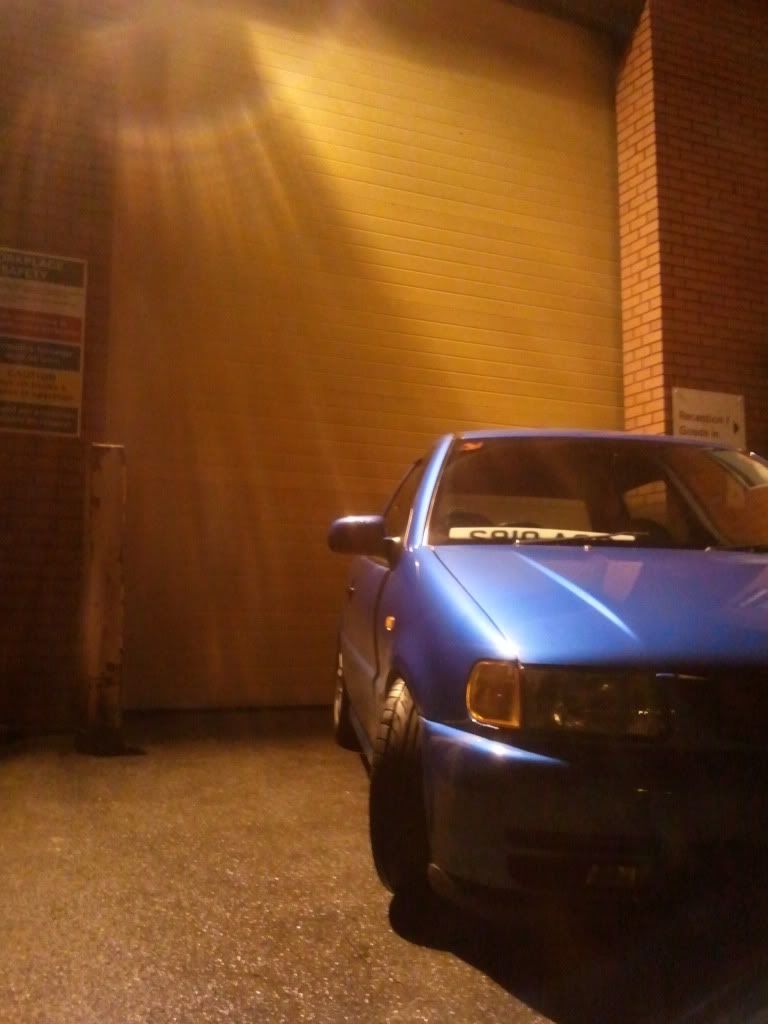
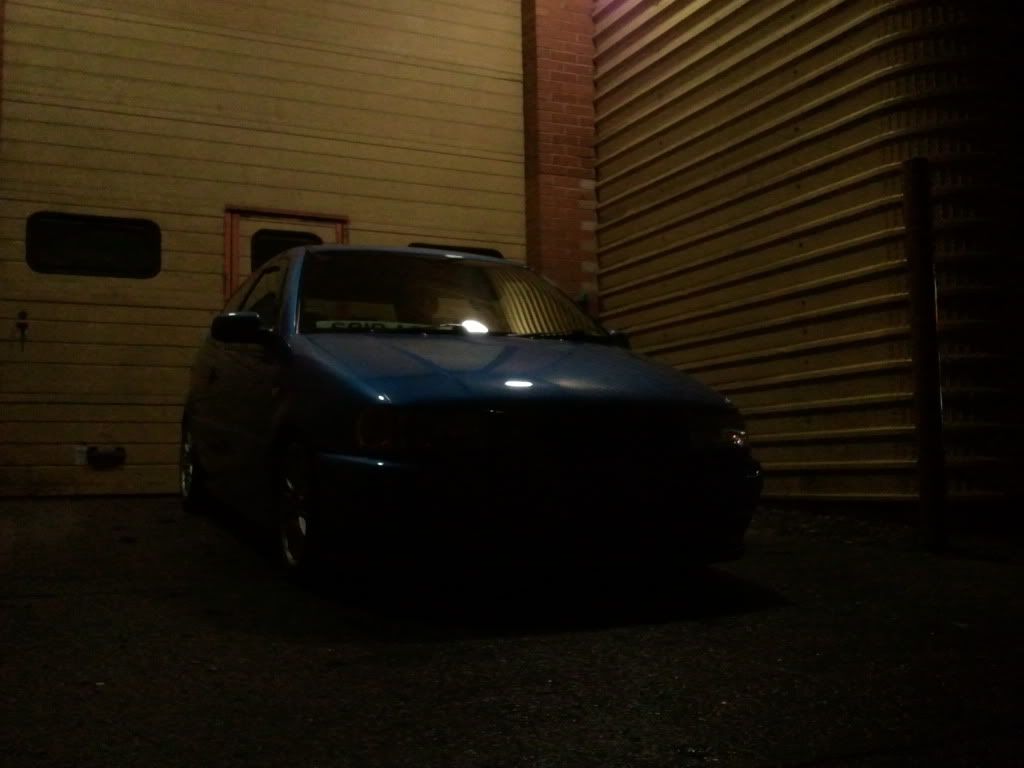
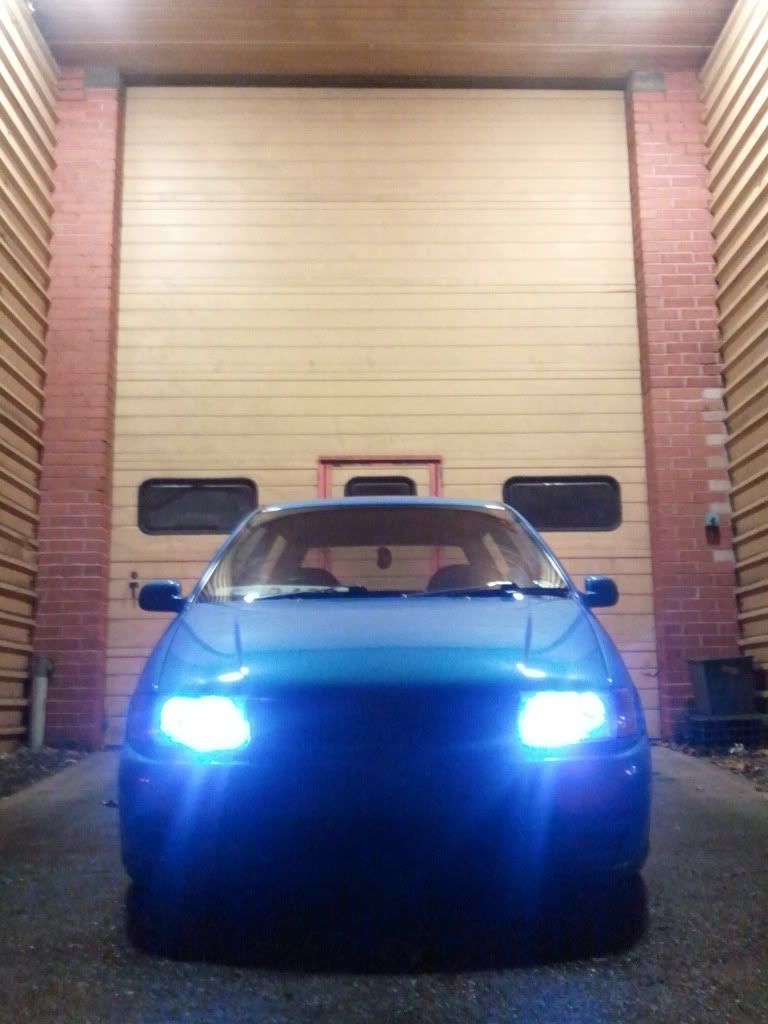
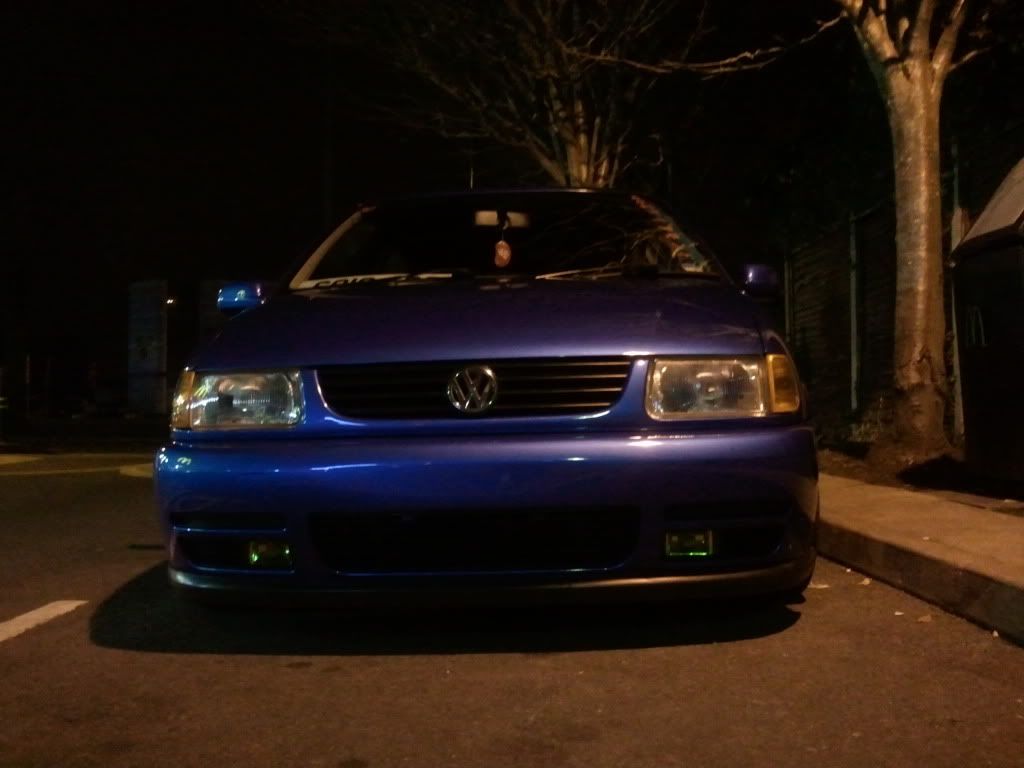
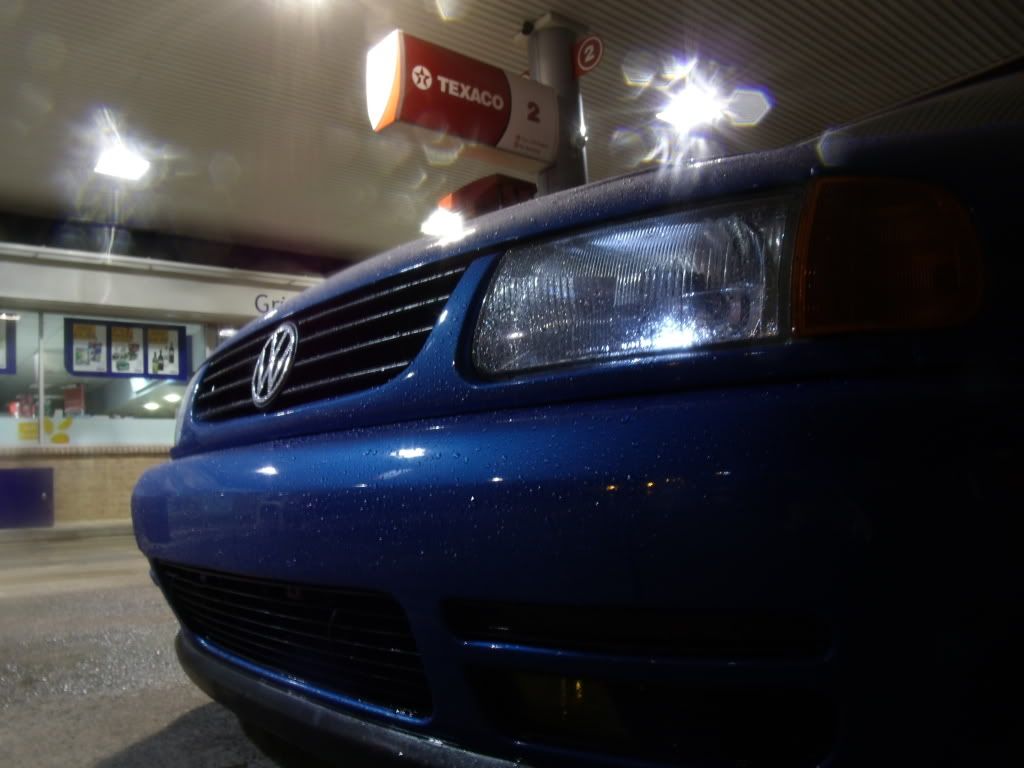
Front was lowered a bit further and i bought some new headlight and sidelight bulbs to give it a 'cleaner' look during the night..
LED Sidlights and i have also ordered some 100W Xenon headlight bulbs.. these were poope so just bought some Xenon gased bulbs instead.
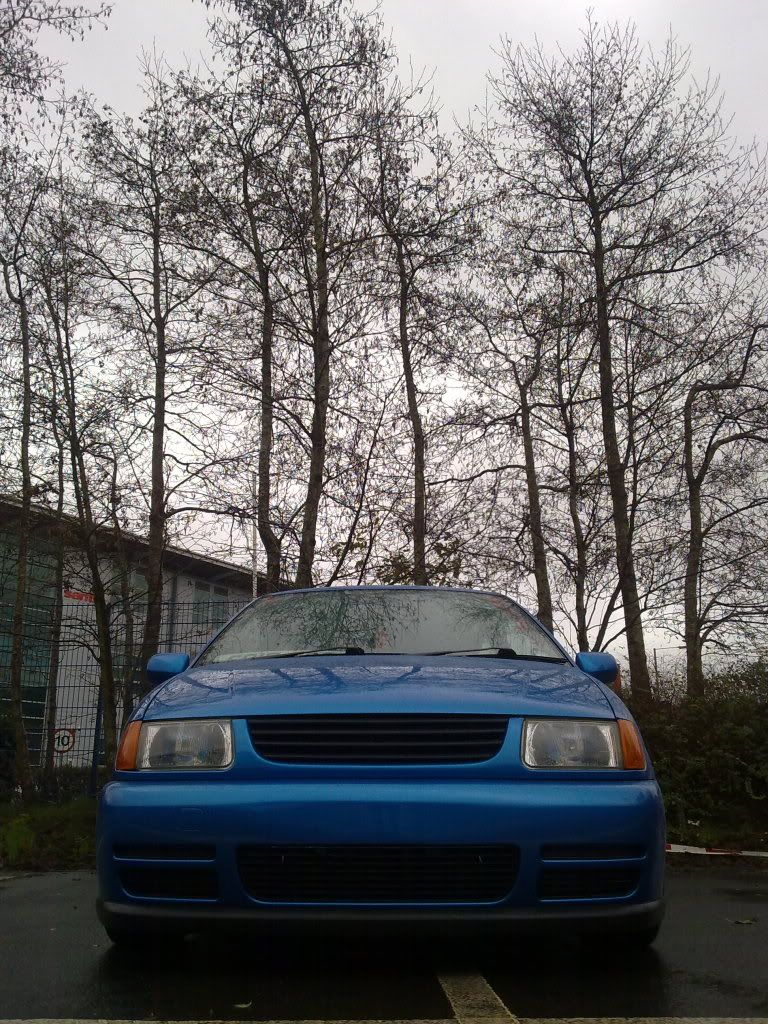
Took some pictures of the car a while ago but never took the pics off my camera.. hence why the front wasn't lowered here..
And a sticker in memory of one our 'Family of Friends', RIP Gary Diamond <3

The plans at this stage were as follows...
- Get the Rota's Painted a deep, glossy Red.
- Get some tyres for the Rota's.. Going for some nice stretches... 165/50/16
- Work out how far i want to go as far as spacing the Rota's.. 20mm, 30mm on the rear?
- Possibly paint the day-to-day wheels (current) red just so the theme can be seen..
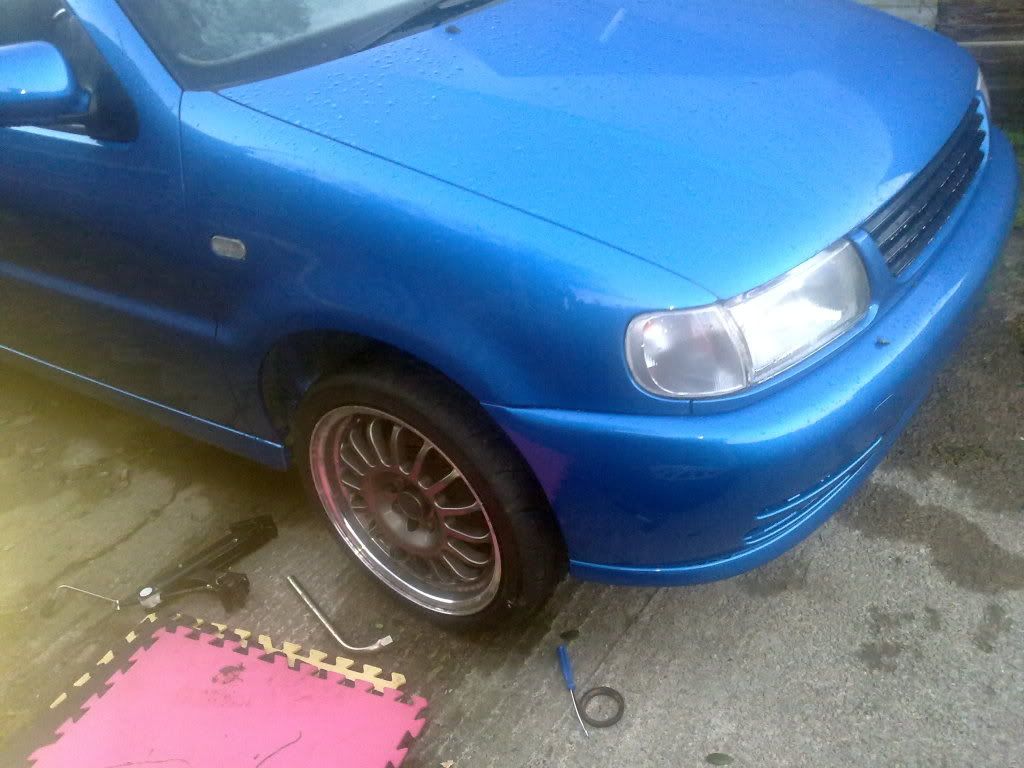
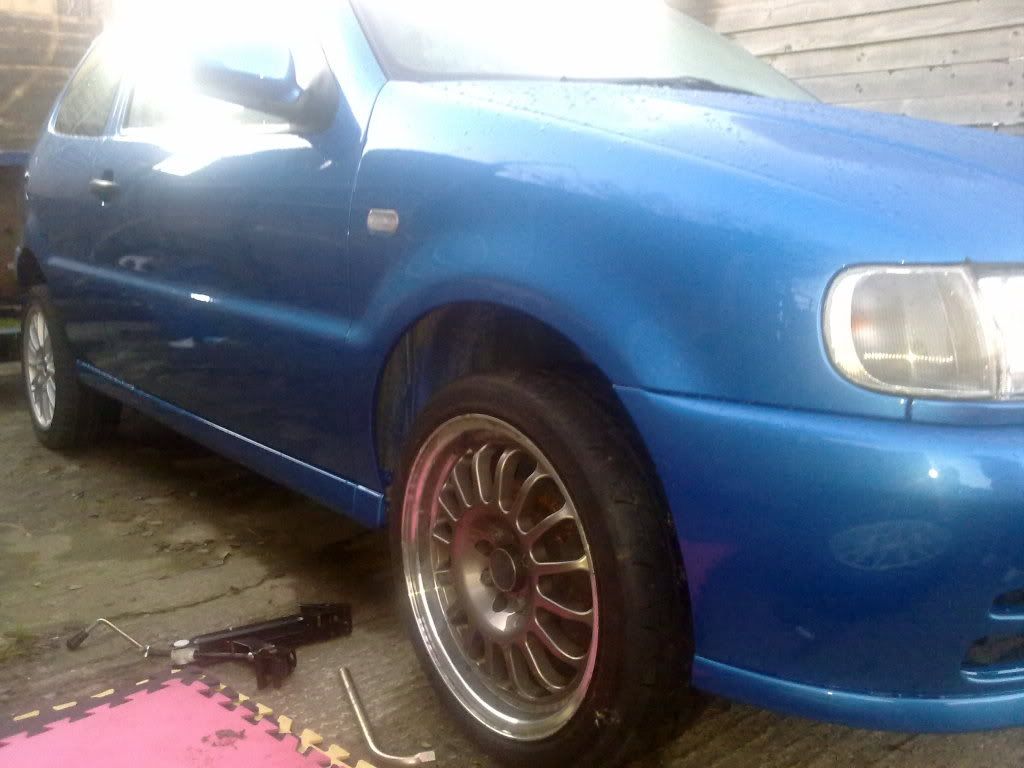
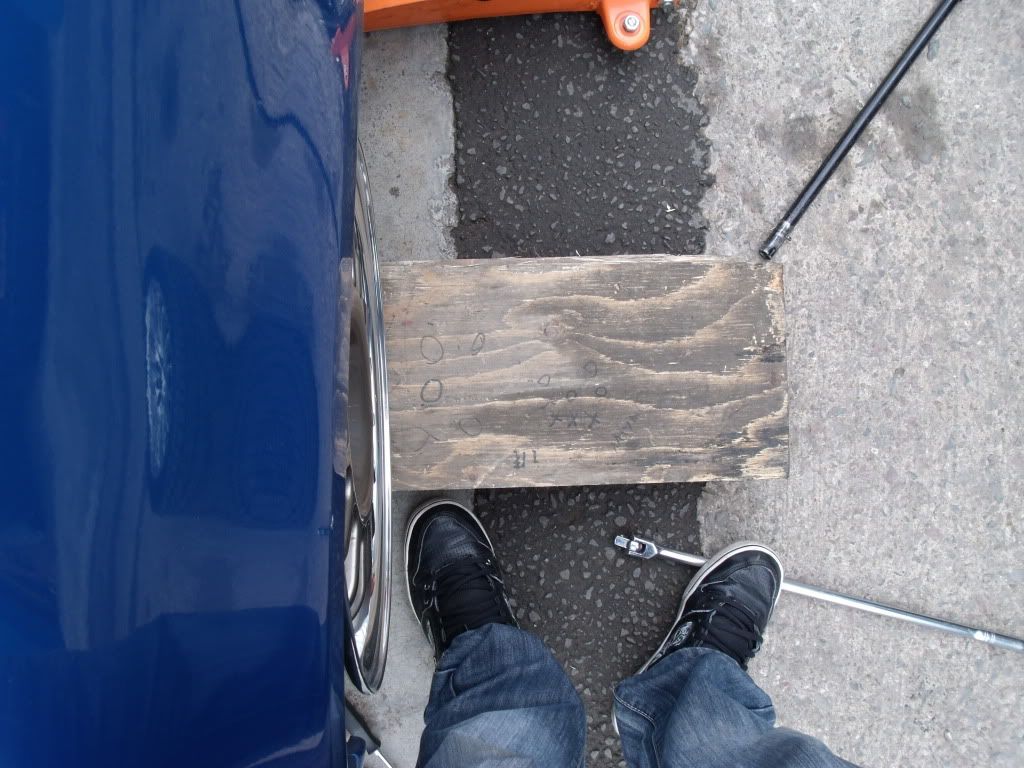
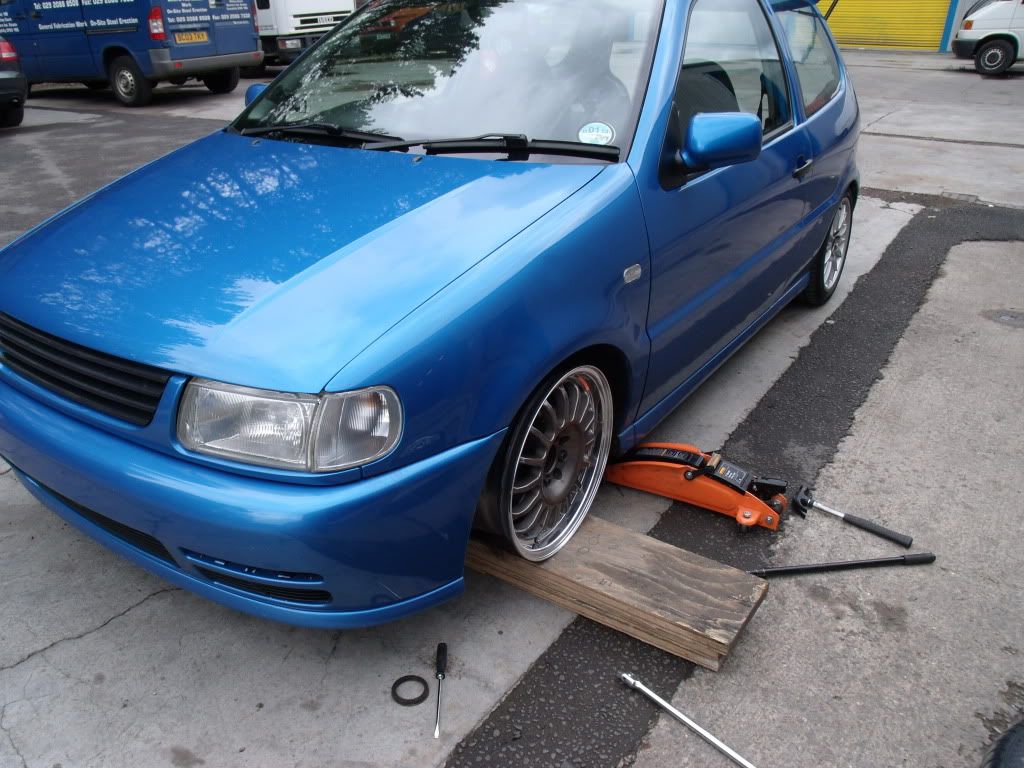
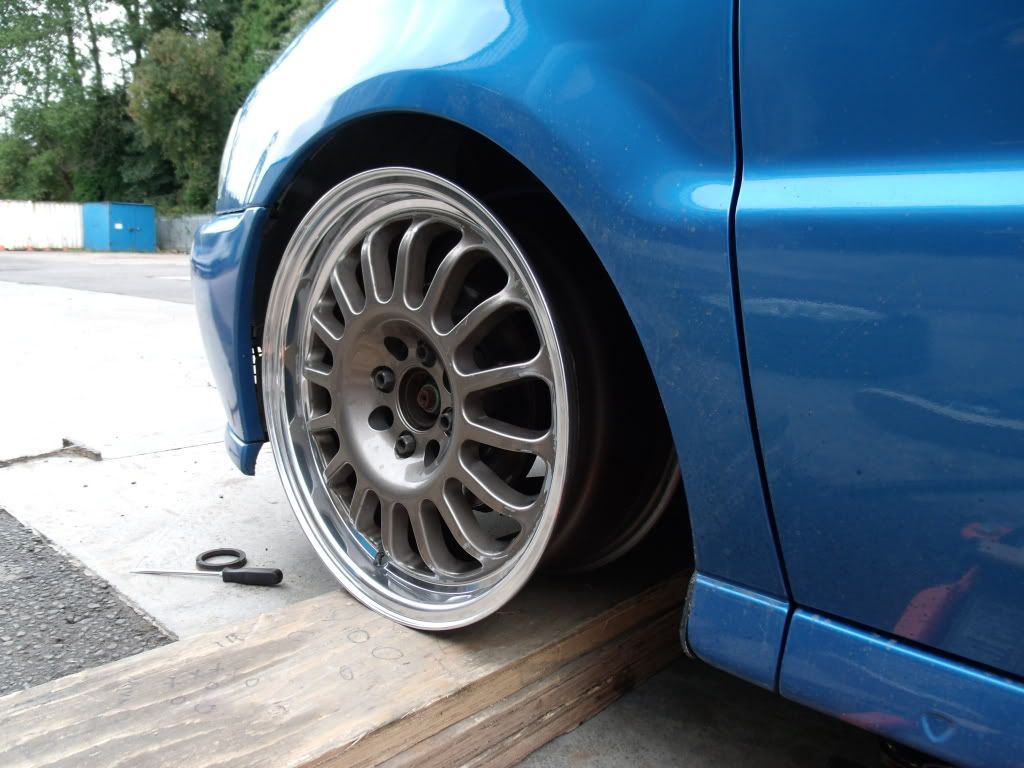
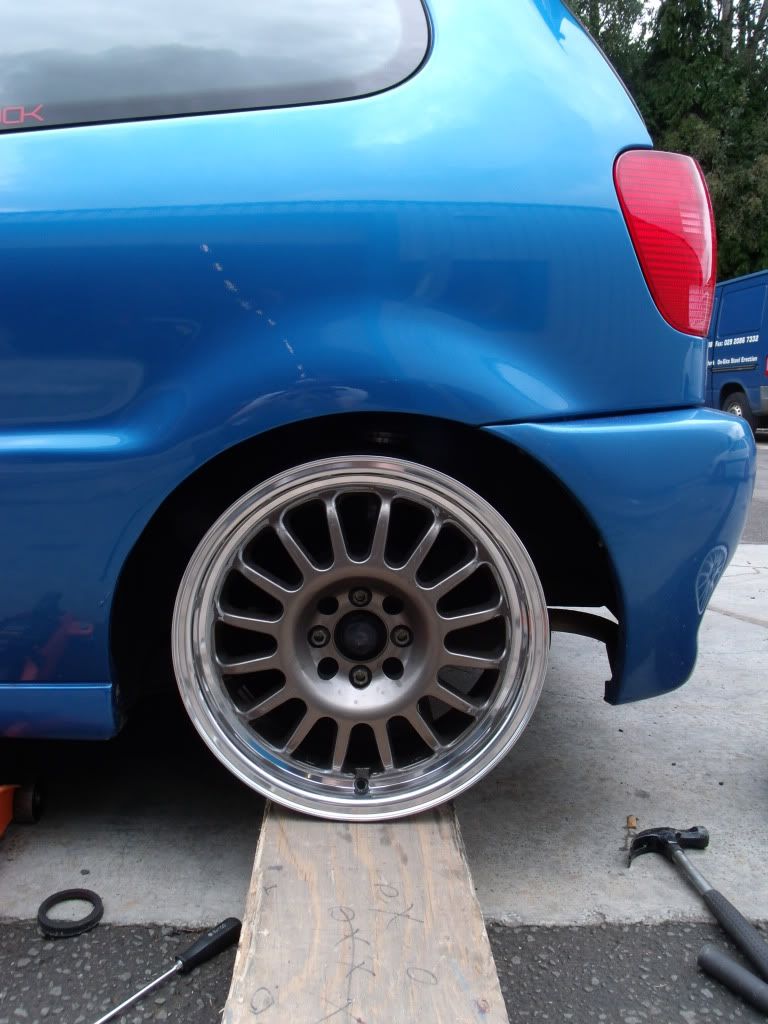
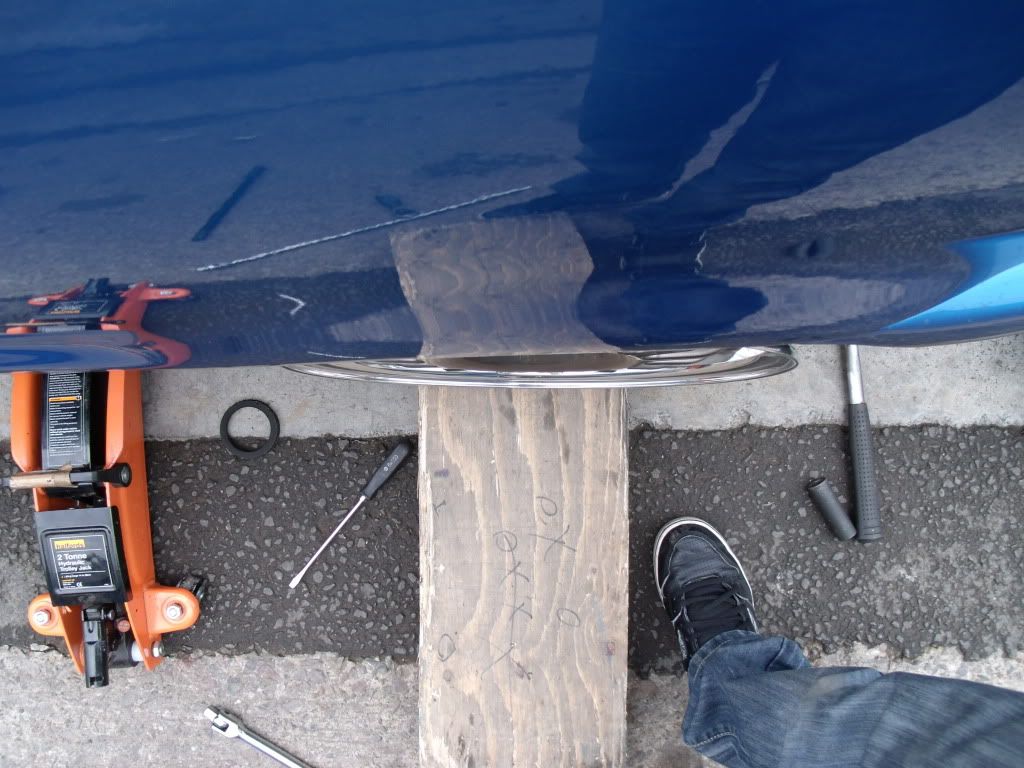
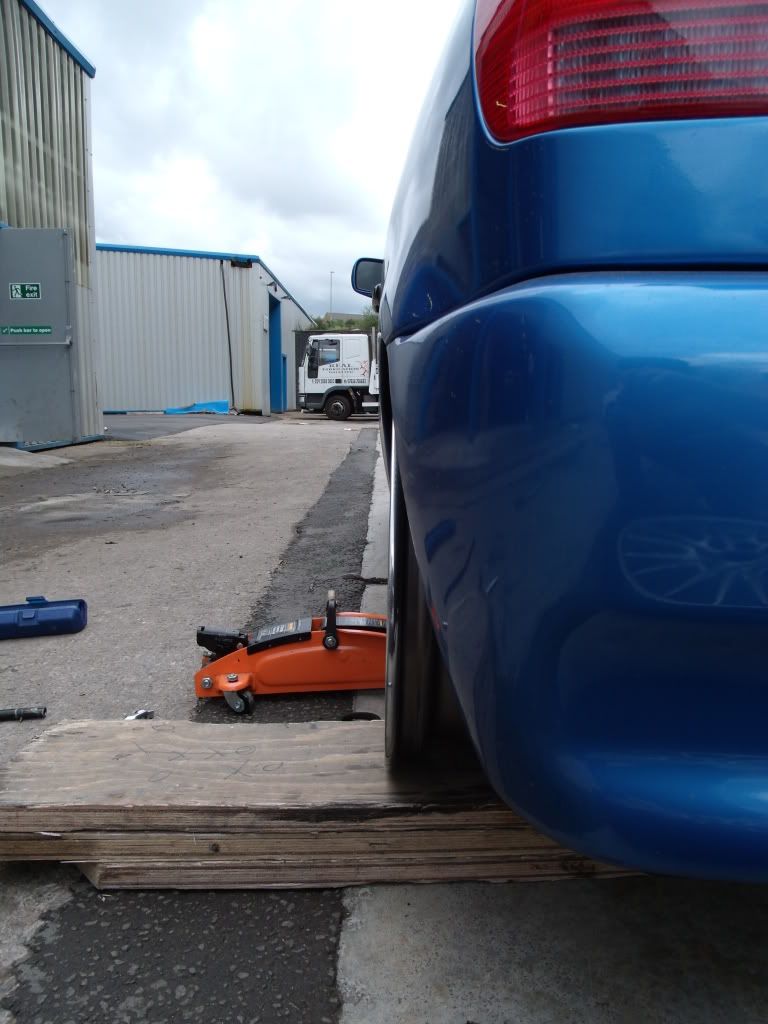
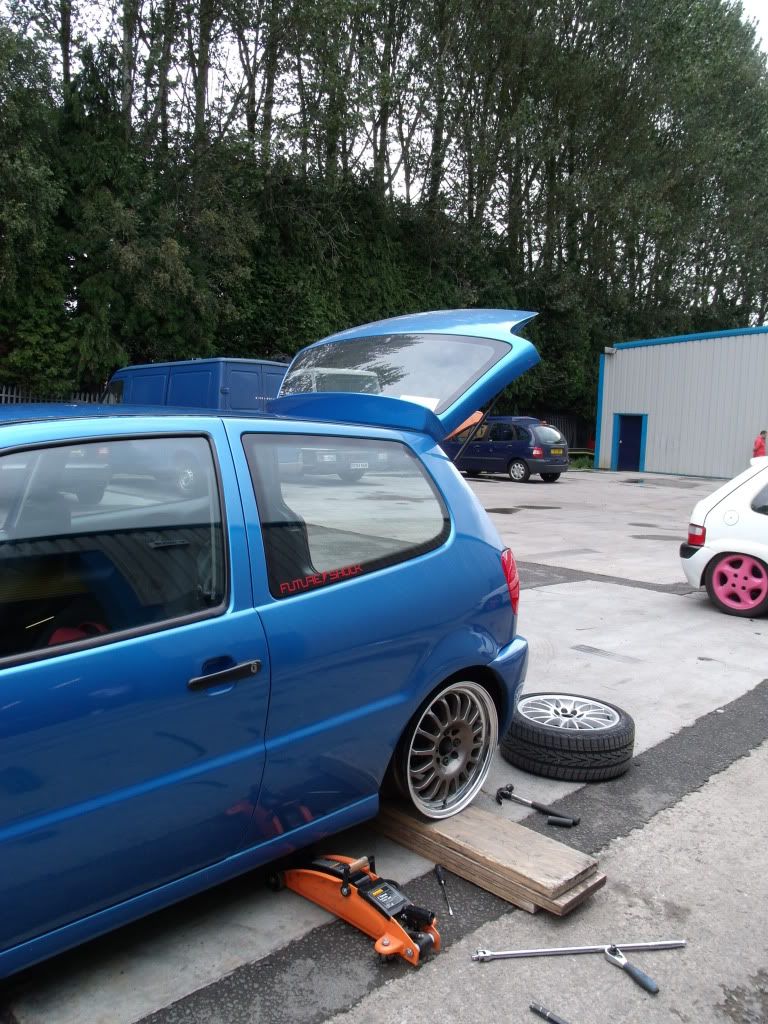
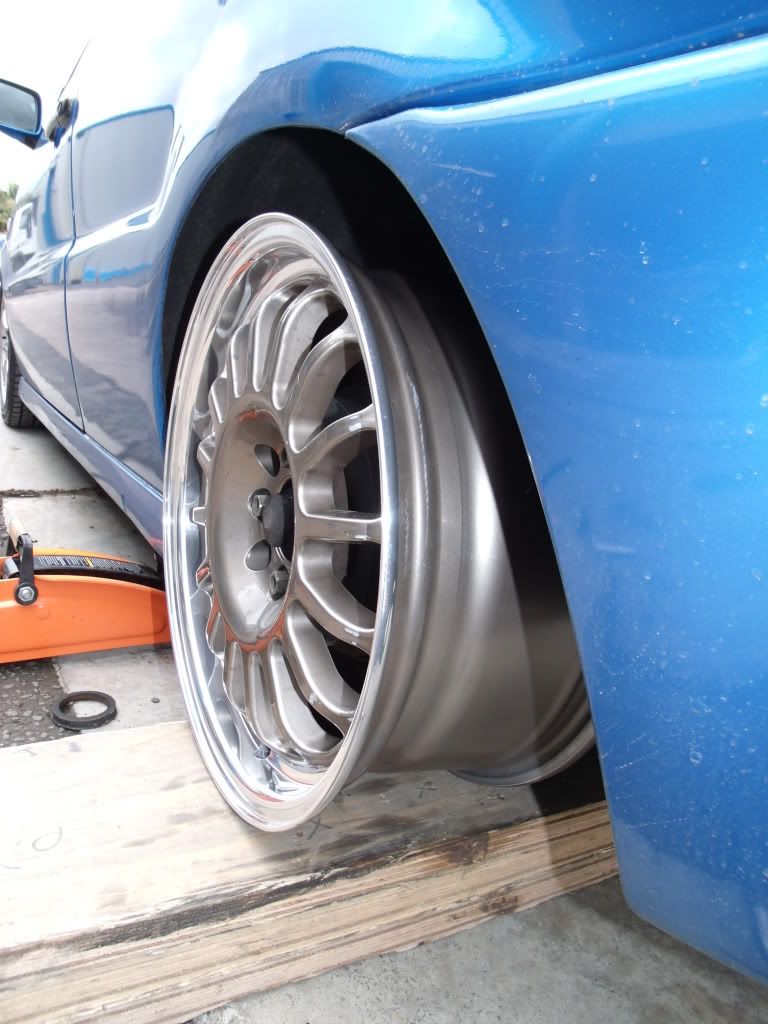
Test fitted the Rota's to see what they look like on the car... here are the pictures...
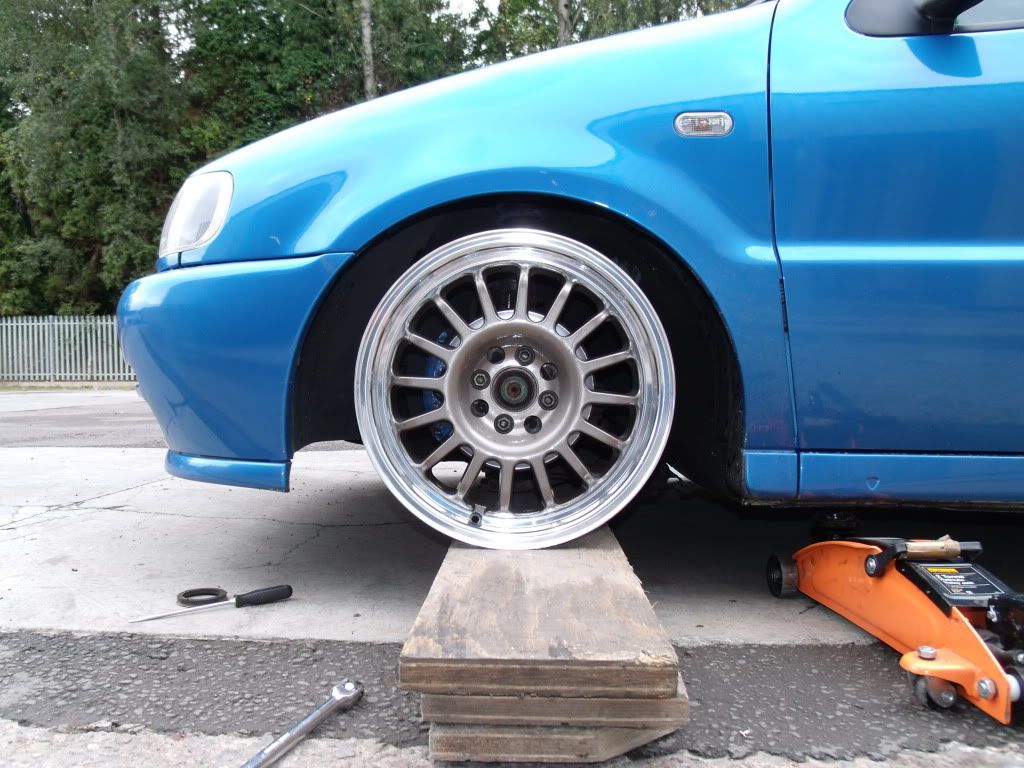

Was Thinking about keeping the front as they sat.. but spacing the rear about 20-30mm...
Not much went on after the test fit, although Got a job in halfrauds ( i know, draastic )..
I managed to get hold of a sub.. Juice 1200w active sub. I planned to get a small flat floor built over the rear wheel well.. This plan is still going forward but im deciding between half or full false floor..
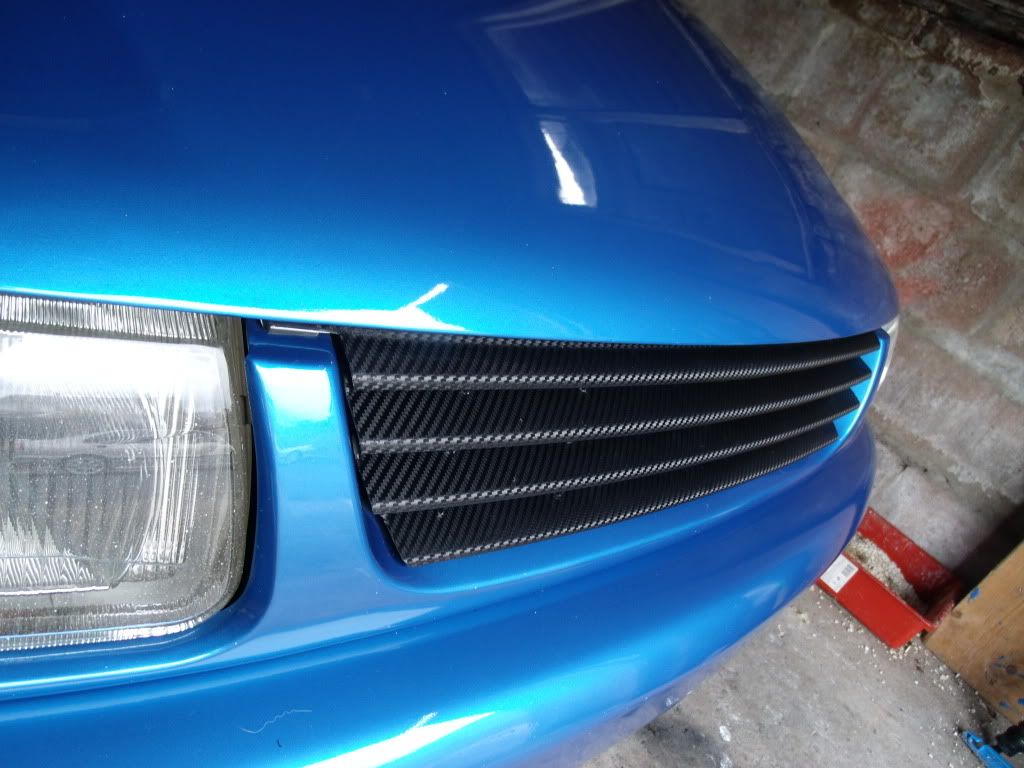
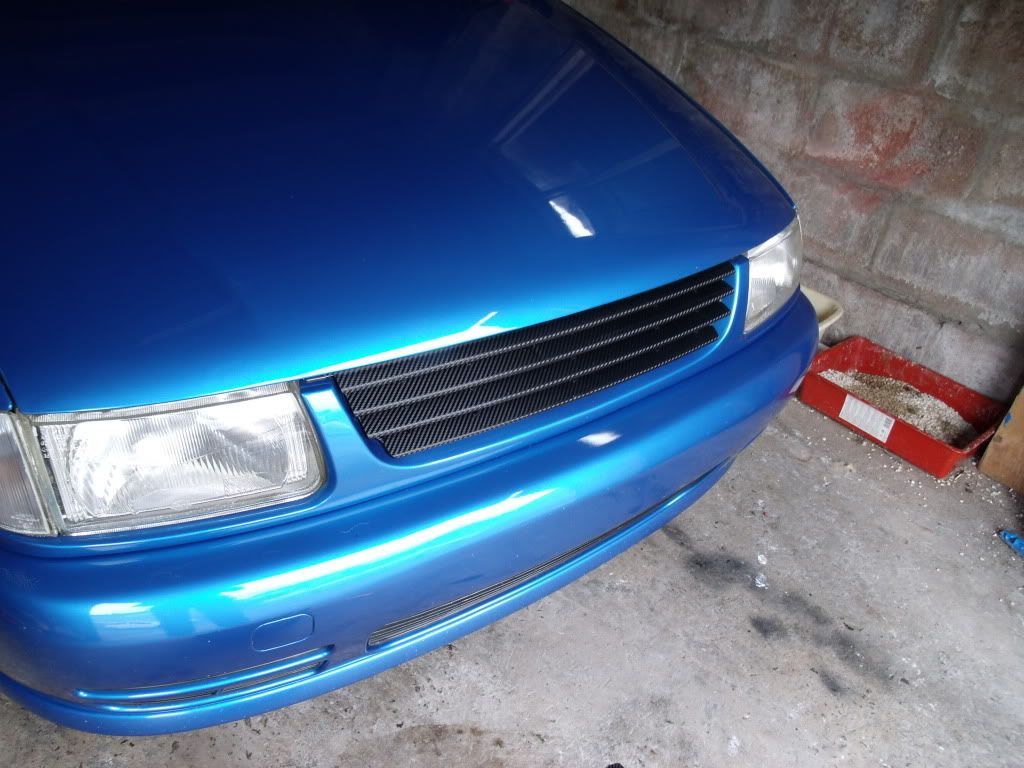
Had a spare bit of carbon wrap laying around so i wrapped my front grill to see what it would look like..
Bought a standard 16v splitter to replace the colour coded one.. ***** looking at a clean car and seeing all the white scuff marks on the splitter, So decided to get a standard 16v splitter for temporary until i got hold of a 6n2 GTI one - considering a genuine carbon fibre one later on in the project..
The 16's Rota's were then sold, didnt want to run 16's on my car. Couldn't be bothered with adjusting ride height between winter and having to re-align the cars tracking. money and effort i didn't and still don't have.
__________________________________________________ __________
Nothing then happened for a few weeks again.. But these little touches kept the build alive.. just.
Polo 6n2 GTI Splitter
Back to standard orange side repeaters and indicators
Team Heko Wind Deflectors
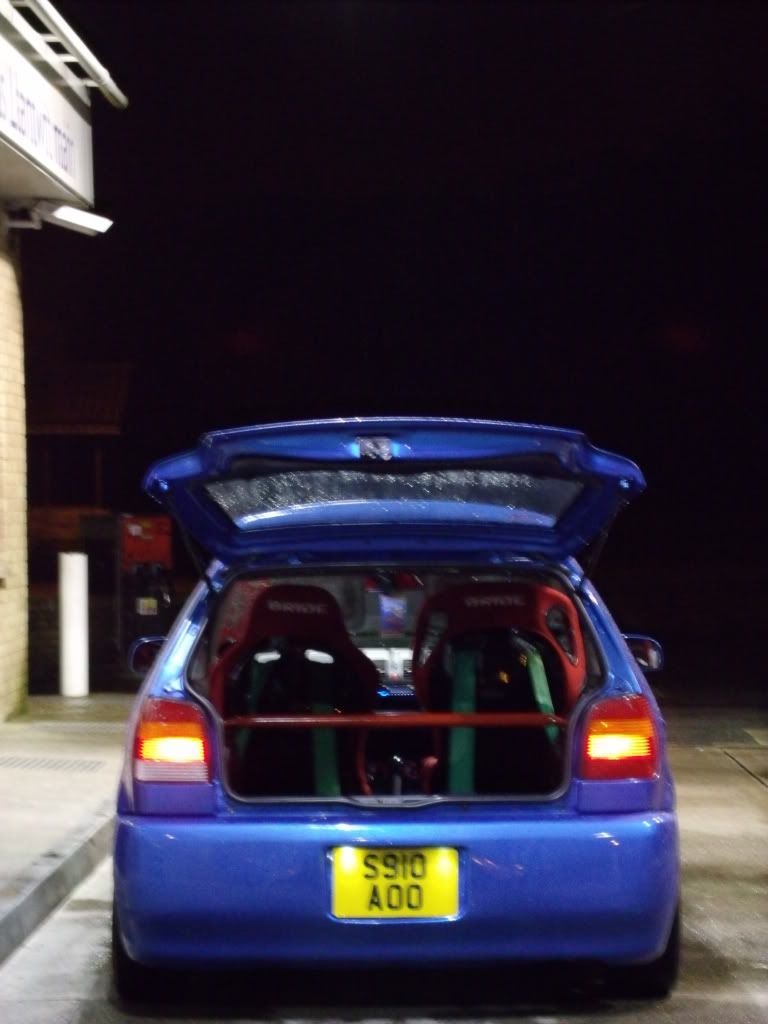
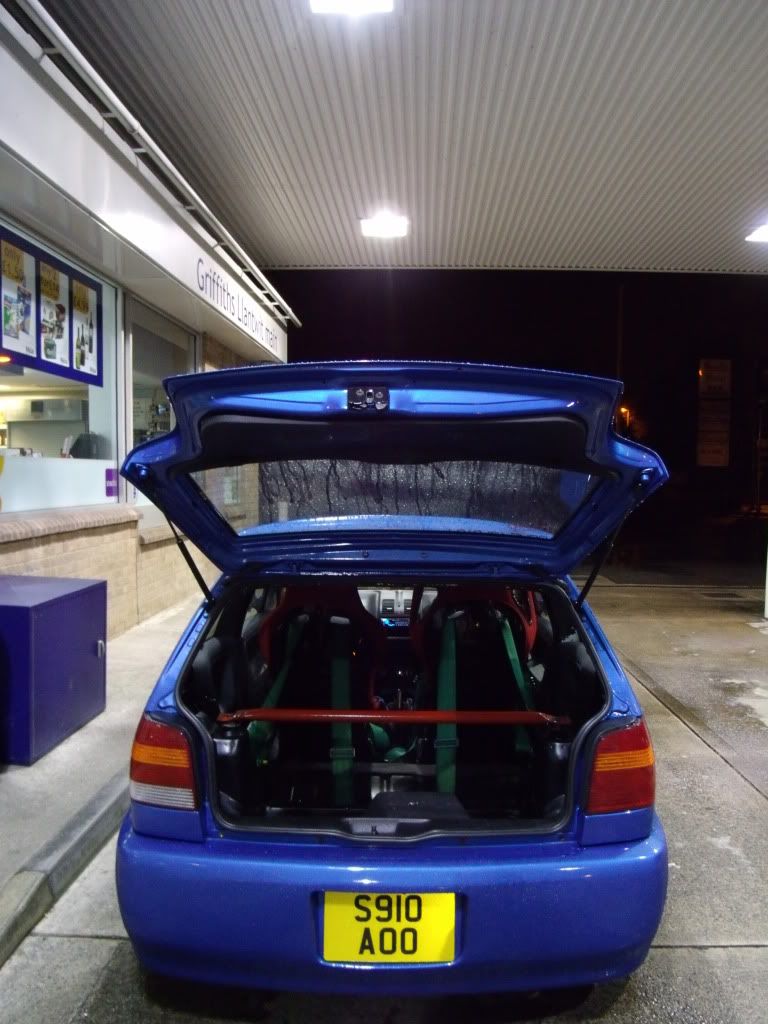
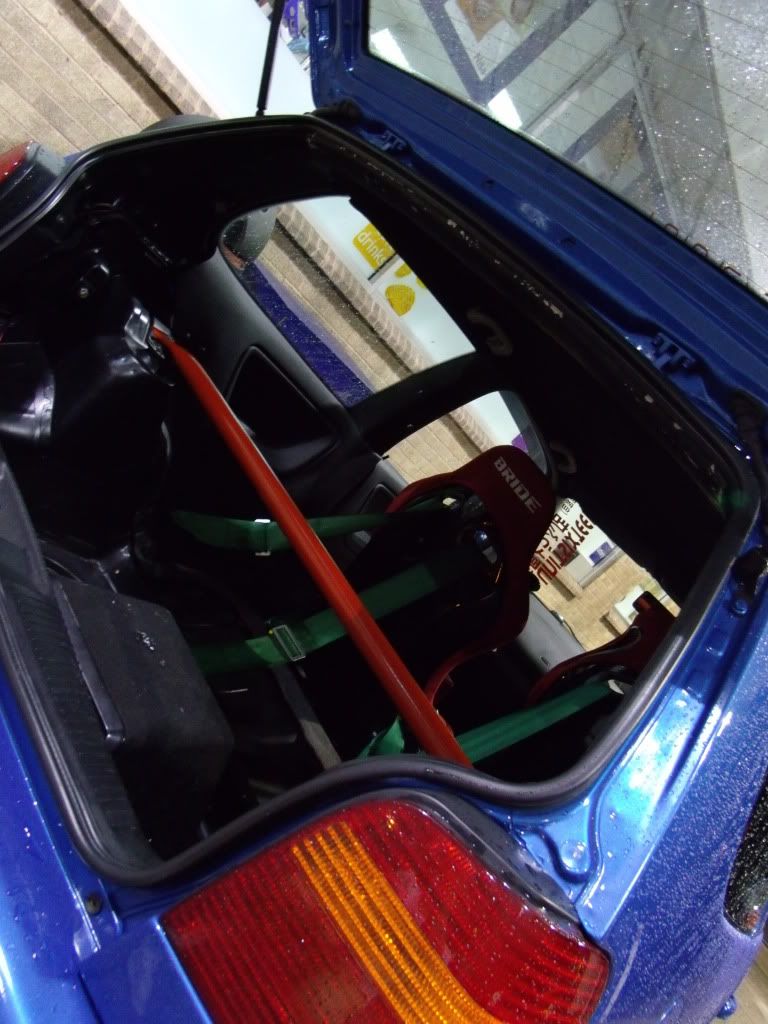
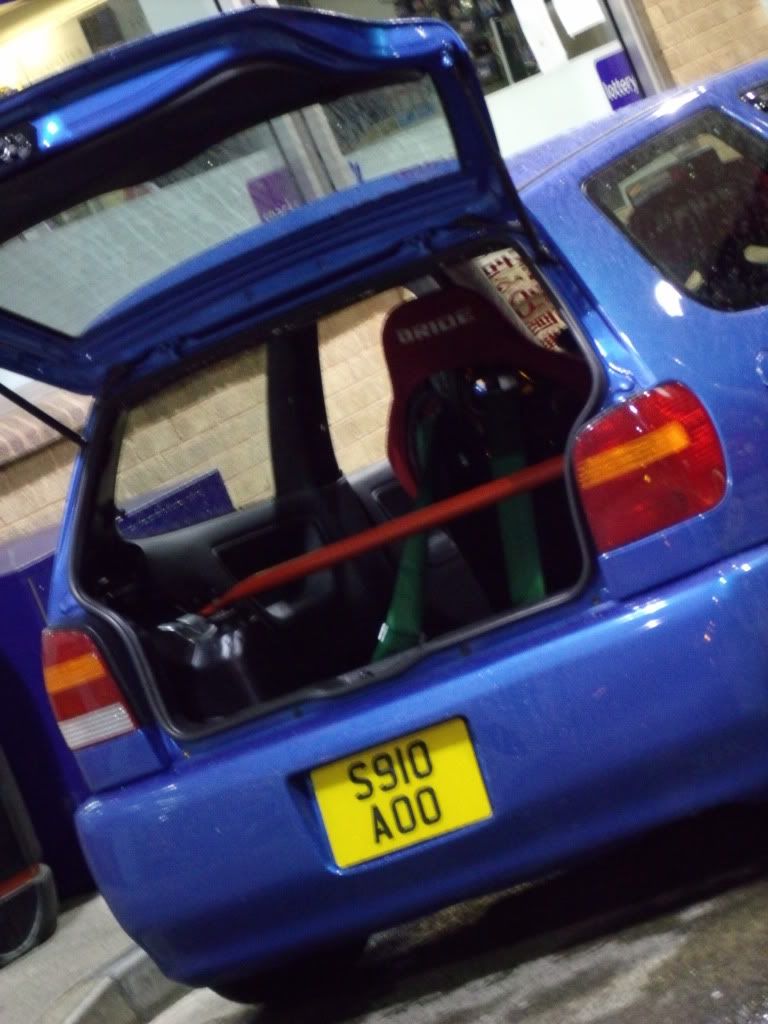
4 point "race sport" (poop) Harnesses - were really cheap so thought why not..
Japanese name in my windscreen - reads "gary diamond" a tribute to my good friend, and it also ties with my theme.
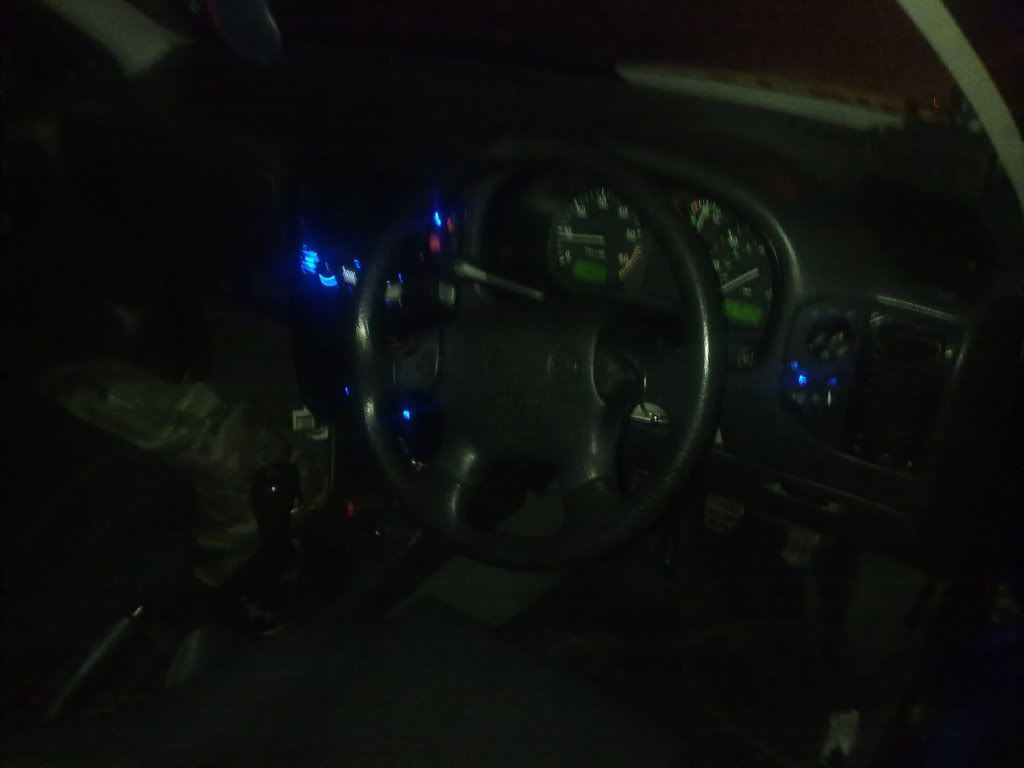
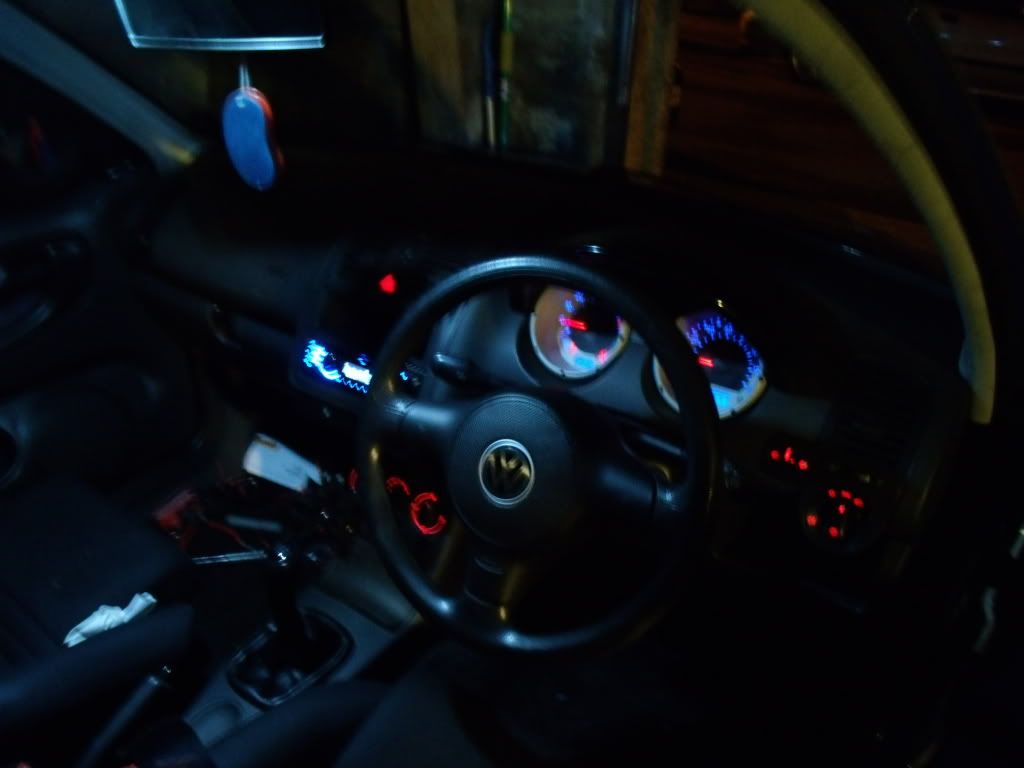
all switches are now Blue LED, just need to do the clocks with a red needle..
I also have 6n2 mirrors (non driver stubby), just finishing the paining before they go on..
Not much changed really..
Got a second valver front bumper than I then plastic welded over the plate recess. My first one has been done with filler and starting to look shocking and annoy me that you can see where the filler hasnt been shaped properly.
Just a few more pics of the blue led's..

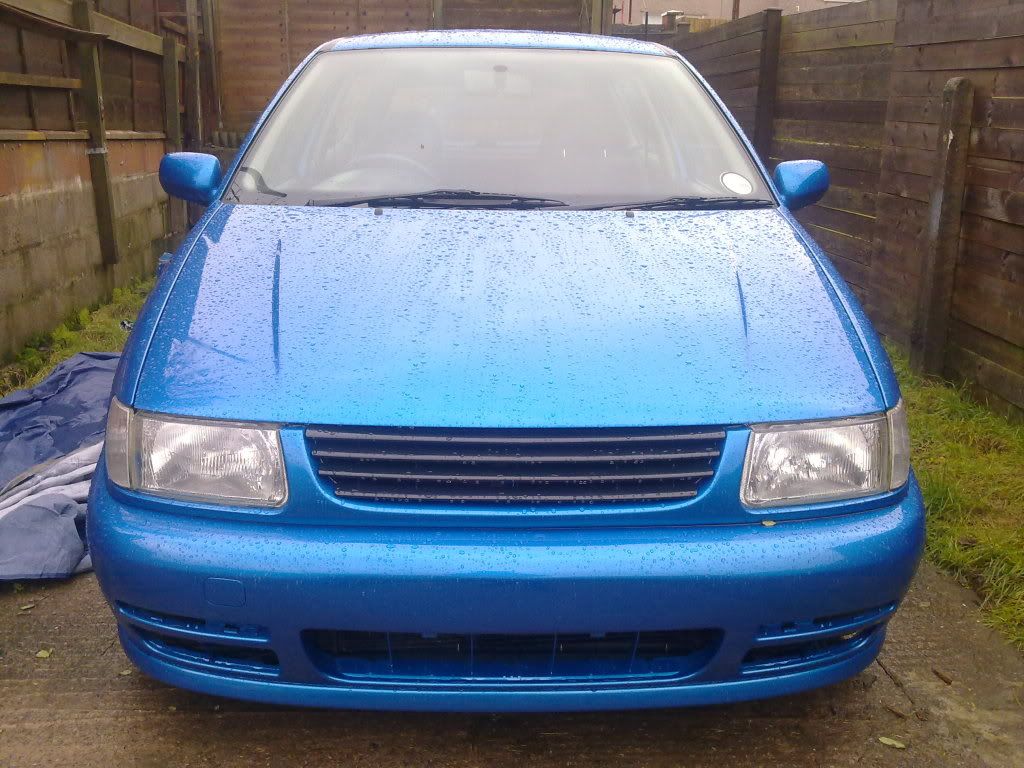
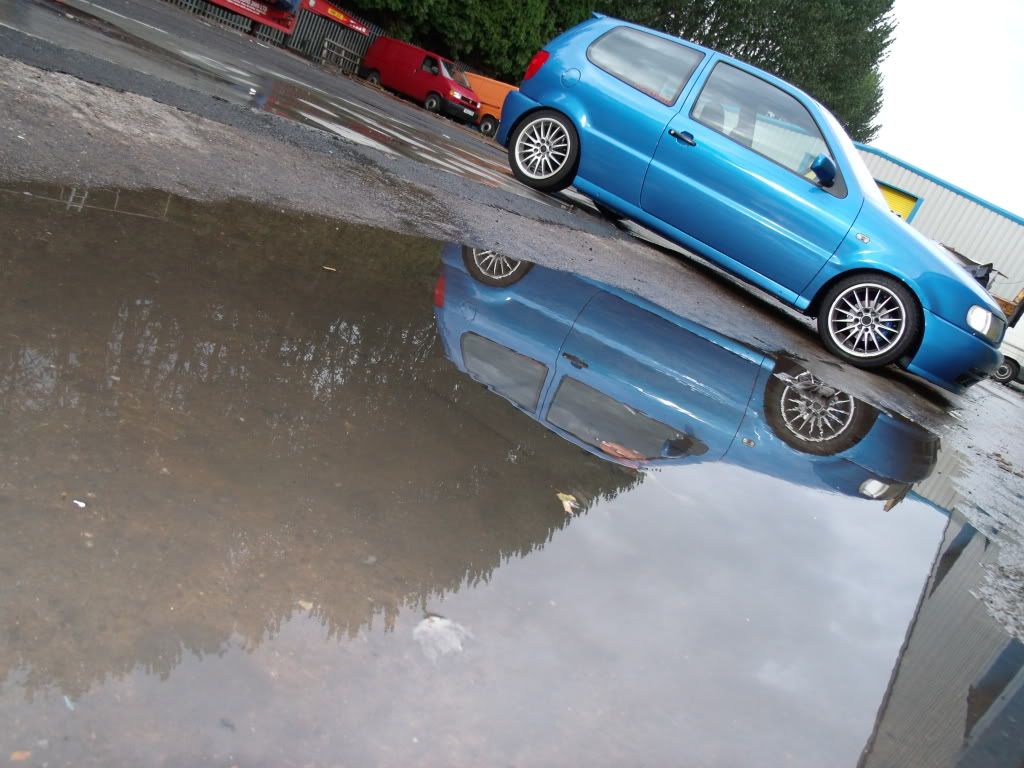
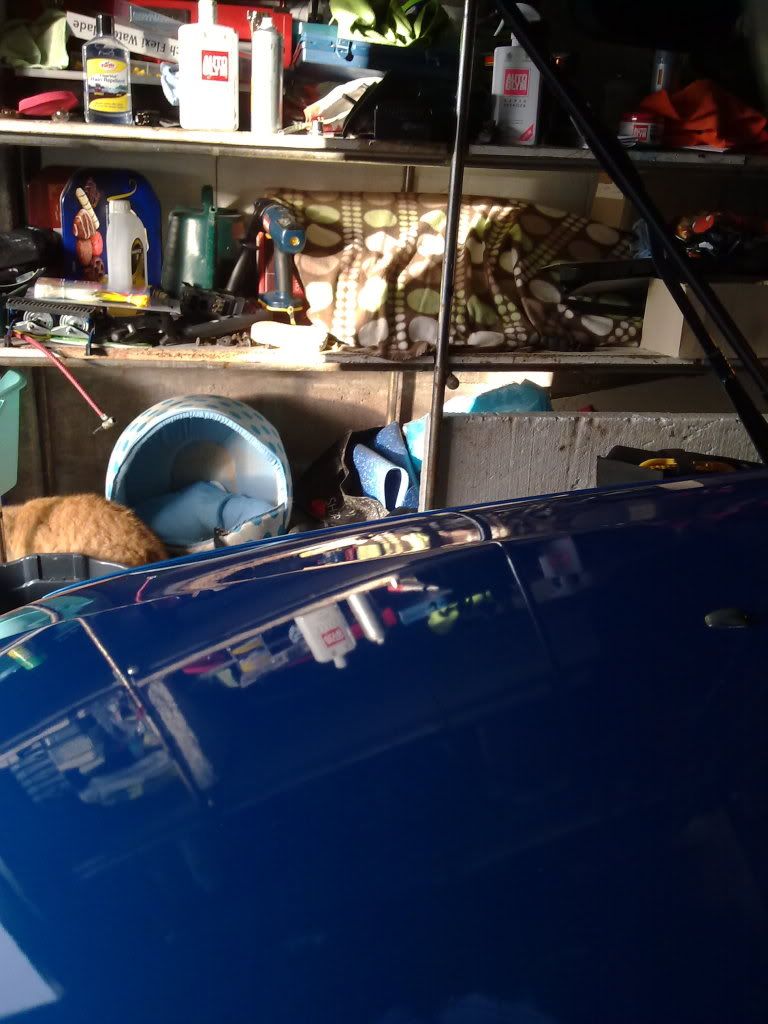
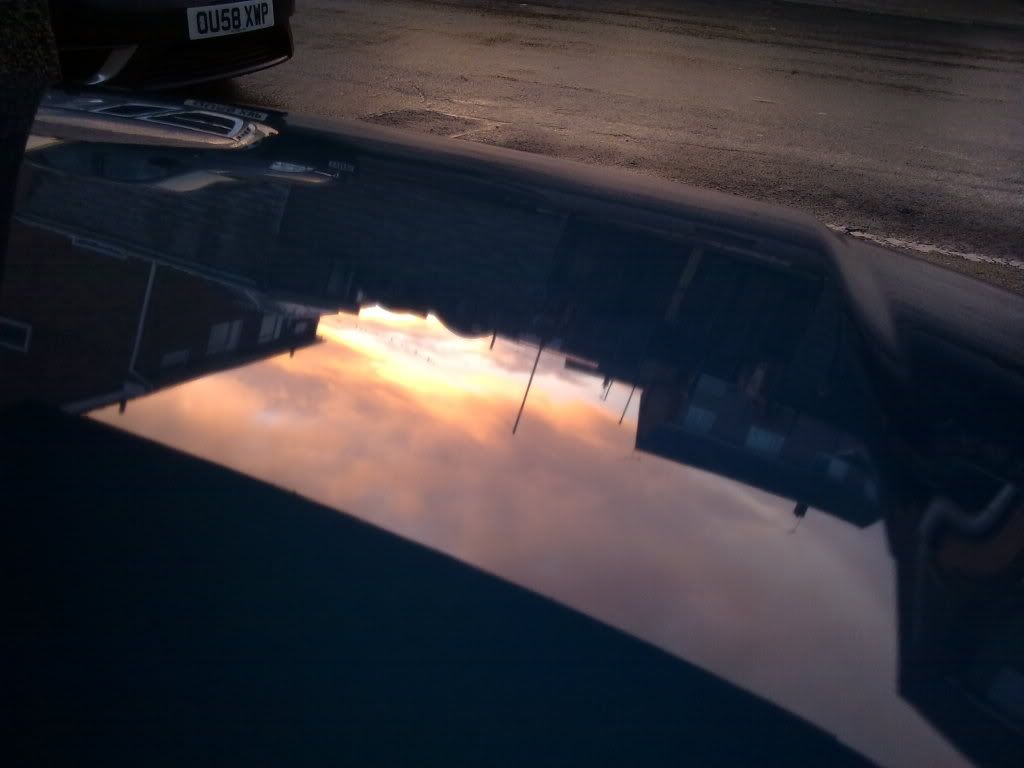
A few pictures of the sort of reflection I was getting from my car, needed a machine polish to get rid of all the HORRIBLE swirl marks - i ***** them
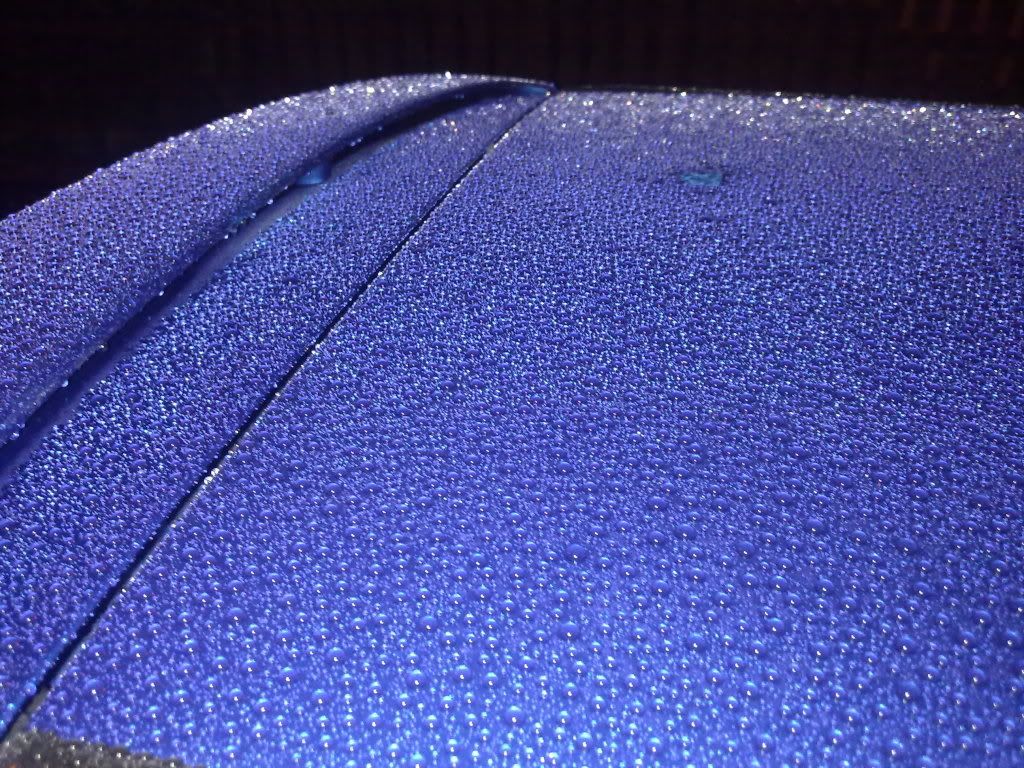
And a few of the beadage in the rain..

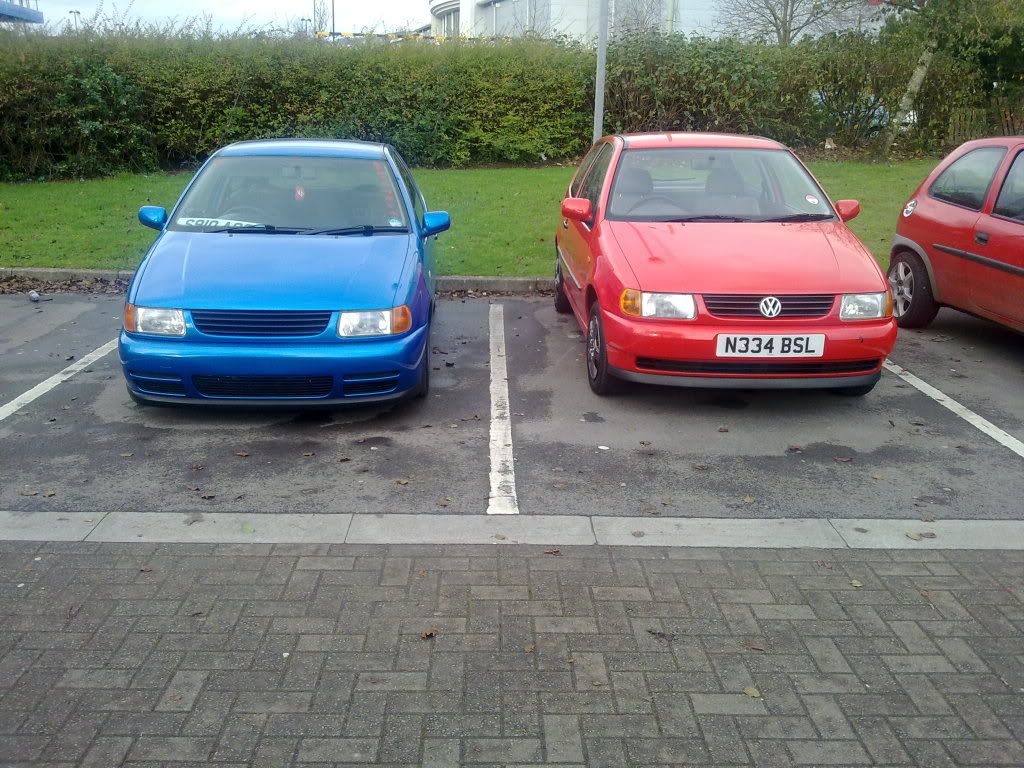
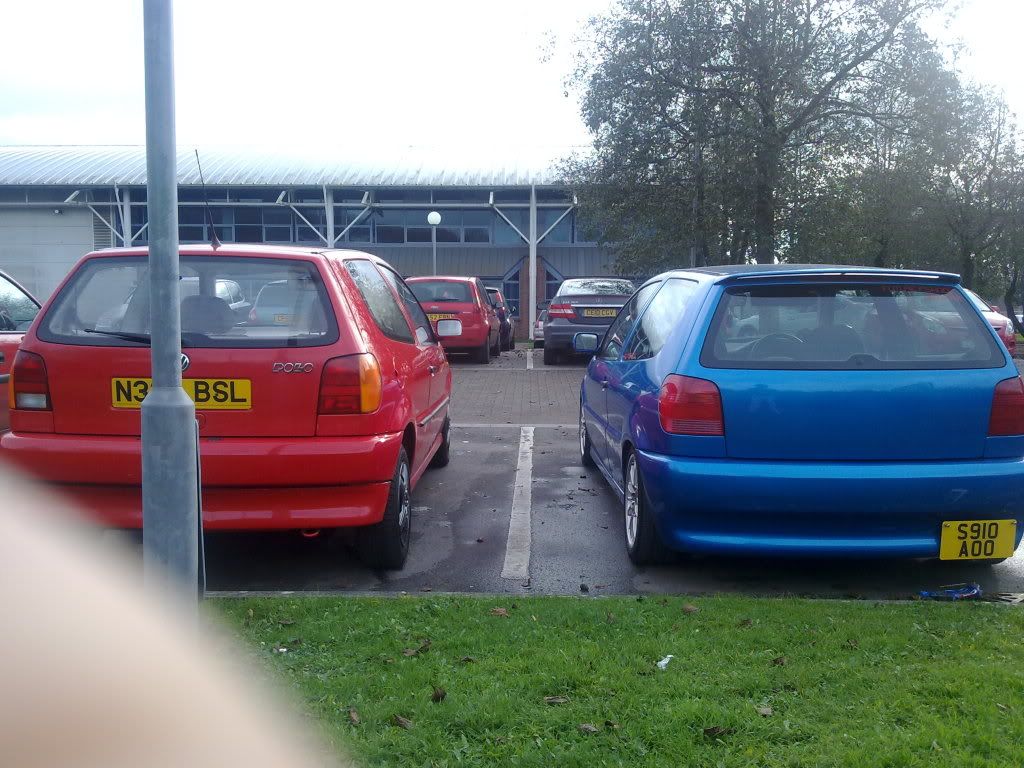
Found these pictures on my phone too from collage a few months ago, I'm sad i know but still. Always good to see a comparison of what your car used to look like - before and after
I bought these
Had them through the door, fitted and wired up within the same morning, at this point i had already ordered some yellow lamin-x..
12"x6" sheet was �12! Pricey or what! But i was realy impressed with the ease of use..

The fogs in these pics are lamin-x'd also, just dont look yellow, poor camera on my phone.
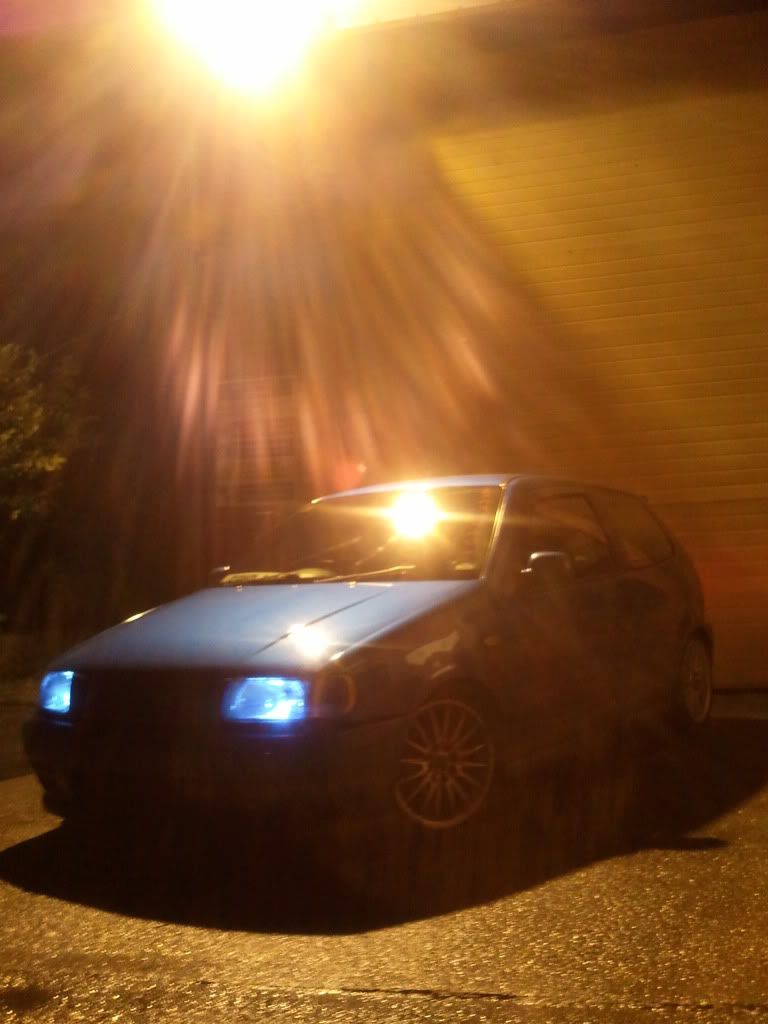
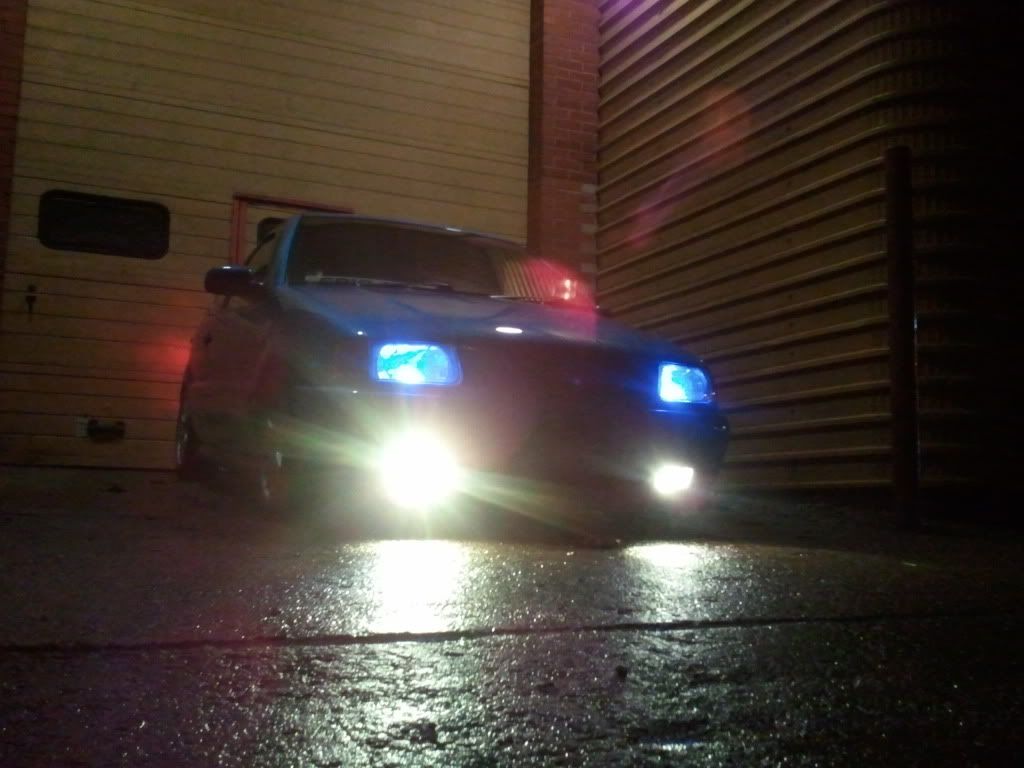
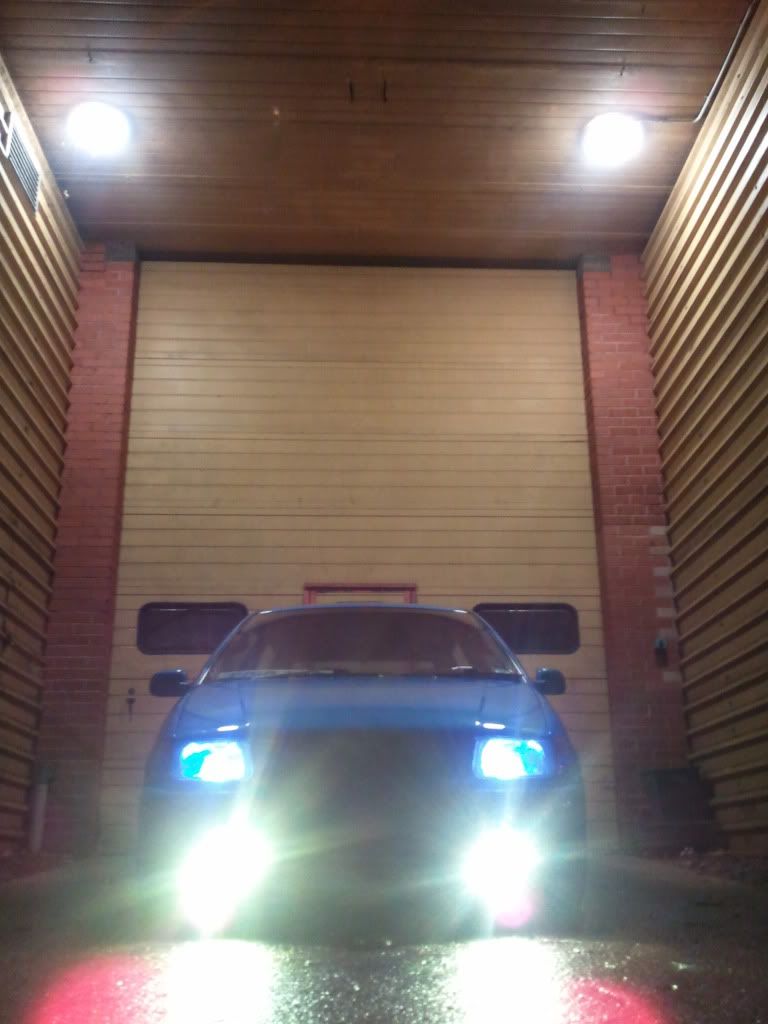
This pic looks quite mean in my opinion..
Bought a driver side stubby mirror to match the passenger..
Hope you all like my progress so far guys - like i said, im only 18 and work on the poopest pay ever (most of the car was built without a job tho) so please bear that in mind before tearing into me about how it 'isnt jdm or j'euro as it stands' Maybe as you read more you'll change your mind!
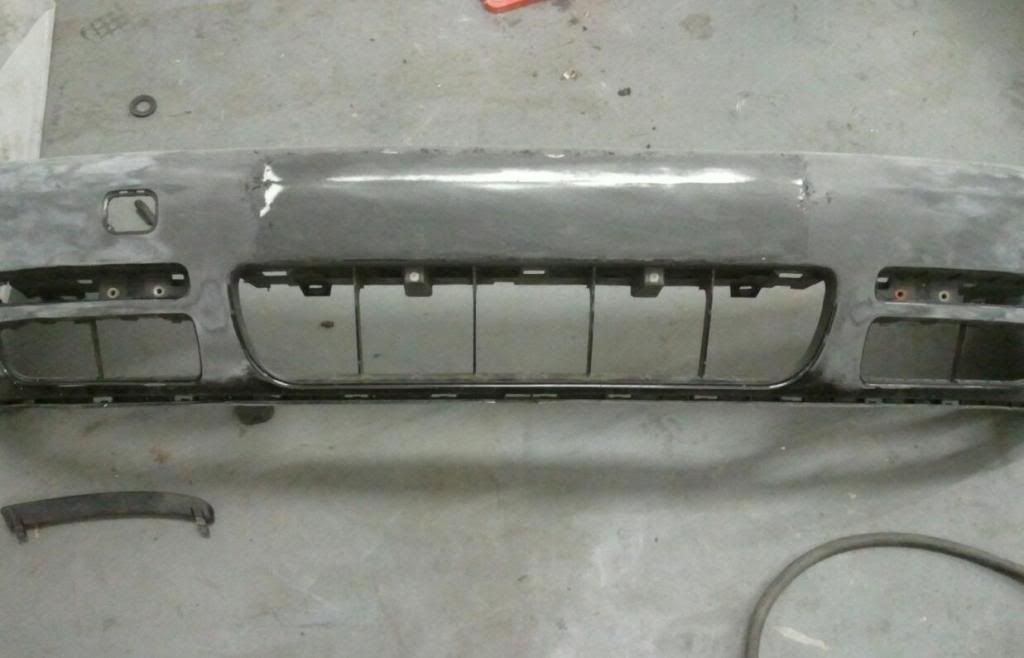
My second valver bumper has been plastic welded and sanded. ready for its first skim of fibre glass
Plastic welded using the soldering iron method, took a bit of time but it was a good result for a first ever attempt. Rear of the bumper was plastic welded and re-enforced with aluminium mesh that has been melted into the plastic along the whole length of every seem.

I managed to buy something for the car that really took the project to the next level.. BOOOO YAAAAA!!!
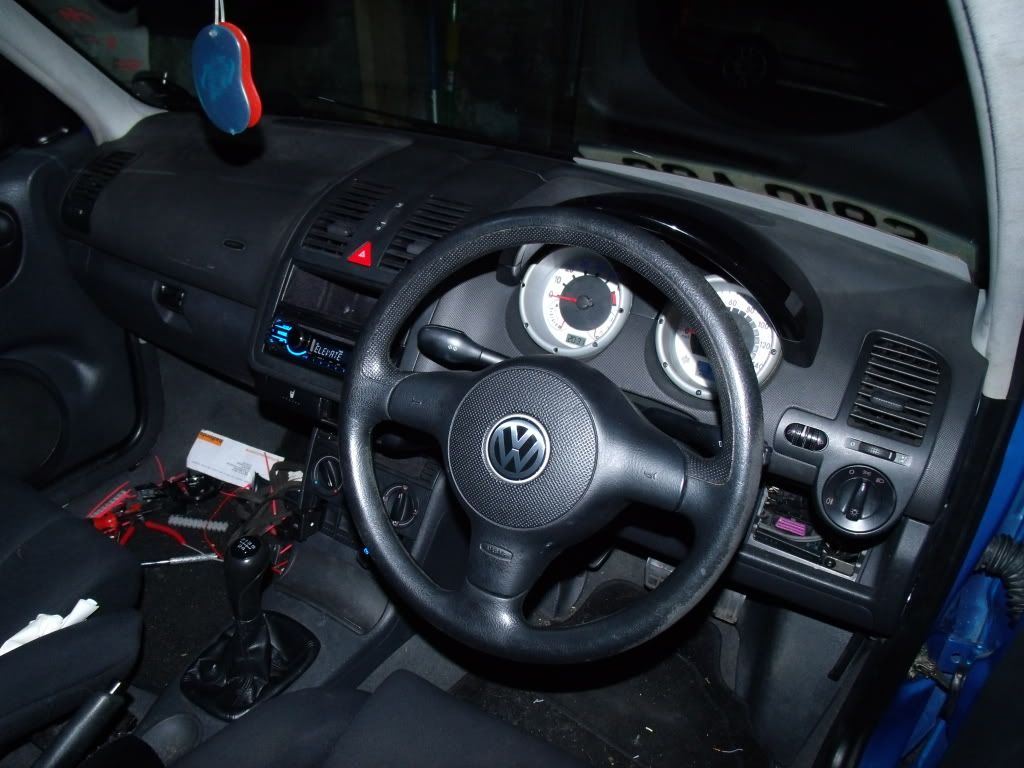
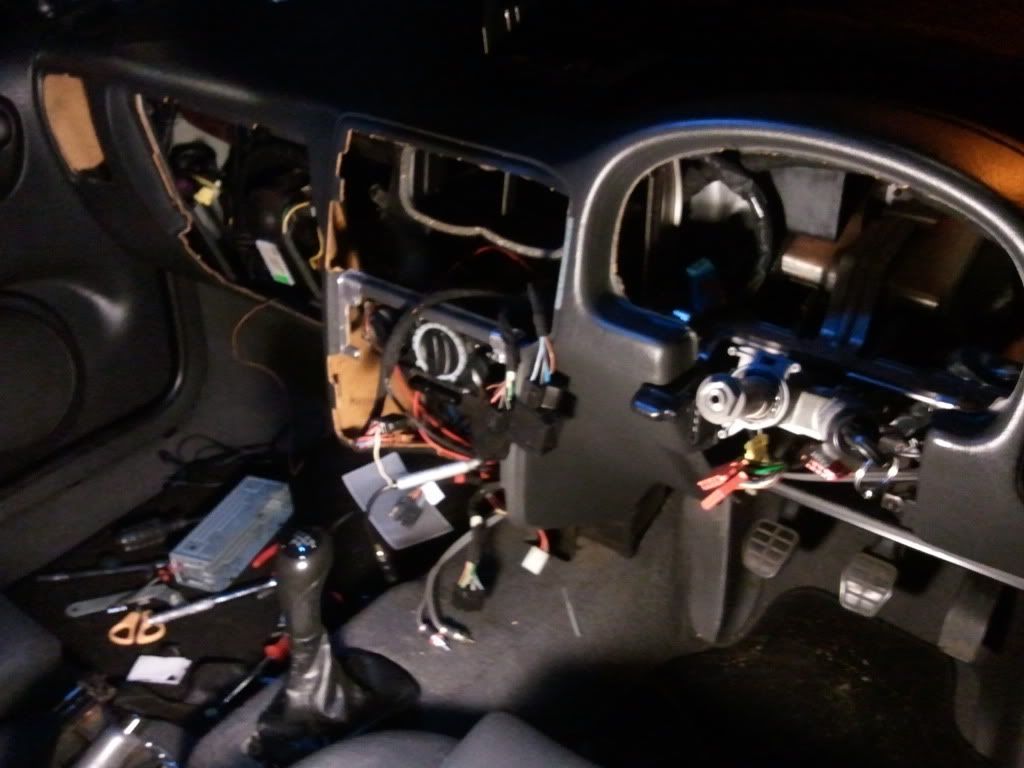
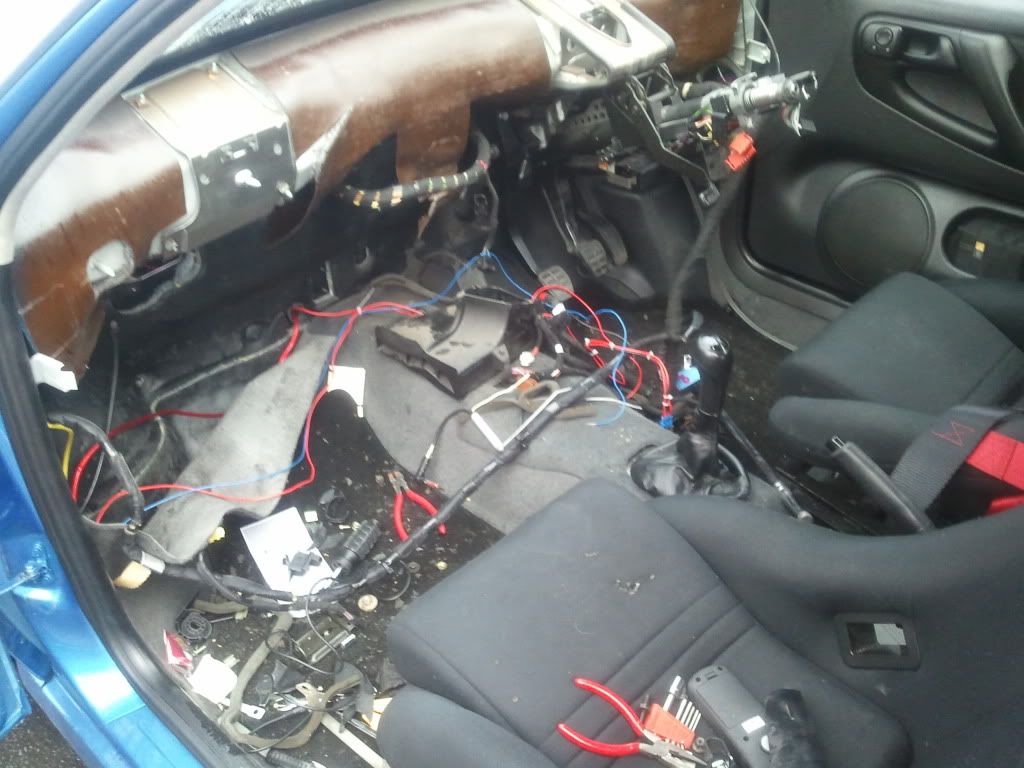
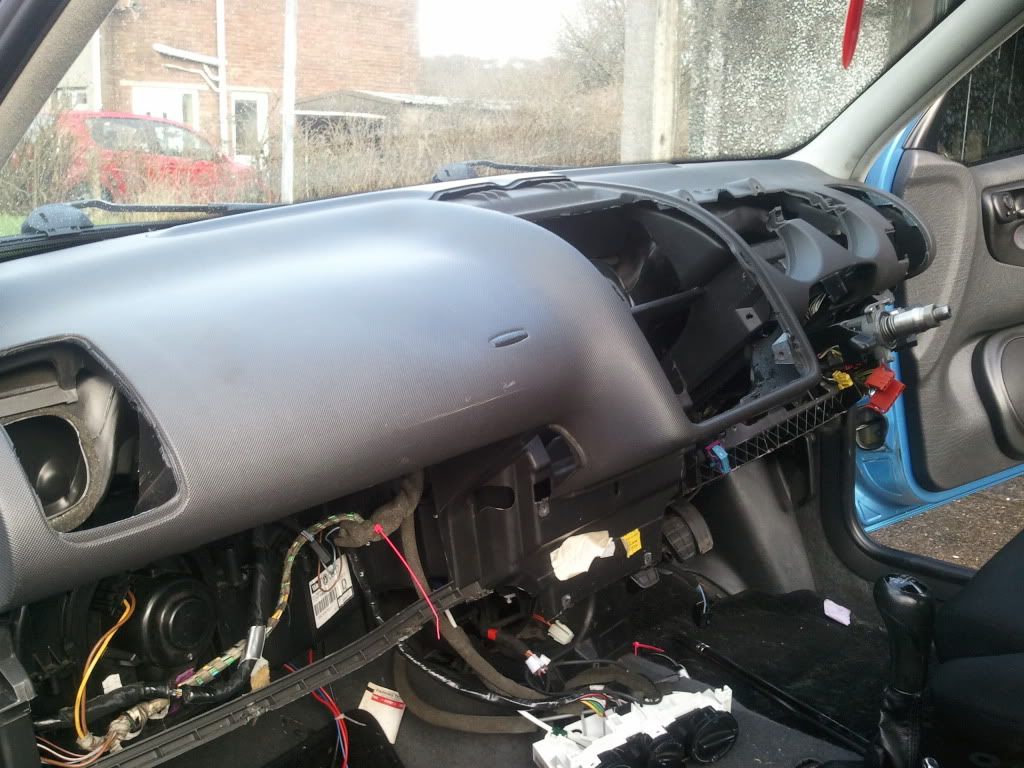
Interior update.. 6n2 dashboard convertion. I fitted the front and rear doorcards from a 6n2 also.. Now rocking a full 6n2 interior convertion!
Only needed a new glovebox - handle broke off and a second cup holder
Full convertion.. �100.. WINNING!
Another little touch.. wasnt too keen on it when i put it on.. but its slowly growing on me..


So, an update. But by far not a good one. However, ill start with a possitive..
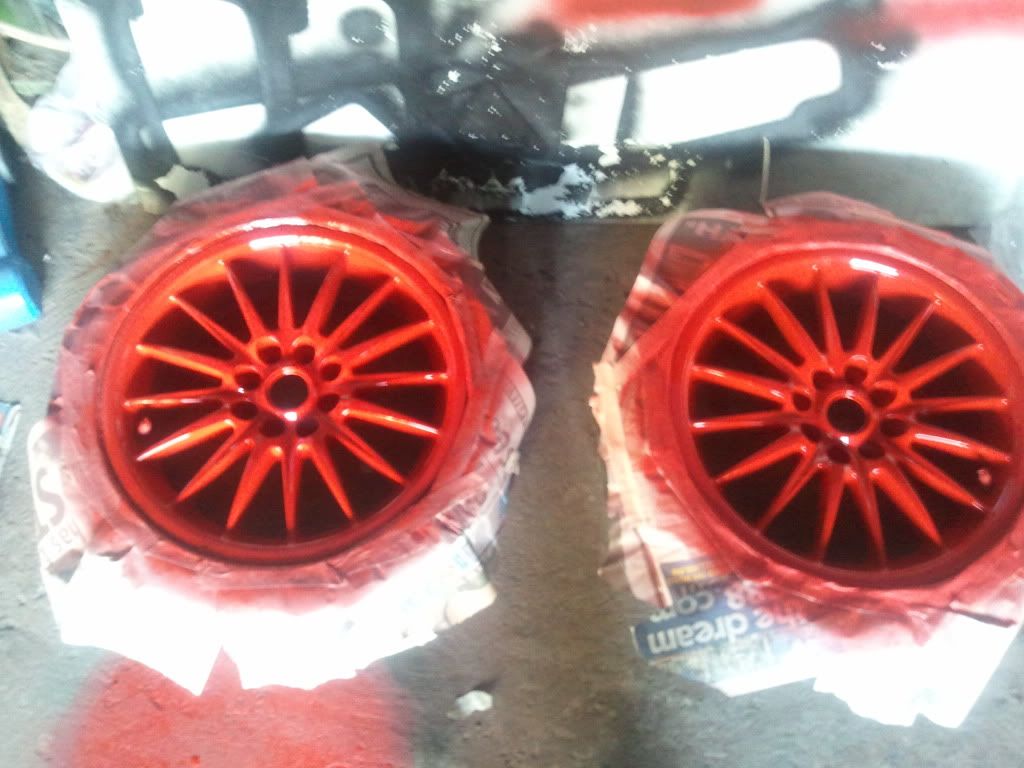
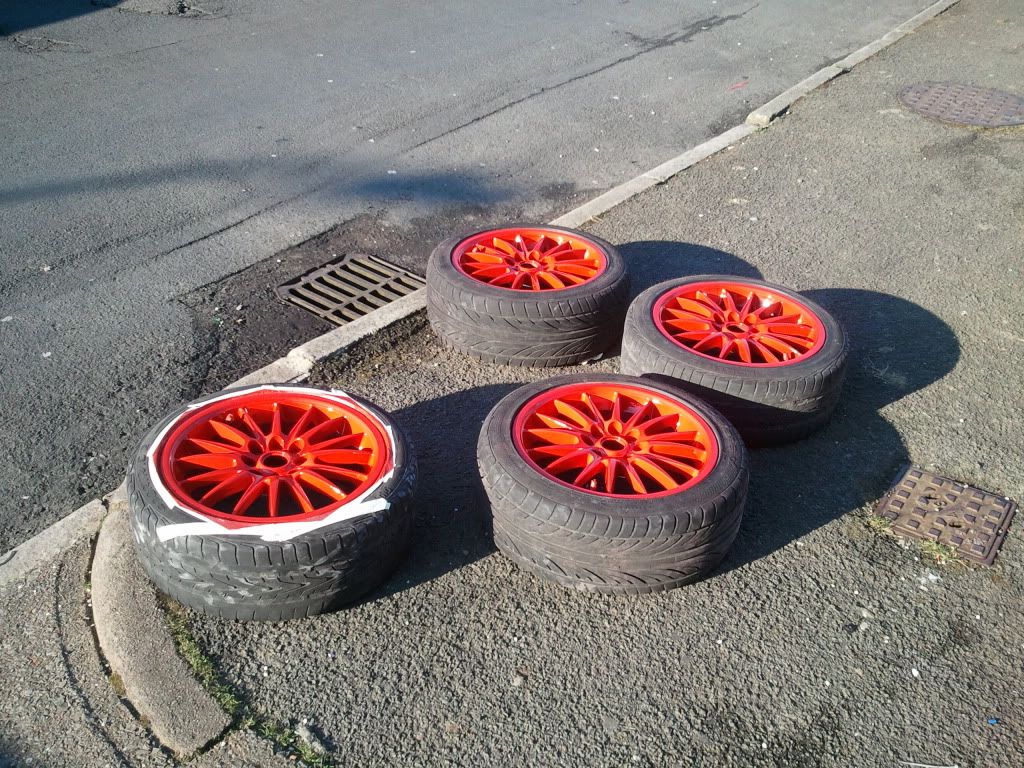
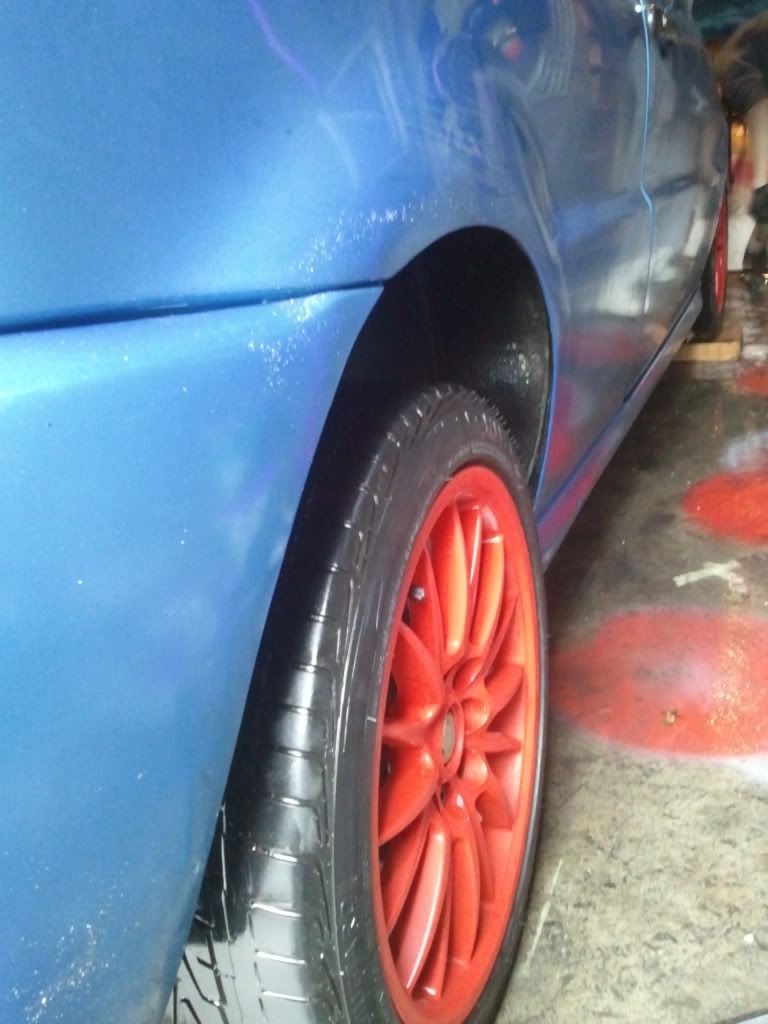
Decided to make due with the wheels i currently had on the car and decided to spray them red. I got a few spray cans of 'VW Mars Red' from work and got cracking.. results werent perfect by all means but i didnt want something perfect as these wheels are *****.
Whilst the wheels were off, i tried on my mates wheels from his Starlet GT Turbo, Sprint Hart & Wed-sports 14".. Look mint in fairness! Cant wait to get my rota's with the polished lip..
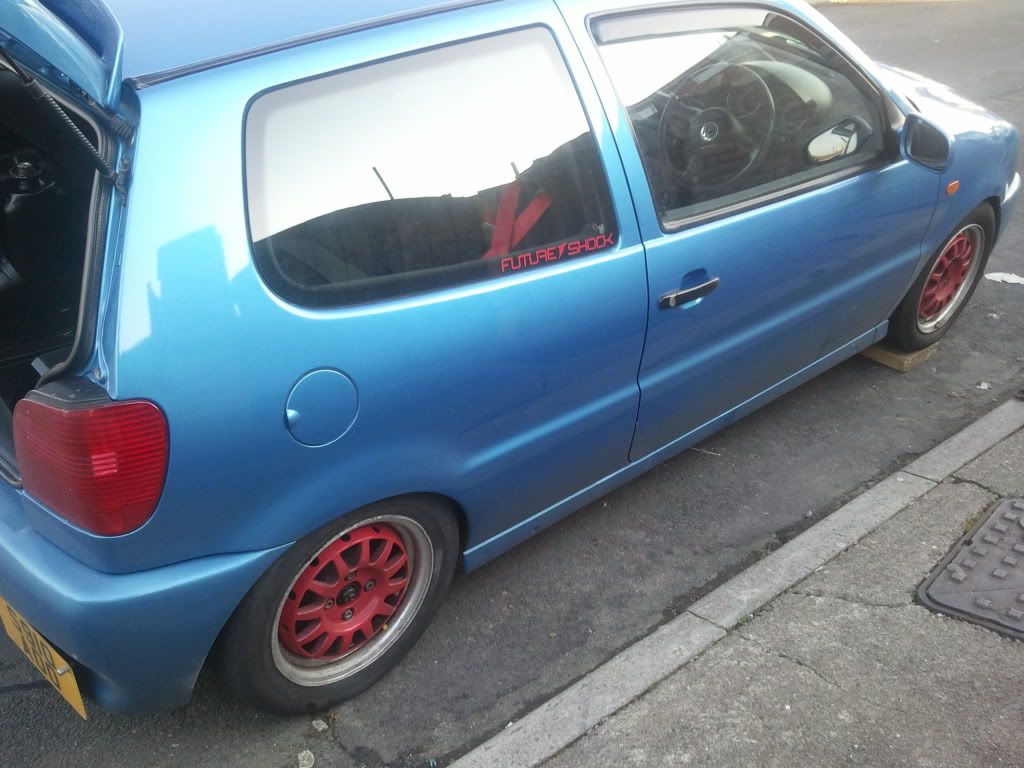
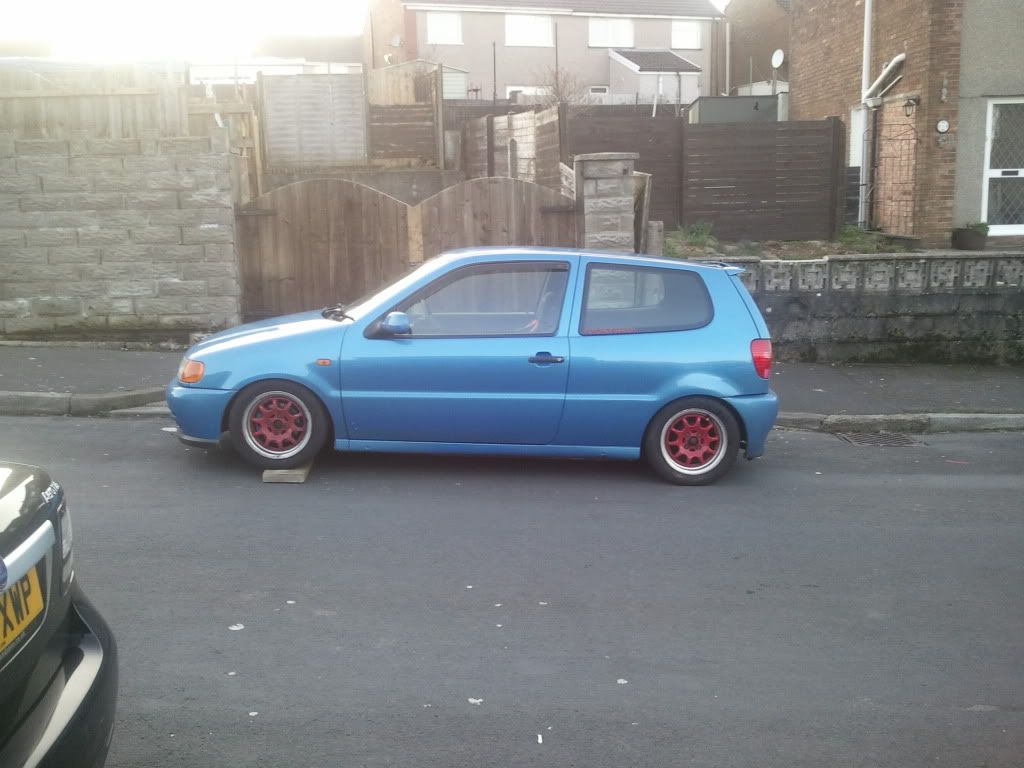
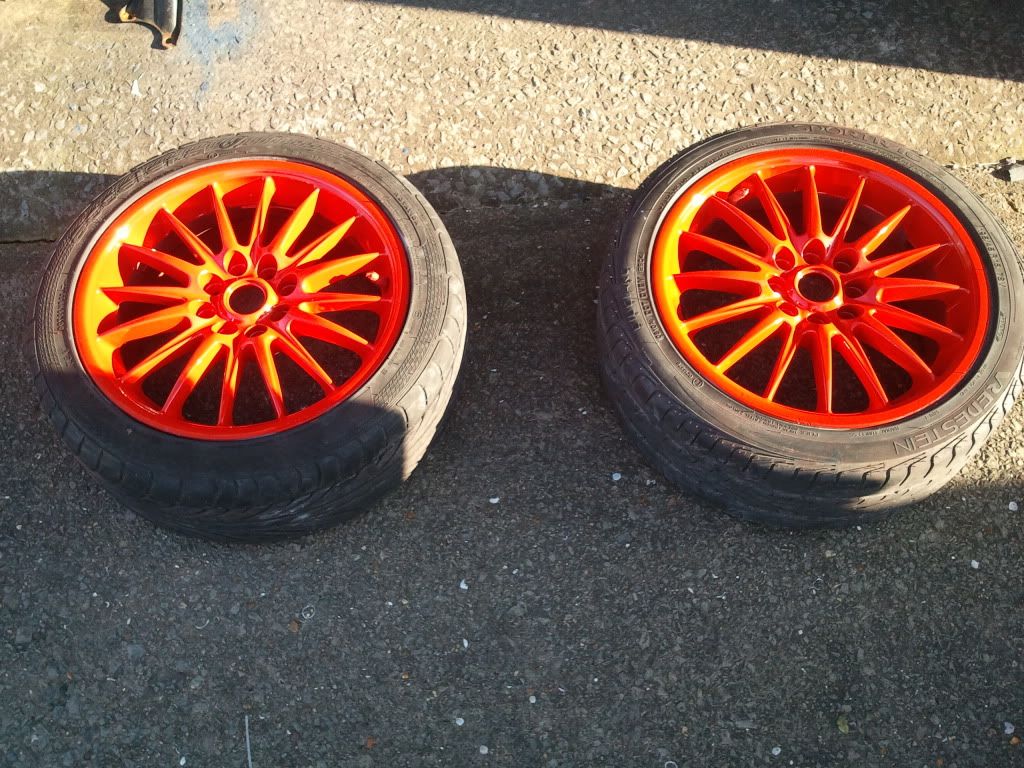
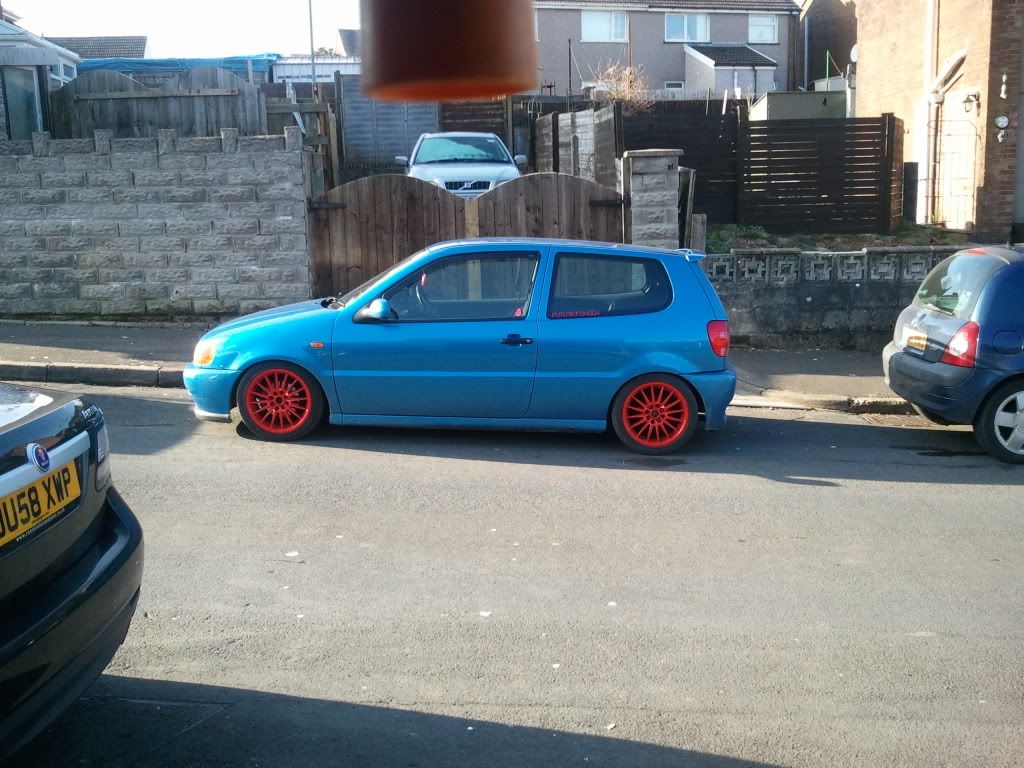
And my wheels all fitted..
Now.. two days later.. There was snow. Yea, enough said.
Can anyone see where this is going?
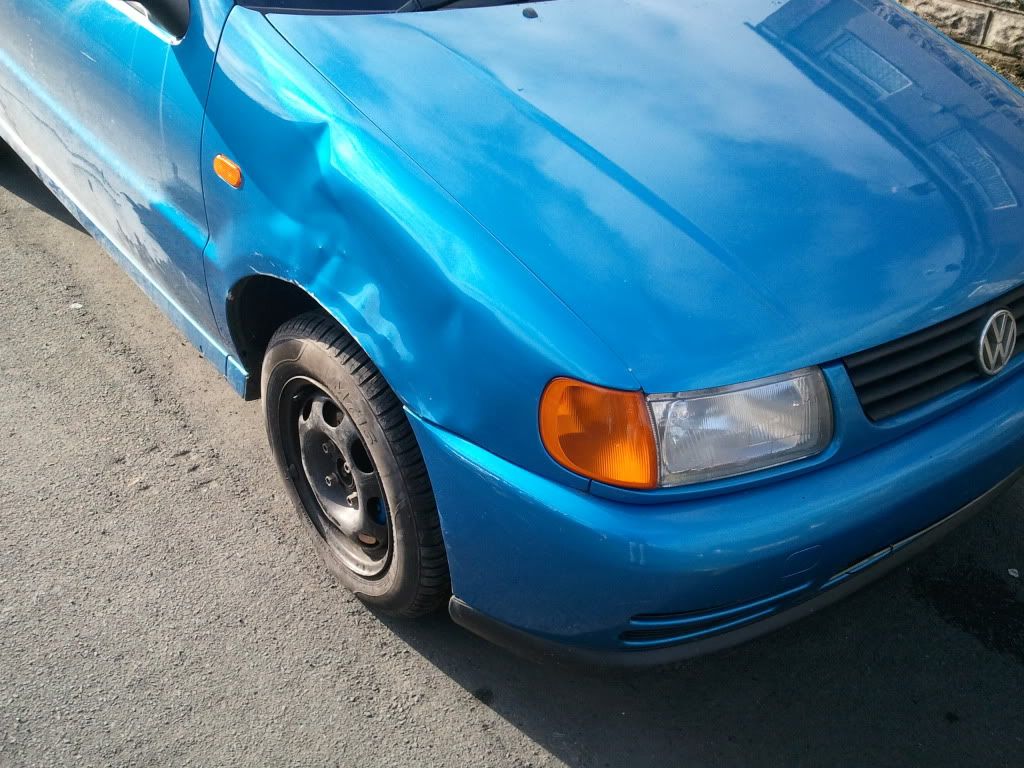
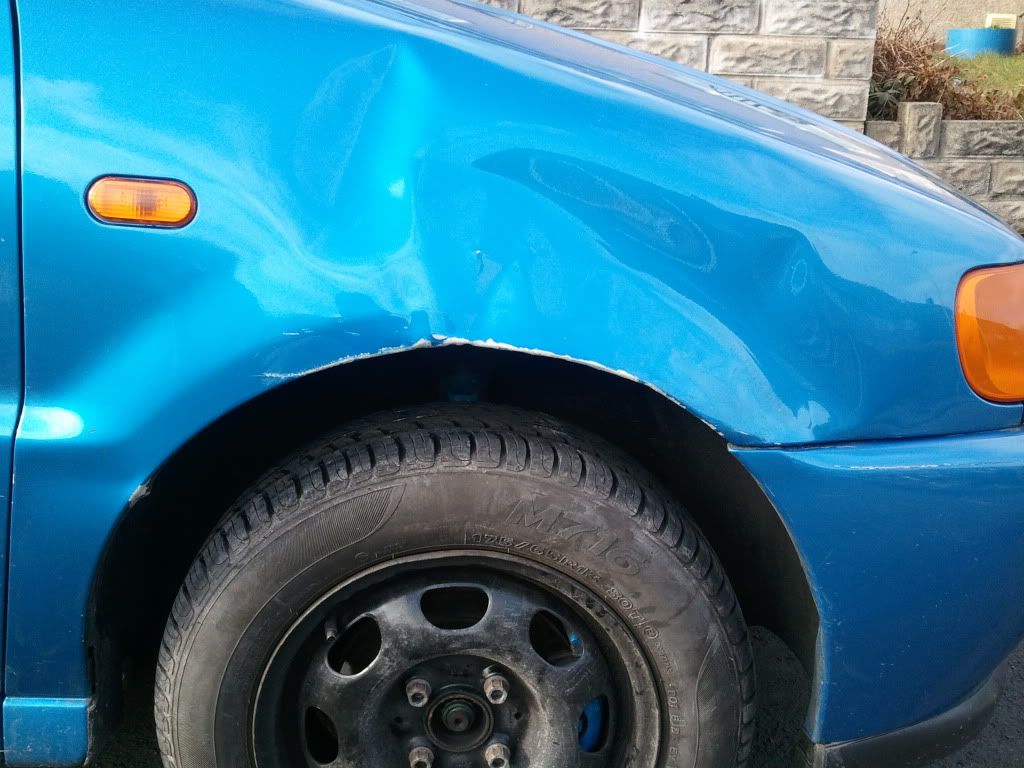
Standard height again for insurance stupid woman driver + Snow = Poorly Polo !
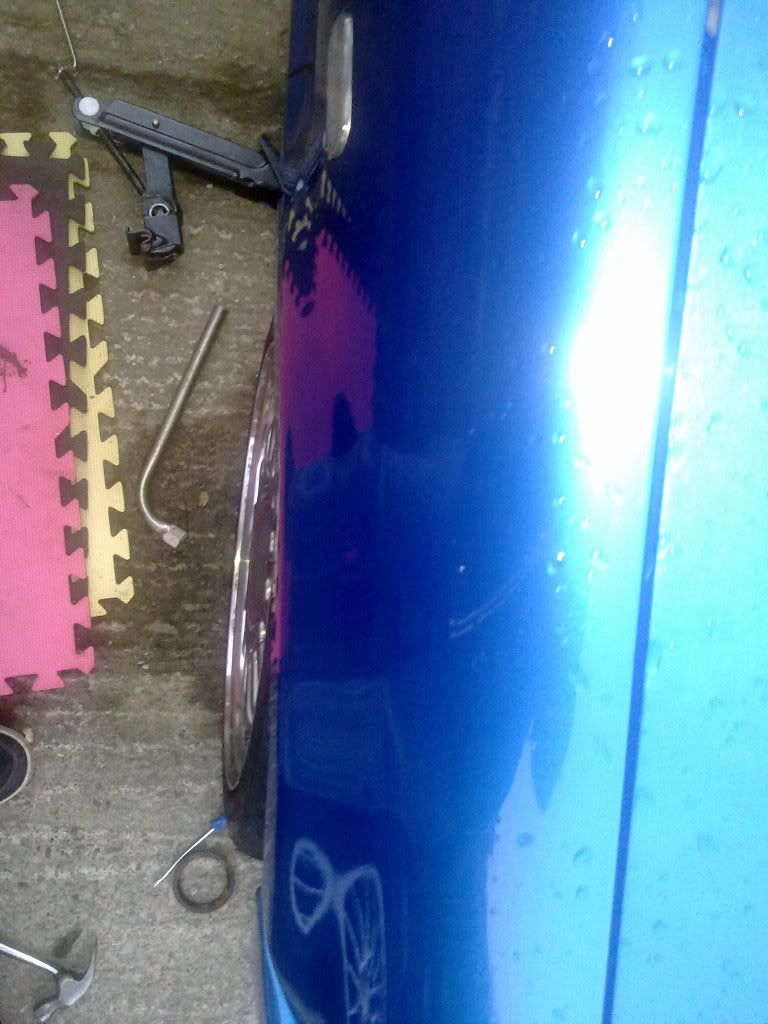
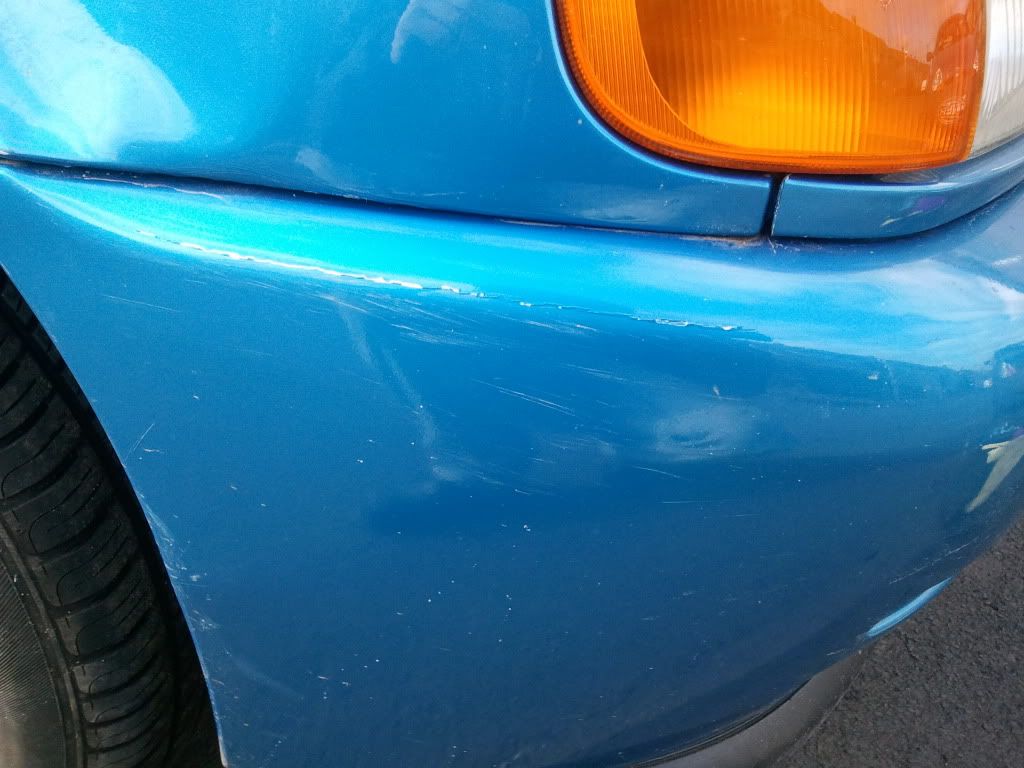
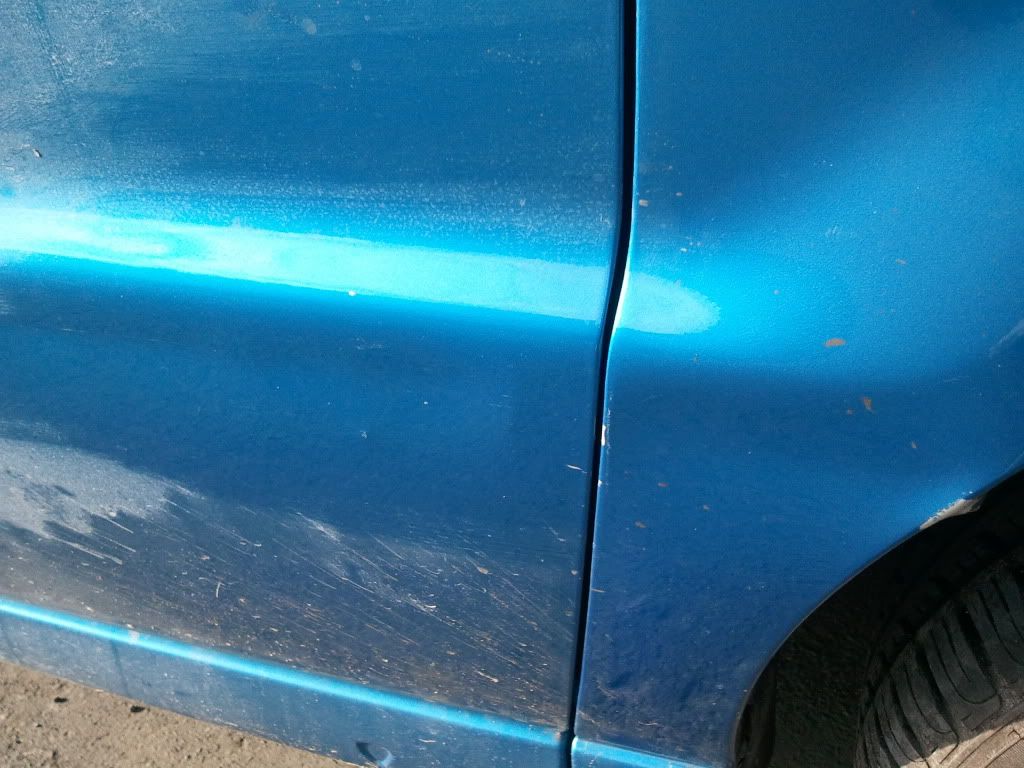
Wing F**KED, bumper scuffed, dent in door, paint chipped off bonnet and two wheels scuffed with 1 day old paint
Car was put back on coilovers before going to the bodyshop. They said would be better to see how much room they had to play with.. Although my car looked slightly like a saxo at one point..


Put my new mirrors on before it went up too, 2x 6n2 Stubbies..

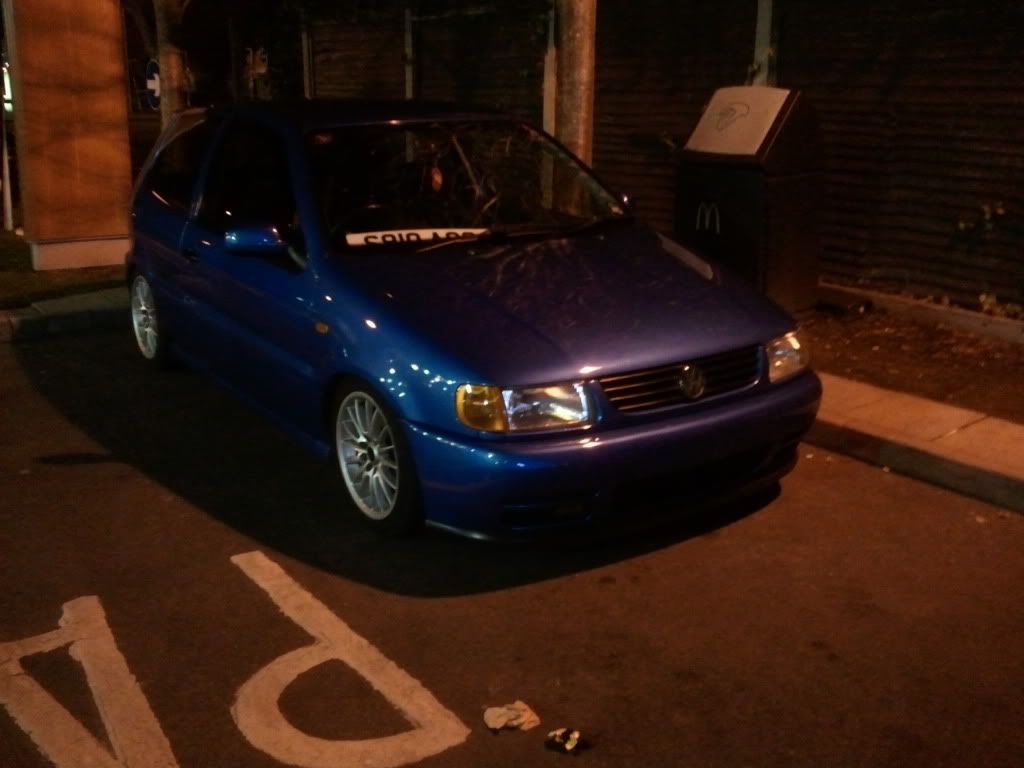
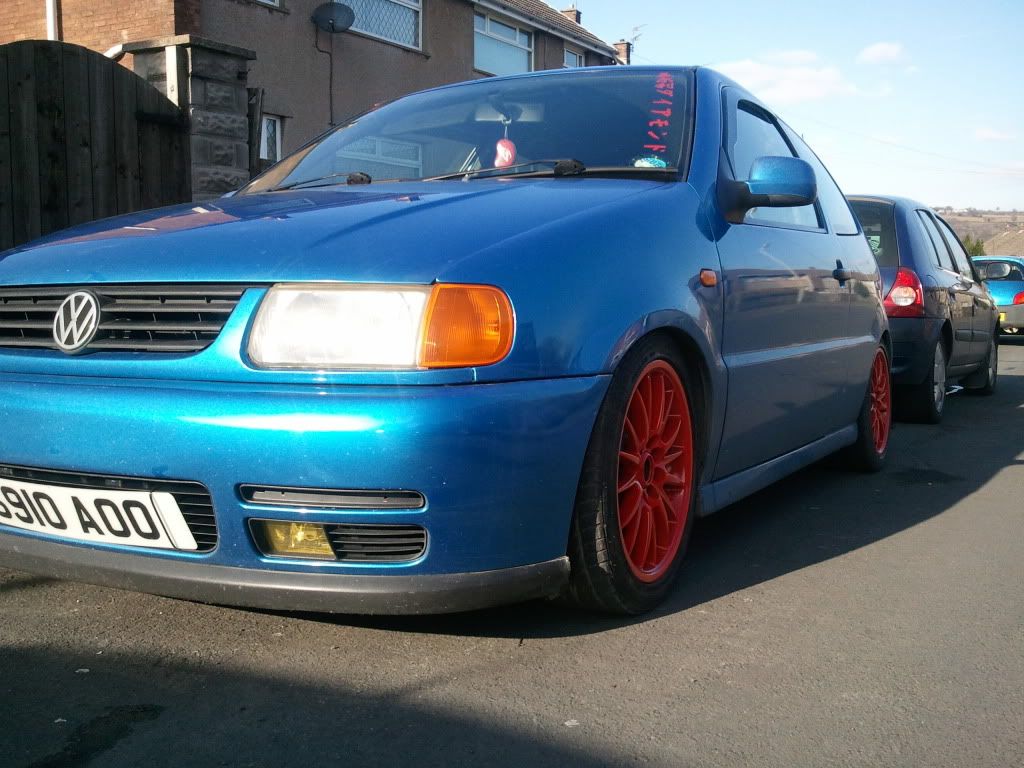
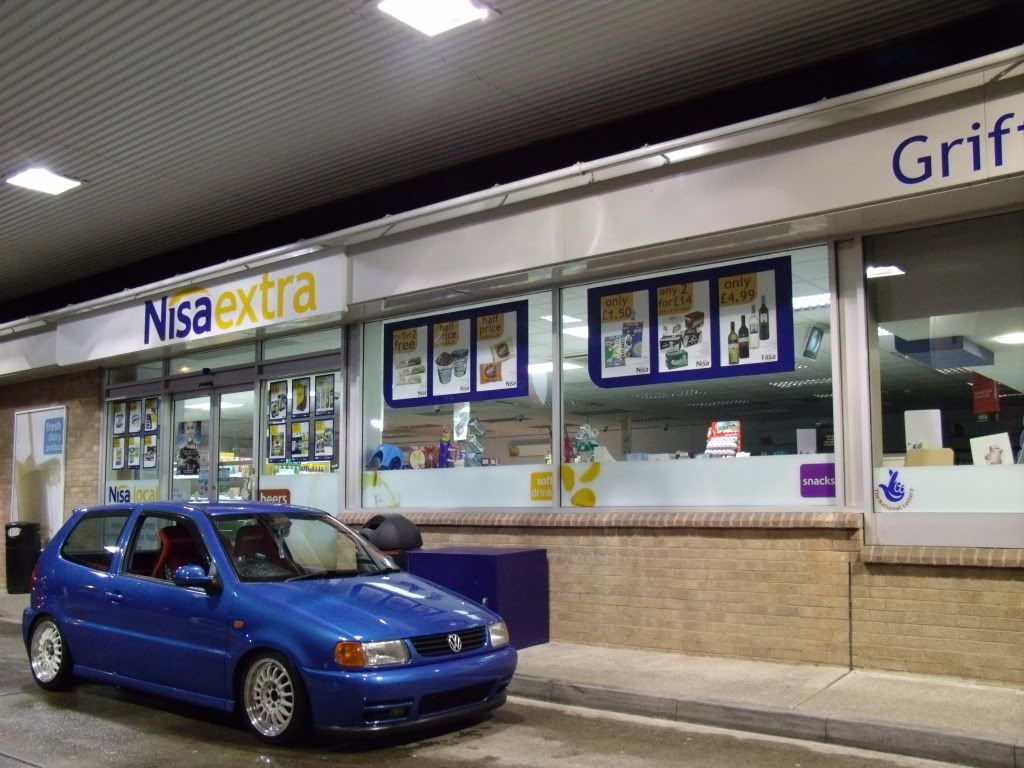
And this is how my car sits at the moment..


Had a delivery aswell.. yey

You may think they are exactly the same as the ones i sold, but thats cause they are. 15's not 16's this time tho. Stickers will be removed, lips re-polished and centres sprayed red (as originally planned)
So.. It was away for about 5weeks give or take for the car to get re-painted.. To this point, its still not 100% finished.. But these are some images of the job i managed to get..


It took a while.. but it was so close at this stage.. Hope people like the jap spec 6n2 rear bumper. I now have a full 6n2 rear & interior convertion.
Got the car back, Chucked the rota's on too to make it look pretty, I have to say.. they are the deffo best suiting wheels i could have chosen, work so well..
A few pictures of the finished article The very night i had it back from the spray shop..


And for some reason, this is one of my favorite pics of my car..

Now.. This is full of disappointment...
Shall shart with some pretty pictures of it after a clean.. Shiney shiney!


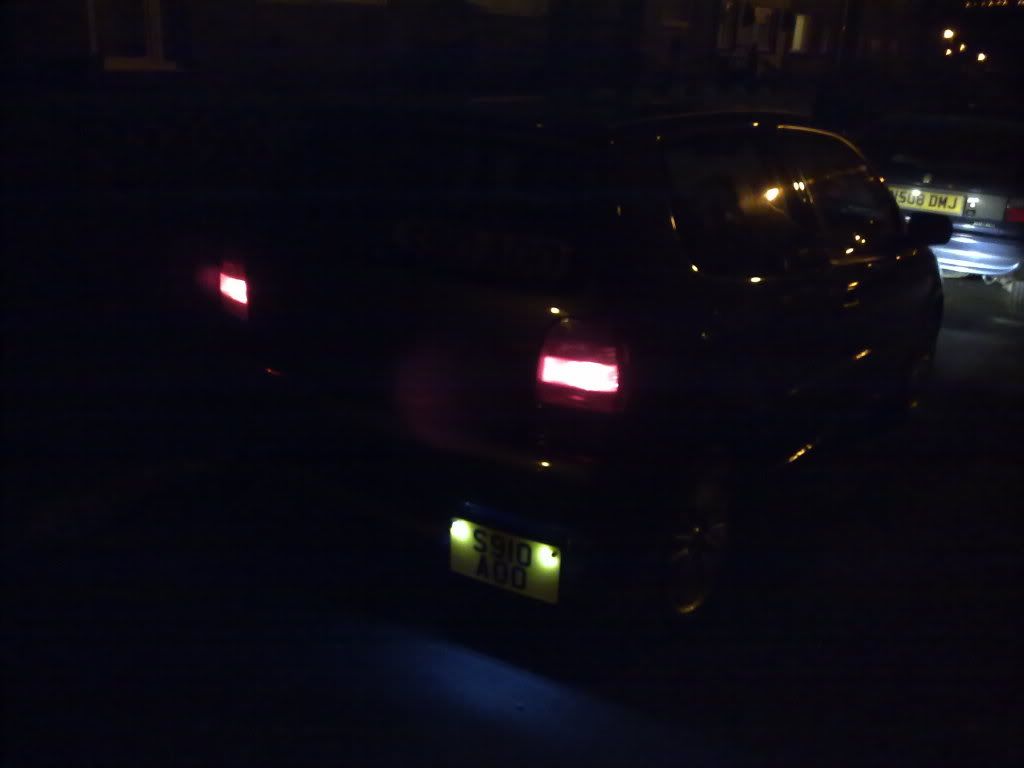
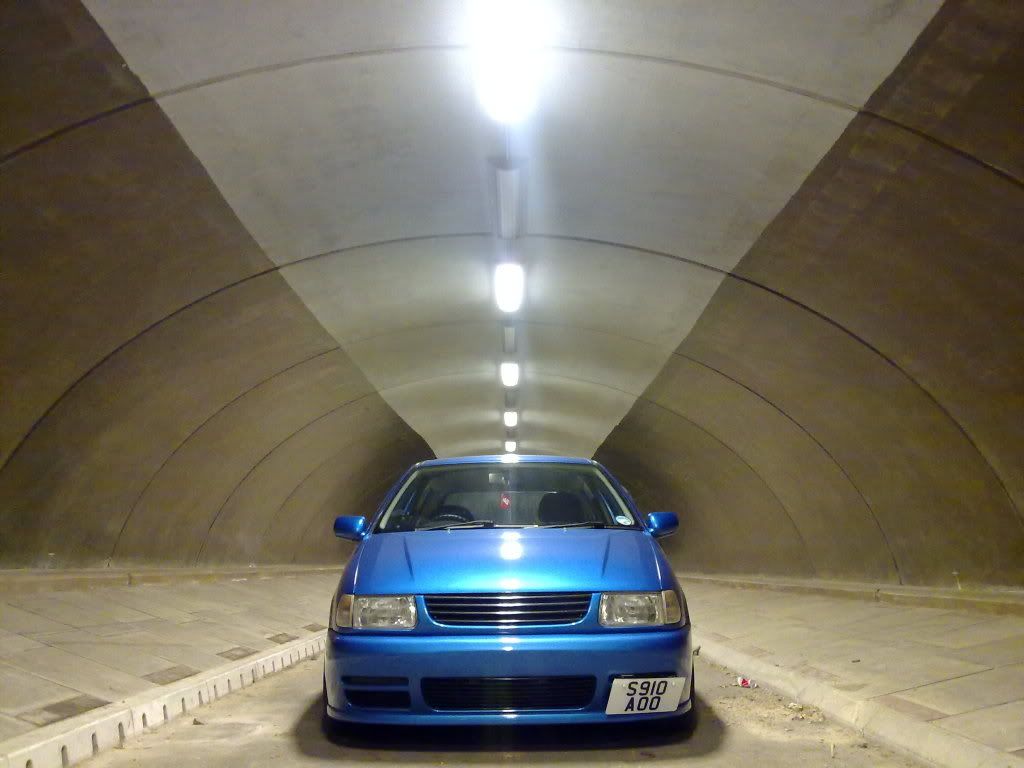
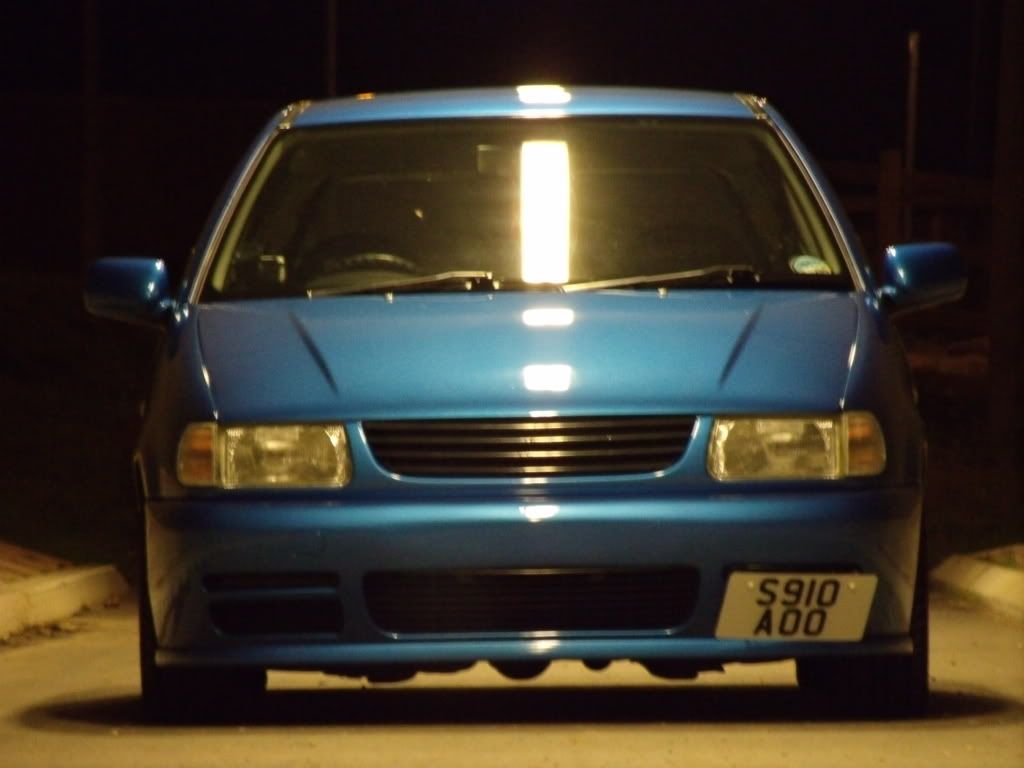
Night Shot..

Dreaded MOT Day Took front & rear bumpers off so it could get onto the brake rollers, wasn't having my fresh new bumpers smashing against the floor!


Now....................
I was gutted.. It had been home less than two weeks.. and well.. Ill let the picture do the talking..

New door was needed :\ Kid in a Nissan Navara reversed into it in a carpark, with a MASSIVE tow ball on the rear.
Few more images of the damage in the day..


Went to the bodyshop.. deffo replacement door and �400 labour to put it right... someones had a big bill!
The guy who hit me payed in cash in FULL the night after it happened - can't fault him!
Car went back up the bodyshop for prep. The imperfections I found in the paint are getting re-done at the same time.. Along with the front bumper being re-done also..
How the car was sitting there 2days before 'Early Edition 2012'..


I had bought a full face bra aswell to protect that sexy front from stonechips on the long motorway journeys to shows.
Full face mask and some Jap Spec 6n2 Rears! yaya!


Had it back at 5pm saturday evening, meaning a sleepless night (which it was) getting the car prepped ready to leave at 5am in the morning ready for 'Early Edition'.. The mask went on at 2am.. needless to say i payed the price for the lack of sleep!


A few pictures from 'Early edition'


The roof was ridiculously swirly, so i decided to get to work at removing them seeming as the roof has had a few weeks for the paint to fully cure. All done by hand, no machines - Took forever! Even though its not perfect, its a vast improvement! Cant really see it in the picture but trust me, its looking pretty now!
After > Before

2 coats of DODO Juice's 'Purple Haze' - applied by bare fingertips..

Finished reflection

Had a delivery in prep for my new seats too.. Some new Frames. The ones i have at the moment look a bit tacky. These look far better!

Bonnet was re-done and is looking shiney shiney again..
Went to japfest with a few mates on the weekend. Got some new inspirations for the inside of the car aswell.. Just a shame i cant afford anything at the moment! FLAT broke
A few pics of the car at japfest taken from another Forum..


Modified Nationals, had a great weekend although i cant remember half of it!
If anyone got a few pictures of the polo then drop me a message
Few pics of the Polo at Mod Nats..


Brides arrived in the UK, �150 import tax! TWATS!
Also, picture of my car on the fastcar website from modified nationals! YEYE!

Before anyone asks, i have no idea what i am doing in this pic. I'm sure I'm tyre shining.. with my arse out and hat on..
DIGNIFIED.
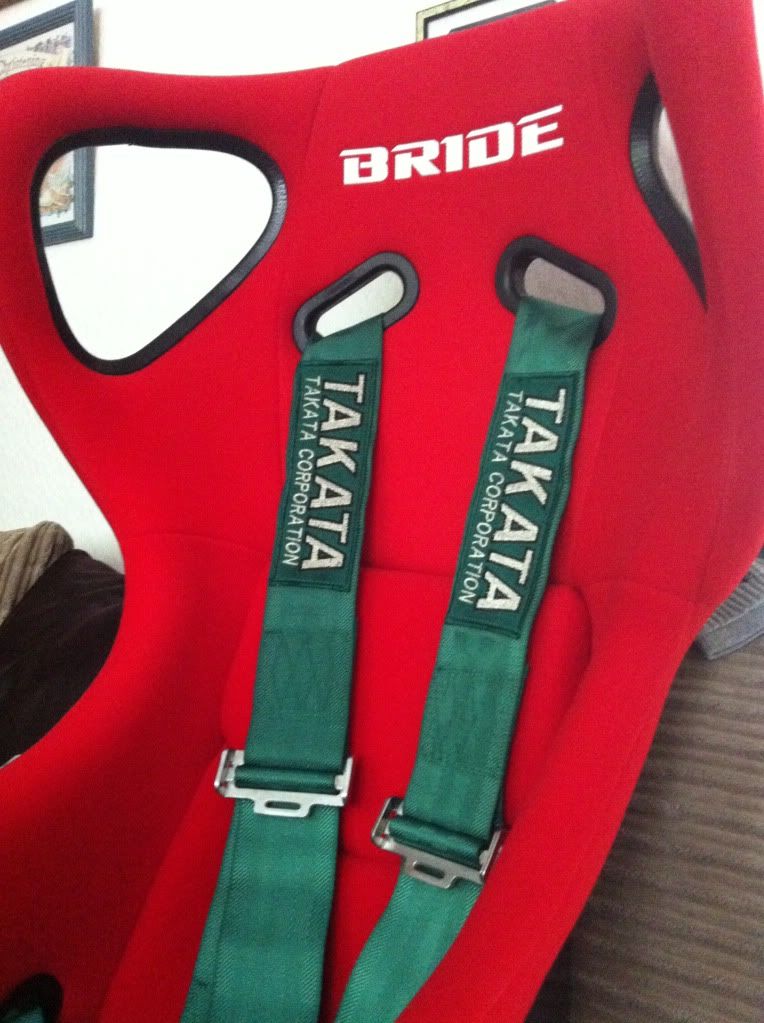
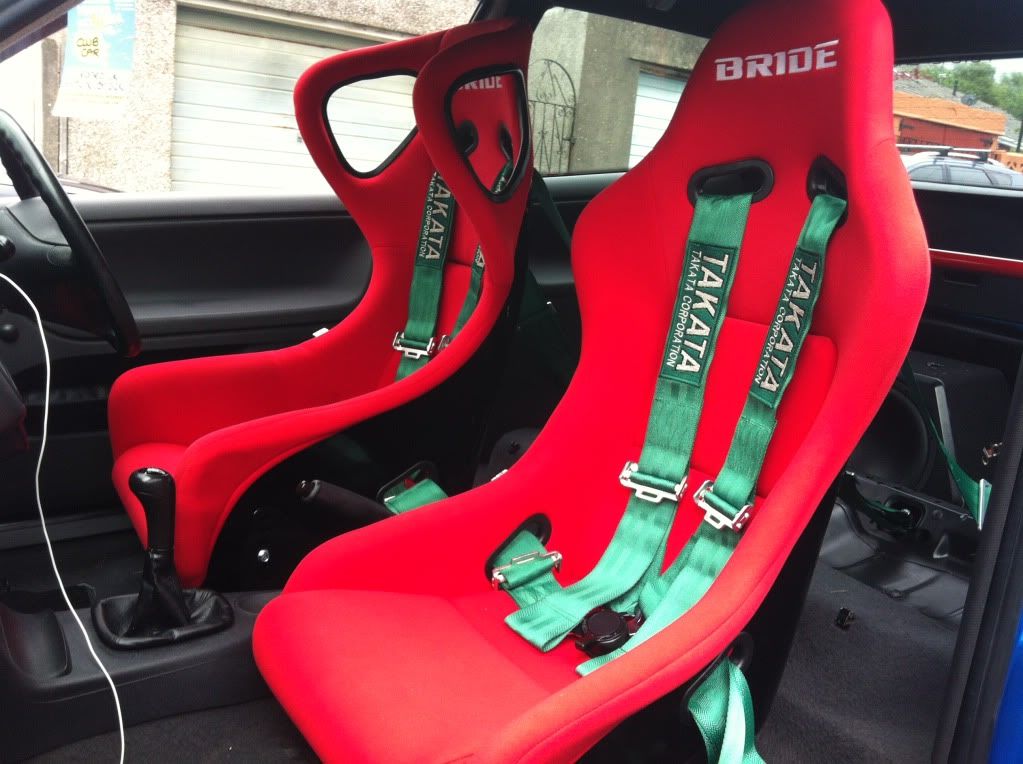
First seat arrived.. Bride Gardis for the driver seat.
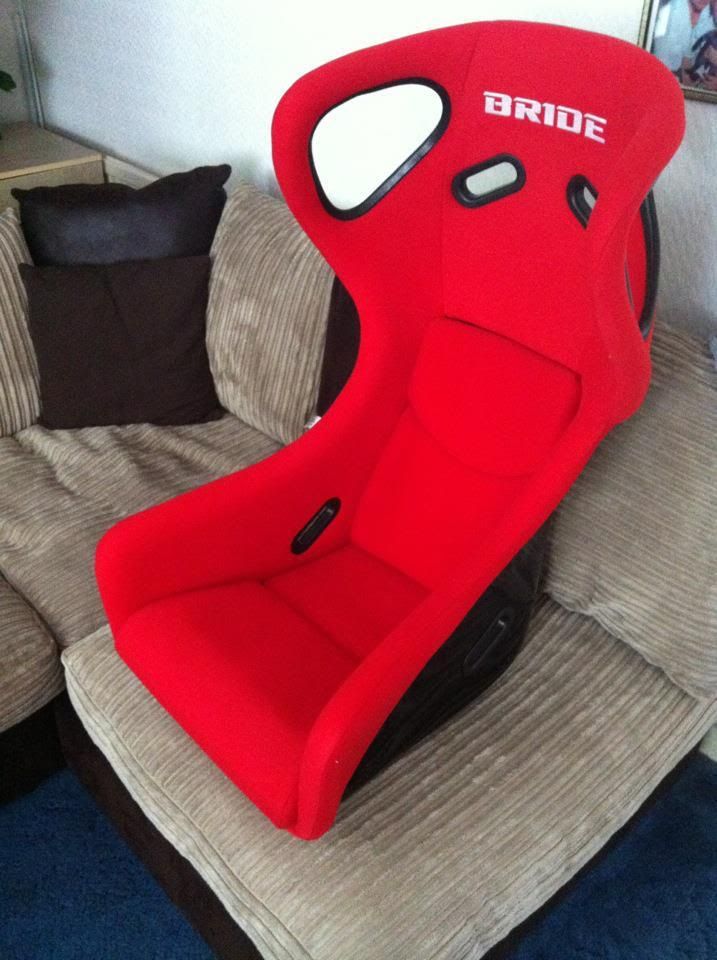
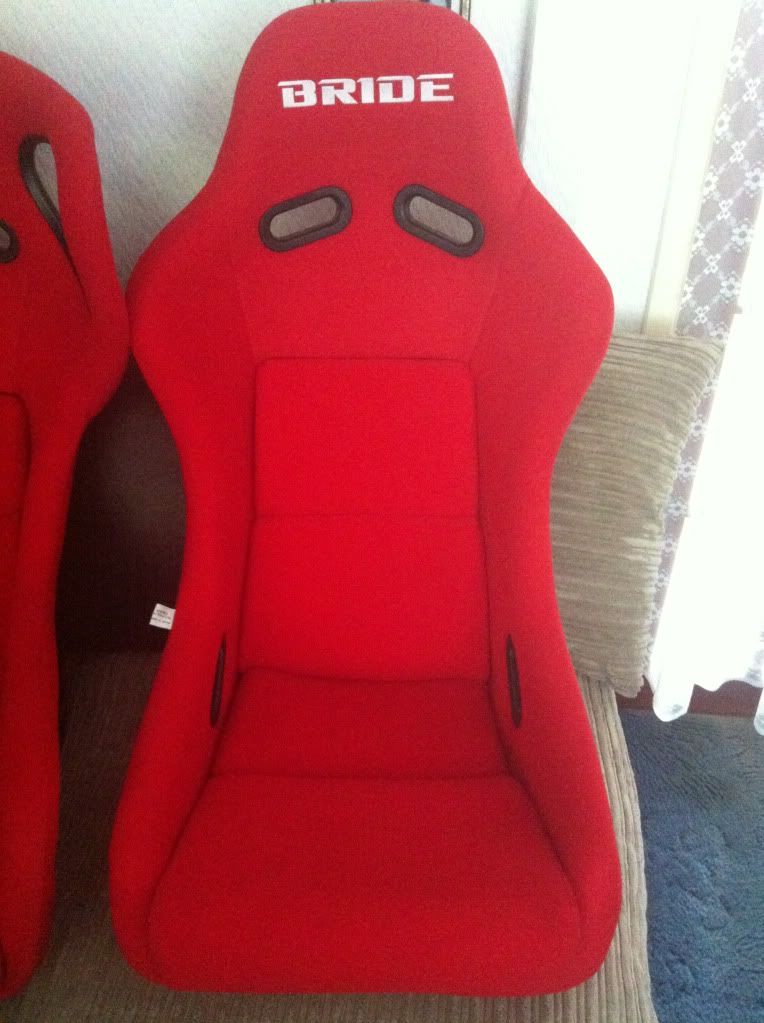
Second seat, Bride Zeta arrived a day or so later..
Ordered Side mounts, well, one set of mounts to see whether they were compatible with the seats and frames ive got.
Had a deliiiverrrryyyyyyy!
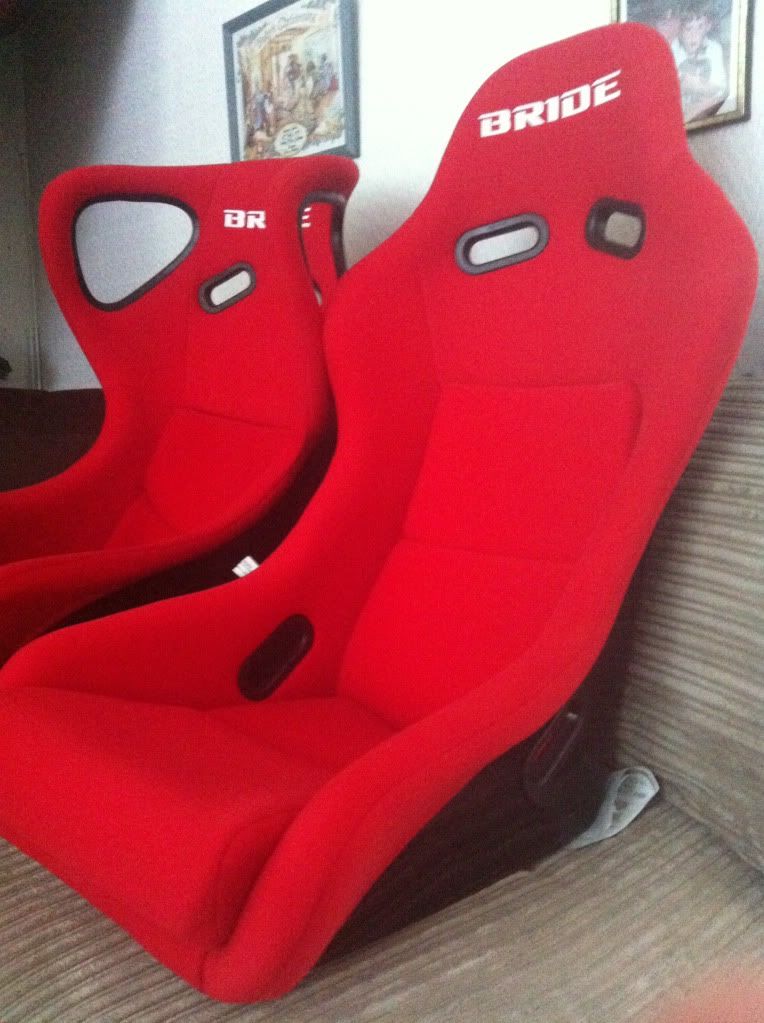
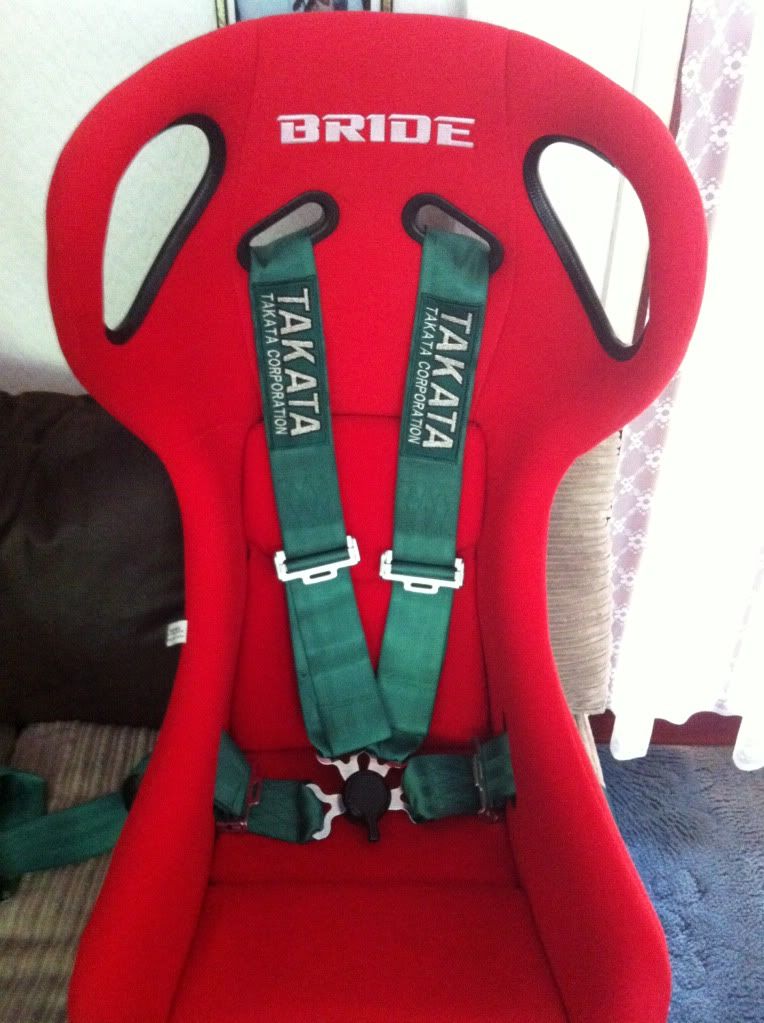
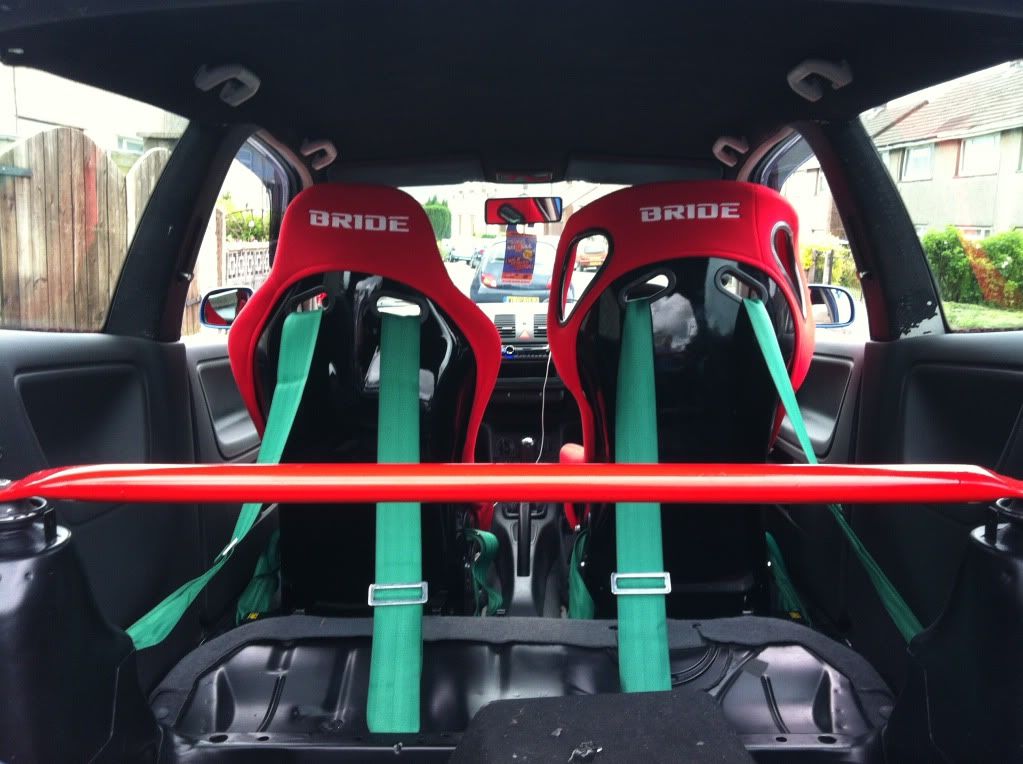
How they both look together.

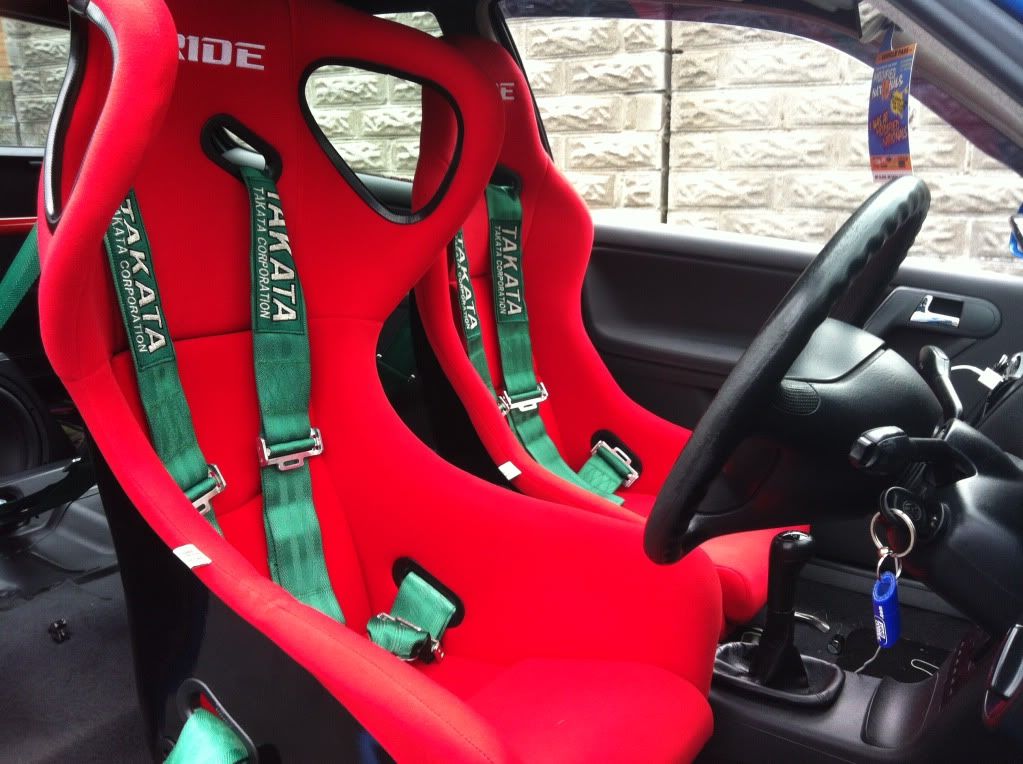
Also had my side mounts through, glad to say they were compatible with both seats and the frames! So ordered a second set of mounts and in they went!

Soo..
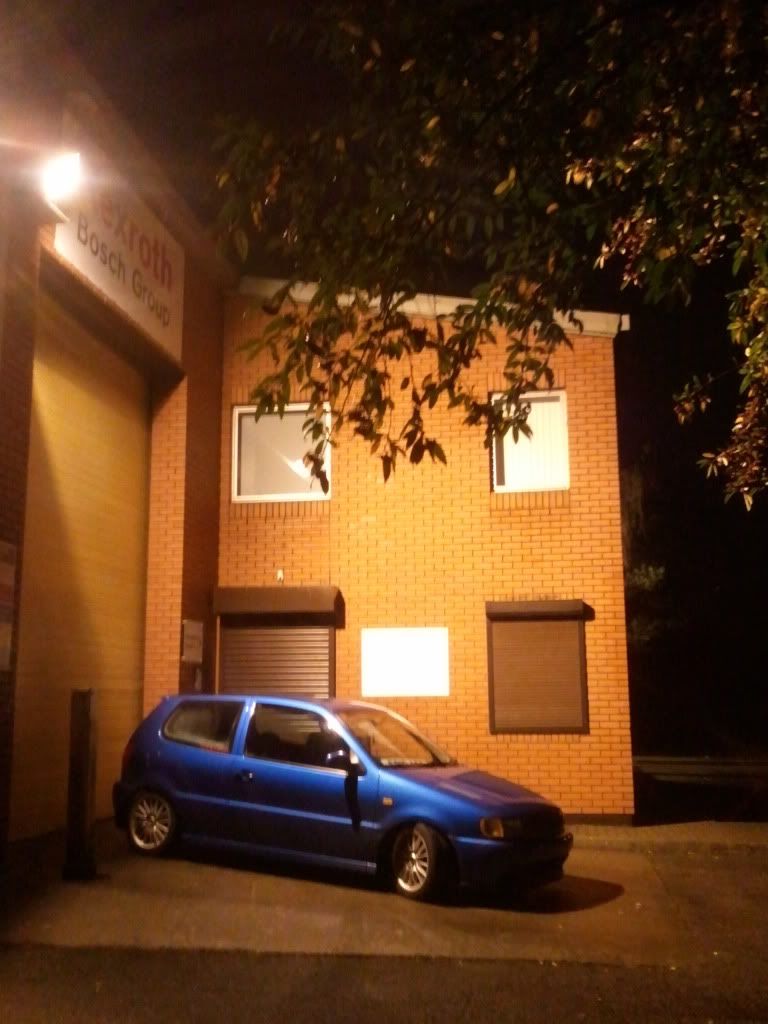
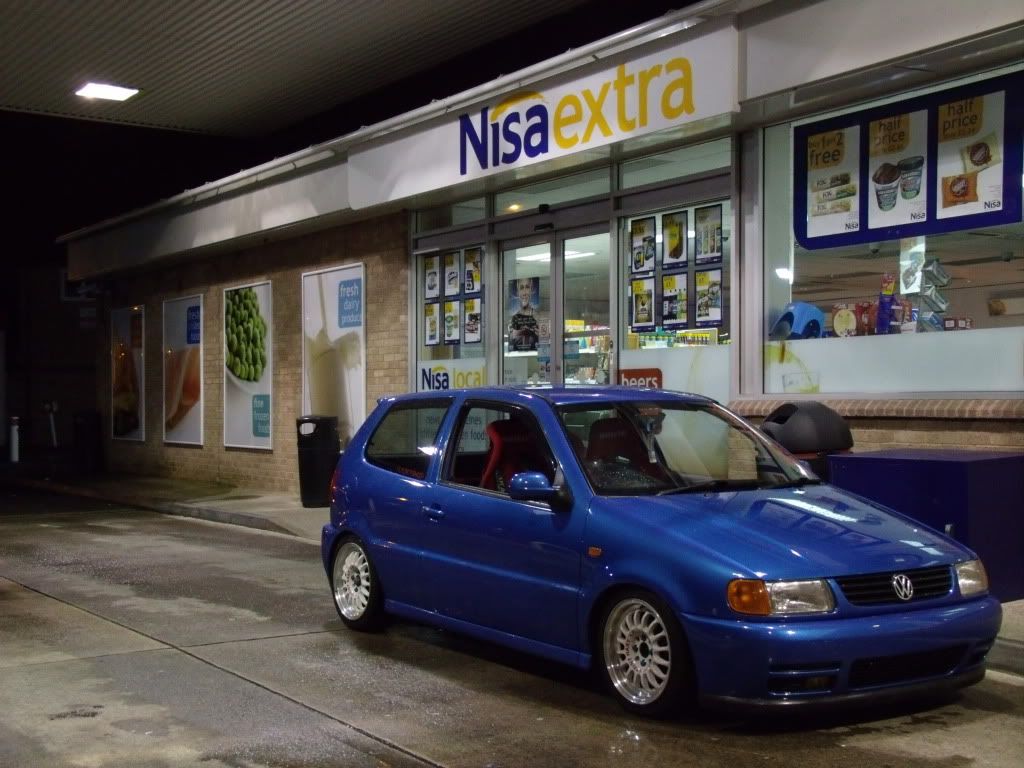
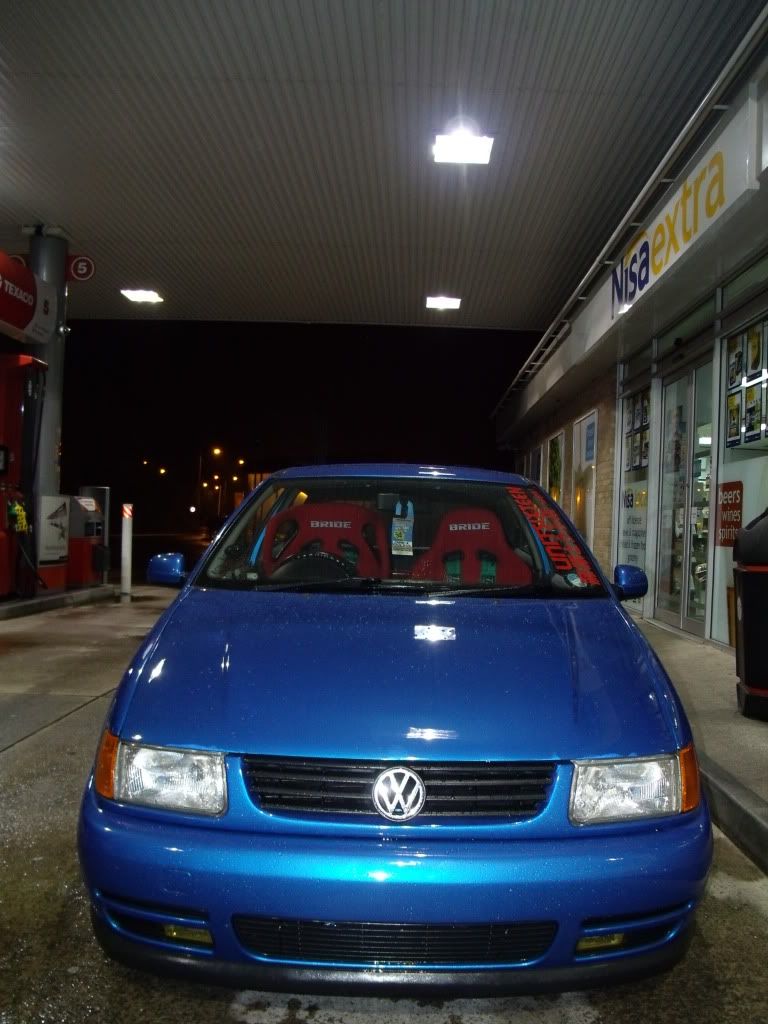
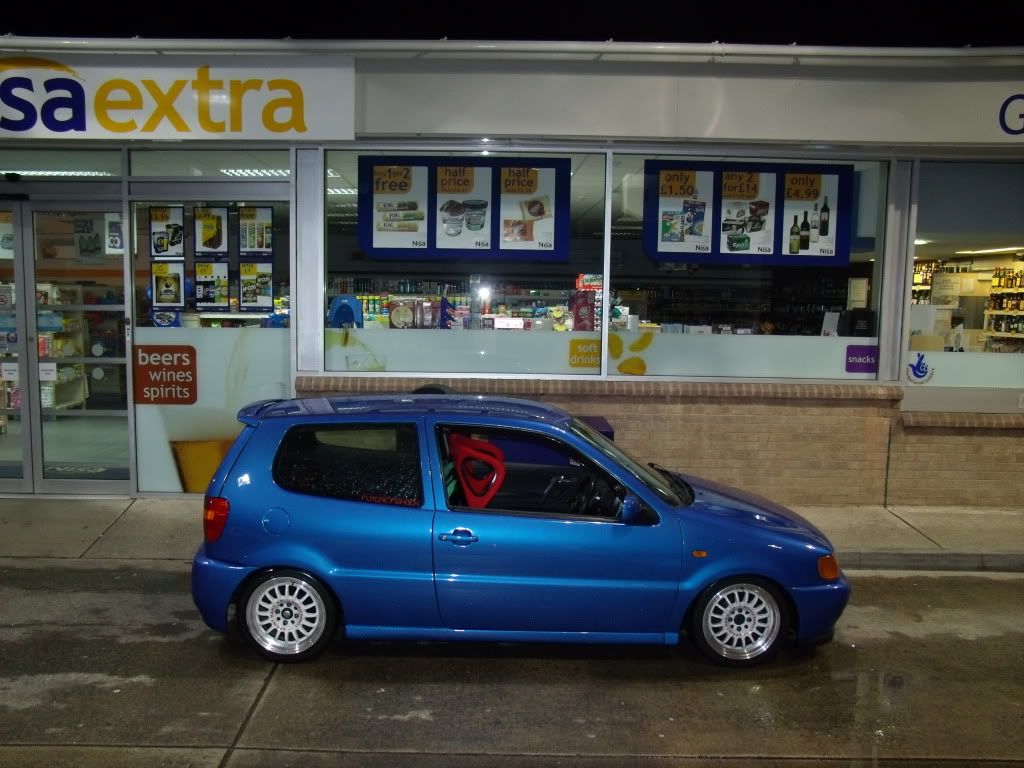
Decided to get a few up-to-date pictures of the car.. Locations shit but couldnt be arsed driving anywhere else haha

Things will be very slow now untill i find employment again. After buying and installingthe seats my funds have become nothing at all..
Hope everyone likes it so far.. apologies for all the pictures..
Updates when possible
Please excuse the tense in which the thread is in, ive copy & pasted every update from another forum so its all written as if it were happening now not then hah You can get where it goes tho
This build thread is of my Polo 6n (MK4) daily driver.
All of the work done to the car has been done by myself and its not perfect, but its mine. I'm only 18 also so i don't think my car is too bad considering my ages and i am only working in HALFRAUDS
Loads of people on here going to **** this car because im doing the 'JDM/J'euro' thing, you can have your opinions, im not afraid to be different.
So, the build.. Ill keep the statements as brief as i can.. i prefer to keep things visual..
_________________
The day i bought my car..
Bought a new de-badged grill.. shortly after i began on the body work and prep..
I bought myself a second hand 16v front and rear bumper, not in the best of nick but it didnt matter then as they were going to be worked on anyway..
The original plan was to smooth off the original bootlid, but i found one that was ready smoothed professionally. Also it was a 6n2 rear tailgate rather than the 6n - but it fits the 6n fine..
As a common mod on the 6n is to swap the rear lights for 6n2 ones, like a sheep i followed the trend, but they do work well with the new tailgate..
This is a picture i took the day the car left for the sprayshop..
I was going to have a respray in the same colour, but my mate sent me a link to another colour that had to be used on my car.. Vauxhall 'Arden Blue' - From the VXR Models.
Images i recieved from the spray shop..
First day i saw the car back from paint. Love this colour so much, think it sets the car off well..
Car was then placed undercover for about a month or so as i hadn't passed my test at this point..
Bought some pretties for the car.. Needed refurbing but they were cheap as chips anyway.. Rota Track R's
I had the lips re-polished, pictures are later in the thread. Gunna do things in order of how they happened.. Next i found these babies cheap so i got these too.. Need re-trimming but this would have happened on brand new seats anyway..
As the rear of my car is now completelly smooth, there was nowhere to mount the rear plate. I decided to have if off-center and to be mounted onto the tow eye at the rear. My neighbour made me a custom bracket out of a spare piece of sheet metal he had in his shed and this is how the plate looks mounted - with lights too of course...
Also made myown DIY tilt bracket for the front plate. Both front and rear plates were completely removable if they ever needed to be.
If you didnt notice i also managed to source a set of 16v bumper grills to finish of the front end..
Things stalled a little for a few months until i had enough money to buy a set of coilovers.. I bought budget ones, JOM.
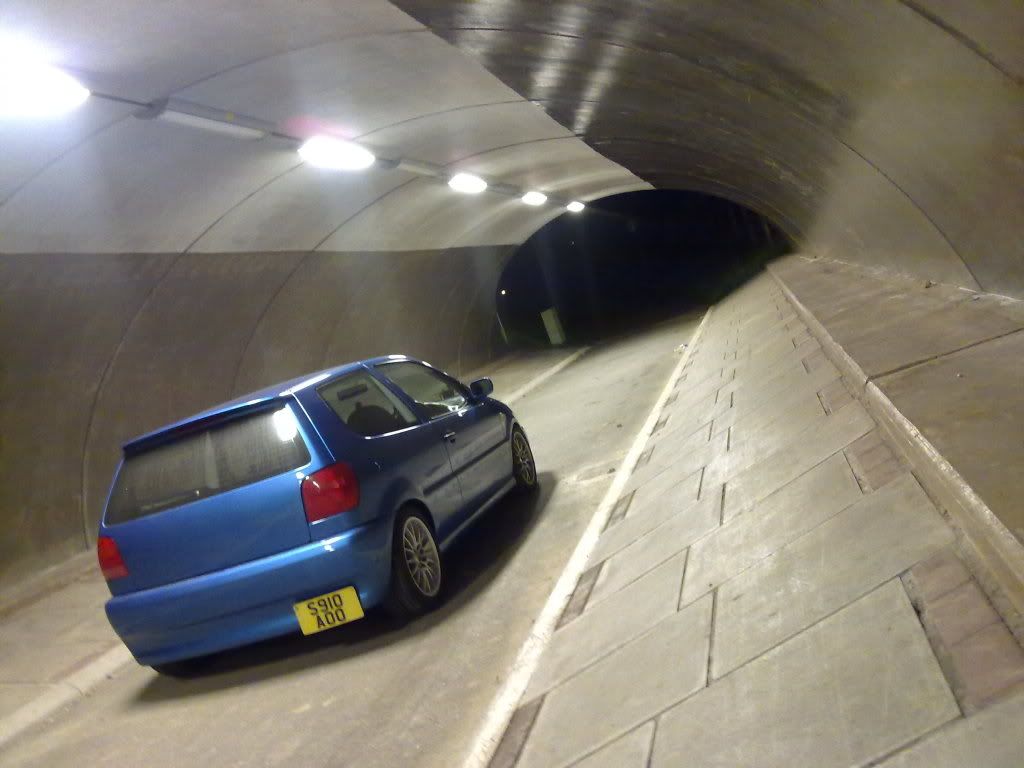
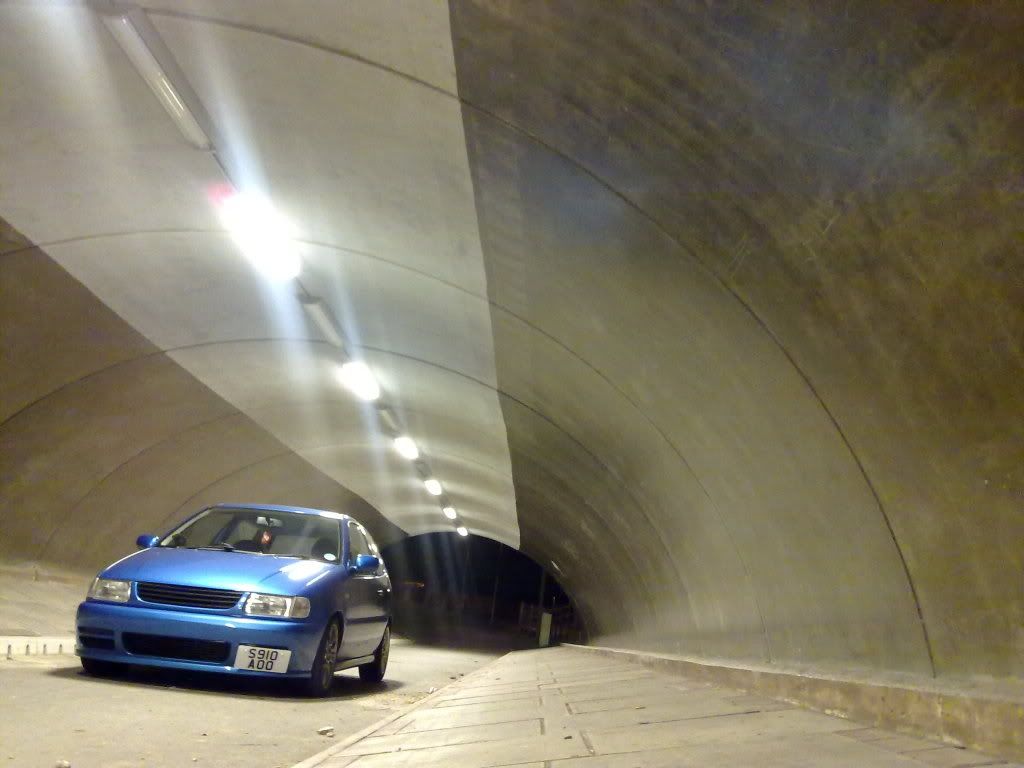
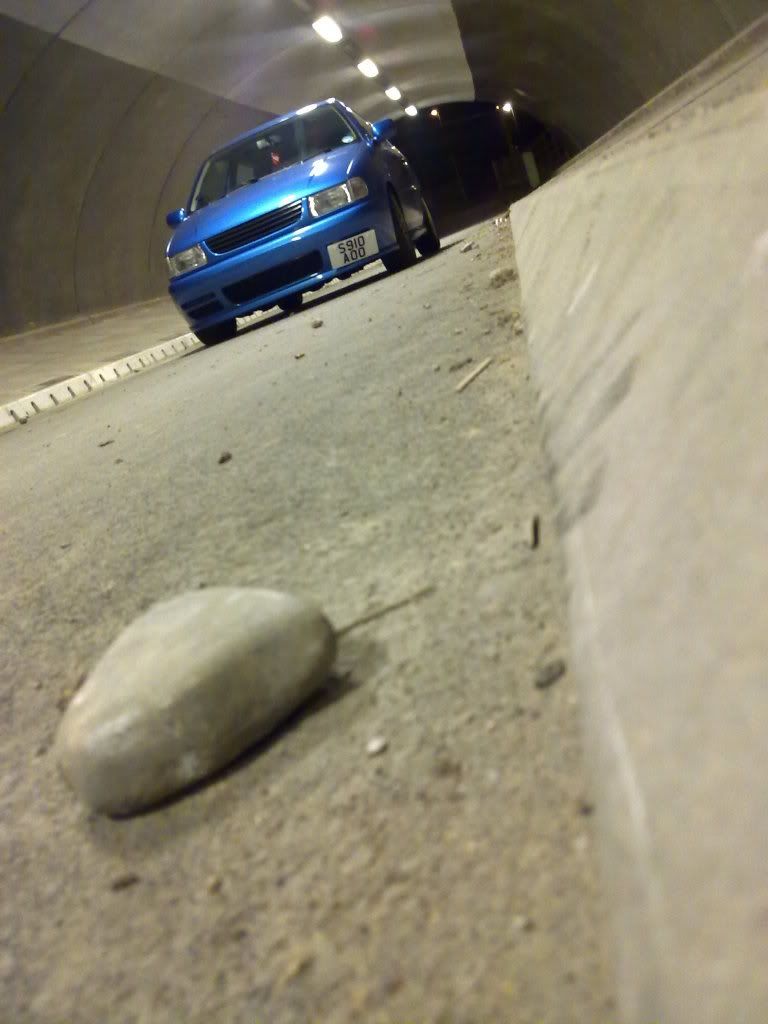
Had a mini photoshoot after it was lowered, there are a silly amount of pictures from it so ill just show the best ones..
Removed the rear helper springs from the coilovers, once they were leveled, i took a few more pictures of the car in the same location..
Had my first show with myown car but money was tight. I decided to paint the calipers and paint the front tilt bracket red - just to boost the little touches a bit.
Tilt bracket will really compliment the red wheels when i get the Rota's sprayed
Some people will disagree with the red but.. everyone has theirown opinions but i love the look of it Pictures of the car from Modified Nationals 2011..
During the show, i decided to go around and take a few pictures of the cars on show etc.. whilst i was doing this.. my mates decided to COVER my car in maxxis stickers..
Few pictures with a Maxxis model..
I drove home from the show with the rear 3 windows still COMPLETELLY covered in those stickers. The amount of looks i got off people haha
Bought a roll of carbon wrap whilst at mod nats too.. was 20cm too short to do my roof
So decided to do some interior bits and bobs.. Then i got bored one evening..
The inside of my car is stripped completely at the rear apart from the doorcards. Ive began work on removing the seam sealer and then began to spray the rear in prep for the satin black finishing coats..
Also sprayed my rooflining black, needs another coat or so as its a bit patchy.. shall be spraying all the plasic trims black then also..
How the Rota's looked after the lips were re-polished..
After a few weeks, i managed to get a few quid together to just finish the inside of the rear.. Will need another coat but for now its looking much better..
The wheel well will be covered so wont see the unpainted bit
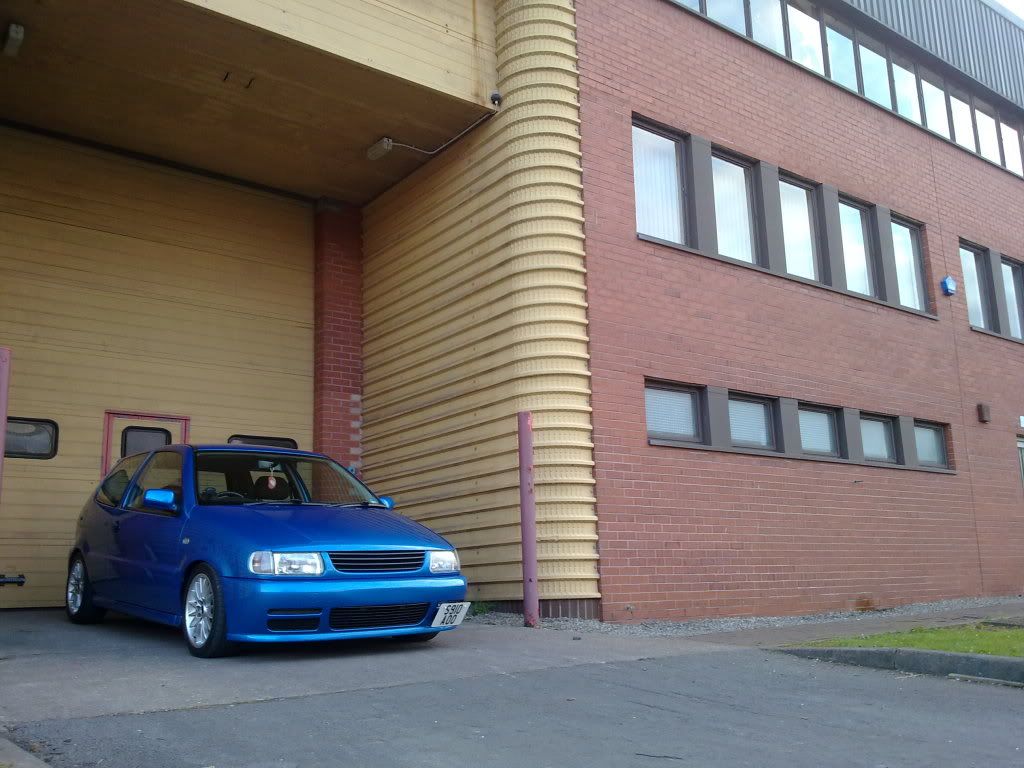
The front helpers were removed shortly afterwards too, so its now sat that little bit lower on the front.
At this point i wasnt employed, so the project pretty much slowed right down, but the little bits and bobs were available..
not much happened for a few weeks, fundage had become short once again so.. wasn't able to do much.
Front was lowered a bit further and i bought some new headlight and sidelight bulbs to give it a 'cleaner' look during the night..
LED Sidlights and i have also ordered some 100W Xenon headlight bulbs.. these were poope so just bought some Xenon gased bulbs instead.
Took some pictures of the car a while ago but never took the pics off my camera.. hence why the front wasn't lowered here..
And a sticker in memory of one our 'Family of Friends', RIP Gary Diamond <3
The plans at this stage were as follows...
- Get the Rota's Painted a deep, glossy Red.
- Get some tyres for the Rota's.. Going for some nice stretches... 165/50/16
- Work out how far i want to go as far as spacing the Rota's.. 20mm, 30mm on the rear?
- Possibly paint the day-to-day wheels (current) red just so the theme can be seen..
Test fitted the Rota's to see what they look like on the car... here are the pictures...
Was Thinking about keeping the front as they sat.. but spacing the rear about 20-30mm...
Not much went on after the test fit, although Got a job in halfrauds ( i know, draastic )..
I managed to get hold of a sub.. Juice 1200w active sub. I planned to get a small flat floor built over the rear wheel well.. This plan is still going forward but im deciding between half or full false floor..
Had a spare bit of carbon wrap laying around so i wrapped my front grill to see what it would look like..
Bought a standard 16v splitter to replace the colour coded one.. ***** looking at a clean car and seeing all the white scuff marks on the splitter, So decided to get a standard 16v splitter for temporary until i got hold of a 6n2 GTI one - considering a genuine carbon fibre one later on in the project..
The 16's Rota's were then sold, didnt want to run 16's on my car. Couldn't be bothered with adjusting ride height between winter and having to re-align the cars tracking. money and effort i didn't and still don't have.
__________________________________________________ __________
Nothing then happened for a few weeks again.. But these little touches kept the build alive.. just.
Polo 6n2 GTI Splitter
Back to standard orange side repeaters and indicators
Team Heko Wind Deflectors
4 point "race sport" (poop) Harnesses - were really cheap so thought why not..
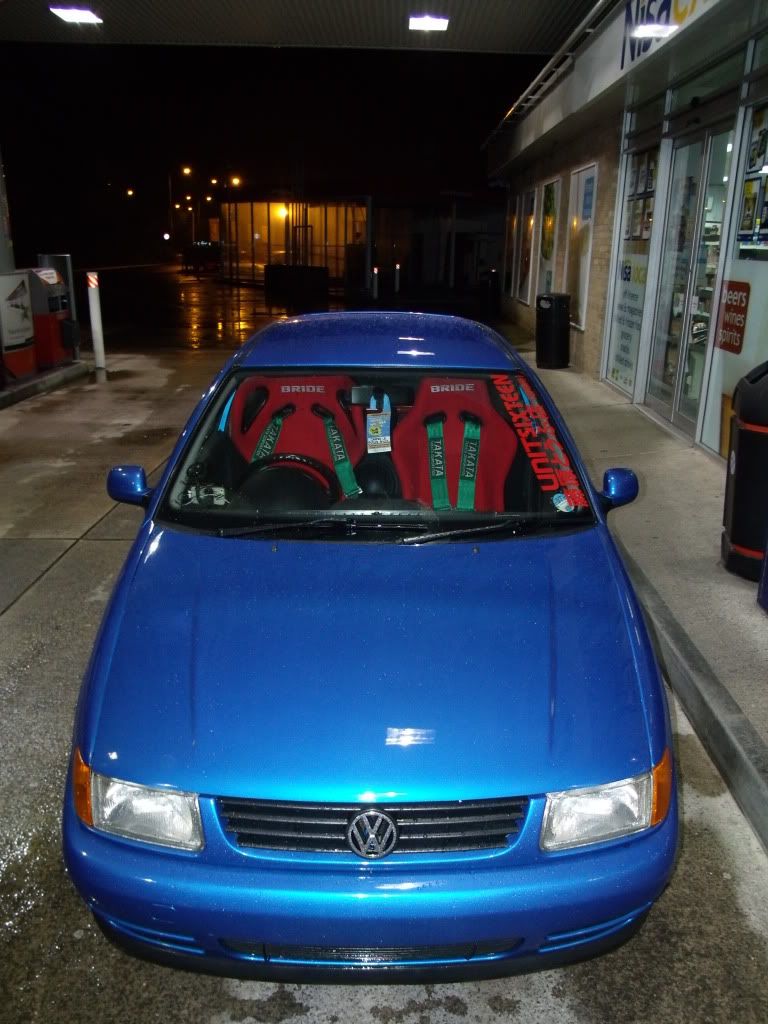
Japanese name in my windscreen - reads "gary diamond" a tribute to my good friend, and it also ties with my theme.
all switches are now Blue LED, just need to do the clocks with a red needle..
I also have 6n2 mirrors (non driver stubby), just finishing the paining before they go on..
Not much changed really..
Got a second valver front bumper than I then plastic welded over the plate recess. My first one has been done with filler and starting to look shocking and annoy me that you can see where the filler hasnt been shaped properly.
Just a few more pics of the blue led's..
A few pictures of the sort of reflection I was getting from my car, needed a machine polish to get rid of all the HORRIBLE swirl marks - i ***** them
And a few of the beadage in the rain..
Found these pictures on my phone too from collage a few months ago, I'm sad i know but still. Always good to see a comparison of what your car used to look like - before and after
I bought these
Had them through the door, fitted and wired up within the same morning, at this point i had already ordered some yellow lamin-x..
12"x6" sheet was �12! Pricey or what! But i was realy impressed with the ease of use..
The fogs in these pics are lamin-x'd also, just dont look yellow, poor camera on my phone.
This pic looks quite mean in my opinion..
Bought a driver side stubby mirror to match the passenger..
Hope you all like my progress so far guys - like i said, im only 18 and work on the poopest pay ever (most of the car was built without a job tho) so please bear that in mind before tearing into me about how it 'isnt jdm or j'euro as it stands'
Maybe as you read more you'll change your mind! My second valver bumper has been plastic welded and sanded. ready for its first skim of fibre glass
Plastic welded using the soldering iron method, took a bit of time but it was a good result for a first ever attempt. Rear of the bumper was plastic welded and re-enforced with aluminium mesh that has been melted into the plastic along the whole length of every seem.
I managed to buy something for the car that really took the project to the next level.. BOOOO YAAAAA!!!
Interior update.. 6n2 dashboard convertion. I fitted the front and rear doorcards from a 6n2 also.. Now rocking a full 6n2 interior convertion!
Only needed a new glovebox - handle broke off and a second cup holder
Full convertion.. �100.. WINNING!
Another little touch.. wasnt too keen on it when i put it on.. but its slowly growing on me..
So, an update. But by far not a good one. However, ill start with a possitive..
Decided to make due with the wheels i currently had on the car and decided to spray them red. I got a few spray cans of 'VW Mars Red' from work and got cracking.. results werent perfect by all means but i didnt want something perfect as these wheels are *****.
Whilst the wheels were off, i tried on my mates wheels from his Starlet GT Turbo, Sprint Hart & Wed-sports 14".. Look mint in fairness! Cant wait to get my rota's with the polished lip..
And my wheels all fitted..
Now.. two days later.. There was snow. Yea, enough said.
Can anyone see where this is going?
Standard height again for insurance
stupid woman driver + Snow = Poorly Polo !Wing F**KED, bumper scuffed, dent in door, paint chipped off bonnet and two wheels scuffed with 1 day old paint
Car was put back on coilovers before going to the bodyshop. They said would be better to see how much room they had to play with.. Although my car looked slightly like a saxo at one point..
Put my new mirrors on before it went up too, 2x 6n2 Stubbies..
And this is how my car sits at the moment..
Had a delivery aswell.. yey
You may think they are exactly the same as the ones i sold, but thats cause they are. 15's not 16's this time tho. Stickers will be removed, lips re-polished and centres sprayed red (as originally planned)
So.. It was away for about 5weeks give or take for the car to get re-painted.. To this point, its still not 100% finished.. But these are some images of the job i managed to get..
It took a while.. but it was so close at this stage.. Hope people like the jap spec 6n2 rear bumper. I now have a full 6n2 rear & interior convertion.
Got the car back, Chucked the rota's on too to make it look pretty, I have to say.. they are the deffo best suiting wheels i could have chosen, work so well..
A few pictures of the finished article The very night i had it back from the spray shop..
And for some reason, this is one of my favorite pics of my car..
Now.. This is full of disappointment...
Shall shart with some pretty pictures of it after a clean.. Shiney shiney!
Night Shot..
Dreaded MOT Day
Took front & rear bumpers off so it could get onto the brake rollers, wasn't having my fresh new bumpers smashing against the floor!Now....................
I was gutted.. It had been home less than two weeks.. and well.. Ill let the picture do the talking..
New door was needed :\ Kid in a Nissan Navara reversed into it in a carpark, with a MASSIVE tow ball on the rear.
Few more images of the damage in the day..
Went to the bodyshop.. deffo replacement door and �400 labour to put it right... someones had a big bill!
The guy who hit me payed in cash in FULL the night after it happened - can't fault him!
Car went back up the bodyshop for prep. The imperfections I found in the paint are getting re-done at the same time.. Along with the front bumper being re-done also..
How the car was sitting there 2days before 'Early Edition 2012'..
I had bought a full face bra aswell to protect that sexy front from stonechips on the long motorway journeys to shows.
Full face mask and some Jap Spec 6n2 Rears!
yaya!Had it back at 5pm saturday evening, meaning a sleepless night (which it was) getting the car prepped ready to leave at 5am in the morning ready for 'Early Edition'.. The mask went on at 2am.. needless to say i payed the price for the lack of sleep!
A few pictures from 'Early edition'
The roof was ridiculously swirly, so i decided to get to work at removing them seeming as the roof has had a few weeks for the paint to fully cure. All done by hand, no machines - Took forever!
Even though its not perfect, its a vast improvement! Cant really see it in the picture but trust me, its looking pretty now! After > Before
2 coats of DODO Juice's 'Purple Haze' - applied by bare fingertips..
Finished reflection
Had a delivery in prep for my new seats too.. Some new Frames. The ones i have at the moment look a bit tacky. These look far better!
Bonnet was re-done and is looking shiney shiney again..
Went to japfest with a few mates on the weekend. Got some new inspirations for the inside of the car aswell.. Just a shame i cant afford anything at the moment! FLAT broke
A few pics of the car at japfest taken from another Forum..
Modified Nationals, had a great weekend although i cant remember half of it!
If anyone got a few pictures of the polo then drop me a message
Few pics of the Polo at Mod Nats..
Brides arrived in the UK, �150 import tax! TWATS!
Also, picture of my car on the fastcar website from modified nationals! YEYE!
Before anyone asks, i have no idea what i am doing in this pic. I'm sure I'm tyre shining.. with my arse out and hat on..
DIGNIFIED.
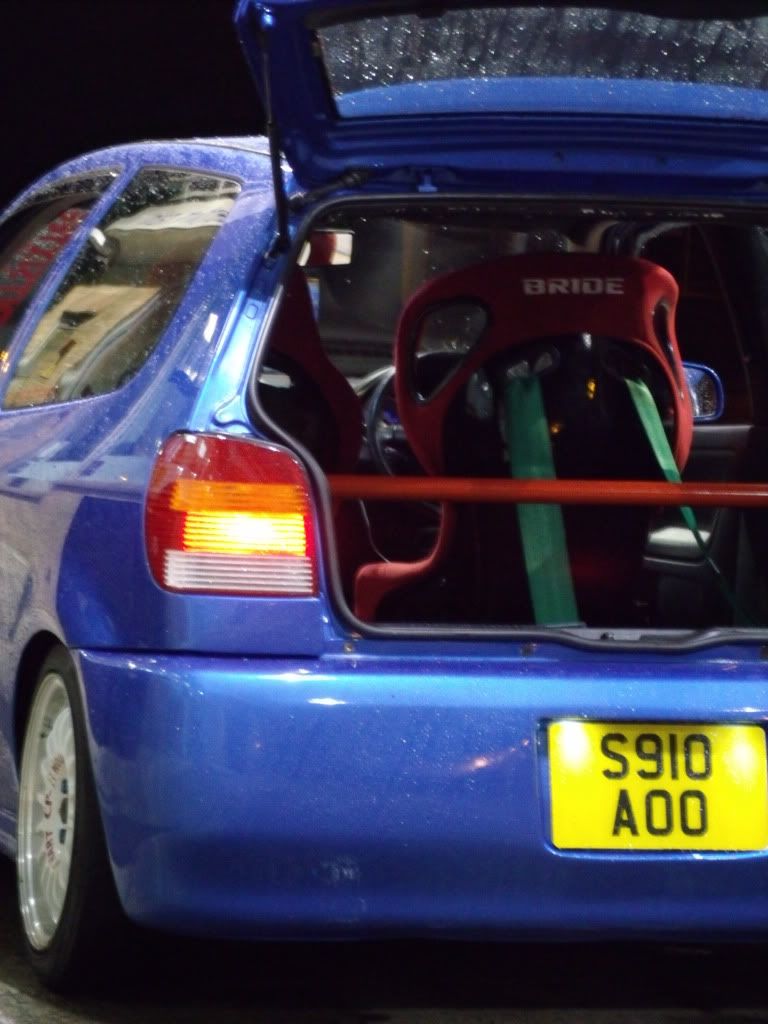
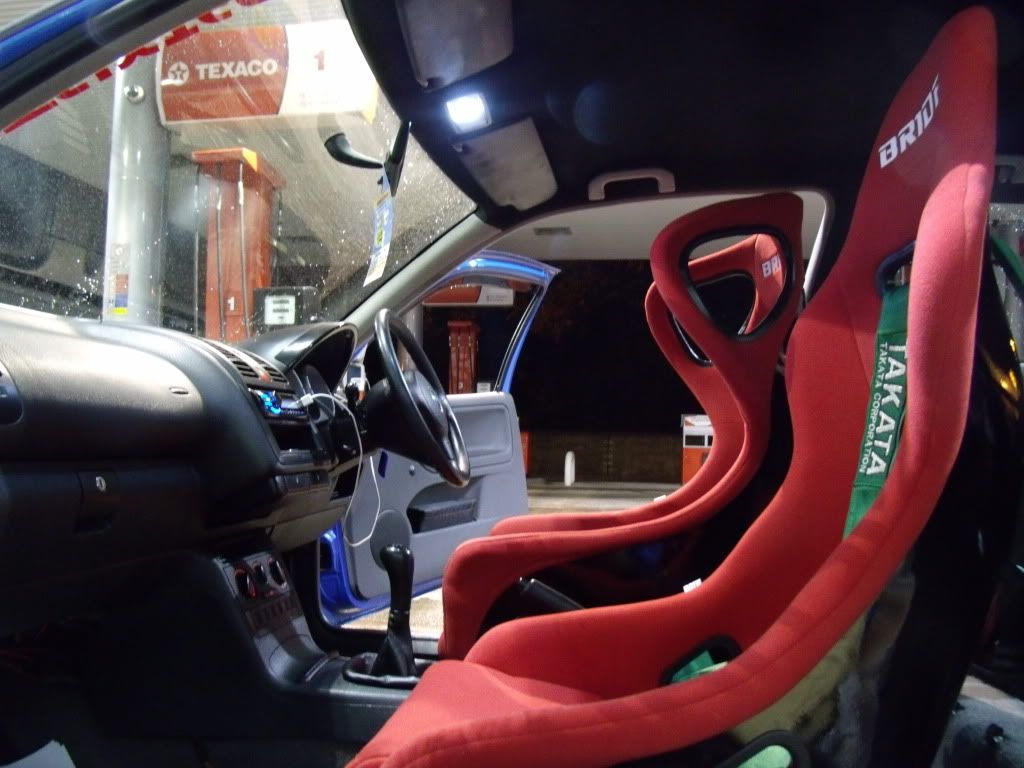
First seat arrived.. Bride Gardis for the driver seat.
Second seat, Bride Zeta arrived a day or so later..
Ordered Side mounts, well, one set of mounts to see whether they were compatible with the seats and frames ive got.
Had a deliiiverrrryyyyyyy!
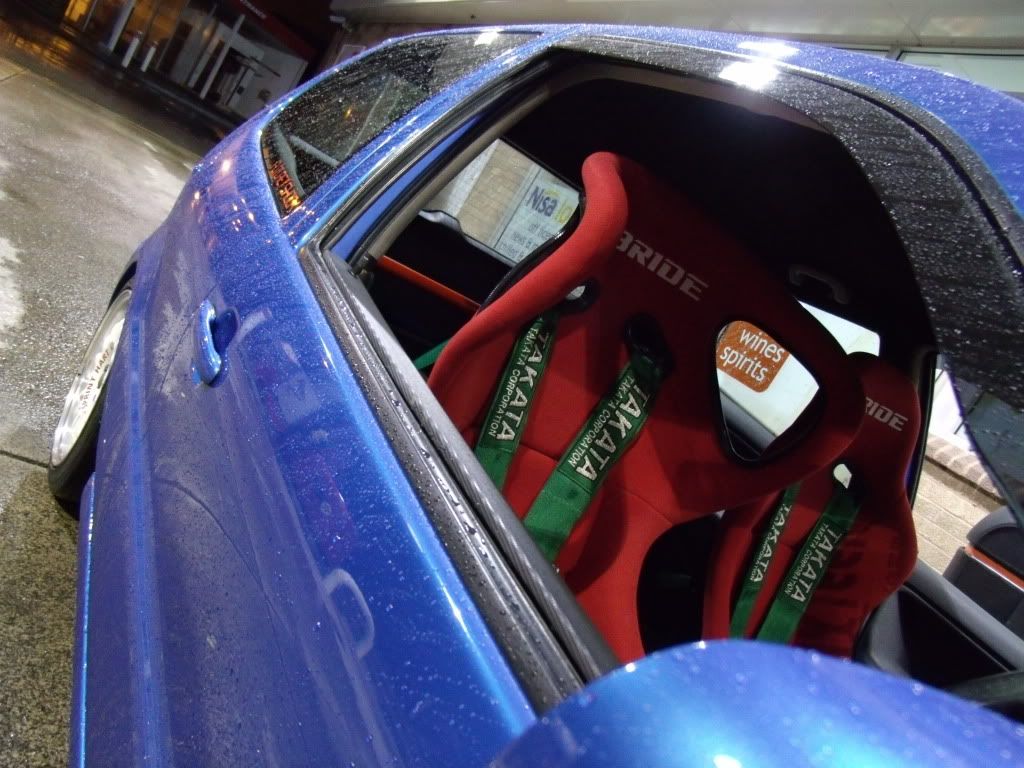
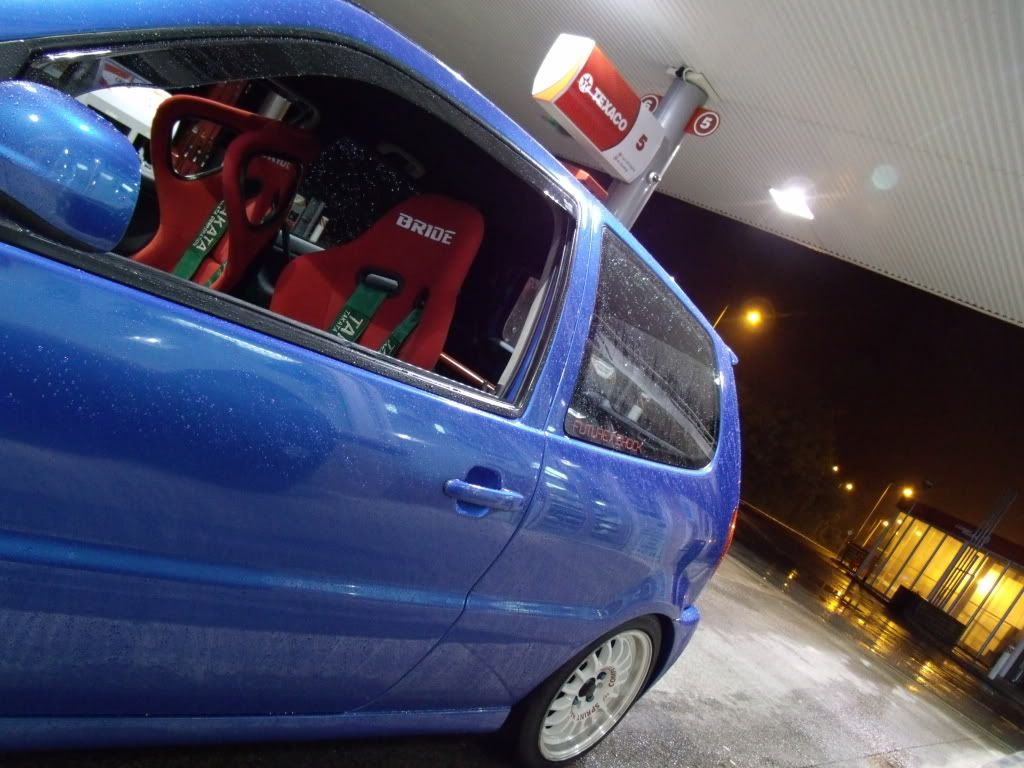
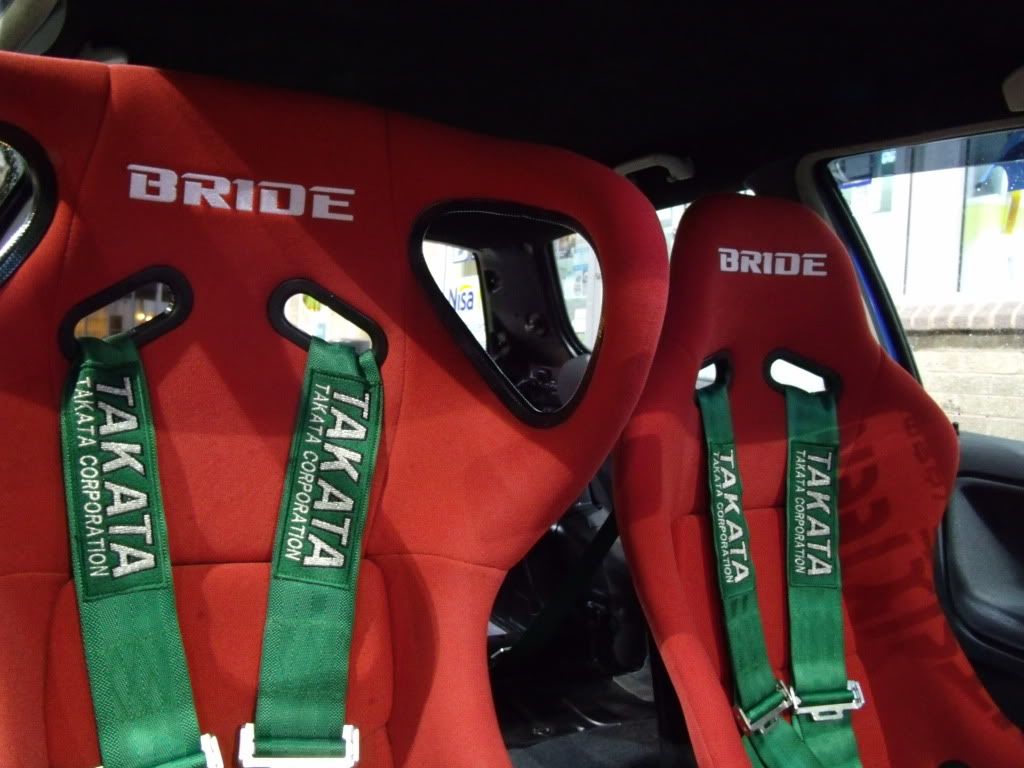
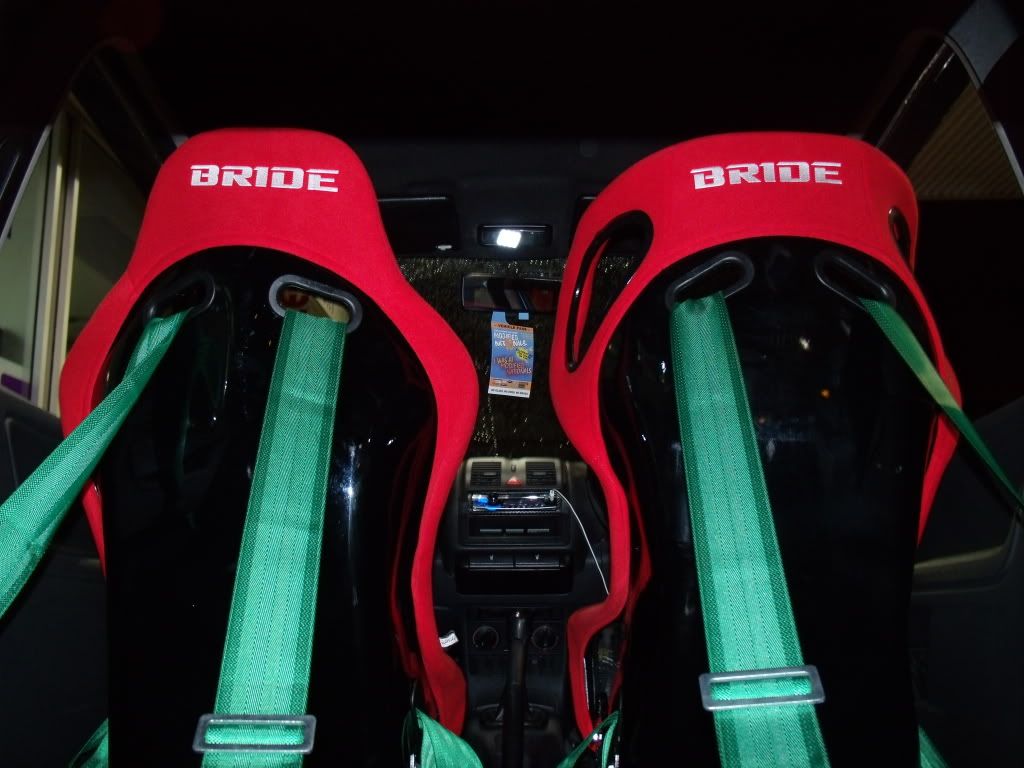
How they both look together.
Also had my side mounts through, glad to say they were compatible with both seats and the frames! So ordered a second set of mounts and in they went!
Soo..
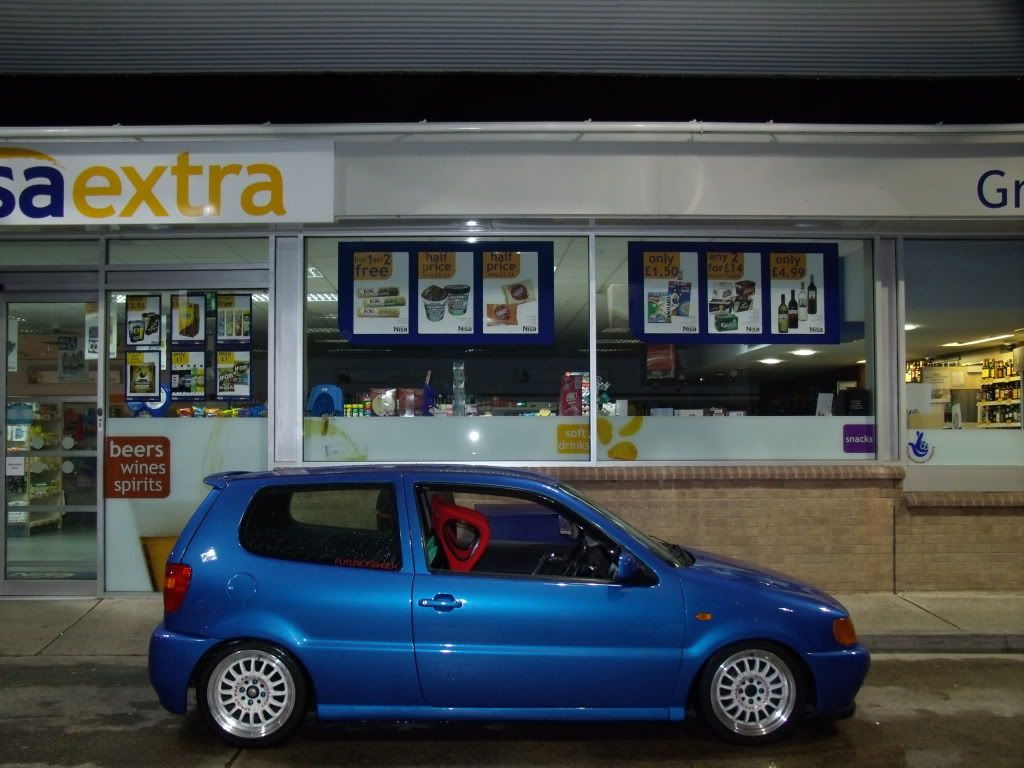
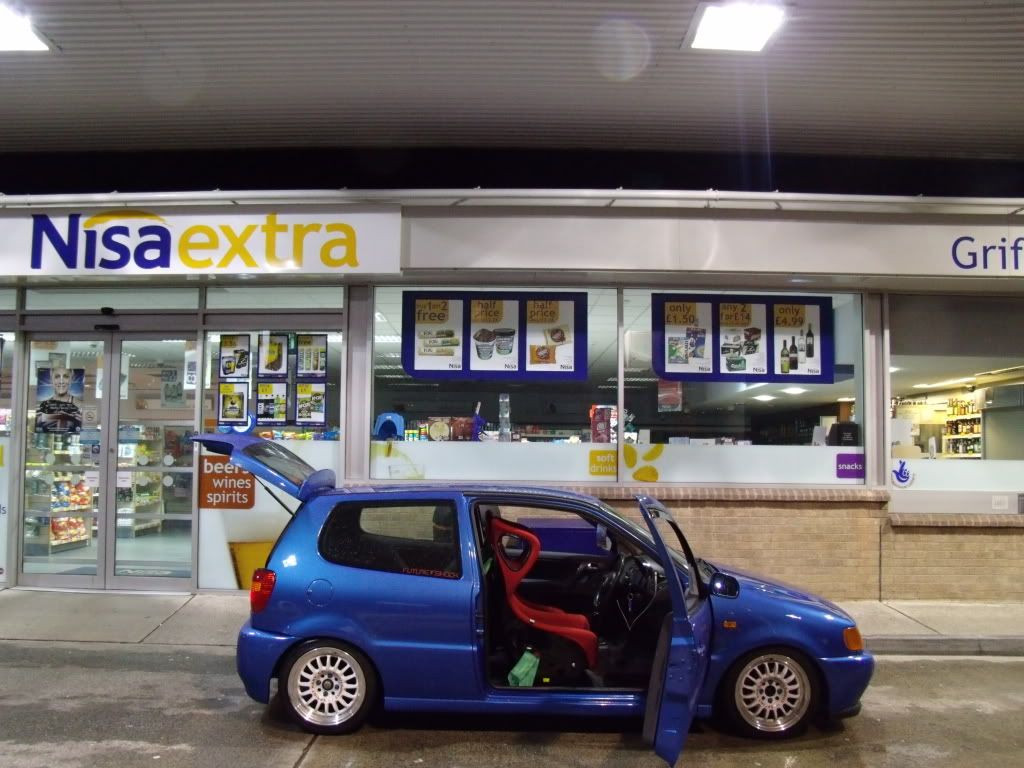
Decided to get a few up-to-date pictures of the car.. Locations shit but couldnt be arsed driving anywhere else haha
Things will be very slow now untill i find employment again. After buying and installingthe seats my funds have become nothing at all..
Hope everyone likes it so far.. apologies for all the pictures..
Updates when possible


 hahah
hahah 


Comment