-
truck was cool before but those spacers really set it off man! looks awesomeLeave a comment:
-
Appreciate it... I'm happy with how it turned out so far.
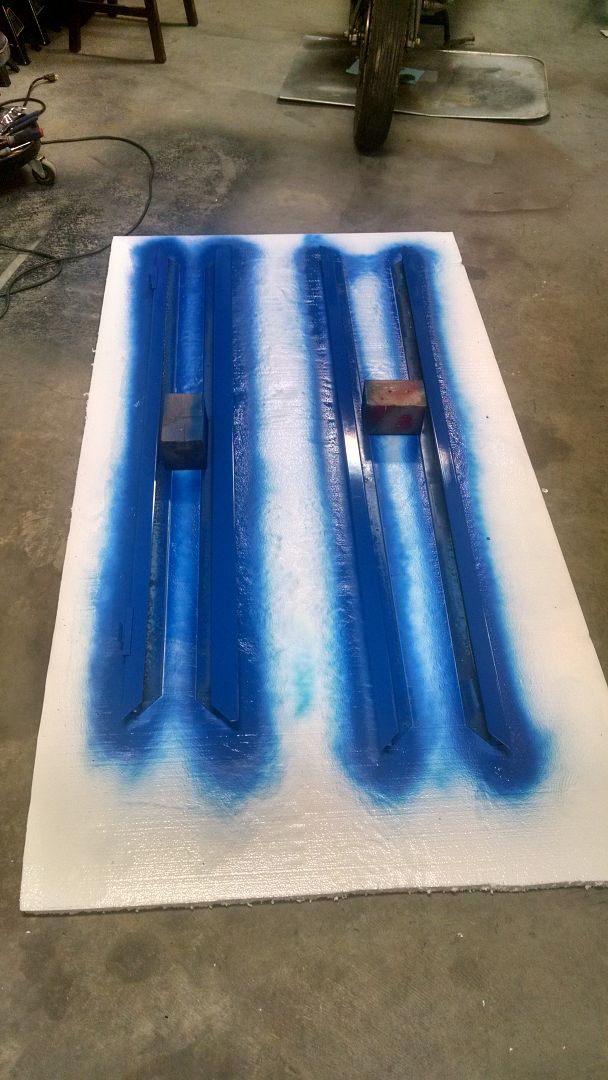
And a color splash photo since I was messing around with it.
Leave a comment:
-
I really haven't done much with the truck except fixing the things that are now going wrong. Only "modification" would be the tail pipe was altered again to give it the look I wanted, but that's about it.
Anyway, here are some photos I snapped today.


Leave a comment:
-
And exhaust work happened along with a couple other things.
Alright, so yesterday and today has been eventful...
Wrapped up the exhaust, or got it closer to being finalized.
Installed a new midpipe that is much straighter... Also included a Borla Pro XS muffler with the pipe running to the back of the truck. Also, 2.5" tubing was used. Didn't really see a need for 3" since it's a slow truck.


With the setup as it was, the drone in the cab at low RPMs was pretty loud.. I didn't like it. Loved the sound of the exhause outside the truck, just not sitting in it.
So I picked up a tip at Autozone... Figured I'd give it a shot. Still a little loud but I have a couple ideas to fix it. 1. pull the rear bumper back/closer to the truck. 2. come up with a sound shield that sits on top of the pipe/tip and extends to the back of the truck. 3. pick up an extension pipe to push it just a little further toward the back of the truck. :shrug:


and from about 2' away and 6" from the ground... hardly noticeable from a distance.

The drone was a little much for me...
So I picked up a 12" extension for the exhaust to push the tip outside the body lines.
Goal here is to remove the drone/echo that is present with the exhaust but leave the exhaust "tucked"
I have a few other tricks that a few have shared with me. I am going to pull those out of my sleeve until I am happy with everything.
Anyway, here are the current photos of what I did.


I kept trimming little by little, but it kept melting the plastic for obvious reasons. So, I came up with an idea for a heat shield.
First to make a little clearance and some mounting points...

Then, I had a little fun with facebook.

a little trimming on the cover and it fits like awesome.Originally posted by Boyd on BookFace


Drew my lines and began to cut.

and the final result


I also swapped out the transmission pan and changed the oil.

Next up, changing the rear brakes... Not really looking forward to that. I also have an electric tailgate lock to install and a Belltech front sway bar that is on it's way.

Leave a comment:
-
Well that's quite a compliment about the feature... Doubt that would happen though. There are cars on here that are far more qualified for that position.Leave a comment:
-
Just re-read the whole thread. I'm not really a truck guy, but everything about this truck is awesome. It's got a beautiful interior, good wheel fitment, lots of hand made quality parts, wheels that compliment the exterior, and a color that suites it perfectly.
This thing needs a feature.Leave a comment:
-
Appreciate the compliment.
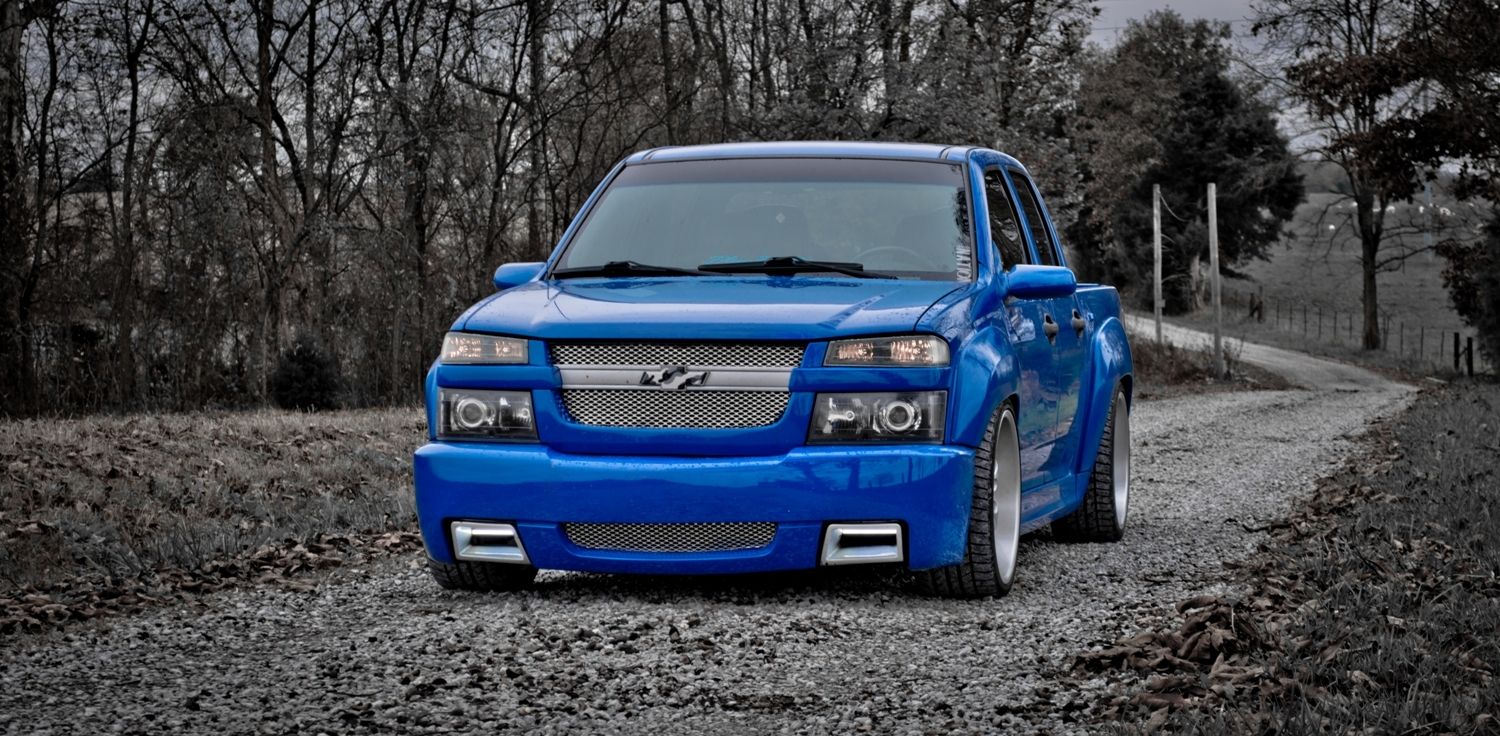
And I was finally able to get the wheels set up the way I wanted last night.
Picked up some 1" spacers after measuring about 30 or 40 times at all four corners. Figured it would be close, but thought I would have enough room.
Rear end going on


And then the fronts.

So... it was a little tighter than I thought it would be. Couldn't turn without hitting the flare. So... more work was involved.

and the clearance that I gained, which surprisingly, was enough to drive normally without rubbing.

As the suspension settles, I am sure I am going to have to do more shaping and trimming. However, I am happy right now.


Leave a comment:
-
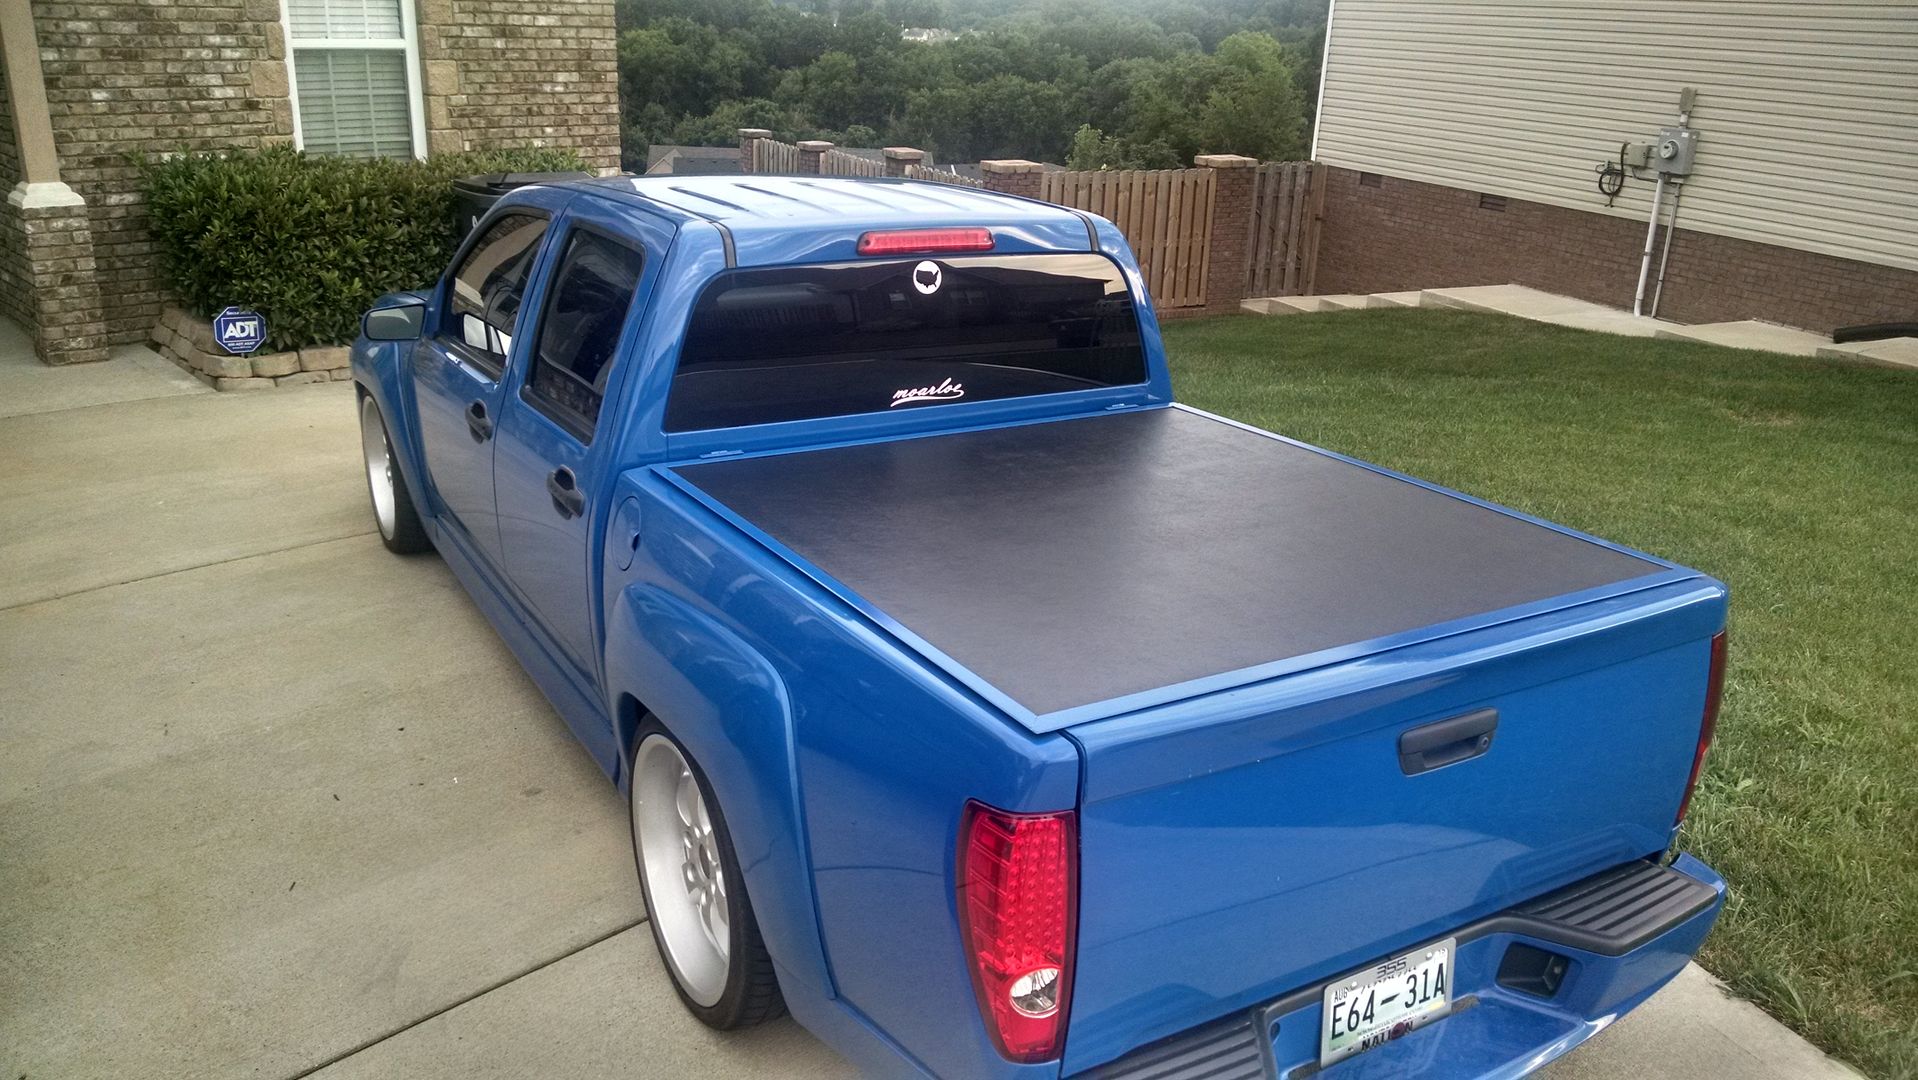
That tonneau cover came out really nice.
This truck is amazing, I want one every time I come into this thread.
Keep up the good work!Leave a comment:
-
Right... so update time...
The wheel emblem is off. Ended up modifying it too much and screwed it up so back to the drawing board with that.
I picked up a tonneau cover for the truck a bit ago. It's a Checker Pro Tonneau cover that retailed for about $700 ish. This one was "local" for $150 because it was "replaced because it was too heavy."
Right, this thing is heavy... Well, it was. Thing weighed in at about 150-200 lbs from my lifting guestimate.
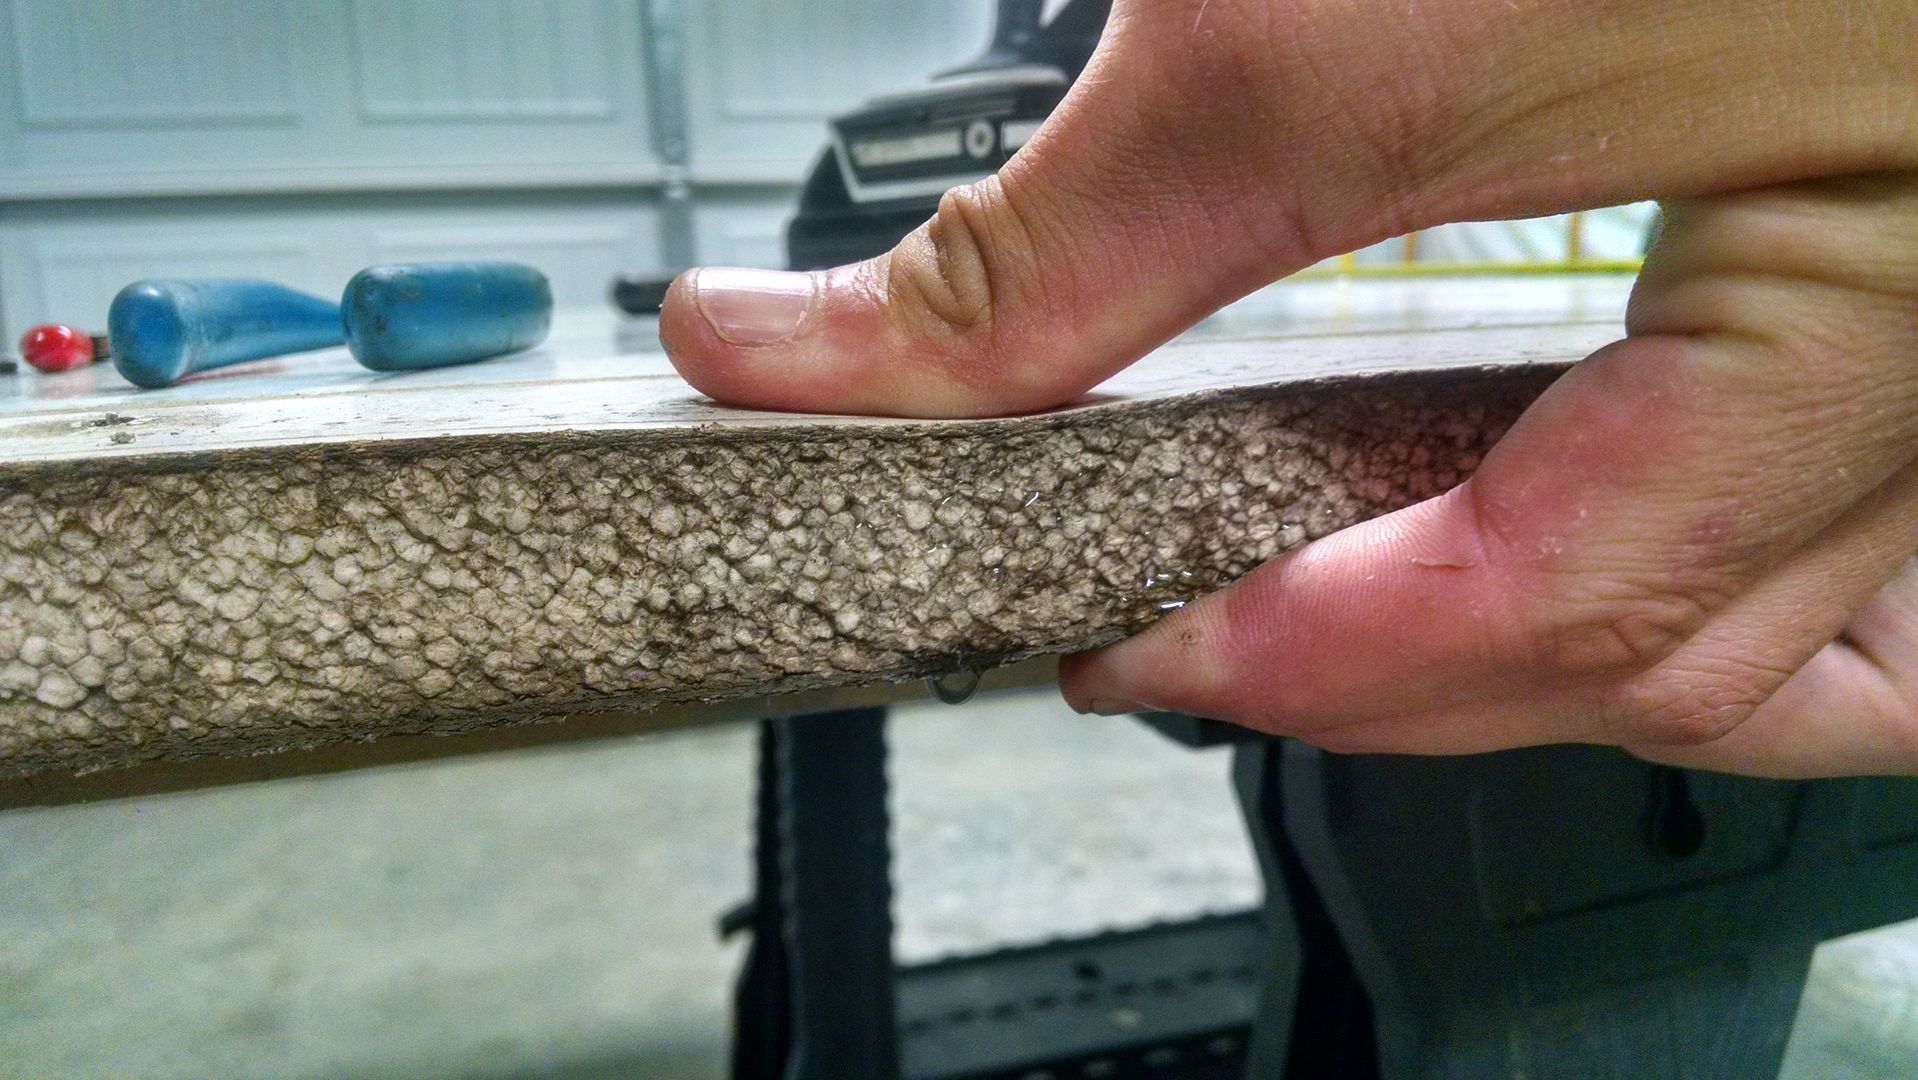
The Checker tonneaus are made from a layer of fiberglass on the top, some thick packed styrofoam just under that top layer and then a plastic/rubber like layer at the bottom. This is held together by 4 outer metal bracket pieces that from the lip of the tonneau.
So, over the years of not being painted, this thing took on water... which never evaporated.
I pulled tonneau off and set it on my make-shift work table in the garage. Pulled the 4 side pieces off. Then, I slowly peeled the plastic/rubber layer off the bottom of the thing.
Pulled the rails off the tonneau and squeezed it... water came out of the styrofoam...
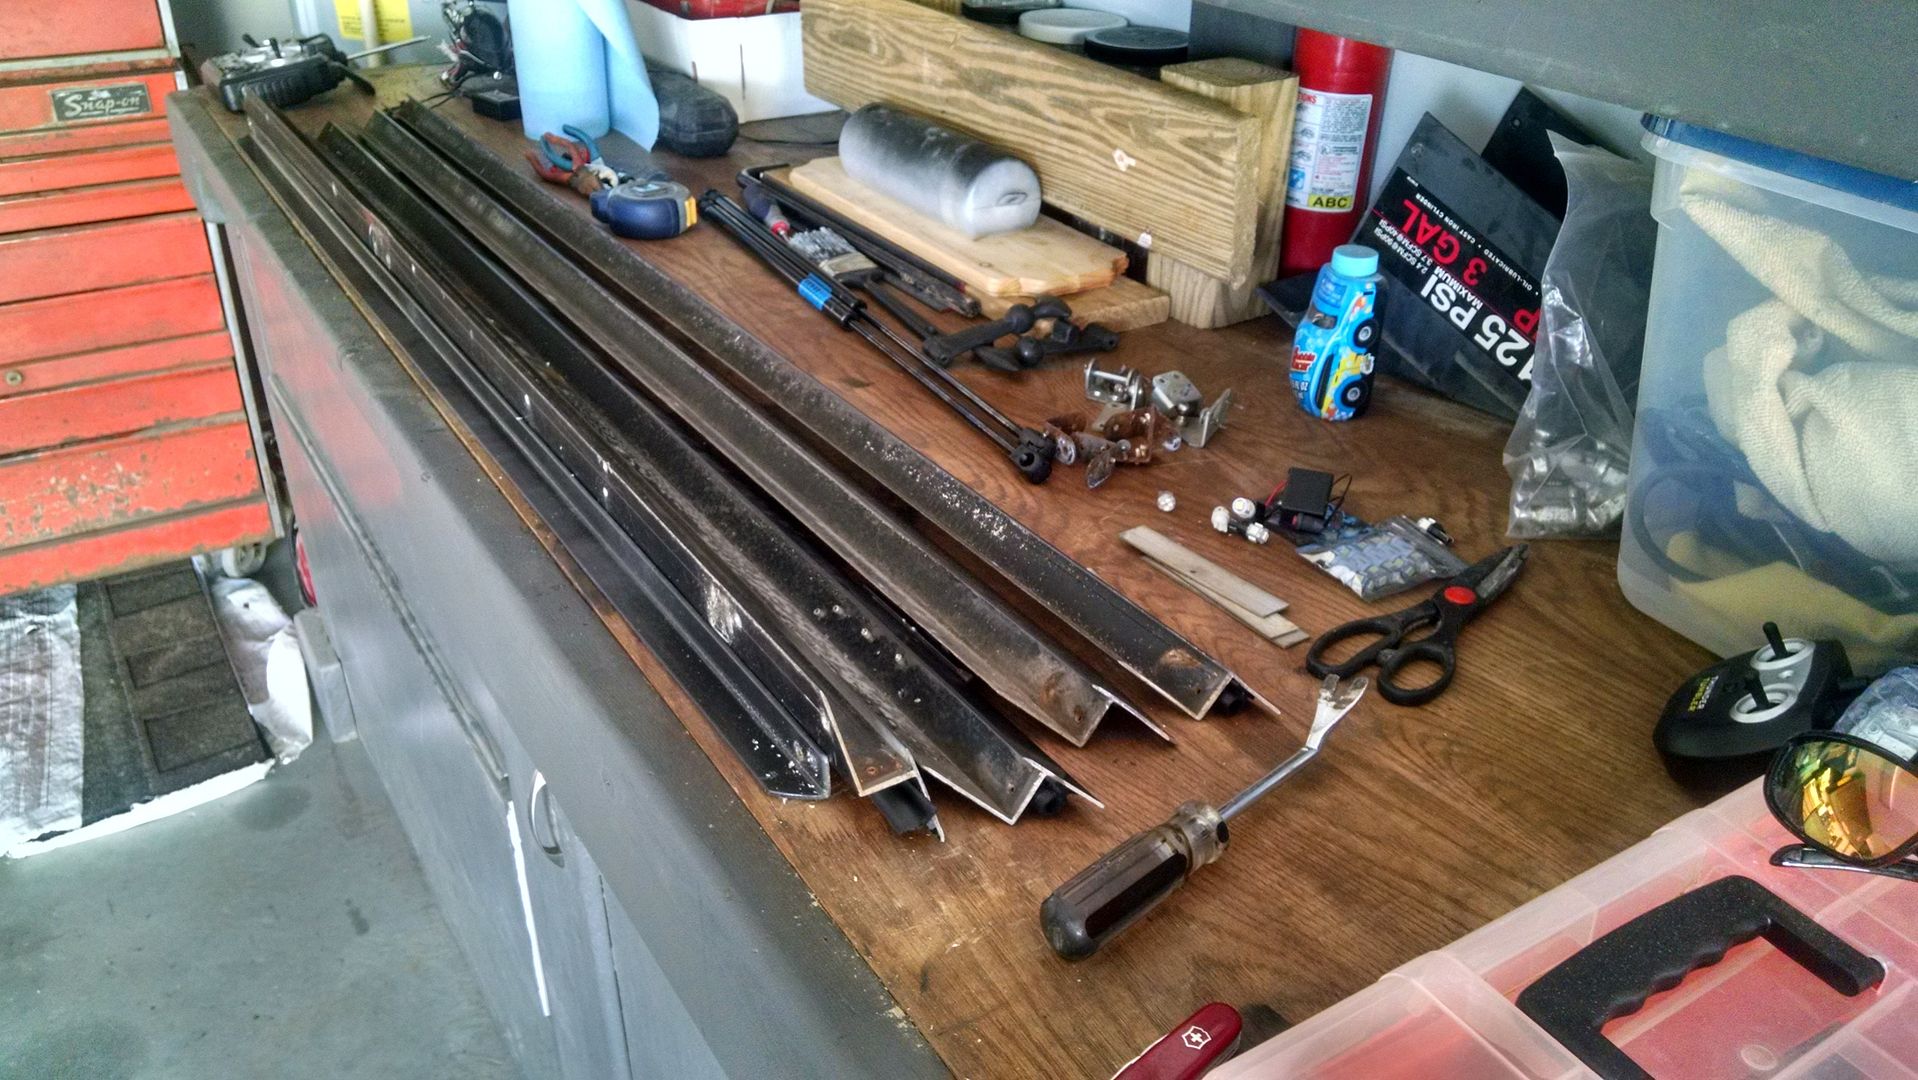
So I pulled all the rails and hardware off
Then I pulled the bottom off and set it off to the side:

And then set the exposed foam outside in the sun to dry up.
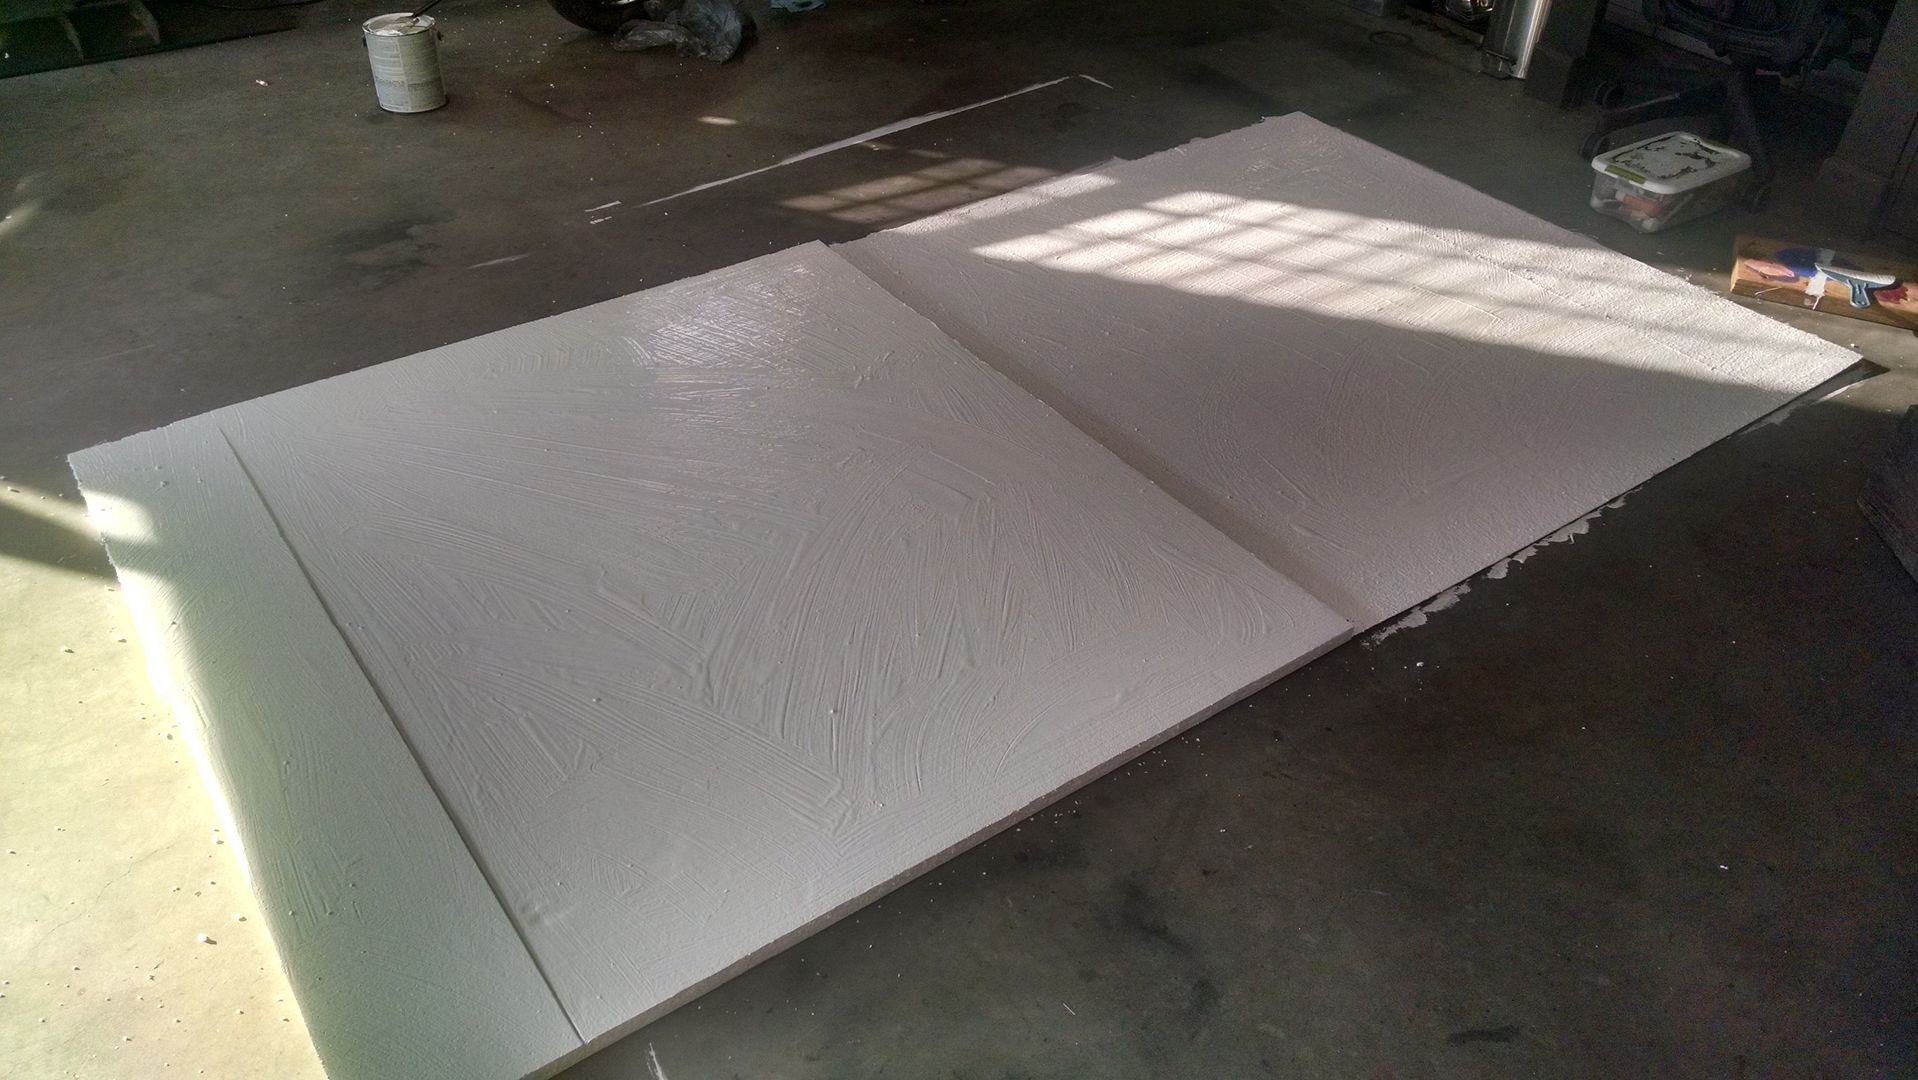
That didn't work. The water wouldn't evaporate, so I picked up some of this: Shop Expanded Polystyrene Foam Board Insulation (Common: 1-in x 4-ft x 8-ft; Actual: 0.937-in x 3.875-ft x 7.875-ft) at Lowes.com
So, I pulled the foam off...


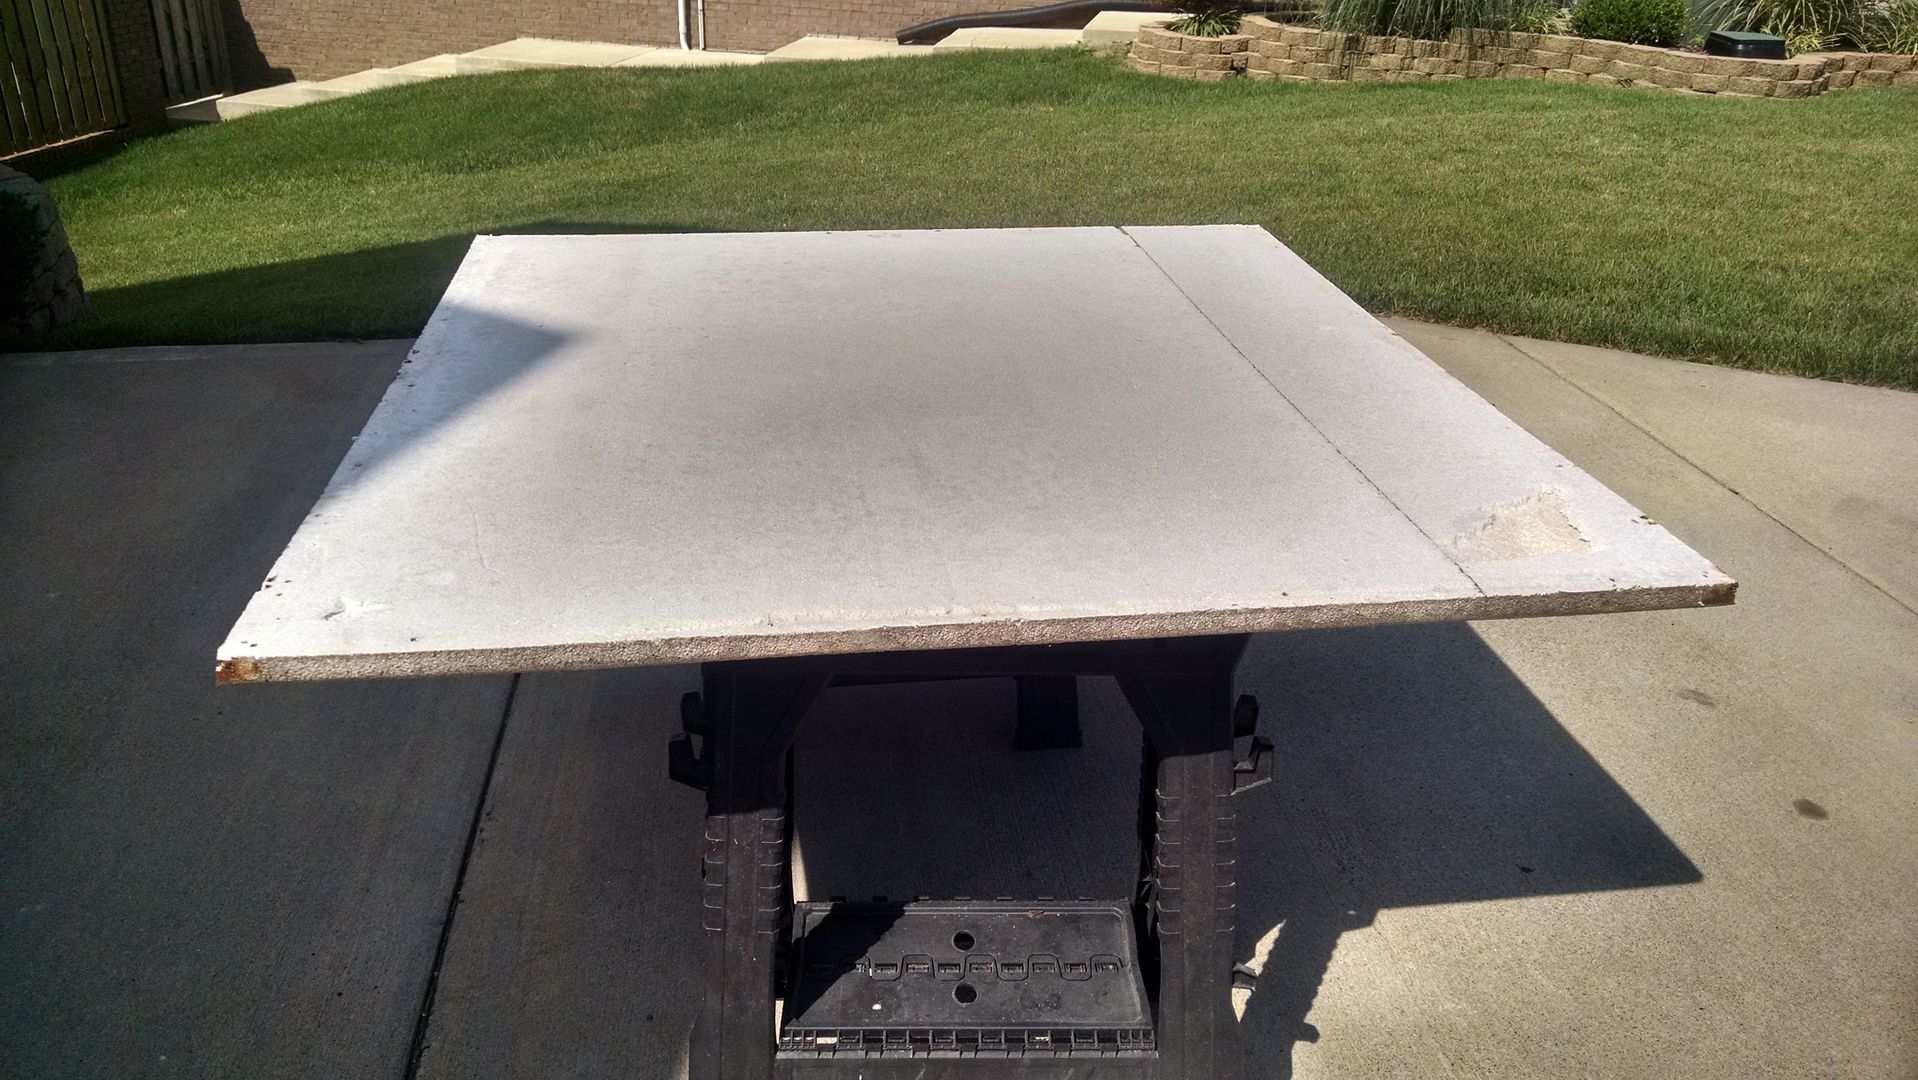
The photo of the sole piece below... The piece weighs double what two full 4'x8' sheets weigh...

After I removed the wet styrofoam, I laid everything out and started spraying the glue on the foam...
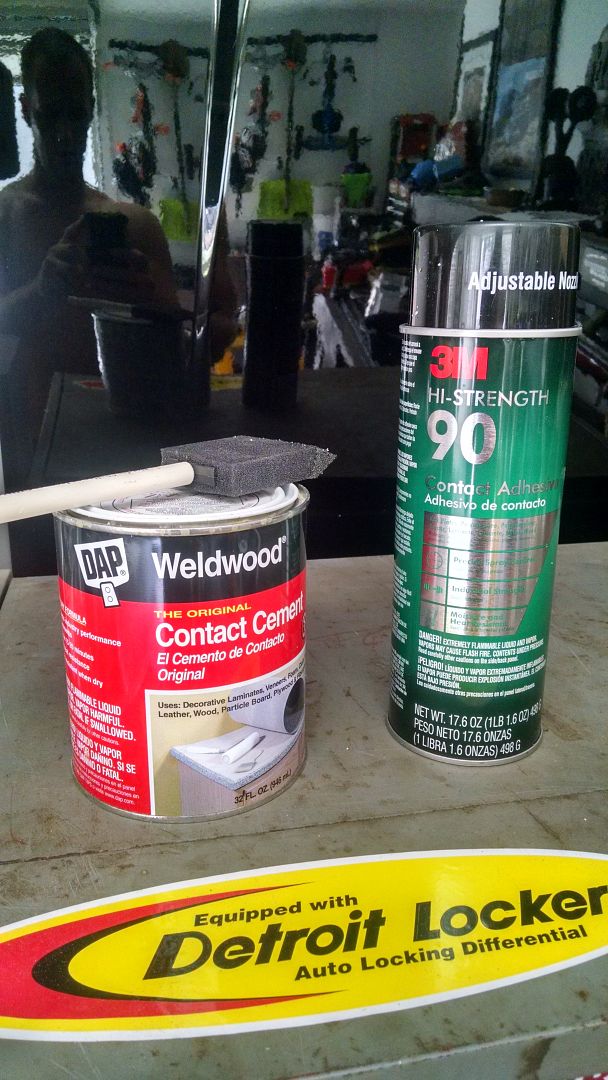
It didn't work. So as a secondary test, I used some contact cement. That didn't work either.
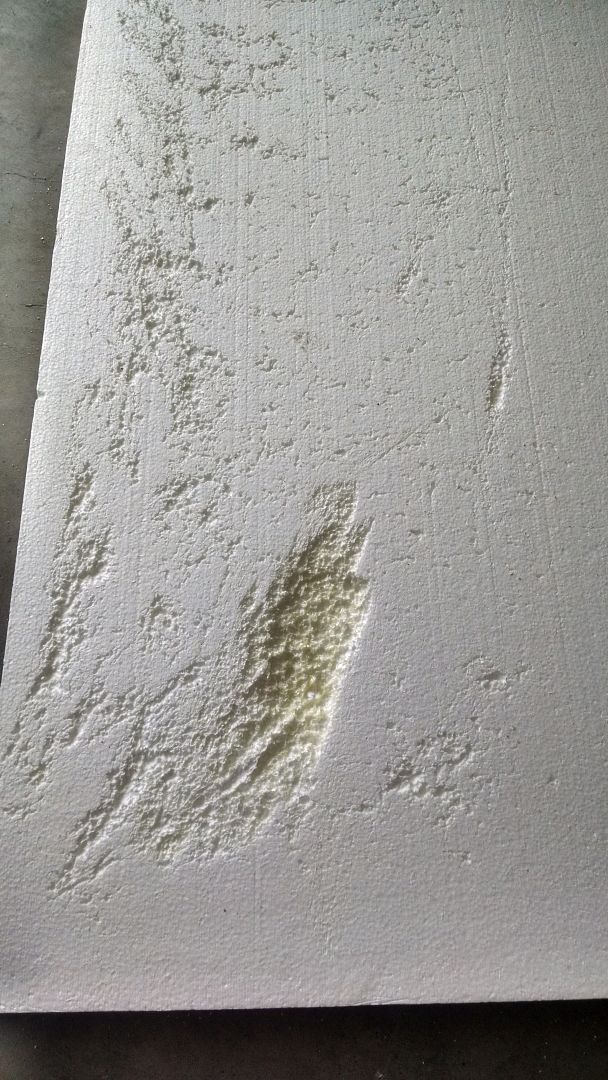
So then a friend suggested this Gripper stuff. So I gave it a shot. Didn't work out very well with the rains we got. Washed a lot of the stuff out so going to have to redo that portion.
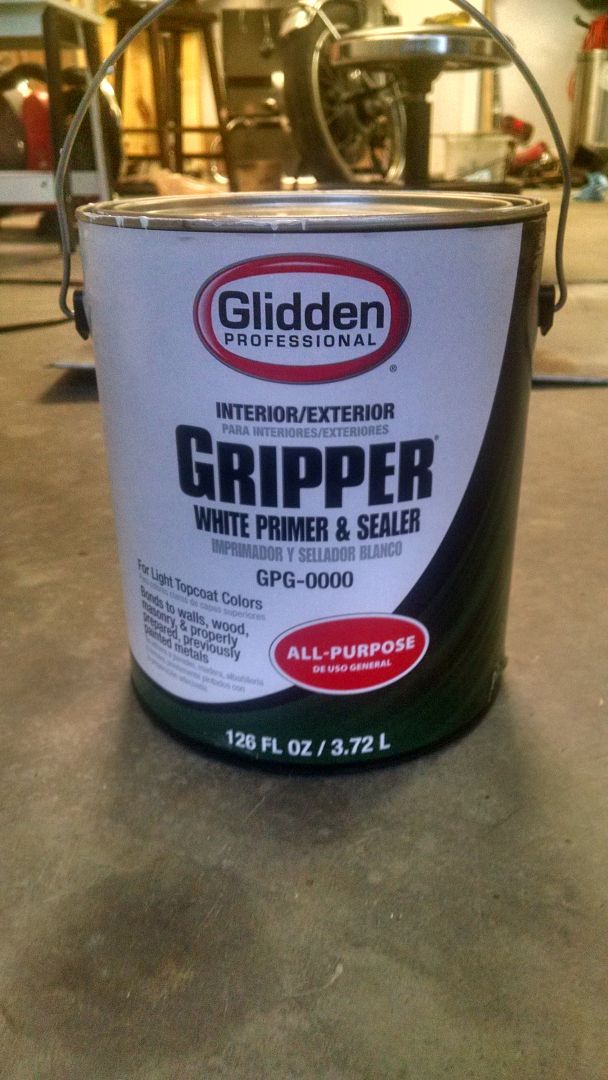
Had all the blocks sitting there for weight.

That set really well. So tonight, I cut the foam down and flipped it over. Then did more painting and weighting... This is both sides coated with the stuff. Once that was done, I flipped the top over and placed it on the foam and laid all the boards back on it.
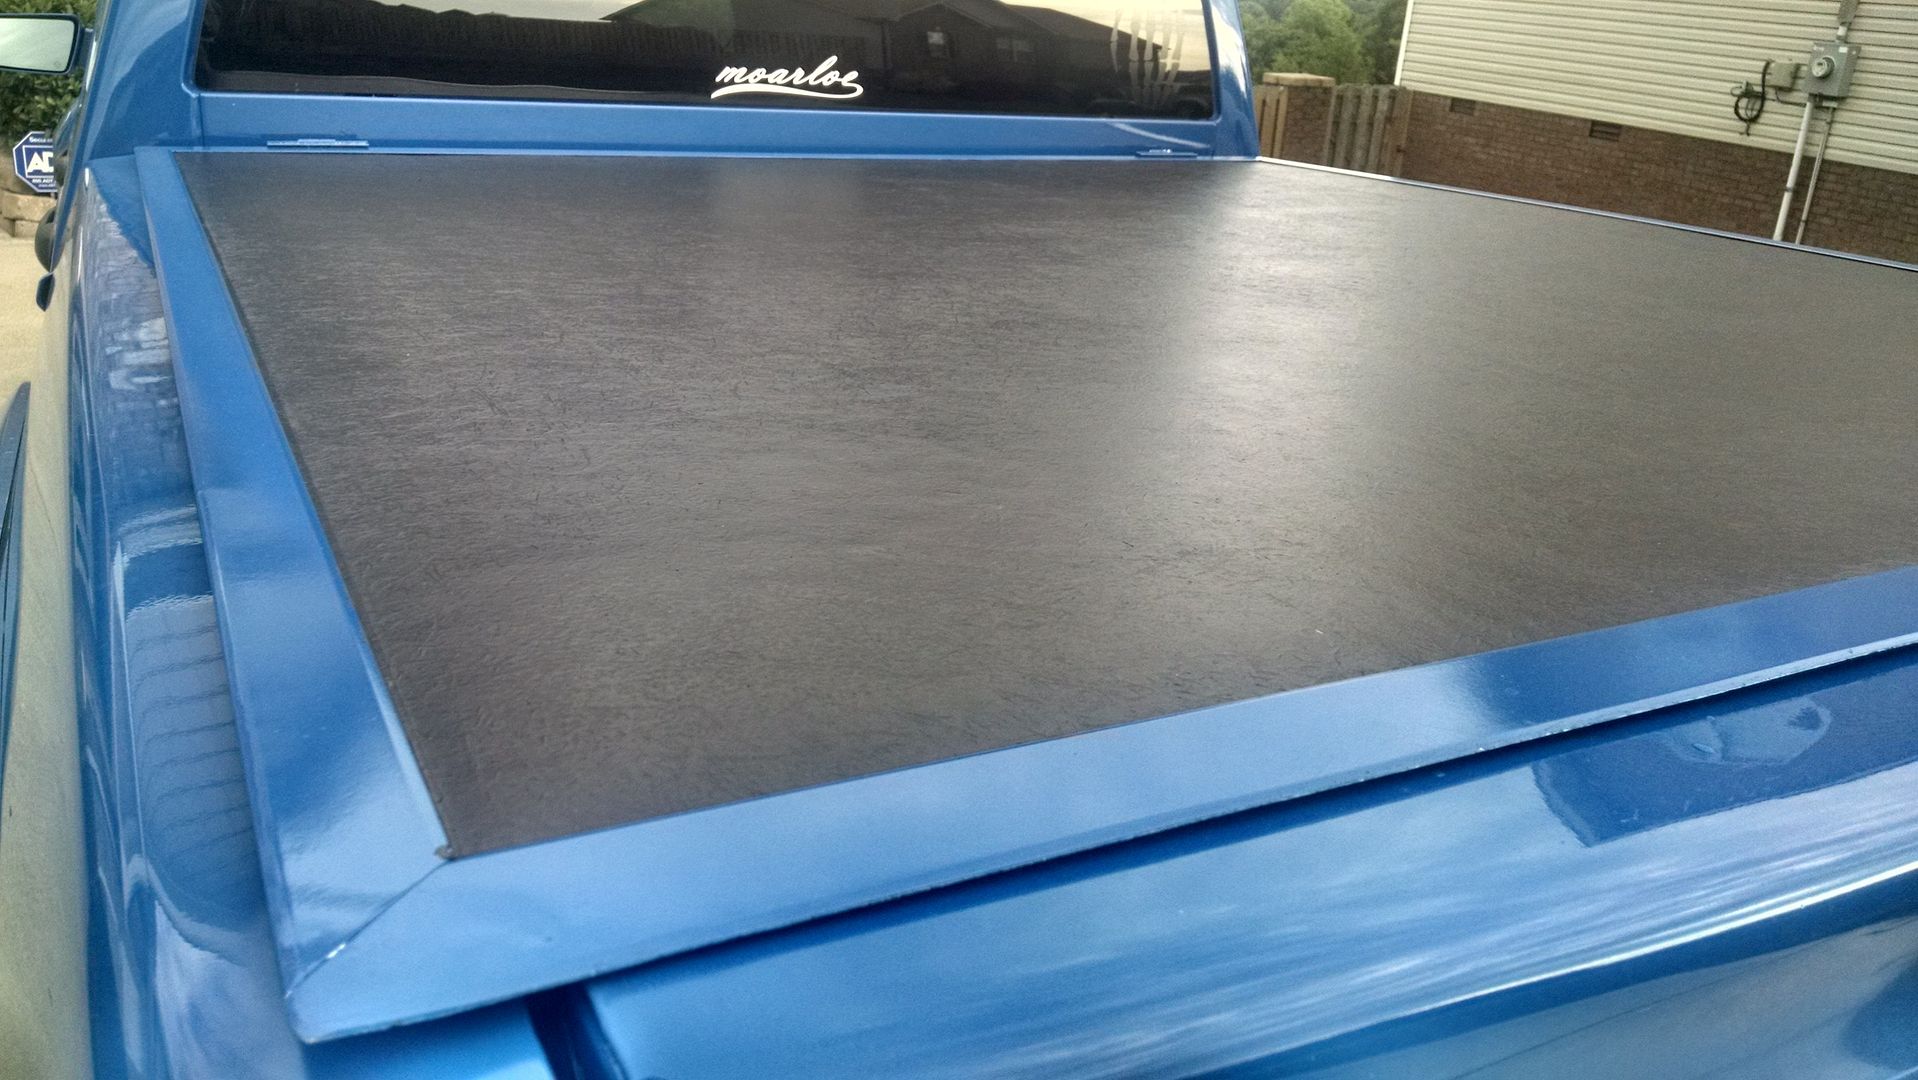
I also fixed the surrounds, hitting them with hammers and sandpaper... then sprayed it down with some blue paint I had sitting around. Still haven't done the handles.
And the final product:
Oh, I also fixed the door. Finally. Or had the door fixed. In the process, learned about dent pulling...
before:


during:

After:


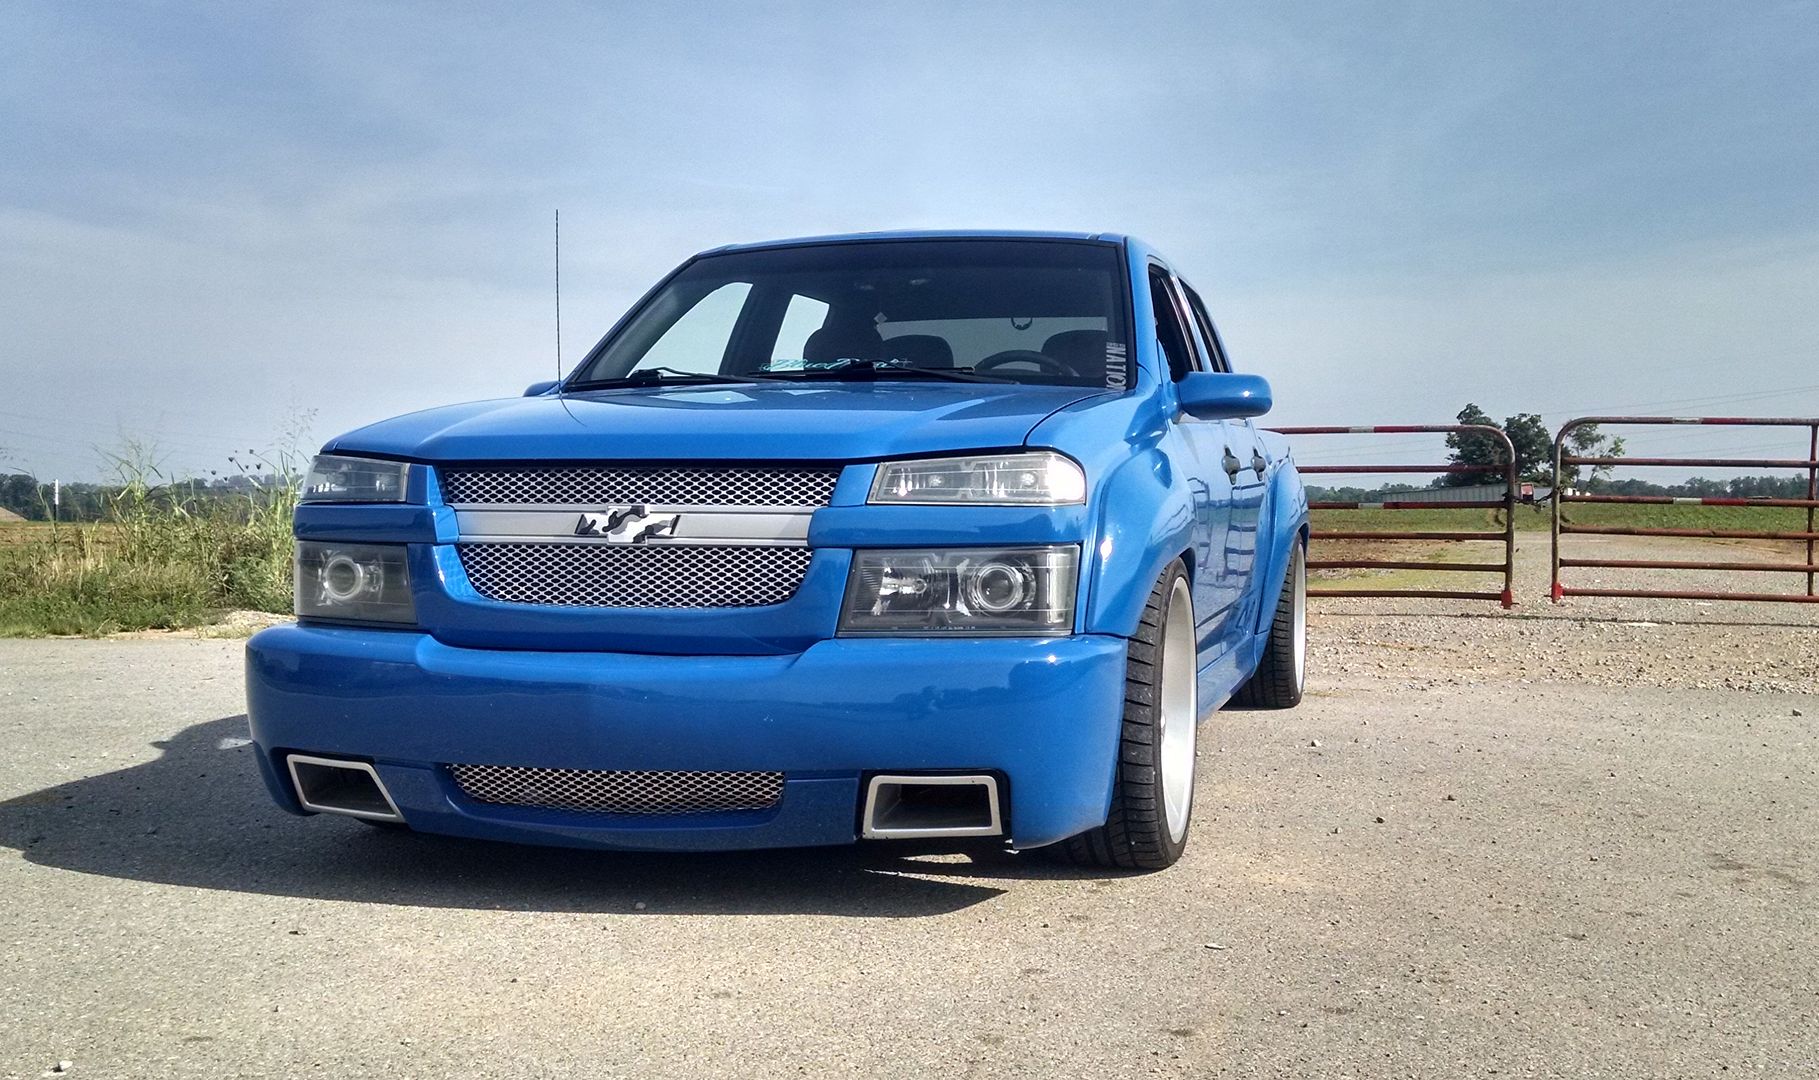
and to finish off this long ass post, a few rollers of the truck


 Last edited by blurred; 08-04-2015, 12:15 PM.
Leave a comment:
-
Finally found the emblem to run on the wheel... Pretty pleased with the turnout, let's just see if it holds up.


These photos make it look crooked... I'm going to have to look at that tomorrow.
Damnit.Leave a comment:
-
Nothing new other than making the odometer reading get bigger. But, I took a picture. So I thought I would share.

Leave a comment:
-
Not quite as dramatic as I thought it might be, but it might be better in person. ~shrug

Leave a comment:


Leave a comment: