-
Sub'd.
This is a super clean truck, man. Really diggin it! Keep up the awesome work!Leave a comment:
-
I have a couple videos of me plastic welding on this thing that I will put together and add to this thread for anyone interested...
More updates...
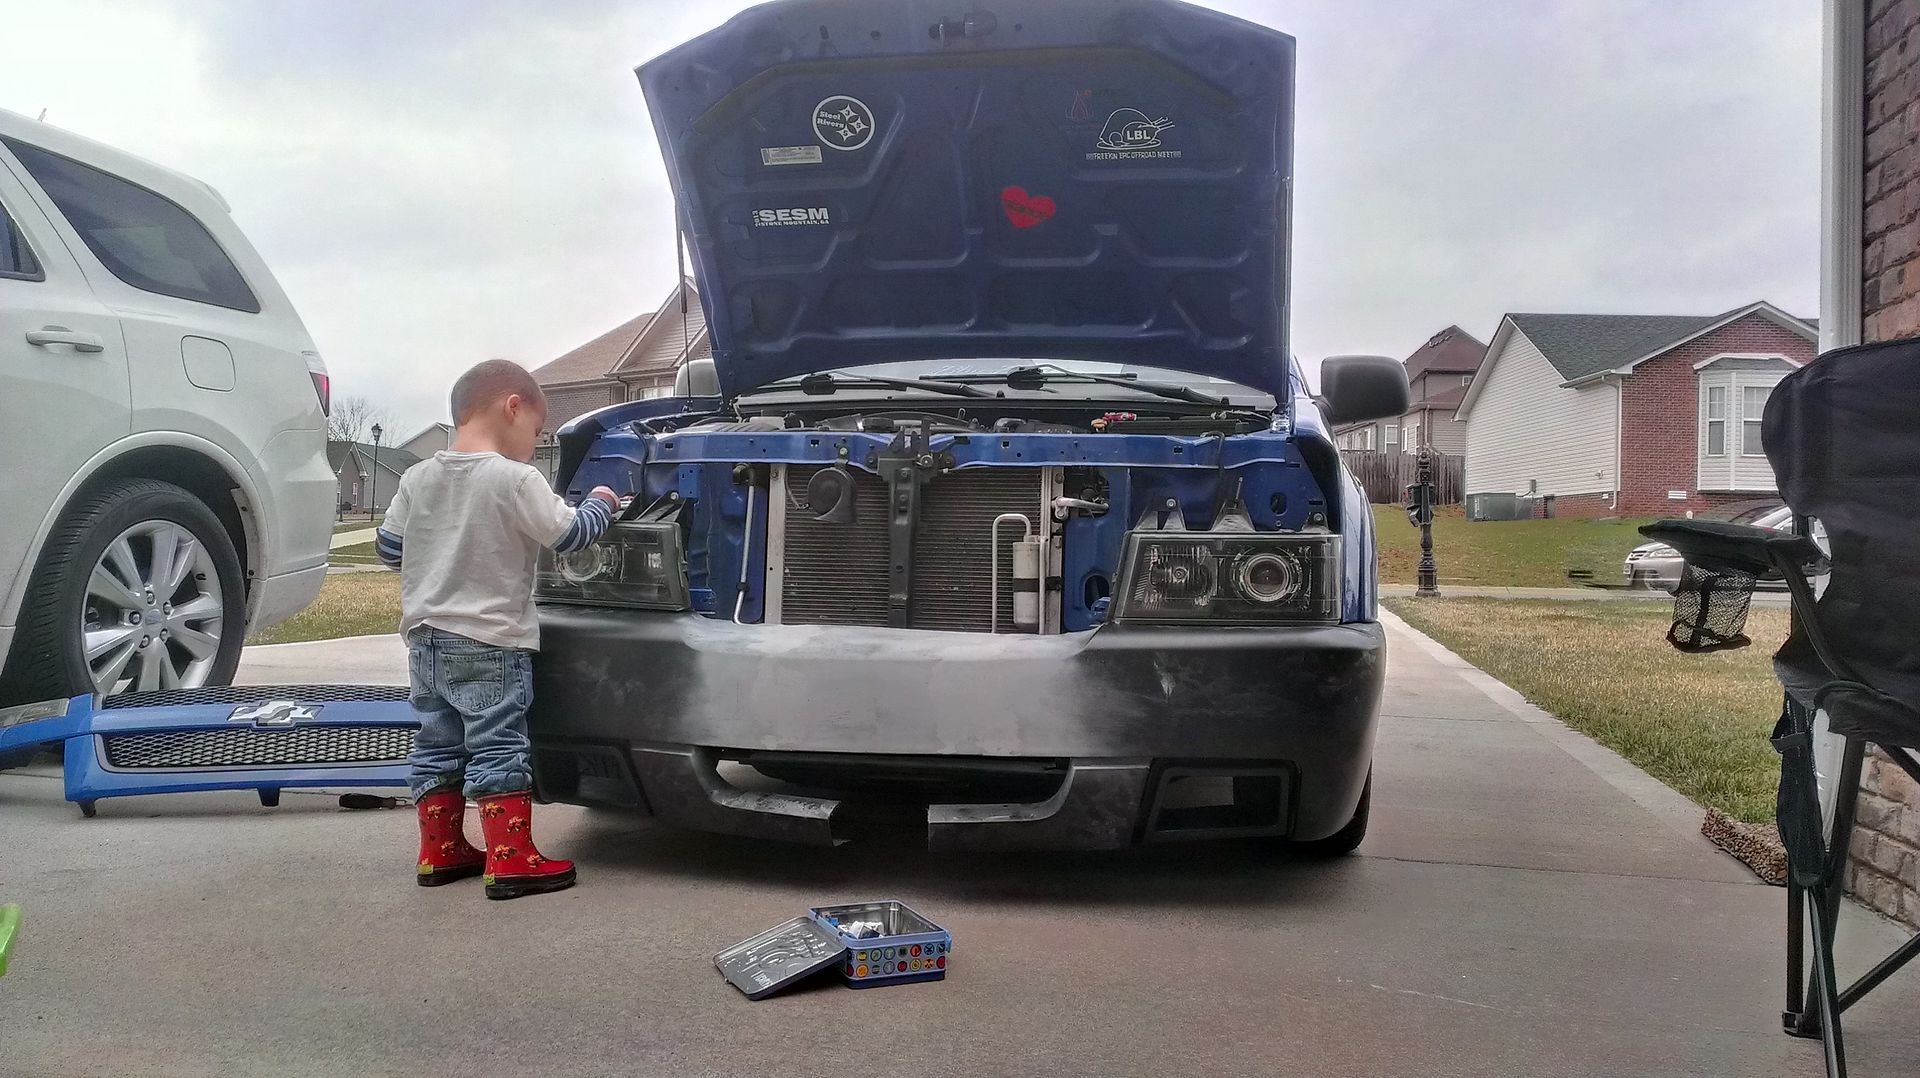
Had a little time this afternoon and the weather was nice so I started working.
Lined everything up on the truck so that I could weld in the notches I made on the corners of the bumpers. Also marked what I needed to cut off to weld in the center lower bar. Logan wanted to come out and help...
Everything back off the truck and tacked up together...
On the truck to test fit

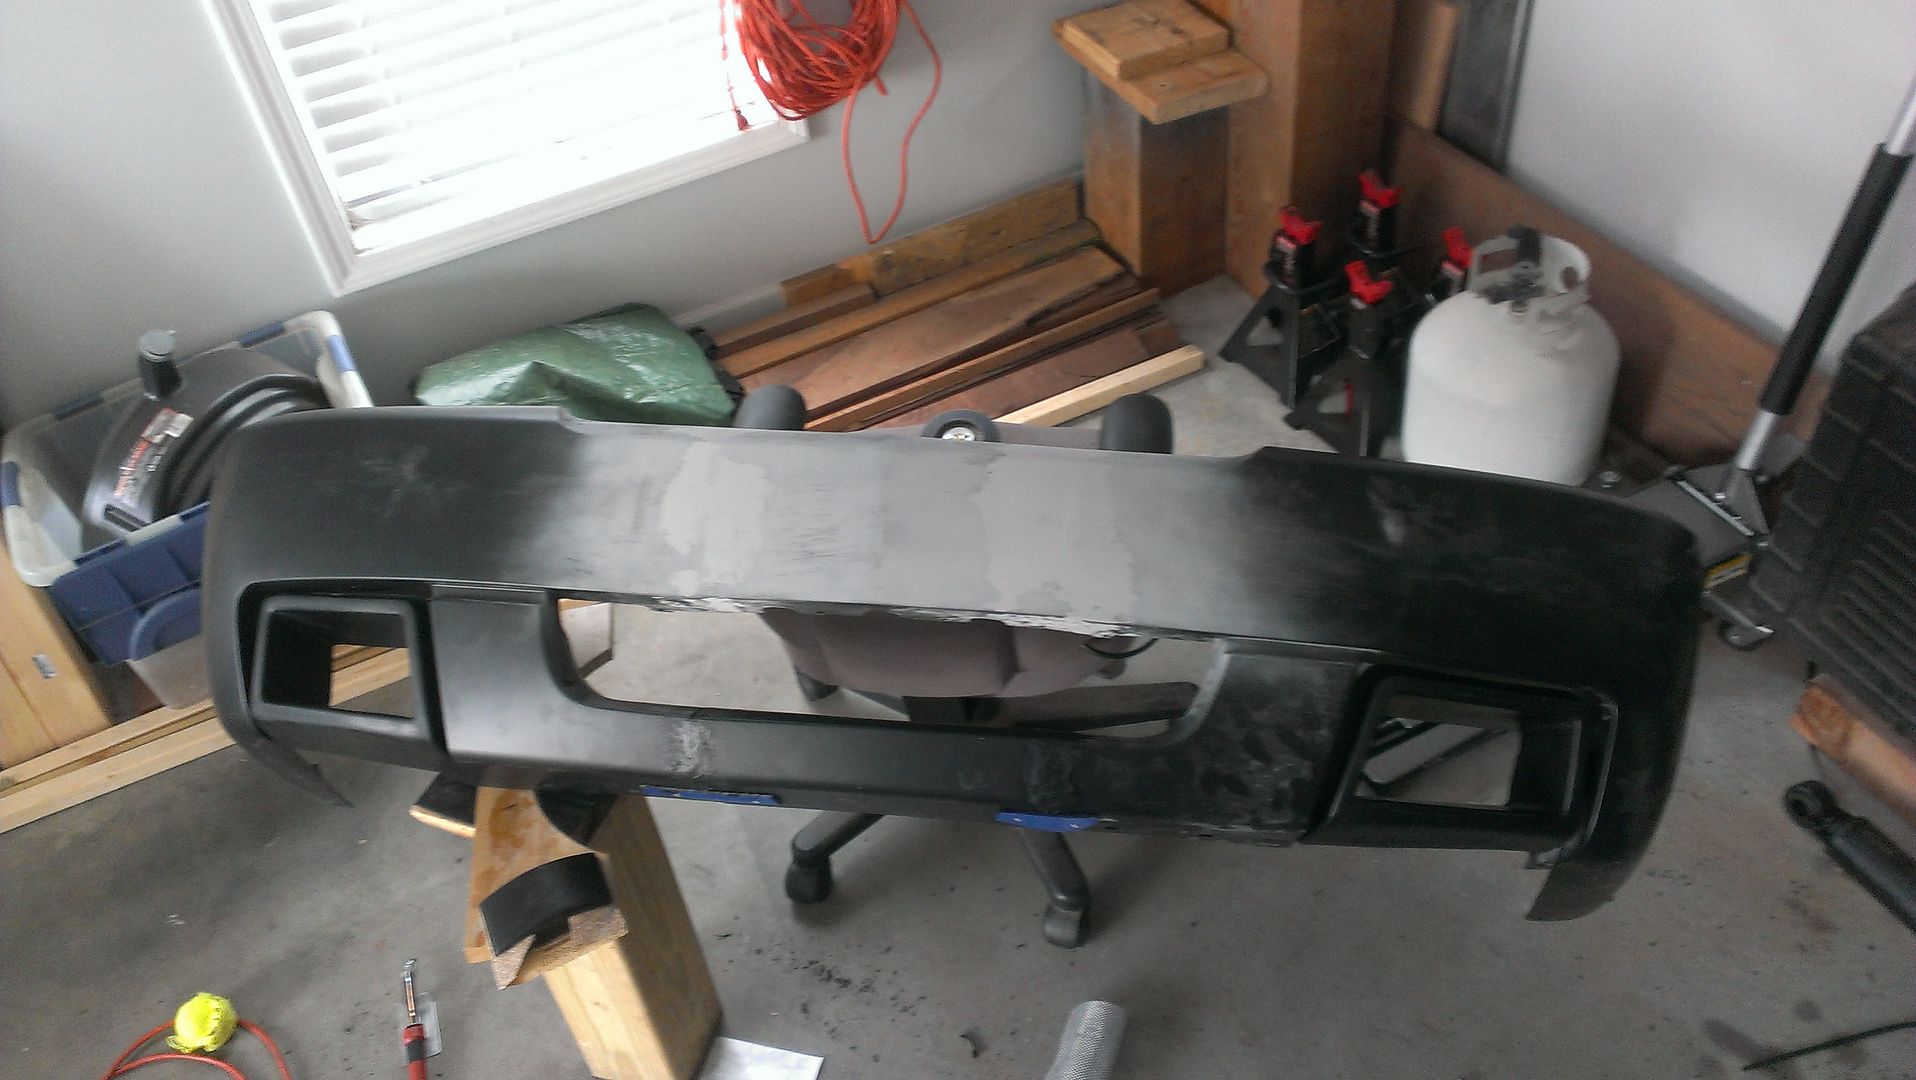
And lastly, back off and in the garage so that I can pull the cover and finish up the welds from the inside to strengthen everything.
Also need to modify the sides one day with the cover on the truck. Need to make sure they line up well with the side skirts.Leave a comment:
-
Shit, I just realized you were the guy with the Kia Forte... was watching your build on StanceNation and got a bunch of laughs from how you post in it. Then, I just noticed that you had one here too.
Anyway.... back to the question at hand..
It's actually very similar to soldering, except everything is slower and more messy.
The "rods" vary. The cheap kit that I have has some wide, flat plastic strips that I am still unsure the type of plastic they are. You can also pick up little round sticks that come in ABS, polyurethane, etc.
Then, you scuff the shit out of the plastics you are welding to and commence to melt the plastic together, adding some here and there. I should probably take a quick video of how I have been doing it.
I sometimes melt into the two pieces I am joining and pull the plastic from one into the other and vise versa, pushing it around until I get the look I need. If I have to build the area up, like a rounded edge, I'll melt the strips I have that correspond to the plastic I am welding on, and just mix them together while the plastic is still melted. Then just sand it down to create a smooth surface/corner.
Kind of hard to describe it in words, video would be much easier to understand and I will work on that tonight potentially since I picked up the bumper vents this morning and should have the last bracket I need being delivered today.Last edited by blurred; 03-27-2014, 12:31 PM.Leave a comment:
-
That's awesome! Because i wanted to extend my rear bumper, but weld the plastic instead of glass. Is there some kind of plastic rod you melt like soldering?Leave a comment:
-
Honestly, it's a lot easier than I thought it would be. Probably a lot like real welding, but I haven't tried that.
The welder I picked up was a cheap one from Harbor Freight. Only issue so far with it is that the thing heat up enough to start melting some of the plastic, allowing the tip to start to move around. Nothing that has kept me from using it, just annoying and it will be going back.
With how easy this is and how endless the possibilities are, I am probably going to purchase one that is better quality. I know that I could help out a lot of people being able to do stuff like this as it's pretty practical when applied to the auto industry. Why replace when you can fix for a fraction of the cost.Leave a comment:
-
And moving on to more stuff..
Tonight I decided to move forward with a plan that I have had for the last couple years, just never actually pulled the trigger.
A friend of mine from our truck site passed away a few years ago. Myself and two other friends that frequent the site were requested by his parents to come out and help rebuild and finalize the projects he had been doing on his truck. Afterwords, we were left with a few extra parts and I picked up the grille off his truck in order to clean it up and run it on my truck. This was a couple years ago, I think...
I always loved the concept of the Decoma grille, but never liked how it was designed. So, I came up with a plan to do something of the sorts with his grille, but could never come up with a way to pull the trigger... until now.
For those that do not know what the Decoma grille is:
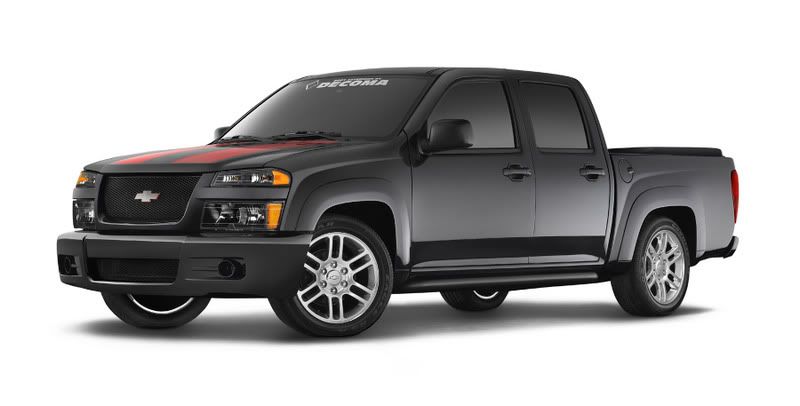
Since I have been doing a lot of plastic welding, and I needed to modify the grille a bit to work with the bumper (final plan I came up with) so I dove into it.
My plan, if not obvious, is to create a Decoma style grille with the deep(ish) inset, but with a couple twists. One twist, I will divulge. The grill will remain flush (or stock) with the headlights. It will not protrude forward any. The second, well, I still have to figure that out and will keep that one a secret until I have it worked out.
So, after all that, here are the pictures.
I needed some plastic strips. Spent about an hour or so searching the internet to see if there was any place local, then I remembered that I had some donor plastic sitting in the garage. It worked out perfect!

Got everything mocked up, fit, and cut..

Then I started welding..


And finally, it was time to clean up and head inside.. So little man helped me out with that.

That's my update for today.Leave a comment:
-
Glad I could help feed an addiction.
Wish I could sit this off to the side as a project and have something else to daily.
If you are interested though, we have a site, 355nation.com, it's based on these trucks. Tons of information about the truck along with a ton of ideas for modifications.Leave a comment:
-
How have I missed this?! It looks awesome man, keep up the good work!
I daily drive an Isuzu I-280 and this is giving me some horrible (fantastic
  ) idea's.
Leave a comment:
-
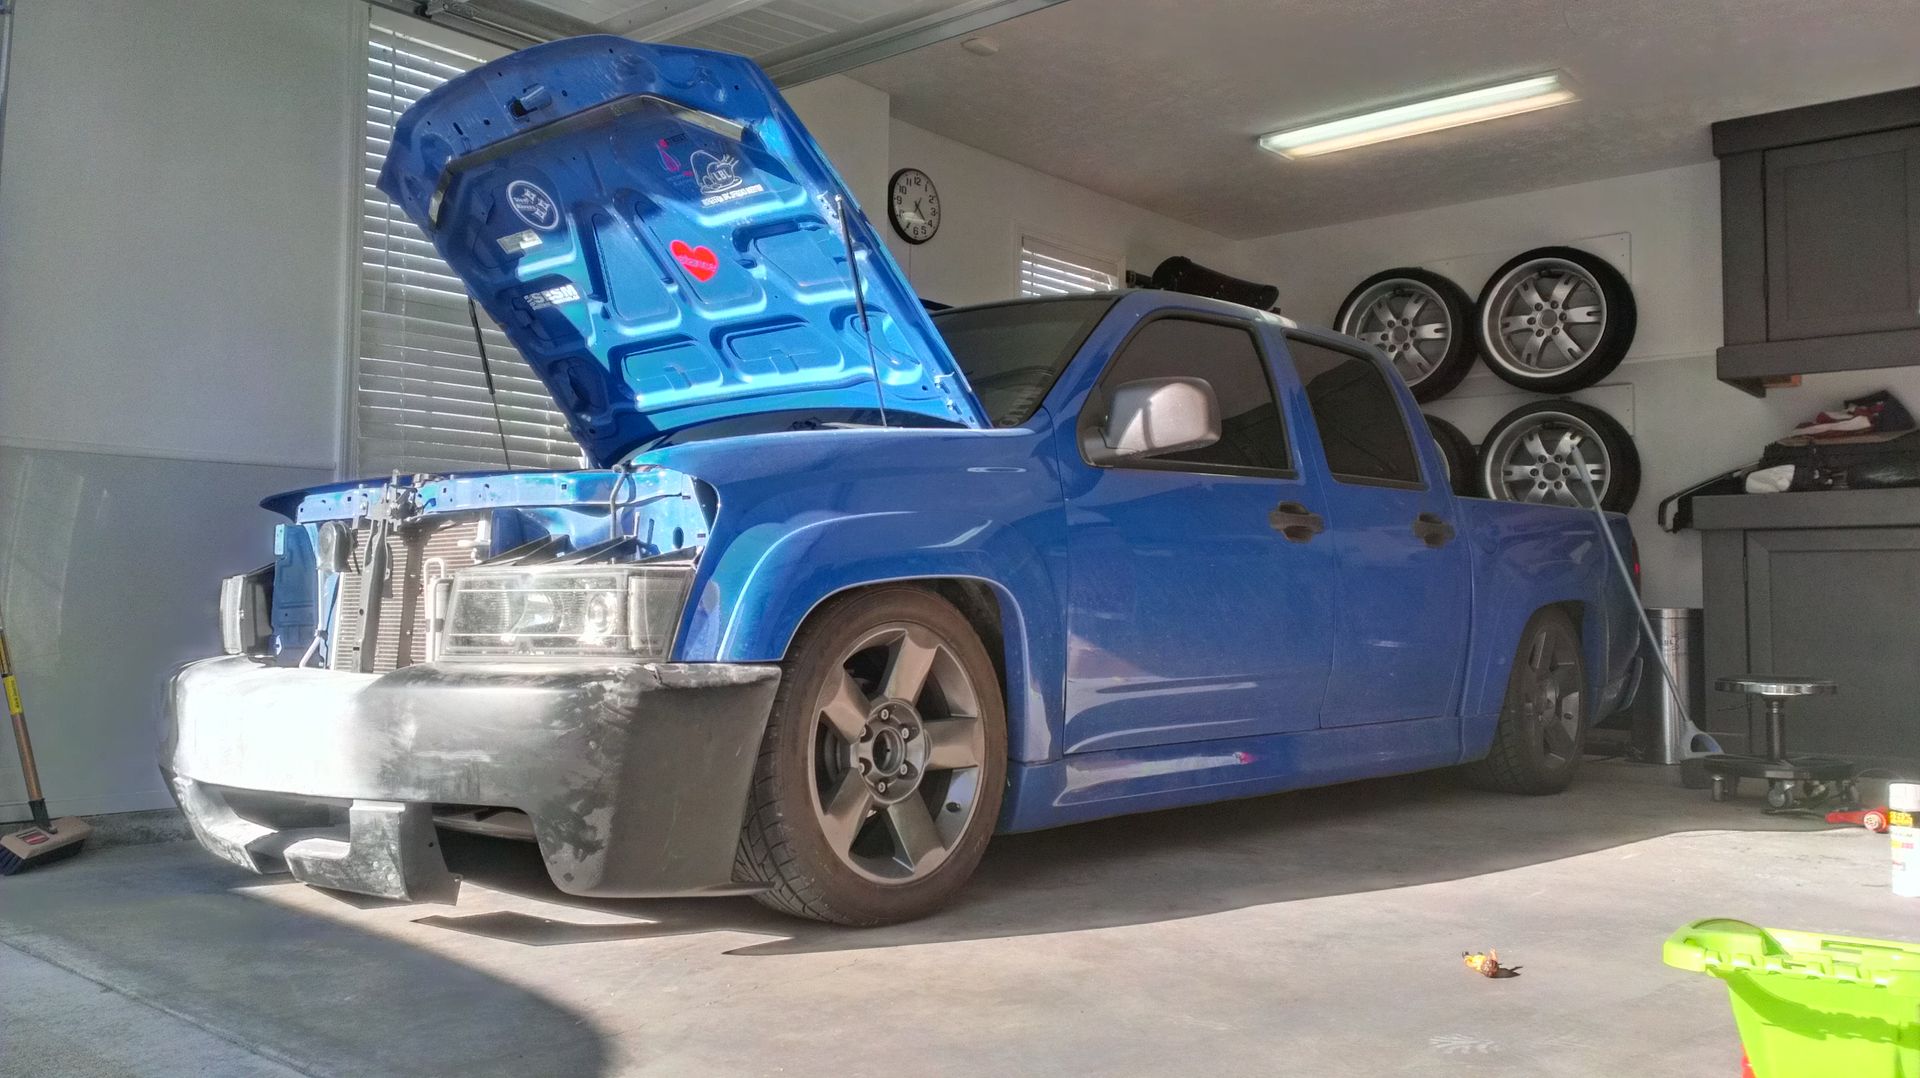
@244Brick
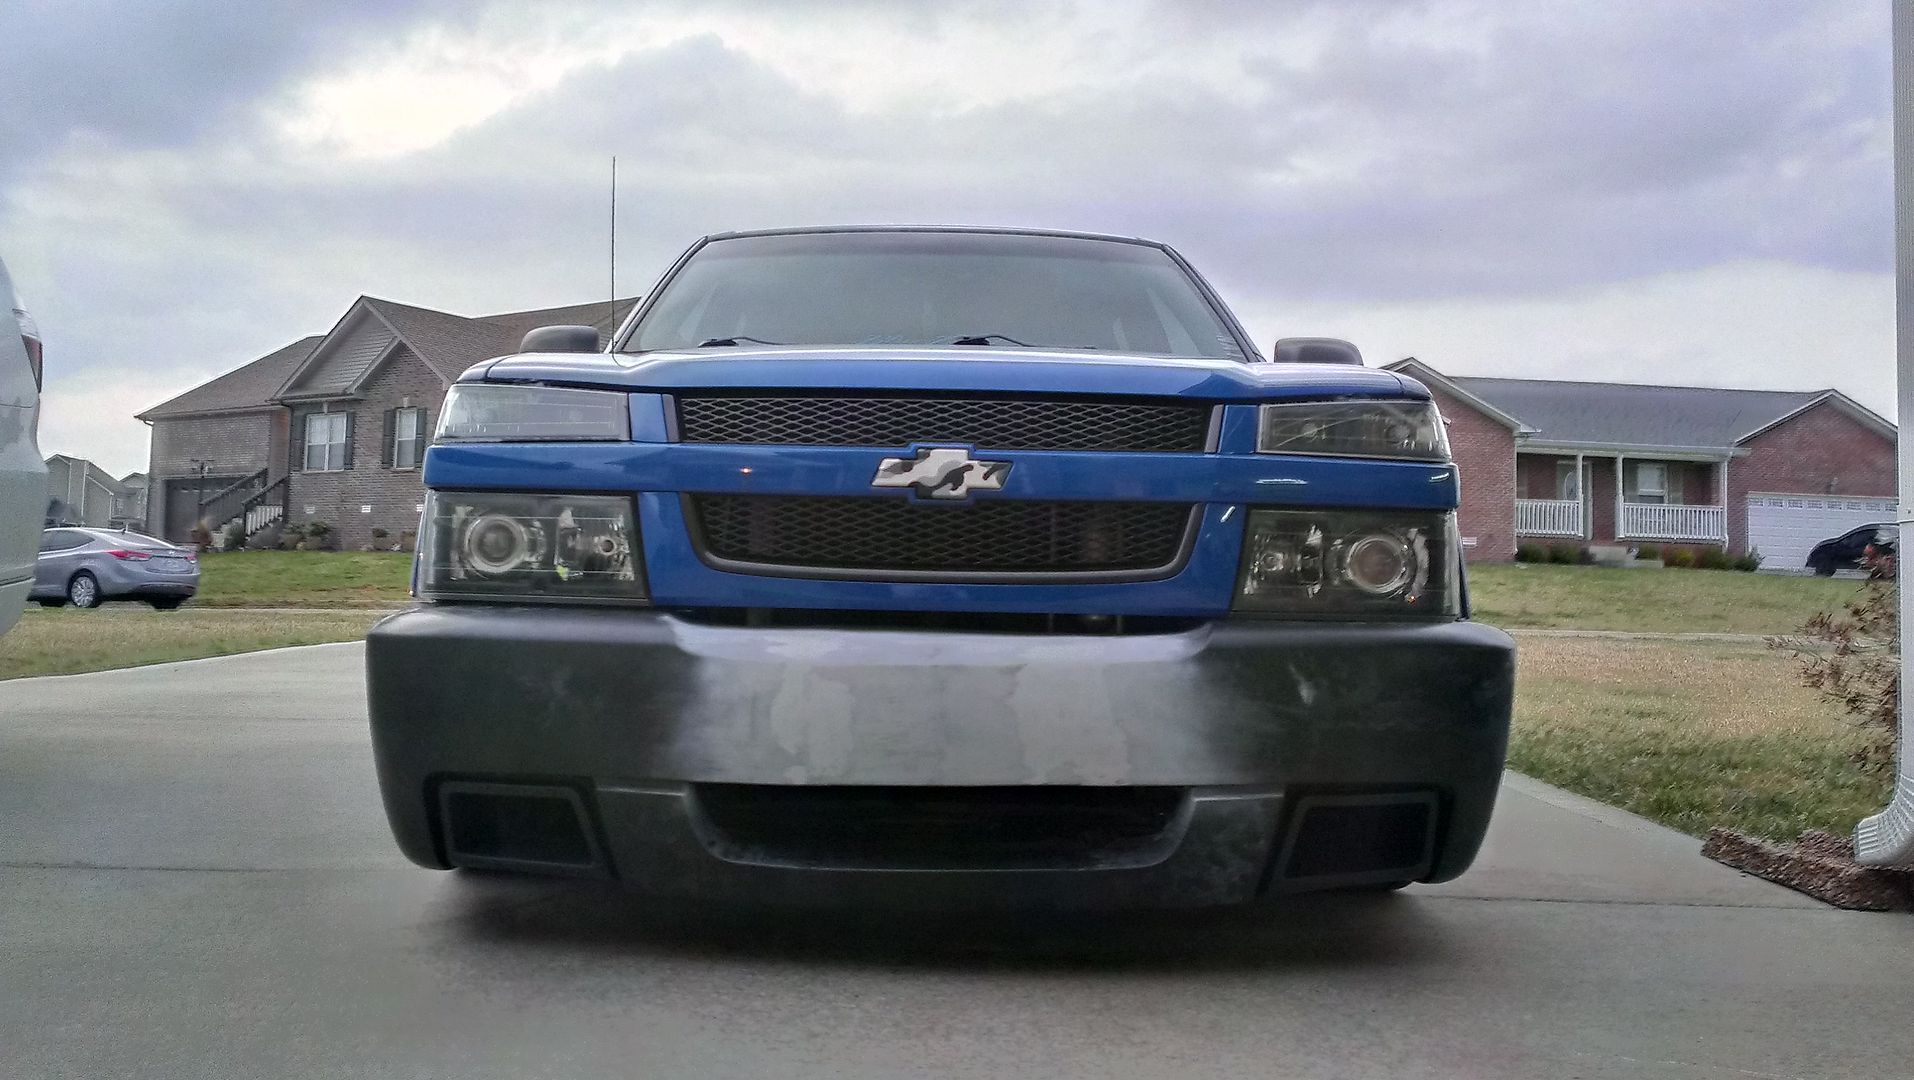
The bumper is from the 2005 (not sure the year span off the top of my head) model Silverado SS.
And this is how everything is sitting until I am able to find and get those vents and the correct bracket for the bumper.
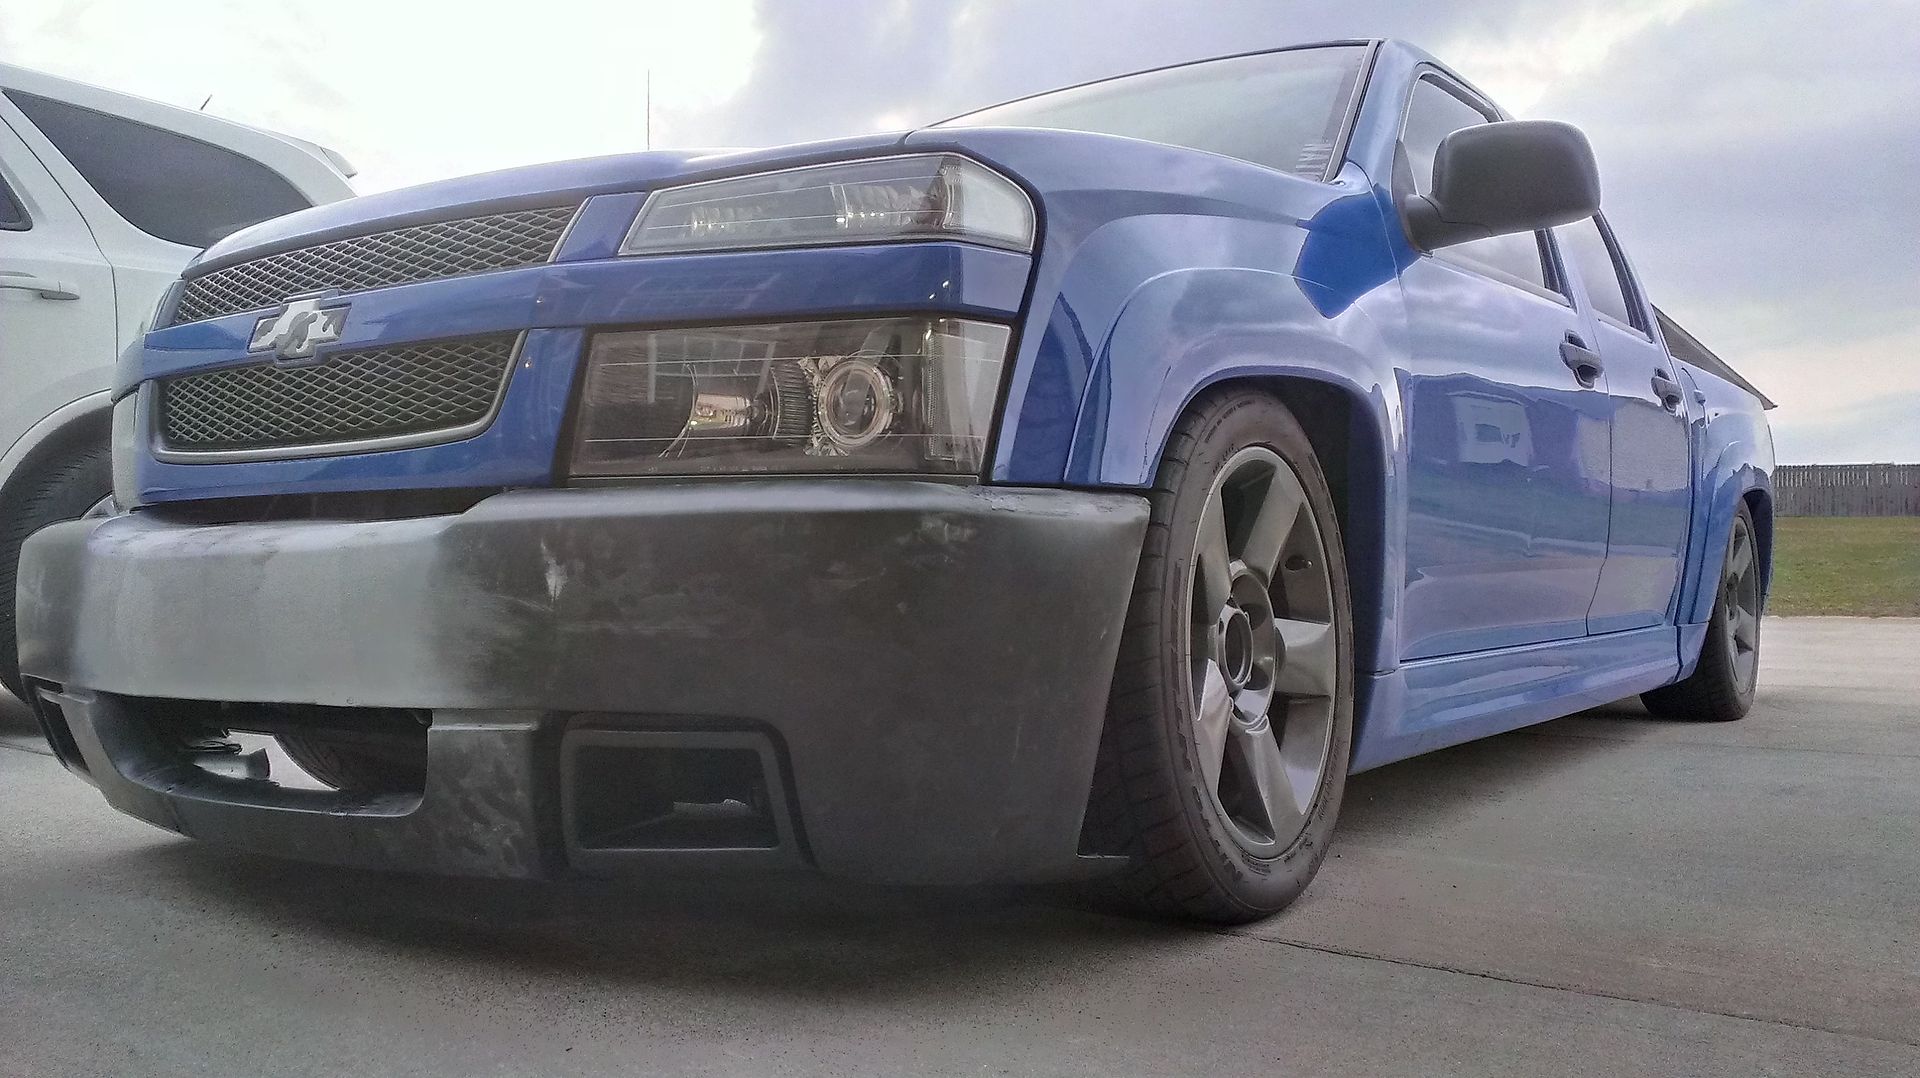
Working on shortening the sides and makin some corners...

And test fitting to make sure everything is able to line up the way I want it to.

Leave a comment:
-
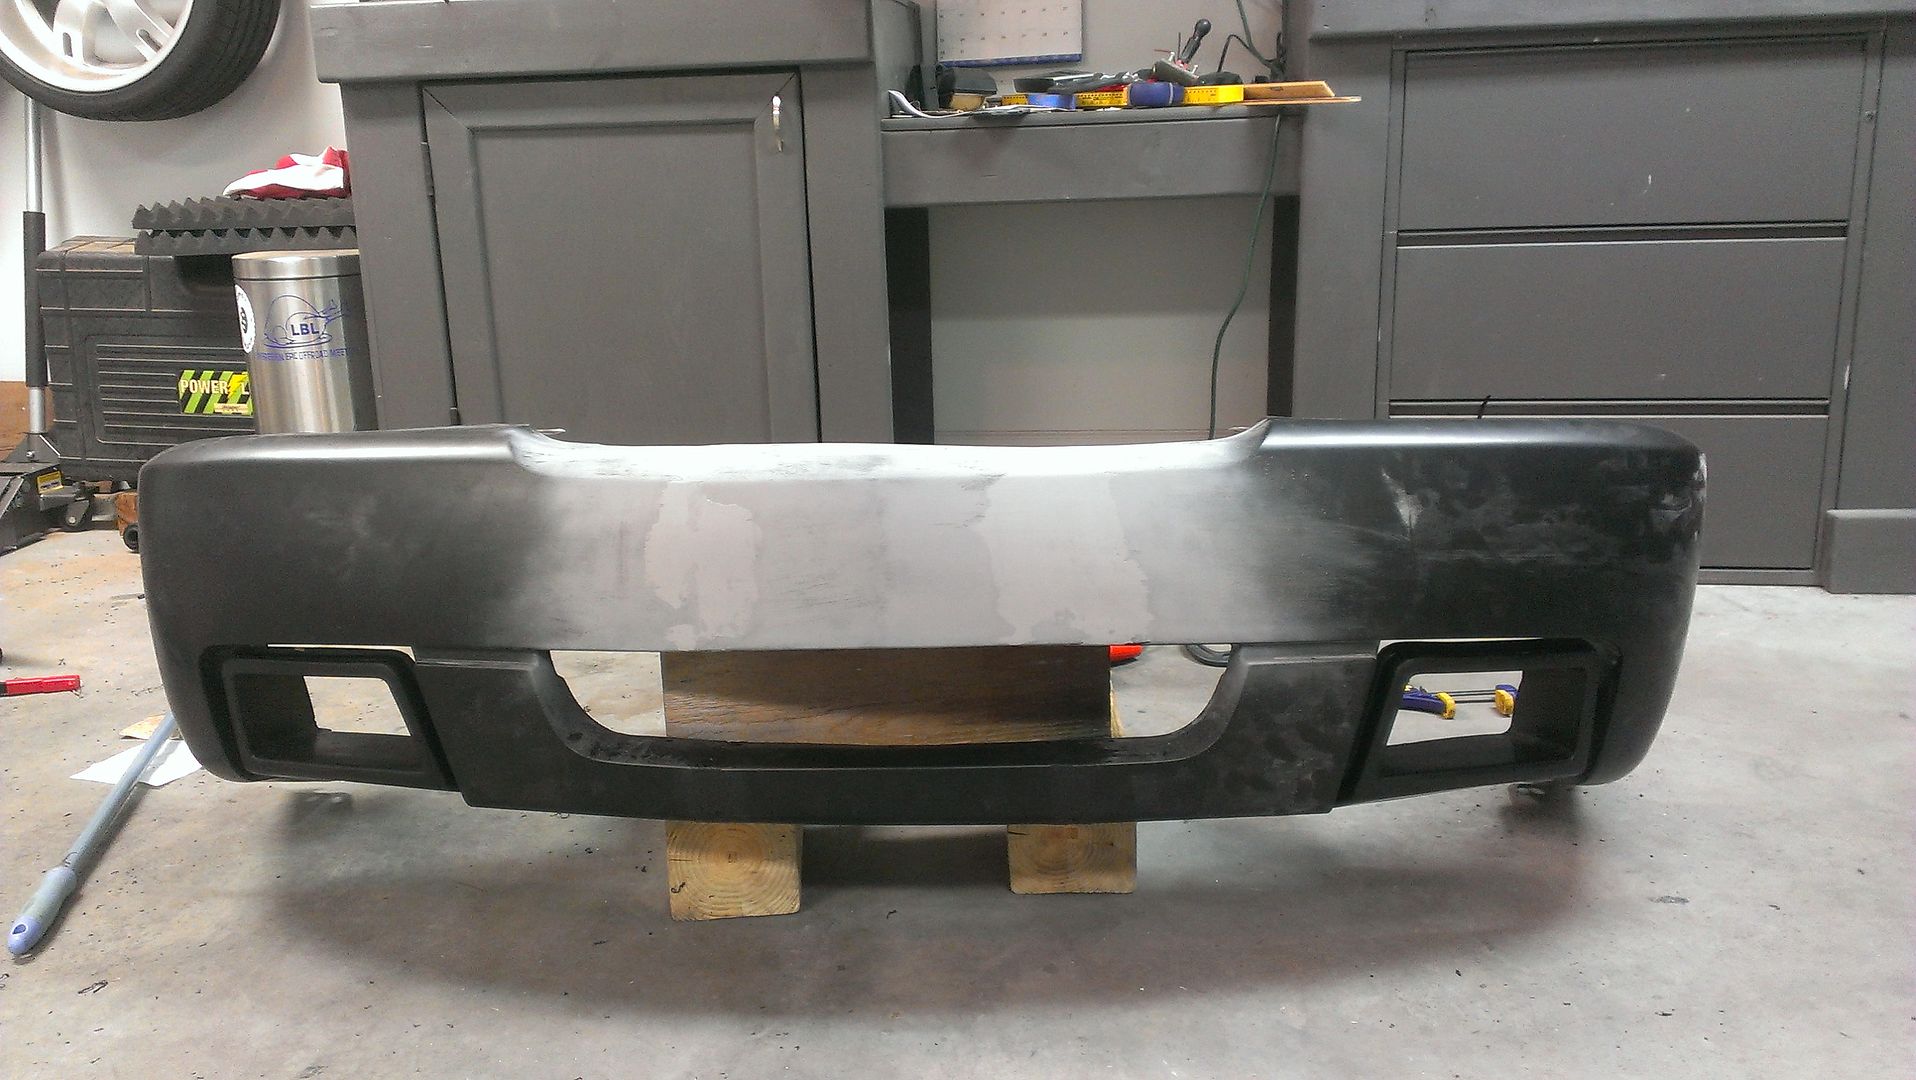
And a few updates as I have been able to do some work.
Yesterday I basically modified the metal bumper and the brackets so that the bumper would sit where I need it to when it's bolted on the truck.
And I laid down some filler/epoxy stuff.

Then this morning I was able to start working on the sides of it. Had to cut some here and there and then fold the sides in so I could wrap the edges over the back lip (where the wheels are)

I'm sure I will throw up a couple more updates this afternoon when I am able to dive into more cutting and plastic welding...Leave a comment:
Leave a comment: