 Tweet
Tweet
can't wait to see it finished! I love this car
-
That paint is amazing!
W I L D M A N 'S R O D S H O P

R.I.P P.WALKER 2013/11/30Comment
-
the color you chose is so damn sexy. DROOLComment
-
All but one of my orders arrived today. No surprise in it being MiniSpares. Last two orders have been a total shambles with deliveries.
However the parts are all ace!
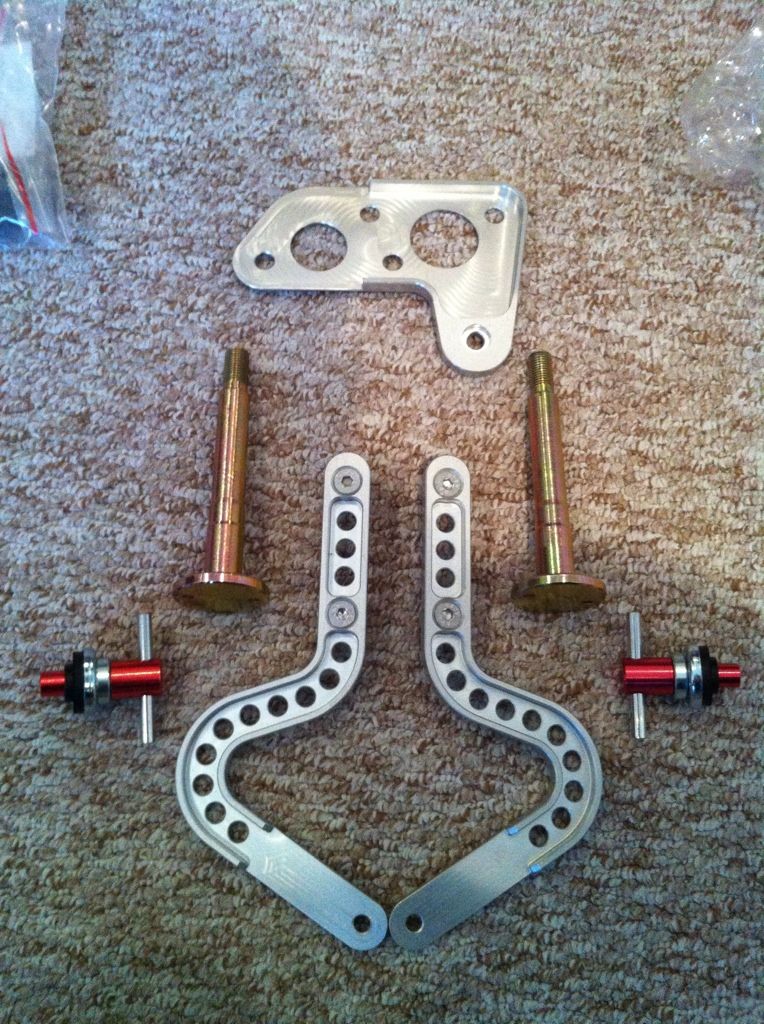
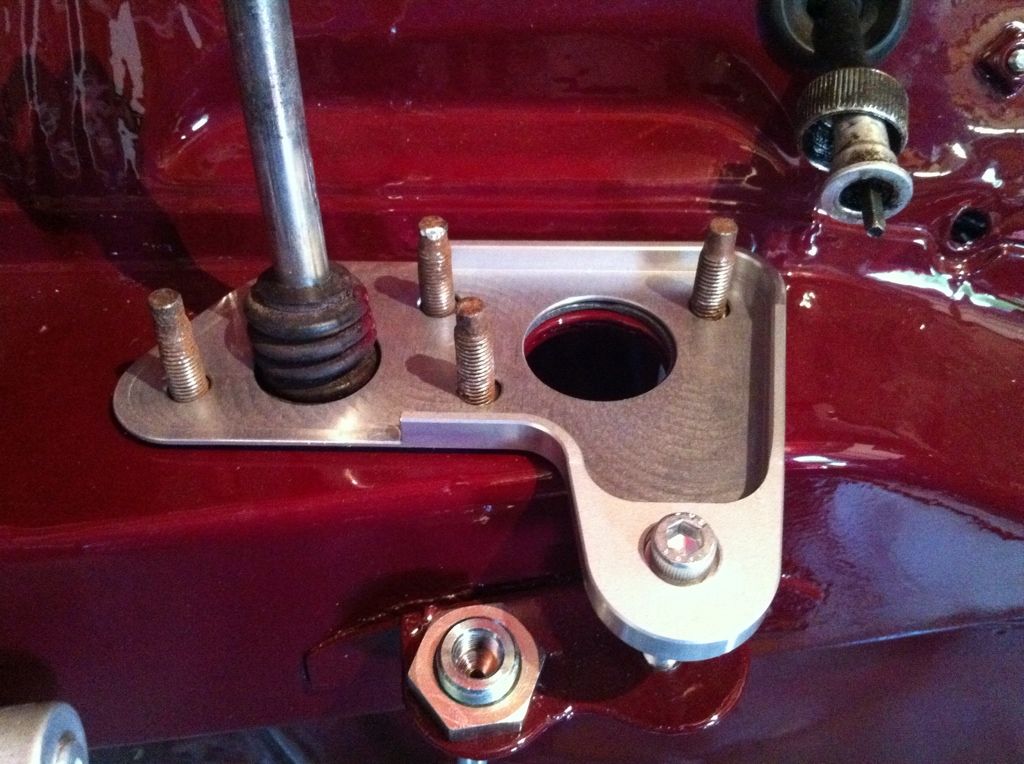
Here we have DSN Retrosport bonnet hinges (super light anodised alloy), DSN Retrosport master cylinder/engine steady base plate (again light anodised alloy) rear subframe trunions (for mounting frame to car), rocker cover T bars for quick removal without tools and also a conversion lead to change to electronic ignition.
I also got sound deadening to go in before carpets etc. SilentCoat which keeps heat out, cuts sound down and reduces vibrations. Pretty much Dynamat but 50% of the price......
Went for the bulk pack as it saved money and it covers a huge area.
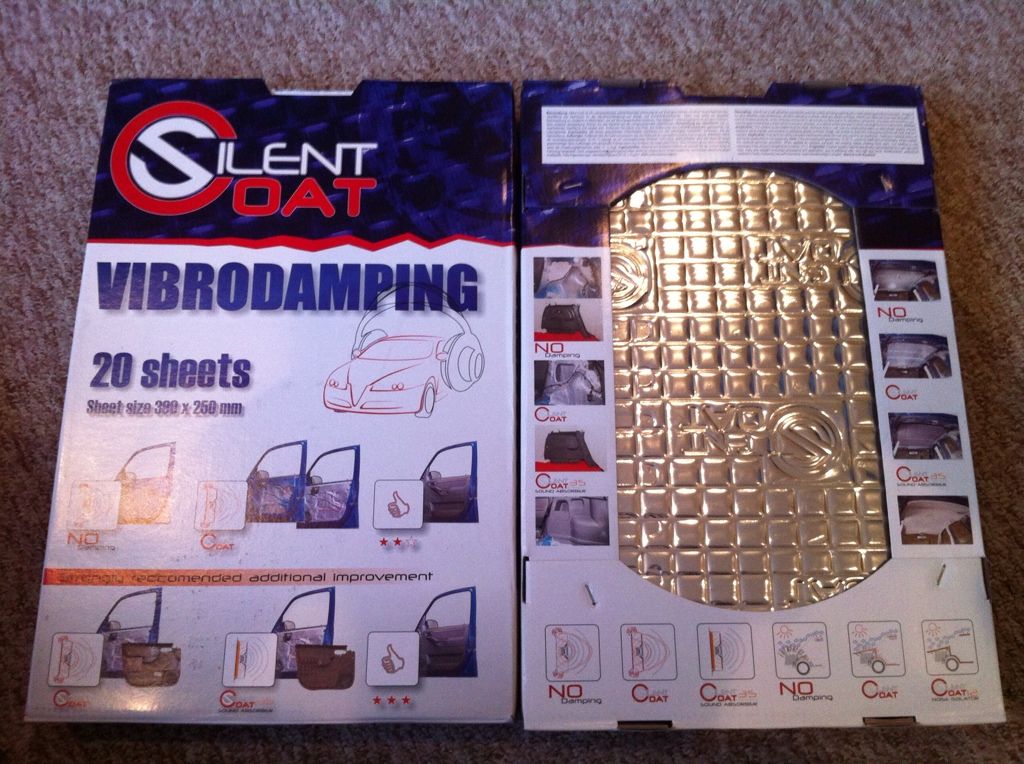
This is half of the whole pack. Brilliant!

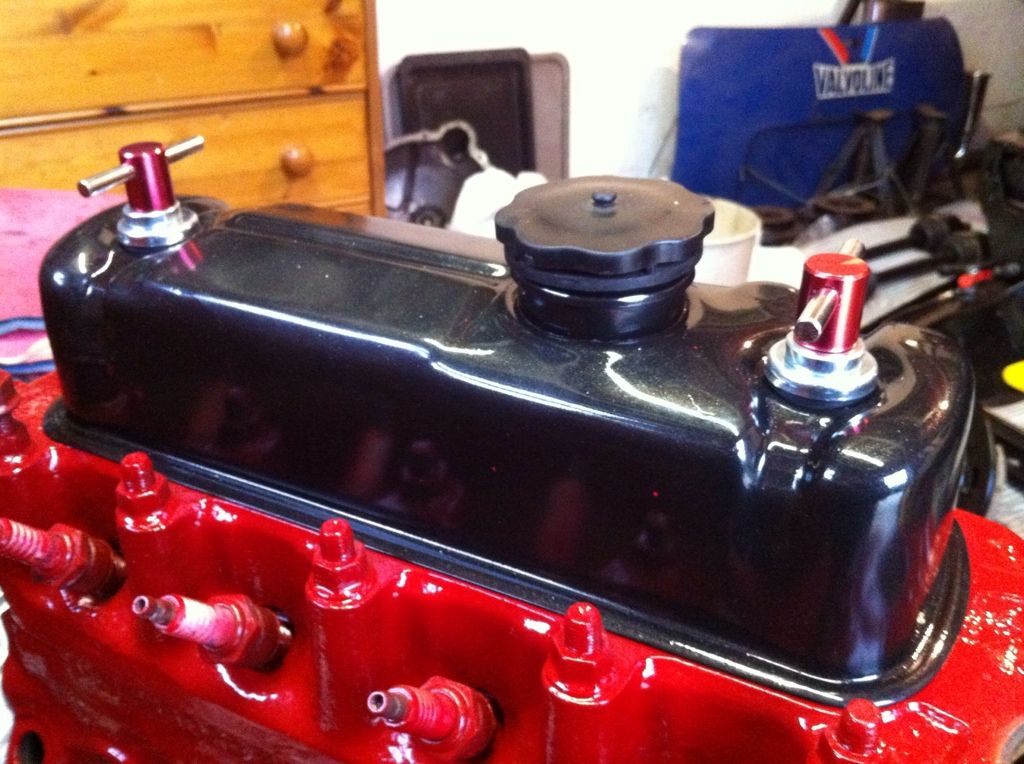
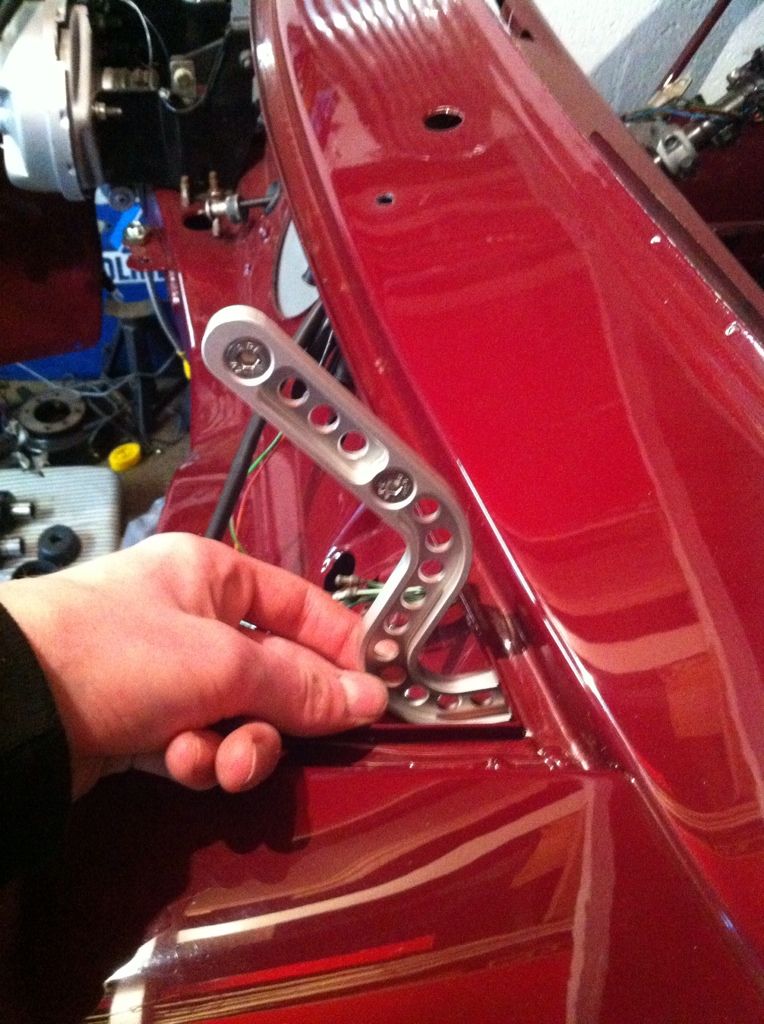
So seeing as it was still light I went and put the Tbars on and mocked up the hinges. They are going to look ace!
So tomorrow is my day off work so plan on getting the rear frame fully assembled and then get as many parts from today on as possible. Also going to phone MiniSpares to see whats going on with my order..........Comment
-
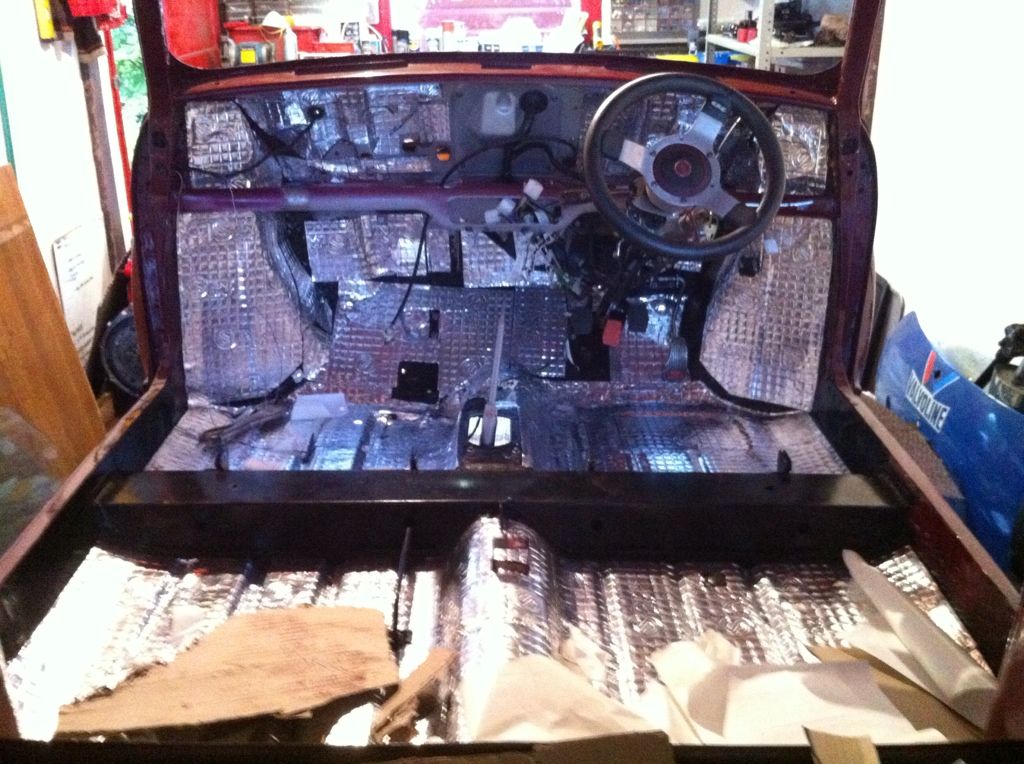
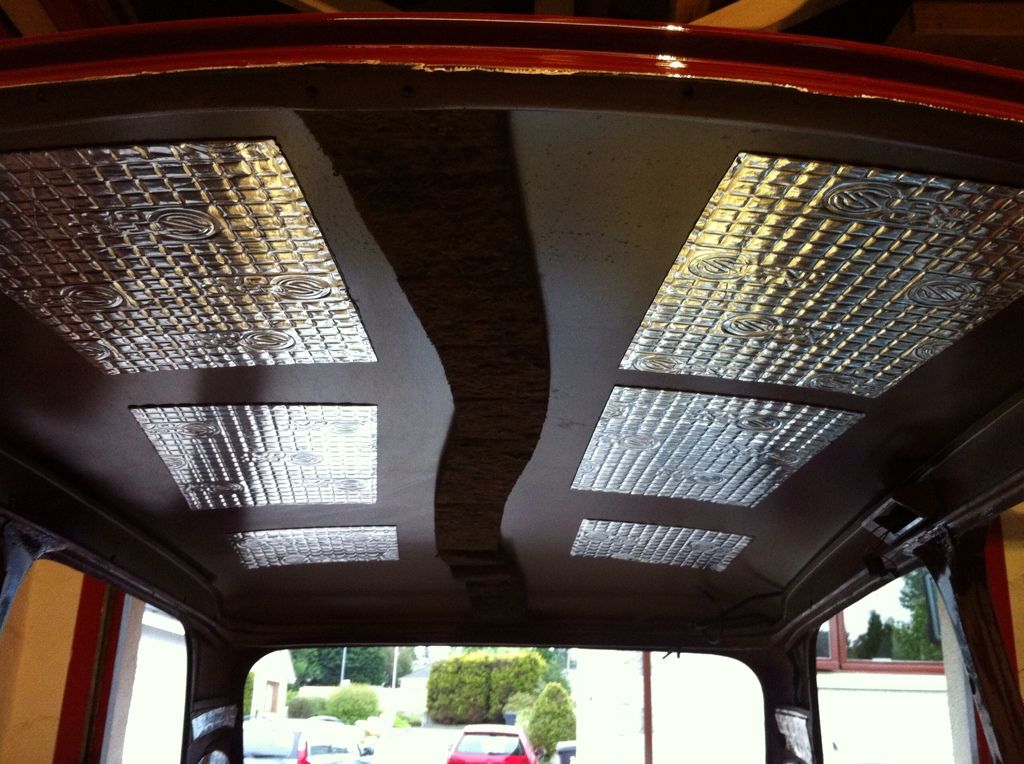
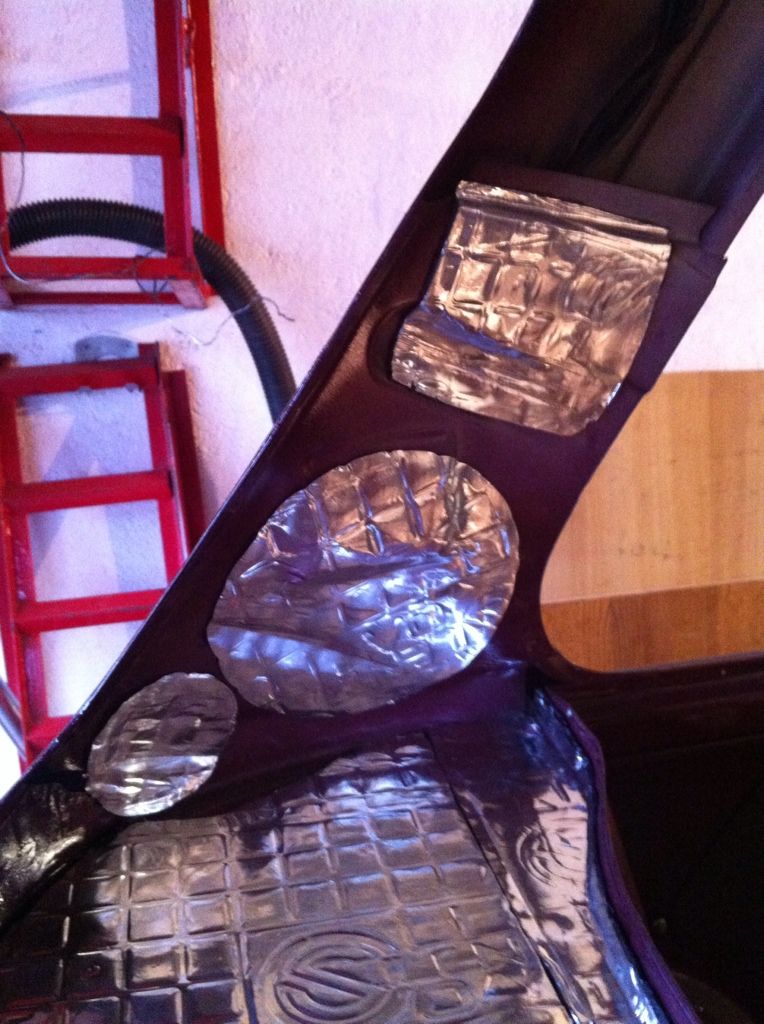
Day off today so got some more done. Main aim was to get the SilentCoat in ready for the rest of the interior/wiring. Its brilliant stuff! Very pliable and sticks really well even over highly complex surfaces.
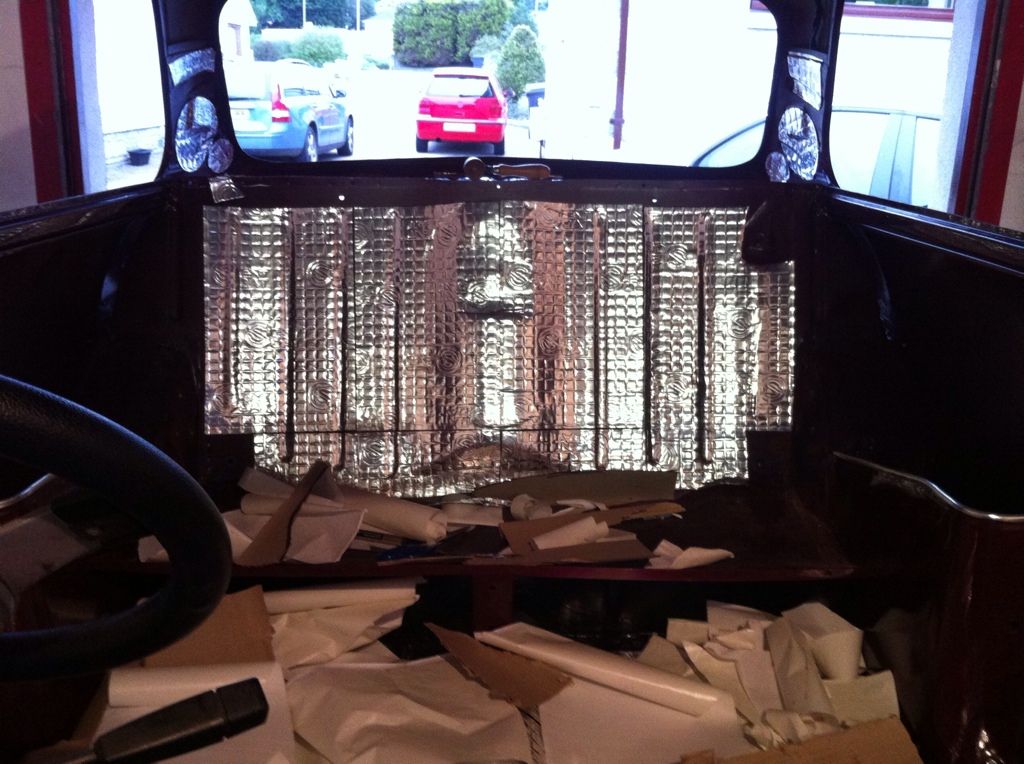
Its easy to cut as well even with cheap scissors. Rolled it out with a small size wallpaper roller to get into the tight spaces. A very time consuming job but it looks great now! Used all the offcuts to cover the bulkhead seeing as lumps and bumps won't matter there.
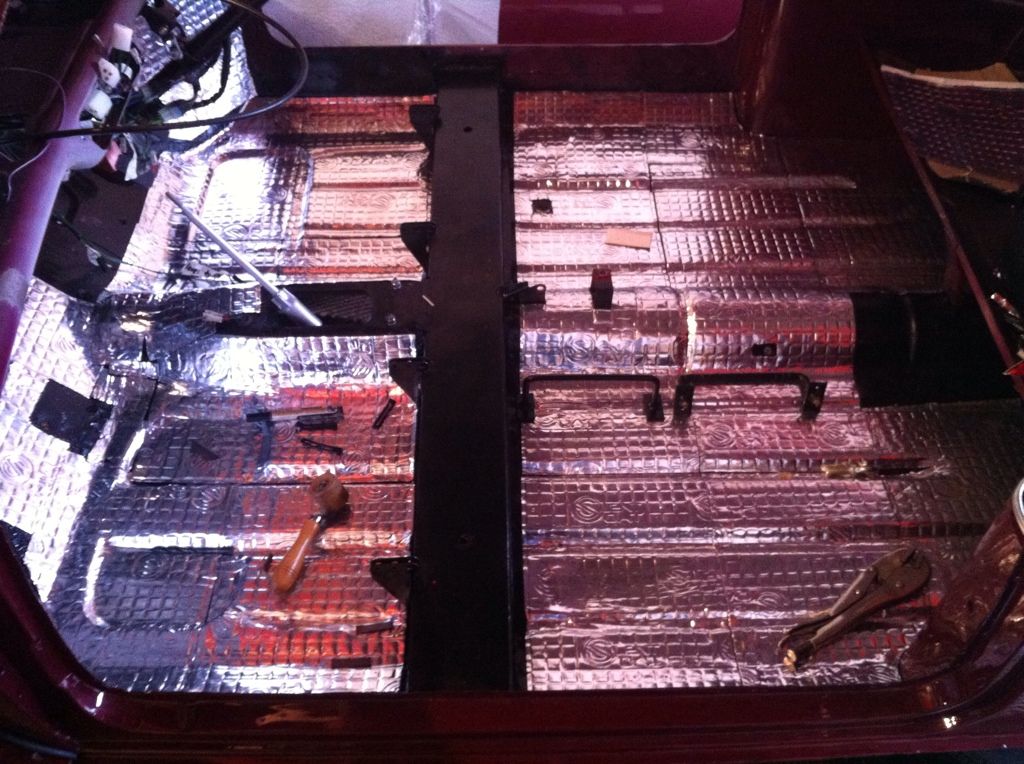

And a couple sheets in each door to give it a 'like a golf' slam just like the advert :lol:

Even used my circles from the rear speakers on the C pillars!
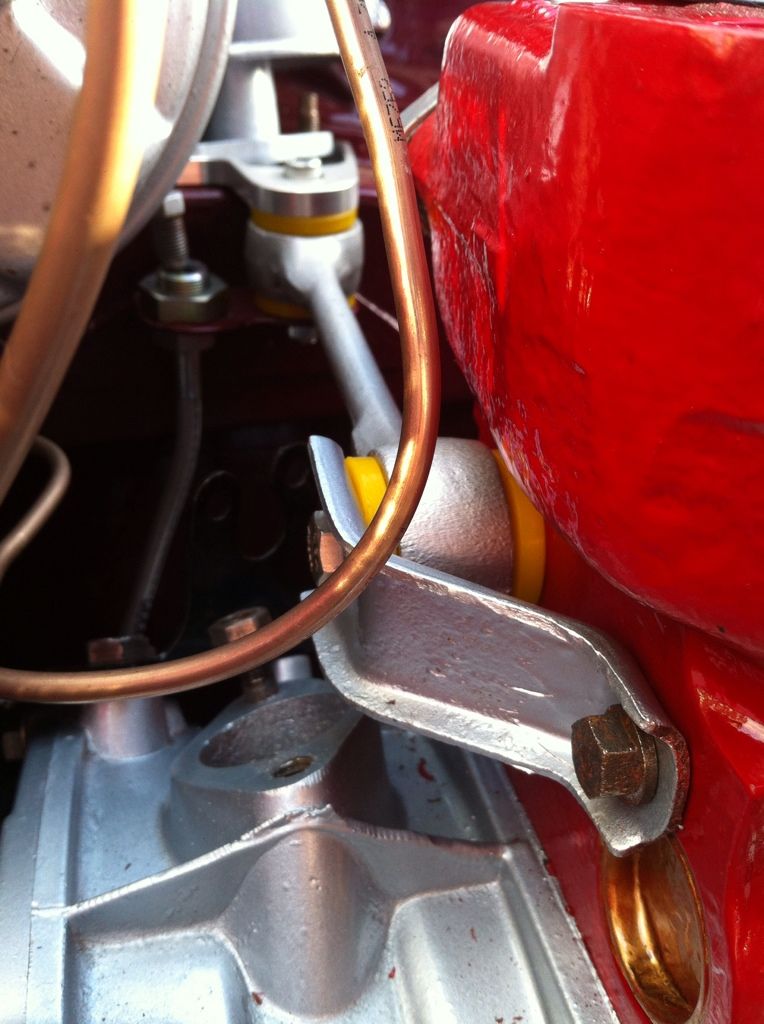
And I got my DSN plate installed too. So thats the servo in place for good!
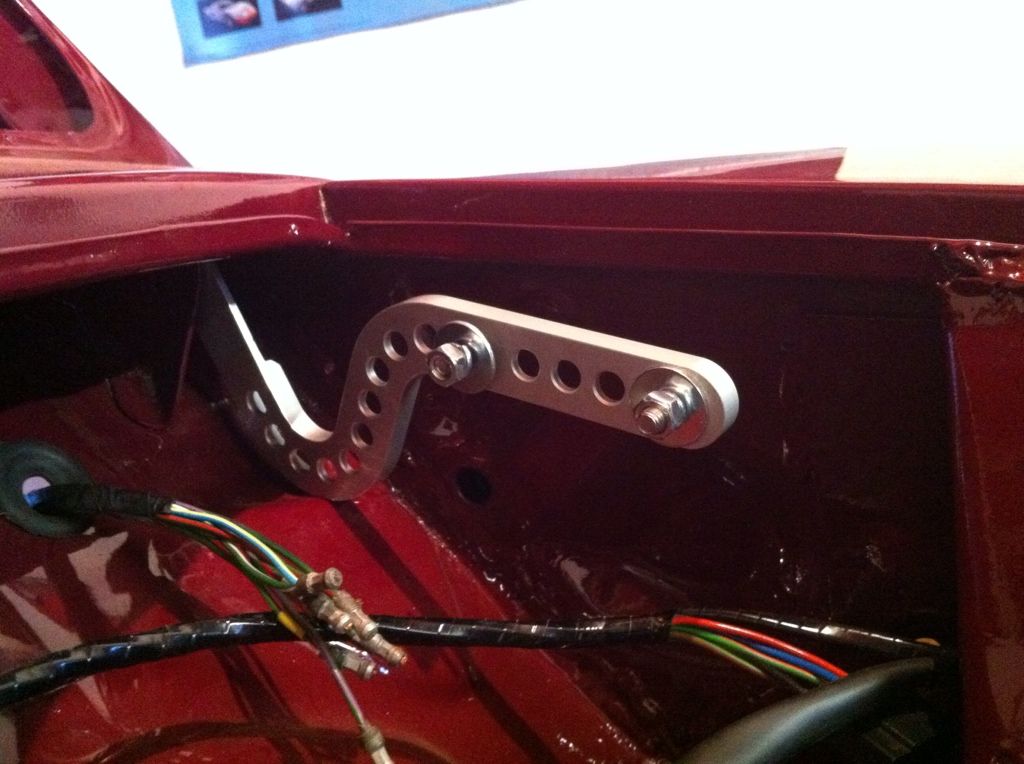
Along with the bonnet hinges
I also got one side of my rear subframe built up but need another bolt for the other side.....Friday is my early day at work so will pick one up from Grampian Fasteners on my way home. No pics of this though!Comment
-
looks good! Everything looks so freshComment
-
Finished work at 2 yesterday so nipped out to Grampian Fasteners for some more bolts to get the subframe done.
Then got to work! Was a fiddly job trying to get some bolts to line up with the adjustable camber brackets but we got there. Brake lines took a while too as we have never done any before but ended up not too bad!

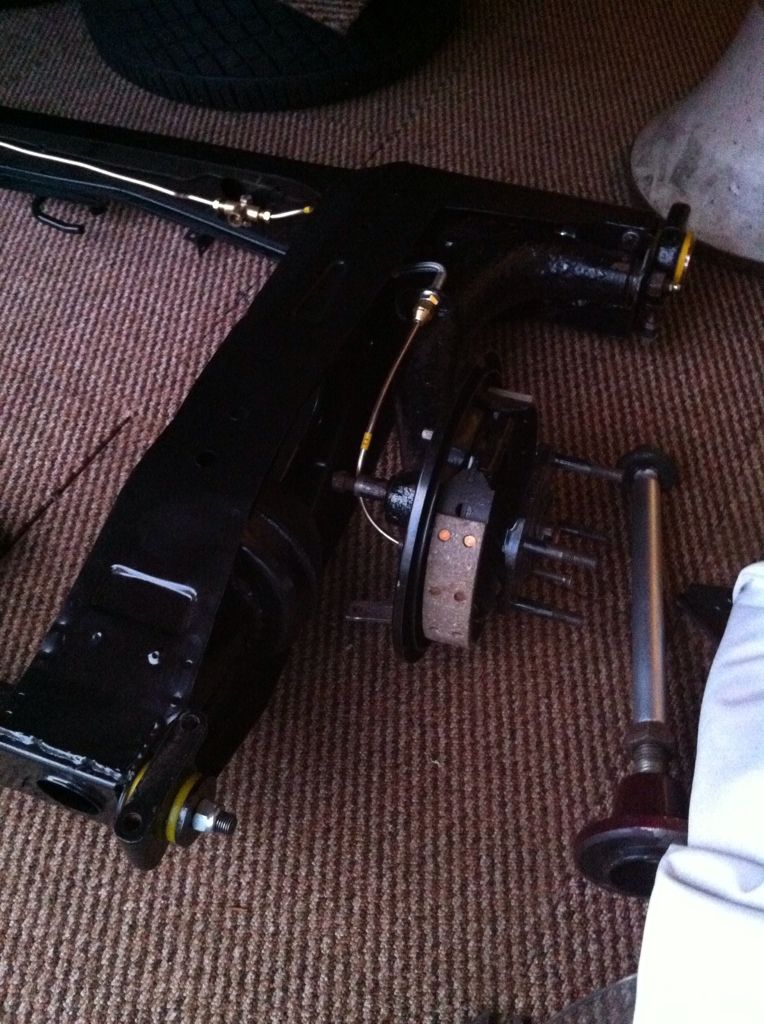
And its now ready to install tonight once I get home from doing a photoshoot
Also got these in the post the other day but forgot to put a pic up.
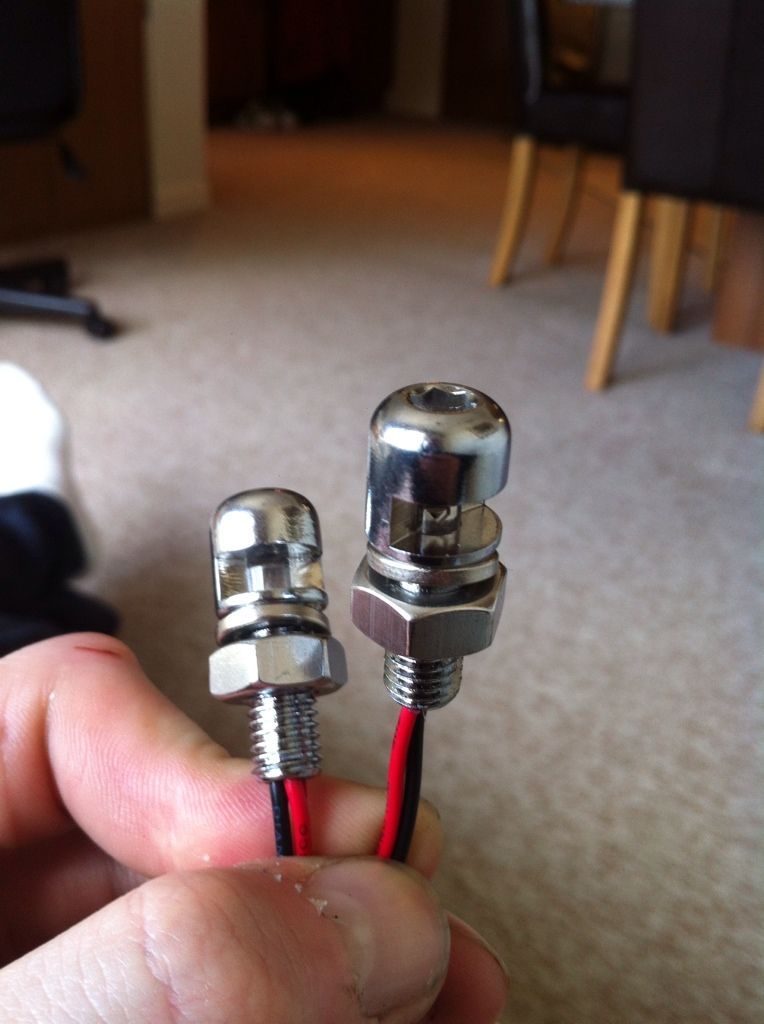
LED bolts for the number plate. Going to use them to mount the plate and also illuminate it. Cheap eBay purchase so who knows what they will be like.....
And today I got some door mouldings. Brilliant finish on them and should stop leaky door windows!
Comment
-
Day off yesterday. Had an epic lie in after the Thistle Run the day before. So in the afternoon and evening I got going. Waited for my dad to get the major part done so got on with a few odds and ends.
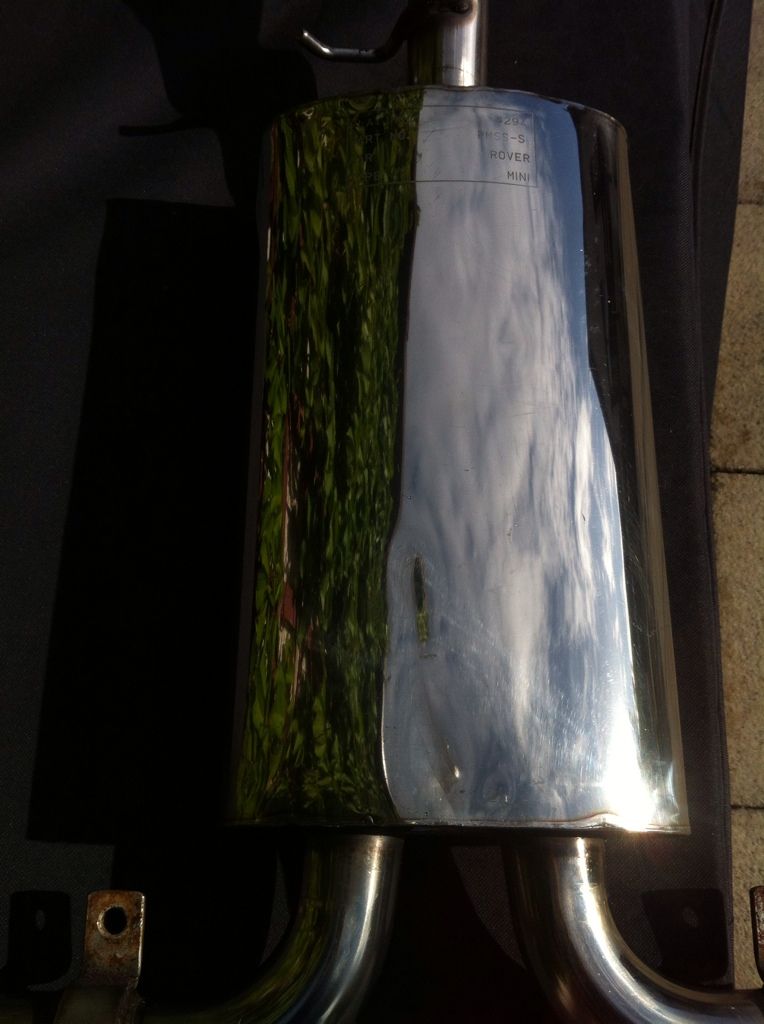
Firstly, polished up my exhaust again as it had lost its sheen sitting doing nothing.
Was like this....
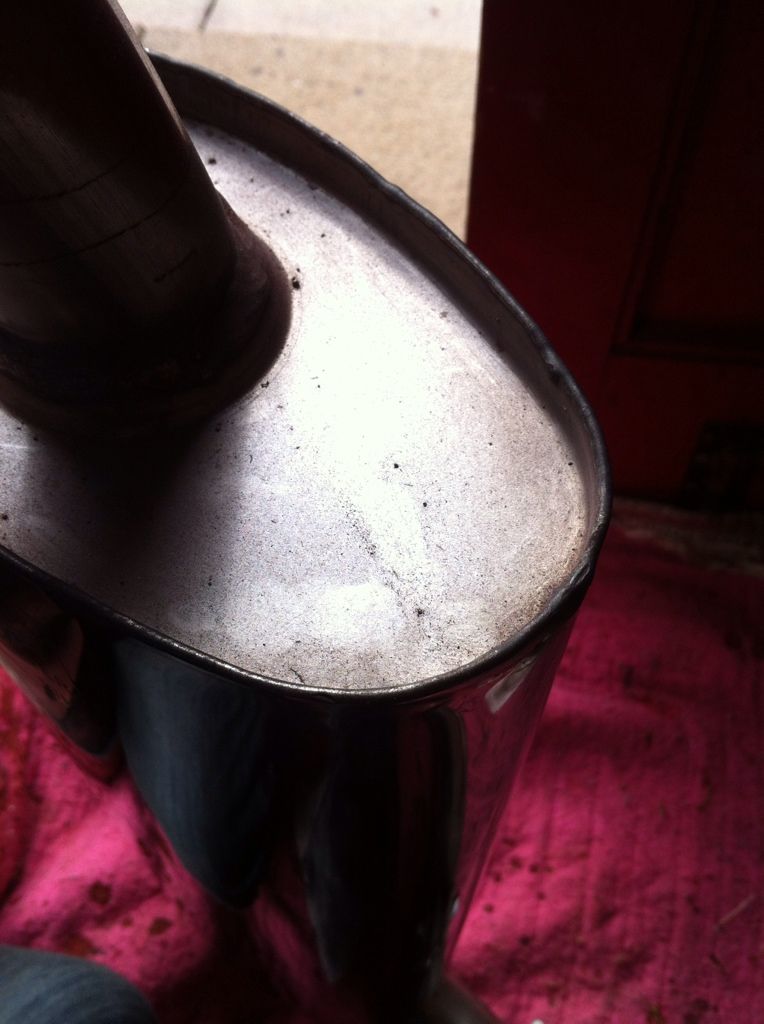
Ended up with this! One stupidly clean PlayMini Twin exit Supersport. Stupidly inefficient but it looks cool and it sounds nice :lol:

And I started to polish my door locks up too. They were bare metal and a little bit corroded. Wet and dry and polish up. Probably won't last long but will probably buy chrome versions at some point down the line.

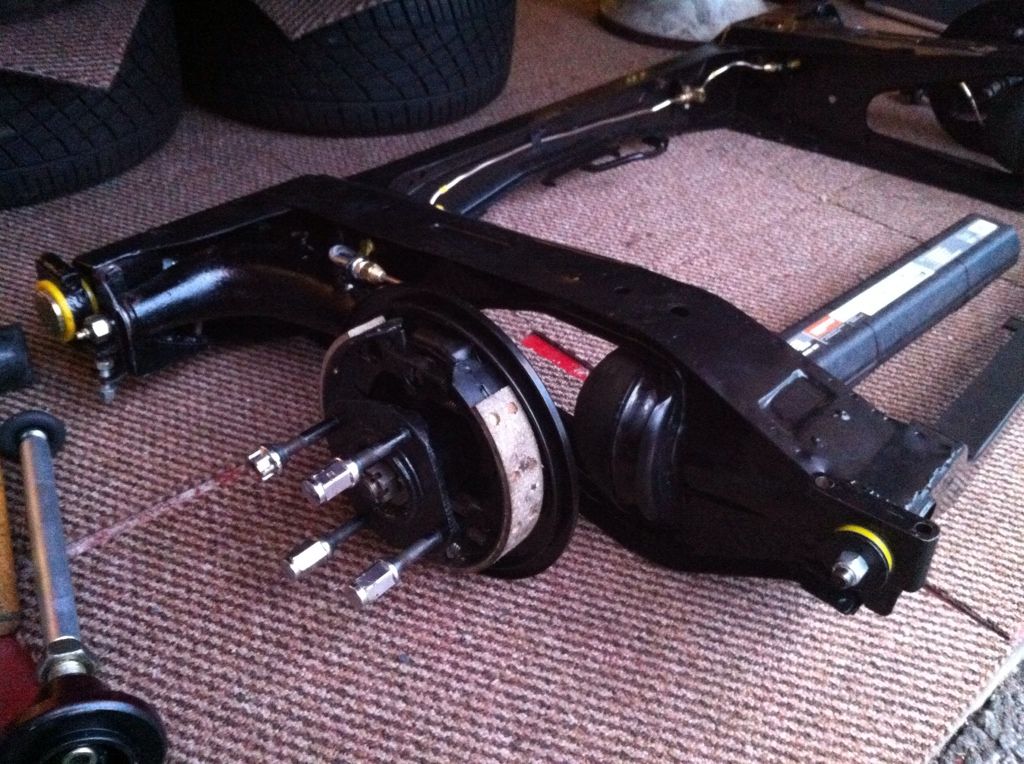
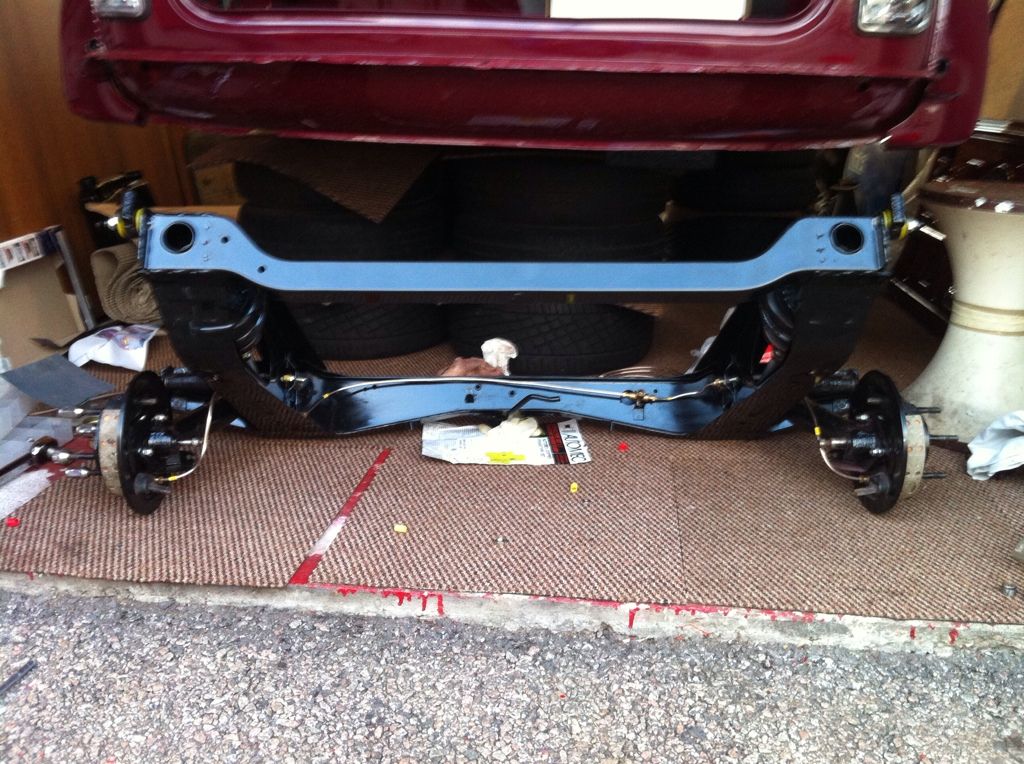
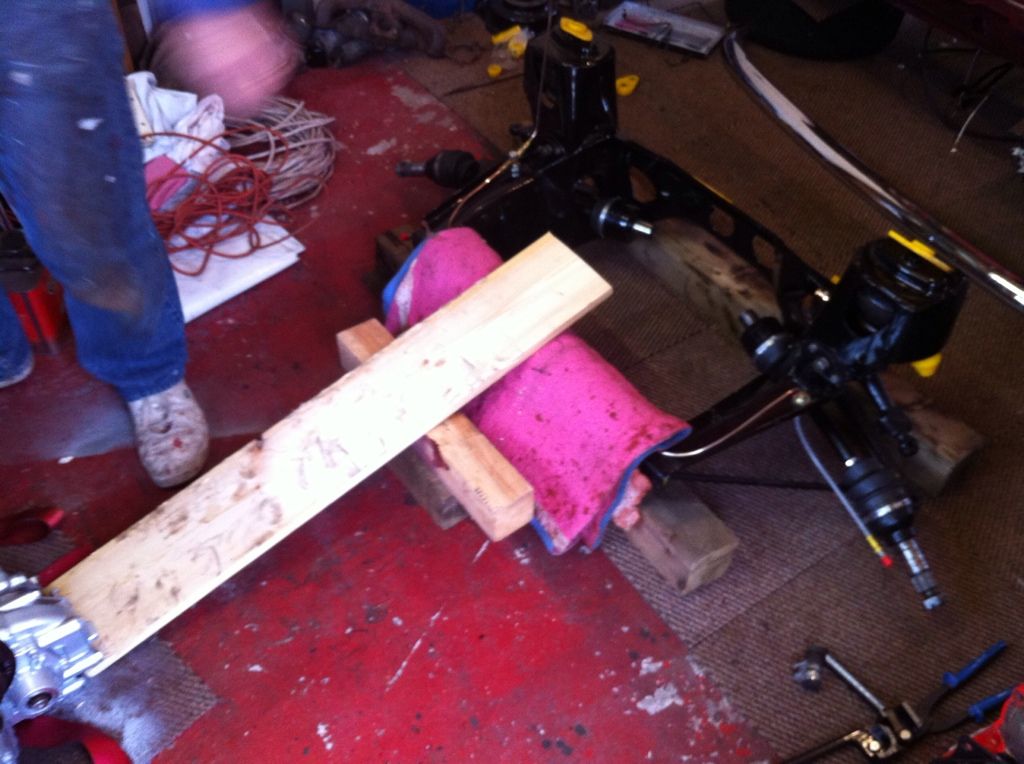
Then the major bit! Been wanting to fit my rear subframe for ages so dad and I got stuck in. Took us 3hrs to get in 8 bolts......because all the mounts are new they weren't bedded in and were super tough but with some playing around we got there. All high tensile bolts and loads of copper grease to prevent them locking in the future (not that I plan on taking these bolts out again!
Had it tipped up so we didn't have to jack the frame up too much. Bit tricky but worth the effort.

So thats the car rolling on two wheels! Next stage front frame and engine which is almost ready to go PROGRESS!!!
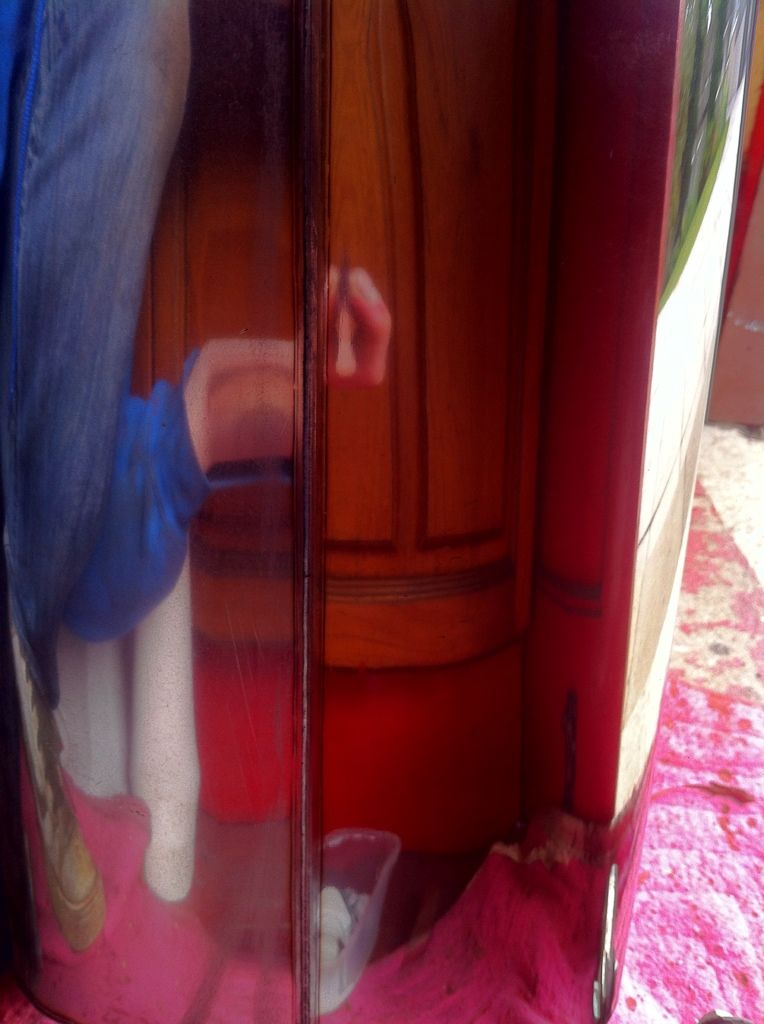
Also got the car into miniMagazine this month. Sent pics in months ago so totally forgot until I got a message from someone who recognised the car
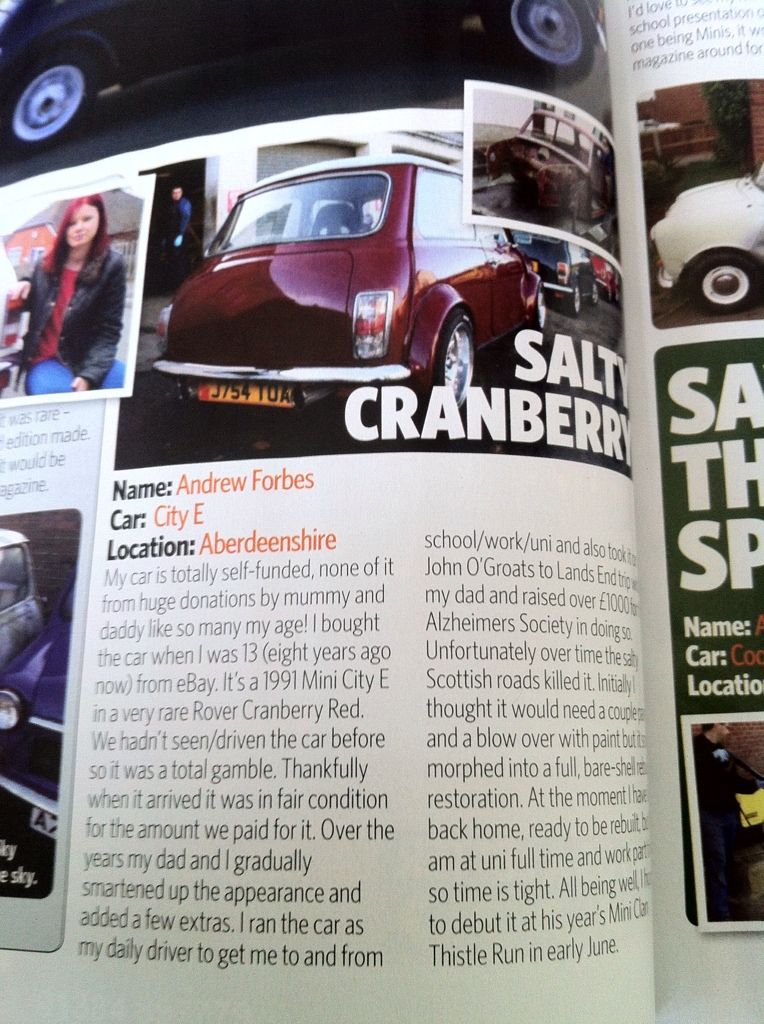
Good feeling! Next stage is a proper feature
Today = epic! Brilliant progress that to be honest I wasn't really expecting at all!
So to begin!
Got the day to work on it with my dad and some great help from my mum too! The family Mini :lol:
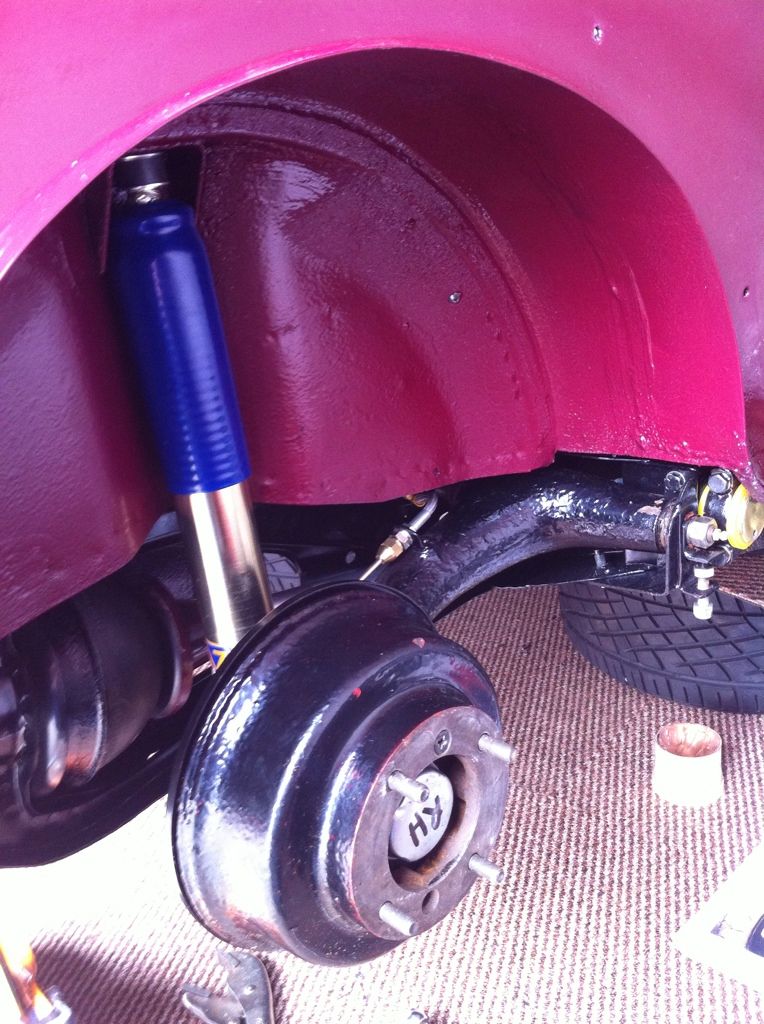
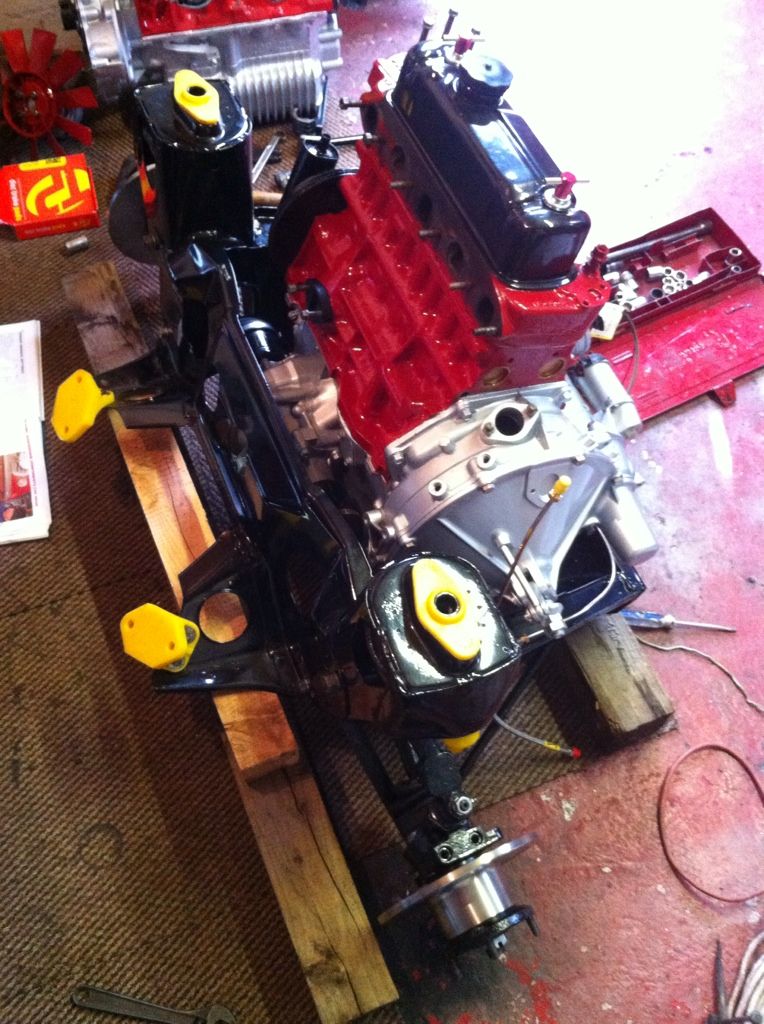
First up was get the rear subframe attached to dampers and Hi-Los so I could set it down on the ground. The GAZ shocks look great against the red in my opinion! Currently on softest setting but that will be played with once its on the road.
Then after painting up some little bits and fitting them to the engine it was time to mate the engine with the front subframe! Didn't think I would get this done today but glad we did!
So we got the driveshafts placed in
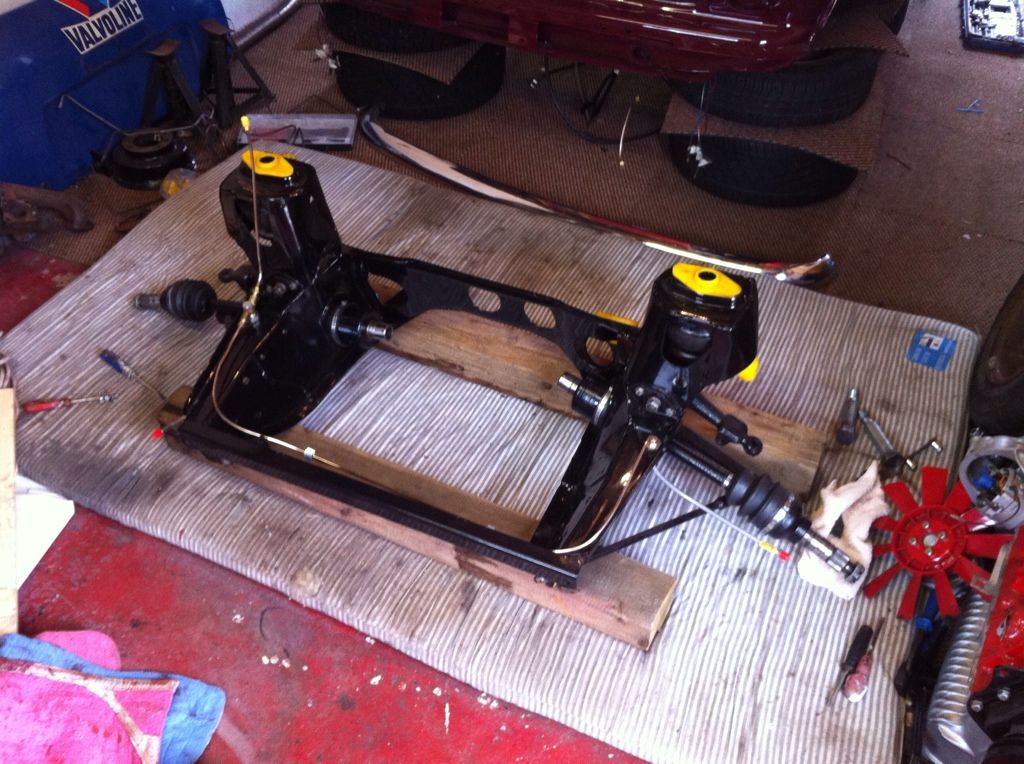
covered up the front of the frame to prevent damaging it and also raised it up on a couple of old fence posts we had lying around. Handy things to have!

and then built a ramp to gradually slide the engine into the frame. We remembered to fit the engine mounts to the engine first and placed in the bolts so they could auto align as we placed it in.
So after some man handling and a bit of swearing we got it in! :lol:
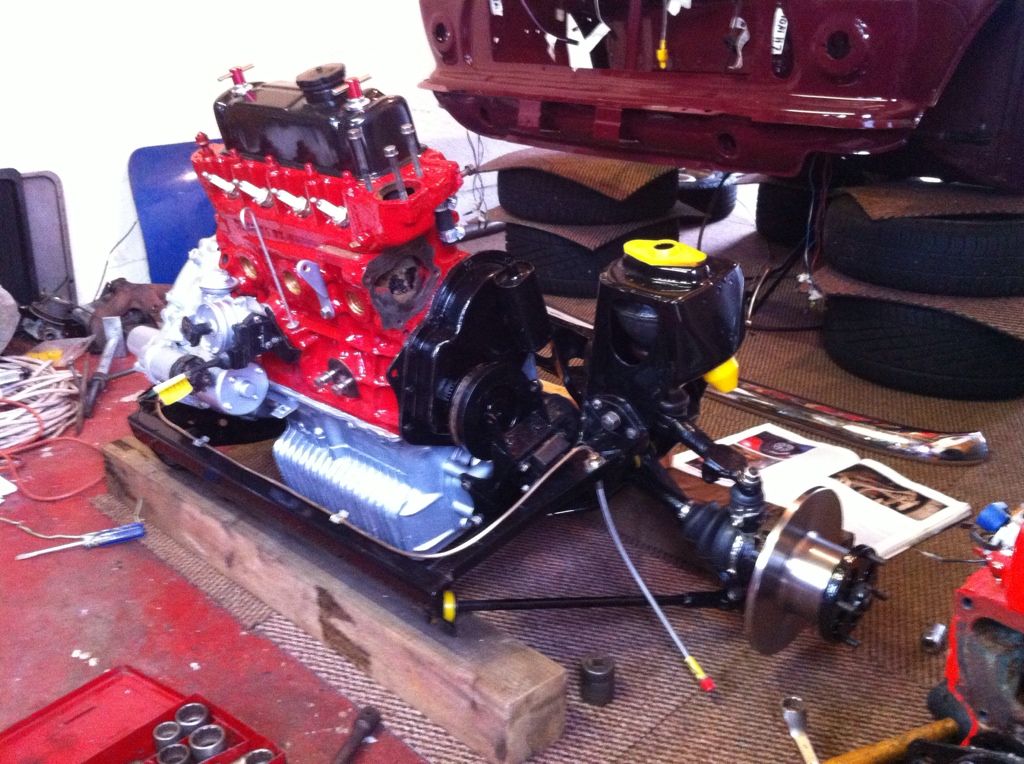
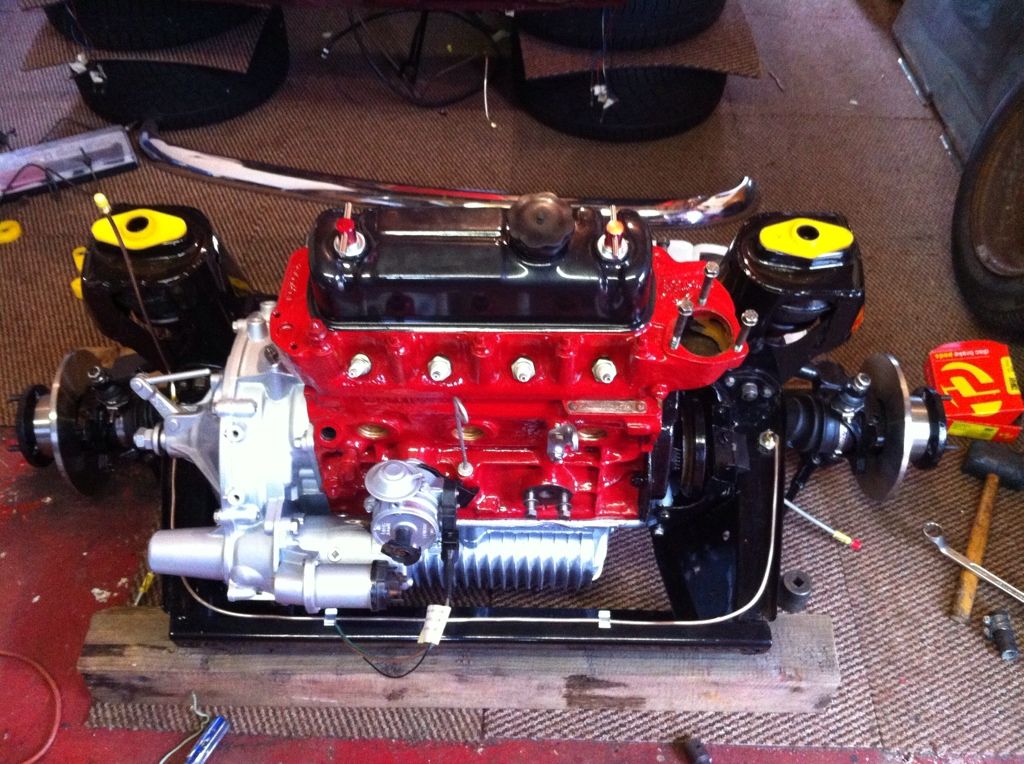
Really happy with the way its looking now. Didn't want to get it into the car just yet as theres still a couple wee things in the bay to compete first. Hopefully get it in within the next week though!
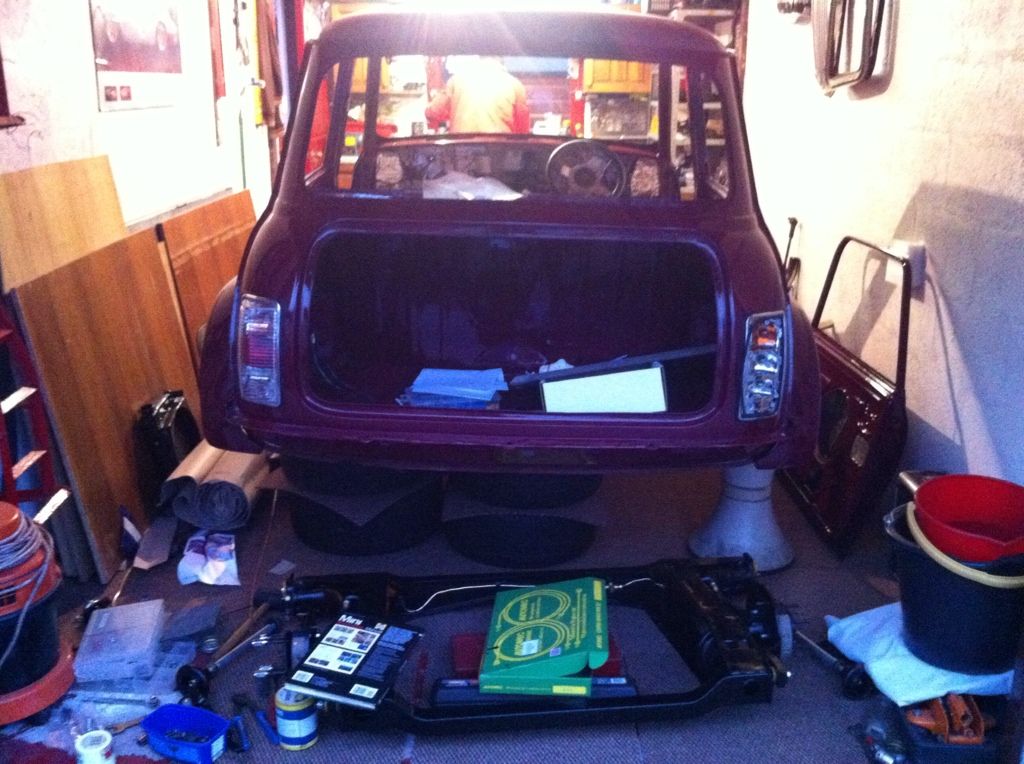
So at the moment its sitting waiting install
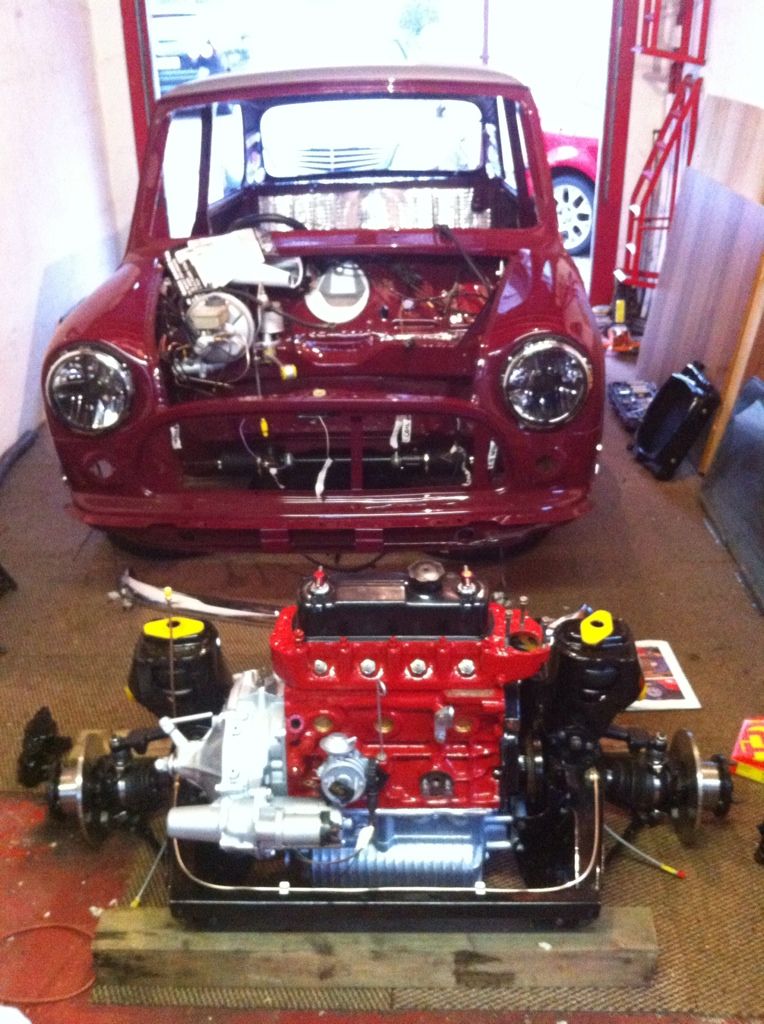
(I may have even polished my brake lines...........)
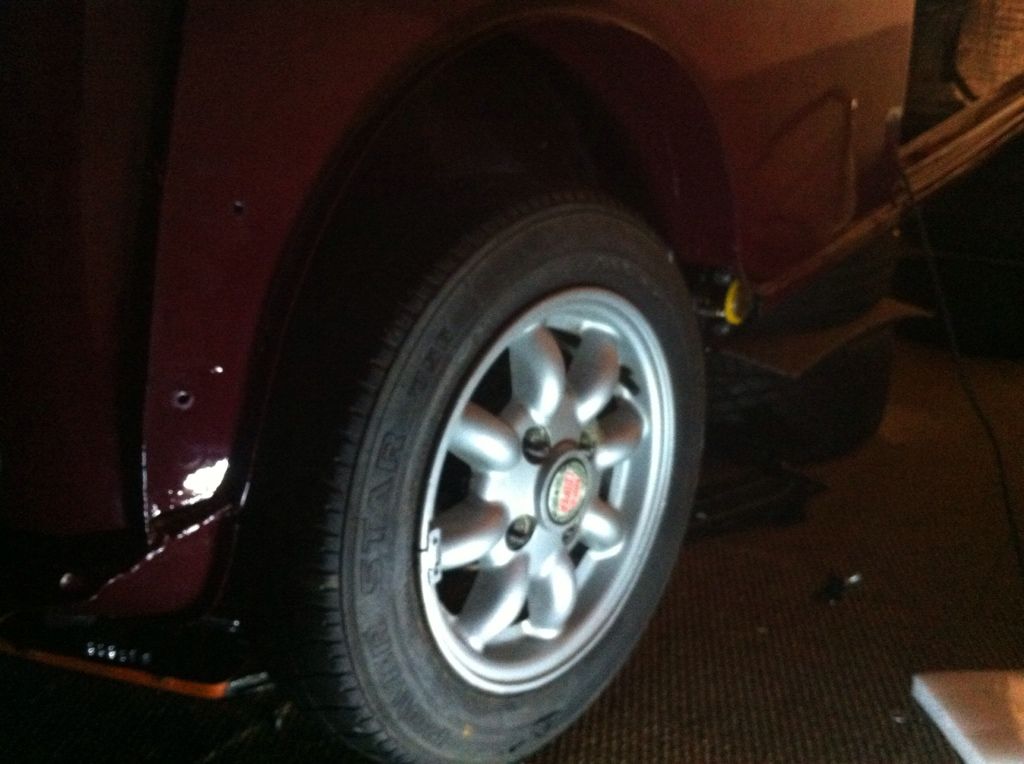
Also got the other side of the rear frame assembled and then put the car properly onto the ground. Had to place the 13s next to the car just cos.......
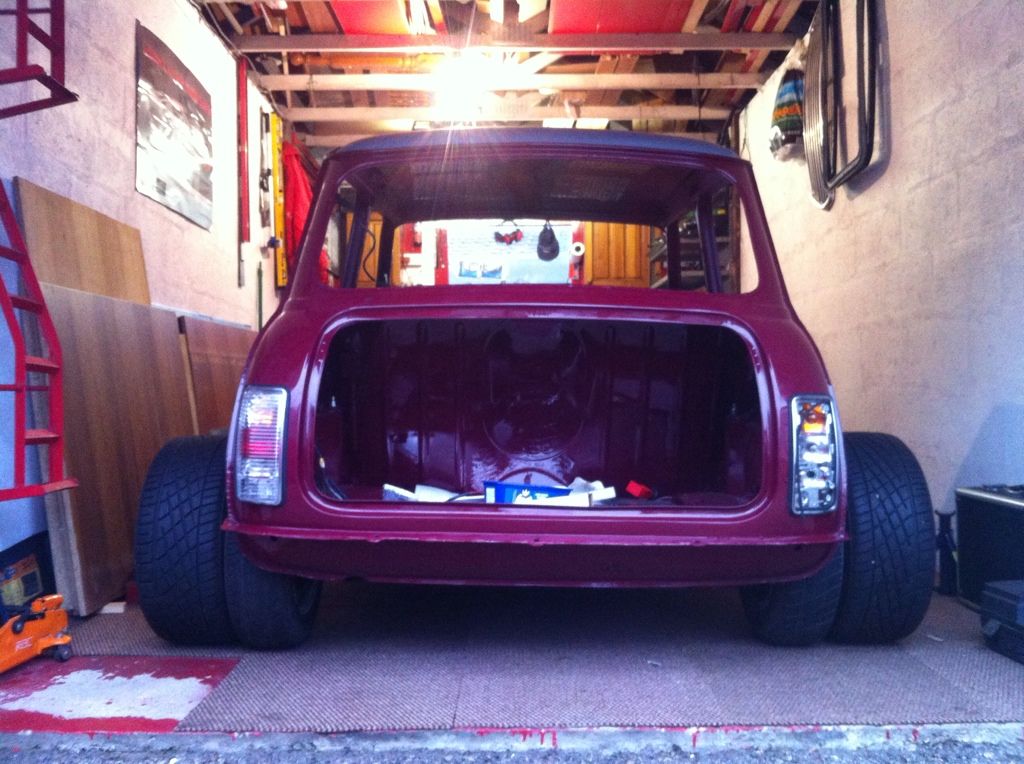
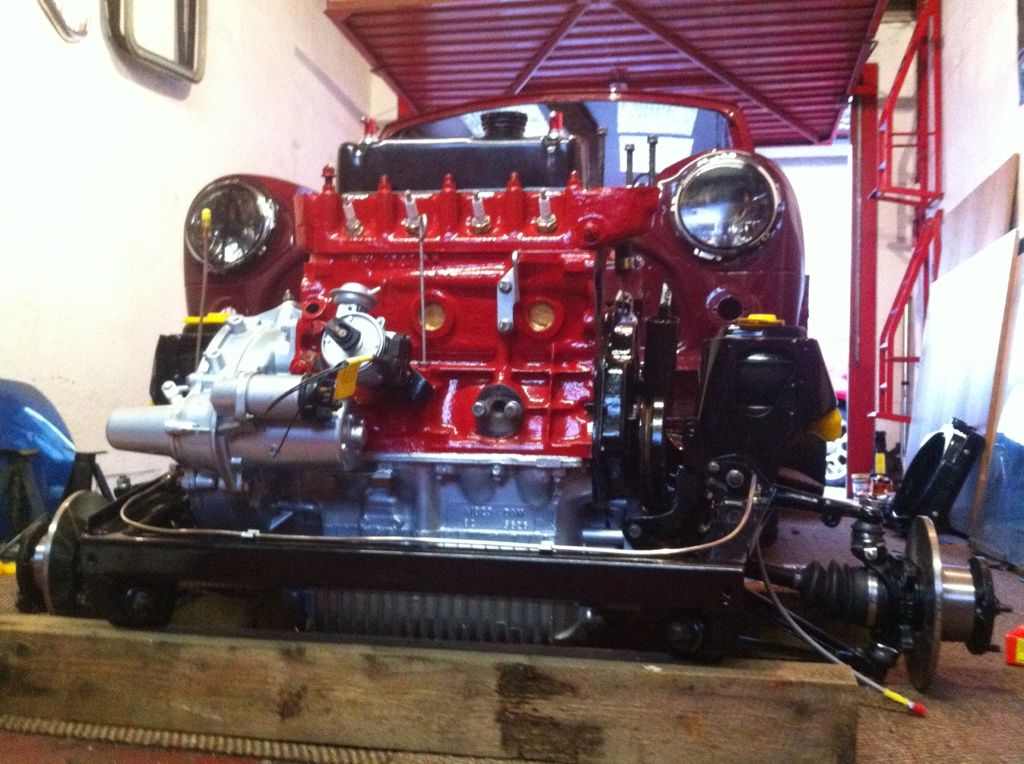
So Im off tomorrow as well so theres lots to be getting on with! Stainless LCB manifold can go on now which will really shine up the bay.
Todays works.....
Exhaust mocked up ready to drill holes to bolt it in The plate will cover up the back box when done.
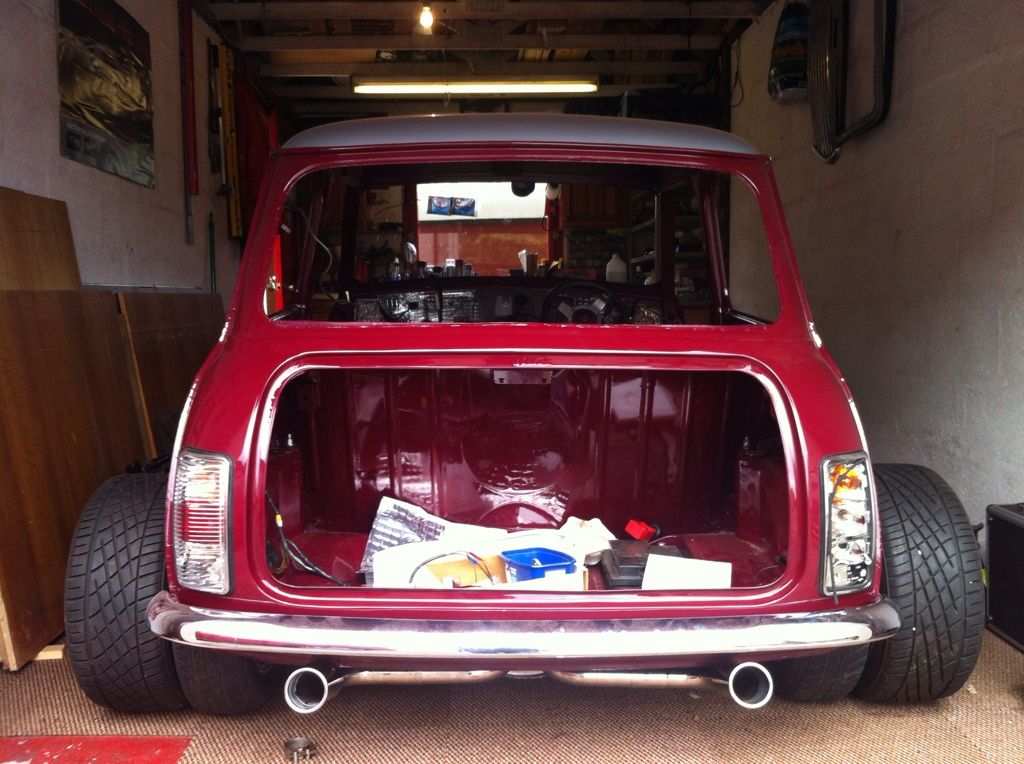
And this is how most will see it seeing as its so low.
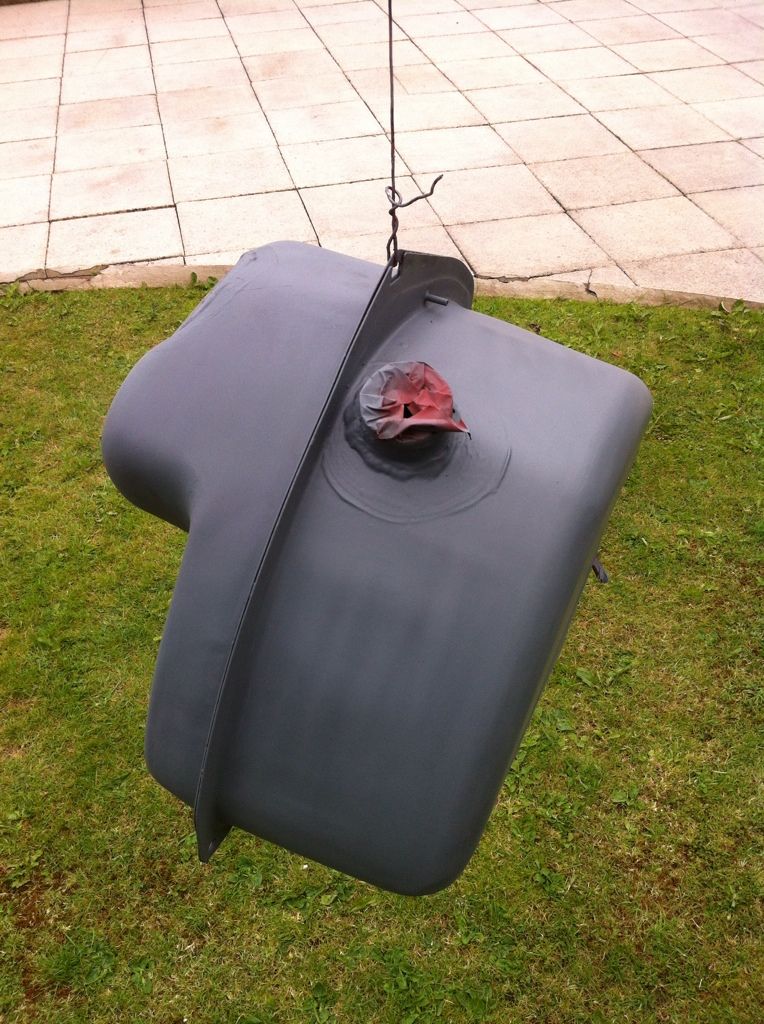
Primered up my tank and finally painted it black.....not perfect but meh......
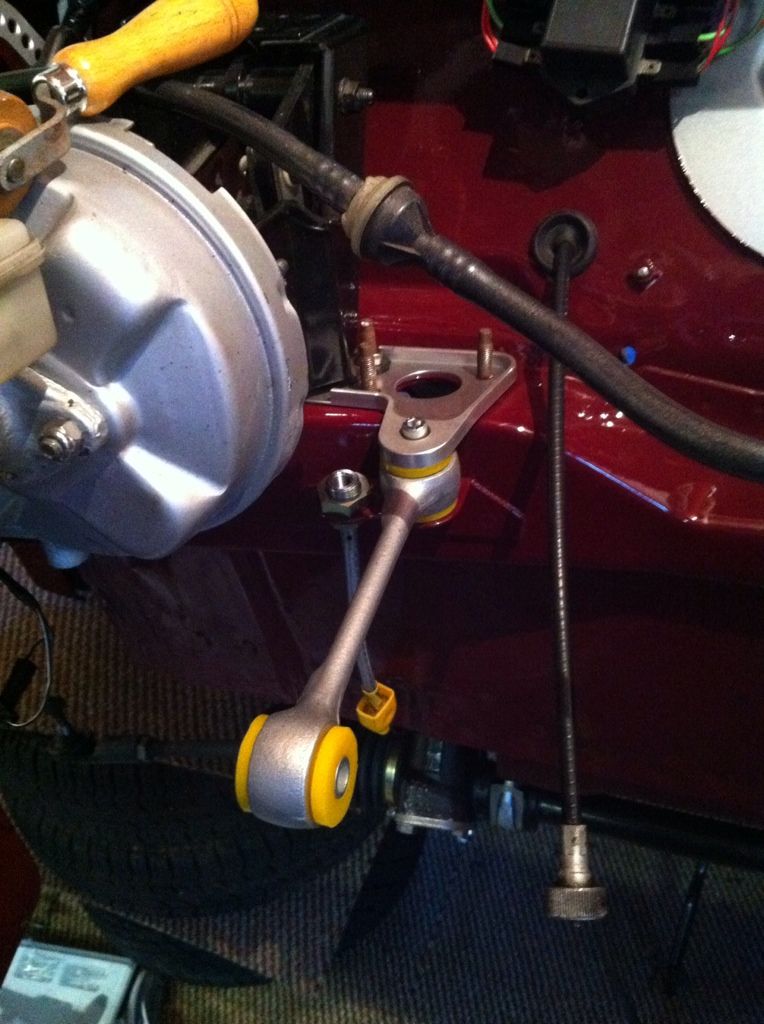
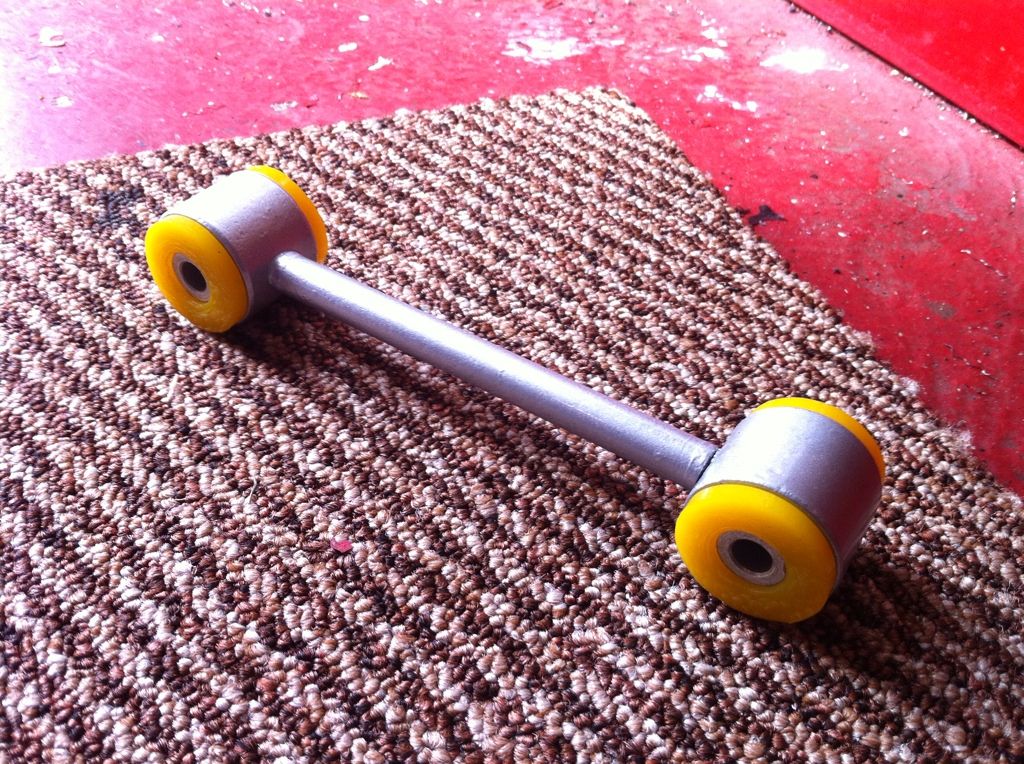
Got my lower engine steady painted, lacquered and bushed up and fitted!
Shocks on! However I need new bolts for these as mine (as most seem to be....) are cross threaded. Brilliant! :sad:
Quick comparison of old vs new carb. Will need a rebuild kit......

and I got some shiny fitted! Specialist Components LCB in full stainless

Need to order more bits but funds are running low. Need to get it onto 4 wheels asap so I can get on with wiring and interior stuff. Don't want to do that now as it will make car too heavy to move around. Catch 22 situation really!
So the slog continues.....Comment
-
nice progress! Love this build.Comment
-
Fantastic work!!!'09 VW Golf MK6 2.0 TDI DSG
R lookalike
Comment
-
Yesterday was a big one for progress to say the least. Got up early (.....ish. It was a day off after all....) with my dad and friend Greig to get my subframe and engine installed in the car.
First things first we fitted some bits that would be hard to fit with the engine in (fuel pump, couple brake bits etc etc) Also had to bend the frame a bit so the manifold didn't hit it. It was only slight but it was squeaking as I rocked the engine on the powder coat. Now theres plenty clearance for it.
With that done we set about putting wheels onto the hubs so we could wheel the frame around. My dad borrowed an engine dolly from his work (thank you technicians at Jag Aberdeen!) which made things MUCH easier!
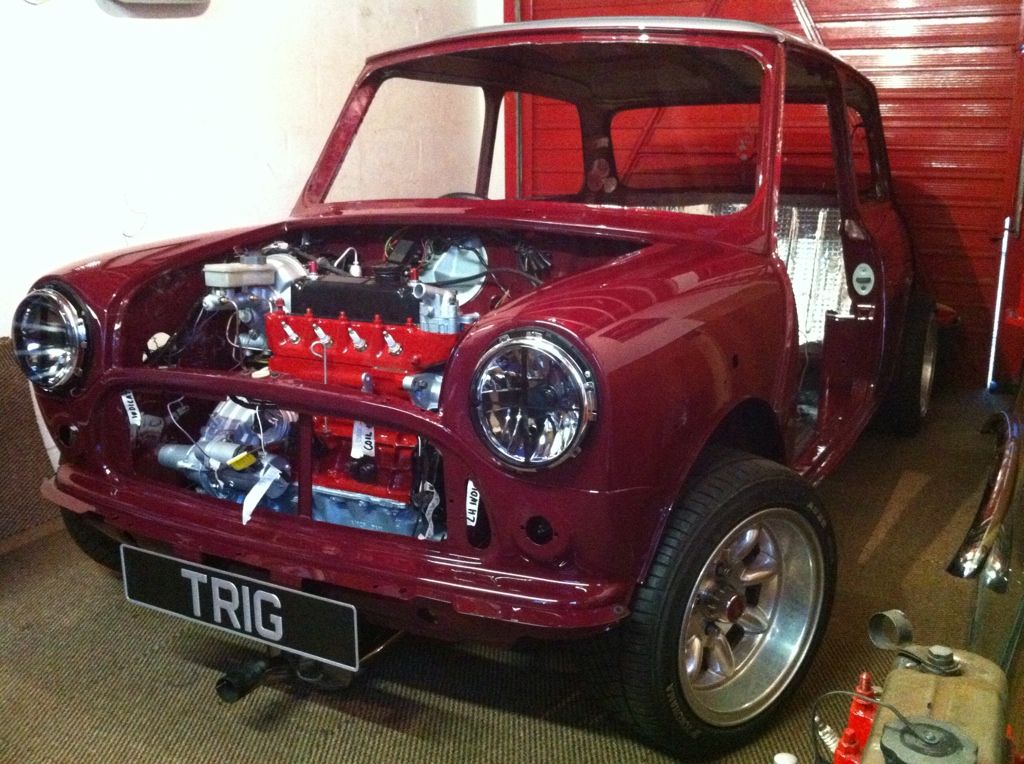
With the frame and engine on the dolly we roped in my mum for an extra pair of hands and lifted the body over the frame. Bit of moving around and removal of tyres under the floor and we were in! Almost 2 years since the engine came out. Got it all bolted up fully (rear mounts were a pain but with some patience we got them done. Seeing as it was sunny we wheeled it outside to see it in the daylight. Safe to say Im one happy camper! Paint still looks great and everything is new/refurbished to look like new. Proud!

Engine in by Andrew Forbes Photography, on Flickr
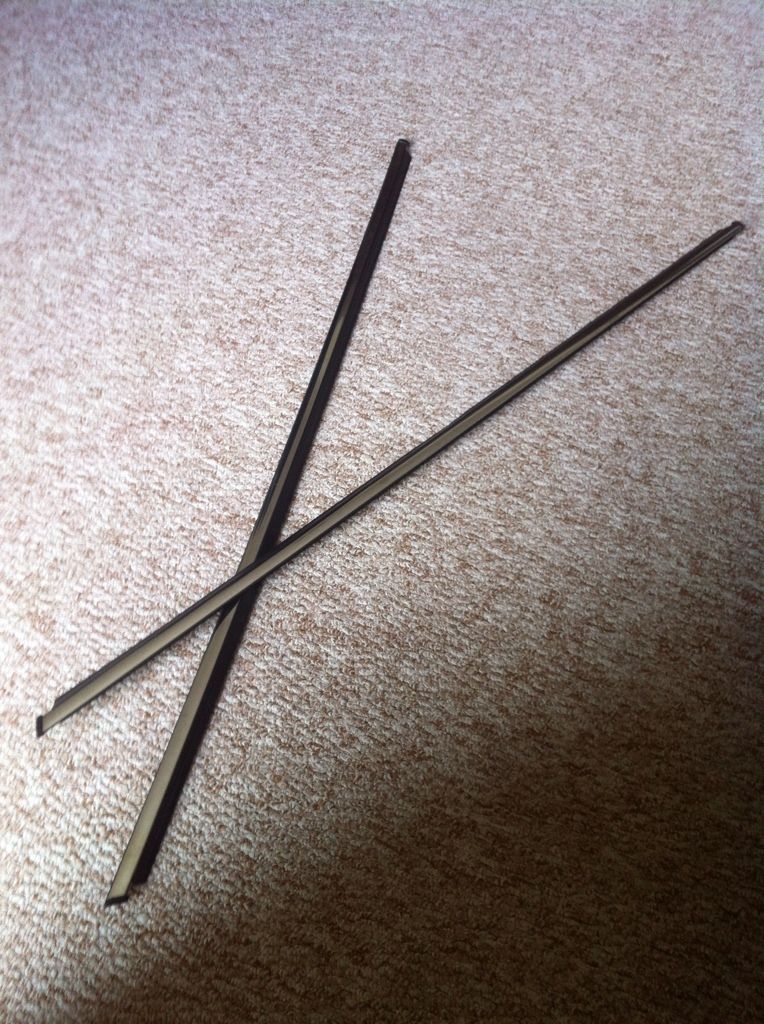
Only one steering arm was on as I need a collet for the drivers side one....

Engine in by Andrew Forbes Photography, on Flickr
Suspension and brake setup looks great hidden away

Engine in by Andrew Forbes Photography, on Flickr
Lots of wires and pipes that Im unsure how to route or wire up but we will get there....

Engine in by Andrew Forbes Photography, on Flickr
Im happy with the poke though! Arches will cover them well.

Engine in by Andrew Forbes Photography, on Flickr
Fair bit of work needed on the interior....

Engine in by Andrew Forbes Photography, on Flickr
Glad I tubbed the arches though as the tyres would sitting on the arch as it is in this pic otherwise! Means this combined with the stiff (really stiff on soft setting....) shocks will mean no rubbing hopefully!

Engine in by Andrew Forbes Photography, on Flickr
This makes it look like a toy.....

Engine in by Andrew Forbes Photography, on Flickr
Check out the shine! Needs corrected and waxed but it still looks stunning!

Engine in by Andrew Forbes Photography, on Flickr
Then I put the top engine steady on with the poly bushes in. Solid as a rock now!
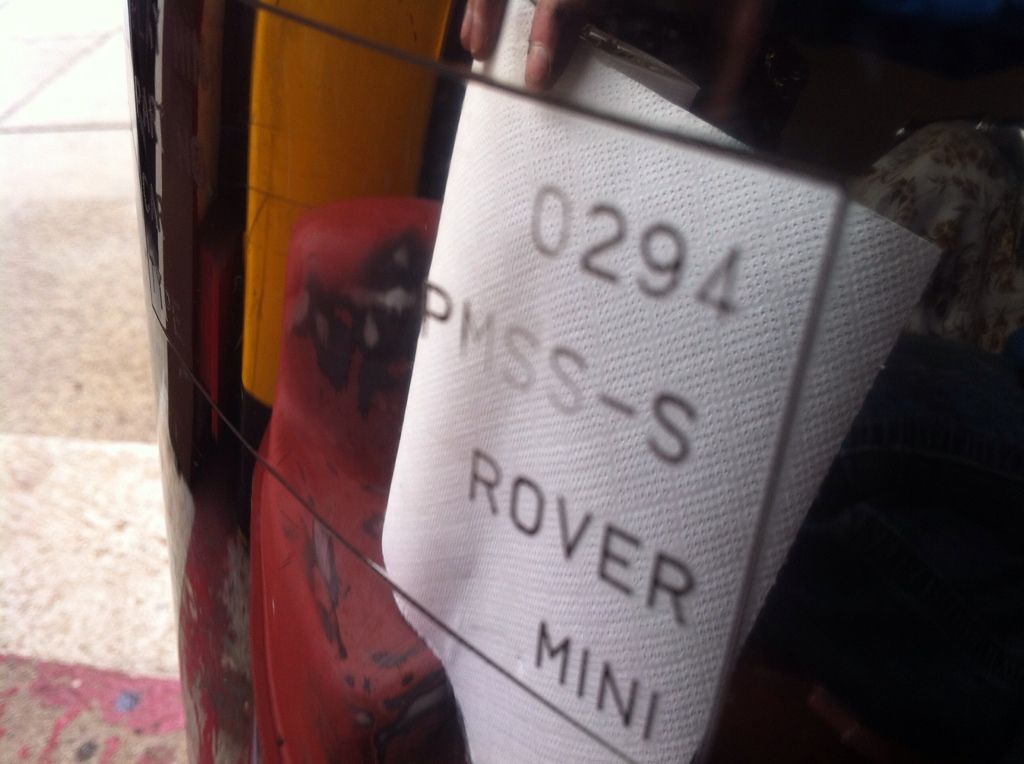
And then put it back in the garage again and put on my showplate which has the cars nickname on it.
Next step! Wiring! Not looking forward to that one little bit!Comment
-
Progress after a long stint of no motivation/money (still missing the money part :lol
Started by fixing my fuel and brake lines with the P clips I had. (6mm for fuel, 5mm for brake if anyone is wondering)
Top tip! Don't use crap pop rivets!

They sheared off at the wrong point! Thankfully they had a really strong hold so I just cut off the excess.
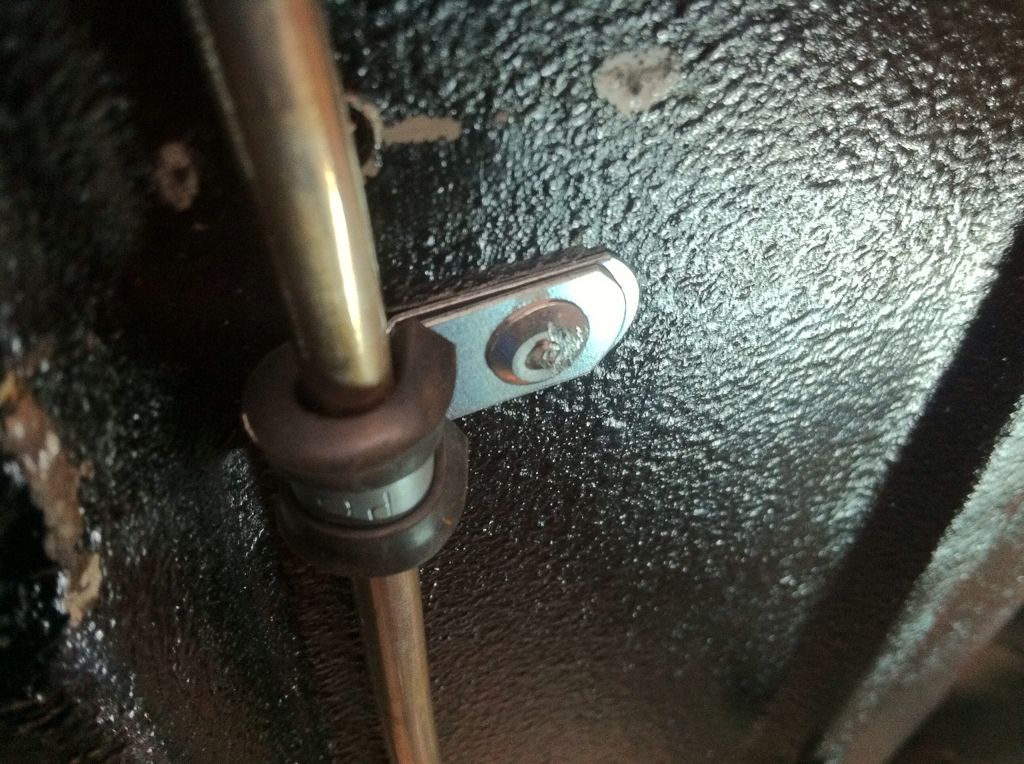
Placed them next to the floor ridges as this will offer extra protection if it scrapes the ground.....which it will.....:lol:
I tried refitting my gear knob. However, its worn a bit and didn't line up straight so I may have over tightened it......
Not a great loss as it was scratched with my dads wedding ring and they only cost �5 on eBay. Just need to get one with a metal insert instead of threaded resin.
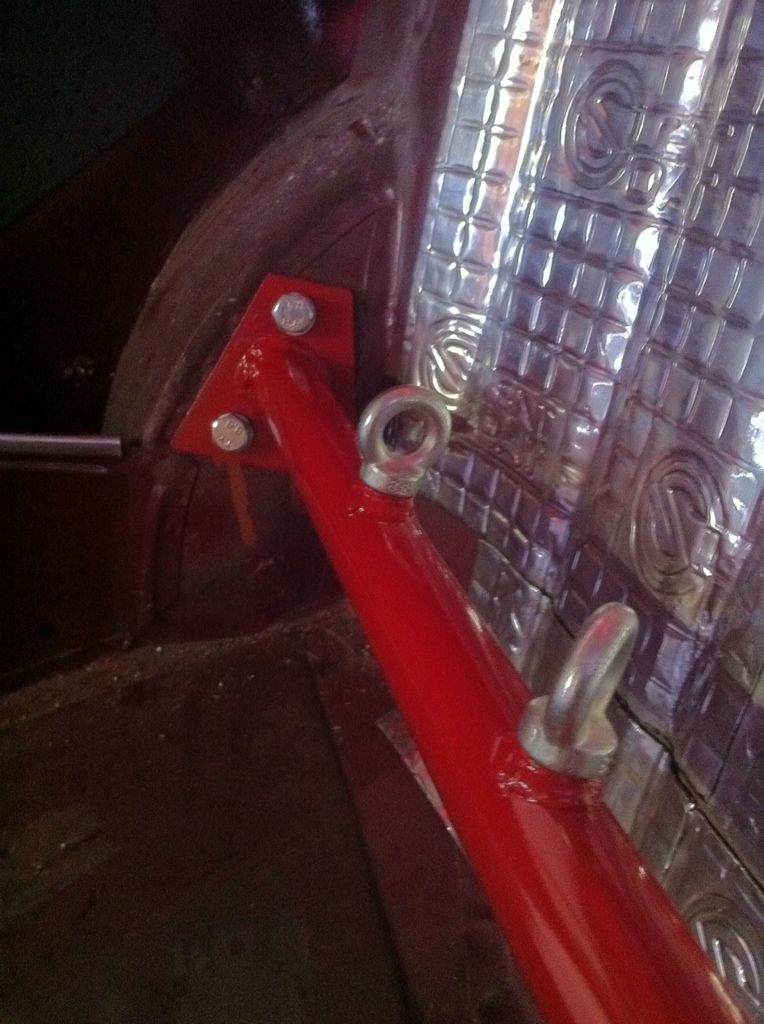
Got my harness bar mounted. Drilling 10mm holes in a car is never a good experience! Thankfully its over now though!
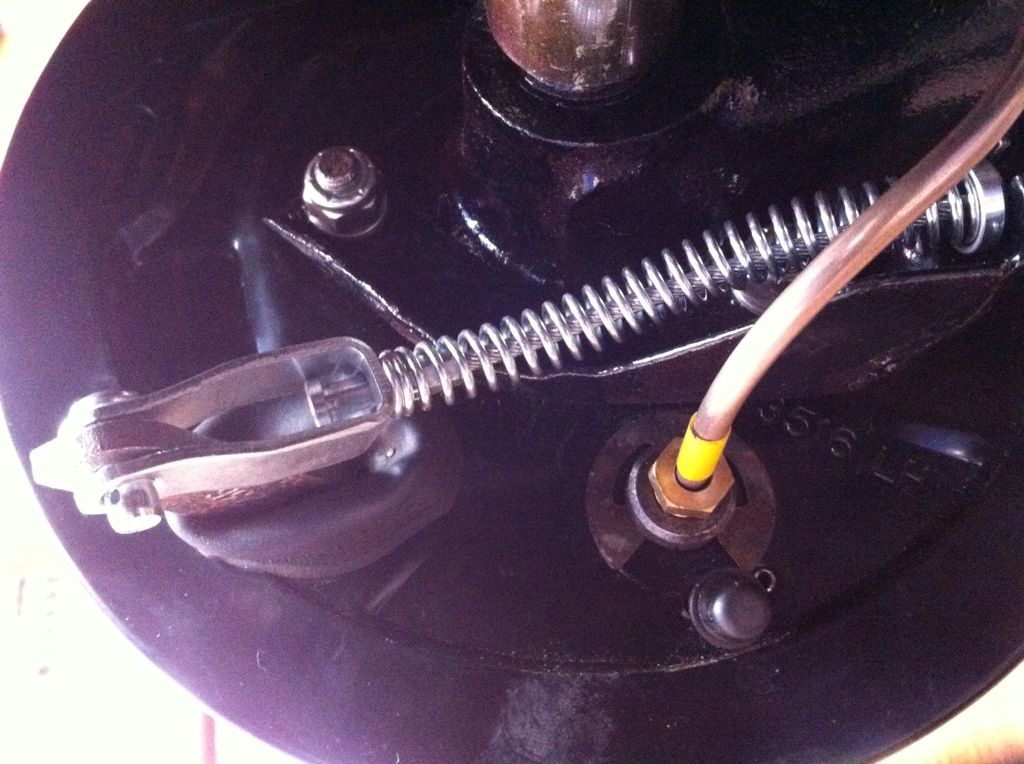
Got my rear handbrake cable fitted. Just need split pins to finish them off.
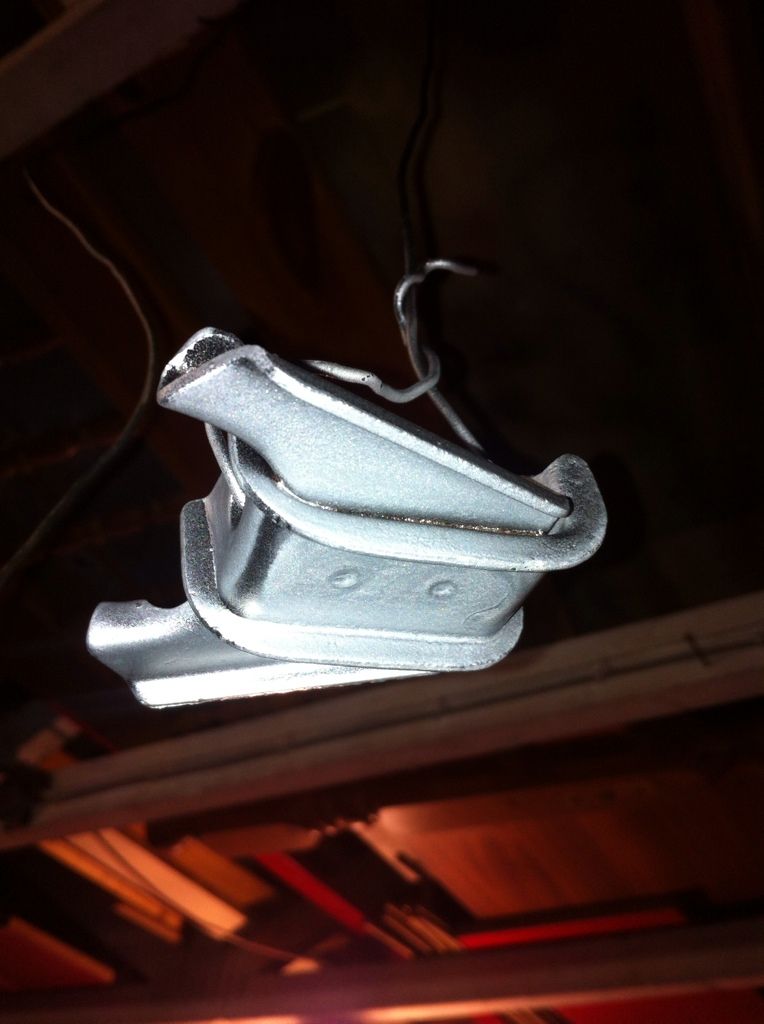
Then got the mid to rear handbrake bracket refurbed.
Before....
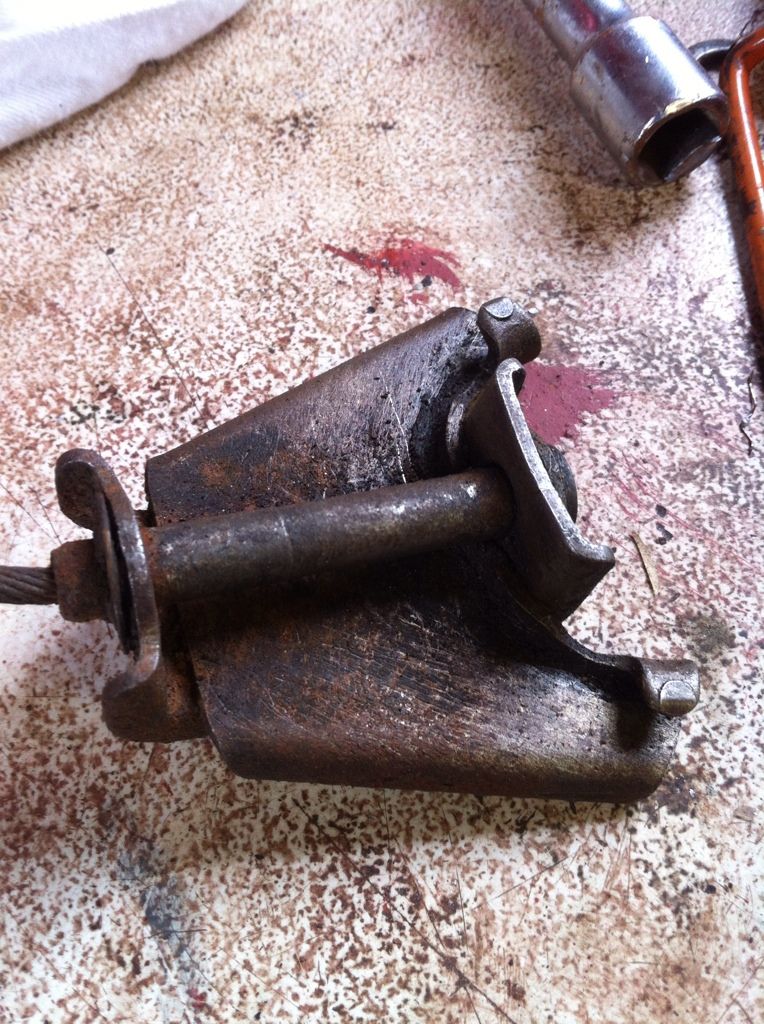
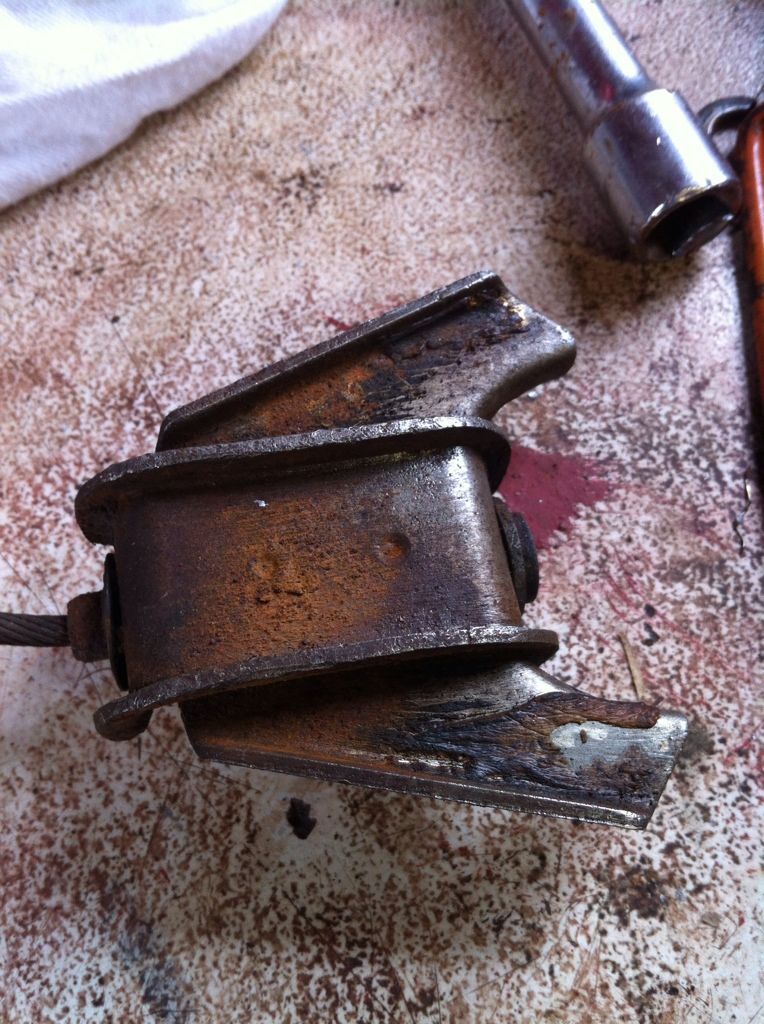
After!
Also got some more wiring done and rerouted simpler. A satisfying day of work!
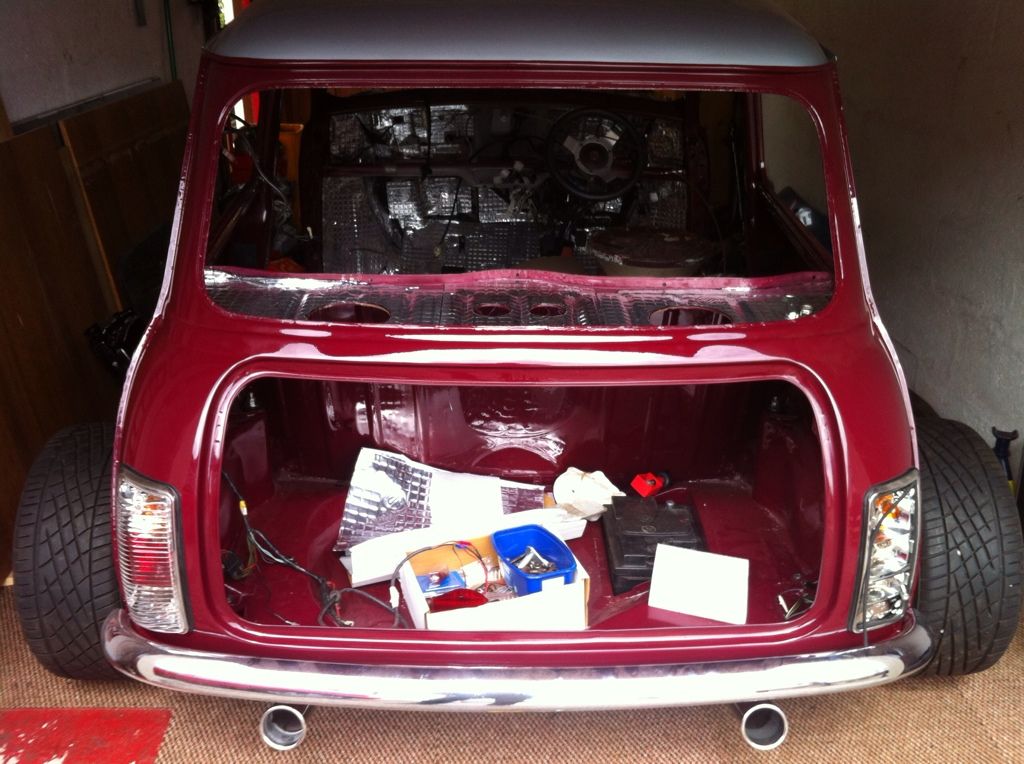
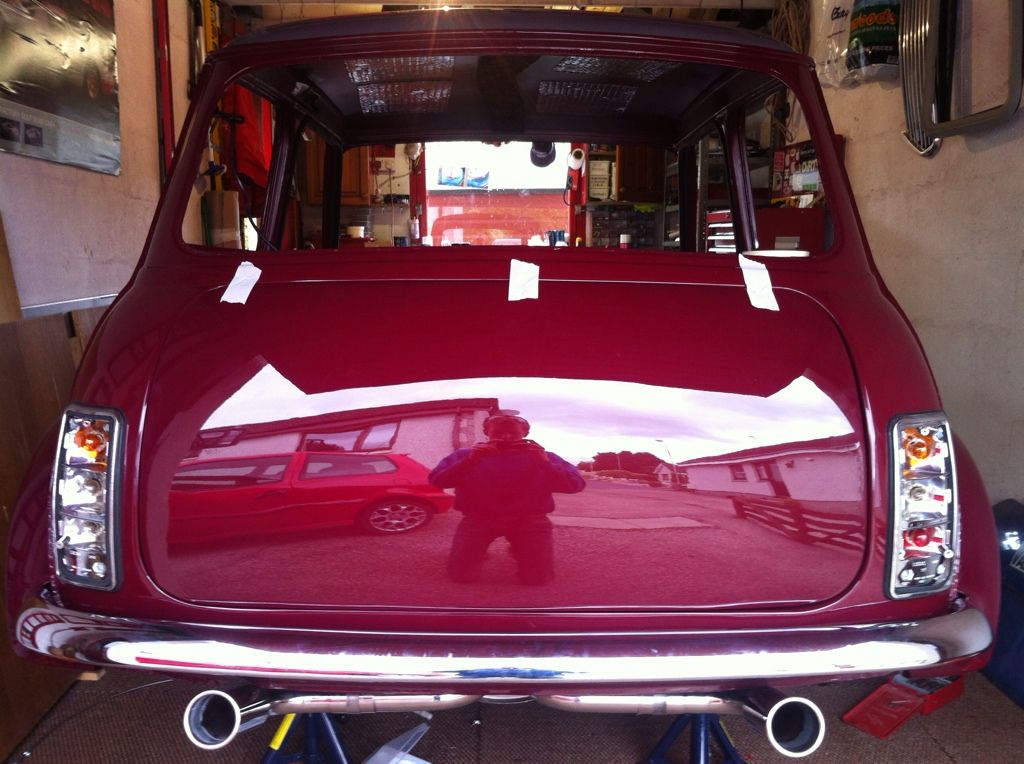
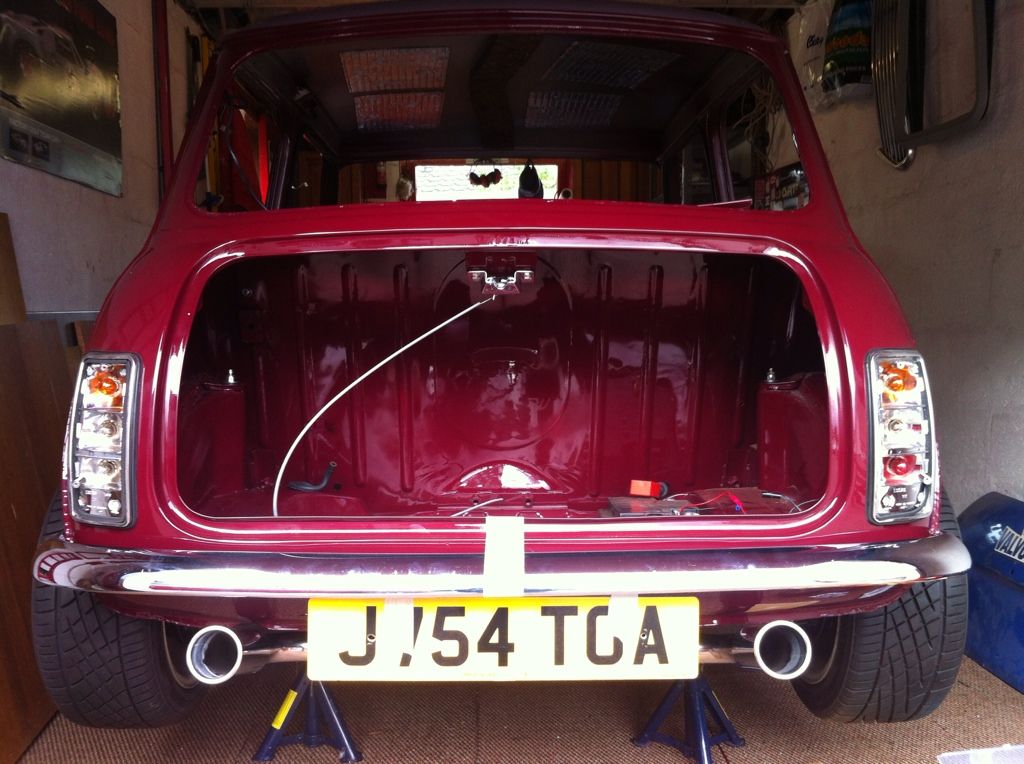
One thing I had to do was trial fit my bootlid. Hadn't done it since I got it home and safe to say I am one happy lad. Just look at it all mocked up!
Comment
-
Forgot to update the thread. Been working lates at work so had no time to work on it. LOADS of overtime and payrise means more pennies though
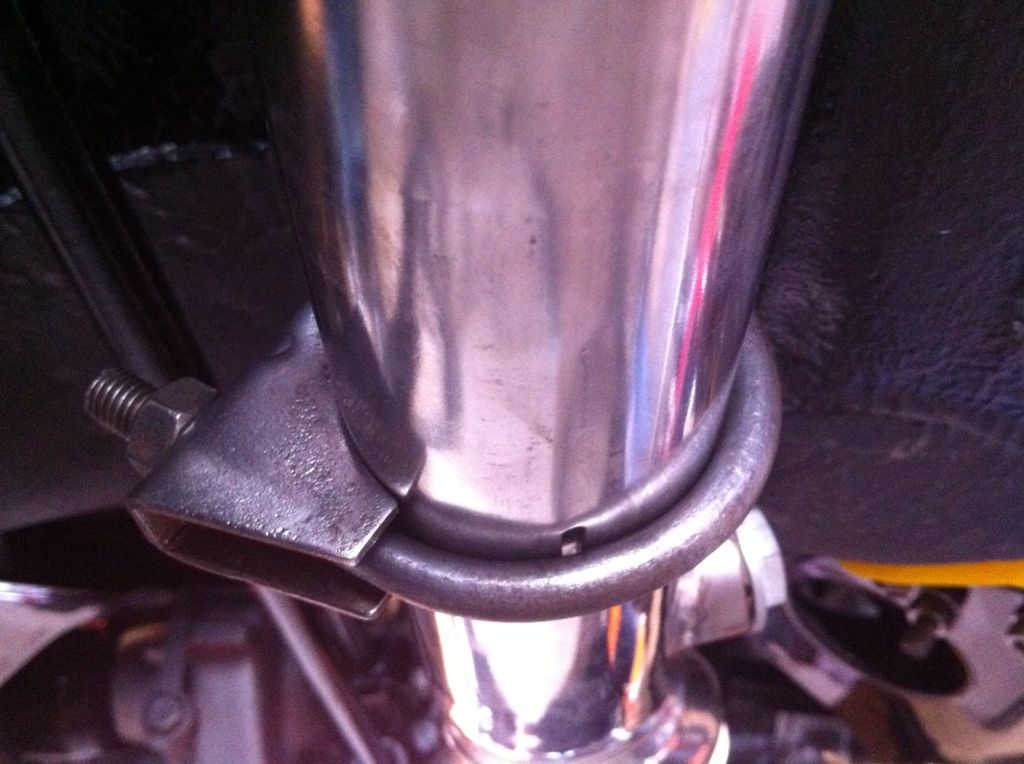
Got the exhaust mounted finally front to back using only clamps, no paste as recommended by specialists.

Clamps are angled as far into the tunnel as possible so they dont scrape.....
and the plate mocked up, hiding the back box nicely. Can also see the boot release cable ready to be routed properly
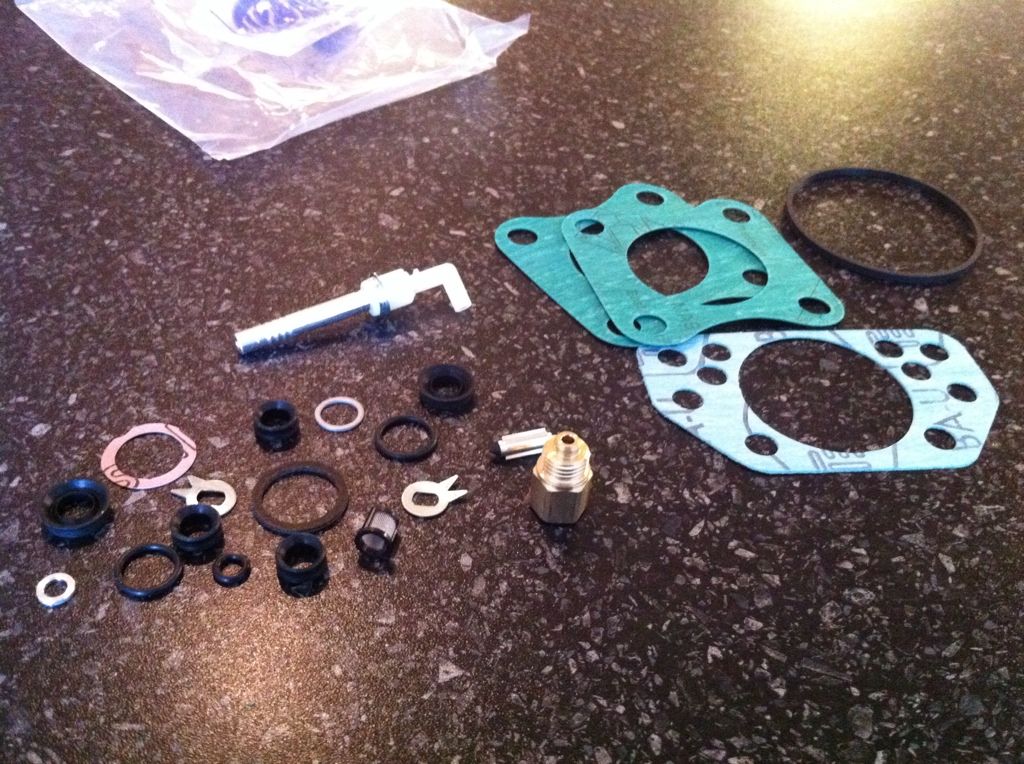
I also bought some bits. Little bits really but I got a Flamethrower coil and a carb rebuild kit.
The rebuild kit was ordeed wrong in my error. So I have a full HIF44 service kit for sale. �20. :lol: Will get an HIF38 one ordered asap!
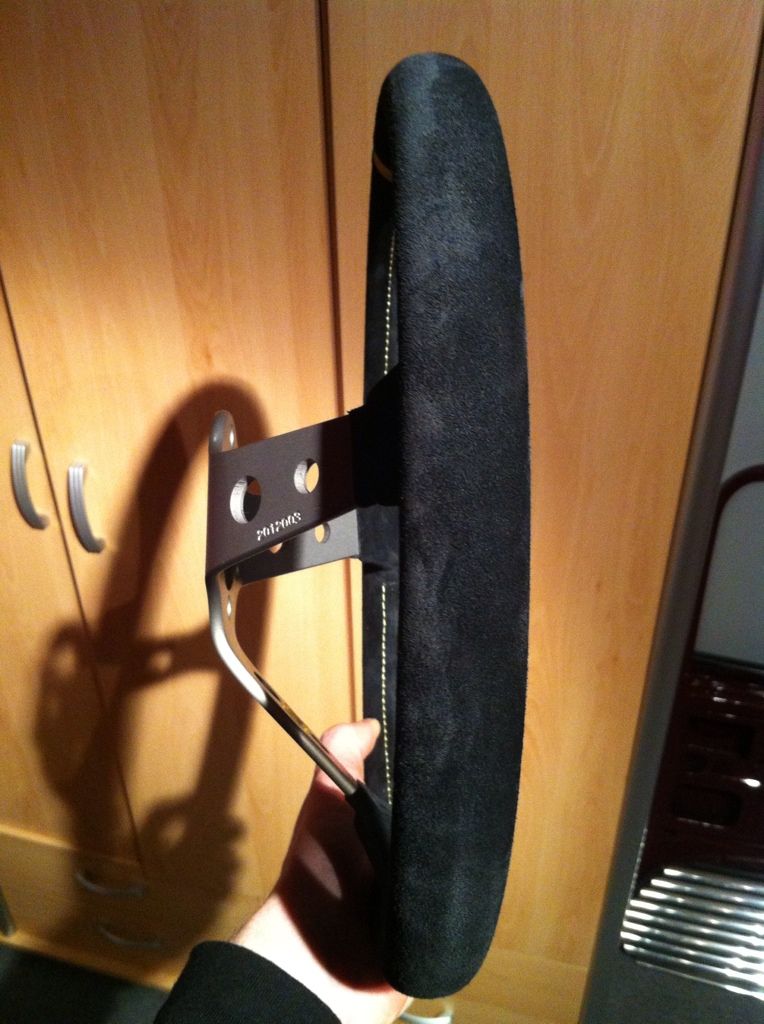
I also turned 21 at the weekend so I treated myself to a genuine OMP Corsica 90mm dished steering wheel. Suede covering for extra grip! 90mm dish means my legs go under it rather than around it like it used to be. Also brings wheel closer for better steering feel. Just waiting for the boss to arrive now.
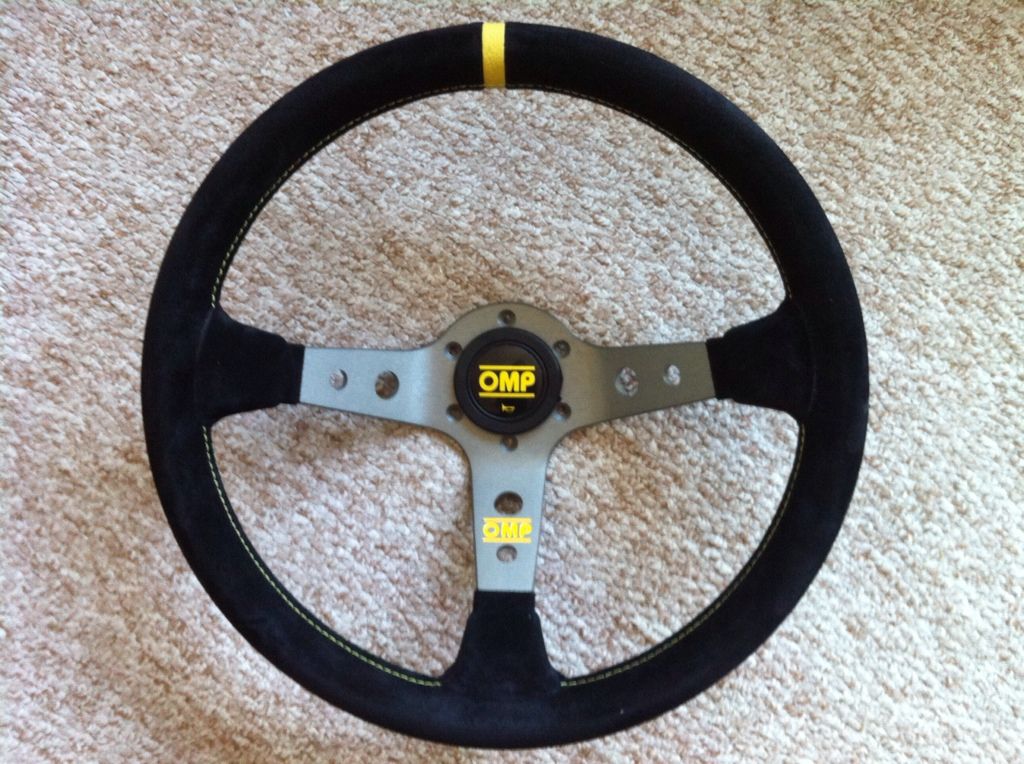
and the horn push which wont be needed as the horn is on one of the stalks.
But look at the dish! Love it!
MiniSpares order being placed tomorrow too! On earlys this month (7am starts...) so means I have evenings free to work on it
Comment


Comment