 Tweet
Tweet
I quickly decided i had to throw the new parts onto the more recent A4. The thing is, that this car, given its age, and mileage, would give me a hard time working on it, mostly due to the road grime and debris. All in all the car was in great shape, never seen and accident of any kind, that is why I bought it in the first place after looking for quite some time for the right one.
I will guide you through the process of the swap, which took about 12 hours, and did it all by myself. It needs patience, and some good quality beer and music. Other than that it is pretty straight forward if you have basic skills.
I started by removing the sideskirts first, then the front bumper, then wheels. front wheel arches, and front fenders, and then put everything back together - hopefully.
Driver Side sideskirt removal
First you remove this plastic to gain access to the bolts beneath it
 Part 8 by mgpdoc, on Flickr
Many bolts that need to come off
 Part 8 by mgpdoc, on Flickr
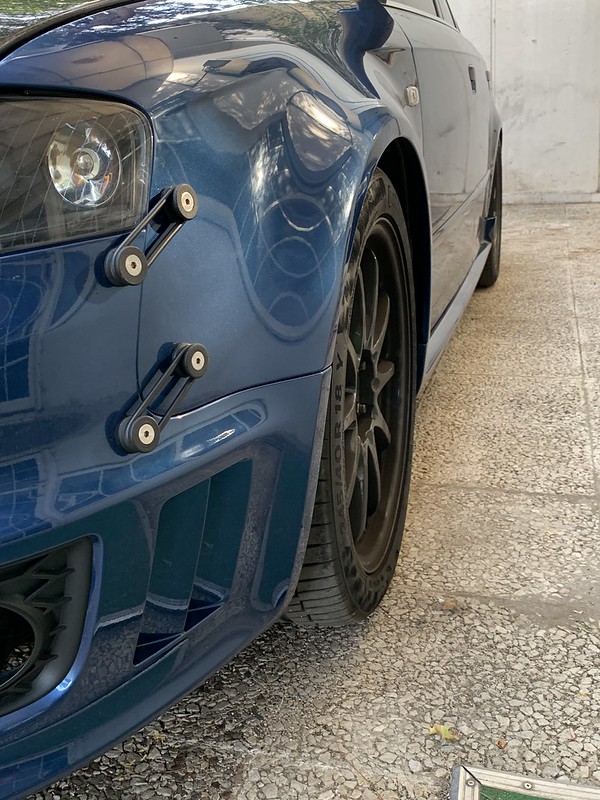
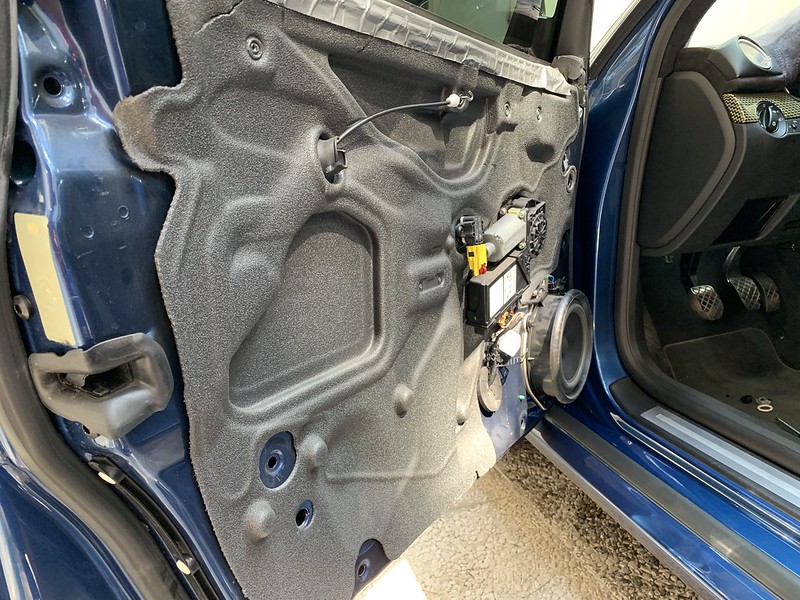
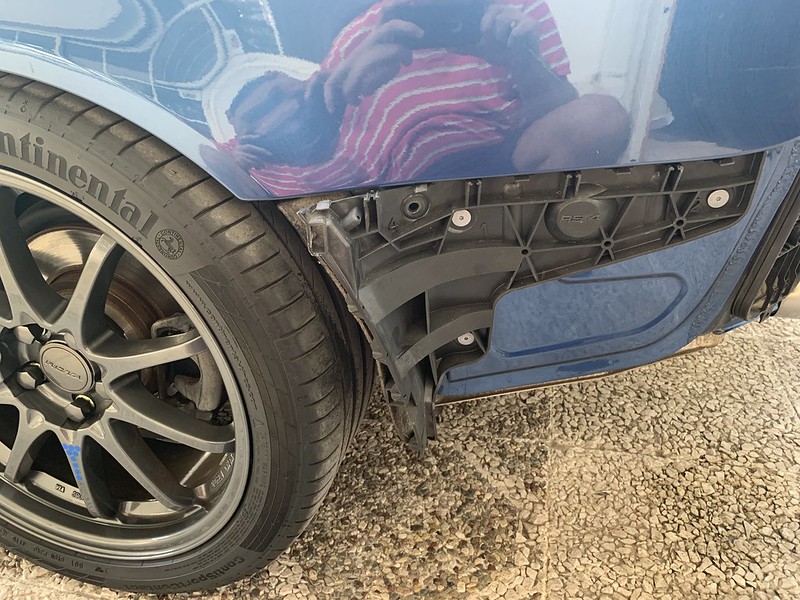
Here is what you are left with, once you remove the sideskirt.
 Part 8 by mgpdoc, on Flickr
After some degreaser and a lot of time
 Part 8 by mgpdoc, on Flickr
Passenger side sideskirt before and after cleaning
 Part 8 by mgpdoc, on Flickr
 Part 8 by mgpdoc, on Flickr
Passenger Sideskirt off
 Part 8 by mgpdoc, on Flickr
---------------------------------------------------------------
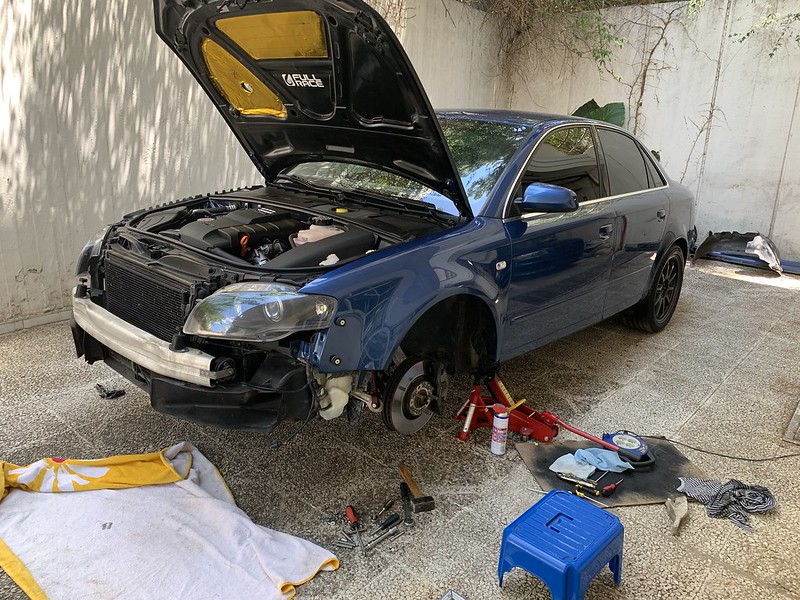
Then we lift the car on the air to work on front bumper and fenders
 Part 8 by mgpdoc, on Flickr
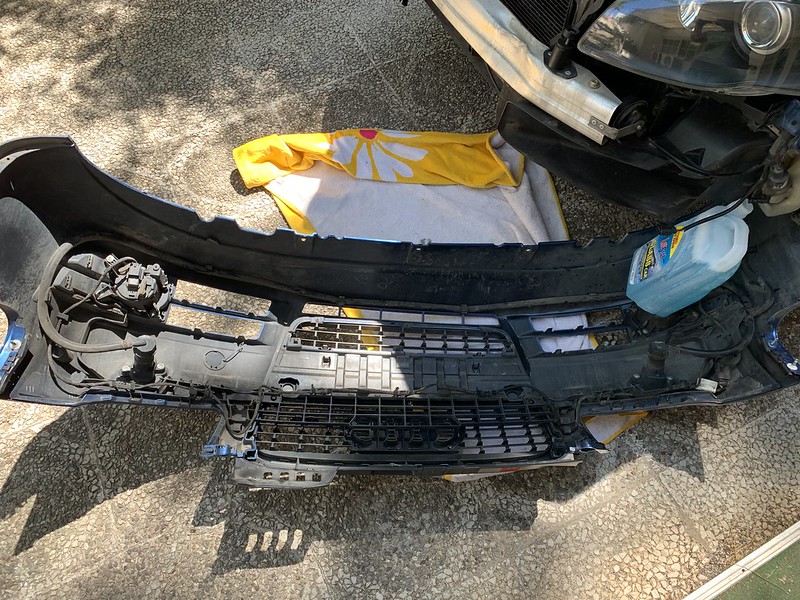
Out came the bumper and the washer fluid
 Part 8 by mgpdoc, on Flickr
No going back now
 Part 8 by mgpdoc, on Flickr
Passenger side was definitely the hardest one to work on, more things in there.
 Part 8 by mgpdoc, on Flickr
Lower fender bolts gave me some trouble due to grime and corrosion not letting the torx bit sit in as it should. Then when it did, this happened.
 Part 8 by mgpdoc, on Flickr
Nothing some angle grinder cant fix though
 Part 8 by mgpdoc, on Flickr
Instead of this
 Part 8 by mgpdoc, on Flickr
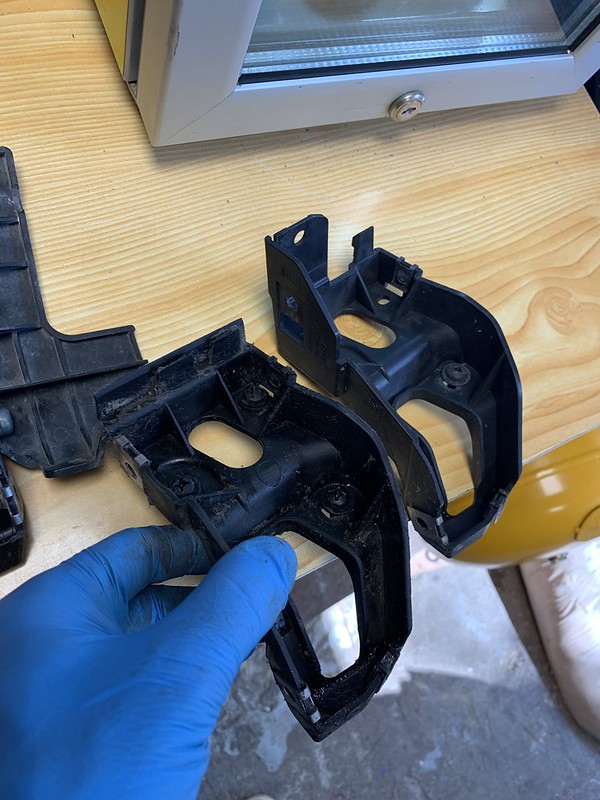
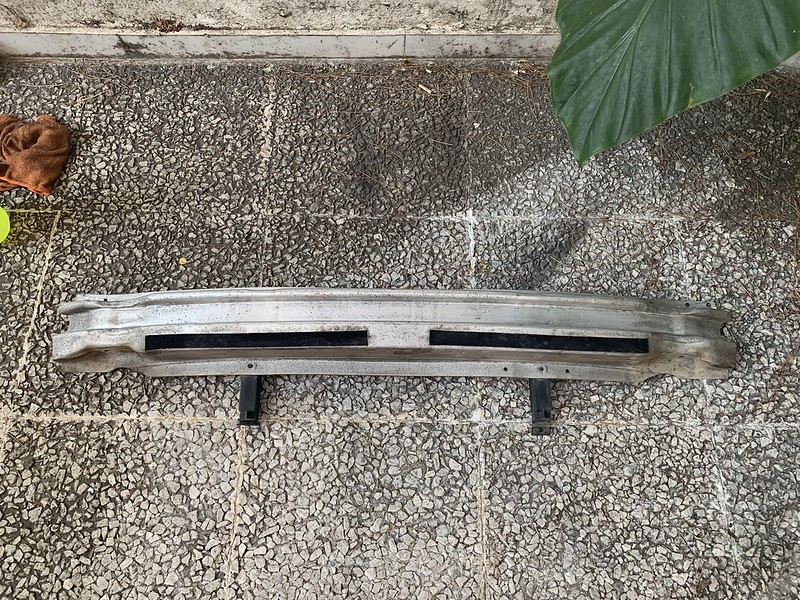
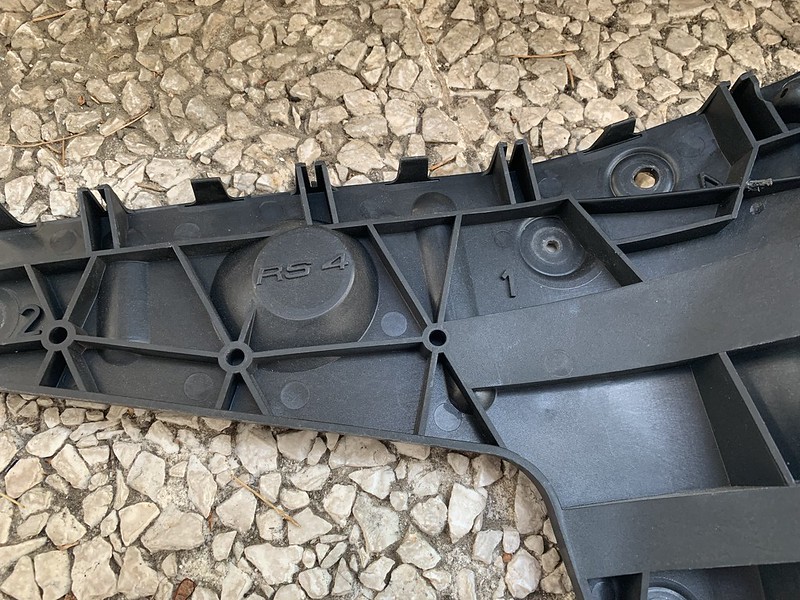
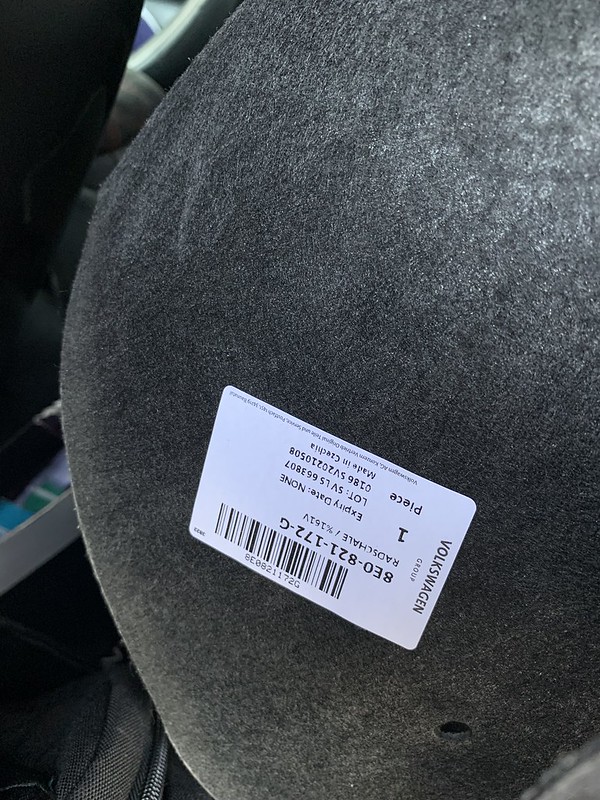
To the left, the stock A4 fender - sideskirt support and to the right the Rs4 one which is wider
 Part 8 by mgpdoc, on Flickr
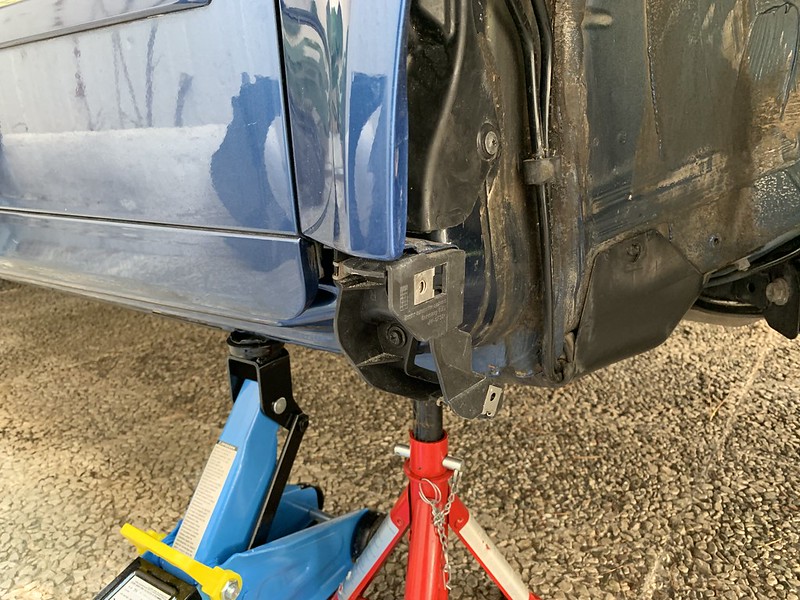
Installed in place
 Part 8 by mgpdoc, on Flickr
First fender was on
 Part 8 by mgpdoc, on Flickr
It was now time to see whether the fender line could at least be put in place although it is to be expected to be smaller than needed
 Part 8 by mgpdoc, on Flickr
Yeap, and smaller it was. However it fit in place, and nothing rubbed so it will do until i get the RS4 fender liners - if hopefully they are still in production, fingers crossed.
 Part 8 by mgpdoc, on Flickr
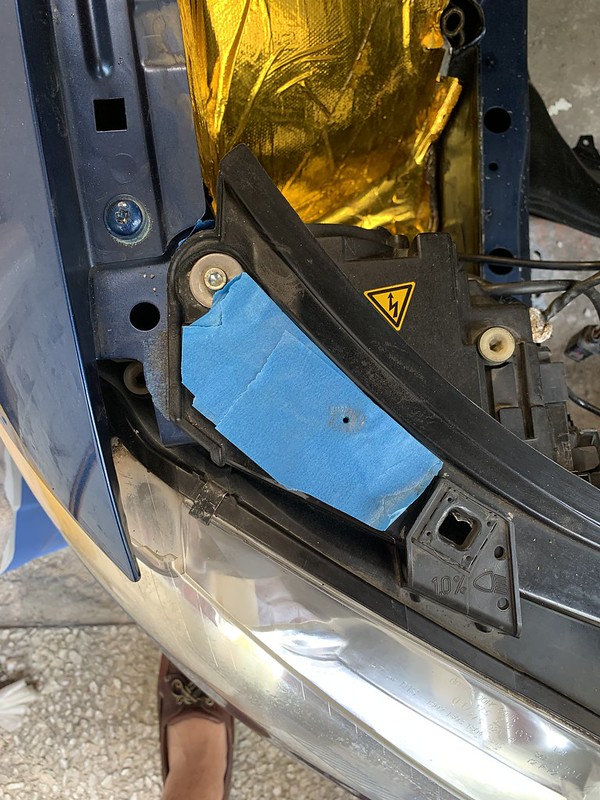
Headlight washer system was removed, I always found it useless and also it will interfere with the future IC setup.
 Part 8 by mgpdoc, on Flickr
Clean bumper ready to be installed
 Part 8 by mgpdoc, on Flickr
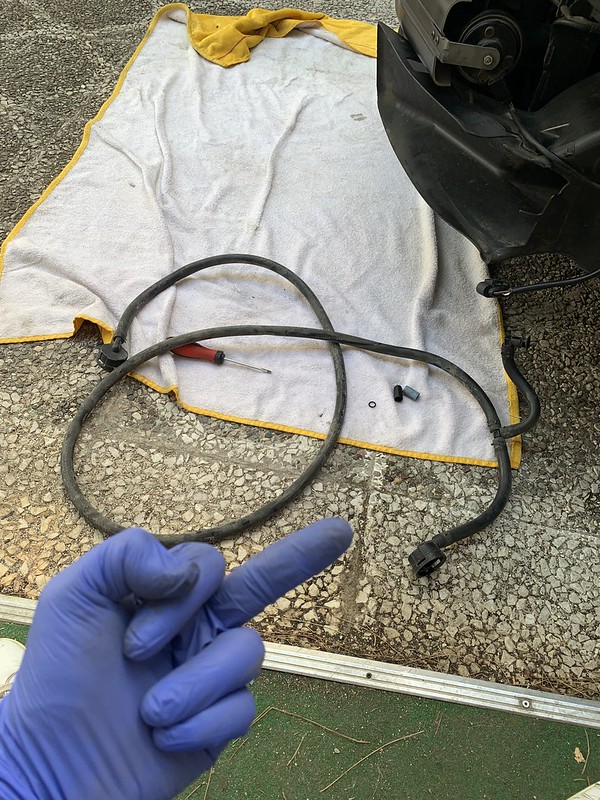
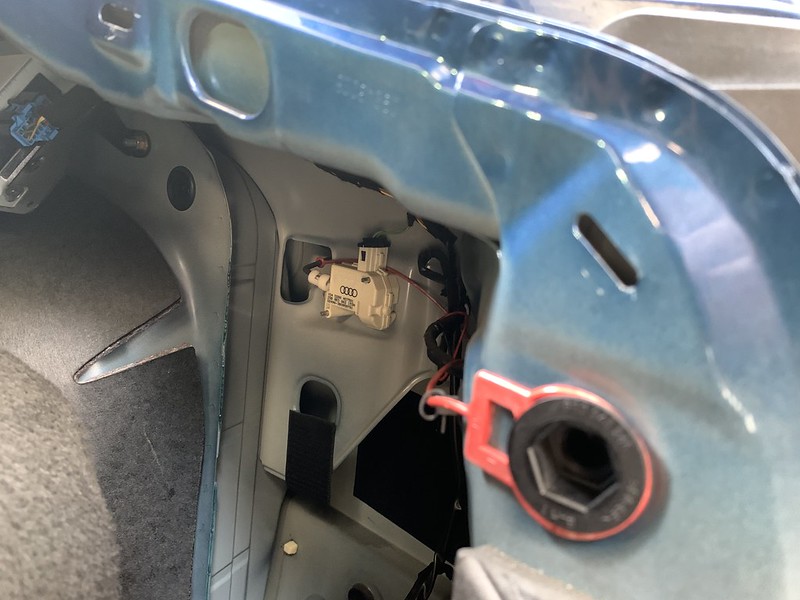
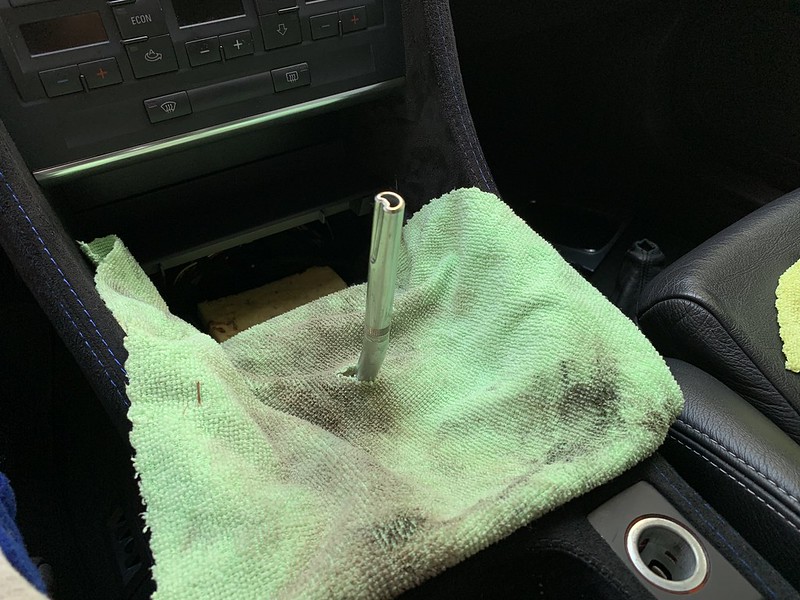
However I had to do something about this here which led to washer fluid leaking if not plugged.
 Part 8 by mgpdoc, on Flickr
At first i thought of doing another route or something.
 Part 8 by mgpdoc, on Flickr
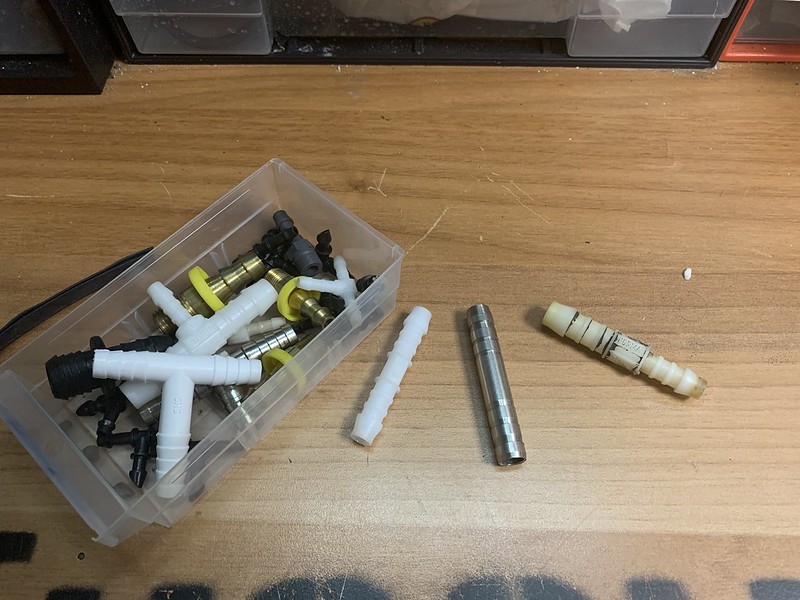
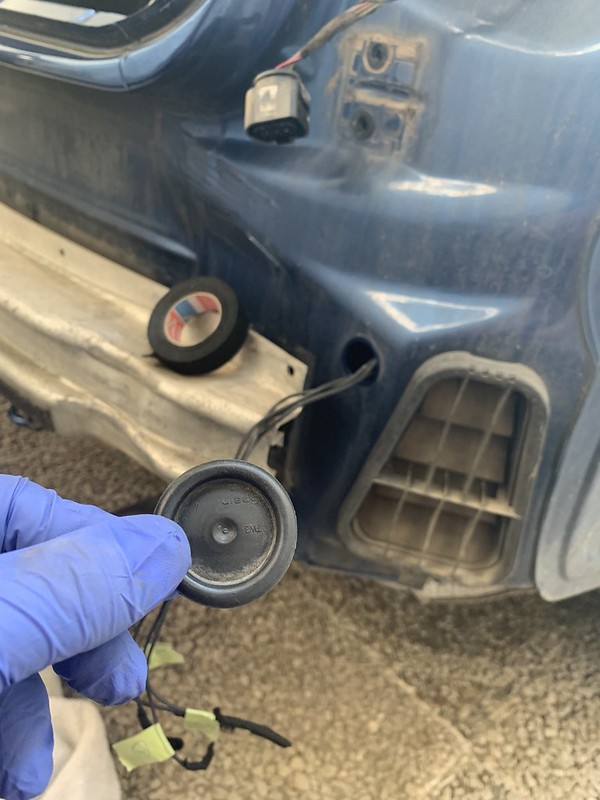
But then I remembered i have some silicone hose plugs, which is a big win especially when you have them in stock and can also choose colour lol.
There, super clean, and neat
 Part 8 by mgpdoc, on Flickr
Bumper and Fenders were, on, time to put the remaining things back on
 Part 8 by mgpdoc, on Flickr
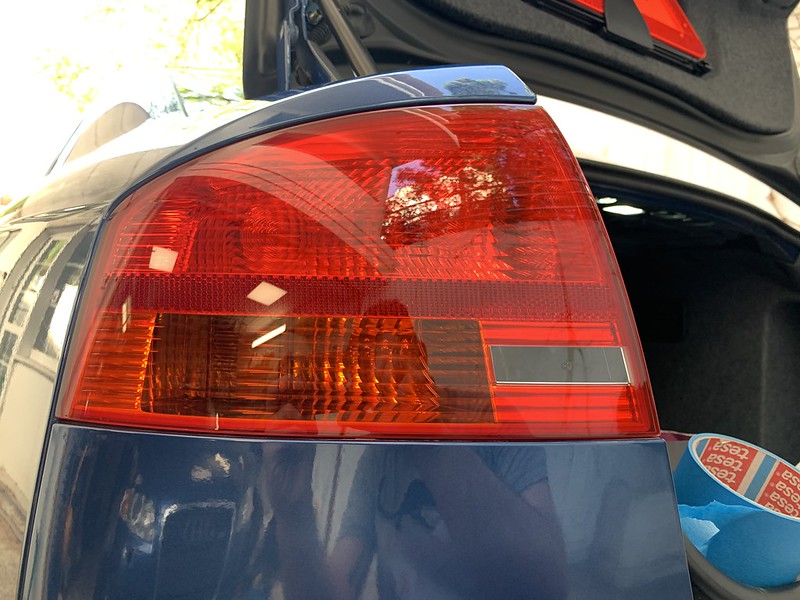
This is missing and is on order
 Part 9 by mgpdoc, on Flickr
Time for the sideskirts which at the rear part were wider due to the rear fenders not being on yet.
 Part 8 by mgpdoc, on Flickr
 Part 8 by mgpdoc, on Flickr
 Part 8 by mgpdoc, on Flickr
 Part 8 by mgpdoc, on Flickr
 Part 8 by mgpdoc, on Flickr
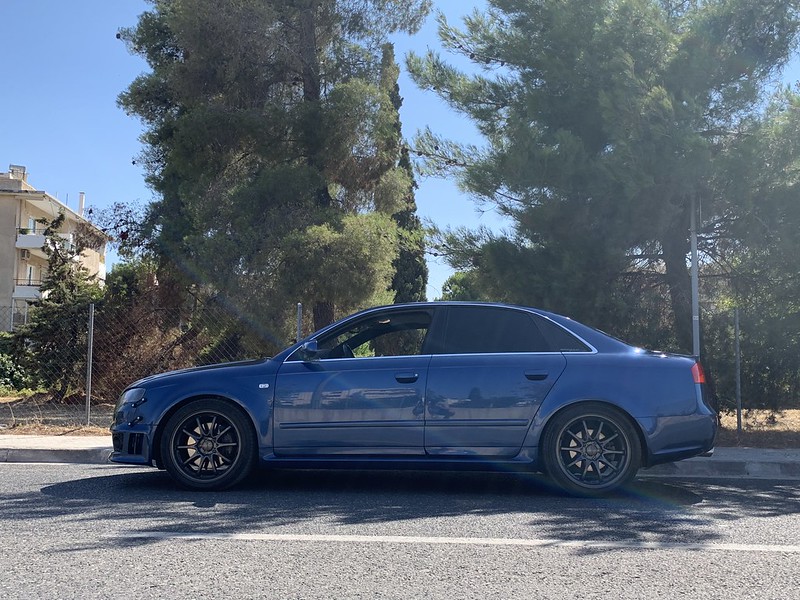
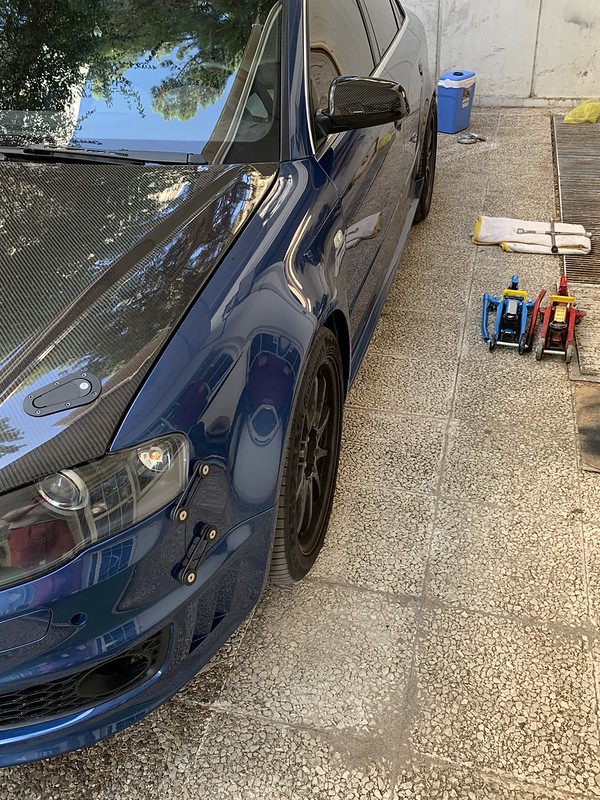
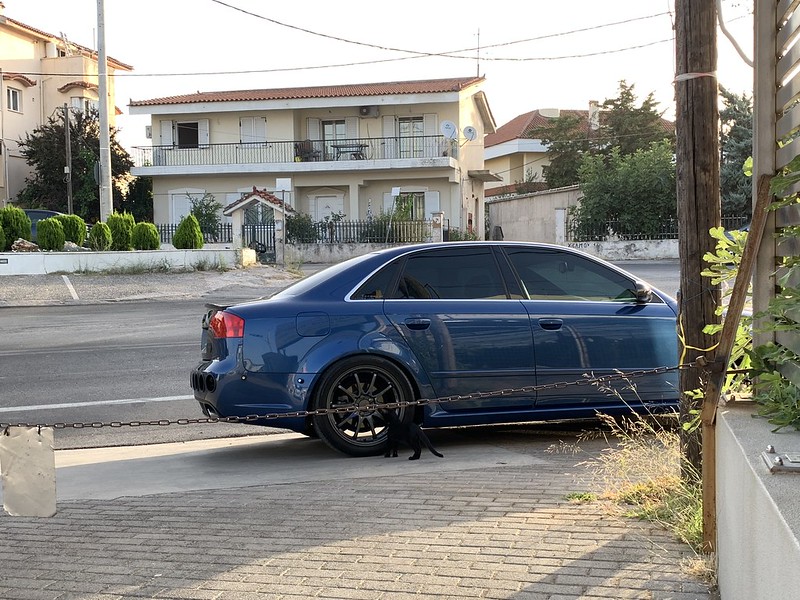
Touching ground and as you can see the car got significantly wider
 Part 8 by mgpdoc, on Flickr
 Part 8 by mgpdoc, on Flickr
 Part 8 by mgpdoc, on Flickr
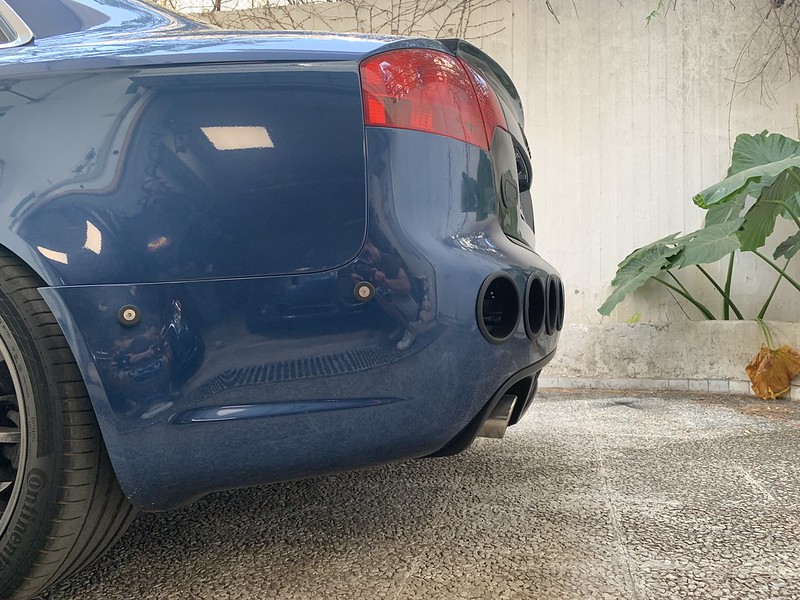
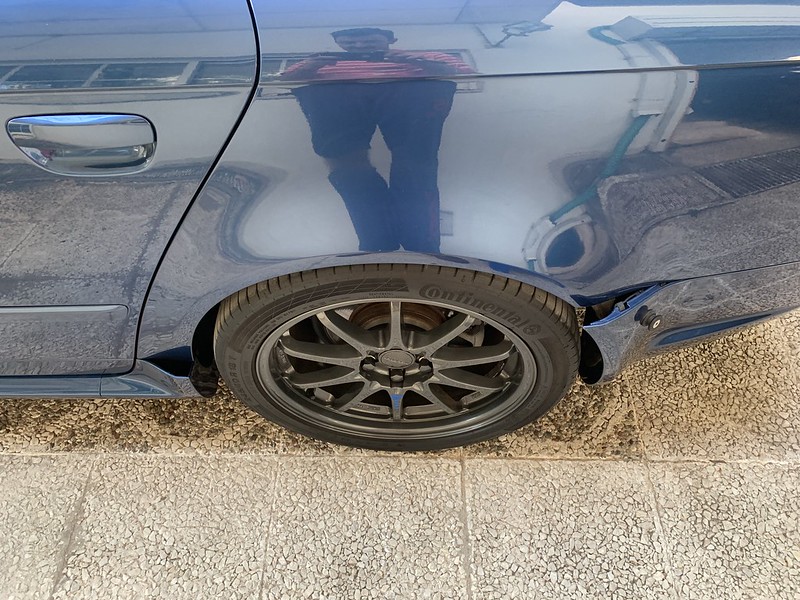
As for the rear bumper, I can install it in place, however, the side parts of the bumper stick out too much unless the fenders go in. Pics from my old test fit for reference
 Part 8 by mgpdoc, on Flickr
 Part 8 by mgpdoc, on Flickr
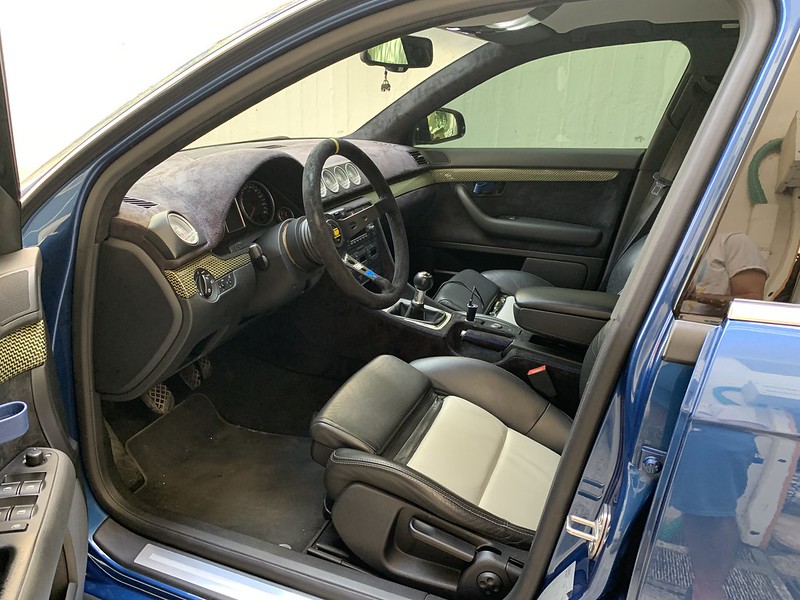
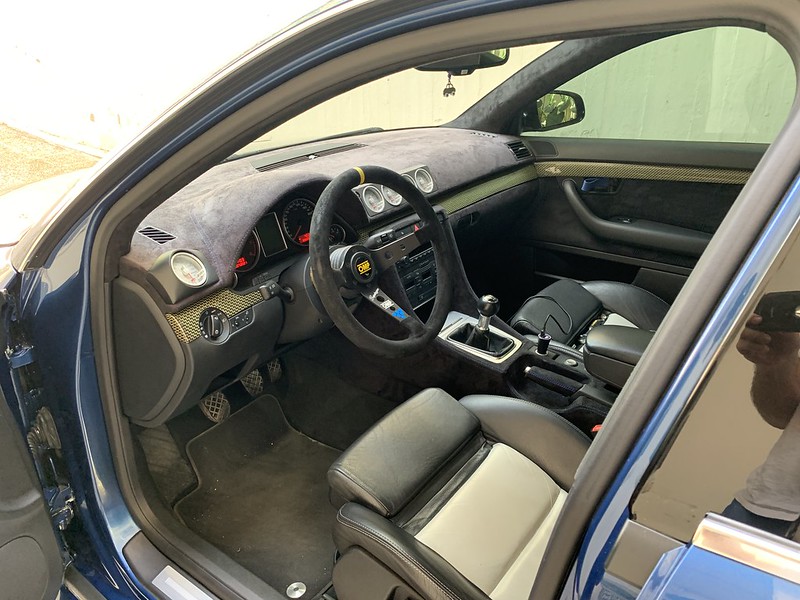
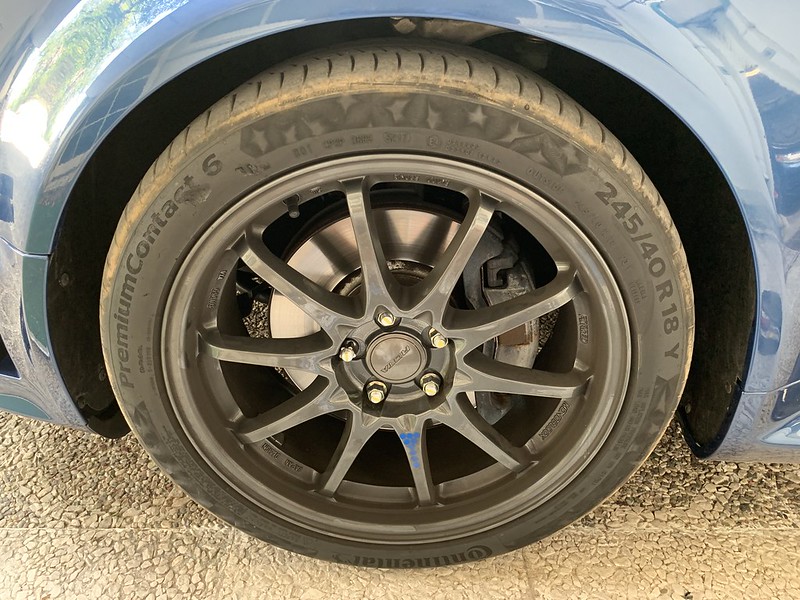
Some random pics of the car, that day
 Part 8 by mgpdoc, on Flickr
 Part 8 by mgpdoc, on Flickr
9 years between these two photos, in the same location
 Part 8 by mgpdoc, on Flickr
 Part 8 by mgpdoc, on Flickr
 Part 8 by mgpdoc, on Flickr
 Part 11 by mgpdoc, on Flickr
 Part 11 by mgpdoc, on Flickr
Hope you liked this as much as I did.
Cheers
Mike
I will guide you through the process of the swap, which took about 12 hours, and did it all by myself. It needs patience, and some good quality beer and music. Other than that it is pretty straight forward if you have basic skills.
I started by removing the sideskirts first, then the front bumper, then wheels. front wheel arches, and front fenders, and then put everything back together - hopefully.
Driver Side sideskirt removal
First you remove this plastic to gain access to the bolts beneath it
Part 8 by mgpdoc, on FlickrMany bolts that need to come off
Part 8 by mgpdoc, on FlickrHere is what you are left with, once you remove the sideskirt.
Part 8 by mgpdoc, on FlickrAfter some degreaser and a lot of time
Part 8 by mgpdoc, on FlickrPassenger side sideskirt before and after cleaning
Part 8 by mgpdoc, on FlickrPart 8 by mgpdoc, on FlickrPassenger Sideskirt off
Part 8 by mgpdoc, on Flickr---------------------------------------------------------------
Then we lift the car on the air to work on front bumper and fenders
Part 8 by mgpdoc, on FlickrOut came the bumper and the washer fluid
Part 8 by mgpdoc, on FlickrNo going back now
Part 8 by mgpdoc, on FlickrPassenger side was definitely the hardest one to work on, more things in there.
Part 8 by mgpdoc, on FlickrLower fender bolts gave me some trouble due to grime and corrosion not letting the torx bit sit in as it should. Then when it did, this happened.
Part 8 by mgpdoc, on FlickrNothing some angle grinder cant fix though
Part 8 by mgpdoc, on FlickrInstead of this
Part 8 by mgpdoc, on FlickrTo the left, the stock A4 fender - sideskirt support and to the right the Rs4 one which is wider
Part 8 by mgpdoc, on FlickrInstalled in place
Part 8 by mgpdoc, on FlickrFirst fender was on
Part 8 by mgpdoc, on FlickrIt was now time to see whether the fender line could at least be put in place although it is to be expected to be smaller than needed
Part 8 by mgpdoc, on FlickrYeap, and smaller it was. However it fit in place, and nothing rubbed so it will do until i get the RS4 fender liners - if hopefully they are still in production, fingers crossed.
Part 8 by mgpdoc, on FlickrHeadlight washer system was removed, I always found it useless and also it will interfere with the future IC setup.
Part 8 by mgpdoc, on FlickrClean bumper ready to be installed
Part 8 by mgpdoc, on FlickrHowever I had to do something about this here which led to washer fluid leaking if not plugged.
Part 8 by mgpdoc, on FlickrAt first i thought of doing another route or something.
Part 8 by mgpdoc, on FlickrBut then I remembered i have some silicone hose plugs, which is a big win especially when you have them in stock and can also choose colour lol.
There, super clean, and neat
Part 8 by mgpdoc, on FlickrBumper and Fenders were, on, time to put the remaining things back on
Part 8 by mgpdoc, on FlickrThis is missing and is on order
Part 9 by mgpdoc, on FlickrTime for the sideskirts which at the rear part were wider due to the rear fenders not being on yet.
Part 8 by mgpdoc, on FlickrPart 8 by mgpdoc, on FlickrPart 8 by mgpdoc, on FlickrPart 8 by mgpdoc, on FlickrPart 8 by mgpdoc, on FlickrTouching ground and as you can see the car got significantly wider
Part 8 by mgpdoc, on FlickrPart 8 by mgpdoc, on FlickrPart 8 by mgpdoc, on FlickrAs for the rear bumper, I can install it in place, however, the side parts of the bumper stick out too much unless the fenders go in. Pics from my old test fit for reference
Part 8 by mgpdoc, on FlickrPart 8 by mgpdoc, on FlickrSome random pics of the car, that day
Part 8 by mgpdoc, on FlickrPart 8 by mgpdoc, on Flickr9 years between these two photos, in the same location
Part 8 by mgpdoc, on FlickrPart 8 by mgpdoc, on FlickrPart 8 by mgpdoc, on FlickrPart 11 by mgpdoc, on FlickrPart 11 by mgpdoc, on FlickrHope you liked this as much as I did.
Cheers
Mike


Comment