-
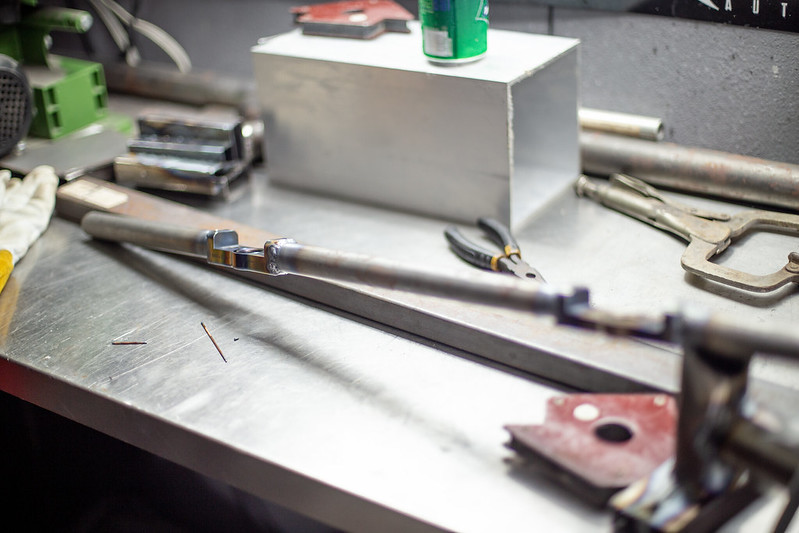
Made some great progress on a late Friday night. Lots of welding completed.
Although im not completely satisfied with how some of the welds came out, they will hold and right now thats more important to me than looks and Instagram likes. Ill improve them in the future if/when a change is made. Its funny, for the amount of welding I did over the course of the night I see a massive improvement alone from this one night of welding.
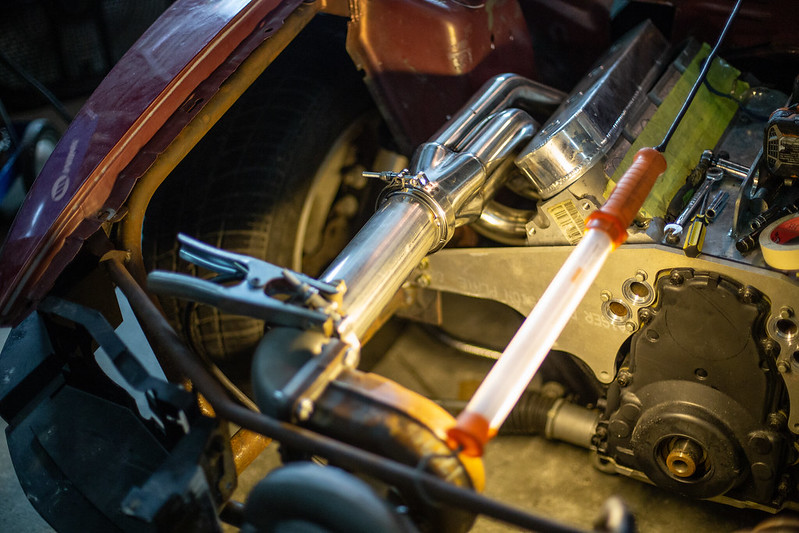
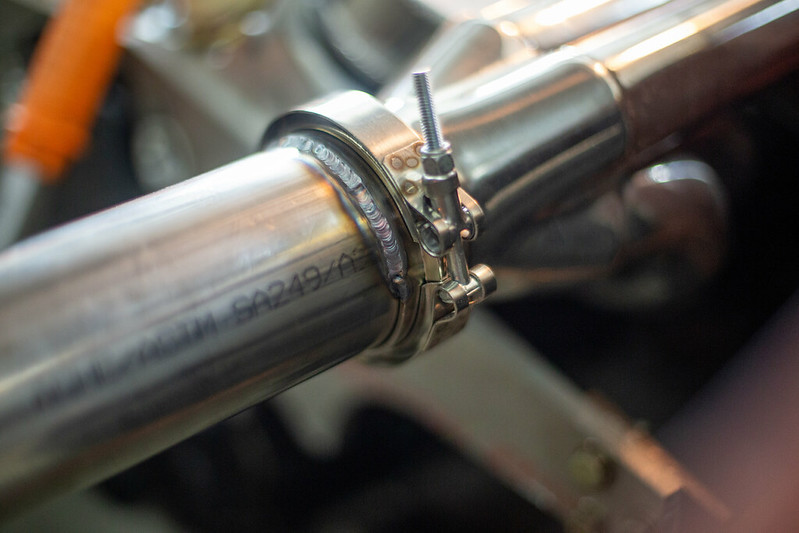
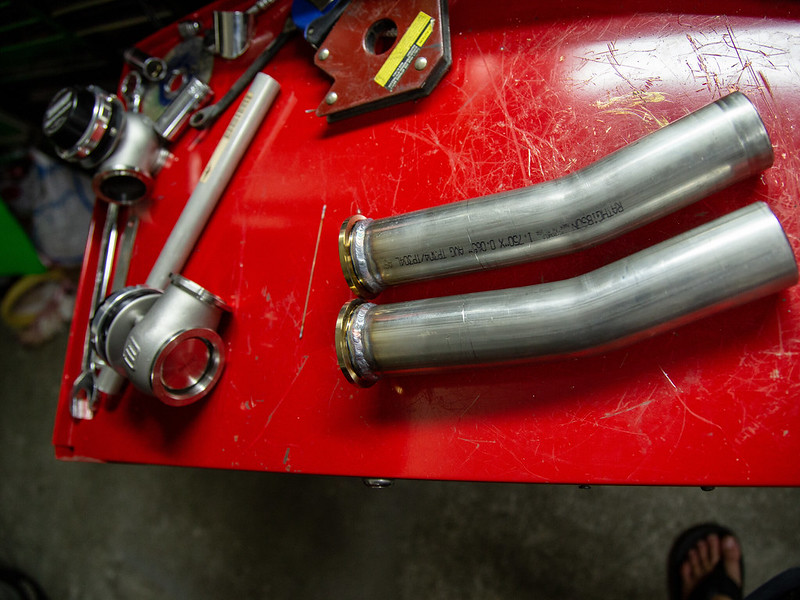
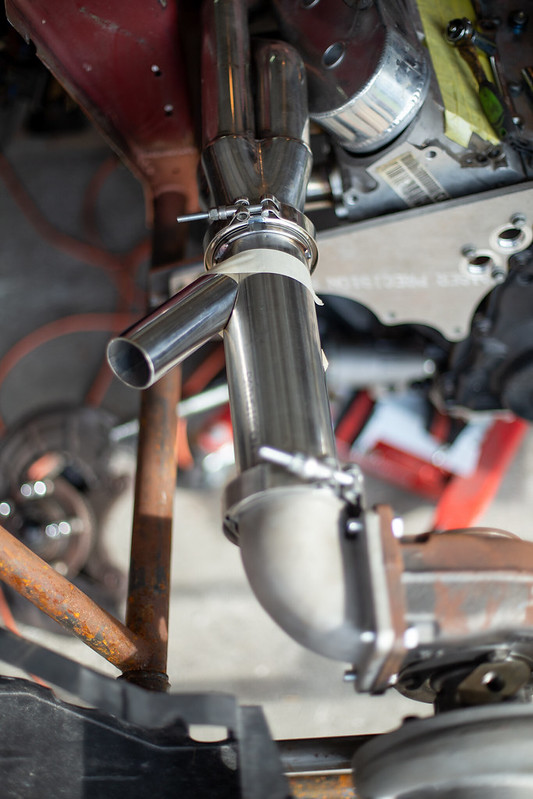
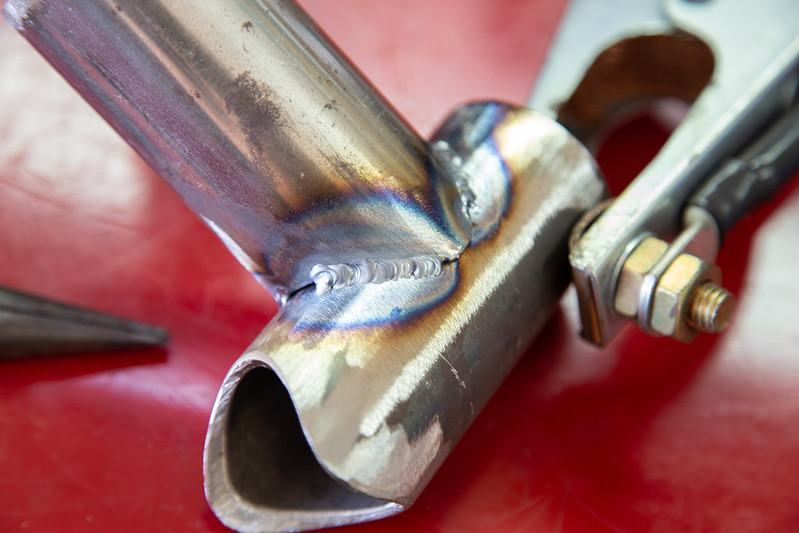
I started out with finishing the welding on the connecting tubes from the turbo manifolds to the turbine housings. I tried to do as much as possible with these mounted in the car so as to minimize any warping from welding on the bench. I think this was part of my issue with weld quality at the beginning of the night. I felt I was comfortable but my weld quality clearly showed I was not. You don't get pictures of the shitty welds, I didn't take any. Get over it.
 IMG_0308 by lawrx, on Flickr
 IMG_0313 by lawrx, on Flickr
 IMG_0321 by lawrx, on Flickr
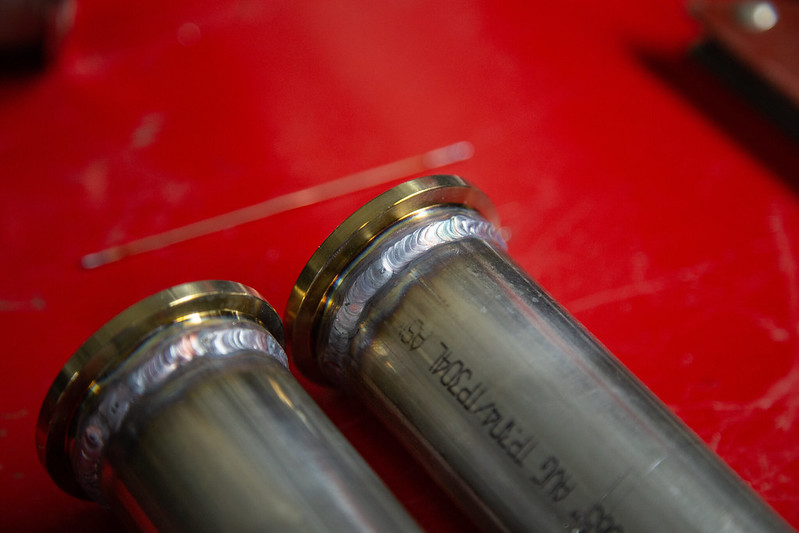
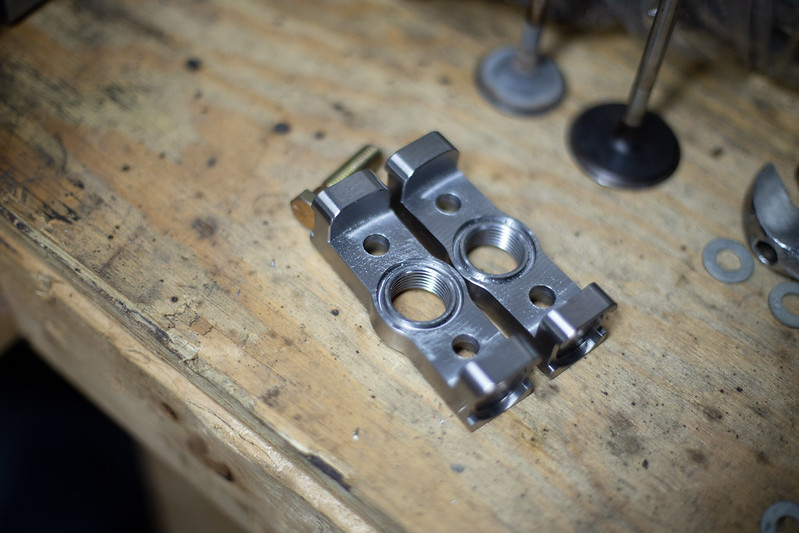
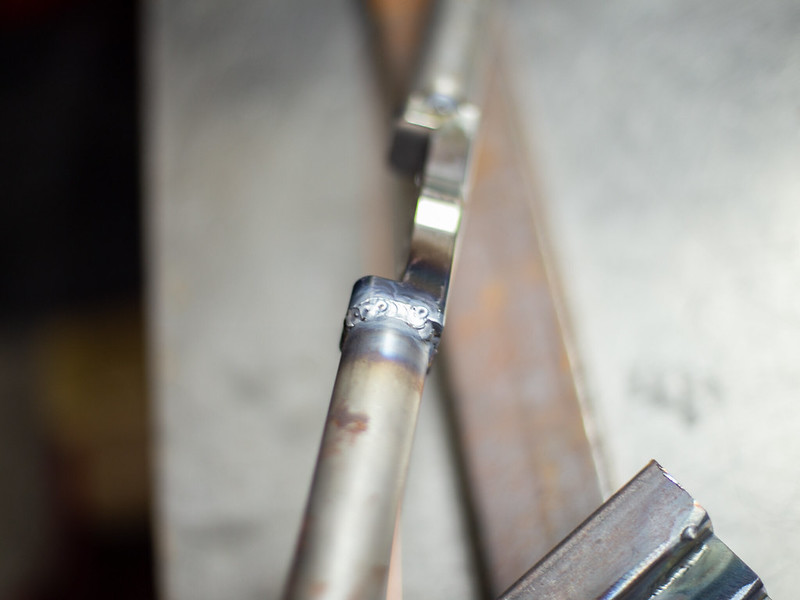
Next I did the downpipe flanges. You can clearly tell I was putting way too much heat into it. This again was due to my torch angle which I improved over the course of the night. The fit of the flange to the tubing was poor and some gaps had to be filled, which I fell played a minor part. But majority was simply lack of skill.
 IMG_0315 by lawrx, on Flickr
 IMG_0316 by lawrx, on Flickr
 IMG_0318 by lawrx, on Flickr
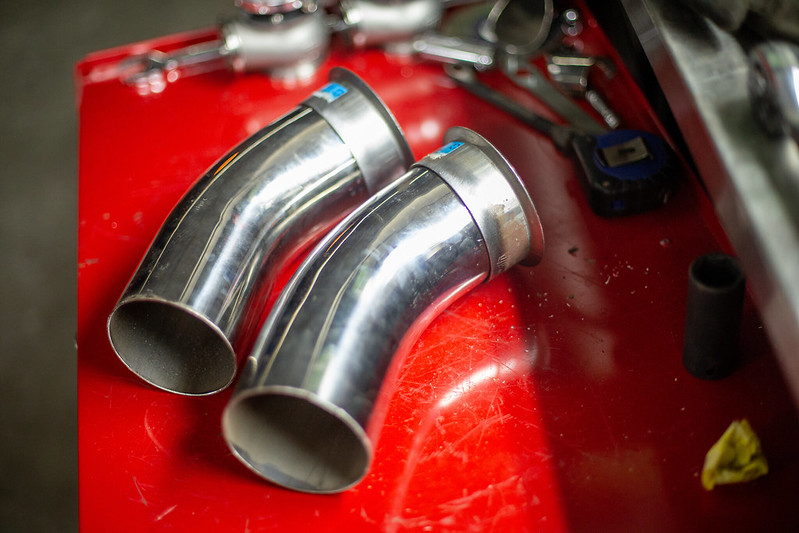
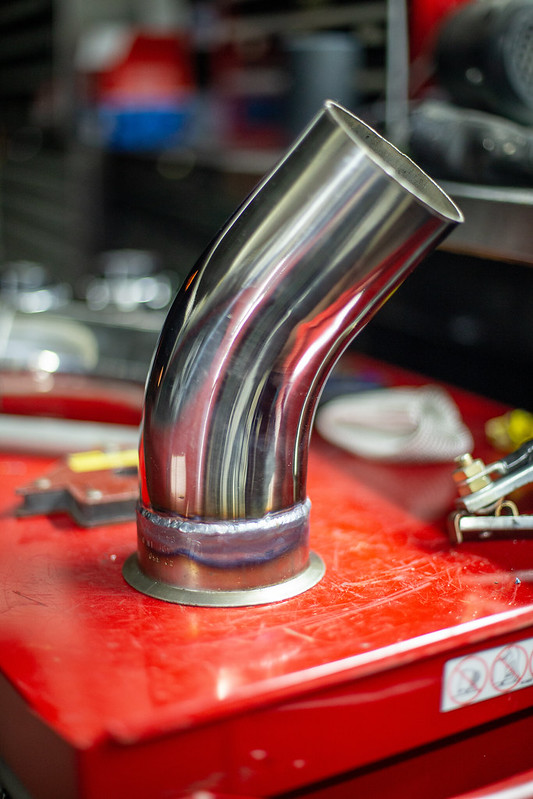
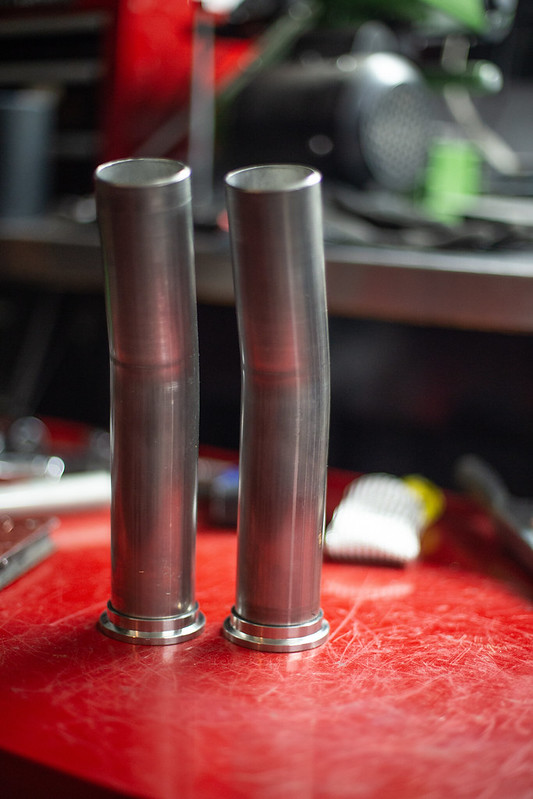
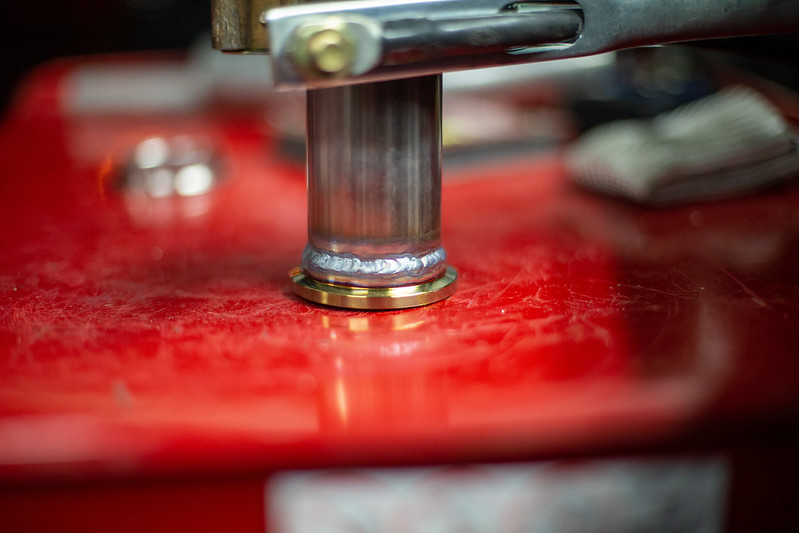
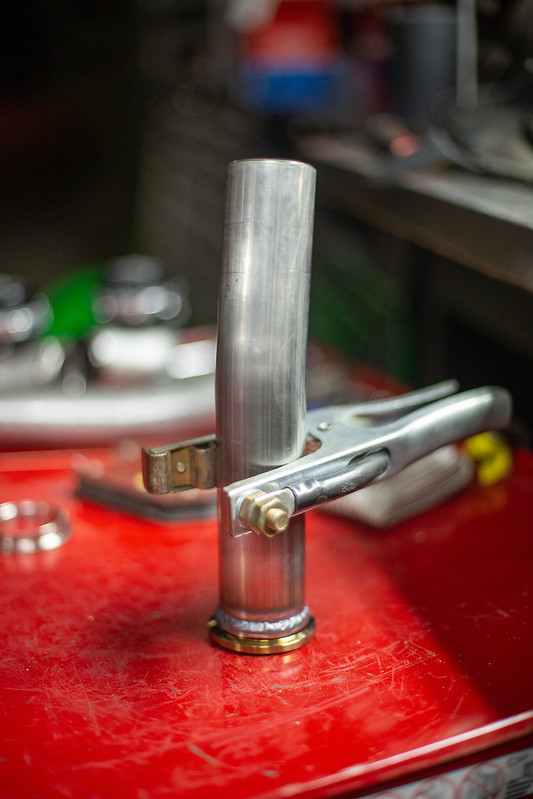
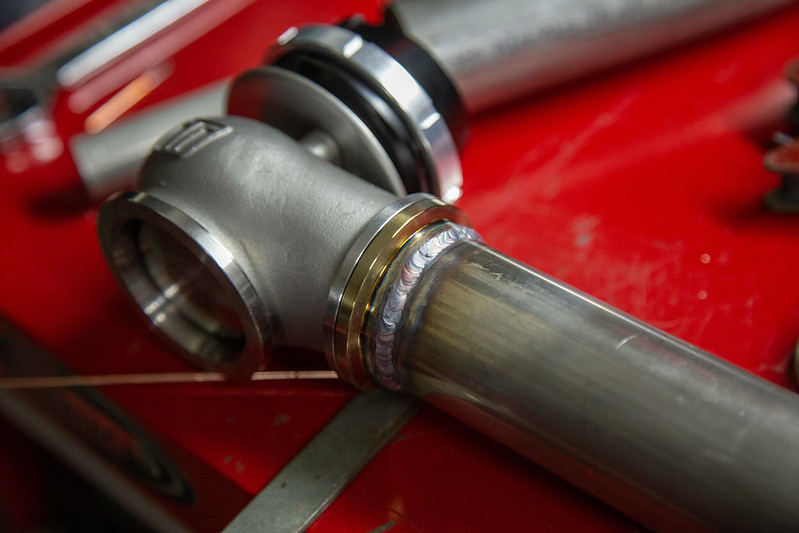
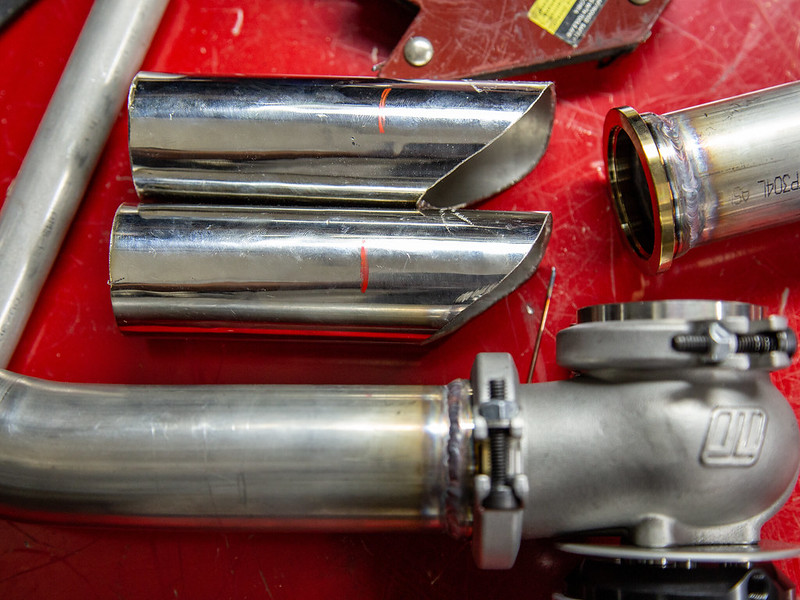
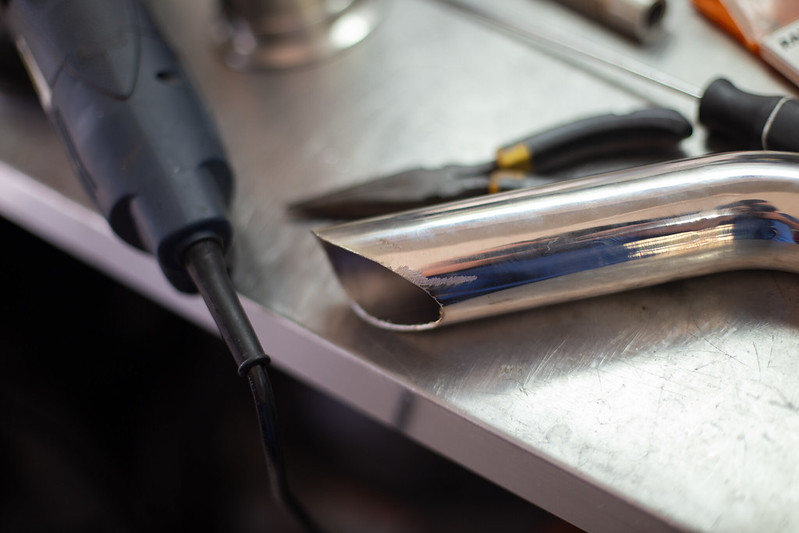
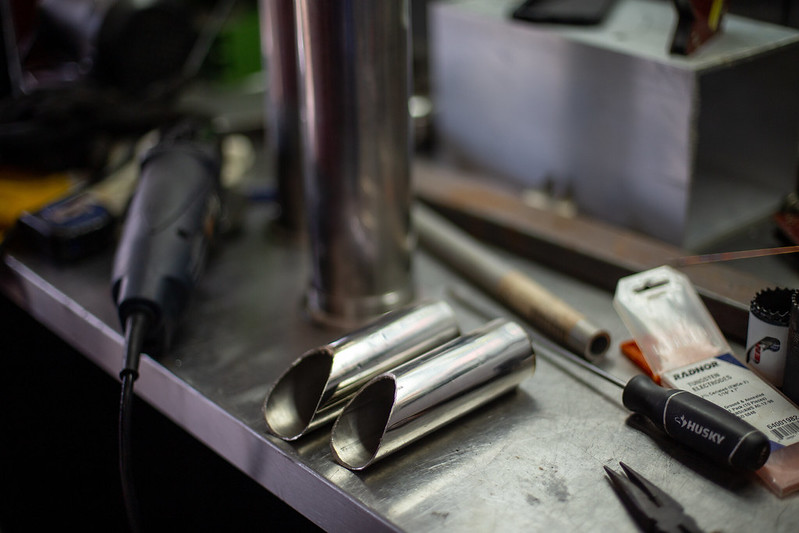
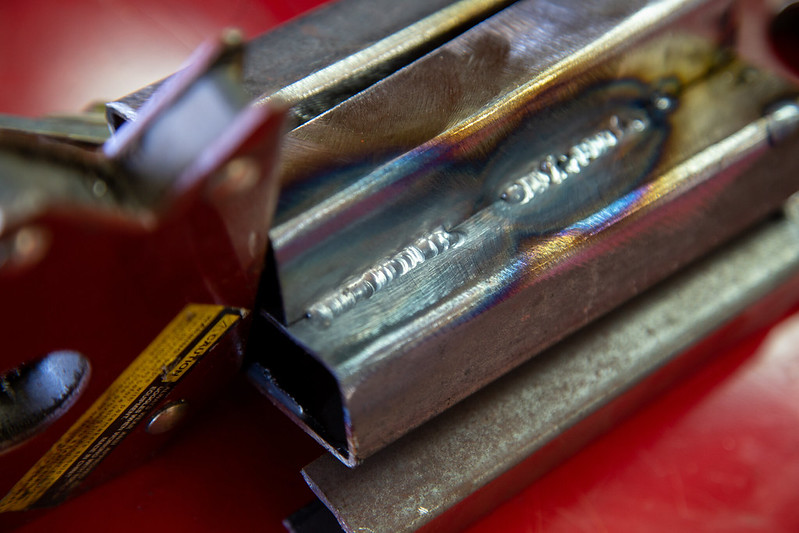
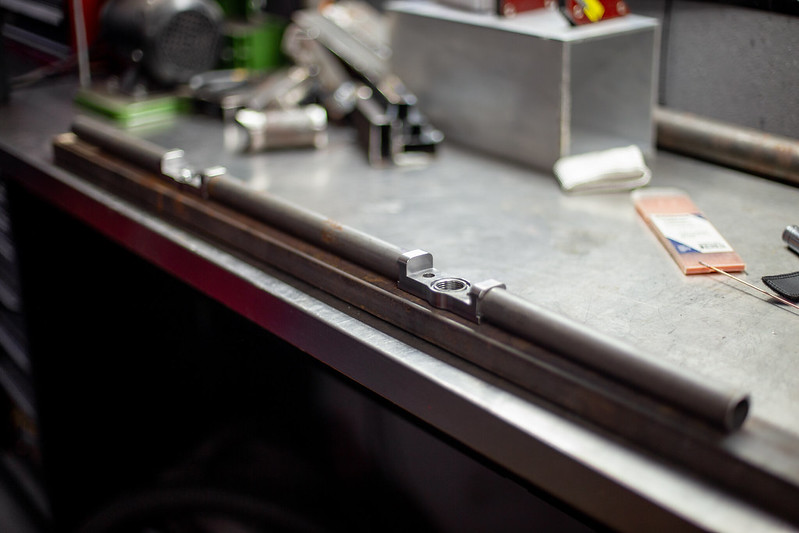
Lastly the pieces I worked on were the waste gate dump tube flanges. The material came in on Friday and I decided to weld up the flange to the waste gate. I already knew I would be using the as delivered bend length so it was as simple as cleaning the parts and welding them up. These were easily my best welds of the night, I was super excited about how they came out. May have taken quite a few pics out of that excitement, but oh well. Was a big positive towards my motivation on this thing.
 IMG_0323 by lawrx, on Flickr
 IMG_0324 by lawrx, on Flickr
 IMG_0325 by lawrx, on Flickr
 IMG_0327 by lawrx, on Flickr
 IMG_0328 by lawrx, on Flickr
 IMG_0330 by lawrx, on Flickr
 IMG_0331 by lawrx, on Flickr
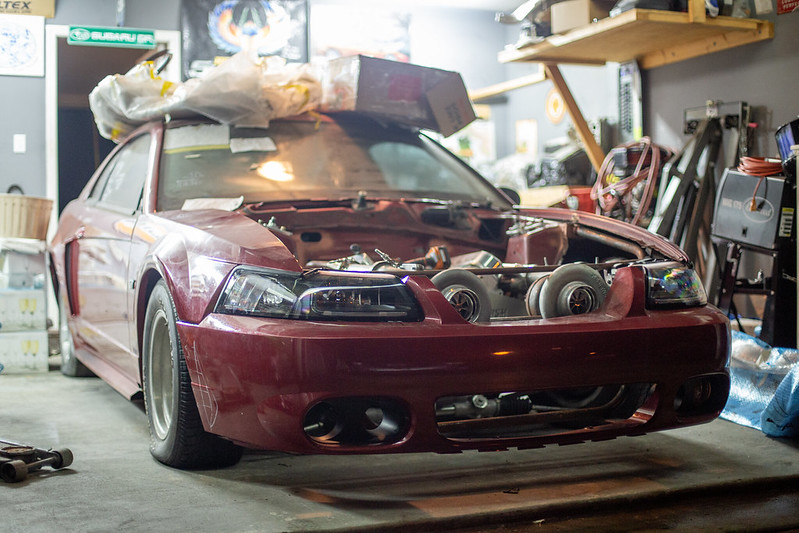
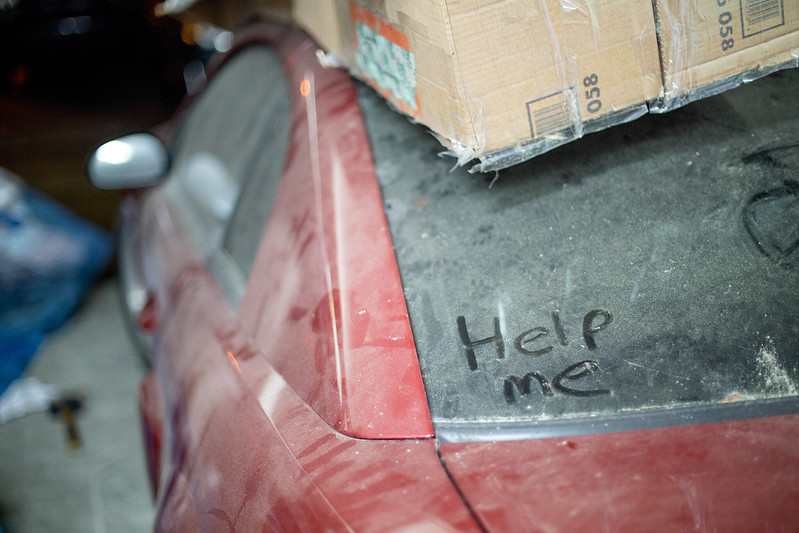
And lastly some good and bad news, depending on how you look at it. The mustang chassis will be going into storage for sometime, length of which is unknown. Hoping only 4-6 months. In short my woes grandparents are passing down one of their classic cars to us, a 56 Ford Customline Victoria. Its a running and driving example, by no means in pristine condition but needs minimal work to be a reliable weekend cruiser. We are looking into when we can go get it from Atlanta (8 hour drive from me) to bring it home. The bad news is with all my tools and parts im only really able to fit one car in my garage and it still be somewhat useable. The Customline needs to be garage kept, I want it to be garage kept. SO that means the mustang is getting an eviction notice. The good news is I will be storing it at my work in the back lot. And I won't be stopping forward progress on the build. I plan to pull the motor and trans out and continue work on them as time and funds allow. There is still plenty work to be done on the powertrain so that will keep me busy for a while. NOW, the other factor in all this. Our house is currently for sale, and the new house we want to purchase does not have a garage. There is space for a garage ( a large one at that, in comparison to what I have now), but sadly it doesn't exist just yet. Even if we were to move in tomorrow it will be roughly 4-6 months before we can start construction on the new garage, therefor pushing back the time when I will be able to start work back on the chassis of the mustang. Its all contradicting emotions for me as I **** to move the chassis out with an unknown time of when ill be able to get back on it. But im also super excited with getting this new car. Its pretty much drivable upon receiving it, to take the kids to cruise ins and local shows. Once we acquire it ill be starting a thread for it as well.
 untitled (1 of 8) by lawrx, on Flickr
Leave a comment:
-
The plan is to get the compressor cover and wheel anodized/powdercoated in black for a sleeper-ish look.Originally posted by hinrichs View PostLeave a comment:
-
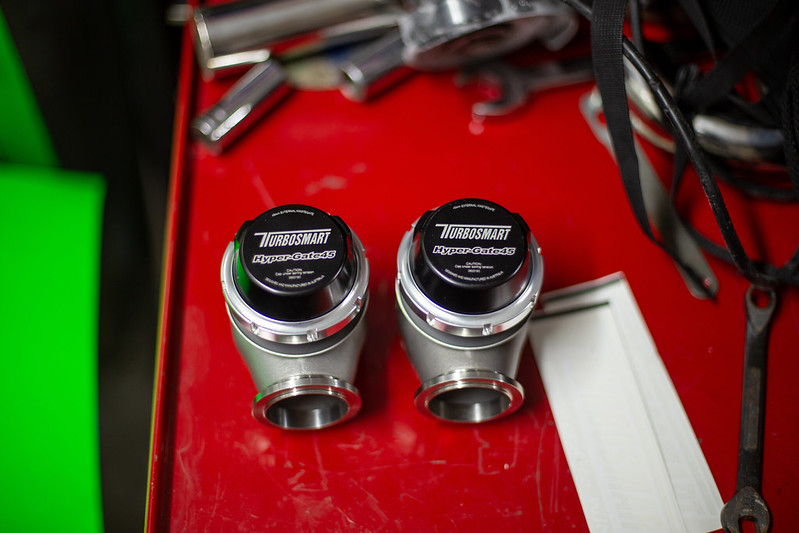
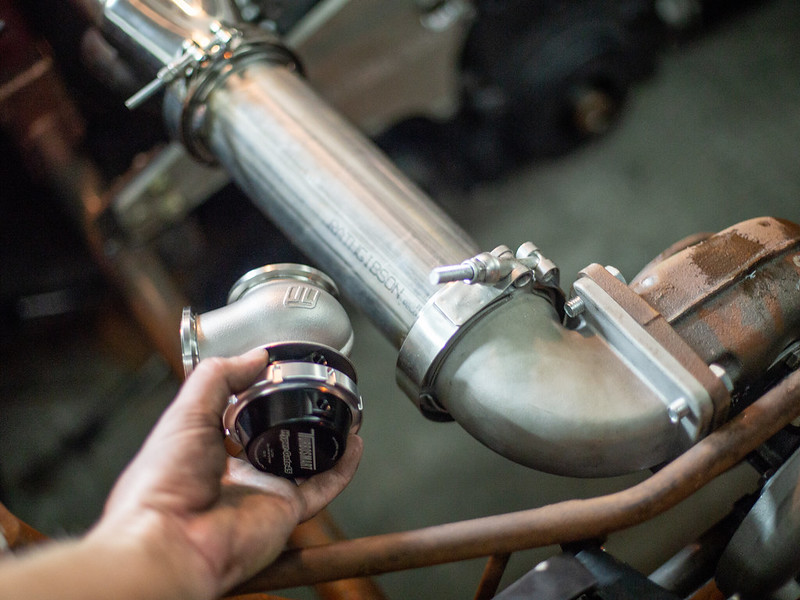
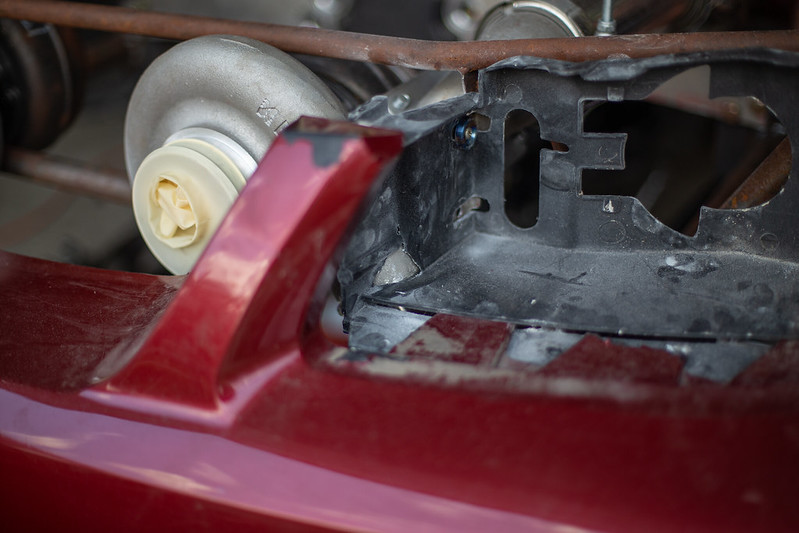
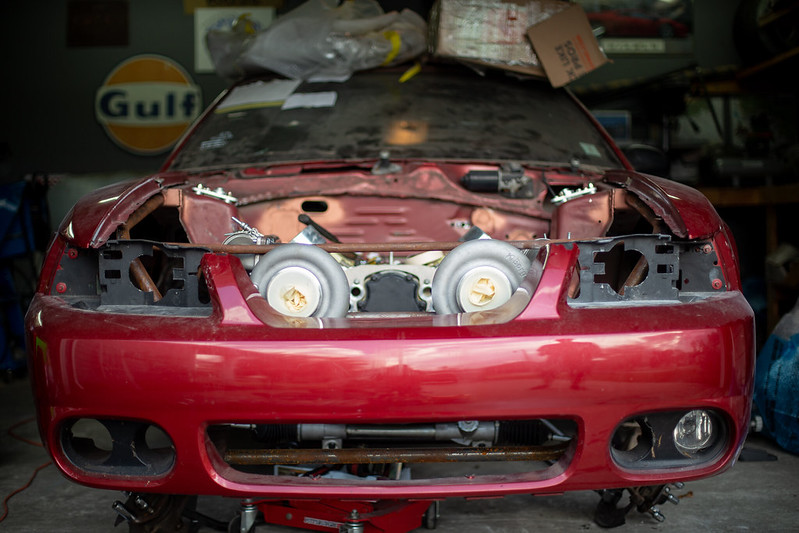
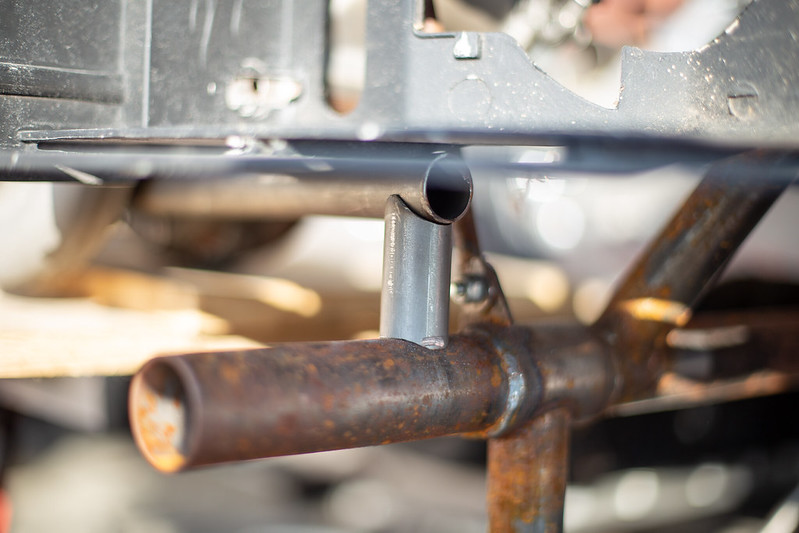
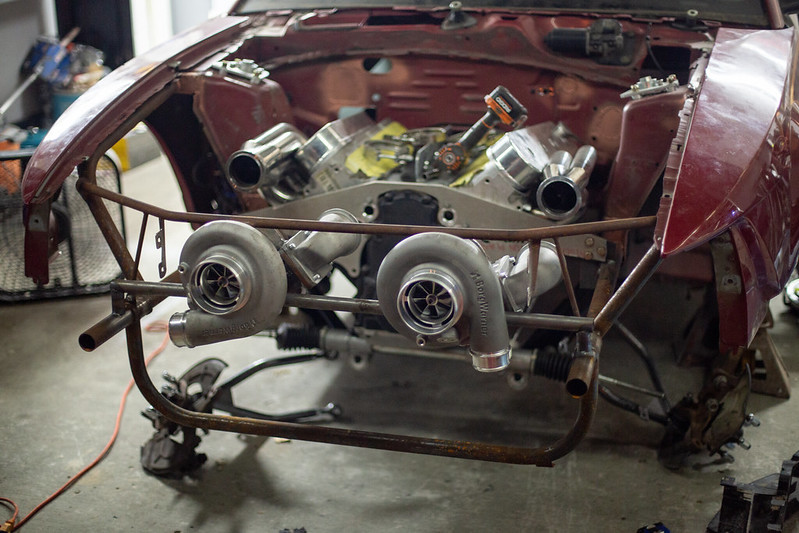
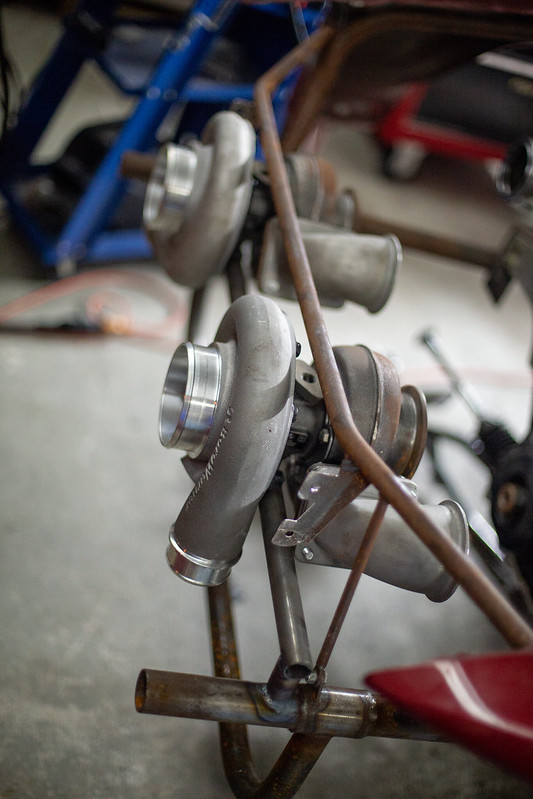
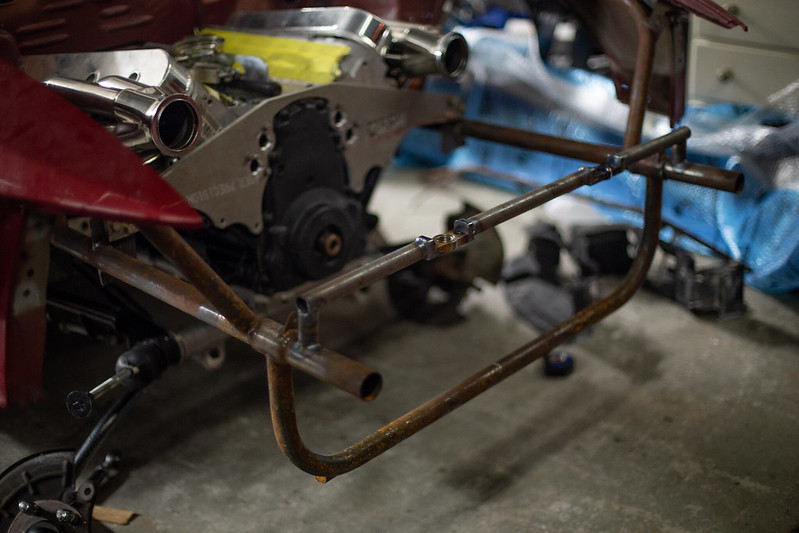
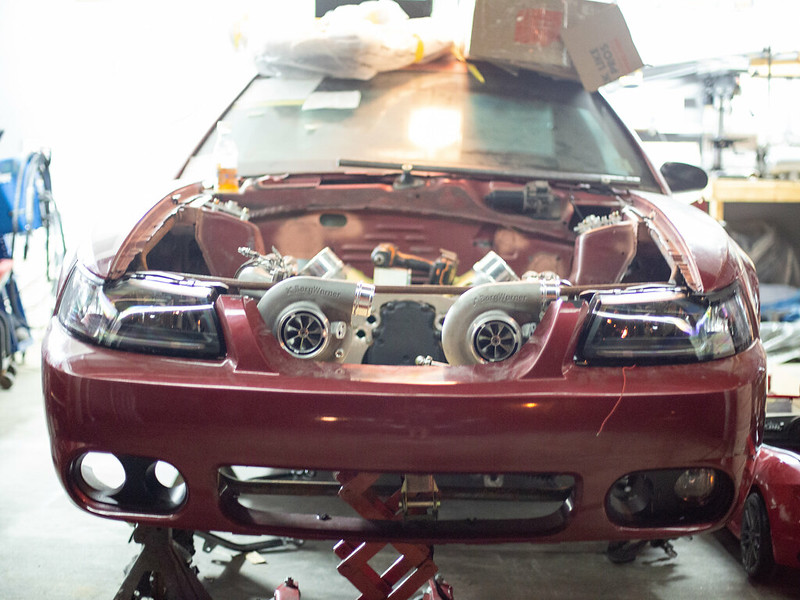
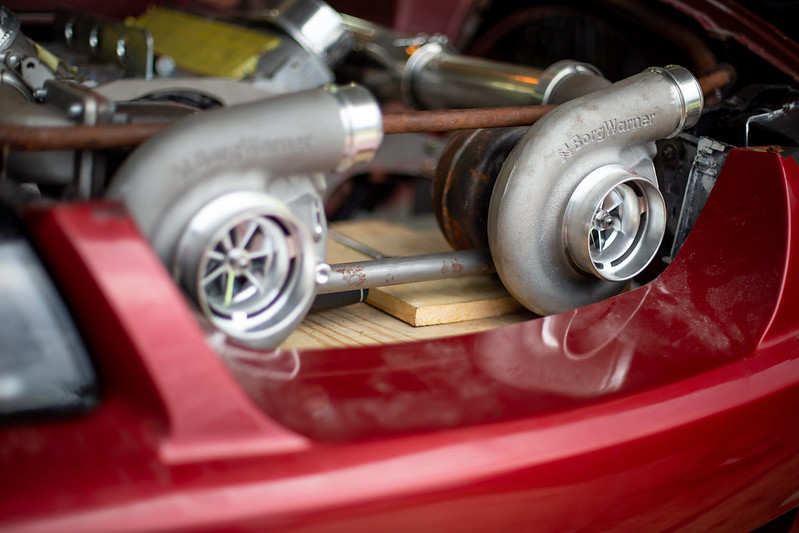
Wastegates came in on Monday. Got to work making some tubes made up to fit. I will be doing a few pie cuts to reduce their angle off the main tube. Also fitted the front end for the first time since finalizing turbo mounting. Trimmed up the header panel to make room for the compressor to clock how I would like. And lastly I was sent a new set of coiler sleeves as my last set randomly seized up. Put the new ones on and set her on the ground to see how she looks with the turbos mounted.
 IMG_0299 by lawrx, on Flickr
 IMG_0302 by lawrx, on Flickr
 IMG_0306 by lawrx, on Flickr
 IMG_0240 by lawrx, on Flickr
 IMG_0242 by lawrx, on Flickr
 IMG_0243 by lawrx, on Flickr
 IMG_0244 by lawrx, on Flickr
 IMG_0294 by lawrx, on Flickr
 IMG_0296 by lawrx, on Flickr
 IMG_0297 by lawrx, on Flickr
 IMG_0298 by lawrx, on Flickr
 IMG_0305 by lawrx, on Flickr
 IMG_0307 by lawrx, on Flickr
Leave a comment:
-
Thanks guys! ive got a bit more welding to do before i mock up the rest of the front end to see how it looks under its own weight.Leave a comment:
-
WOW!!! First time seeing this thread lol amazing work man, love stuff like thisLeave a comment:
-
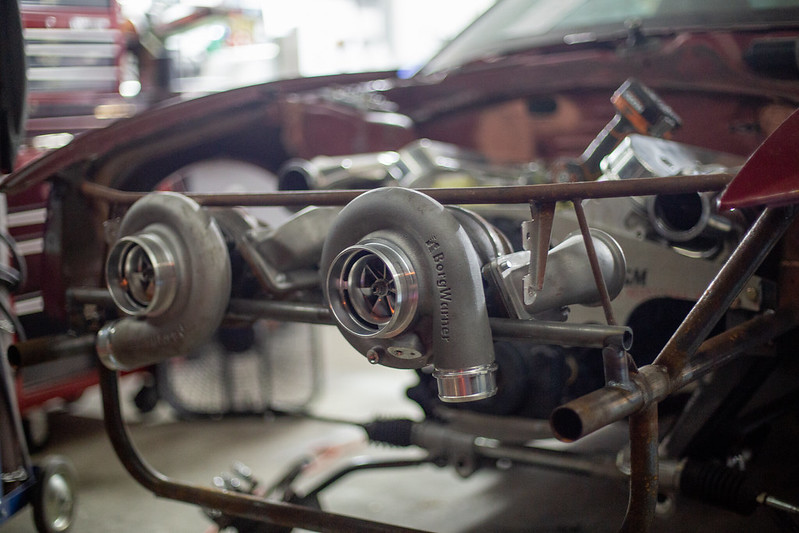
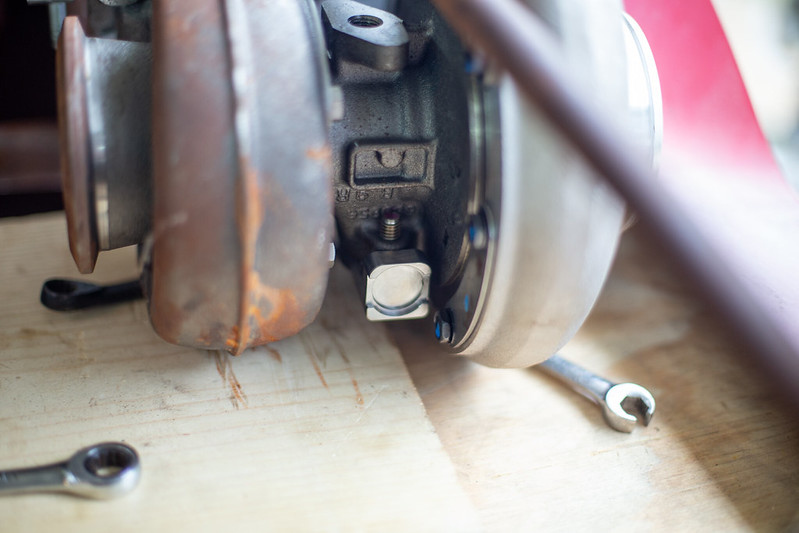
Alright, continuing from the last update. Hit a bot of an milestone. Turbos are mounted and supported by their own weight! Finally felt confident with my welding to weld the mount I made to the chassis. Don't have much to talk about as ill let the photos do the talking. My son was out with me giving me a helping hand as well.
 IMG_0124 by lawrx, on Flickr
 IMG_0125 by lawrx, on Flickr
 IMG_0126 by lawrx, on Flickr
 IMG_0128 by lawrx, on Flickr
 IMG_0129 by lawrx, on Flickr
 IMG_0133 by lawrx, on Flickr
 IMG_0135 by lawrx, on Flickr
 IMG_0142 by lawrx, on Flickr
 IMG_0143 by lawrx, on Flickr
 IMG_0144 by lawrx, on Flickr
 IMG_0147 by lawrx, on Flickr
Leave a comment:
-
Ive yet to dedicate some time to watch his videos. Ive had numerous people refer me to his videos!Originally posted by sdistc View PostLeave a comment:
-
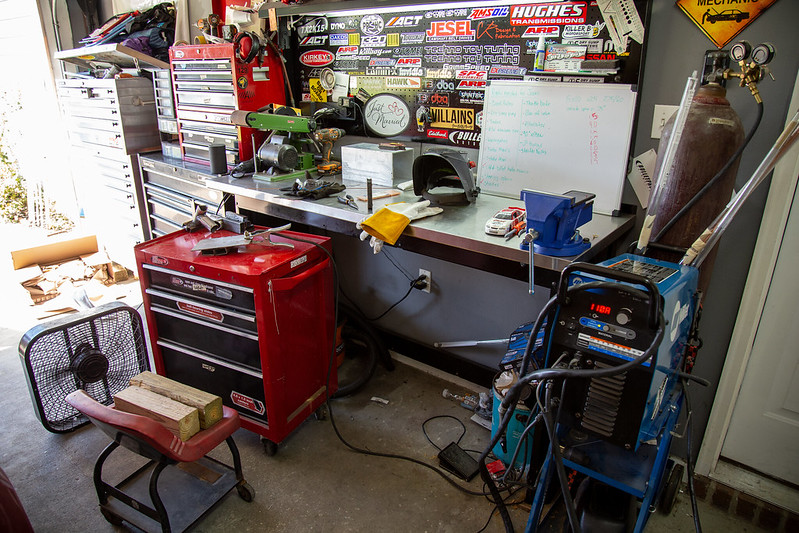
Some more practice welding. Ive for the most part got the technique down of using the filler rod. Ive now got to work on heat management, which part of my issue is torch angle, believe I have it laying back to far.
 IMG_0097 by lawrx, on Flickr
 IMG_0100 by lawrx, on Flickr
 IMG_0102 by lawrx, on Flickr
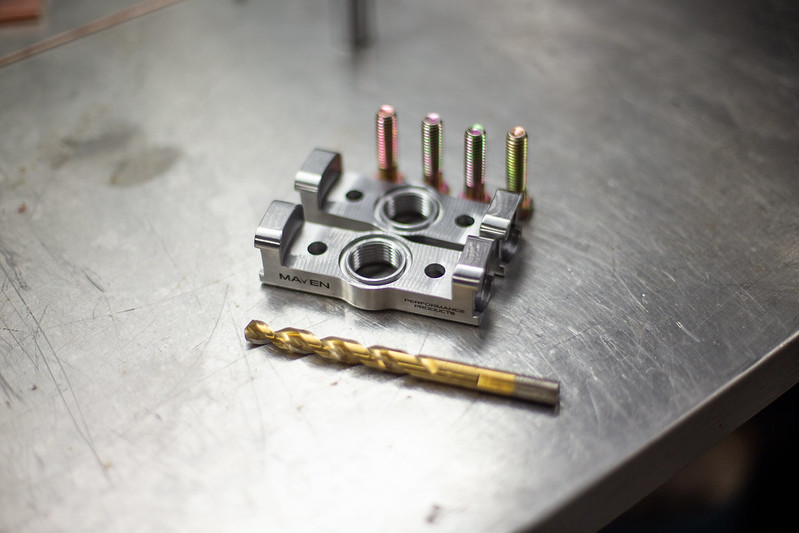
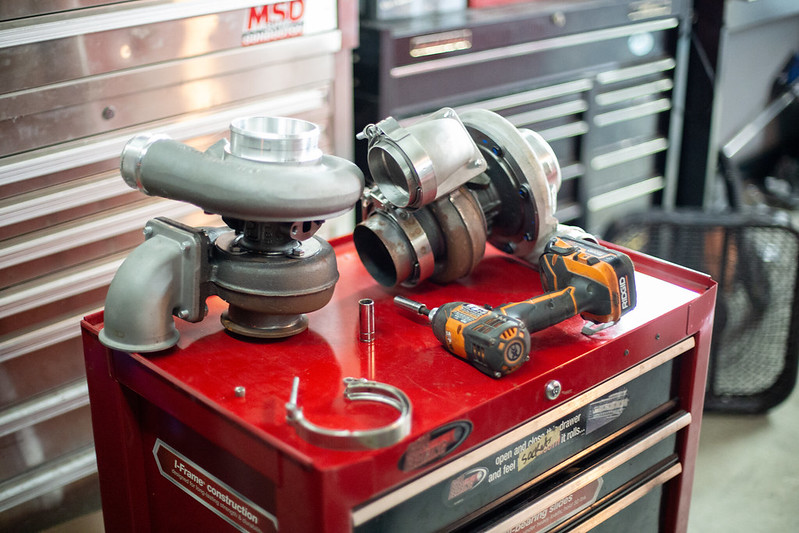
Once I was to a point where I was confident enough to weld on a part I had spent money on I started prepping the turbo mounts. Theses mounts are made for several turbos so I had to enlarge the mount holes slightly.
 IMG_0109 by lawrx, on Flickr
 IMG_0110 by lawrx, on Flickr
 IMG_0112 by lawrx, on Flickr
With them able to now be bolted up to the turbos I mocked up both turbos to measure the distance to cut some tube and welder-up!
 IMG_0108 by lawrx, on Flickr
 IMG_0105 by lawrx, on Flickr
 IMG_0113 by lawrx, on Flickr
 IMG_0115 by lawrx, on Flickr
 IMG_0114 by lawrx, on Flickr
 IMG_0116 by lawrx, on Flickr
 IMG_0122 by lawrx, on Flickr
 IMG_0121 by lawrx, on Flickr
Leave a comment:
-
Thanks bud. Actually the tig welder is my dads. Im just holding it hostage till he tries to rescue it lolOriginally posted by LCG View Post
As for the filler rod its 1/16''. Its what my dad had on hand, not sure if its correct size for that application, am simply just trying ti learn the motions and such currently.Leave a comment:
-
Congrats on the newborn, congrats on the tig welder...
question, what size rod did you buy for the tubing?Leave a comment:
Leave a comment: