-
Originally posted by DeltaAlpha9 View PostThannks guys.Originally posted by Dwob View Post
Delta, dont. Its another very expensive Hobby and your torn between which to spend money on haha
Dwob, awesome man, glad we can relate. And you actually dont need that much space. Im spoiled having this garage at my age on my first home. You can absolutely do what im doing in a smaller space, just have to get creative.Leave a comment:
-
so fantastic man. Love your photos, and i care about the things you care about on your cars. wish i had a space to be able to execute things like this!Leave a comment:
-
I should buy a camera and learn how to use it haha. Love all your builds and the detail you put into documenting them.Leave a comment:
-
That night i believe it was some type of chicken recipe. Wife trying new thingsOriginally posted by Benwalsh91 View PostLeave a comment:
-
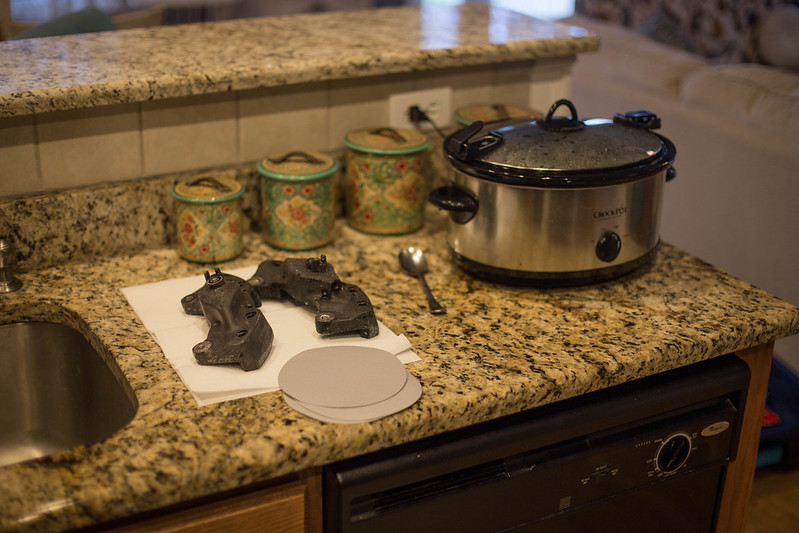
The brakes look amazing!! but more importantly, what's in the slow cooker?Leave a comment:
-
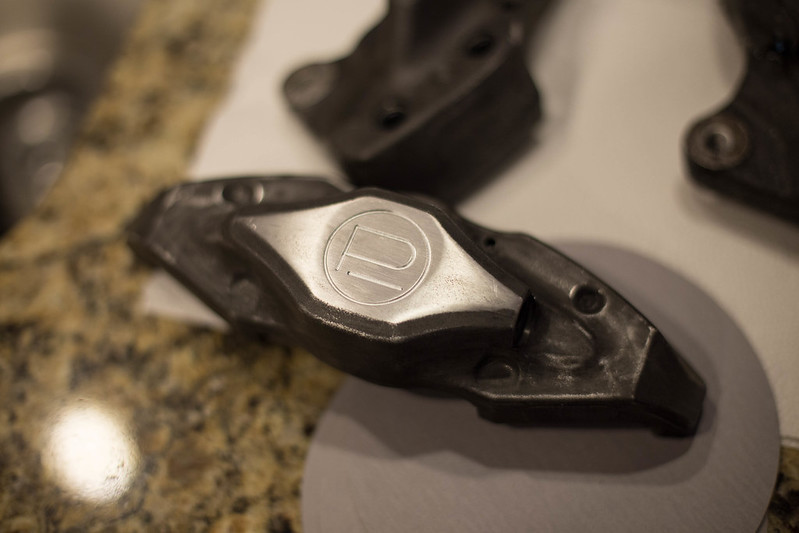
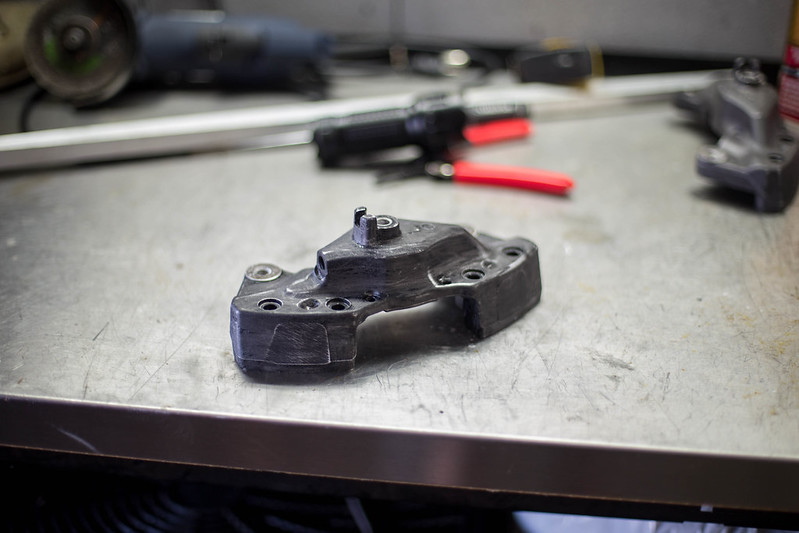
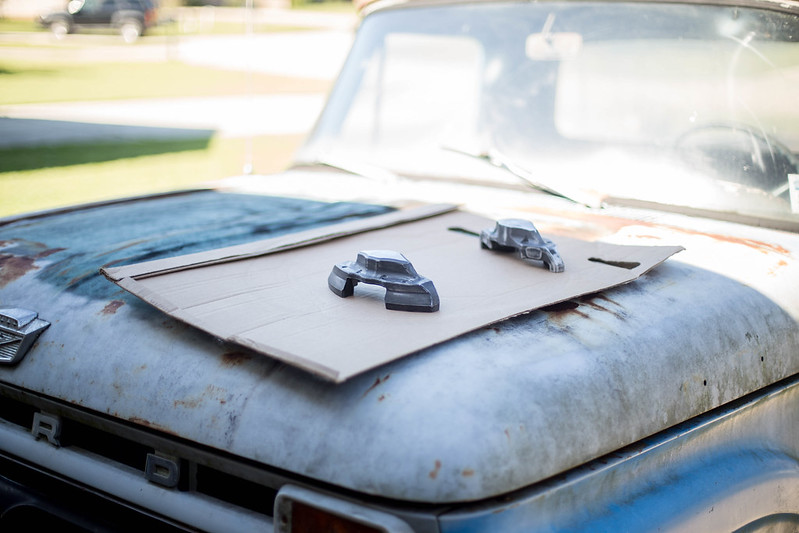
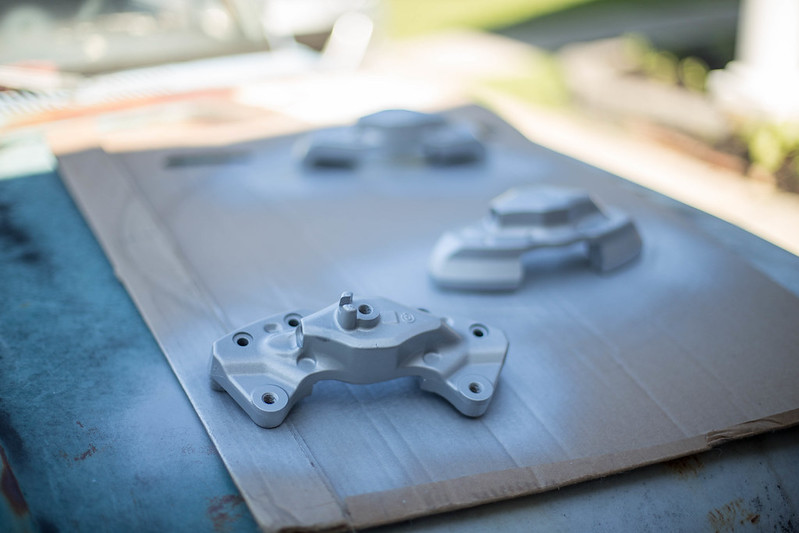
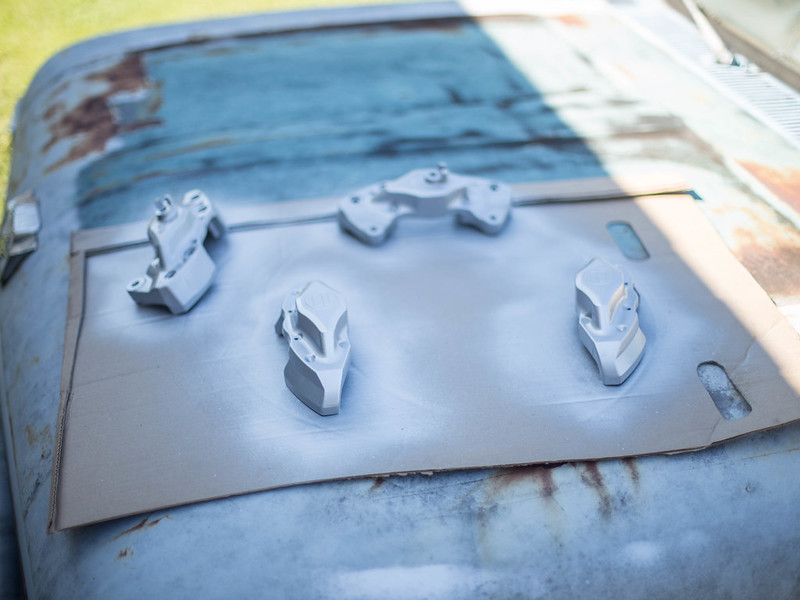
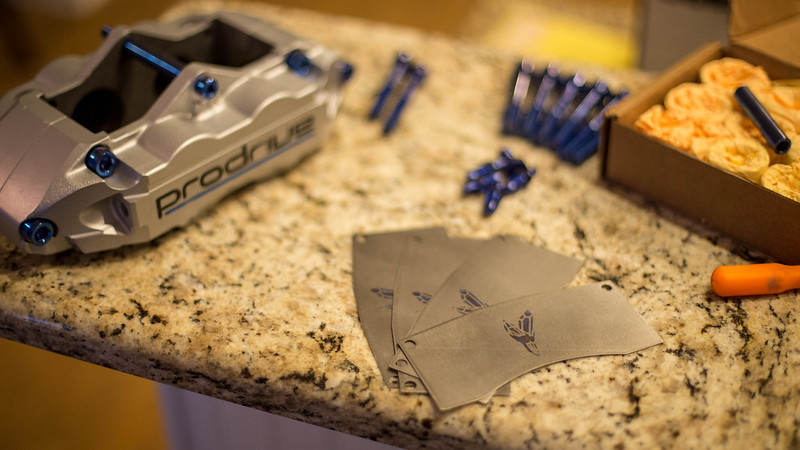
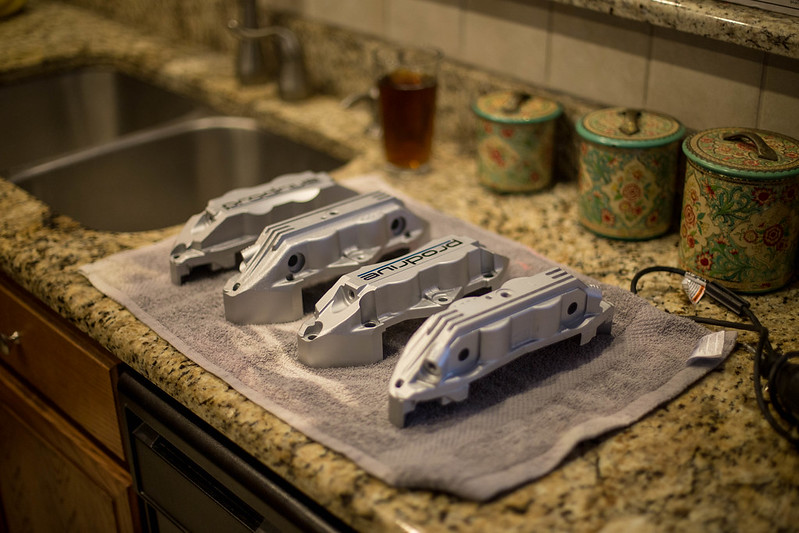
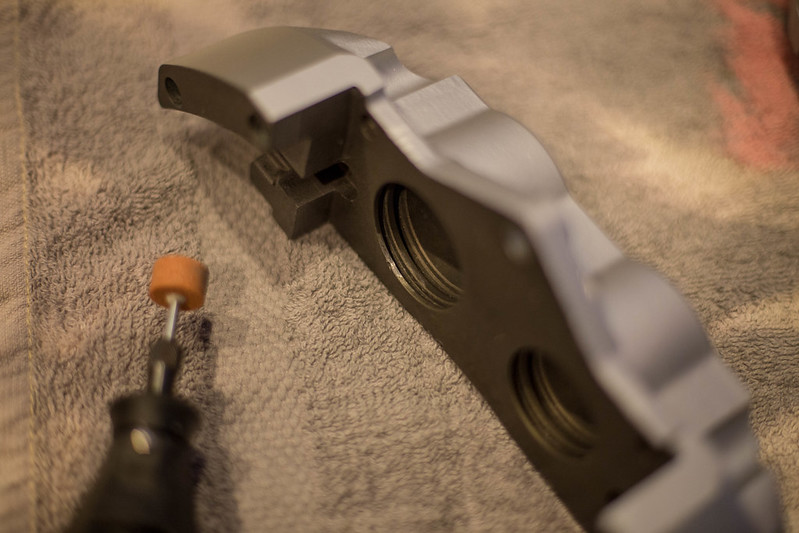
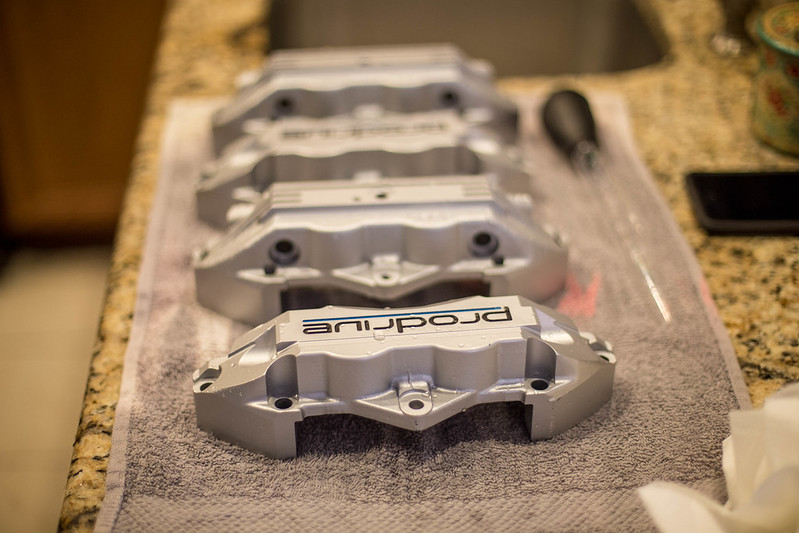
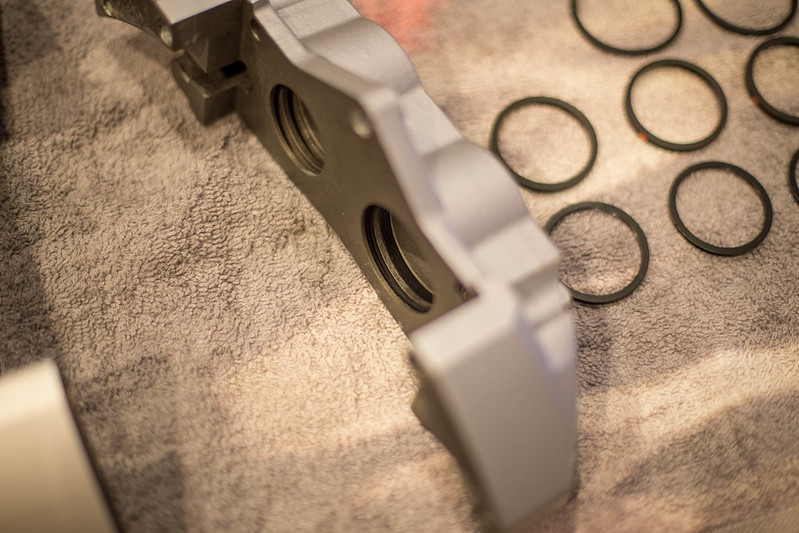
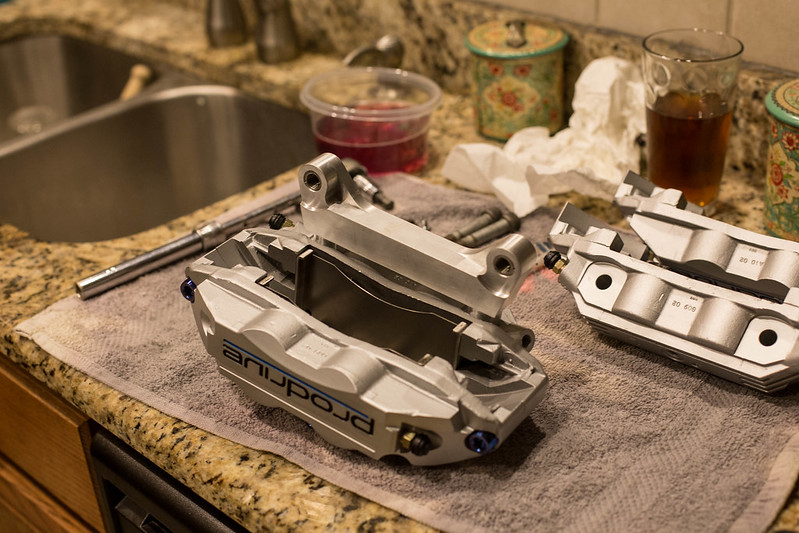
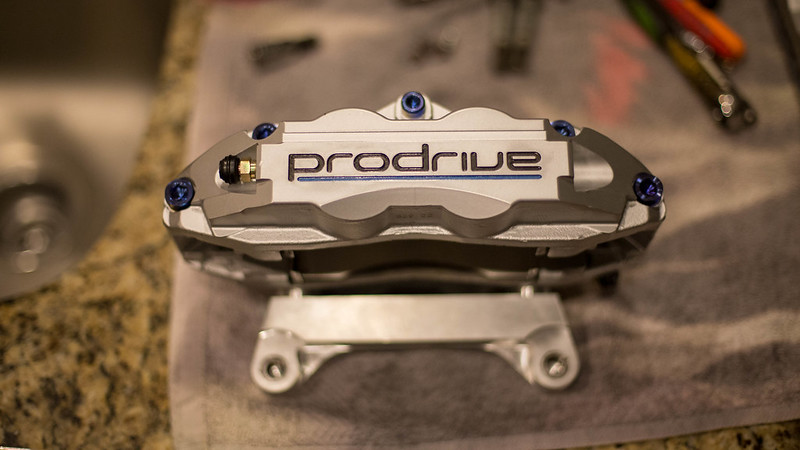
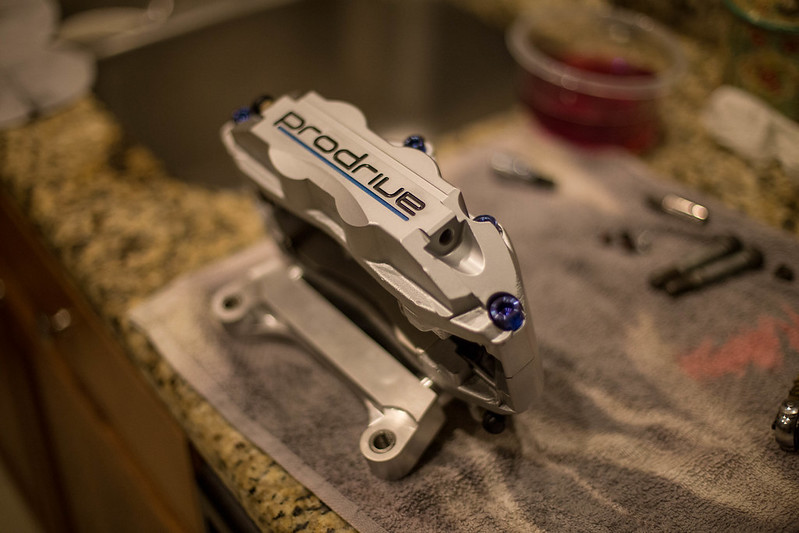
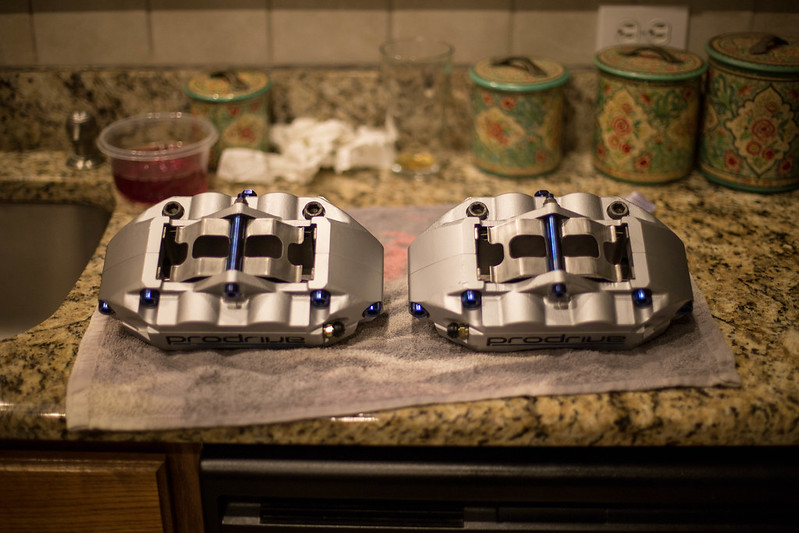
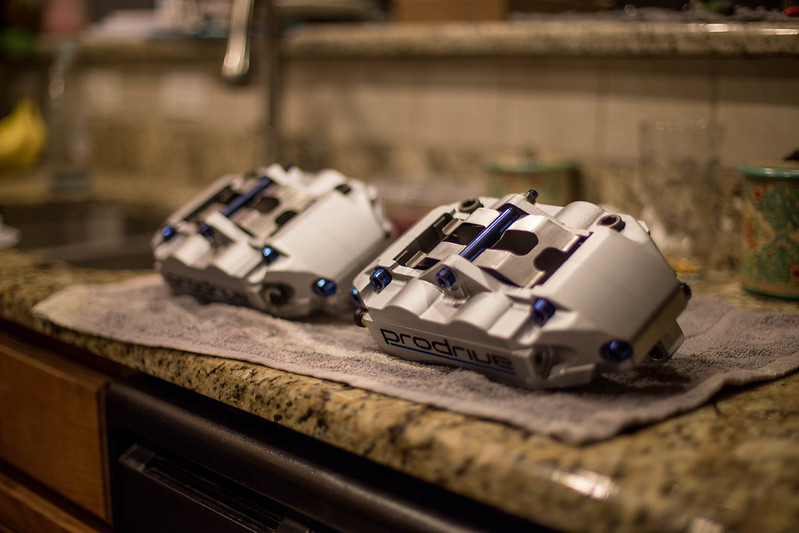
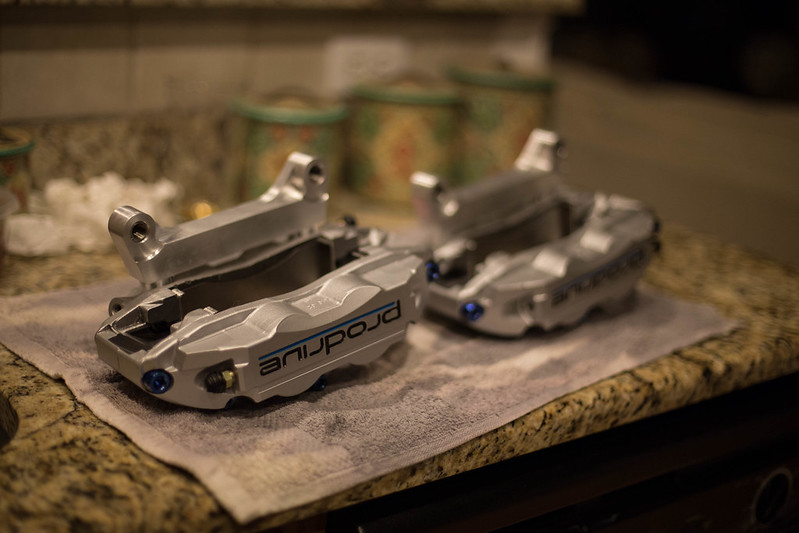
Few weeks back I had sent out the rear calipers to a buddy of mine. Reasoning behind that was for him to do some engraving for me. As some of you may be aware, there was never a Prodrive rear brake set made to match the front setup. Being a stickler about details, I wanted them to match and flow together. So I sent them to my buddy Jami Schnakengburg at Bombsquad Performance (shameless shoutout, they do amazing work, look them up on fb and IG, ti welding, engraving, inc work the lot, awesome guys). Needless to say ill let the pictures do the talking. OH yeah, once they came in I painted them too Which I need to redo as so spots I thought would come out ok did not.
 new computer (2 of 11) by lawrx, on Flickr
 new computer (1 of 11) by lawrx, on Flickr
 new computer (3 of 11) by lawrx, on Flickr
 new computer (4 of 11) by lawrx, on Flickr
 new computer (5 of 11) by lawrx, on Flickr
 new computer (7 of 11) by lawrx, on Flickr
 new computer (8 of 11) by lawrx, on Flickr
 new computer (9 of 11) by lawrx, on Flickr
 new computer (10 of 11) by lawrx, on Flickr
 new computer (11 of 11) by lawrx, on Flickr
Leave a comment:
-
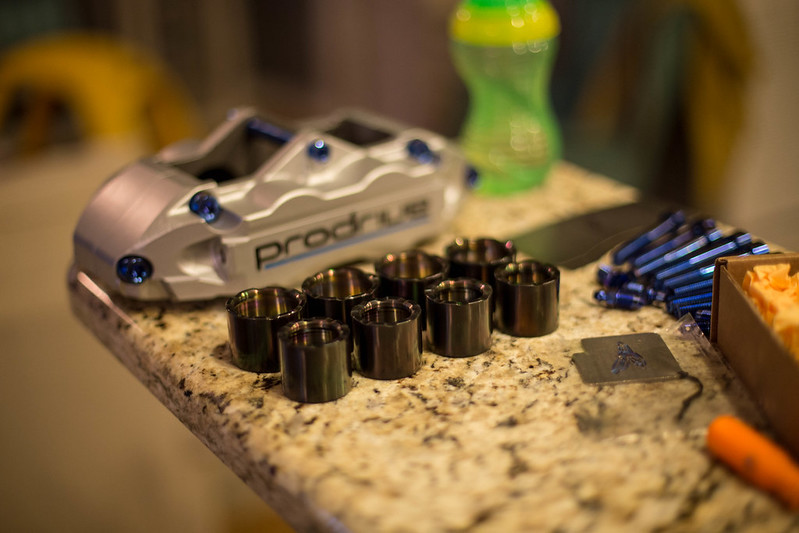
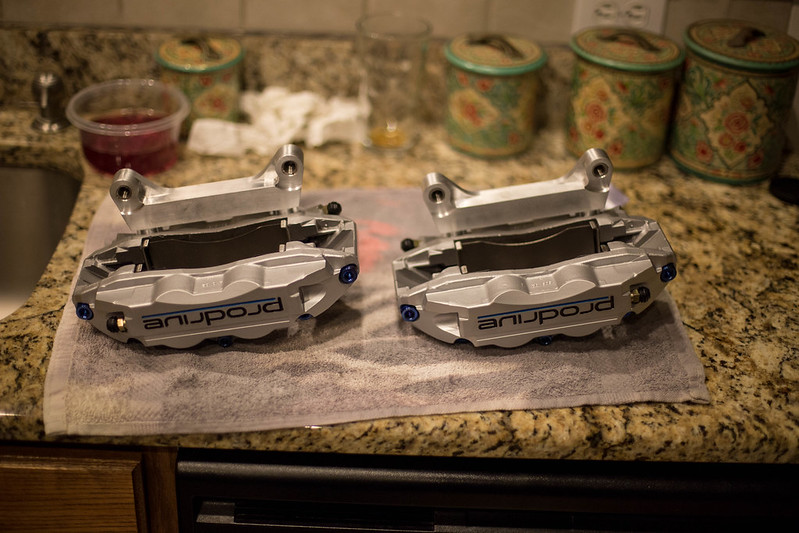
Alright, decent sized update.
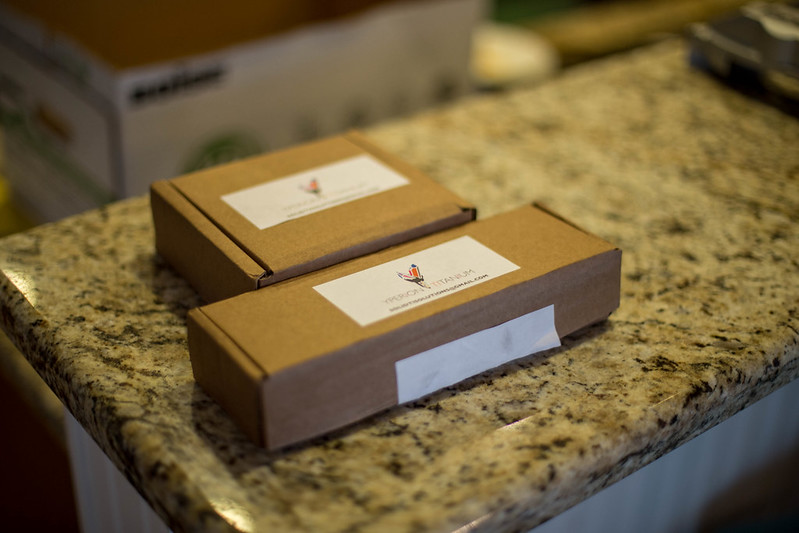
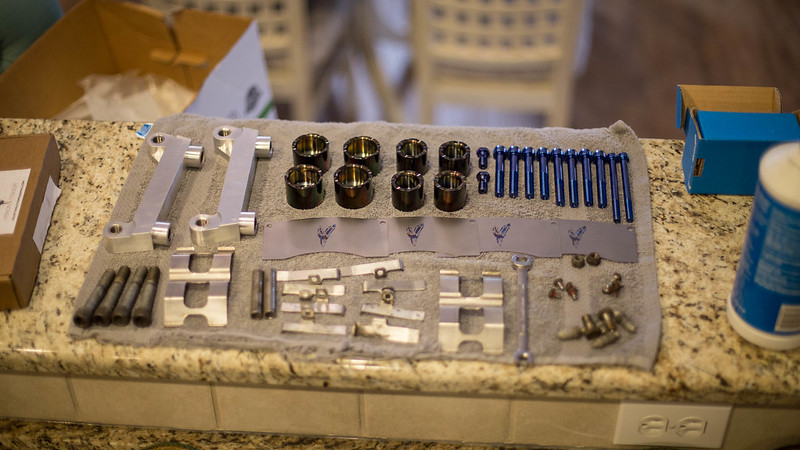
This past week I was away on work in Chicago for a Management conference so I was unable to post about my Ti parts coming in for my calipers.
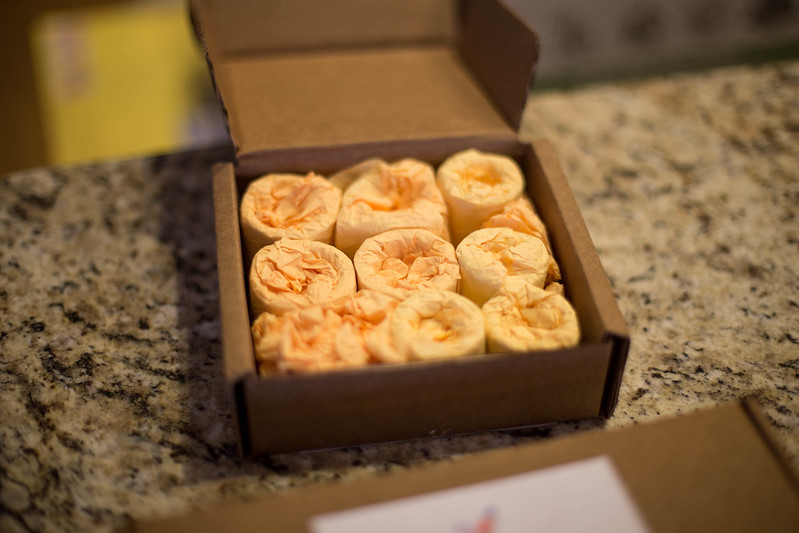
Well, they finally came in from Russia. Shipping took forever, as expected, and the actual making of the parts took much longer than I was initially lead to believe. But they are here and thats all that matters. Now to decide if I should get matching hardware for the rear calipers since I've started on those now....
 new computer (1 of 35) by lawrx, on Flickr
 new computer (2 of 35) by lawrx, on Flickr
 new computer (3 of 35) by lawrx, on Flickr
 new computer (5 of 35) by lawrx, on Flickr
 new computer (6 of 35) by lawrx, on Flickr
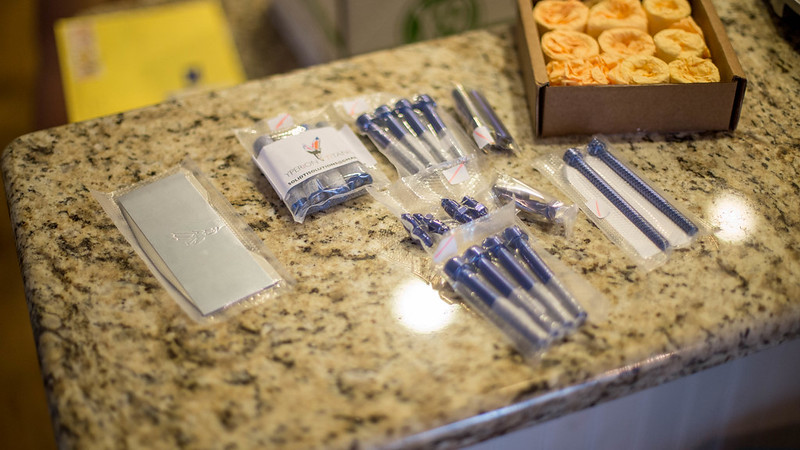
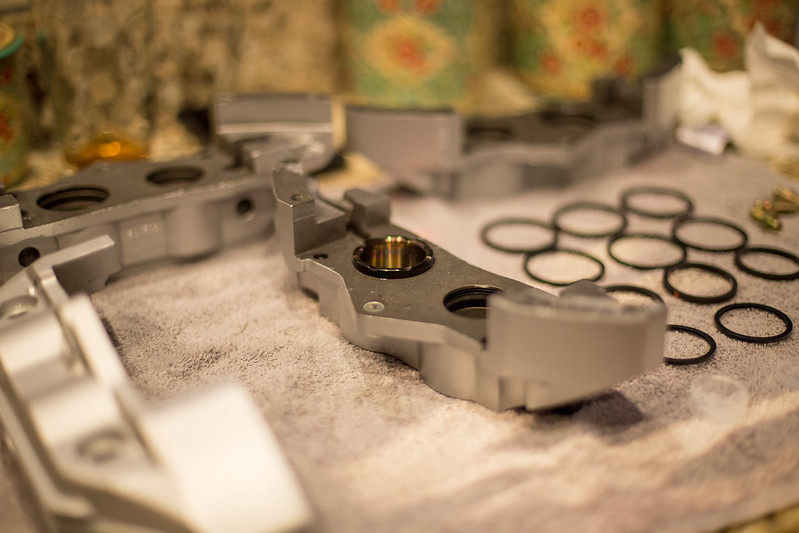
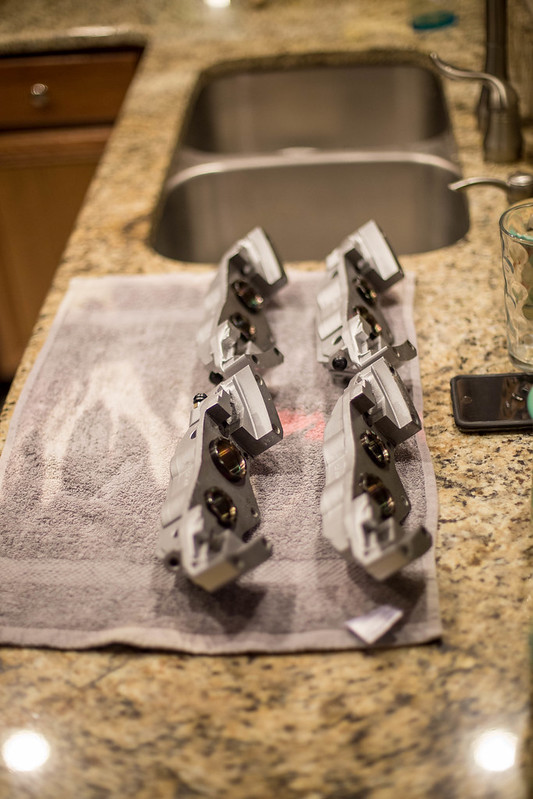
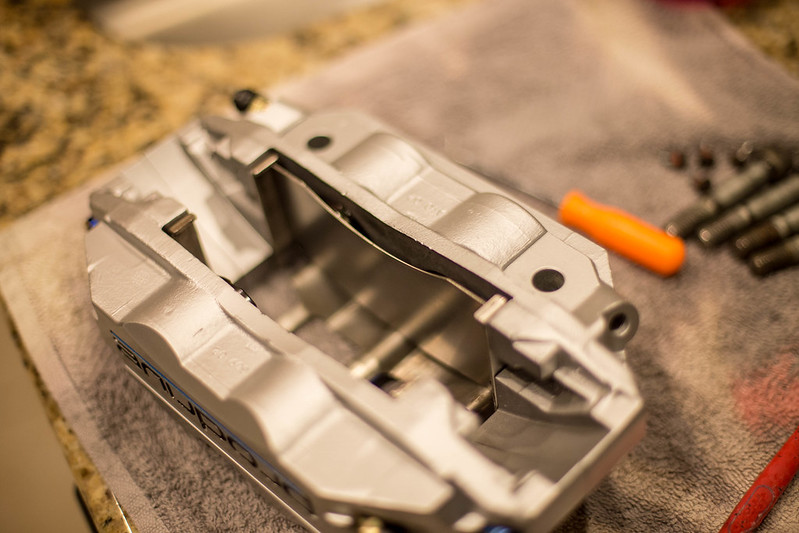
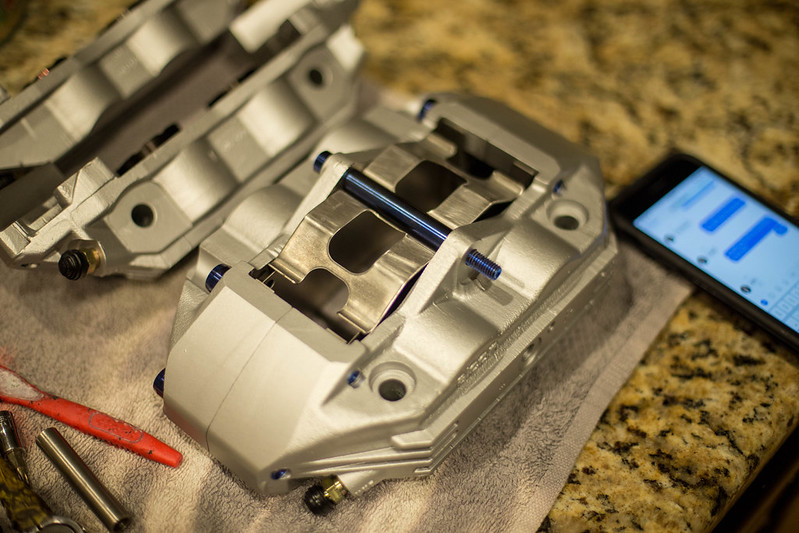
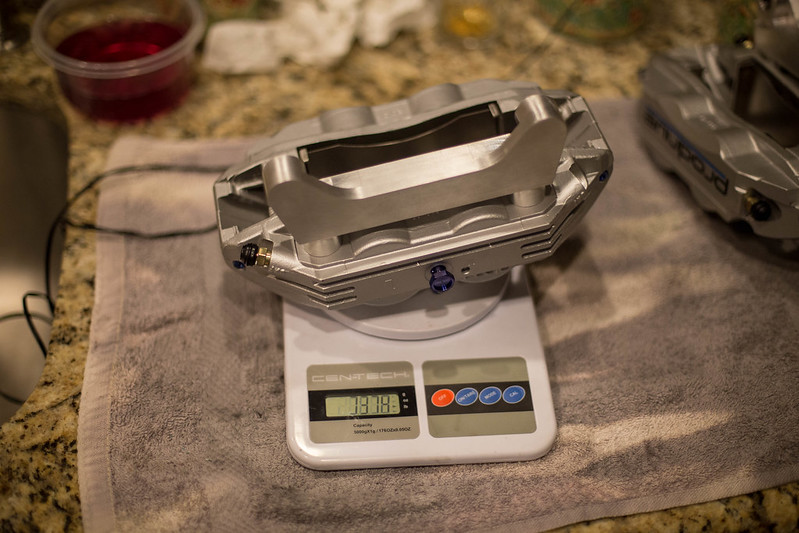
With the parts in I finally had enough in that I could assemble the calipers. There were a few minor issues with the Ti parts, part there issue, part mine, and I was unable to use a few components due to incorrect thread pitch ( trying to speak to someone in russia who's 2mr or 3rd language isn English has its difficulties). But they were easily overcome by using my existing hardware. With the Ti parts, and new aluminum mount brackets I was able to shave 1.8 lbs from the as factory condition of these calipers, which translates to a 4.2 lbs saving over the box factory calipers. This weight doesn't include the rotors.
 new computer (7 of 35) by lawrx, on Flickr
 new computer (8 of 35) by lawrx, on Flickr
 new computer (9 of 35) by lawrx, on Flickr
 new computer (10 of 35) by lawrx, on Flickr
 new computer (11 of 35) by lawrx, on Flickr
 new computer (12 of 35) by lawrx, on Flickr
 new computer (13 of 35) by lawrx, on Flickr
 new computer (14 of 35) by lawrx, on Flickr
 new computer (17 of 35) by lawrx, on Flickr
 new computer (18 of 35) by lawrx, on Flickr
 new computer (19 of 35) by lawrx, on Flickr
 new computer (20 of 35) by lawrx, on Flickr
 new computer (22 of 35) by lawrx, on Flickr
 new computer (23 of 35) by lawrx, on Flickr
 new computer (24 of 35) by lawrx, on Flickr
 new computer (25 of 35) by lawrx, on Flickr
 new computer (27 of 35) by lawrx, on Flickr
 new computer (29 of 35) by lawrx, on Flickr
 new computer (31 of 35) by lawrx, on Flickr
 new computer (32 of 35) by lawrx, on Flickr
 new computer (33 of 35) by lawrx, on Flickr
 new computer (34 of 35) by lawrx, on Flickr
 new computer (35 of 35) by lawrx, on Flickr
Leave a comment:
-
Very cool, can't wait to see it welded back together. Glad you finally got the calipers stripped down.Leave a comment:
-
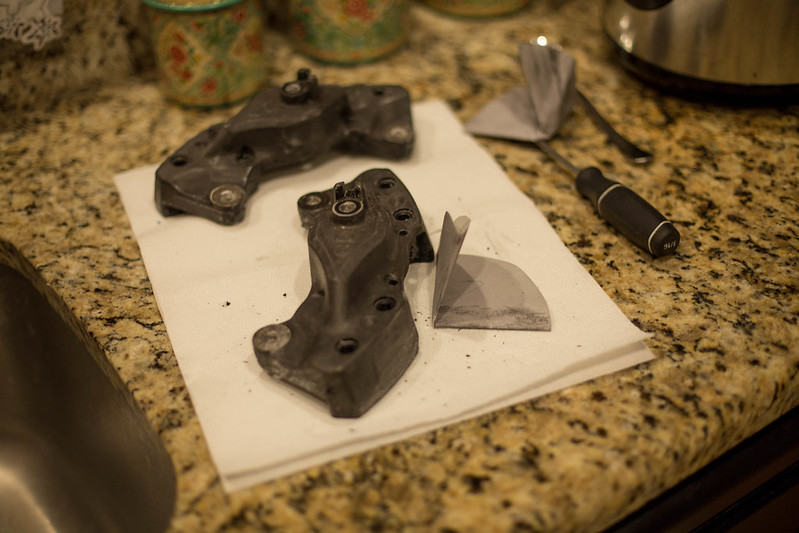
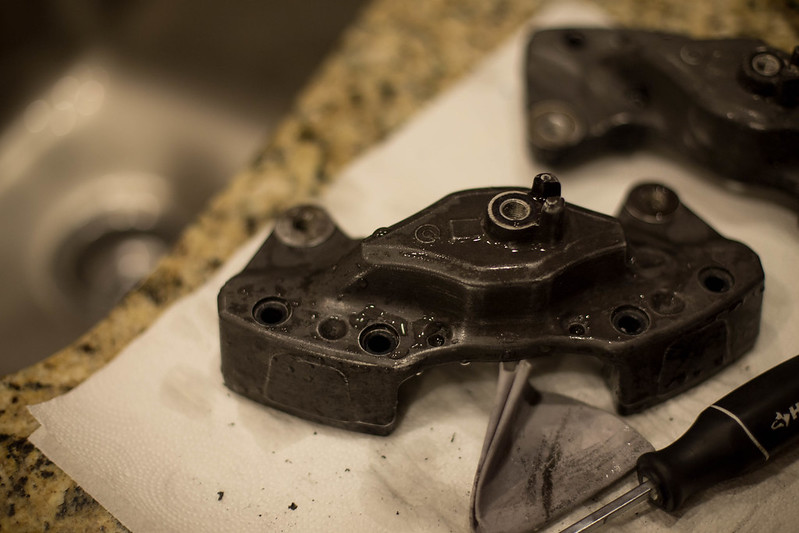
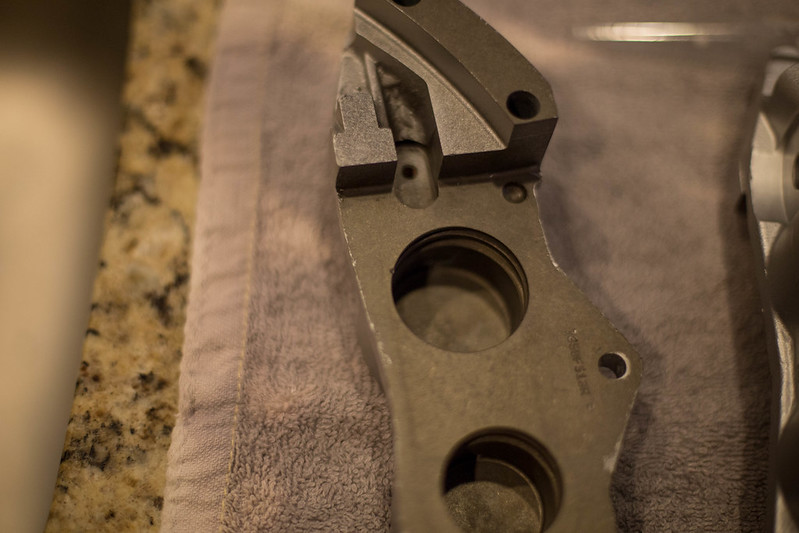
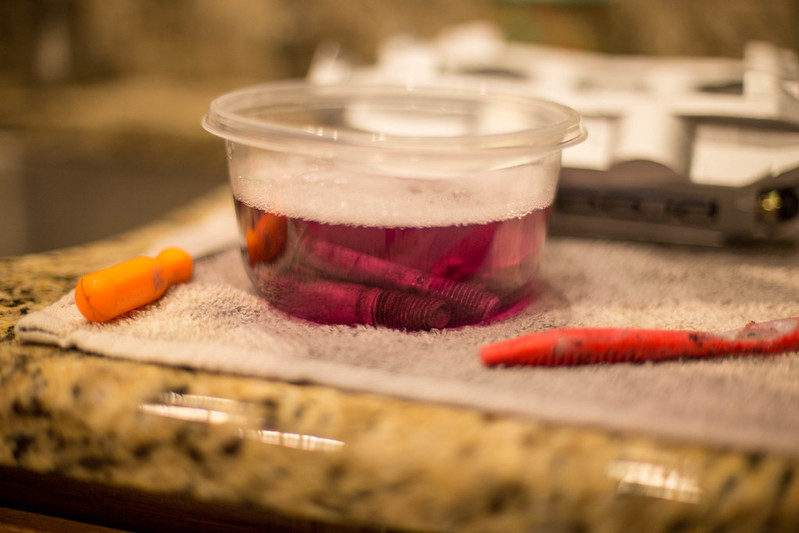
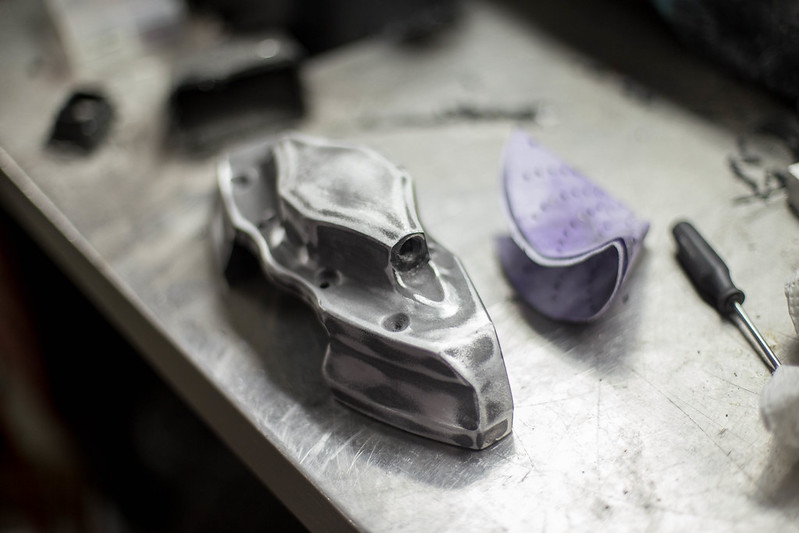
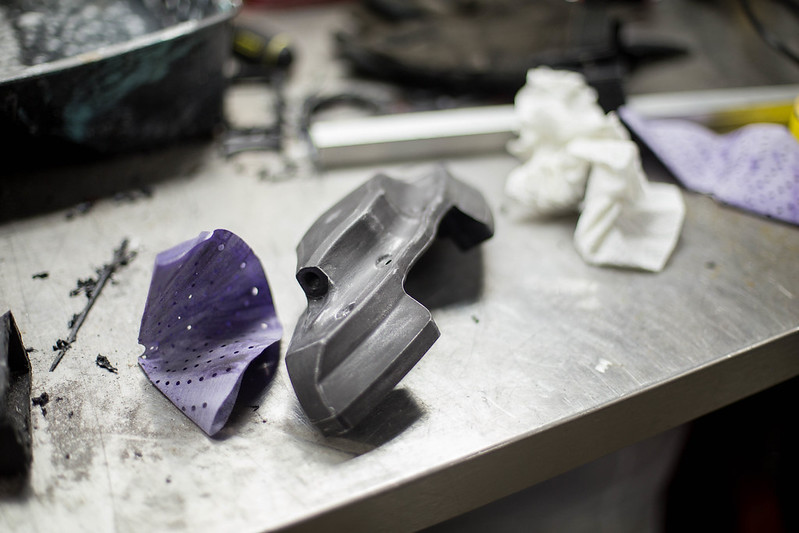
FINALLY DONE STRIPPING THE REAR CALIPERS TO MY LIKING. Fuck powder coat, that took way too many sessions of stripping and scraping. The outer portions will now are boxed up and shipped out to a buddy for some work.
 new computer (20 of 20) by lawrx, on Flickr
 new computer (19 of 20) by lawrx, on Flickr
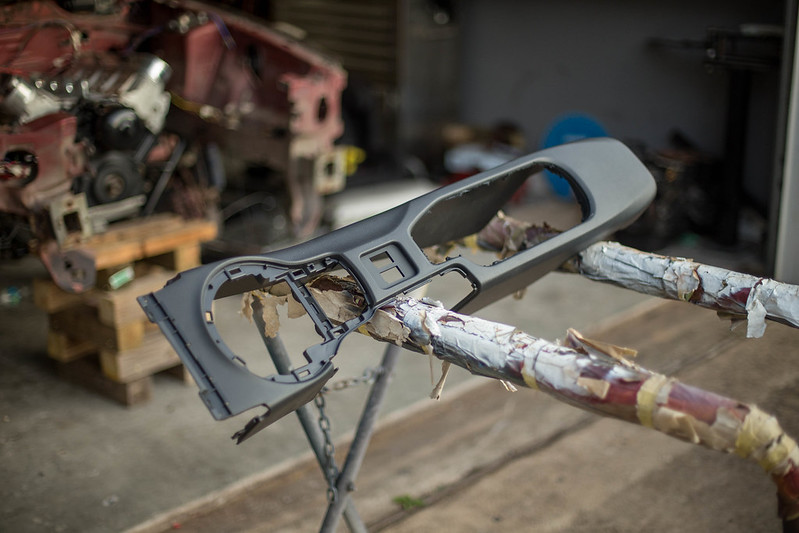
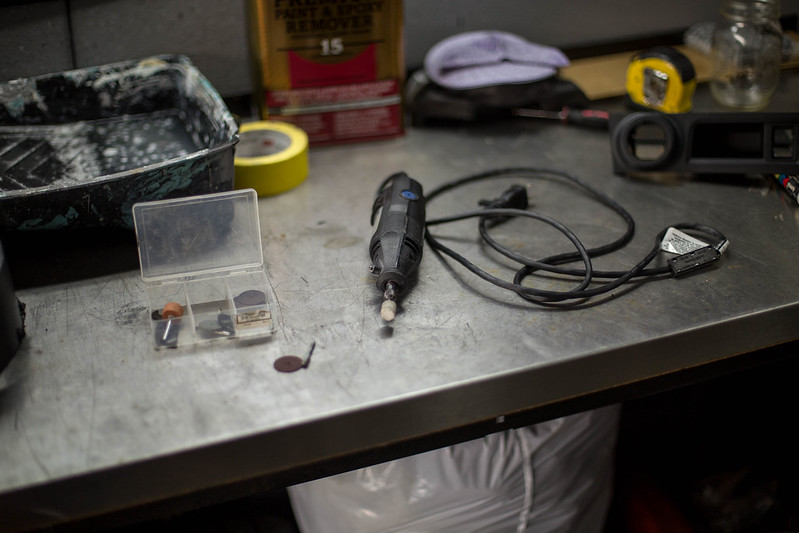
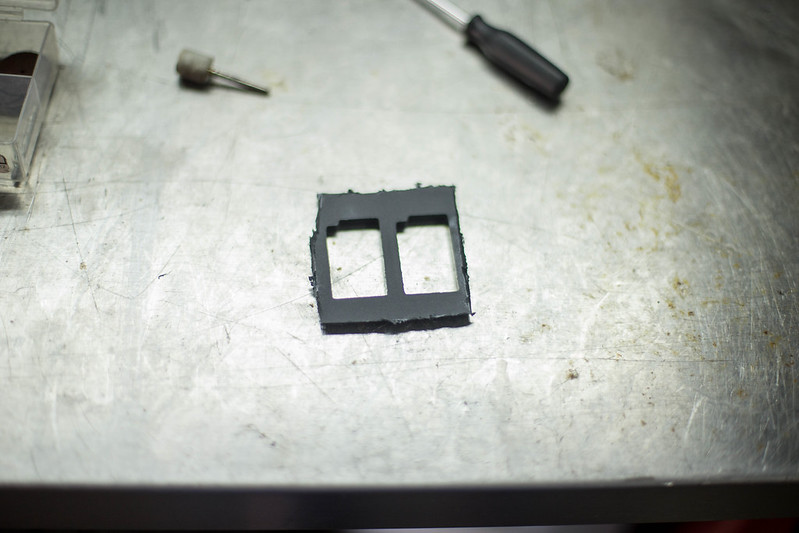
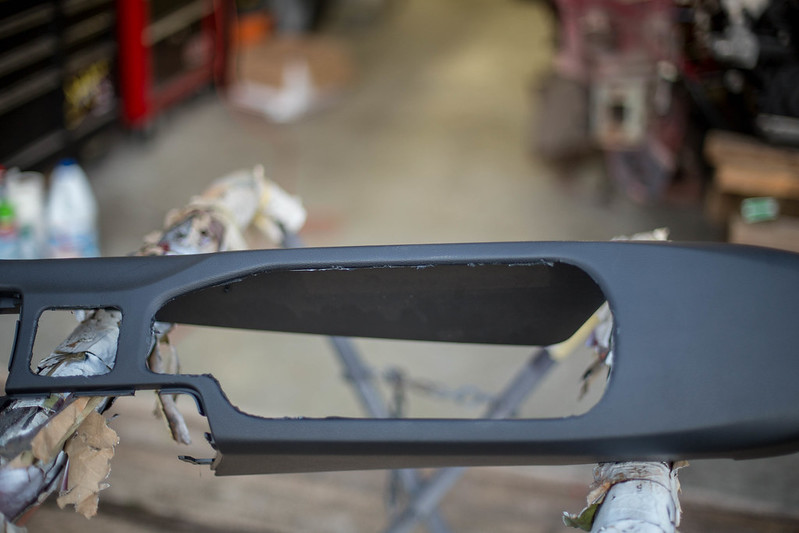
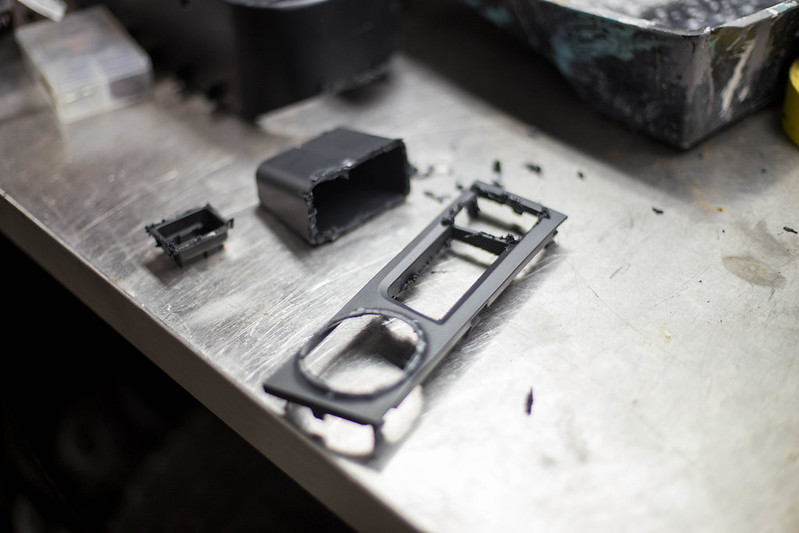
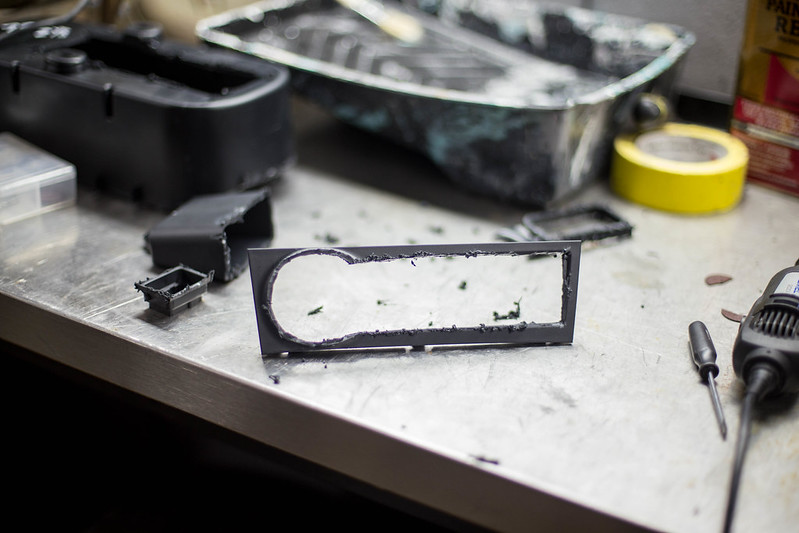
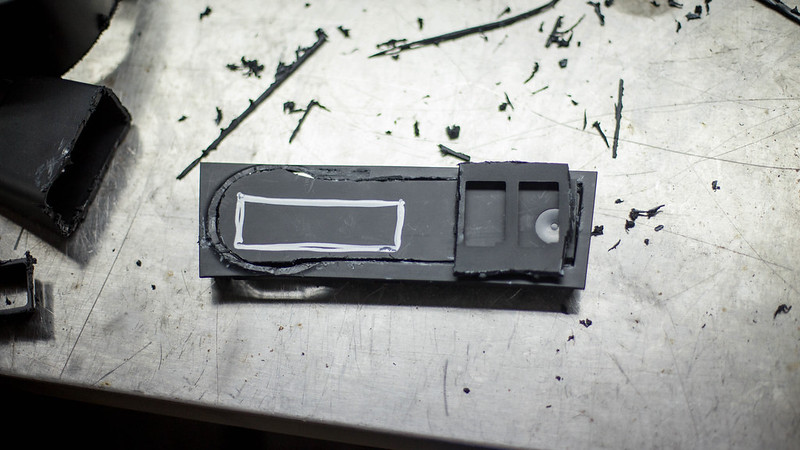
With the calipers taken care of I turned my attention back to the interior pieces. I picked up some new cutting disk for my Dremel and went to town on chopping it up. First I cut the heated seat button mounts out so I could reuse them in the front portion of the console. I then trimmed up. the cut line of the main center console to get it ready to grafted in the center section.
 new computer (1 of 20) by lawrx, on Flickr
 new computer (2 of 20) by lawrx, on Flickr
 new computer (3 of 20) by lawrx, on Flickr
 new computer (4 of 20) by lawrx, on Flickr
 new computer (6 of 20) by lawrx, on Flickr
 new computer (5 of 20) by lawrx, on Flickr
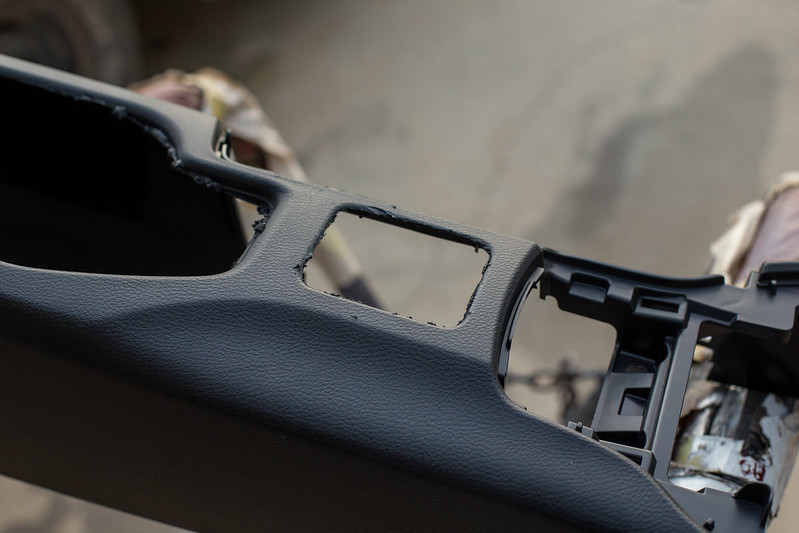
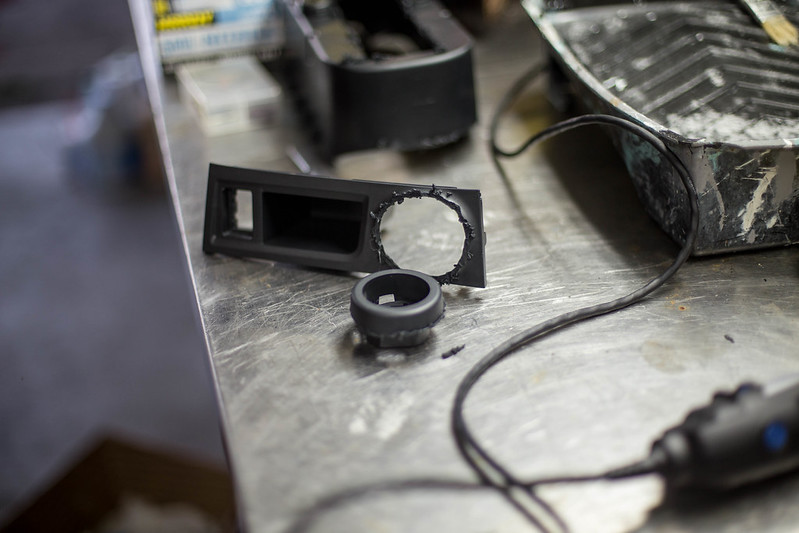
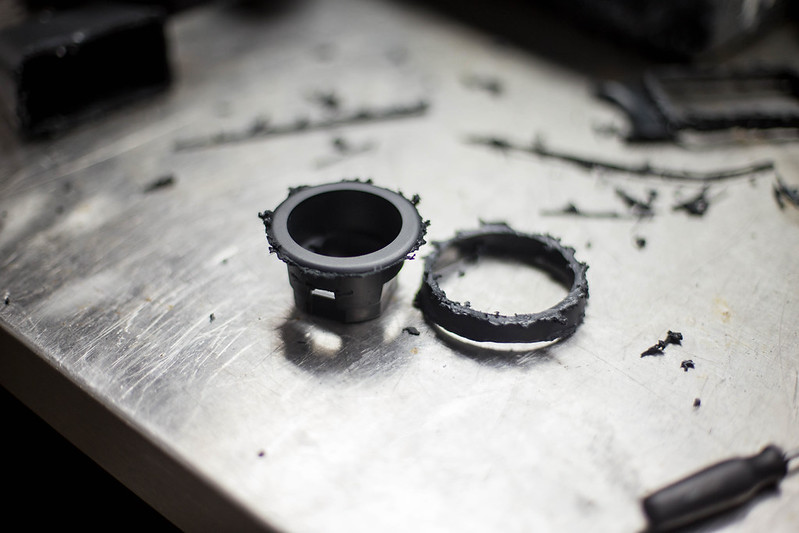
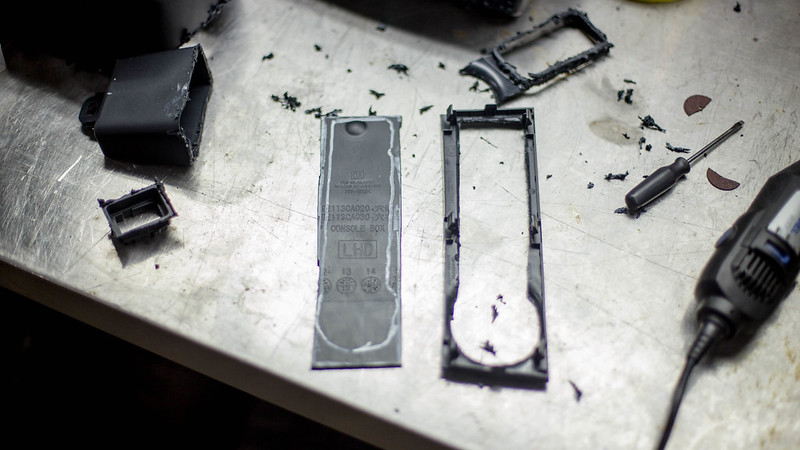
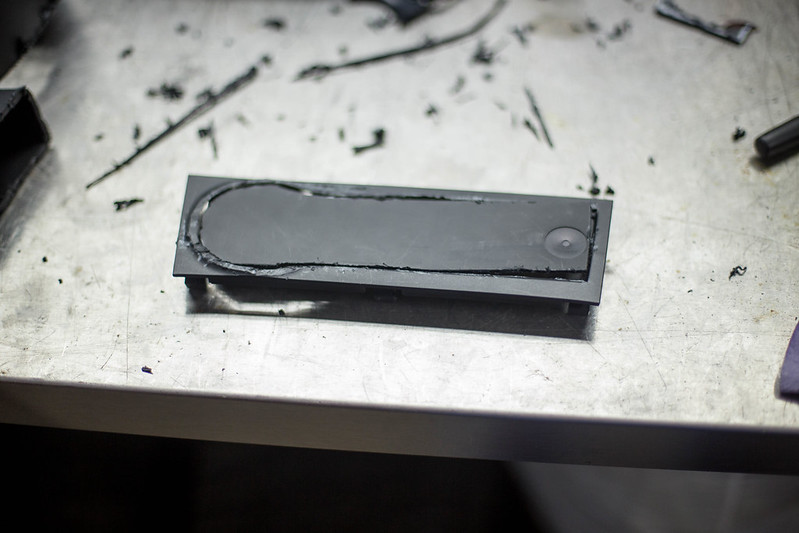
Next up I got to work on the push button trim. I cut out the push button mounting so I could use it to mount into the shifter trim. With it out of the way I was able to trim up the flat section id cut from the cup holder area to create a blank to plastic weld in.
 new computer (7 of 20) by lawrx, on Flickr
 new computer (14 of 20) by lawrx, on Flickr
 new computer (9 of 20) by lawrx, on Flickr
 new computer (10 of 20) by lawrx, on Flickr
 new computer (11 of 20) by lawrx, on Flickr
 new computer (12 of 20) by lawrx, on Flickr
 new computer (13 of 20) by lawrx, on Flickr
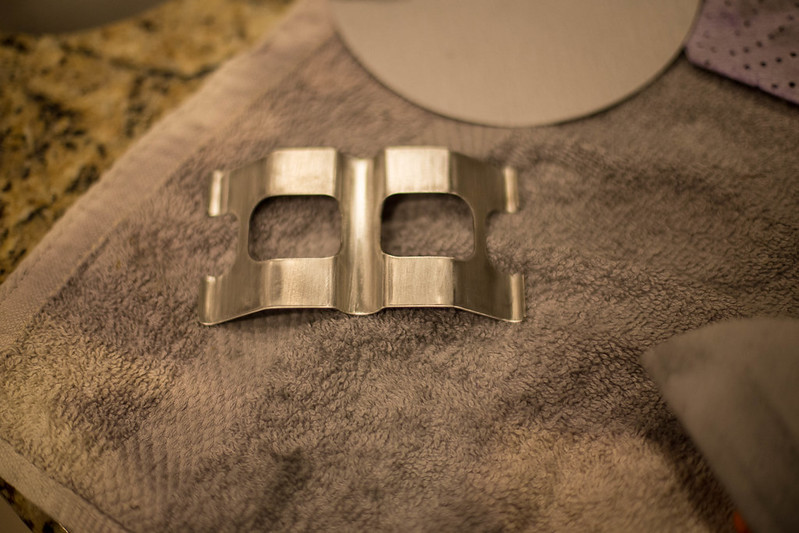
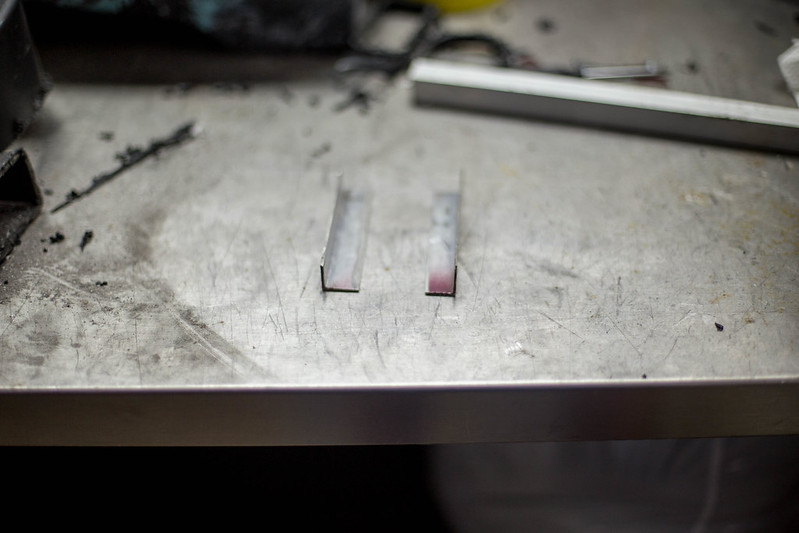
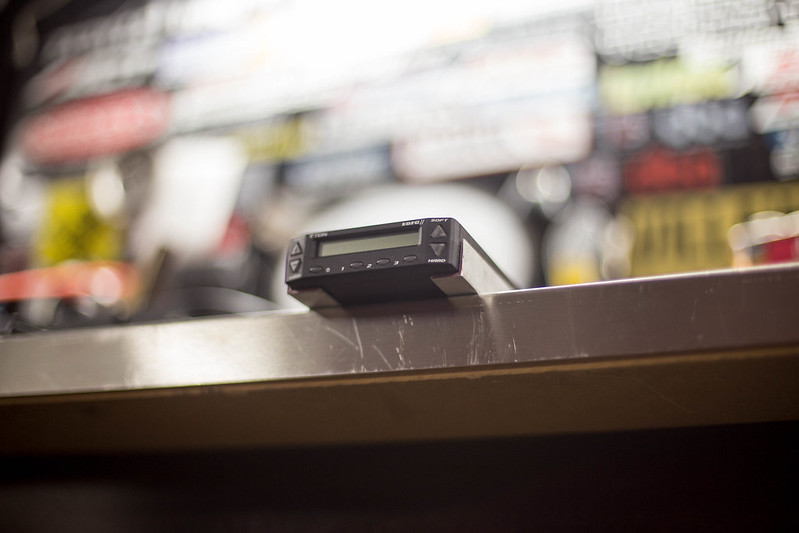
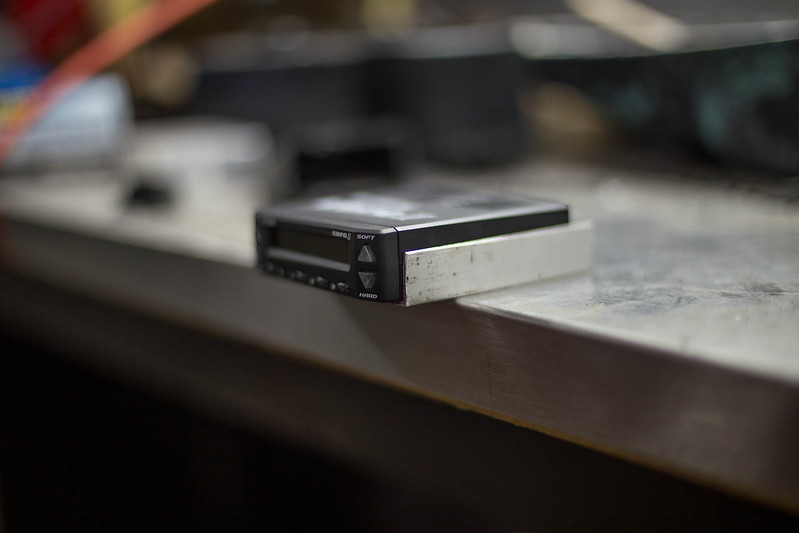
With the trimming of the blank completed, and ready for the plastic welder which I will have to bring it to work for, I turned my attention to actually mounting the EDFC controller into the blank area I just created. I took some square aluminum tubing and cut it into two 90* angles. Ill be cutting out another set and two small sections to glue to the bezel as the actual mount itself.
new computer (13 of 20) by lawrx, on Flickr
 new computer (16 of 20) by lawrx, on Flickr
 new computer (17 of 20) by lawrx, on Flickr
 new computer (18 of 20) by lawrx, on Flickr
Leave a comment:
-
Thanks man i appreciate the kind words, but i wouldnt go nearly as far as saying they are all that good. Maybe 1 or 2, if that lolOriginally posted by screescree View PostLeave a comment:

Leave a comment: