Announcement

Collapse
No announcement yet.

Backyard Budget Z32

Collapse
X
 
  • Filter
  • Time
  • Show
Clear All
new posts

  • #31
    Keep in mind i dont drive this car much, so it doesnt see much if any wet driving.

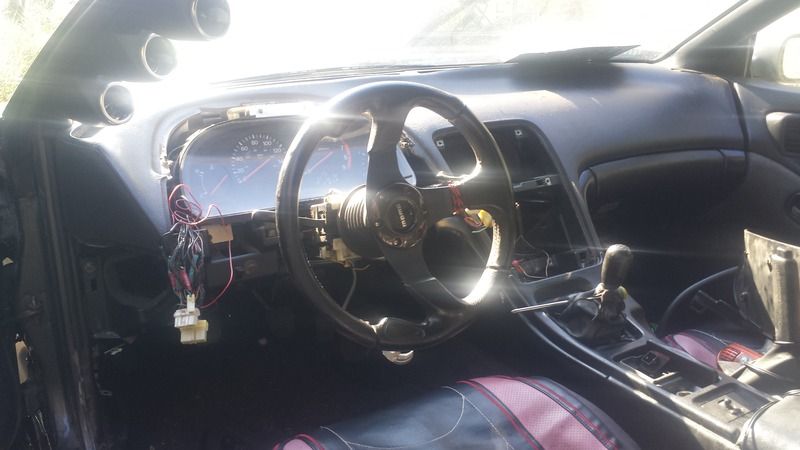
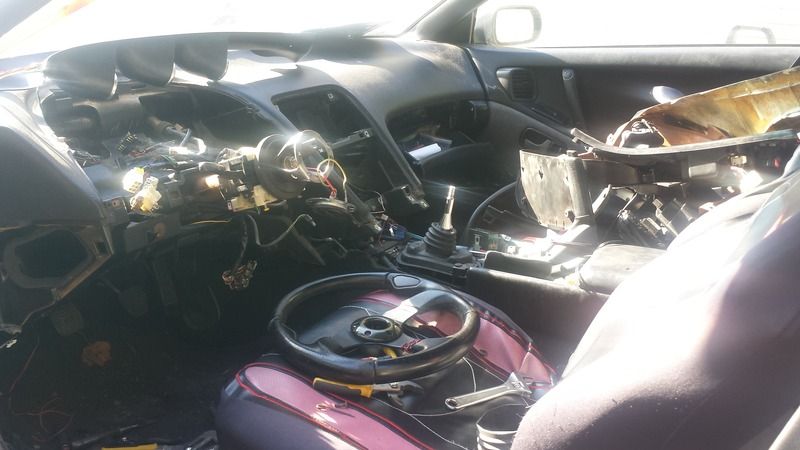
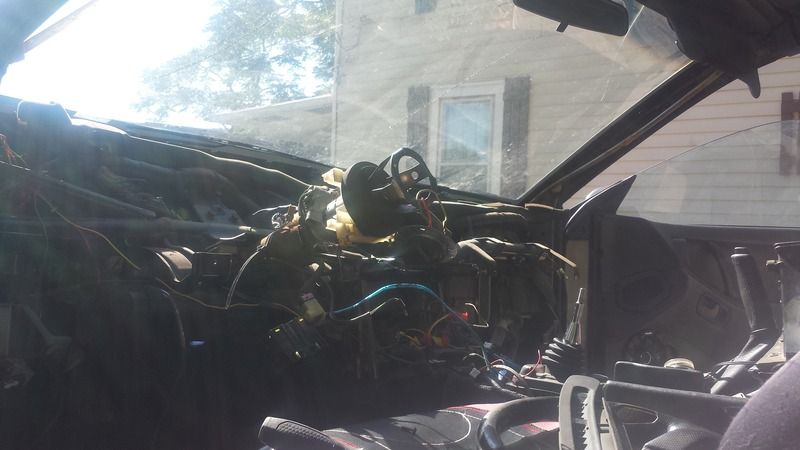
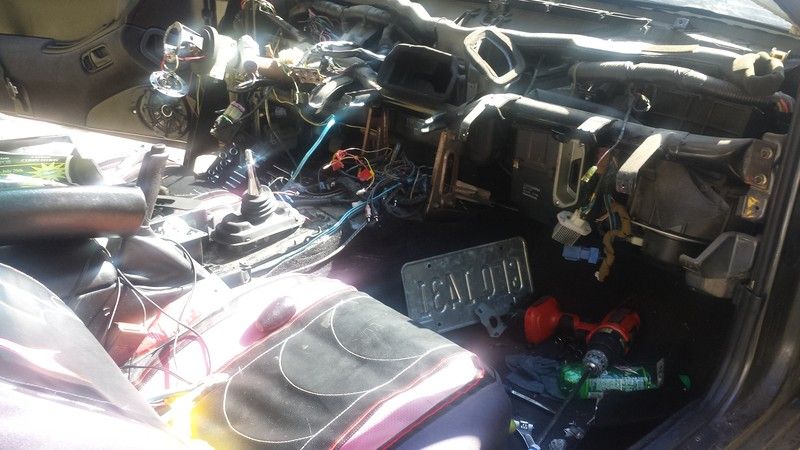
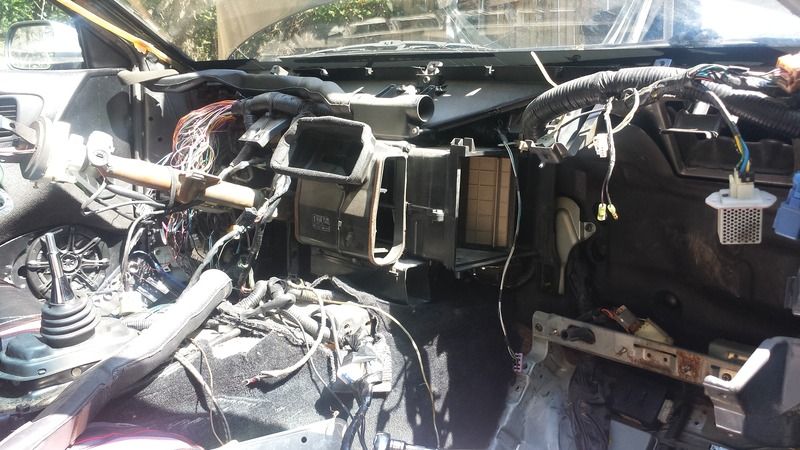
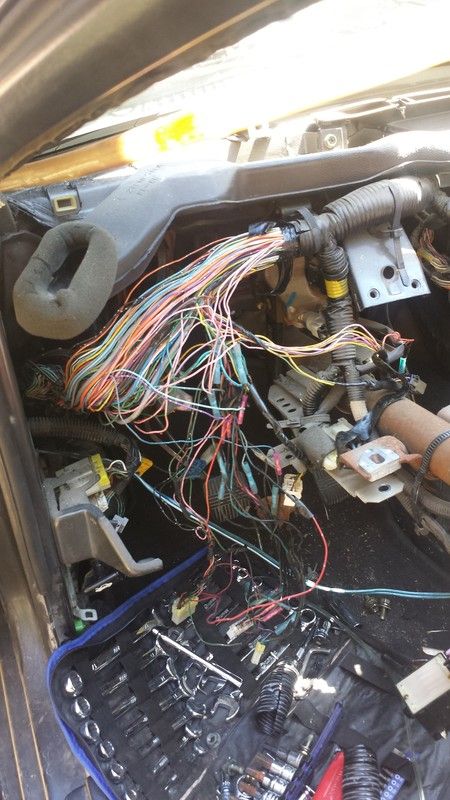
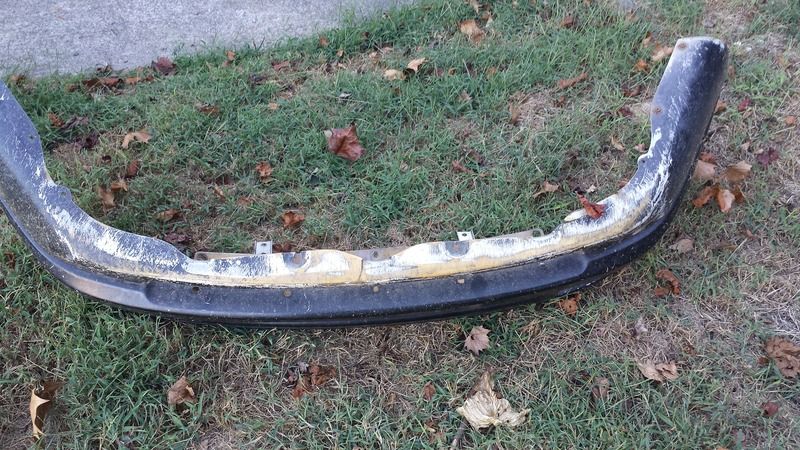
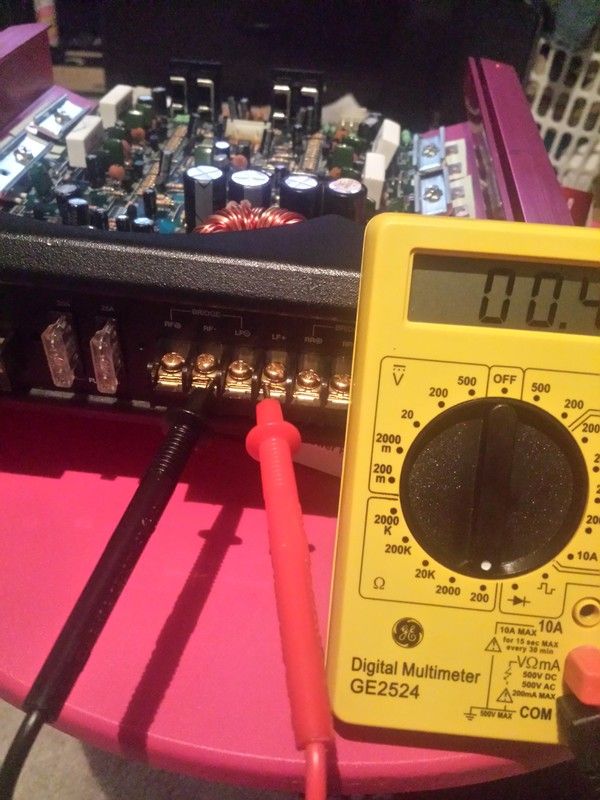
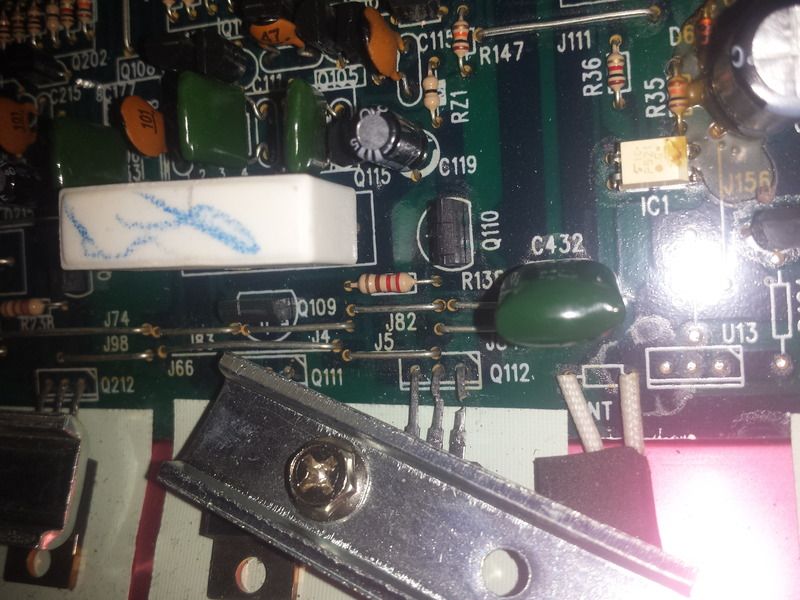
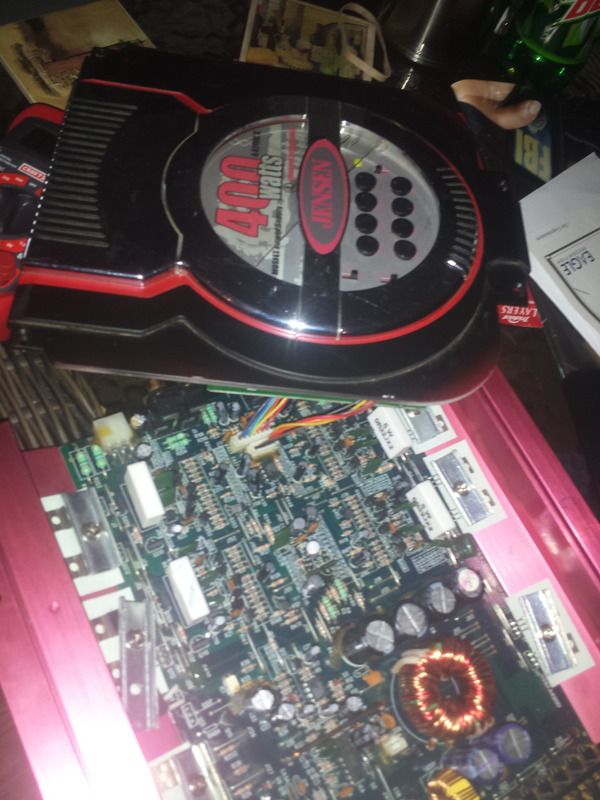
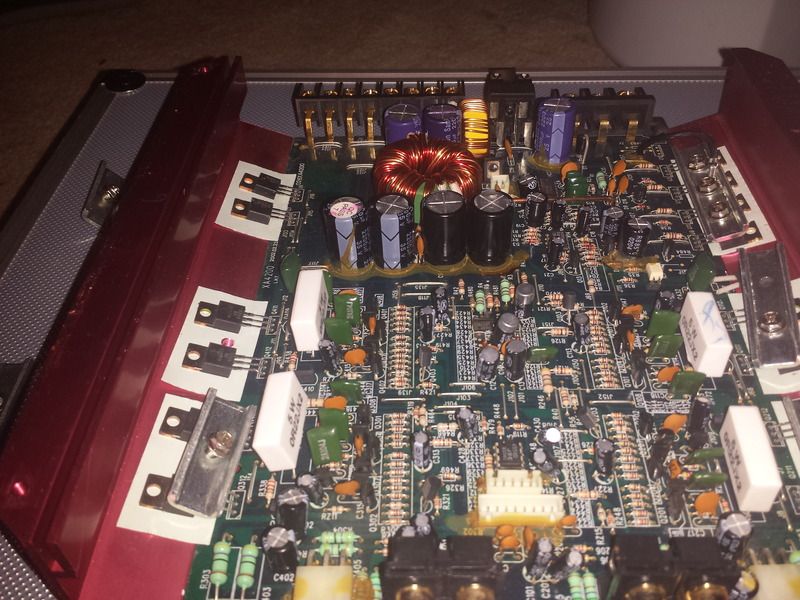
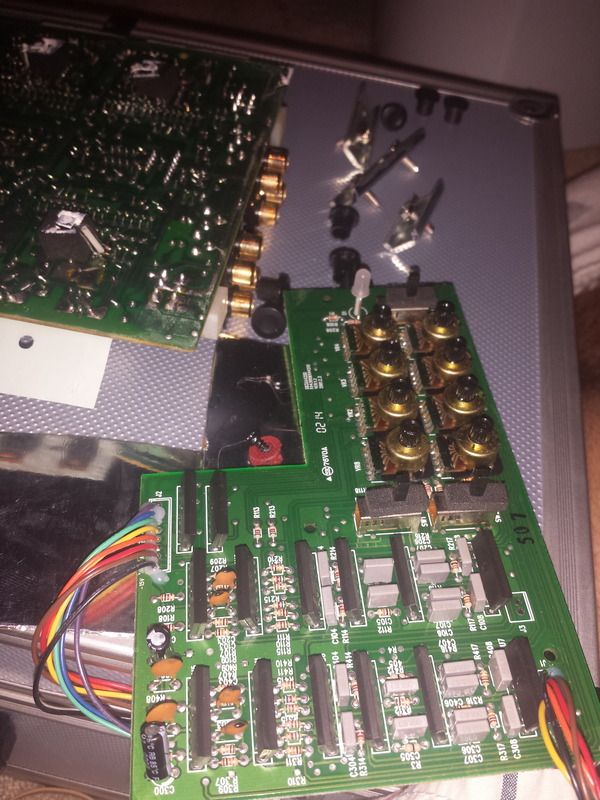
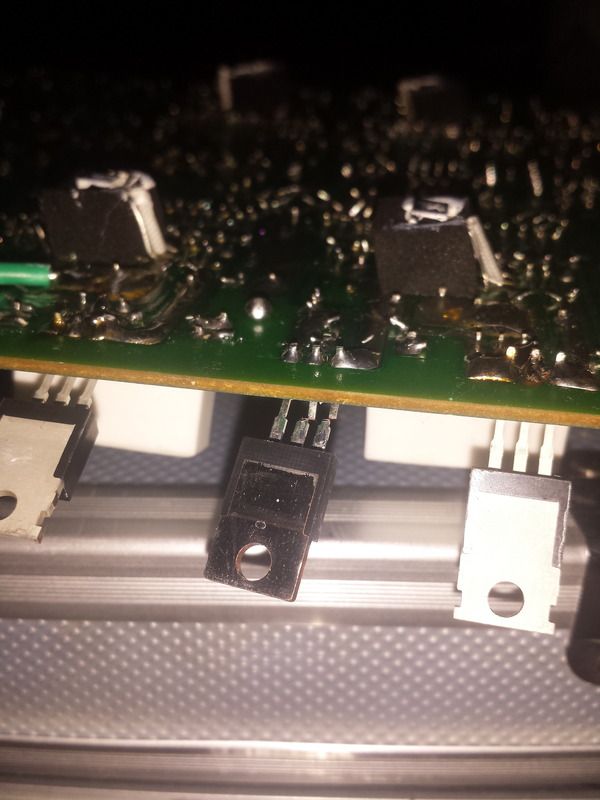
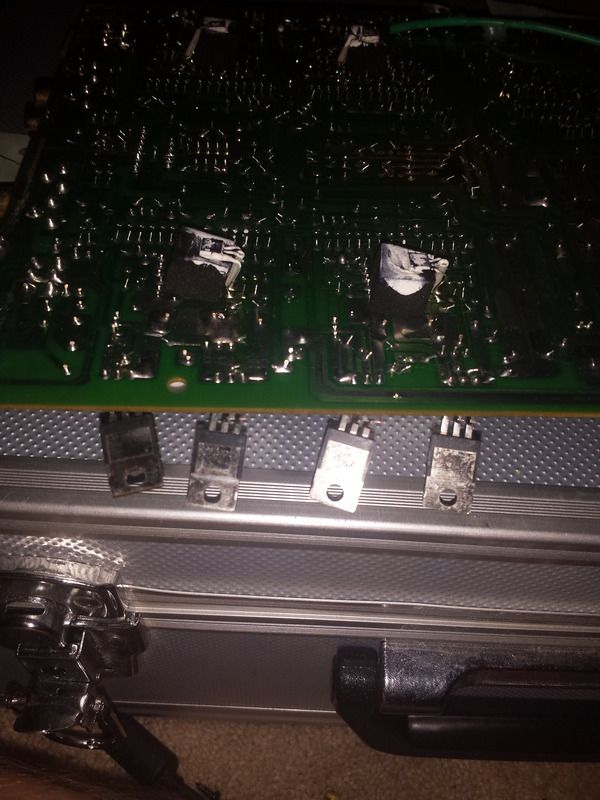
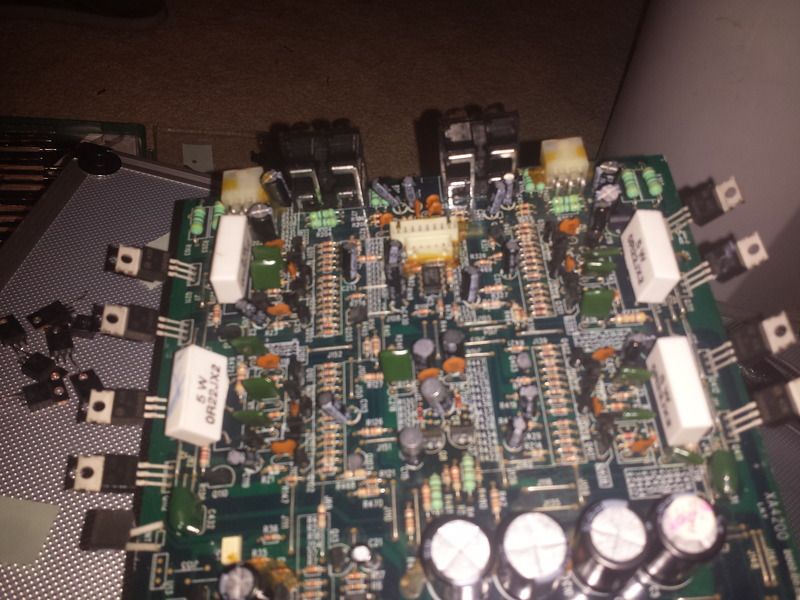
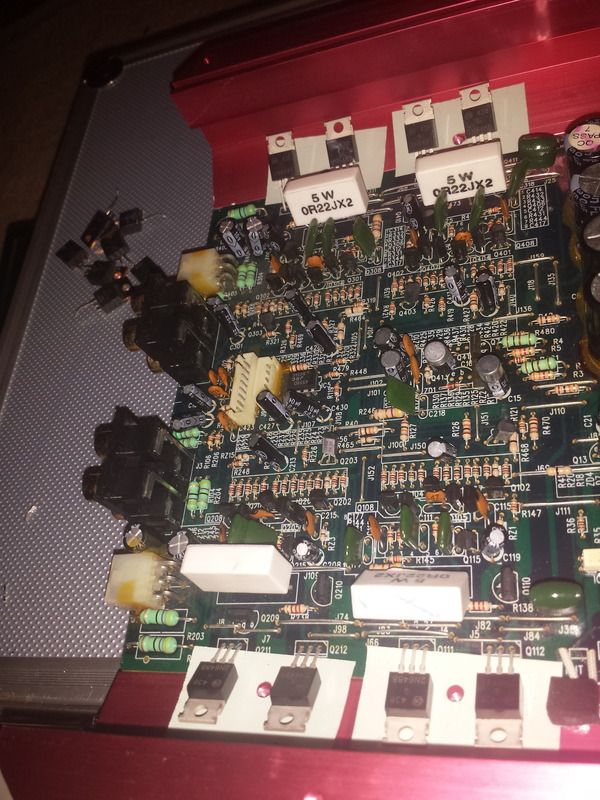
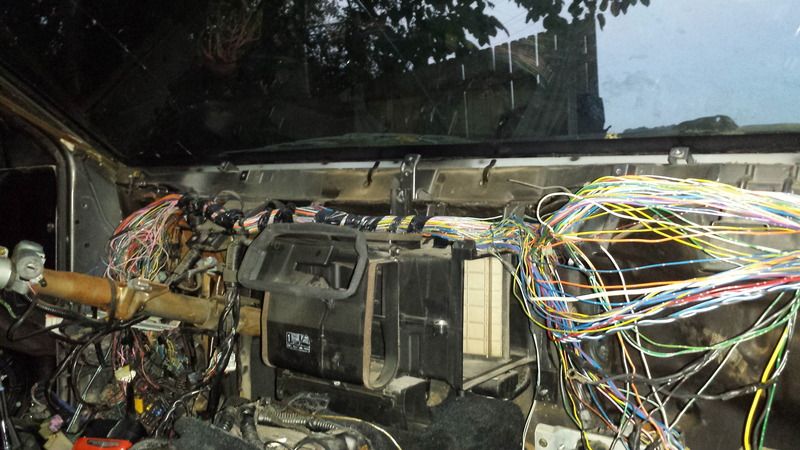
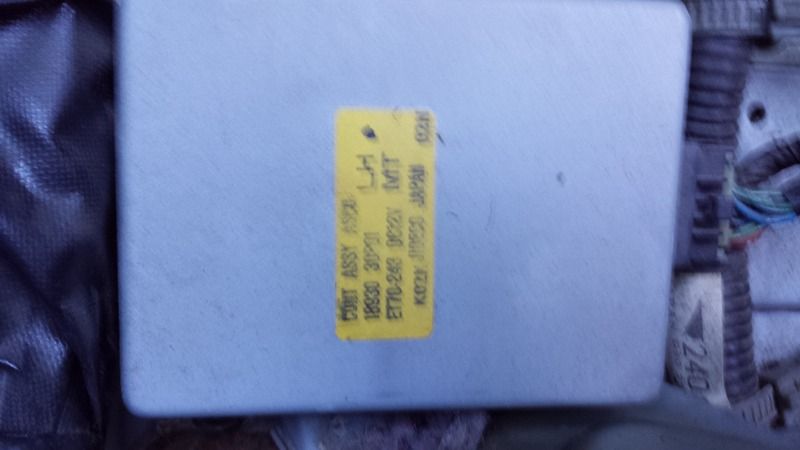
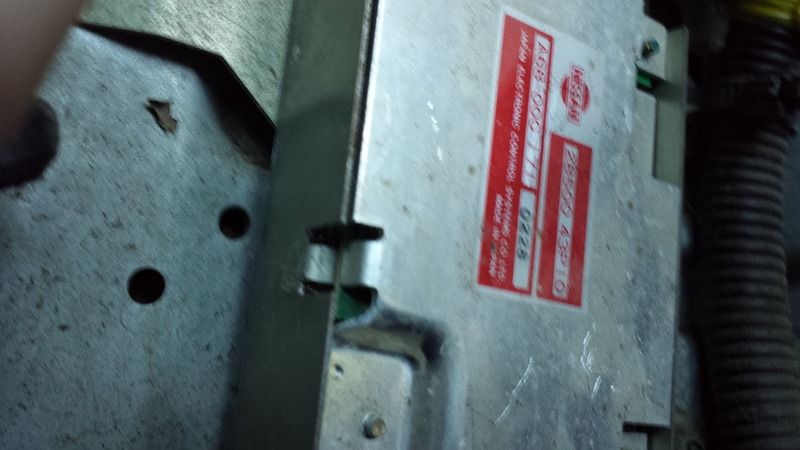
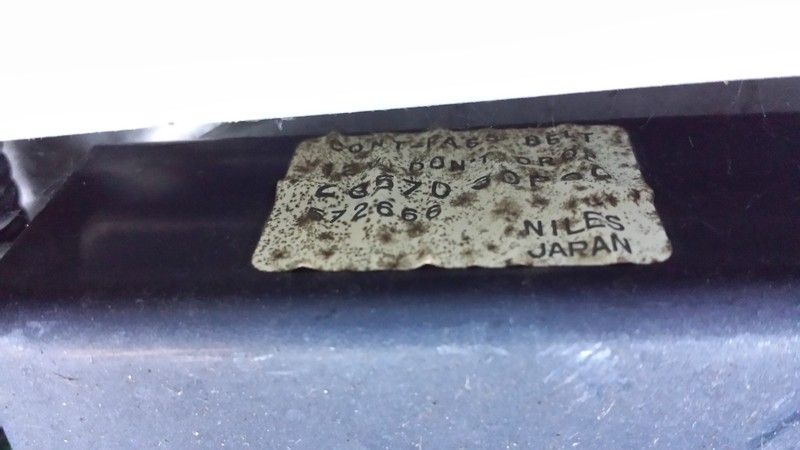
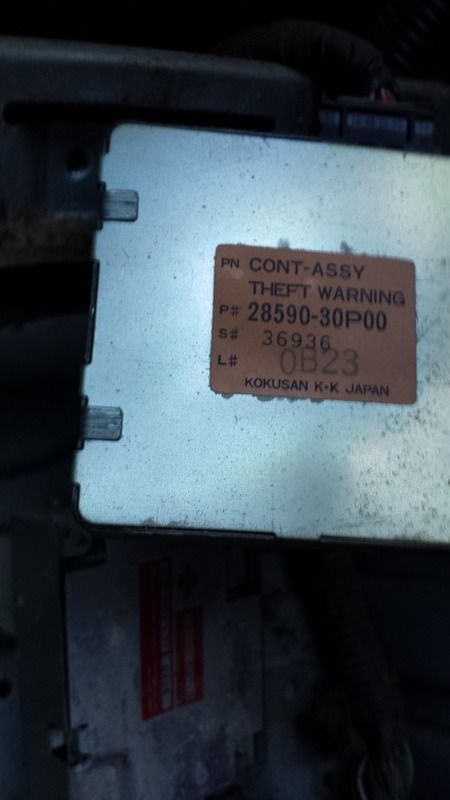
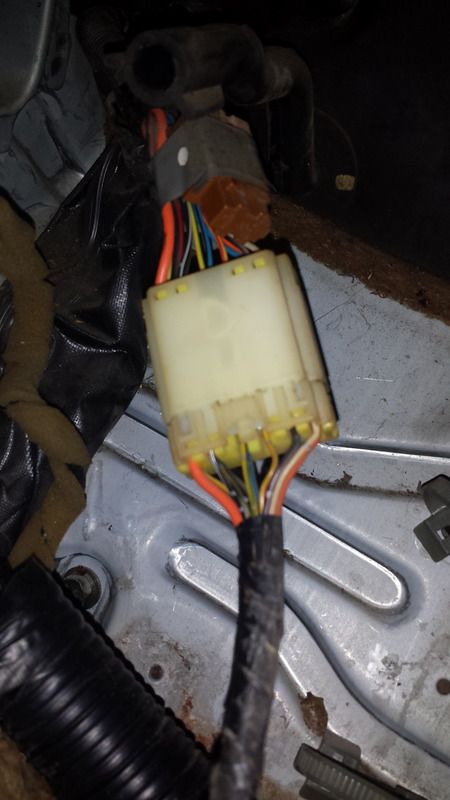
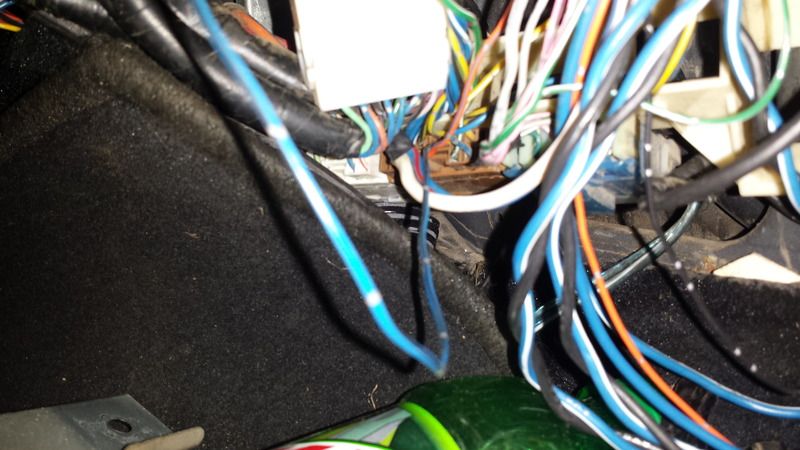
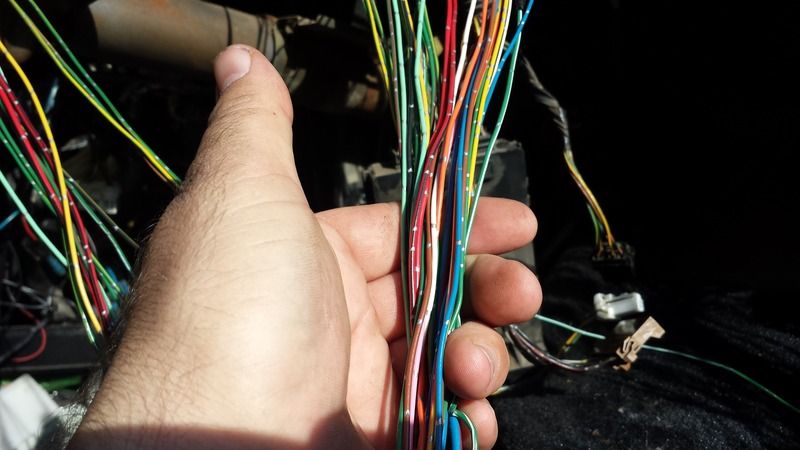
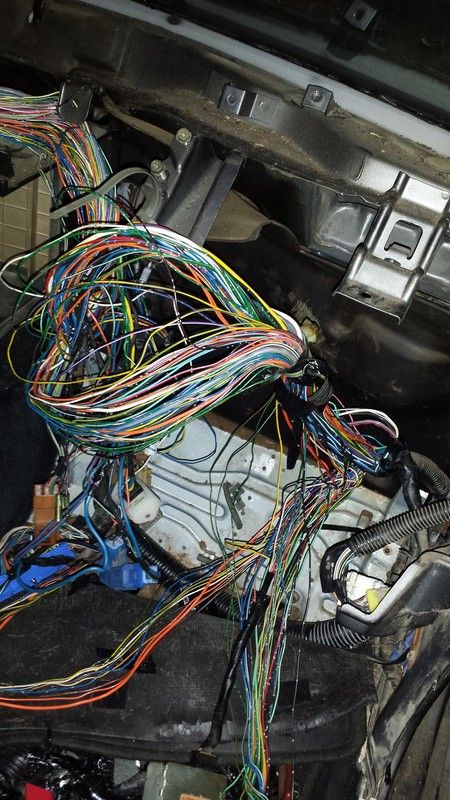
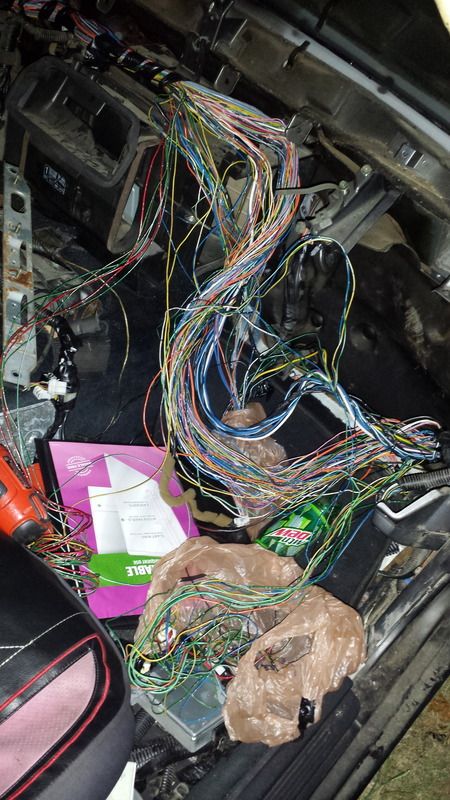
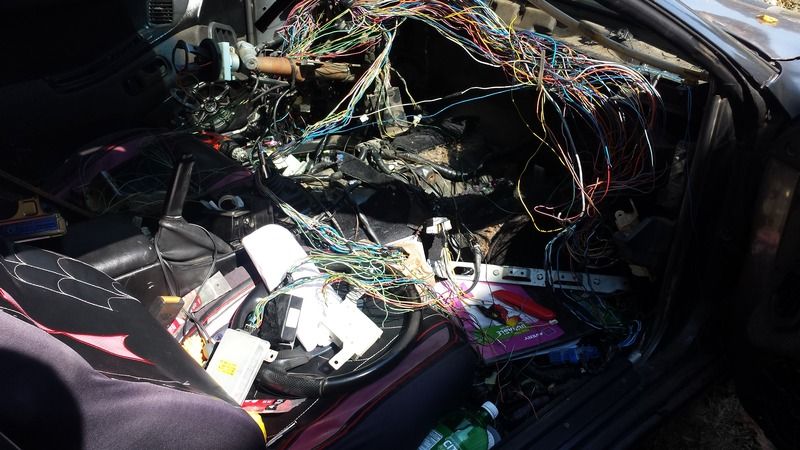
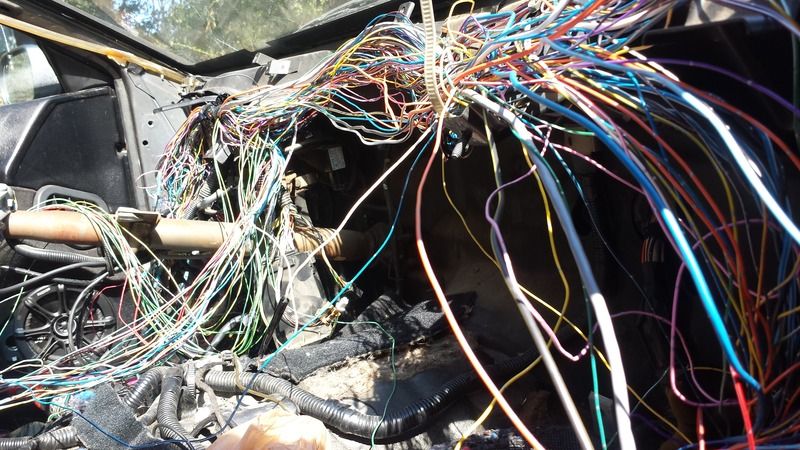
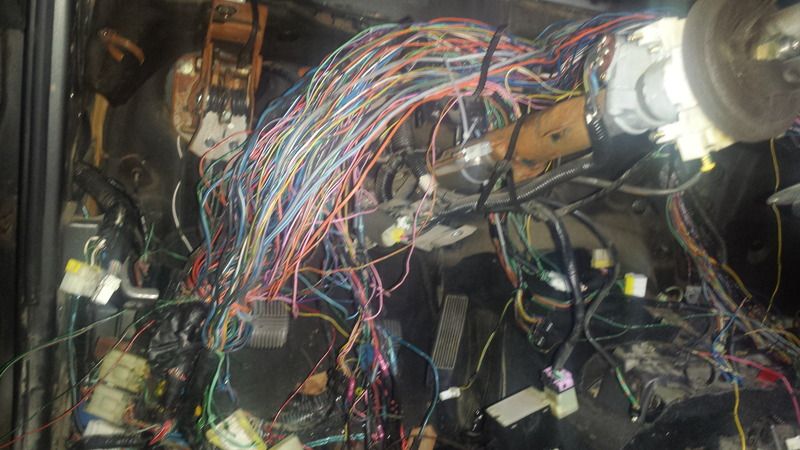
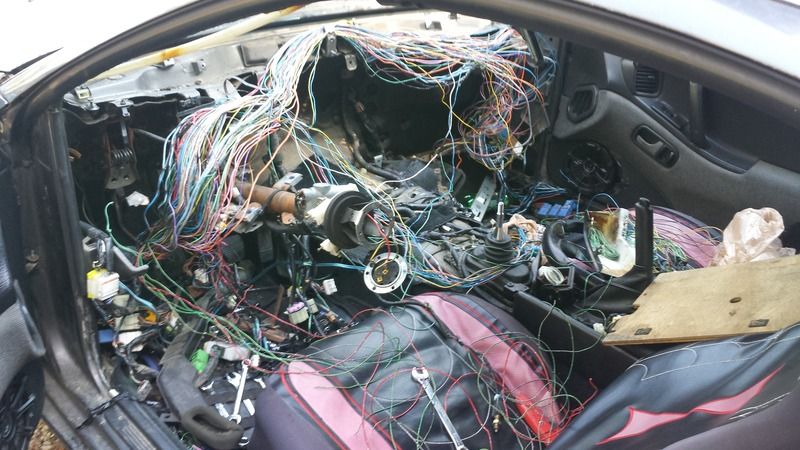
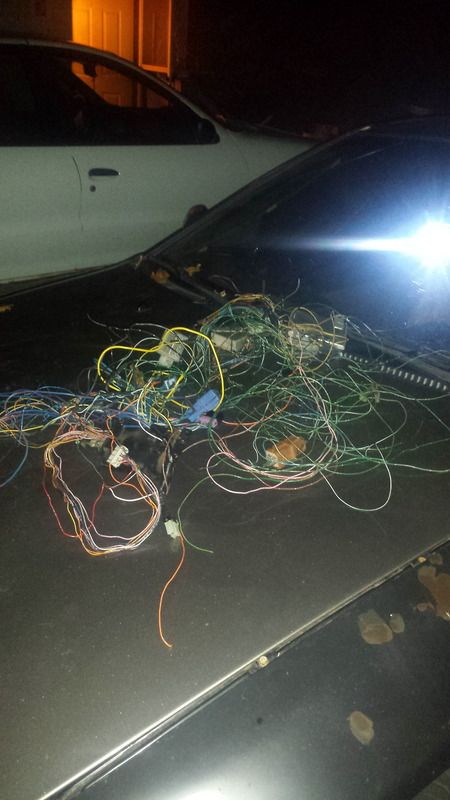
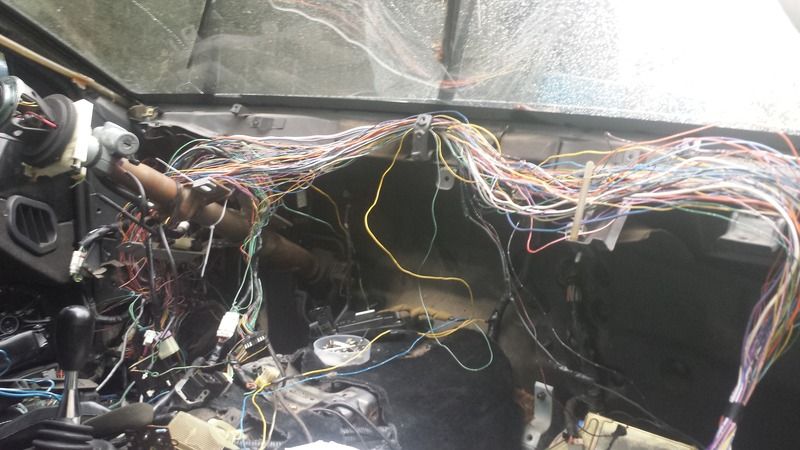
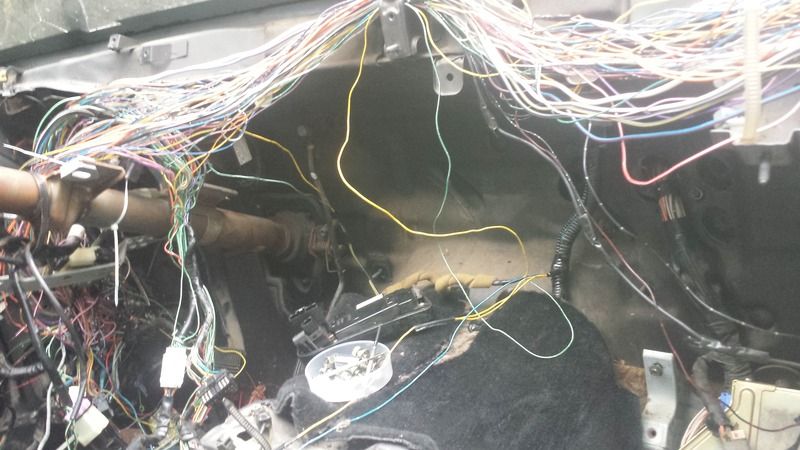
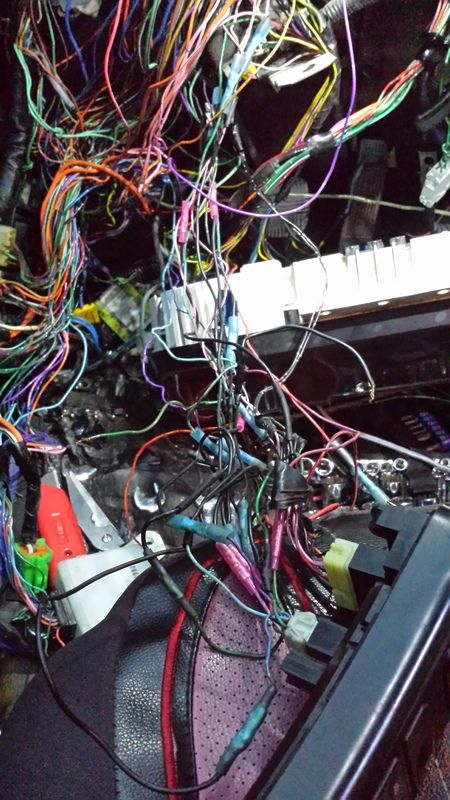
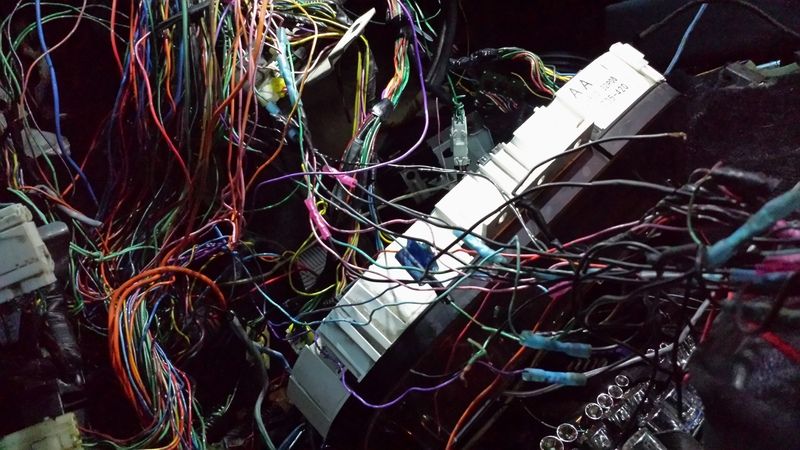
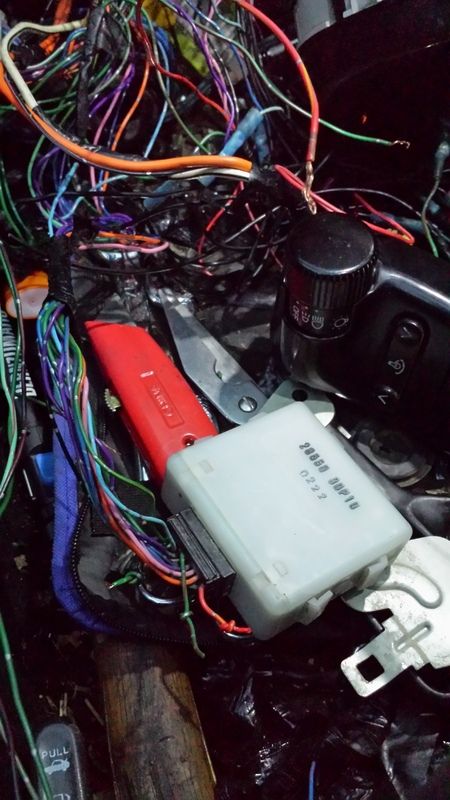
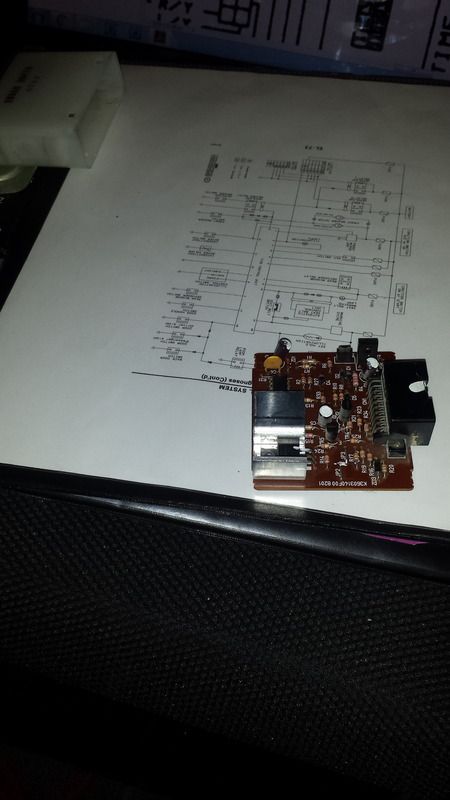
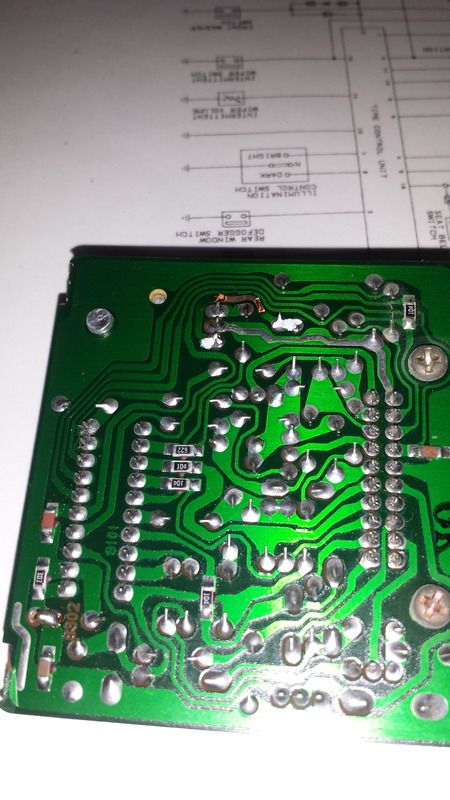
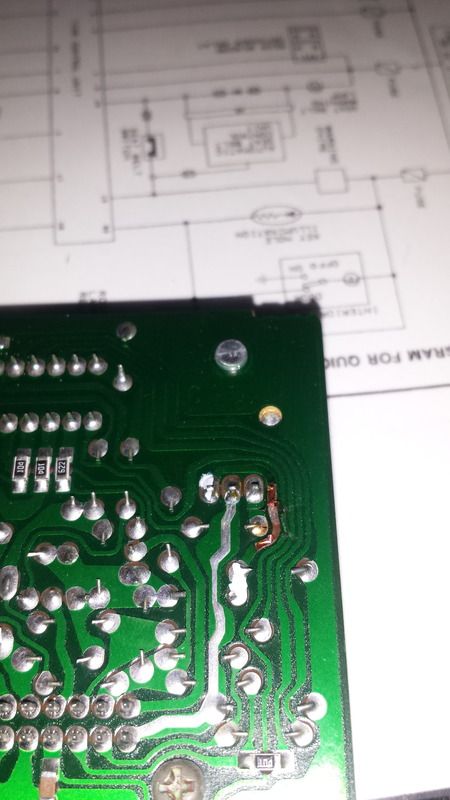
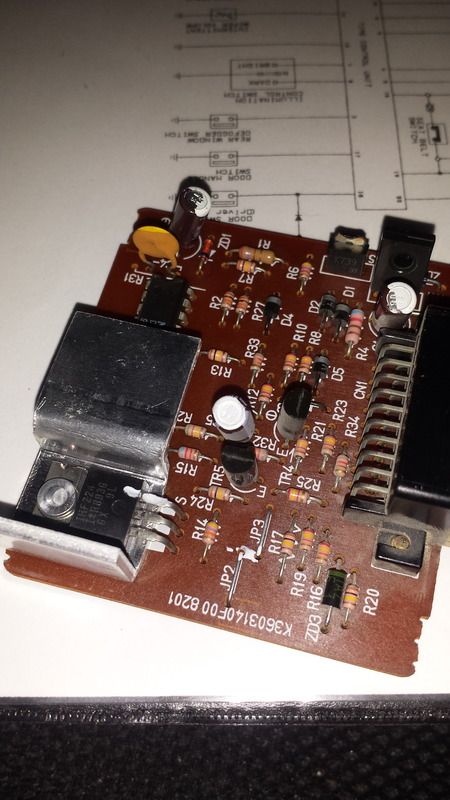
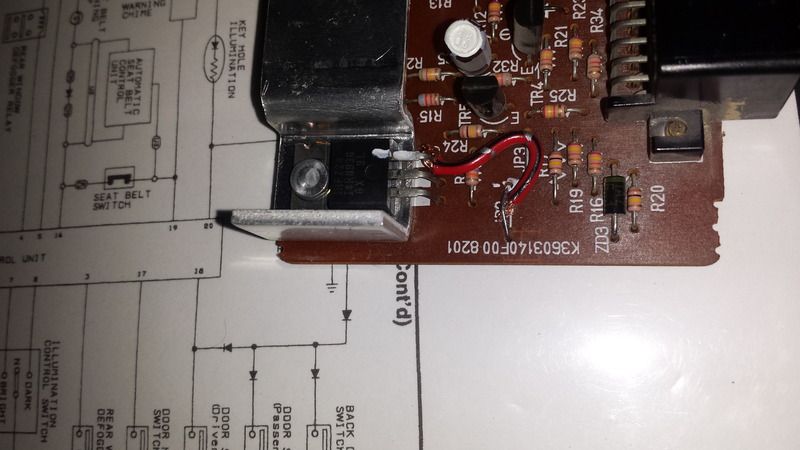
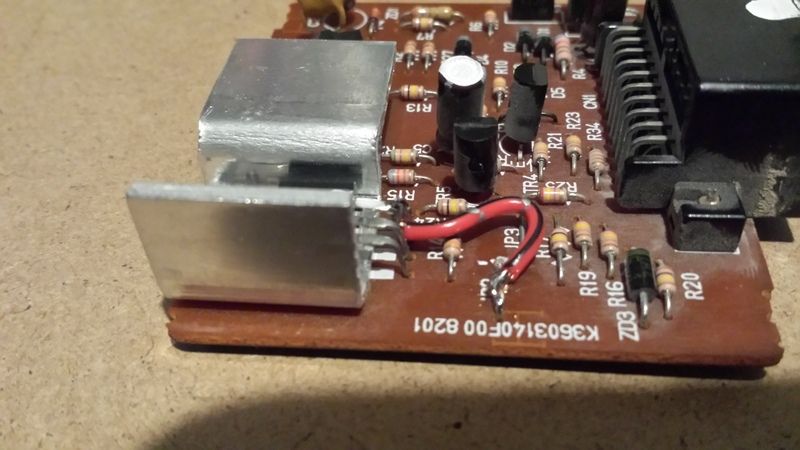
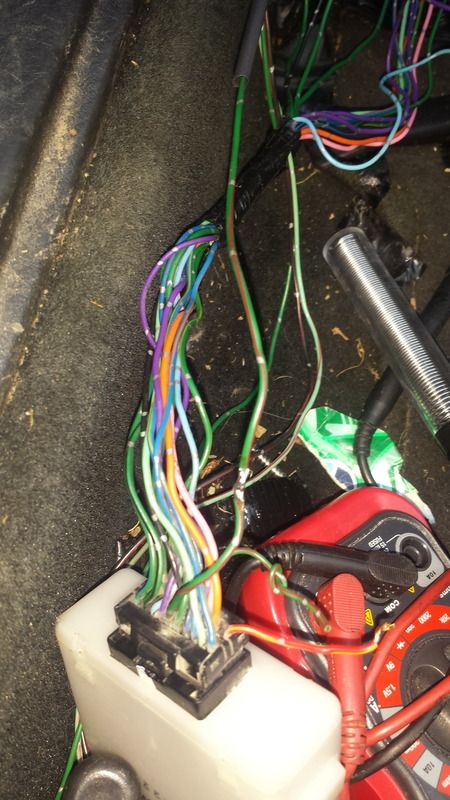
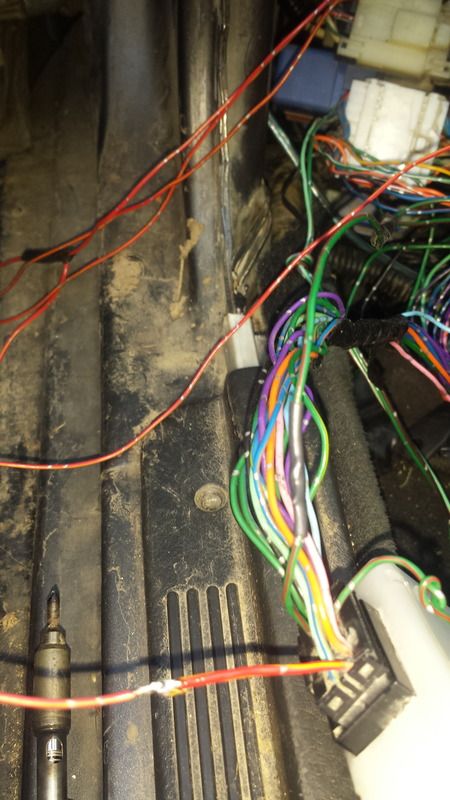
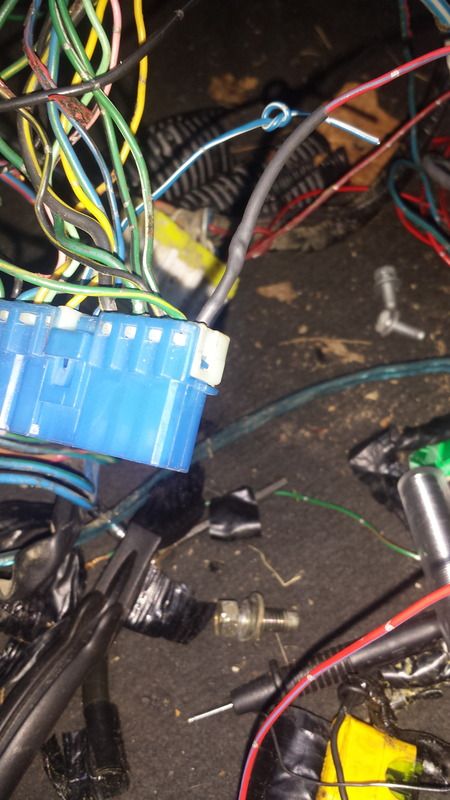
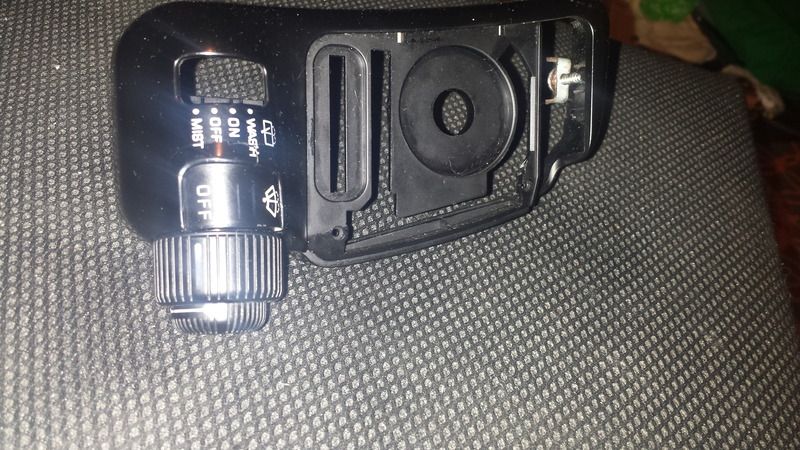
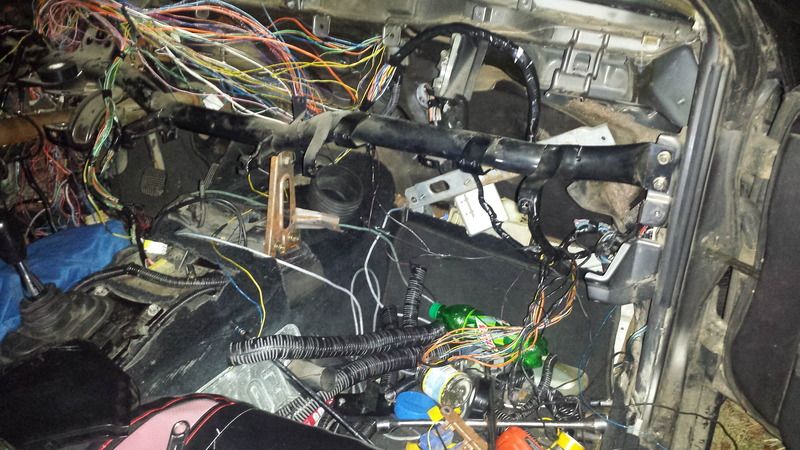
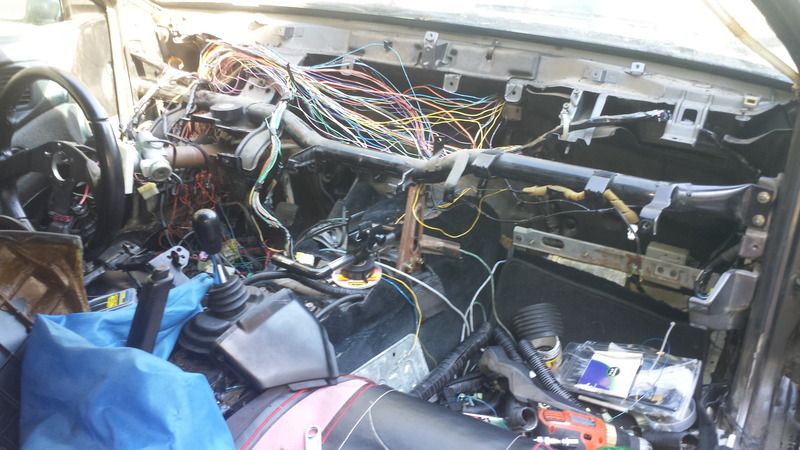
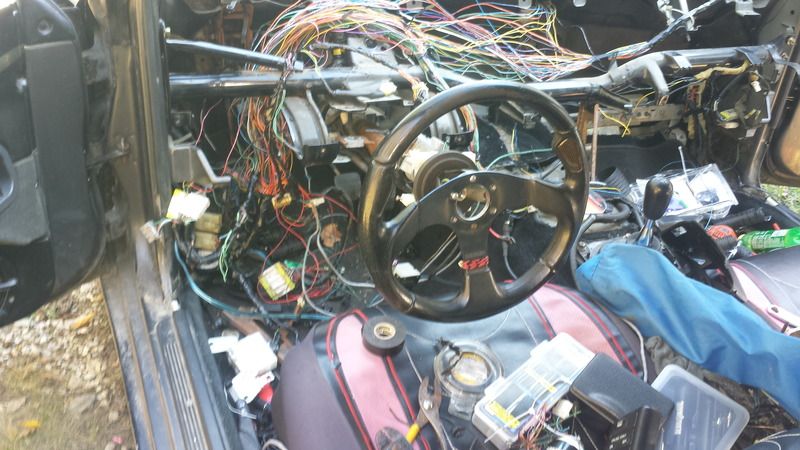
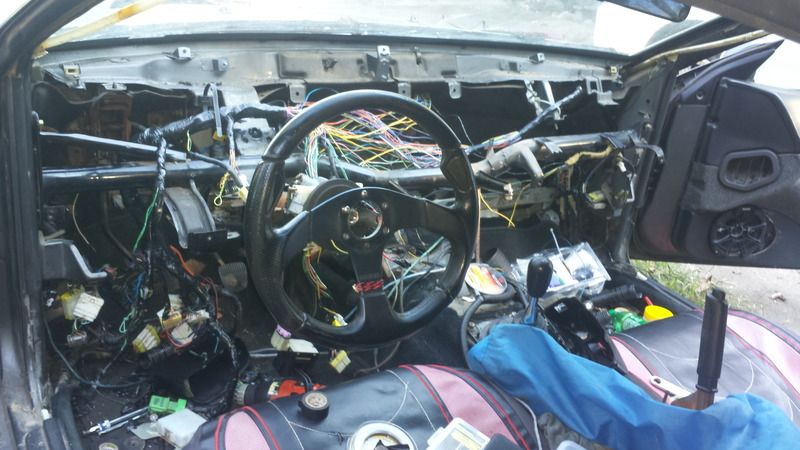
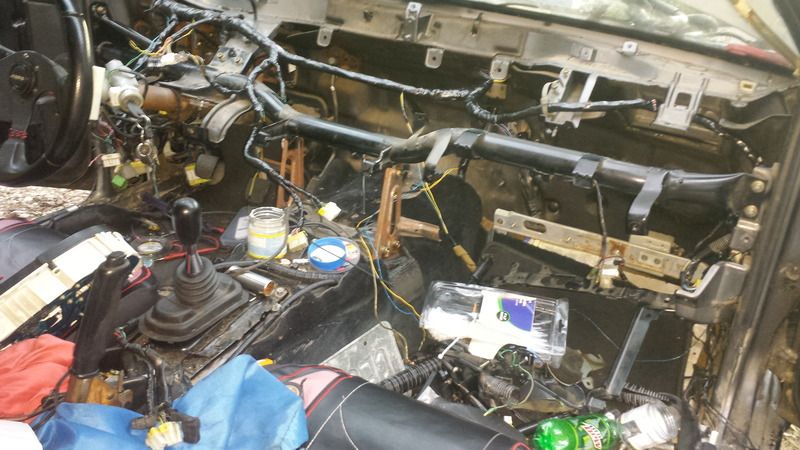
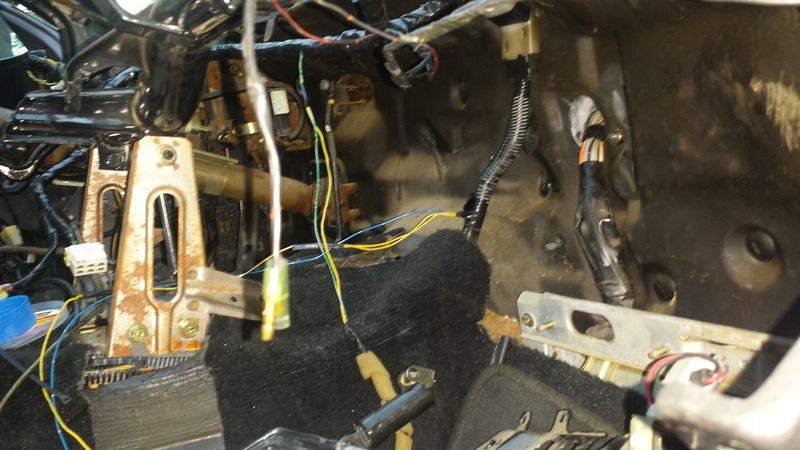
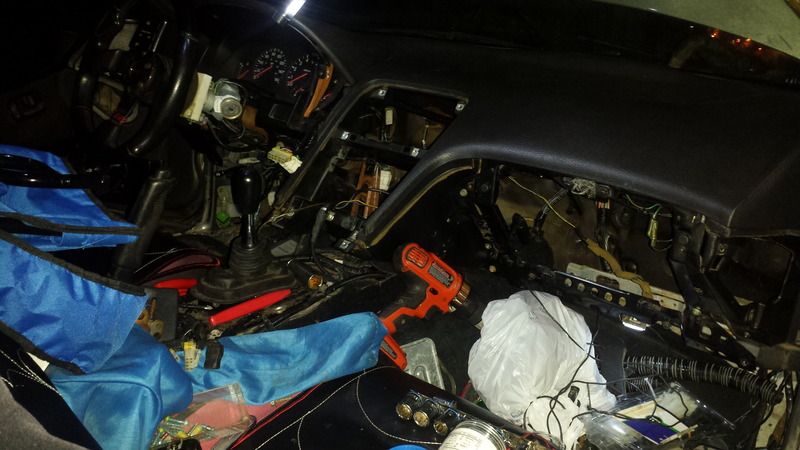
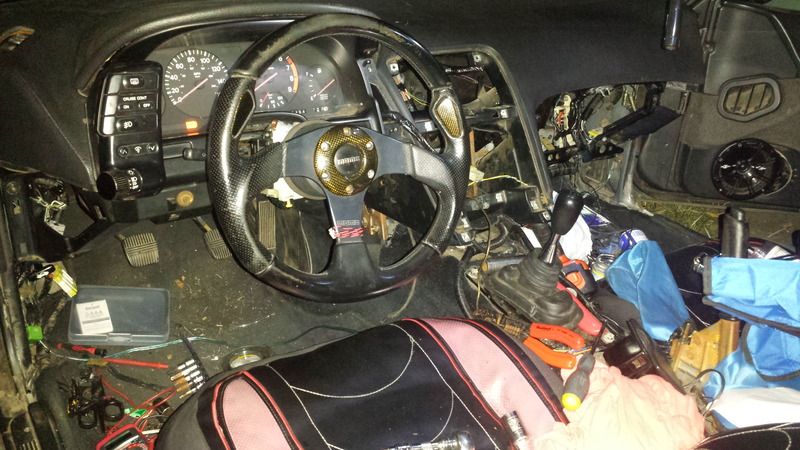
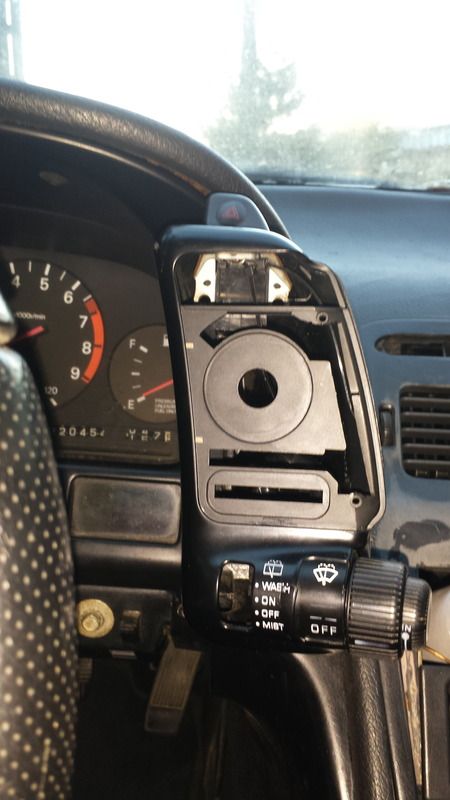
    Since i moved the wiper wiring I figured why not the wiper amp too.


    20160618_191005.jpg by coreymunion on 500px.com


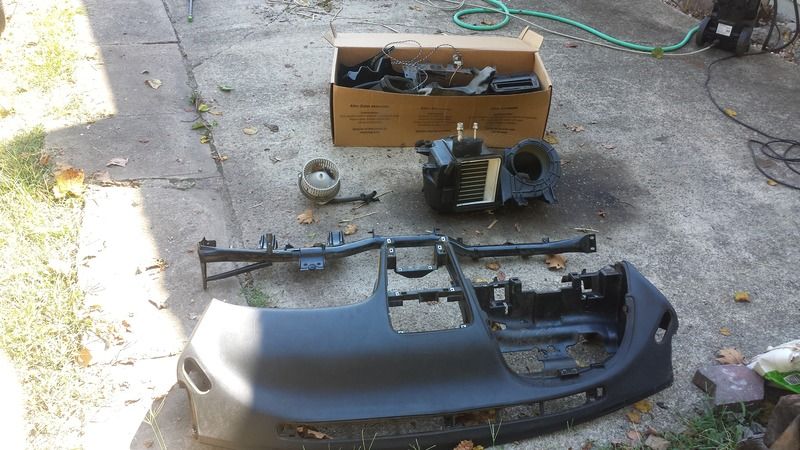
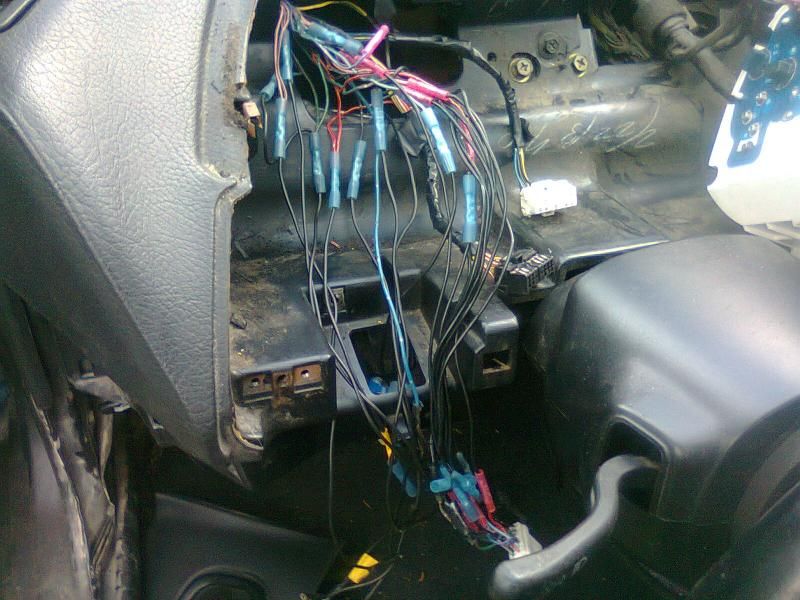
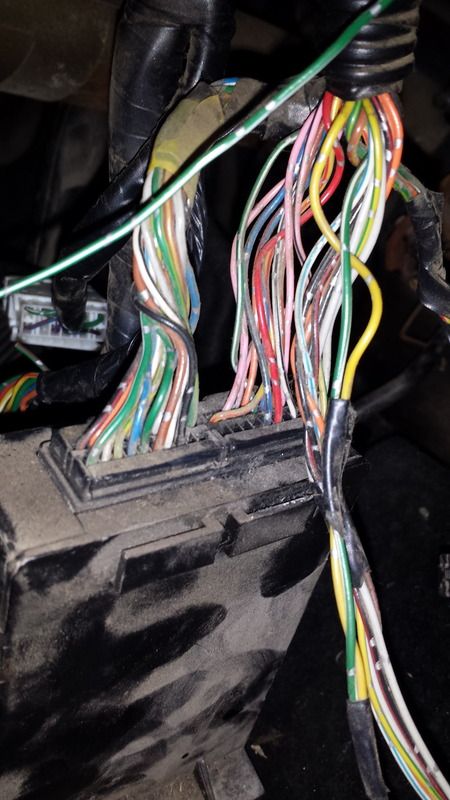
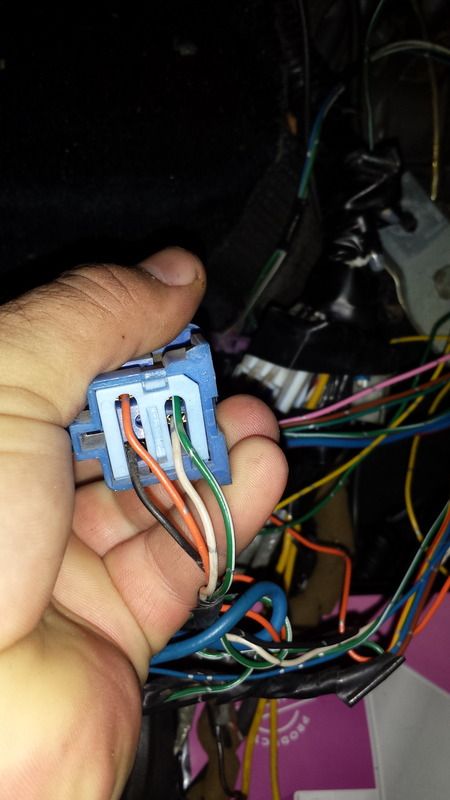
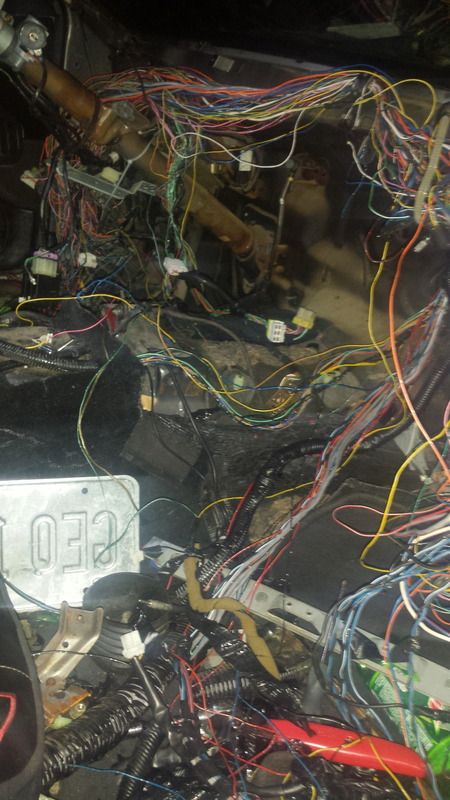
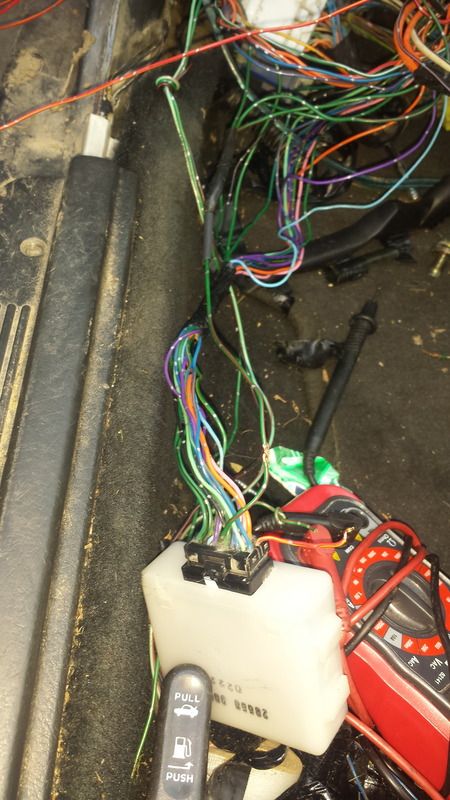
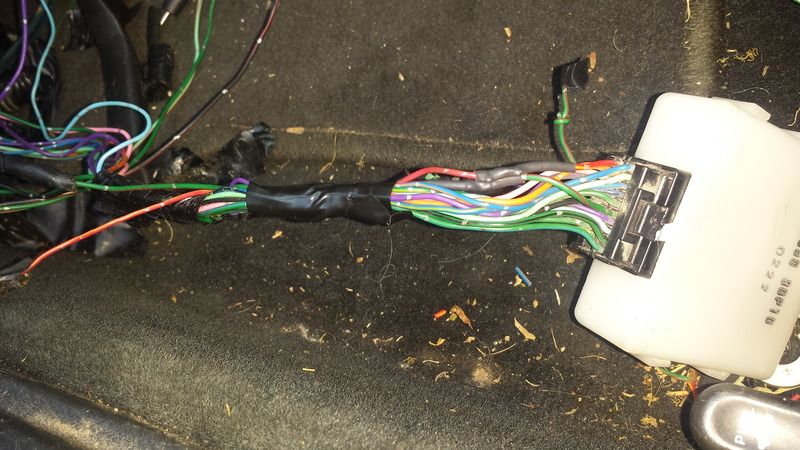
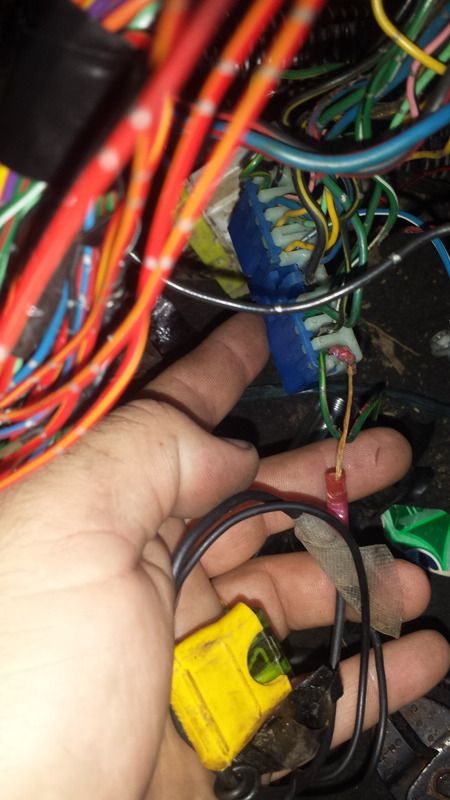
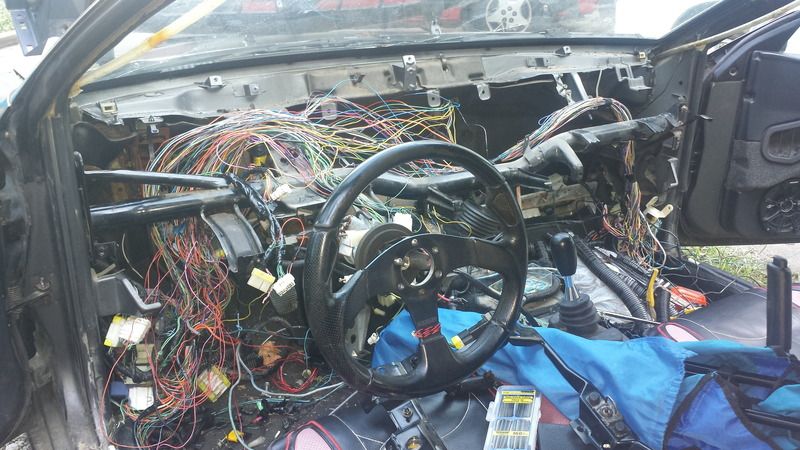
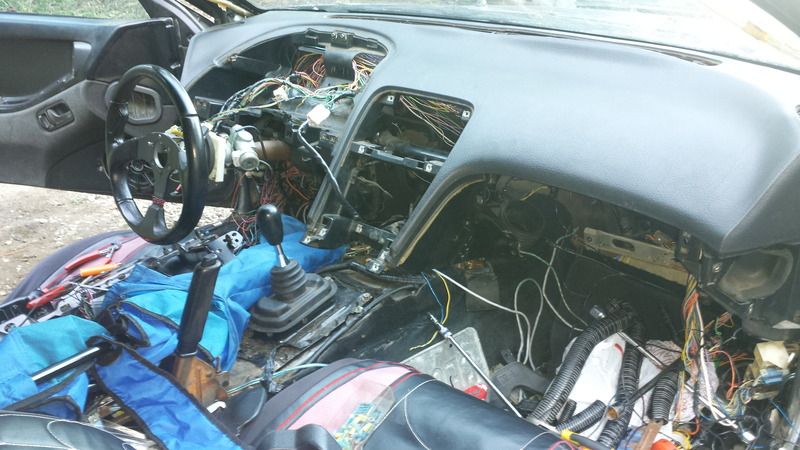
    I decided to strip the front end down and do a few odds and ends while i had it tore apart. Added back horn wiring, fog wiring, and redid the marker light wiring.


    20160618_202633.jpg by coreymunion on 500px.com


    20160618_211626.jpg by coreymunion on 500px.com


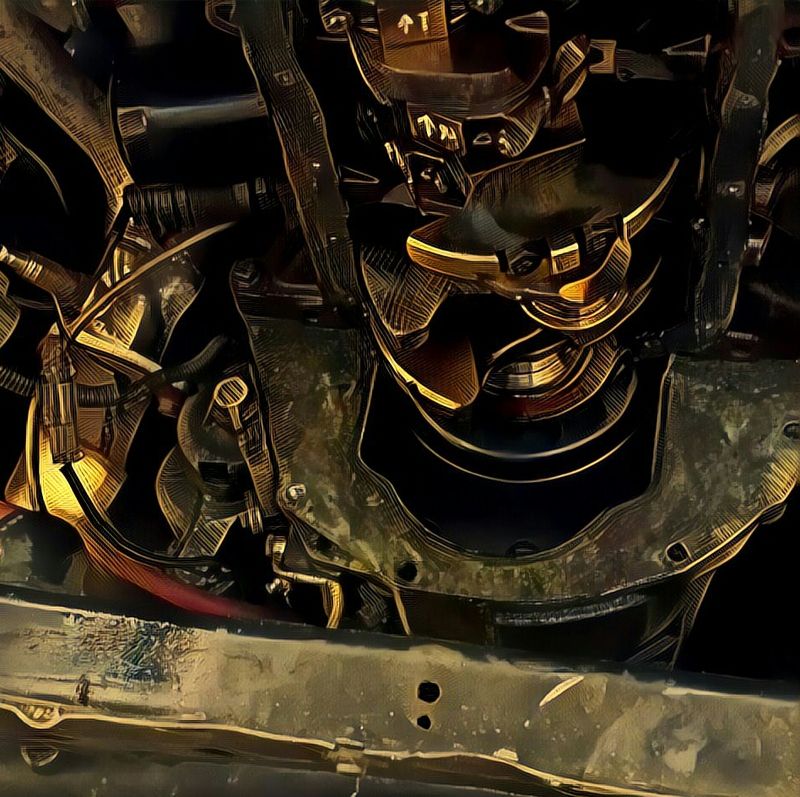
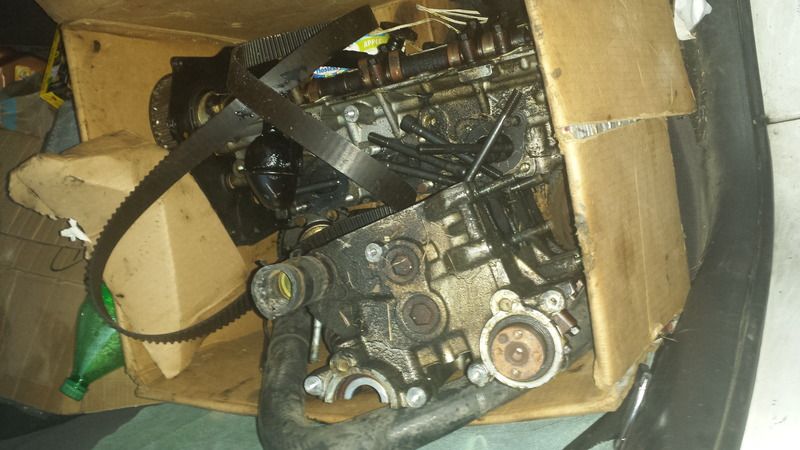
    oil pan came off after putting up a good fight to stay on.


    20160620_192024.jpg by coreymunion on 500px.com


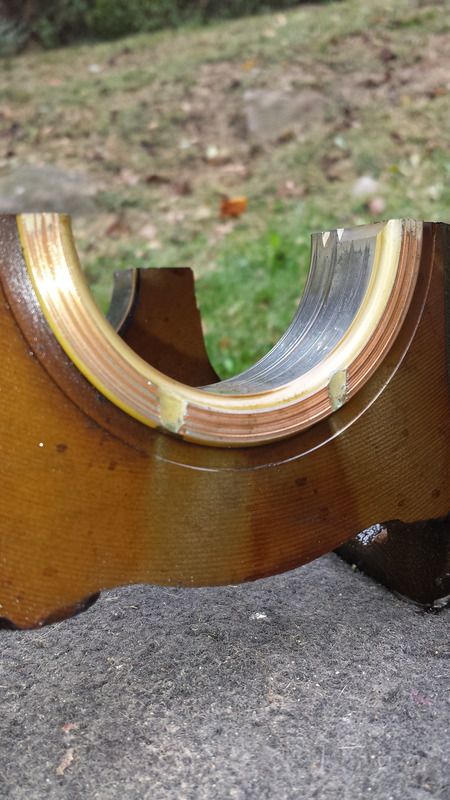
    Finally got to see where that metalic material came from.... 1 of 6 of the rods bearings had
    play by hand.


    20160620_185144.jpg by coreymunion on 500px.com


    20160620_200403.jpg by coreymunion on 500px.com


    20160629_152056.jpg by coreymunion on 500px.com


    Had the wheels from the daily off for a bit and had to see if they would fit. These are 15in wheels btw.


    20160620_213740.jpg by coreymunion on 500px.com


    since i removed the P/S pump i tore the rack apart and drilled holes through the center stopper inside the rack, packed it with grease, and plugged up all the line ports. i only took one pic, but there is a good write up for the 240sx (very similar to Z32) if you need to do this.


    20160622_190944.jpg by coreymunion on 500px.com


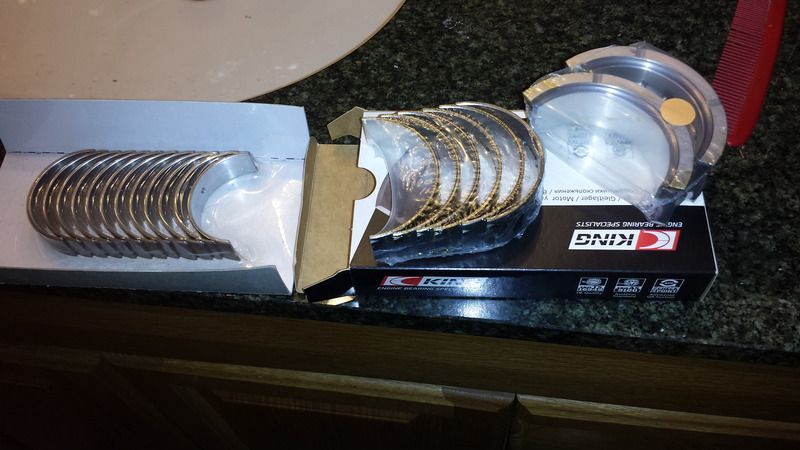
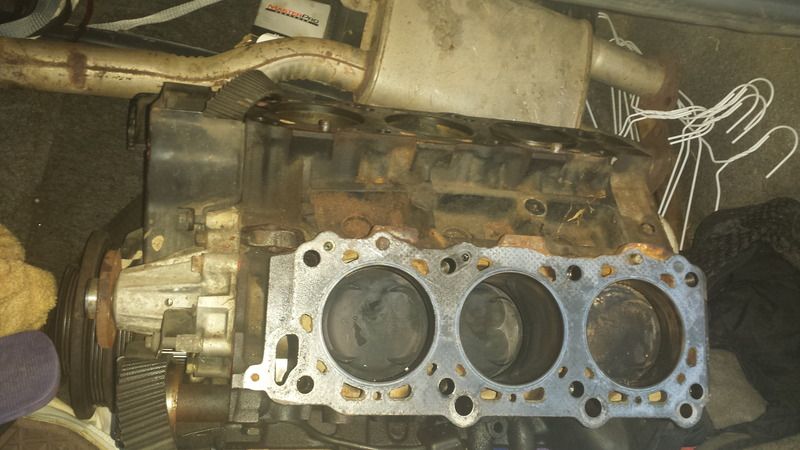
    the crank still looked pretty good so i ordered some new bearing and checked clearances


    20160629_082959.jpg by coreymunion on 500px.com


    20160629_115814.jpg by coreymunion on 500px.com


    20160629_143910.jpg by coreymunion on 500px.com


    After 3 weeks of shipping i got this dirt cheap magnetic drain plug...


    20160630_182102.jpg by coreymunion on 500px.com


    BOOM it was fixed no more rod noise above 3k.


    20160630_191347.jpg by coreymunion on 500px.com


    moved it in the driveway a few times


    20160701_121536.jpg by coreymunion on 500px.com


    2016-07-03_19.40.59.jpg by coreymunion on 500px.com


    first road test


    20160701_193036.jpg by coreymunion on 500px.com


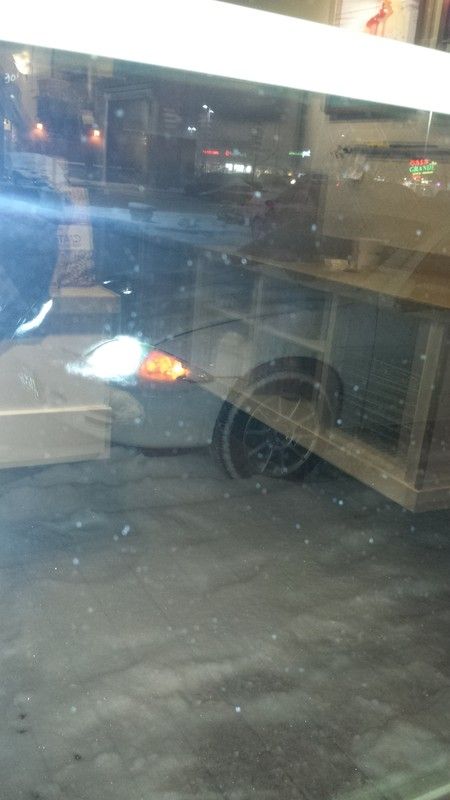
    had a nice photo op with a buddys car.


    20160705_155932.jpg by coreymunion on 500px.com


    20160705_155941.jpg by coreymunion on 500px.com


    20160705_155952.jpg by coreymunion on 500px.com


    Comment


    • #32
      damn buddy, looking good! nice attention to detail! keep it up!
      Some people will never understand it, why we do what we do.
      The busted knuckles and the late nights in the garage;
      it's more than a hobby or pastime, it's a lifestyle. We live it."


      Instagram: @Stance_God
      My 93' EG Sedan Build ( Daily )
      My FC3S RX-7 Build

      Comment


      • #33
        This will be the last update for a bit unless things change. The car is down temperaly so progress will stop until ive got the time to fix some problems.


        Not sure if it was due to bent valves or not but i did notice a strange occurrence when i looked at my old bearings which thankfully i labeled...


        20160708_220307.jpg by coreymunion on 500px.com


        2016-07-10_01.42.03.jpg by coreymunion on 500px.com


        finnally scored some super cheap (free) junk yard horns. My horns were completely trashed


        20160708_153619.jpg by coreymunion on 500px.com


        Also decided it was time to remove the look of a brake fluid induced nightmare.


        20160706_140104.jpg by coreymunion on 500px.com


        first can of paint was obviously not right....


        20160719_200046.jpg by coreymunion on 500px.com


        so I got another and tried again :-)


        20160720_082508.jpg by coreymunion on 500px.com


        Much better and closer to factory


        20160720_082535.jpg by coreymunion on 500px.com


        so next came the wheels since i found the right color


        20160720_125801.jpg by coreymunion on 500px.com


        20160720_132512.jpg by coreymunion on 500px.com


        Then i decided to make the fuel filter and lines hide a little better


        20160715_095229.jpg by coreymunion on 500px.com


        Finally got around to installing an overflow tank....


        20160913_175954.jpg by coreymunion on 500px.com


        also realized how much lower i cant go living here....


        20160913_180041.jpg by coreymunion on 500px.com


        got super stoked when i found some local z parts ive needed for awhile! pillar, ash tray, door sill, spare, and a pretty hard to find cargo shade.


        20160722_110243.jpg by coreymunion on 500px.com


        The rest is just some random pictures ive took since


        20160721_170359.jpg by coreymunion on 500px.com


        20160721_170542.jpg by coreymunion on 500px.com


        20160721_170604.jpg by coreymunion on 500px.com


        20160721_182532.jpg by coreymunion on 500px.com


        20160721_183057.jpg by coreymunion on 500px.com


        20160721_182948.jpg by coreymunion on 500px.com


        20160721_183108.jpg by coreymunion on 500px.com


        Comment


        • #34
          Had some motivation to pull the dash today. Now i just need to finish revoing the a/c and extra vents i wont be using. oh, and pull out all the unused wiring and controllers.


          found some garbage in the fan


          At this point i realized this was going to be a lot of tracing and wiring diagrams

          Last edited by tib _500; 01-02-2017, 05:22 PM. Reason: Fixed IMG links

          Comment


          • #35
            been there...

            Comment


            • #36
              Originally posted by anti.engineered View Post
              been there...
              I may be going a bit overboard this time. Hopefully have an update next week.

              Note the wear difference the under the tag.


              Ive decided to use a broken 4 channel amp with a cheap ebay Aux cable and some craigslist speakers for the stereo.... all of this is under $50 and works pretty well

              amp repair


              the amp was back to life!


              Ordered some replacements and tore it apart.


              Replacements came in and were soldered into place


              Passed the bench testing

              Last edited by tib _500; 01-02-2017, 03:29 AM. Reason: Fixed IMG links

              Comment


              • #37
                the pics wont load


                https://stanceworks.com/forums/showt...t-tt-for-long)

                Comment


                • #38
                  as of now i have no idea why but my hosting account has been banned...

                  Just received this email

                  Unfortunately, we've had to suspend your account as it is in violation of our site terms, (500px.com/terms) - specifically for Other/general trolling.

                  While we do not generally restore suspended accounts, we are open to discussion if you feel that this was a result of technical error or third-party action.

                  Thank you for your understanding and co-operation.

                  Support, 500px


                  SOOOOOO, I need a new img host that allows me to post photos here in a thread like this?

                  or they will email me back and reactivate my account???

                  Is this thread trolling???

                  guess we will see tmrw.

                  Comment


                  • #39
                    Unfortunately, I haven't had a response from 500px.

                    Fortunately, I've decided to go back to photo bucket and will hopefully fix the dead links.

                    Throwback to Febuary with the daily.


                    Just a reminder of the original harness (note only one connector, no headlight or rear defrost connector)


                    So the dash was out and it was time to say Goodbye to some "JUNK"


                    Cruise control never worked JUNK


                    Power steering controller JUNK


                    Seat belt Warning/Control JUNK


                    OEM theft system KEEP


                    ECU sub harness KEEP


                    HVAC controler and relay JUNK


                    A/C on ECU trigger wire KEEP


                    Wires that needed traced back (multiple splits in the factory harness)


                    Couple of random shots showing the state of things


                    had to clean out the car so it was a good point to snap the JUNK pile thus far


                    More randoms


                    WOW a glimpse of what looks life progress....


                    And this is where it started getting messy....


                    Finally found the big problem i was looking for. This is the time control unit(basically a body control modular)


                    Board trace folded back instantly upon touch


                    My test fix setup


                    Permanent fix after testing

                    ]

                    Comment


                    • #40
                      ohhhh man what a mess

                      Comment


                      • #41
                        So much work went into designing and building this car, only for the previous owners to abuse and ruin it. Good job fixing it up and making something cool out of it.

                        𝔣𝔬𝔩𝔩𝔬𝔴 𝔪𝔢
                        @𝔳𝔦𝔳𝔢_𝔪𝔢𝔪𝔬𝔯_𝔩𝔢𝔱𝔦

                        Comment


                        • #42
                          Ive continued to stay at it on the wiring
                          Ive made repairs to the harness using solder and heat shrink. took a few pics of my process.


                          Found a PO repair...


                          Fixed that with correct colored wire


                          also gutted my now barren wiper switch...I need to fill the space at a later time


                          so it was time to test fit the dash to shape the harness


                          it fit as it should, so i continued on to clean up the harness and tape it up well with 3M Supper88


                          Before:


                          After:


                          tested everything one more time once it was all ready for the dash


                          a veiw of the new void


                          dash on


                          seen this random semi type vehicle and though it was interesting


                          Also got my next bit of work in the mail decided to go back in and replace the mains as well.

                          Comment


                          • #43
                            winter time tear down time.

                            Comment


                            • #44
                              A few small updates
                              i had the interior back together but forgot to upload the pics


                              also had to modify this pod due to it missing all the mounting tabs now you pull the switch outward to activate flashers.


                              i lost alot of motivation when doing the tear down once i found my cranks thrust suface looked like this bearing.


                              but then i got this twin turbo engine in peices ready for me to revive


                              hopefully ill have a more solid plan soon but for now im simmering on ideas to get it drivable before next spring.

                              Comment

                              Working...
                              X