Announcement
Collapse
No announcement yet.
'00 FRC Hardtop - moar LS/Murica/long distance high speed cruising
Collapse
X
-
It's sitting next to a pile of empty beer bottles in the garage. Will install and update this weekend. I need to buy more beer on the way home.
-
I missed the intake update..
Its obvious that you will post pictures when installed but..
any installed pictures?
Leave a comment:
-
Where on earth did you get those vacuum-actuated cutouts? I need a few of those for scientific reasons.
Leave a comment:
-
Removed the rear trunklid emblem, it really cleaned up the look. Car got half detailed, I will finish the paint correction on my own.
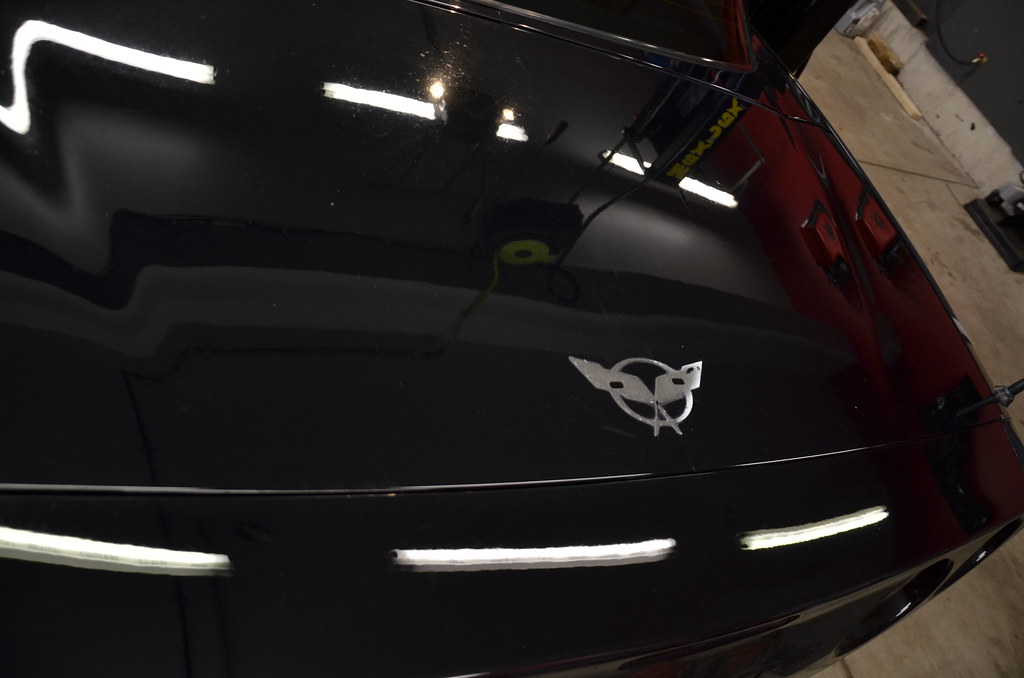 _DSC4940 by Norbert Ogiba, on Flickr
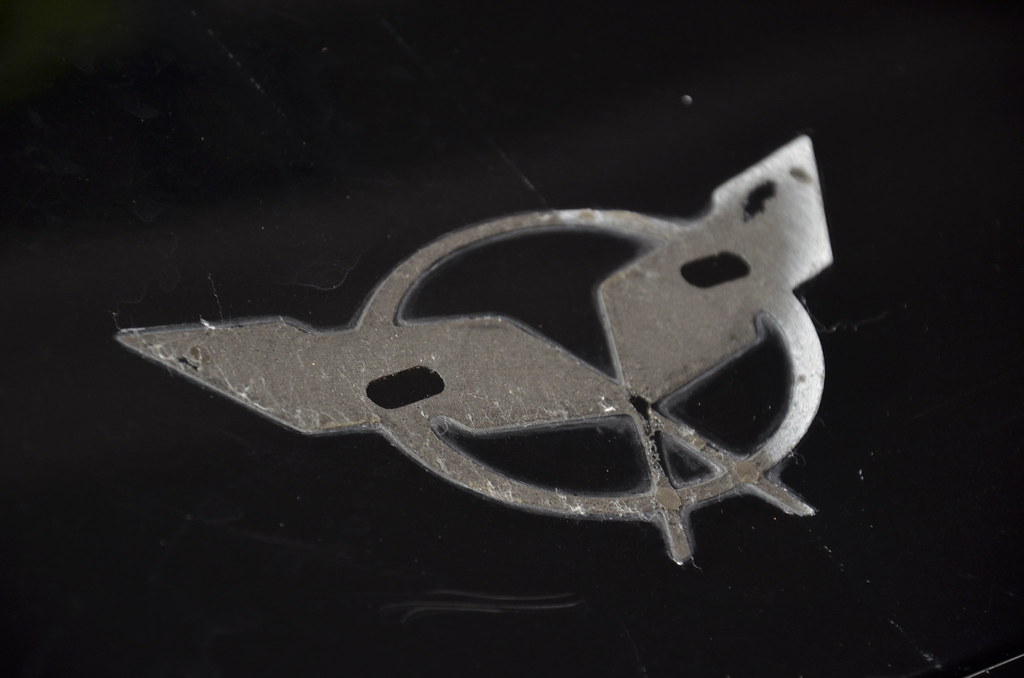 _DSC4941 by Norbert Ogiba, on Flickr
More Goo Gone,
 _DSC4943 by Norbert Ogiba, on Flickr
Magic 3M eraser wheel works wonders yet again, but this will have to be polished out
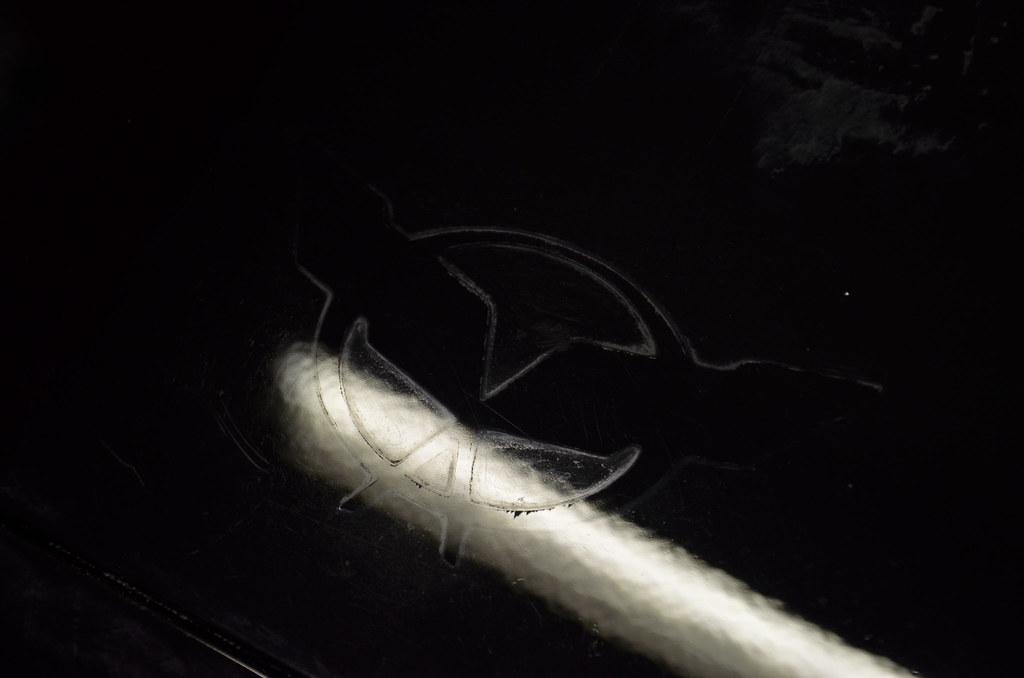 _DSC4944 by Norbert Ogiba, on Flickr
Compound
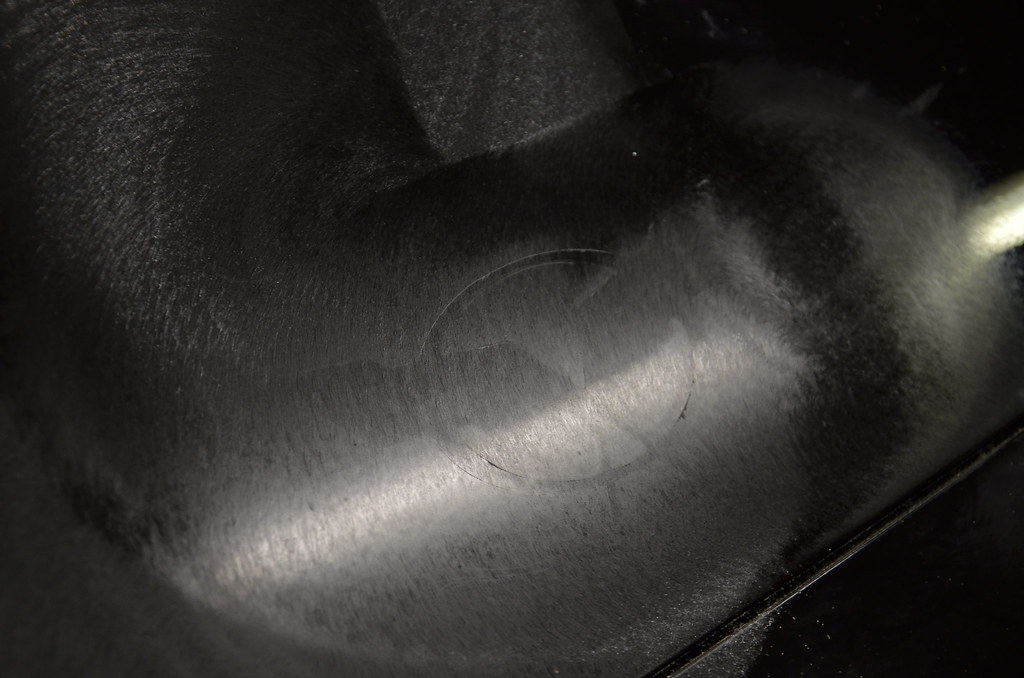 _DSC4945 by Norbert Ogiba, on Flickr
After compound, there was still a raised ridge in the paint, can't catch it with a fingernail, but visible if you look hard for it in the right light.
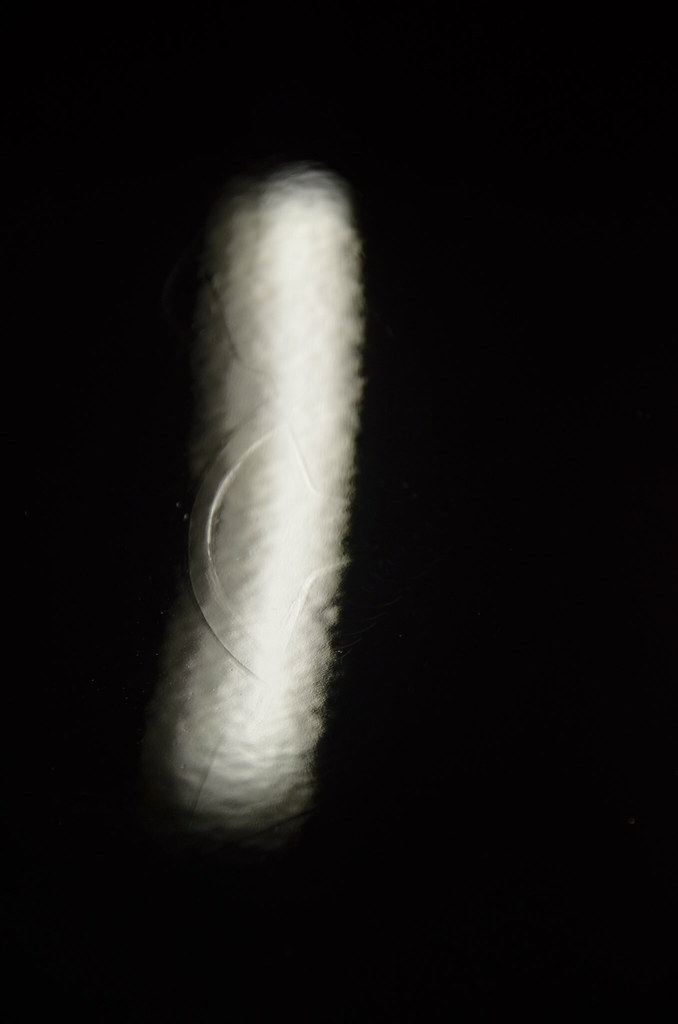 _DSC4946 by Norbert Ogiba, on Flickr
After polish it is invisible from more than 3 inches away
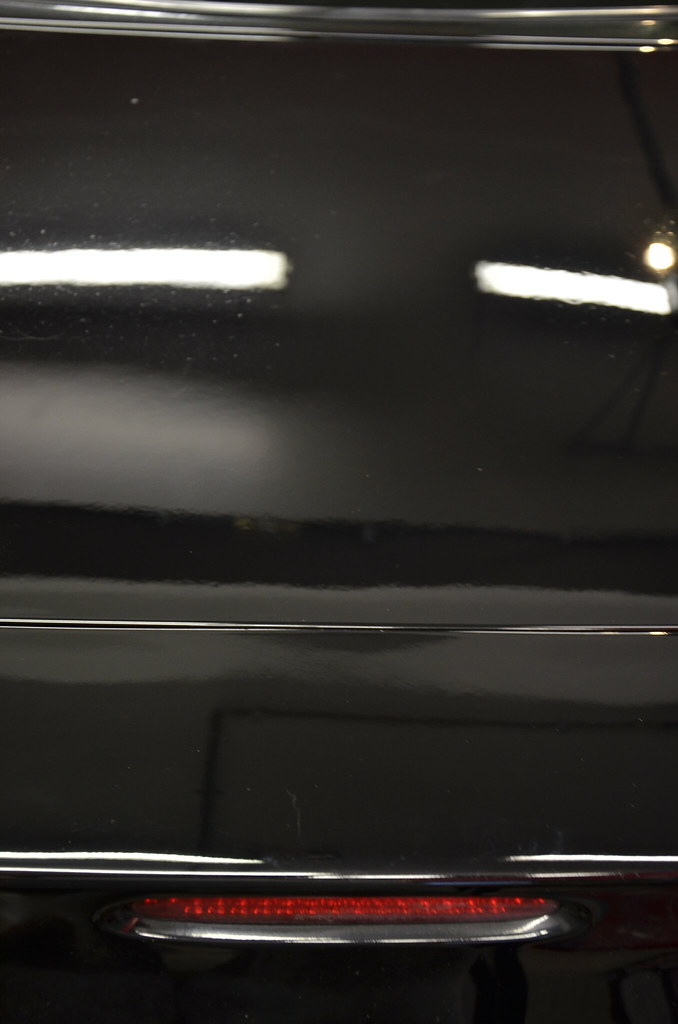 _DSC4947 by Norbert Ogiba, on Flickr
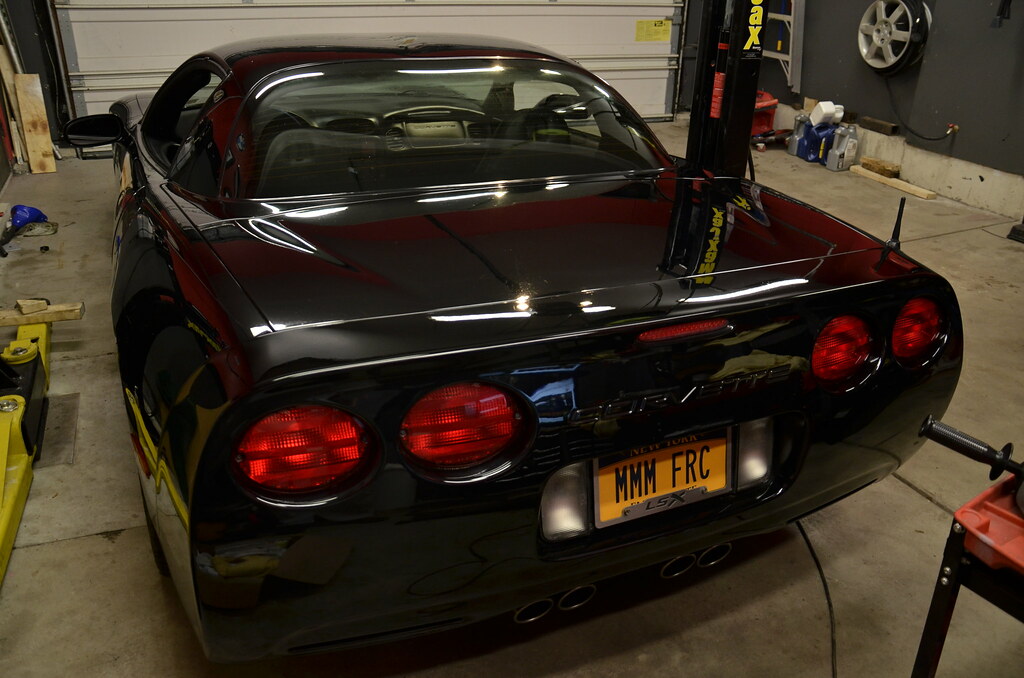 _DSC4948 by Norbert Ogiba, on Flickr
Dug out my old valve spring tool so I can get ready for the LS6 install later this week, it got bent during the install of the old big duals on the BMW 6.0. I'm going to weld up some gussets on it to stiffen it, should hold up better.
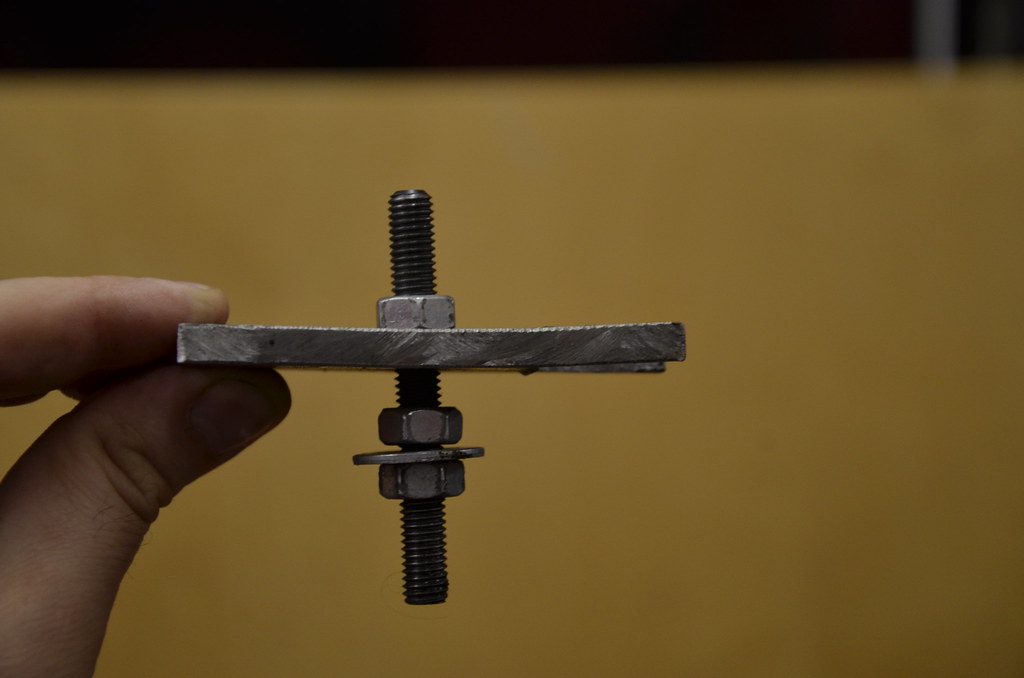 _DSC4951 by Norbert Ogiba, on Flickr
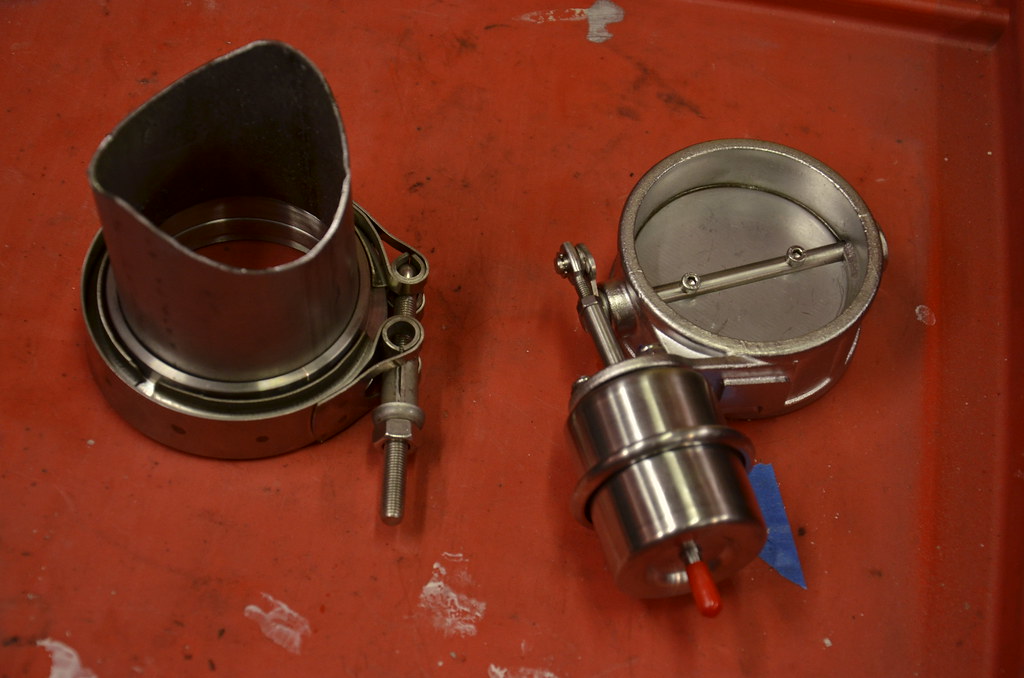
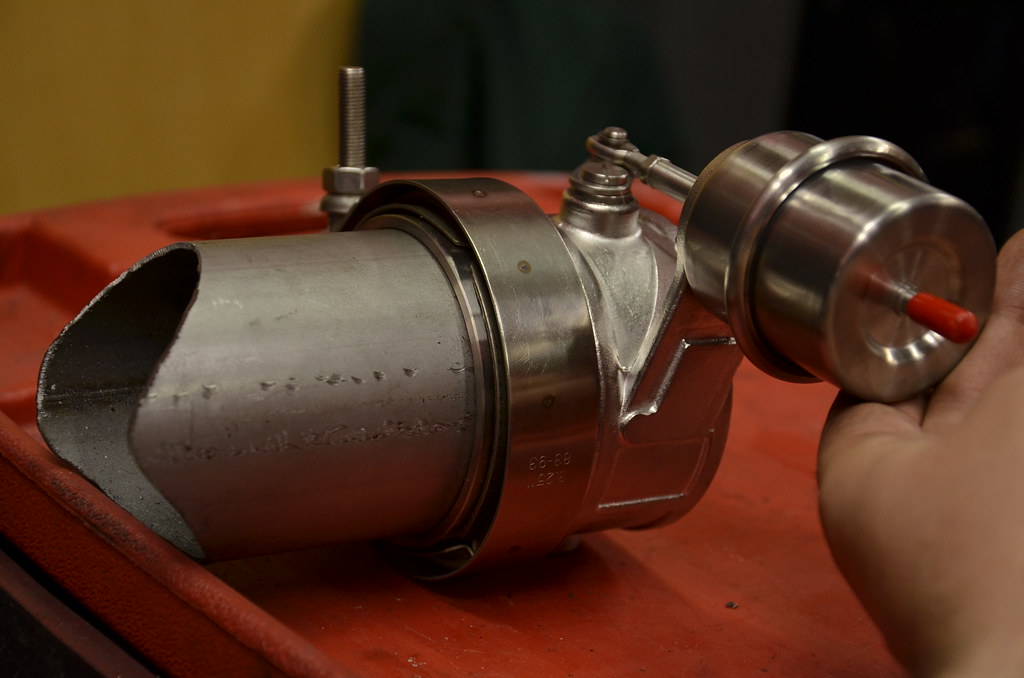
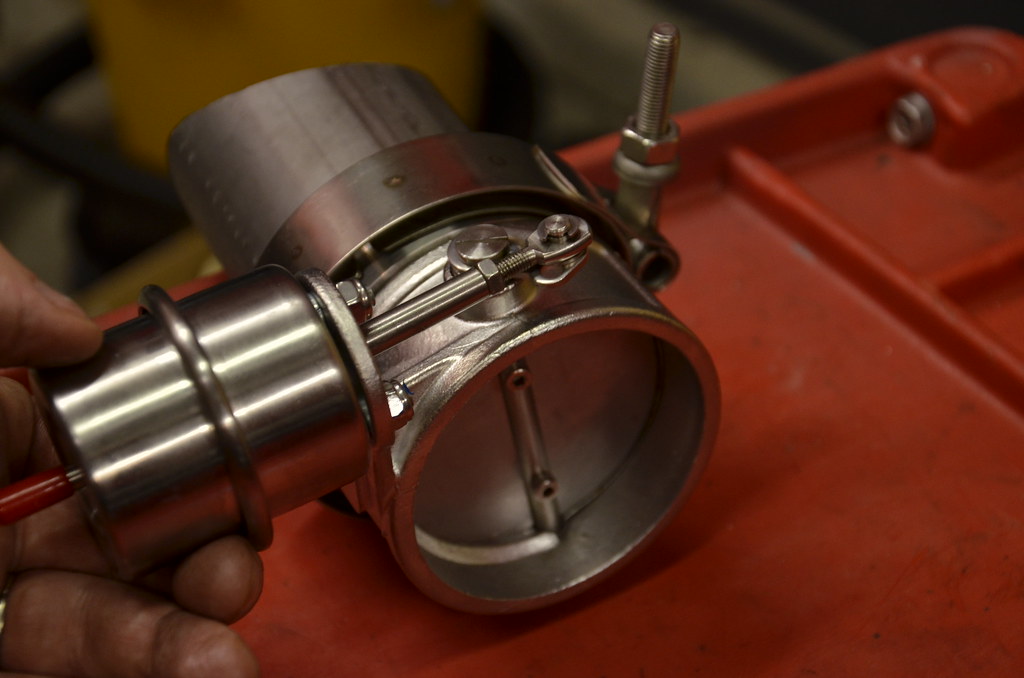
Piecing together my cutout stuff, I will tack them all in place and have a shop finish TIG them together for me. V-Band for serviceability
 _DSC4952 by Norbert Ogiba, on Flickr
 _DSC4953 by Norbert Ogiba, on Flickr
 _DSC4954 by Norbert Ogiba, on Flickr
I will need to put some kind of turn down together for the outlet of the valve, possibly wrap the leaf spring in heat resistant insulation to prevent melting it.
More to come later this week, gonna mock up the cutouts, install valvesprings, LS6 intake, paint the airbridge wrinkle red, delete AIR system, etc
Leave a comment:
-
-
Ok that is absolutely tits man. I'm a HUGE fan of that finish. Keep it up!
Leave a comment:
-
To the best of my knowledge, it's $25 per "session". We typically go twice then go grab beer after.Originally posted by nsogiba View Postlink? pricing? any other restrictions? I'd love to go. might hit the Little Speed Shop cruise.
https://www.facebook.com/events/1730161423897416/
The last 2-3 years, we've gone as a separate group from TLSS, just because it keeps things less cluttered. Although, TLSS did have a great gathering and cruise the one year we did go with them.
All of our cars will be slow so it's not like we're out to race eachother that much.
Leave a comment:
-
I bought some V-bands as well so I can remove them for service, gonna tack it all together and have someone else TIG it together. Anyone feel like gluing it together for me?*
My QTP just didn't stand up to the year round elements, the motor crapped out after about 6 months. Vendor told me I couldn't replace any parts, so it's been sitting in the basement ever since.*
For the new cutouts, I do plan on using a check valve for sure. I purchased valves that are normally closed. The NPP cutouts on all the newfangled GM stuff are normally open, and as soon as a vacuum is applied, they slam shut. This means they're open on cold start, and when vacuum builds a few seconds later, they shut. I did not want this situation since I leave for work early in the morning and wanted to maintain some sanity for my neighbors. I could have gotten around this by using a check valve and a vacuum canister but that's added complexity, and I have no idea if the vacuum canister would hold a charge for sitting a week at a time (which is a reality if we have a couple days of nasty weather). The last item that turned me off from the normally open was that in the event of any vacuum fitting/line failure the valves would fail open, and I'd have to drive around with the car stupidly loud until I got it fixed. I would much rather they fail in the normally closed position.
Check valve:*
[ame="http://www.amazon.com/gp/product/B000C982H2/ref=crt_ewc_title_gw_1?ie=UTF8&psc=1&smid=A1VE9AW69OSF89"]Amazon.com: ACDelco 14047619 GM Original Equipment Cruise Control Vacuum Harness Check Valve: Automotive[/ame]
Vacuum can (if needed)*
[ame="http://www.amazon.com/Dorman-HELP-47076-Vacuum-Tank/dp/B000COB8FA/ref=sr_1_2?s=automotive&ie=UTF8&qid=1458764593&sr=1-2&keywords=vacuum+canister+automotive"]Amazon.com: Dorman HELP! 47076 Vacuum Tank Unit: Automotive[/ame]
The only thing that I would have liked to have using the normally open system would be the feature of the engine vacuum on idle and light driving conditions to keep the valve shut, and then valves opening up when you hammer on it, removing vacuum. It makes for a nice "automatic" mode but again I wanted the failsafe to be in the closed position.
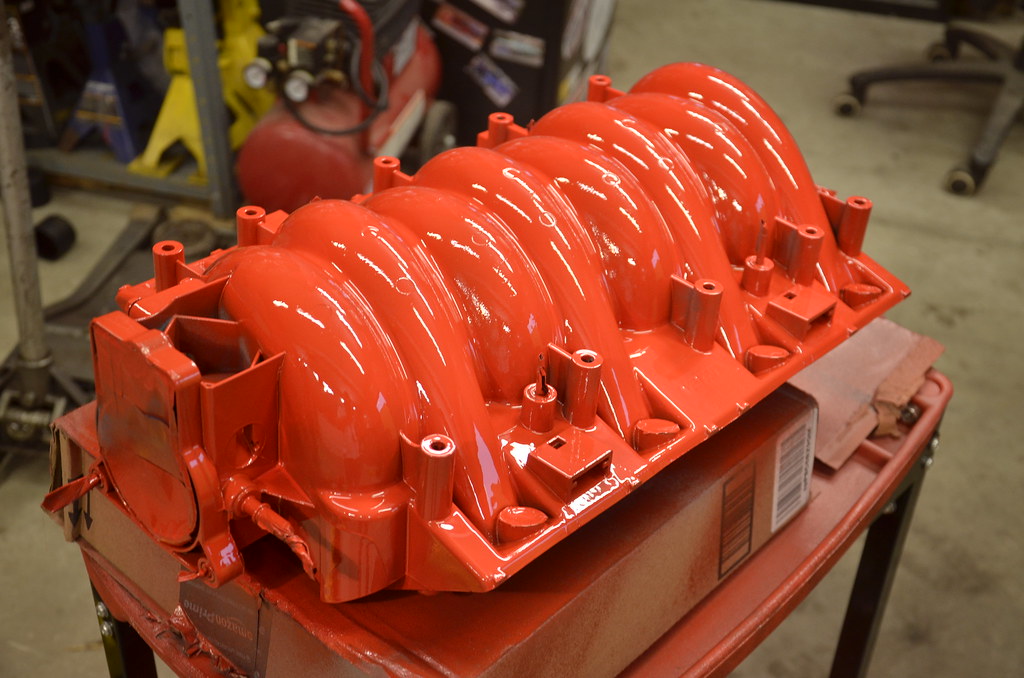
The red paint showed up so it was time to let the inner ricer out. had a couple local Flying Bison craft brews to pre-dull the brain for the paint fumes and went to town. I miss doing these small quick jobs, they are great fun.*
This stuff is awesome. Used about 2/3 of 1 can to do the whole manifold. I was on the fence about the finish based on the Amazon reviews but bought 2 cans just in case it turned out nice. About 3 solid heavy coats on it and it turned out great. Unlike the primer this stuff ran you wouldn't believe, but as long as you kept a good distance with the can it went on great. I used this stuff in a black color on a power steering pulley when I built the original 6.0 for my BMW in 2012 but the finish was way too coarse. This one turned out much finer
[ame="http://www.amazon.com/VHT-SP204-Wrinkle-Plus-Coating/dp/B001GX9U3S/ref=sr_1_1?ie=UTF8&qid=1458781877&sr=8-1&keywords=red+wrinkle"]Amazon.com: VHT SP204 Wrinkle Plus Coating Red Can - 11 oz.: Automotive[/ame]
so throwing on some coats, wet
 _DSC4911 by Norbert Ogiba, on Flickr
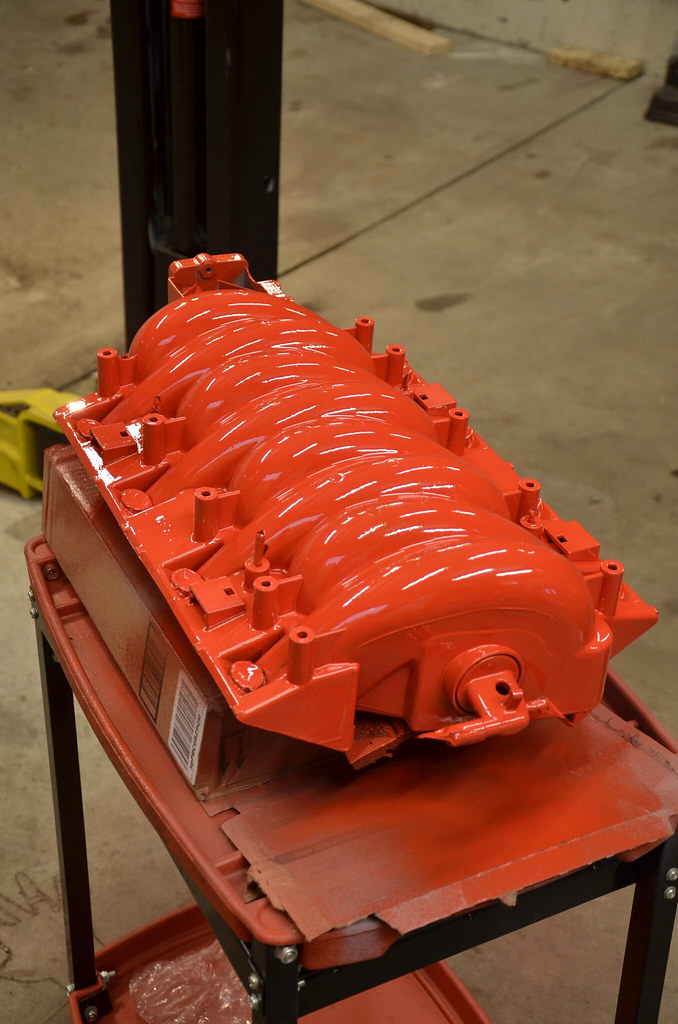 _DSC4912 by Norbert Ogiba, on Flickr
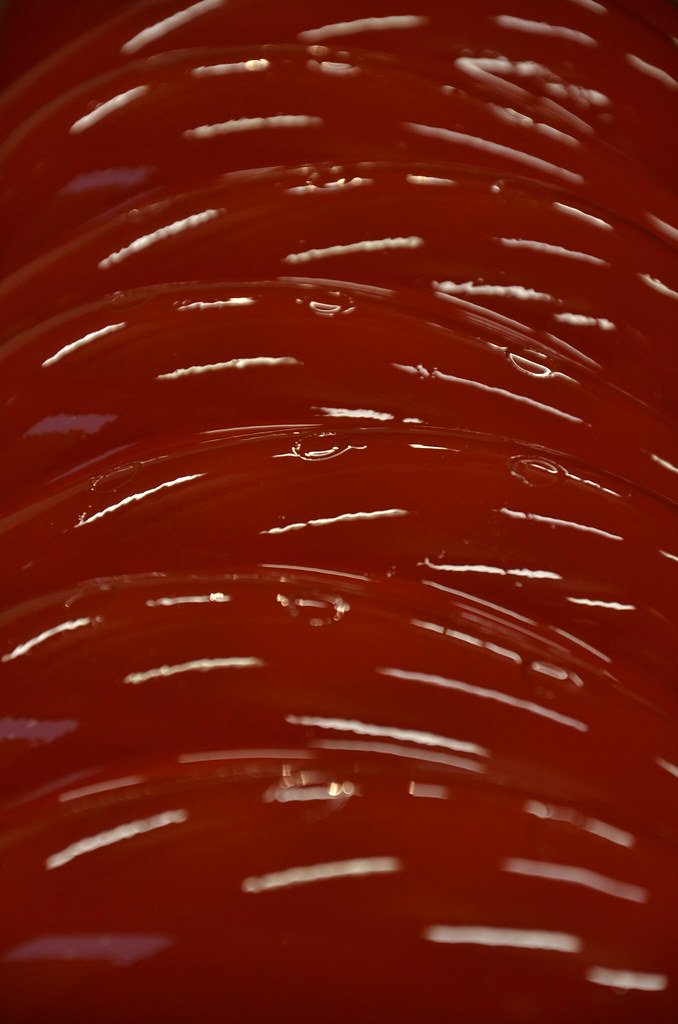 _DSC4913 by Norbert Ogiba, on Flickr
Dried for 20 mins, let her sit under the unit heater for a while getting toasty, another couple coats, then let it cure fully and crinkle. It has the fine "Ferrari-red-crinkle" finish that I was going for. Thought it might come out light based on how it looked when it was wet but it dried darker and is the exact shade I was going for*
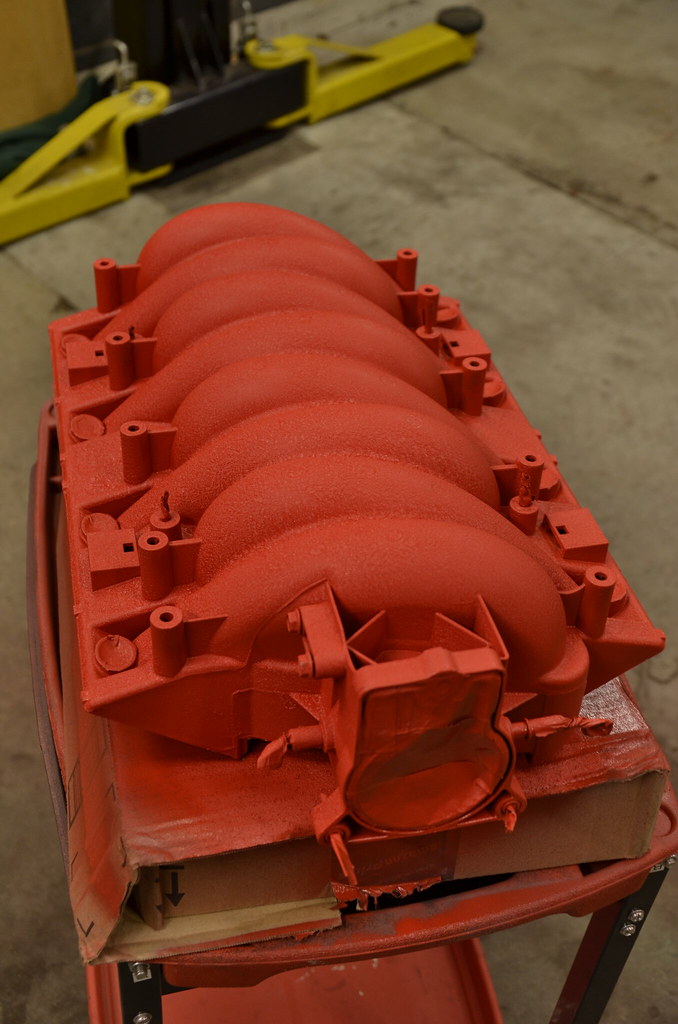 _DSC4914 by Norbert Ogiba, on Flickr
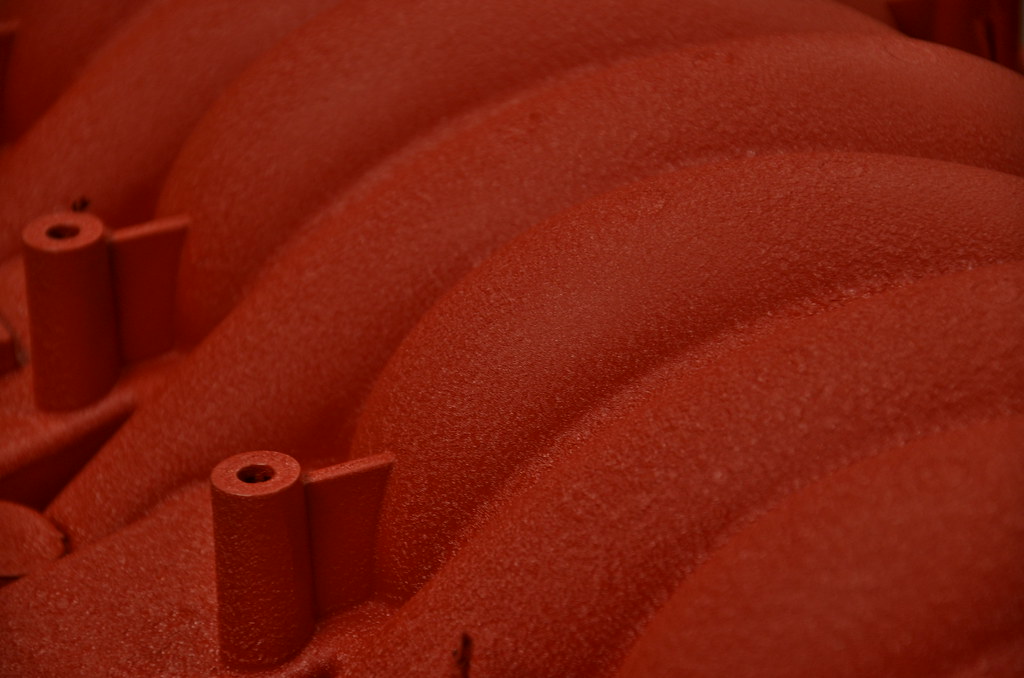 _DSC4915 by Norbert Ogiba, on Flickr
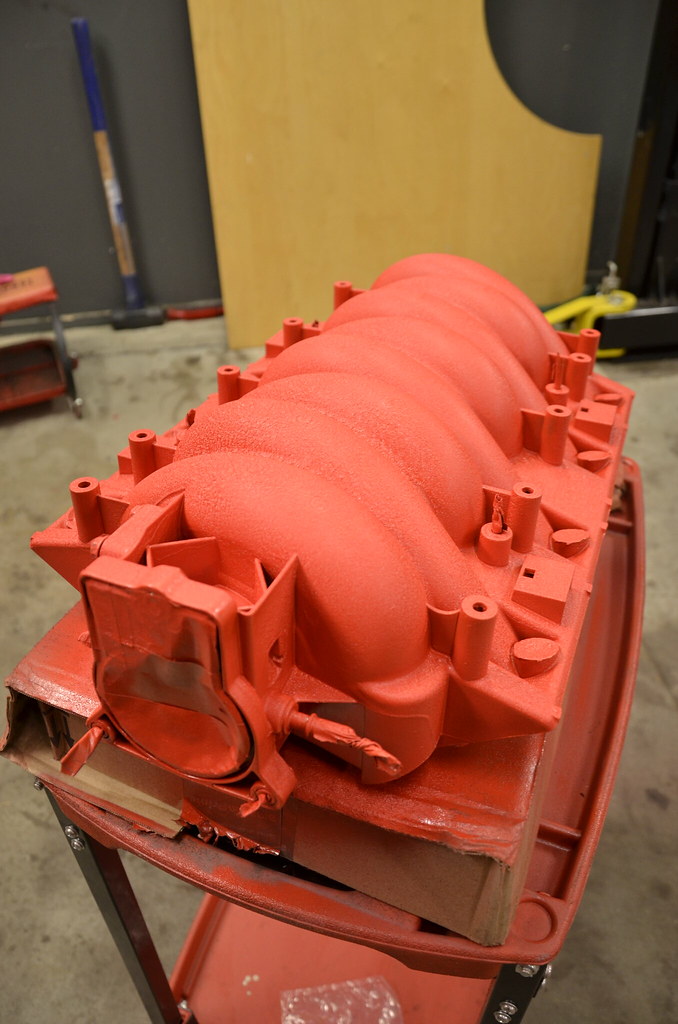 _DSC4916 by Norbert Ogiba, on Flickr
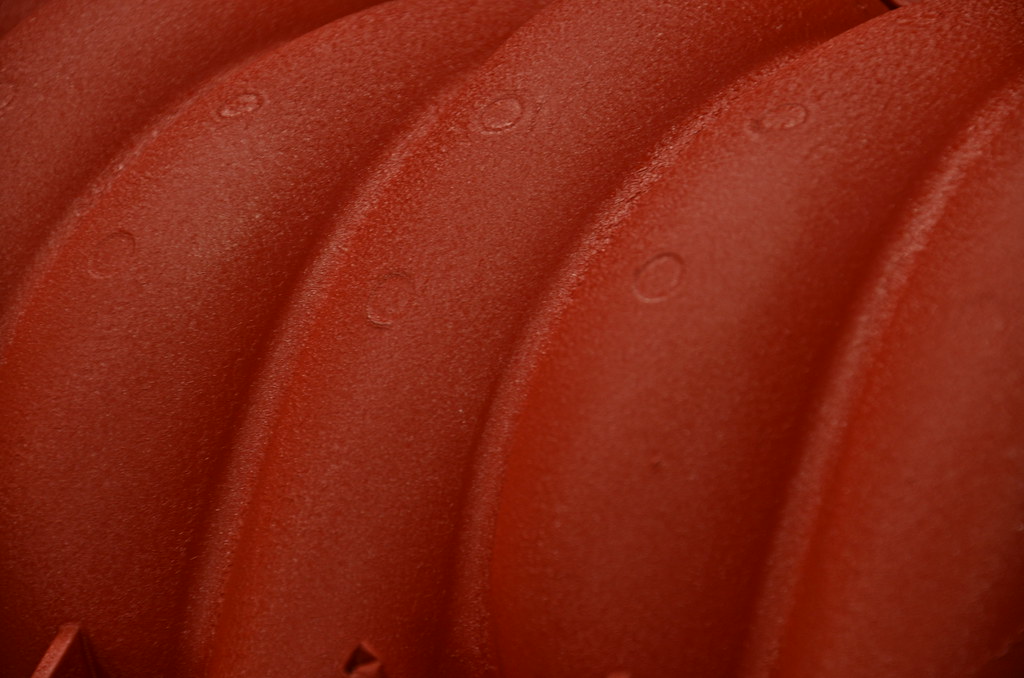 _DSC4917 by Norbert Ogiba, on Flickr
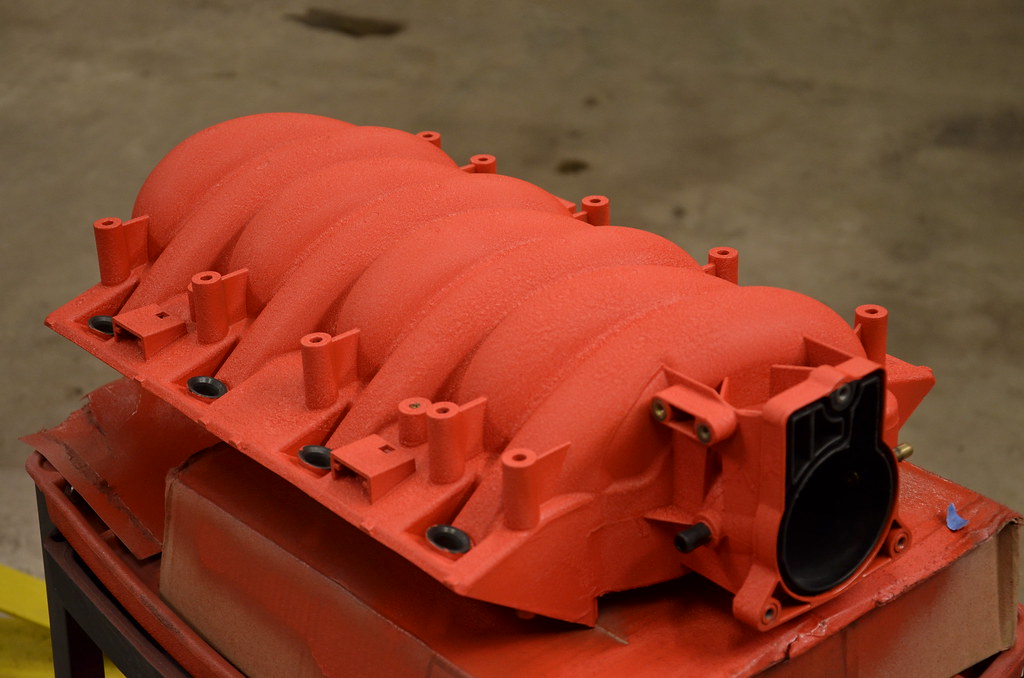 _DSC4920 by Norbert Ogiba, on Flickr
Based on how she turned out I will do the air bridge as well to match.*
Leave a comment:
-
link? pricing? any other restrictions? I'd love to go. might hit the Little Speed Shop cruise.Originally posted by MommysLittleMonster View PostApril 16th & 17th, I'll be going with a handful of other people on the 17th most likely. Probably take the missus and the little guy for shits and giggles.
They call them "pace laps", but as you and I both know that doesn't last long with some sandbagging. I call it an excuse to beat the shit out of my car around a track lol
Leave a comment:
-
April 16th & 17th, I'll be going with a handful of other people on the 17th most likely. Probably take the missus and the little guy for shits and giggles.Originally posted by nsogiba View PostSometimes you just gotta move on.
I don't know anything about this opening day but really want to take her out on the track - more details? You going?
They call them "pace laps", but as you and I both know that doesn't last long with some sandbagging. I call it an excuse to beat the shit out of my car around a track lolLast edited by MommysLittleMonster; 03-23-2016, 03:53 PM.
Leave a comment:
-
Sometimes you just gotta move on.Originally posted by MommysLittleMonster View PostI saw your car on Craigslist a little while ago and wanted to throw my computer in the dumpster.
Glad to see you're already throwing wrenches at another LS-powered car. Are you planning on attending Opening Day at Watkins Glen this year by chance?
I don't know anything about this opening day but really want to take her out on the track - more details? You going?
Leave a comment:
-
I saw your car on Craigslist a little while ago and wanted to throw my computer in the dumpster.
Glad to see you're already throwing wrenches at another LS-powered car. Are you planning on attending Opening Day at Watkins Glen this year by chance?
Leave a comment:


Leave a comment: