Announcement
Collapse
No announcement yet.
'00 FRC Hardtop - moar LS/Murica/long distance high speed cruising
Collapse
X
-
Few buddies sent me this, got a chuckle out of it
 photo 1 by Norbert Ogiba, on Flickr
I found this guy on ebay, used to love building these as a kid, kinda cool that now I own a car that I can have a model of
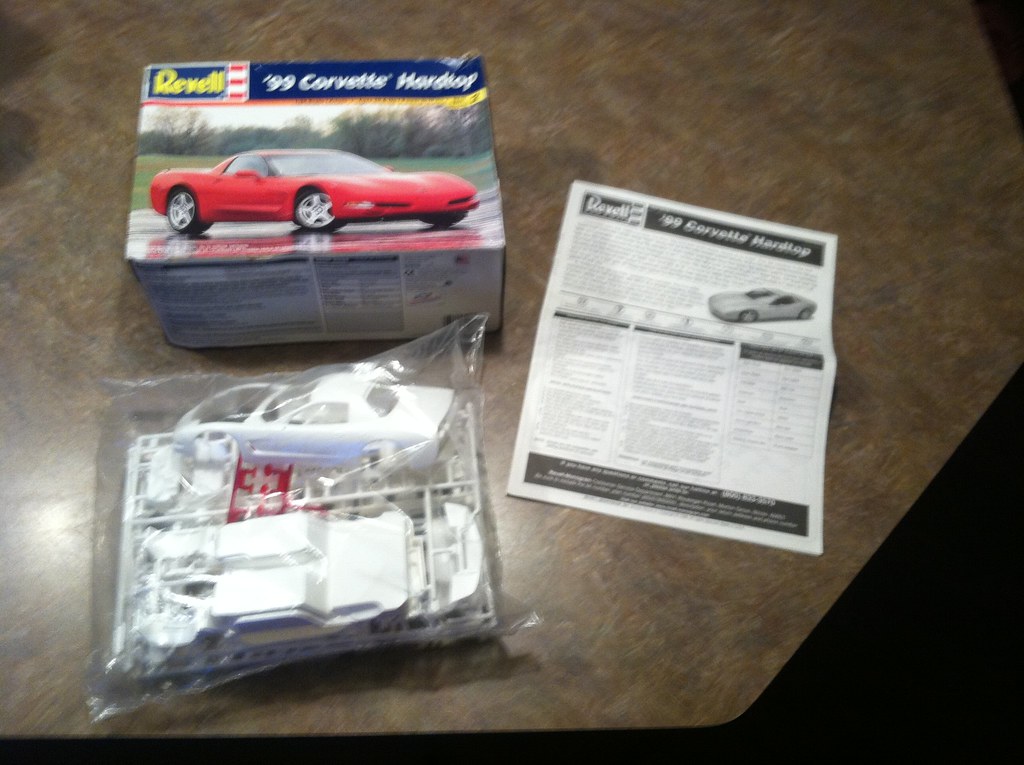 photo 3 by Norbert Ogiba, on Flickr
So I was on the fence about the body side moldings but decided to pull them off and I'm really glad I did. It cleaned up the body lines a ton. Spent a couple hours Saturday doing it
Off to Wallyworld to get supplies. I am driving this thing every chance I get!
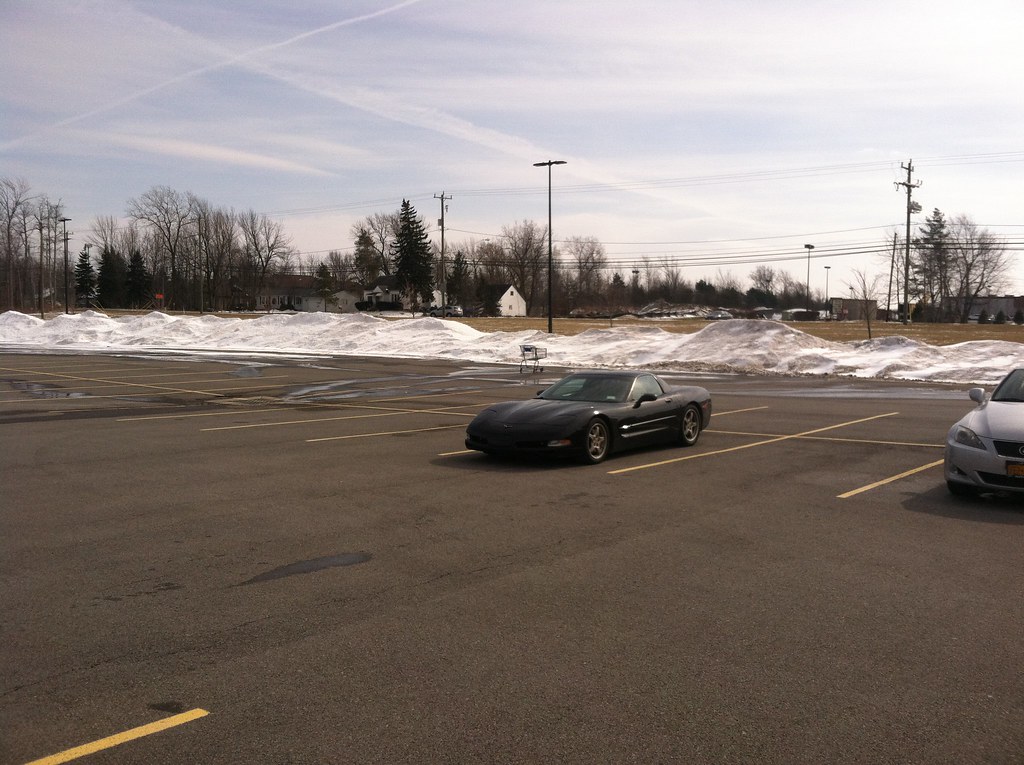 photo 2 by Norbert Ogiba, on Flickr
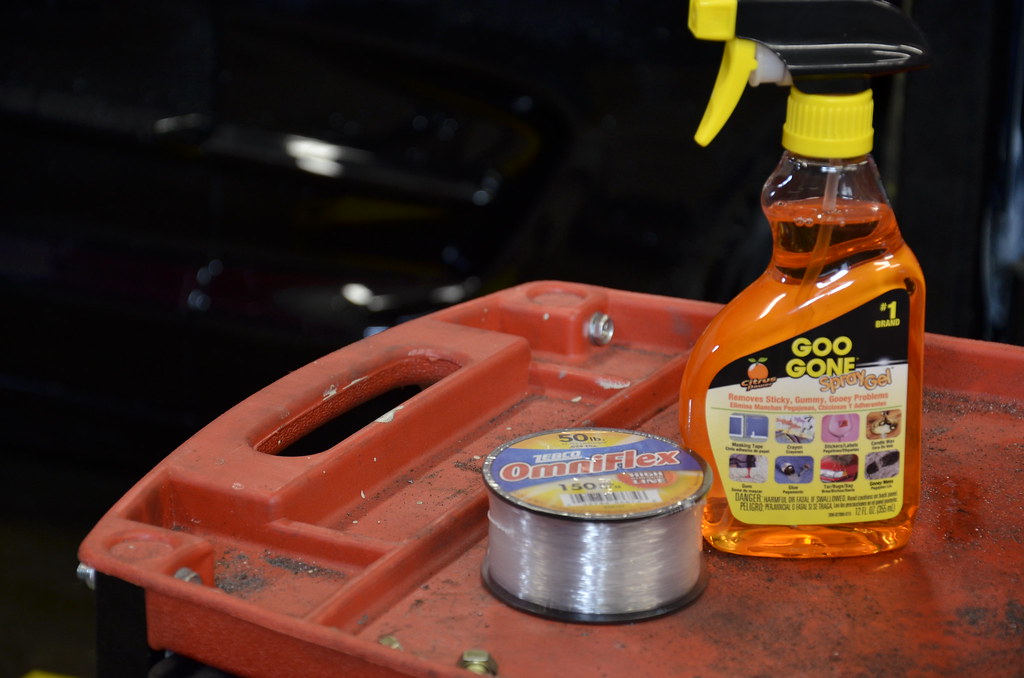 _DSC4774 by Norbert Ogiba, on Flickr
Rinse her down with hot water to soften the tape a bit and clean any dirt and grime off
 _DSC4776 by Norbert Ogiba, on Flickr
This piece came off with very minimal effort, surprisingly
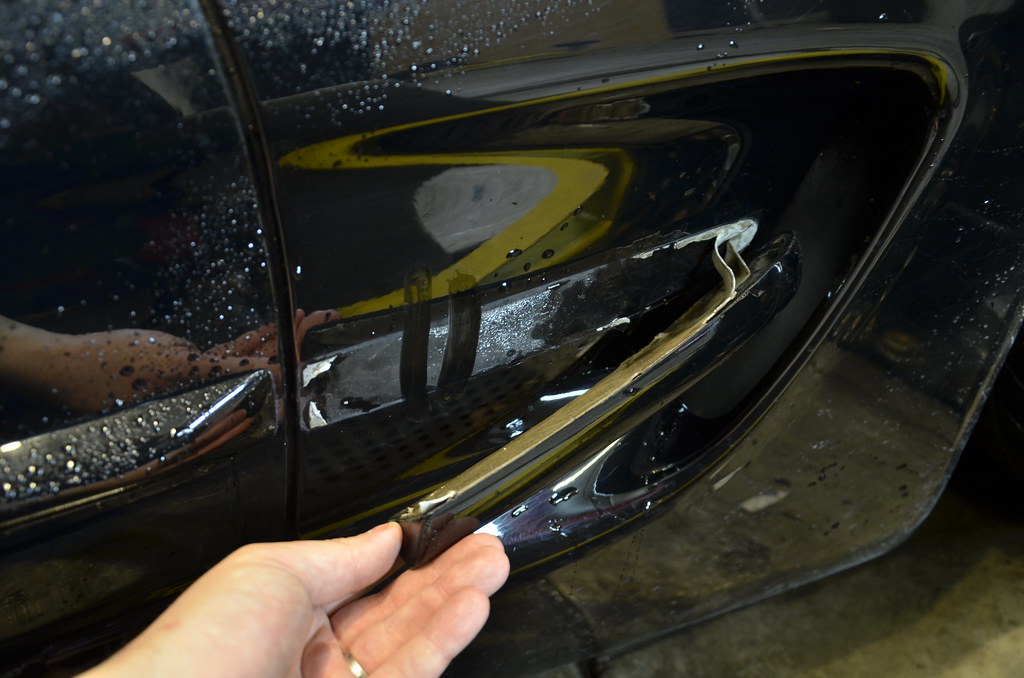 _DSC4777 by Norbert Ogiba, on Flickr
Glue came off easily too. Not the case for the rest of the doors
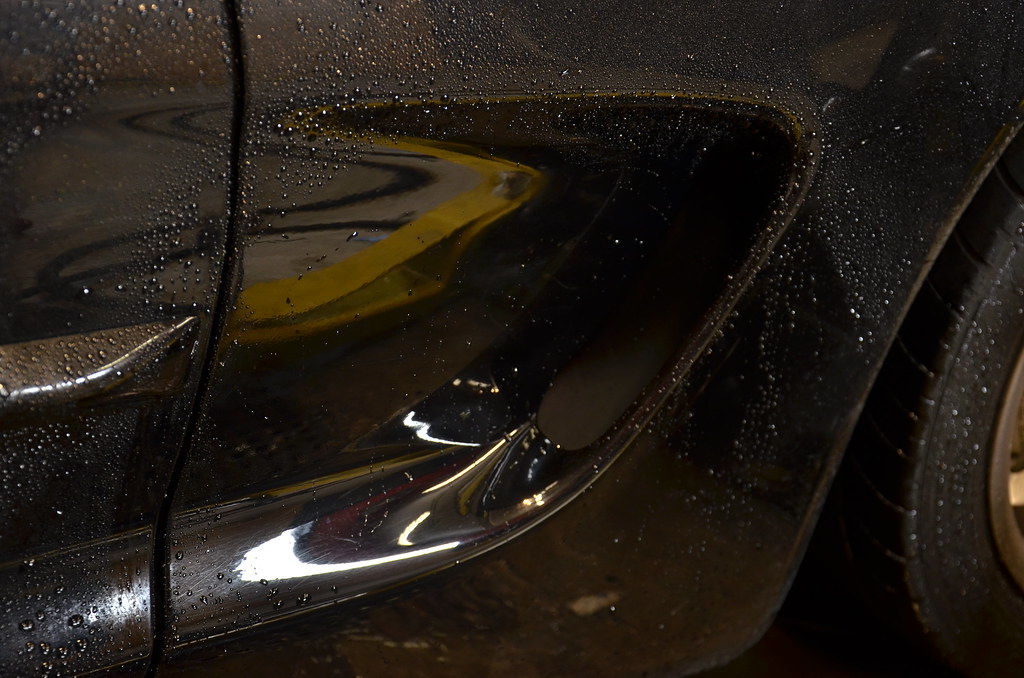 _DSC4778 by Norbert Ogiba, on Flickr
Time to start flossin' baby
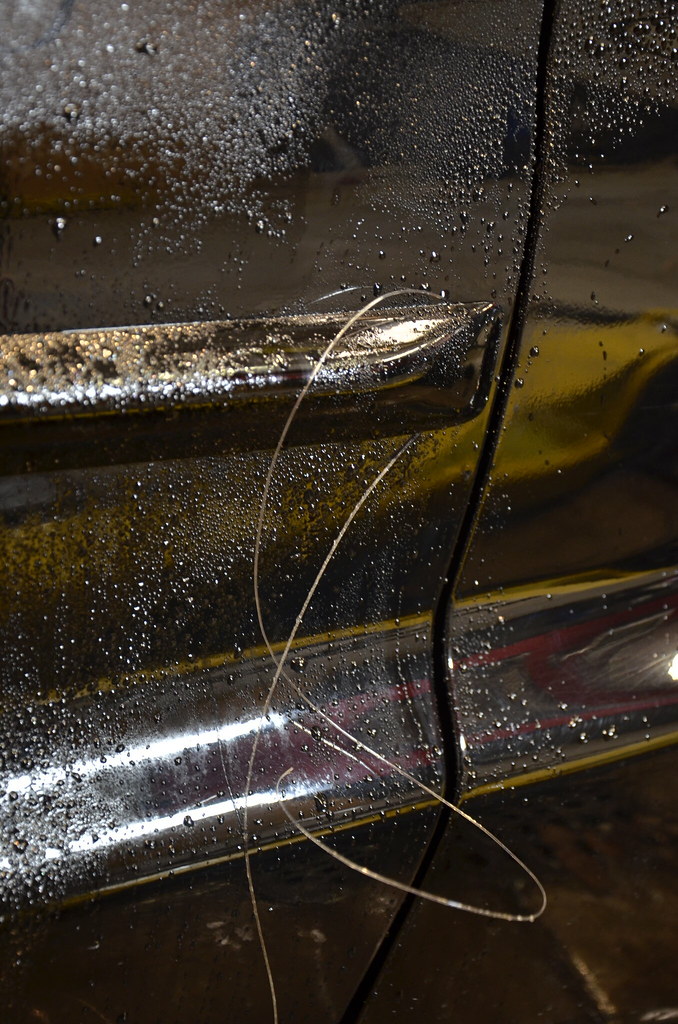 _DSC4780 by Norbert Ogiba, on Flickr
So the glue on the door is miserable soft foamy stuff, I spent about half an hour peeling chunks off with my fingernails before I had enough. off to the store to buy this bad boy which was the best thing since sliced bread and craft beer.
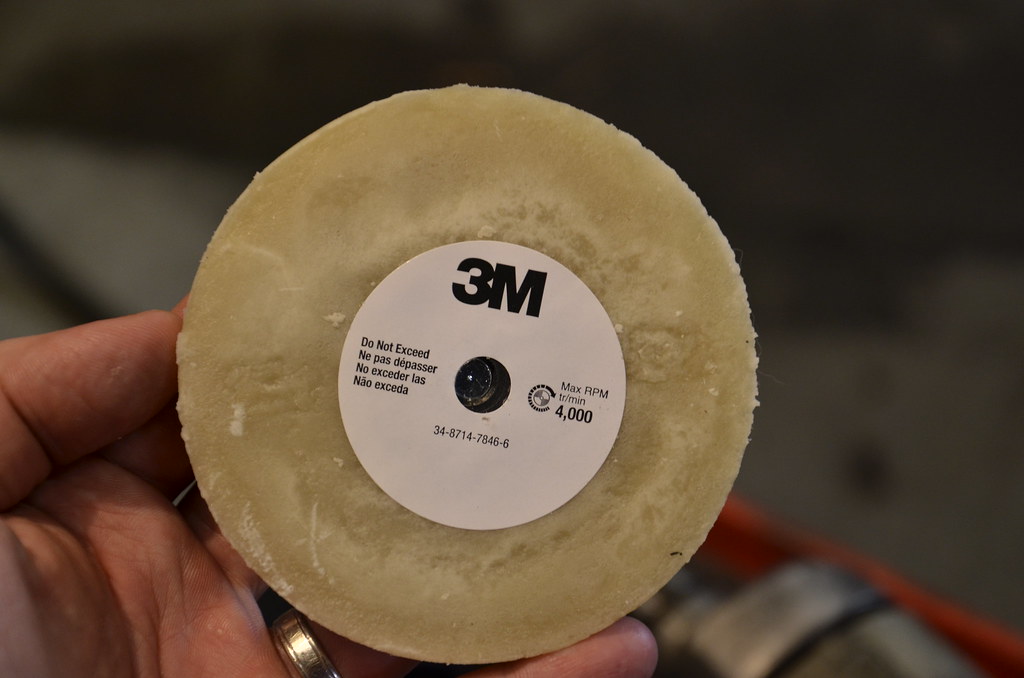 _DSC4782 by Norbert Ogiba, on Flickr
Very effective but leaves a pretty nasty mess of wax, foam, and dust behind. Worth every single penny
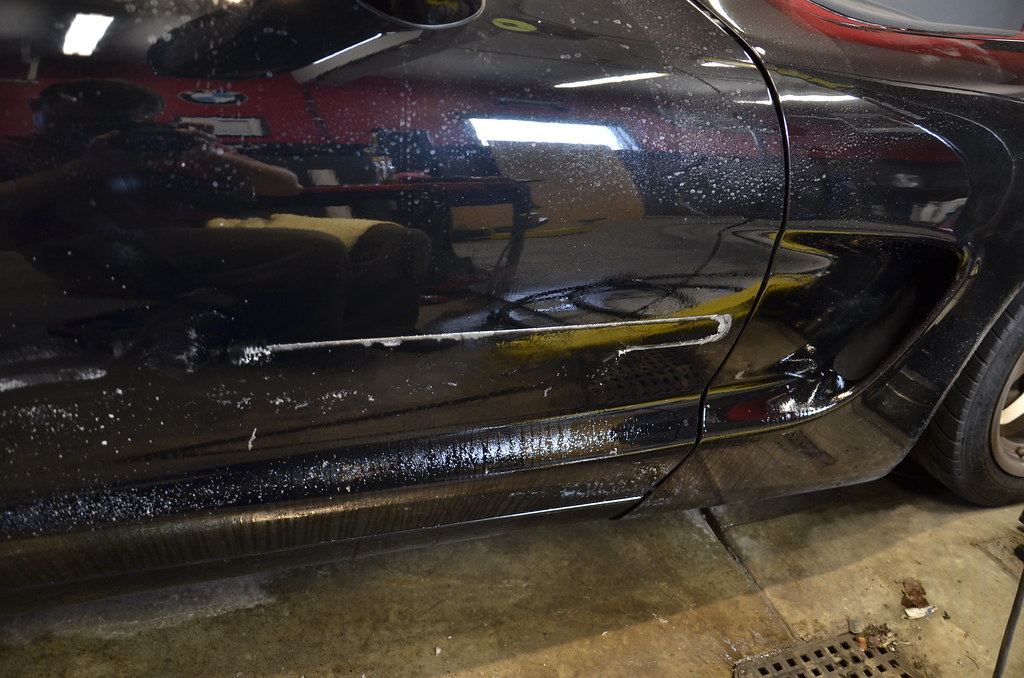 _DSC4783 by Norbert Ogiba, on Flickr
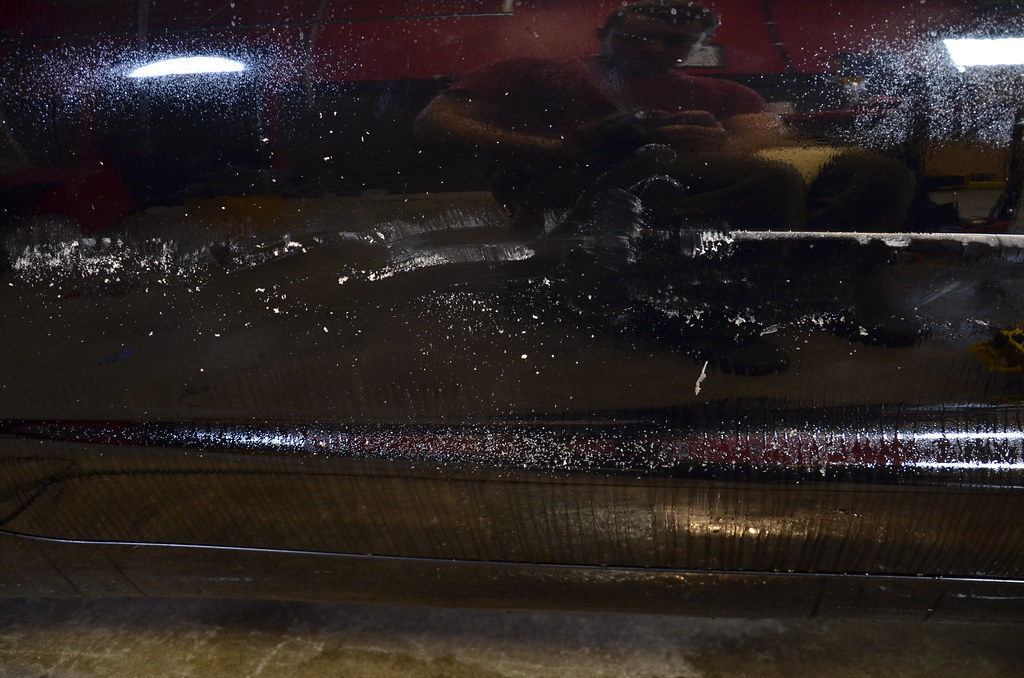 _DSC4784 by Norbert Ogiba, on Flickr
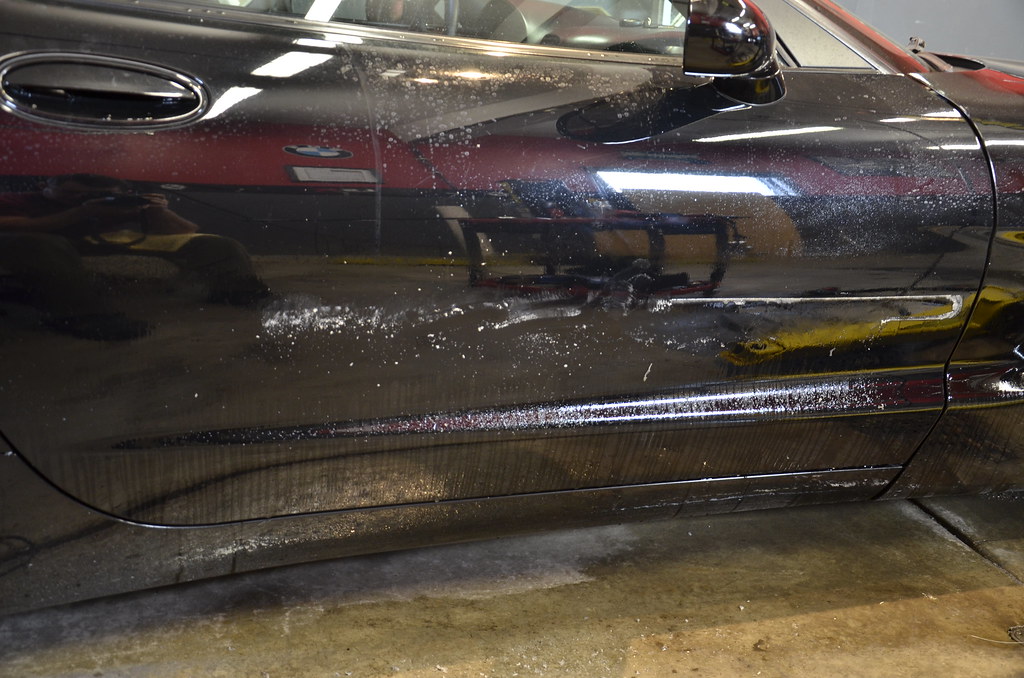 _DSC4785 by Norbert Ogiba, on Flickr
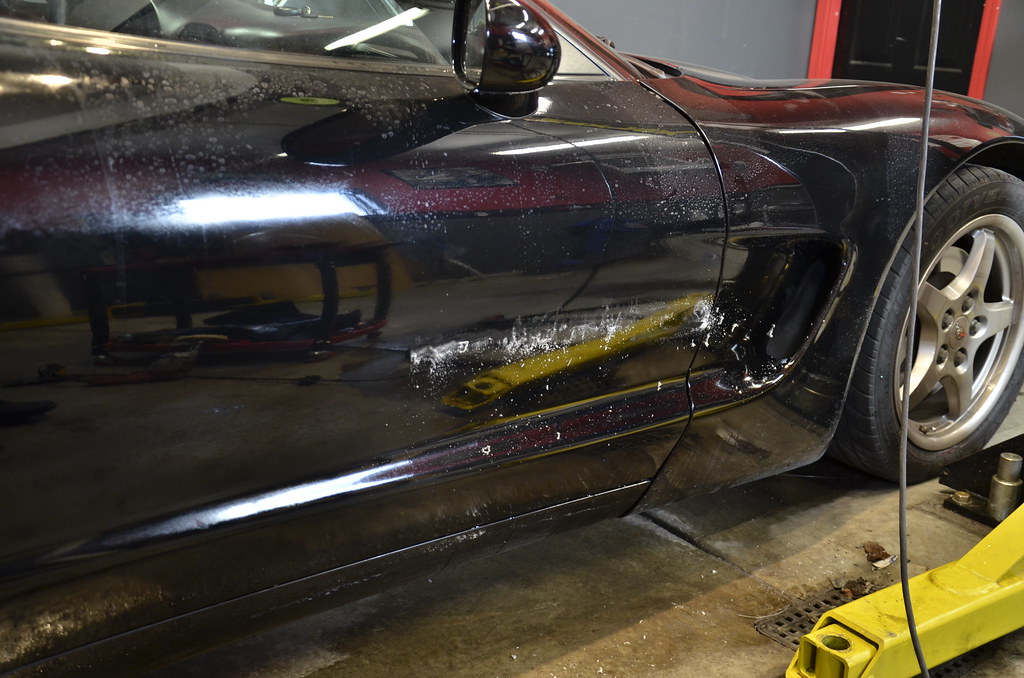 _DSC4786 by Norbert Ogiba, on Flickr
Quick wipe down with a microfiber looked great but there was still an imprint of adhesive around the perimeter
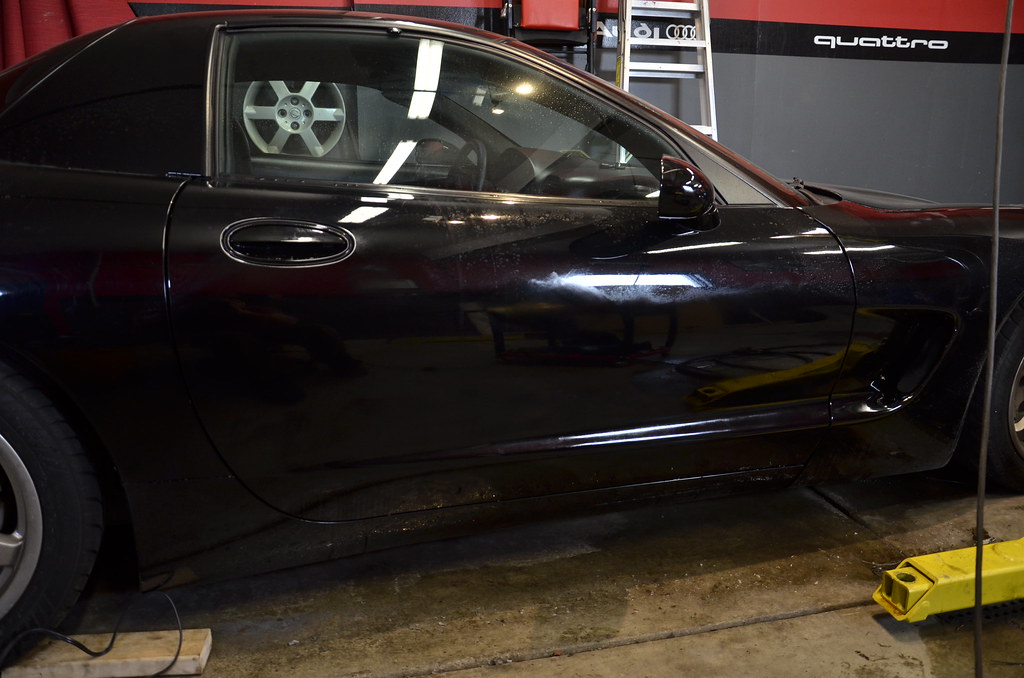 _DSC4787 by Norbert Ogiba, on Flickr
I read about horror stories where guys with brightly colored cars down south (read: sun-baked) had a big shade difference when removing theirs. Mine was a NE car stored in a a garage so it was barely visible, especially on a black car. Anyhow out came the DA
 _DSC4787 by Norbert Ogiba, on Flickr
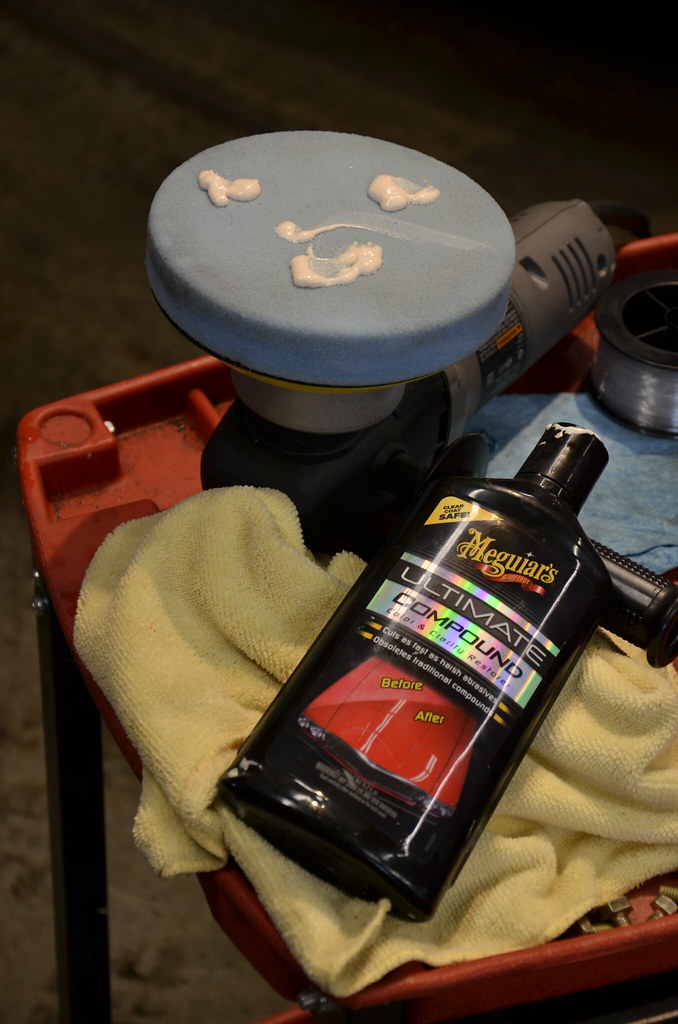 _DSC4788 by Norbert Ogiba, on Flickr
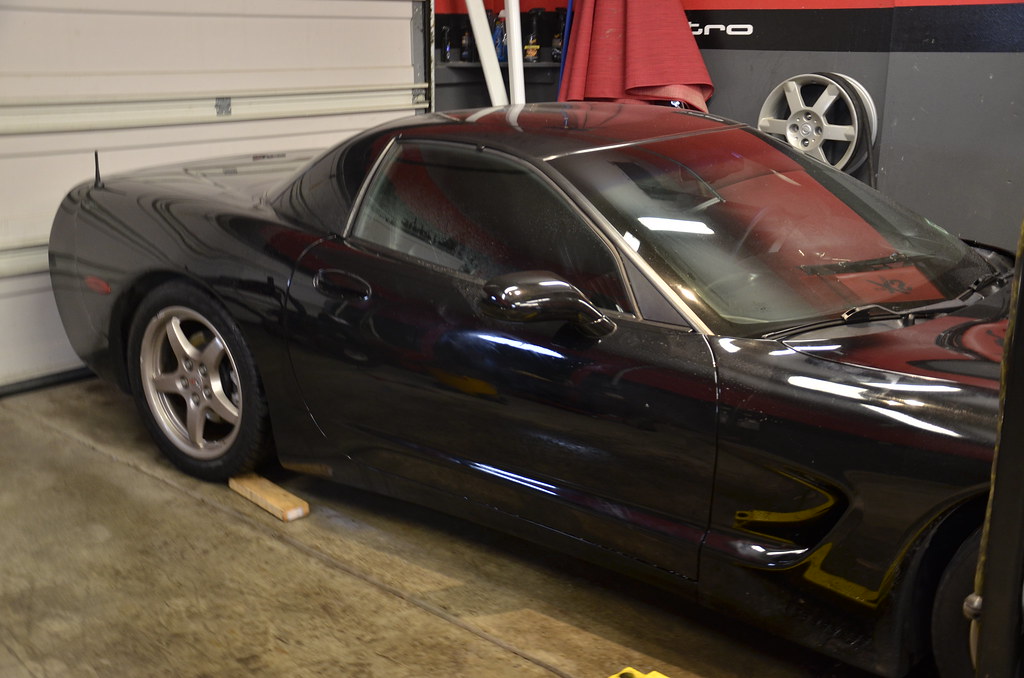 _DSC4789 by Norbert Ogiba, on Flickr
Pulled it out for a quick wash, looks a ton better
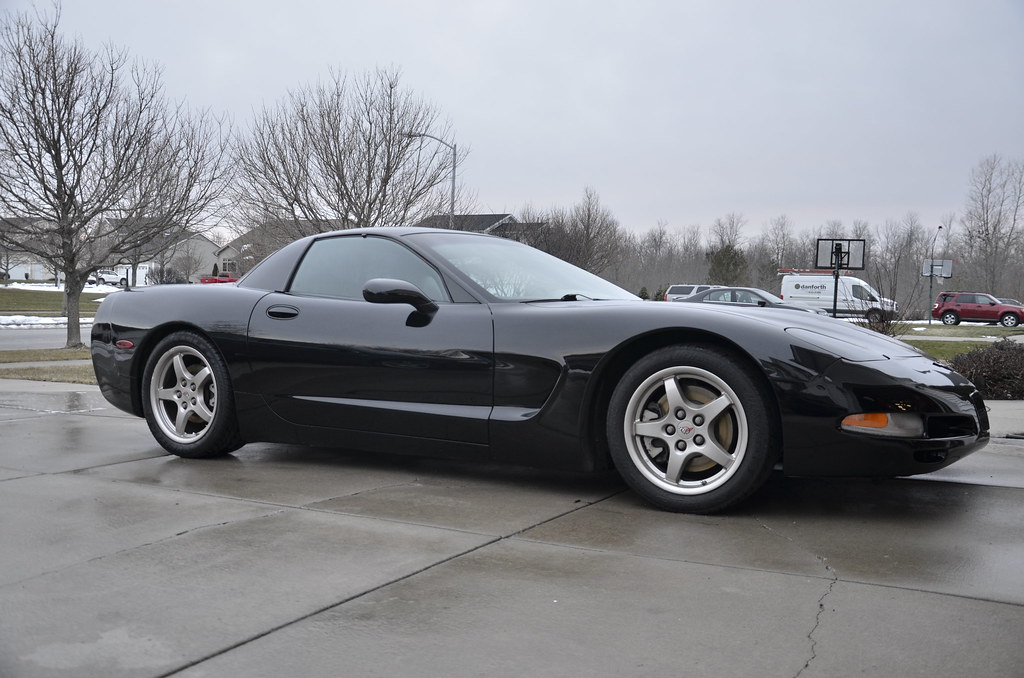 _DSC4790 by Norbert Ogiba, on Flickr
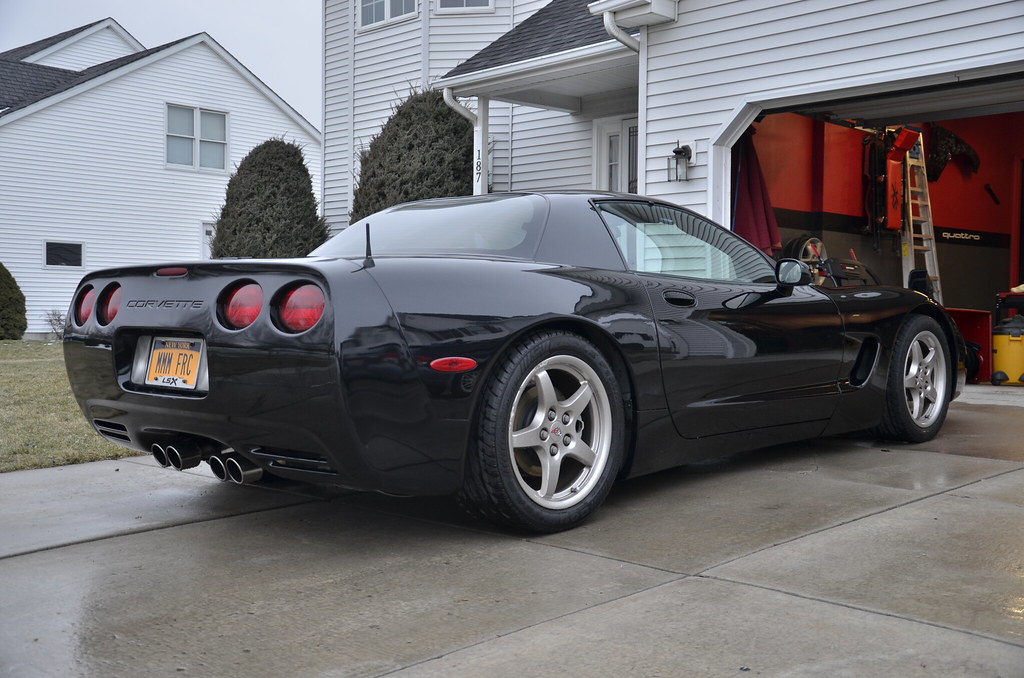 _DSC4791 by Norbert Ogiba, on Flickr
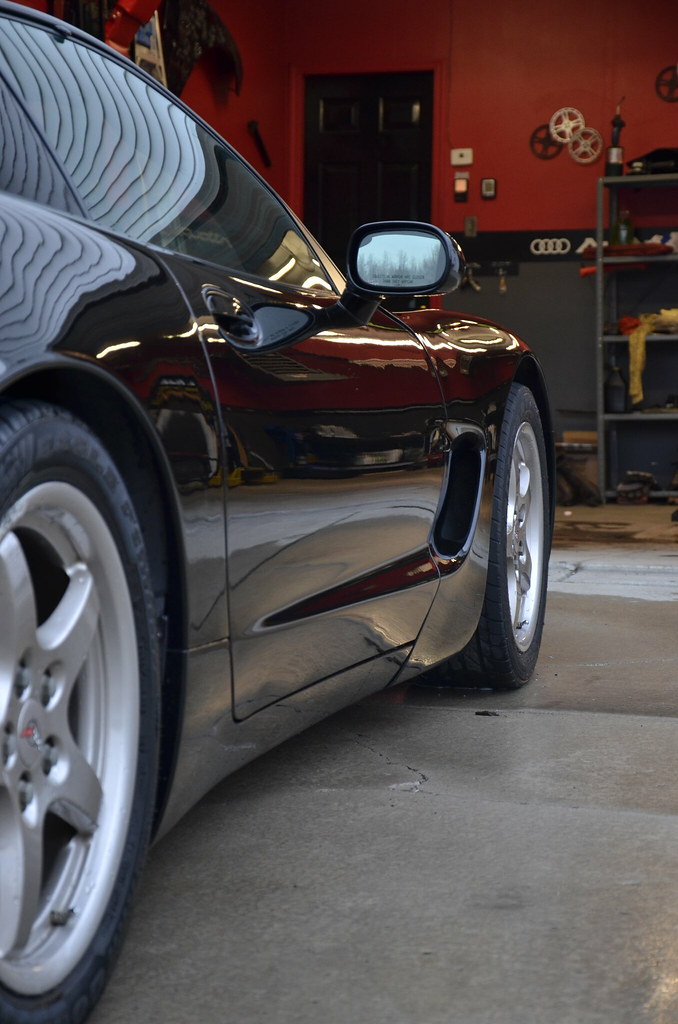 _DSC4792 by Norbert Ogiba, on Flickr
So I finished out the evening by visiting a friend in Rochester an hour away, chasing my buddy in his M5 the whole way. We did a couple of rips and the car was a blast but the clutch hydraulics will definitely need attention. I had the typical C5 problem of a soft clutch pedal after a couple hard shifts. Already did the Ranger method to clean the clutch fluid and honestly it didn't do squat, so I'll have to do some homework to see what's next.
 photo 4 by Norbert Ogiba, on Flickr
Depending on the weather this week I might start on the cutouts, stay tuned
Leave a comment:
-
^ i will add some more info on the bluetooth. It's a really slick setup. I need to finish the wiring, it's just wrapped together right now and all shitty.
you're right about the sig! let me see what I can do
Leave a comment:
-
I would like more details and a how-to of that BT stuffs!
oh and your sig is overdue

Leave a comment:
-
Time for some tunes
So i pulled the passenger foot kick panel and cut the CD changer connector, and after thinking about how I wanted to route the radio shack connector, I sat down at the kitchen table and soldered wires to the 5 pins using bits of my old GM truck harness from my swap. small scale soldering is not my strong point but I got it done.
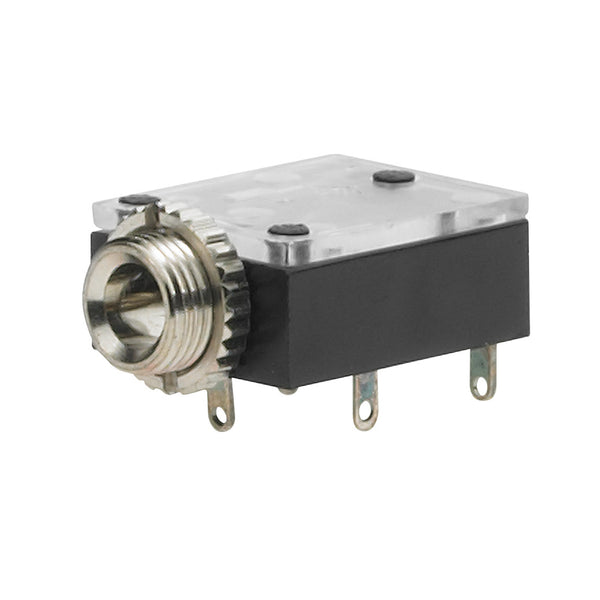
I made temporary connections to everything (left the bare shield wires disconnected from anything), stuck a CD in the changer, crossed my fingers, reconnected the battery, and let her rip
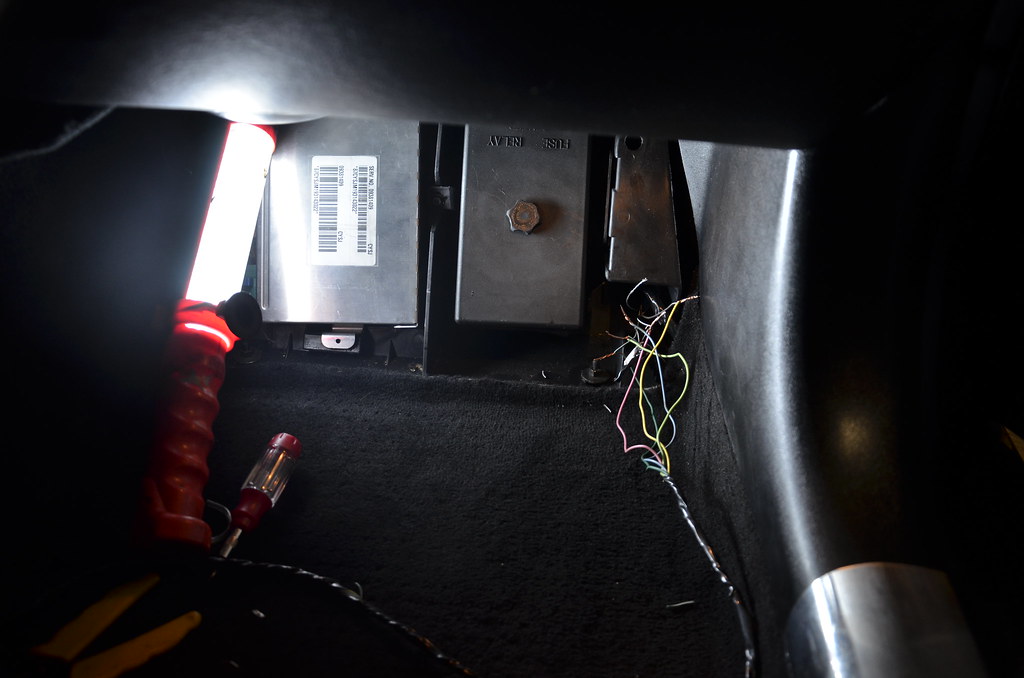 _DSC4771 by Norbert Ogiba, on Flickr
SUCCESS! Using a 3.5mm to 3.5mm I was able to get my phone to play music and it sounded great. Figured I'd take it one step further, and plugged in my Miccus Mini Bluetooth adapter, which is a tiny portable unit that takes a bluetooth audio signal (like from your smartphone) and converts it to audio output through a 3.5mm jack. After making sure it was paired properly, that worked perfectly as well! So now I have wireless bluetooth AUX audio through my smartphone, which will be great this summer on those long road trips. Sure beats those expensive AUX converter units
Now I need to clean up this mess, solder and heatshrink everything, and run the aux port into the center cubby where the bluetooth module will be housed.
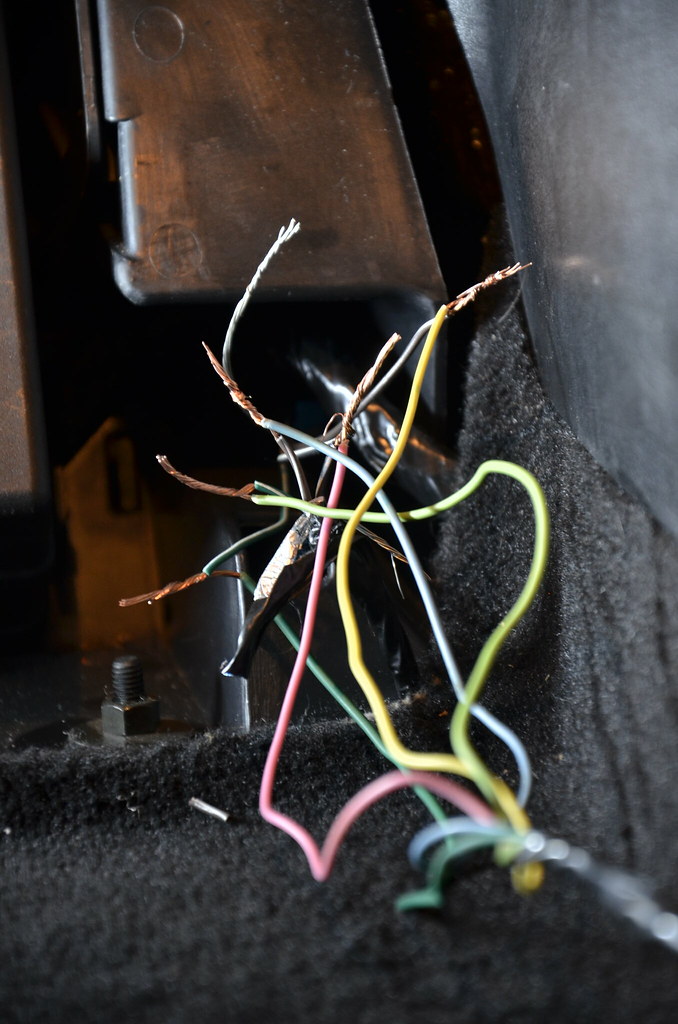 _DSC4773 by Norbert Ogiba, on Flickr
Leave a comment:
-
I have a couple local guys that do dyno tunes via HPTuners but wasn't thrilled with the experiences there.
Also dabbled a bit myself in HPT but frankly don't have the time to do a full on-road tune.
Will be sending out to ECS (East Coast Supercharging) for a mail order once I have the LS6 intake in.
Leave a comment:
-
Pick up HP tuners so you can deactivate column lock as well as the CELs. Plenty of tuners that will send you a map via HP.
Leave a comment:
-
I plan to ditch it and retune, But, need to wait until I install the LS6 intake, so that I don't have to pay for 2 tunes.Originally posted by white out View PostThose headers were a bitch to install, especially on the driver's side. Glad to see you're done with the installation.
Dump the SAI, it's useless weight and an eyesore at this point.
She's quicker with the headers by a bit! I love them. Weather turned sour here this week so she will be off the road for a little while, I plan to start fabbing cutouts in the meantime.
Leave a comment:
-
Those headers were a bitch to install, especially on the driver's side. Glad to see you're done with the installation.
Dump the SAI, it's useless weight and an eyesore at this point.
Leave a comment:
-
been busy. installed the headers over the weekend
got the old stuff out, came out pretty easy
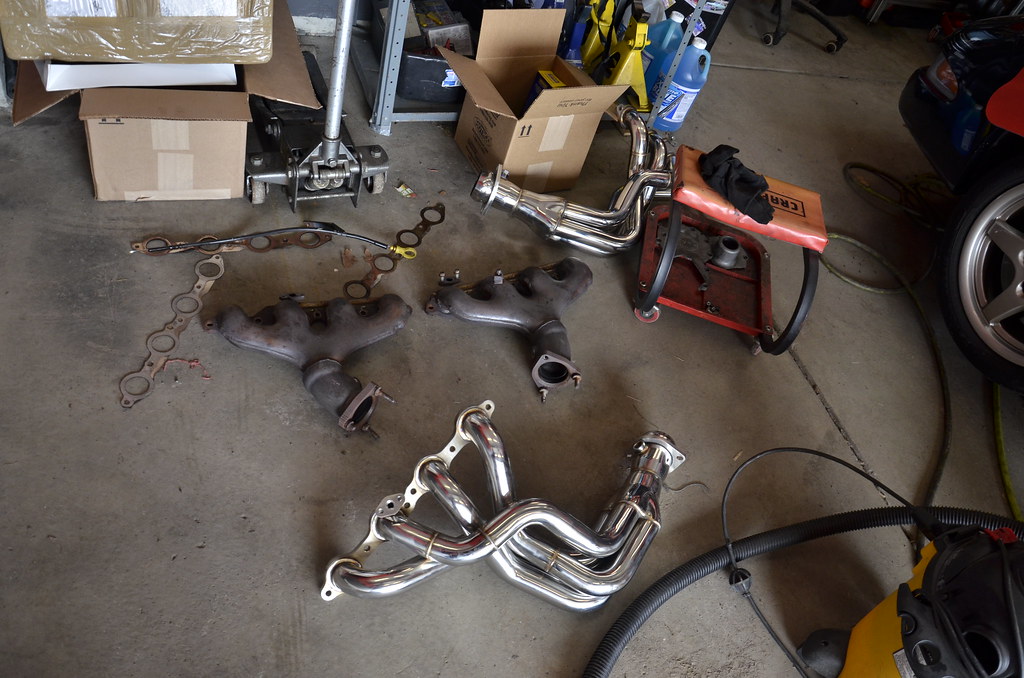 _DSC4741 by Norbert Ogiba, on Flickr
shop vac'd and cleaned the valve covers, 16 years of grime
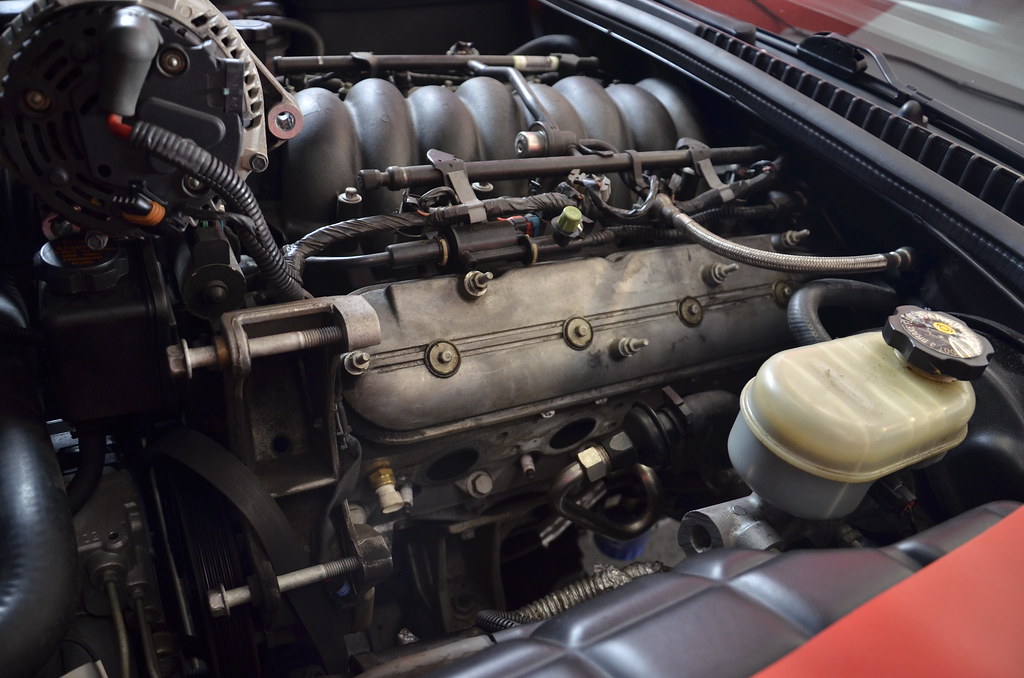 _DSC4742 by Norbert Ogiba, on Flickr
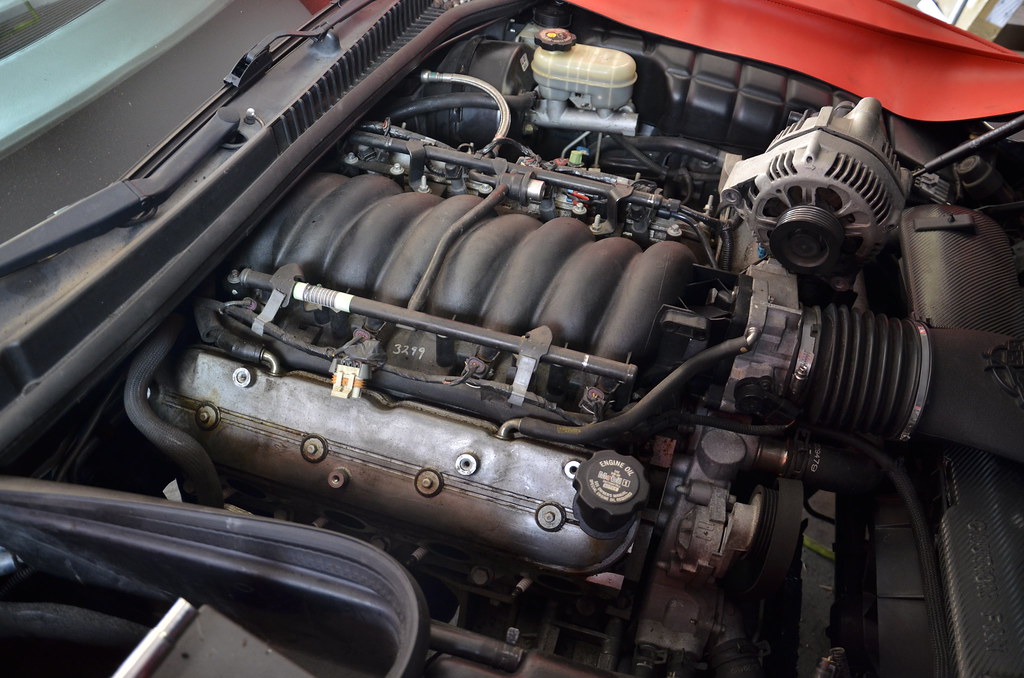 _DSC4743 by Norbert Ogiba, on Flickr
dropped by the dealer around the corner for some new MLS gaskets. I thought the ones that came with the headers would be the crappy imported perforated metal/paper type by they also seemed to be of the MLS construction. Never had a bad experience with the OEM GM gaskets though so they went in.
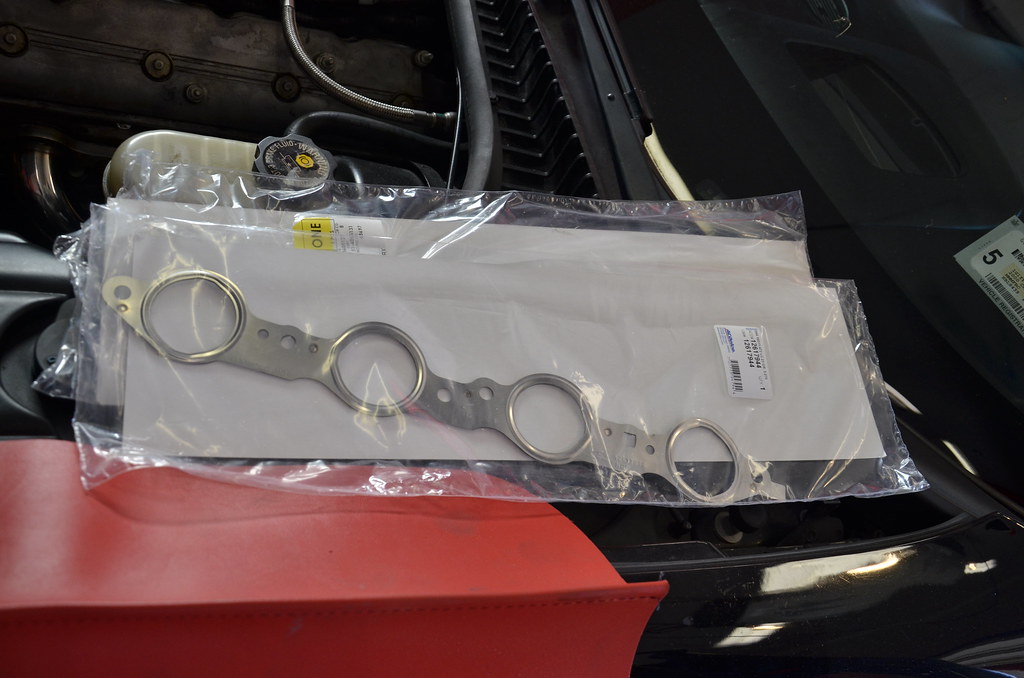 _DSC4744 by Norbert Ogiba, on Flickr
at this point I dropped the hammer and got the longtubes in. they fought me at first but I finally wrestled them in. It's a tight fit on both sides for sure. Had to grind a portion of bellhousing on the driver's side and slid those in from the bottom. On the passenger side they went in from the top after removing the starter and dipstick.
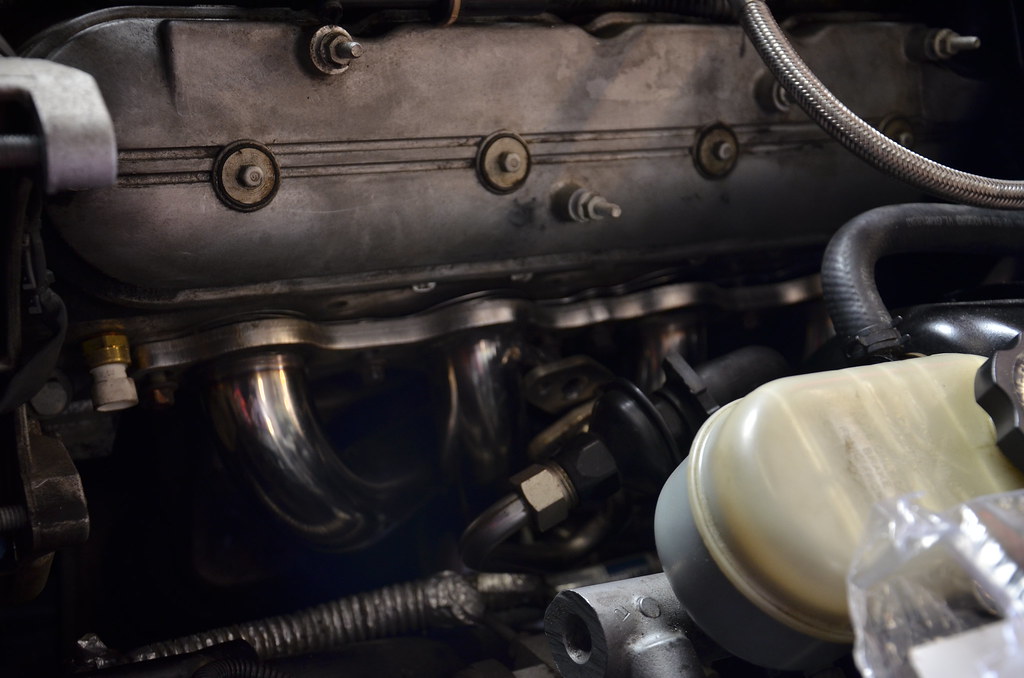 _DSC4745 by Norbert Ogiba, on Flickr
on the passenger side the valve cover had to come off to make some room. good time to inspect the valvetrain, very clean for 105K.
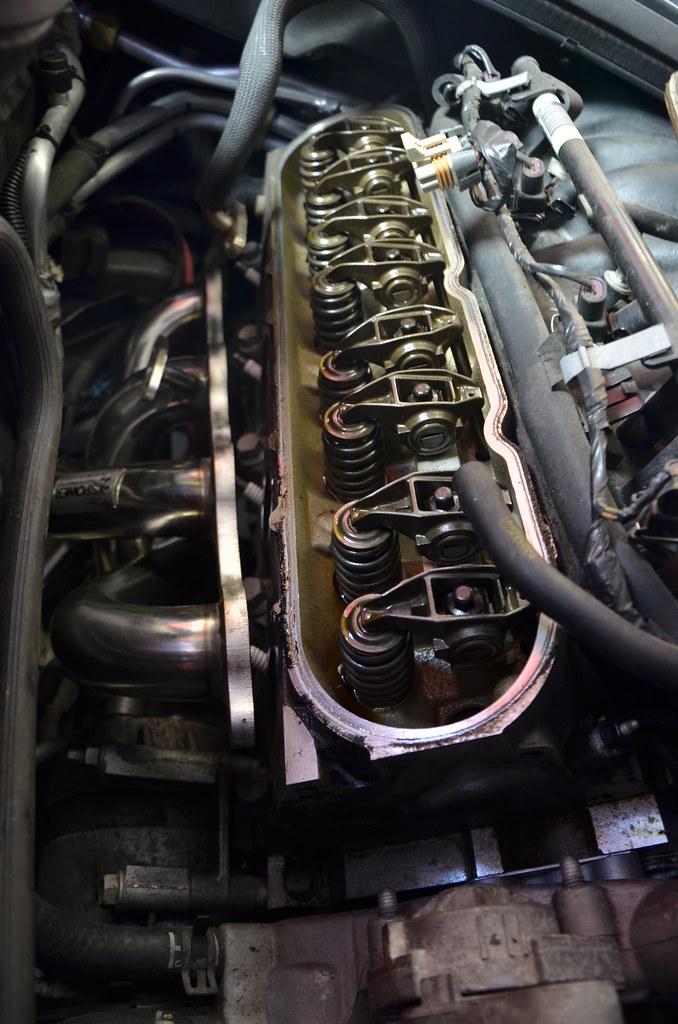 _DSC4746 by Norbert Ogiba, on Flickr
while removing the rear sway bar end links to make room for installing the Z06 Ti's the looked to be trashed, so I picked up metal construction, beefy Moog replacements with nice grease fittings for serviceability.
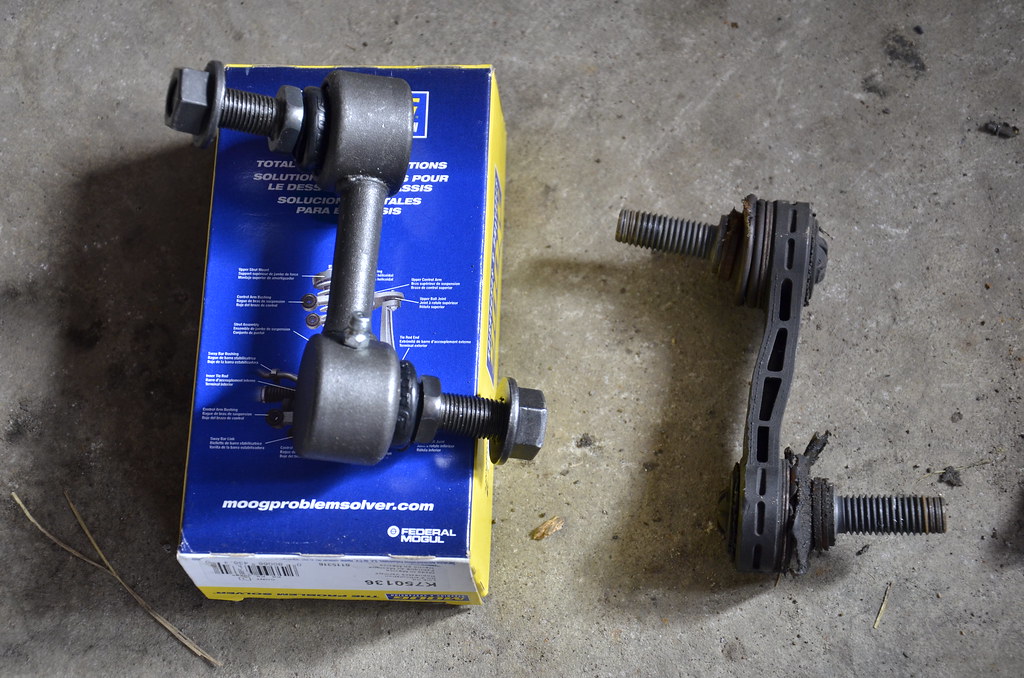 _DSC4747 by Norbert Ogiba, on Flickr
with the headers loosely bolted in I installed the x pipe and intermediate pipes underneath and connected everything. Everything tucked up nicely, no problems. Finally I tightened down the headers, x pipe, intermediates, and axleback. Before wrapping up the install I cleaned everything with IPA so that any fingerprints/grease wouldn't get burned onto the pipes and look bad.
 _DSC4748 by Norbert Ogiba, on Flickr
Coil packs, wires, AIR crap all back in.
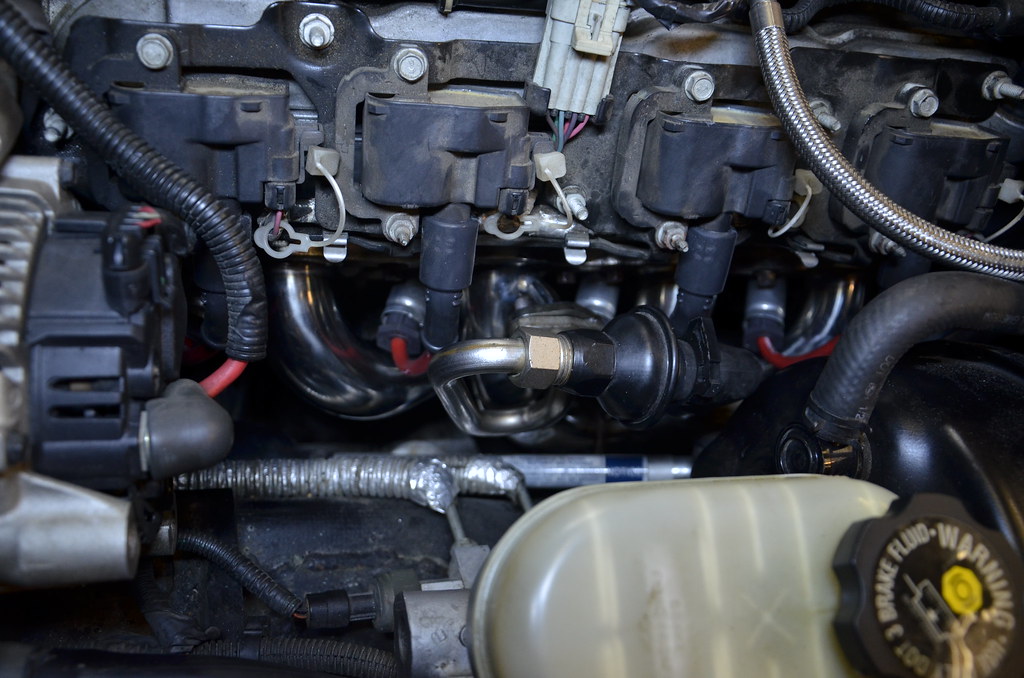 _DSC4749 by Norbert Ogiba, on Flickr
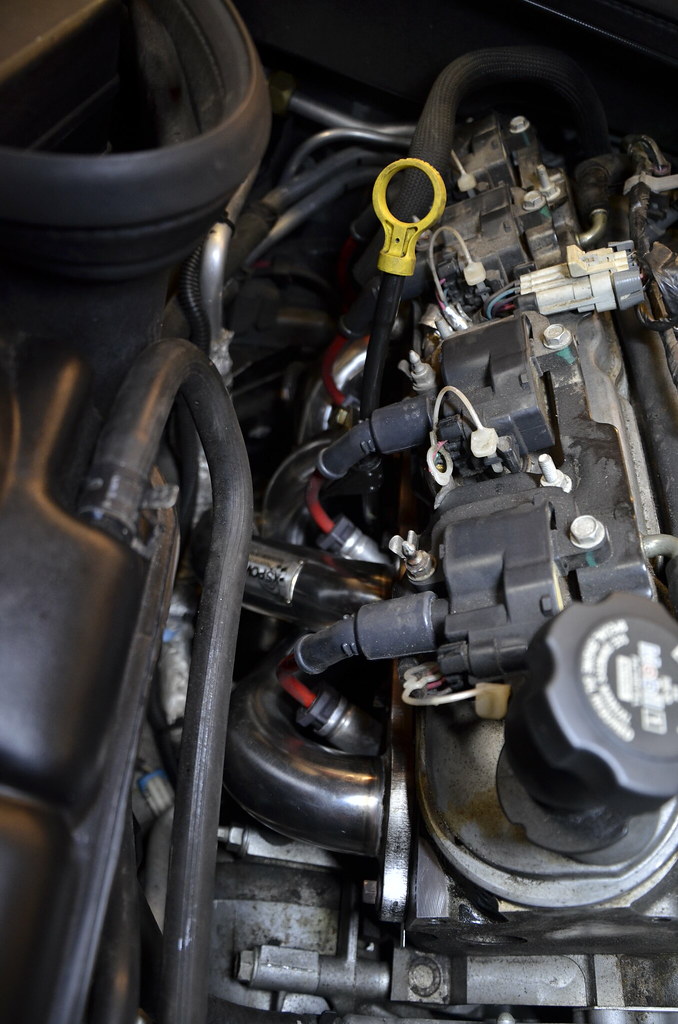 _DSC4750 by Norbert Ogiba, on Flickr
Wire clearance on one of the passenger side primaries was closer than I'd like, but I've put a couple hundred miles on so far with no issue. I'm really glad I kept the factory metal heat shields
 _DSC4751 by Norbert Ogiba, on Flickr
rather than upgrade to the newer 01-04 dipstick I made the older version work by bolting to the AIR fitting. the AIR won't be around for long, will wait until I install the LS6 intake before tuning
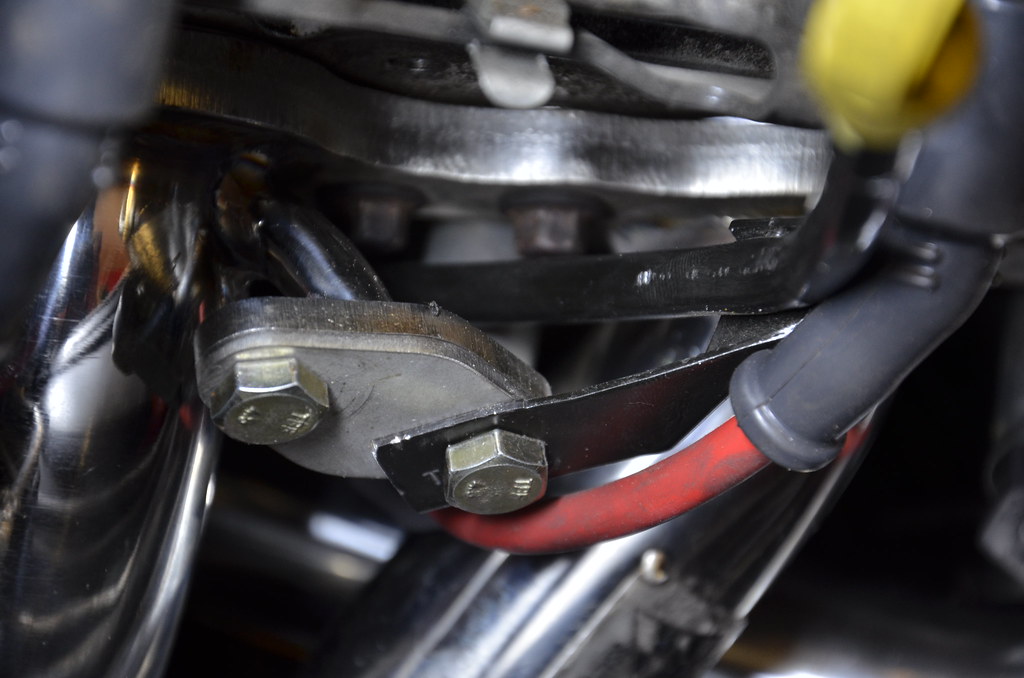 _DSC4752 by Norbert Ogiba, on Flickr
Fired her up, checked for leaks, the band clamps on the intermediate pipes suck, so I'll replace those with proper quality ones
pipes getting nice and golden with heat, paid off to wipe them down
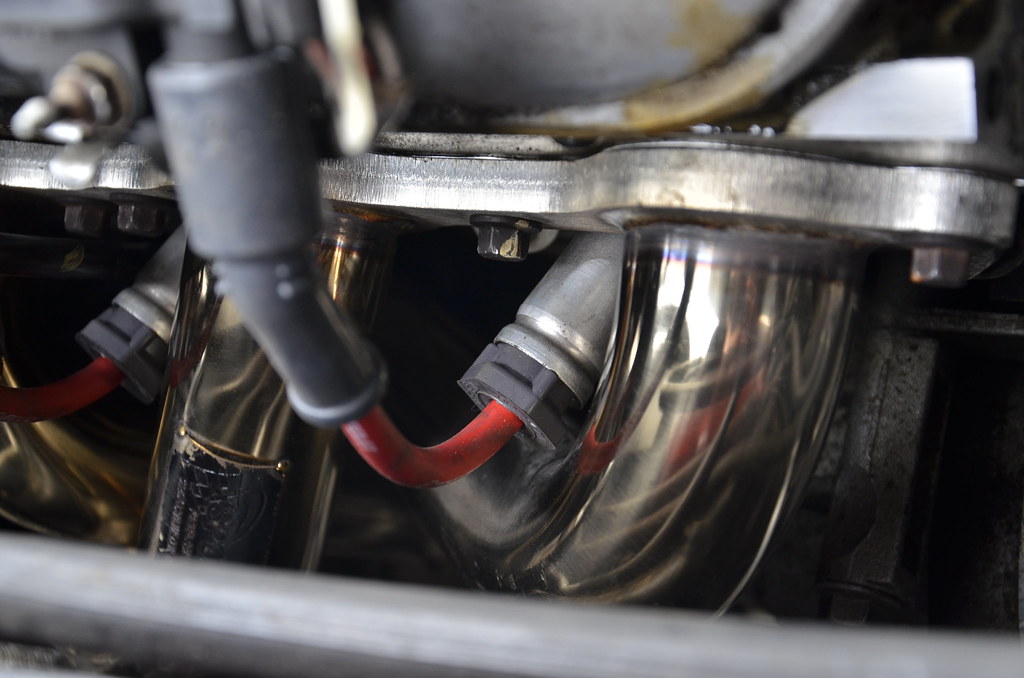 _DSC4755 by Norbert Ogiba, on Flickr
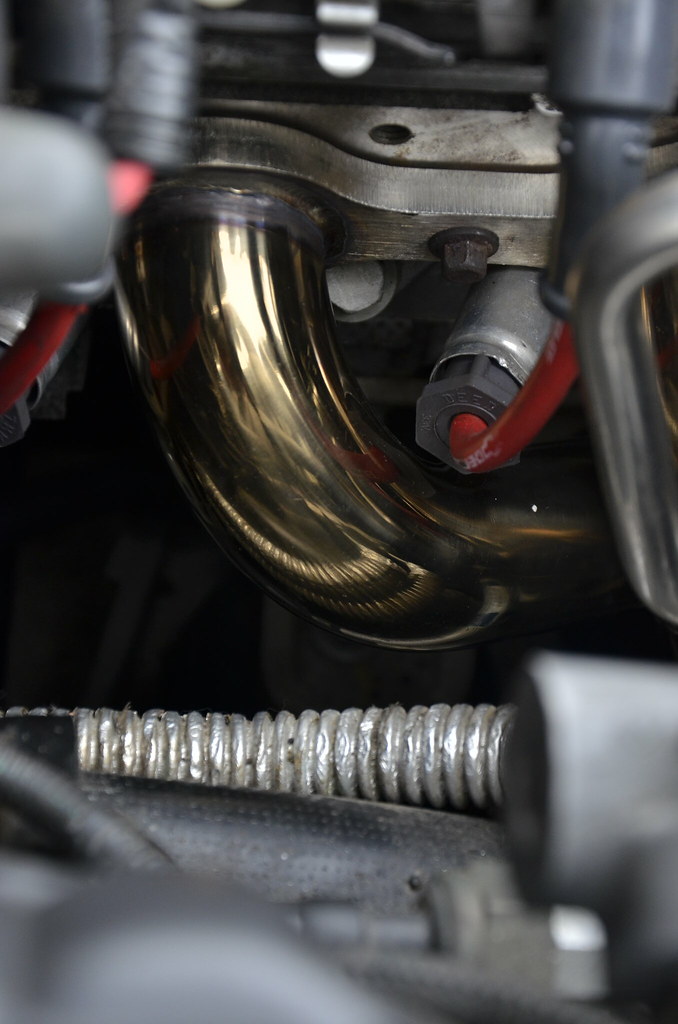 _DSC4756 by Norbert Ogiba, on Flickr
Looks stock otherwise, fuel rail covers are off to get scrubbed
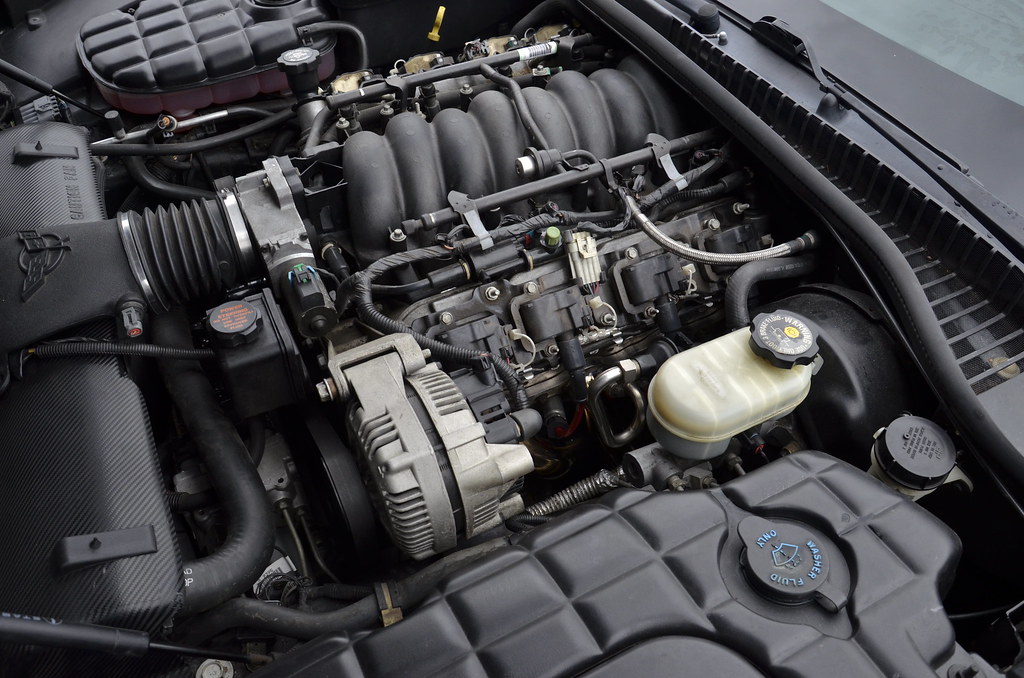 _DSC4757 by Norbert Ogiba, on Flickr
removed the headlight bezels and wrapped with Carbon Fiber Vinyl, ended that night with a treat
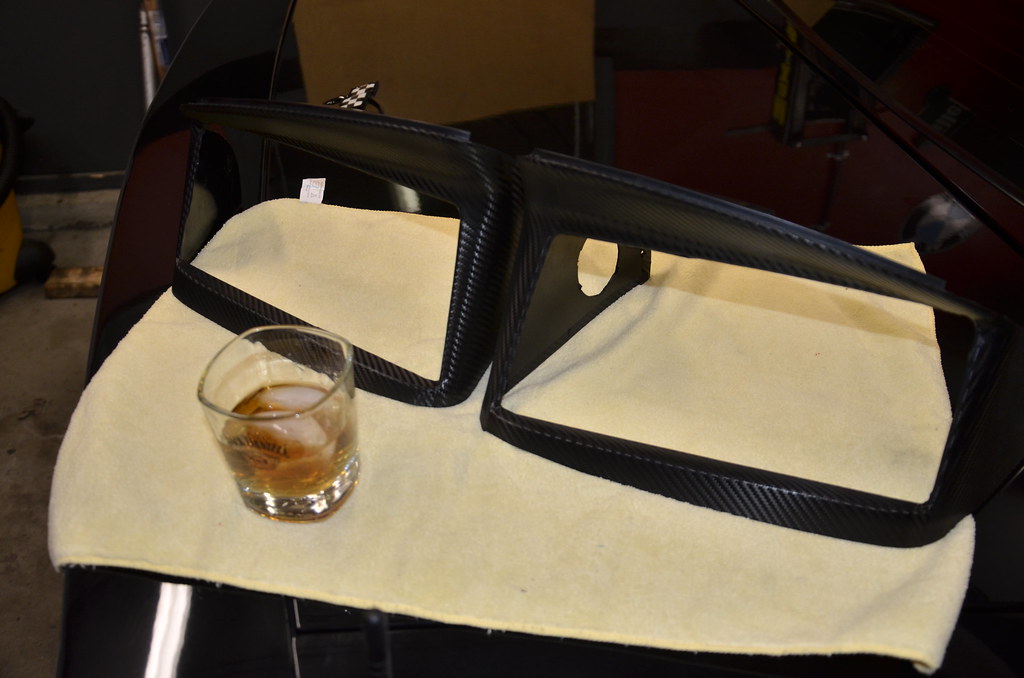 _DSC4759 by Norbert Ogiba, on Flickr
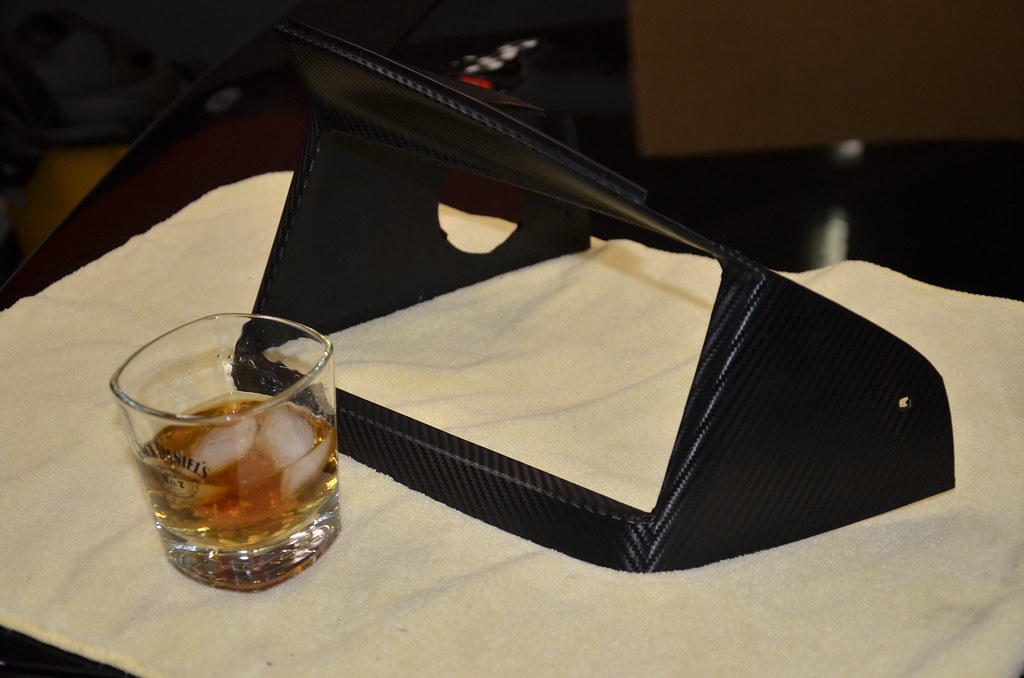 _DSC4760 by Norbert Ogiba, on Flickr
Finished up by doing the Ranger method for clutch fluid. Put 100 miles on it Sunday in the countryside, clutch went to the floor after a couple gear changes at very high RPM. Hopefully this helps.
Fluid definitely original
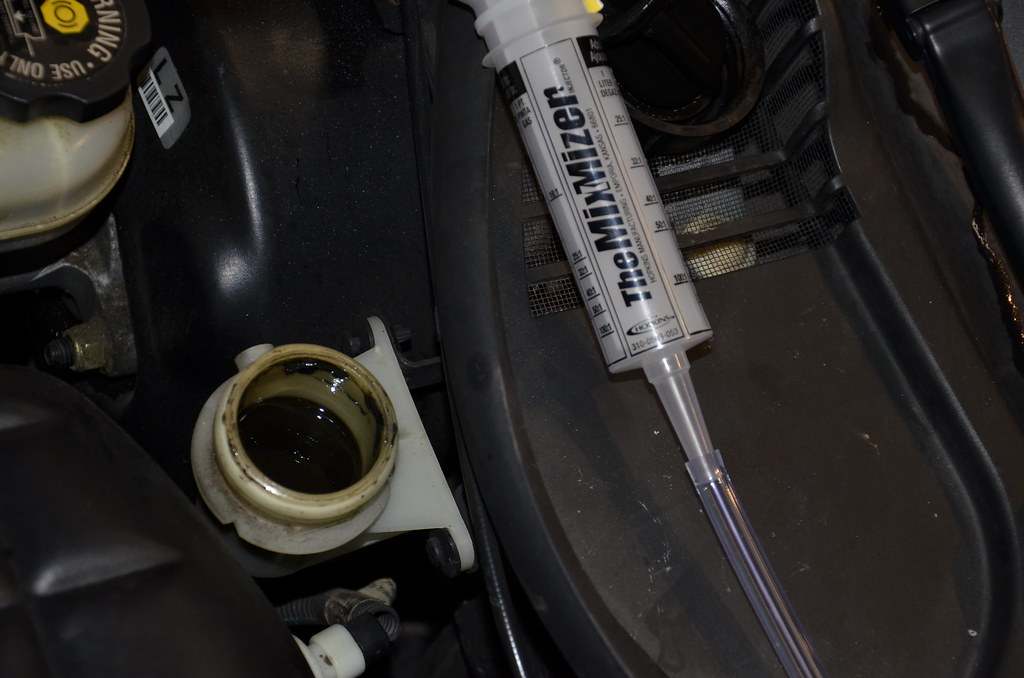 _DSC4763 by Norbert Ogiba, on Flickr
totally opaque
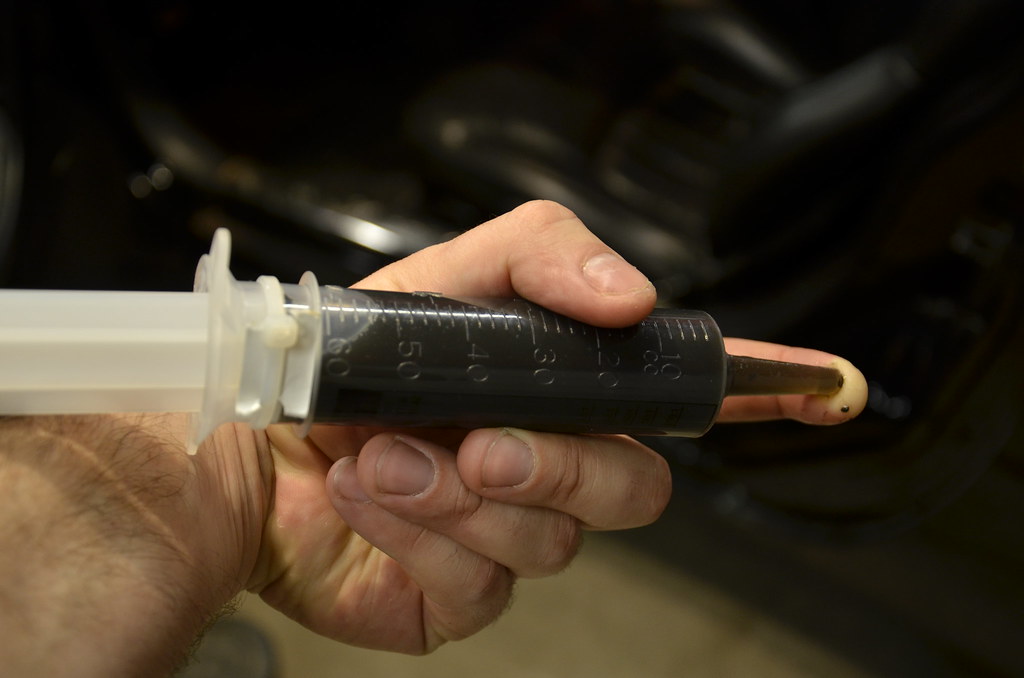 _DSC4764 by Norbert Ogiba, on Flickr
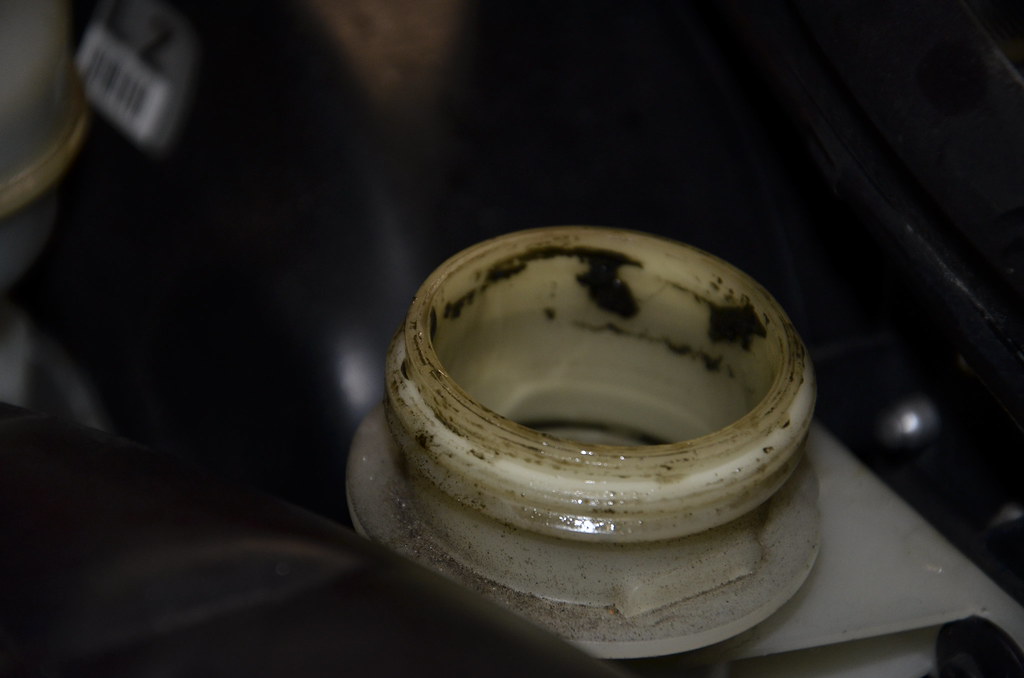 _DSC4767 by Norbert Ogiba, on Flickr
getting there
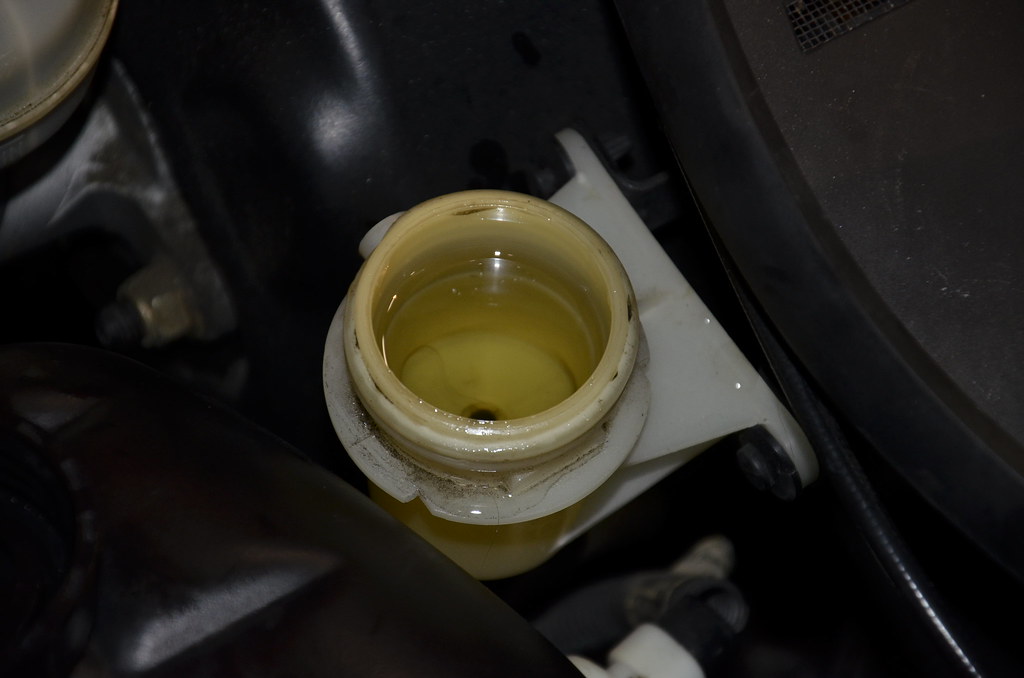 _DSC4769 by Norbert Ogiba, on Flickr
Final product of what was removed
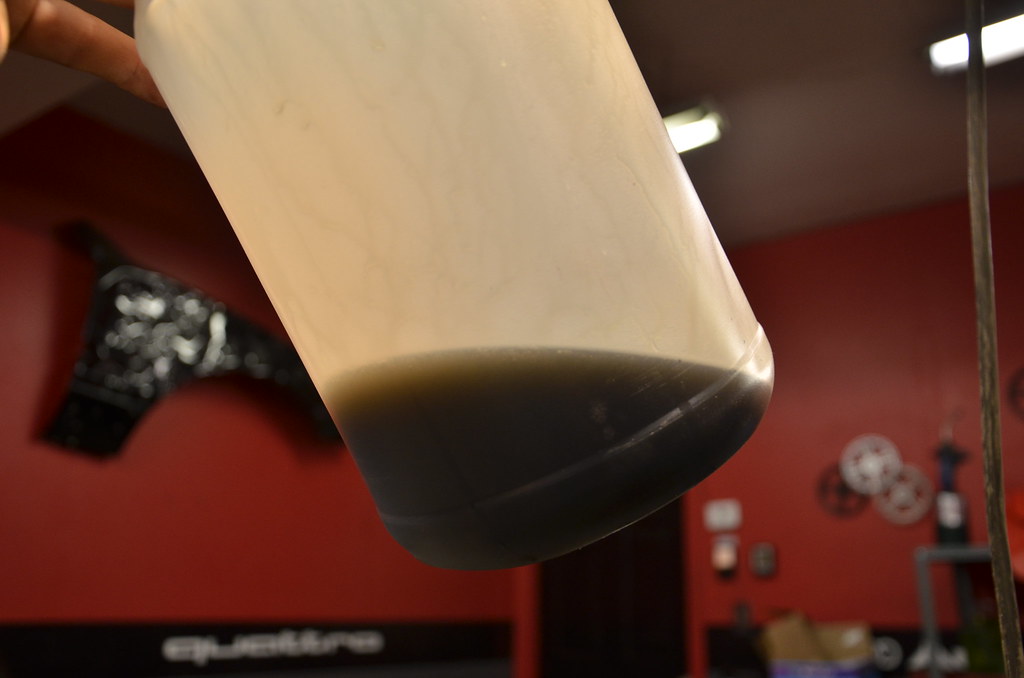 _DSC4770 by Norbert Ogiba, on Flickr
More to come this week, I'm working on installing an AUX connection for my phone with Bluetooth capabilityLast edited by nsogiba; 02-23-2016, 09:00 PM.
Leave a comment:
-
been busy. installed the headers over the weekend
got the old stuff out, came out pretty easy
 _DSC4741 by Norbert Ogiba, on Flickr
shop vac'd and cleaned the valve covers, 16 years of grime
 _DSC4742 by Norbert Ogiba, on Flickr
 _DSC4743 by Norbert Ogiba, on Flickr
dropped by the dealer around the corner for some new MLS gaskets. I thought the ones that came with the headers would be the crappy imported perforated metal/paper type by they also seemed to be of the MLS construction. Never had a bad experience with the OEM GM gaskets though so they went in.
 _DSC4744 by Norbert Ogiba, on Flickr
at this point I dropped the hammer and got the longtubes in. they fought me at first but I finally wrestled them in. It's a tight fit on both sides for sure. Had to grind a portion of bellhousing on the driver's side and slid those in from the bottom. On the passenger side they went in from the top after removing the starter and dipstick.
 _DSC4745 by Norbert Ogiba, on Flickr
on the passenger side the valve cover had to come off to make some room. good time to inspect the valvetrain, very clean for 105K.
 _DSC4746 by Norbert Ogiba, on Flickr
while removing the rear sway bar end links to make room for installing the Z06 Ti's the looked to be trashed, so I picked up metal construction, beefy Moog replacements with nice grease fittings for serviceability.
 _DSC4747 by Norbert Ogiba, on Flickr
with the headers loosely bolted in I installed the x pipe and intermediate pipes underneath and connected everything. Everything tucked up nicely, no problems. Finally I tightened down the headers, x pipe, intermediates, and axleback. Before wrapping up the install I cleaned everything with IPA so that any fingerprints/grease wouldn't get burned onto the pipes and look bad.
 _DSC4748 by Norbert Ogiba, on Flickr
Coil packs, wires, AIR crap all back in.
 _DSC4749 by Norbert Ogiba, on Flickr
 _DSC4750 by Norbert Ogiba, on Flickr
Wire clearance on one of the passenger side primaries was closer than I'd like, but I've put a couple hundred miles on so far with no issue. I'm really glad I kept the factory metal heat shields
 _DSC4751 by Norbert Ogiba, on Flickr
Leave a comment:
-
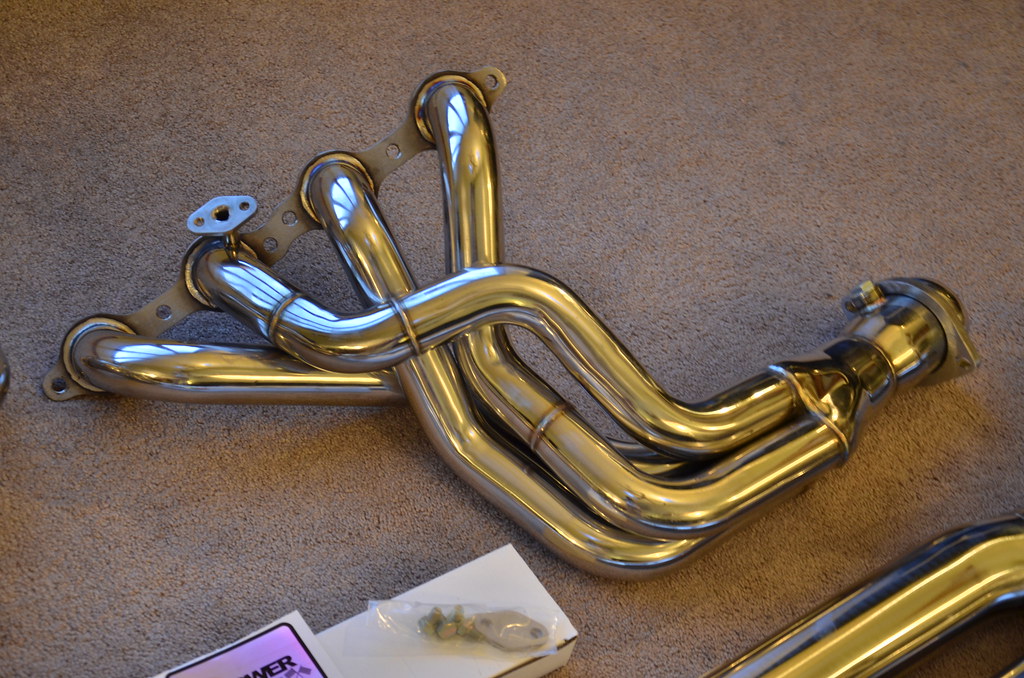
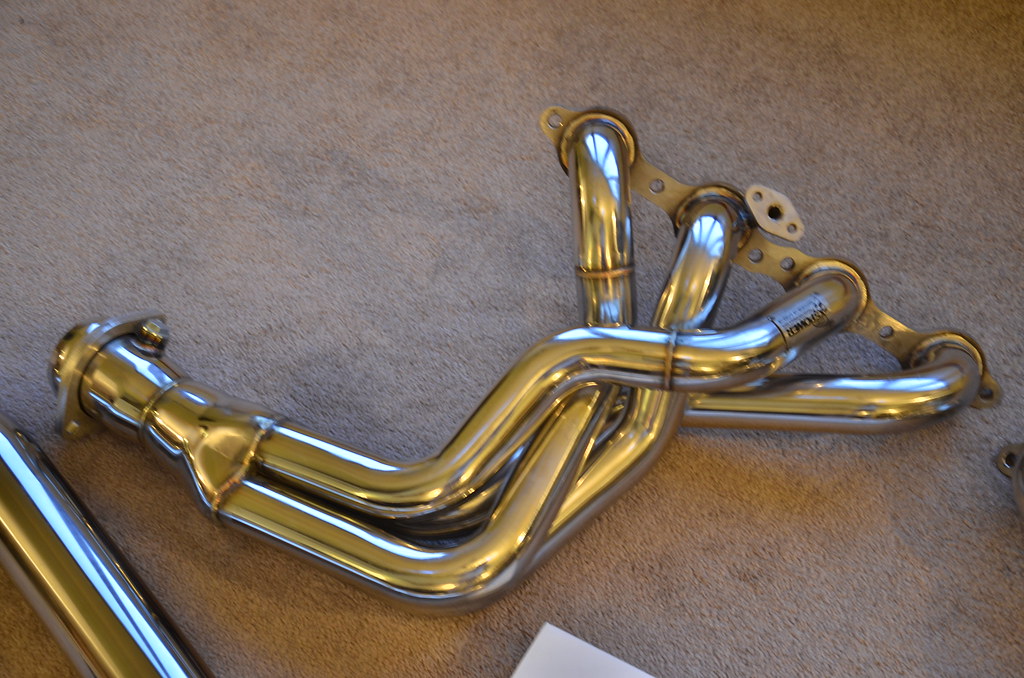
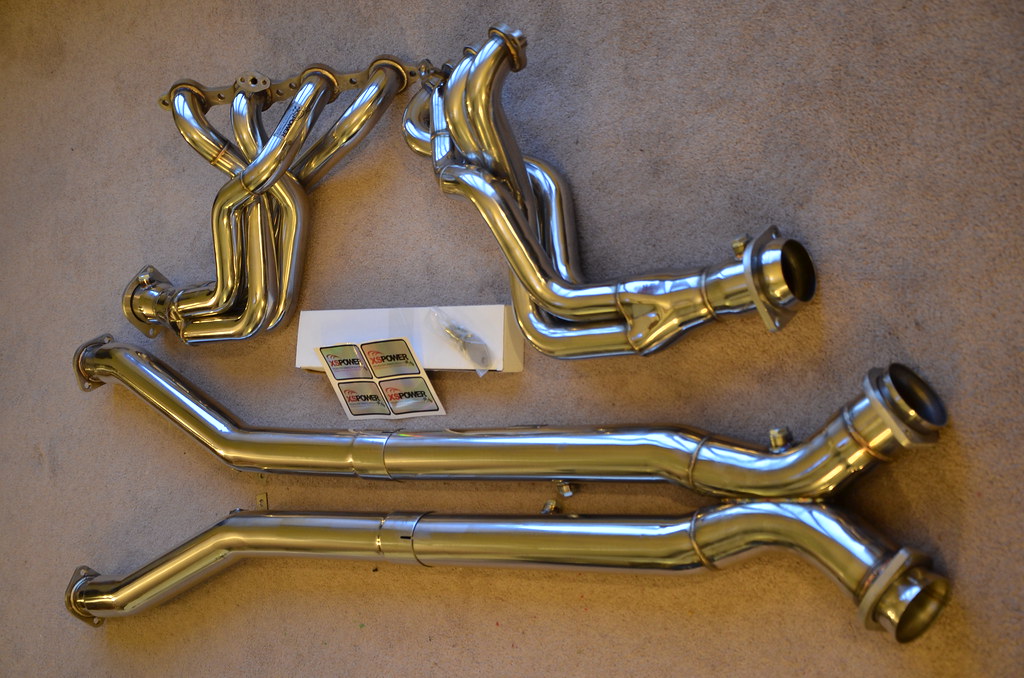
Longtubes came in much earlier than expected! I ordered them Sunday night and they were waiting for me Thursday afternoon. Not bad for a company that is closed this week and didn't expect to ship til next.
Boxes were wrapped up nicely. Cat was looking over the boxes, unfortunately I got the catless model, sorry lil guy
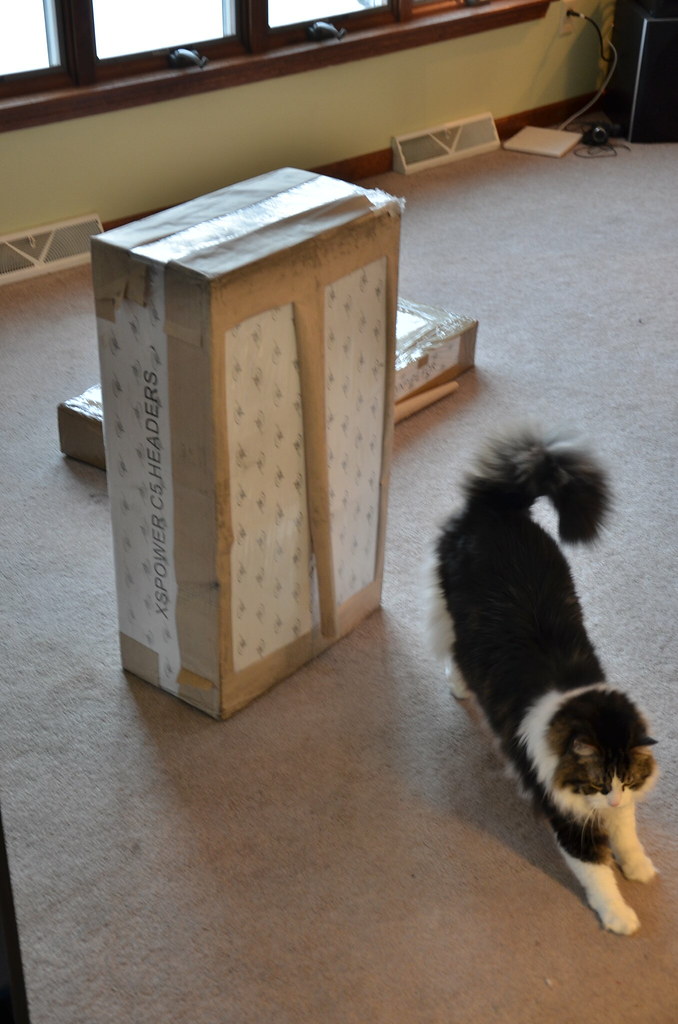 _DSC4721 by Norbert Ogiba, on Flickr
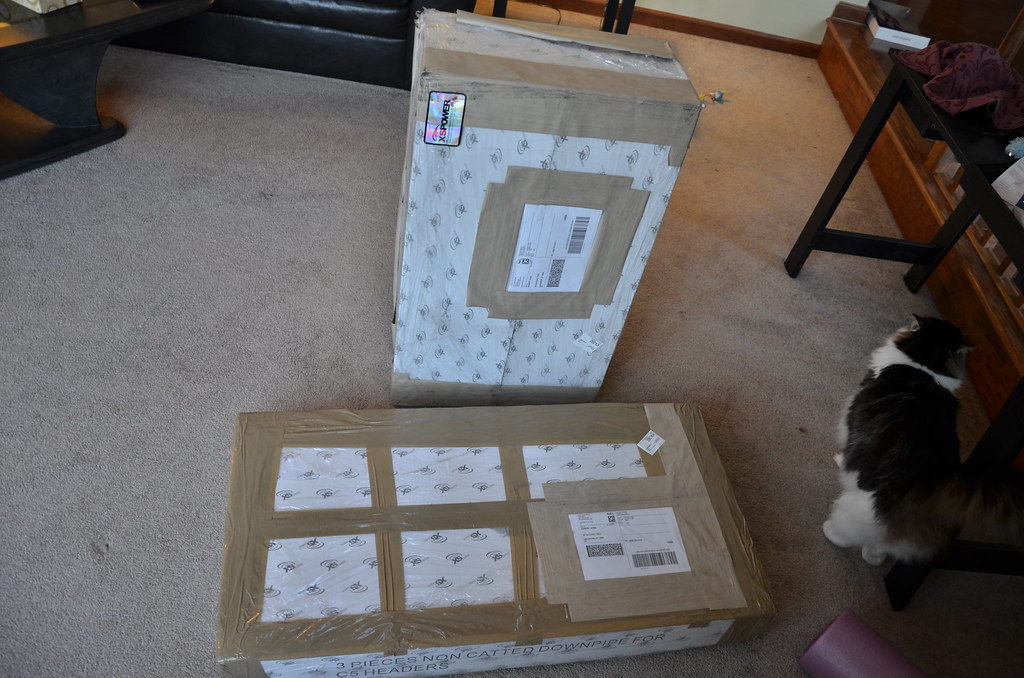 _DSC4723 by Norbert Ogiba, on Flickr
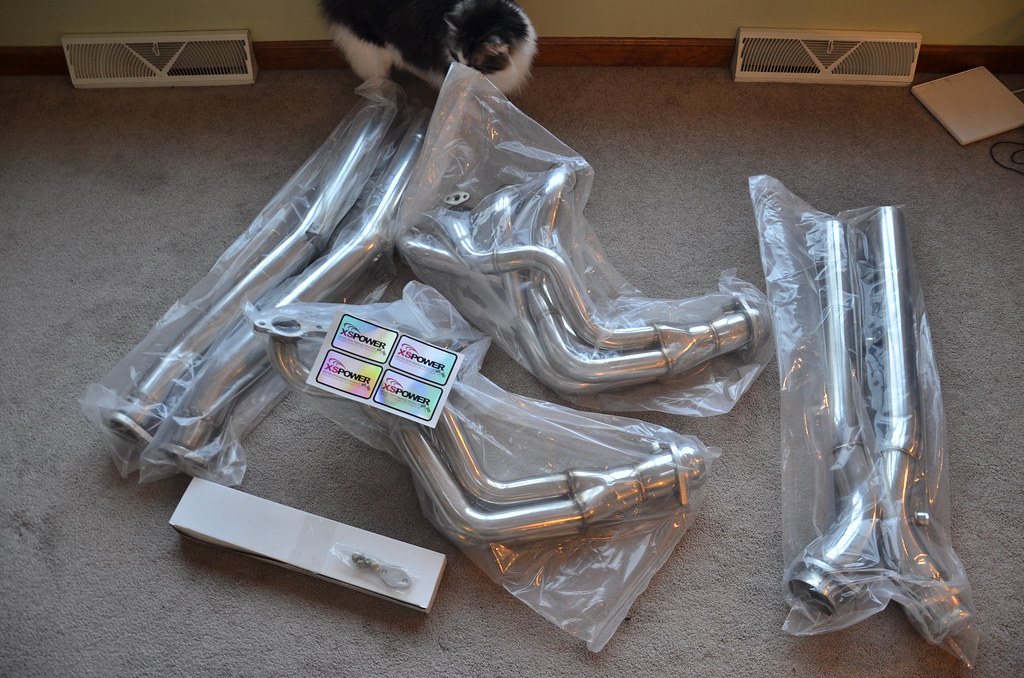 _DSC4725 by Norbert Ogiba, on Flickr
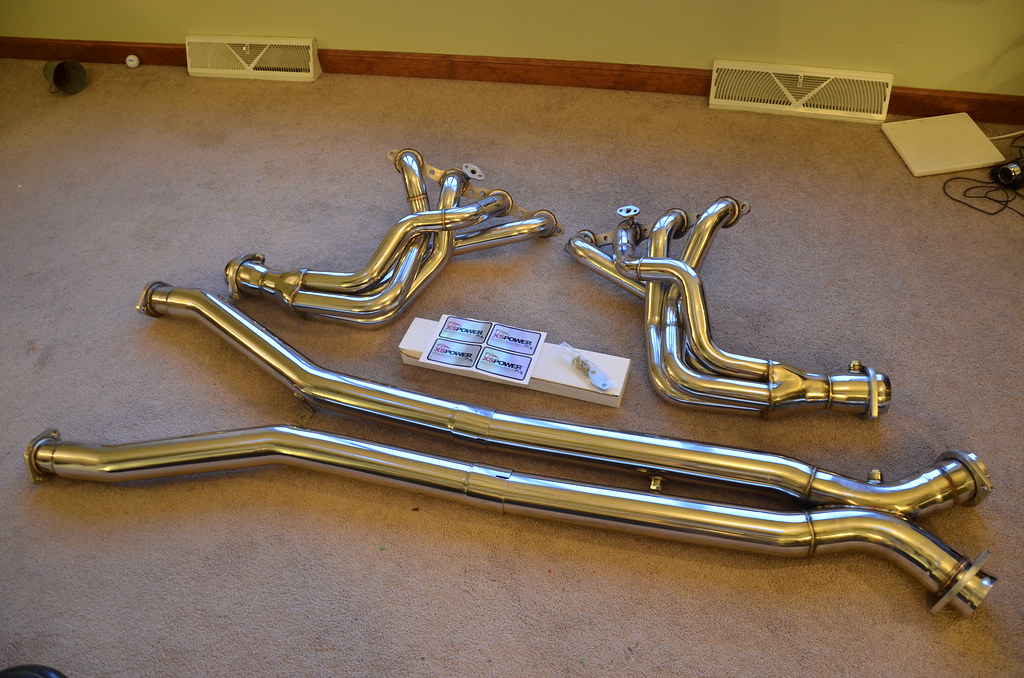 _DSC4726 by Norbert Ogiba, on Flickr
 _DSC4727 by Norbert Ogiba, on Flickr
 _DSC4728 by Norbert Ogiba, on Flickr
 _DSC4729 by Norbert Ogiba, on Flickr
I didn't look too closely at the fabrication quality yet but initial impressions are good. We will see how the fitment is, I have heard good things.
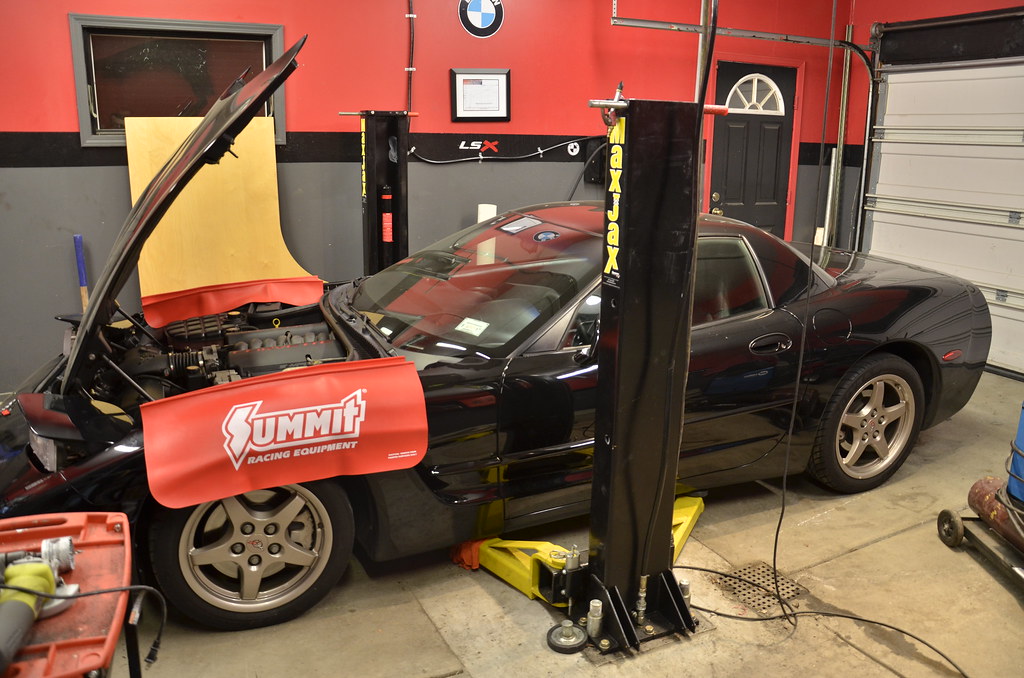
Starting the install. The midpipes were already removed since I had been repairing the stock ones
 _DSC4730 by Norbert Ogiba, on Flickr
Fuel Rail Covers off. I need to scrub these things in some hot soapy water.
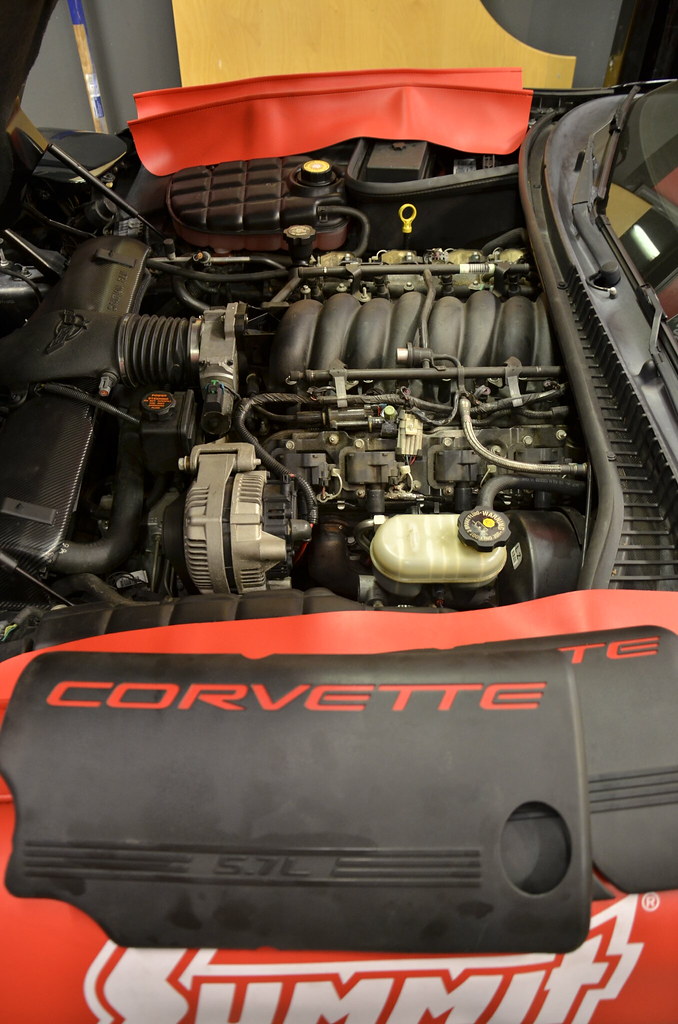 _DSC4731 by Norbert Ogiba, on Flickr
Battery disconnected and removed.
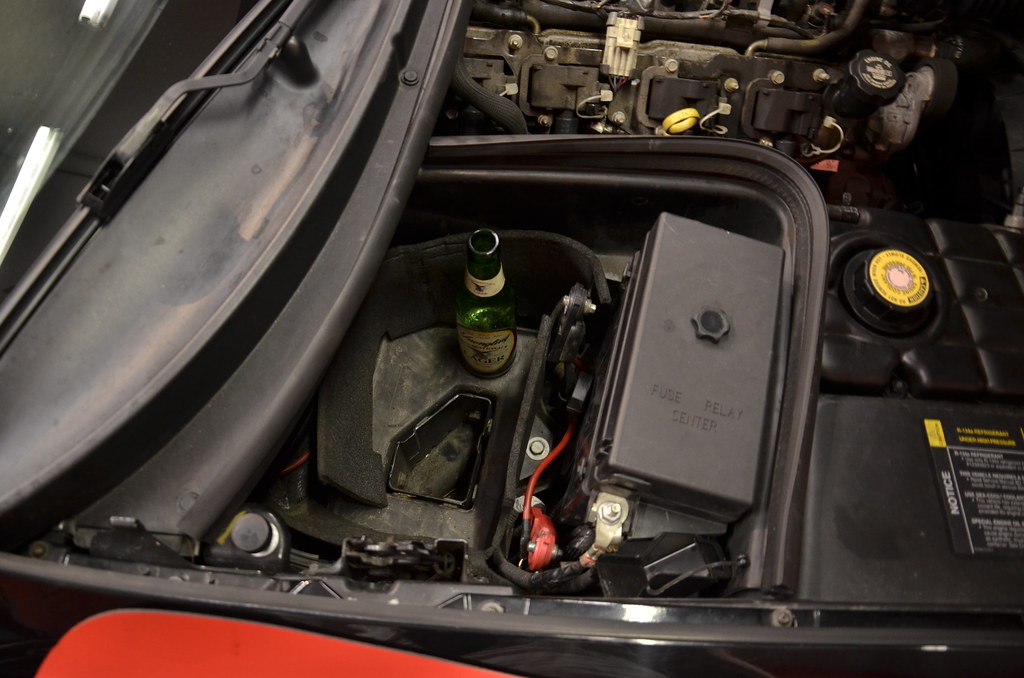 _DSC4734 by Norbert Ogiba, on Flickr
Belt de-tensioned. Also note that I wrapped the radiator cover in 3M CF vinyl. Started wrapping the headlight bezels as well.
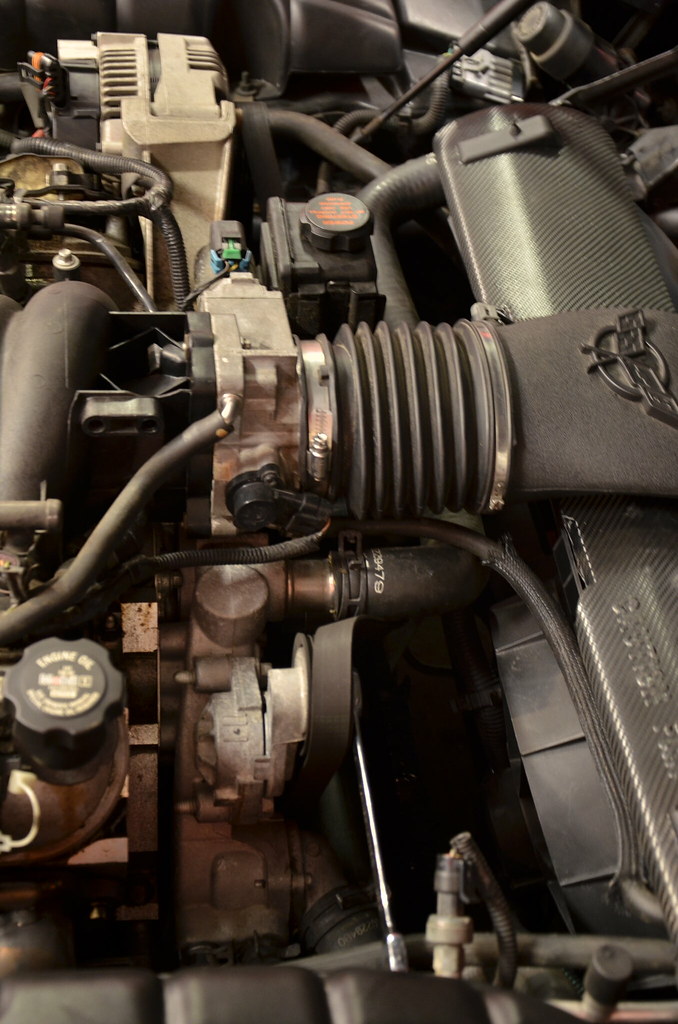 _DSC4735 by Norbert Ogiba, on Flickr
Alternator removed and placed aside (I didn't remove the big battery positive terminal)
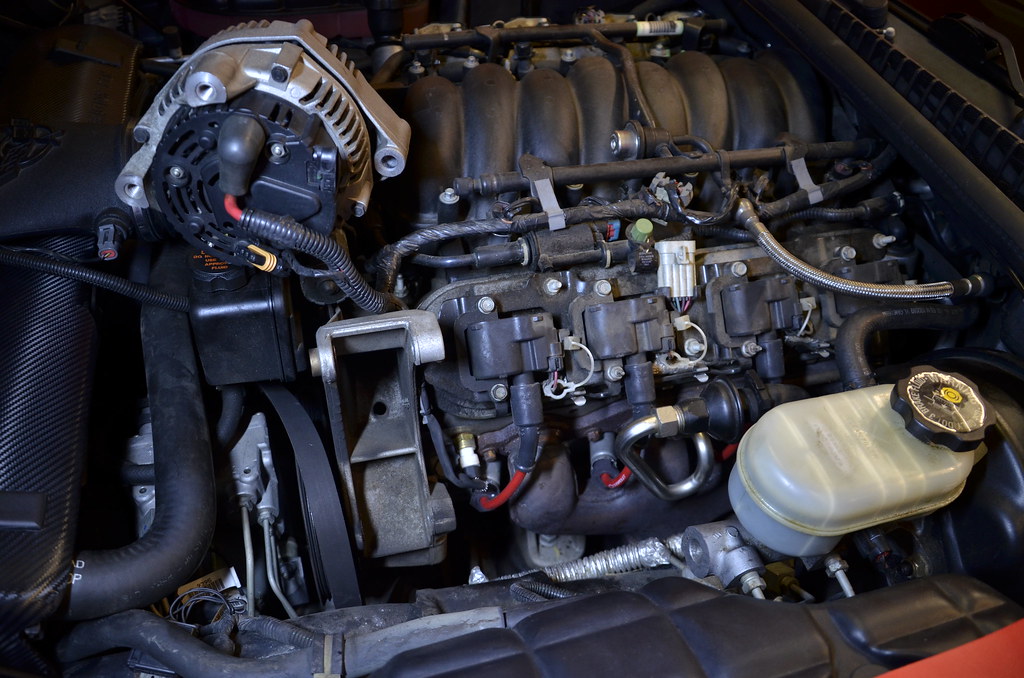 _DSC4737 by Norbert Ogiba, on Flickr
There's not a lot of room by the accessories so rather than remove the belt completely I just tucked it in the alt bracket so that it'll be easy to slip on later.
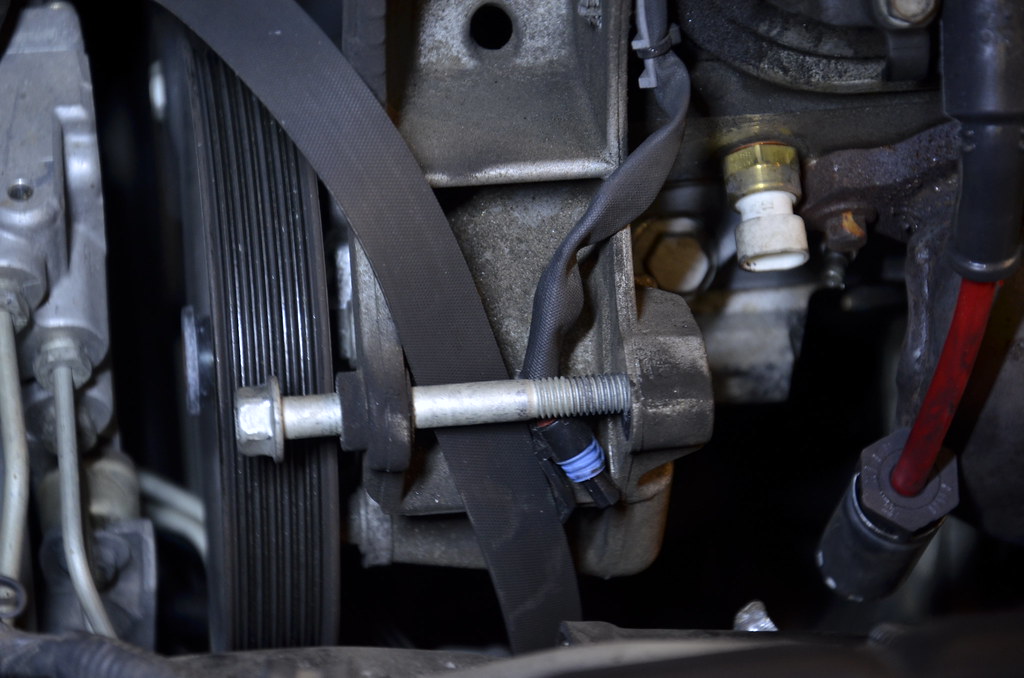 _DSC4738 by Norbert Ogiba, on Flickr
Driver's coils and AIR stuff removed. I'll probably end up pulling both valve covers and scrubbing them clean
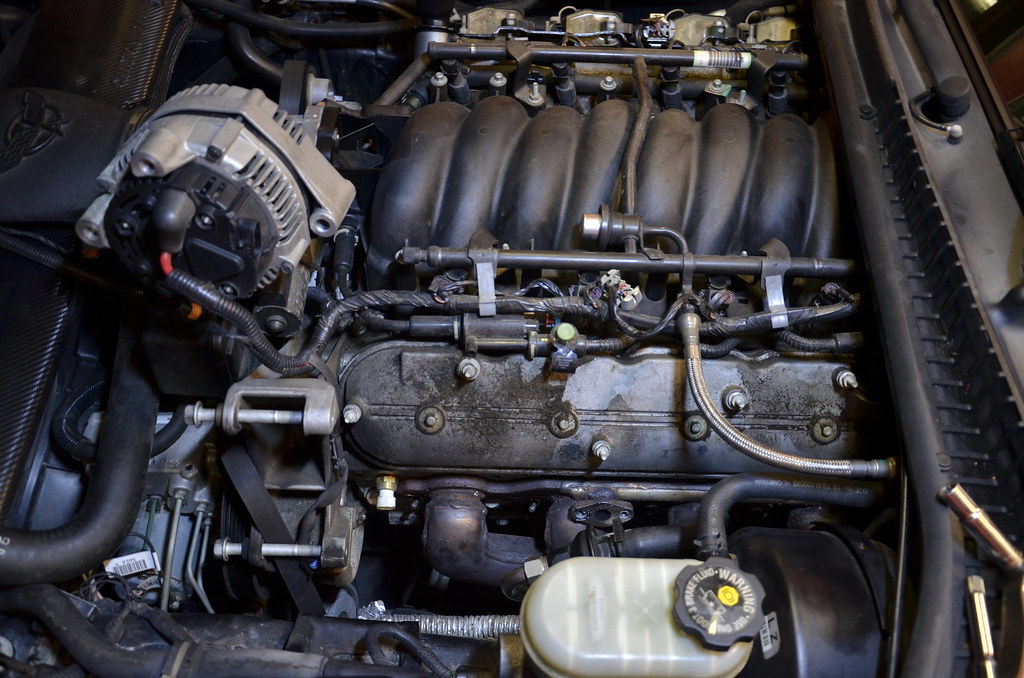 _DSC4740 by Norbert Ogiba, on Flickr
Also started fabbing the cutout pipes that will be welded to the x-pipe. Need to deburr and tack this flange (the cutout valve and turndown will bolt to the flange)
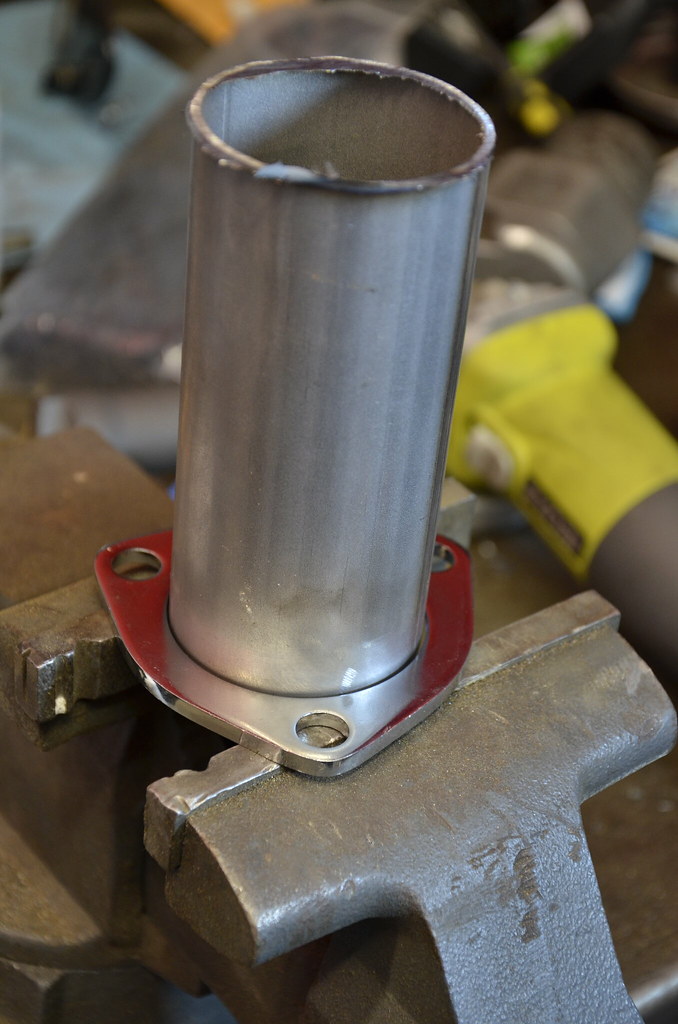 _DSC4714 by Norbert Ogiba, on Flickr
saddle cut with a hole saw. I may need to cut it with a 3" hole saw to saddle to the new x-pipe properly
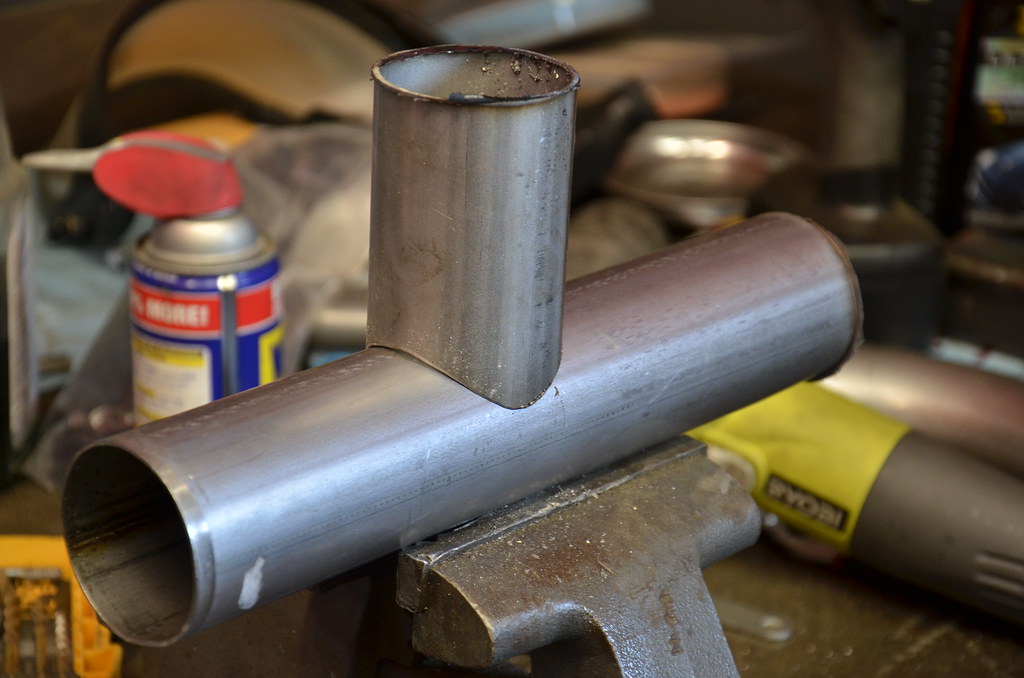 _DSC4720 by Norbert Ogiba, on Flickr
Leave a comment:

Leave a comment: