

In awe of your work Andy, amazing skills.
I second what BSloss13 said haha
-
So this weeks update is a good'un (well I think it is LOL)
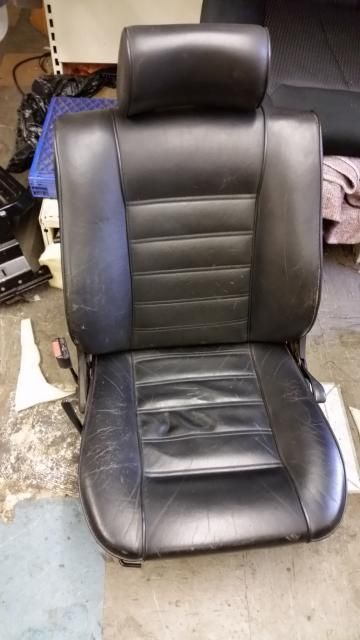
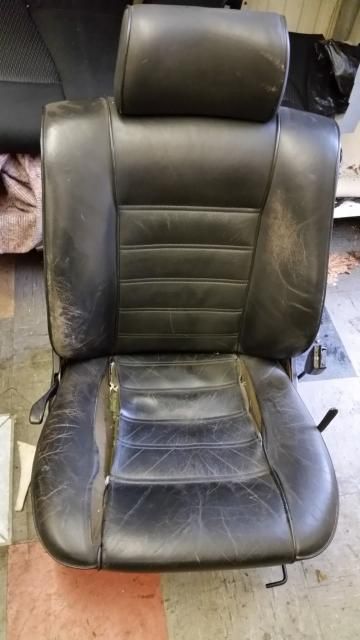
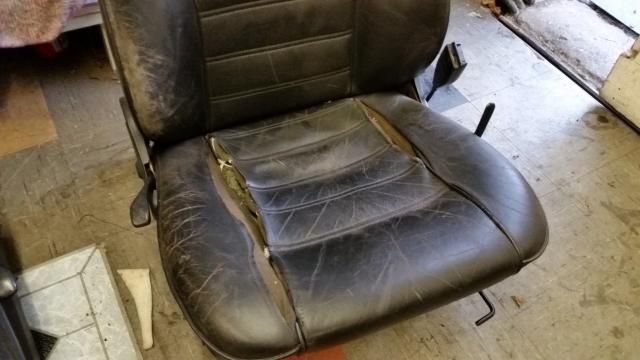
When I first for the car the front seat were in a VERY bad way! Well the driver side mainly so I wanted to get that sorted pretty quickly, not waiting a all singing all dancing 'show car' retrim I just found a trimmer local to me who re-trimmed the driver seat base, repaired a few tears in the seams on both seats and gave them a dye & colour. Now I'm super super picky so I know these aren't particularly good but for what I paid I felt generally happy - again keeping of the mind that this is just a cheap(ish) run around!
So onto the pictures....
Passenger before
Driver side before
Passenger after
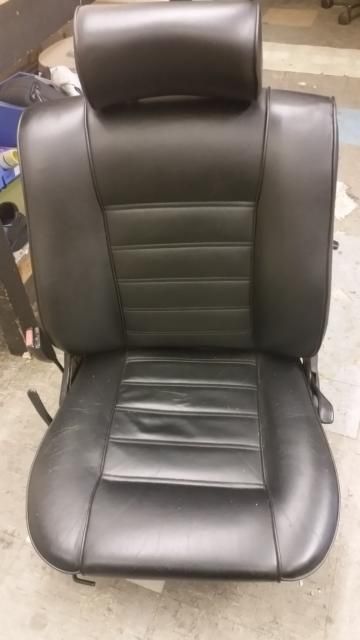
Driver side after
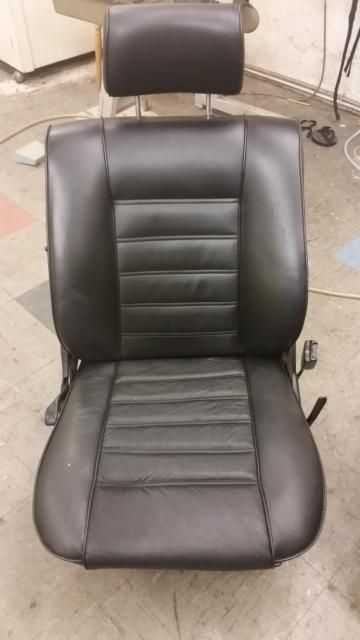
I still want to give them a proper deep clean and condition maybe another dye but that'll be for another day.
So they went back into the car while I leak tested the car... fyi... it leaked! LOL
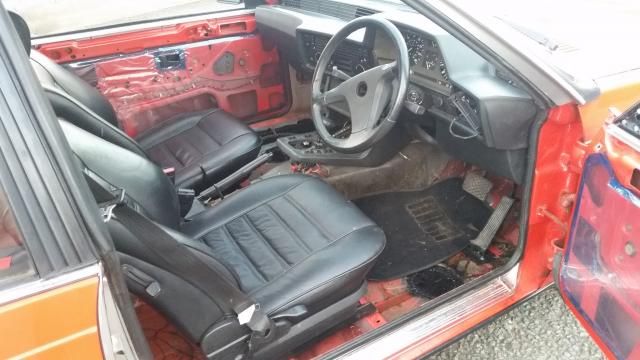
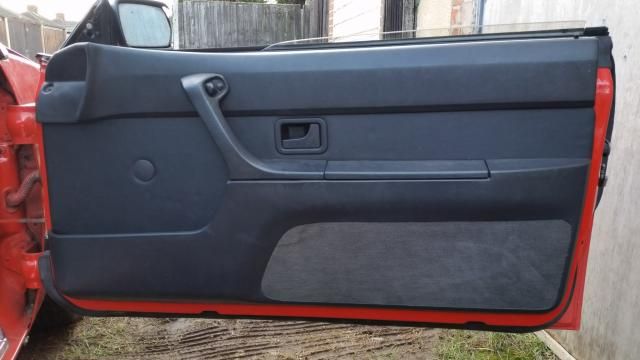
Again more small bits that come from being a 30 (nearly 31) year old car, bodged repairs from old owners.... at some point the passenger doorcard must have been loose so instead of fixing it properly someone had used a load of screws to hold it back together damaging the doorcard centre and bottom section :roll: having sourced another bottom section I wanted to make some new centers for both sides....
Befores....
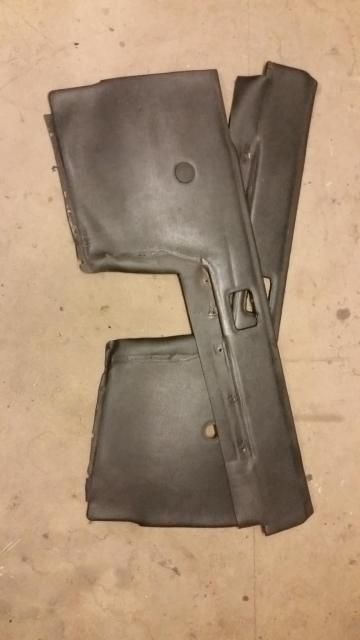
Screwholes
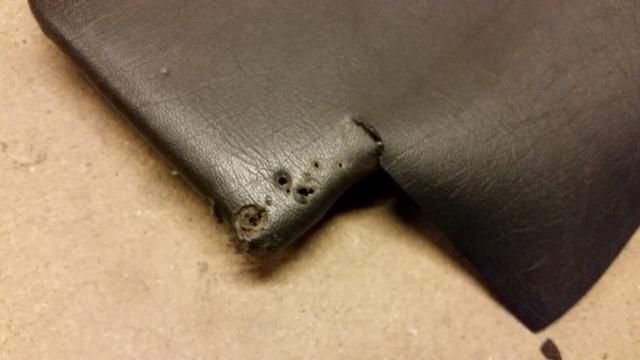
Generally worn out
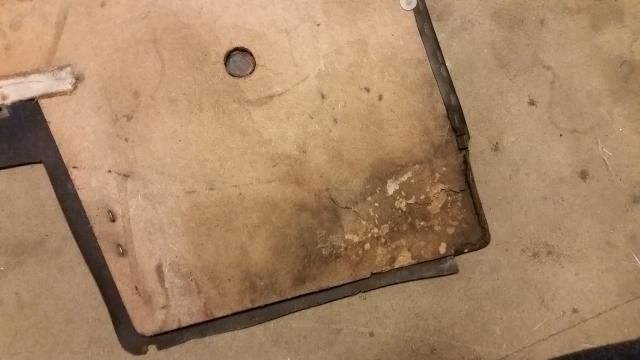
So I stripped the vinyl from the front of one to use the board as a template for the new ones.... having cut 2 new ones from 3mm chipboard (same as OE) I lined with with 3mm scrim foam
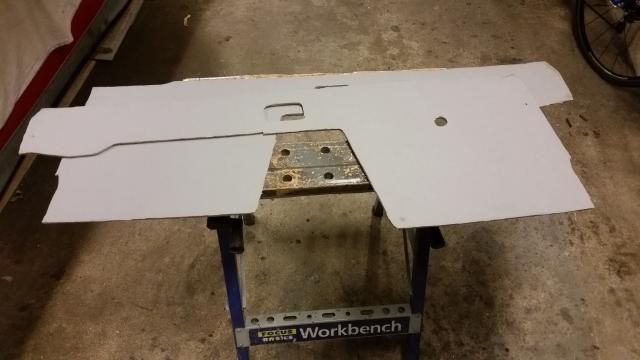
And trimmed with to the same extents as the originals... looking a hundred times better!!
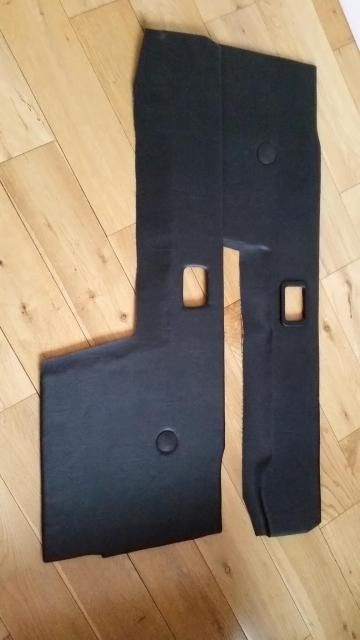
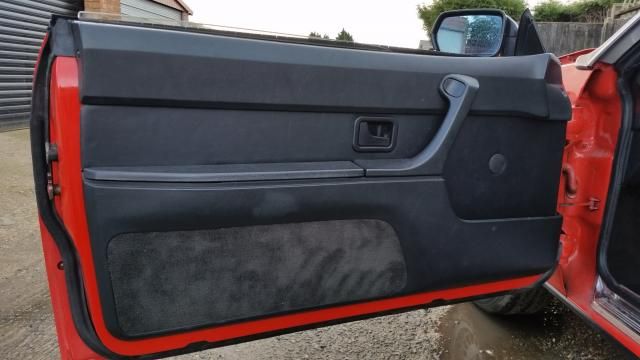
Taking my time to re-fit everything as it should and giving everything a good wipe down with some diluted APC the finished articles.... I'm happy!!
Leave a comment:
-
good work man, not over the top but just taking the time to do it right.Leave a comment:
-
As with any e24 fighting leaks are a royal ballache! and mine is no different to others unfortunately. The sunroof seak had seen better days but the motor is dead so I had to strip out the front section of the roof lining to get at the motor to take a look and open it manually
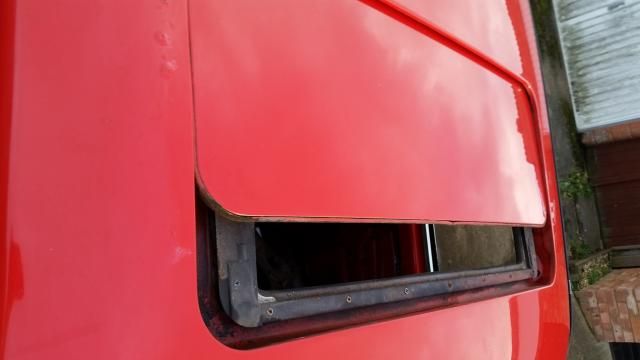
Now the sunroof leaks and has coursed the head liner to sag and in heavy rain water drips through onto the driver seat.... not ideal! So I was hoping for a blocked drain hole....
Ta-daaaaa
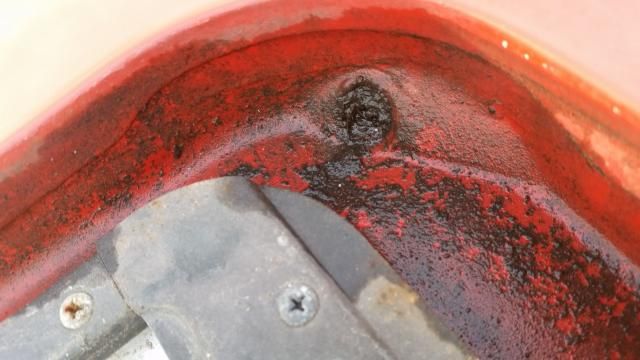
Got that cleared out and ran a long length of wire down the drain to make sure it was clear :-)
So onto the seal.... when the car was re-sprayed in the shops infinite wisdom they didn't make a very good job of masking so the seal had loads of over spray, I did start to clean it up but the condition was ideal so bit the bullet and ordered a new seal from the dealers
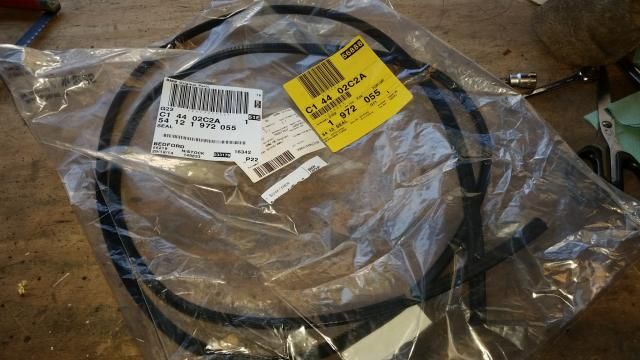
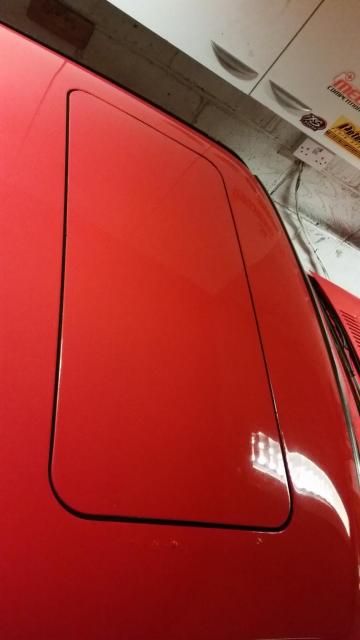
Managed to get it fitted without removing the lid :-) seals soooo much tighter!! Very happy!!
Before
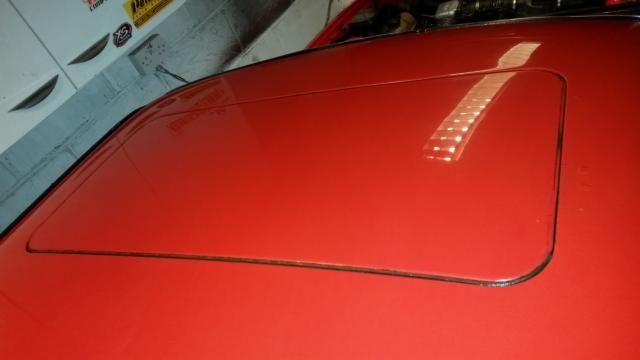
After
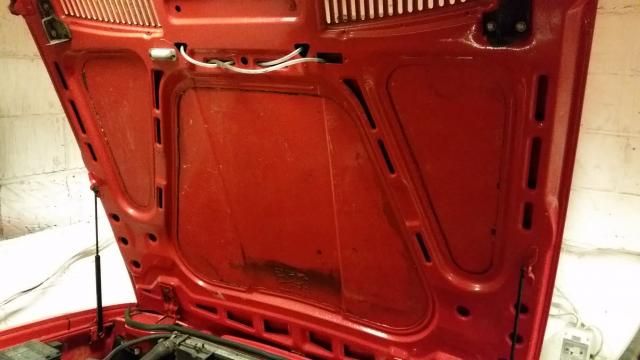
More happenings over the break..... the under bonnet deadening was missing and it looked a real mess!
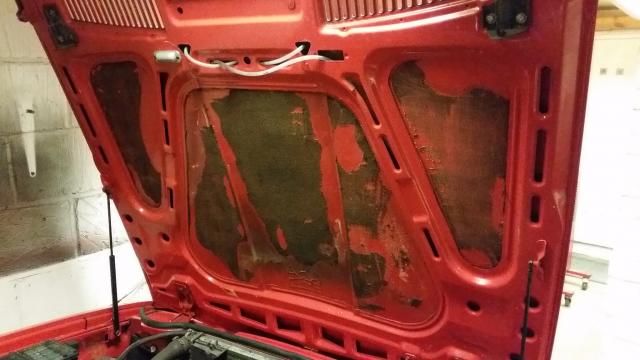
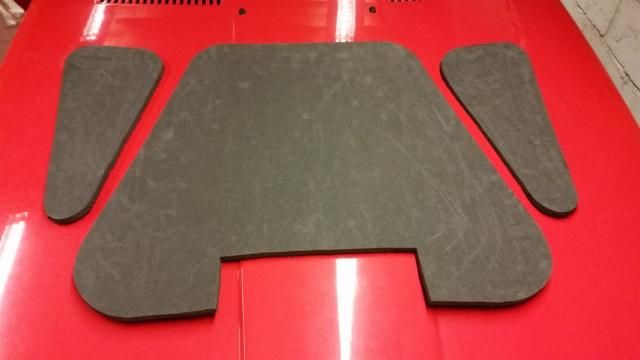
Having done a bit of googling there are companies out there selling under bonnet deadening foam kits for waaaaaaaay more than I thought reasonable! so...... after a bit of research seems like they are using nothing more than closed cell foam cut to shape with a sticky backing. A few miles down the road from me is a foam manufacturer / stockist so went down to see them and scored a sheet of 15mm closed cell foam for not much money!
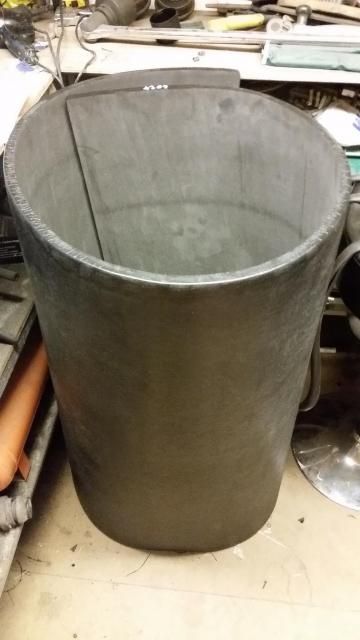
Sat on the engine I rustled up some card templates necessary....
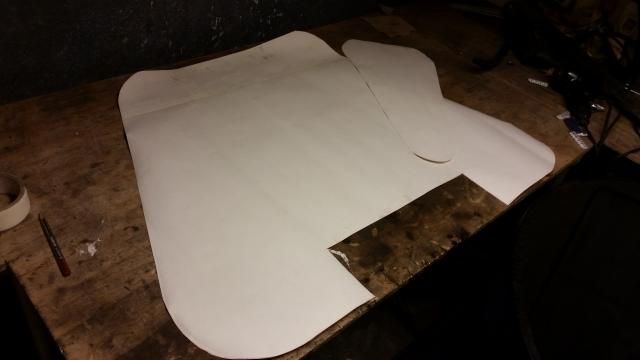
Drew around those onto the foam and cut them out
Spent probably an hour with a scraper / panel wipe and cleaning cloths prepping the underside
I've got some high temp contact adhesive so spread that over the underside of the bonnet and the foam, let it tack up and stuck the deadening on, I gotta say for what it cost me I'm well happy with the results! I must admit only time will tell regarding the quality of the adhesive...
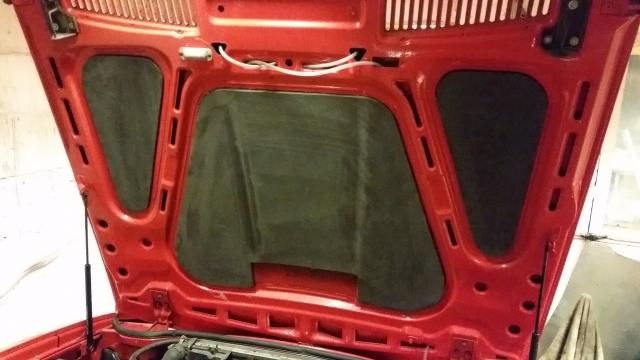
Onto the next.....
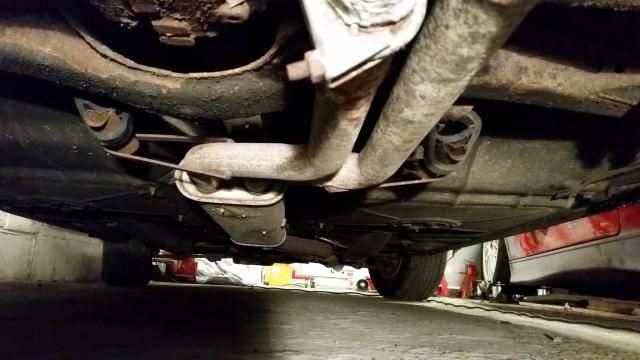
The exhaust has only ever had 1 non-OEM henger rubber so wanting to sort that I ordered in 2 new rubbers
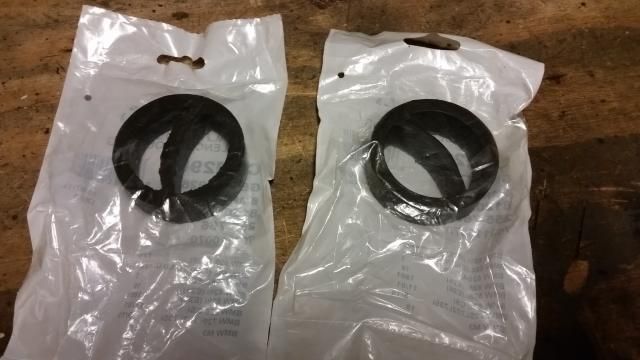
Other than discovering the exahust has got a whole in it :roll: got the new rubbers fitted up without an issue
Leave a comment:
-
Thanks Rubins! Plenty more updates to come!! :-)Originally posted by Rubens View Post
That's me Mike :-) when you say 'built'.... I'm still building! 8 years and counting!Originally posted by M.Burroughs View Post I've a thread on here as well for the e36 but I've stopped on that while I tidy up the e24 but will be getting back into it very soon :-)

ThanksOriginally posted by Khalil View Post
I **** those plastic chunky bumper! Like you say the chrome is the only choice to suit the era! Hmmm the jurys out on getting a lower lip, not my thing really :-)Originally posted by Beware View Post
Originally posted by Queef|Chief View Post
Leave a comment:
-
Love a tidy E24....keep up the good work!!
Those "poverty spec" bumpers you speak of, in my opinion, are the only bumpers for an E24. Those big chunky plastic things look horrid.....the slim chrome ones keep a classic look about it. Just try and find the deeper front lower lip for it.Leave a comment:
-
Wow, this is unreal!
Is this the same Andy318is that built the crazy E46-front-ended E36 back in the Bimmerforums heyday?Leave a comment:
-
Keep it going, cool to read about these little but oh so satisfying jobs.Leave a comment:
-
Had a couple weeks off over Christmas and new year which let me get a little play time in the garage to keep tidying the 6! Actually got quite a bit achieved so I'll start the updates.....
First up was the not working heater.... it was seized solid to I took it all apart freed the motor and gave it a resto, I'll let the pictures do the talking!
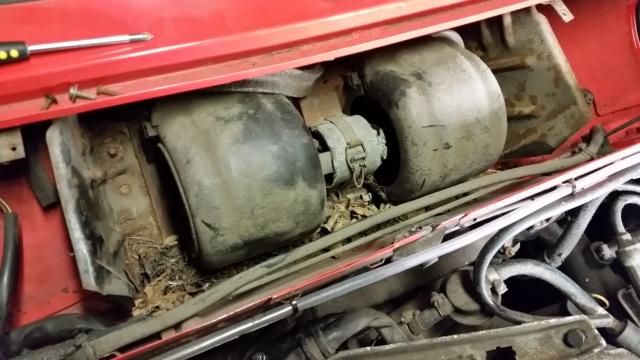

As I said, after some time cleaning, oiling and de-crudding I put the heater back into the car and gave it a test.... RESULT!!!

Now working I could strip everything down for a wash and brush up...


to be continued.....Leave a comment:


Leave a comment: