Announcement

Collapse
No announcement yet.

My E24 628 CSI - Old Skool Business!!

Collapse
X
 
  • Filter
  • Time
  • Show
Clear All
new posts

  • My E24 628 CSI - Old Skool Business!!

    So then.... I've ended up spur of the moment buying another 'project'

    I've been mooching around trying to find something that takes my fancy to have some fun with, initially I was very close to raiding my entire piggy bank (and some!) and going to pay Ollie a visit to see his E92 m3! but I'll be honest I fell short and didn't want a bank loan etc... after that a HOnda S2000 was on the shopping list, closely followed by Saty's M3 as a bit of a project! BUT.....

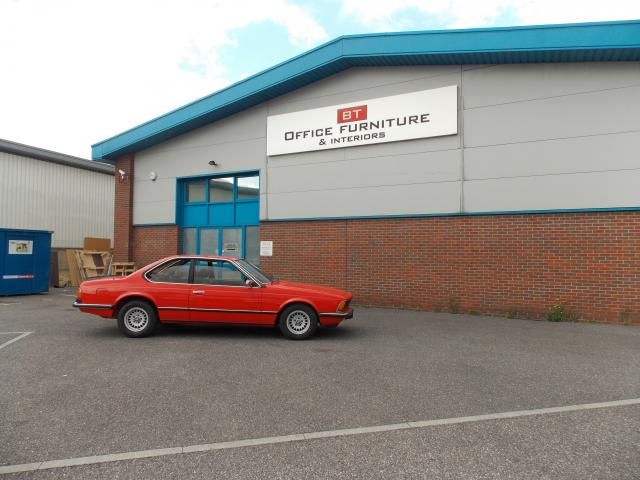
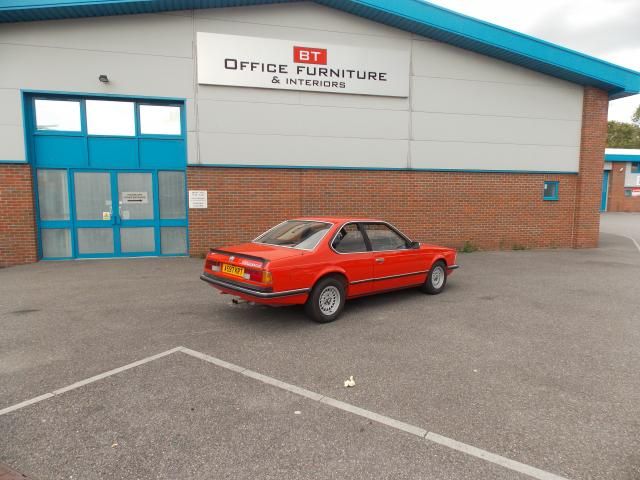
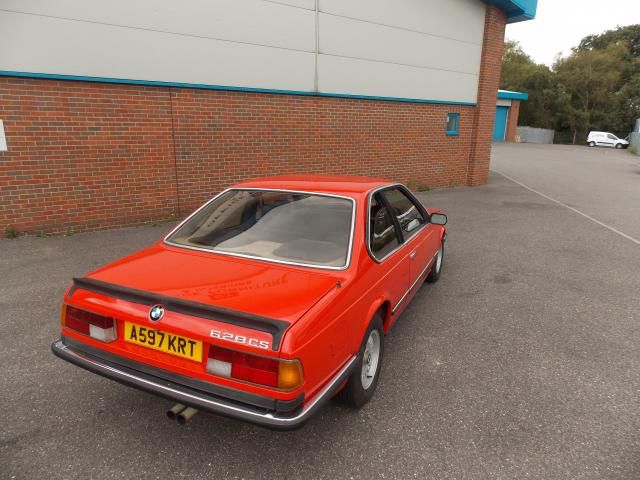
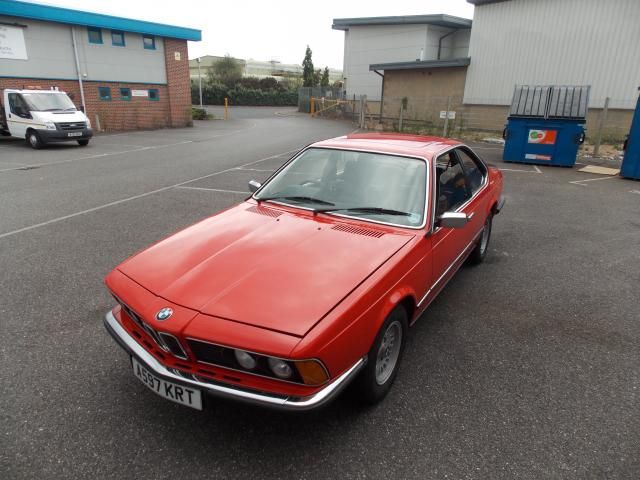
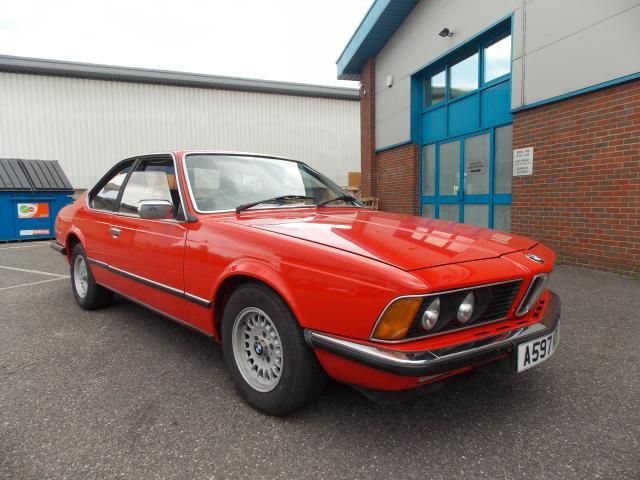
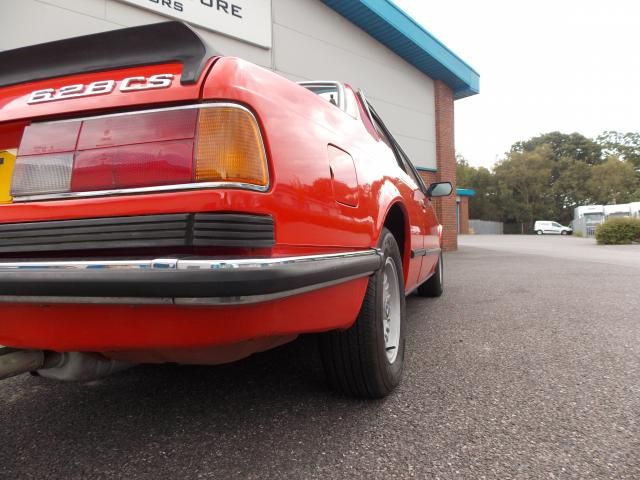
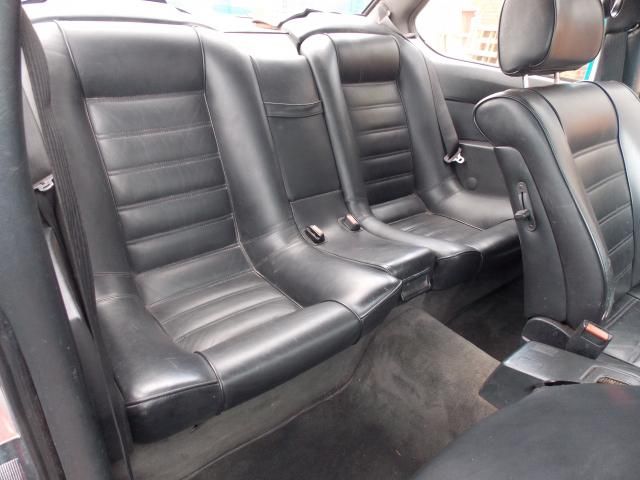
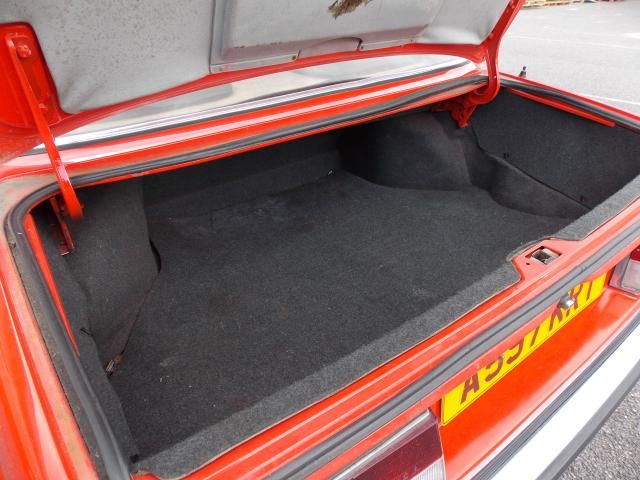
    Ever since Matt (Minigibbo) posted pictures of his E24 628 csi I loved it! Always loved E24's! Being only a 628 means it has the 'poverty' spec small chrome bumpers and I hoped that my post I made in his progress thread came true....

    Originally posted by andy
    Originally posted by minigibbo
    Saw it, fancied it, loaded it onto my transit, stole it :smt005
    Thought as much!

    Dude, fricking love these! looking forward to see what you do to it! Hopefully loose interest and sell it to me for £2.57
    Sure as much, cruising Instagram on Sunday I come across his for sale ad for it! A long story short, a few texts exchanged and a day booked off work I find myself taking the 3+ hour road trip to the sunny south coast of Bournemouth this Tuesday just gone!

    At the price is was up for I knew she wasn't going to be a minter! She looks good from a far but if far from good LOL After a seriously good poke around the car and fat chewed for a couple hours a deal was struck!

    The drive home was eventful! Traffic (as usual) around London was utterly dire! Now one of the 'hiccups' with the old girl is a common fault on the E24 and that's that the cluster is totally dead! I mean fuuuuuck all, no speedo, rev, gas or temperature! Nothing! So as we hit traffic I put on (or so I thought) the heater on to try and second guess the engine temp and make sure nothing went pop...

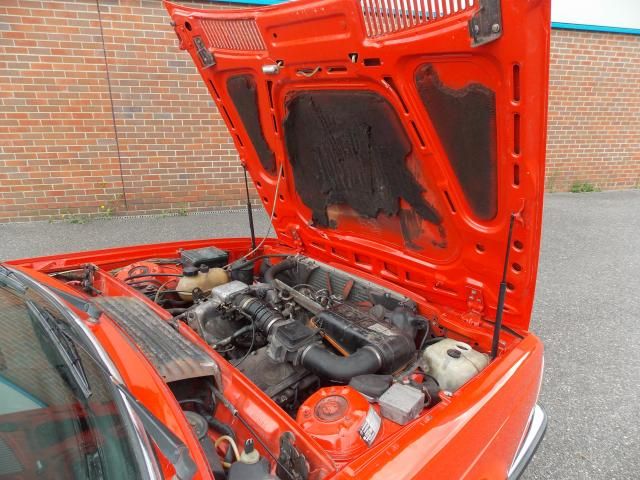
    Happy days, so I though... 15 - 20 minds later I start to smell burning!!! Full on nose to tail stationary traffic I manage to barrel over to the hard shoulder to fling open the bonnet to see.... nothing! Not a thing from anywhere gave it a couple minutes, slightly concerned I drop the hood and rejoin the traffic fearing the old girl might be breathing her last breath! Meh, I'll deal with it if it did lol.

    Sure enough 5 - 10 mins of crawling in traffic in full vengeance smoke start bellowing out of the heater vents, like 'oh shit there's an actual fire up in here' type of bellowing!

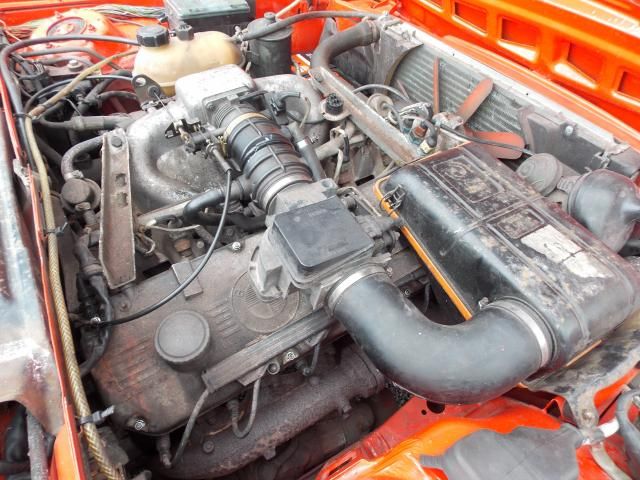
    Shot to the hard shoulder and got the bonnet up to see shit loads of under the heater motor cowling, quickly turn the heater off (not that I think it was ever on / working LOL) and the smoke calms, reach under the cowl and there's loads of dead leaves bunched around it SO.... it was either the motor getting hot and setting fire the the leaves OR the motor doesn't actually work and the wiring was burning out! Safe to say it needs a proper investigation and for the rest of the journey I left the heater off for fear of death! LOL

    So with no way to assist keeping the old girl cool we got through the rest of the traffic and I gotta say she did me proud! Got a wicked stutter mid-throttle amongst other little oddities but nothing horrific I don't think! :-) With traffic the 4+ hours drive home gave me a good chance to start to bond with my money trap :-)

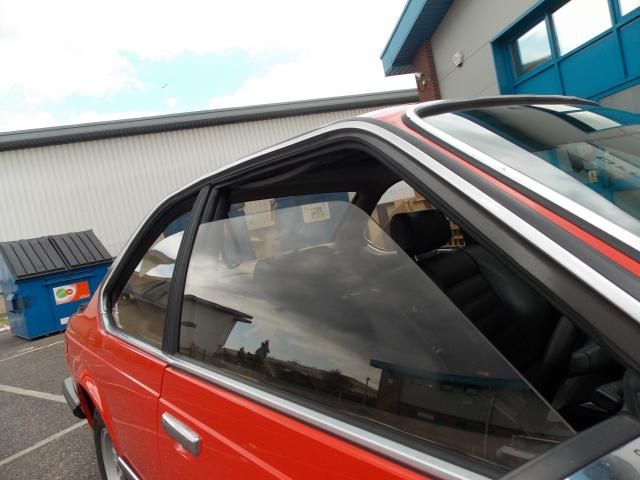
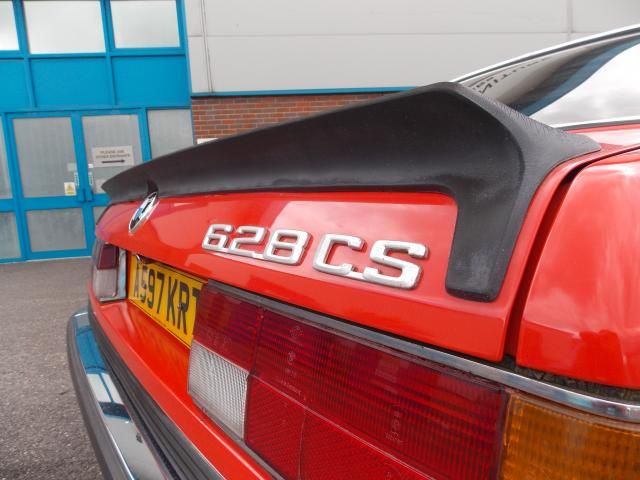
    Not had chance to take any pictures but here's some robbed straight from Matt's thread to get it started...


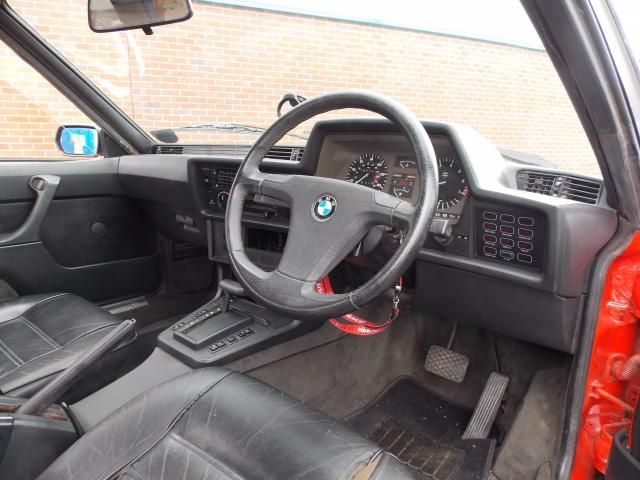
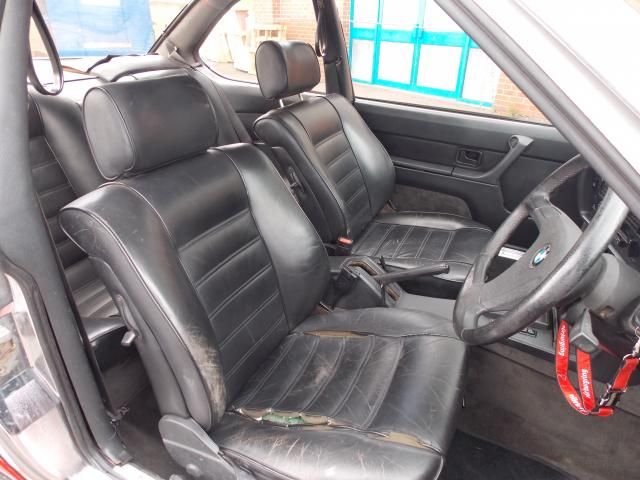
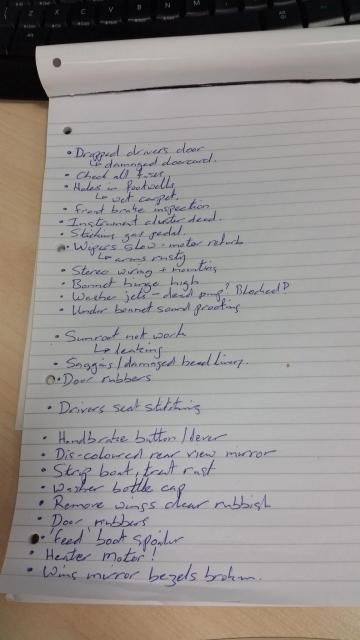
    So the plan is to keep her on the road and running, no nut and bolt strip down business! Firstly the drivers door has dropped which means the door has to be slammed pretty unceremoniously which sin't cool on an old girl like this! So fix hinges, one in the carpets need to be removed and they are soaking! :-( and while poking around at the viewing I can see day light in the footwell, so I will probably be getting out the welder and sticking metal over some holes! LOL

    I've started to put together a list of things that have jumped into my head, I'm sure the list will grow!!


    Website - www.ProjektE36.com

    Insta - www.instagram.com/projekte36

  • #2
    cant wait to see what you do to this..

    your e36 that motor.. hell yeah..

    Comment


    • #3
      Please keep this color, it's excellent. Definitely interested in that trunk spoiler if you decide it needs to go keen to see how you repair your door sagging issue, my E12 has the same thing going on on the passenger side, getting tired of telling passengers to slam it!
      '93 Jaguar XJ6 4 liter.
      '85 GMC S15 Sierra long bed.
      '01 BMW 740iL
      Instagram @bennkishh

      Comment


      • #4
        Originally posted by jkh View Post
        cant wait to see what you do to this..

        your e36 that motor.. hell yeah..
        Thanks, looking forward to going in on this to sort a few issues :-)


        Originally posted by bennkishh View Post
        Please keep this color, it's excellent. Definitely interested in that trunk spoiler if you decide it needs to go keen to see how you repair your door sagging issue, my E12 has the same thing going on on the passenger side, getting tired of telling passengers to slam it!
        I don't plan to re-spray it any time soon! The finish isn't great but it's passable :-) apparently the rear spoiler is quite rare? I must admit I don't know older BM's too well LOL

        Yes stay tuned for the hinges, must admit I'm not quite sure on the fix just yet!


        Website - www.ProjektE36.com

        Insta - www.instagram.com/projekte36

        Comment


        • #5
          Time for an update!

          Managed to reorganize the garage to make enough space for the 6 alongside the e36! Space is tight and not the most fun to be working in BUT none of this work would be realistically possible outside with winter on its way!

          Got the interior & carpet stripped out along with the sound matting which was soaking wet (which wasn't a surprise) the matting is too far gone so is going in the bin! The carpet is savable thankfully!

          Drivers side was the wettest with a nice old puddle! With a hole in the joint between the floor & sill


          Passenger side was 'dryer' but still wet with again similar hole


          To get proper access to the areas and to let me assess the full extent of the rust I decided to take off the wing and front valance, the whole areas are going to be treated and undersealed so it'll let me do a way better job!!

          The inner wings have been patched many times over the old girls life! Doesn't bother me in the slightest! I know some purists would be crying out for new inner wings etc.... fuck that!


          Getting back inside I saw 2 things that weren't ideal.... I think the car had been jacked using the floor so had pushed up quite a lot AND the inner sills were rotted out! The outer sills I think have been replaced but not the inners at the same time, half arsed!


          So got my rubber mallet out and beat the floor into shape but this broke the (already rusted and knackered) floor bung, rather than trying to re-use that / source another I decided to sut some new metal and weld a patch over

          Rust in inner sills cut out, boot bent back and bung gone


          Back outside I undercover the extent of the hole...


          Got that cut back to good metal ready for the patch...


          Patched.... its since been primered and seam sealed, ready for underseal


          And inside....sills hoovered out! LOL new metal cut and welded in, seam sealed and ready for underseal. I could have spent loads more time, grinding and smartening up but end of the day its super strong, not rusty and a millions times better than it was LOL


          That's the passenger side done!

          The inner wing, front wing and valance have all been cleaned up and treated with rust inhibitor but that's for the next update....


          Website - www.ProjektE36.com

          Insta - www.instagram.com/projekte36

          Comment


          • #6
            On to the latest batch of photos to show whats been going on!

            Its not until I started looking at pictures of e24's on the net I started to realise how much stuff I'm actually missing! LOL now I'm not taking little trims and trinkets, I'm talking metal from the inner wings! LOL

            Have a look at this photo and the big old section named the 'baffle'


            and now look at my inner wing....


            It appears to have run off!!! Its explains the mound of sealer on the inner wing I chiseled off that a previous owner had tried to use to infill the gap the missing baffle has left in the inner arch.

            So anyways I needed to make this, so put the wing back on and made up a cardboard template, cut some metal and fabricated a new baffle


            Happy to say it fits an absolute treat! and will stop any crud rotting out the back of the upper valance around the headlights.

            The entire inner wing was treated with Krust and I picked up some POR-15 (what bloody awesome stuff that is!!!!) and this Saturday gave it 2 coats as some final protection :-)


            So that's the inner wing and holes all done. so put a wheel on, rolled the car out, turned it around and started on the driver side!!


            Got it into the garage and up on axle stands and busted out the wire wheel..... the driver side is worse, really poor repairs I can't let stay and more rust :-(

            I uncovered this lot and thought fuck it that'll do for today.... LOL


            More to come this week, I've formed a bit of a plan in my head to tackle all this so looking forward to cracking on!!!


            Website - www.ProjektE36.com

            Insta - www.instagram.com/projekte36

            Comment


            • #7
              Time for more progress!!

              After uncovering the rot in the driver side it was time to get cutting, fix poor previous work the cars had done and generally get it fixed!!

              Choppy chop!


              Cutting out some utterly shite work the cars had done before.... plating over rust!


              I must admit I just cracked on and got things done so didn't take a whole load of pictures but I reconstructed the jacking point....


              Fabbed a new drip tray


              And gave everything 2 coats of POR-15 :-)


              This was back in of last week and re-assembly was getting closer!! BUT it was till I was looking over google that I stumbled across something else I think the car was missing!

              Back on this picture I saw my car was missing the baffle.... ok made one of those...


              BUT it wasn't until I found this picture.... that I thought Hmmm.... mines also missing the lower wing bracket :roll: when I took it apart the wing was just bolted to the front valance... 30 year old car I must admit I thought it was odd but didn't think anything more


              ....so! I needed to rustle up a couple brackets!


              And how it fits to the front wing


              Ground back some of the underseal and welded the brackets to the car :-D


              In the back ground while working on the actual car I've been cleaning up the wings and front valance...


              Wire wheel in the angle grinder to get off all the surface rust :-)


              Gave it a good coat of Krust then followed by 2 coats of POR-15


              And finally time to start putting things back together!!!!

              Wings and front valance on... you can see the purpose of the baffle now :-)


              One of the things that massively bugged me on the car was the badly aligned bonnet!

              It stood a good 10mm up from the wing & nose! Really let the front end down, so spent an hour mucking about with the hinges, tweaking the leading edge of the bonnet until it started fitting a shot load better!!

              Before


              After.... wing, front valance all locked down, headlight bezzle on and starting to look like a car!!!


              And that's how it sits at the moment! I hope to get the driver side wing on this week and get the car spun around and the back end up as I've decided to give the rear arches a clean up and under seal before running it through the winter :-)


              Website - www.ProjektE36.com

              Insta - www.instagram.com/projekte36

              Comment


              • #8
                This is gonna be good, excellent fabrication by the way!

                Comment


                • #9
                  Originally posted by synth ruiner View Post
                  This is gonna be good, excellent fabrication by the way!
                  Thanks man


                  Website - www.ProjektE36.com

                  Insta - www.instagram.com/projekte36

                  Comment


                  • #10
                    So then, more progress as usual :-)

                    This last week had me poking around the old girls back end to see whats what, as I thought the rear arches have seen better days BUT at the moment its not a task I'm going to take on! That would be a massive can of worms to open.

                    So the rear arches were cleaned out, treated with Krust and given 2 coats of POR-15, no pictures but you get the gist of the work.

                    Drawing towards the end of this load of work I wanted to give the old girl a fighting chance so raided the cupboards and found a can of this and went to town on the inner sills making sure it had a good coating everywhere


                    There are loads of little jobs still going on in the back ground but they'll be for another update :-) I had to buy some new side molding clips and with those I started to re-assemble the old thing.

                    So that brings us up to this Saturday! Got her out the garage and made up some new inner door linings (love doing little jobs like this) after abit of googling there wasn't any real hard and fast answer as what to use so I used some vacuum bagging plastic I had which has done a brilliant job :-)

                    Before - looking a real mess!


                    Managed to get off all the old plastic with a heat gun, all the mechanisms and runners where given a soaking of silicone spray or WD40 to keep it all lubbed before the new liners where stuck on :-)

                    Afters...


                    I need to do some work to the doorcards before they can go back on!

                    I've not put the carpet or any trim back in because I needed to leak test it first! So after a quick wash - which did show up a leaking windscreen rubber :roll: I went and snapped a few quick pictures!

                    I've not covered in an update but have refurbished the front rub strips in satin black (not the number plates as thats being junked) and refurbished the wiper arms as they were rusty :-)


                    That's all for the minute but there's loads more to come! :-P


                    Website - www.ProjektE36.com

                    Insta - www.instagram.com/projekte36

                    Comment


                    • #11
                      Matt Gibson's old one? Doesn't he have another too?

                      This looks awesome by the way!

                      Comment


                      • #12
                        Originally posted by MkIIJay View Post
                        Matt Gibson's old one? Doesn't he have another too?

                        This looks awesome by the way!
                        Yes mate it was!! small world! :-) He's sold the other one unfortunately


                        Website - www.ProjektE36.com

                        Insta - www.instagram.com/projekte36

                        Comment


                        • #13
                          Had a couple weeks off over Christmas and new year which let me get a little play time in the garage to keep tidying the 6! Actually got quite a bit achieved so I'll start the updates.....

                          First up was the not working heater.... it was seized solid to I took it all apart freed the motor and gave it a resto, I'll let the pictures do the talking!


                          As I said, after some time cleaning, oiling and de-crudding I put the heater back into the car and gave it a test.... RESULT!!!


                          Now working I could strip everything down for a wash and brush up...


                          to be continued.....


                          Website - www.ProjektE36.com

                          Insta - www.instagram.com/projekte36

                          Comment


                          • #14
                            Keep it going, cool to read about these little but oh so satisfying jobs.

                            Comment


                            • #15
                              Wow, this is unreal!
                              Is this the same Andy318is that built the crazy E46-front-ended E36 back in the Bimmerforums heyday?

                              Comment

                              Working...
                              X