Announcement

Collapse
No announcement yet.

Charged E36 318is build

Collapse
X
 
  • Filter
  • Time
  • Show
Clear All
new posts

  • #31
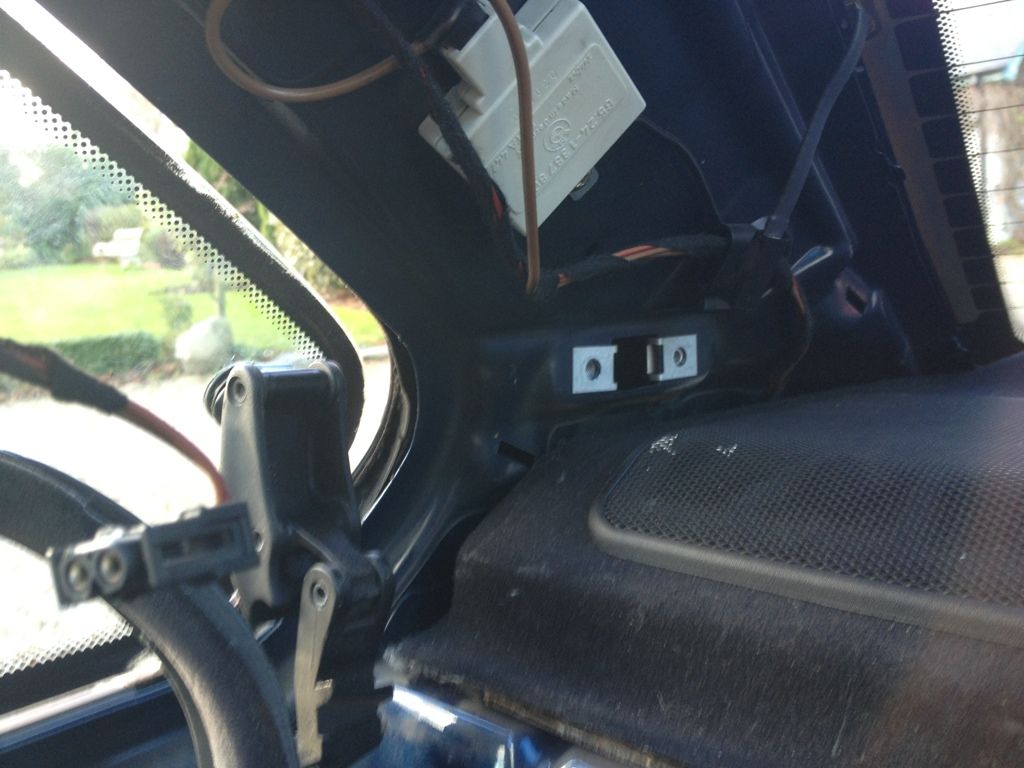
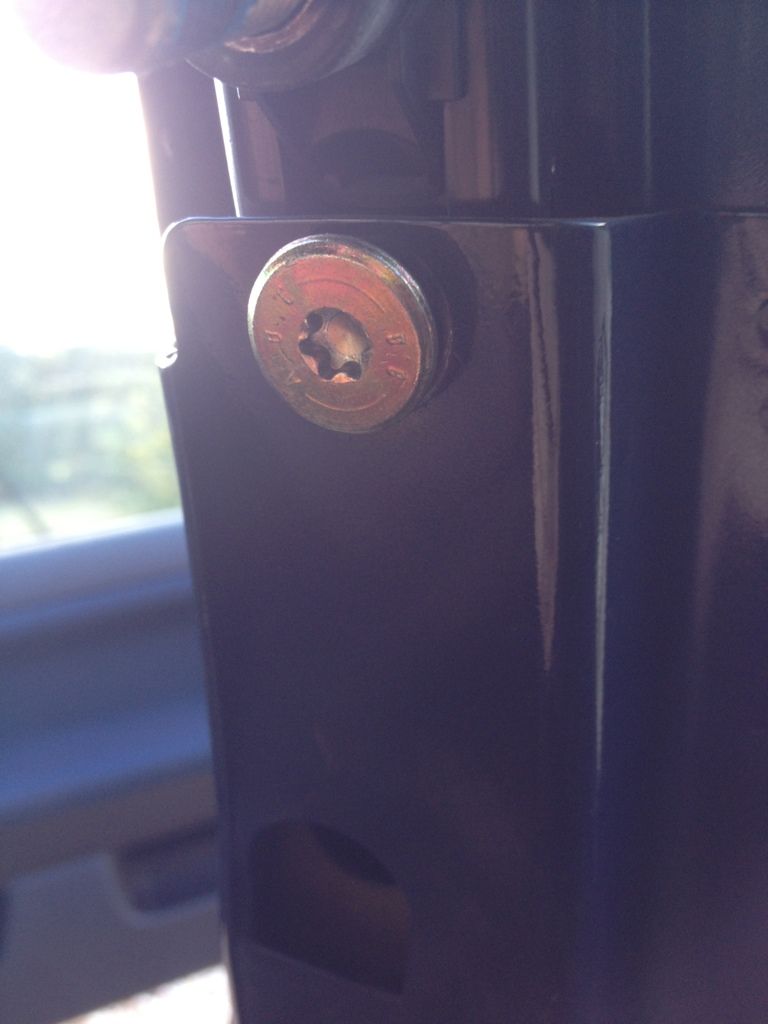
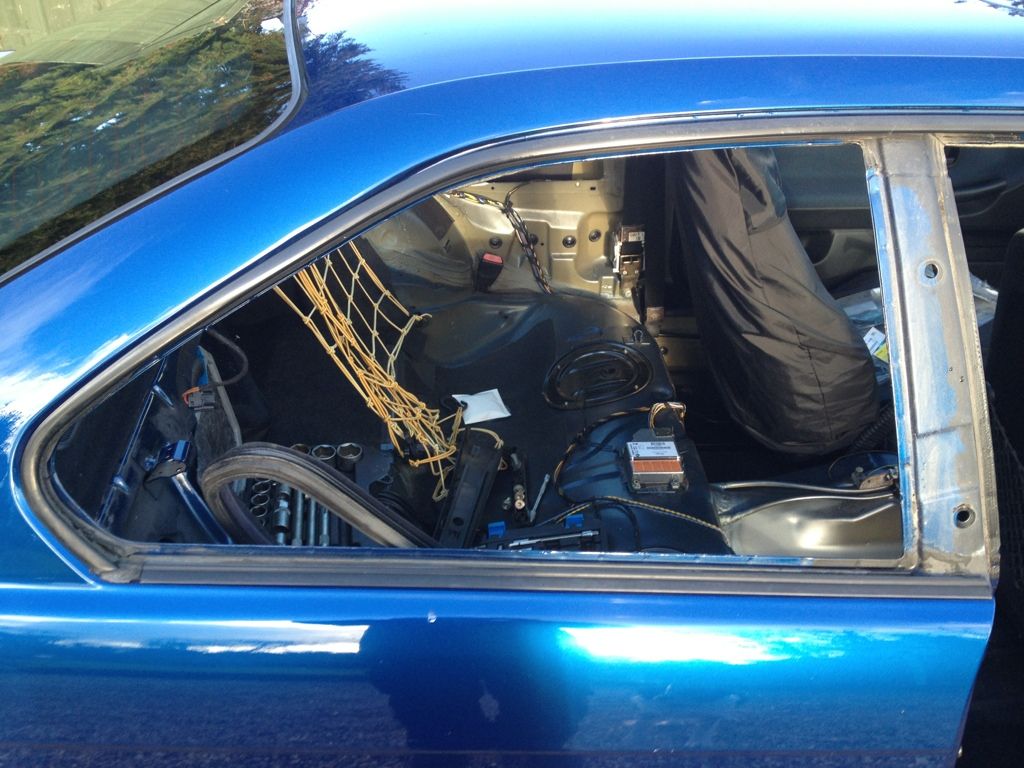
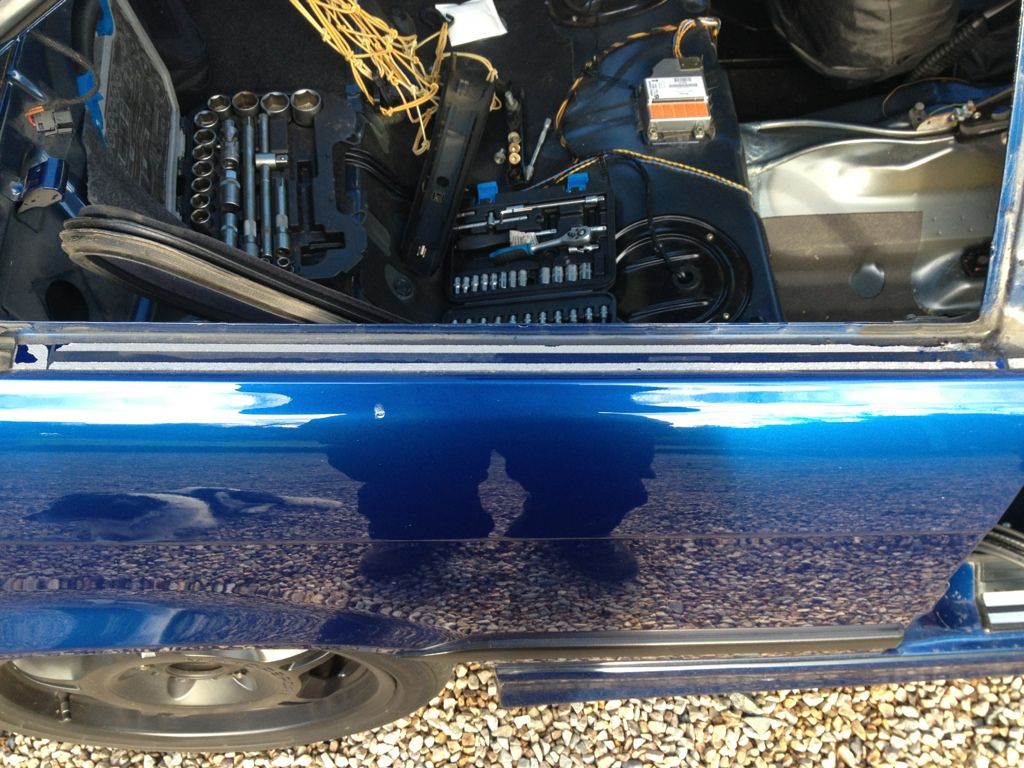
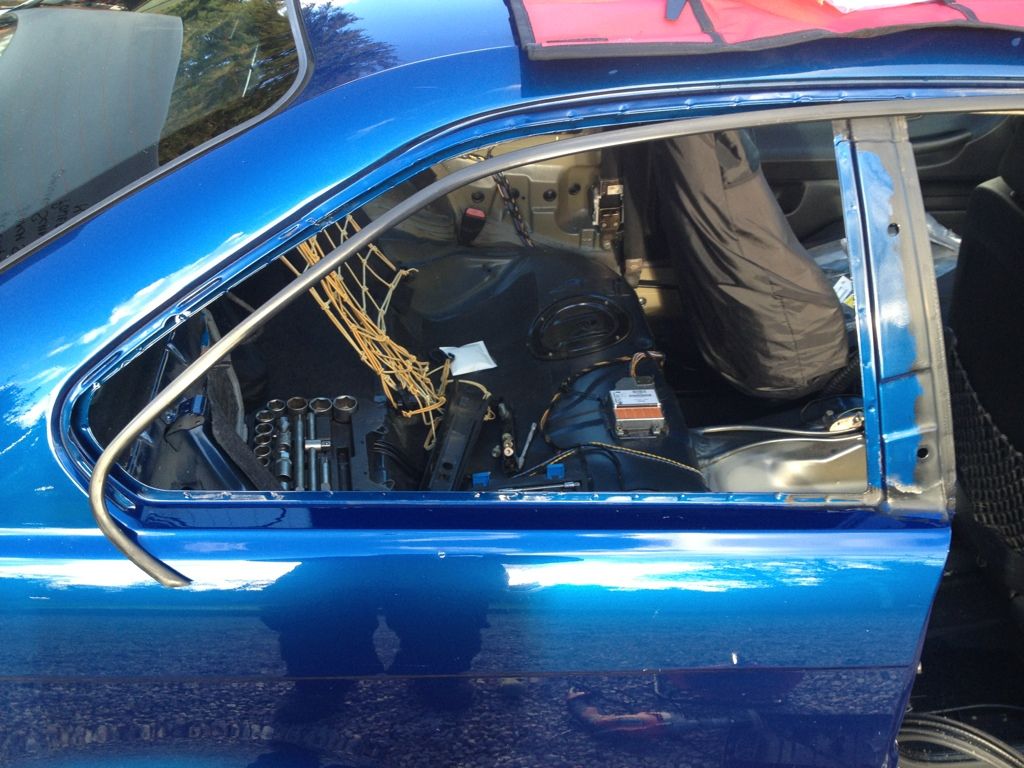
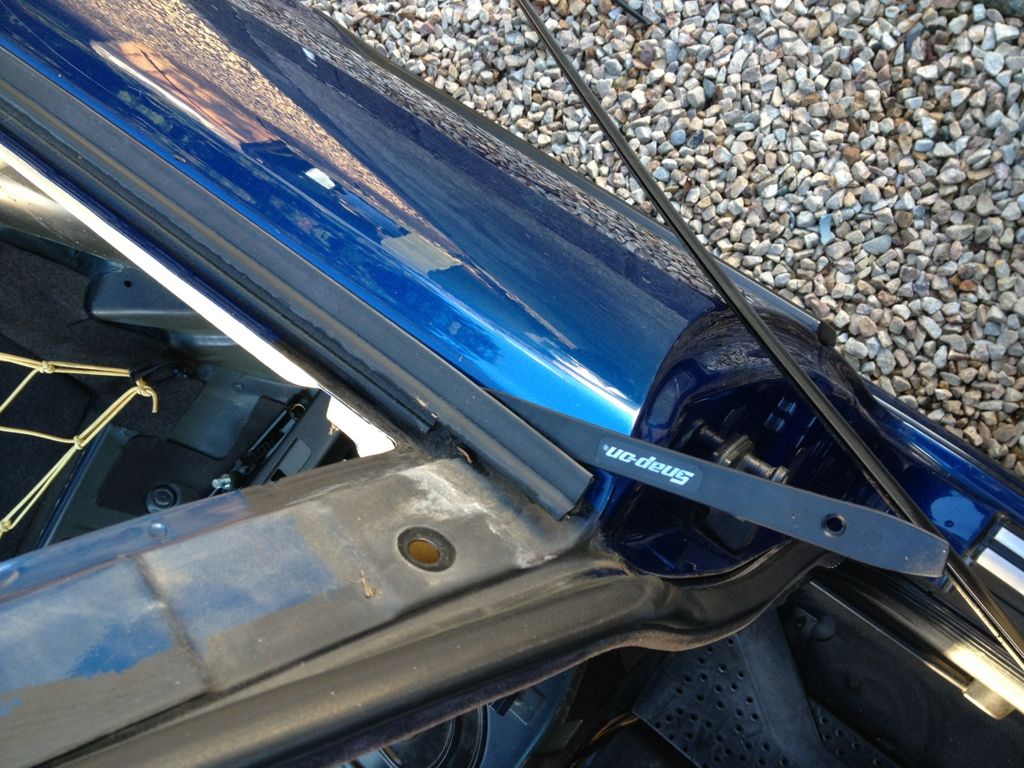
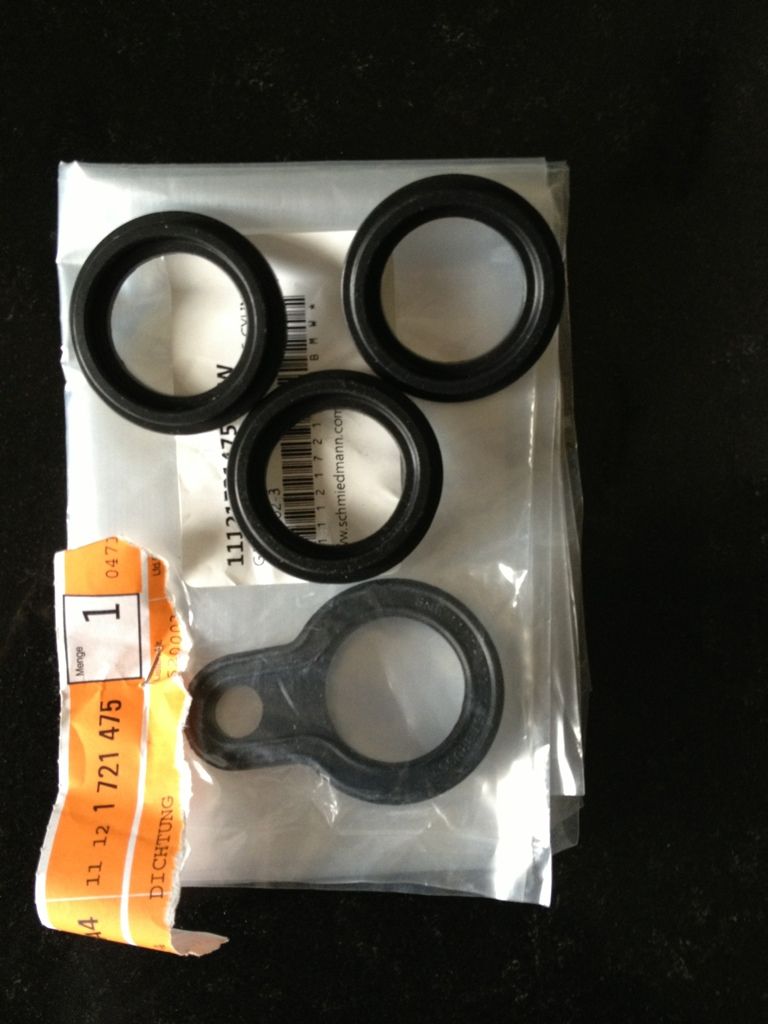
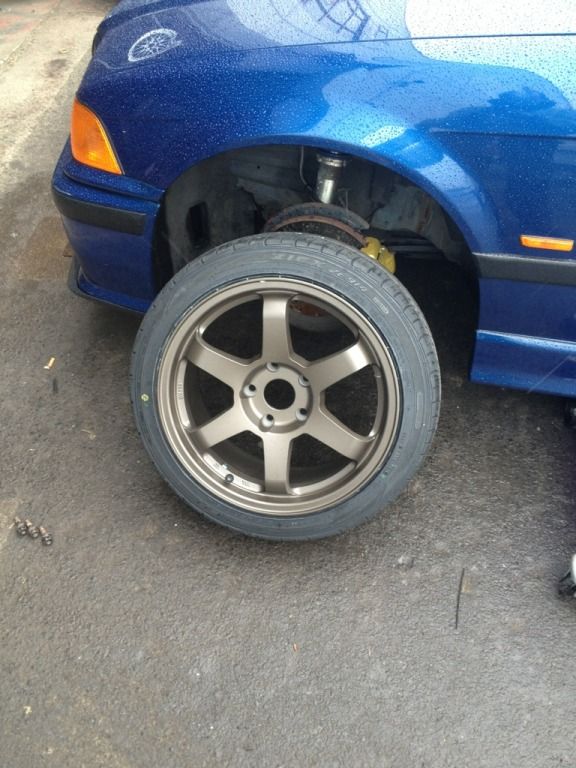
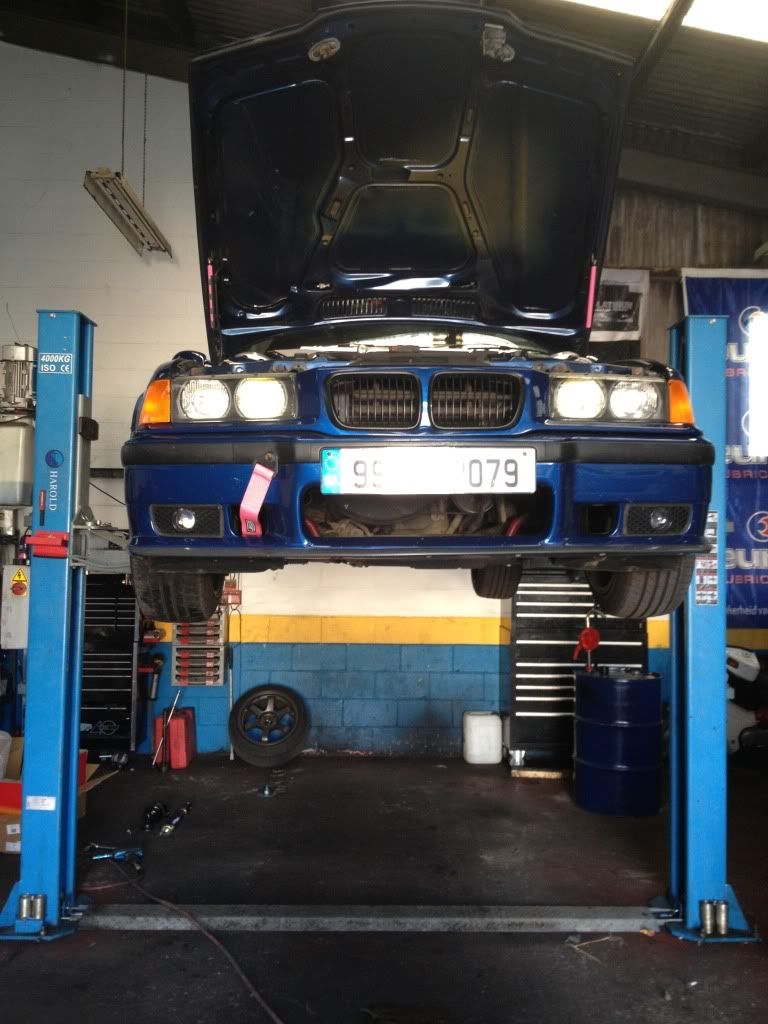
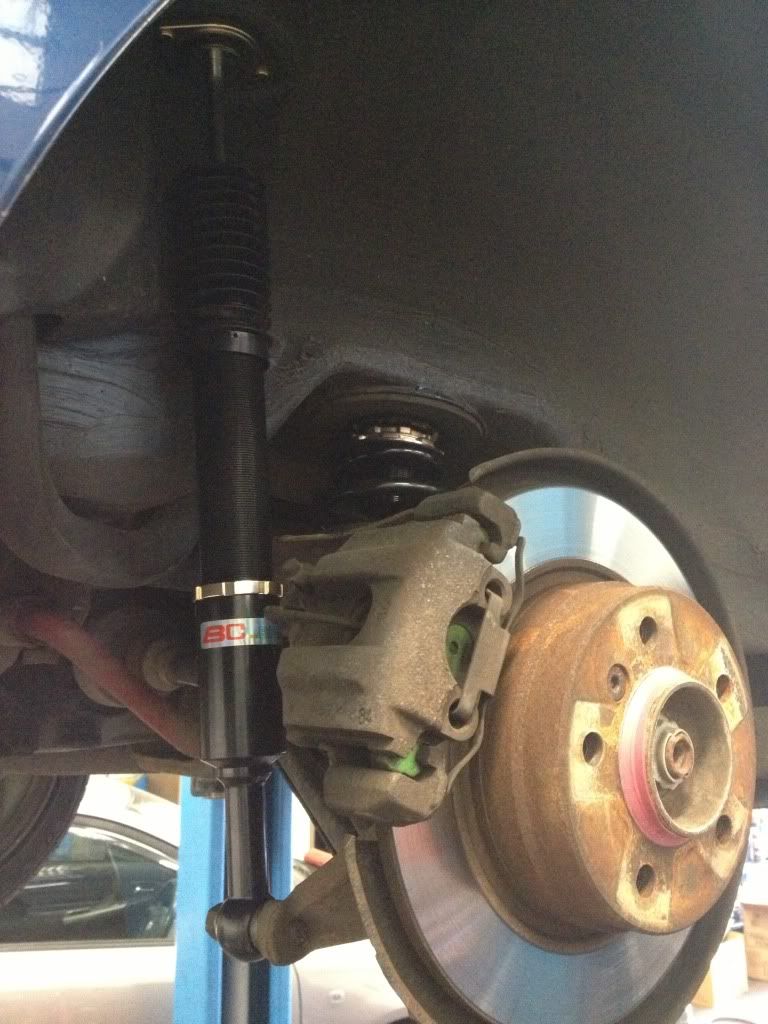
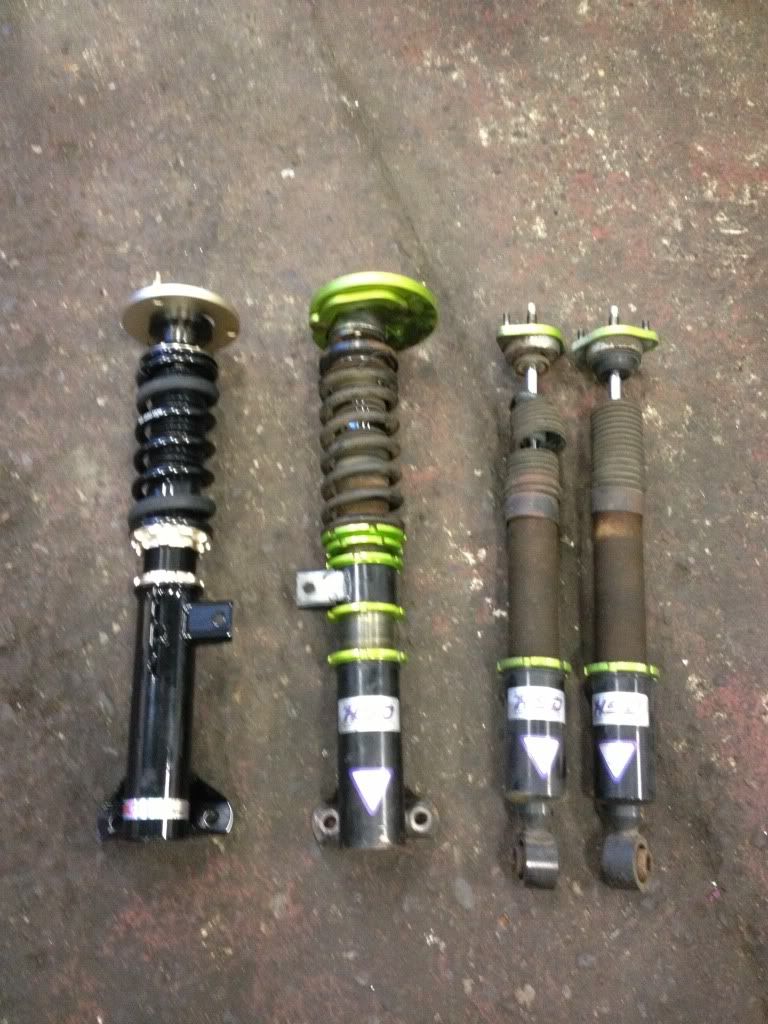
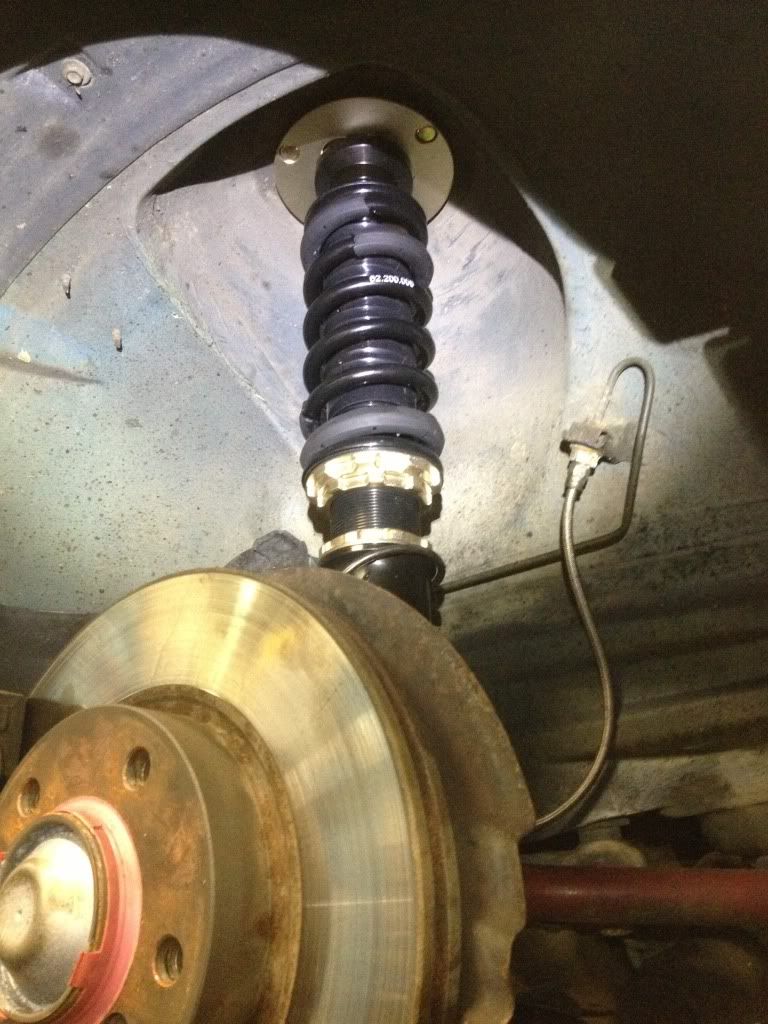
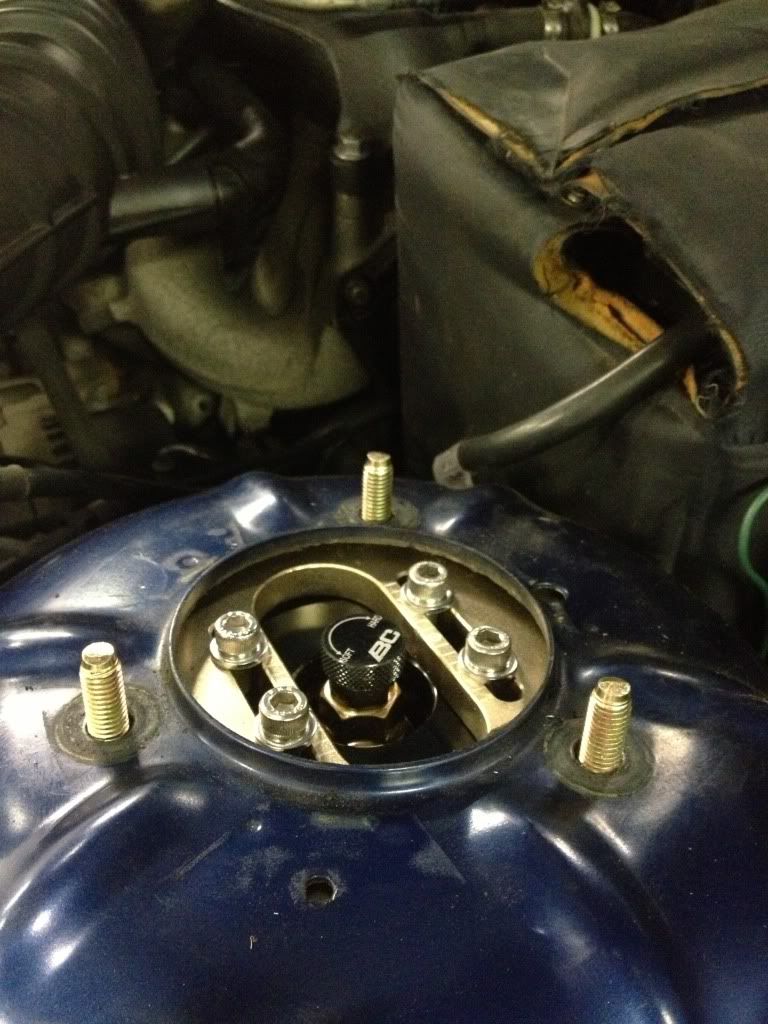
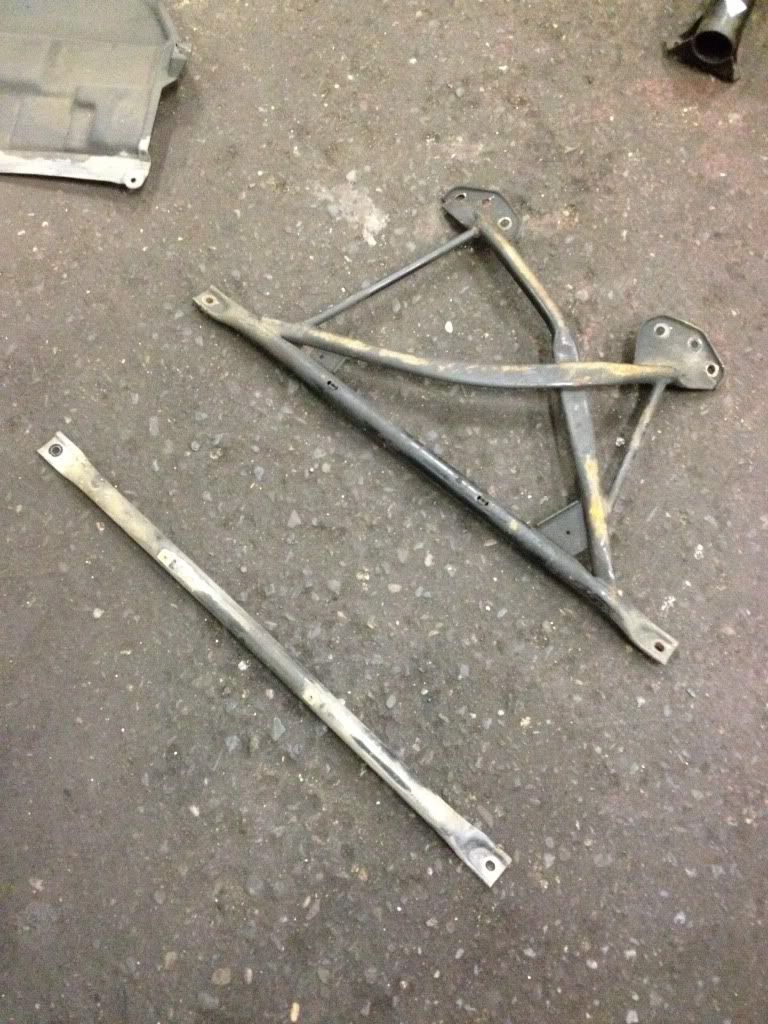
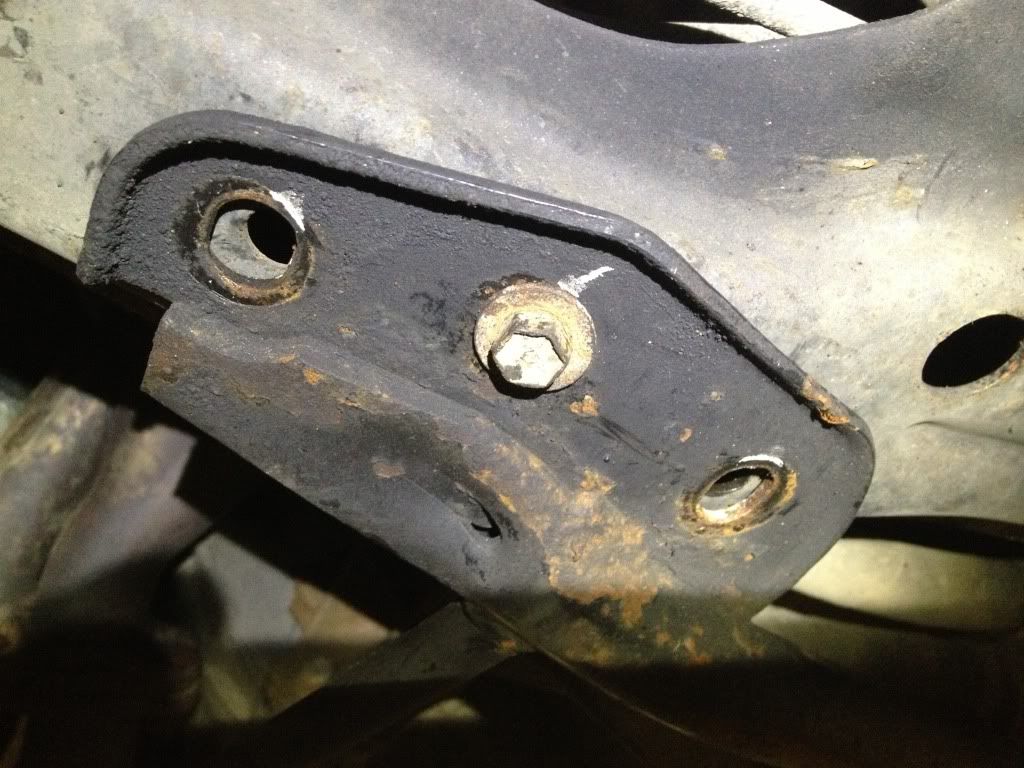
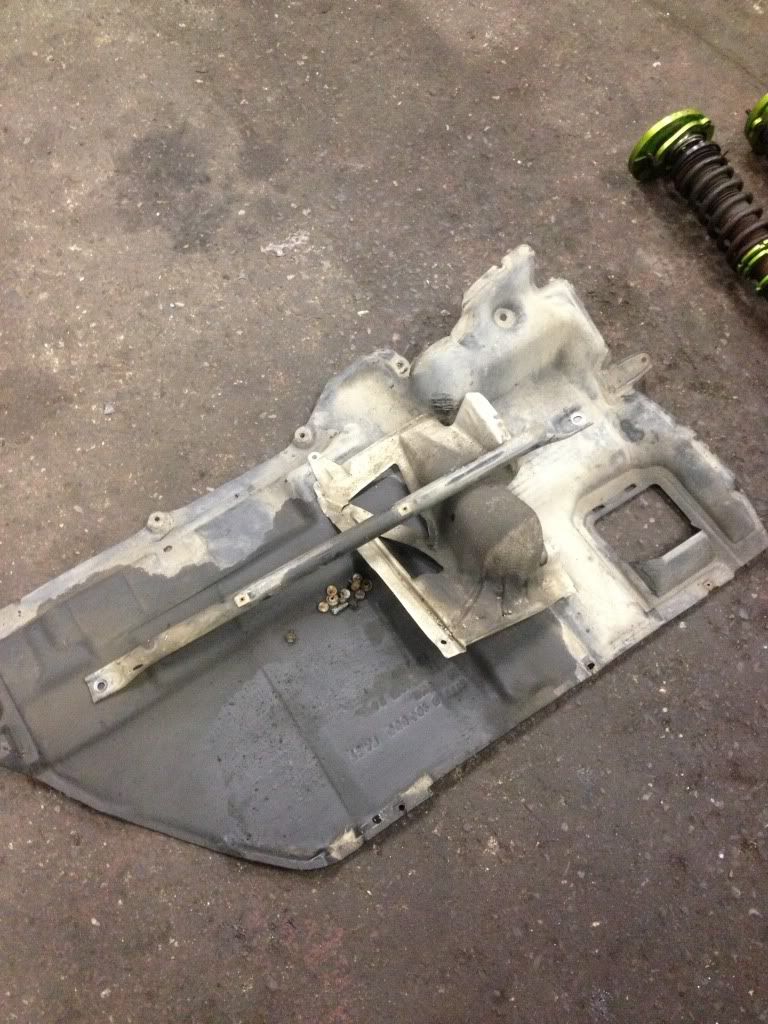
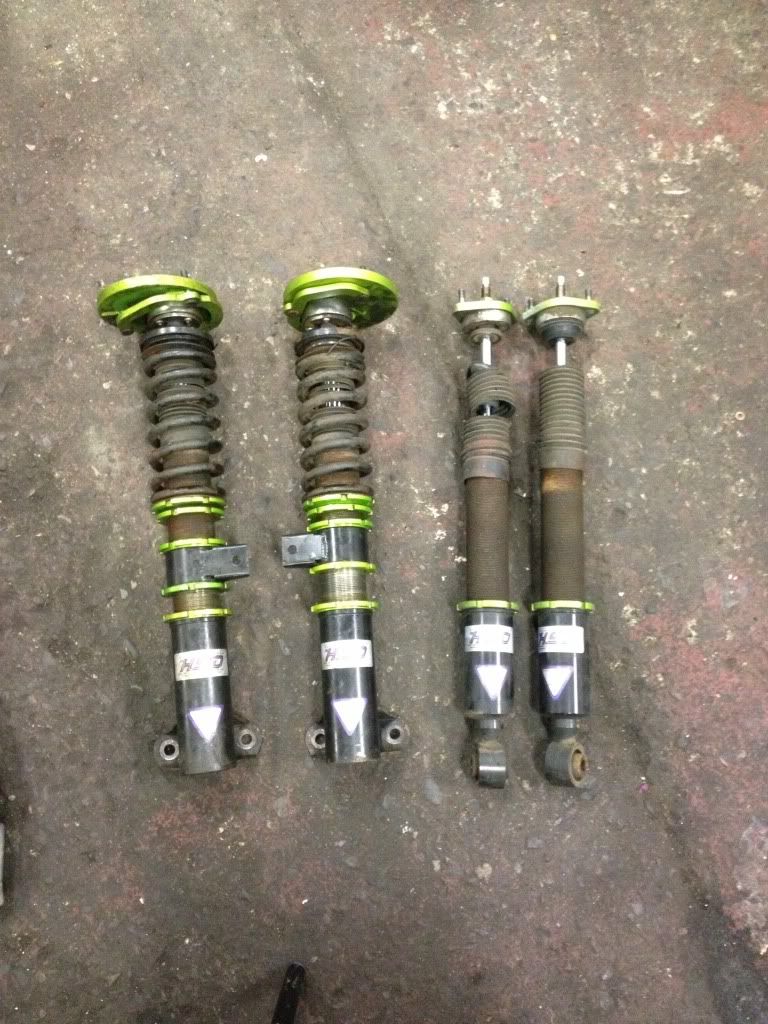
    Third time going for uploading these pictures.....internet exp keeps crashing!!!! Very annoying. Had a guide done also but lost it. Easy job takes about and hour. You'll need 8,10,17 sockets and some torx .


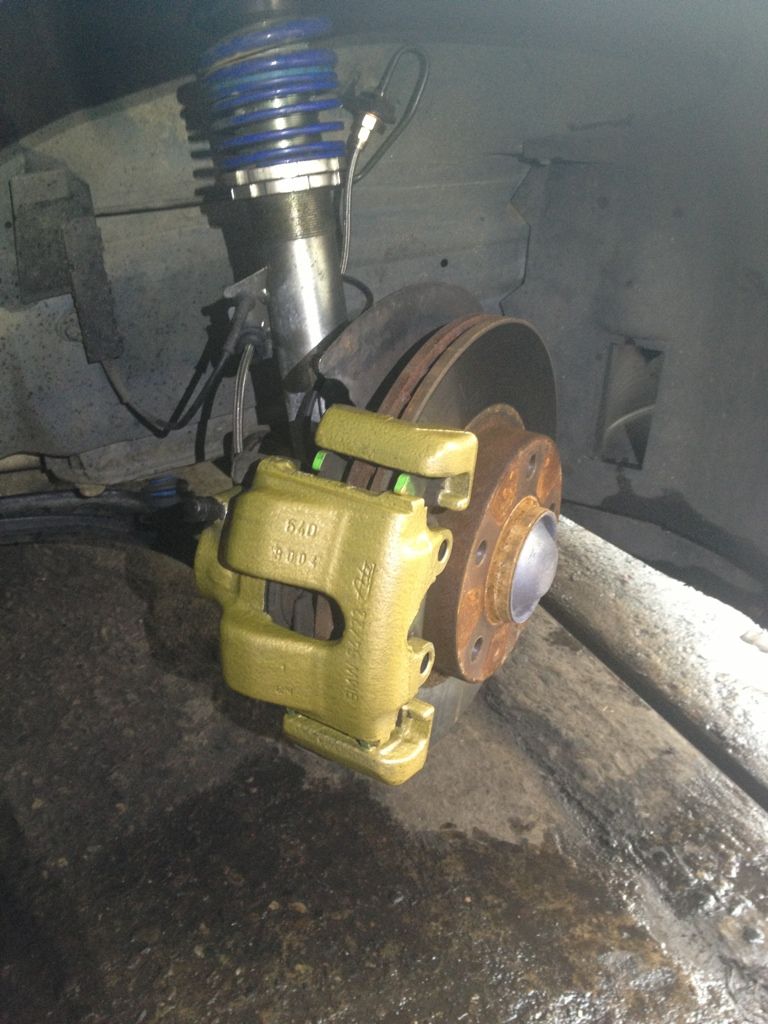
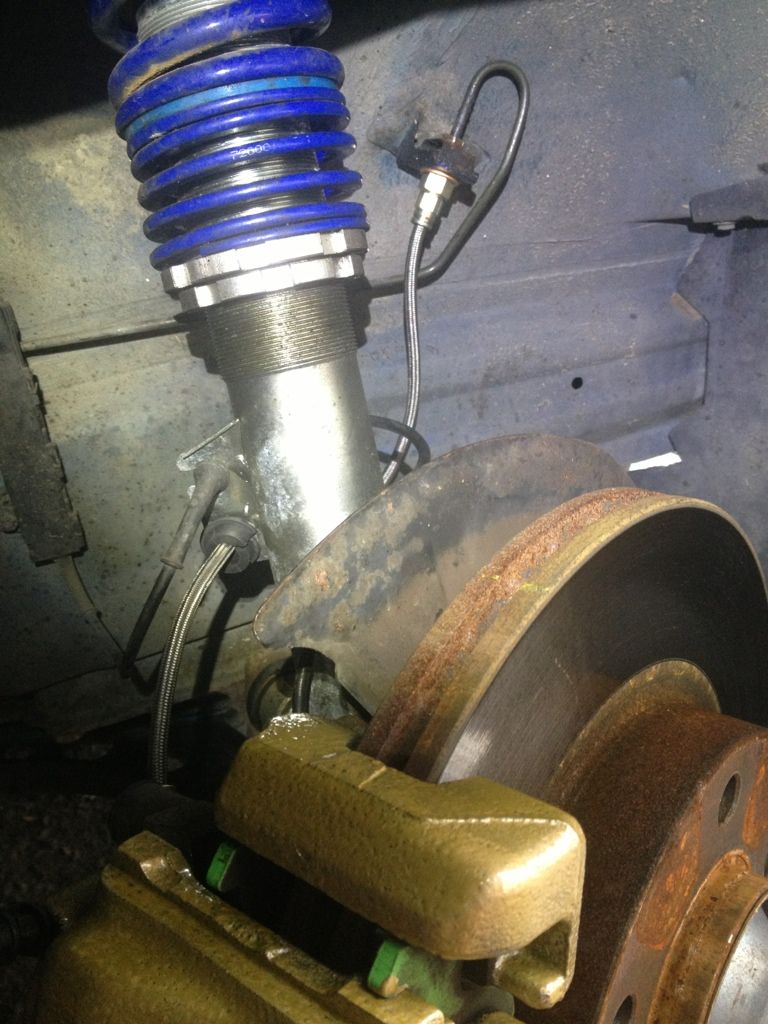
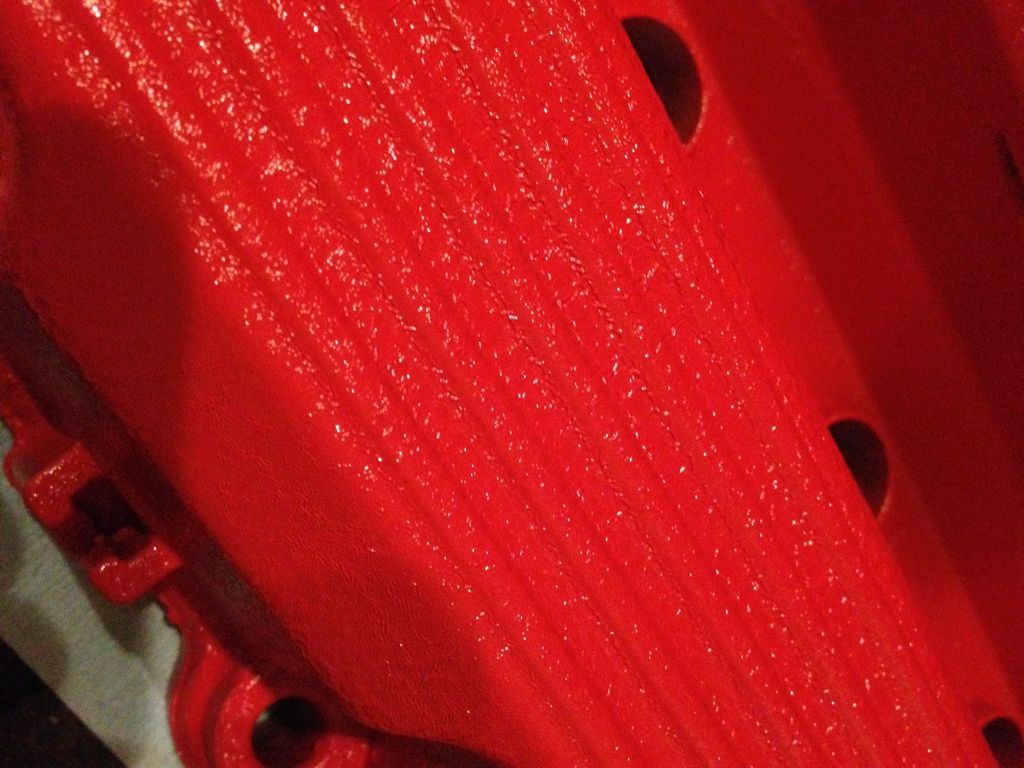
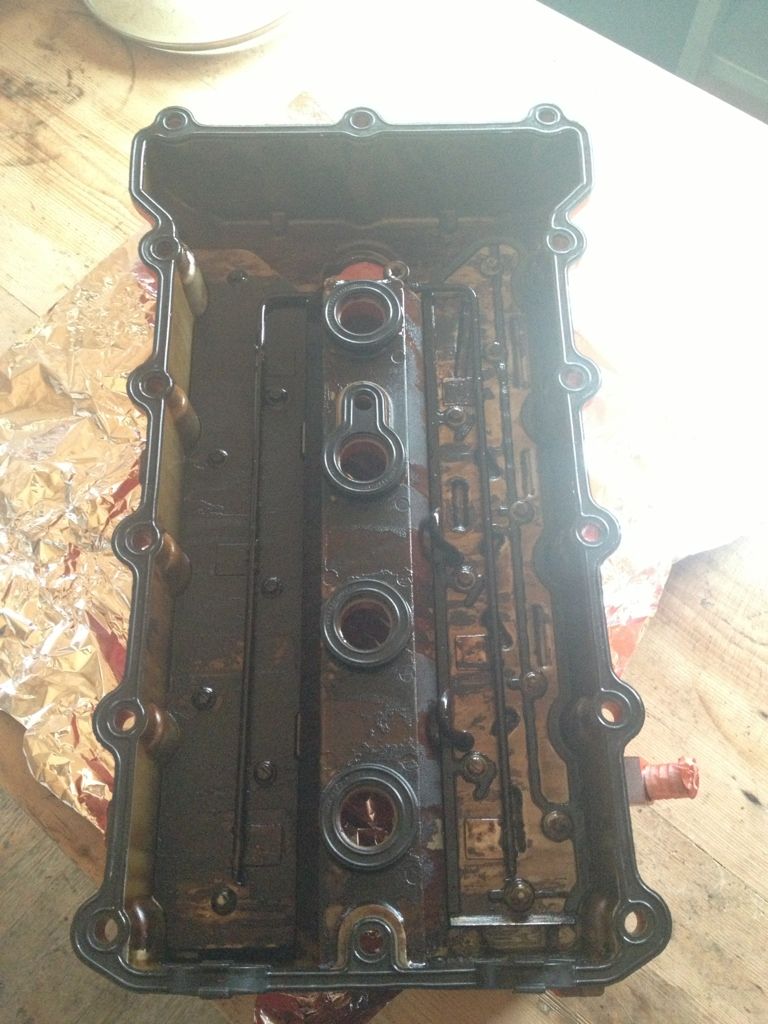
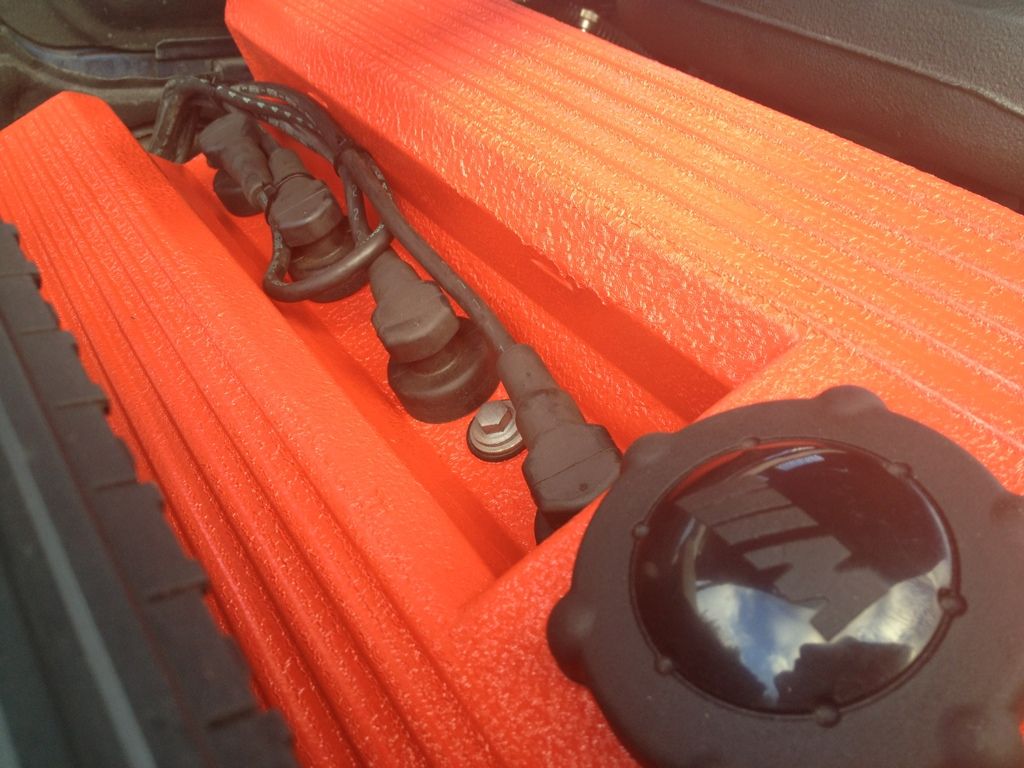
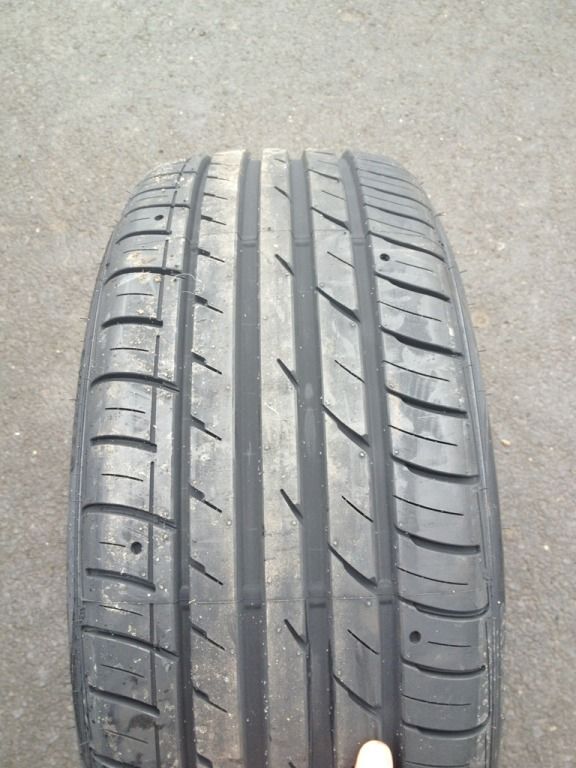
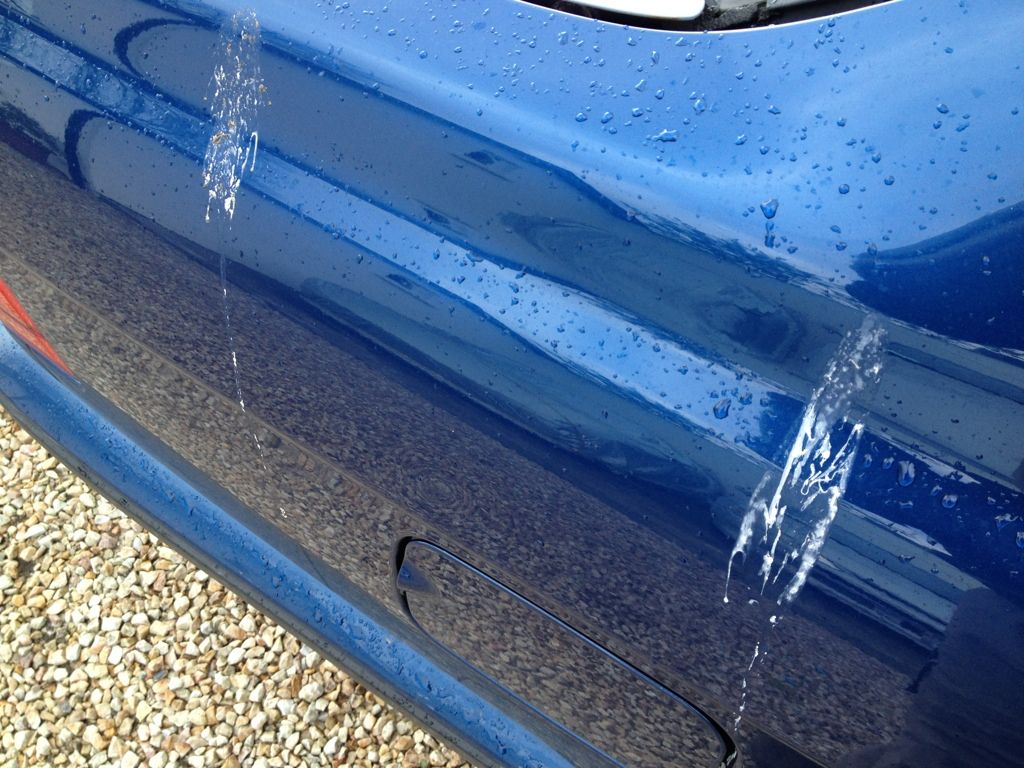
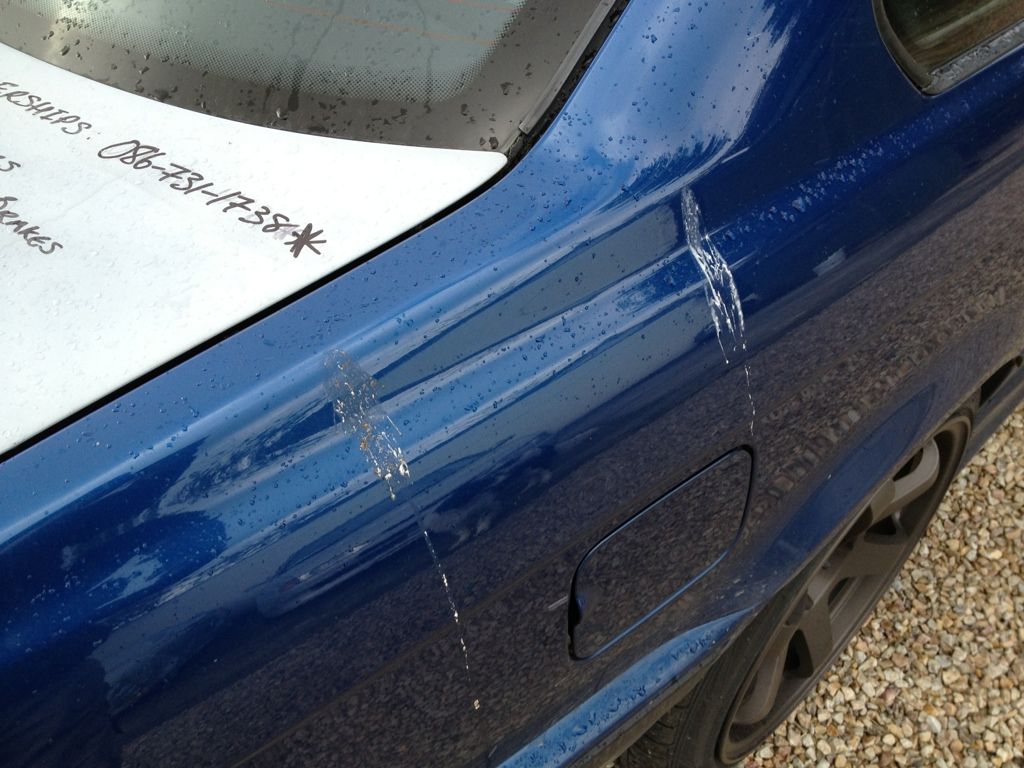
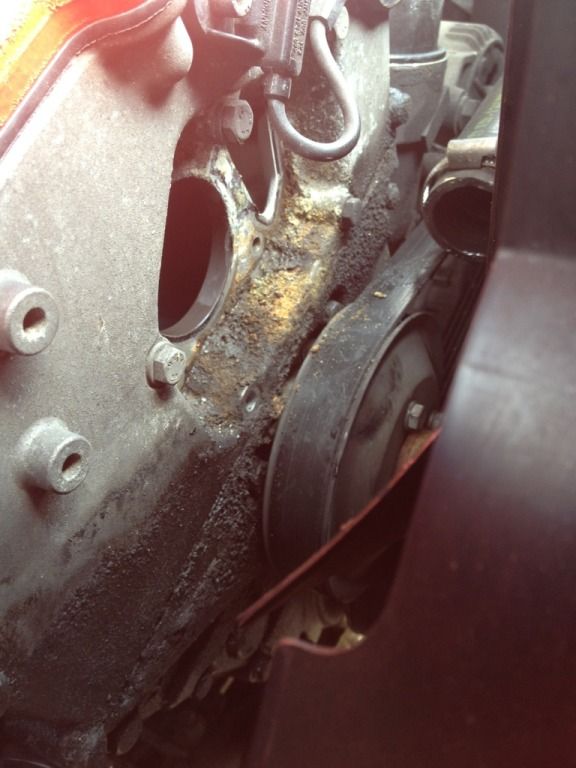
    Apologies for the poor quality pictures I was in a bt of a rush so as you will see they ain't the best.


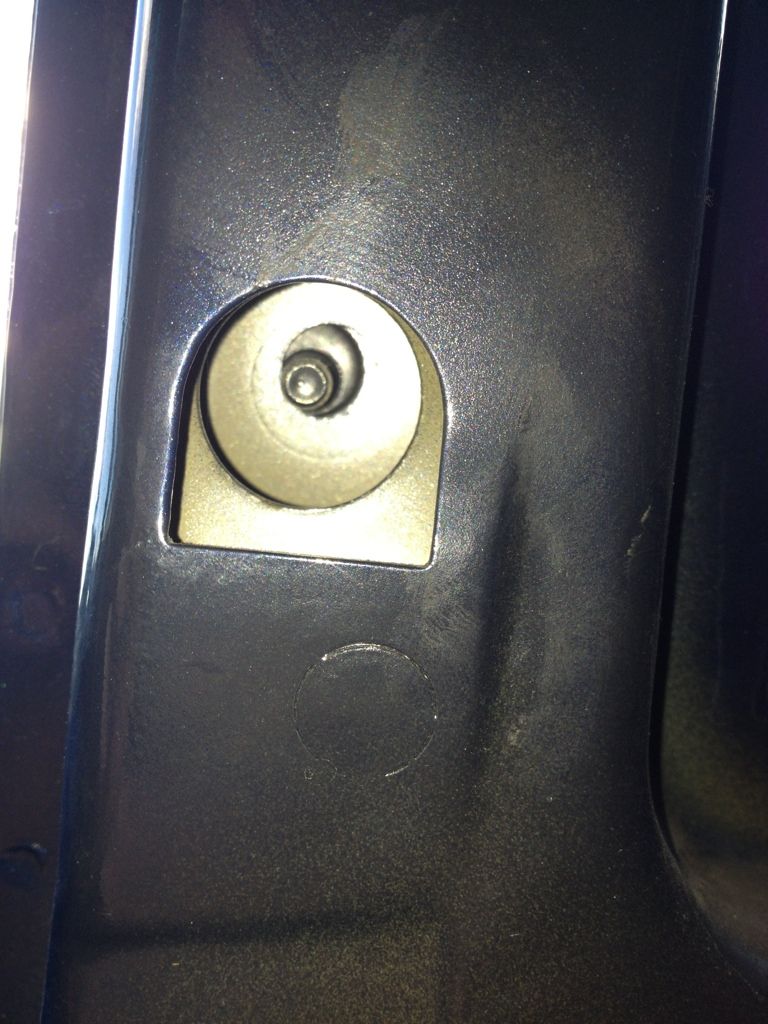
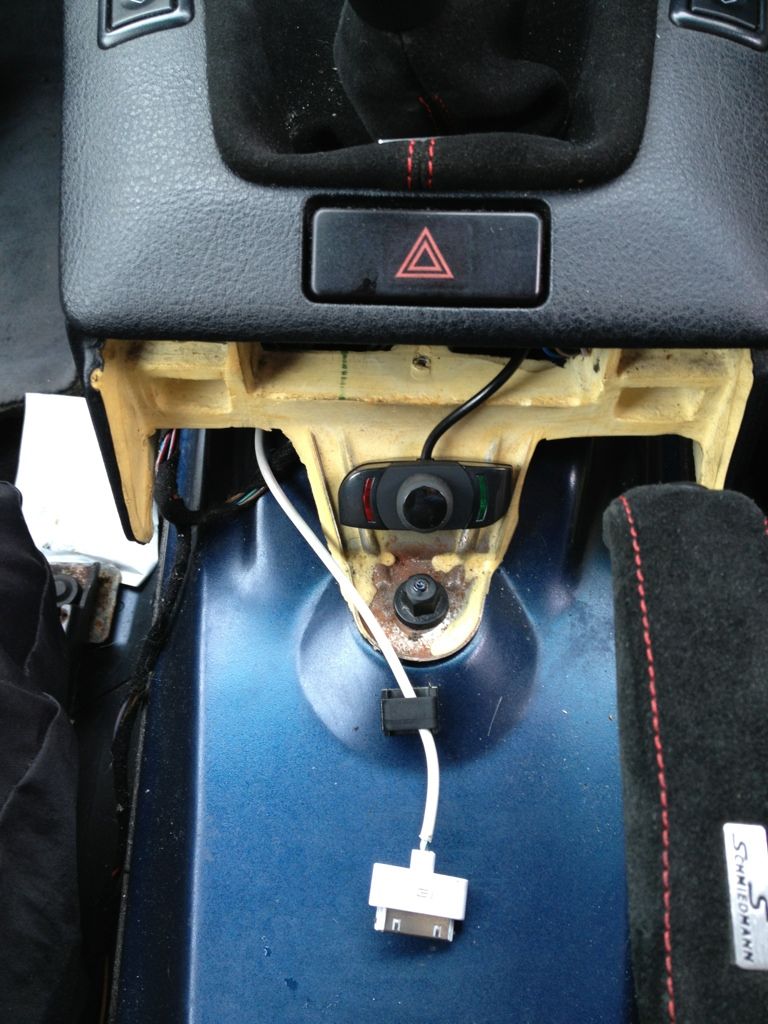
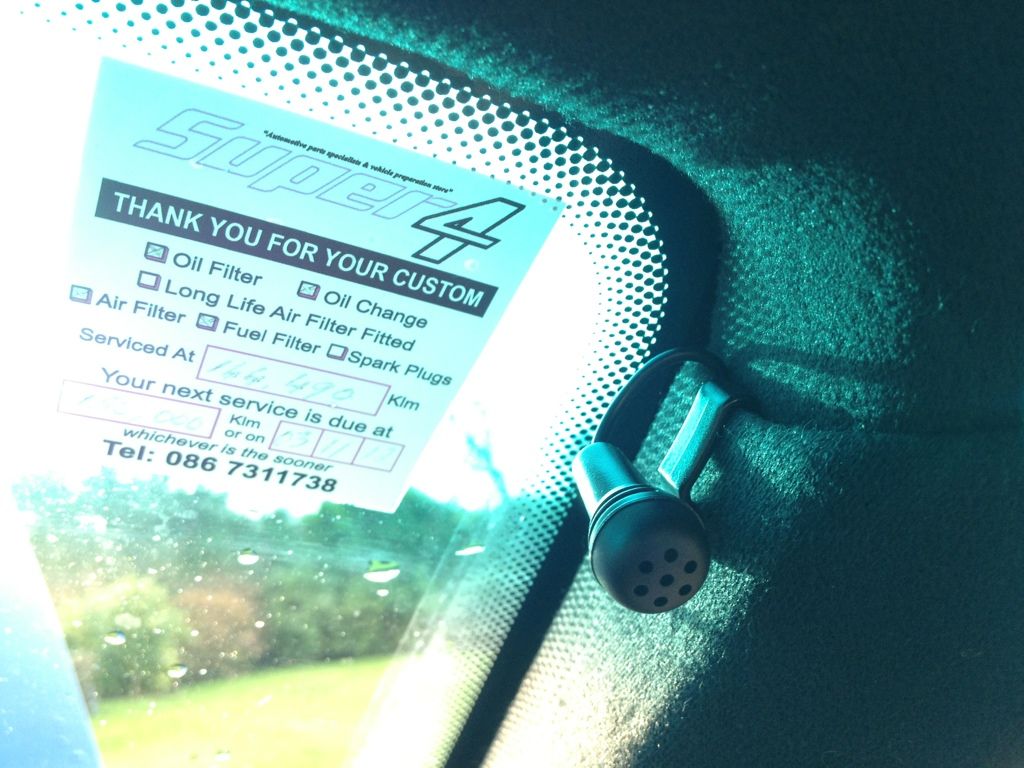
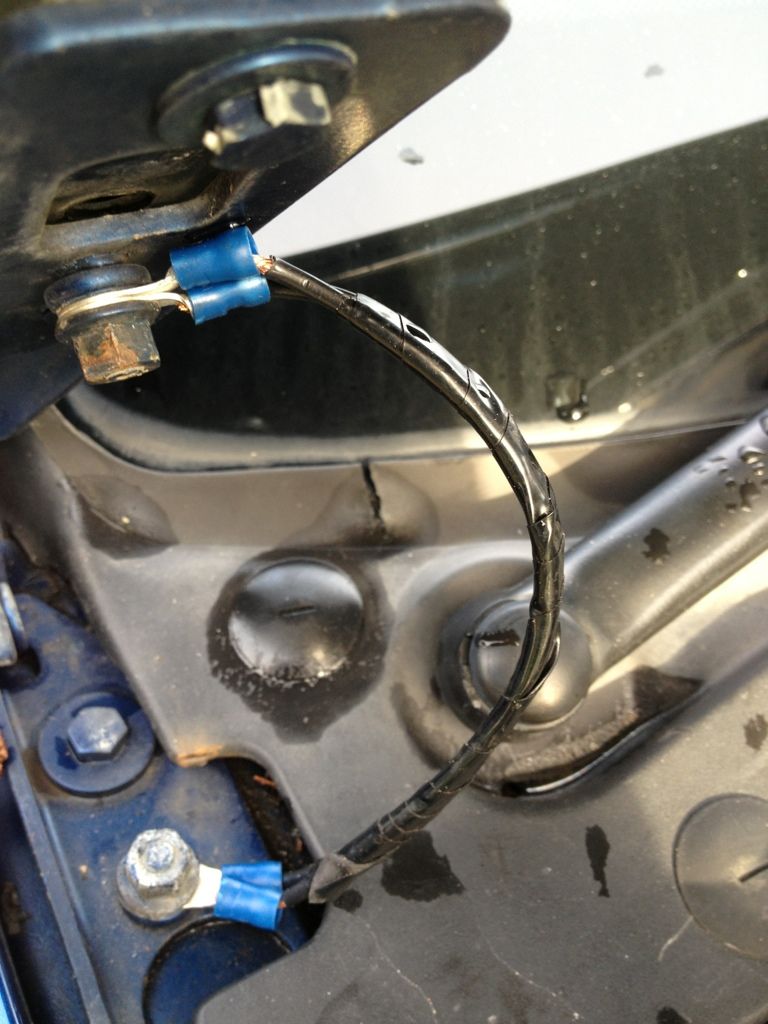
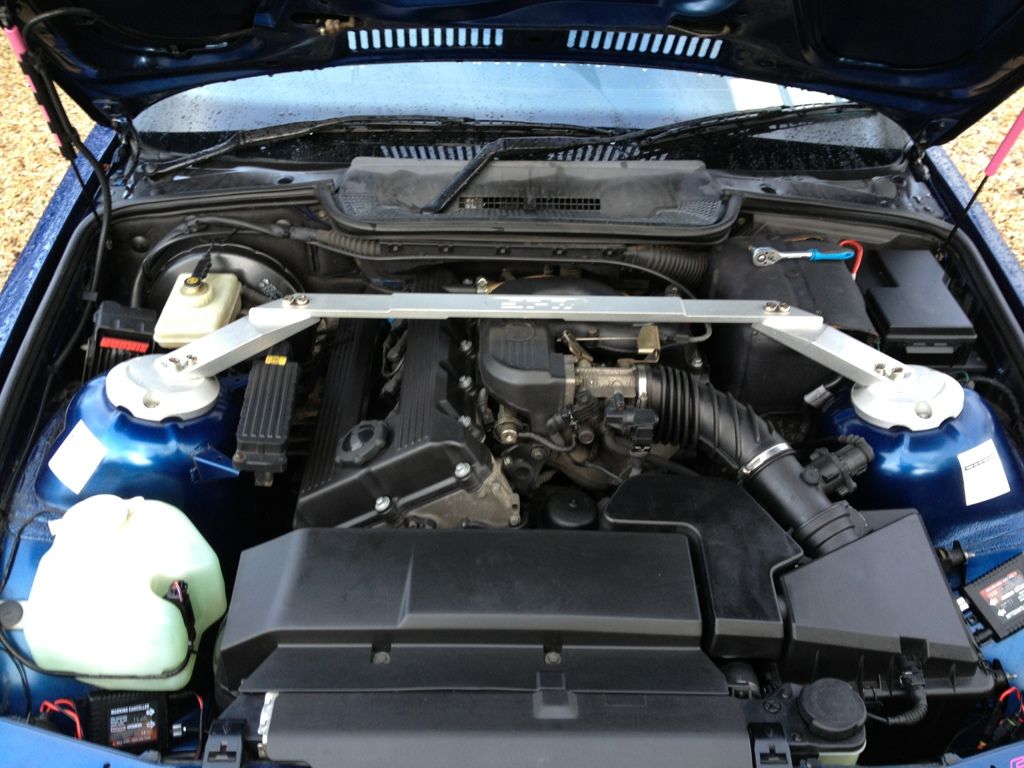
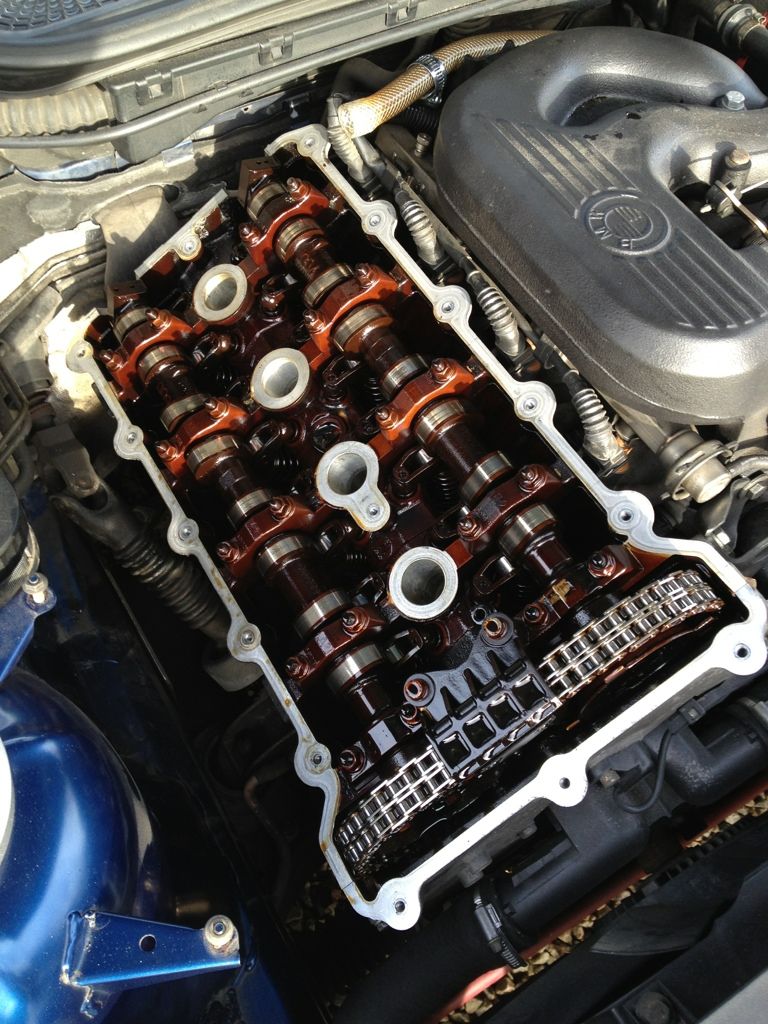
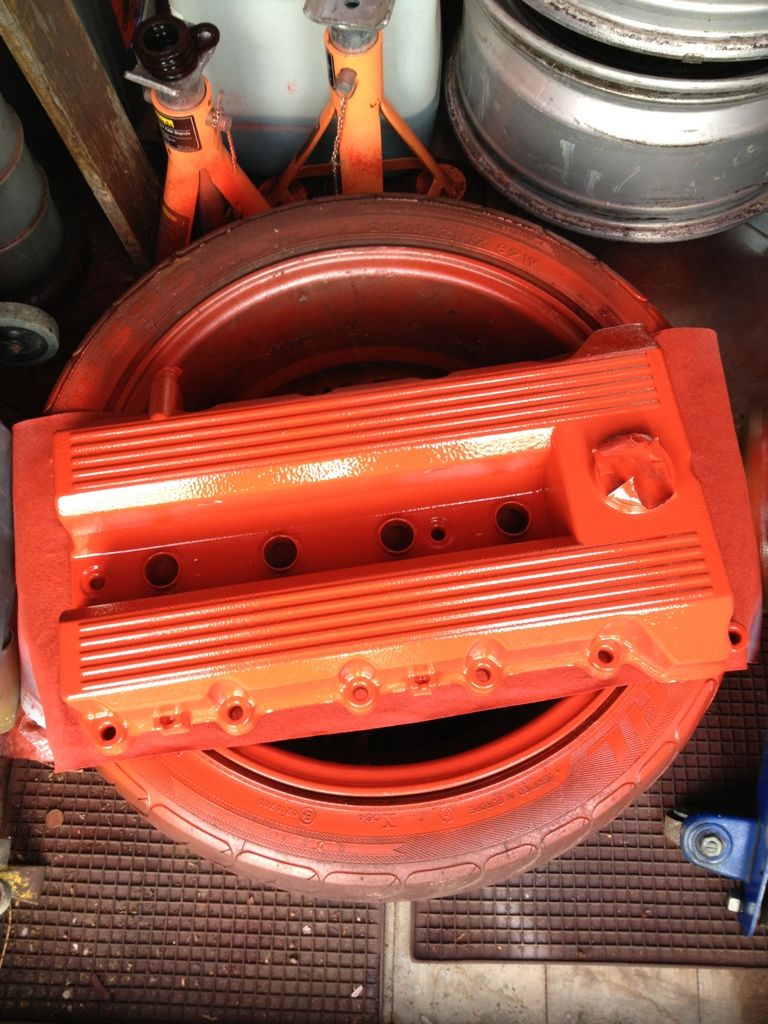
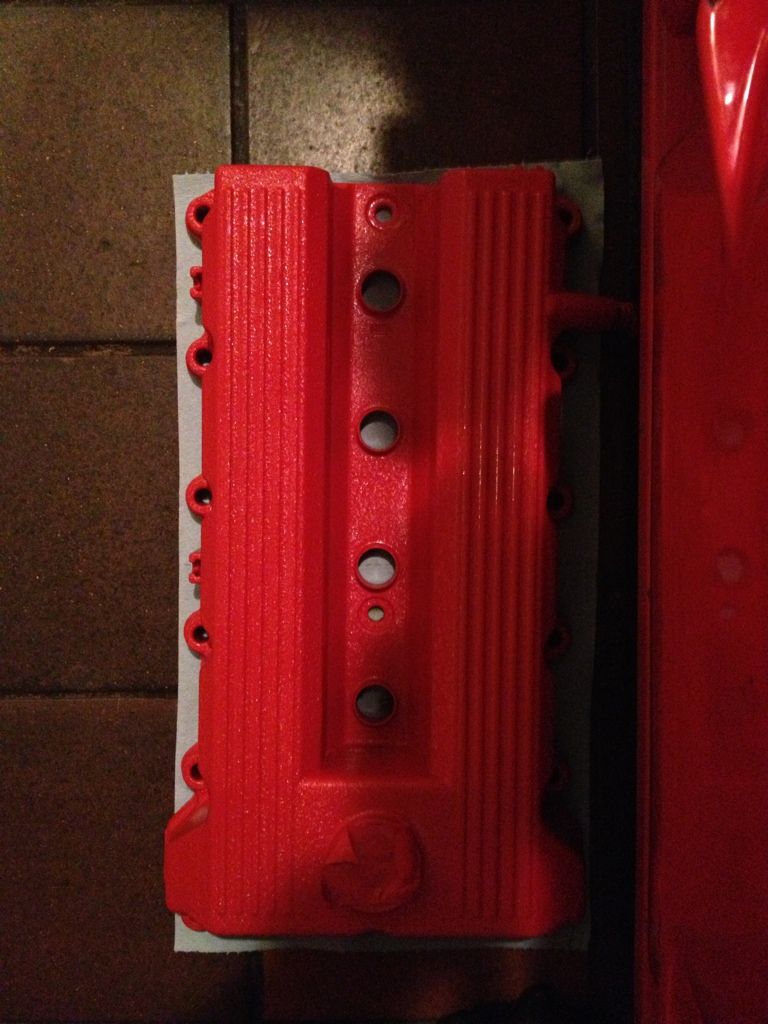
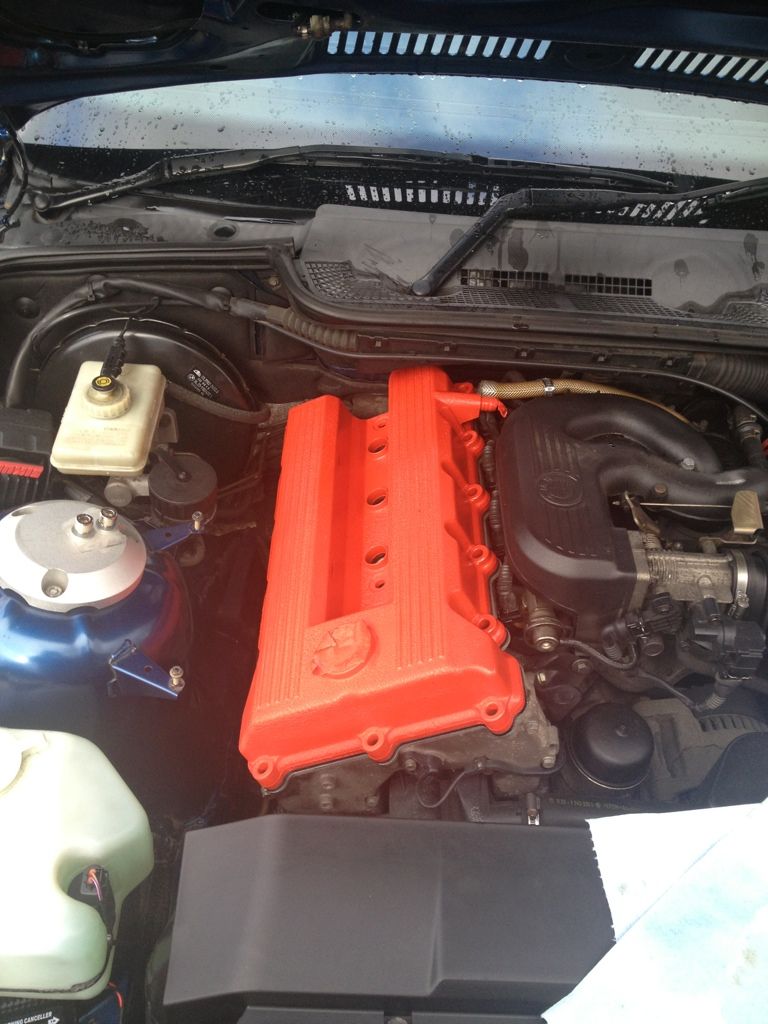
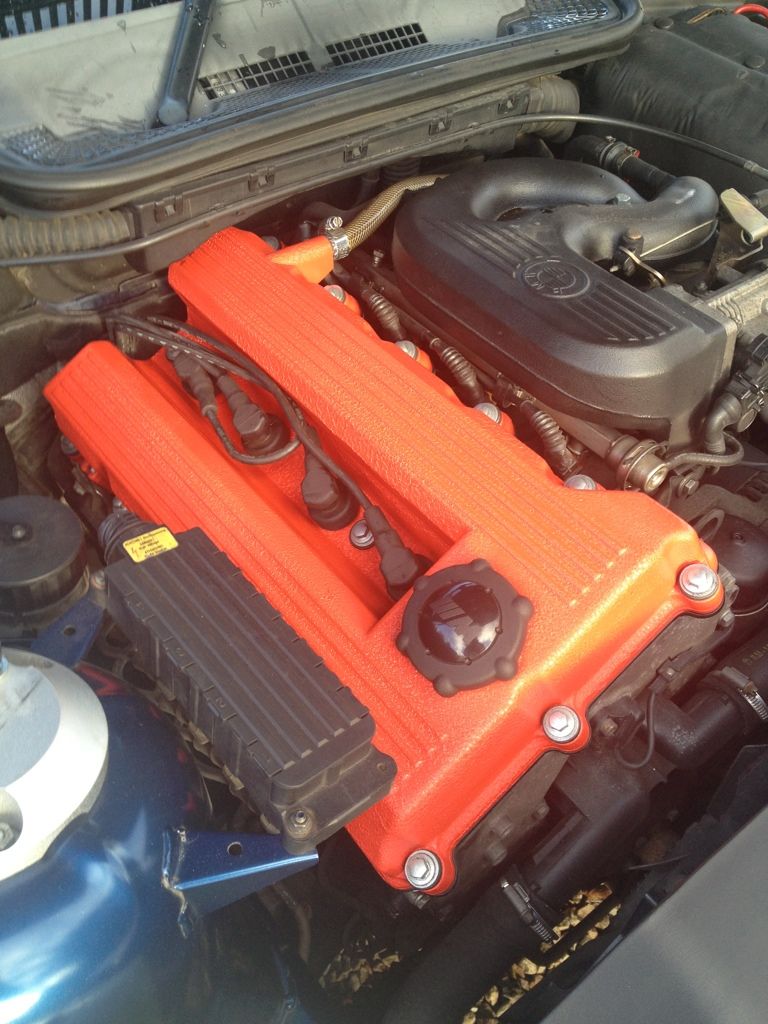
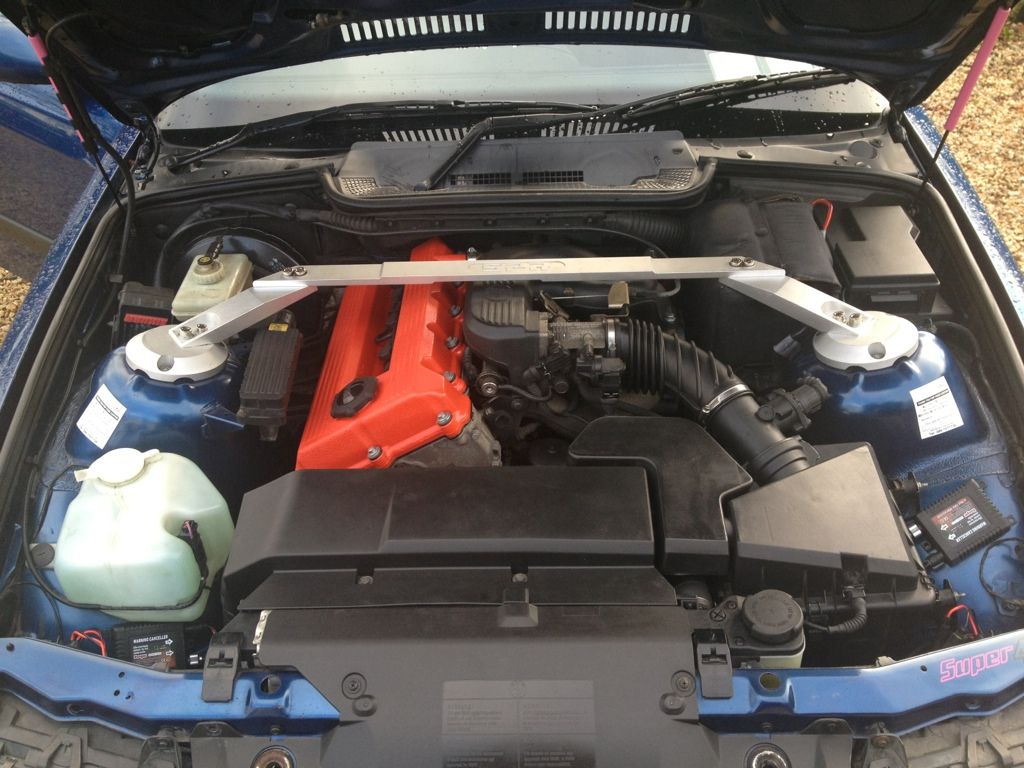
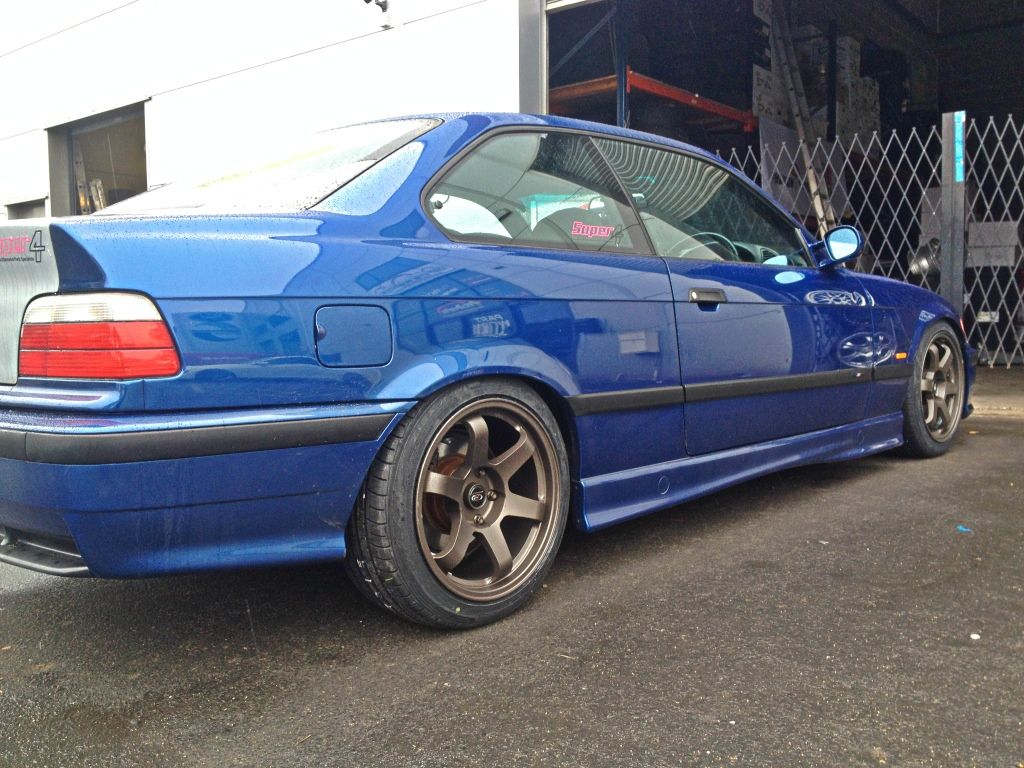
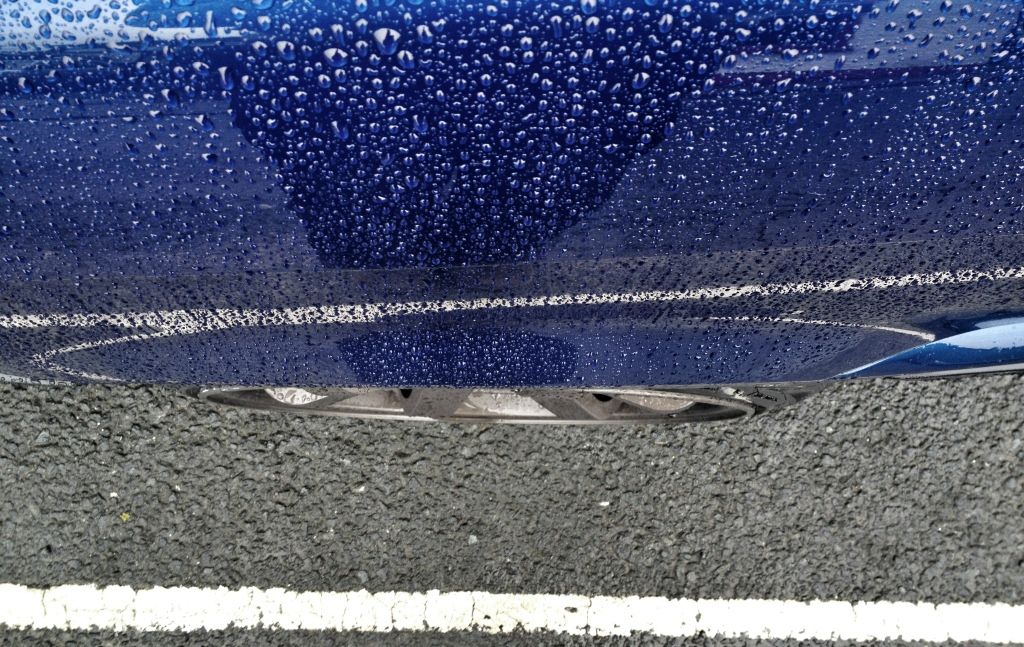
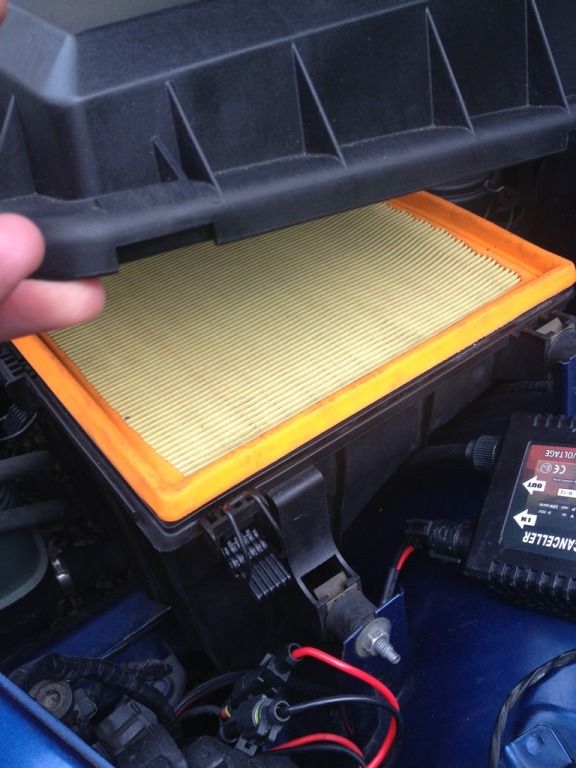
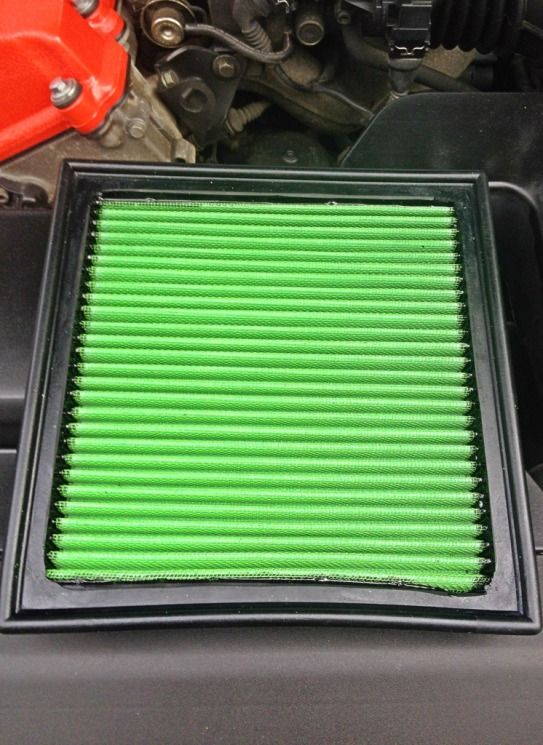
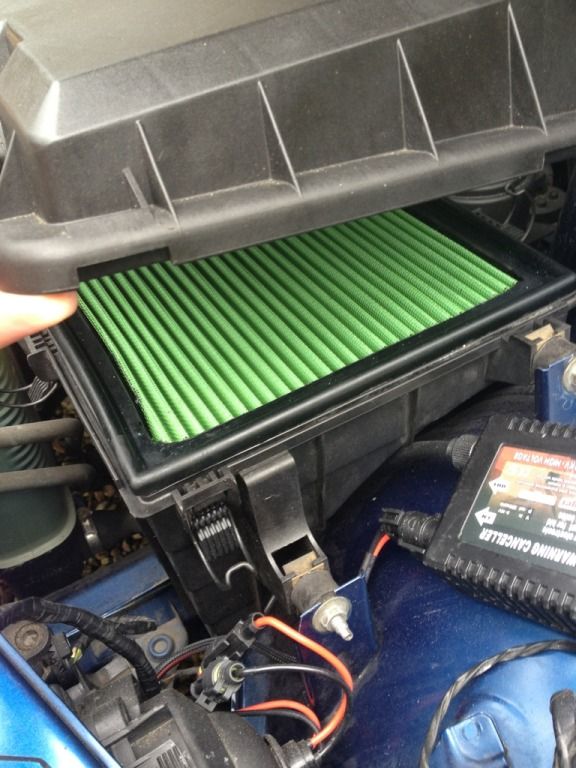
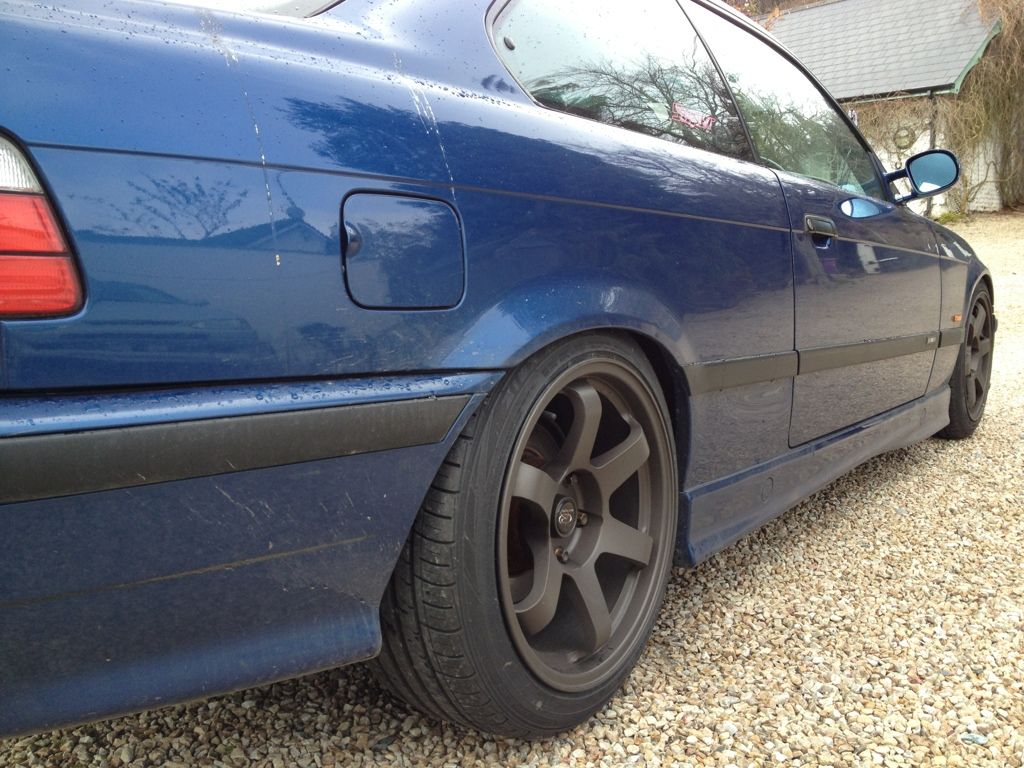
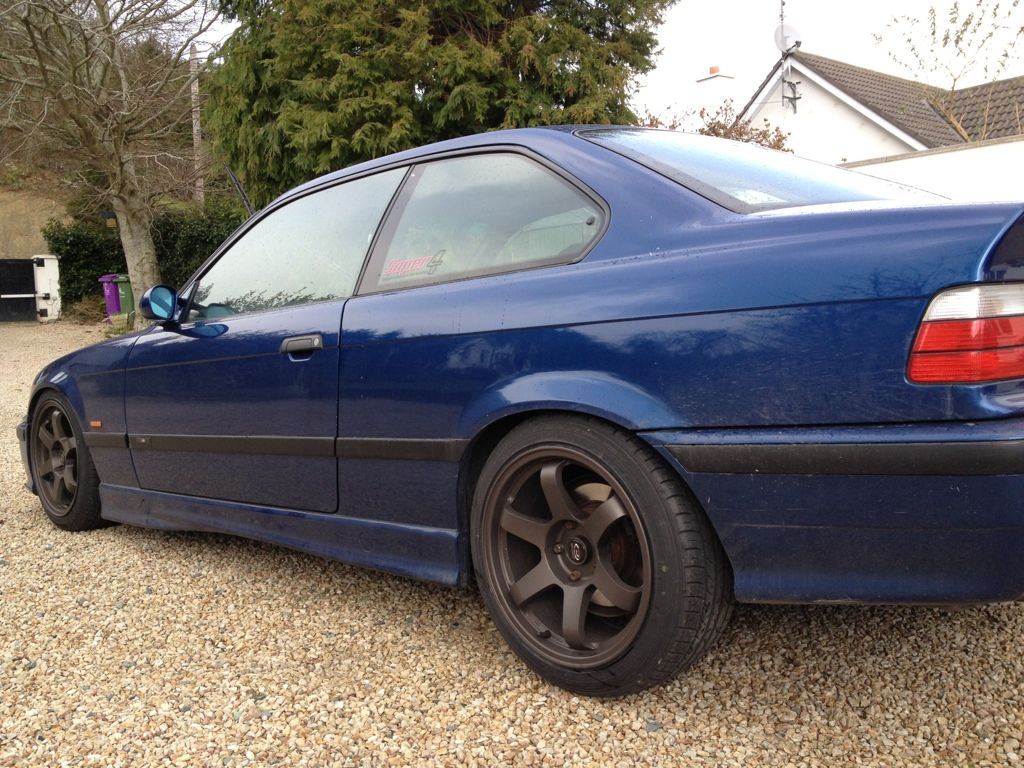
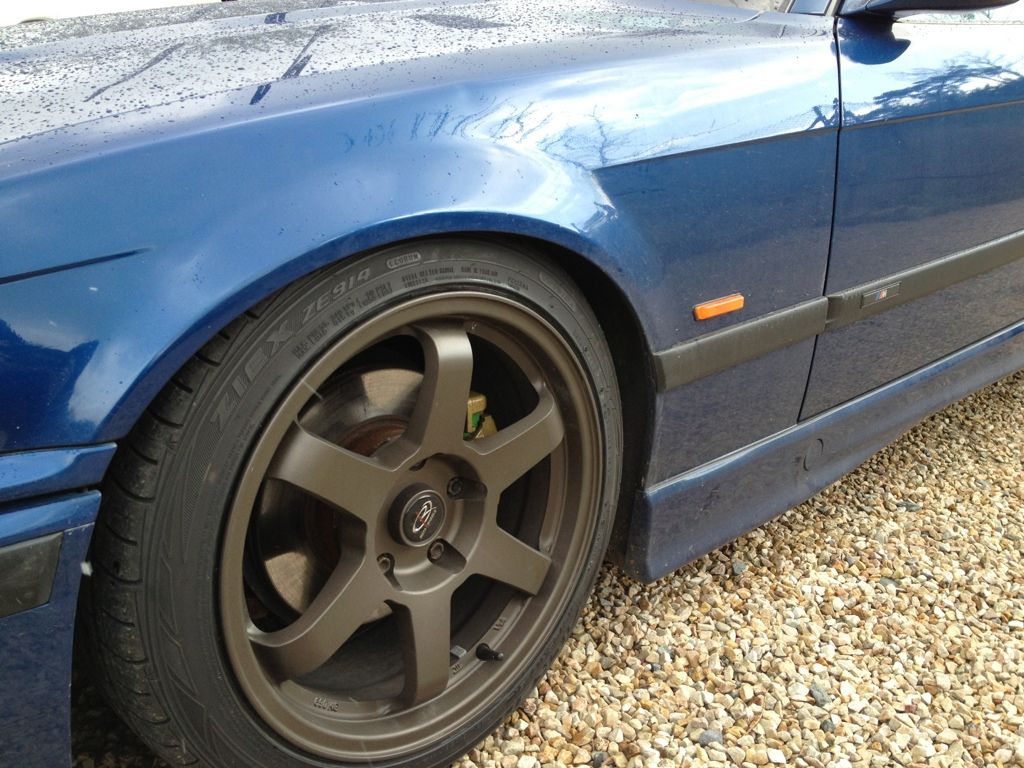
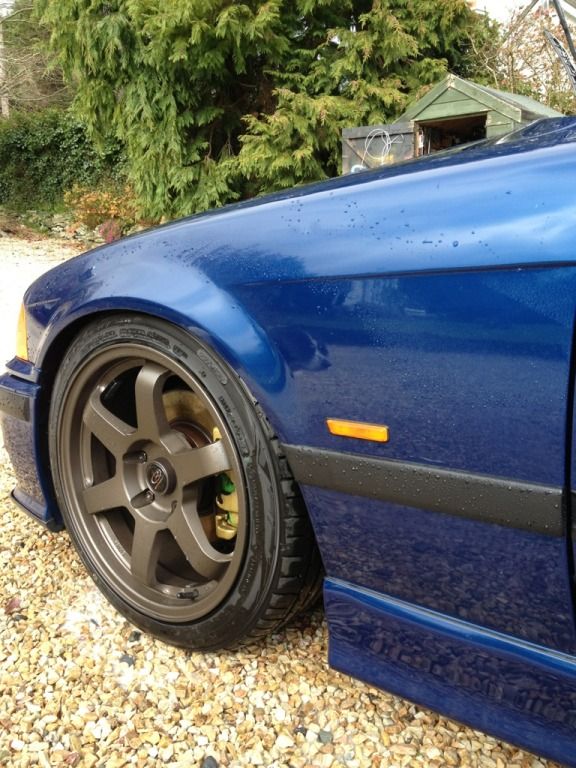
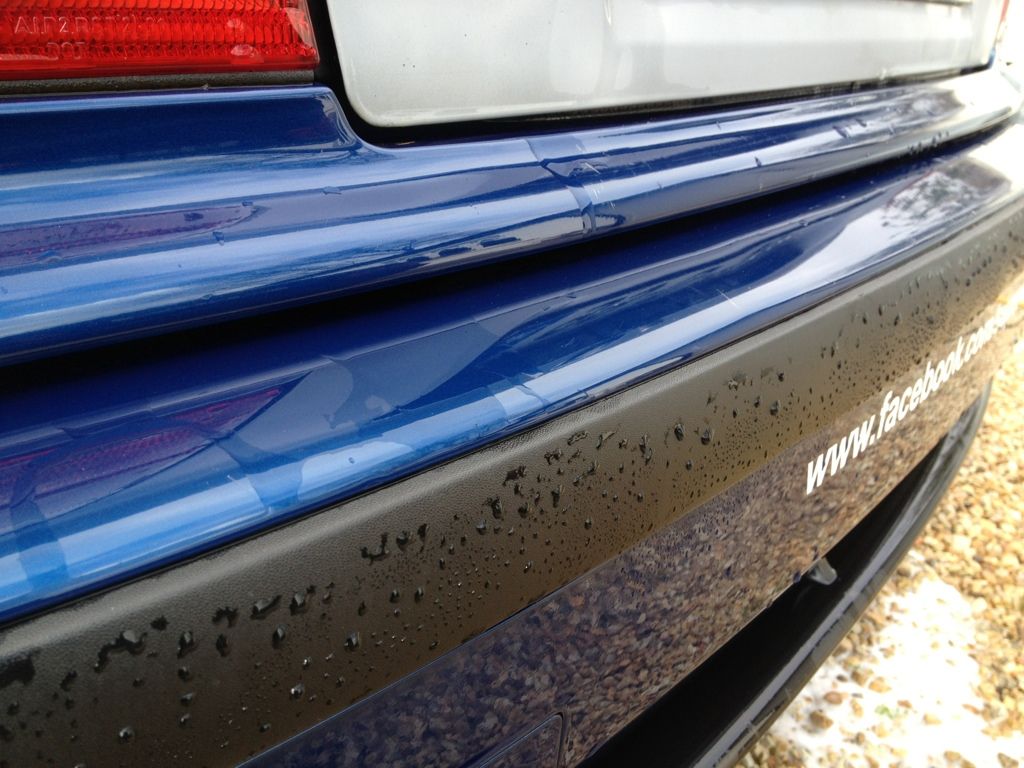
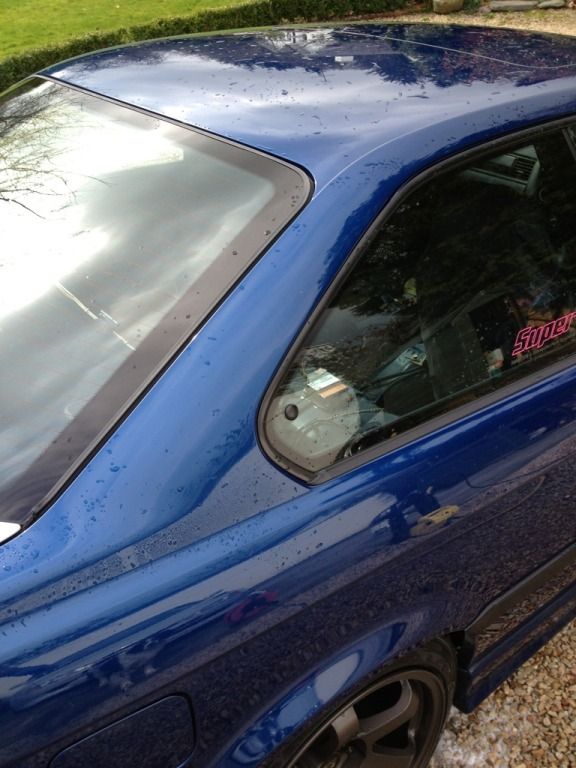
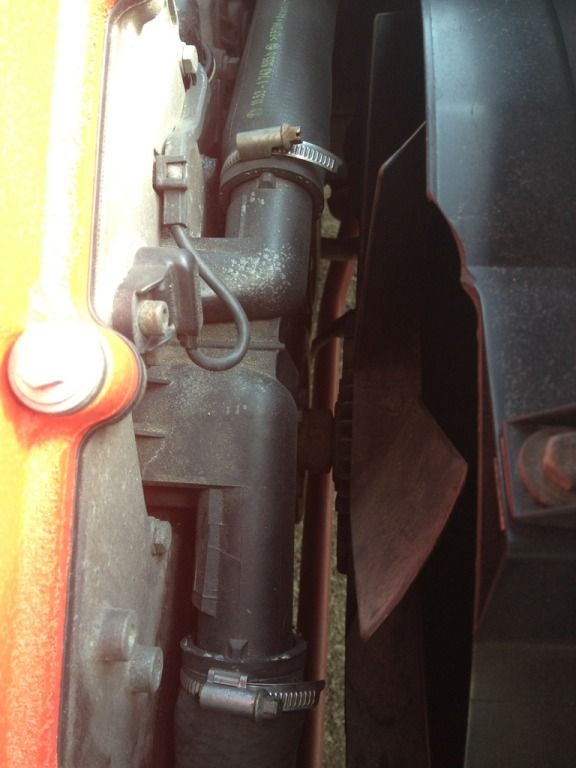
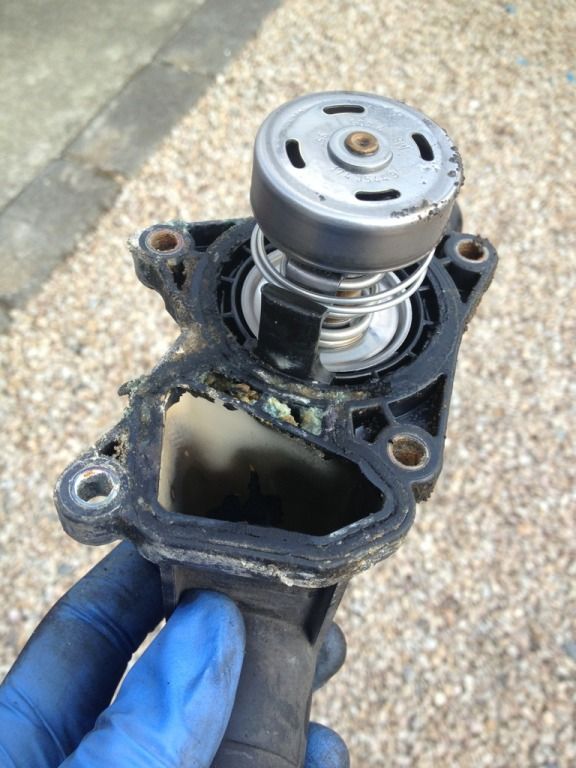
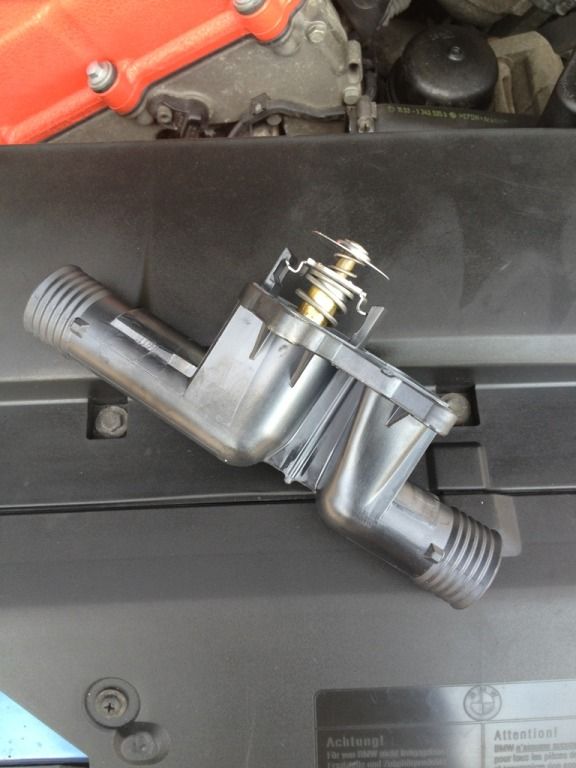
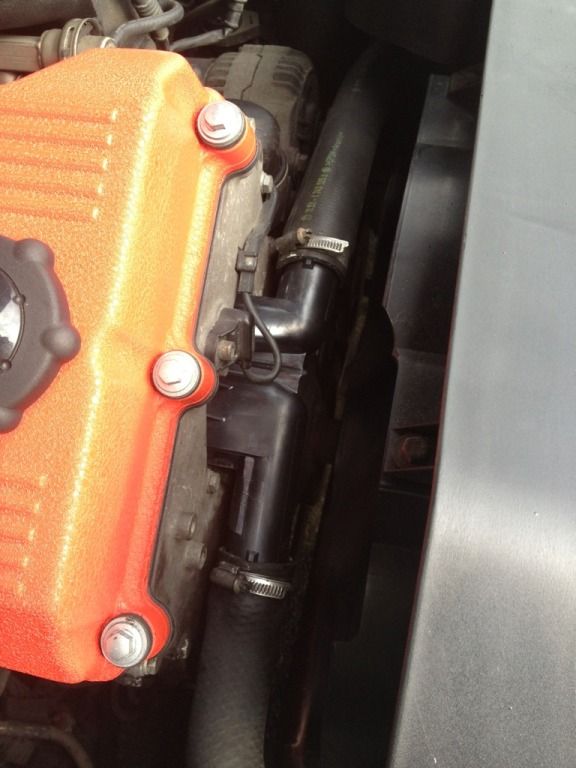
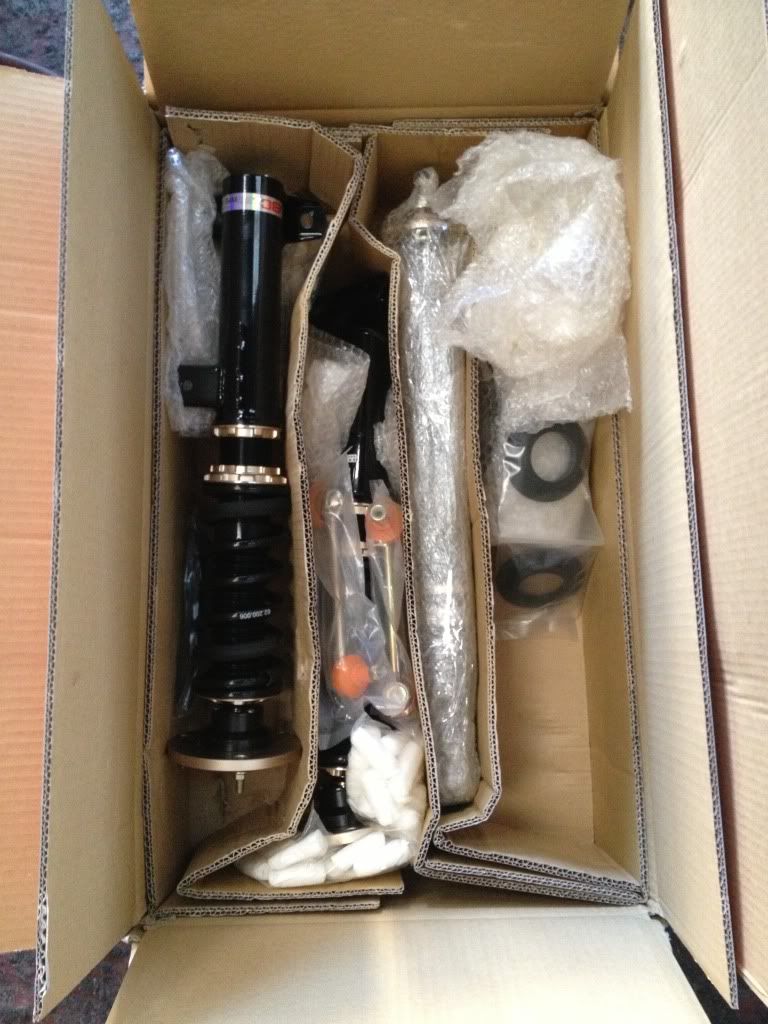
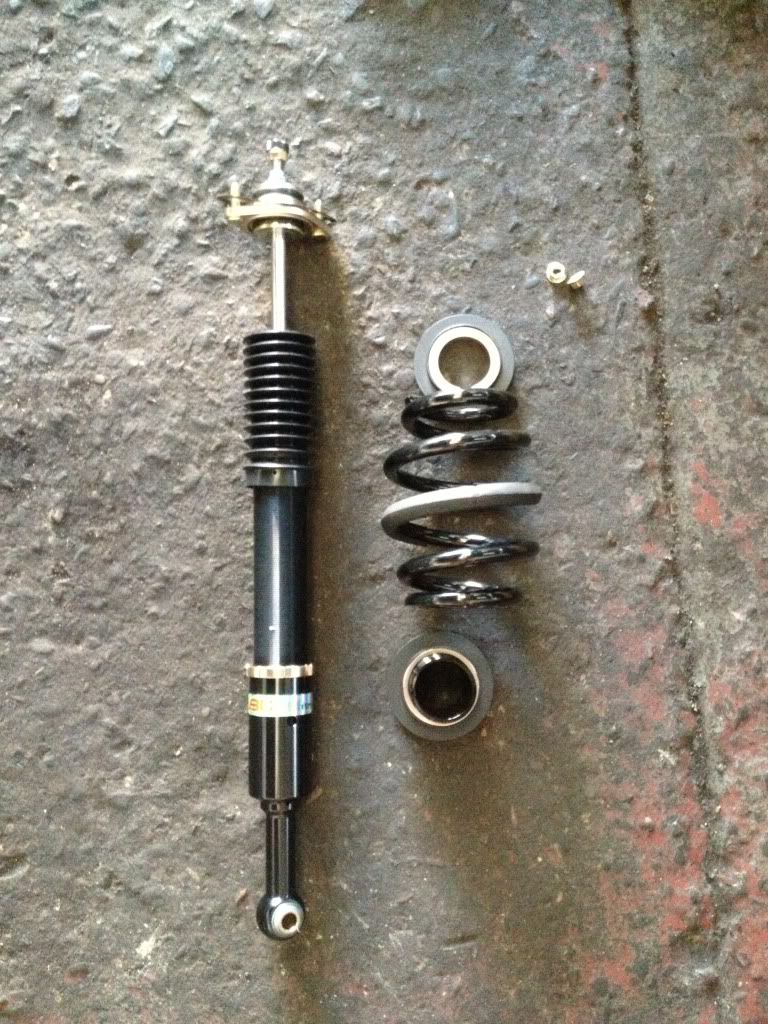
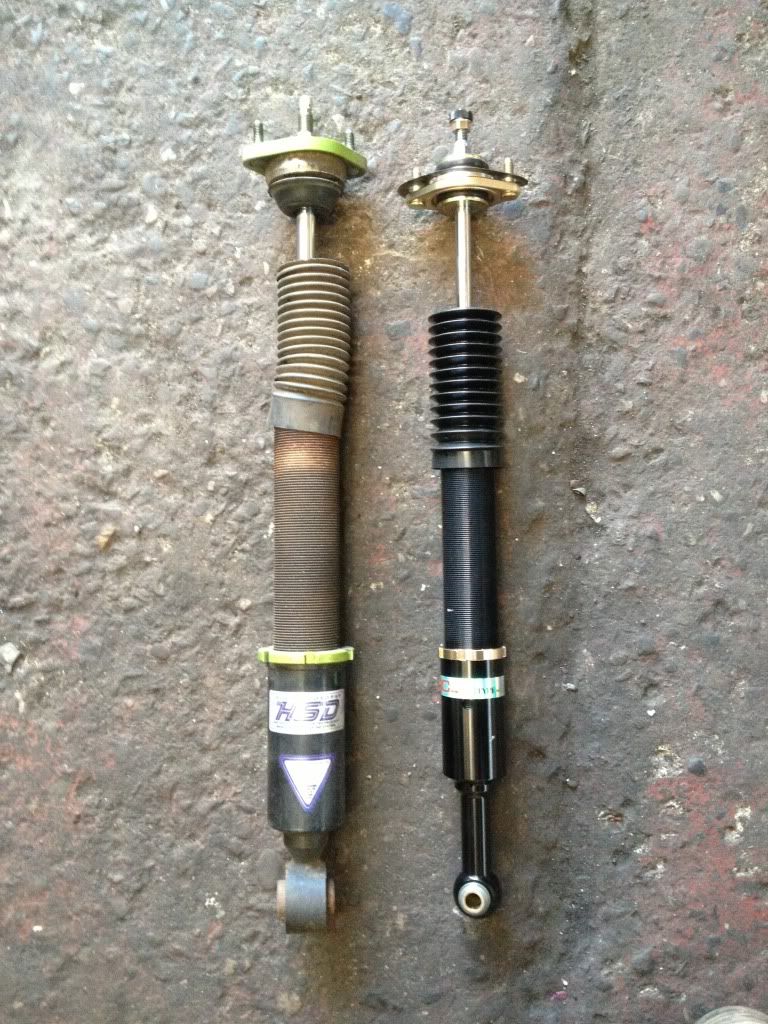
    BEFORE, DURING AND AFTERS :


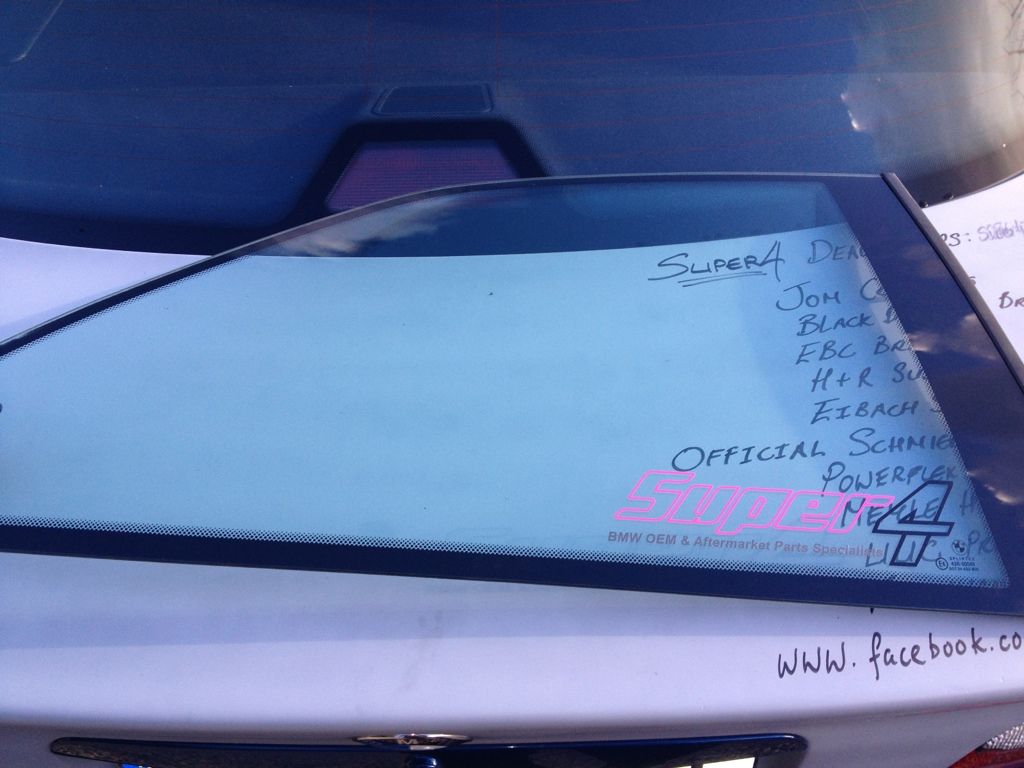
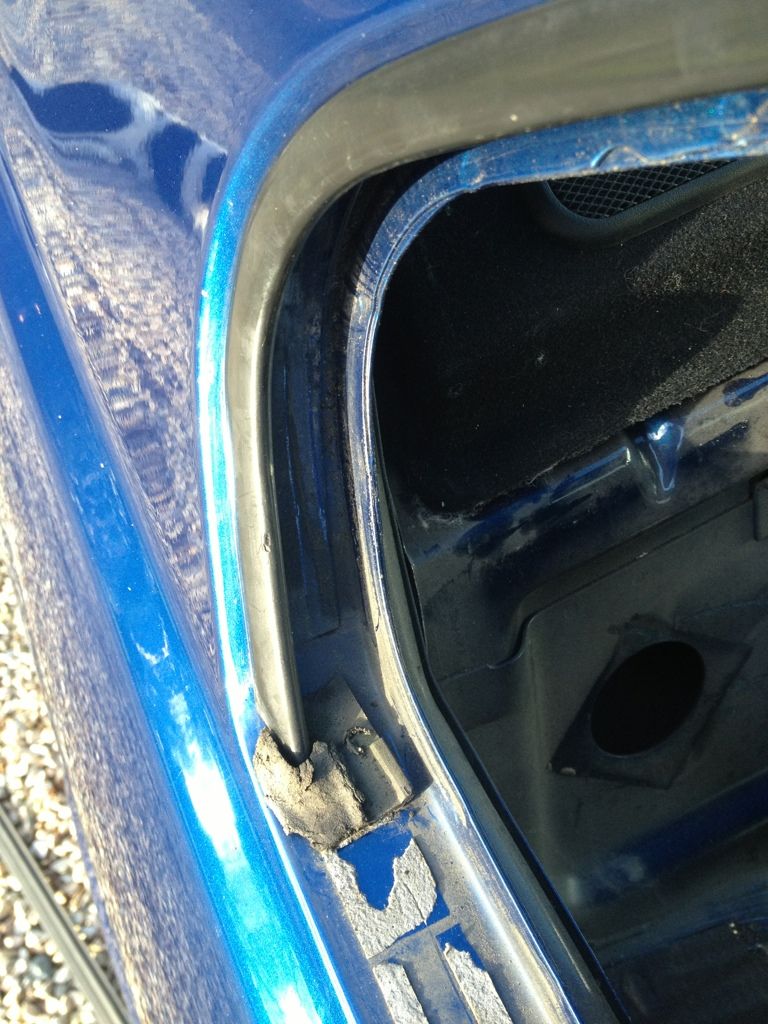
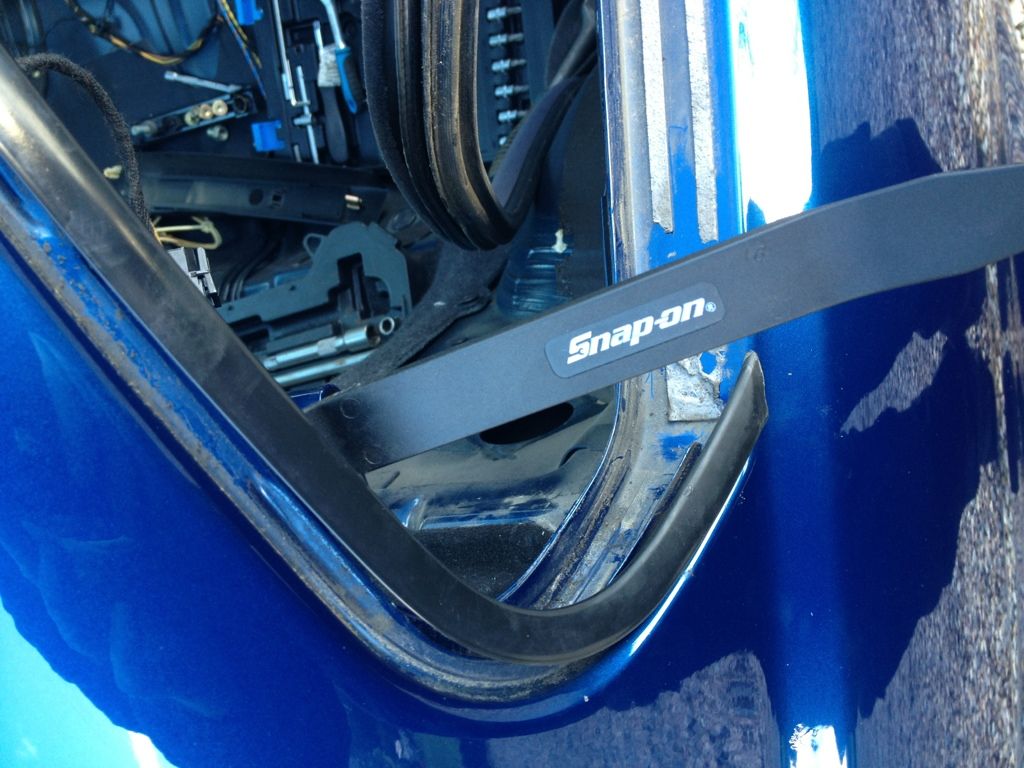
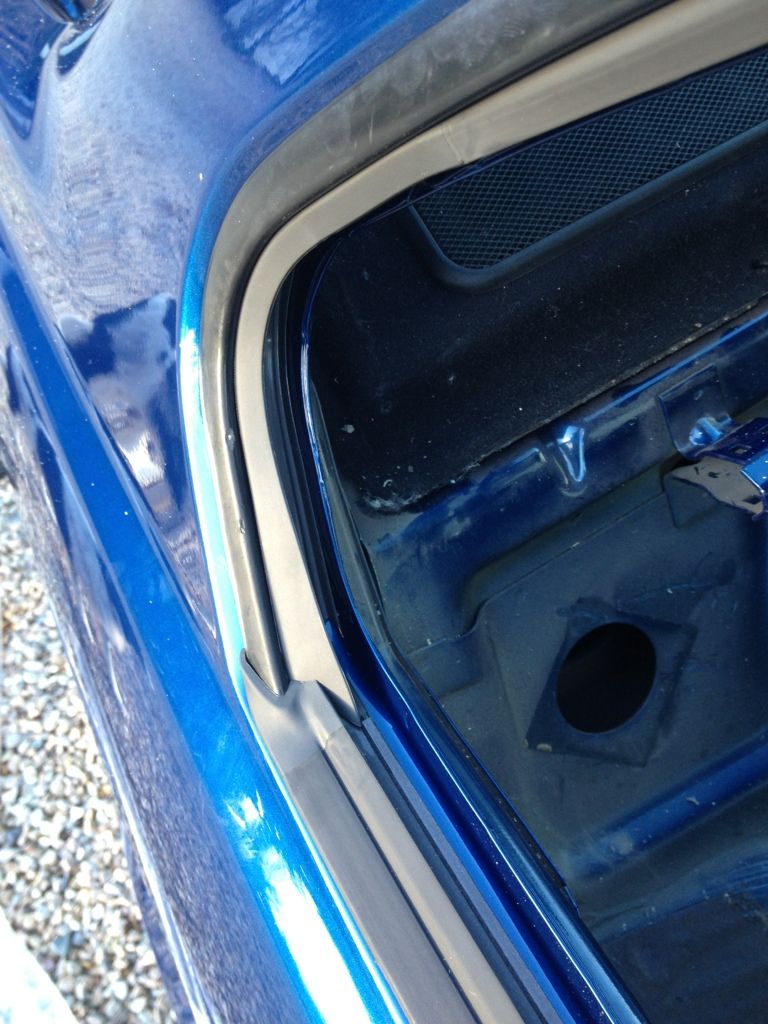
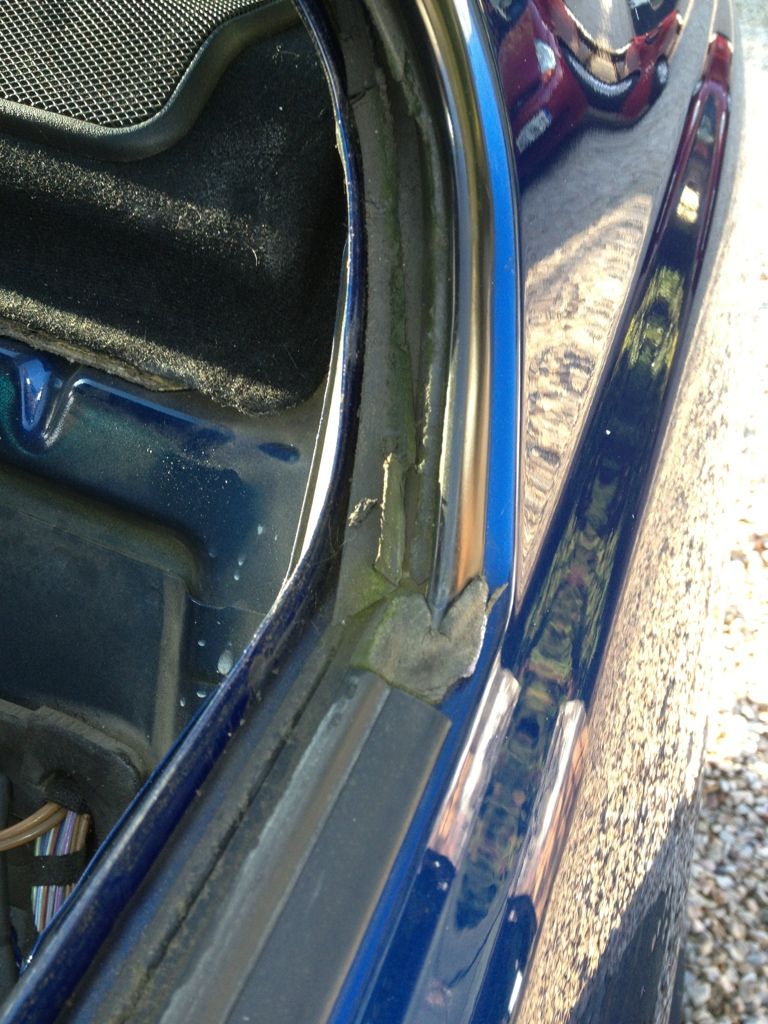
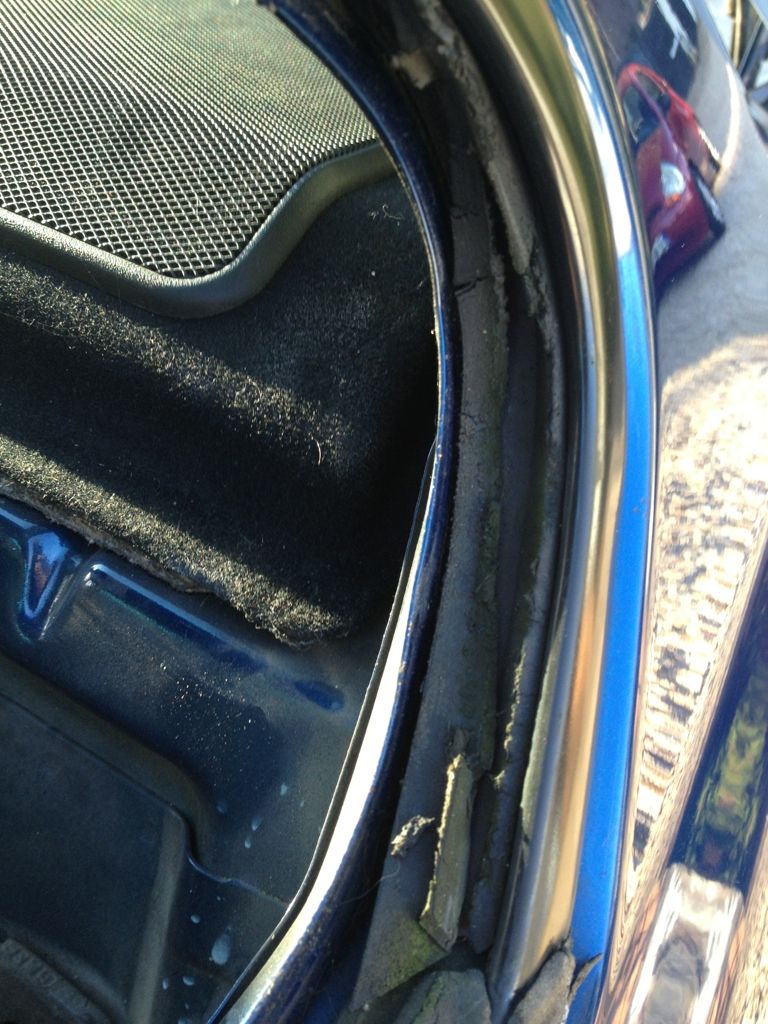
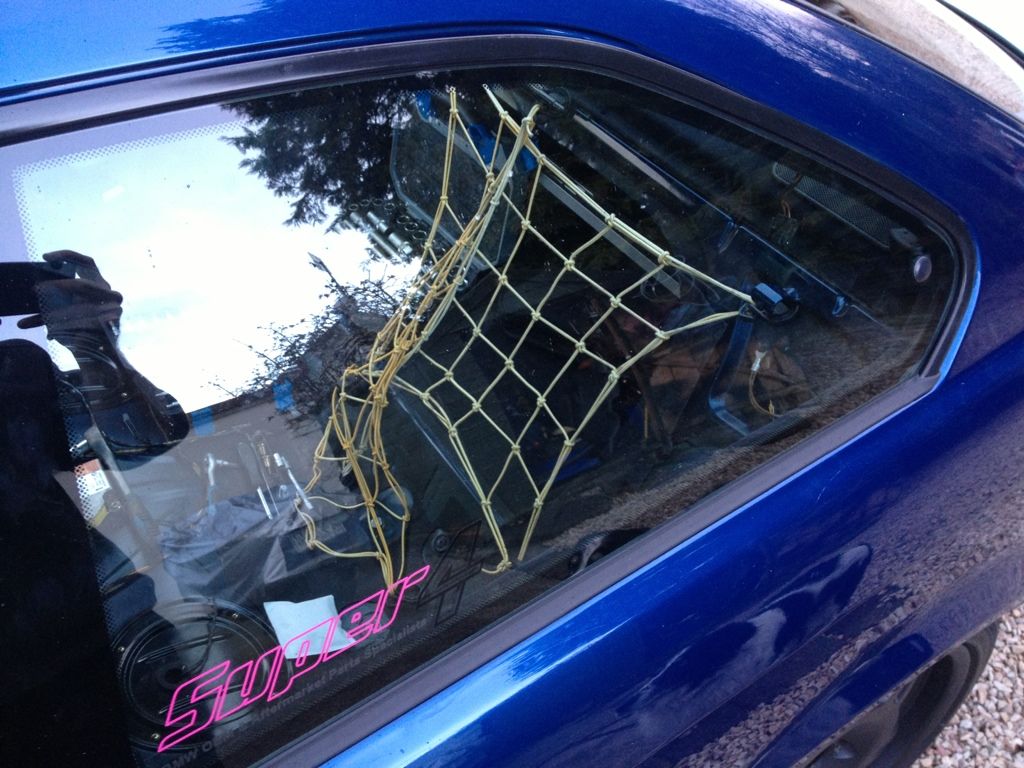
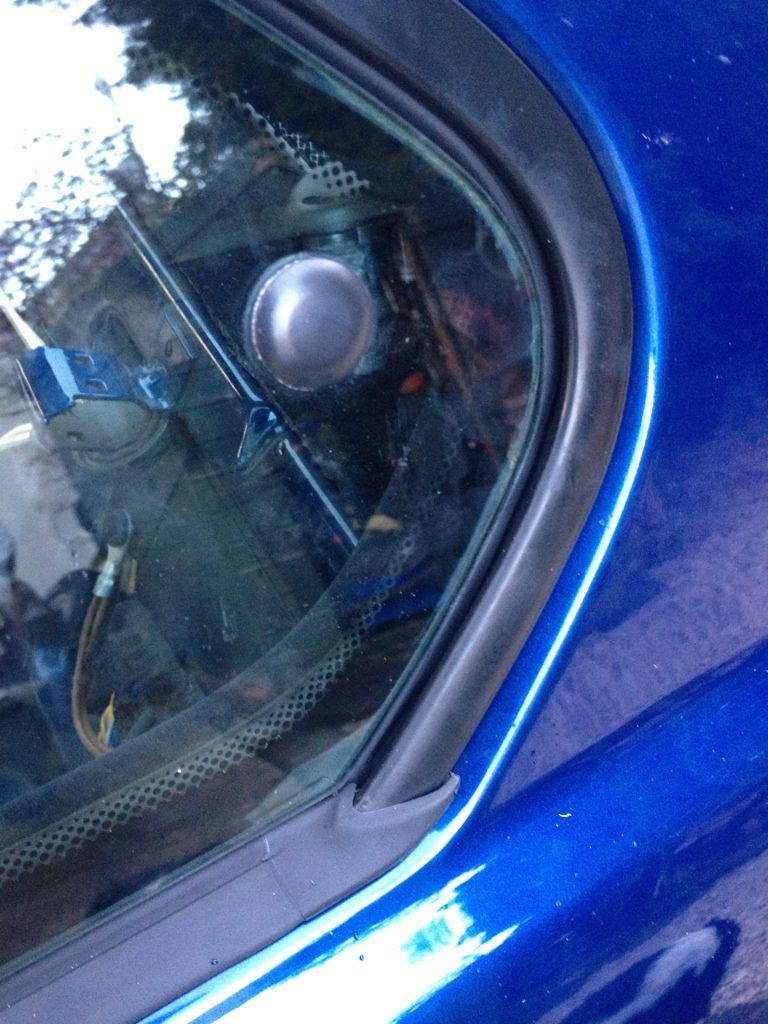
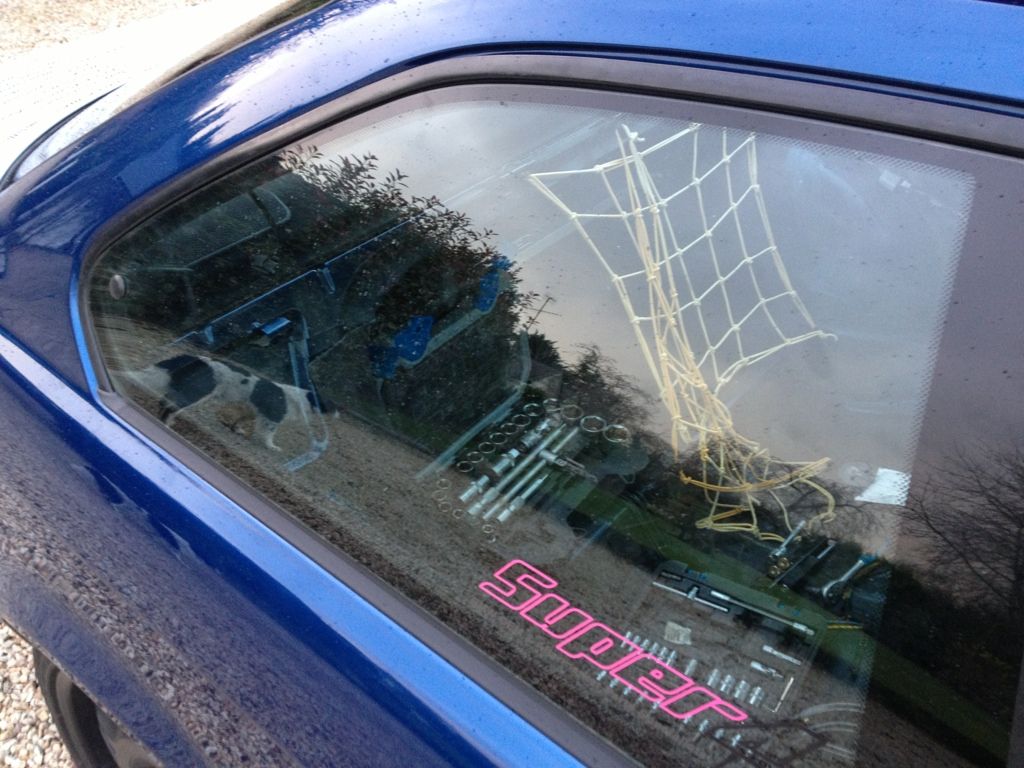
    If anyone has any questions then please feel free to ask and I shall be more than happy to help, I just done have the heart to do another right up now. I will see the visual improvement is fantastic ad hopefully the real improvement shall show when it rains and now more water gets in .


    Thanks for looking


    Welcome back to Instagram. Sign in to check out what your friends, family & interests have been capturing & sharing around the world.

    Comment


    • #32
      Got some pictures today as I had time whilst putting another coat on the calipers, pictures are nothing great and car is manky too.

      FRONT CALIPERS PAINTED :


      BLACK DIAMOND BRAIDED LINES :


      Really really need to change the plug oil seals as my plugs were completely bathing in 10w40. May do these this week or next along with new plugs and leads for good measure.


      Thanks for looking


      Welcome back to Instagram. Sign in to check out what your friends, family & interests have been capturing & sharing around the world.

      Comment


      • #33
        Thanks guys, hmmm wasn't sure about the gold but I like it for now just need to get the rears done next when doing rear handbrake cables and braided lines. The Black Diamond braided lines are very good fit and quality, pedal softness has been dramatically reduced indeed and should be non-existent once the rears are on.


        Got a couple more very small bits done today and one job started which I shall finish tomorrow. Parrot CK3000 evo hands free fitted as its only a matter of time before I get nabbed yapping on the phone and its safer for all.


        PARROT FITTING :


        The earth strap at the back driver side corner of the bonnet had completely split so a made up strap replaced until I get some proper thickness earthing cable.


        I also decided not to wait any longer to change the spark plug oil seals as I had these already so I started on this job also, however due to a time constant I shall have to finish it tomorrow hopefully.


        NEW PLUG OIL SEALS :


        More updates coming tomorrow if weather & time permit.


        Thanks for looking


        Welcome back to Instagram. Sign in to check out what your friends, family & interests have been capturing & sharing around the world.

        Comment


        • #34
          Thank you guys, I shall definitely keep the updates coming as there is lots more to do. Lets just say I don't think this car will ever be sold when I get stuck into round two.


          Finished off my wrinkle finish rocker cover today, thanks to Larry K for the VHT wrinkle paint.


          It took a while with not having a fantastic heat source at home to back it in as it didn't fit in the oven ( I tried). Anyway I managed to get it all done and refitted, the paint is touch dry but still soft underneath but this shall soon be sorted after a good drive. I also changed the spark plug oil seals so hopefully no more plugs bathing in oil. New Iridiums are on the way and should be here this week then I'm just waiting on the leads to arrive.


          I have more to do with the intake manifold now as it doesn't look right so shall take care of this in a week or two.


          WRINKLE FINISH ROCKER :


          DRYING :


          NEW PLUG OIL SEALS FITTED :


          COVER BACK ON :


          The paint looks quit orange in the pictures however it is far from it, it's a lovely blood red color very much like the EK9 type R rockers etc.


          BEFORE & AFTER :


          Thanks for looking


          Welcome back to Instagram. Sign in to check out what your friends, family & interests have been capturing & sharing around the world.

          Comment


          • #35
            Charged E36 318is build

            wheels for E36!!!


            Welcome back to Instagram. Sign in to check out what your friends, family & interests have been capturing & sharing around the world.

            Comment


            • #36
              Well with the rear tires arriving yesterday all I was waiting on was the wheel stud conversion kit. Hoping it would arrive this morning but unfortunately it didn't, so with not being able to wait any longer wheels and tires were bungled into the Super4 E36 van and off I went to see Richie in Pro Parts to get them fitted.


              Whilst I was happy the fronts would have enough clearance I was dubious about the rears feeling it was going to be to close for comfort to the outer arch.


              The passenger side front was done first and then passenger side rear next. Wheels were mounted and now came the moment of truth taking the car off the jacks. The end result was plenty of clearance front and rear with no need for arch rolling of any kind .


              The drive back was bliss as my old tires were well worn and a little too dodgy to be driving on any more. The new tires have certainly transformed how the car feels and drives. All in all I'm a happy camper and it was worth the wait.


              So no more yapping time for pictures and thanks again to Richie in Pro-Parts for all the help.


              NOT TO SEVERE A STRETCH :


              Thanks for looking


              Welcome back to Instagram. Sign in to check out what your friends, family & interests have been capturing & sharing around the world.

              Comment


              • #37
                Replaced the standard filter with a GREEN panel filter and have to say very impressed with it indeed. Inline the PiperX item it fitted snug straight away.


                Throttle response is notably improved throughout the rev range and has ironed out some of the inherent flat spots on the "IS"


                BEFORE :


                AFTER :


                Thanks for looking


                Welcome back to Instagram. Sign in to check out what your friends, family & interests have been capturing & sharing around the world.

                Comment


                • #38
                  Managed to finally get the car somewhat clean today in between the snow showers . It hadn't been cleaned since before the wheels were fitted so it was long over due!!!.


                  BEFORE :


                  AFTER : Snow foam & Wash using Wax-Tec Super Suds.


                  AFTER : Polish using Wax-Tec Deep Cleanse.


                  Thanks for looking


                  Welcome back to Instagram. Sign in to check out what your friends, family & interests have been capturing & sharing around the world.

                  Comment


                  • #39
                    So over the last few weeks/months ☺ the car has slowly been running colder and colder, so today I decided probably best to change the thermostat and do a coolant flush. Over the last few days it was barely heating up at all and MPG's have been well down also.


                    BEFORE : Temp gauge with old T/Stat


                    OLD THERMOSTAT :


                    NEW THERMOSTAT :


                    NEW THERMOSTAT FITTED :


                    TEMP GAUGE ONCE BLED & DRIVEN


                    Definitely glad I got this job done and out of the way.


                    Thanks for looking


                    Welcome back to Instagram. Sign in to check out what your friends, family & interests have been capturing & sharing around the world.

                    Comment


                    • #40


                      Welcome back to Instagram. Sign in to check out what your friends, family & interests have been capturing & sharing around the world.

                      Comment


                      • #41
                        Nothing fun and exciting in the way of upgrades or anything for this update, just a few pictures as I had to take a trip to Blessington today so grabbed the camera for some quick snaps on the way back.


                        Thanks for looking


                        Welcome back to Instagram. Sign in to check out what your friends, family & interests have been capturing & sharing around the world.

                        Comment


                        • #42
                          It's BC Racing coilover time for the little "is"


                          I sold the JOM's after having them for a year I found them to be excellent for instant low and very comfortable. I would highly recommend these for people on a budget as they are great value for money.


                          In the mean time whilst waiting for the BC's to arrive I have been trailing a used set of HSD MonoPro's (up for sale soon) and they are also very comfortable with lots and lots of adjustment everywhere from height, damping, and castor & camber. The BC's arrived today so out with the HSD setup and in with the BC's.


                          PICTURES : work in progress


                          More pictures to come


                          Welcome back to Instagram. Sign in to check out what your friends, family & interests have been capturing & sharing around the world.

                          Comment


                          • #43
                            ^^^^^Hi Dave i shall drop you over a PM today .


                            So I finally managed to get some time to finish off the coilover update , I finished installing them the other night just not time to update with more pictures.


                            With the BC's being lighter compared to previous setups I have noticed braking over all has improved as well as the overall tightness of the car. I have them set quite high right now but shall address this during the coming week along with the rebound, a full 4 wheel alignment shall ensue once I get the rear end apart and all poly bushed as this along with RTAB's needs doing badly.


                            So here are some more pictures


                            HSD vs BC :


                            RRHS BC INSTALLED :


                            FRHS BC INSTALLED :


                            FRONT CAMBER ADJUST TOP MOUNTS :


                            After this it was time to move on to doing the x-brace, being fresh and new to all things BMW I didn't realise I had a poverty spec E36 meaning the front subframe did not have the threaded nuts in place from the factory to bolt this up. So I need to get some nutserts into the subframe to complete the job properly. Hopefully these shall arrive next week.


                            I did manage to get 4 out of 8 bolts in so it's not going anywhere but probably not doing its job in the best possible way either.


                            ORIGINAL BRACE vs X-BRACE :


                            4 MORE BOLTS (nutserts) TO GO IN :


                            X-BRACE IN :


                            THIS IS WHAT I SHED :


                            I shall make up an aluminium under tray from front bumper to gearbox before the winter arrives in full swing, I'm hoping

                            whilst it will protect the underside it will also help add some much needed down force at higher speeds as I find it can get quite light up front.


                            HSD's THAT CAME OUT :


                            Thanks for looking


                            Welcome back to Instagram. Sign in to check out what your friends, family & interests have been capturing & sharing around the world.

                            Comment


                            • #44
                              Some more progress was made this evening as I relieved EddieM3 of his K-sport BBK setup. Arrived to Eddie's and we started the swap over, I swore I would never do any more jobs on cars on the ground!!!! Oh well all was good and everything went smoothly with the only alterations needing to be made were to by car where the braided lines meet the metal lines.


                              The hole the K-sport line needed to sit into was to small so some drilling was required, then a bleed all round was done and off I went. I may in time swap out the servo for an M3 item etc but for now they are very good and once cleaned off will only improve.


                              An evening well spent in good company, here are some pictures but only a few as we wanted to get done and dusted.


                              The K-sport calipers themselves are incredibly light coming in at around 6lbs each!!!! :


                              BEFORE :


                              AFTER :


                              Thanks for looking


                              Welcome back to Instagram. Sign in to check out what your friends, family & interests have been capturing & sharing around the world.

                              Comment


                              • #45
                                Decided today I would install the new Schmiedmann Adjustable Short Shifter I have had sitting on a shelf for months now. Removal of the old shifter is very simple and straight forward with it being out in about 5-10 minutes. Installing the new one isn't quite so quick however due to the adjustable eye at the bottom of Schmiedmann shifter having 2 little bearing cases pressed into it rather than the traditional plastic/nylon bush.


                                The selector took some time and cursing ::: to get it into place as it's a very very snug fit. For this particular short shift I would not recommend doing this on the drive way at home as there will not be enough room in order get the eye on slid onto the selector rod. A ramp is a MUST for this install. Once it was in it was a case of start the car check for gears and then drive it.


                                Driving it showed up that I needed to further adjust the shifter to pull it up away from the prop shaft as it was rubbing it very slightly. To be honest there are easier kits to buy and install however I wanted some thing that whilst it would give me a shorter shift (which it does, very short) it would also have the gear knob sitting taller than stock so as it's that bit closer to the steering wheel. All in all I am very happy with it and love how short the shift is :!!!!


                                Picture time


                                OLD SHIFTER IN PLACE :


                                REMOVE INSULATION AROUND THE SHIFTER, PULL UPWARDS ON THE RUBBER BOOT/SLEEVE. IT WILL BE TIGHT BUT SHALL GIVE :


                                NOW FROM UNDERNEATH THE CAR UNCLIP THE SELECTOR AT THE BOTTOM OF THE ORIGINAL SHIFTER, DO NOT LOOSE THE CLIP AND PLASTIC WASHERS. I REPLACED MINE WITH NEW PLASTIC WASHERS THAT CAME WITH THE KIT :


                                Sorry I didn't get a picture of this stage


                                GET TWO FLAT HEAD SCREWDRIVERS AND CROSS THEM OVER EACH OTHER LIKE SO, TWIST 90 degress CLOCKWISE TO RELEASE THE TWO PLASTIC TABS ON THE WHITE CUP :


                                ONCE THEY RELEASE SIMPLY PULL UPWARDS AND THE SHIFTER UNIT SHALL COME OUT AND WILL LOOK LIKE THIS :


                                PLASTIC SHIFT CUP, RECOMMEND INSTALLING A NEW ONE :


                                NEW SCHMIEDMANN ADJUSTABLE SHIFTER V's OLD SHIFTER :


                                NEW SHIFTER INSTALLED :


                                For reinstalling the new shifter be sure to grease everthing up, I installed new plastic washers and a new OEM shifter cup. Sit the new shifter and plastic cup into place, get your two screw drivers and cross them over like before and twist clockwise until the 2 tabs on the cup seat into their places in the holder. These are at 9 o'clock and 3 o'clock. Now get under the car and push the rod into the shifter, don't for get a plastic washer on either side following by the clip at the end of the bar going through the shifter. There is a groove there for it to sit into. Once this is done replace the rubber boot and insulation followed by the gear shift gaiter and hey presto. If you do not know what you are doing then hand this job over to a mechanic, this guide is for reference only and I am not responsible for the work you carry out to you own car.


                                Thanks for looking


                                Welcome back to Instagram. Sign in to check out what your friends, family & interests have been capturing & sharing around the world.

                                Comment

                                Working...
                                X