 Tweet
Tweet
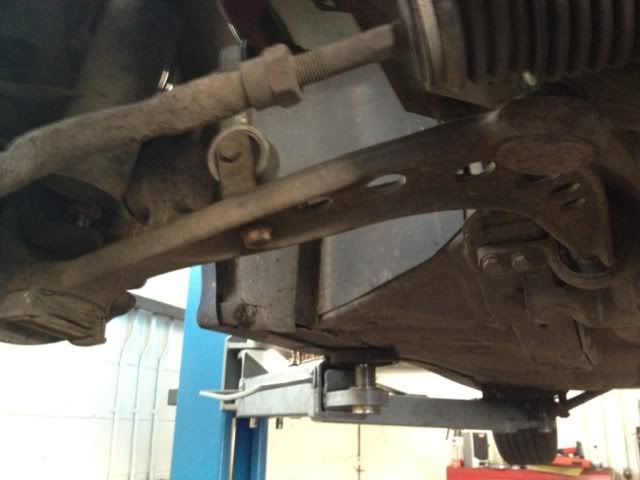
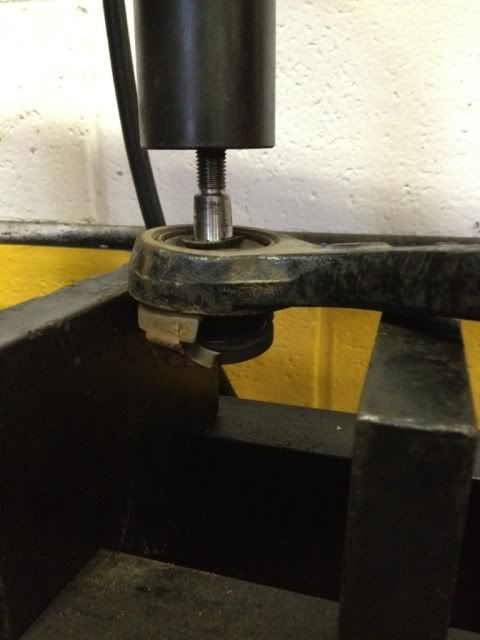
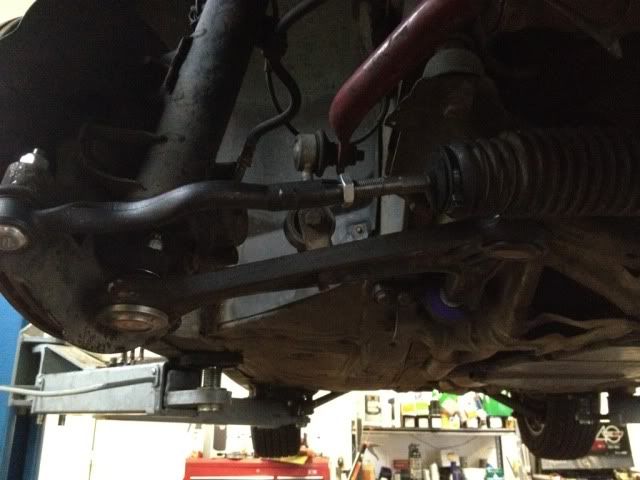
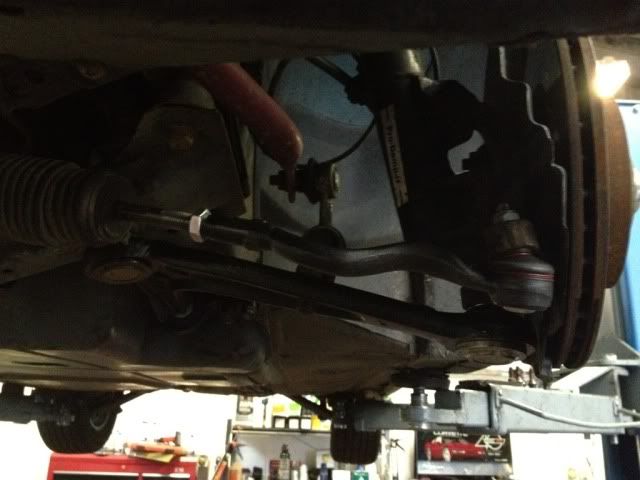
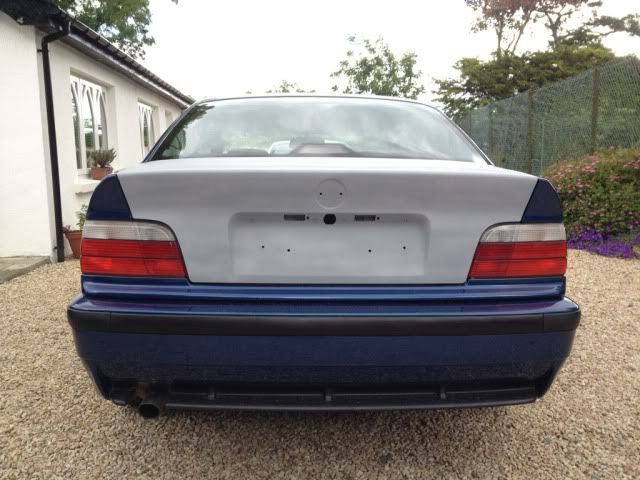
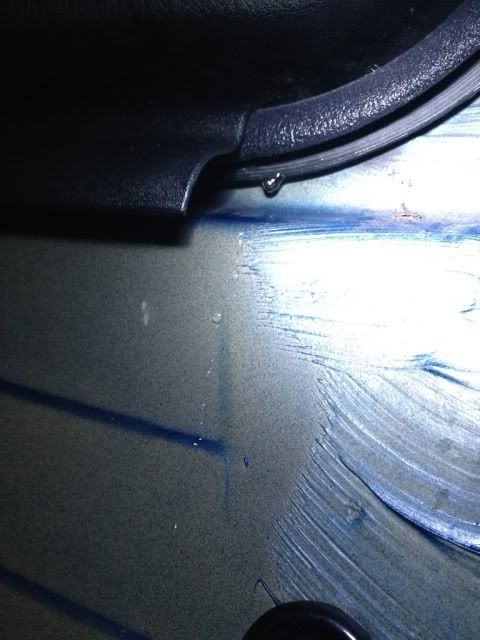
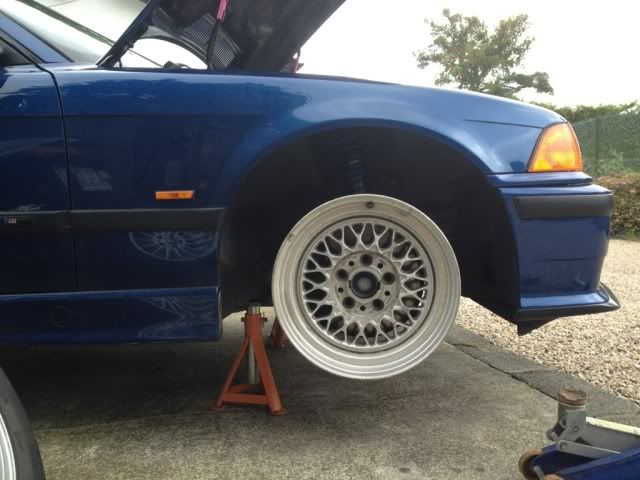
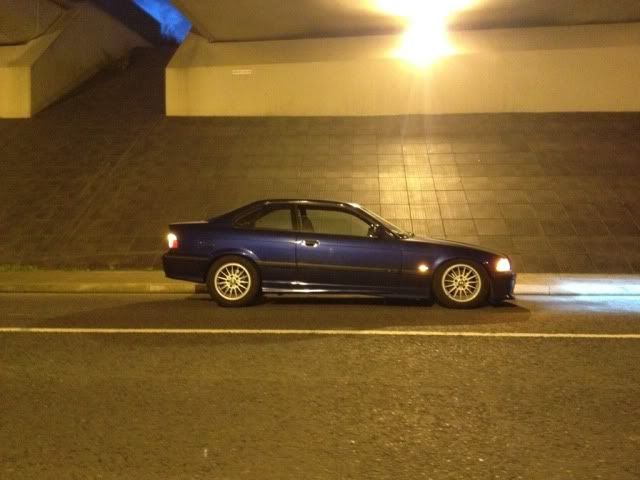
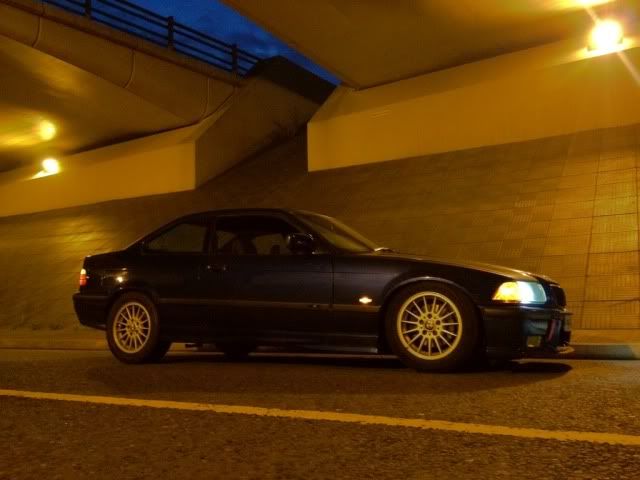
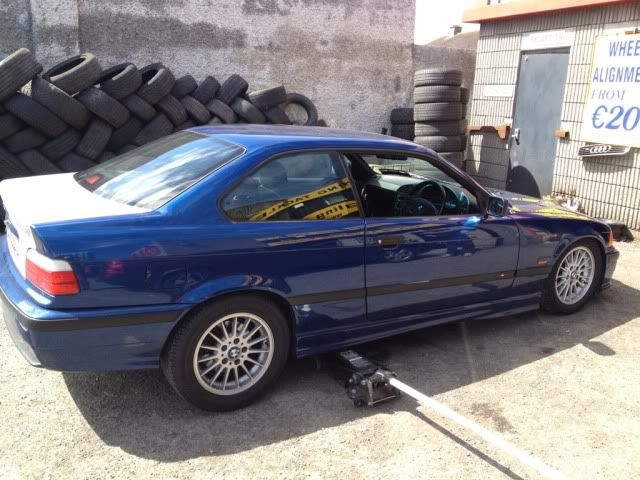
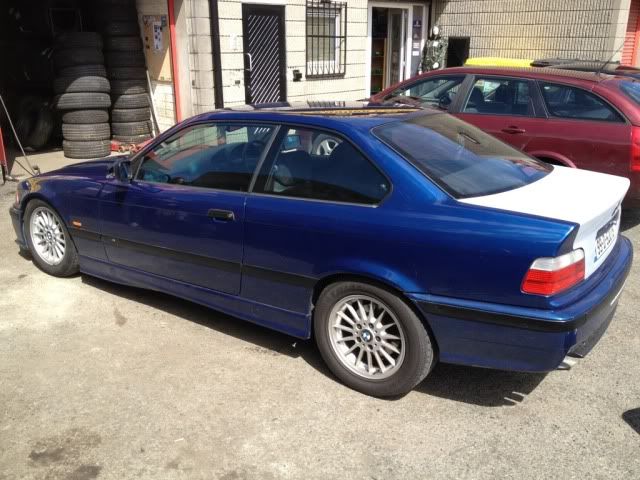
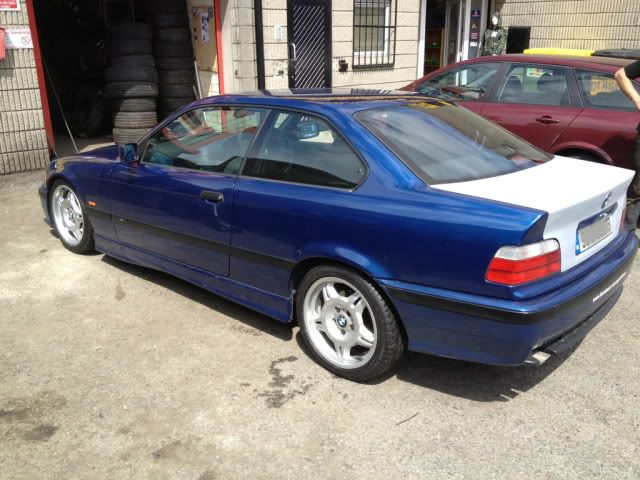
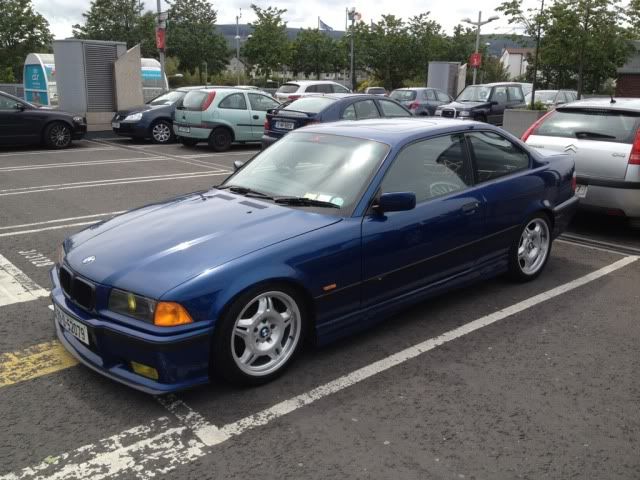
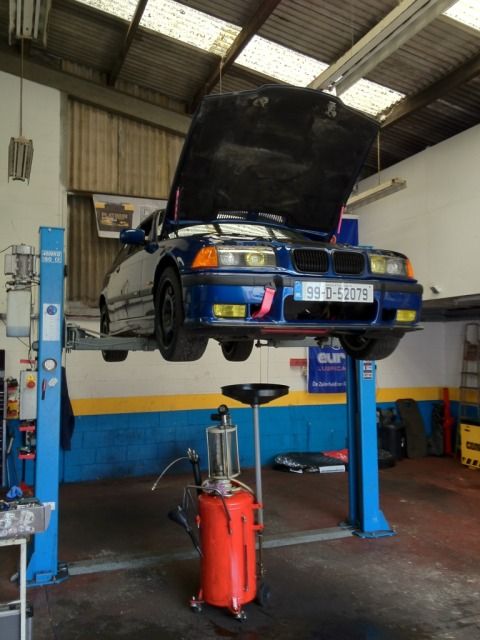
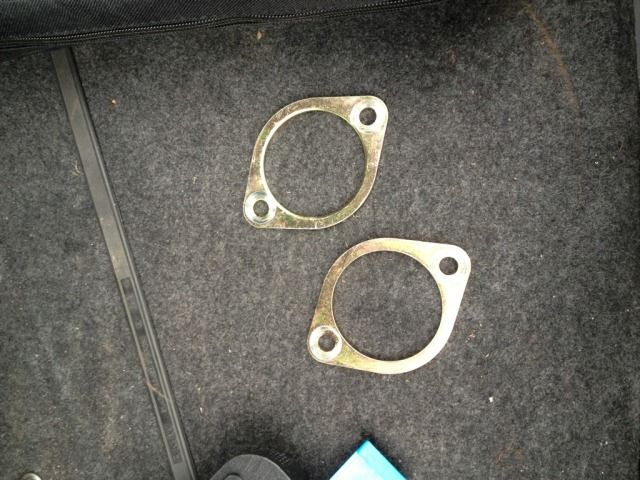
Got some ramp time late this afternoon so got stuck into the few jobs mentioned above, started with the inner and outer tie rods which were no problem then onto remove the lower front wishbones. The passenger side one came away quite easily but the driver side took a lot of smacking and prying to get it to release. Eventually it gave allowing me to remove them and start pressing out the ball joints etc.
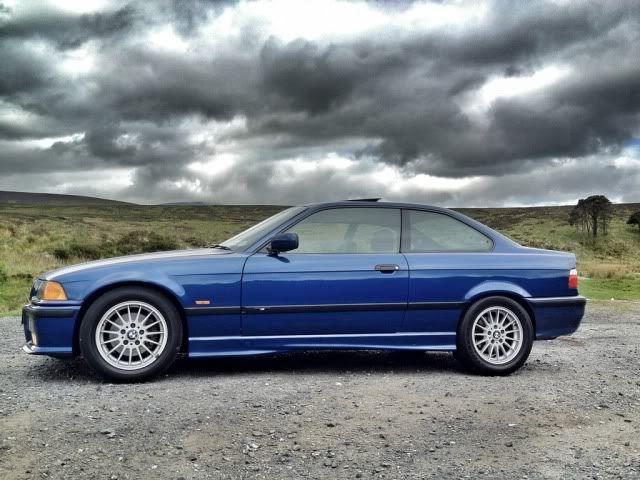
As I suspected my inner tie rods were well shot so really looking forward to driving this when complete and tracked. Few more bits to finish off tomorrow, and may even get the rear wheel bearings done.....but we'll see
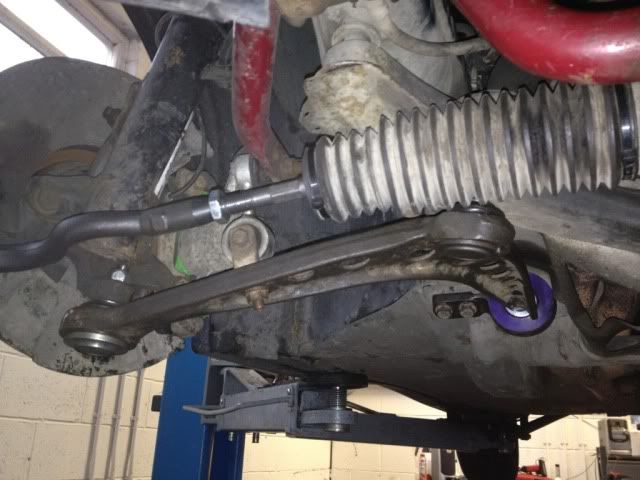
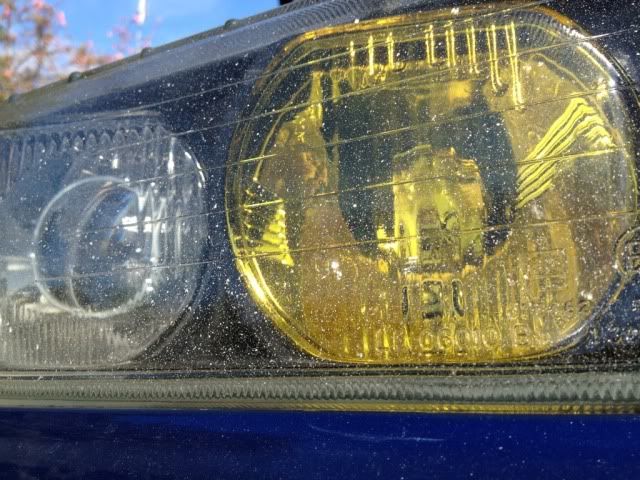
BEFORE :
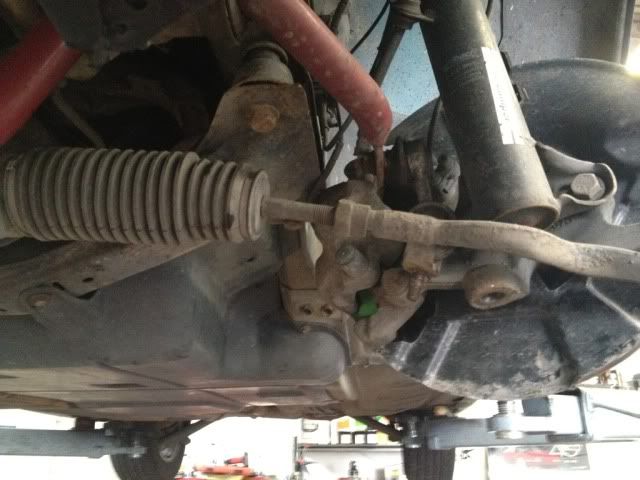
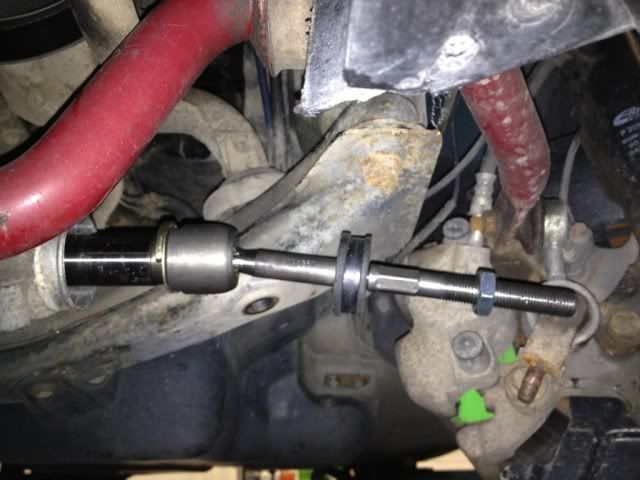
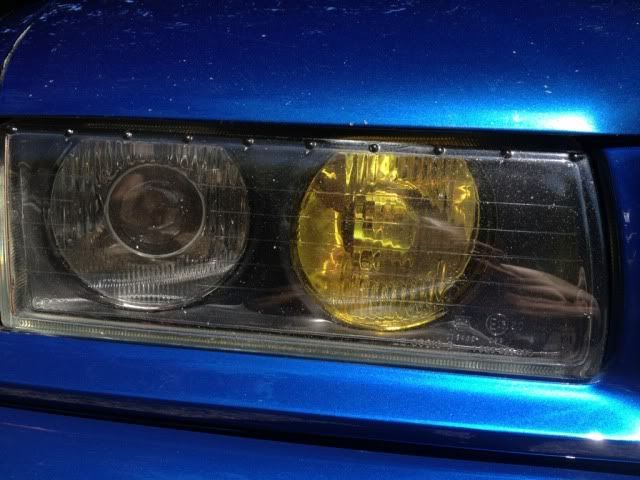
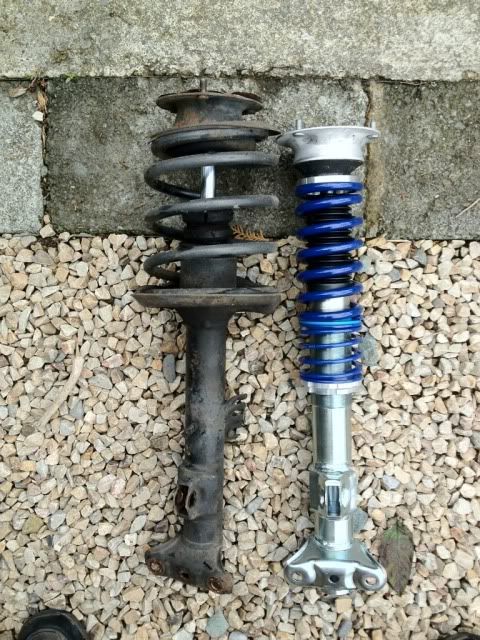
DURING :
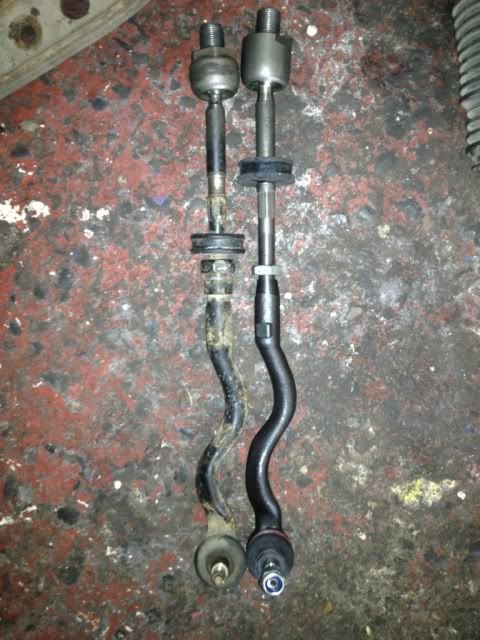
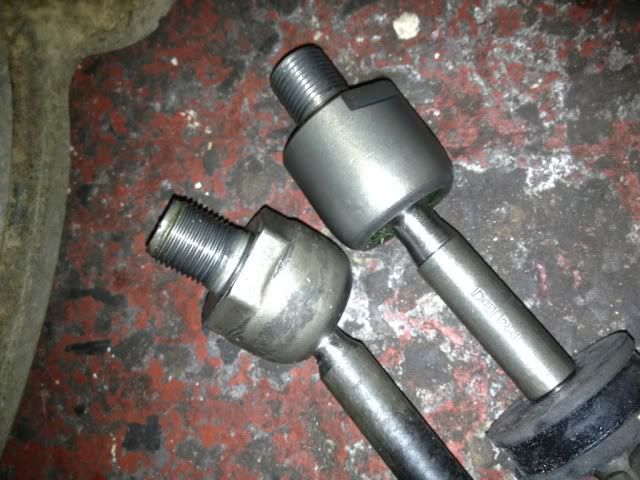
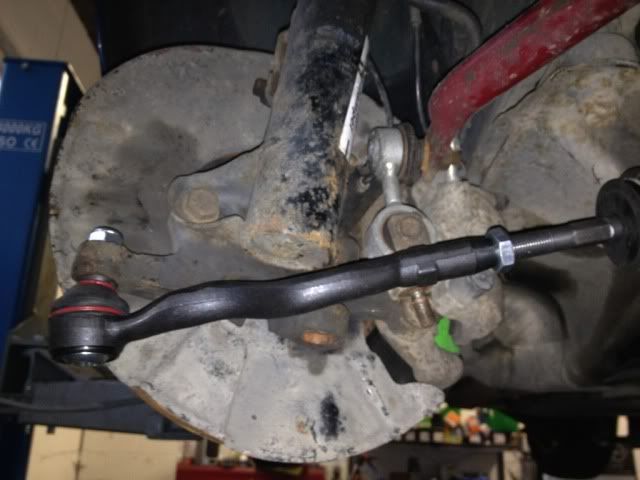
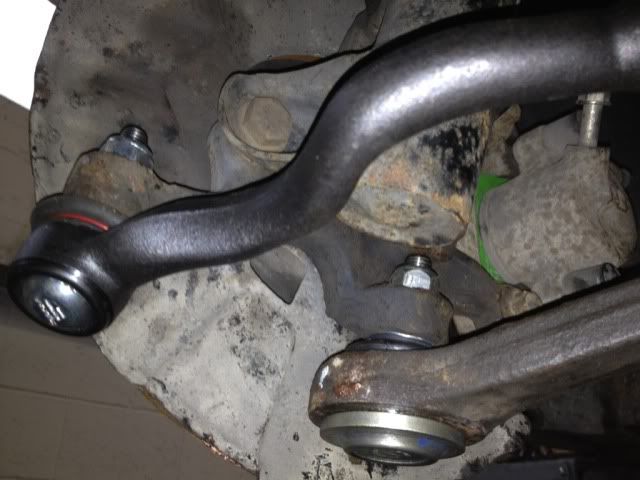
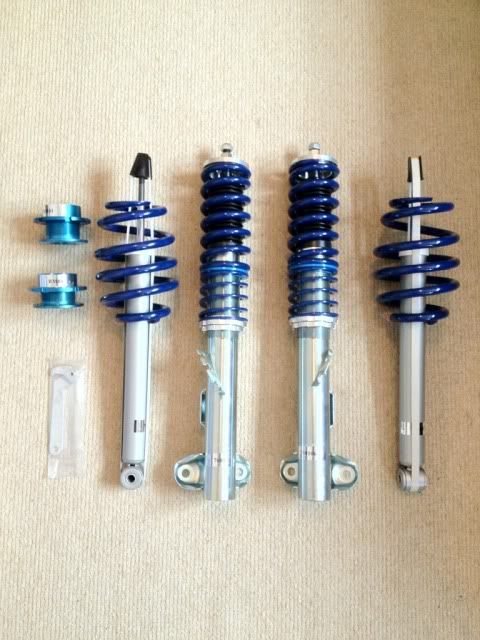
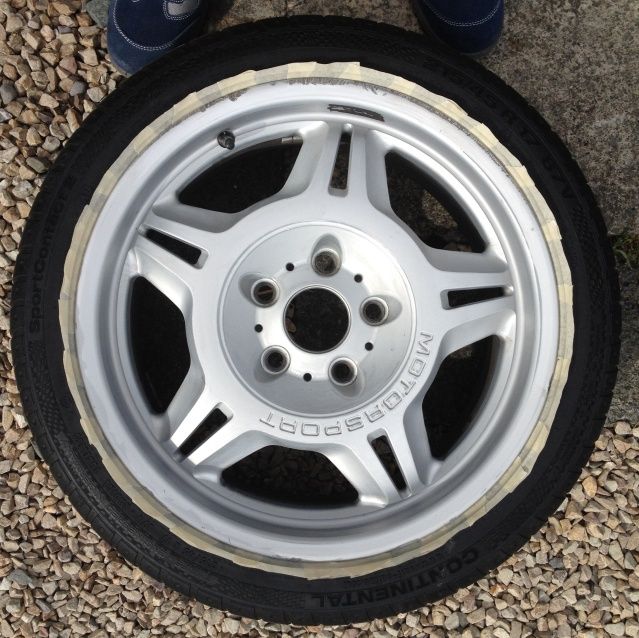
NEW INNNER/OUTER TIE RODS :
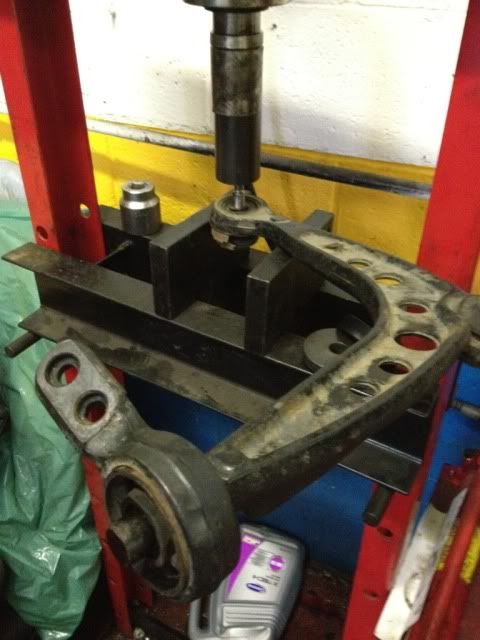
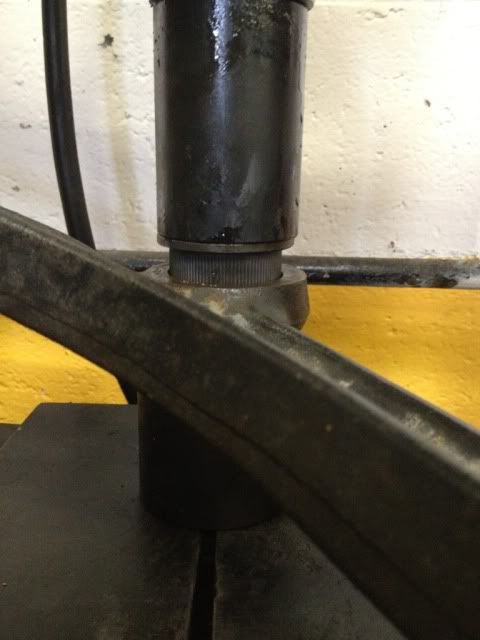
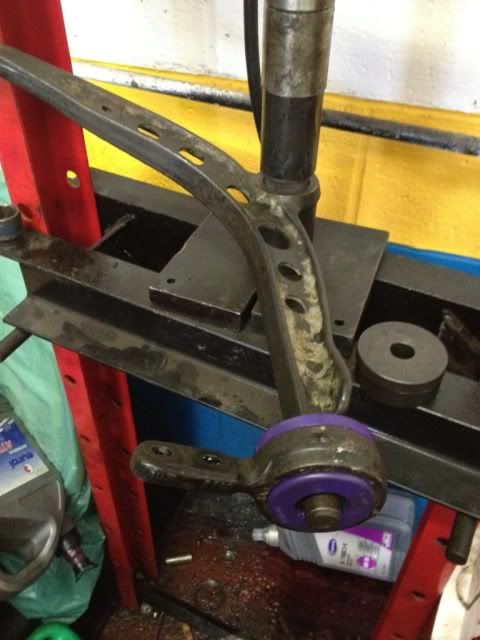
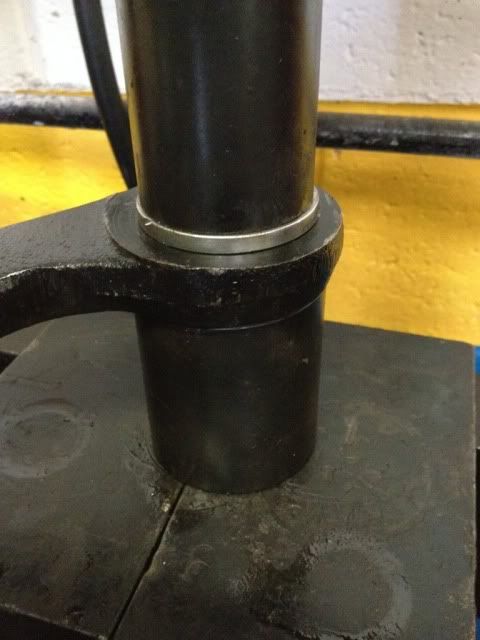
PRESS TIME :
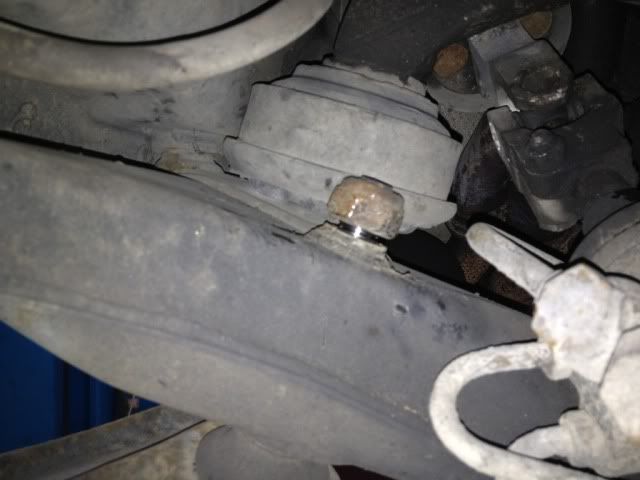
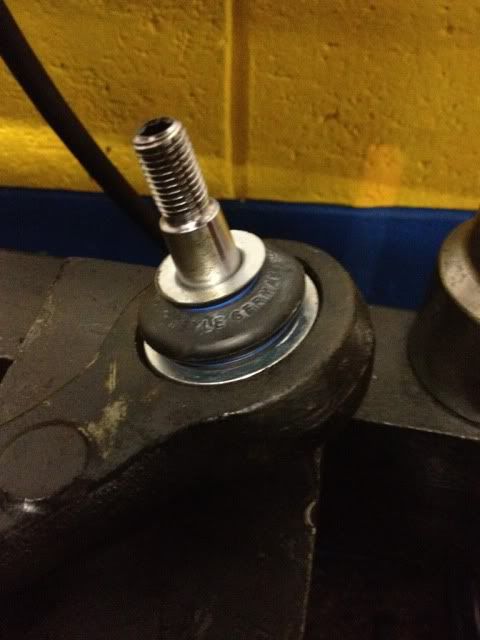
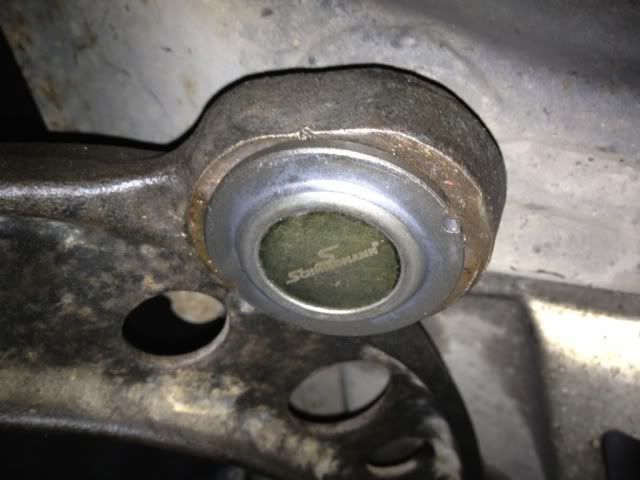
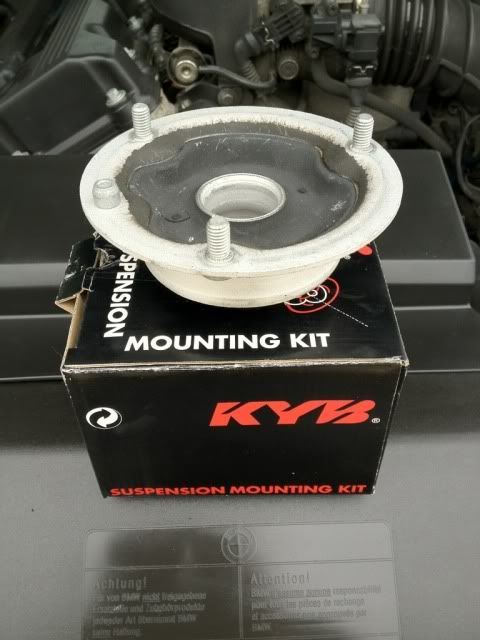
NEW MEYLE HD SOLID BALL JOINT : Installed
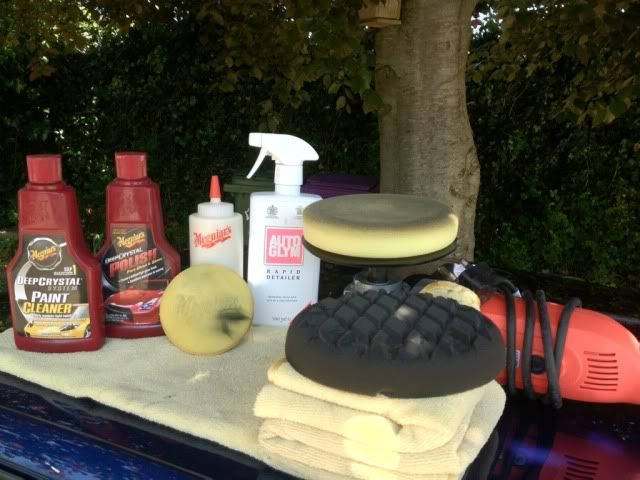
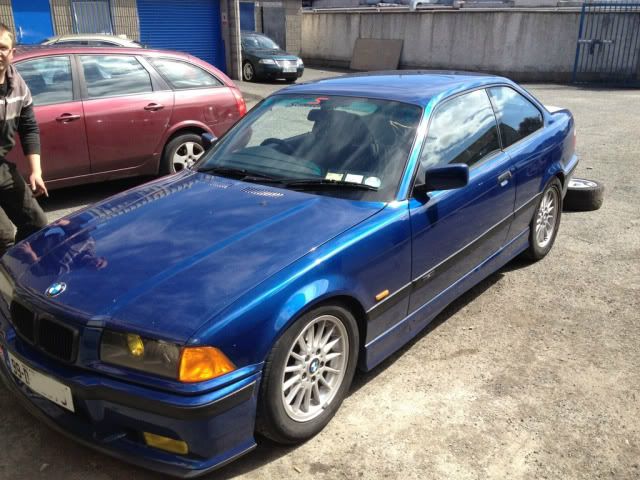
The pictures are a bit scattered as I was trying to get as much done as I could, although my mate said it was okay for the car to be on the ramp I don't want it there any longer than needs to be.
Thanks for looking
As I suspected my inner tie rods were well shot so really looking forward to driving this when complete and tracked. Few more bits to finish off tomorrow, and may even get the rear wheel bearings done.....but we'll see
BEFORE :
DURING :
NEW INNNER/OUTER TIE RODS :
PRESS TIME :
NEW MEYLE HD SOLID BALL JOINT : Installed
The pictures are a bit scattered as I was trying to get as much done as I could, although my mate said it was okay for the car to be on the ramp I don't want it there any longer than needs to be.
Thanks for looking


 :
:


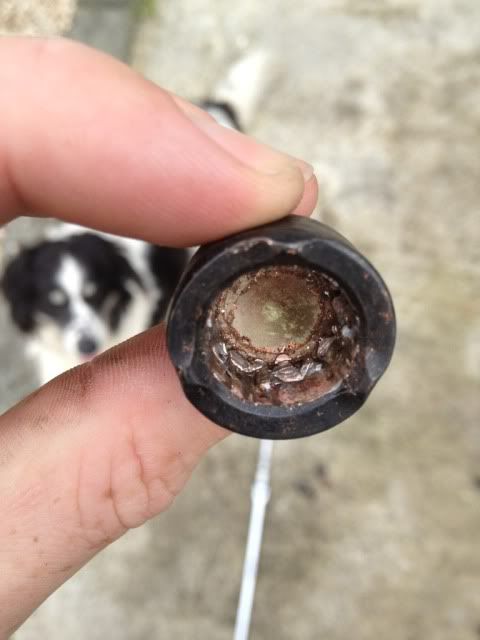
 , anyway after a couple of minutes pondering and eyeing it up I took my small half inch drive extension and hammered it into the lock nut then proceeded to loosen them with the breaker bar.....each lock nut took 5 mins max to get off. Happy days :thumbsup


 .
.


Comment